How to build a bridge
In Animal Crossing: New Horizons, it's possible to build bridges. Bridges are mainly built to facilitate access to the village for the player. In this guide, we'll explain how to obtain a bridge.

Bridge
Bridges make it easier to cross rivers. Players and villagers no longer need to go around them. The bridge kit will be given to you by Tom Nook once you've completed several tasks, built the Nook's Cranny and installed your first 3 houses for future villagers.
To build a bridge, you first need the trunk stake DIY recipes sold in the Nook's Cranny (a set with several DIY recipes in the cabinet on the right). Then, to build the bridge, you'll need 4 sets of trunk stakes (which are built using 3 timbers), 4 clay clays and 4 stones. Refer to these guides on rocks and trees if you want to know how to harvest resources.
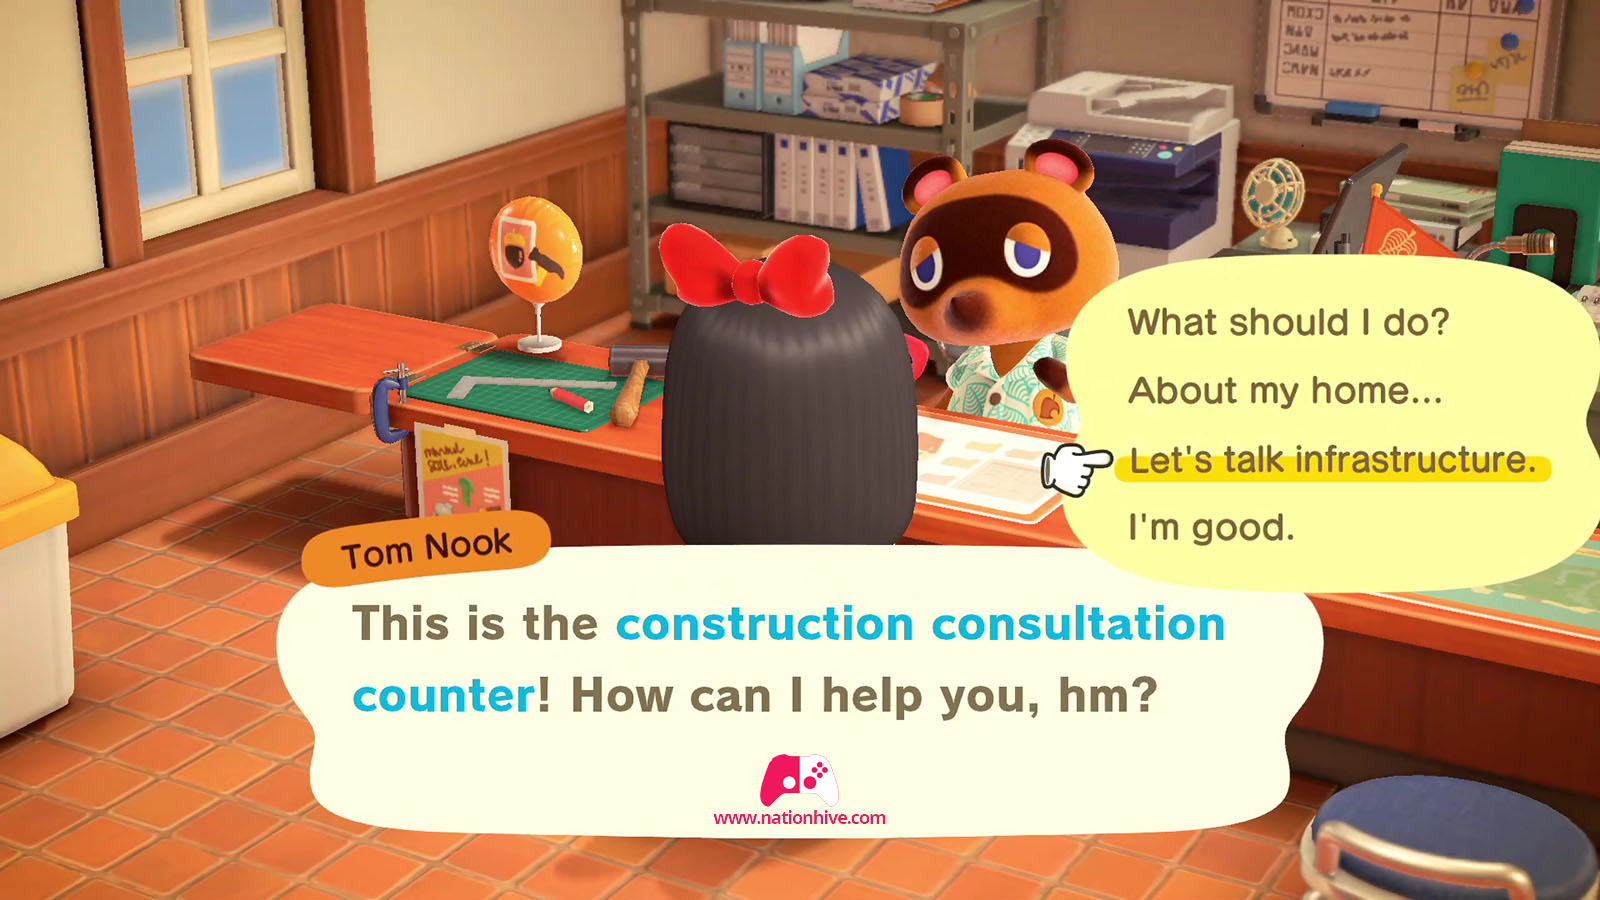
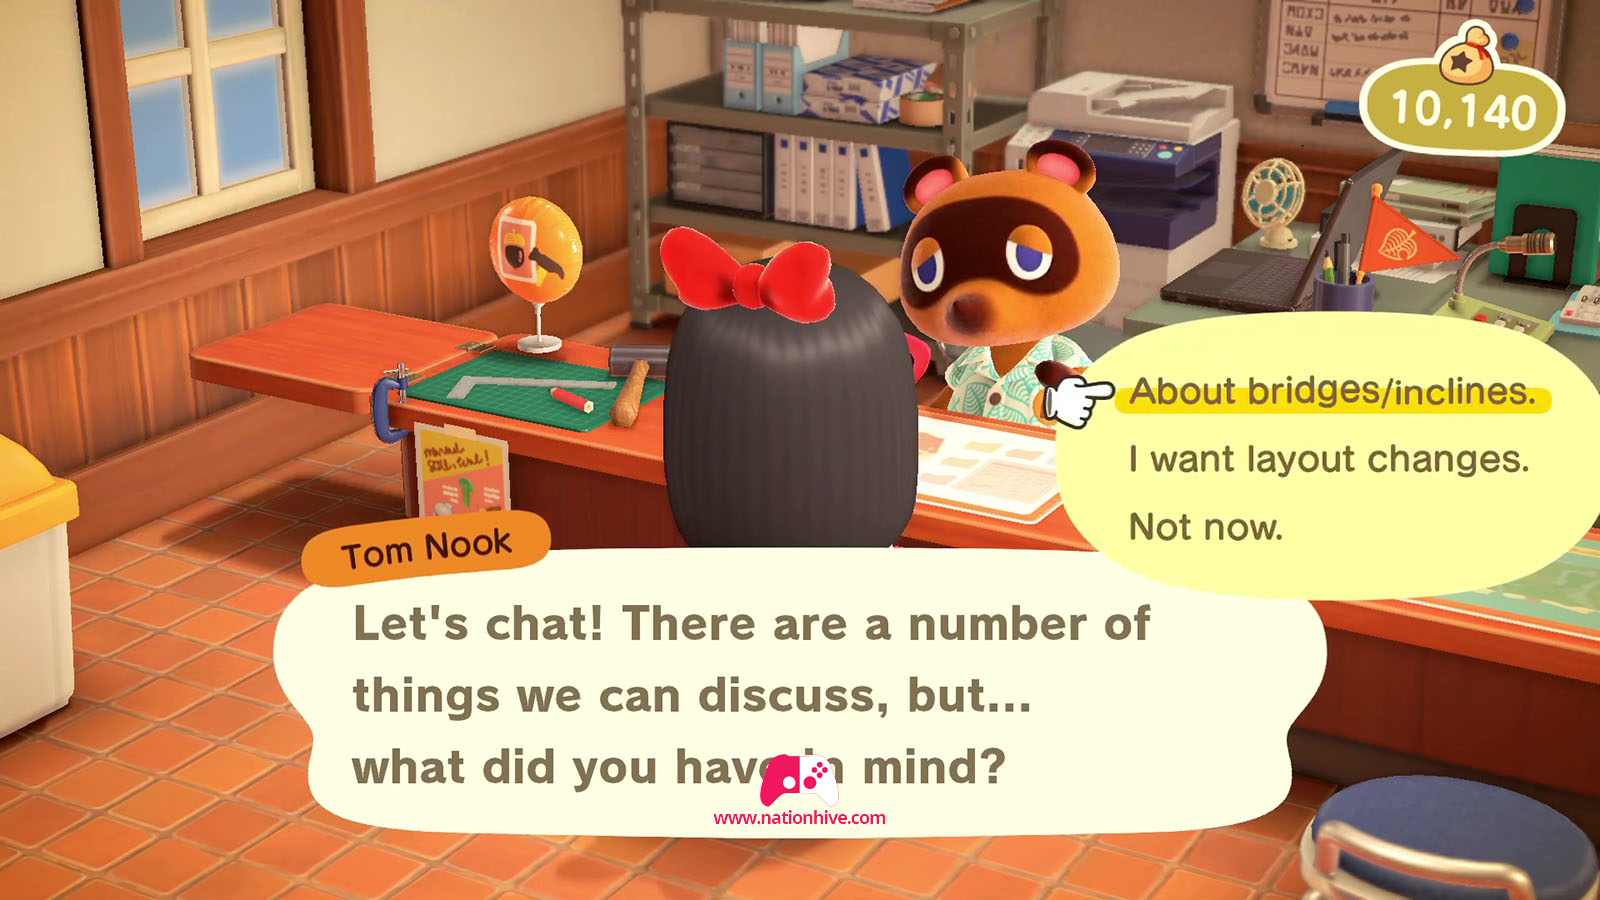
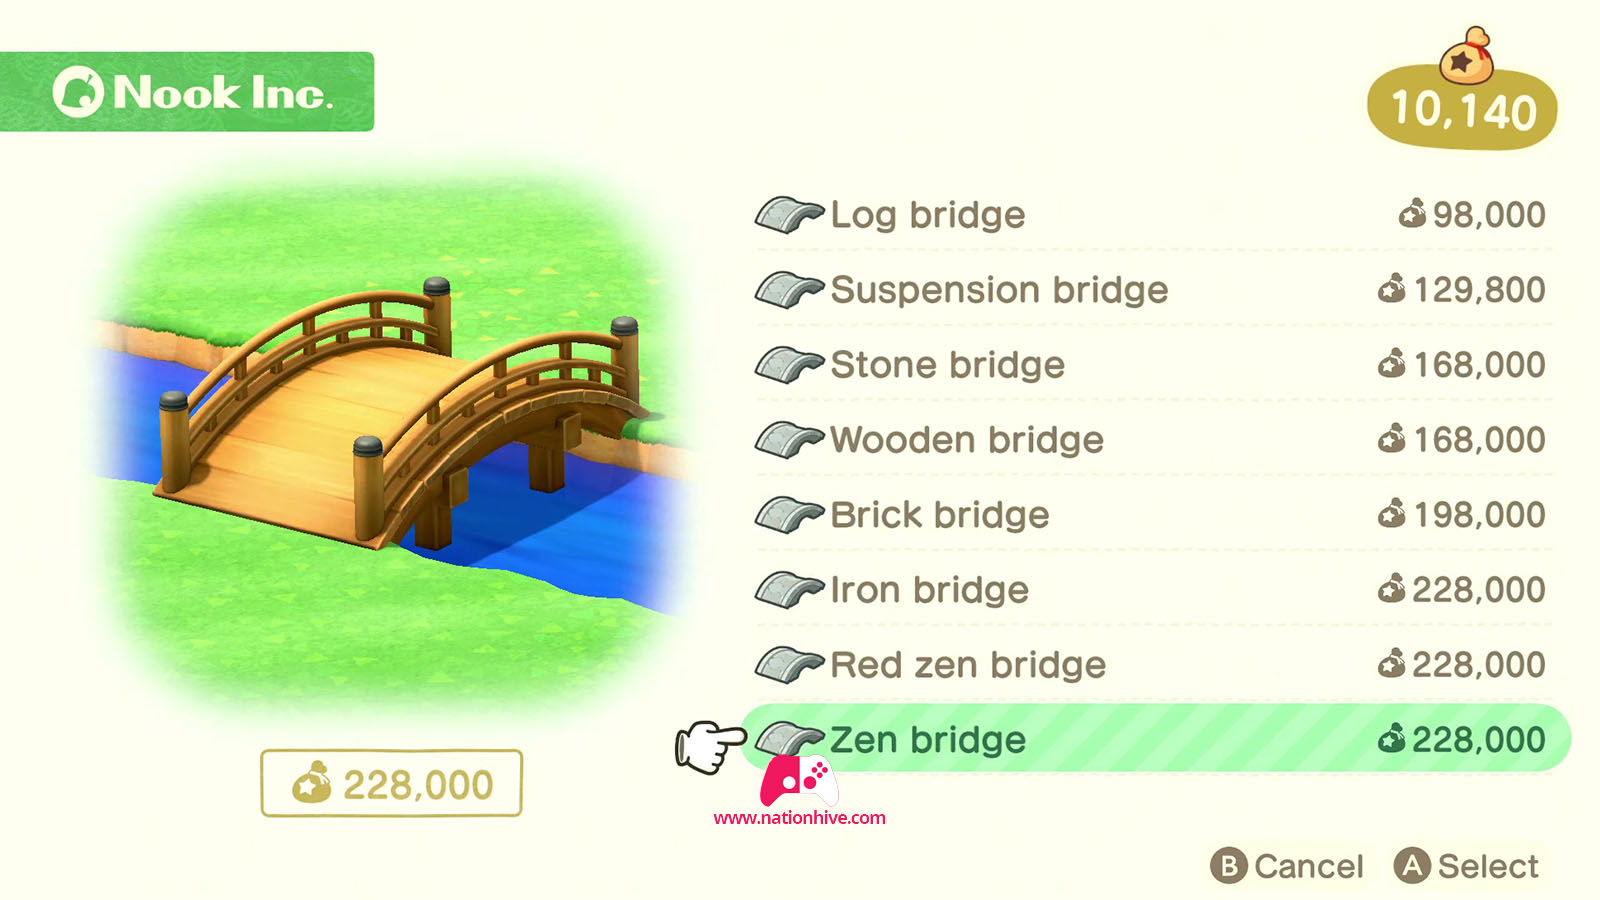
You can only add more bridges when the town hall appears. At this point, enter the town hall to speak with Tom Nook and choose the infrastructure option. Tom Nook will suggest bridge models with varying costs (from 98,000 to 228,000 bells, which will be requested by a gyroid when the bridge is built).
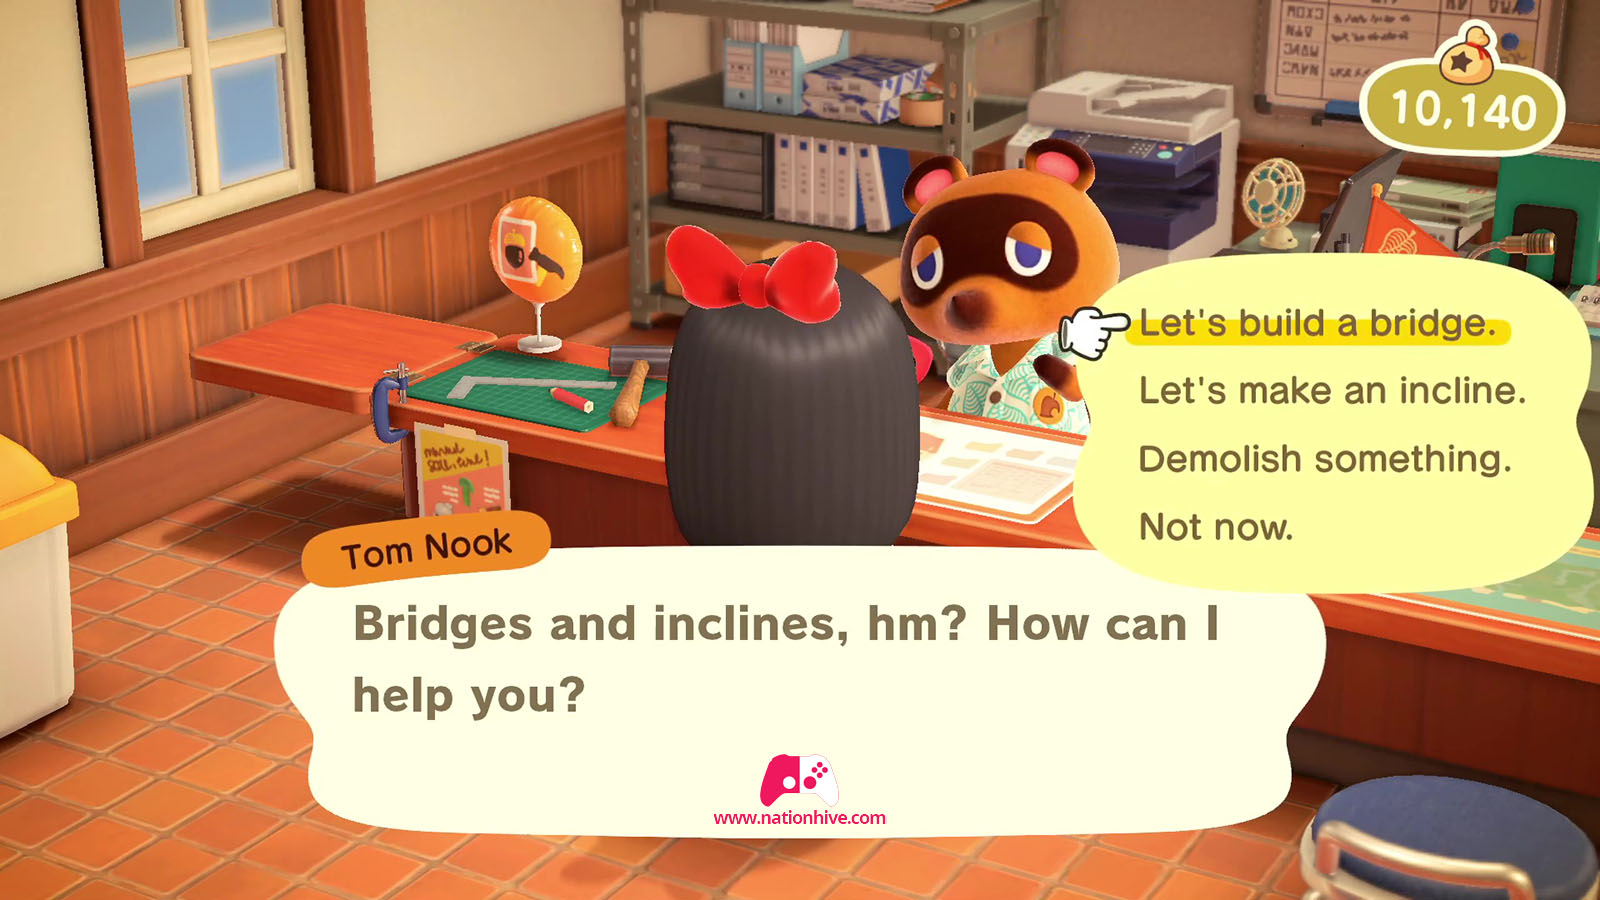
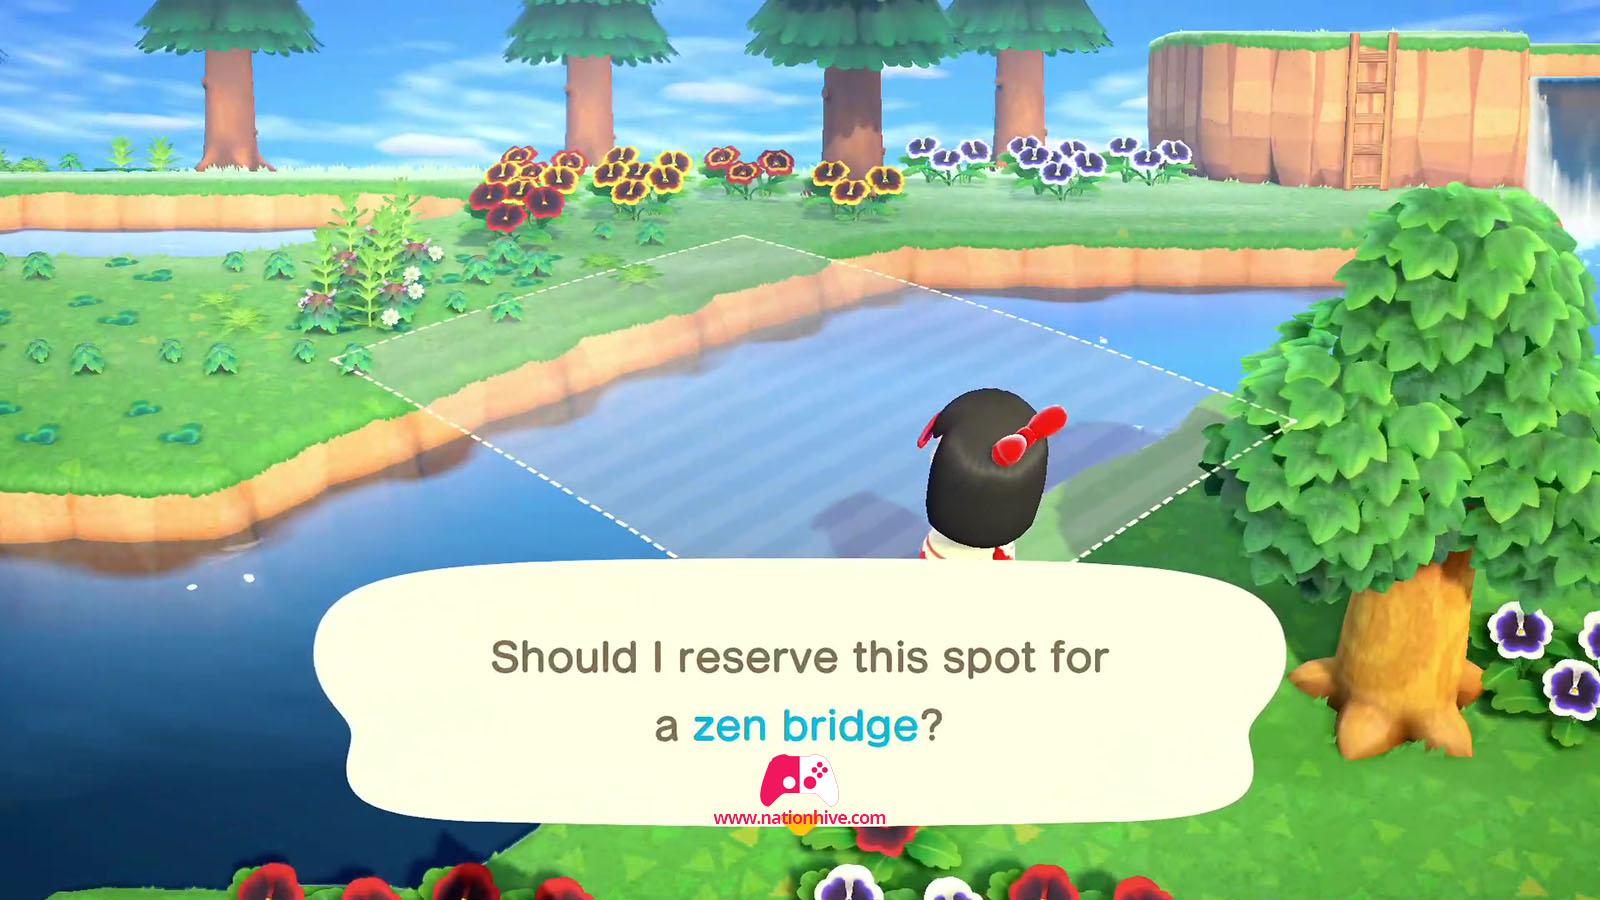
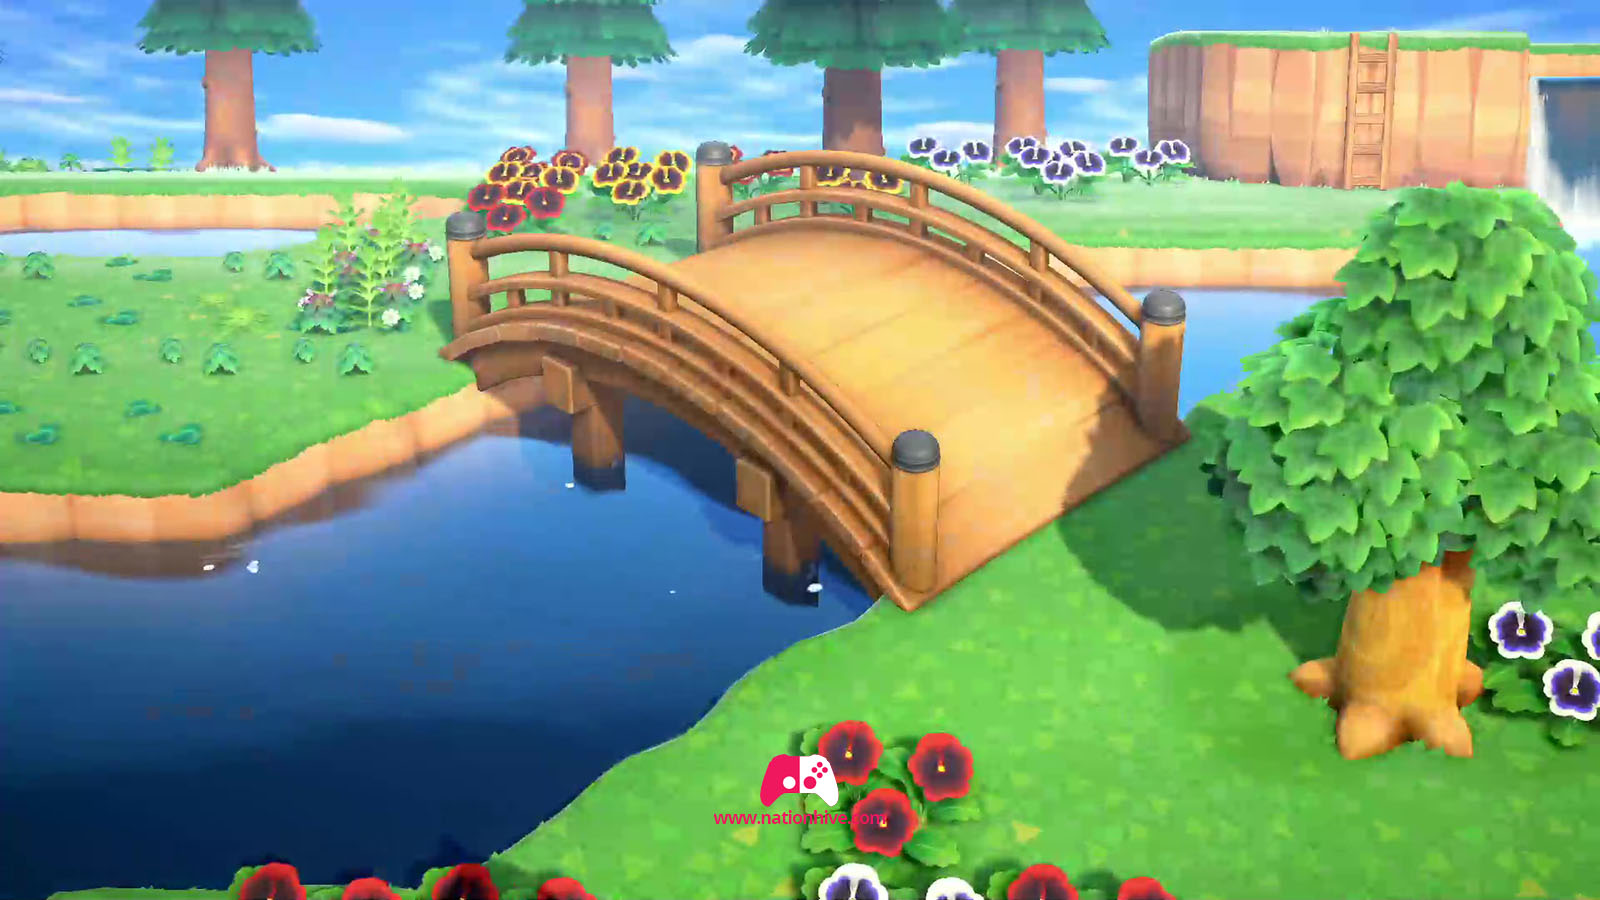
Once you've chosen the bridge model you want to build, you'll need to place it between teh 2 sides of the river. Next, a gyroid will appear to collect bells that will be used to complete the bridge's construction. Once you've handed over the required amount, the gyroid will thank you and the bridge will be ready for use the next day.


Additional note
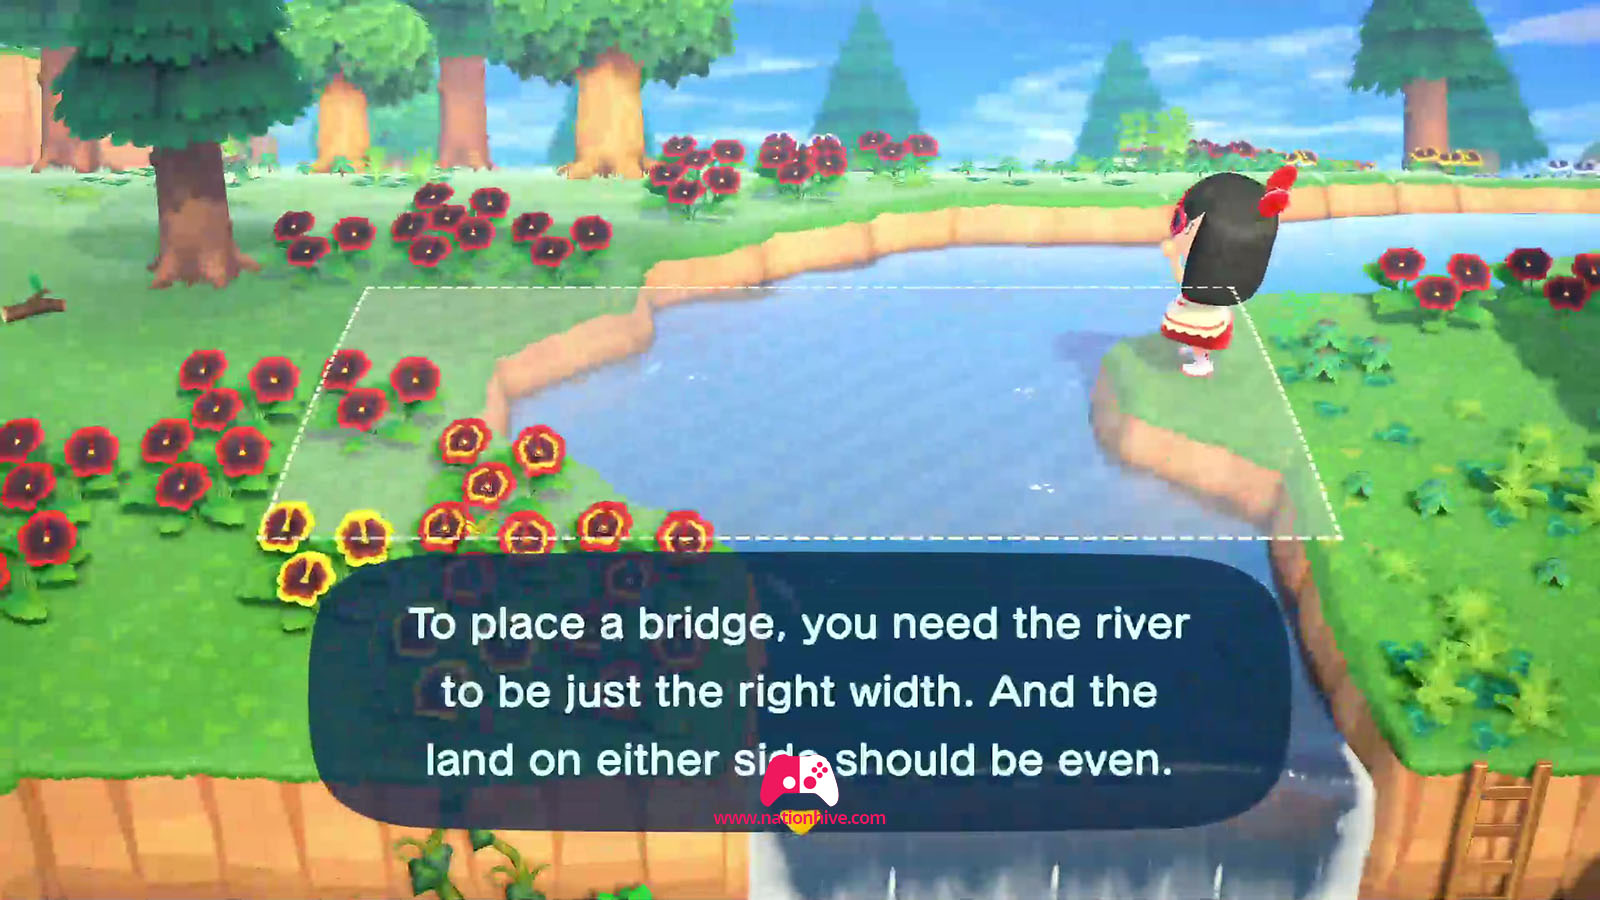
- To find out if the bridge is well placed, the console will tell you if this location is possible. Be judicious in your decision, and build a bridge in a place that you often bypass in order to cross to the other side of the river.
- Don't hesitate to visit other islands. This will enable you to collect many more resources if you have reached the maximum number of nuggets per rock in your village. * Make sure you're well equipped with all your tools before you leave.