One Small Step
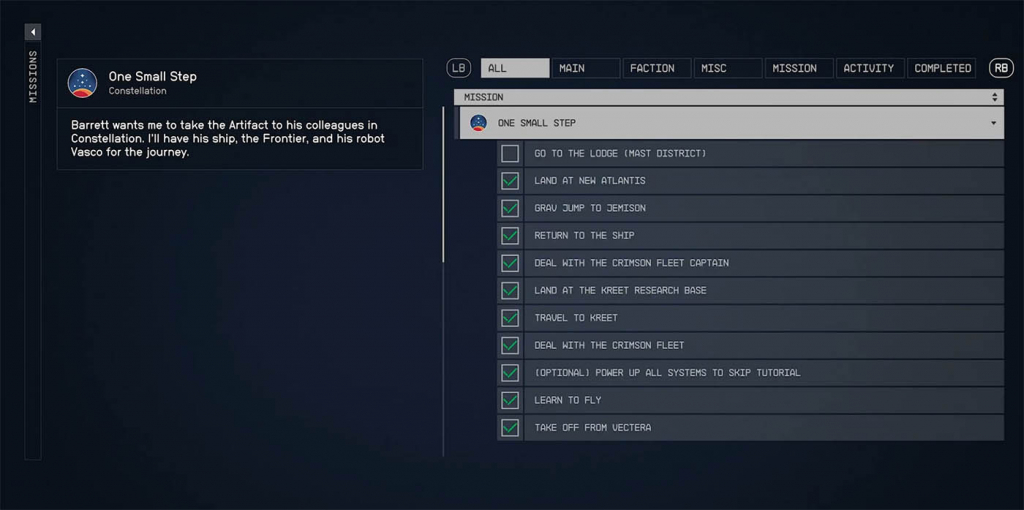
In this Main Starfield missions guide, we'll explain the complete path of the "One Small Step" mission, with all the objectives.
Location : Narion / Planet : Vectera (Moon of Anselon)
Requirement: N/A
Reward : 400XP, 8000 Credits and Constellation Pack
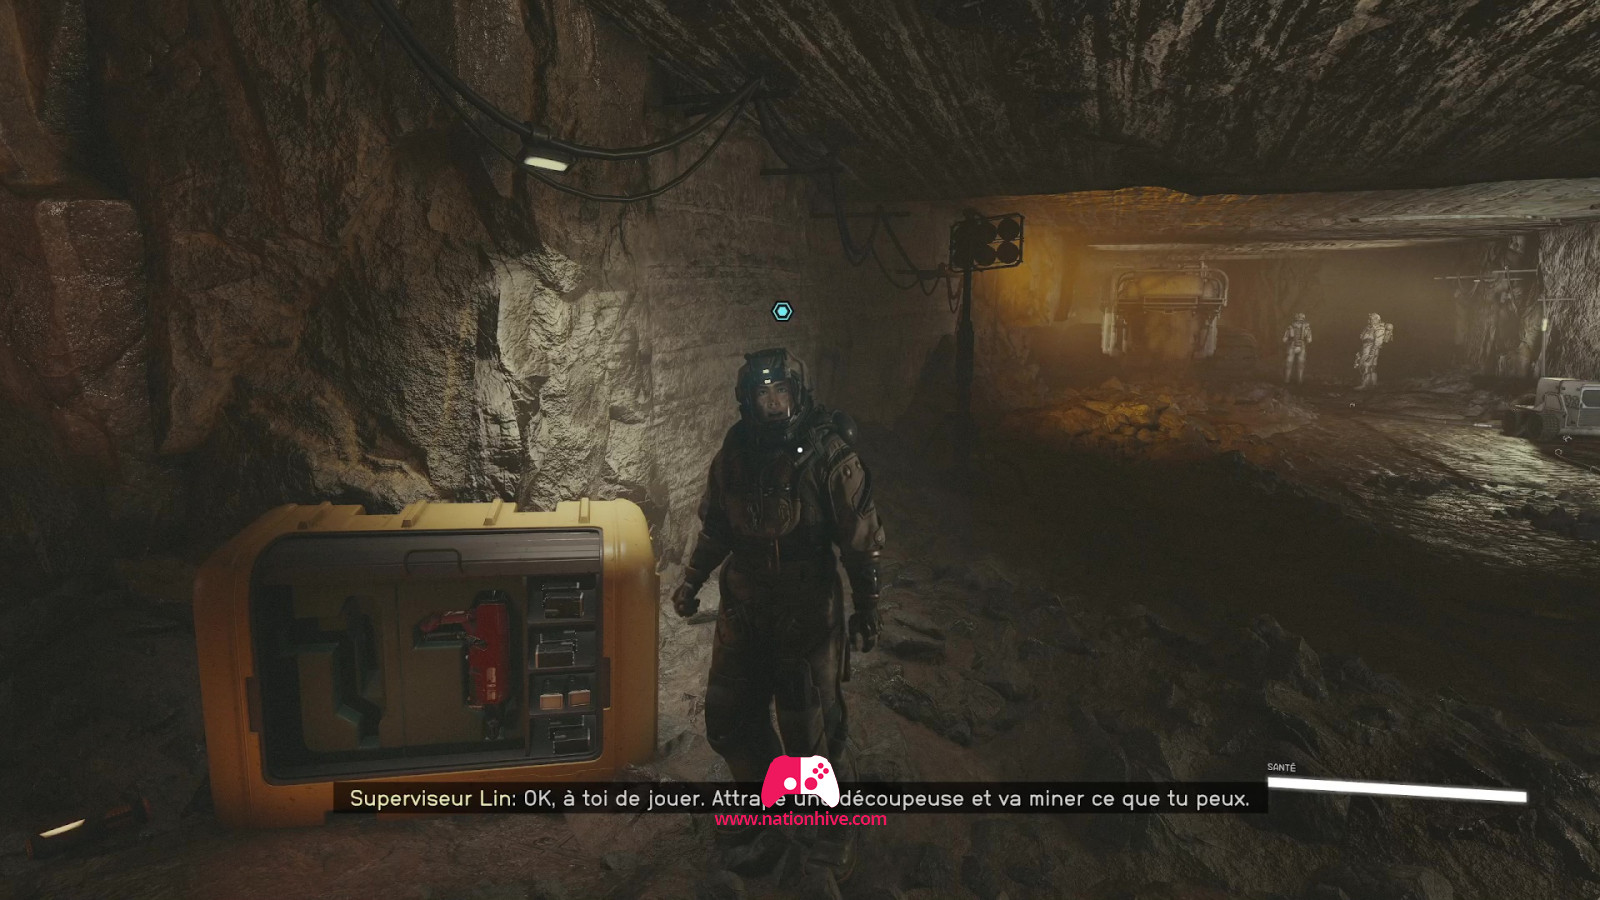
When you start Starfield, you'll step off a freight elevator for several seconds. During this scene, characters will talk to you about mining. Once the elevator reaches its destination, you'll be able to control your character to follow Supervisor Lin.
Lin will eventually stop and ask you to take the Cutter from the crate next to it. Interact with the Cutter to pick it up, hold to equip yourself directly.
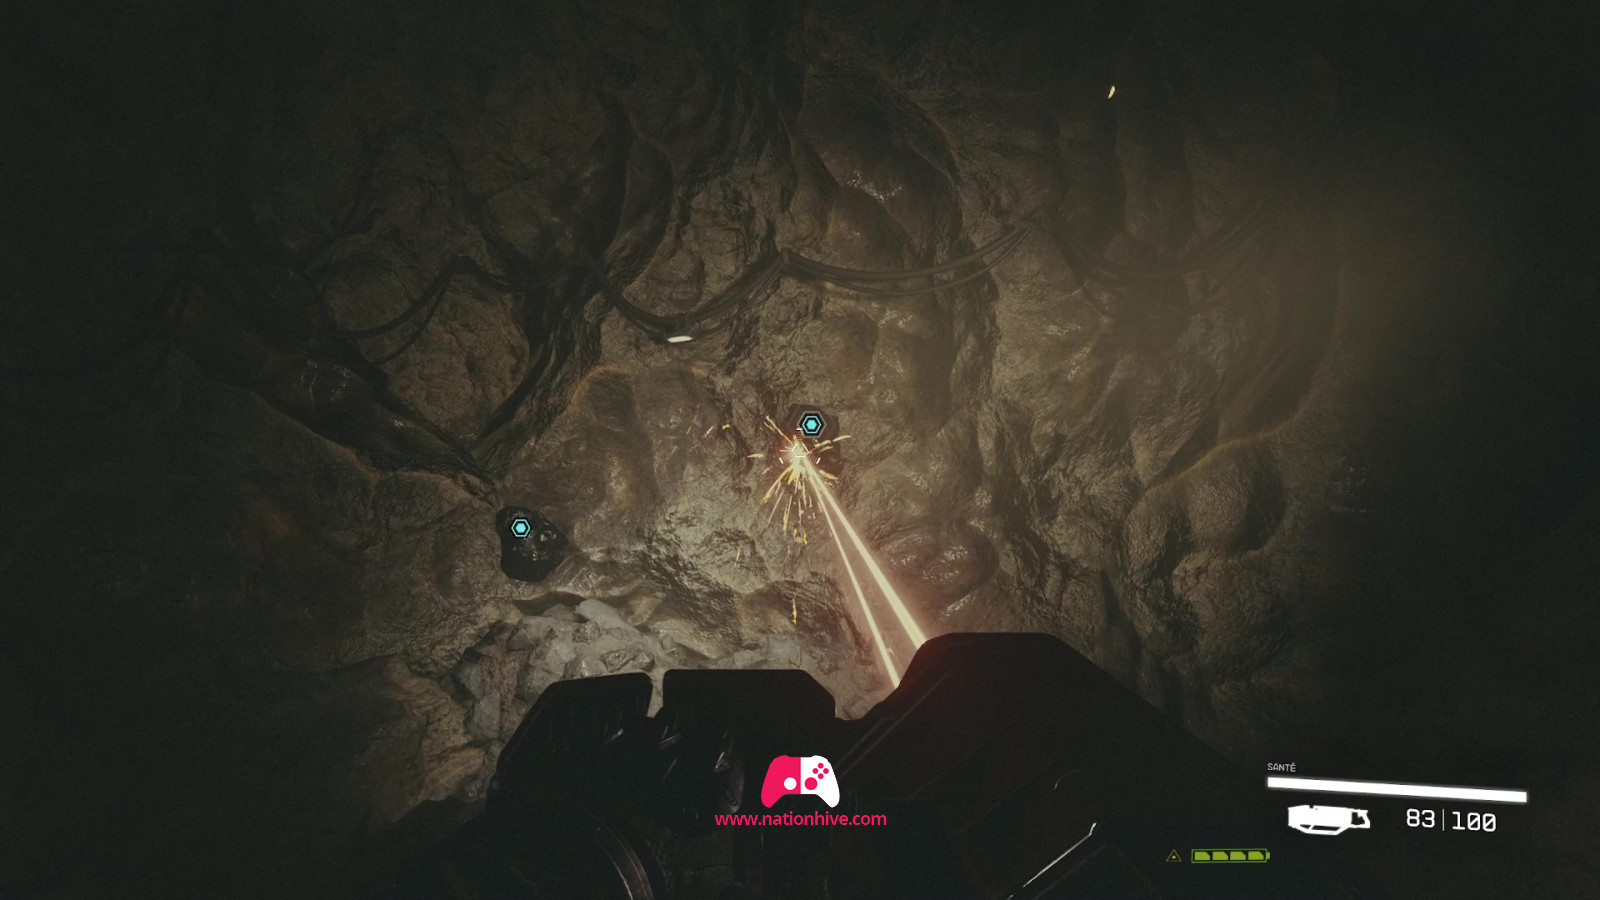
Join the next area of the tunnel and use your tool to extract the Beryllium. Once you've extracted in all five zones, return to Lin.
Continue following Lin through the tunnel to reach a large machine breaking through the wall. Follow Lin and Heller again into the next area. This one will ask you to explore the tunnel. Follow the objective as you progress along the path.
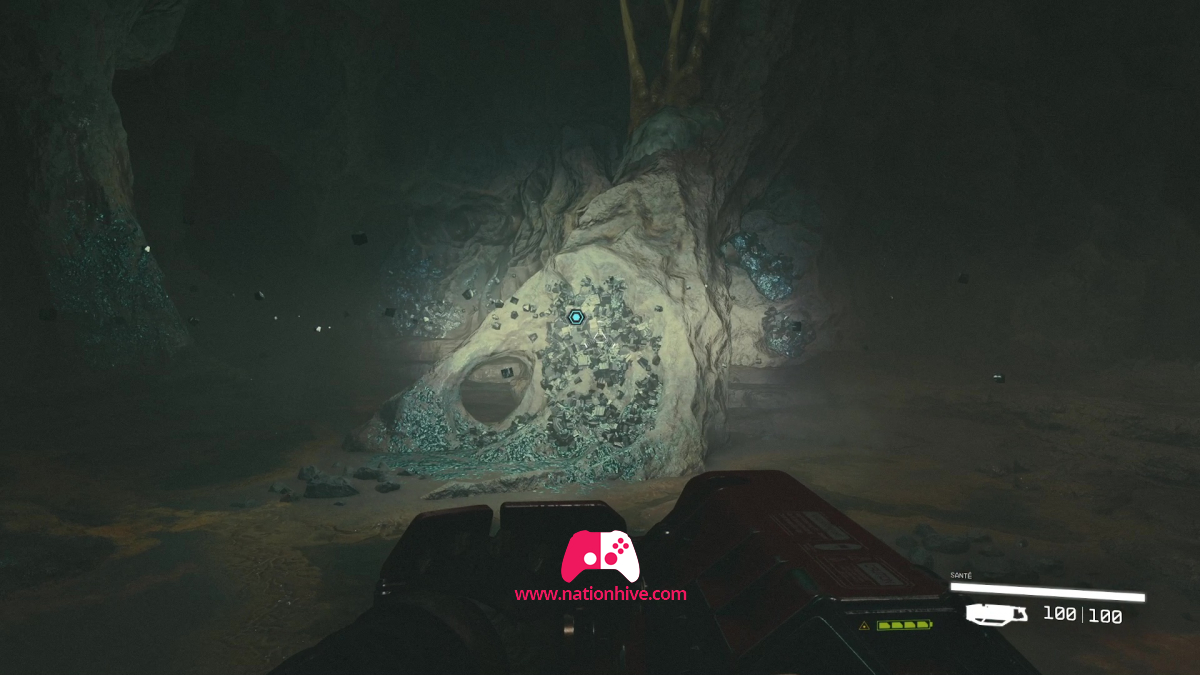
As you enter the cavern with the strange boulder in the middle, use your weapon to shoot at the deposits around the center. Once this boulder has been cleared, interact with the object stuck in the wall to start a scene.
When you wake up, you'll have the chance to create your character. This step only affects your appearance and has no bearing on the rest of the adventure. The background determines your 3 starting skills; all other skills can be acquired with skill points later in the adventure.
Once you've chosen your character, you'll be faced with your first dialogue choices. In Starfield, dialogues don't usually have a major impact on the story. In this case, the top two options allow you to continue the story, while the bottom one gives you additional information.
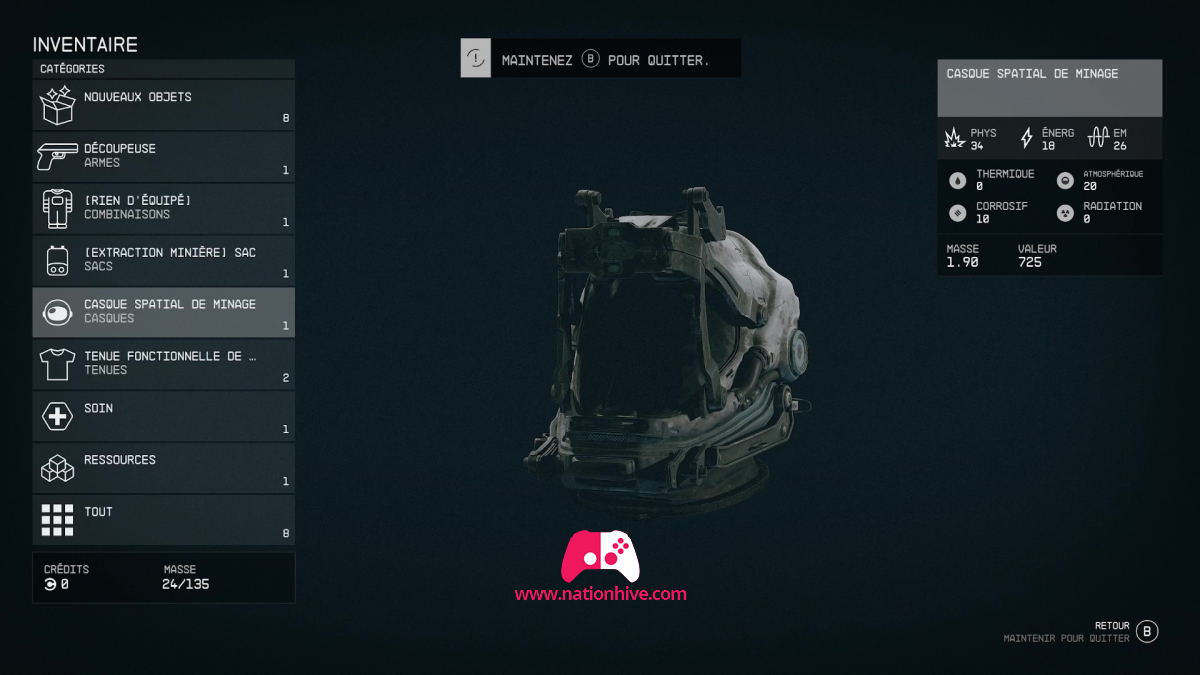
After your conversation, continue to follow Lin. Before exiting, you need to equip your helmet. Then go to your inventory and select the Deep Mining Space Helmet to equip it.
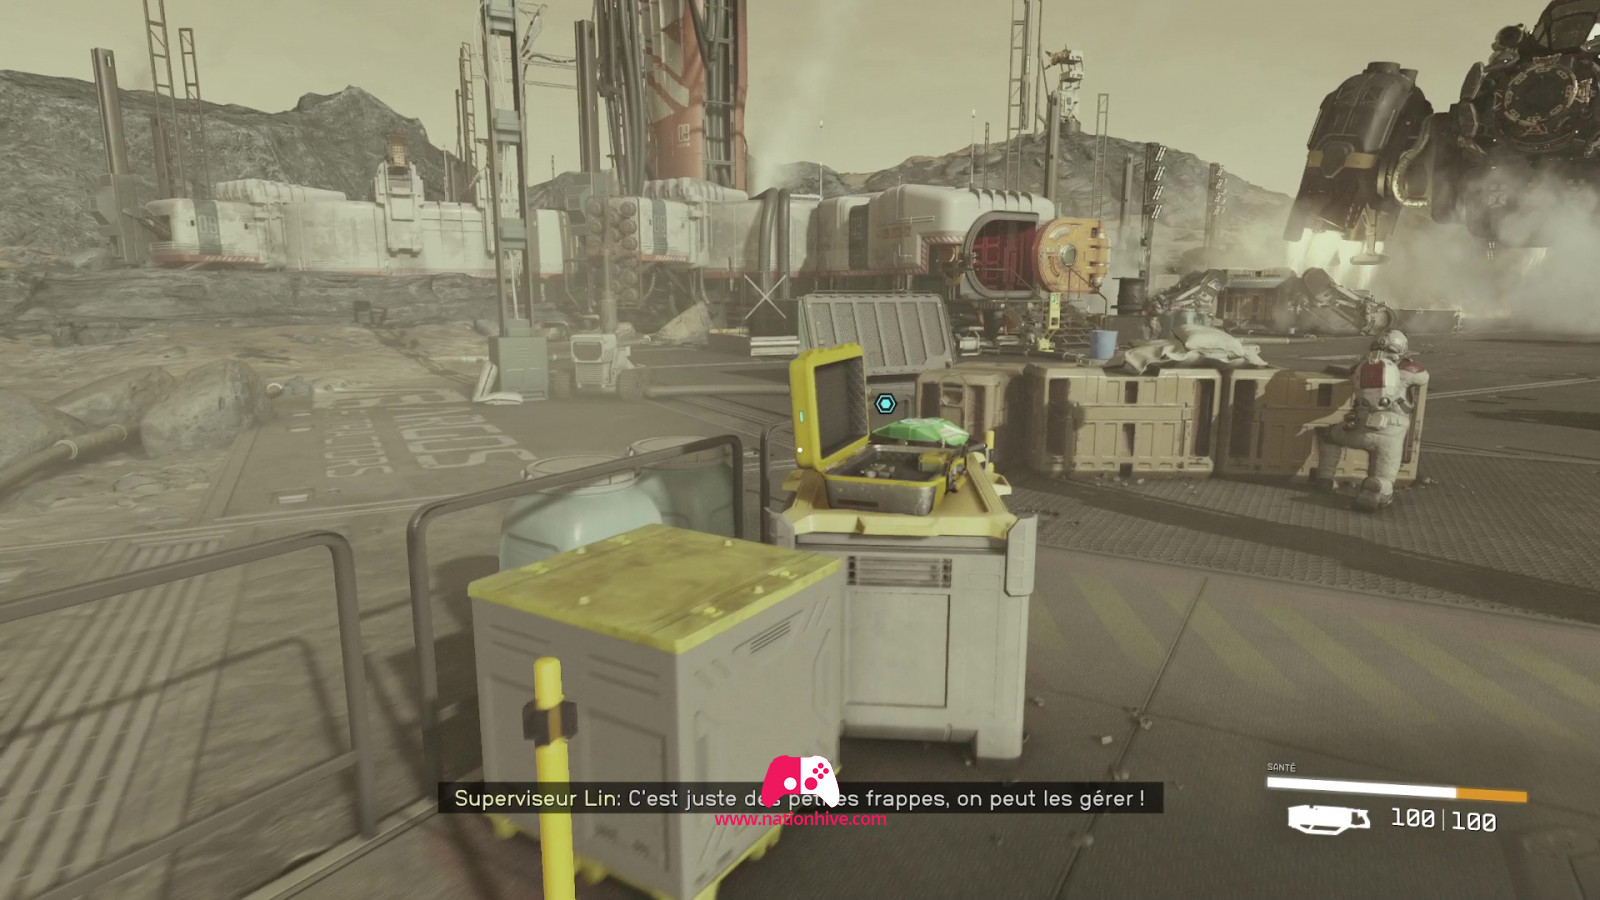
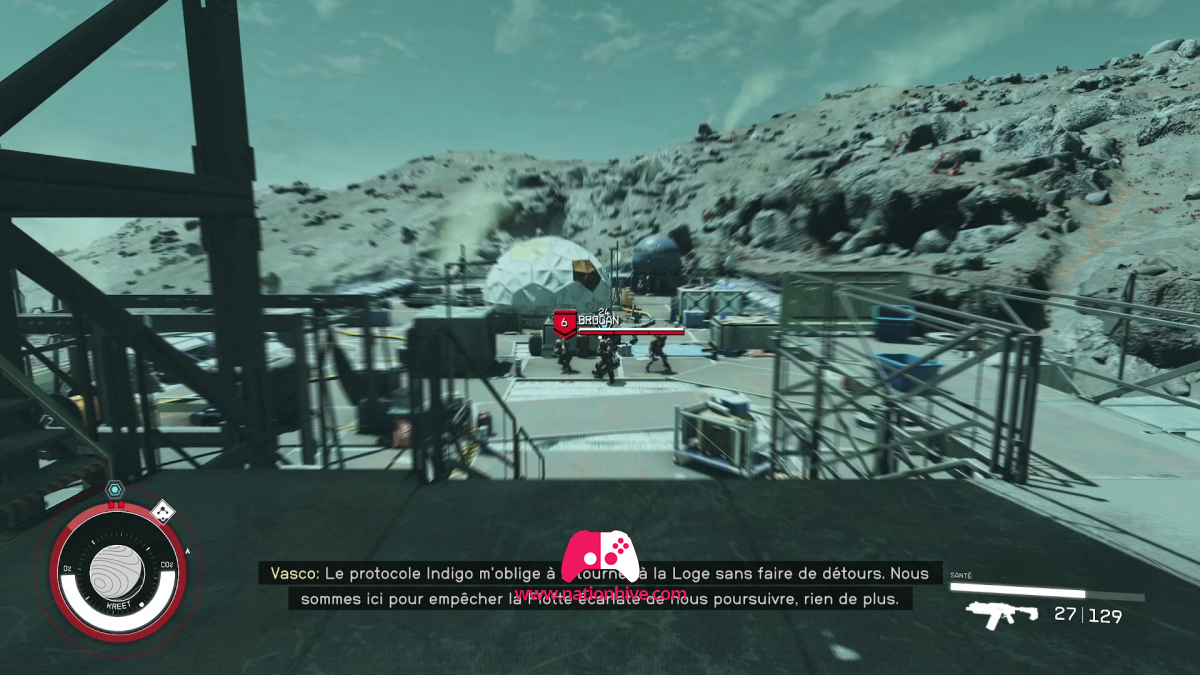
Keep following Lin to the ship and wait for Barrett to come out to talk to Lin and you. During the dialogues with Barrett, another ship will arrive and be filled with pirates that you'll need to eliminate.
You can shoot them with the Cutter, but you'll find a pistol and ammo in the box indicated. Go to the inventory to equip yourself and get rid of the enemies.
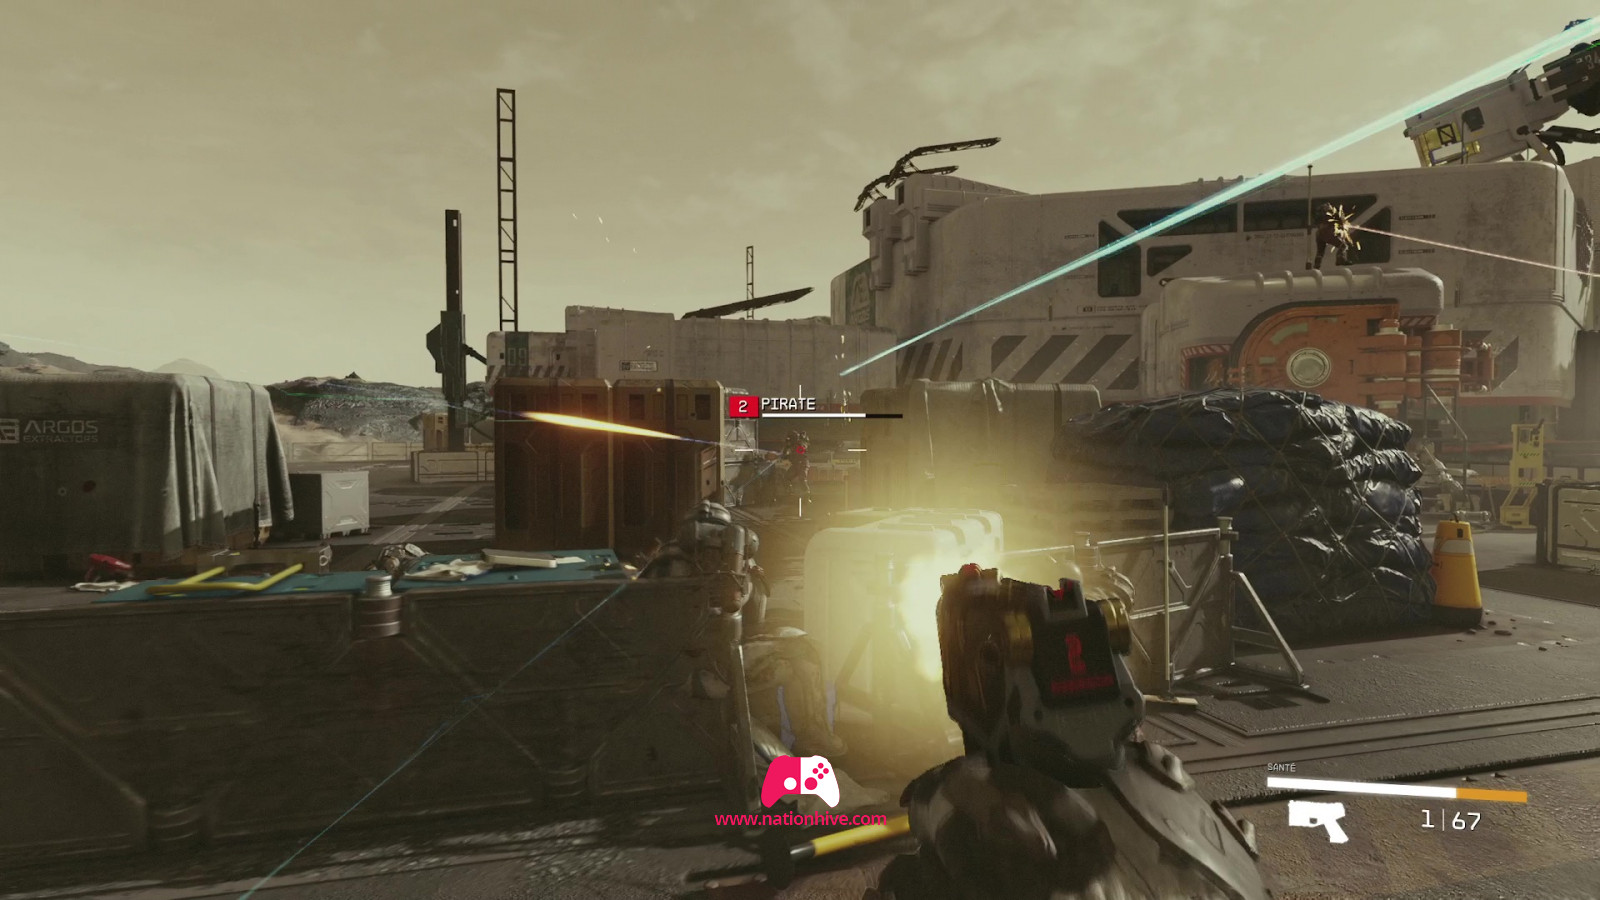
After eliminating the pirates, you can scavenge their corpses for new weapons. Return to talk to Barrett to receive a watch. You can also get more information in the other dialog choices.
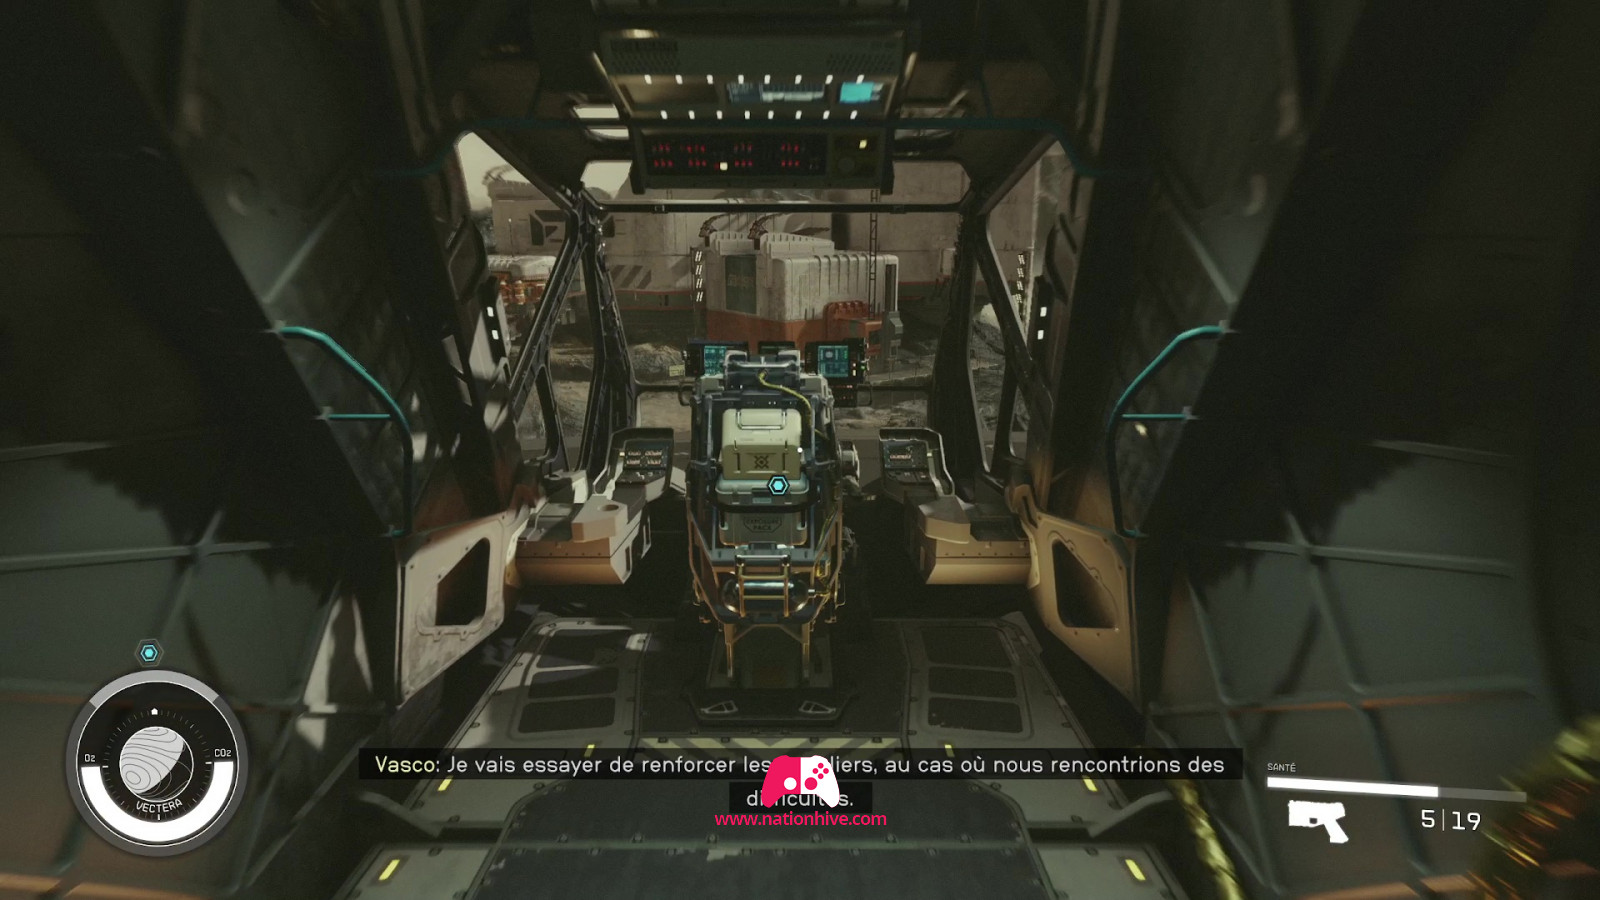
Then follow Vasco to the ship and interact with the ladder in the hold to enter the interior.
Sit in the front pilot's seat, then take off for space. Once in space, you'll receive a short tutorial on how to operate the ship's flight and power systems.
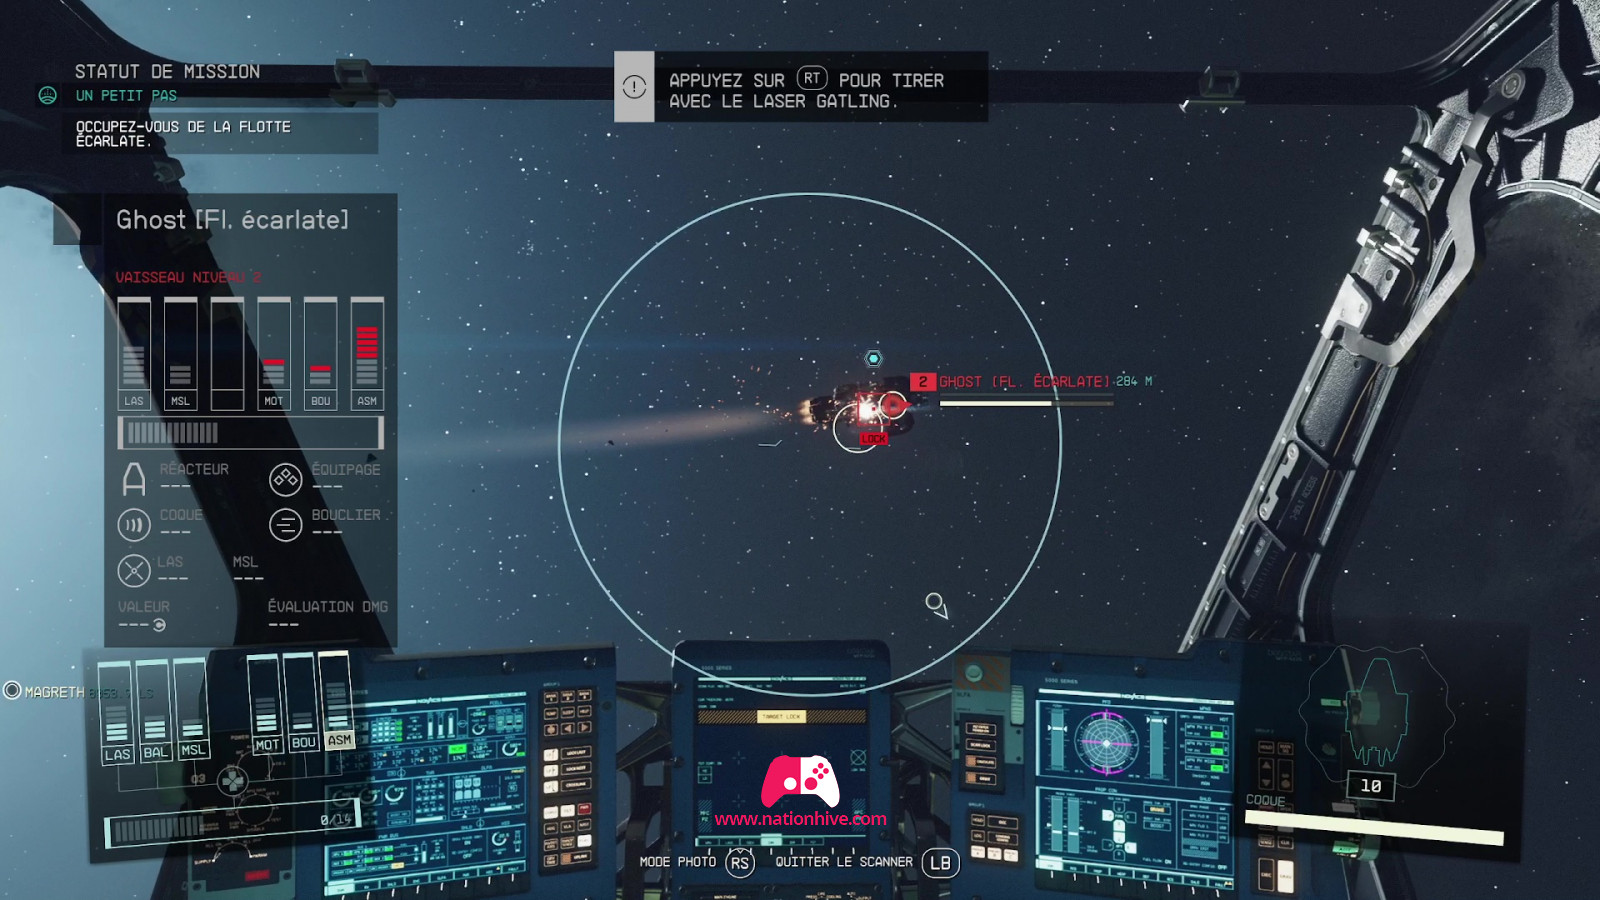
After the tutorial, a ship will enter warp and attack you. You'll then be introduced to the basics of space combat. When a ship is destroyed, you'll have the chance to search the wreckage. Two more ships arrive next. Destroy them to complete this Starfield ship combat tutorial.
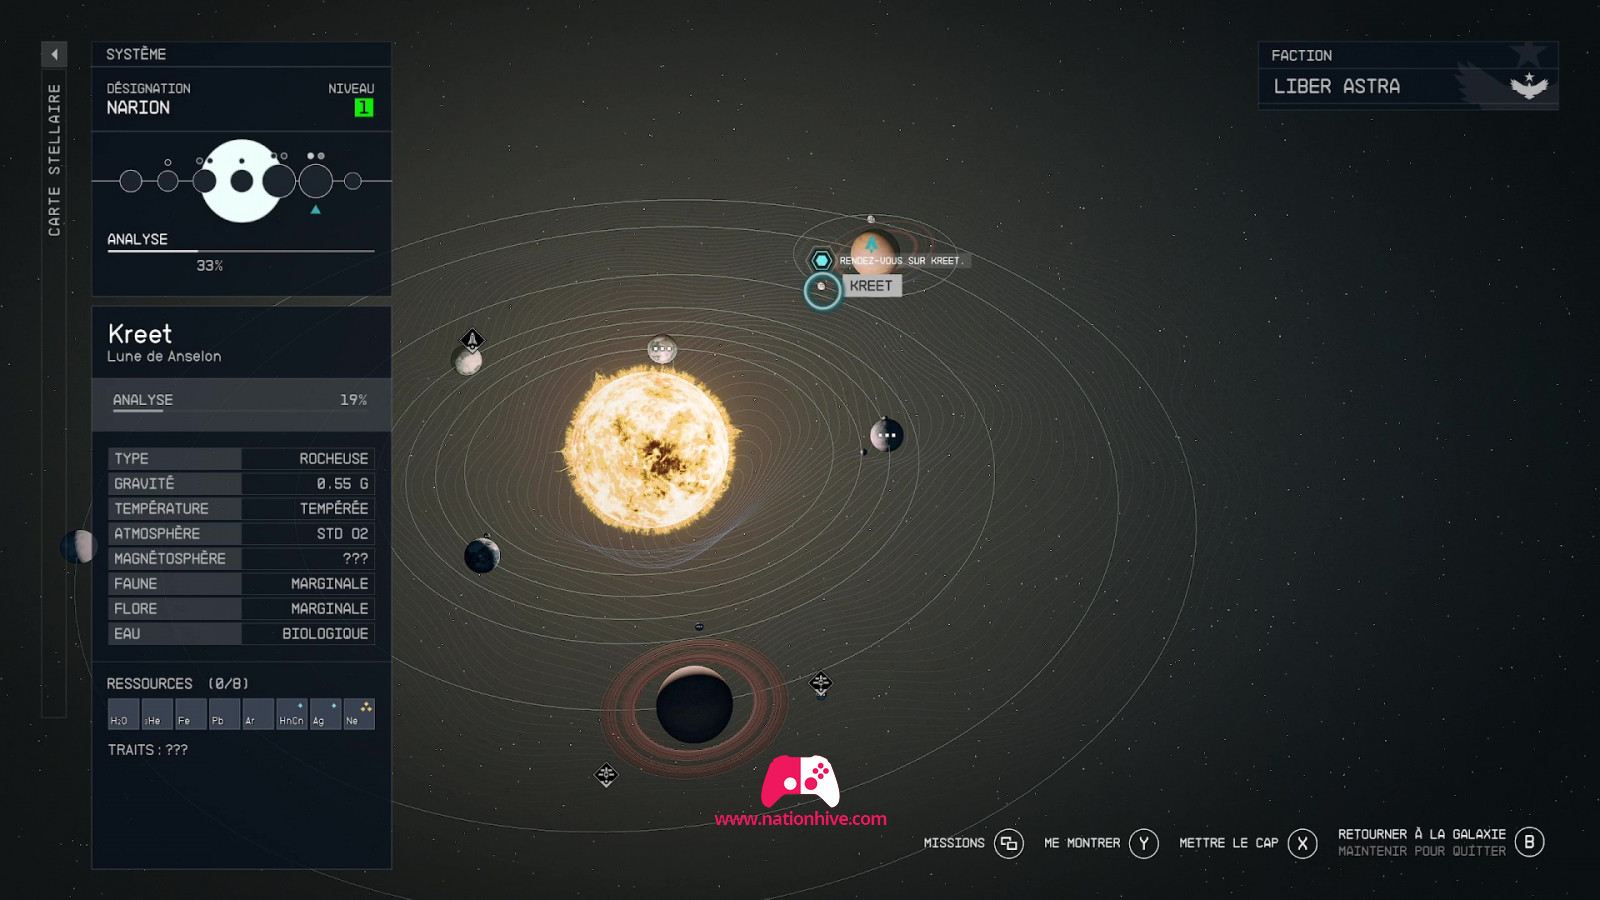
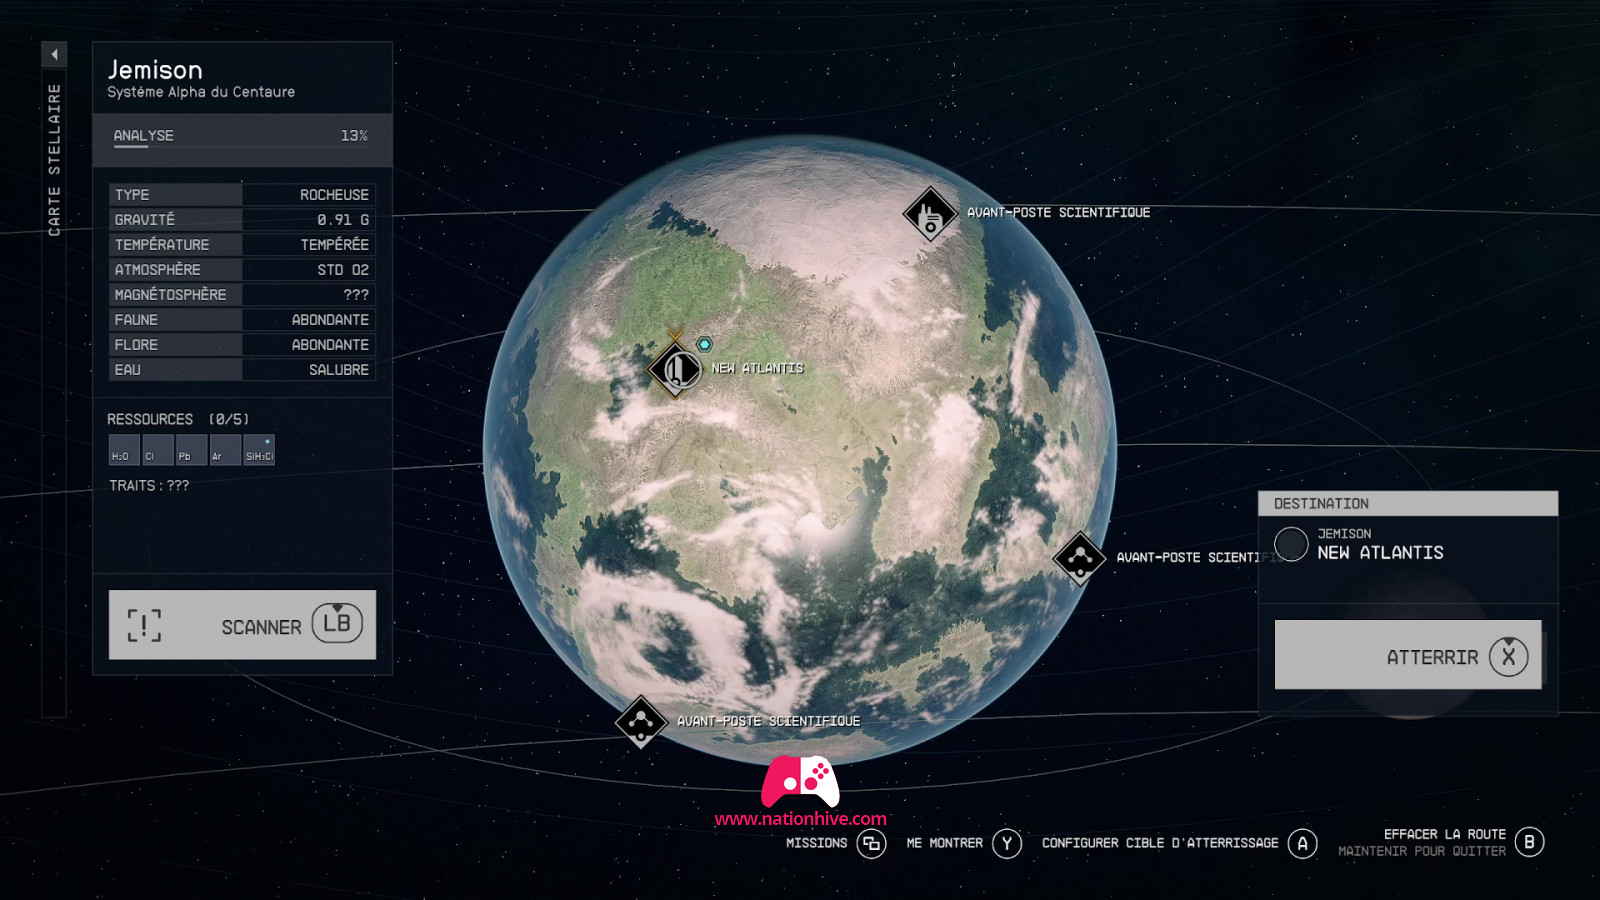
Now open the Starmap and select Kreet's moon. Press X to speed up the journey.
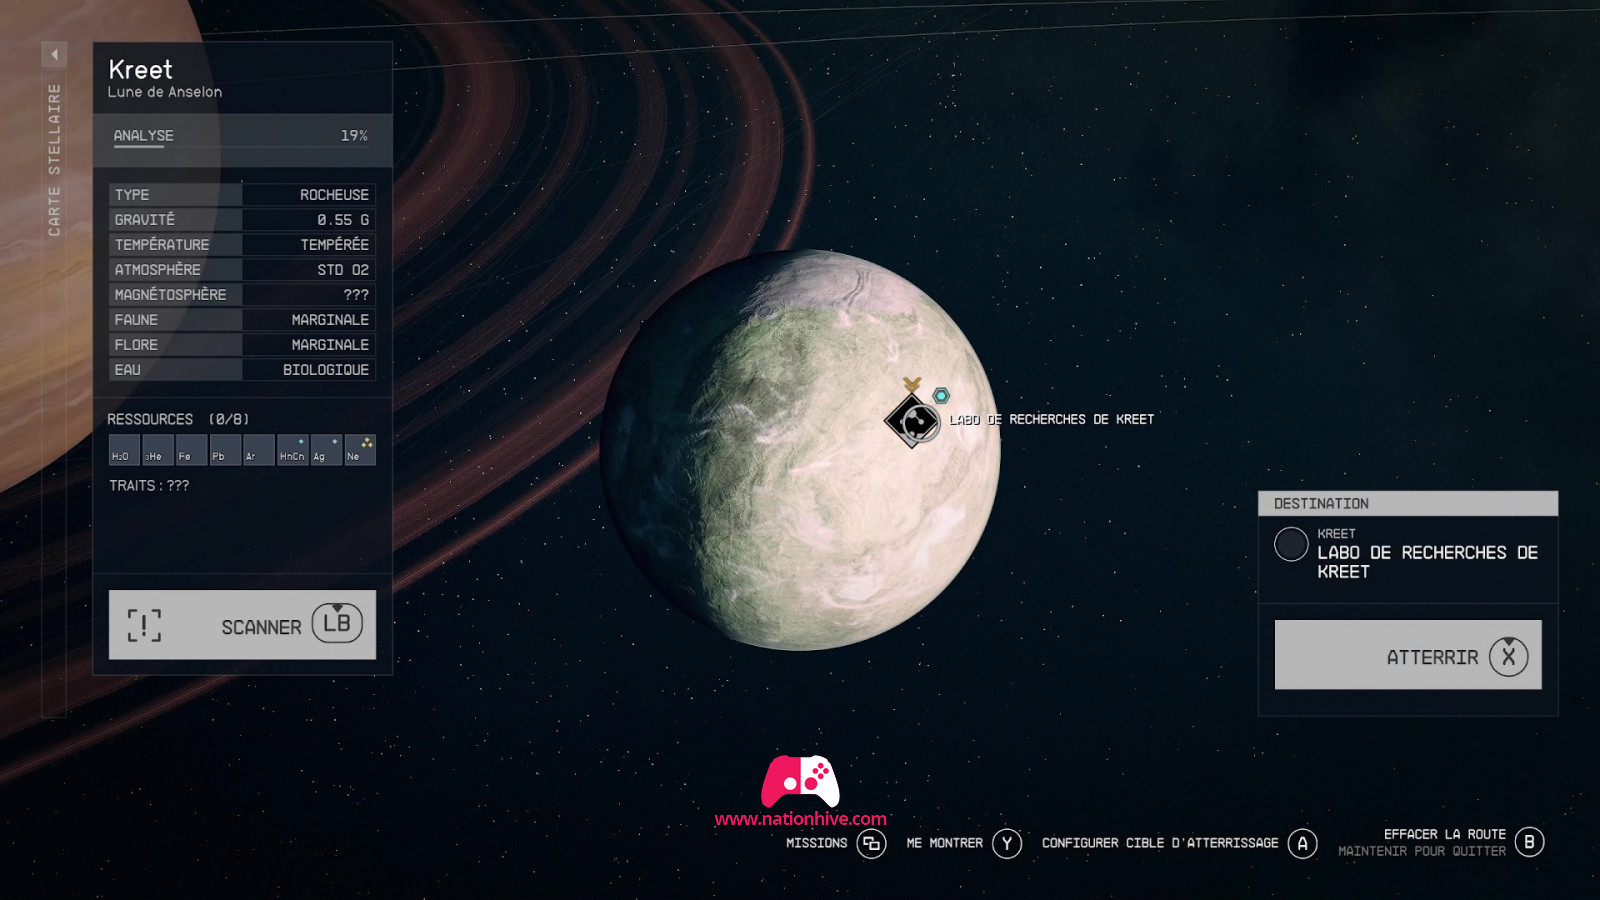
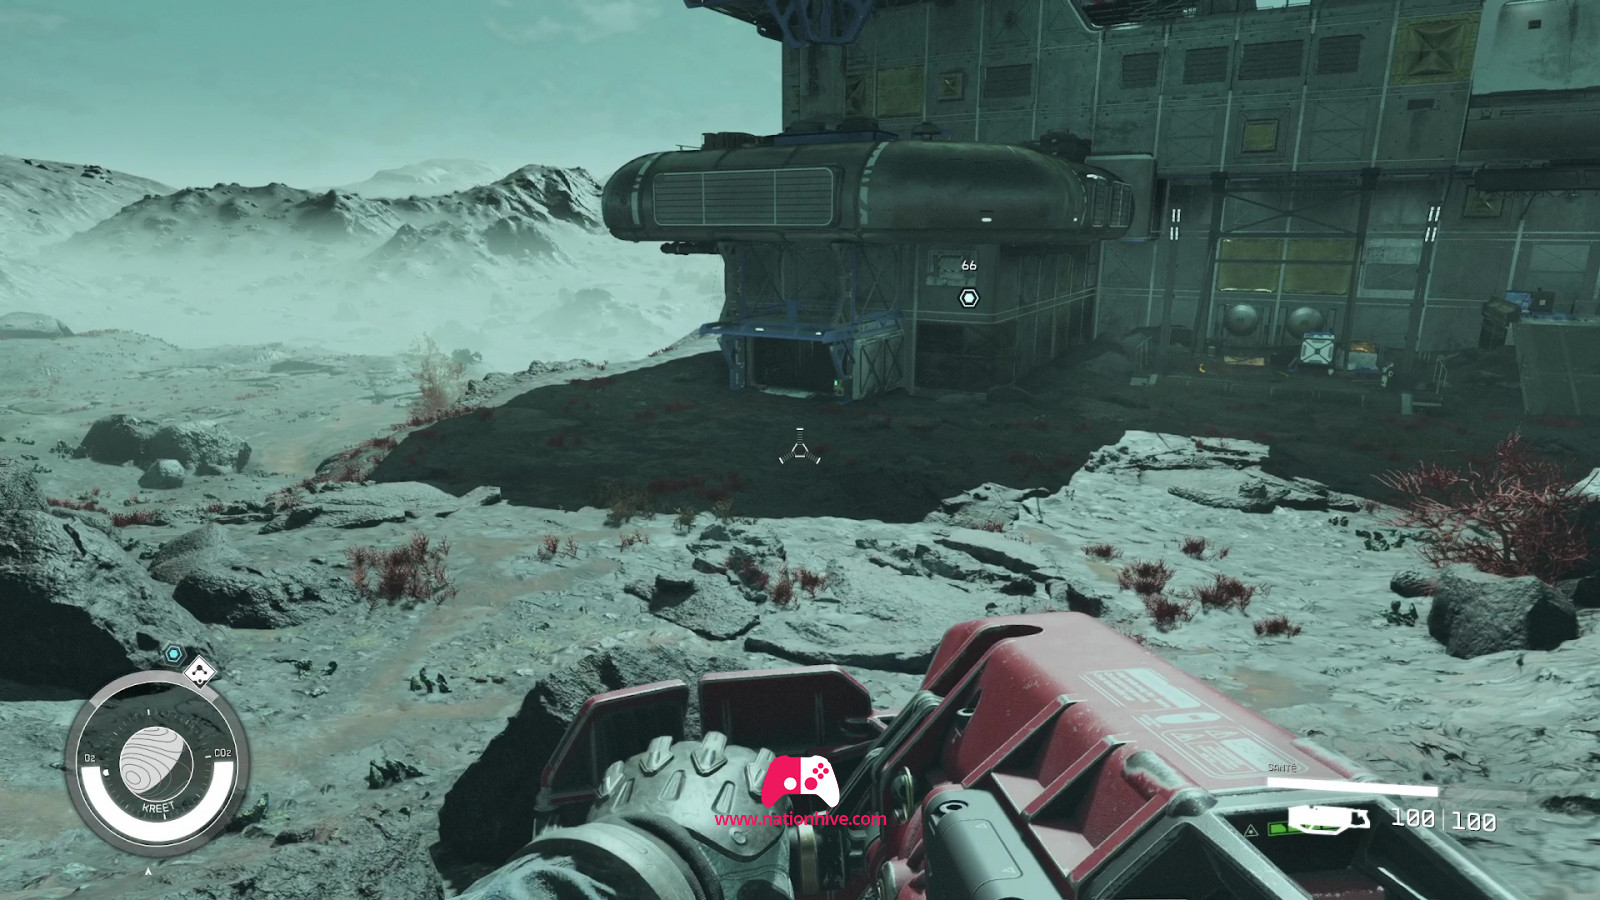
From outside the planet, open the Starmap again and interact with the planet. Then select the location of the Kreet Research Lab to land.
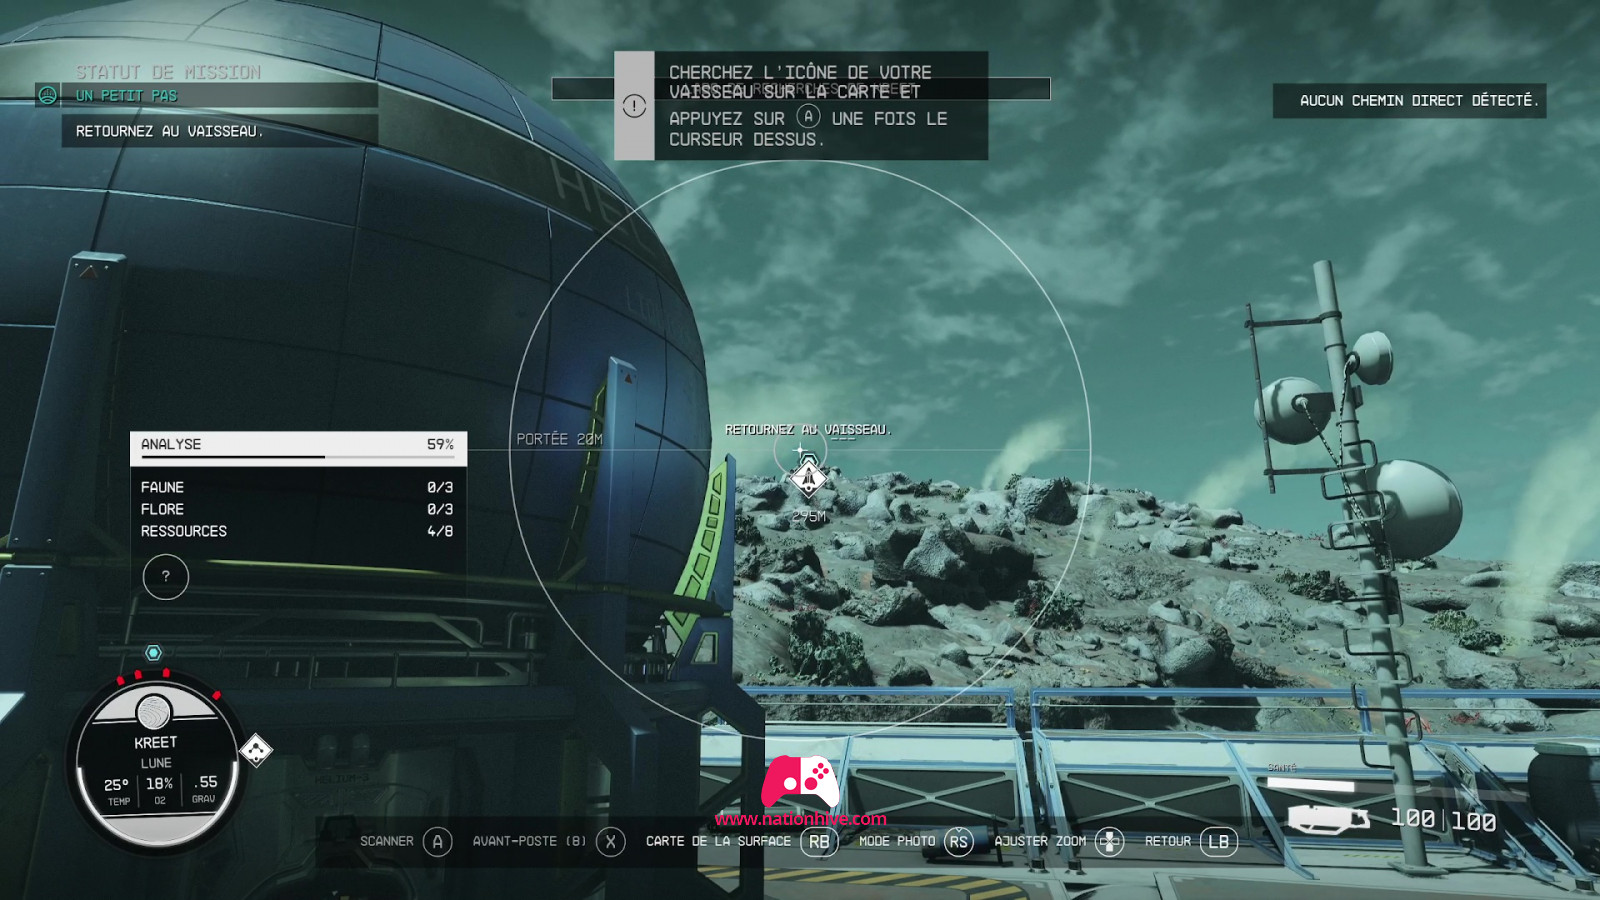
You'll need to get to the research base, following the objective to get there. Along the way, you'll need to use the scanner to scan the planet's flora, fauna and resources. When the scanner is activated, use the shot to automatically operate the Cutter.
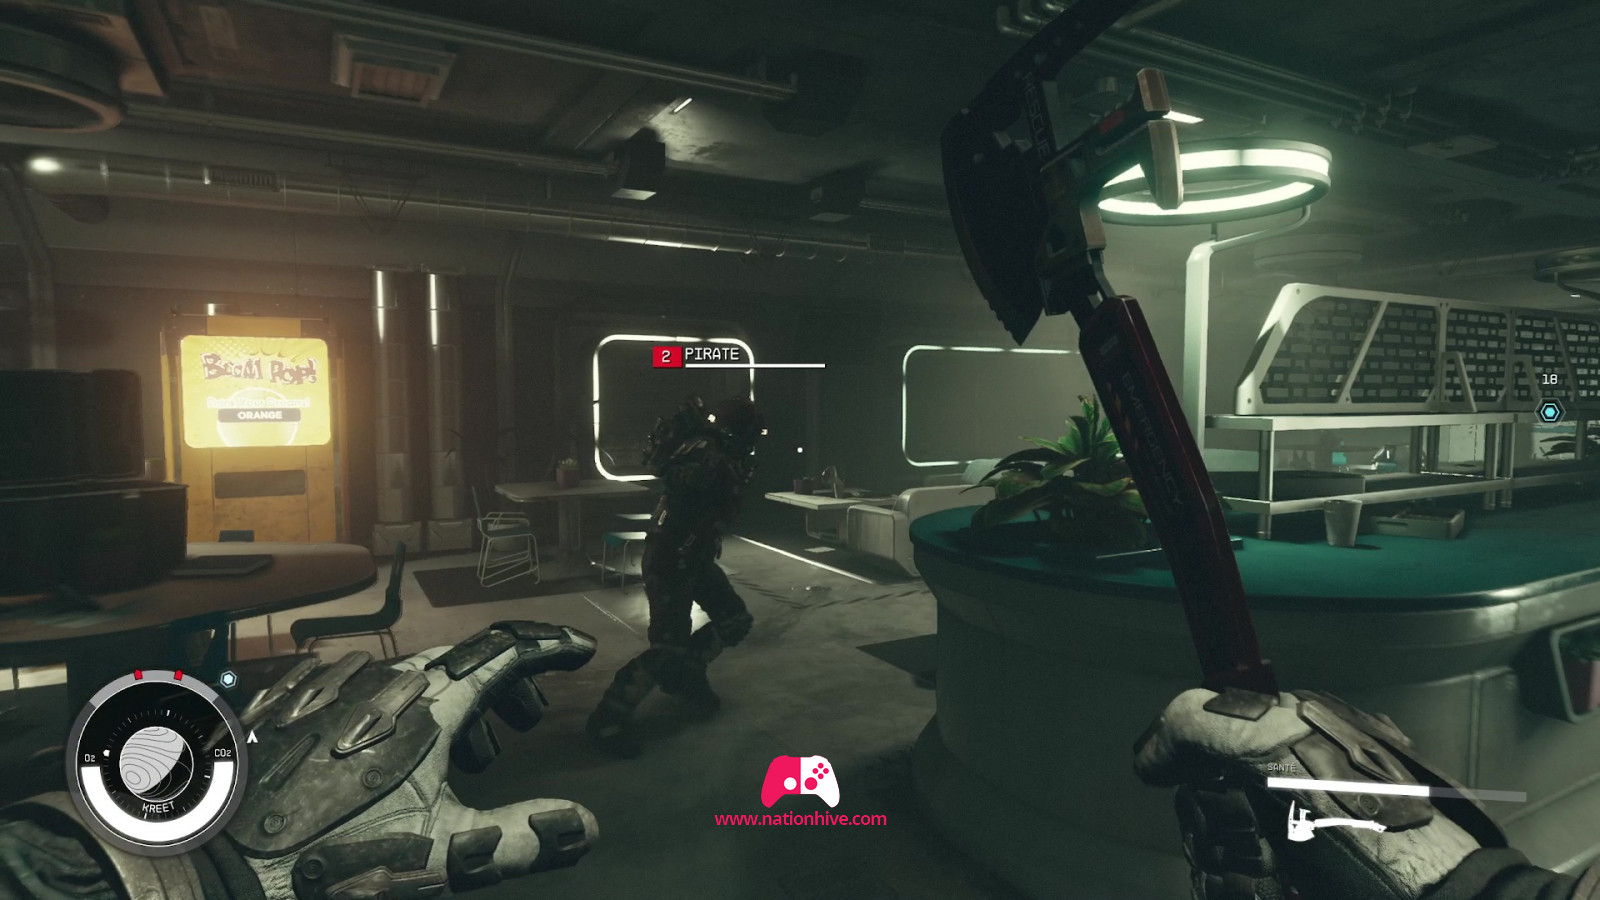
Follow the objective to enter the base. Inside, follow the path by eliminating enemies. Remember to search the bodies for weapons and credits. Apart from a few basic weapons, there's nothing important to be found in this area. To find your way back, you can activate your scanner, which will display a line of arrows on the floor to guide you to your objective.
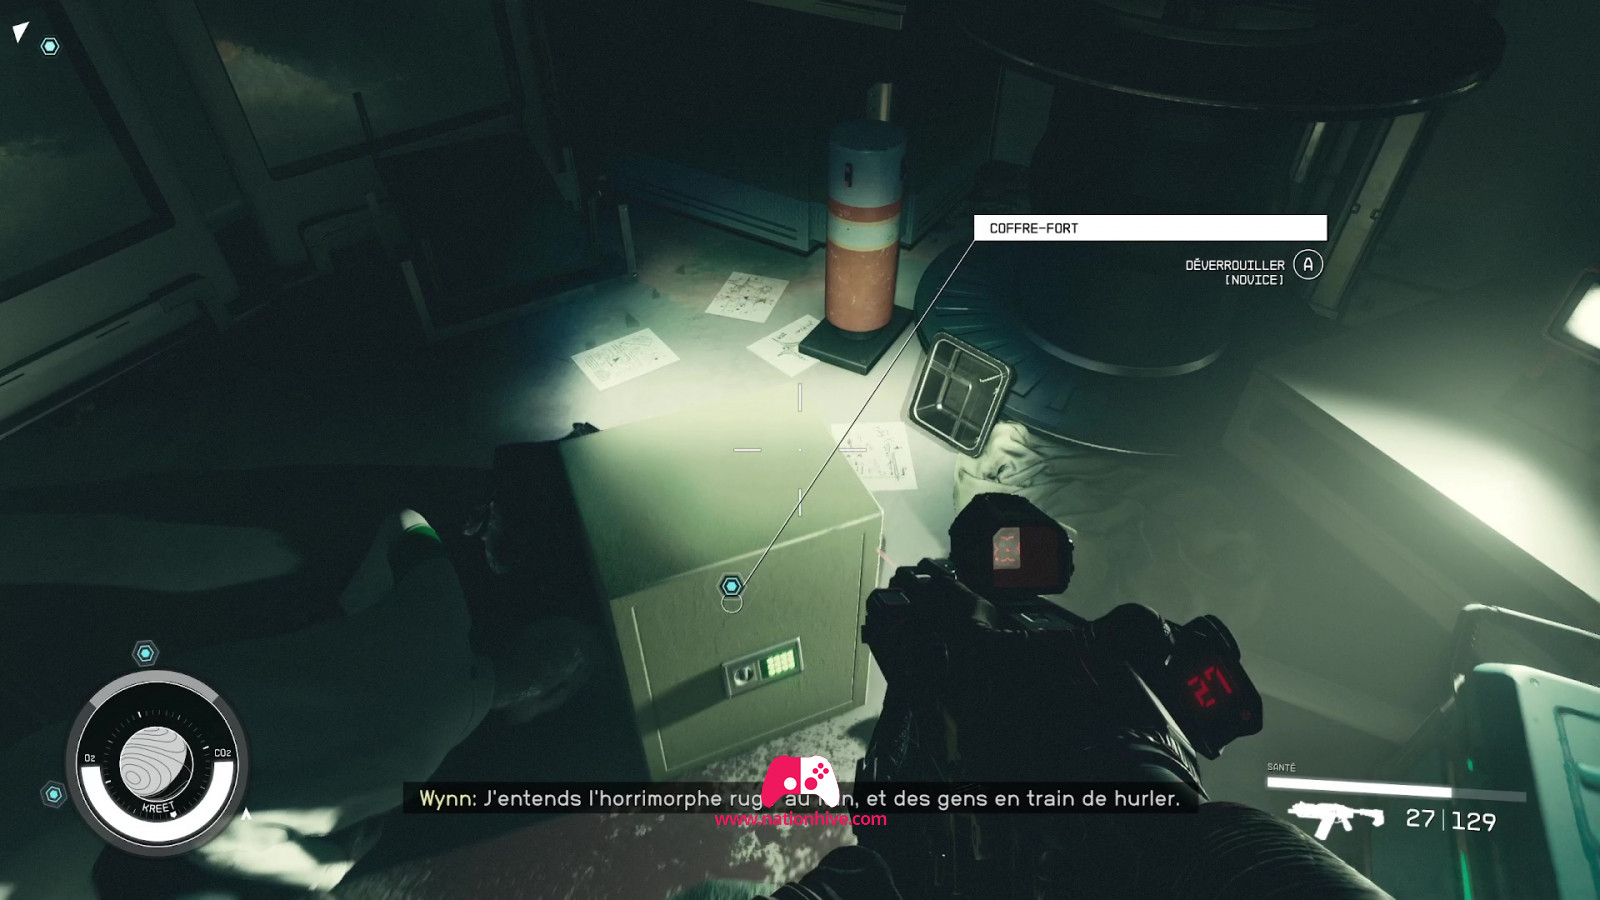
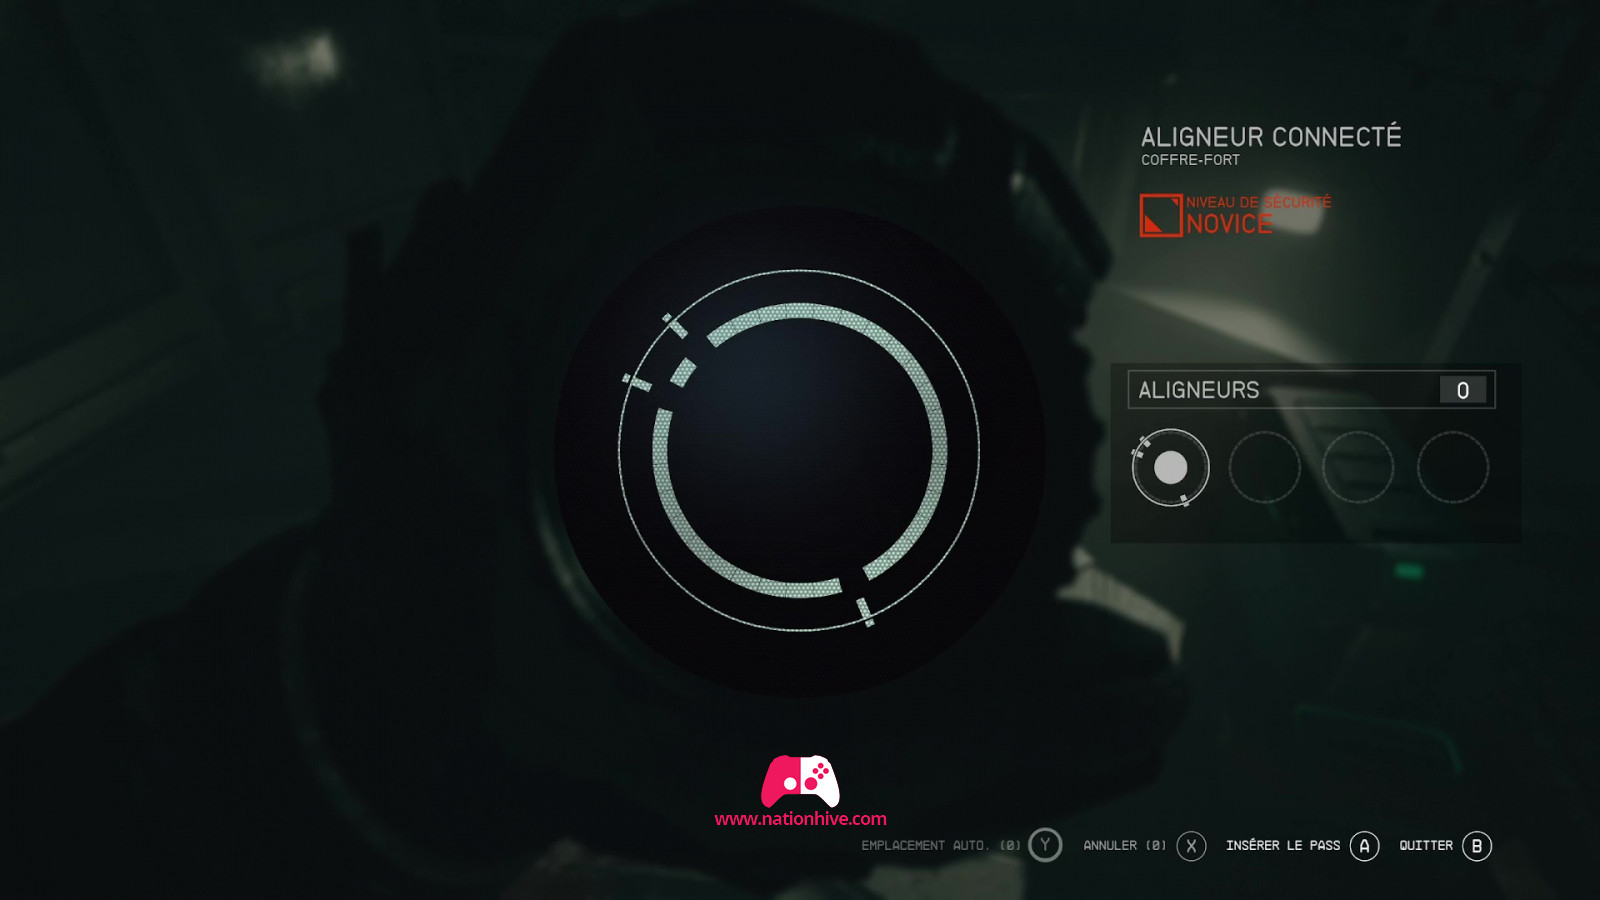
Once you've reached the end of the zone, go and pick up the Digipicks next to the chest on the ground and unlock it. To unlock it, you need to match one of the available right shapes to the holes on the left. Do this several times to open the safe.
Use the ladder to climb to the roof. You'll be attacked by enemies, including the captain. If you don't eliminate them directly, the captain will talk to you and you'll get your first chance to attempt a Persuasion, which will save you a fight if successful. If not, they'll attack you and you'll have to take them out for good. Another group of enemies will then arrive on board a ship. Strong enemies have segmented health bars, which means you need to inflict several times the normal health bar value to kill them.
You can now explore the moon if you wish, or return to your ship to continue the story. To reach your ship, press LB and target the ship icon to make a quick trip. Once in the ship, you'll be able to make gravitational jumps to other areas. Set off for the Alpha Centauri system and open the Starmap to land on New Atlantis.
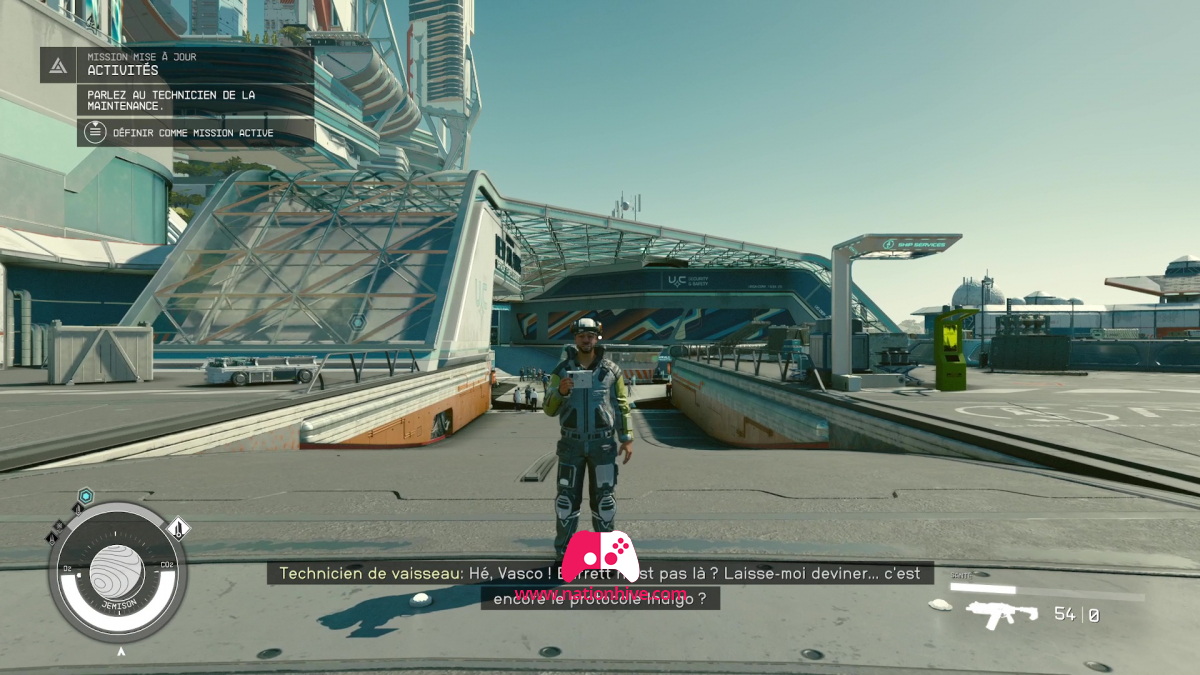
After landing, exit the ship and proceed towards the objective. You can talk to the ship's service technician on the way, who will be able to upgrade your ship. Then head for the indicated transport shuttle and select the MAST District to get there;
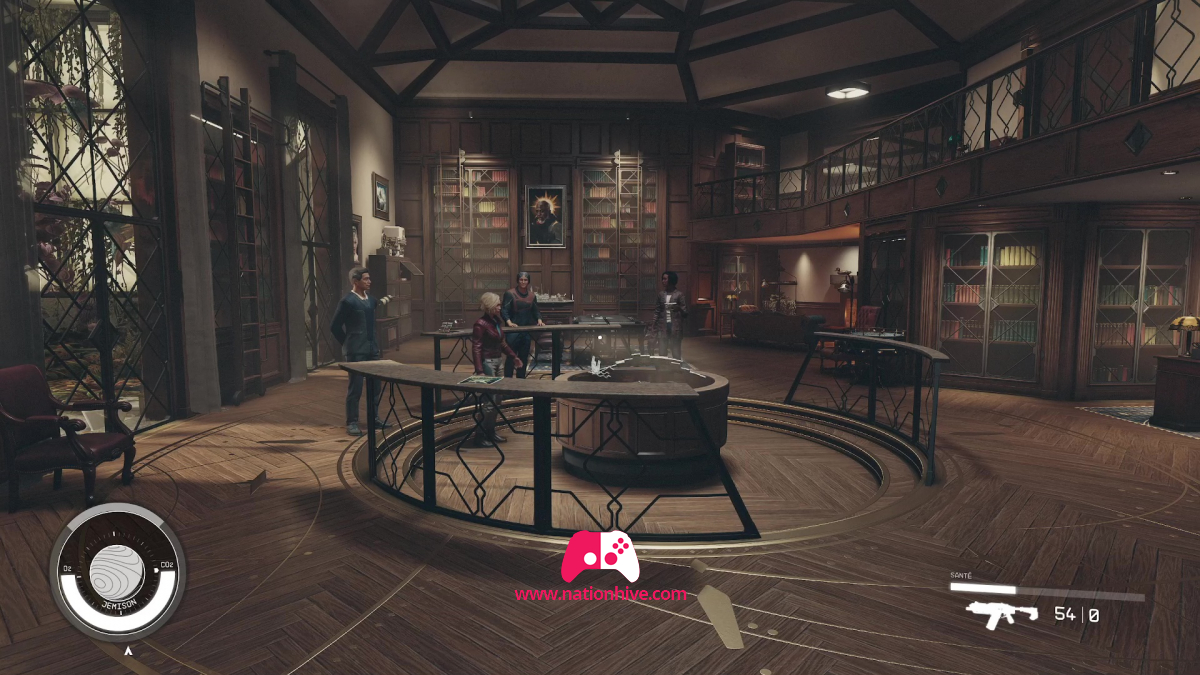
Arriving in front of the Lodge, interact with the front door to enter. Go through the doors to enter the library. Sarah will come and talk to you, select the dialogue you wish. Afterwards, everyone will gather in the center of the room. When invited, interact with the pedestal in the center to bring the artifact into your possession.
Once placed, watch the scene and then talk to Sarah again to complete this Starfield mission.