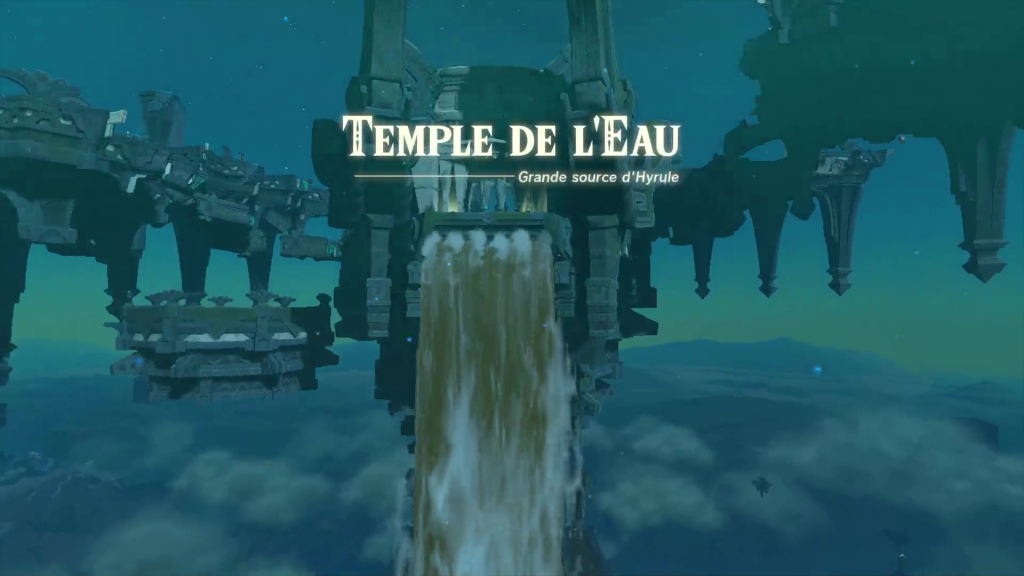
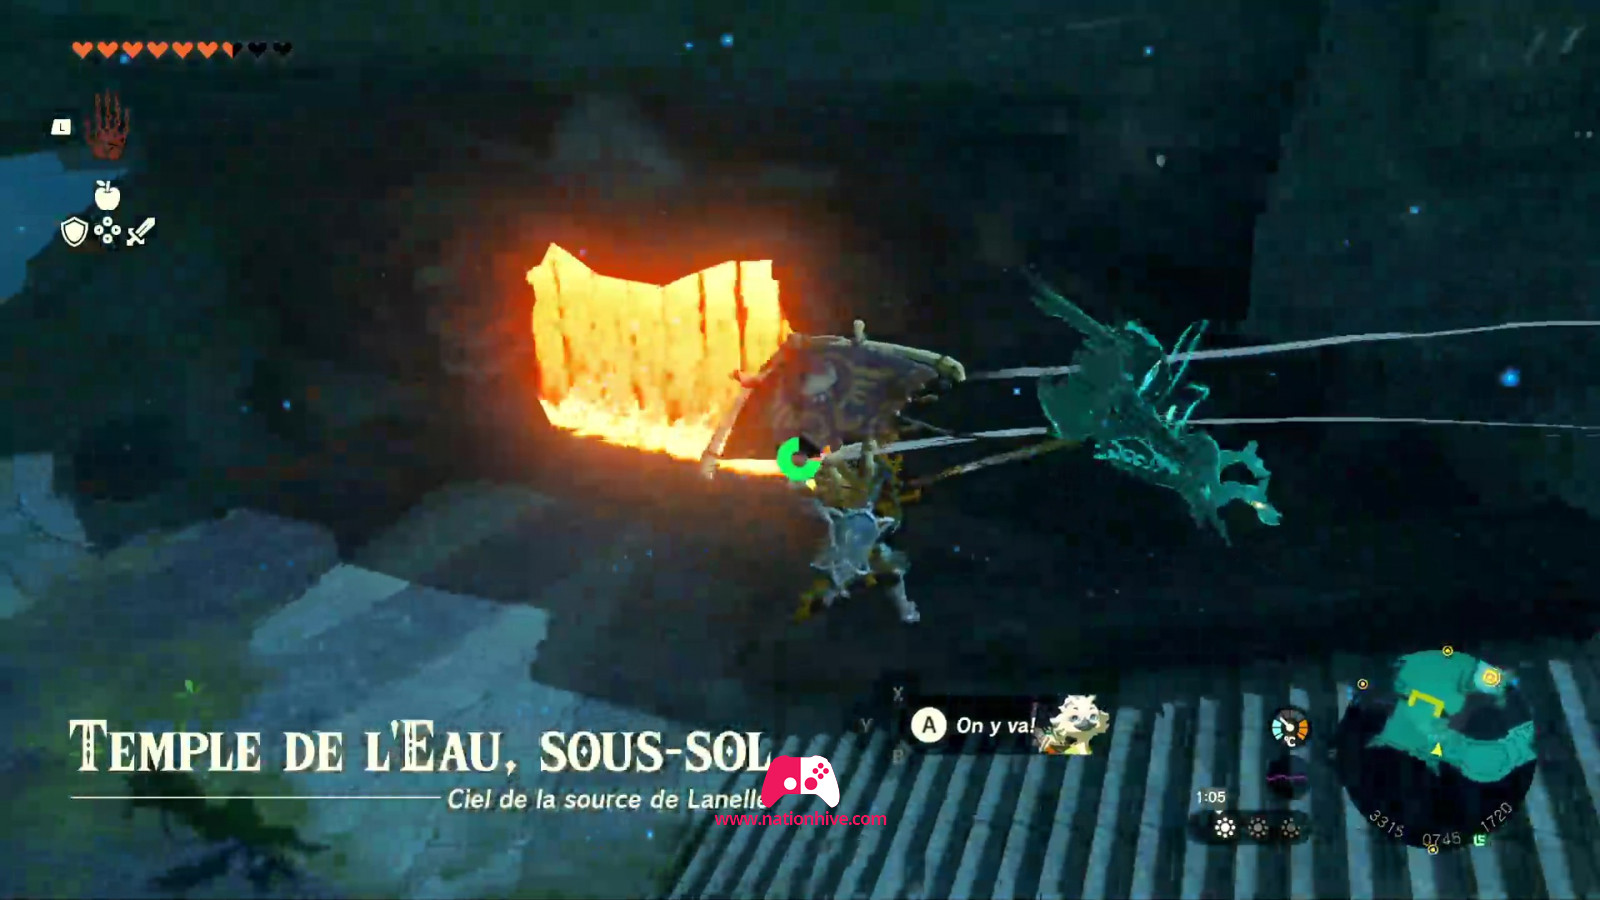
The Water Temple
In this walkthrough for The Legend of Zelda: Tears of the Kingdom, we'll give you the complete tutorial for the main quest: The Water Temple.
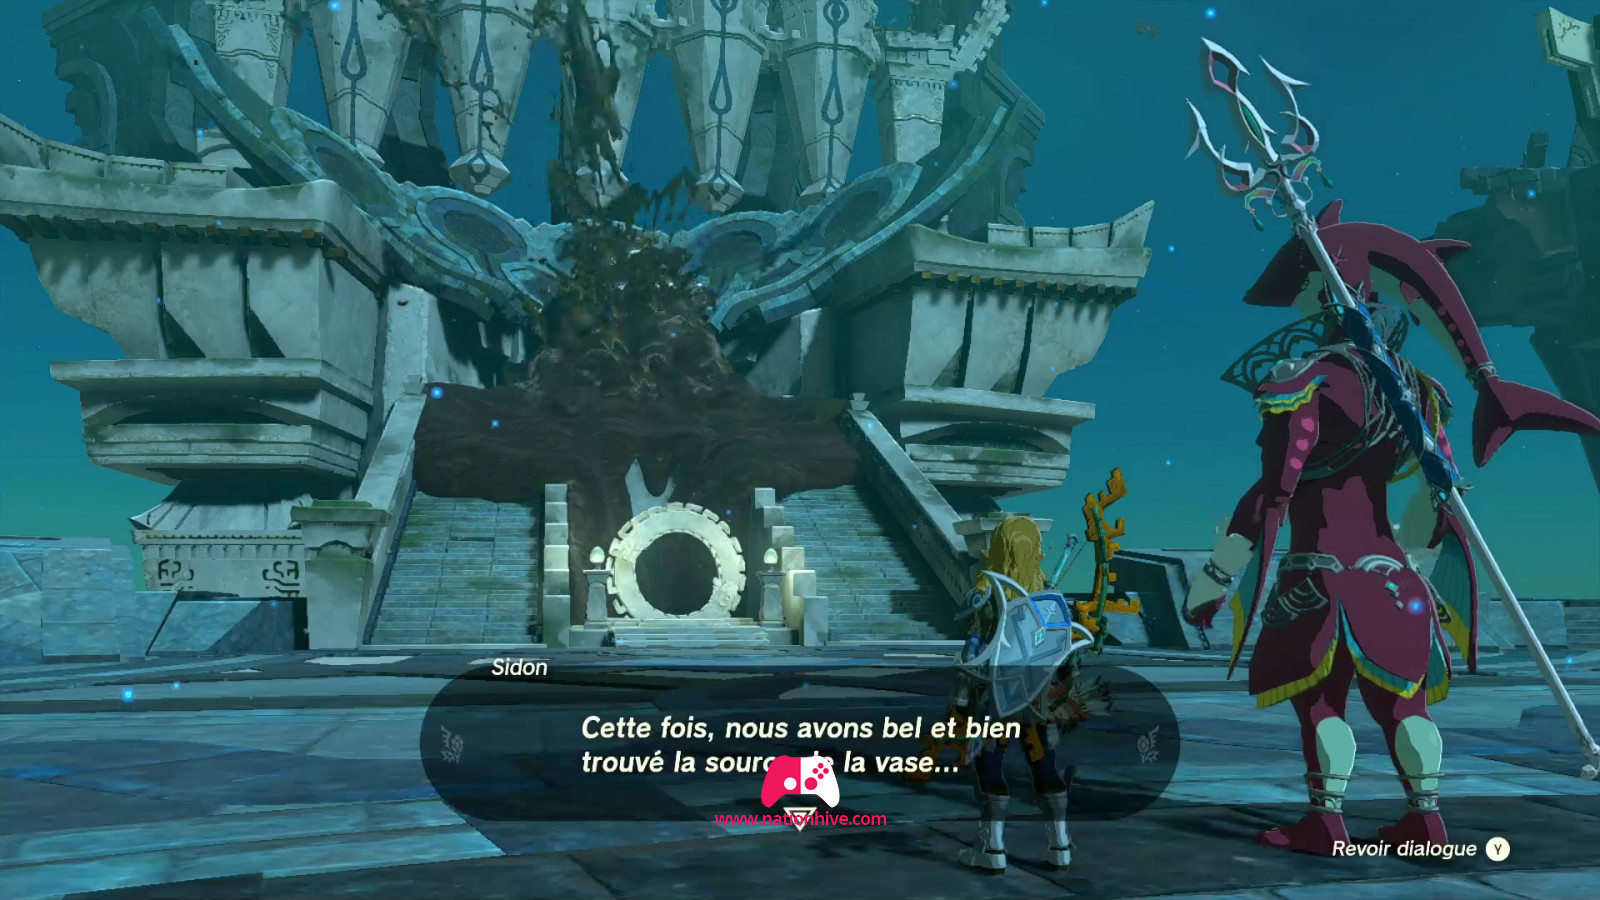
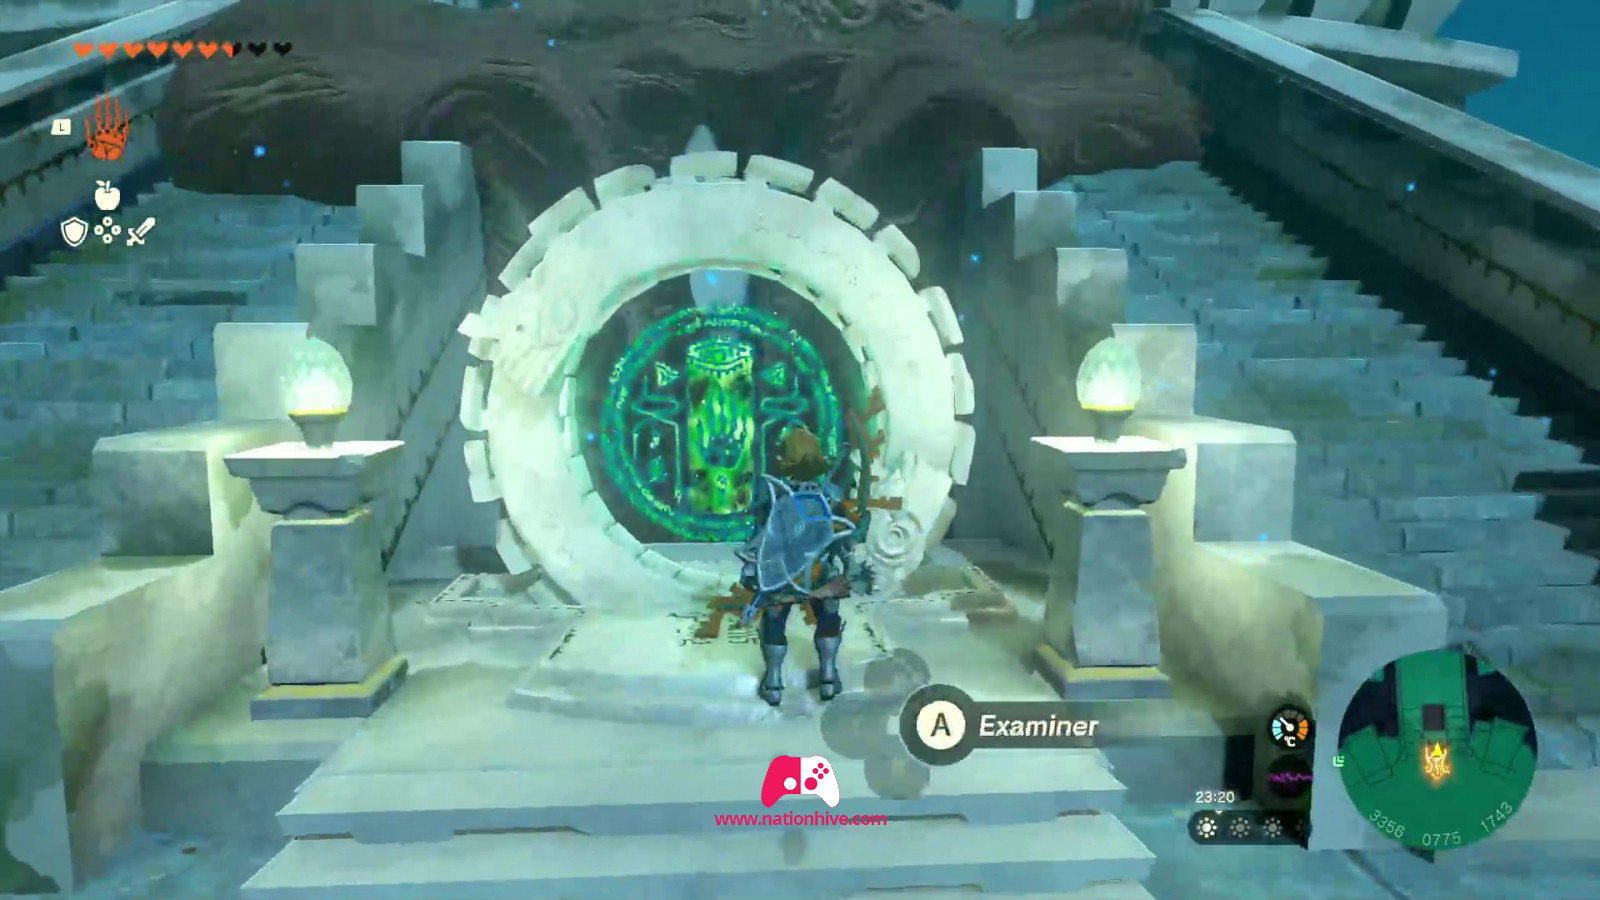
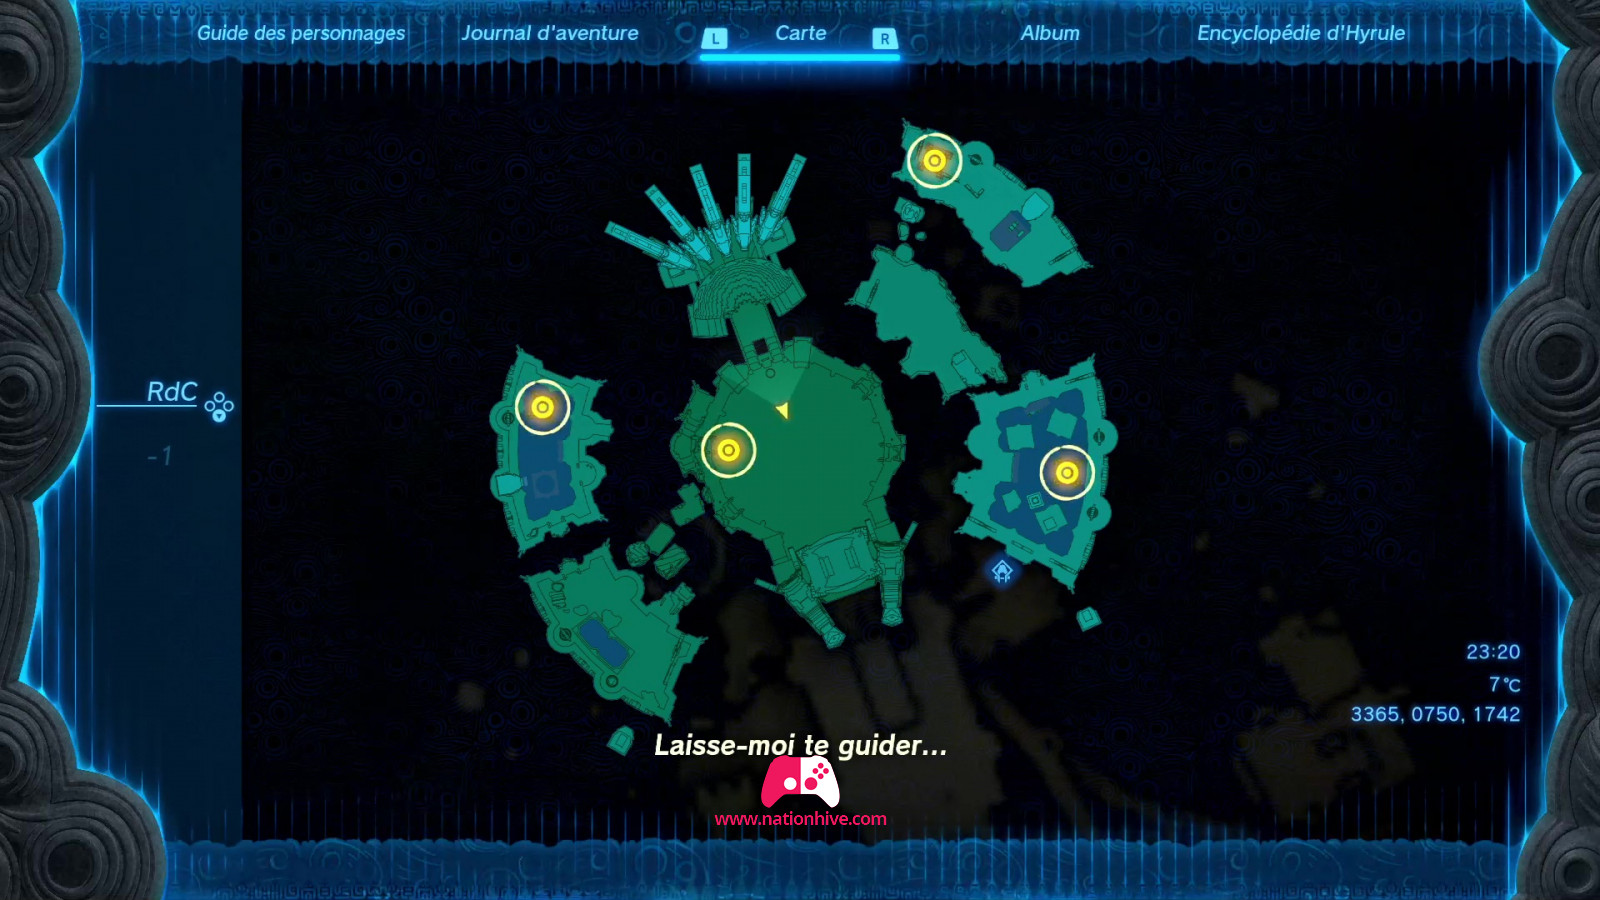
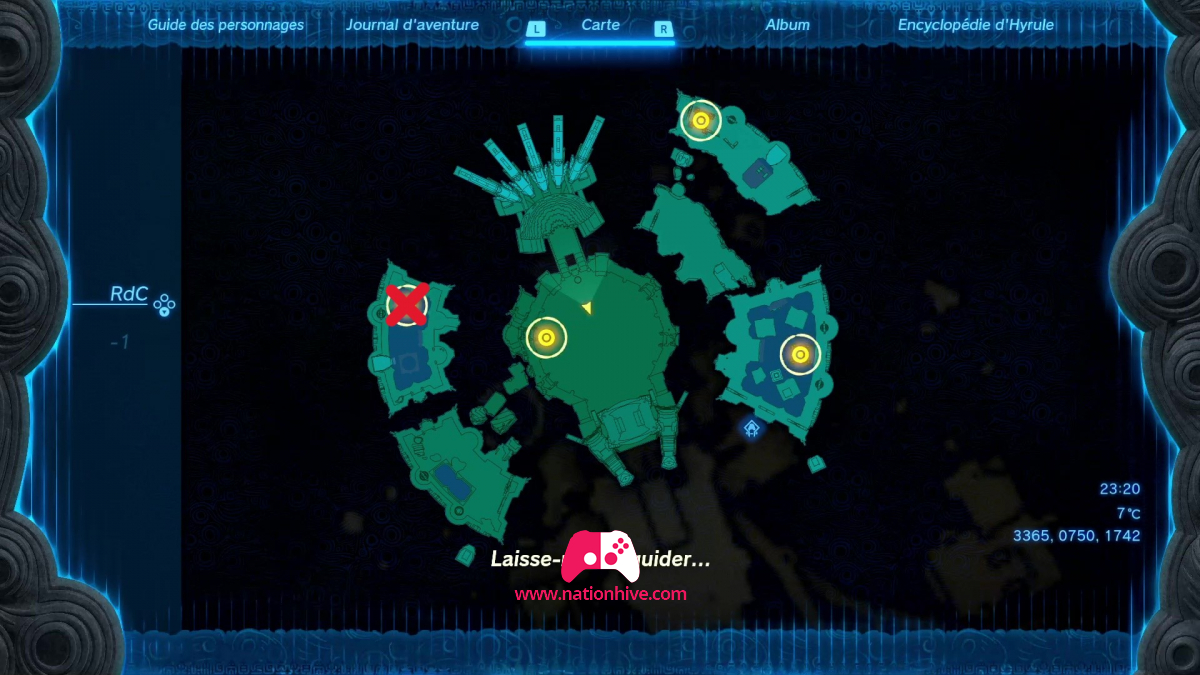
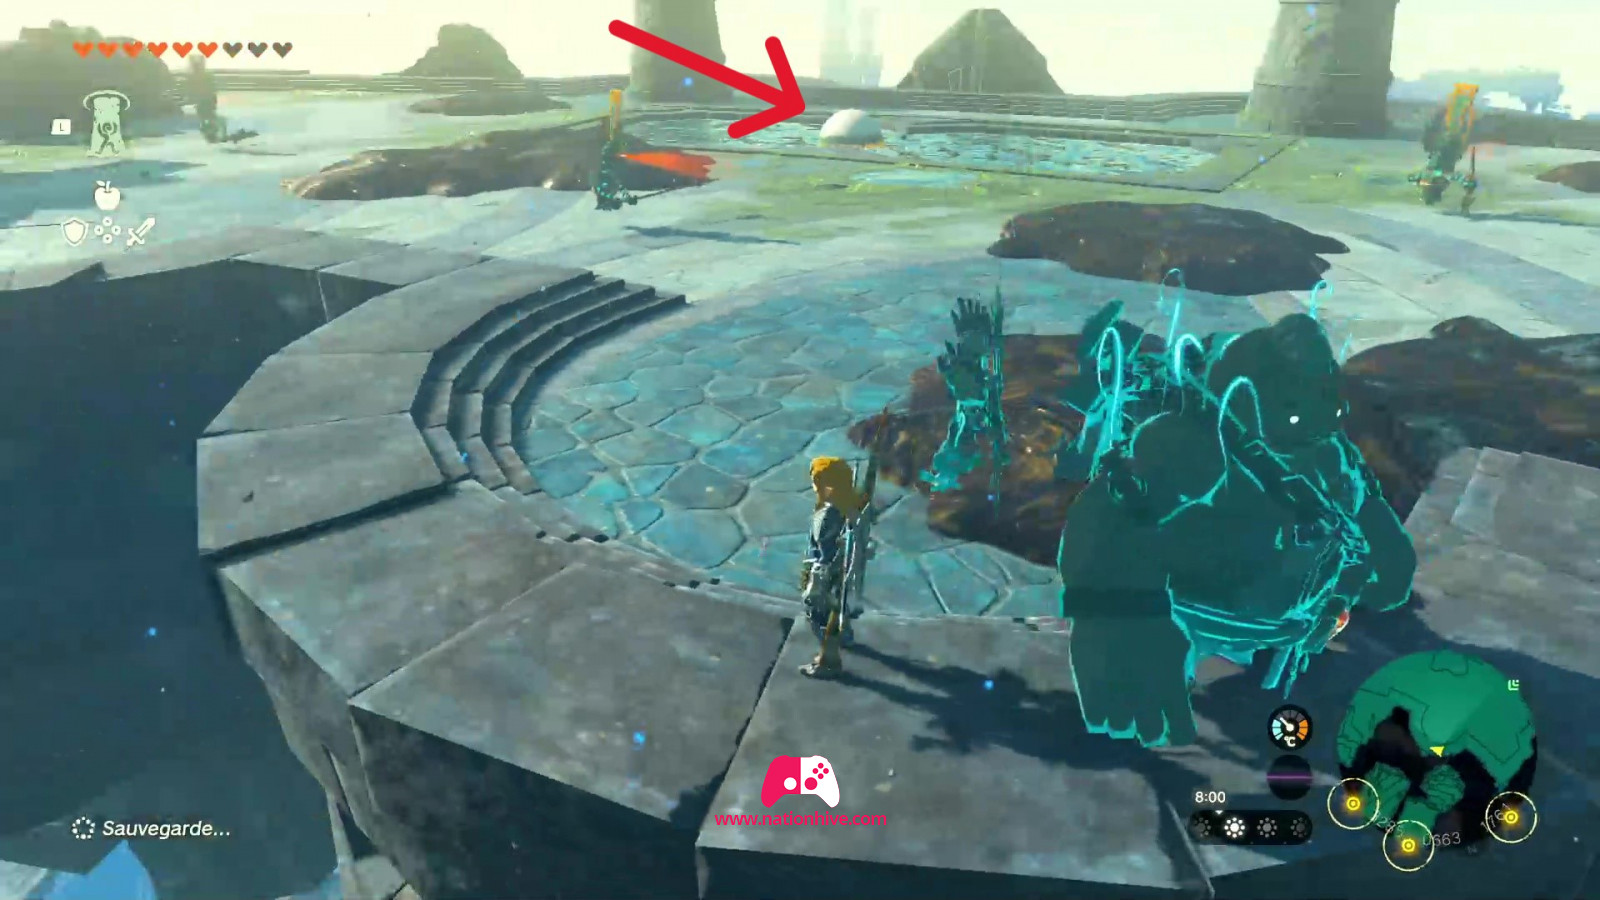
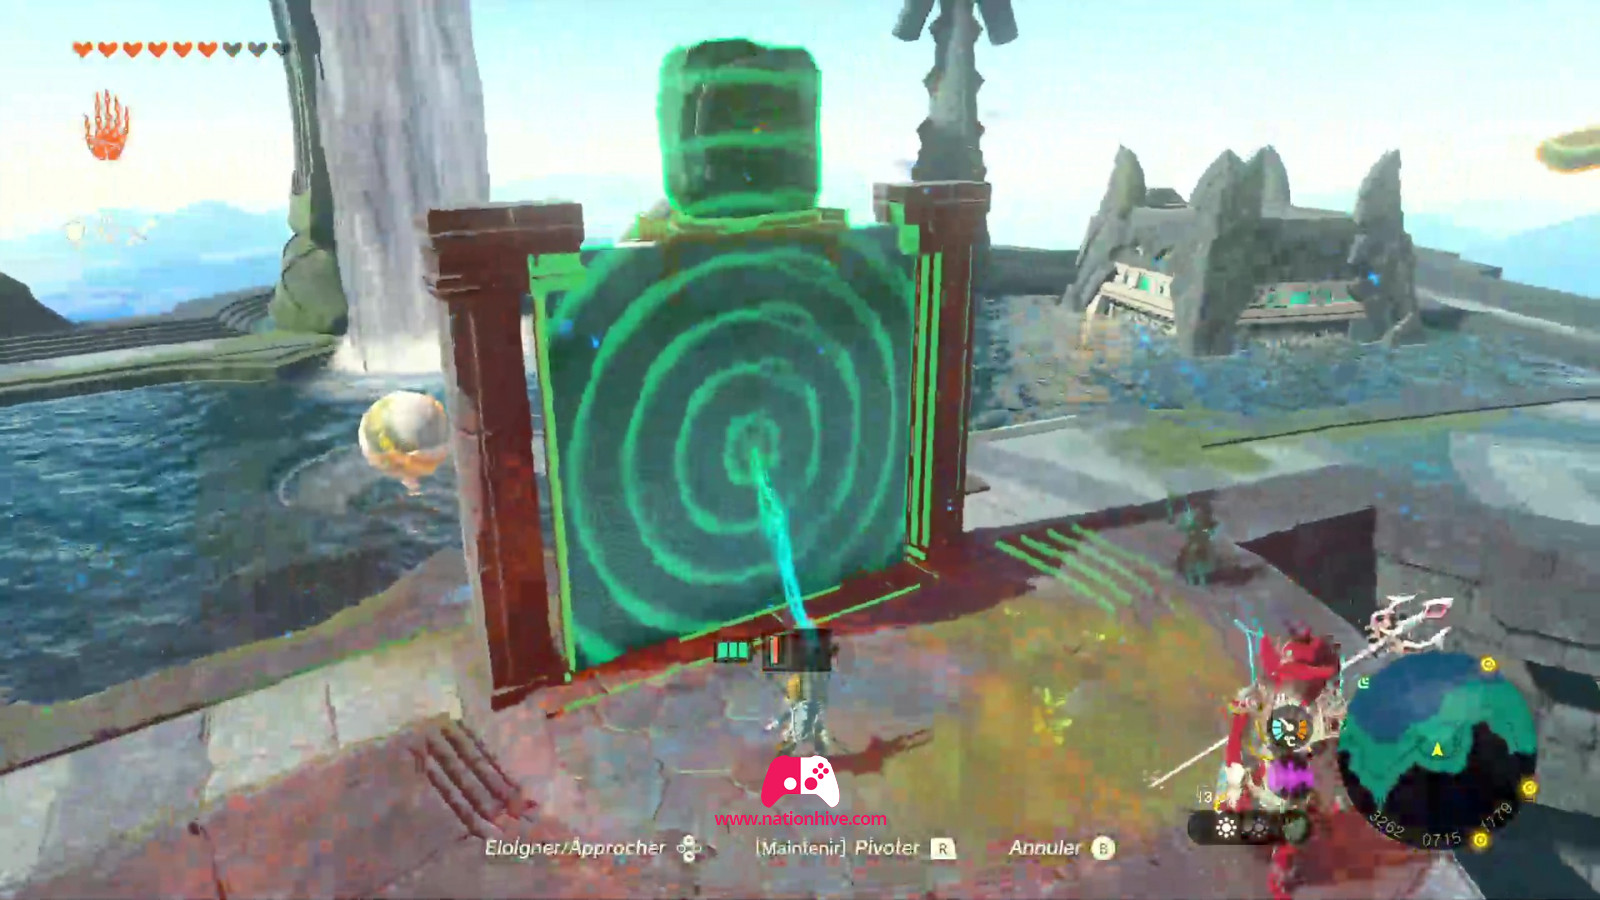
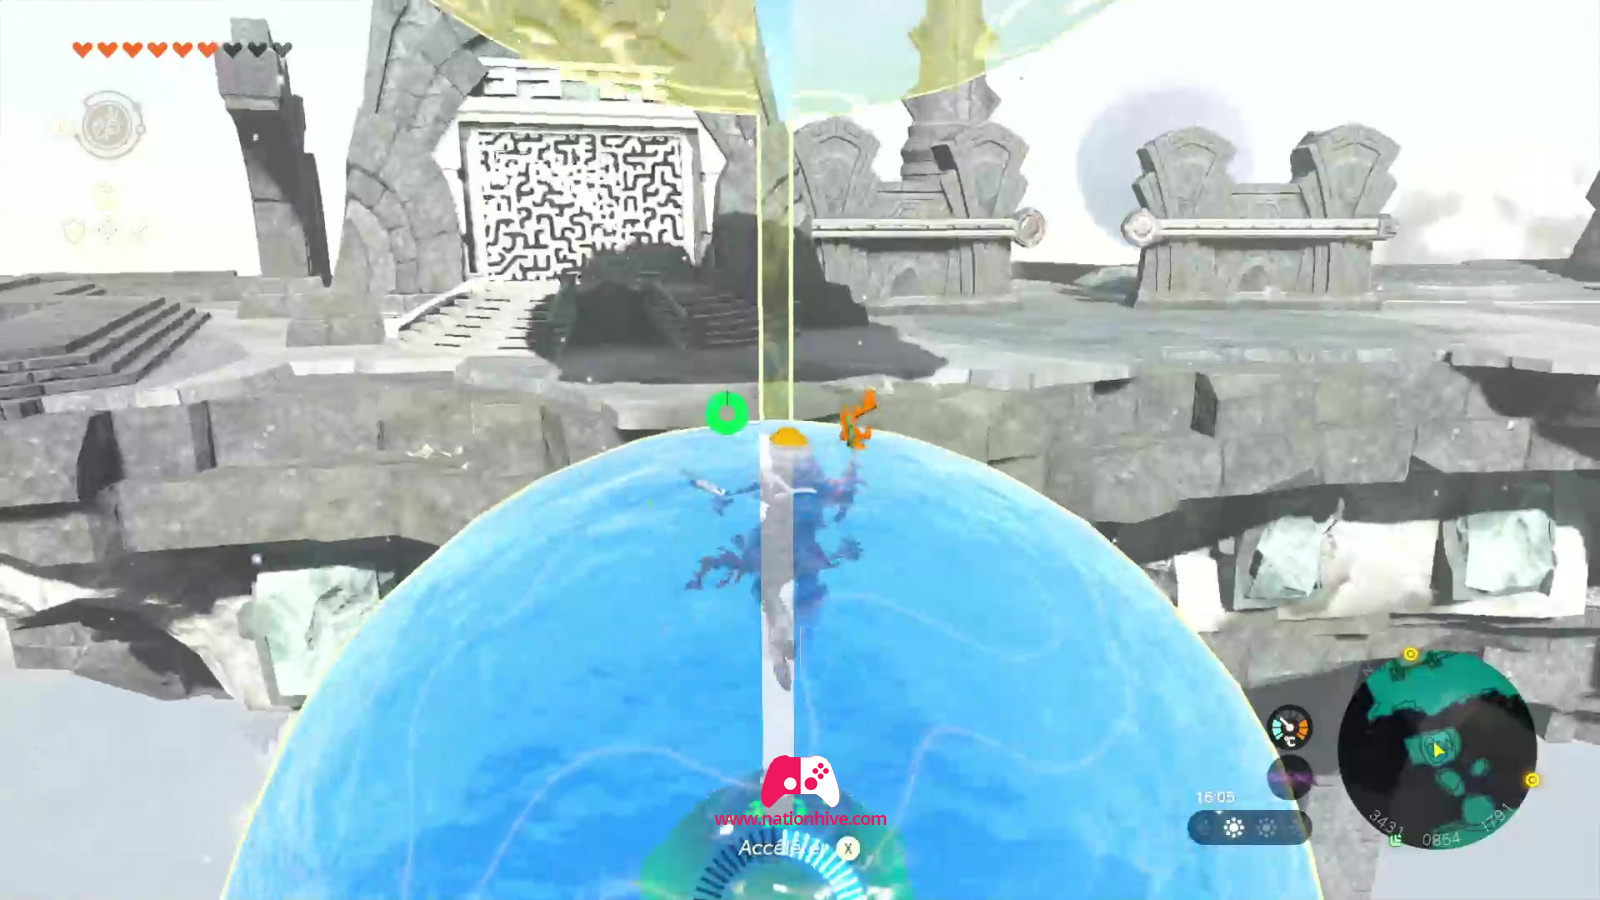
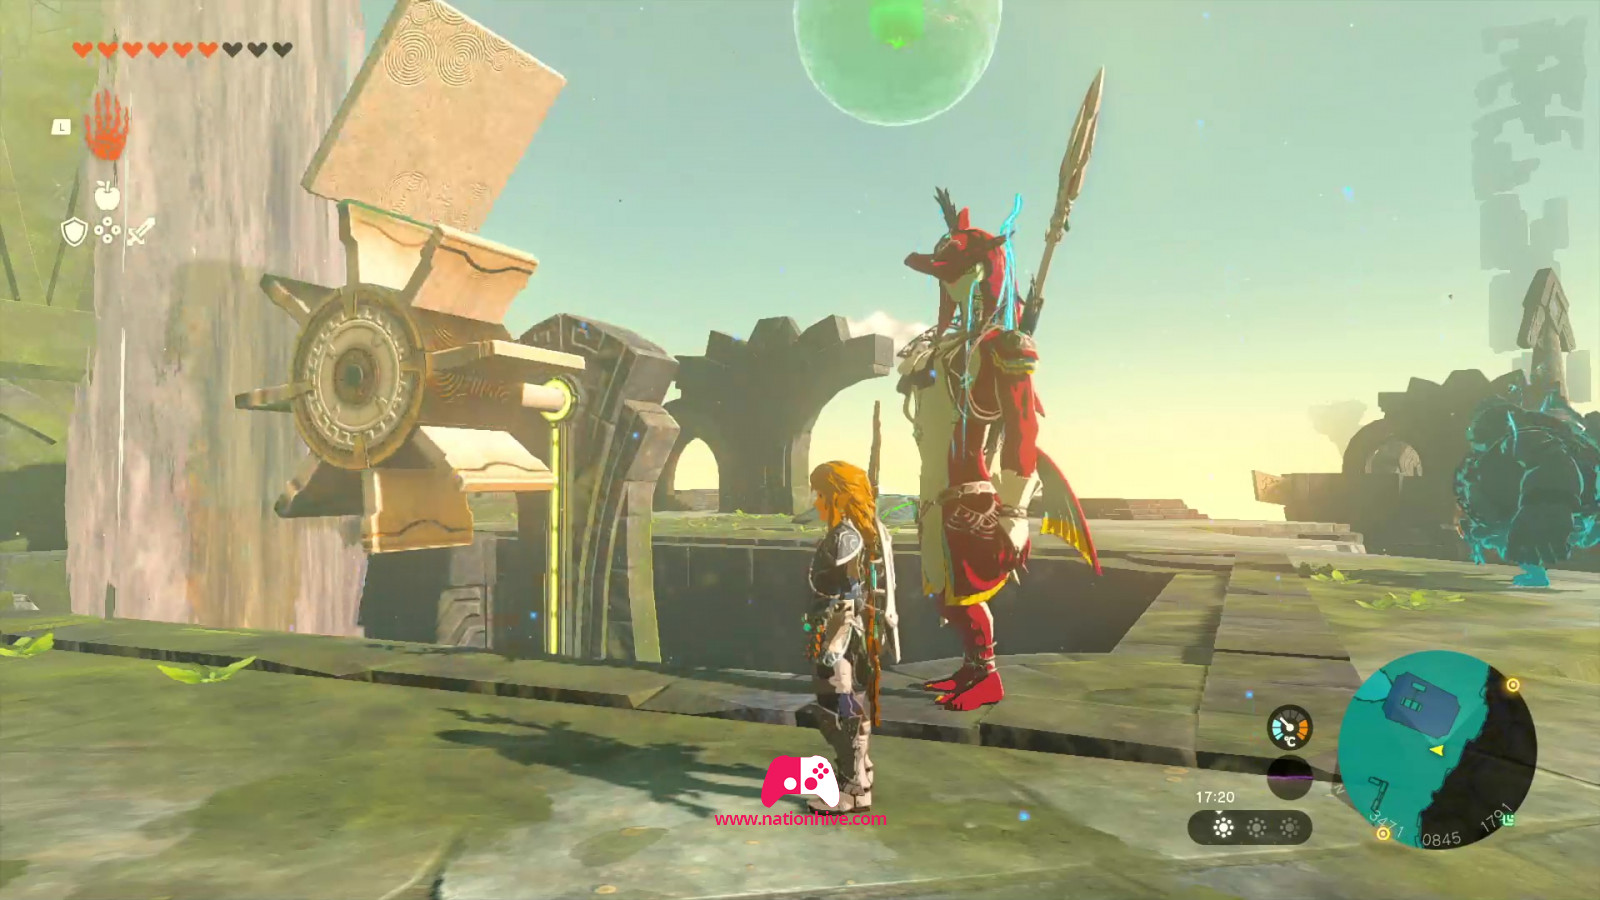
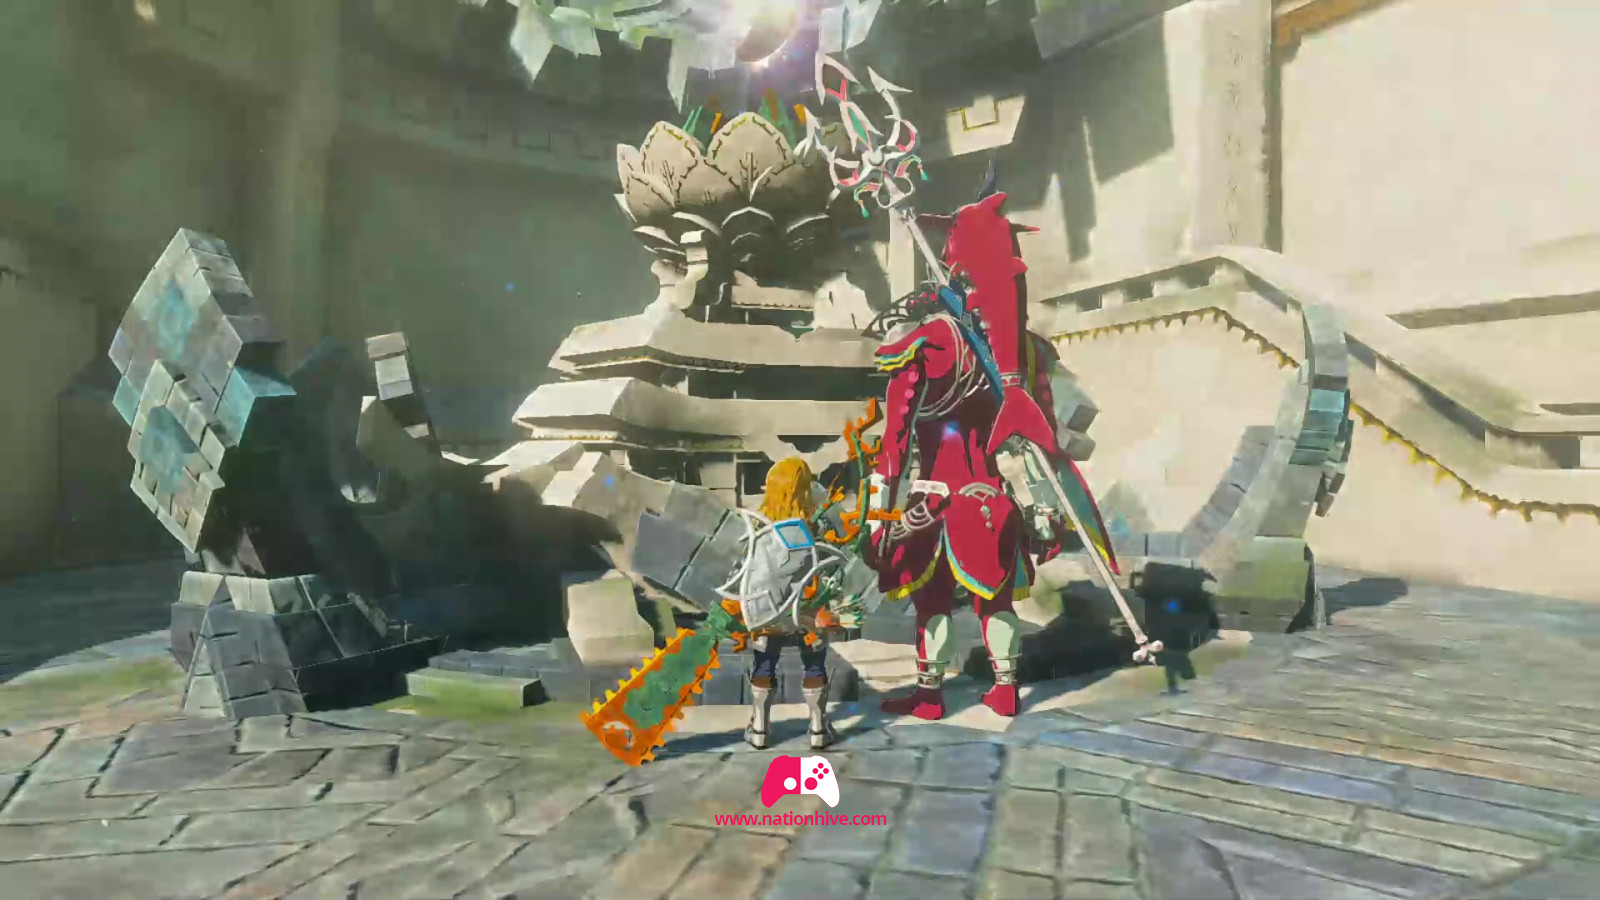
Once you've arrived at The Water Temple, approach Sidon to trigger a cinematic sequence. Then head for the magic green circle and activate it with A, a fast travel point will appear behind you, allowing you to teleport to this location.
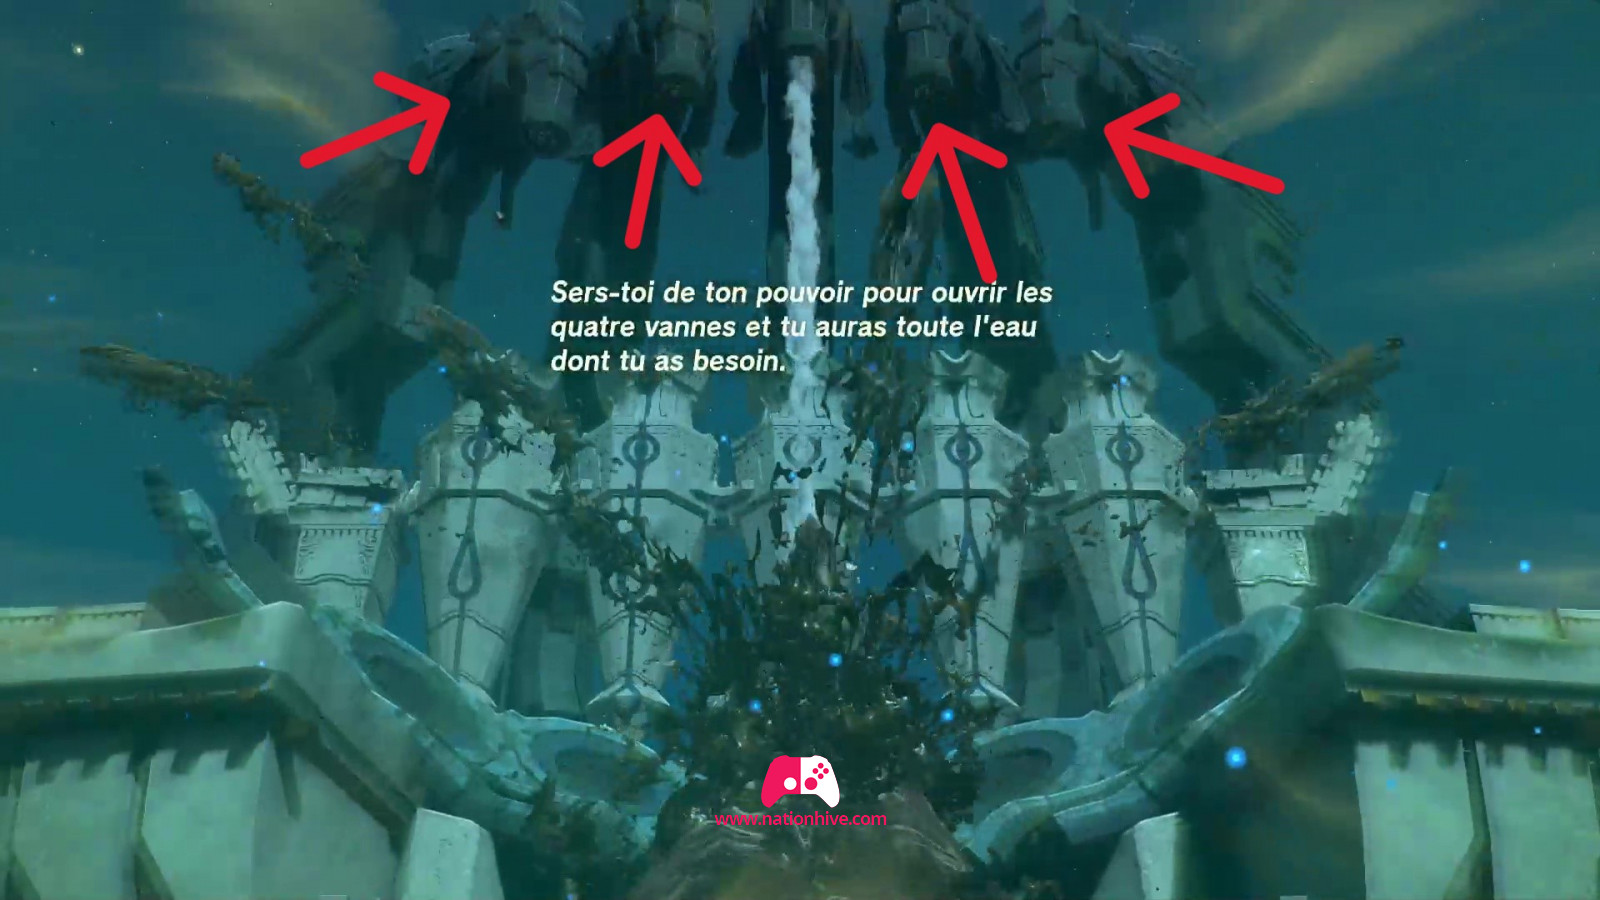
You'll soon realize that you'll have to open 4 vessels by activating 4 mechanisms to purify the water and free the Zora Domain from the sludge. You'll need Sidon's Power of Water to activate all the mechanisms.
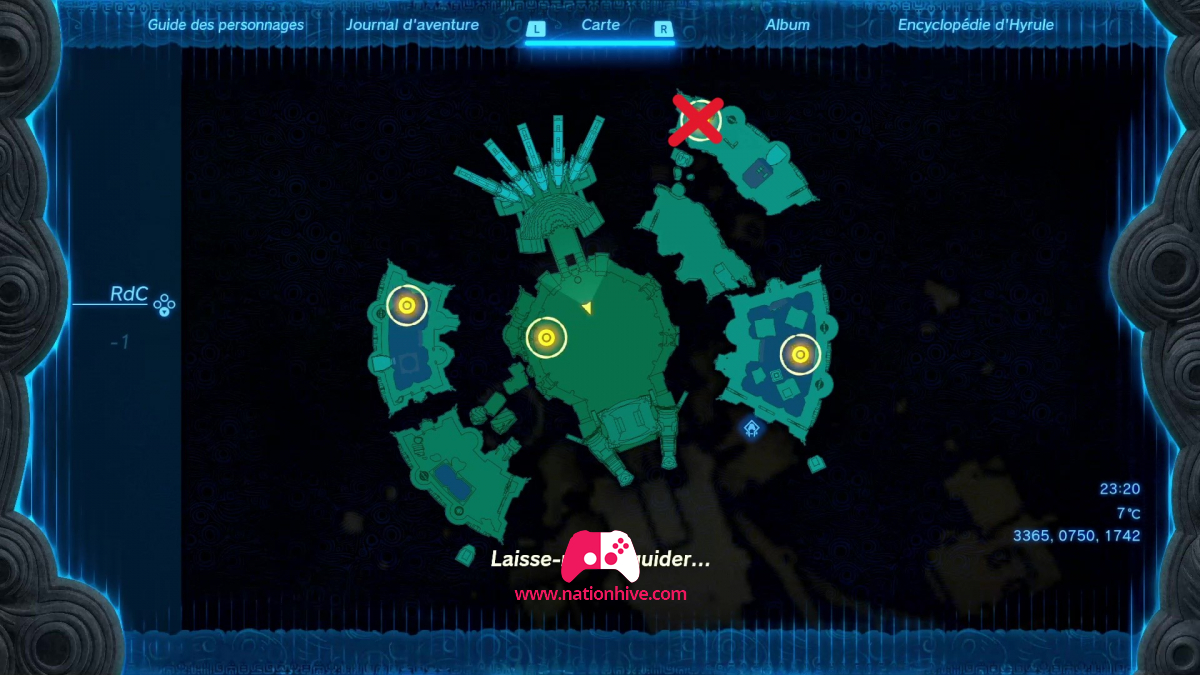
How to activate vessel #1 (Water Temple, basement)
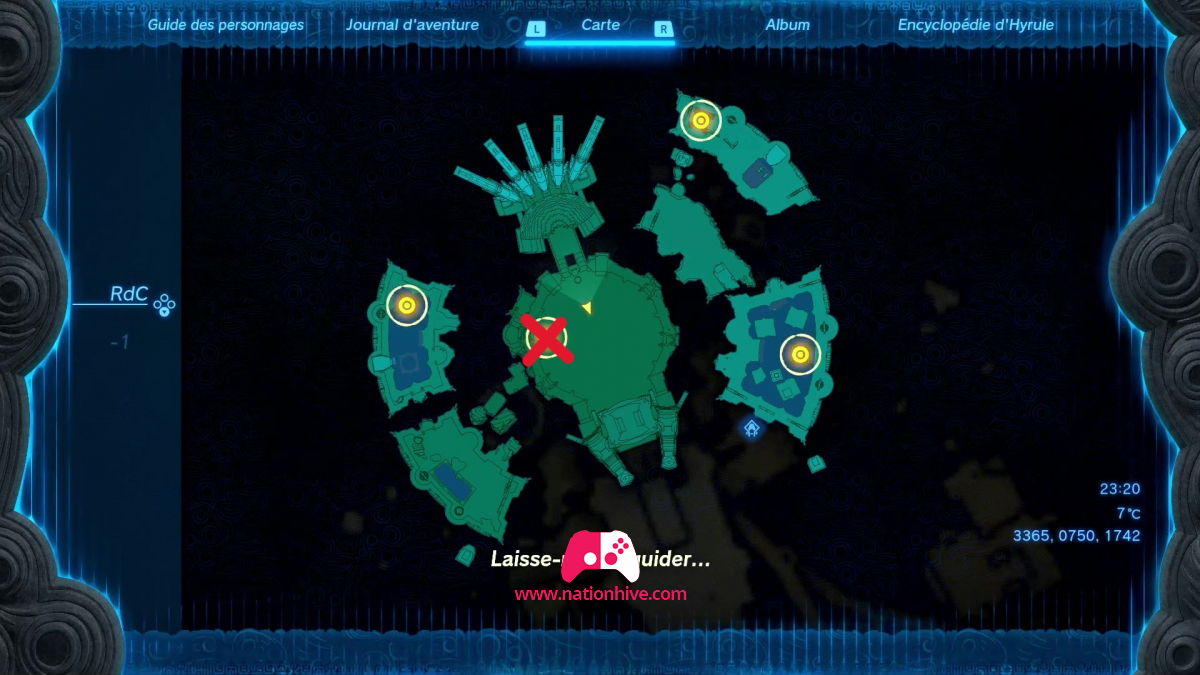
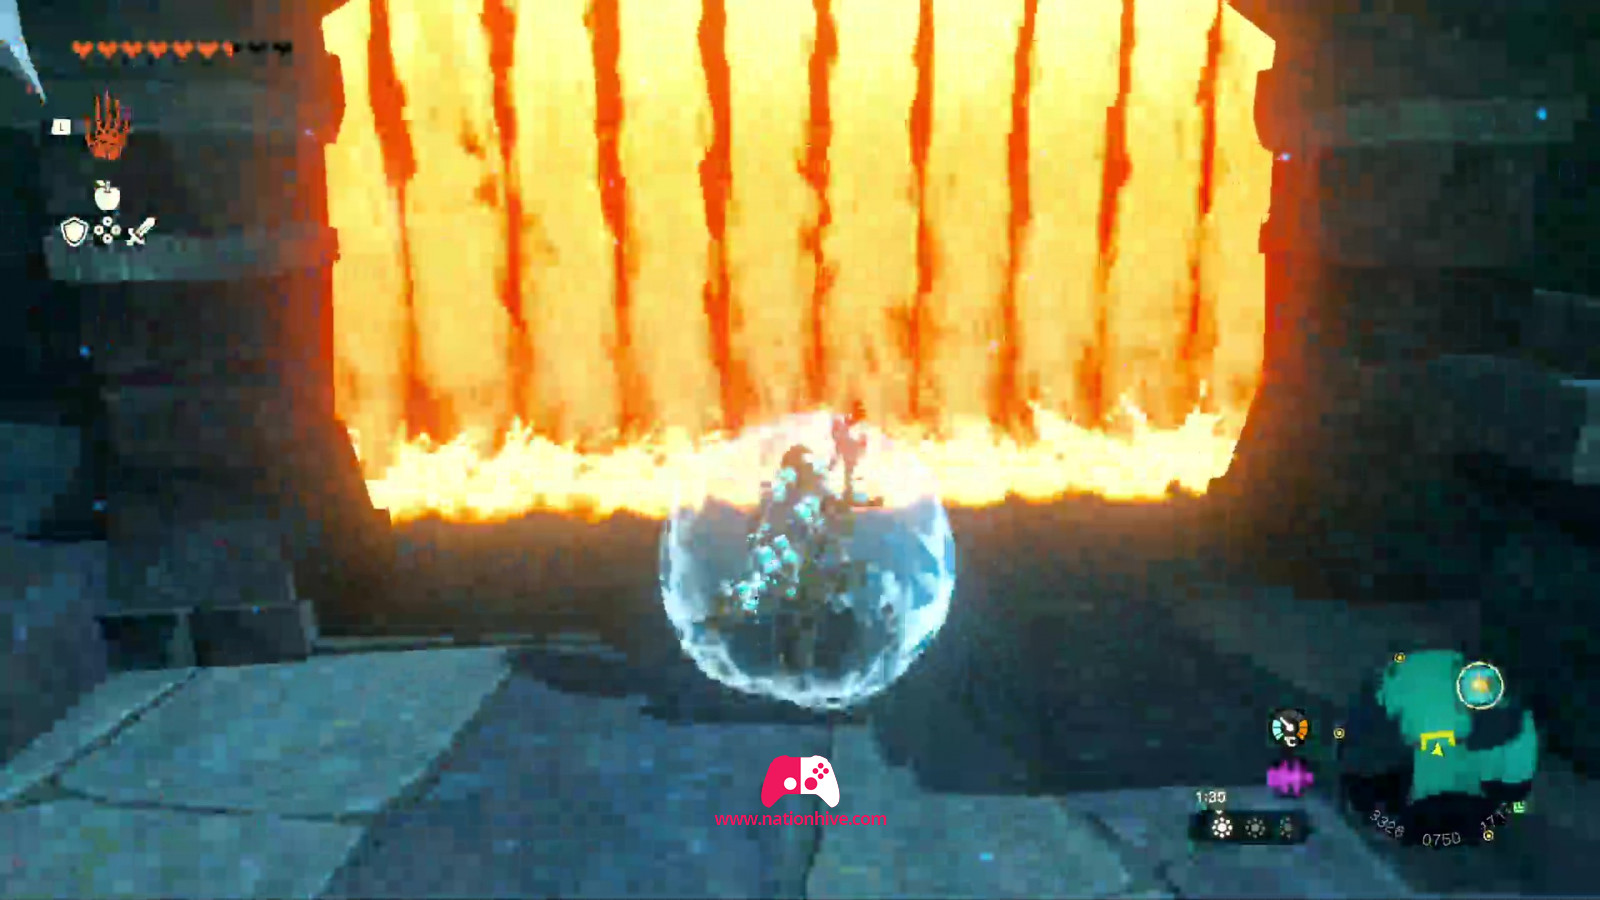
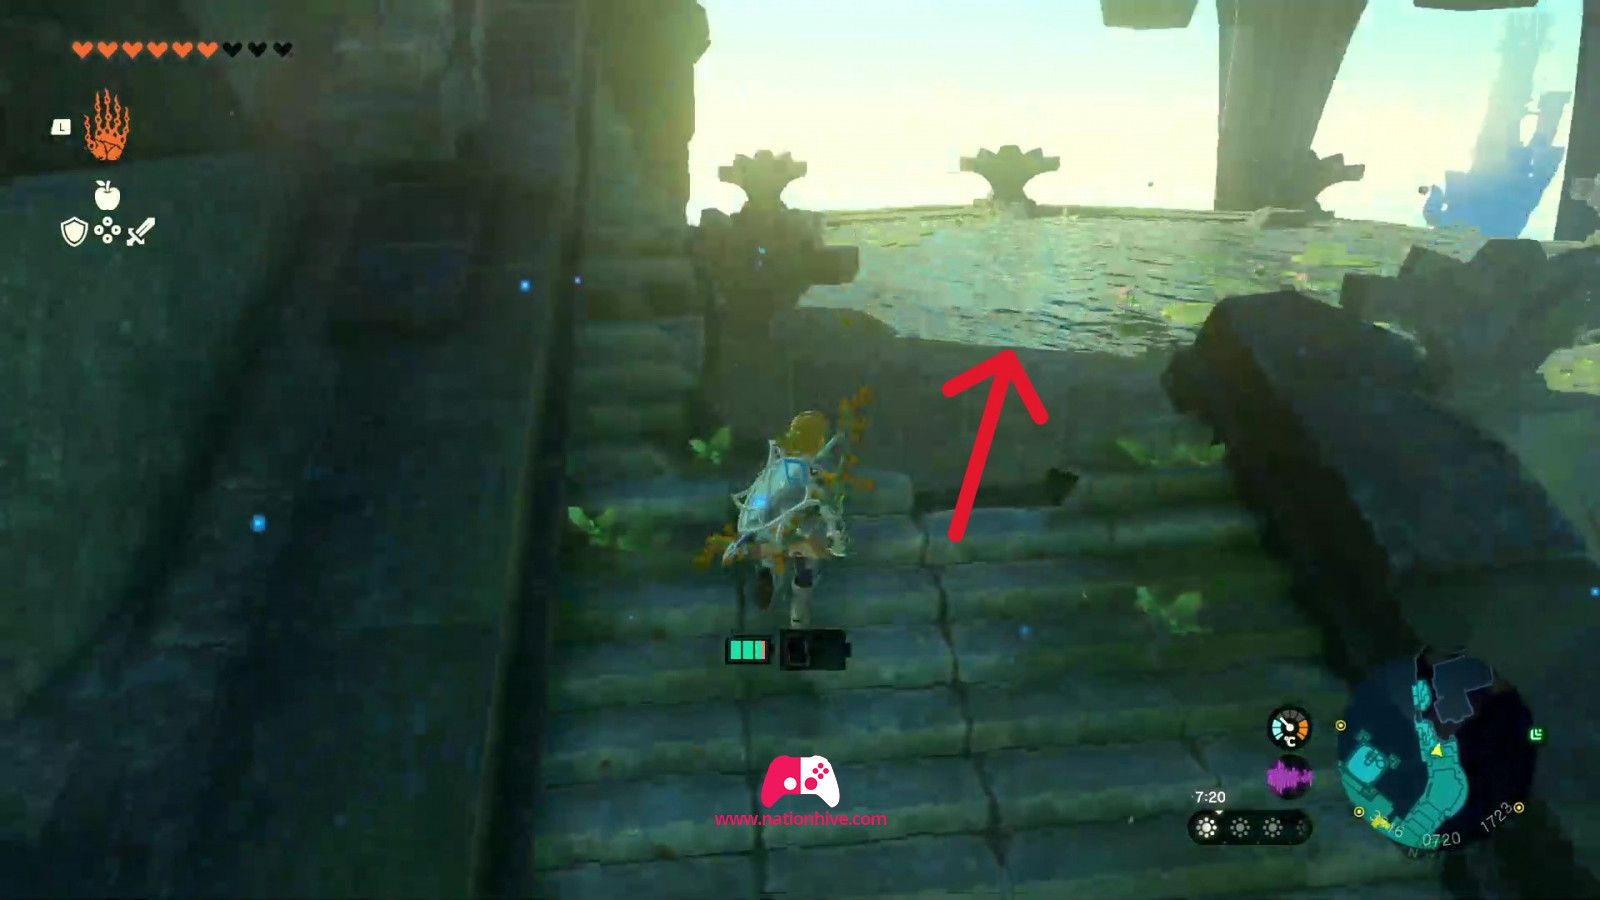
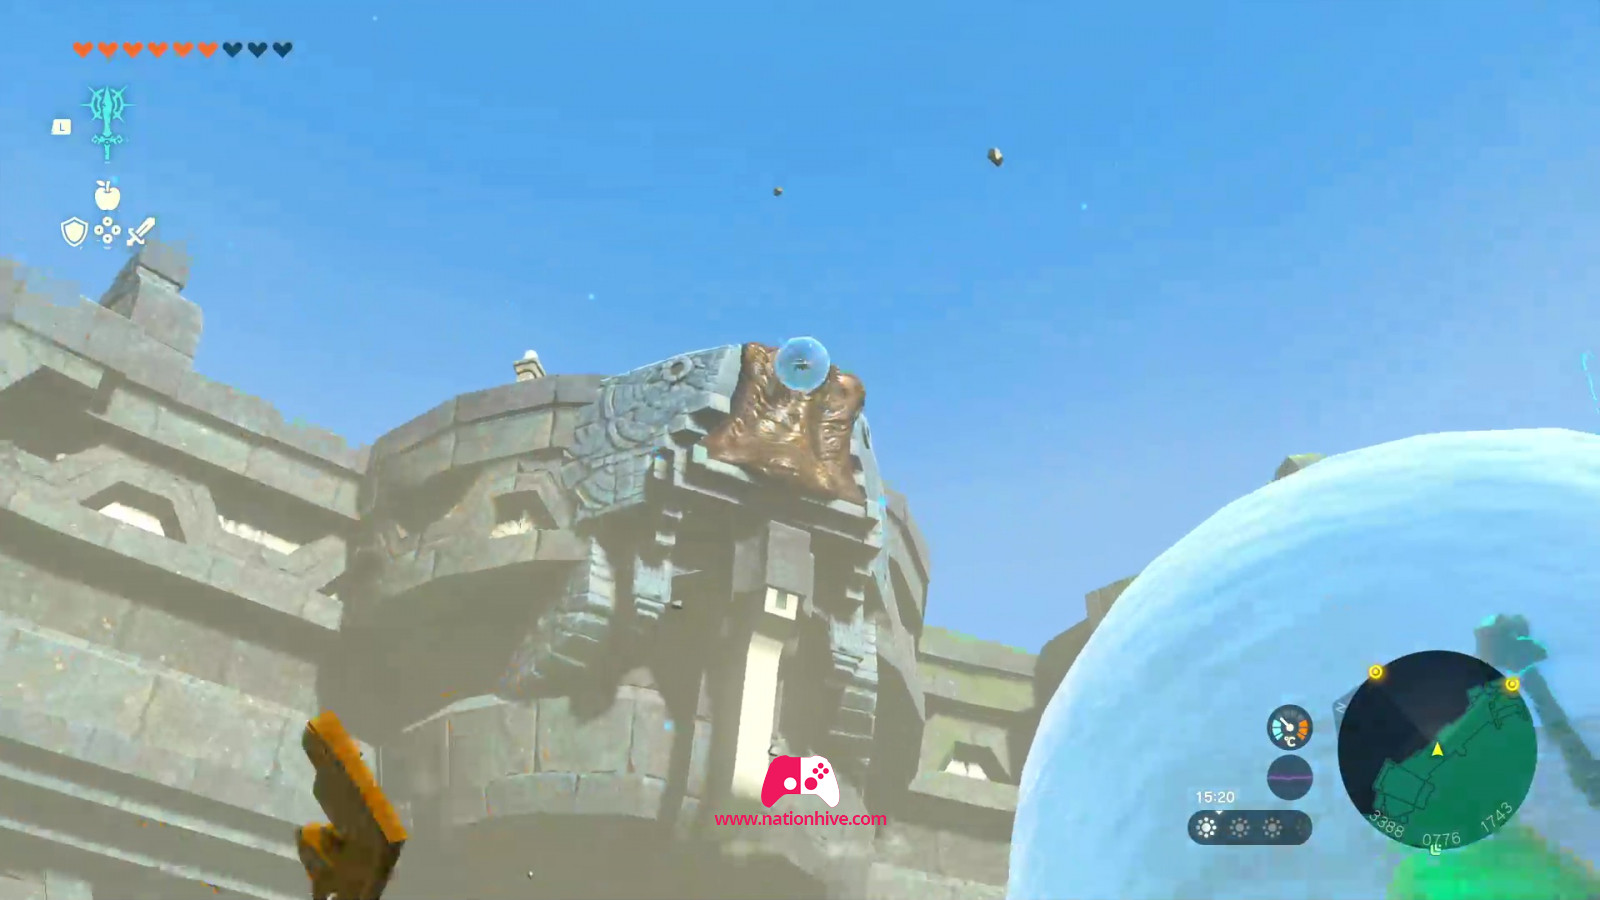
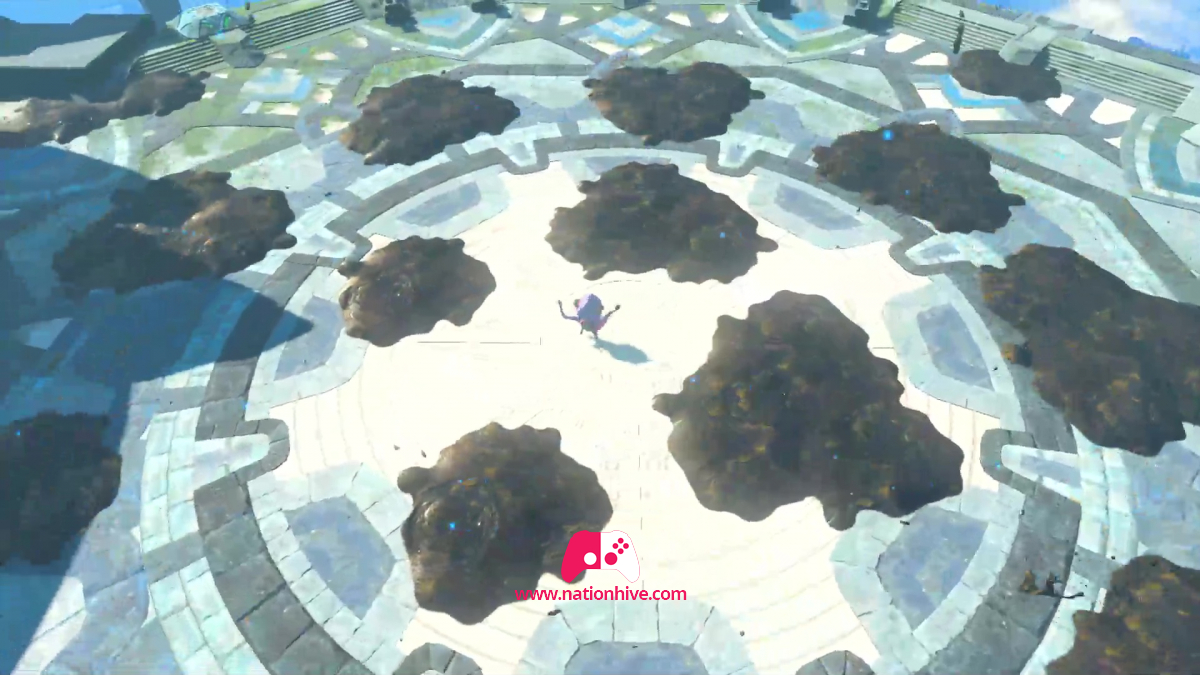
Once you've tried to activate the magic circle without success, jump down to reach the stairs below (see image below) and go down to the temple basement. To the left of the stairs you'll find a lava-covered entrance.
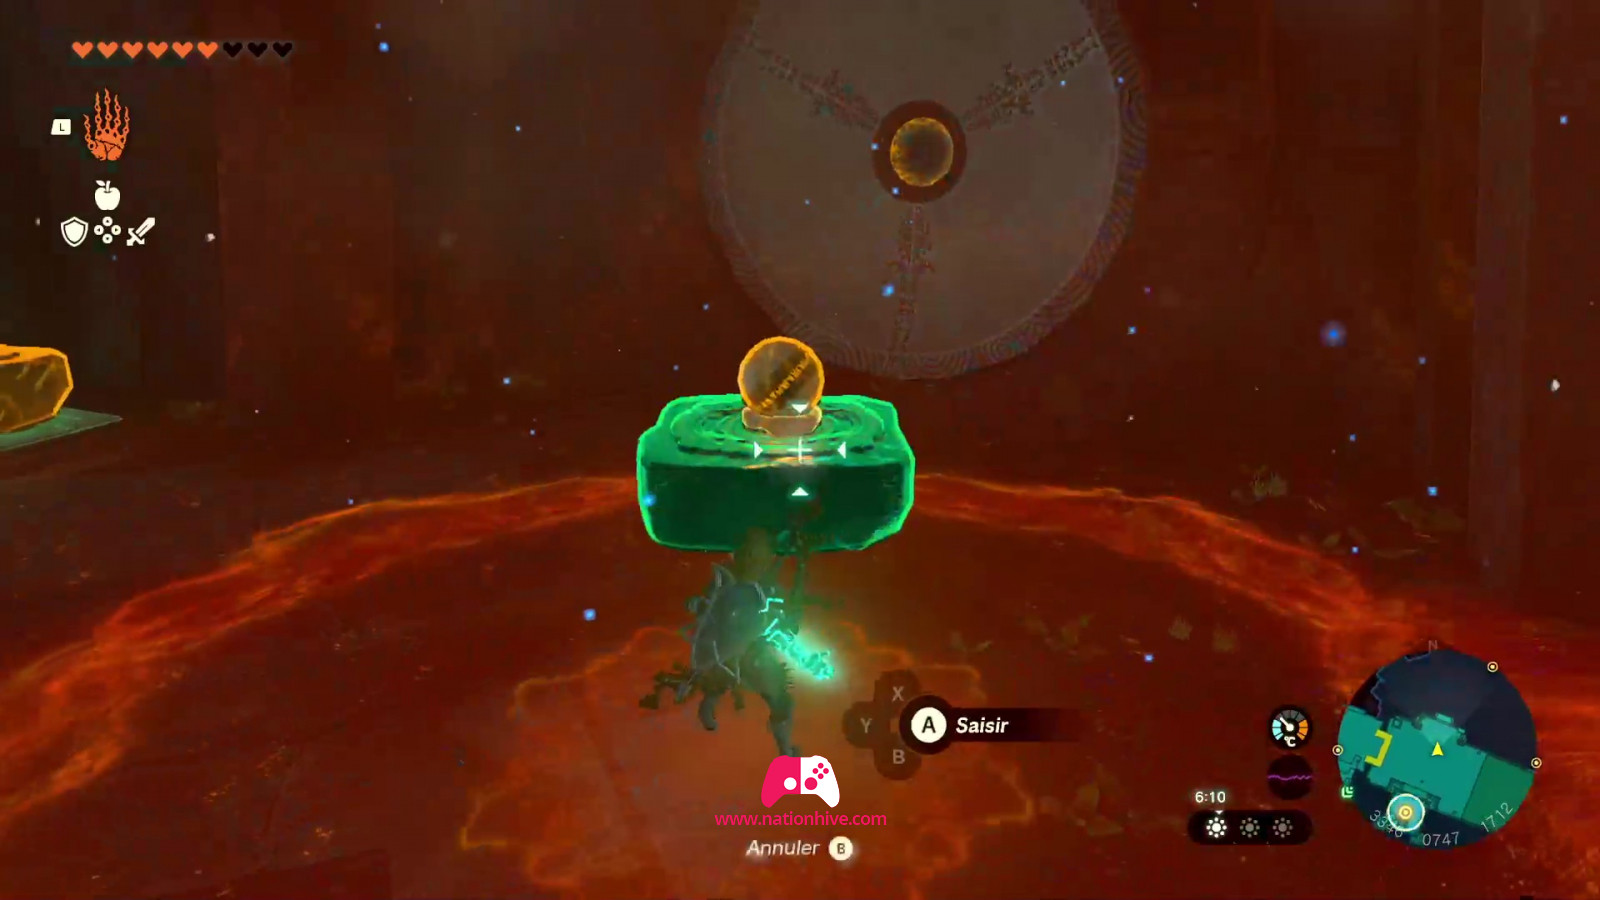
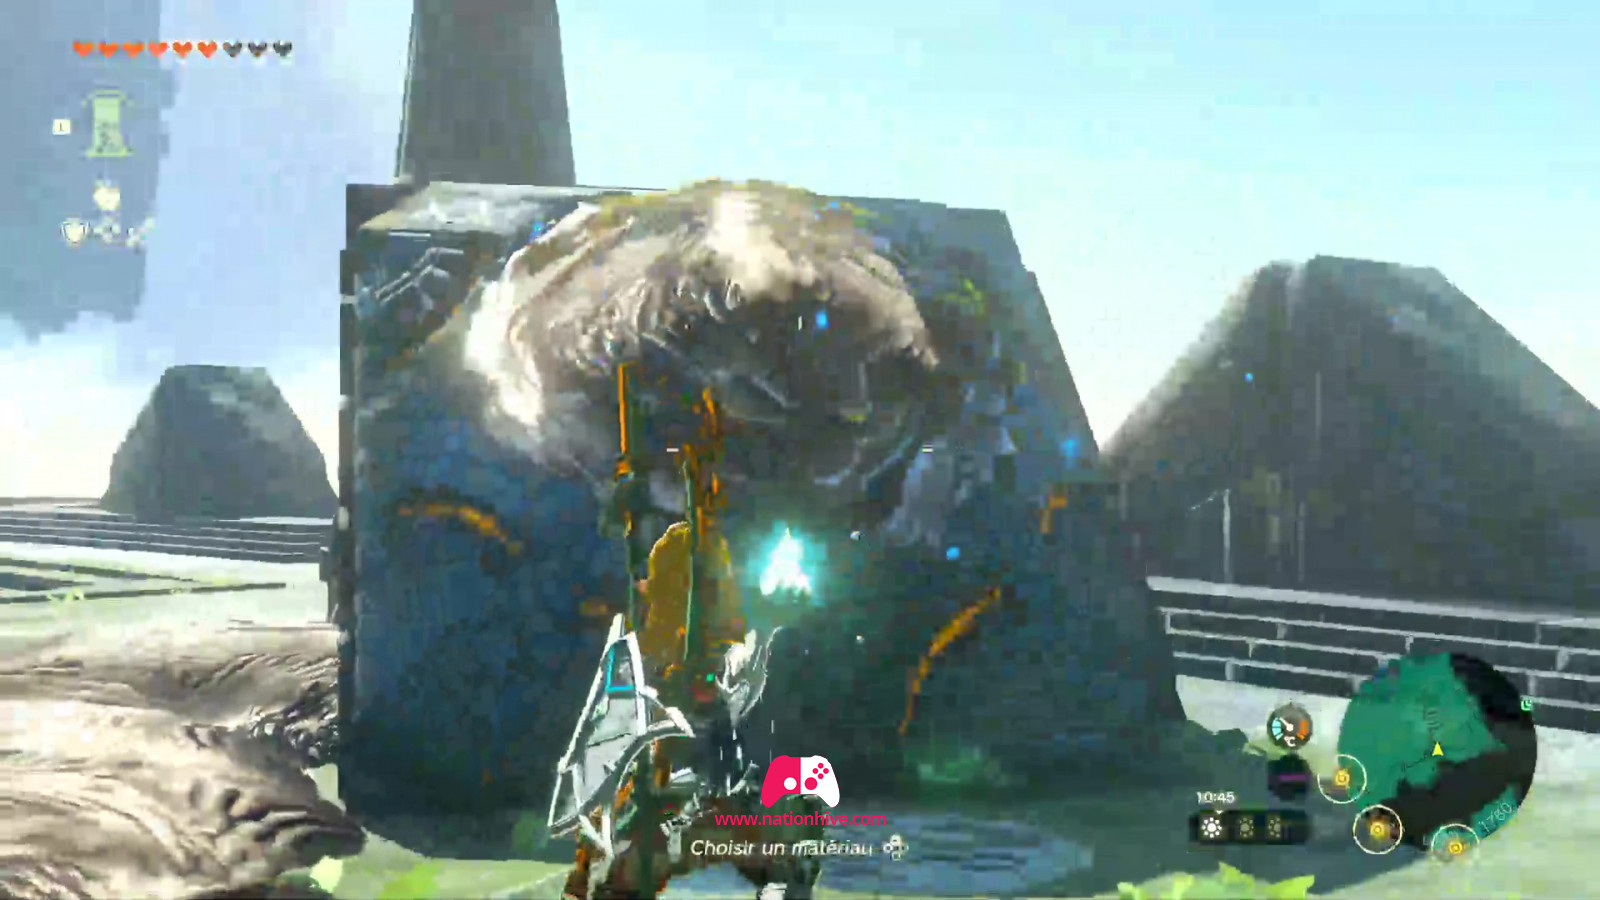
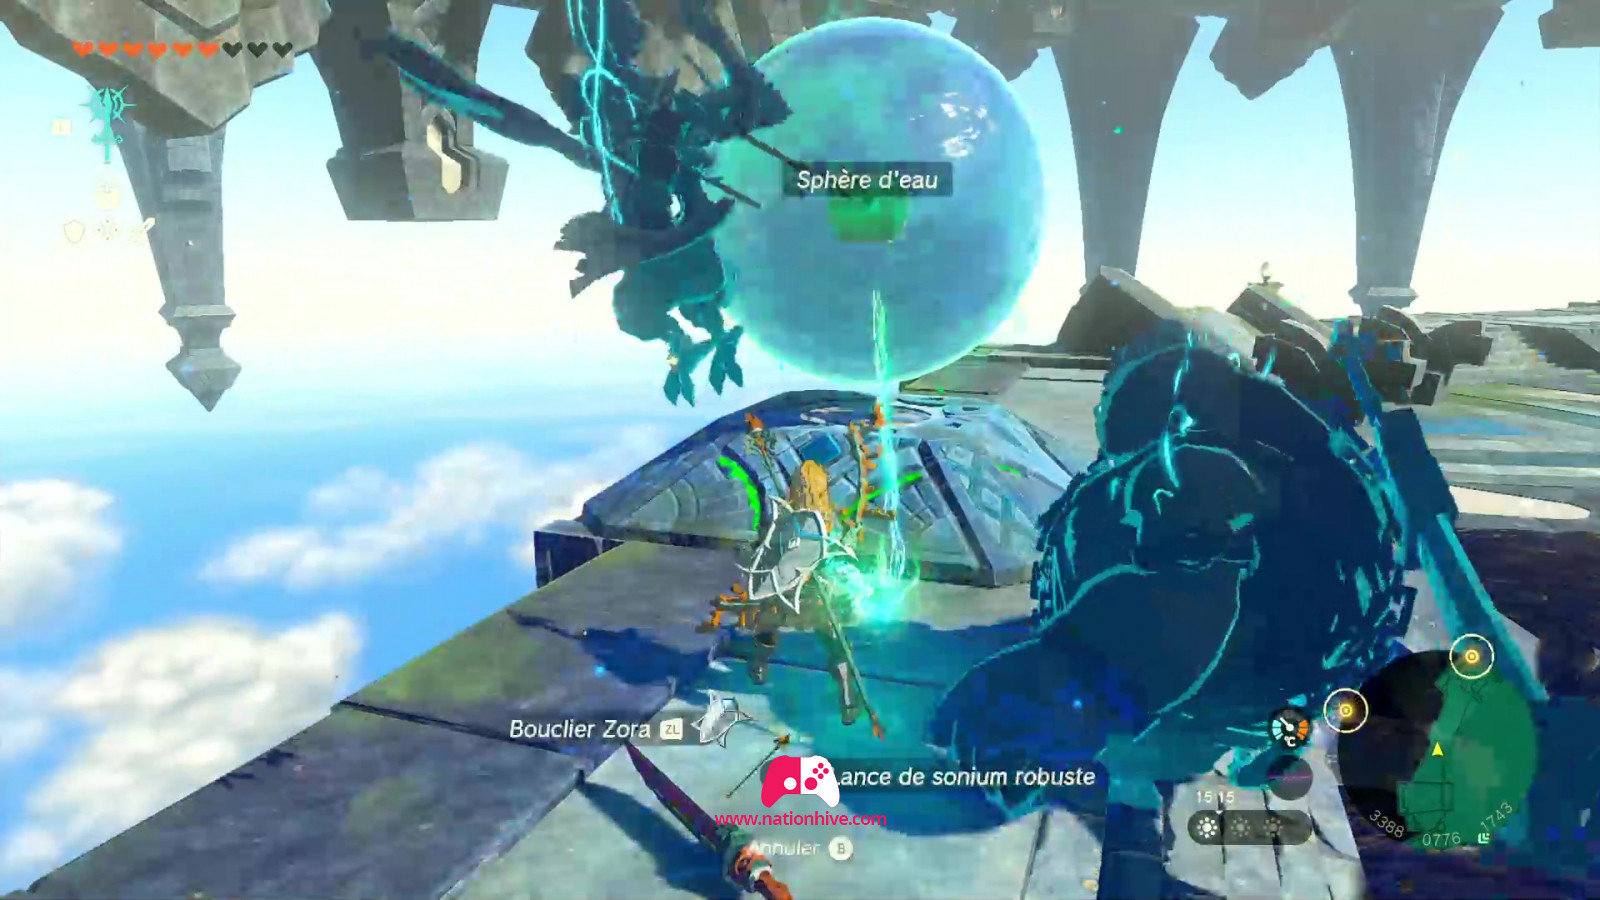
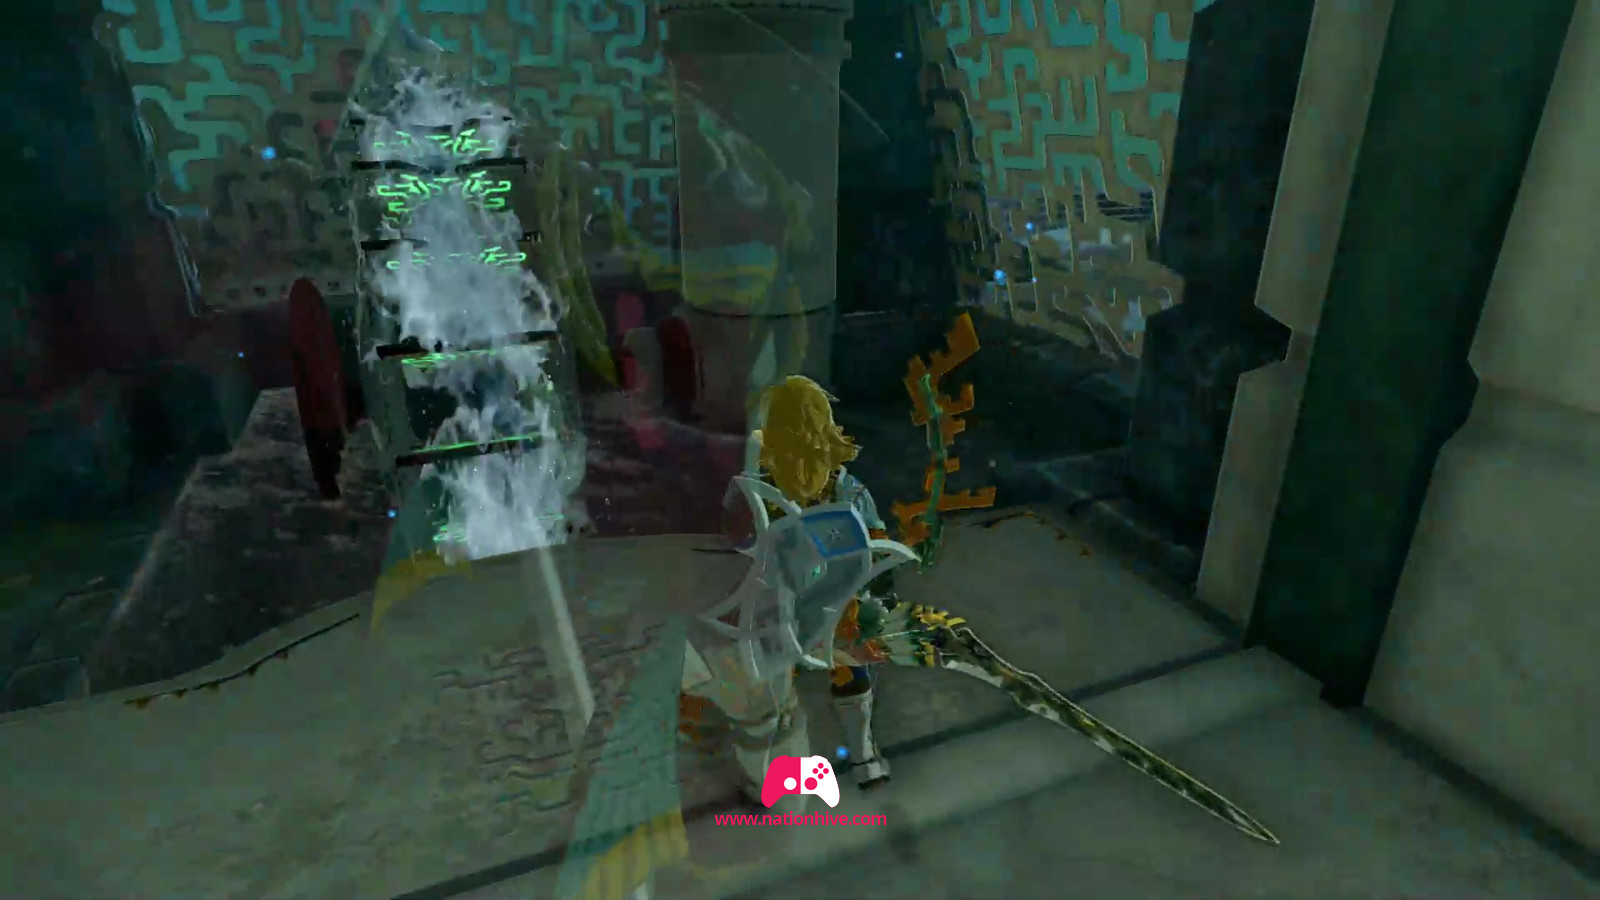
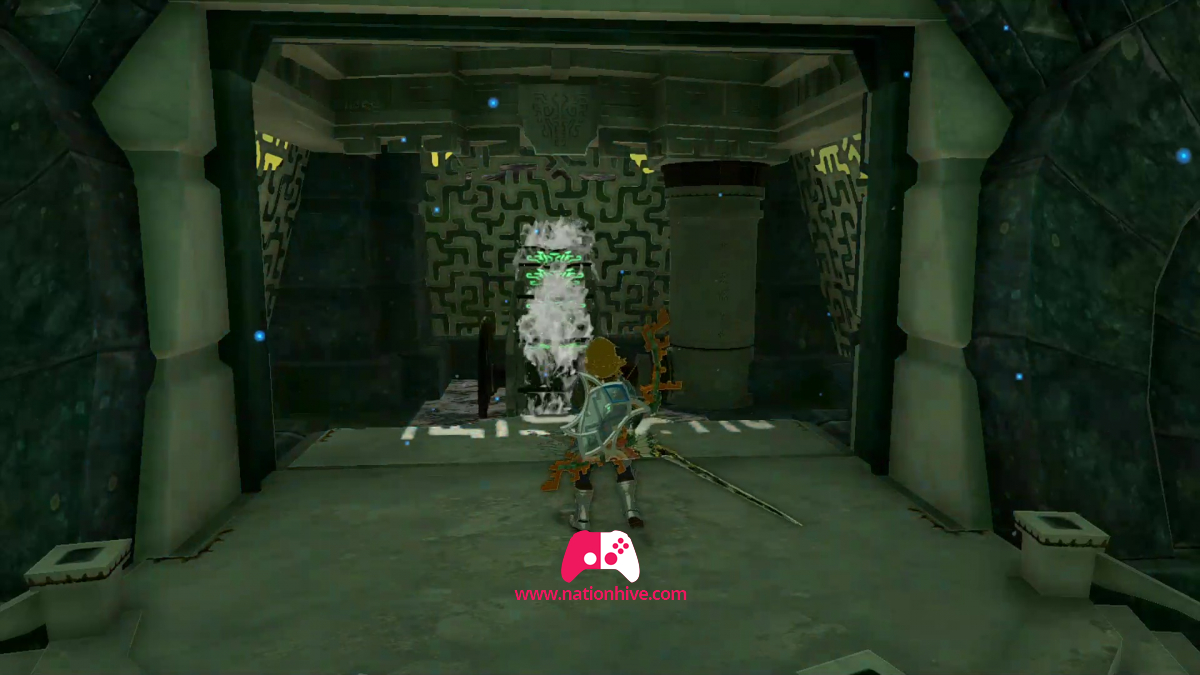
To enter, simply cover yourself with a water bubble, thanks to Sidon's Power of Water ability. Once inside, you'll see a large disk on the wall. You'll need to place a sphere vertically on it to gain access to the mechanism and activate the 1st vessel.
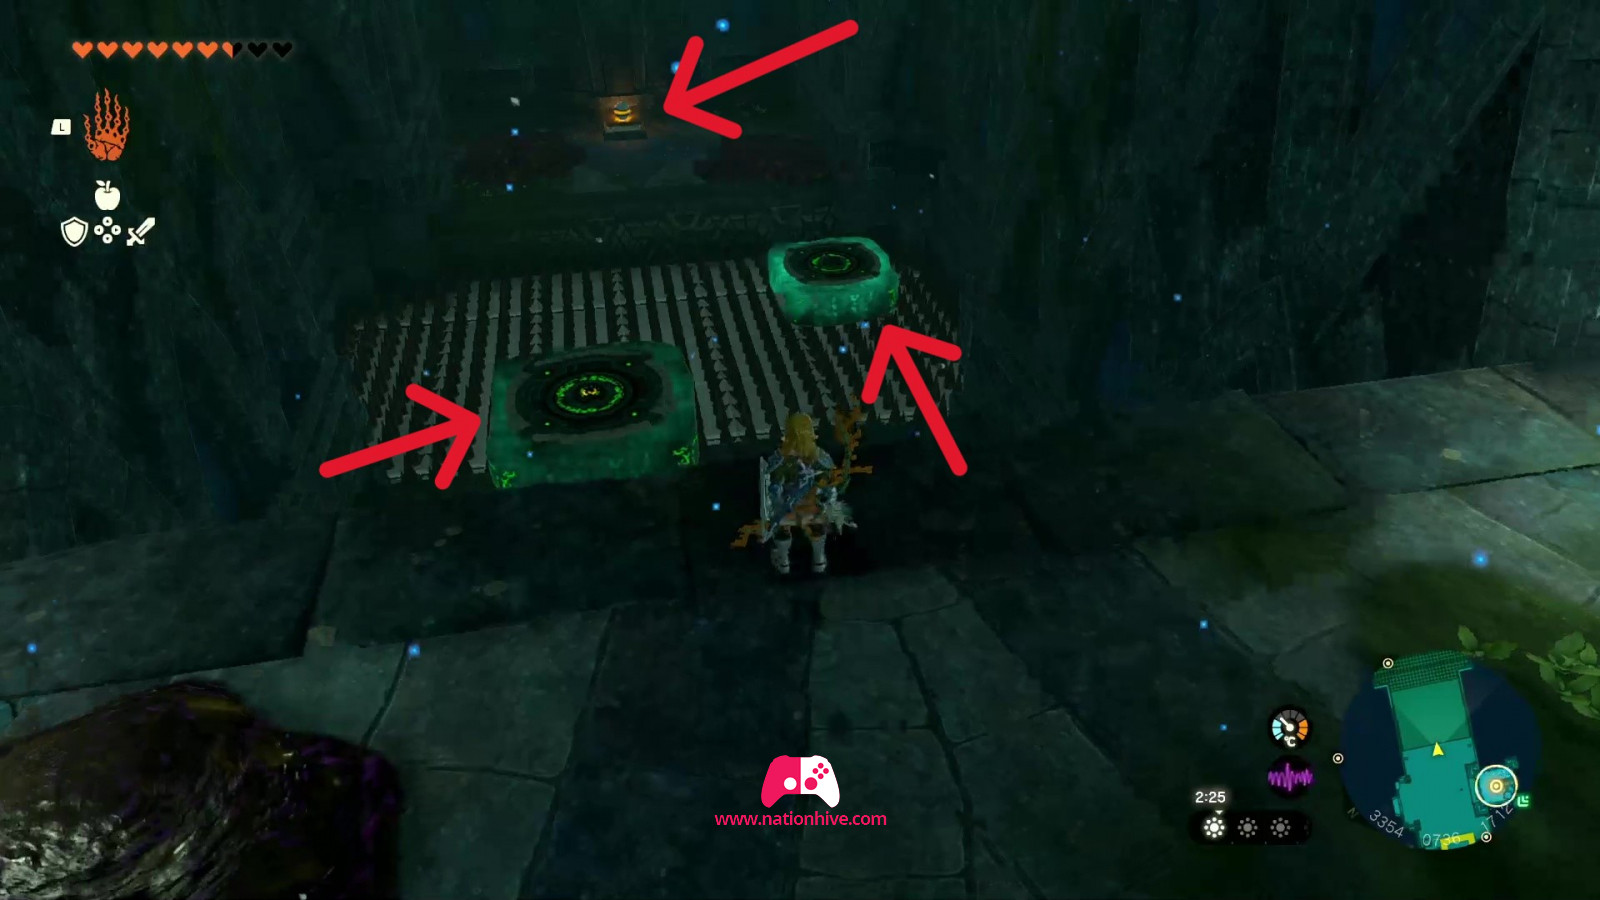
Start by moving forward into the room. Use the floating green platforms (move them with Ultrahand ability) to cross to the other side, as the floor is covered with sharp points. Once on the other side, stick the sphere on a floating platform and bring it to the other side.
Be quick! Because the Zonai platforms are working with the Energy Cell. As soon as your Energy Cell runs out, the platforms will fall to the ground.
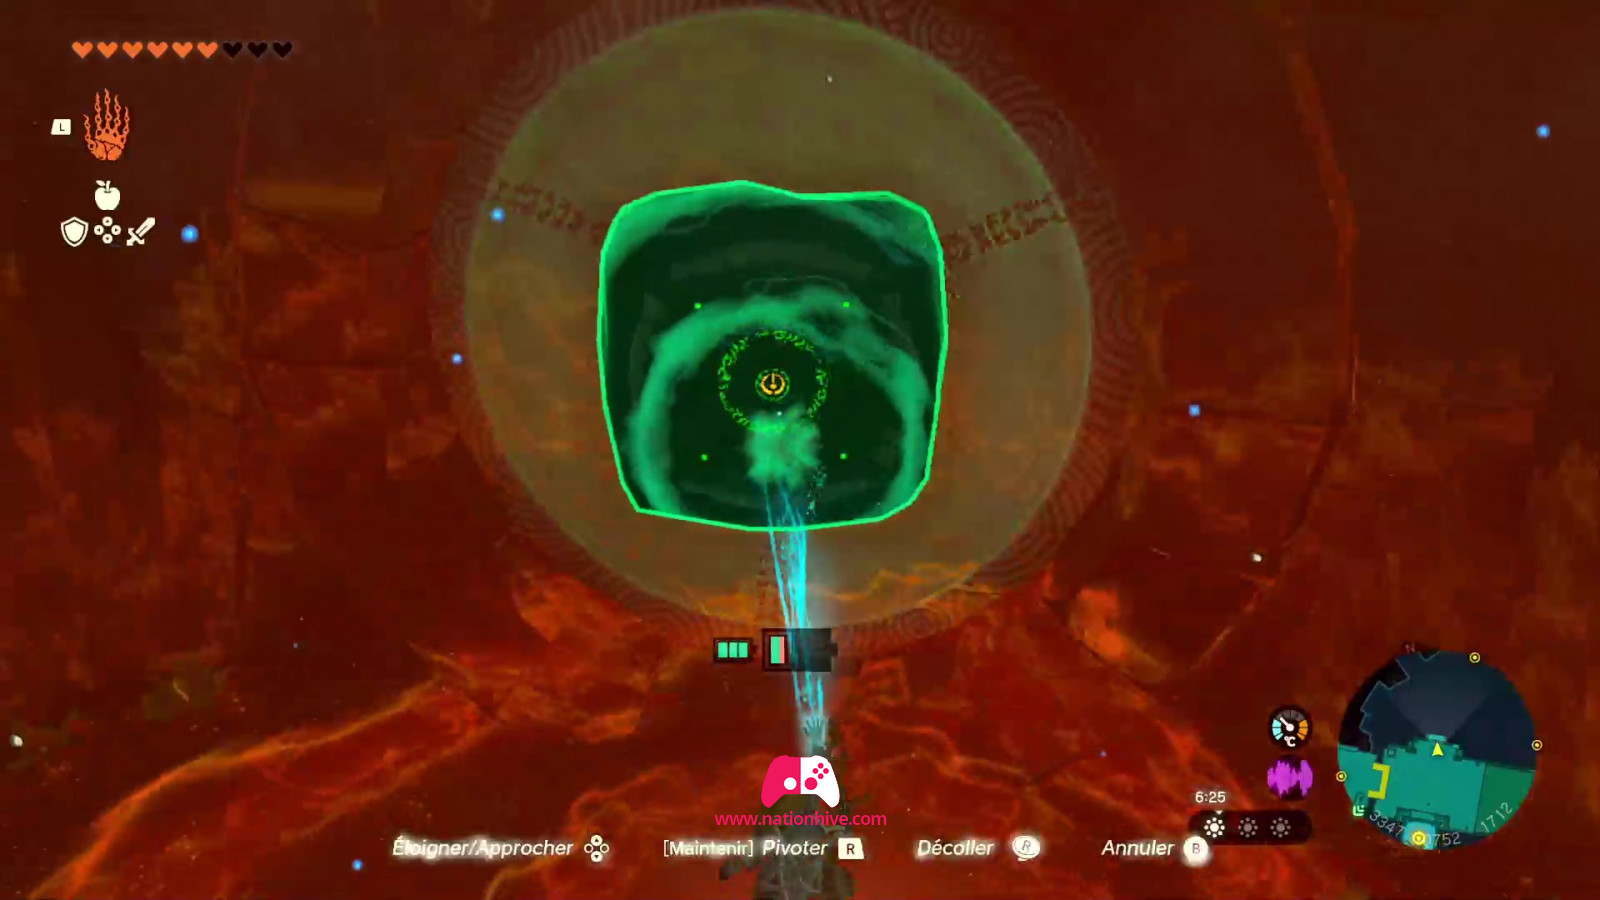
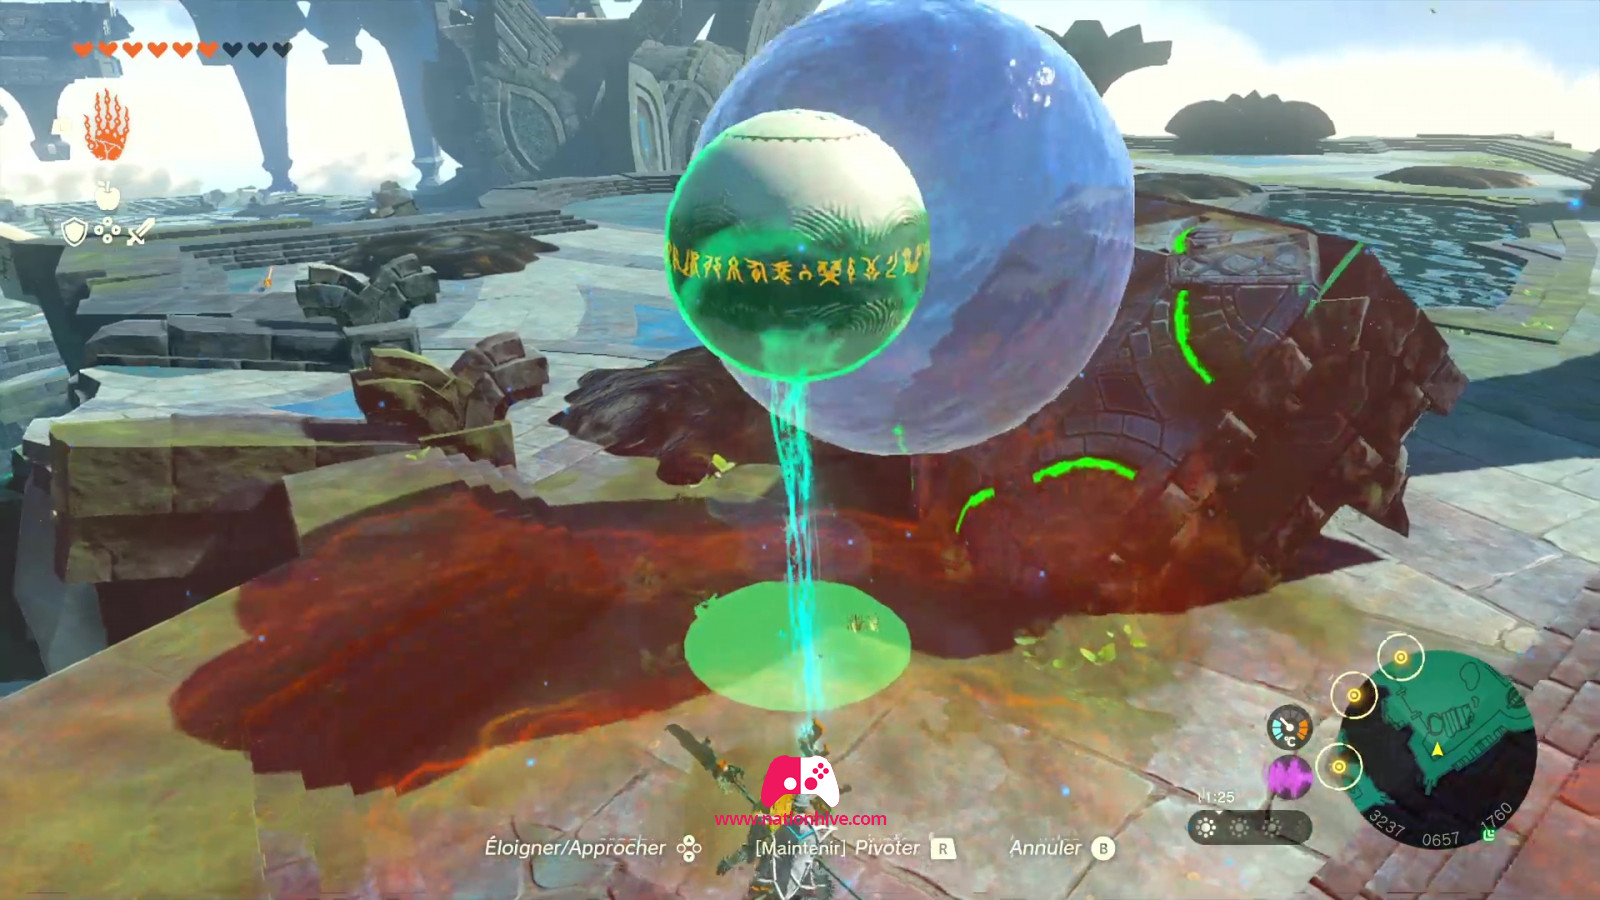
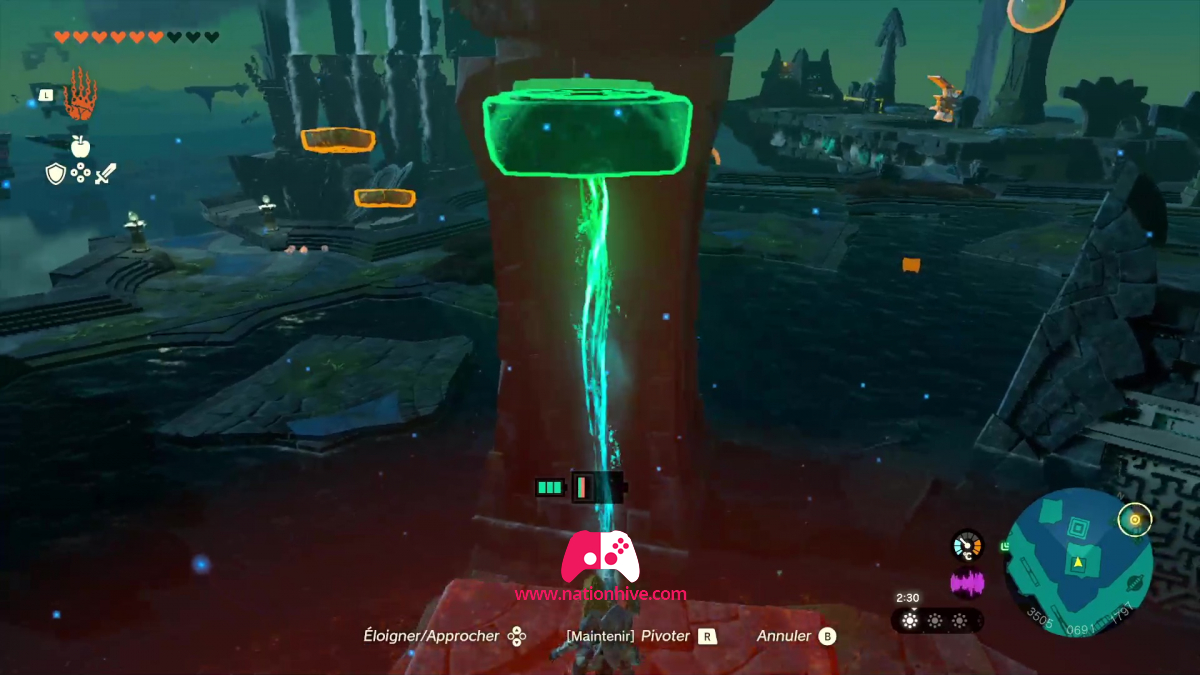
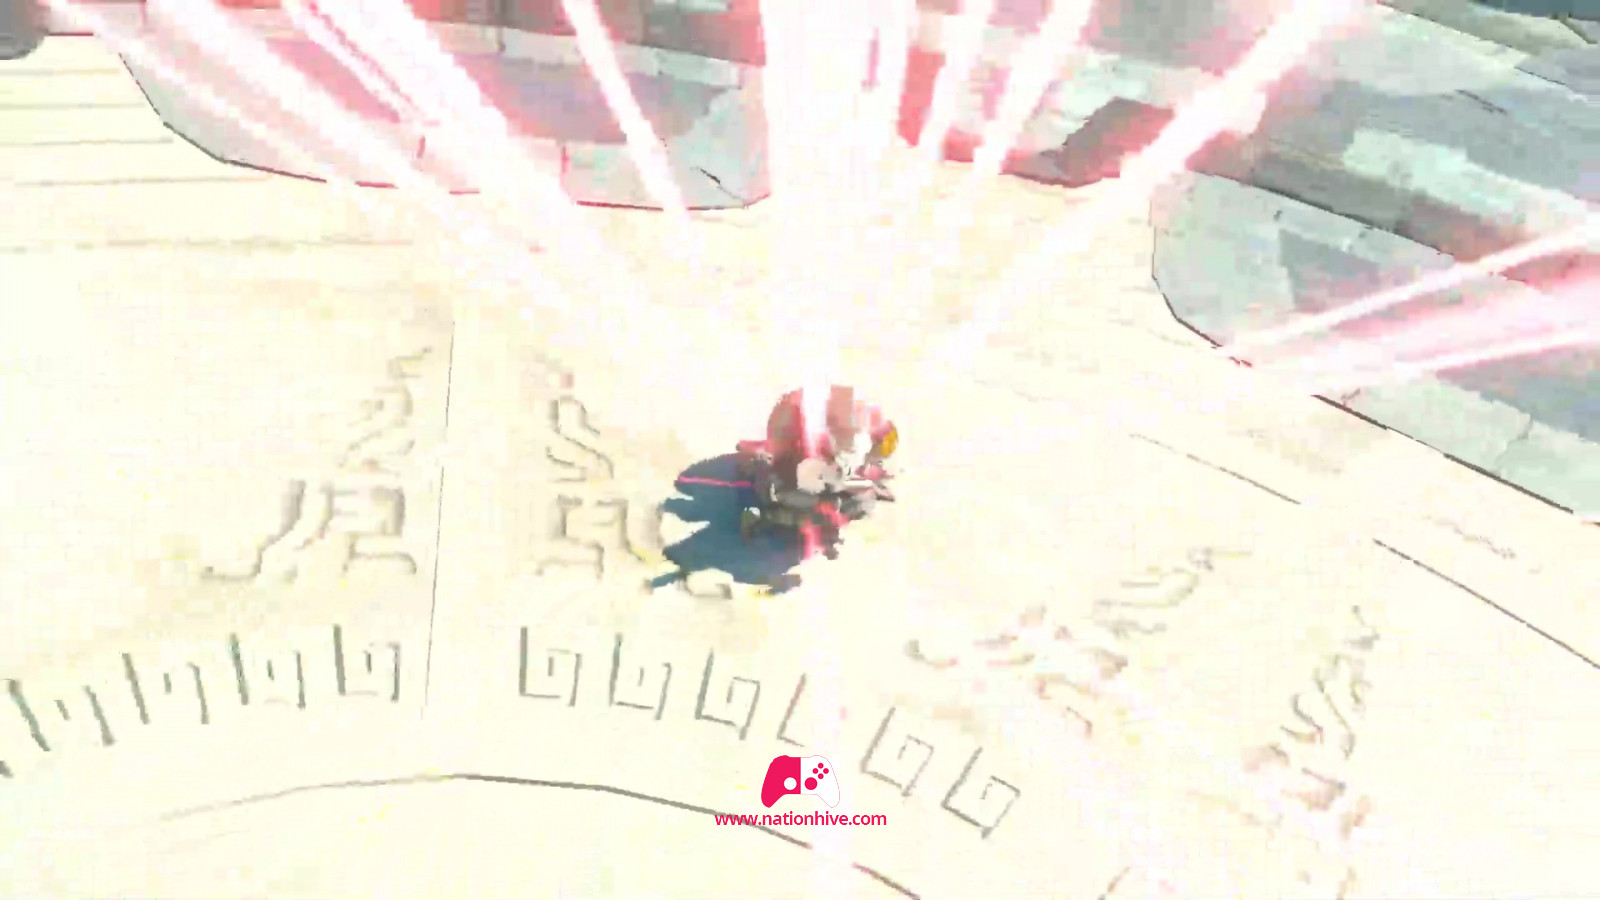
Then place the glued sphere on a platform floating vertically on the disc to gain access to the mechanism (see image below). Face the mechanism and activate Sidon's Power of Water ability. This will cause the water in the first vessel to flow.
How to activate vessel #2 (Water Temple, ground floor)
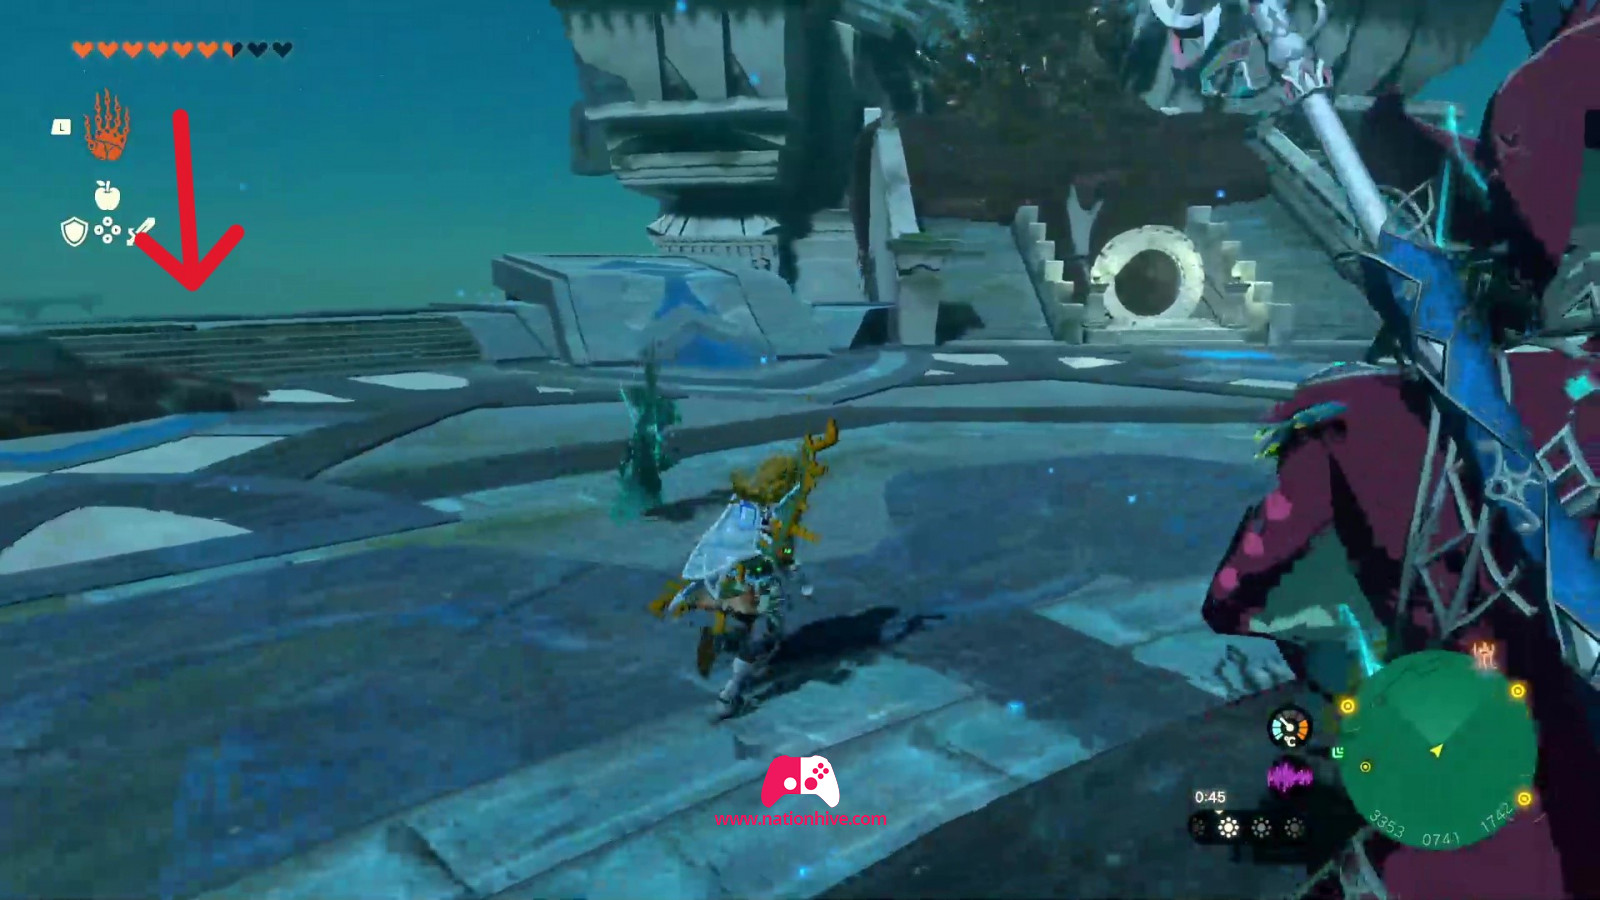
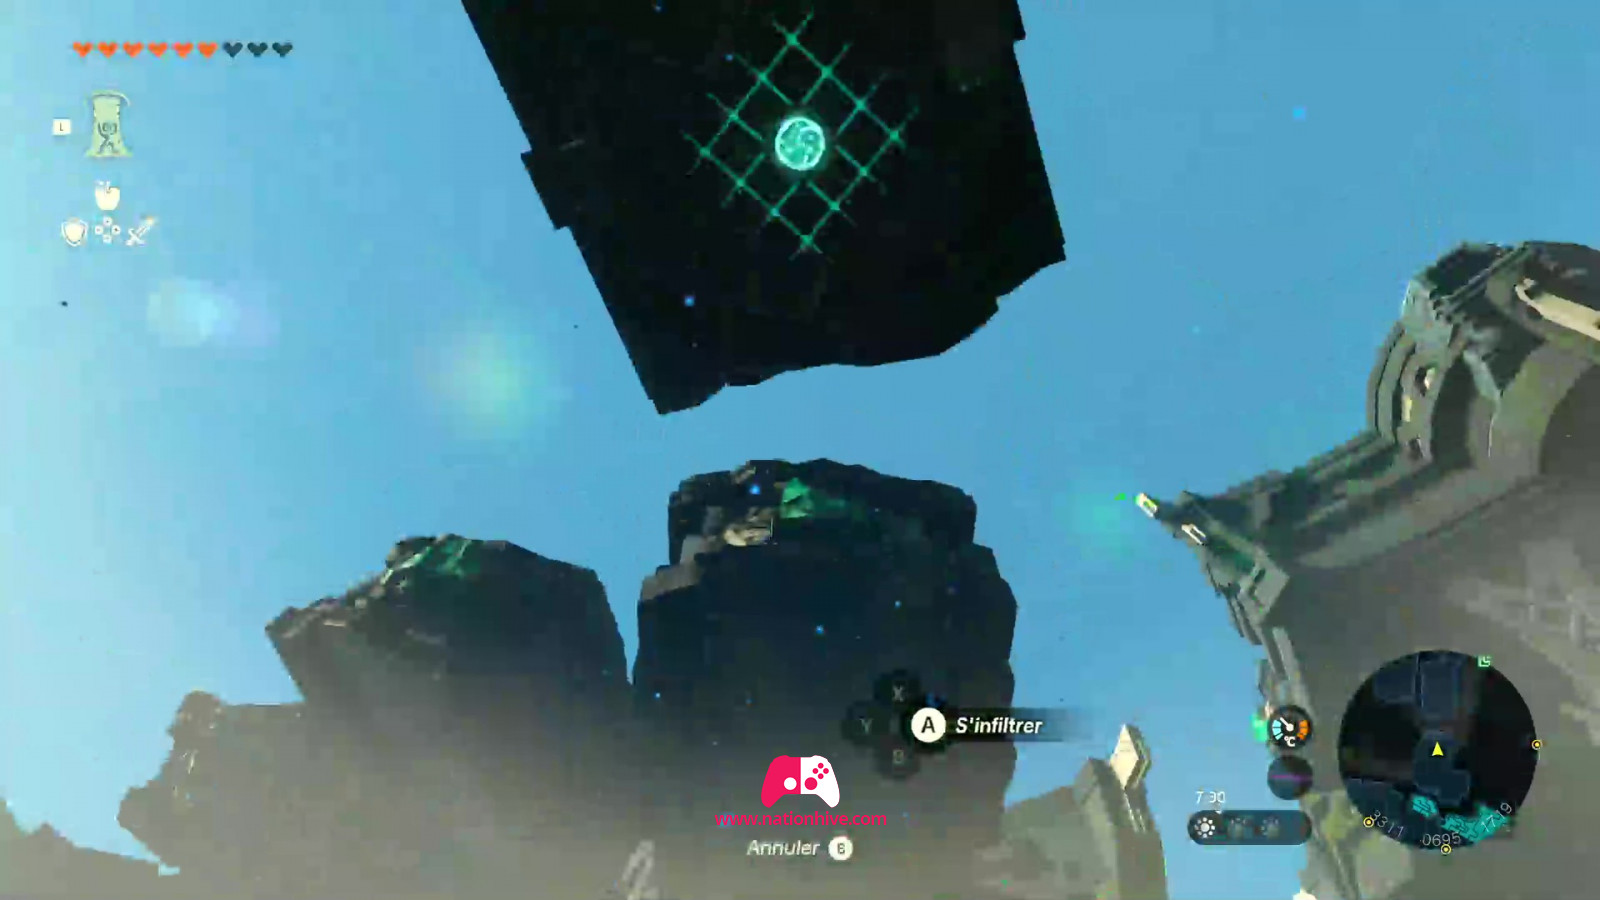
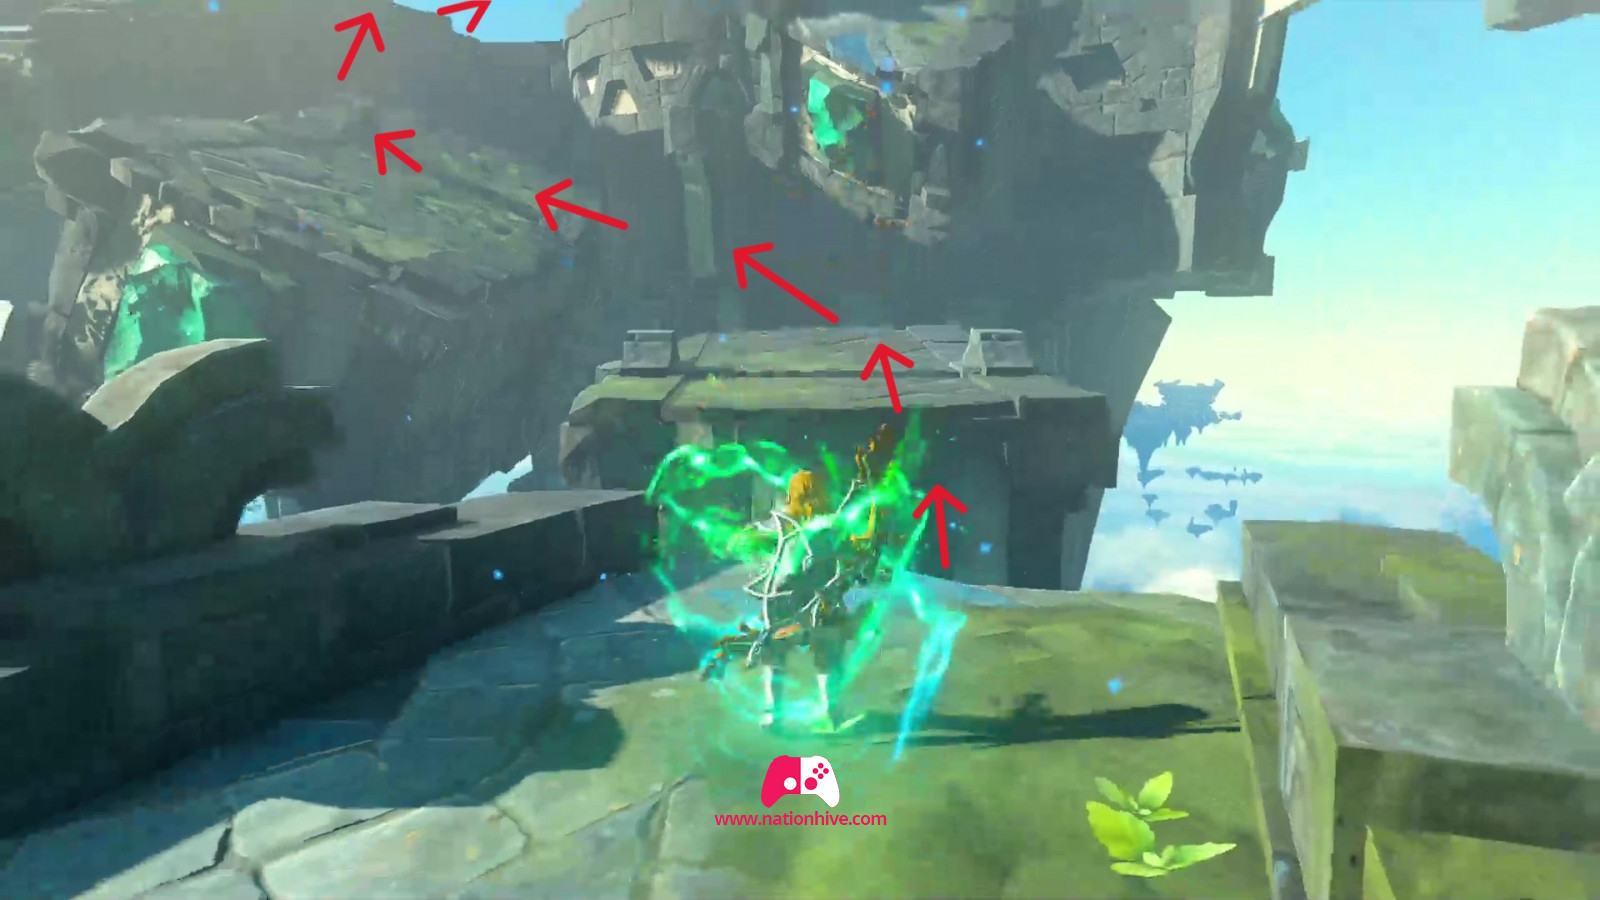
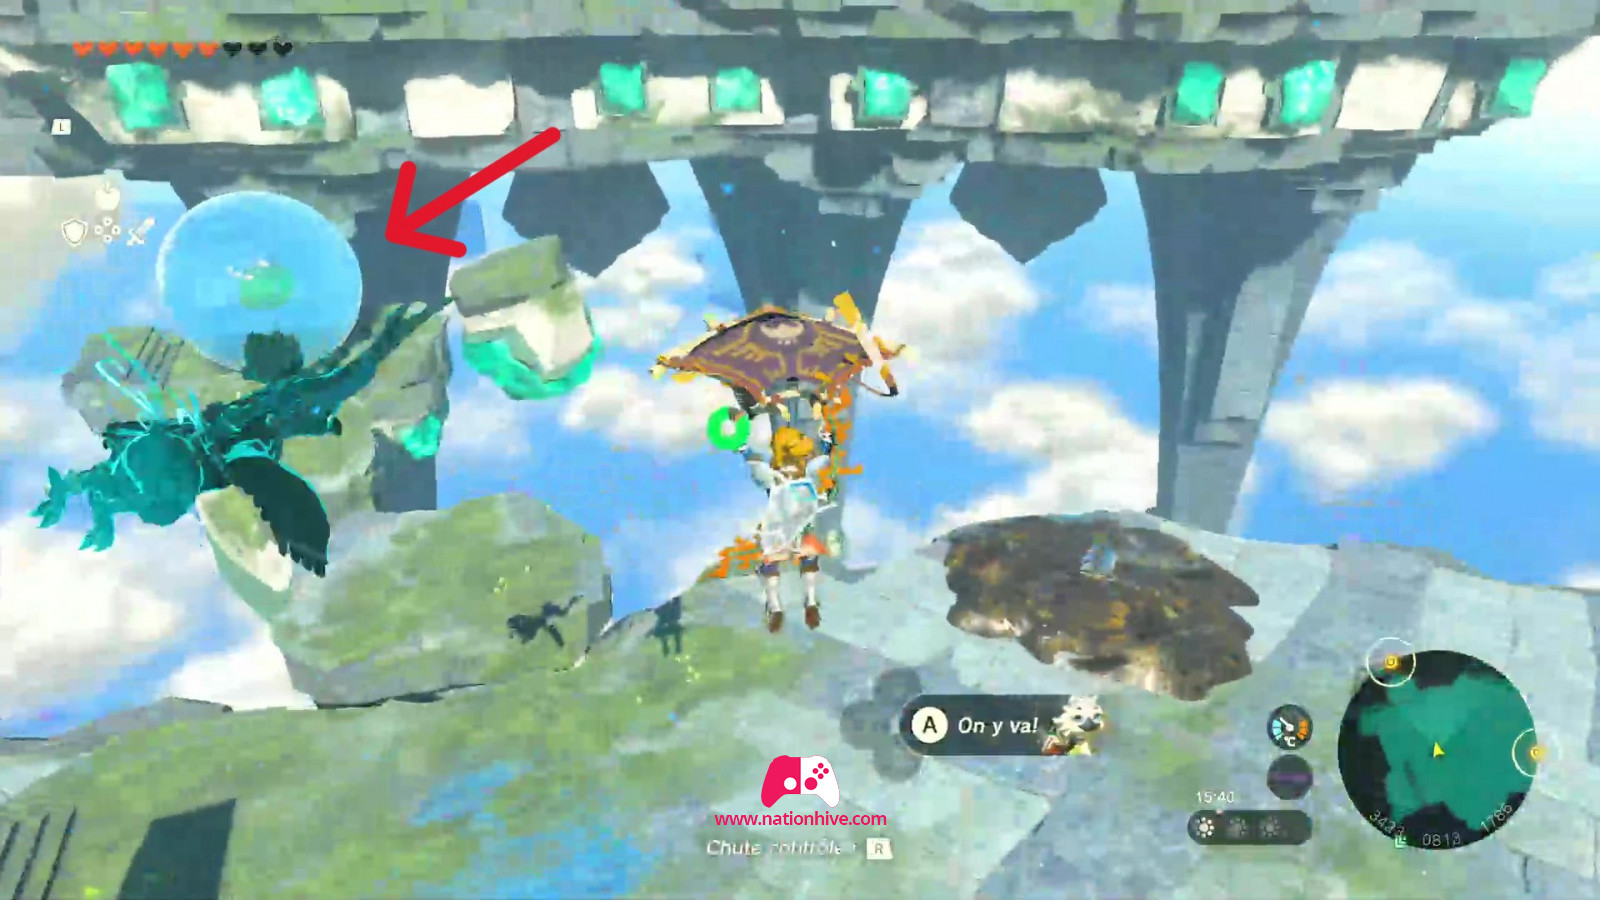
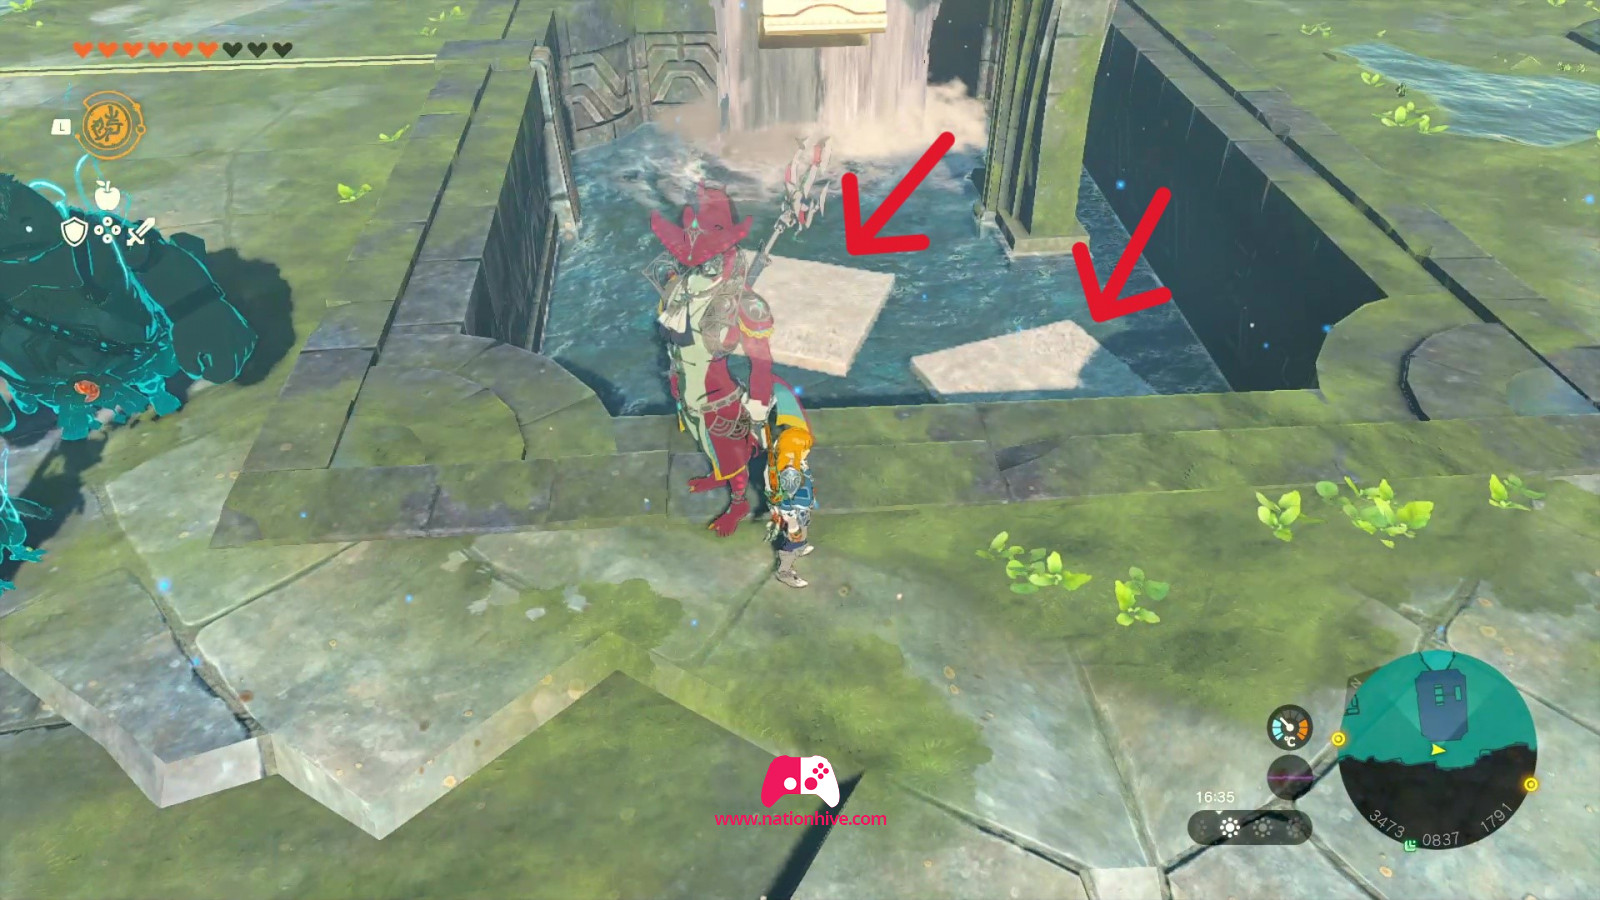
To get to the next vessel, climb the stairs and jump to the water basin on the right (see image below). Then use your Ascend ability to climb to the top floor.
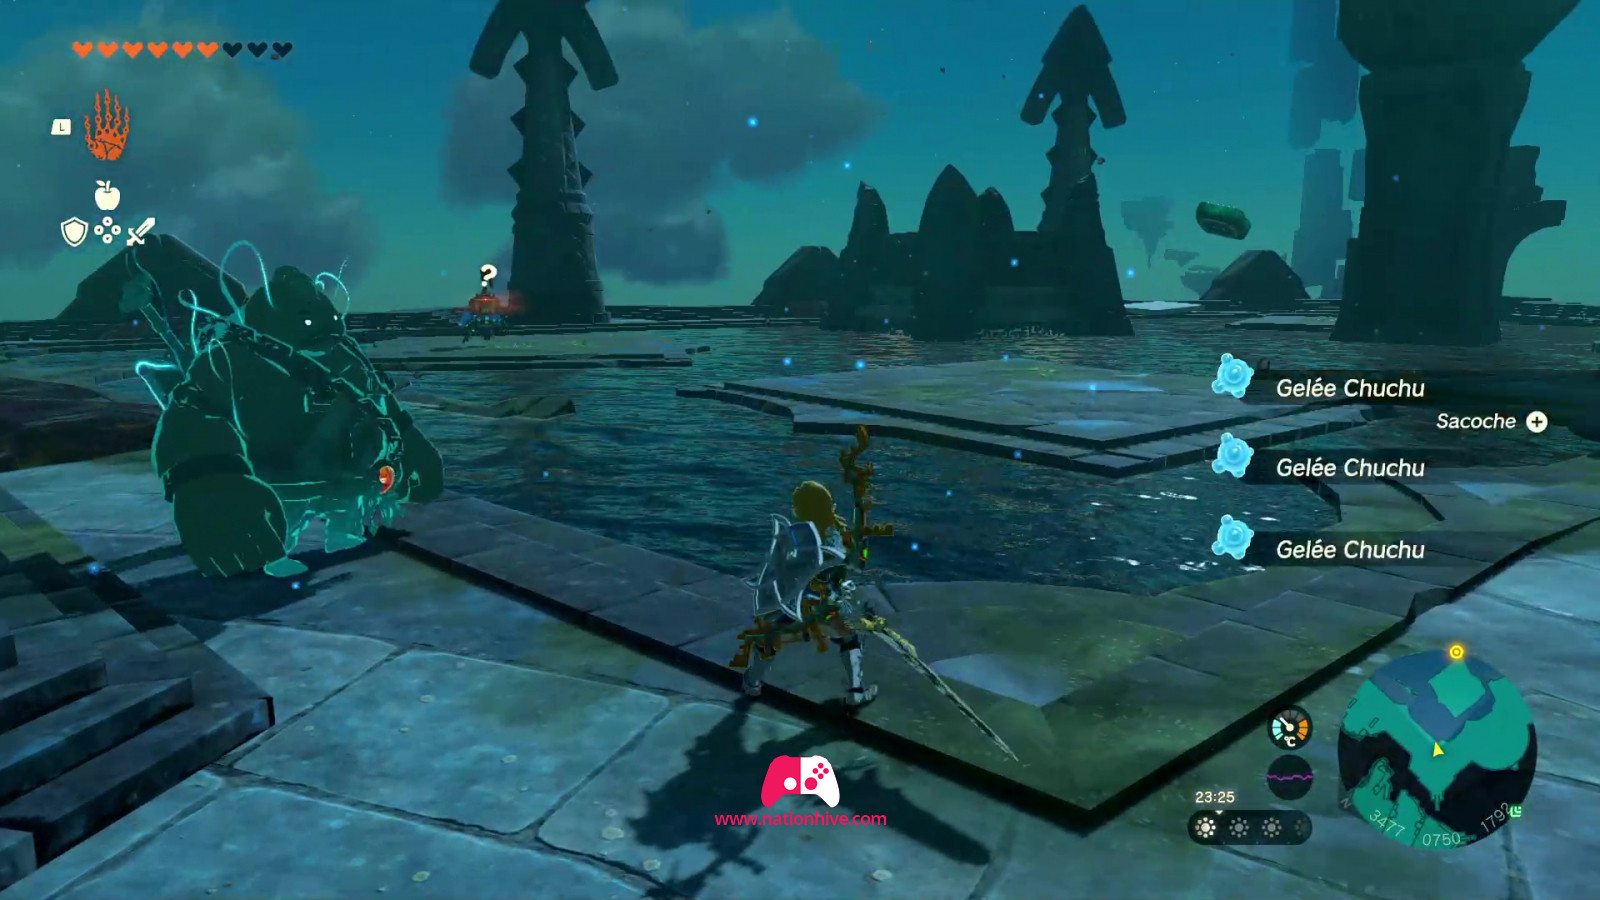
Climb to the top platform and attack the enemies that come your way. You'll see a sphere in the middle of the water and a device covered in sludge. Use a Splash Fruit or a Chuchu Jelly to remove the sludge and move (using Ultrahand ability) the sphere towards the engin which creates water bubbles to move the sphere upwards. Then climb to the next platform in the same way as the sphere.
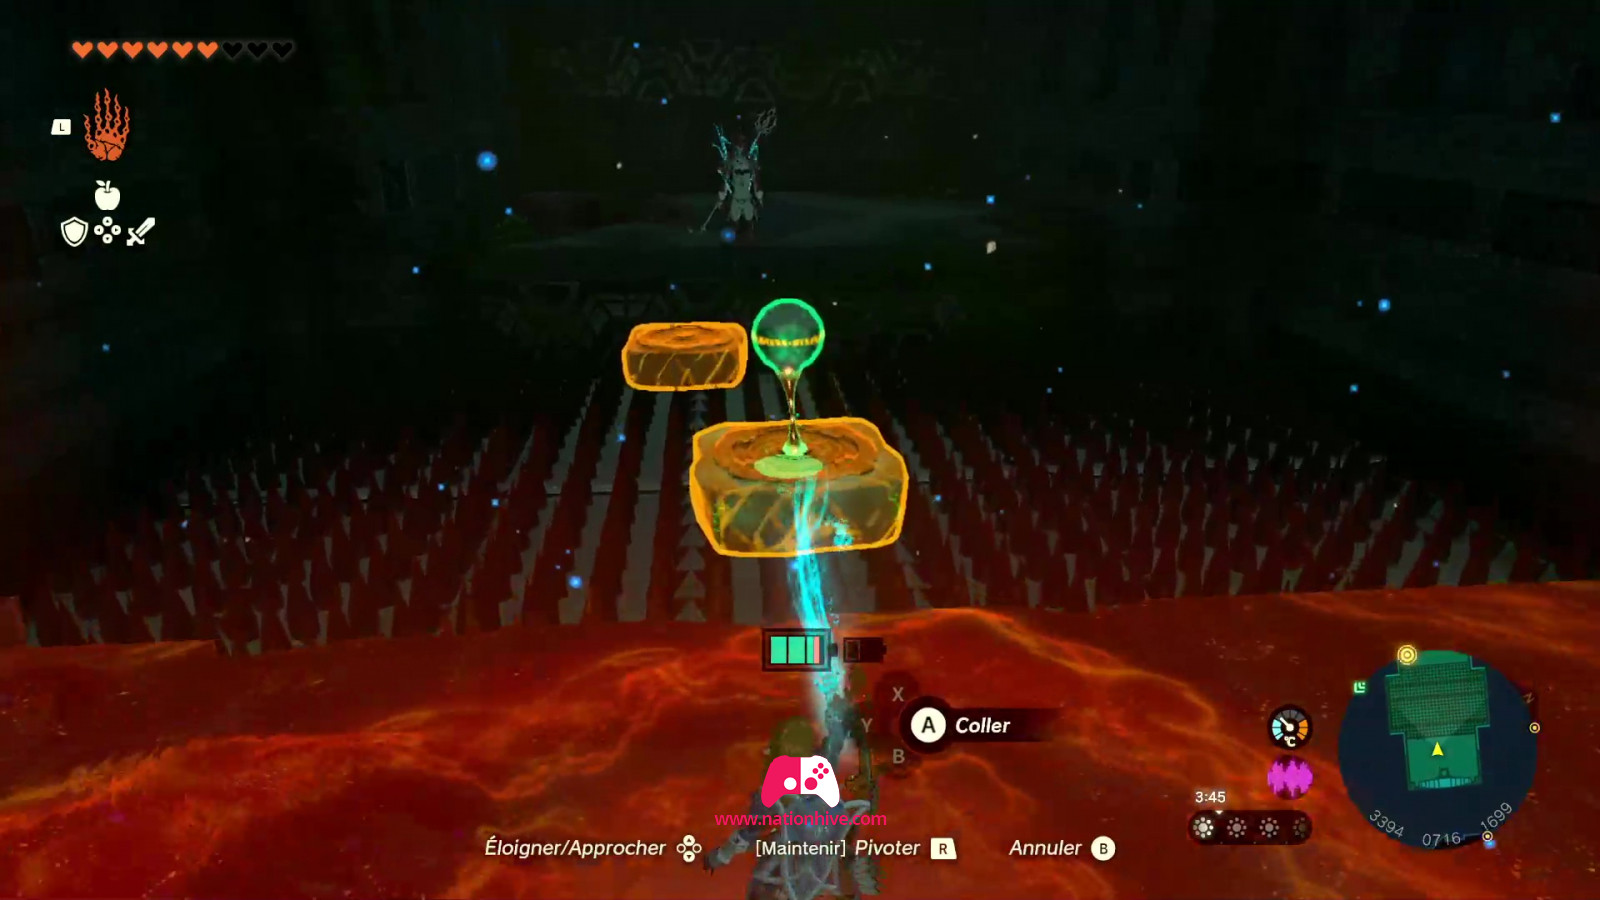
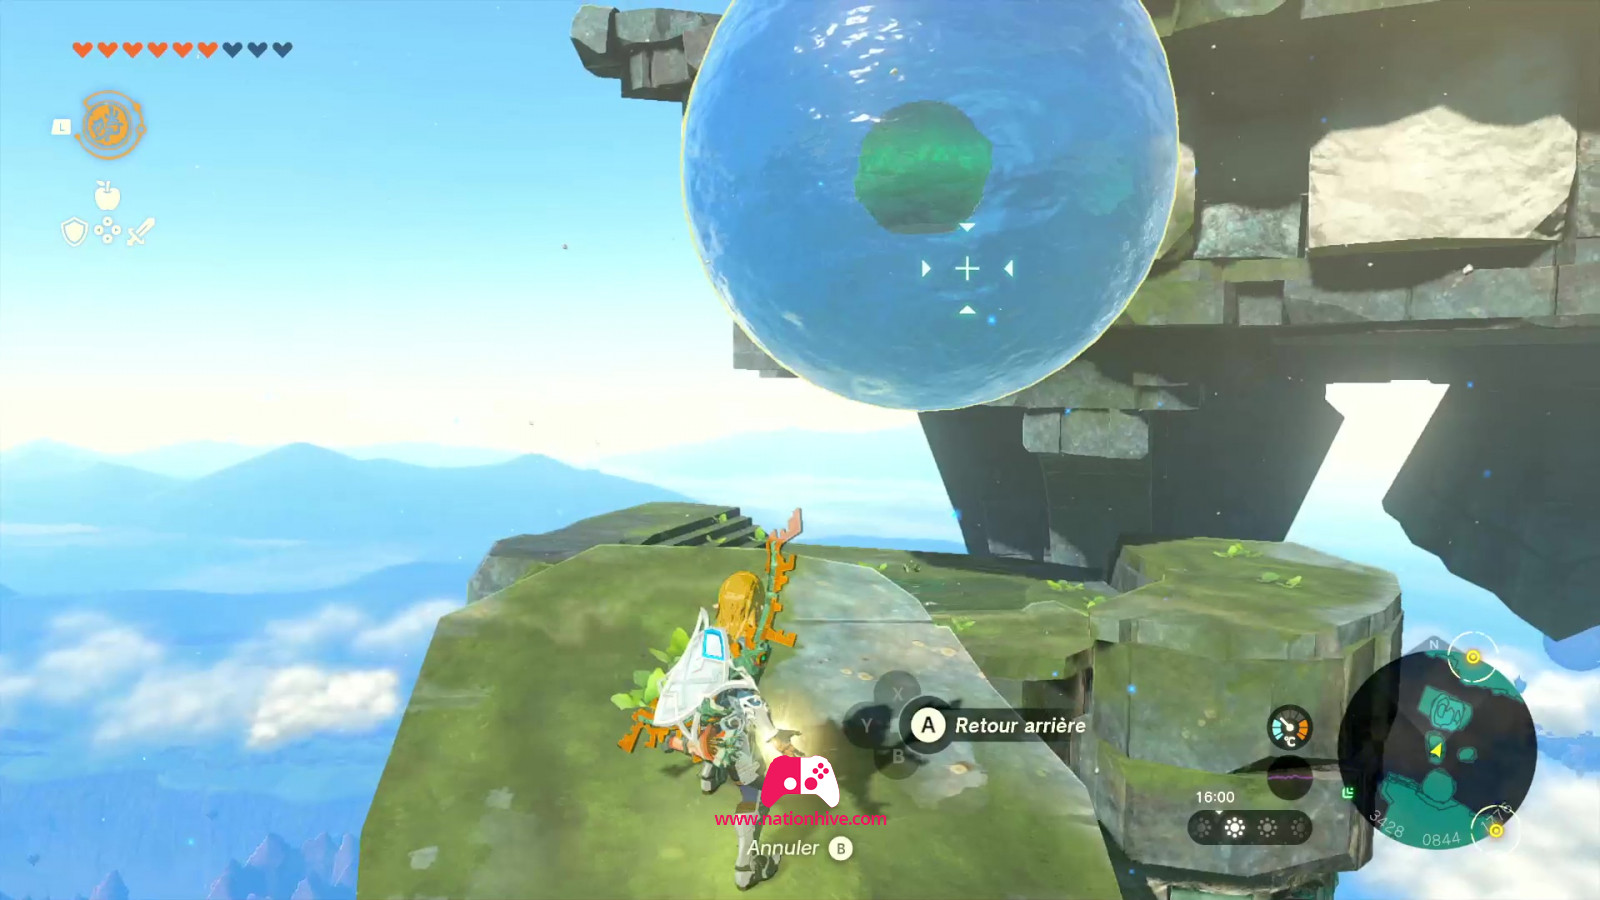
First, place the sphere in the water where the orange circle is. Use the Ultrahand ability to lift the structure upwards (see images below). This action will lower the water and unlock access to the mechanism. Face the mechanism and activate Sidon's Power of Water ability. This will release the water contained in the second vessel.

How to activate vessel #3 (Water Temple, ground floor)
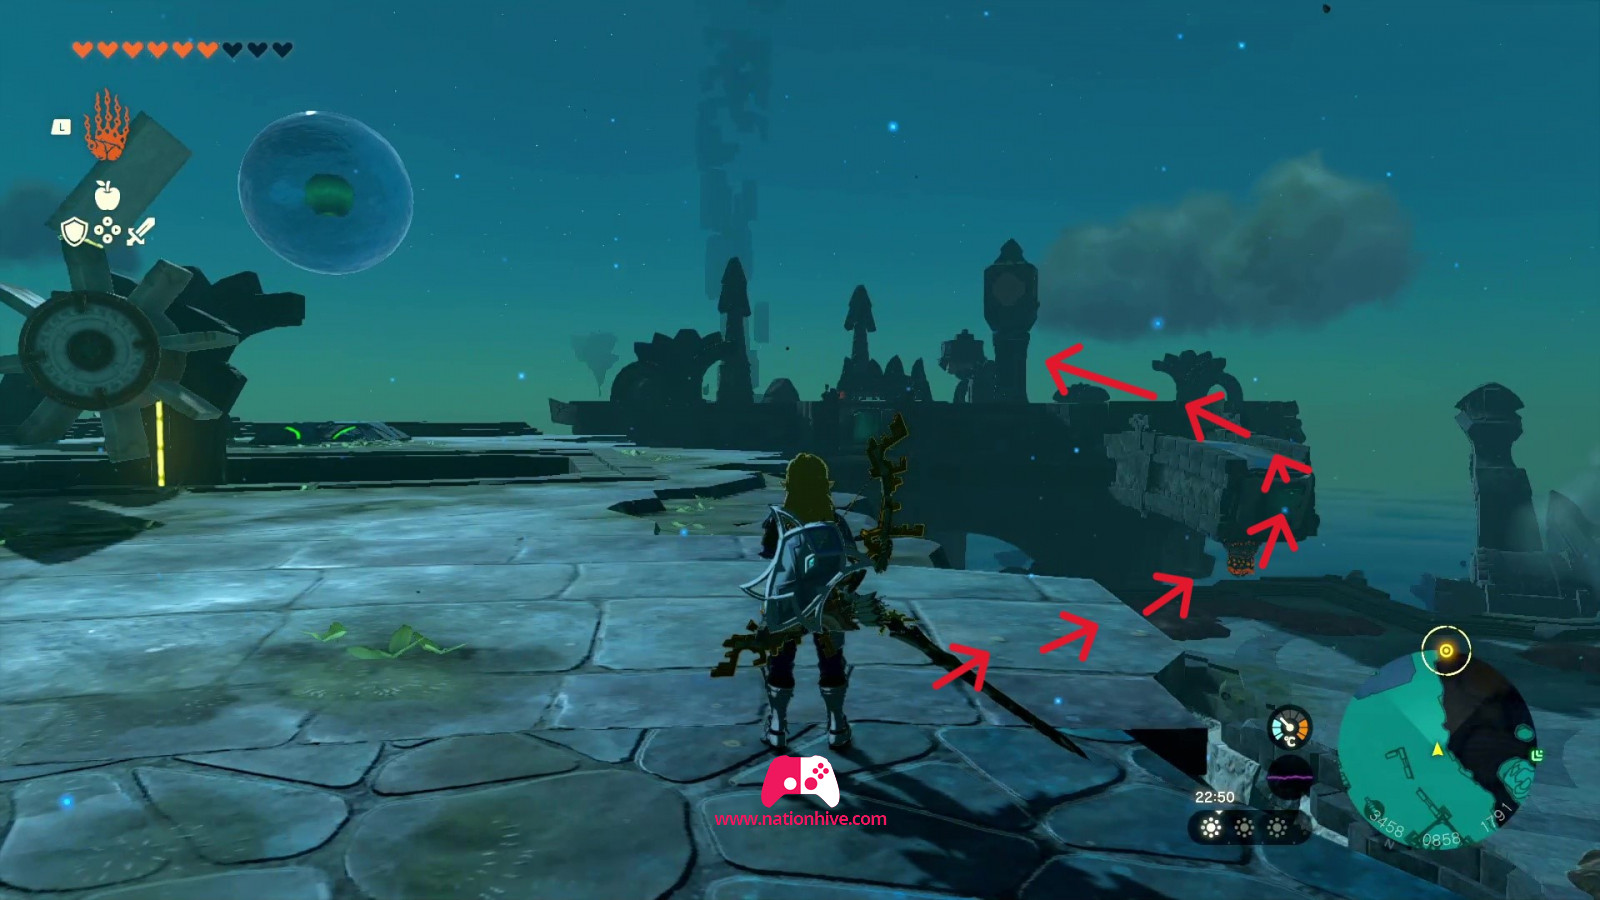
Then head for the large round platform (see picture below), to get to the third vessel, you'll want to climb onto the top platform.

To climb up, you'll need to remove the sludge covering a water jet. Equip yourself with a Zora Armor and use Sidon's ability or use the Fuse ability on the water bubble and then throw the spear towards the sludge at the top. Jump towards the water jet to project yourself upwards.
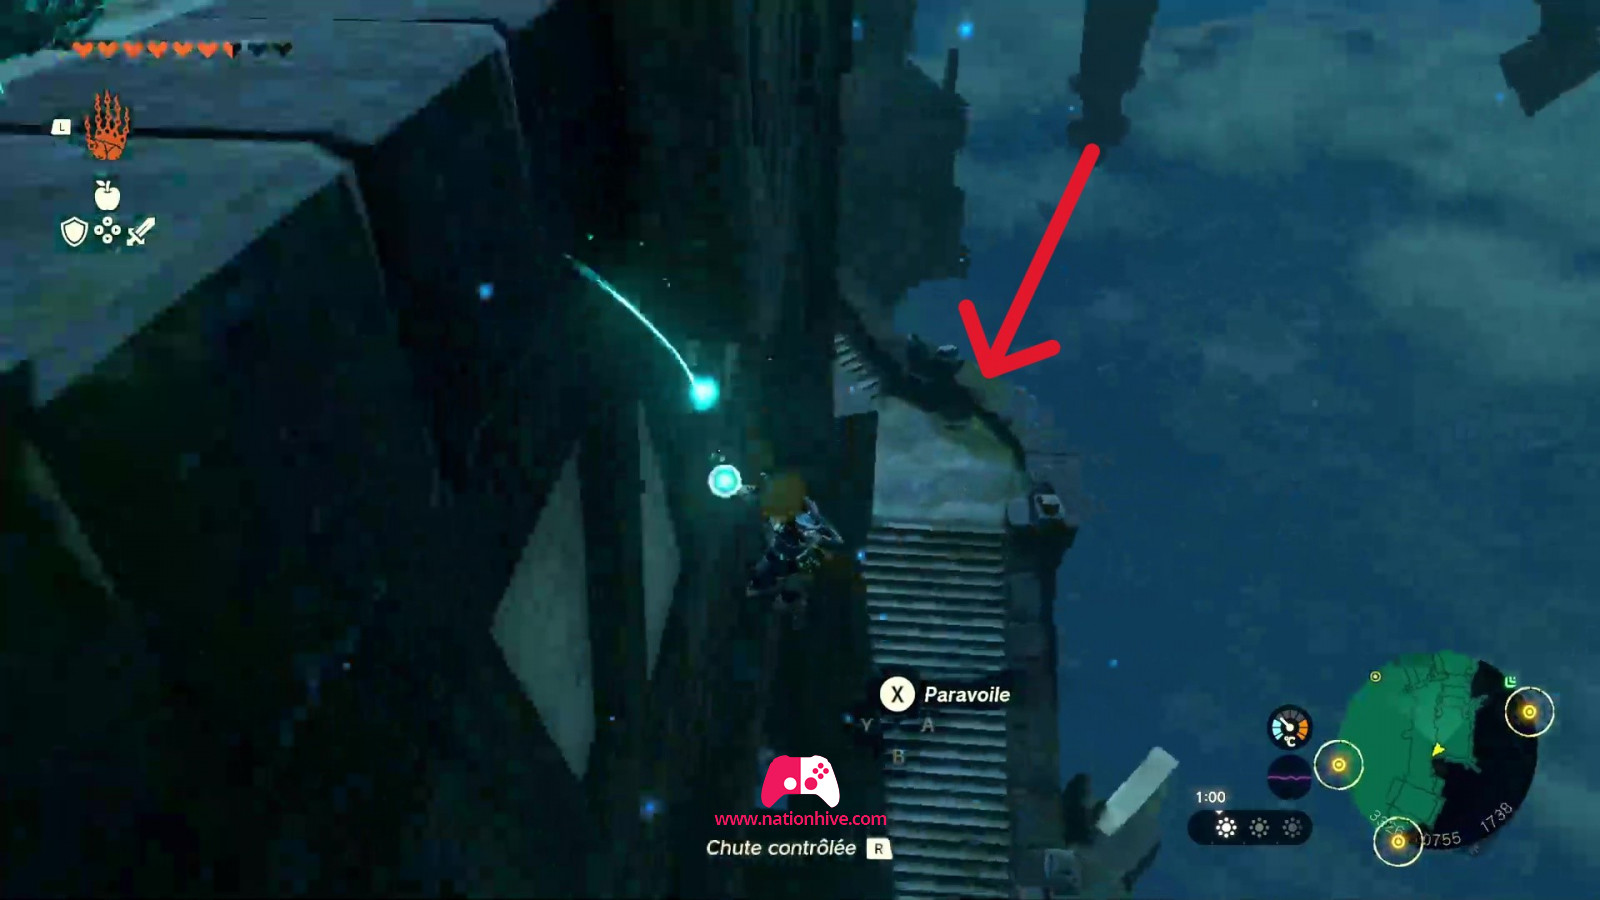
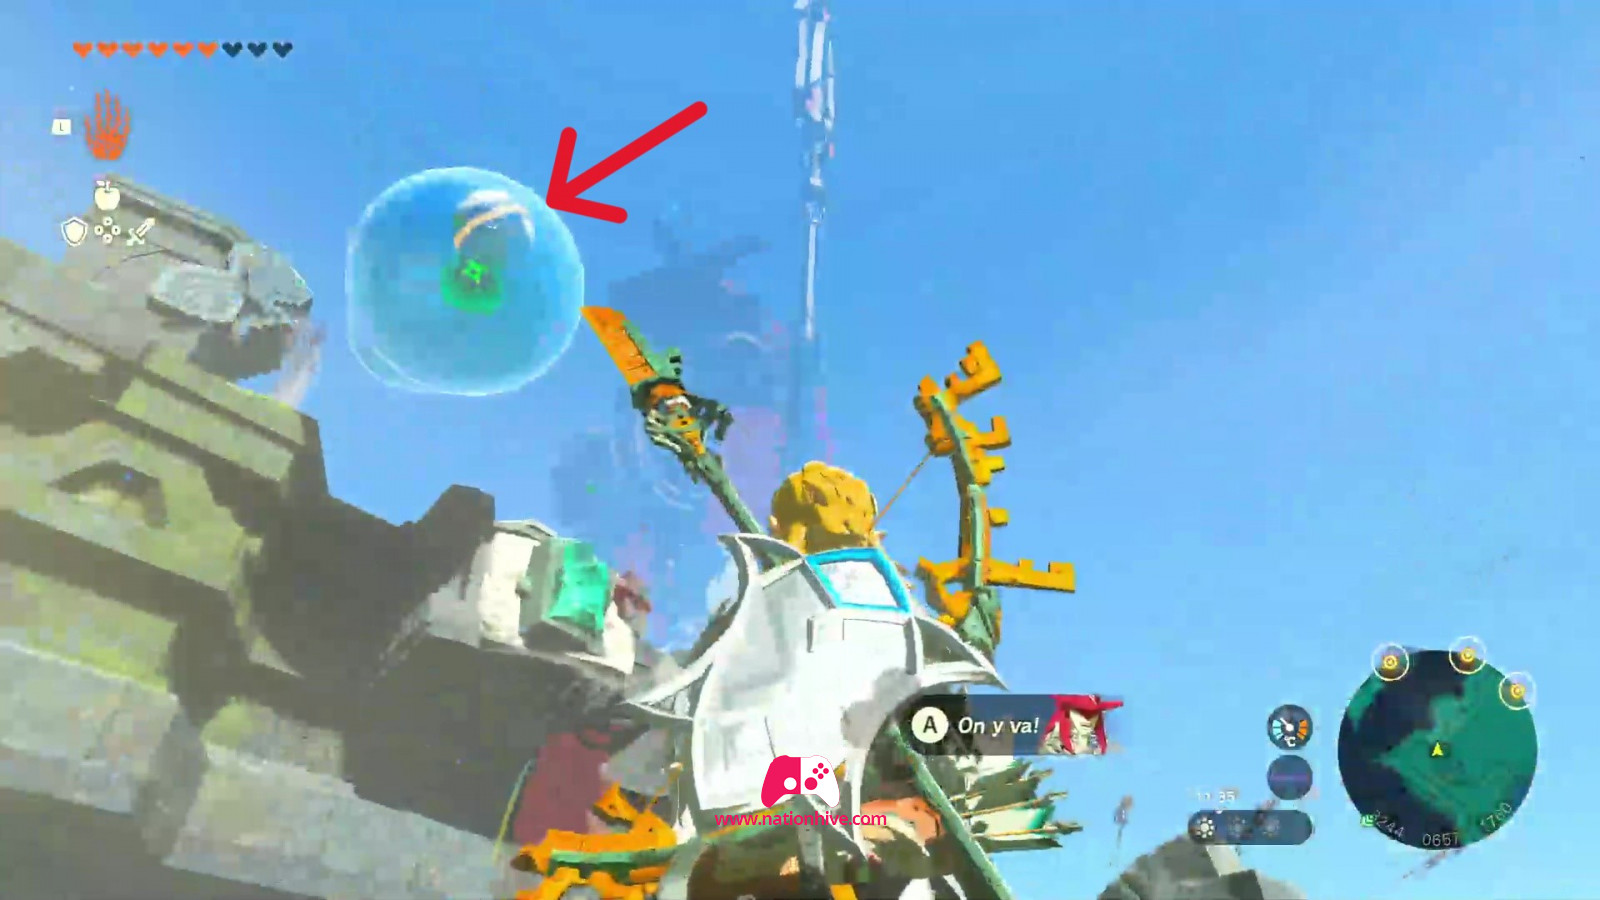
Then head for the water bubble on the left and use Recall ability on the bubble before boarding it to climb to the upper platform.
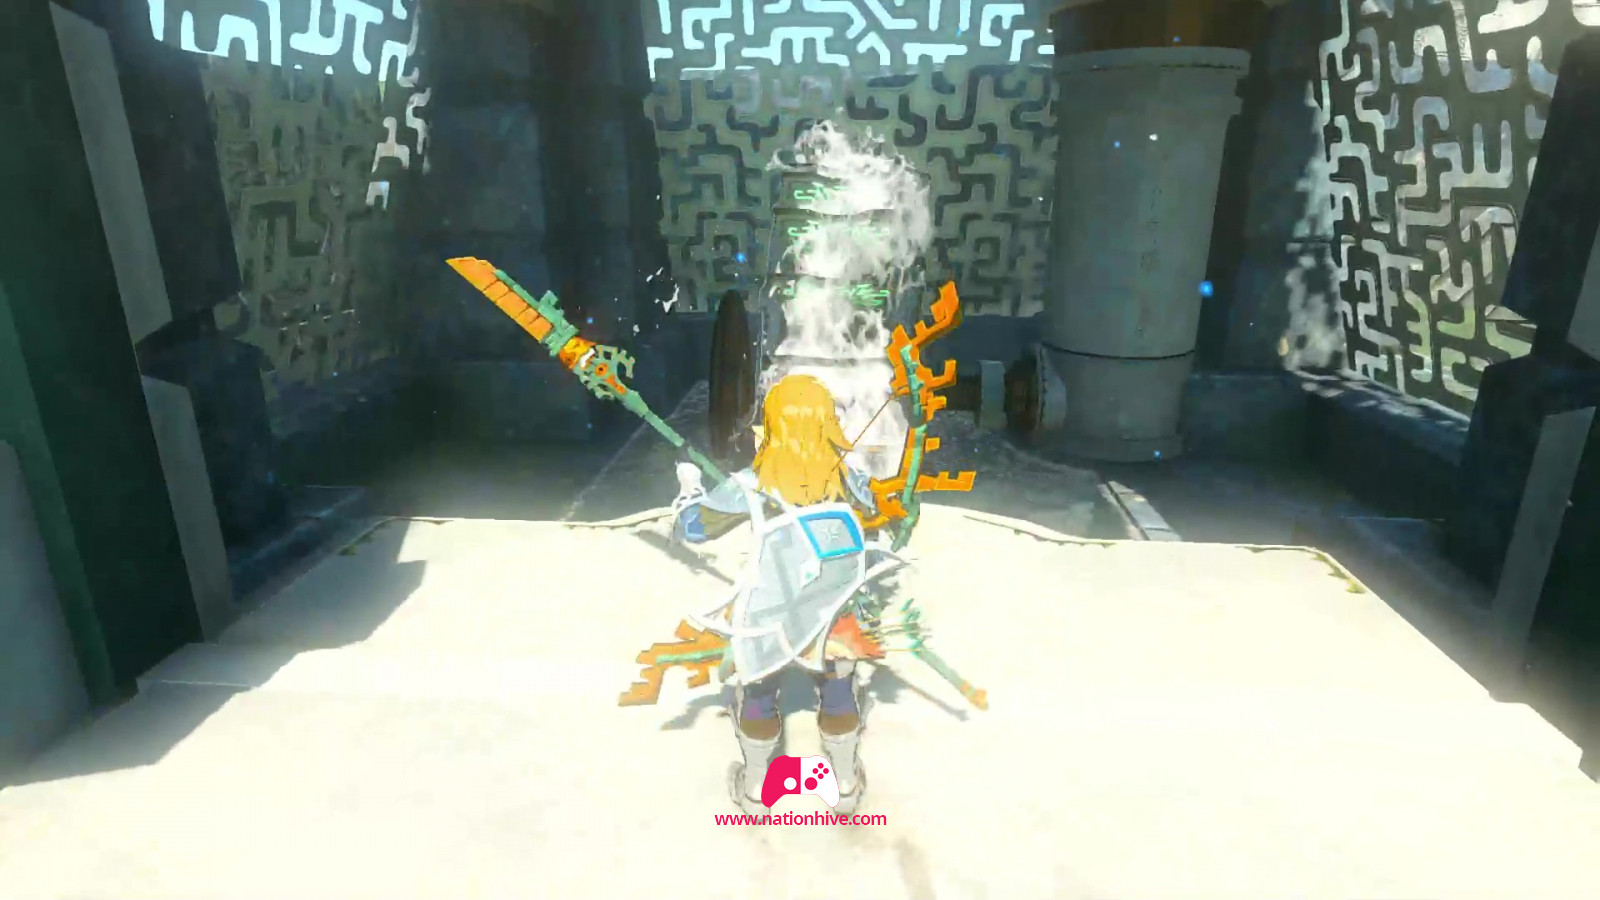
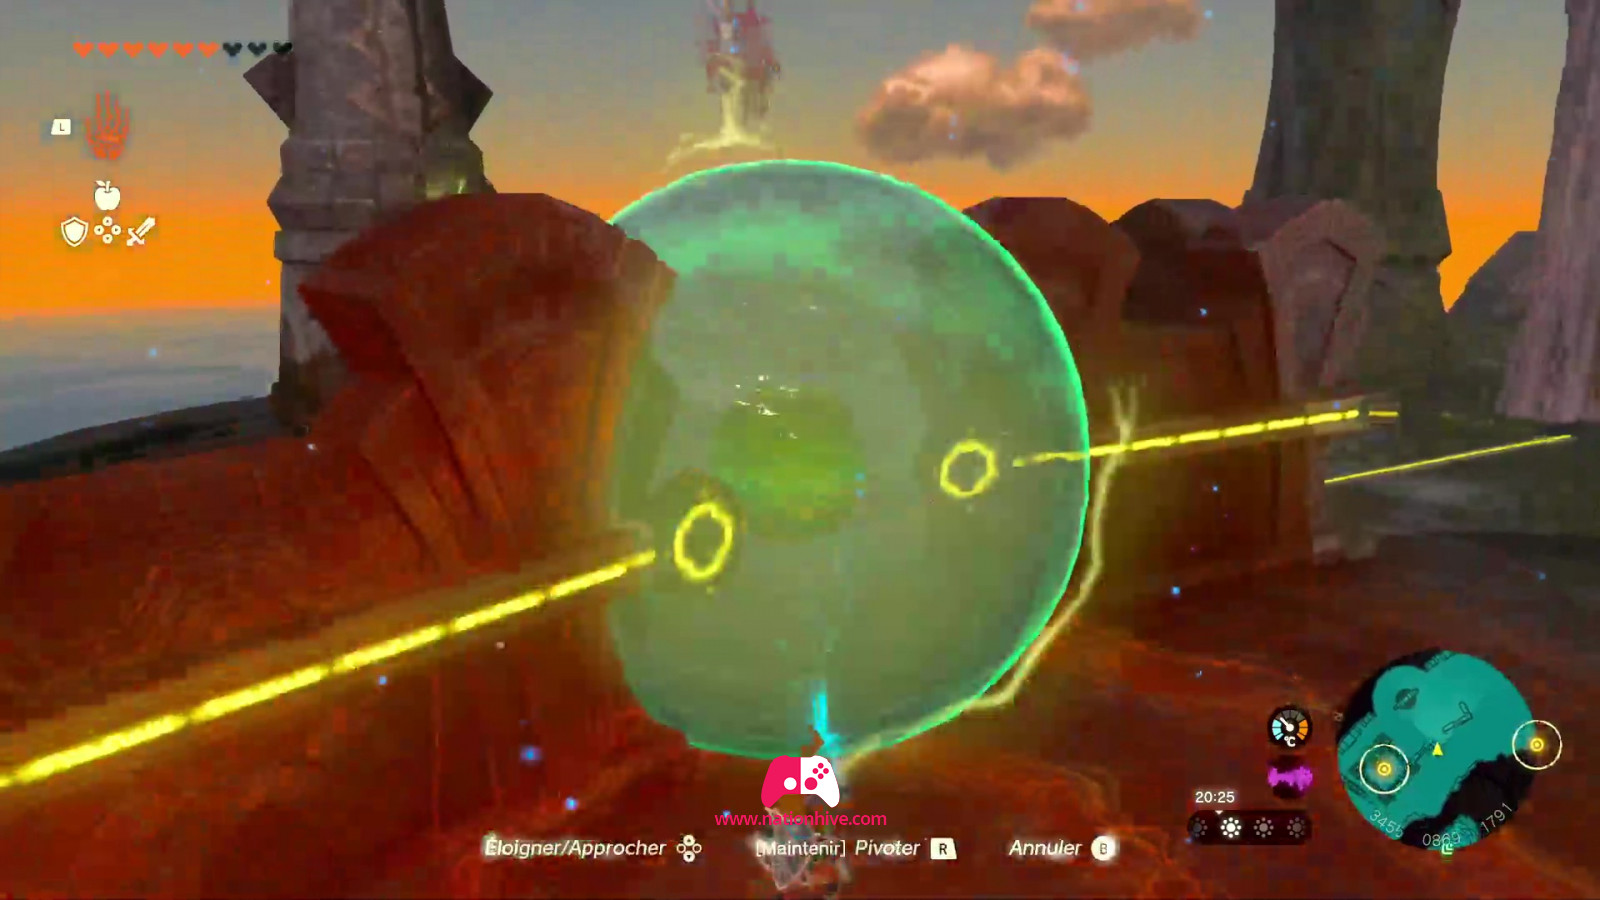
At the top, you'll see 2 power lines, a structure and a waterfall. Stick the 2 squares in the water on the structure to create a fan that will generate electricity. Then go back to the 2 power lines and use the Ultrahand ability on a water bubble to place it between the 2 lines, allowing electricity to pass through from both sides. This will unlock access to the mechanism. Face the mechanism and activate Sidon's Power of Water ability. This will make the water in the third vessel flow.
How to activate vessel #4 (Water Temple, ground floor)
To get to the last vessel, move towards the rotating structure. Attack all the enemies and then head for the cube opposite the rotating structure.
Once you're standing on the structure, place a floating green platform opposite it so that you're at the right height. Then use the Ascend ability to climb onto the floating platform. Once facing the rotating structure, you'll see an orange cone covered in sludge inside the structure. You'll need to shoot an arrow at this cone.
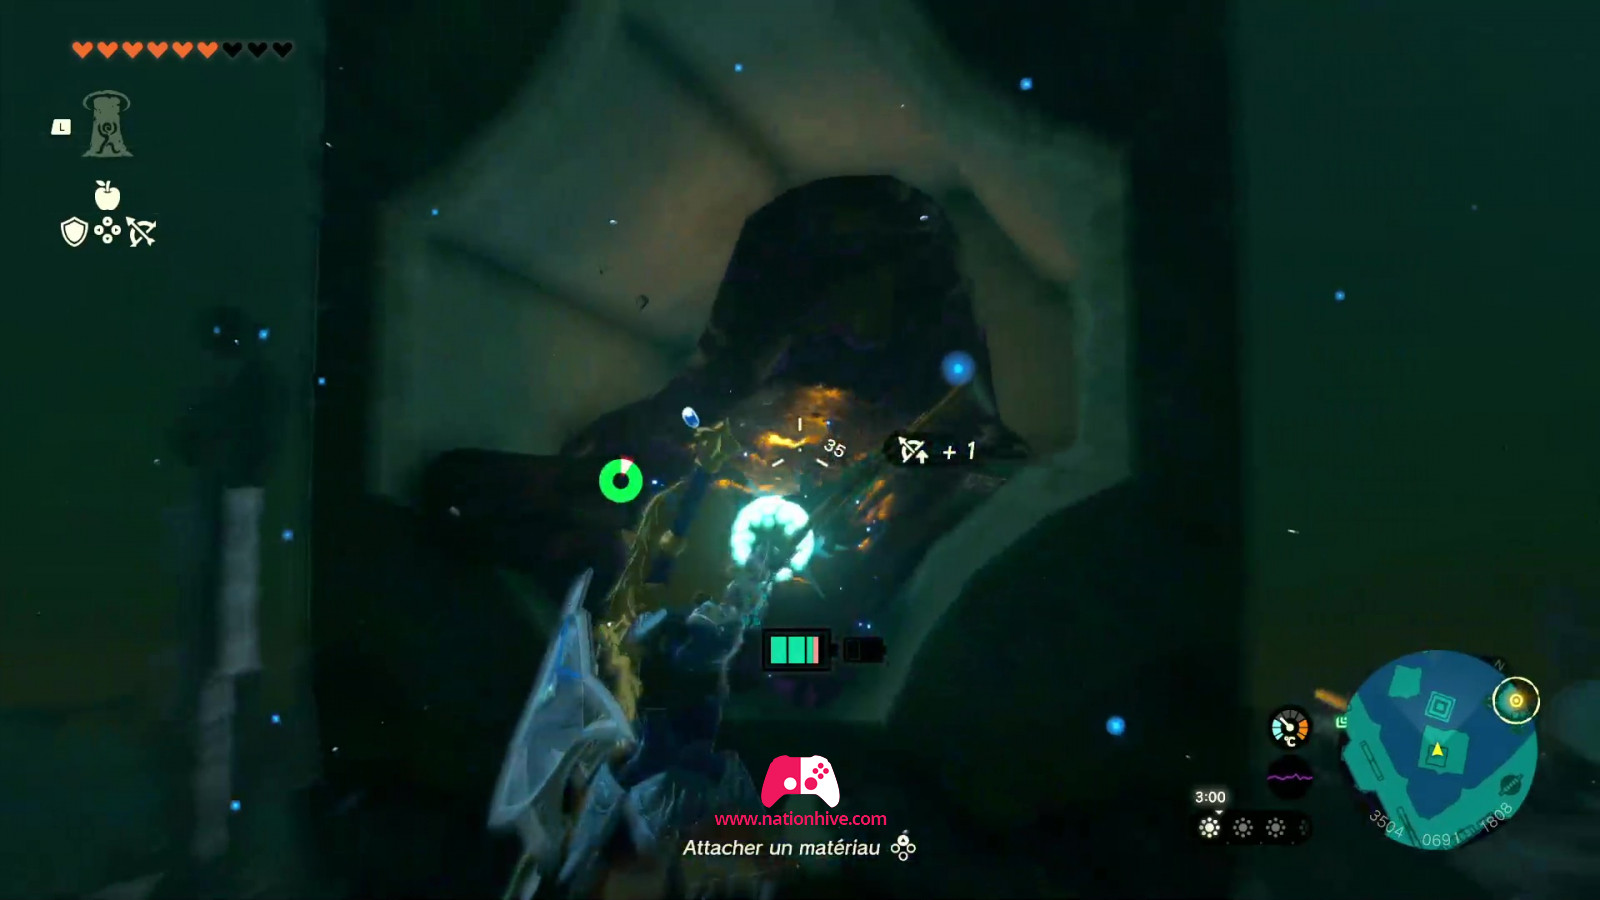
To do this, jump into the air and press the corresponding button to fire an arrow equipped with a Splash Fruit to remove the sludge covering the orange cone. As you shoot the arrow into the air, everything will slow down. Take the time to shoot (the Splash Fruit arrow) when the orange cone is facing you. Then repeat the process with a normal arrow, since the sludge has normally been removed.

This action will unlock access to the mechanism on the floor to the right. Face the mechanism and activate Sidon's Power of Water ability. This will release the water contained in the fourth and final vessel.
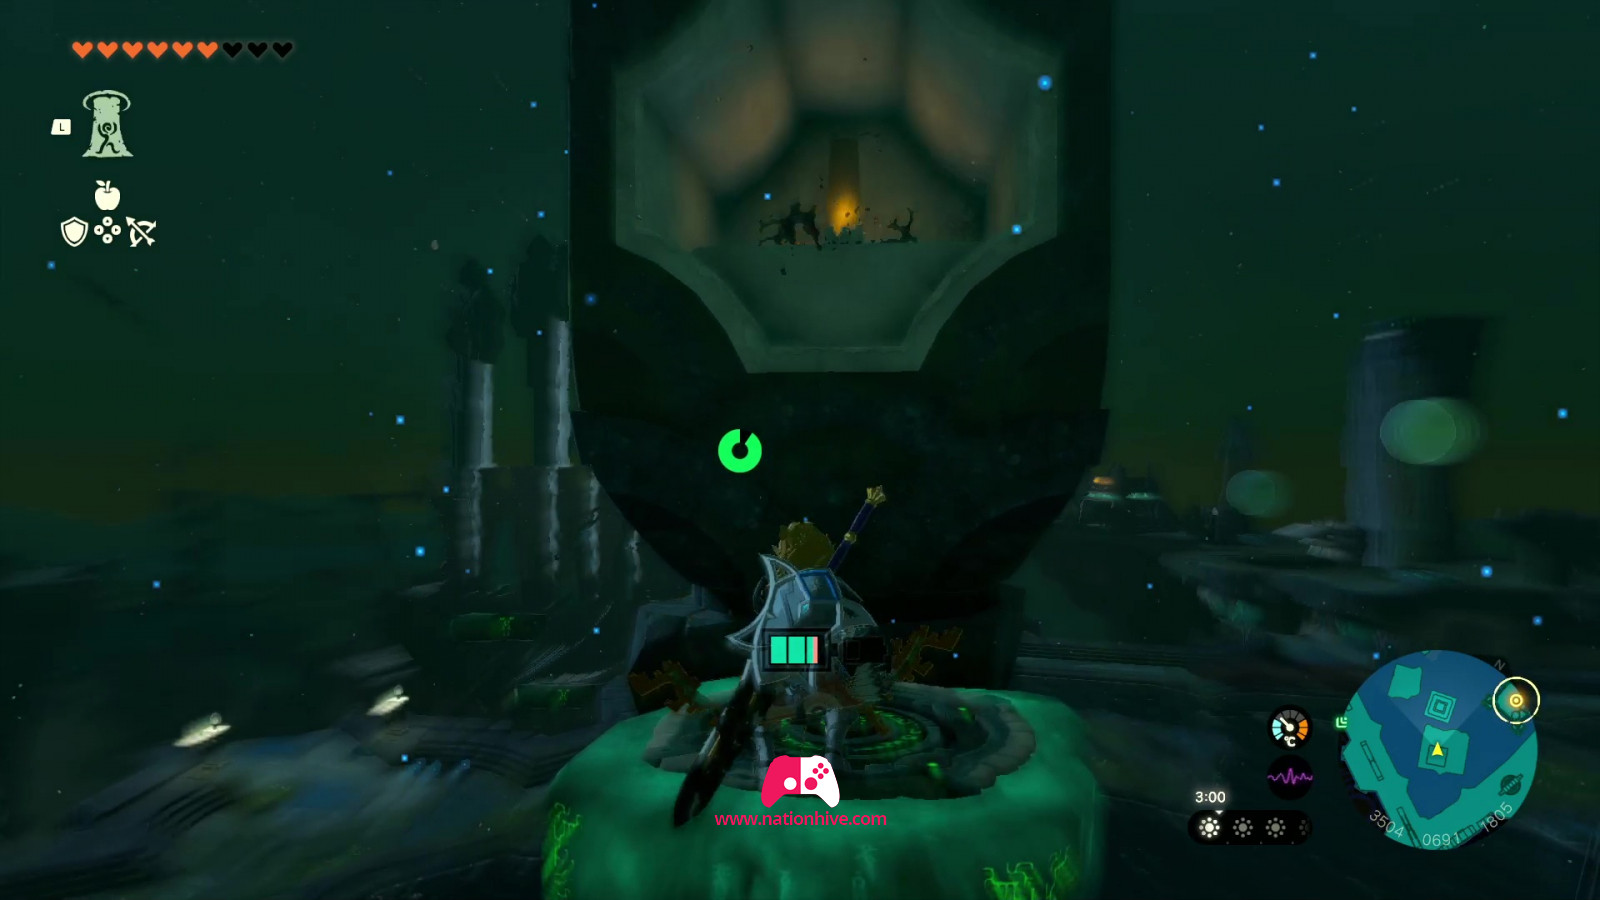
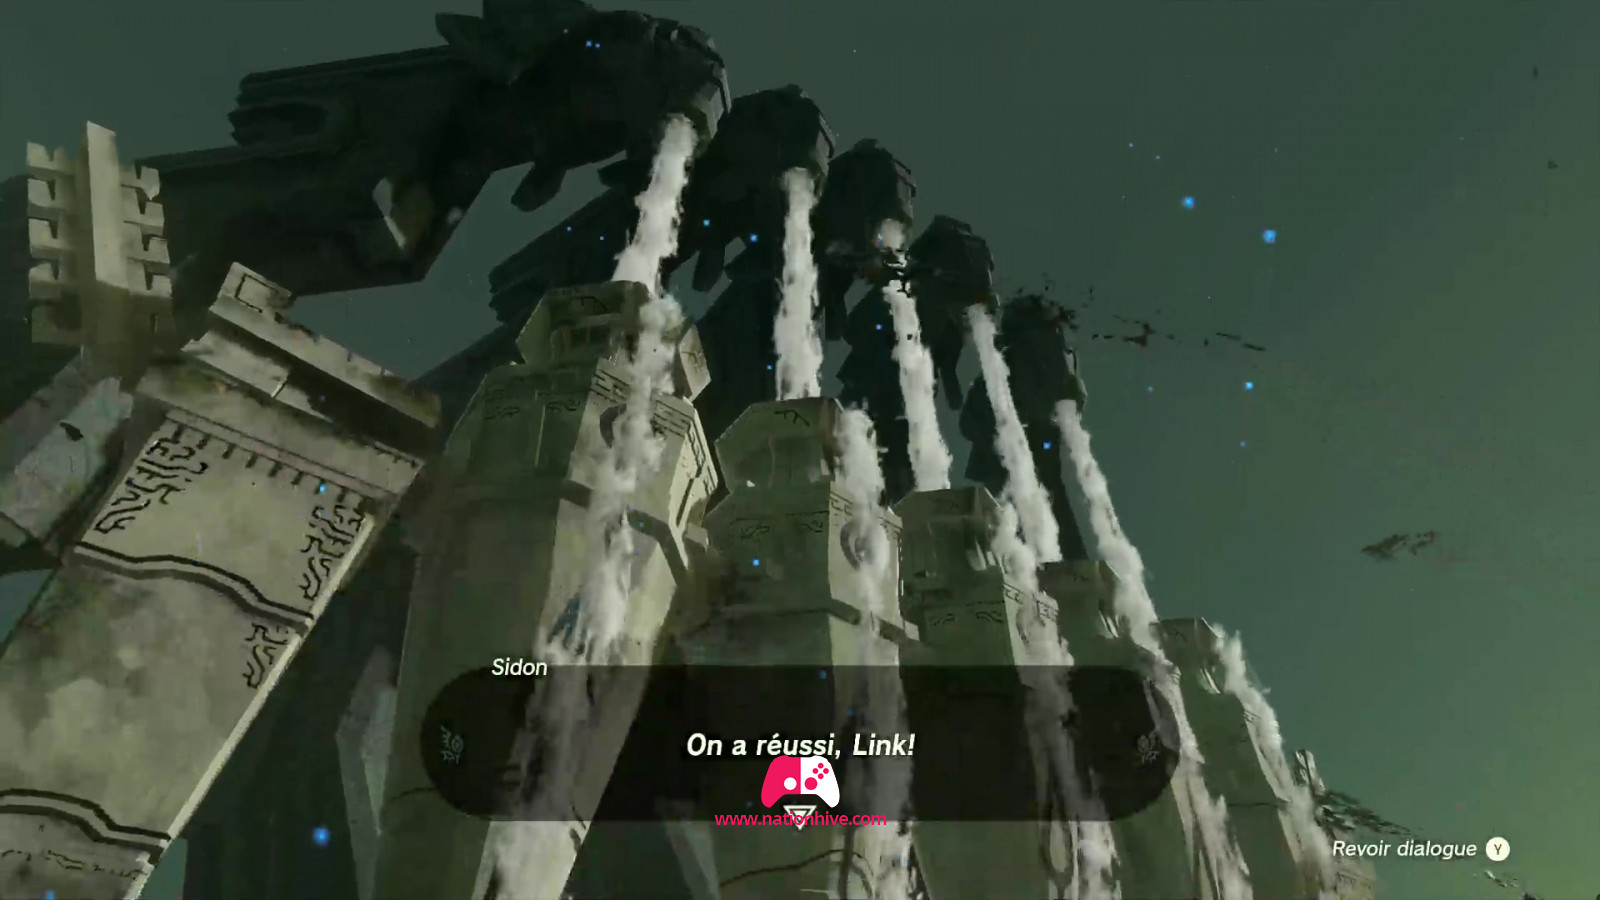
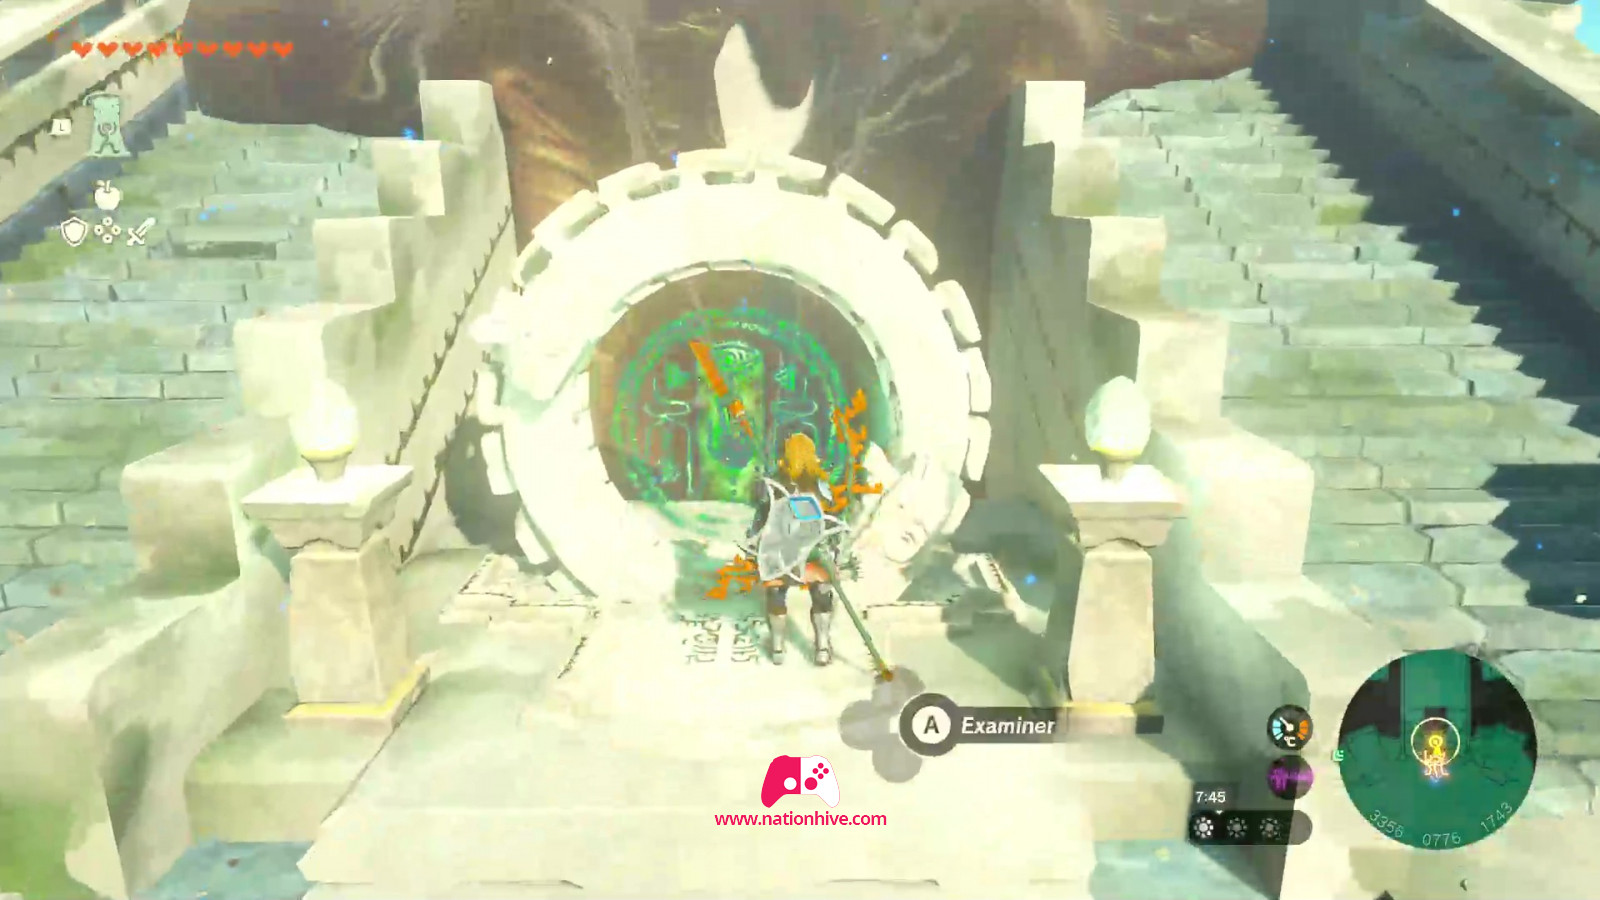
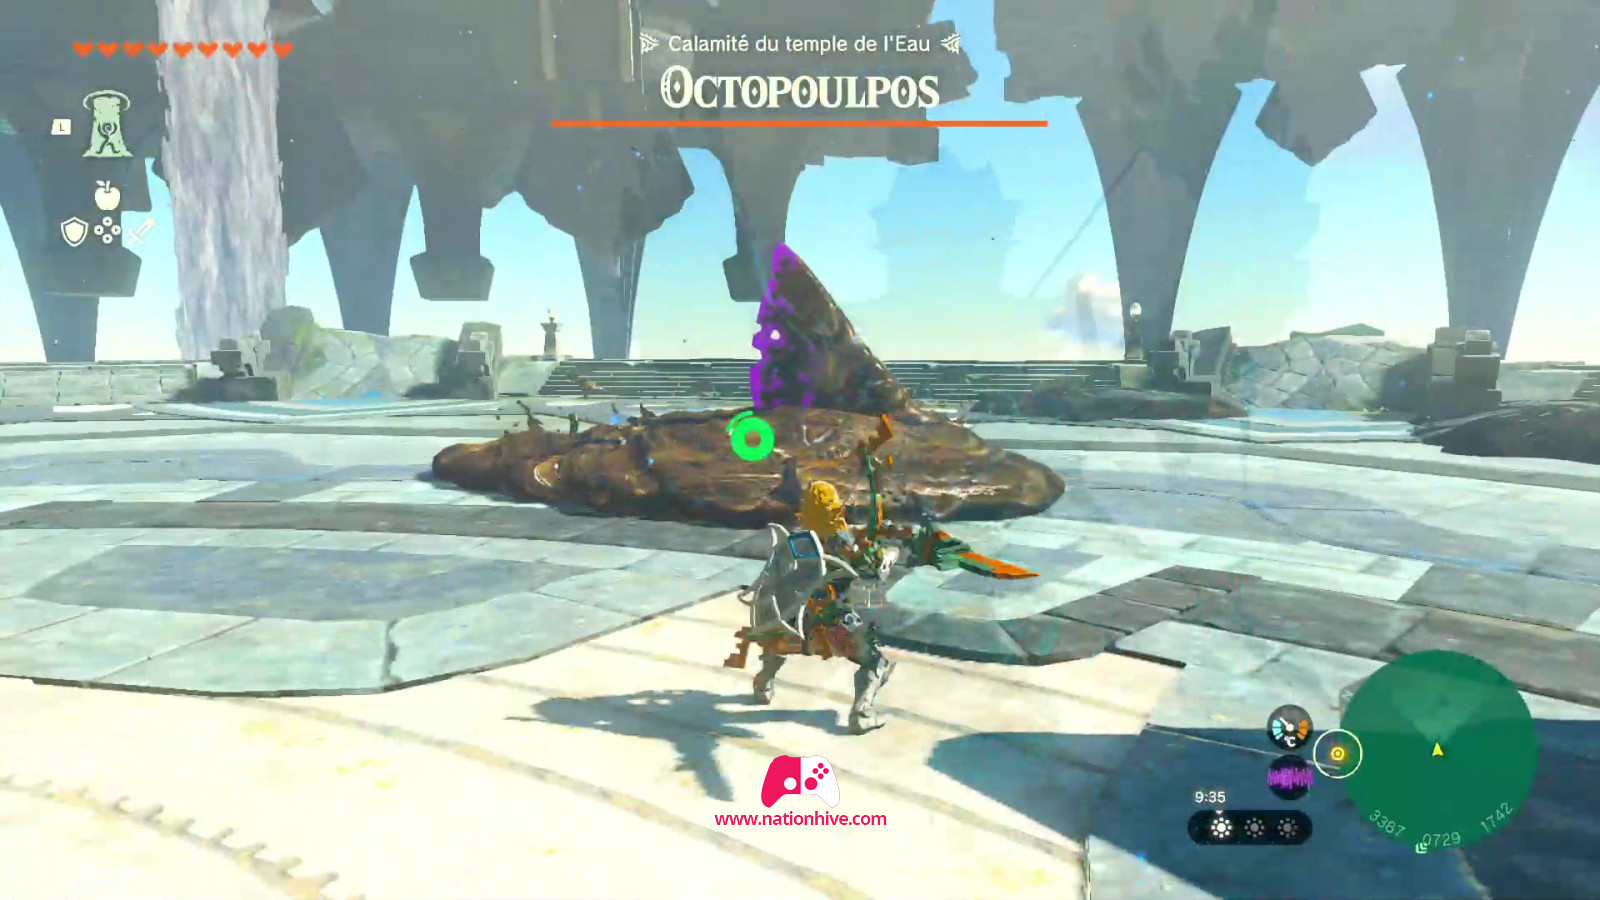
Once all the vessels have been unlocked, head for the magic green circle you examined at the beginning and examine it again with A. Sidon exclaims that the Zora Domain has finally been saved. However, the Scourge of the Water Temple: Mucktorok will appear. Mucktorok must be defeated to bring peace to the Zora's Domain and progress in the main story.
Defeating Mucktorok
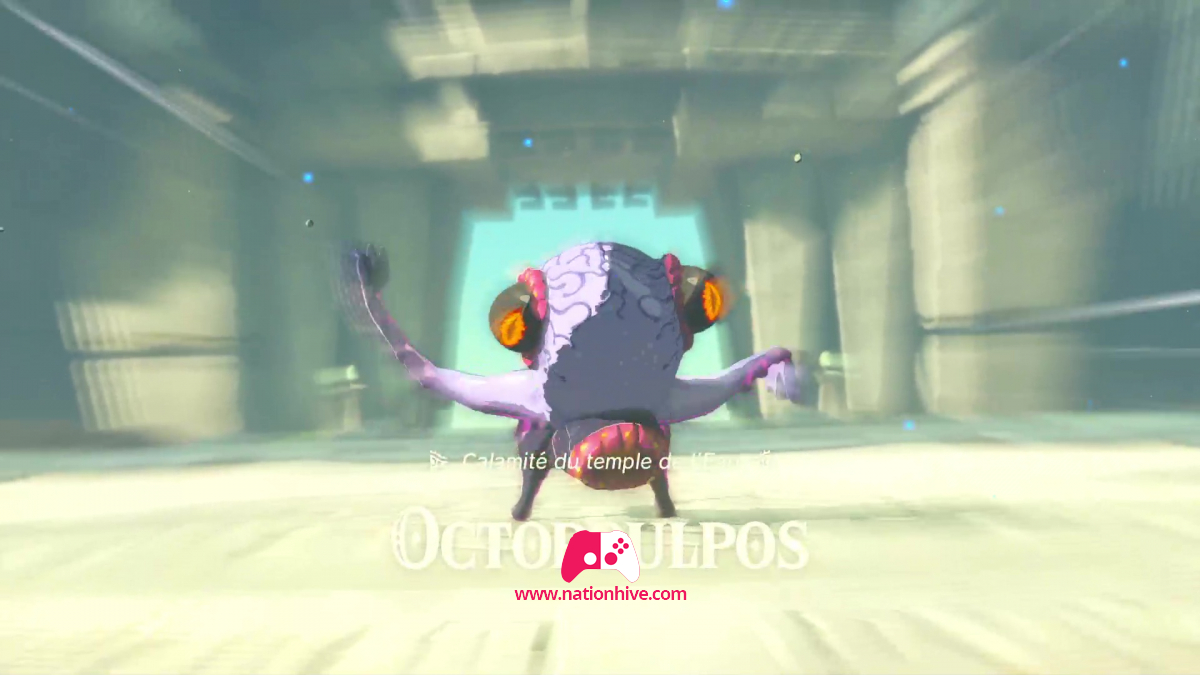
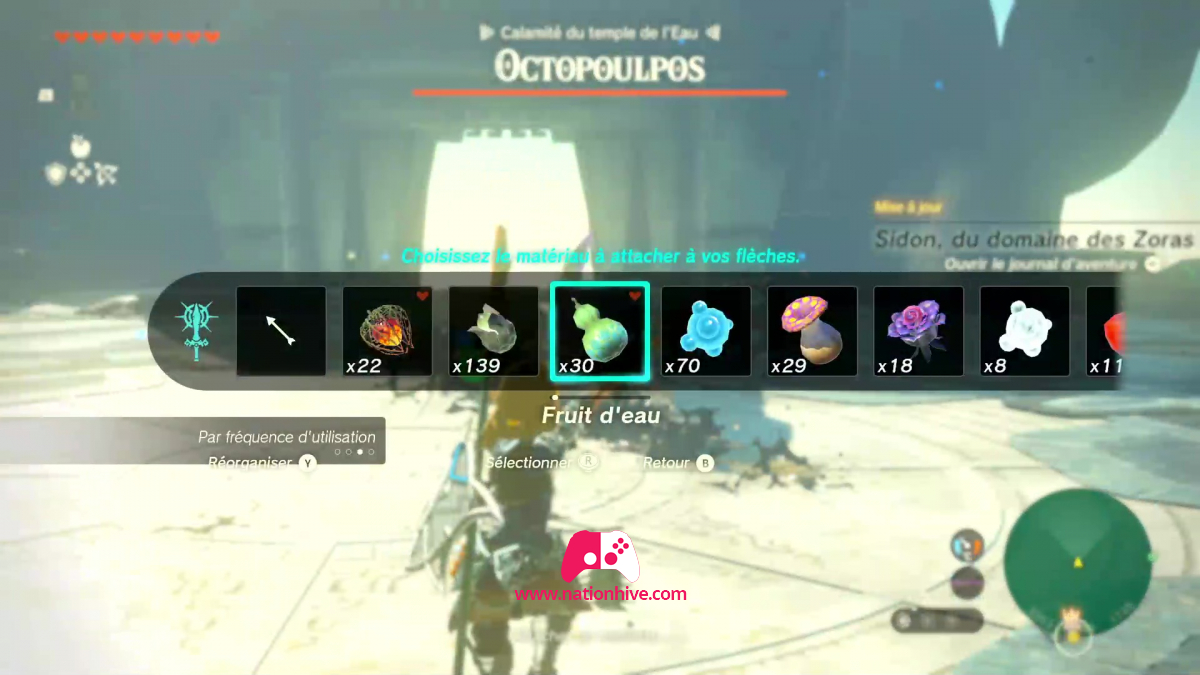
- To defeat this boss, it's essential to equip yourself with Splash Fruits, Chuchu Jelly and Arrows.
To defeat the Scourge of the Water Temple: Mucktorok, you'll need to use Sidon's Power of Water ability to remove the sludge on Mucktorok and his shark, and thus be able to inflict damage (as long as the sludge is present on Mucktorok and his shark, you won't be able to inflict damage).
Watch out for Mucktorok and his shark's attacks, too, as they can create waves of sludge. Simply jump at the right moment or avoid their sludge projectiles to avoid taking damage.
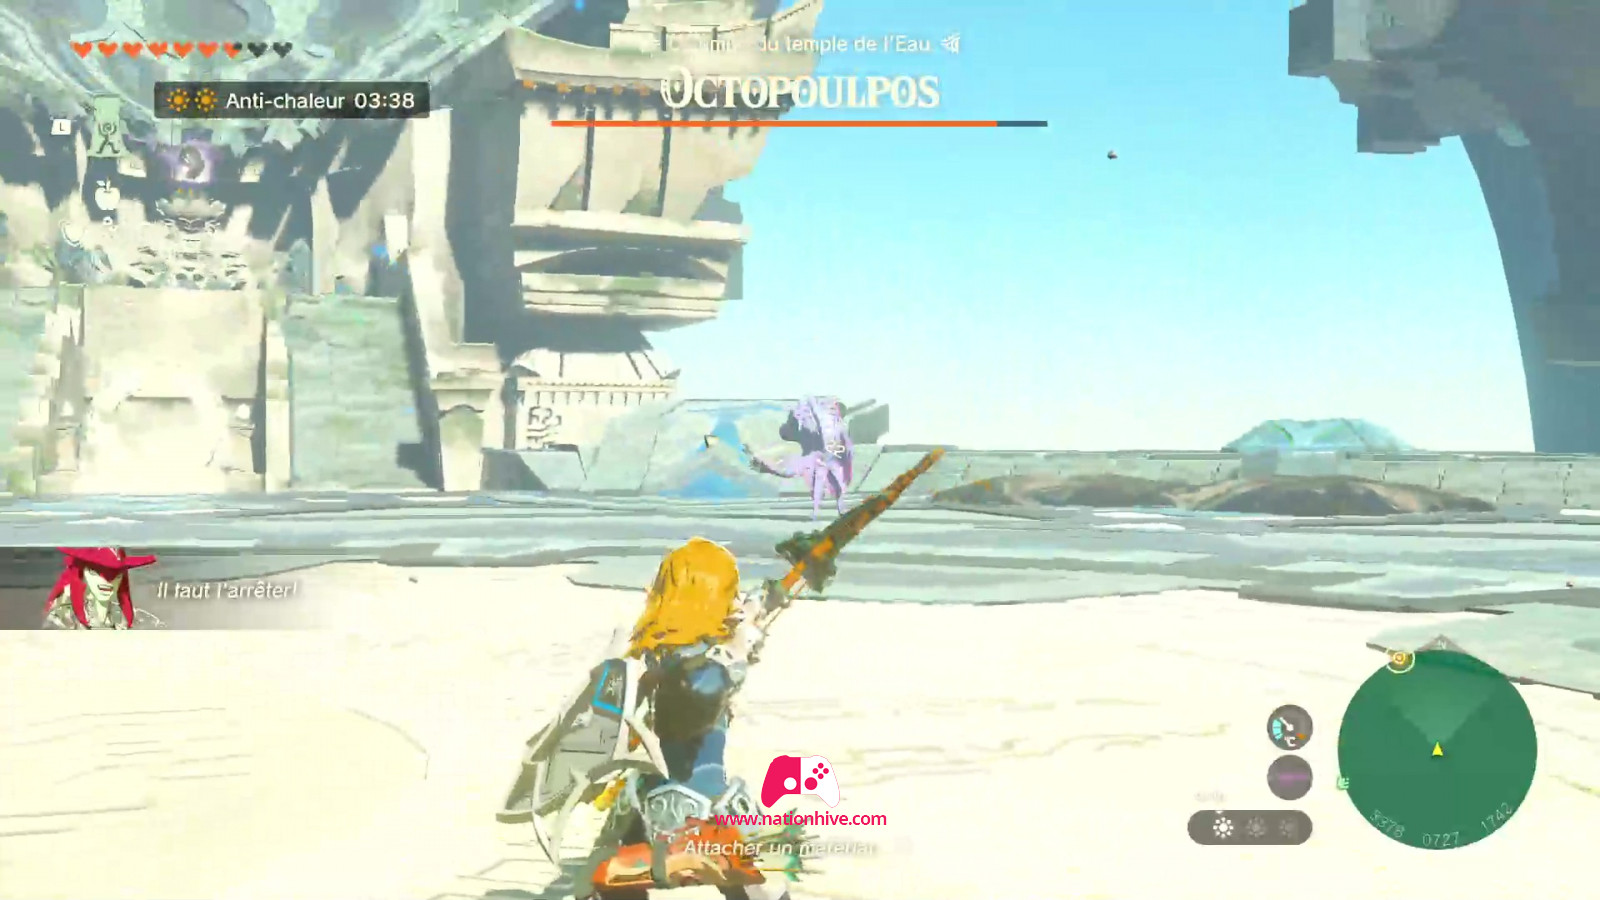
During the first phase of the fight, simply shoot an arrow equipped with Splash Fruit or Chuchu Jelly at Mucktorok and his shark to remove the sludge. You can also remove the sludge using Sidon's Power of Water ability. As the sludge and shark disappear, continue firing an arrow at Mucktorok to immobilize him. Then hit Mucktorok as quickly as possible to inflict damage. Repeat the same process until his life bar is half empty.
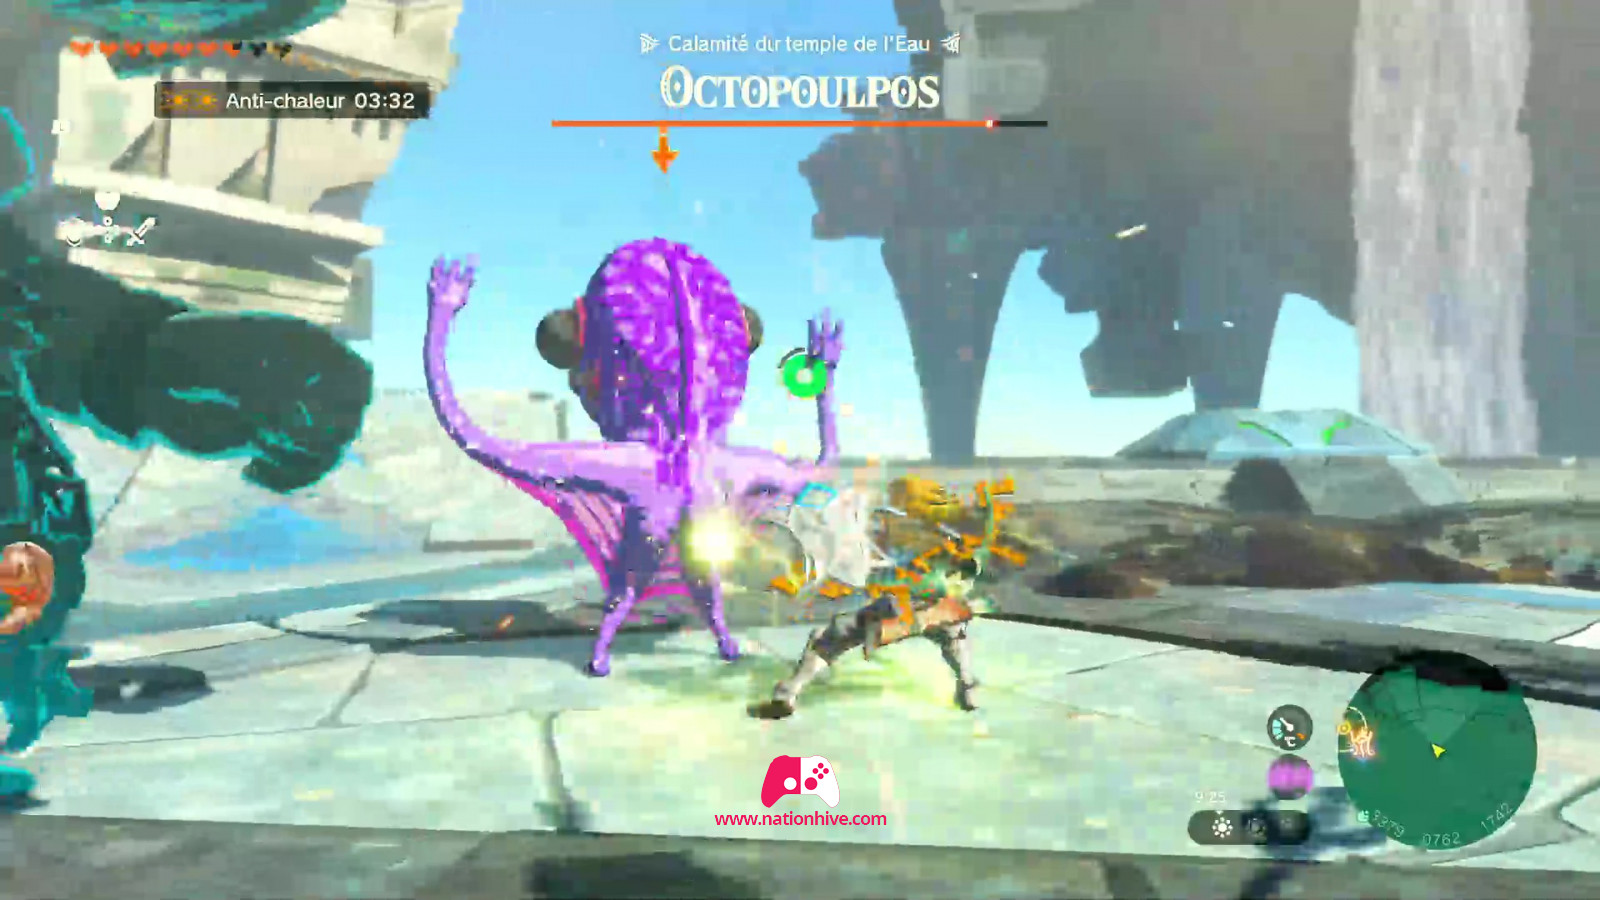
Once Mucktorok's life bar drops to half, the creature becomes a little more menacing. This time, Mucktorok will throw several sludge projectiles at the ground, hindering your movement. Use Sidon's Power of Water to remove the sludge and avoid stepping on it, which slows down your movements. Avoid the numerous sludge projectiles.
To shoot well, jump into the air and press the corresponding key to fire an arrow equipped with a Splash Fruit or Chuchu Jelly. When you're in the air shooting, everything around you will slow down, including Mucktorok and his shark. Take advantage of this slowdown to aim at the enemy. Once the sludge has disappeared from Mucktorok, fire several arrows (rather than a single arrow as in the beginning) at him to immobilize him. Approach Mucktorok on the ground and strike as quickly as possible to inflict heavy damage. Repeat the same process until his life bar is completely depleted to defeat him.
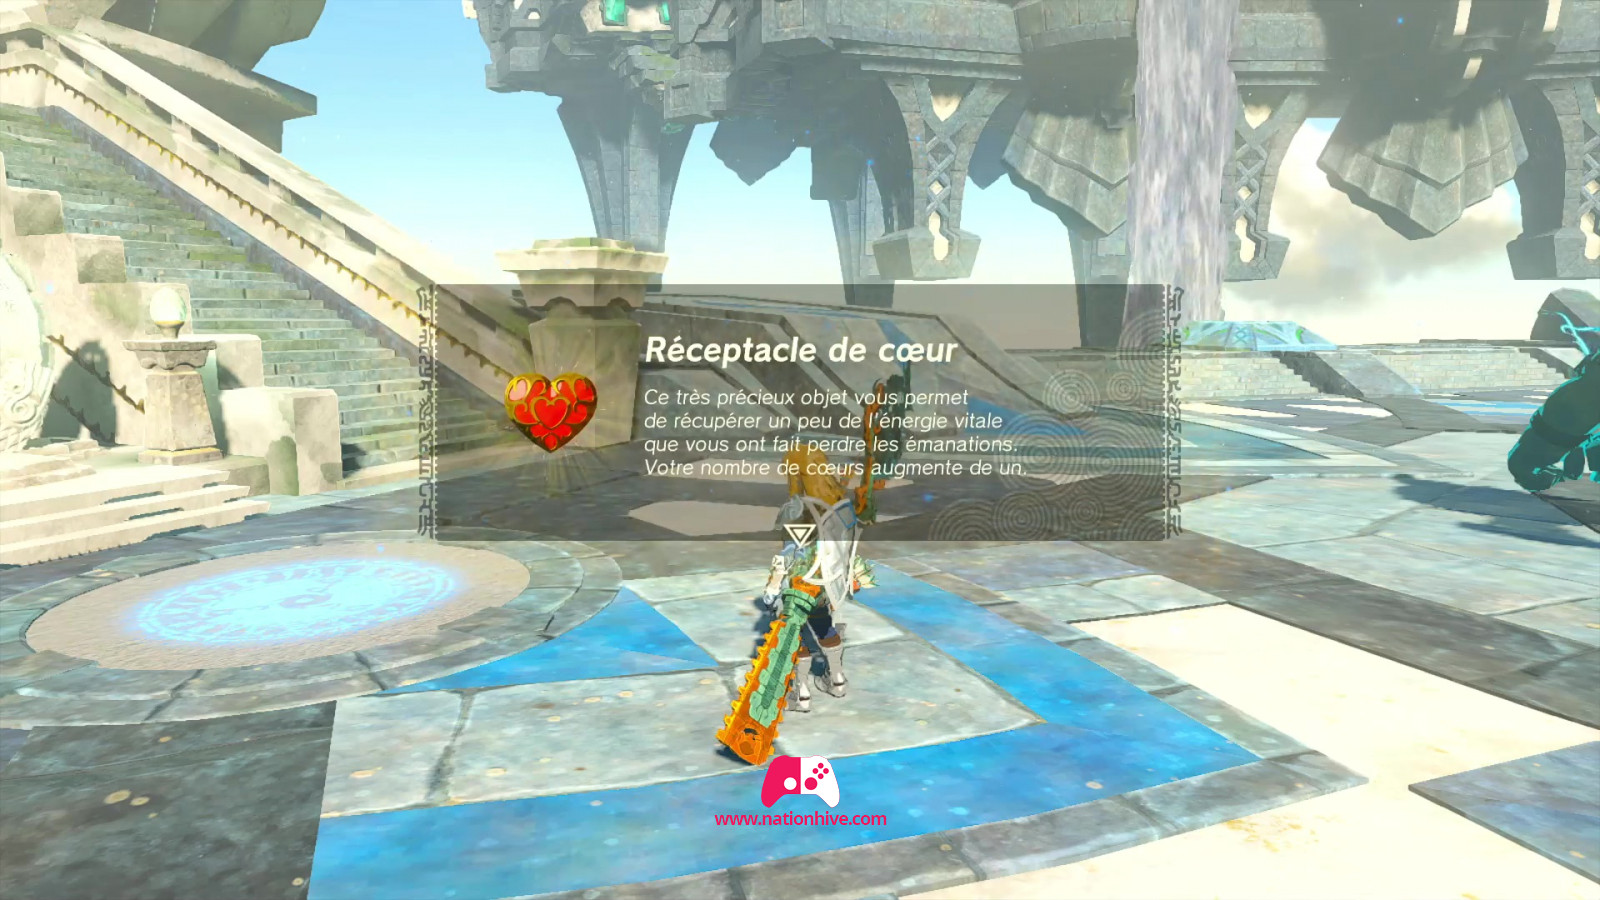
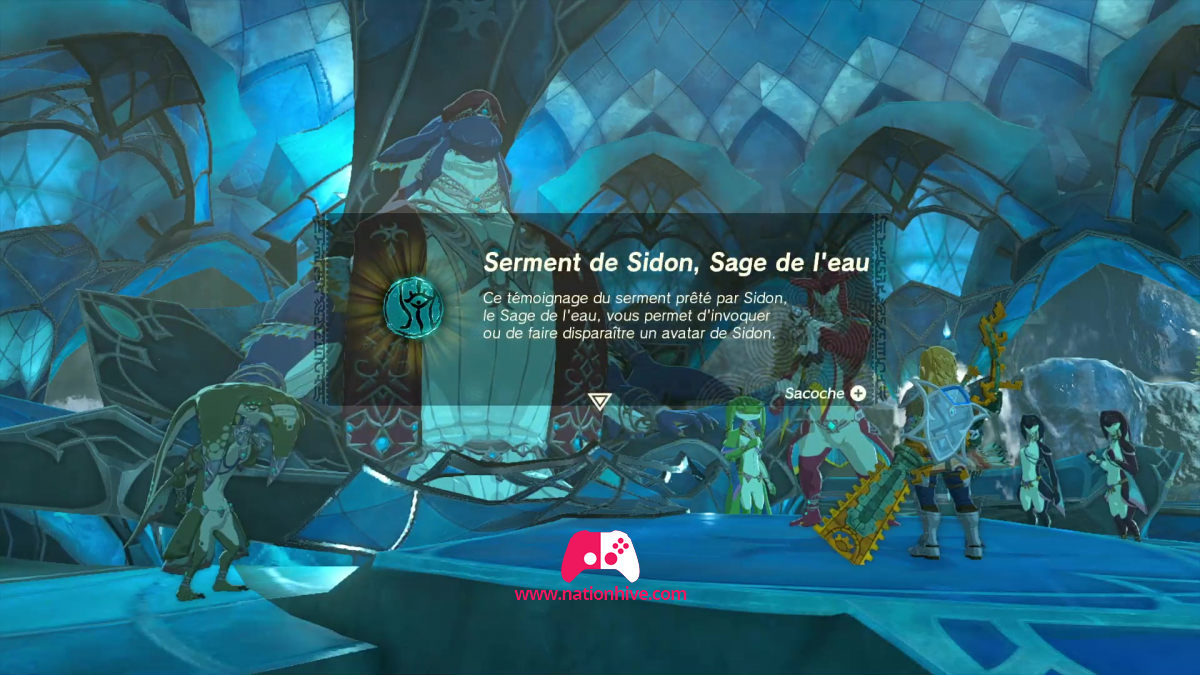
Once Mucktorok has been defeated, you will receive a heart receptacle. Move on to Sidon to see what's in front of you. A cinematic appears in which Sidon receives the occult stone from his ancestor, the Sage of Water. Sidon will accept the stone and vow to fight by your side.
You will now be able to use Sidon's Power of Water ability wherever you are, which will be very useful when you want to protect yourself from an attack or remove the sludge over a long distance. Peace has now returned to Zora's Domain.
The Water Temple (Sidon of the Zora) main quest comes to an end, making way for your next main quest in Zelda: Tears of the Kingdom - Regional Phenomena - Part 5: To Gerudo Town.
