Defeat Ganondorf
In this walkthrough for The Legend of Zelda: Tears of the Kingdom, we'll give you the complete tutorial for the main quest: Defeating Ganondorf.
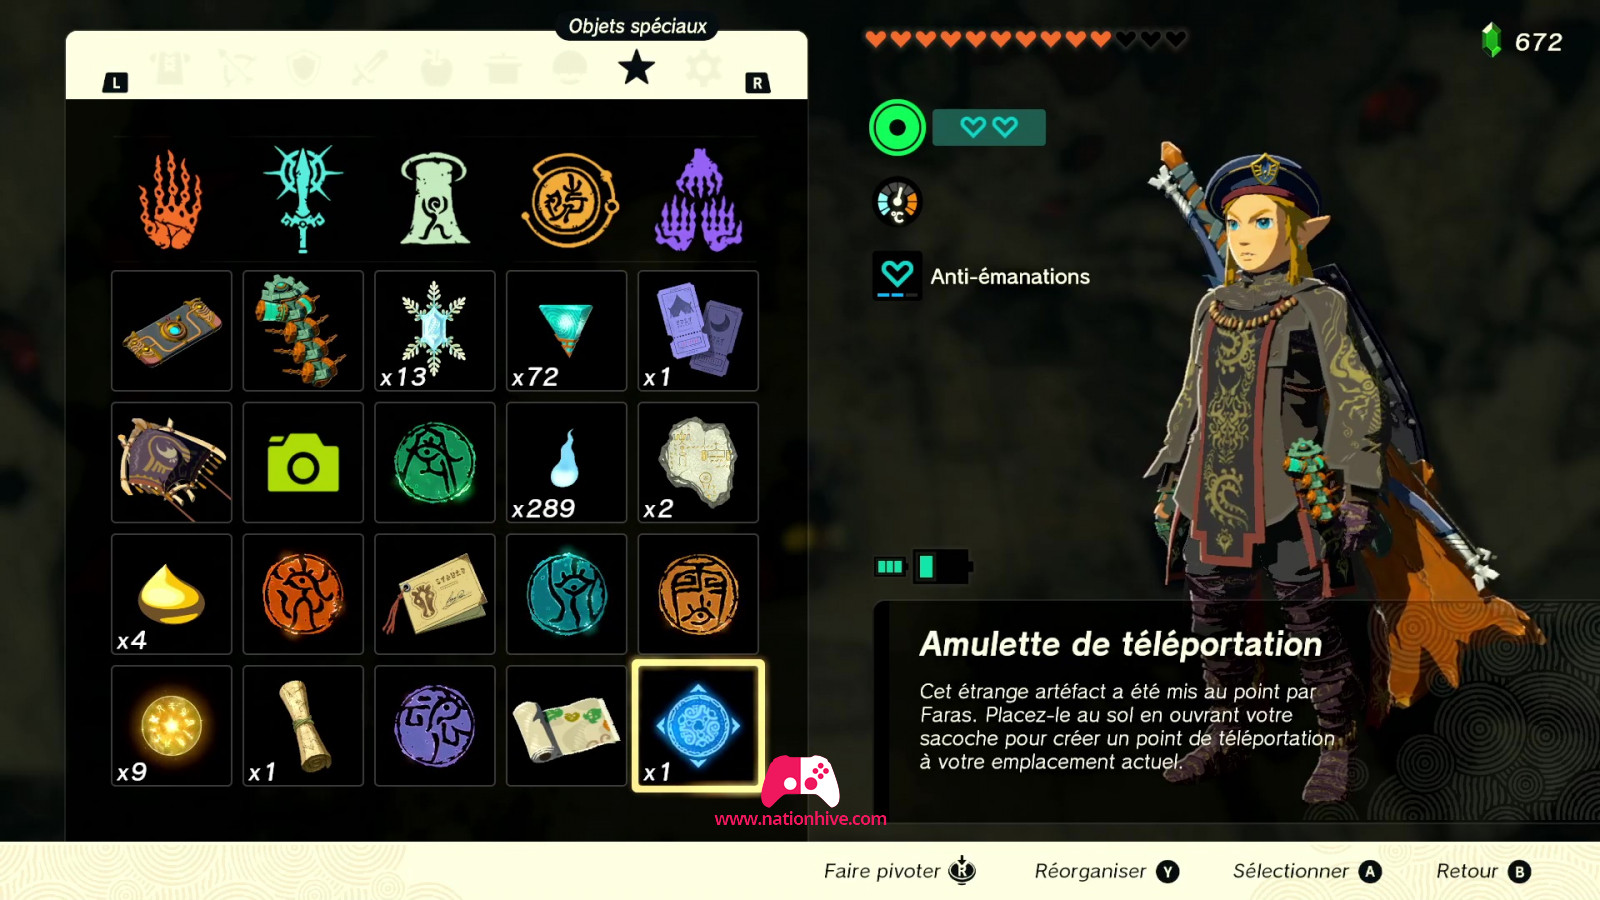
Please note! Before starting this main quest, it's important to be well equipped with dishes that can repair heart receptacles. Anti-miasm equipment can also be very useful. These can be found by talking to the statues in the abyss. The first statue you can find is at the Lookout Standing next to Josha. It's also advisable to equip yourself with high-damage weapons.
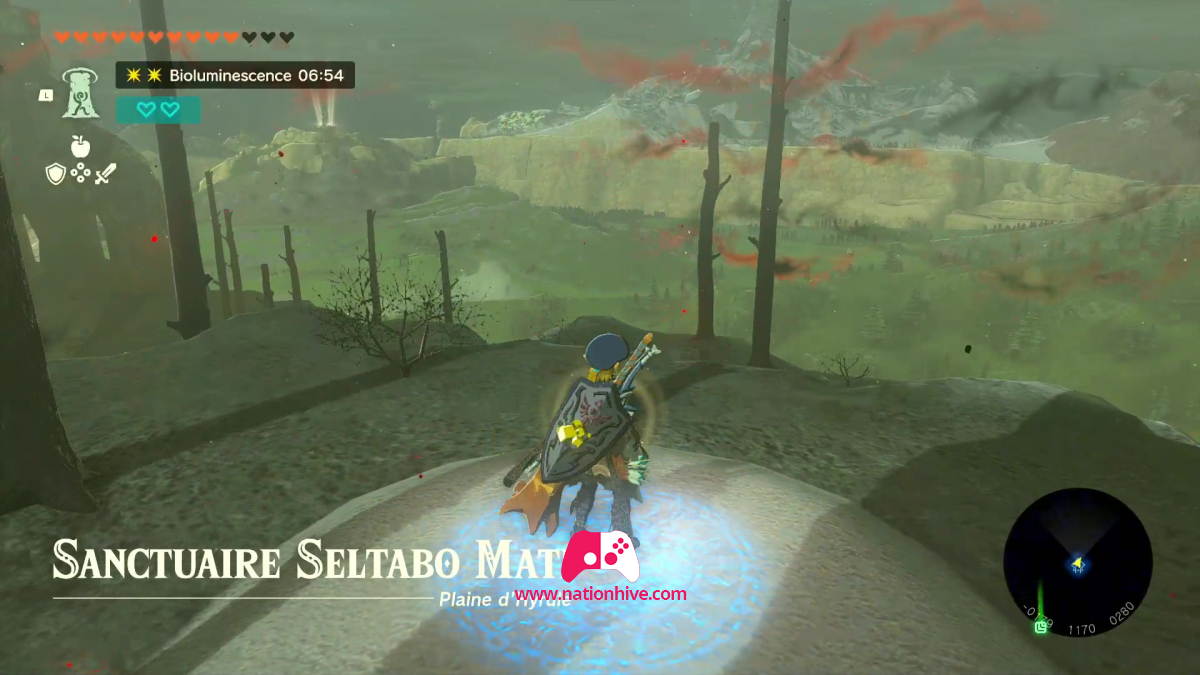
Once you're ready, head for Hyrule Castle. To get there, you can teleport to the Serutabomac Shrine if you've completed it, or project yourself into the air using the Lookout Standing's Tower.
How to get to the Gloom's Lair
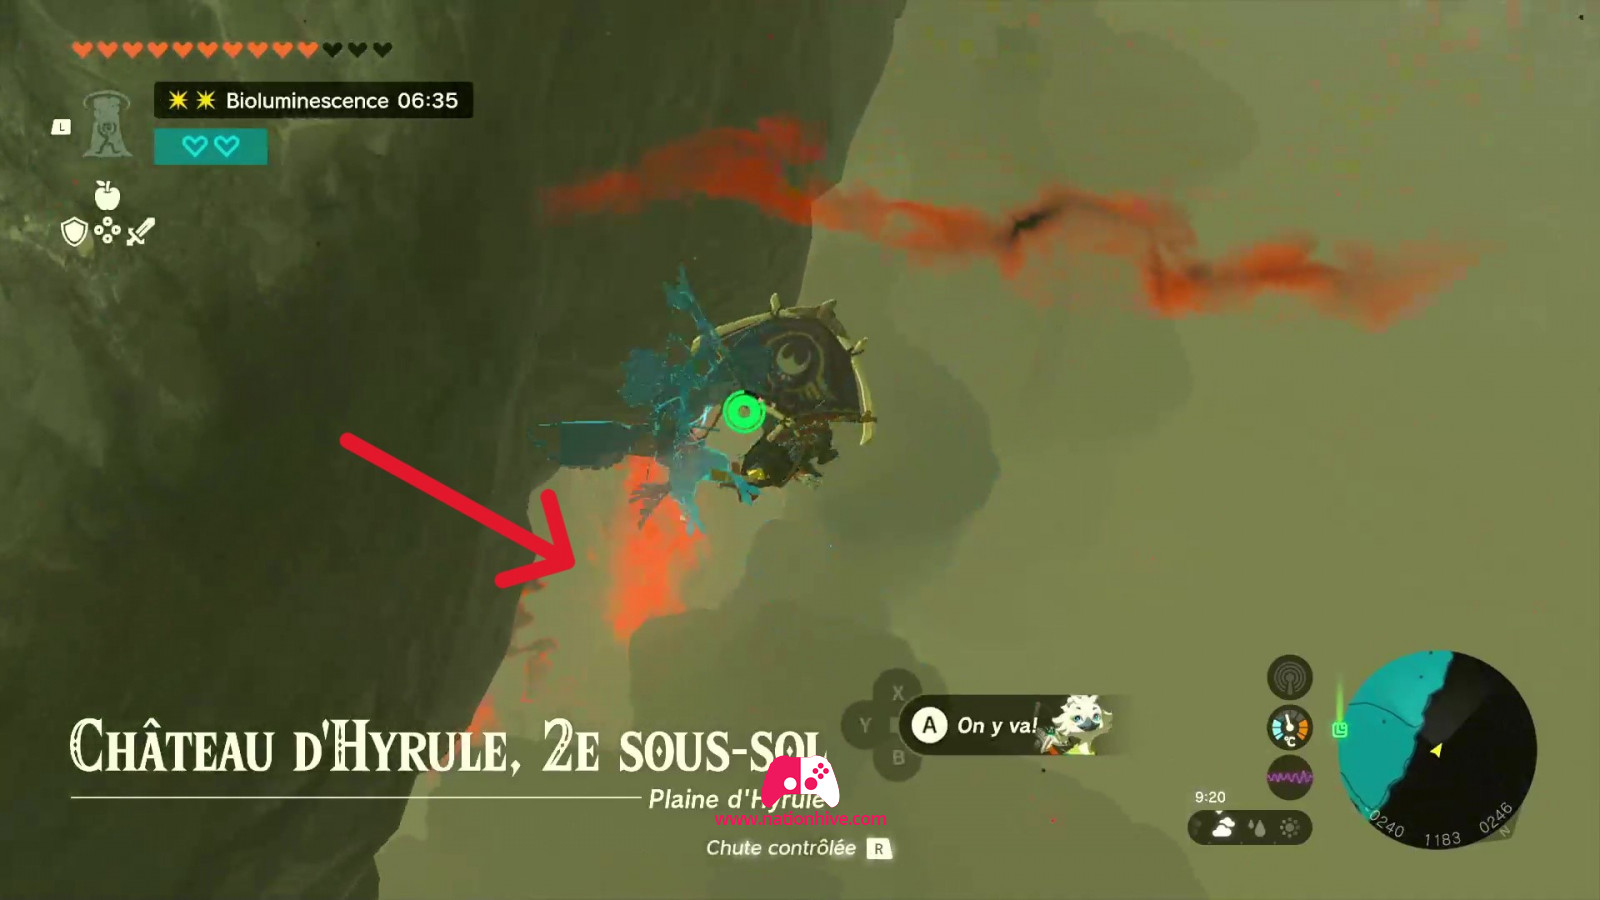
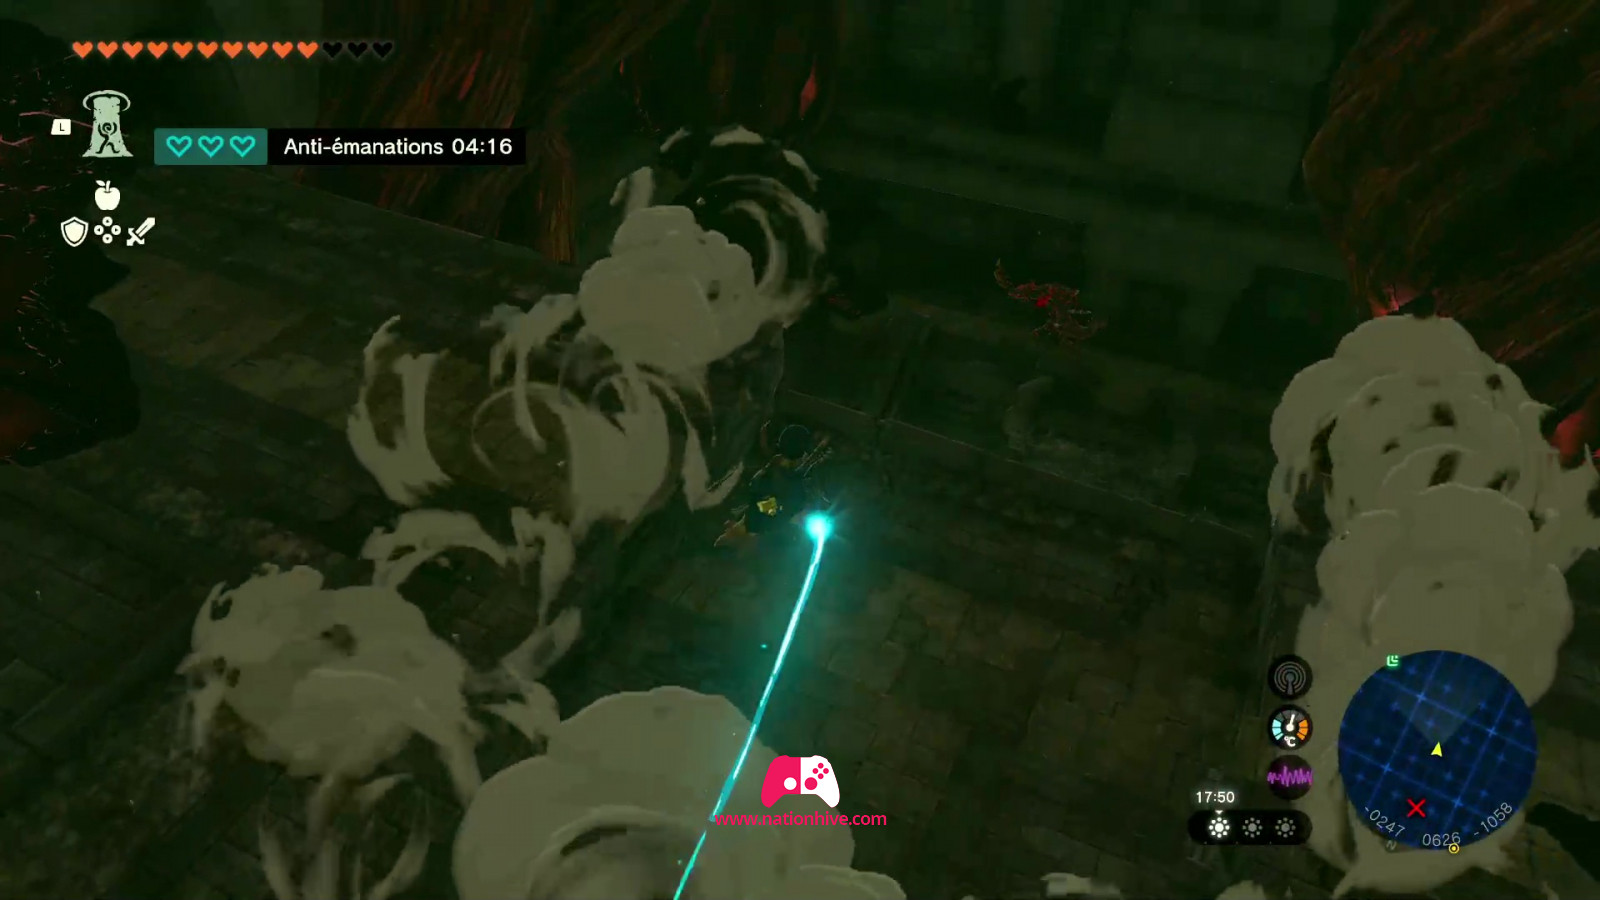
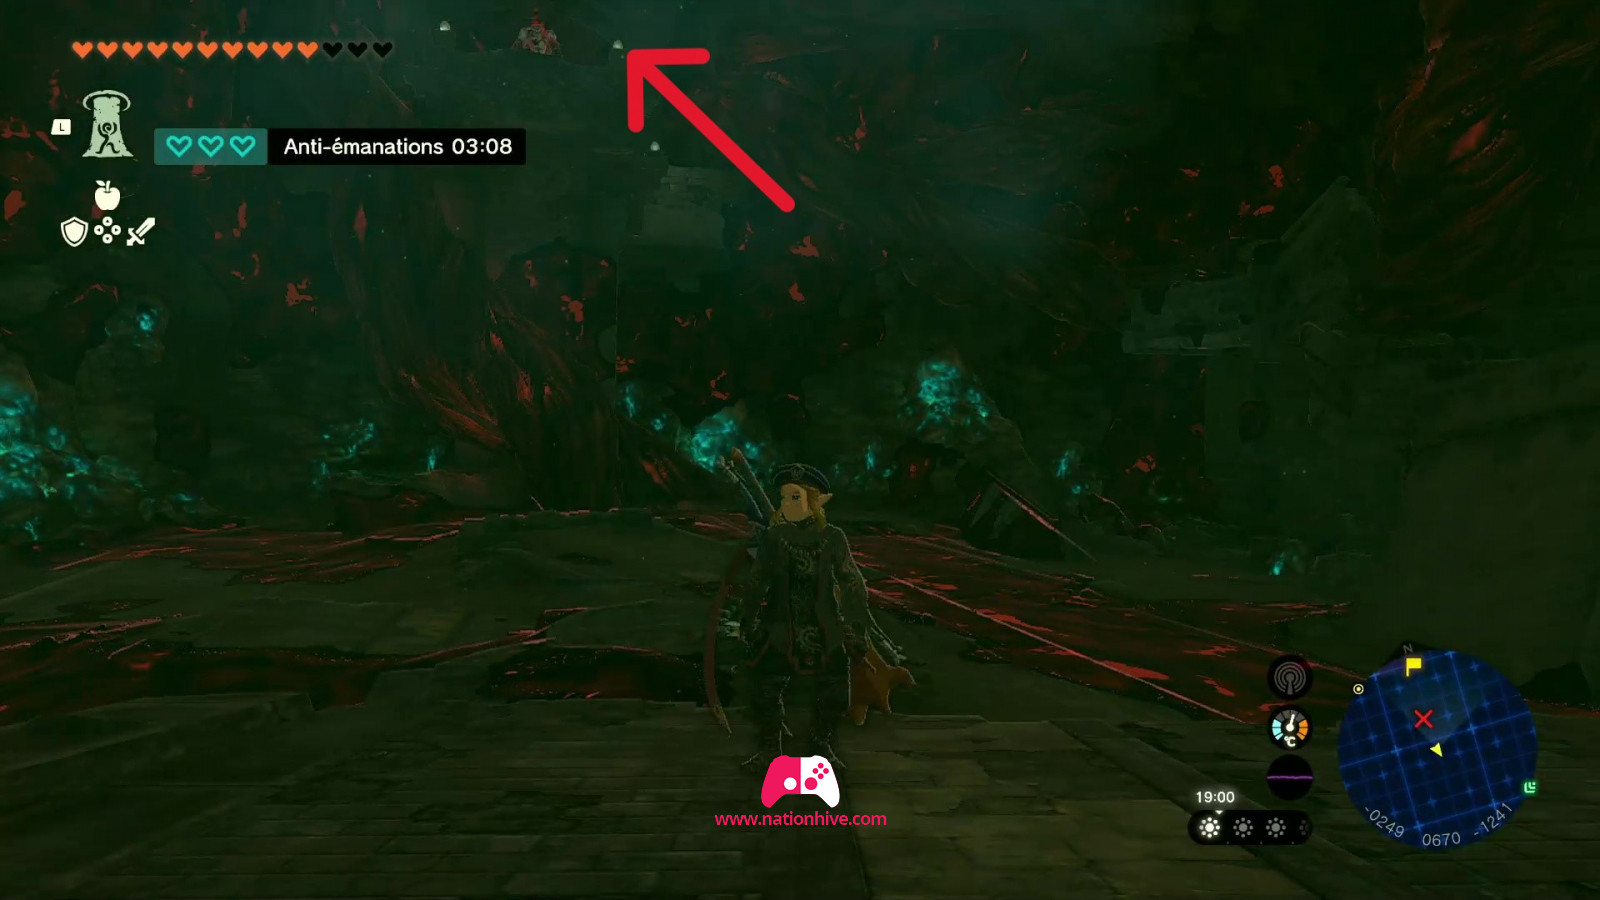
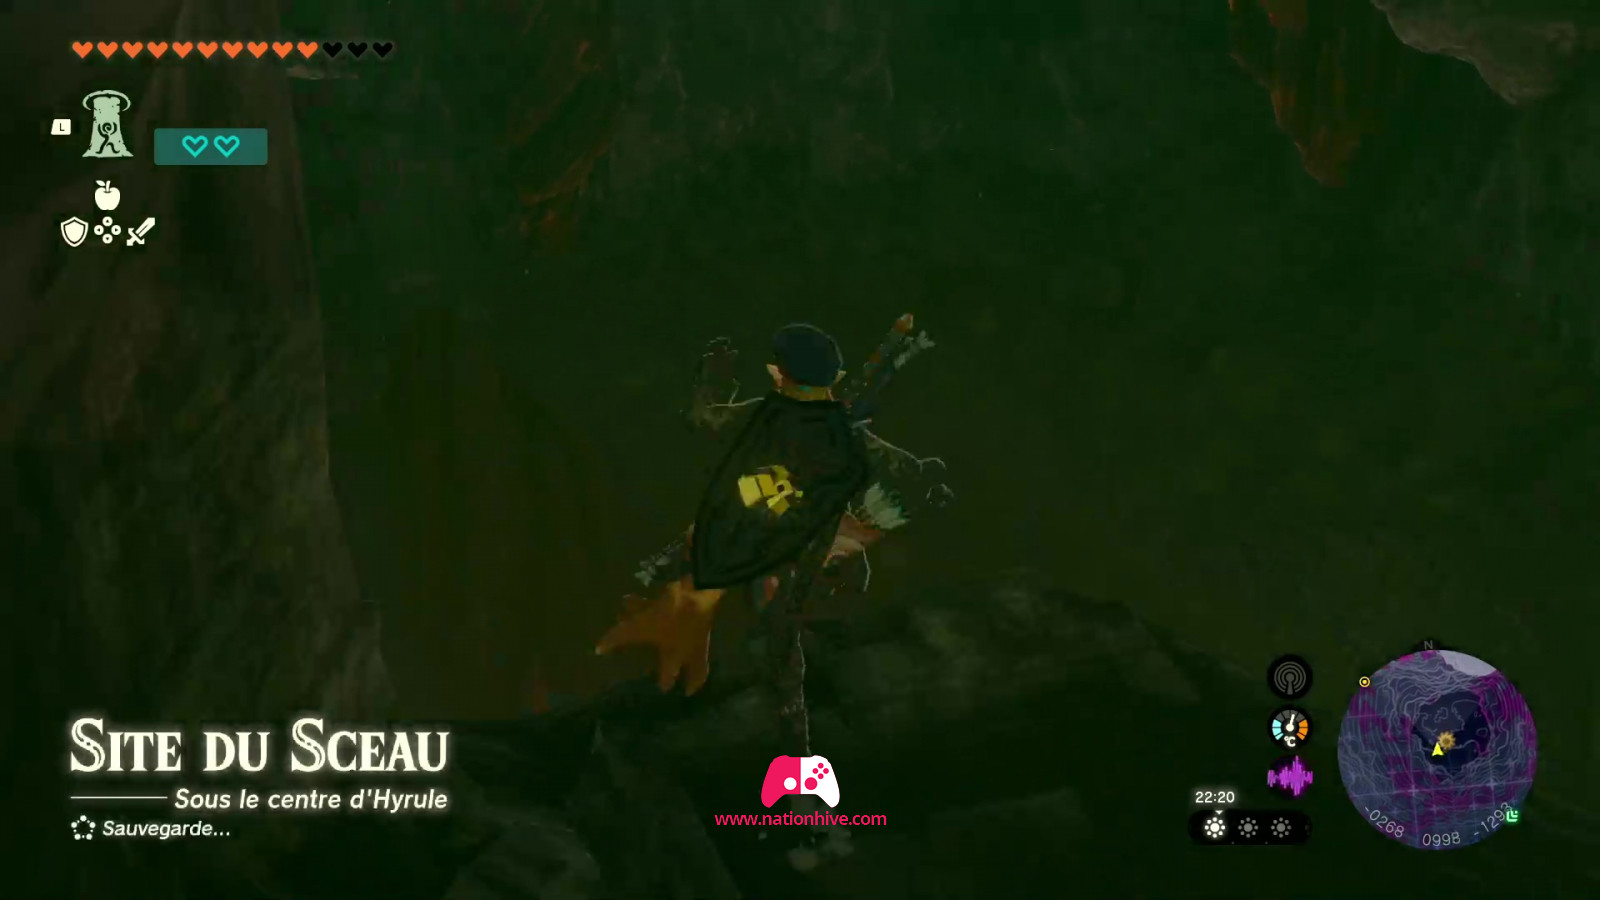
You'll have to descend into the abyss at the bottom of the castle. To find the abyss, all you have to do is observe the large red emanations coming out from under the castle.
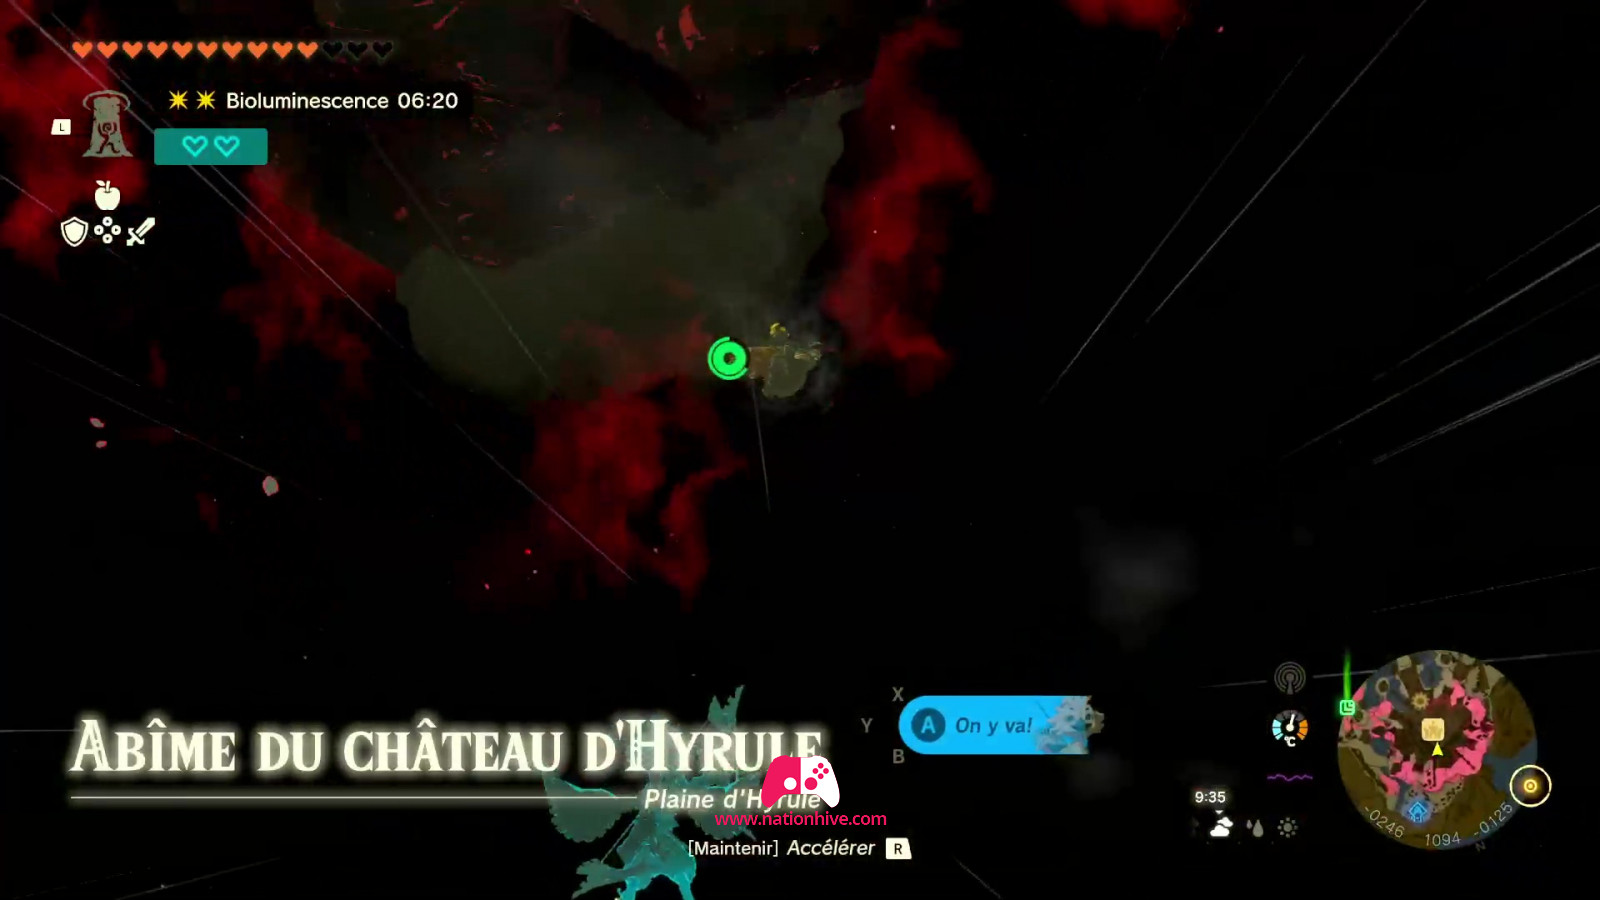
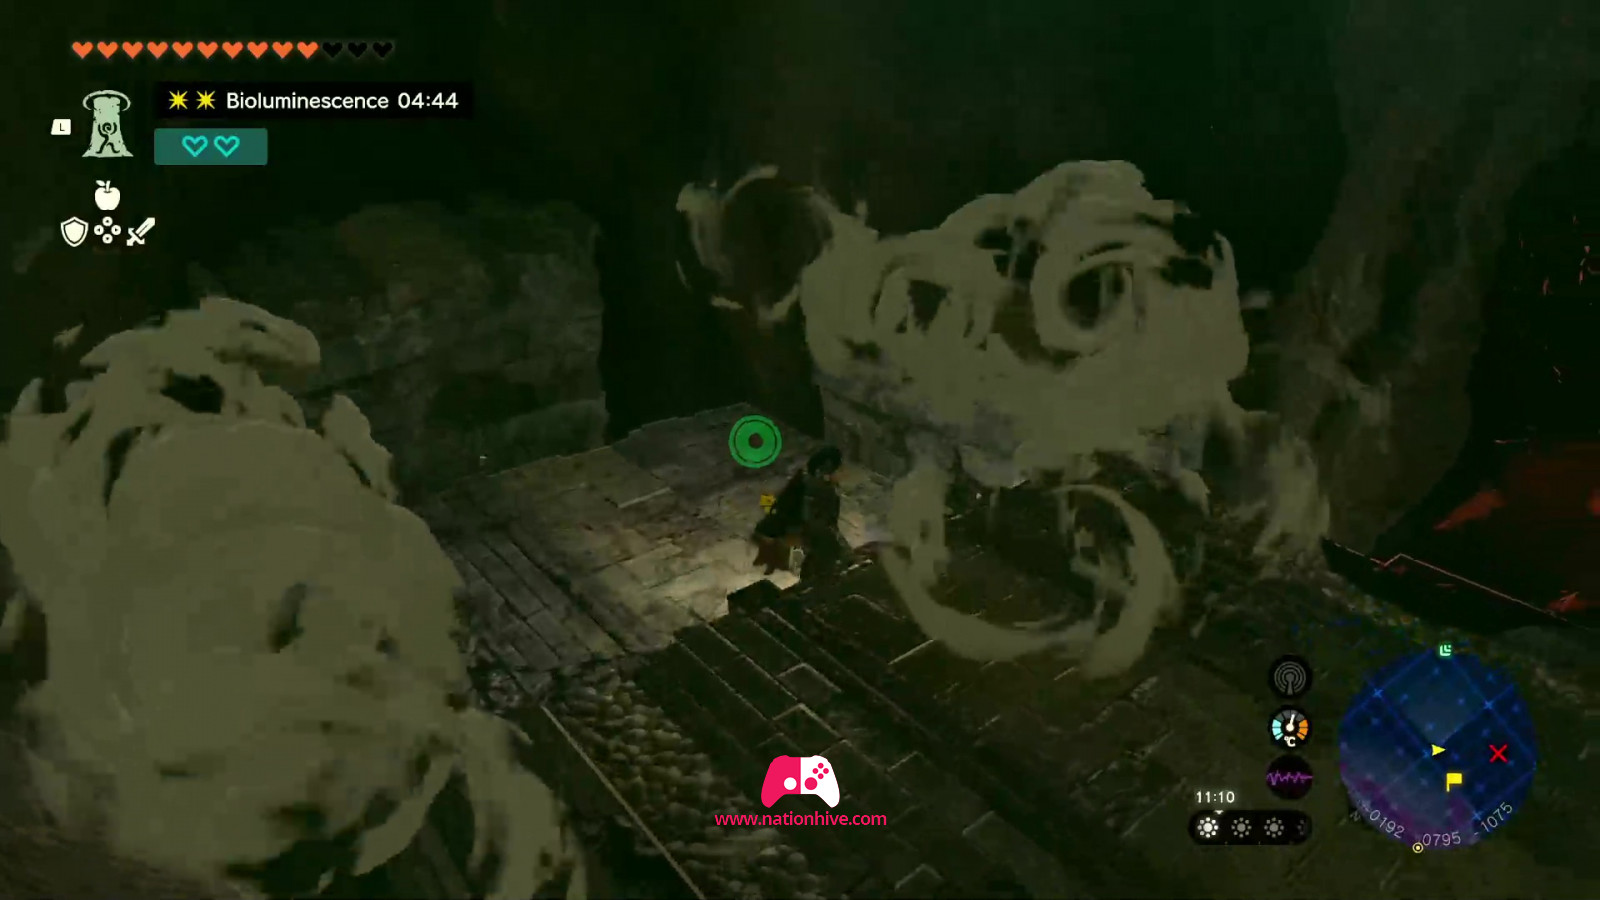
Jump down and you'll find yourself in the Gloom's approach. Head south to the edge of a large cliff. You'll see electric Like Like on the walls. Attack them or jump down, and you'll see 2 exit holes.
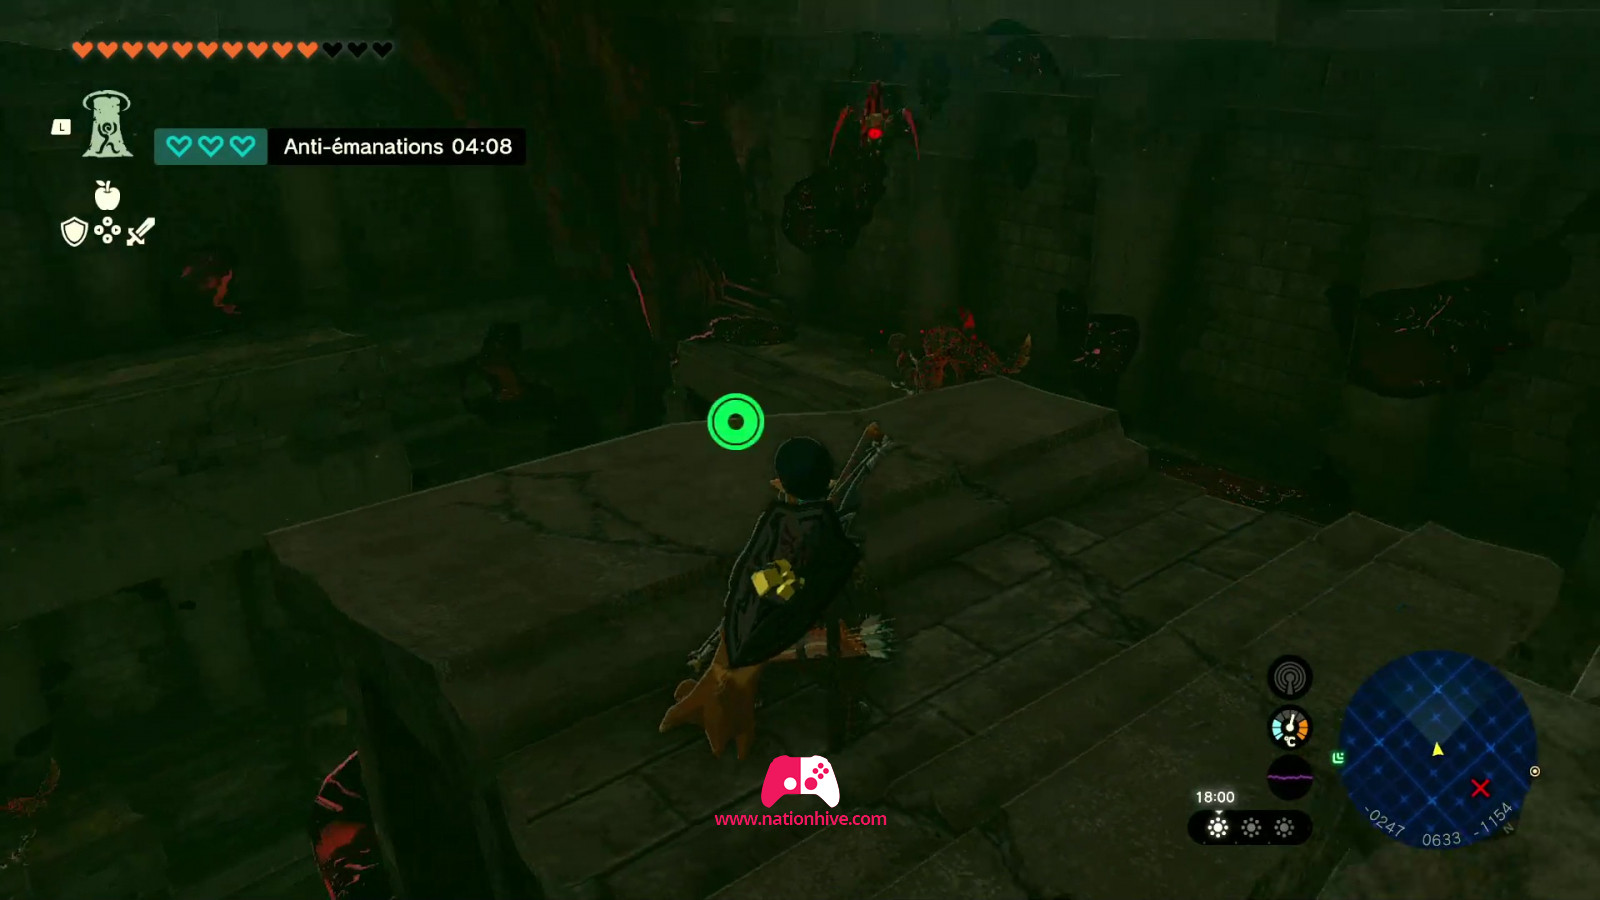
Head for the hole and you'll be confronted by Horriblins throwing rocks at you. You can either attack them or avoid the fight by continuing on your way. When you're at the bottom, head south and climb the wall to continue on your way.
Move on to the next room and you'll be faced with a White-Maned Lynel. Your aim is to cross the room to the top, where there's a platform to continue your journey.
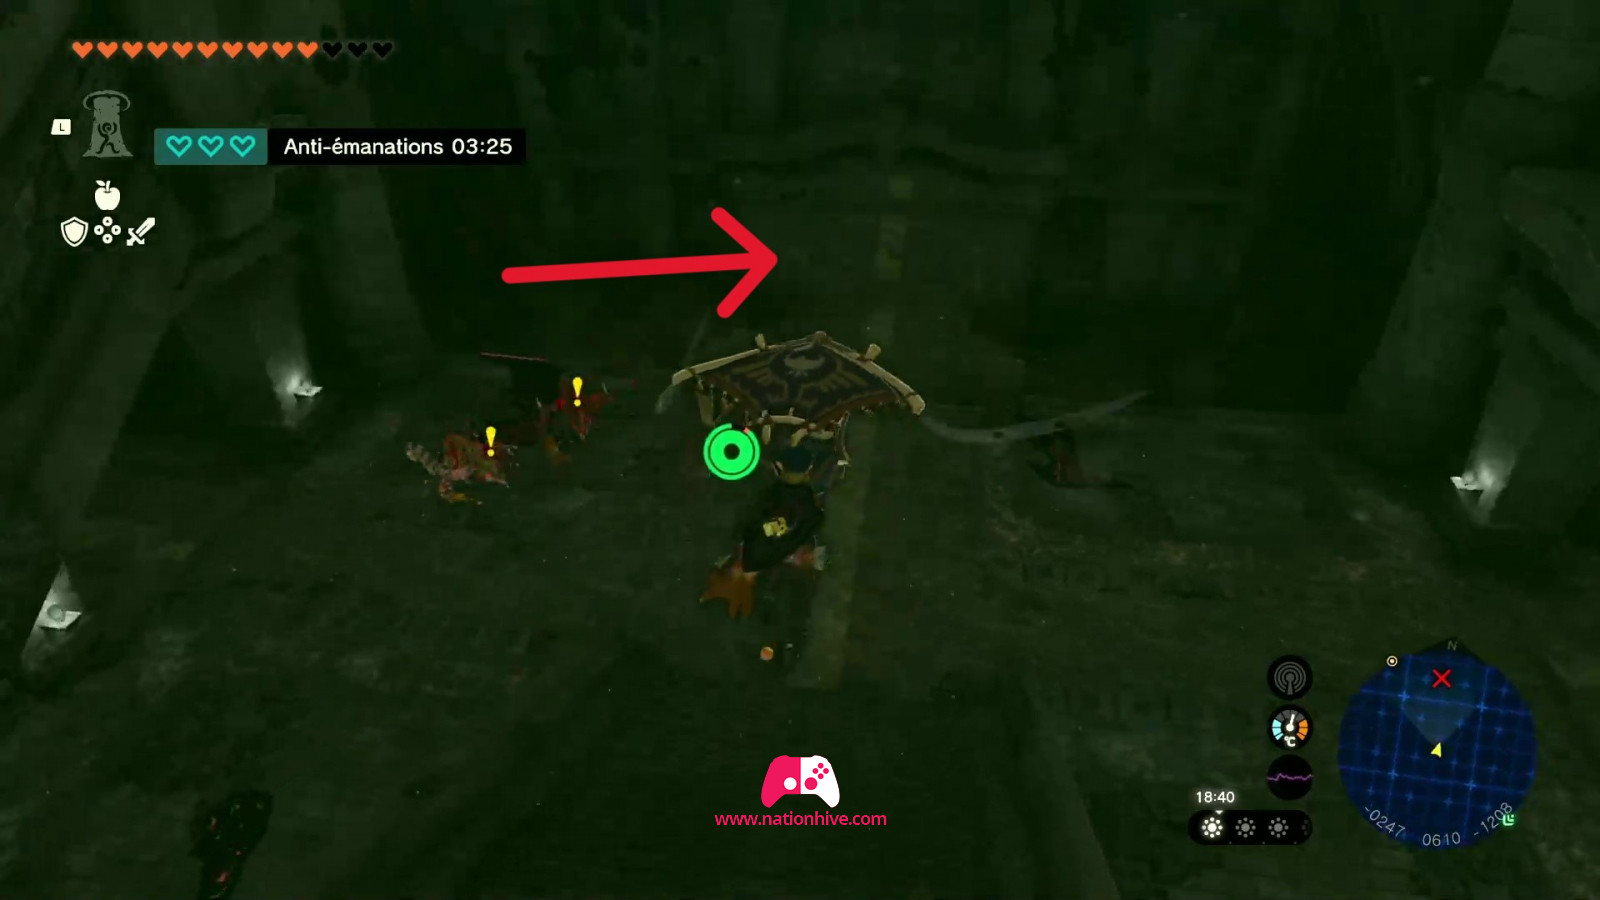
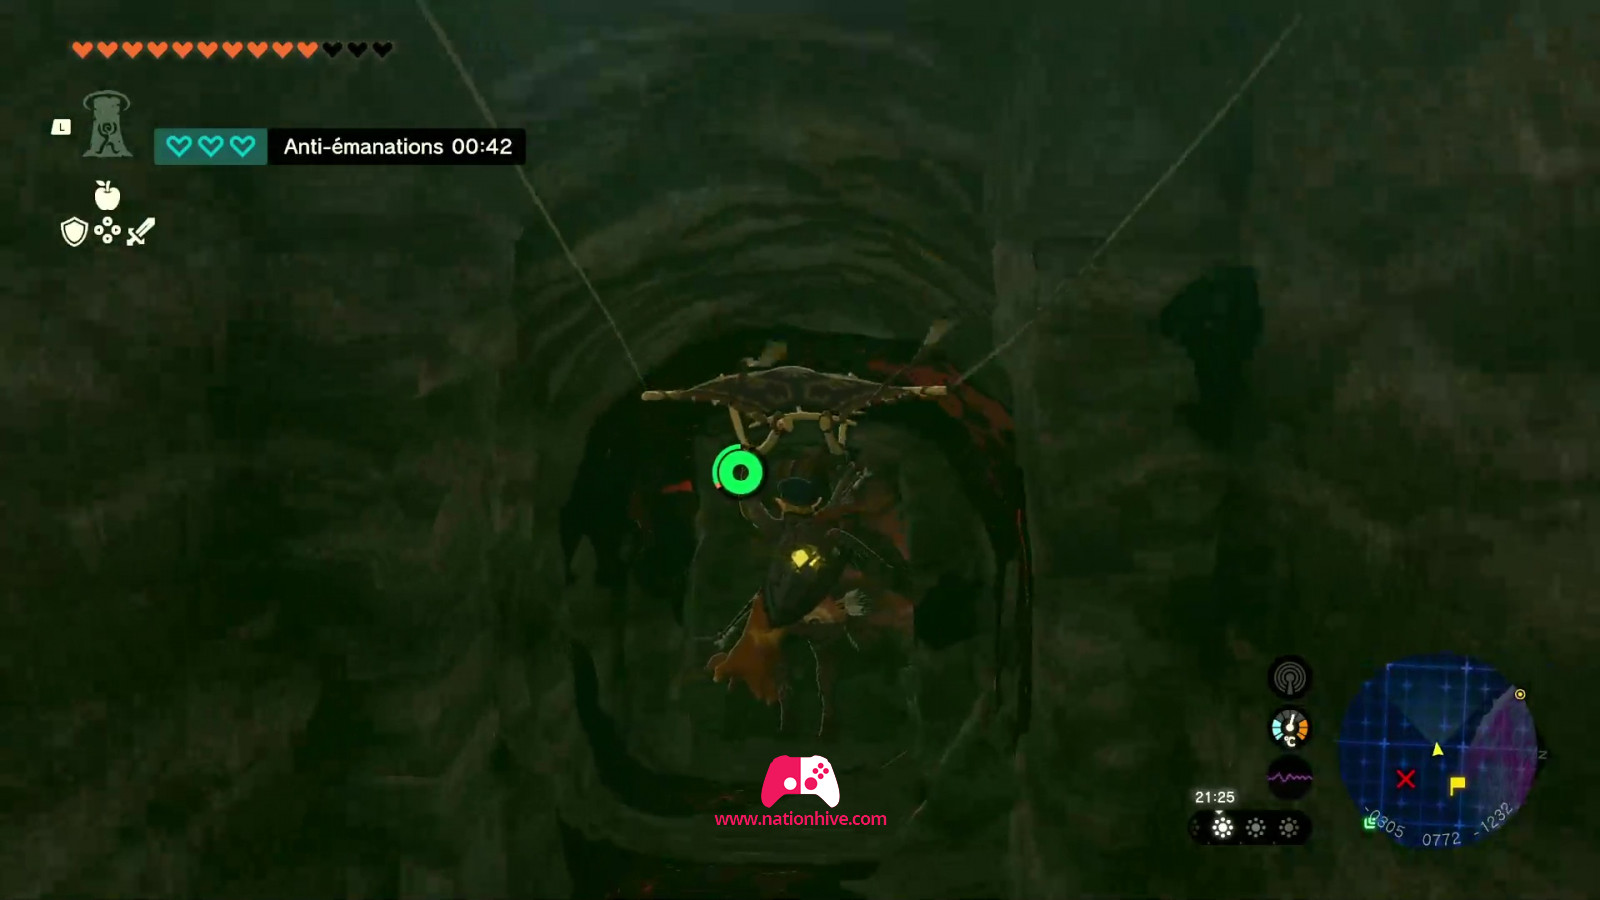
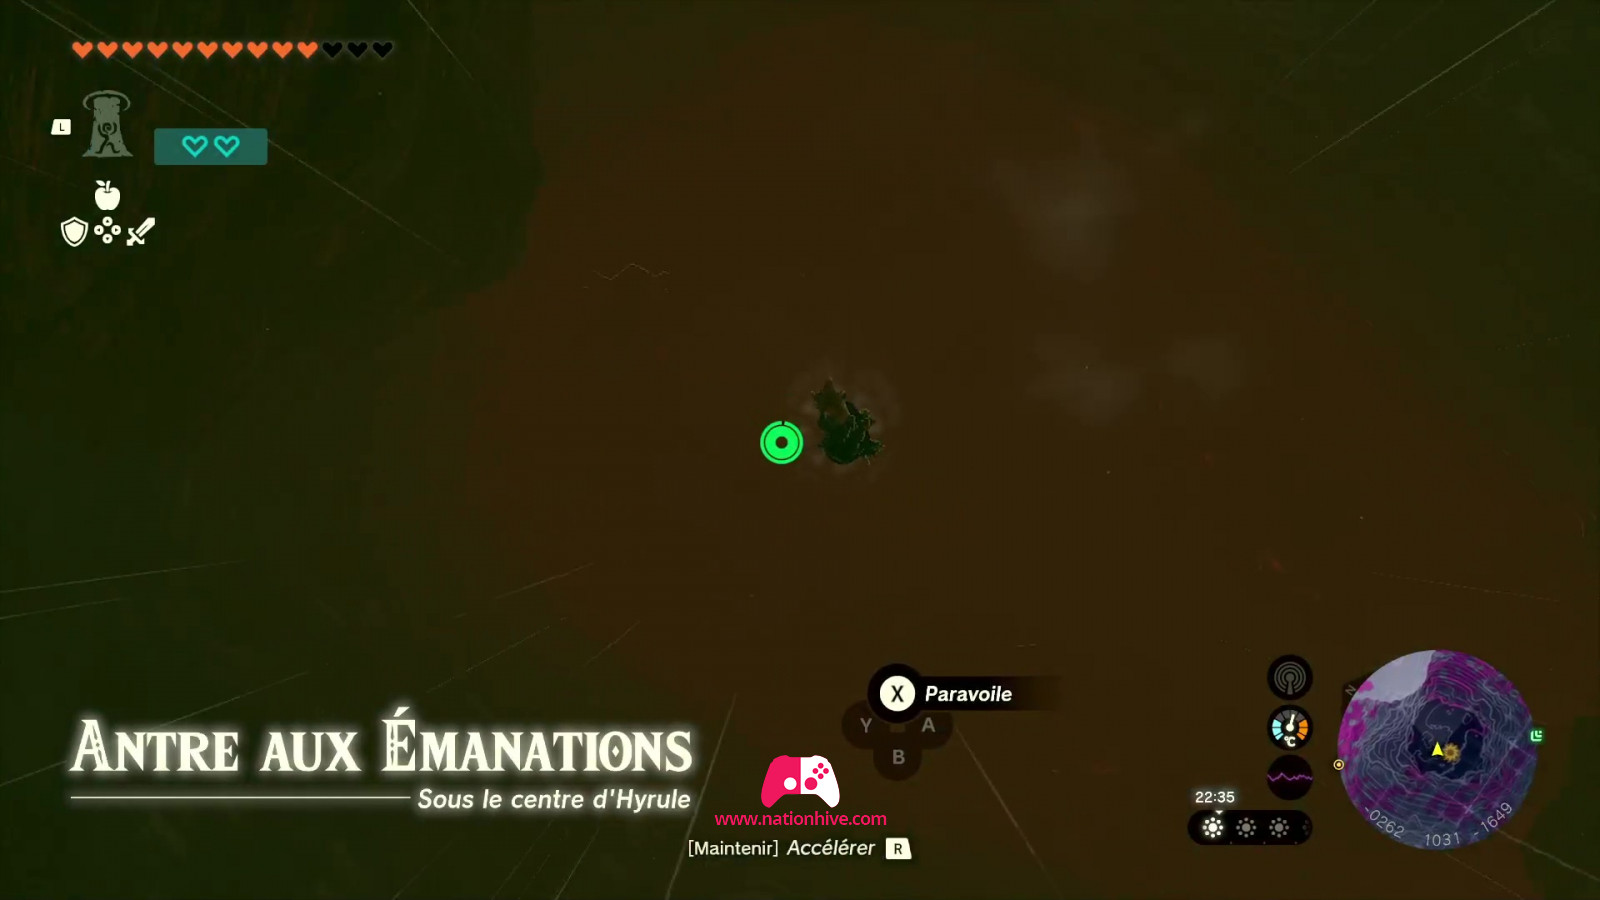
To get there, you can jump and fly with the Paraglider onto a platform on the left. From here, proceed to walk in, where a platform will drop down.
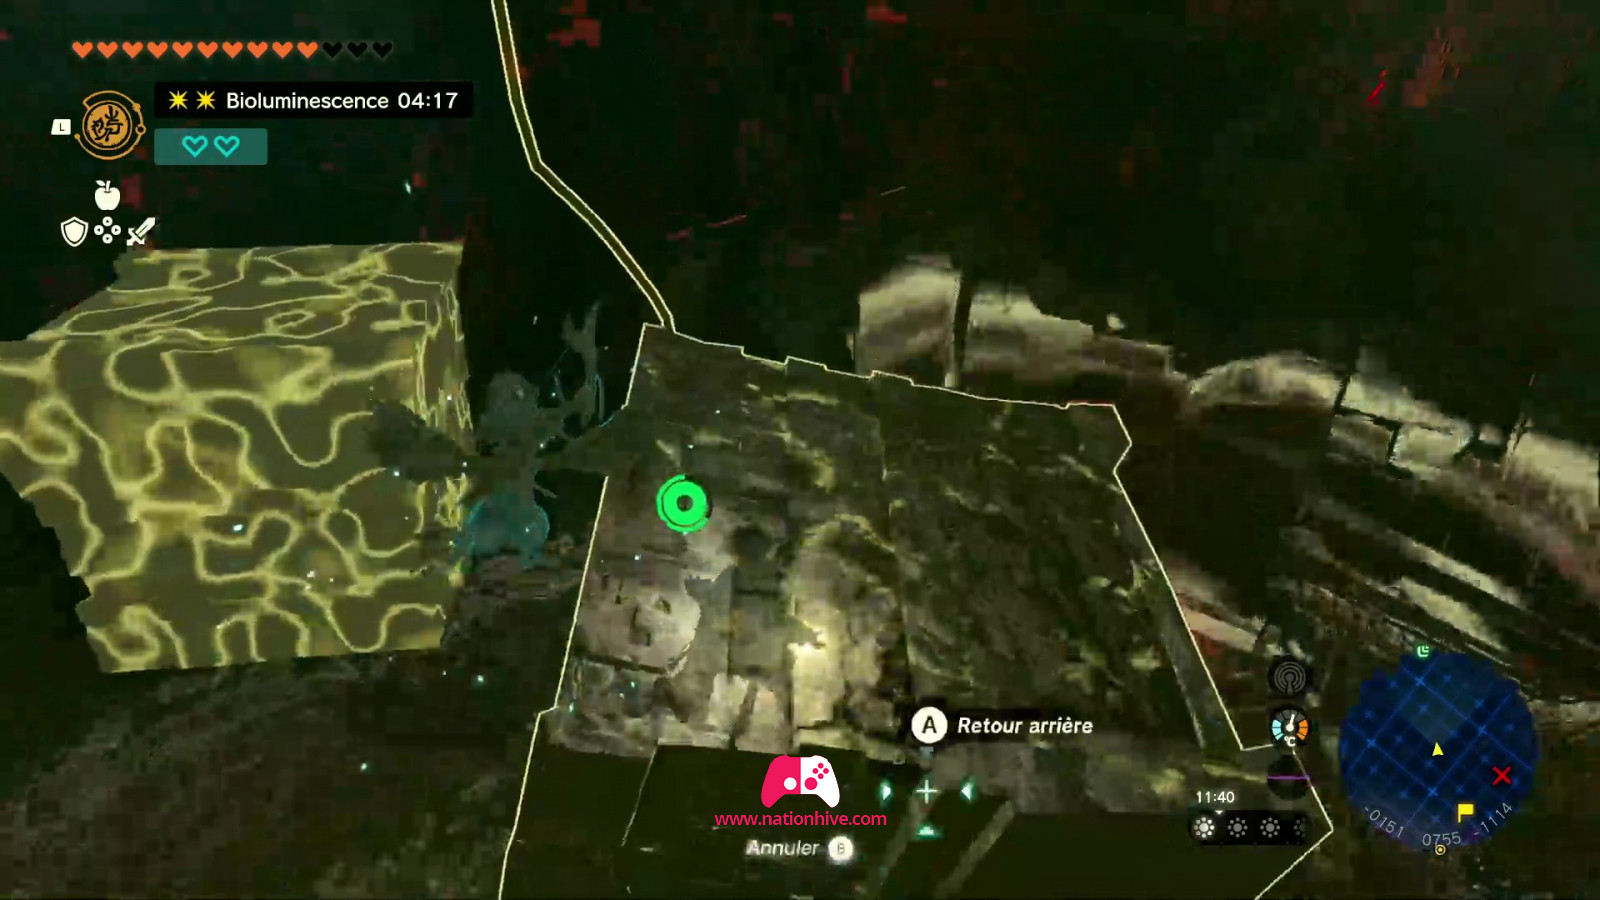
At the bottom, continue eastwards as there's a passage. In the next room, a block will fall from above. Climb this block and use the Recall ability to climb to the top or you can climb the wall but it will take longer.
Once at the top, head right and you'll find another passageway where you'll need to use Yunobo's ability to destroy the rocks blocking the way. Continue along the path and turn left (since on the right is the entrance you saw earlier, at the top of the White-Maned Lynel).
Move forward to face ice Like Like. Attack them all to avoid freezing as you cross the room and continue on your way. At the far end of the room, stand on a platform that drops to the floor. When you reach the bottom, you'll be confronted by numerous enemies. You can avoid the fight by jumping to the bottom. You can also collect weapons and equipment from nearby rooms. If not, continue down to the bottom.
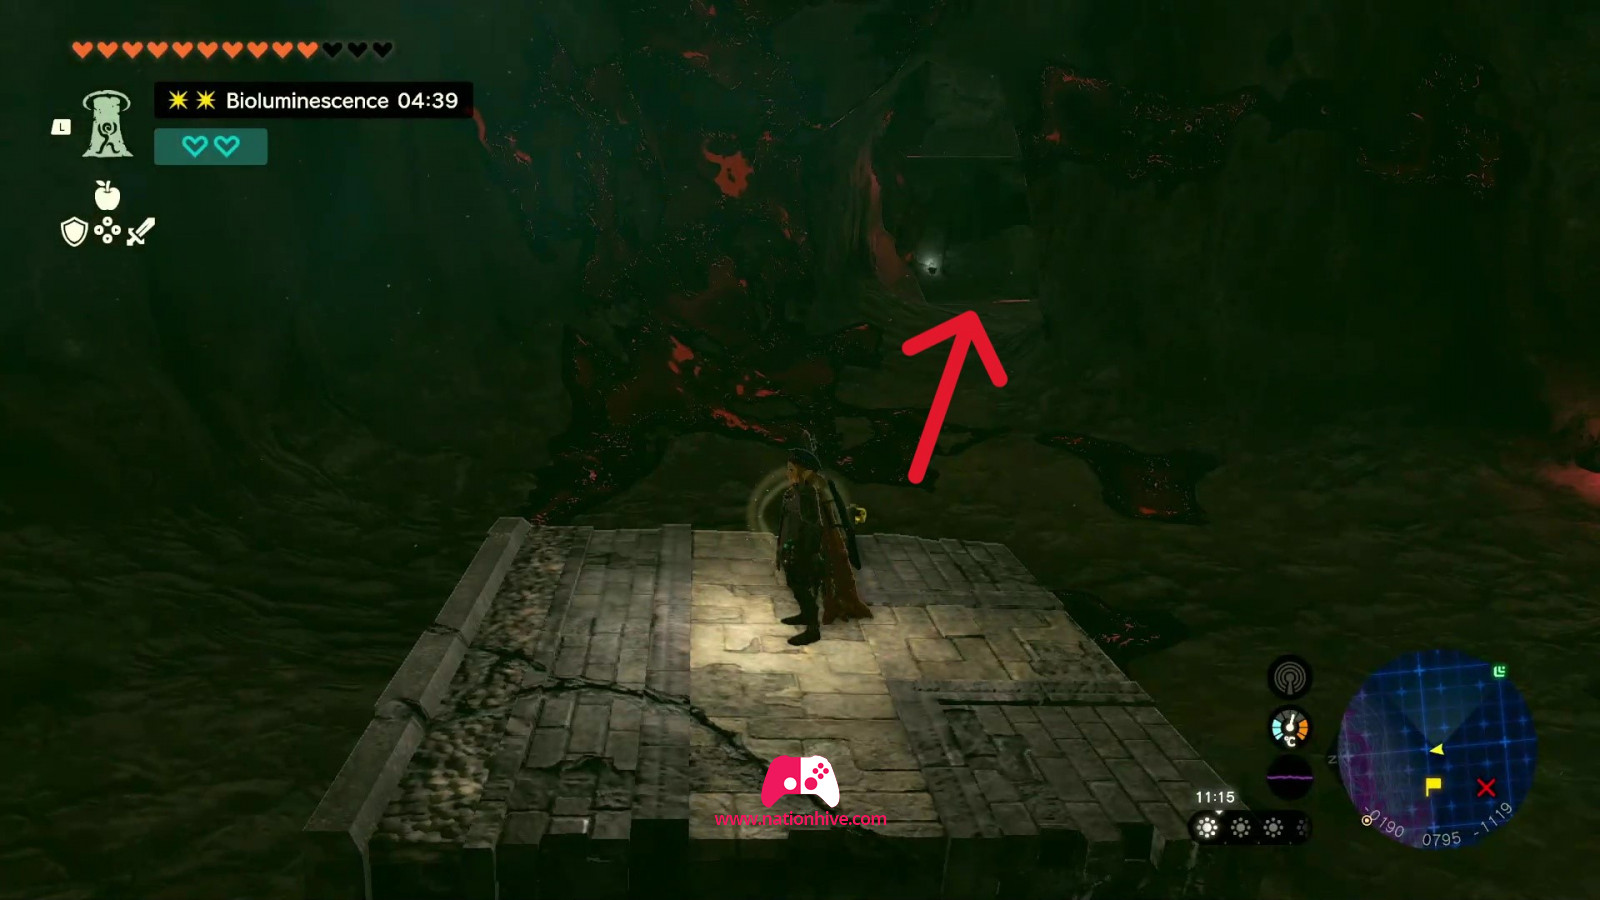
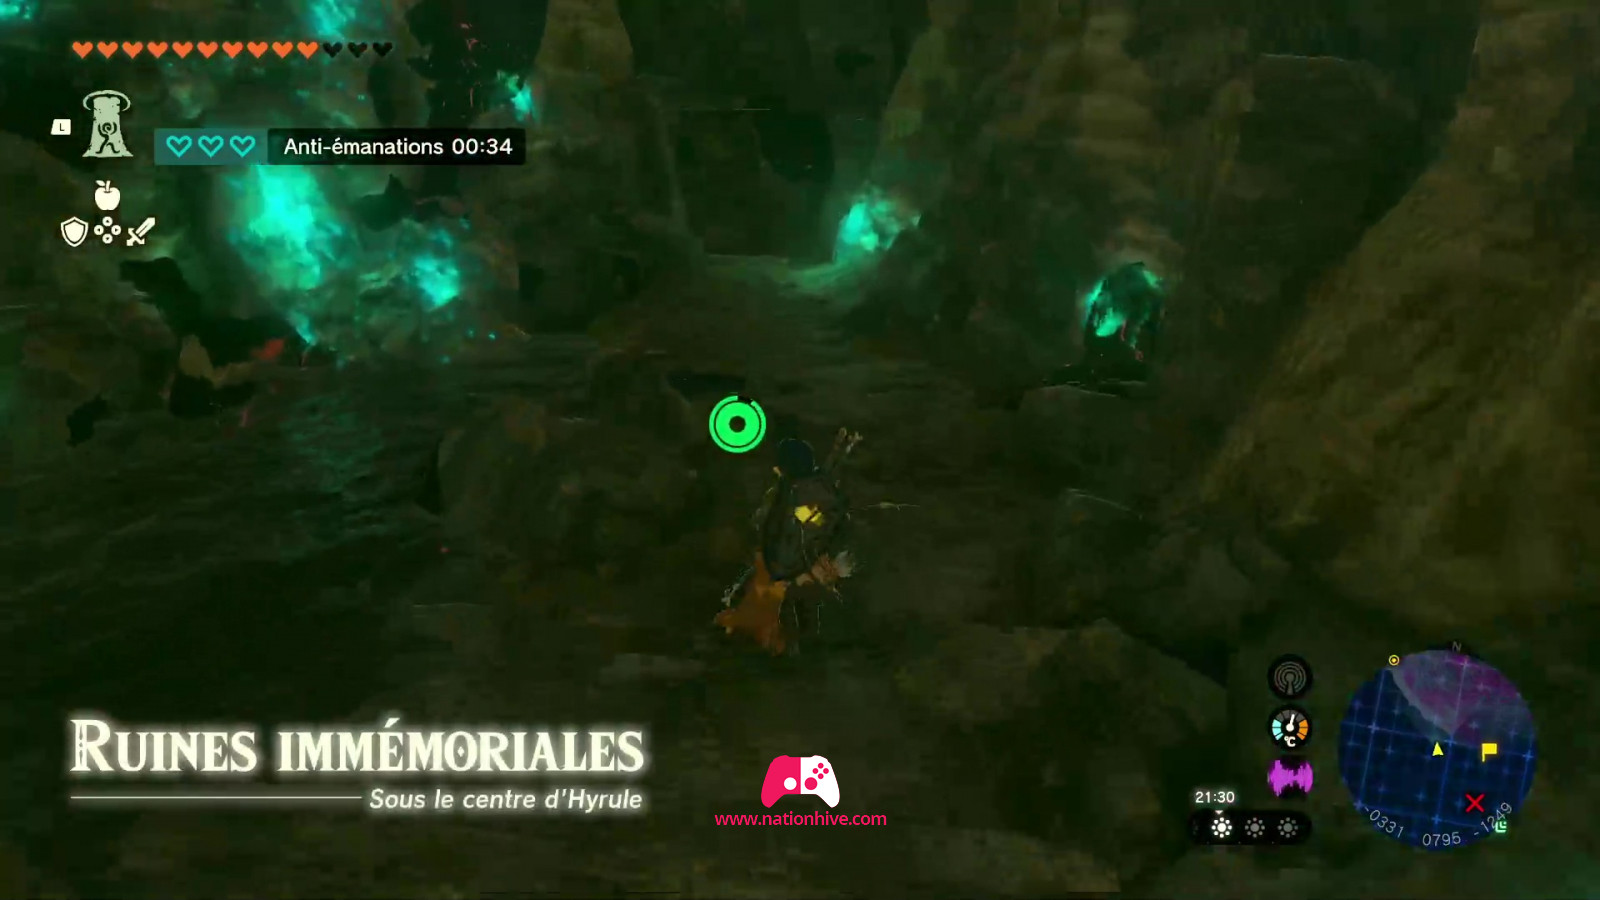
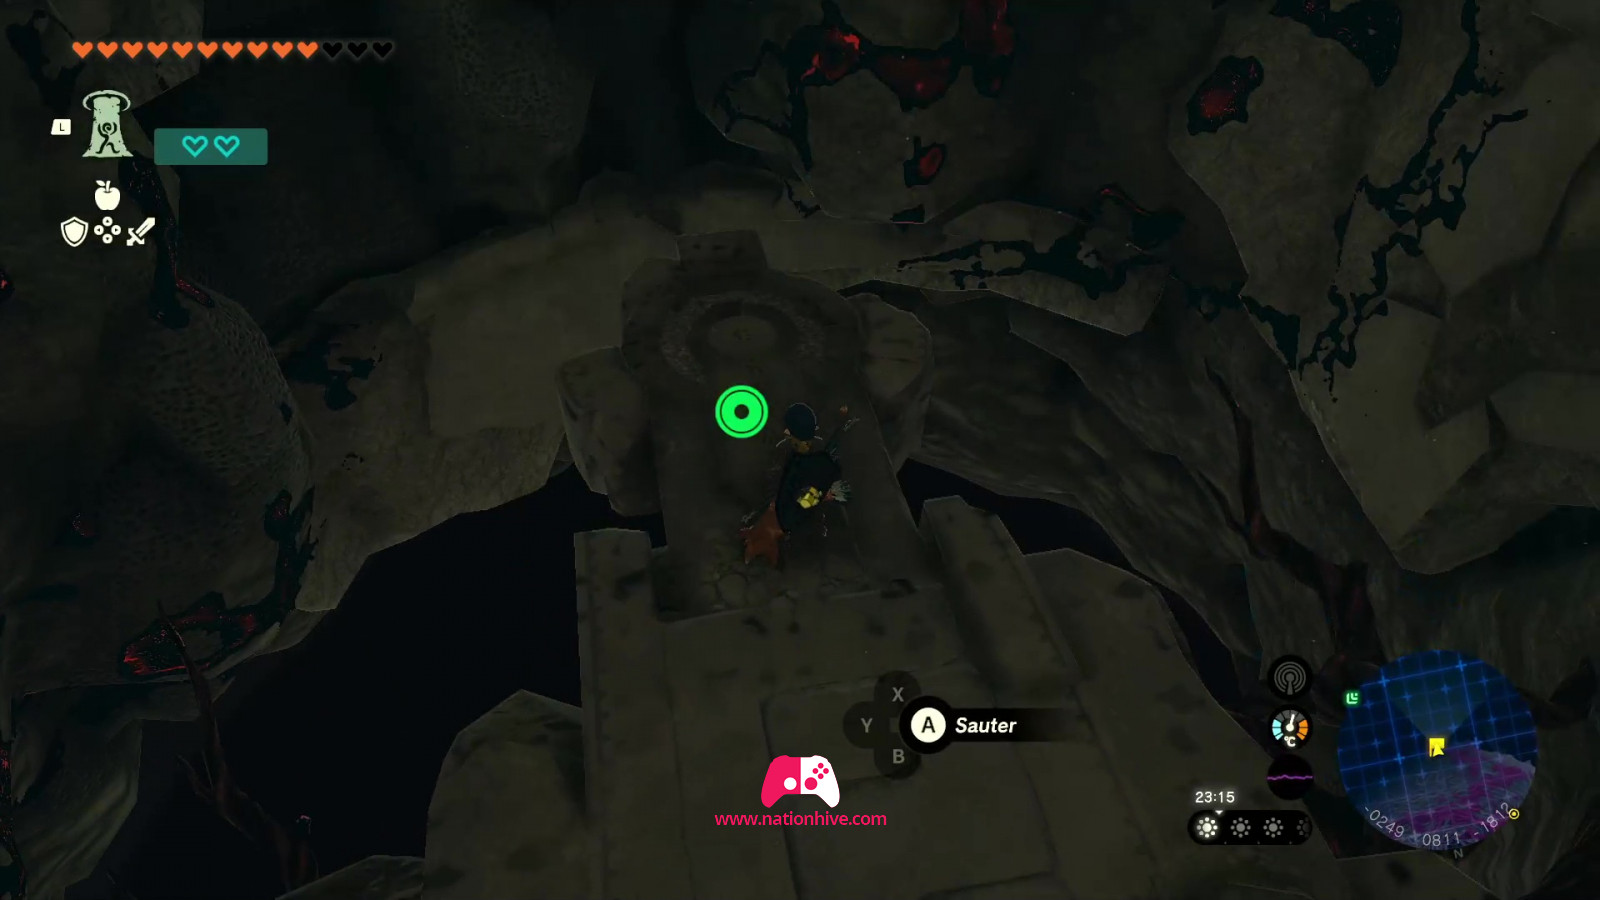
Walk to the edge of the cliff and you'll see a room filled with turquoise minerals. Go to the end of the platform and it will fall to the ground. You'll have to climb to reach the platform on the other side at the top, where there's an enemy.
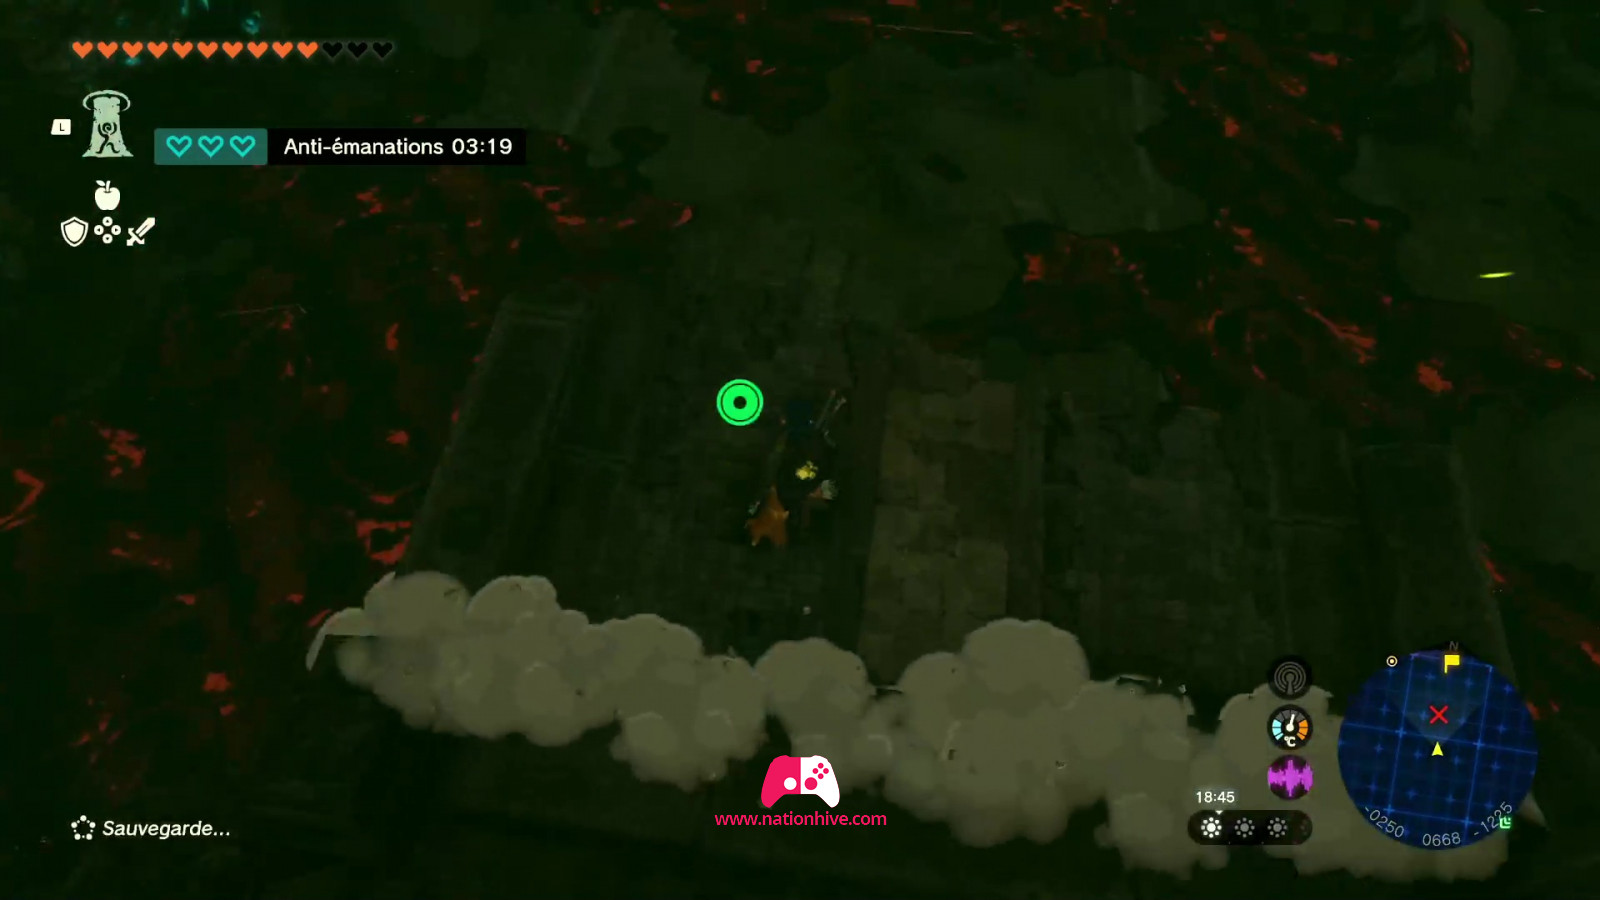
Once at the top, you can avoid fighting the enemy by running to the left corridor and gliding down the steps using the Paraglider. You'll then arrive at the Forgotten Foundation. Continue downwards, attacking enemies and breaking the stones blocking the way to reach the large mural you visited with Princess Zelda at the very start of the game.


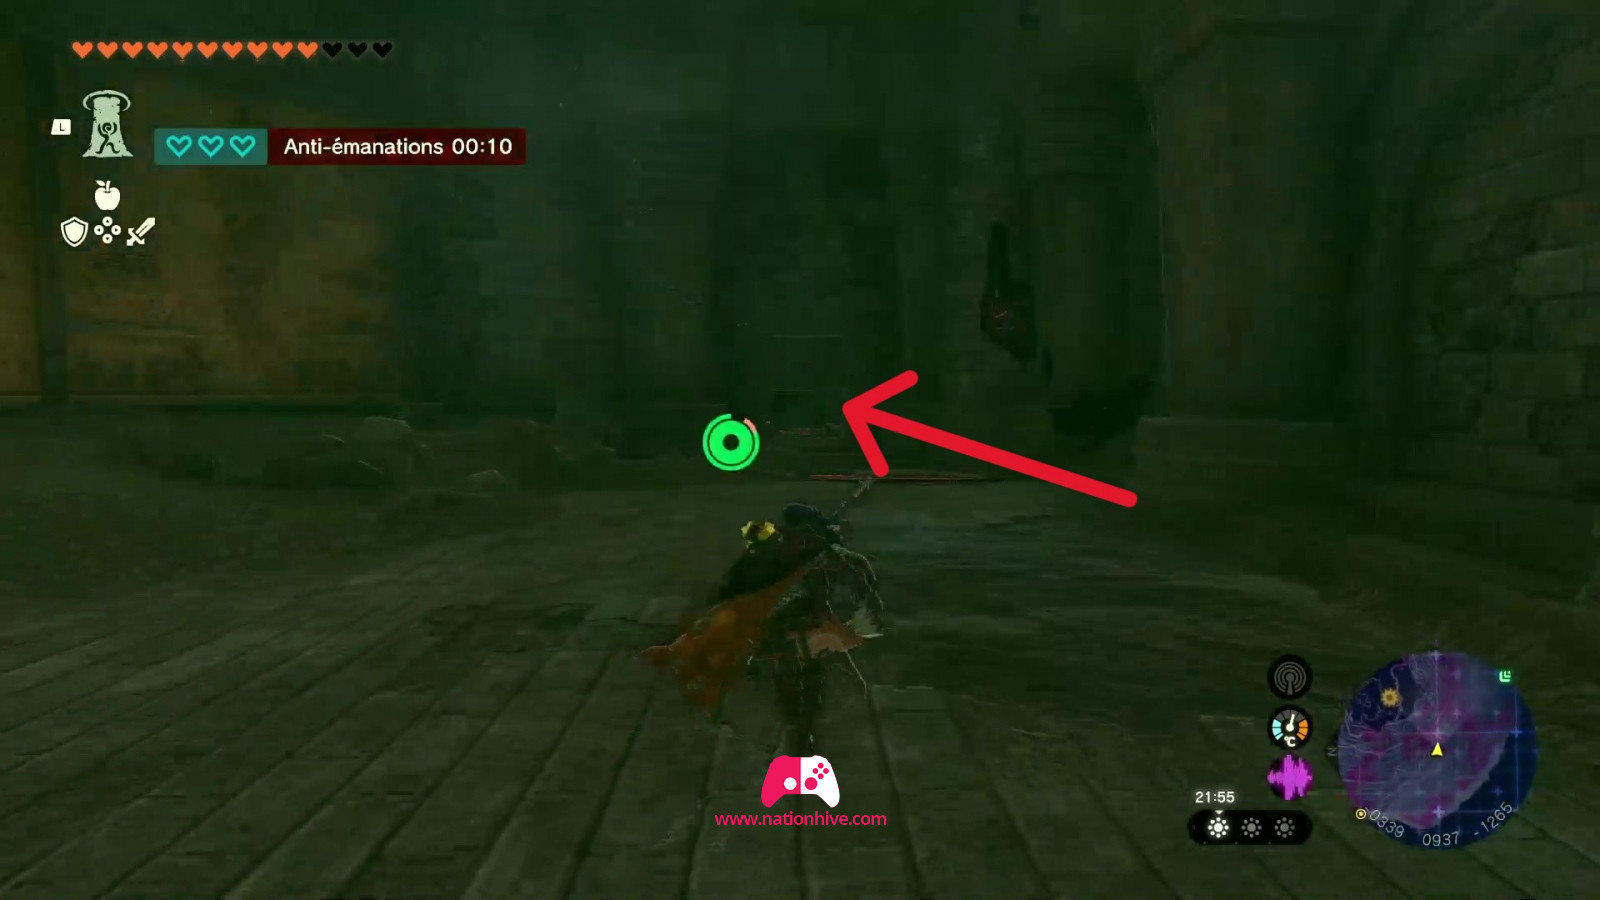
Destroy the stones to the right of the room to reveal an exit. Move in this direction to reach the Gloom's Lair.
Fight the Demon King's Army
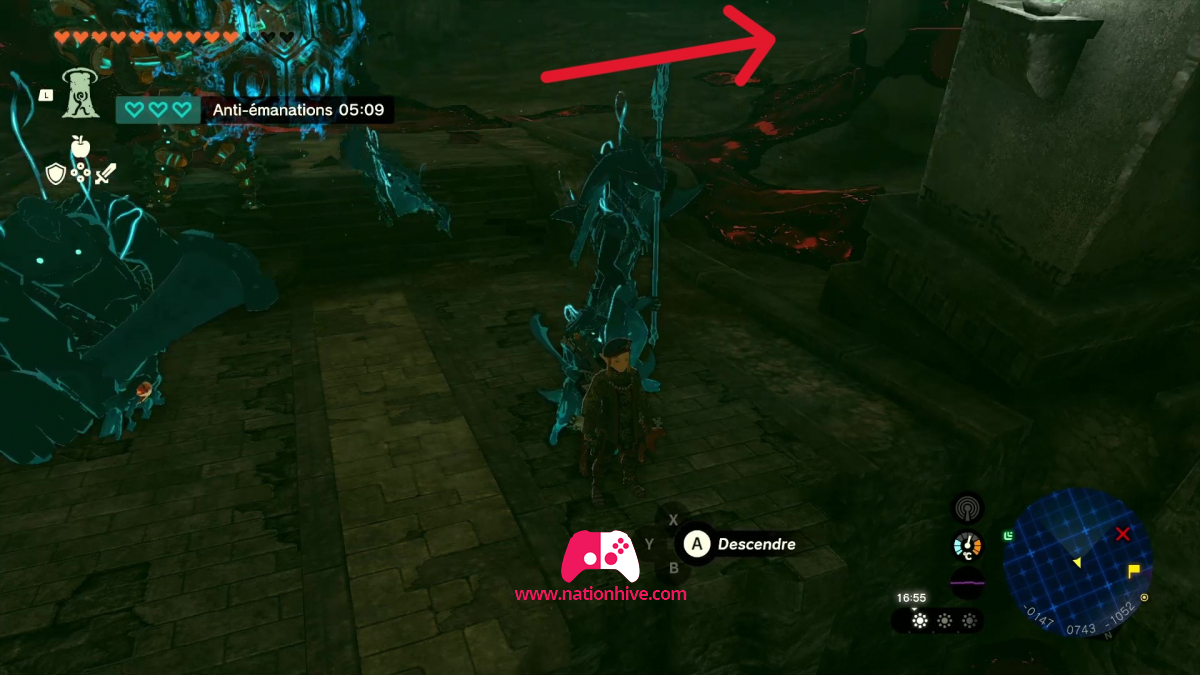
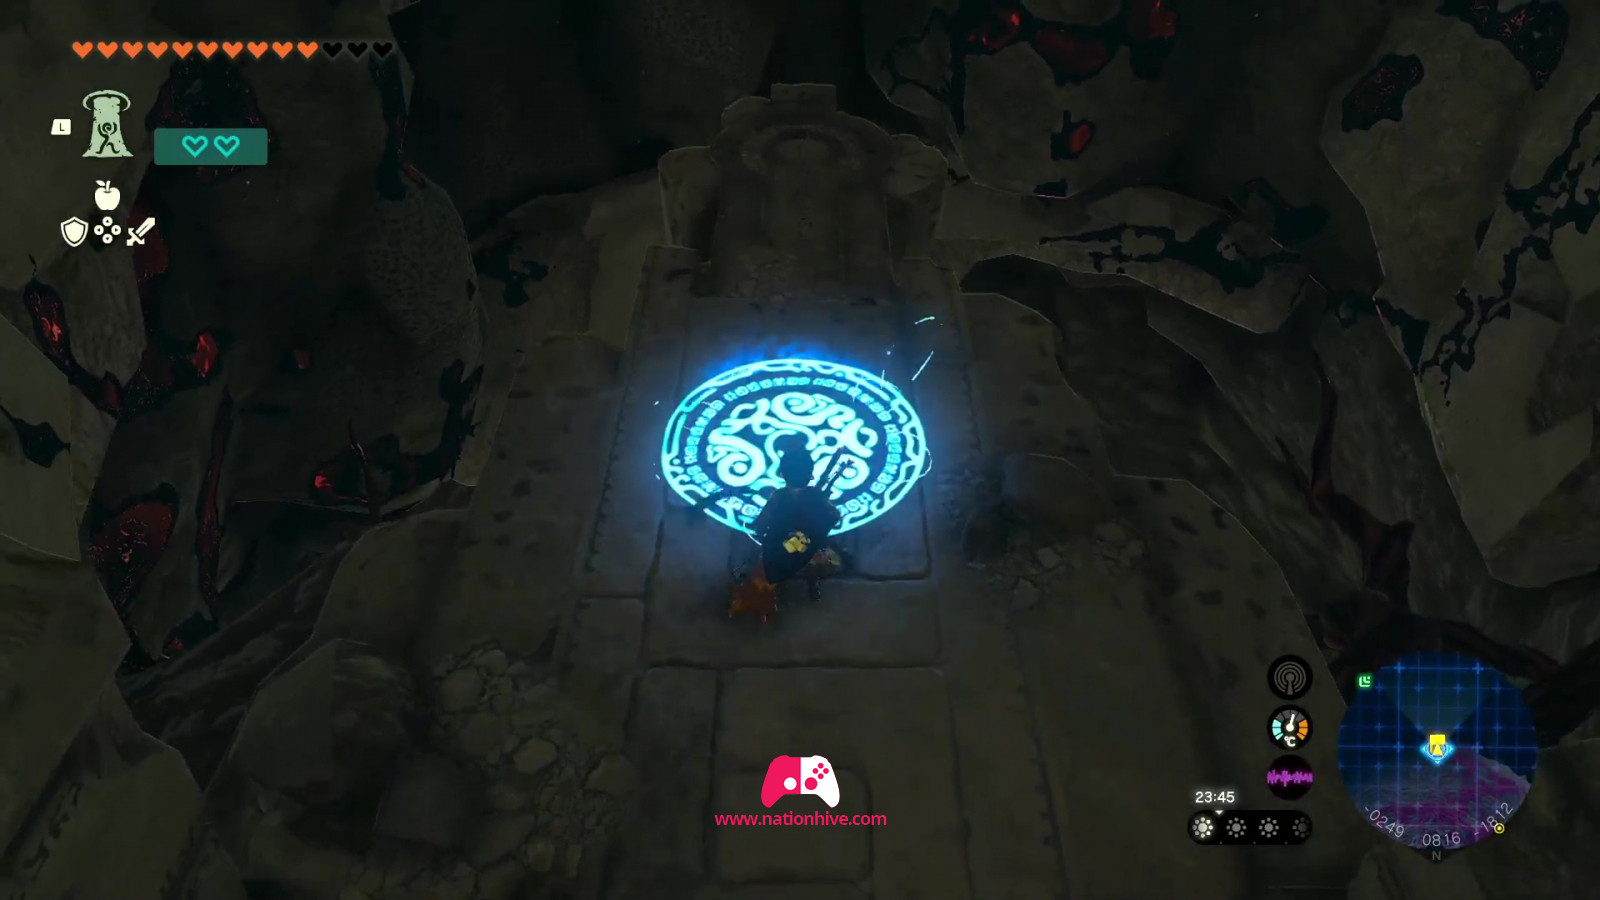
Jump down to reach the Gloom's Lair. Head south towards the platform where you'll have the option of jumping off.
- Caution! From now on, it's important to be well equipped with dishes that can repair heart receptacles.
- What's more, to avoid having to travel all the way back to this location, we recommend you complete the side quest: Presenting: The Travel Medallion, so you can teleport to this location whenever you like. This will give you time to stock up on resources and dishes as needed. Before starting the final battles.
Once you're ready, jump down. A cinematic sequence will start, in which Bokoblins and Bokoblin bosses appear. Attack them all to move on to the next stage. Once the Bokoblins have been defeated, Lizalfos will appear. Attack them all to move on to the next stage. Once the Lizalfos have been defeated, Gibdos and Moblins will appear.
Once you've defeated all 4 types of enemy, a cinematic sequence is triggered in which all the enemies you've defeated in the Temples appear. Fortunately, your allies are there with you. They'll take care of them so that you can join Ganondorf for the final battle.
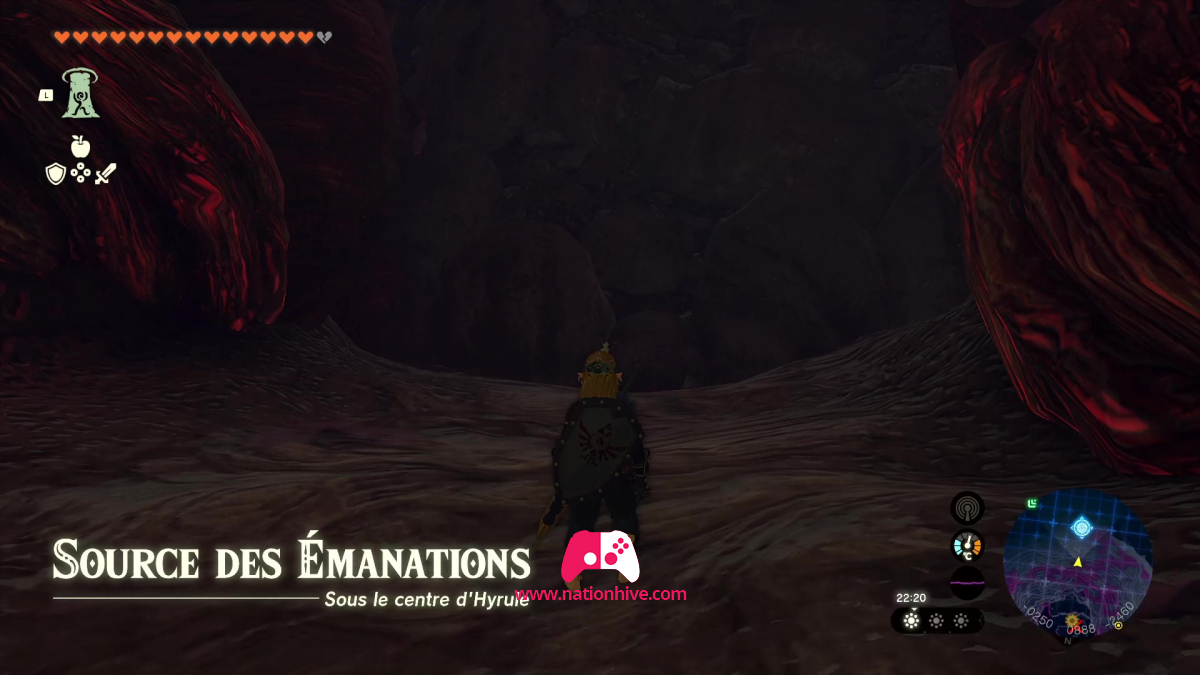
You'll find yourself in the Gloom's Origin. Make sure you're well equipped. Then head south to begin the final battle against Ganondorf.
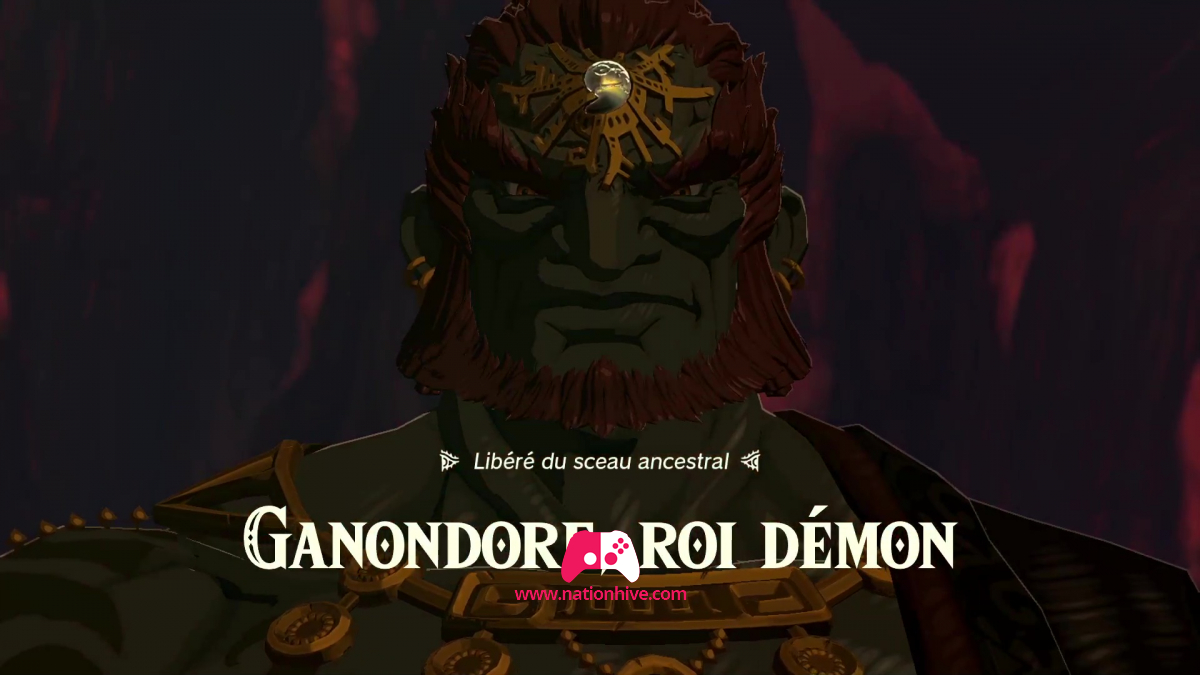
Defeat Demon King Ganondorf
It's important to know that the fight against Ganondorf is divided into 4 phases.
Phase #1
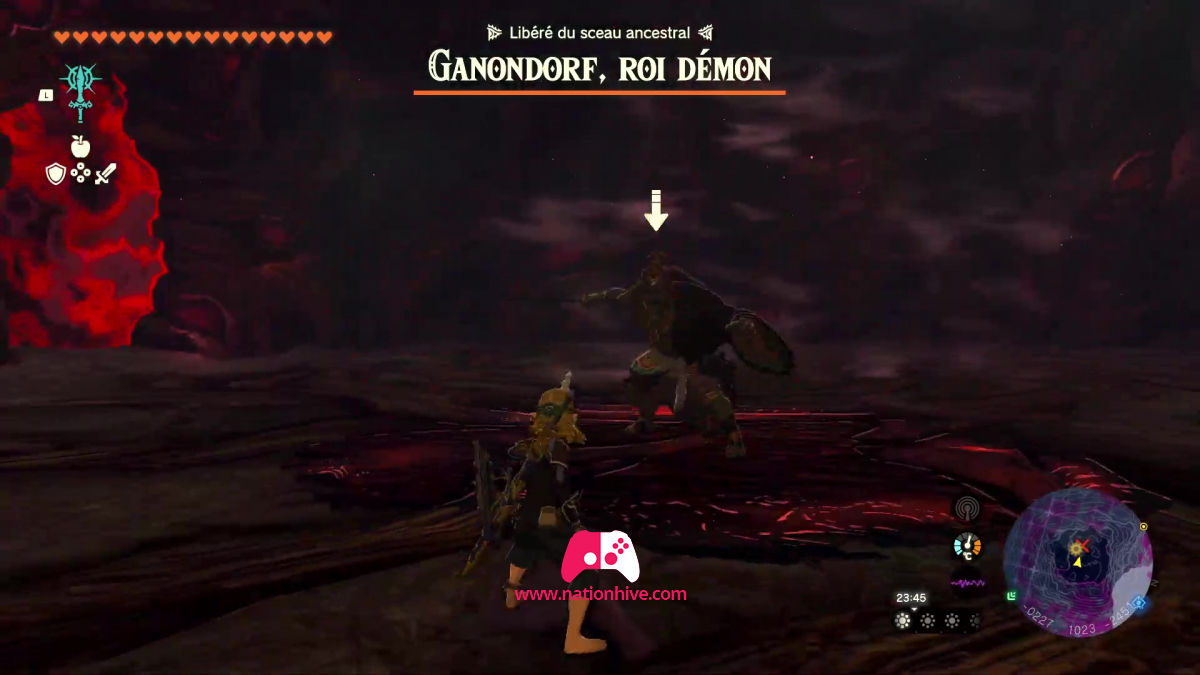
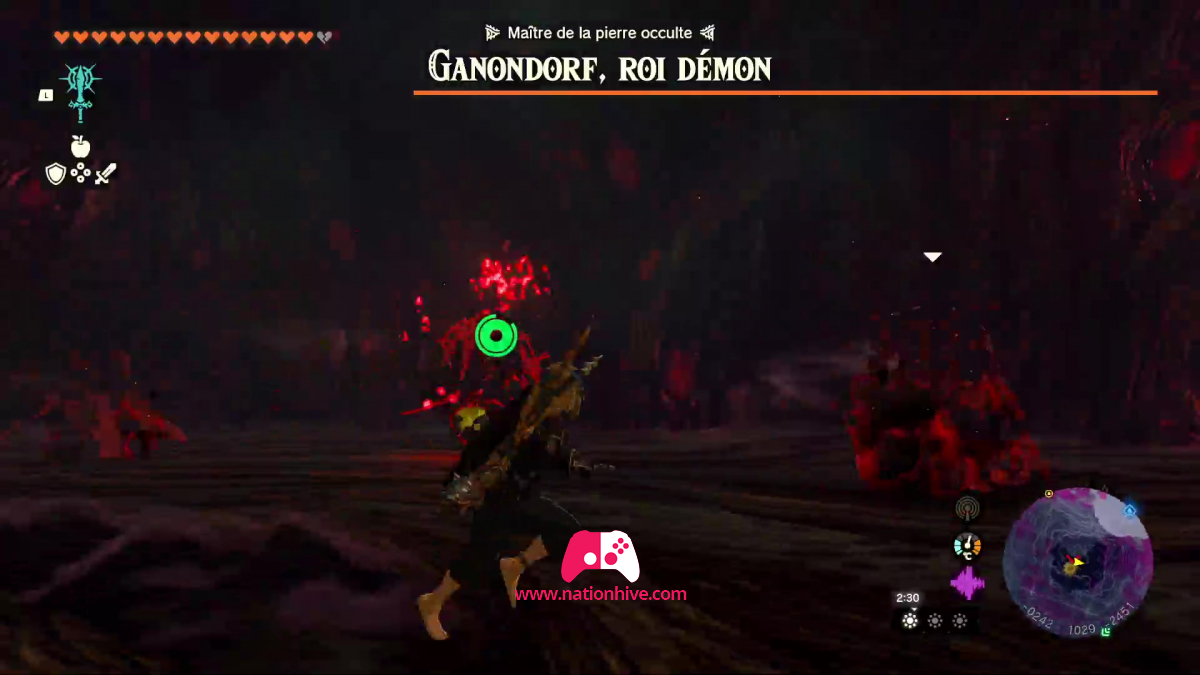
In the first phase of the fight, simply use the special action: Flurry Rush to inflict as much damage as possible. This is very similar to the fight you did in the main quest: Crisis at Hyrule Castle - Part 2.
To perform a backward Flurry Rush, simply lock on to the target (the enemy) with ZR, press X to jump while holding Stick de gauche to move backwards. Make sure you use Flurry Rush at the right moment to inflict damage. Keep an eye on your life bar and eat food as needed.
What's more, during this phase, Ganondorf has 3 ways of attacking. Just look at the angle of his attacks to see whether you should jump from behind or to the side when you do the somersault. He'll often switch weapons, attacking you with a sword, a large staff or a spear. He'll also leave trails of miasma after his attacks, so it's important to avoid them.
One other thing: when you see air currents appearing and Ganondorf about to hit the ground with his big stick, hurry up and jump using your Paraglider to avoid the circle of miasma he'll make appear.
Phase #2
When Ganondorf's life bar runs out for the first time, he'll come back even stronger, and his life bar will get even bigger. During this phase, your allies will return to help you fight off Ganondorf's many illusions. It's also very similar to the battle you fought in the main quest: Crisis at Hyrule Castle - Part 2.
This time, it's important to focus only on the brightest Ganondorf, as he'll be attacking you the most. Repeat the same process as in Step 1. Simply use the special action: Flurry Rush to inflict as much damage as possible. Once Ganondorf's life bar is half empty, you'll begin phase #3.
Phase #3
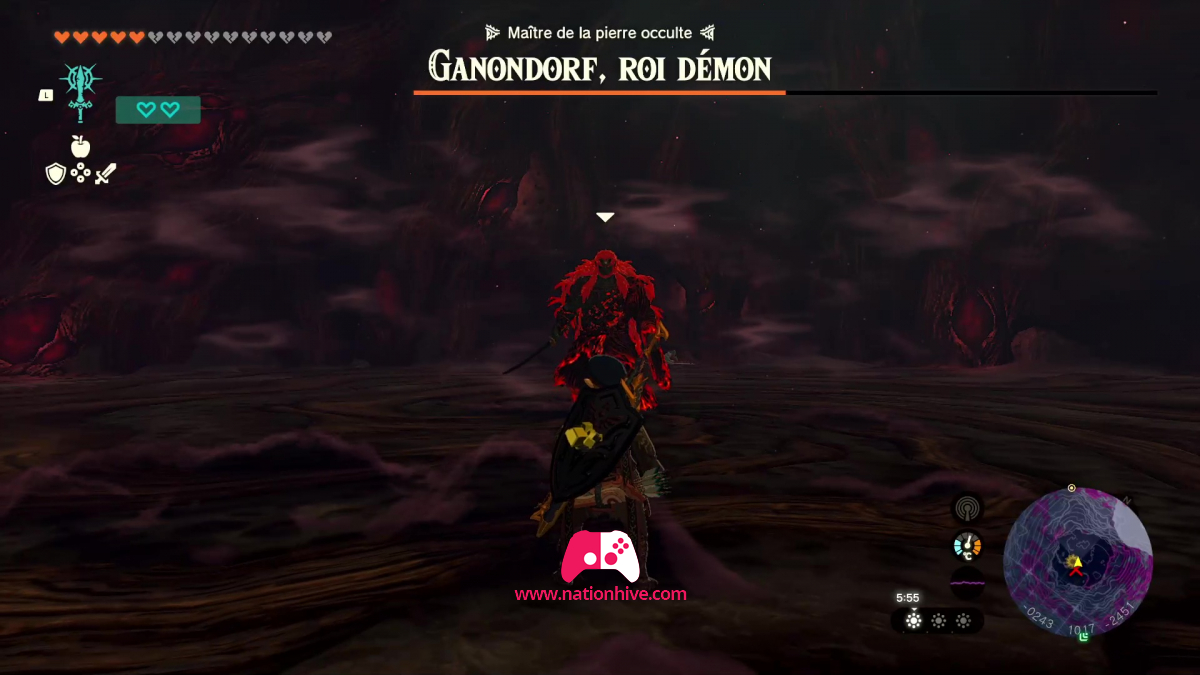
In phase #3, the illusions and sages disappear, leaving you to fight Ganondorf alone. This time, Ganondorf will attack you with jets of miasma. It's important to keep your distance from the enemy to be able to avoid the miasma jets. When Ganondorf launches these miasma projectiles, be prepared to avoid his attacks as he rushes towards you.
Unlike the other phases, this time Ganondorf will avoid your somersaults by doing another Flurry Rush. Be prepared to avoid his attacks, as he'll come at you very quickly after his backward Flurry Rush.
For this phase, to inflict damage, you'll need to try a second somersault from the side when he charges at you after his Flurry Rush. It's also possible to shoot resources from Ganondorf's face, such as Bomb Flowers or resources from Gibdo, which can inflict a great deal of damage. It's important to always be on the move.
Also, beware of miasma projectiles, as they can cause your heart receptacles to disappear during combat. For this reason, it's important to be well-equipped with the various dishes that will help you in battle. Once Ganondorf's life bar is completely depleted, you'll begin the last phase of the final battle.
Phase #4
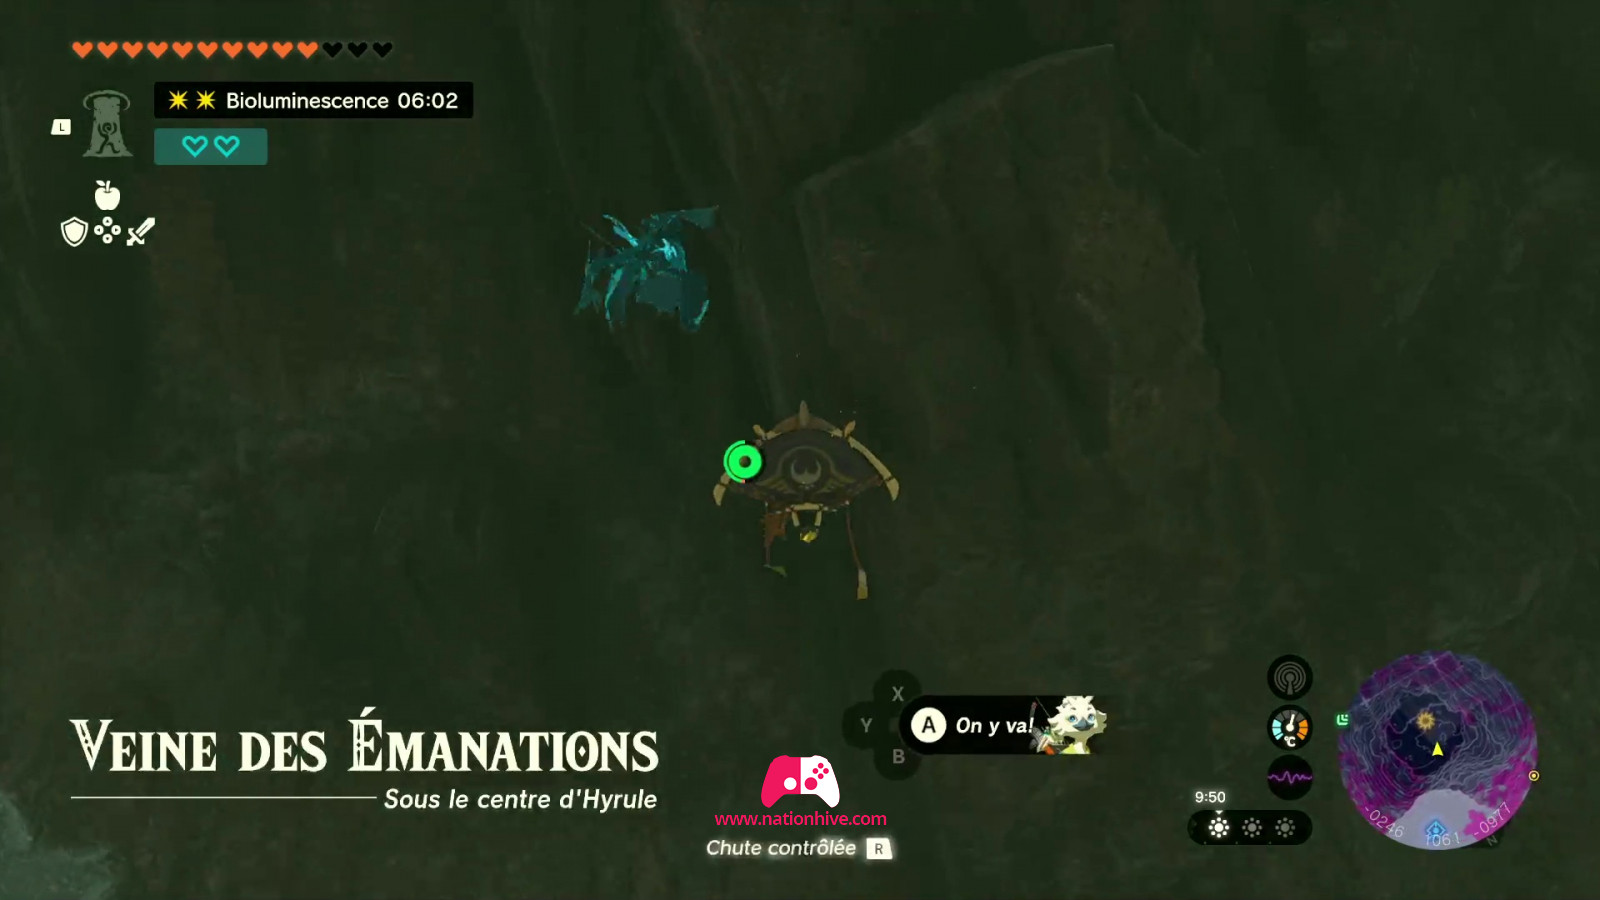
During this phase, Ganondorf will transform into a red dragon and soar into the Great Sky Islands, as this battle will take place in the sky.
Defeat Ganondorf, the Demon Dragon
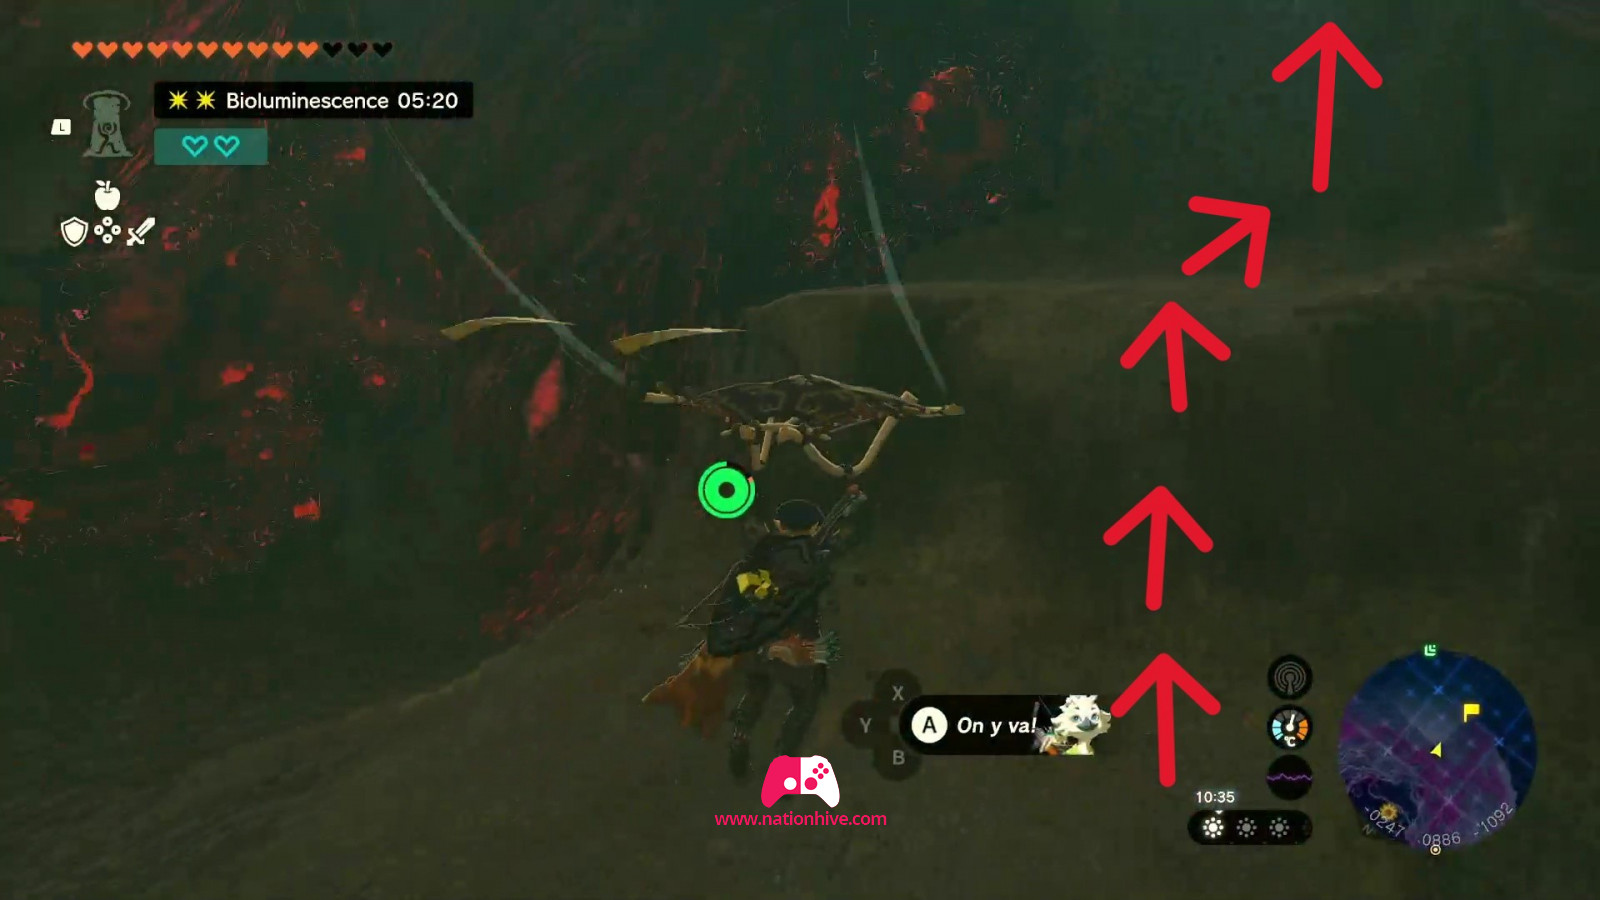
In this phase, your aim is to destroy the 4 weak points on the dragon's back. Don't worry if you fall, as the white dragon will be back to help you up.
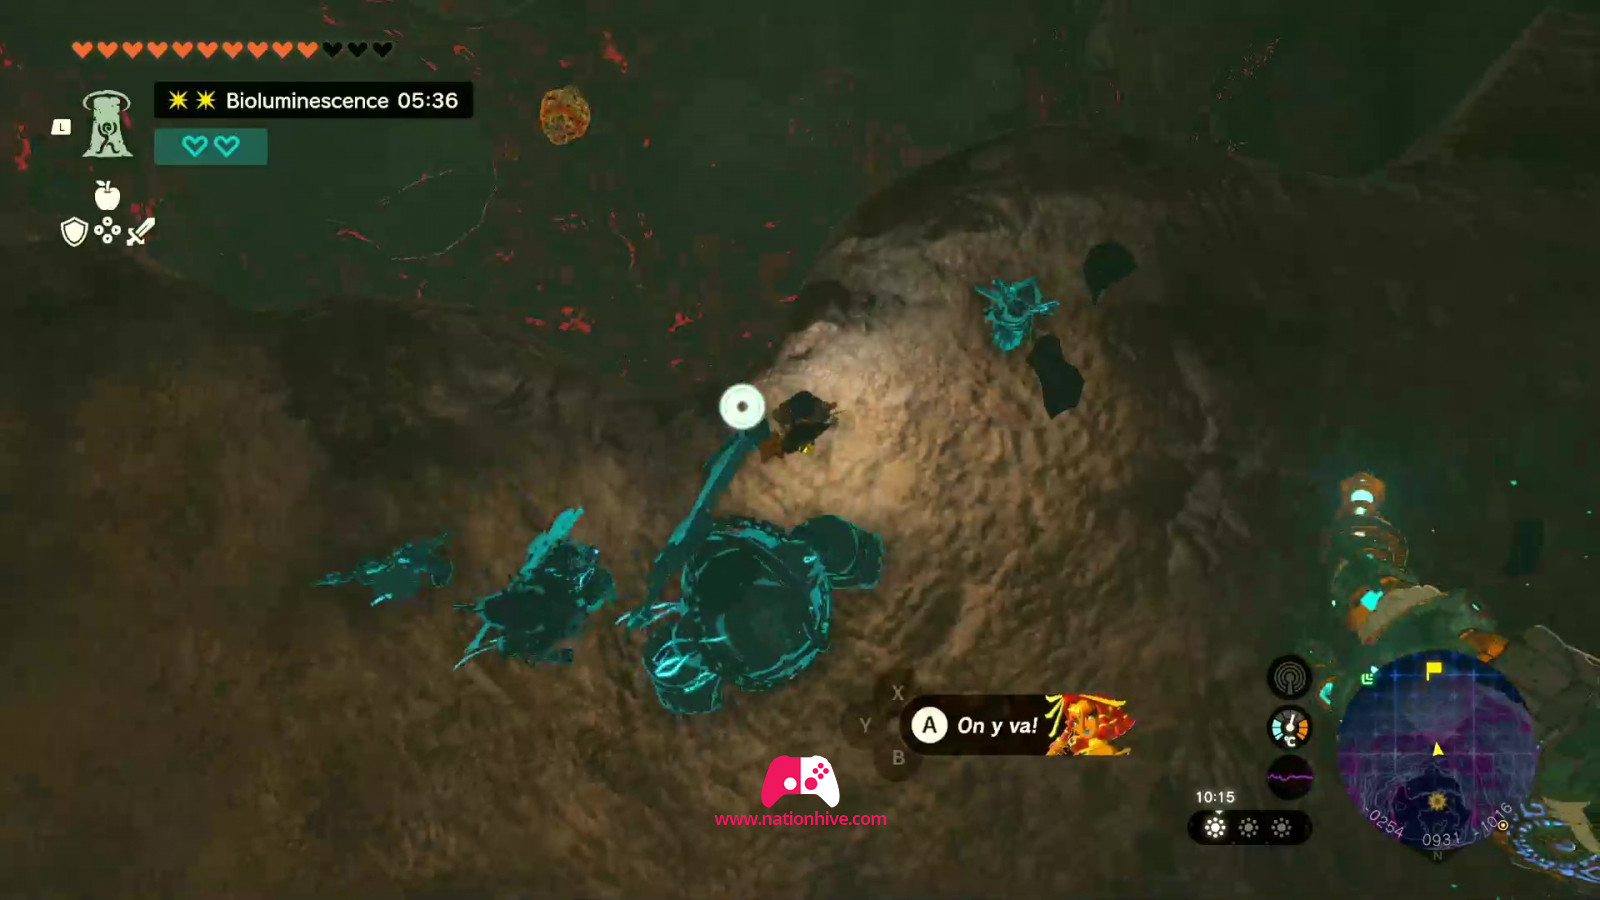
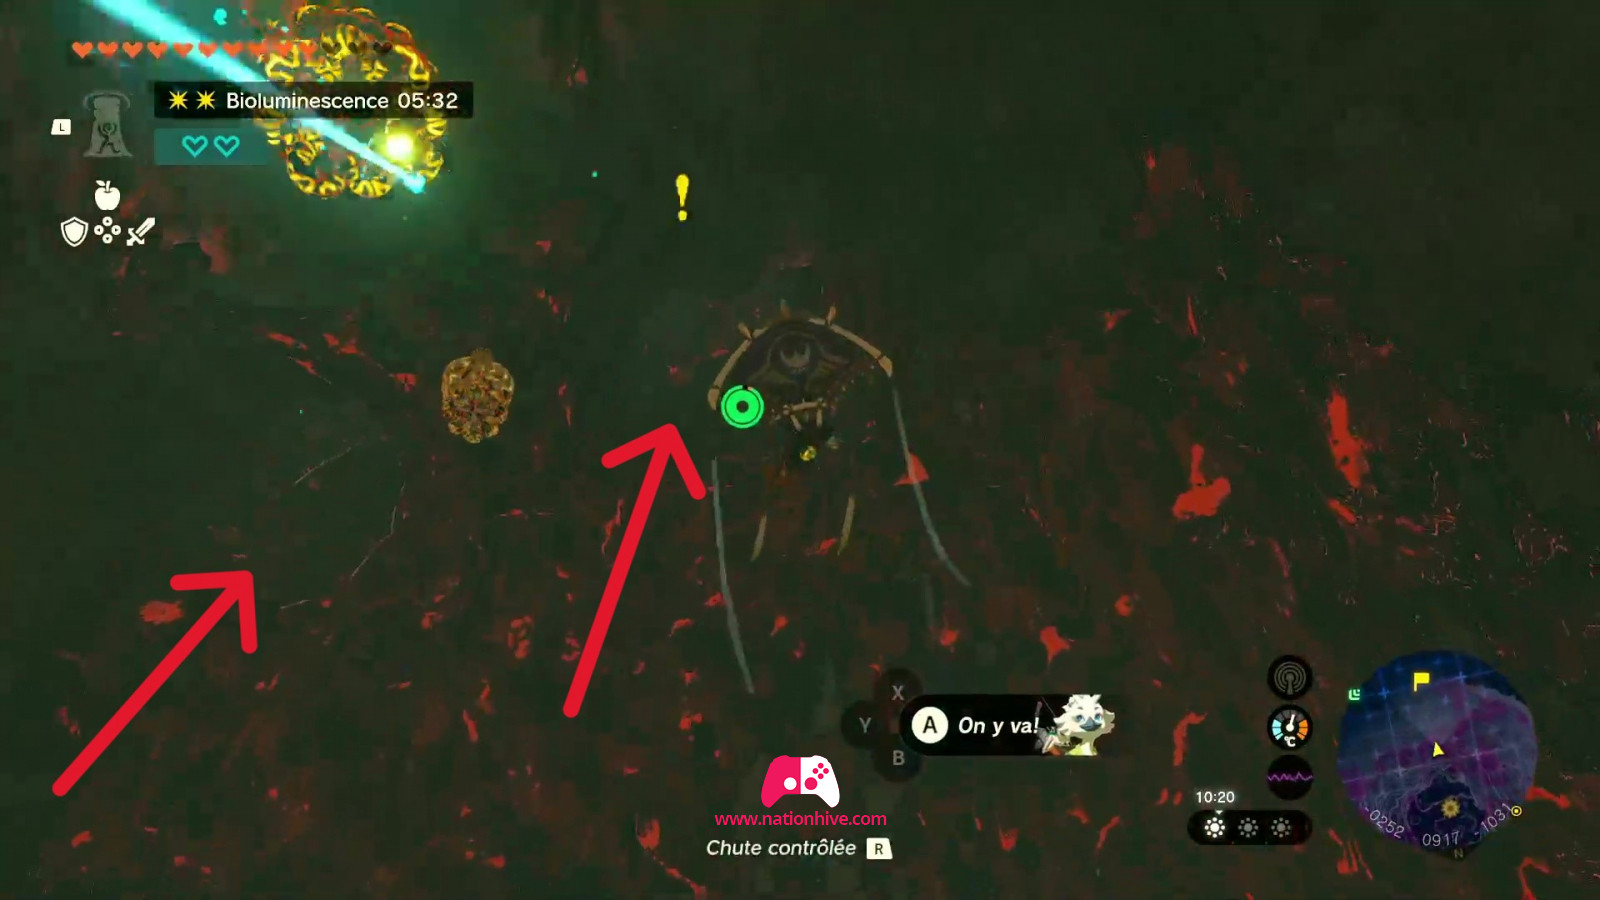
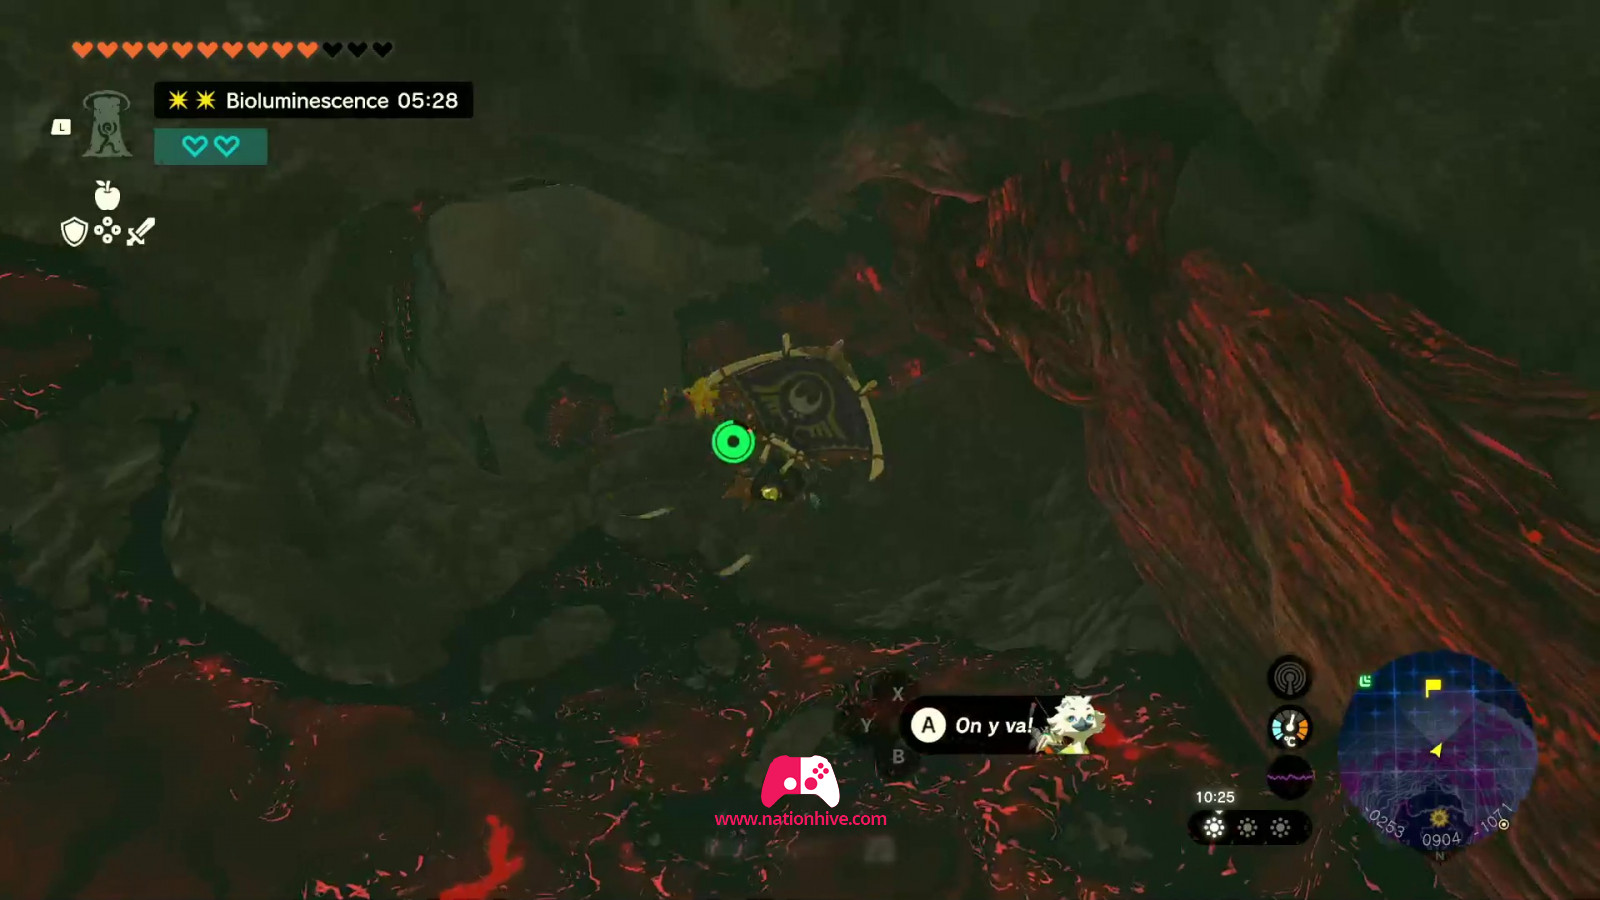
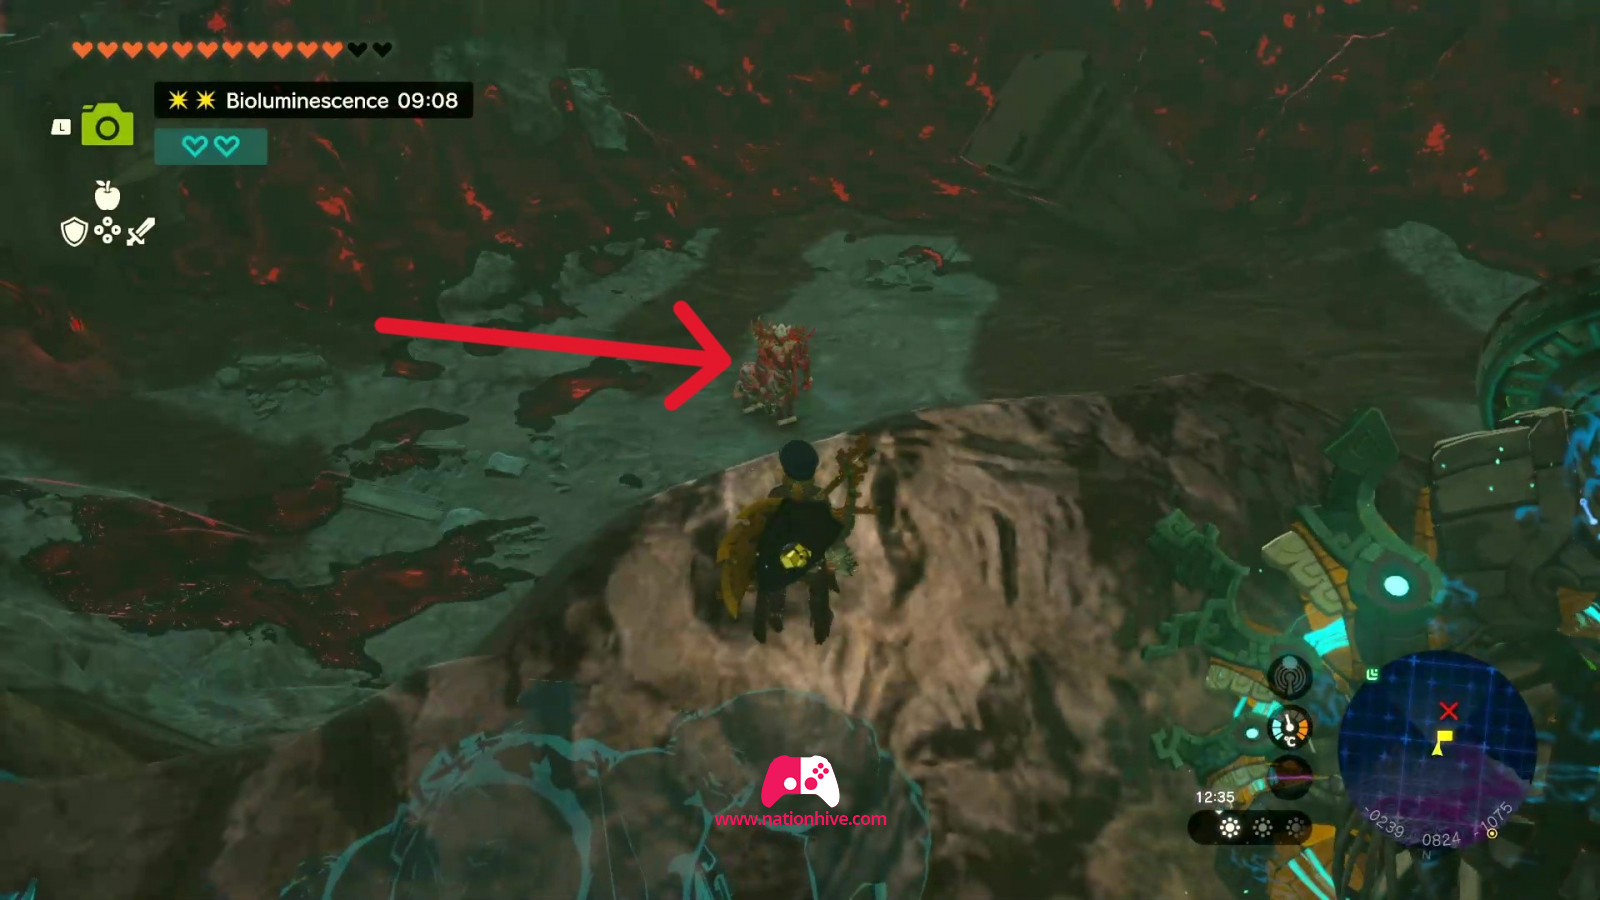
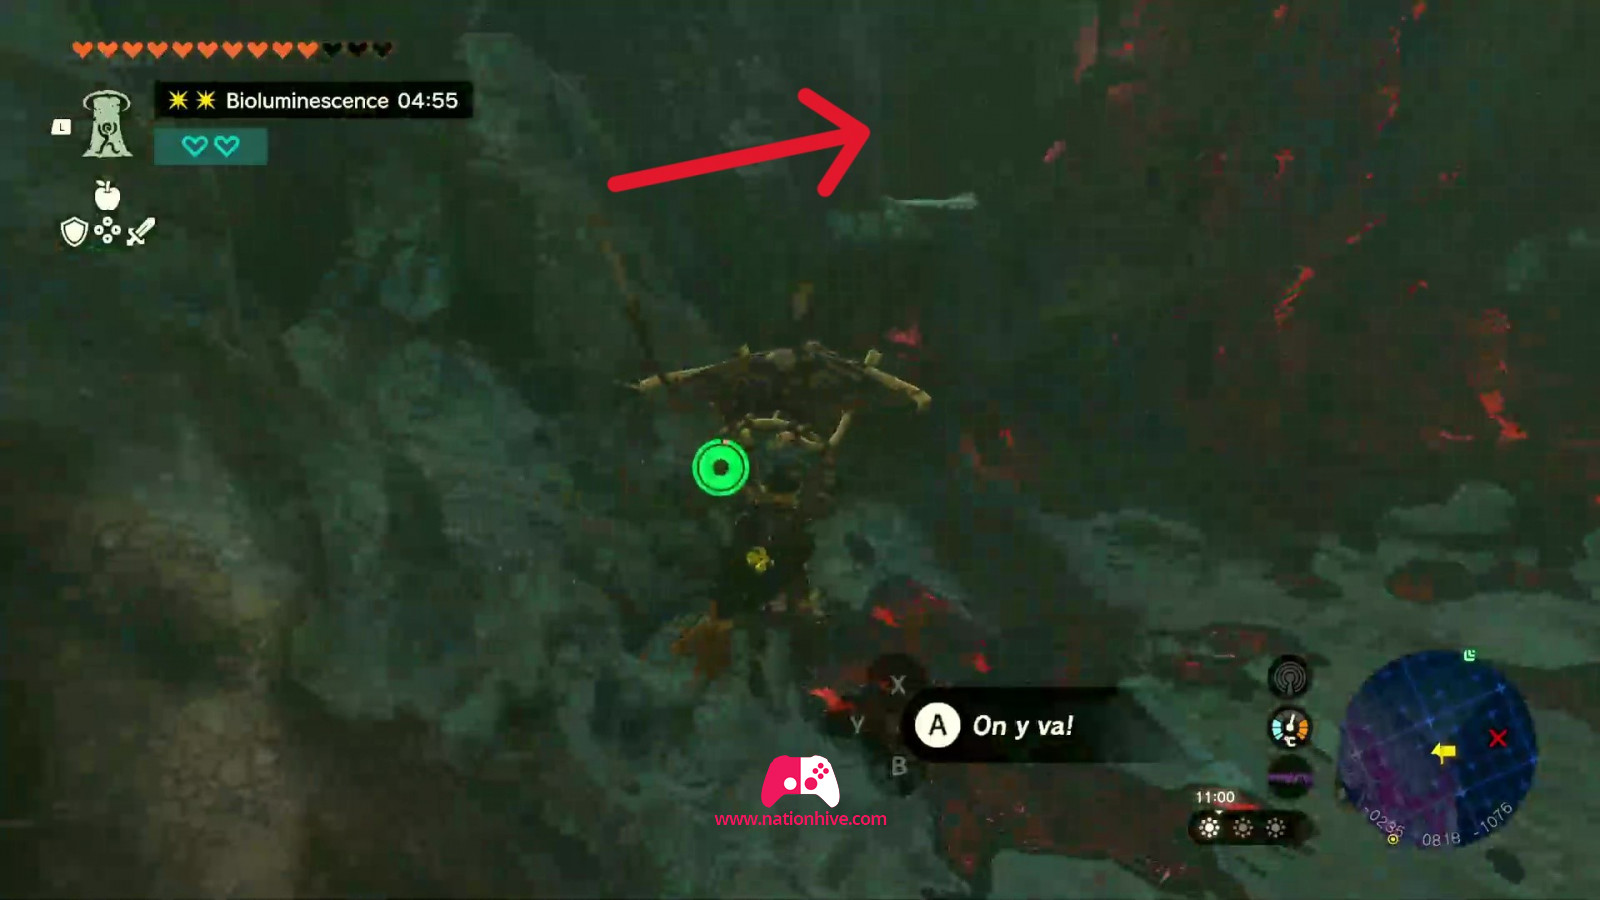
Once on top of the red dragon, jump down and use the Paraglider to guide you to the dragon's 4 weak points. Be careful to avoid miasma projectiles and stepping on the dragon, as it is soaked in miasma (except where the weak points are). Hit the weak points to inflict damage. Once the weak spot has been destroyed, you'll be thrown into the Great Sky Islands and caught by the white dragon. Repeat the process for the other 3 weak points.
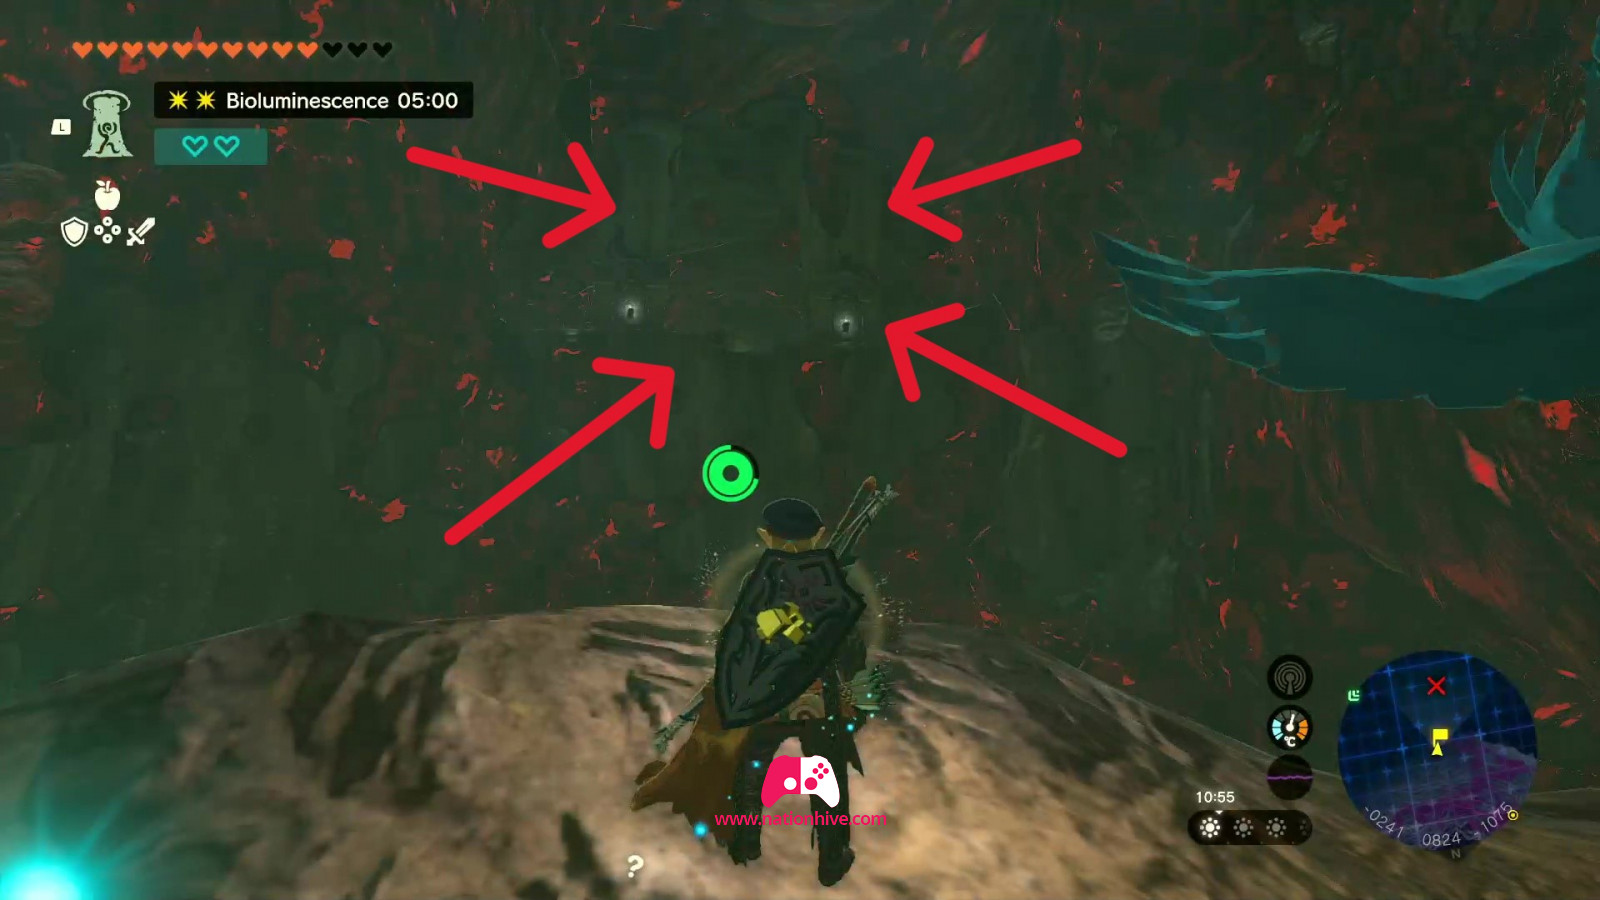
Once the 4 weak points have been destroyed, there's just one step left: destroy the weak point on the red dragon's head. This is how Ganondorf will be defeated! Then listen to the cinematic at the end of the fight.
This concludes the main quest: Defeat Ganondorf. And that's it! Congratulations, you've completed the main story of The Legend of Zelda: Tears of the Kingdom.