Crisis at Hyrule Castle - Part 2
In this walkthrough for The Legend of Zelda: Tears of the Kingdom, we'll give you the complete tutorial for the main quest: Crisis at Hyrule Castle - Part 2.
Once you've completed the main quest: Regional Phenomena - End, which means you've visited all 4 regions: Rito Village, Goron City, Zora's Domain and Gerudo Town, Pru'ha will ask you to go to Hyrule Castle to uncover the mystery behind all these Zelda-related events.
- But be careful! Before going to Hyrule Castle, we recommend that you stock up on dishes, weapons, arrows, resources and equipment. We also recommend completing as many Shrines as possible to increase your character's number of Heart receptacle or Stamina receptacles.
- We recommend that you have at least 10 hearts and have completed (or nearly completed) 2 stamina circles, and that you collect the Master Sword before starting this quest.
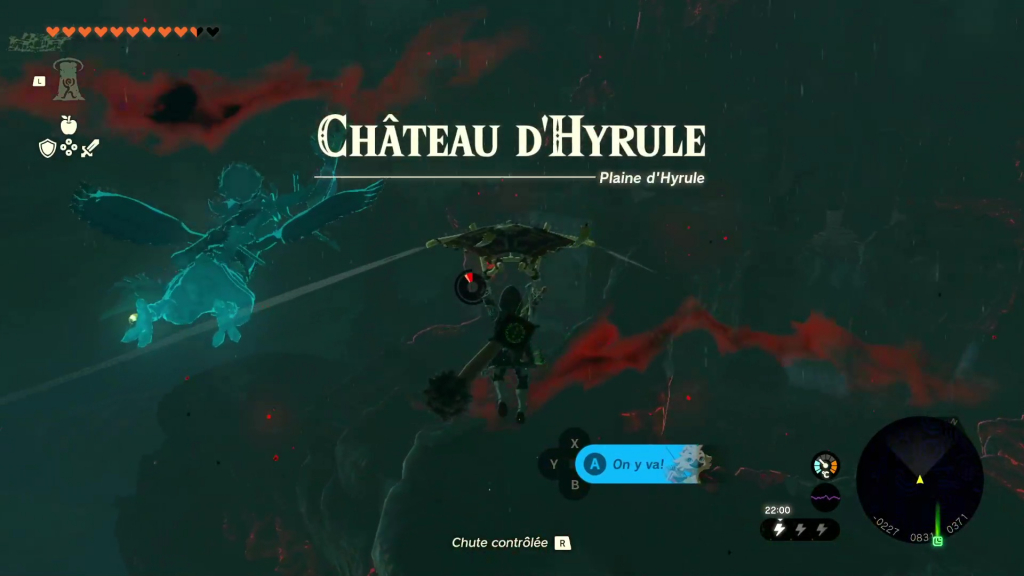
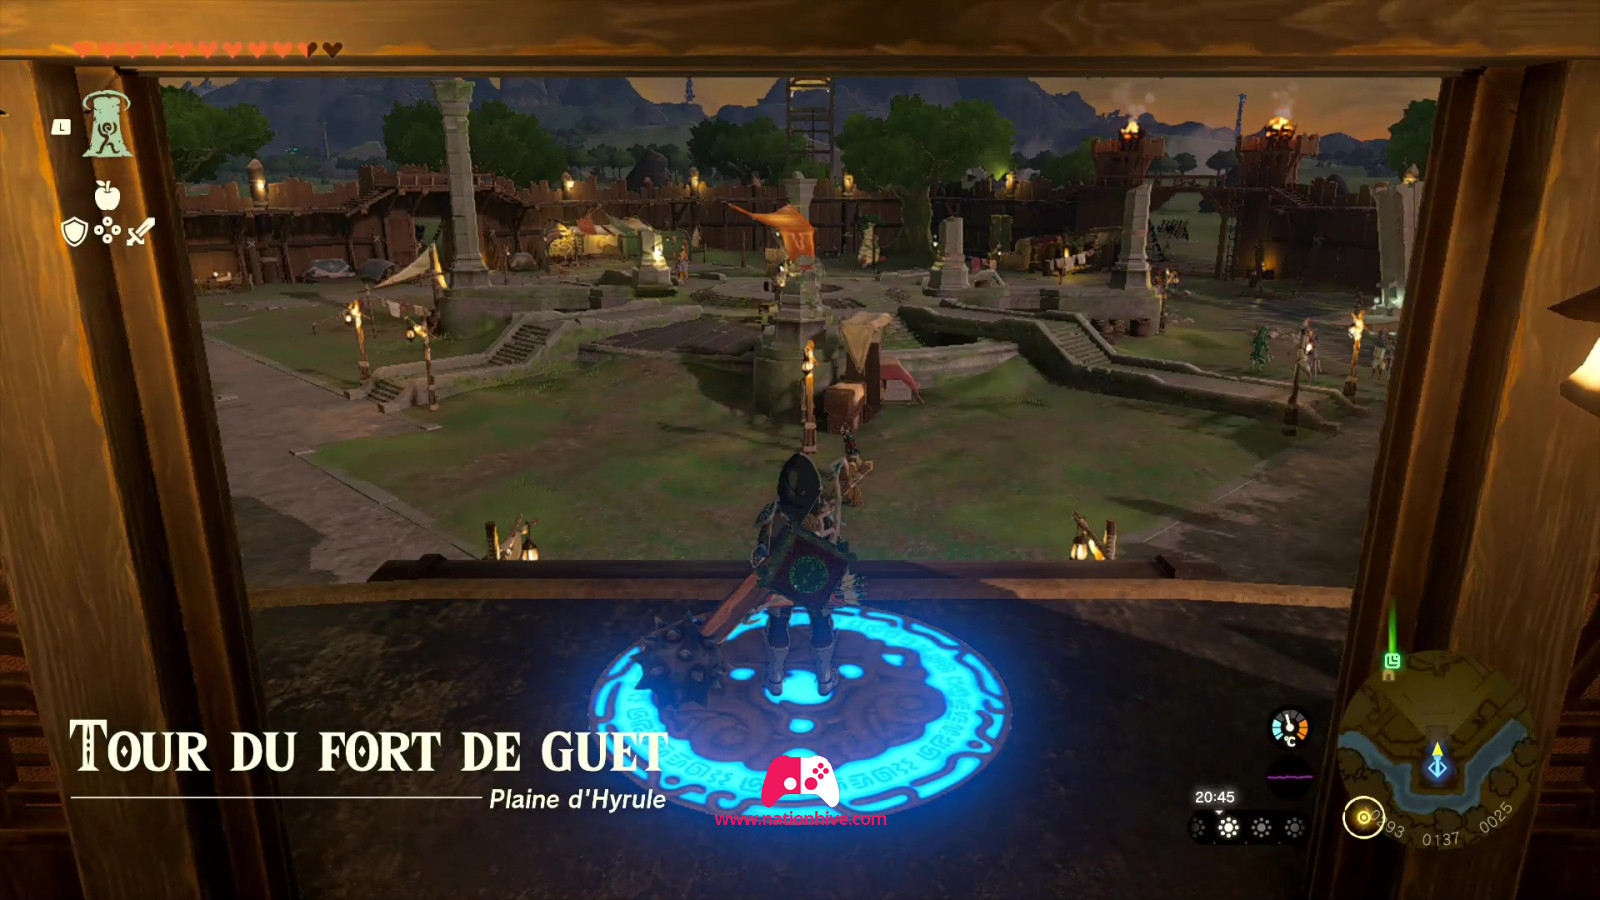
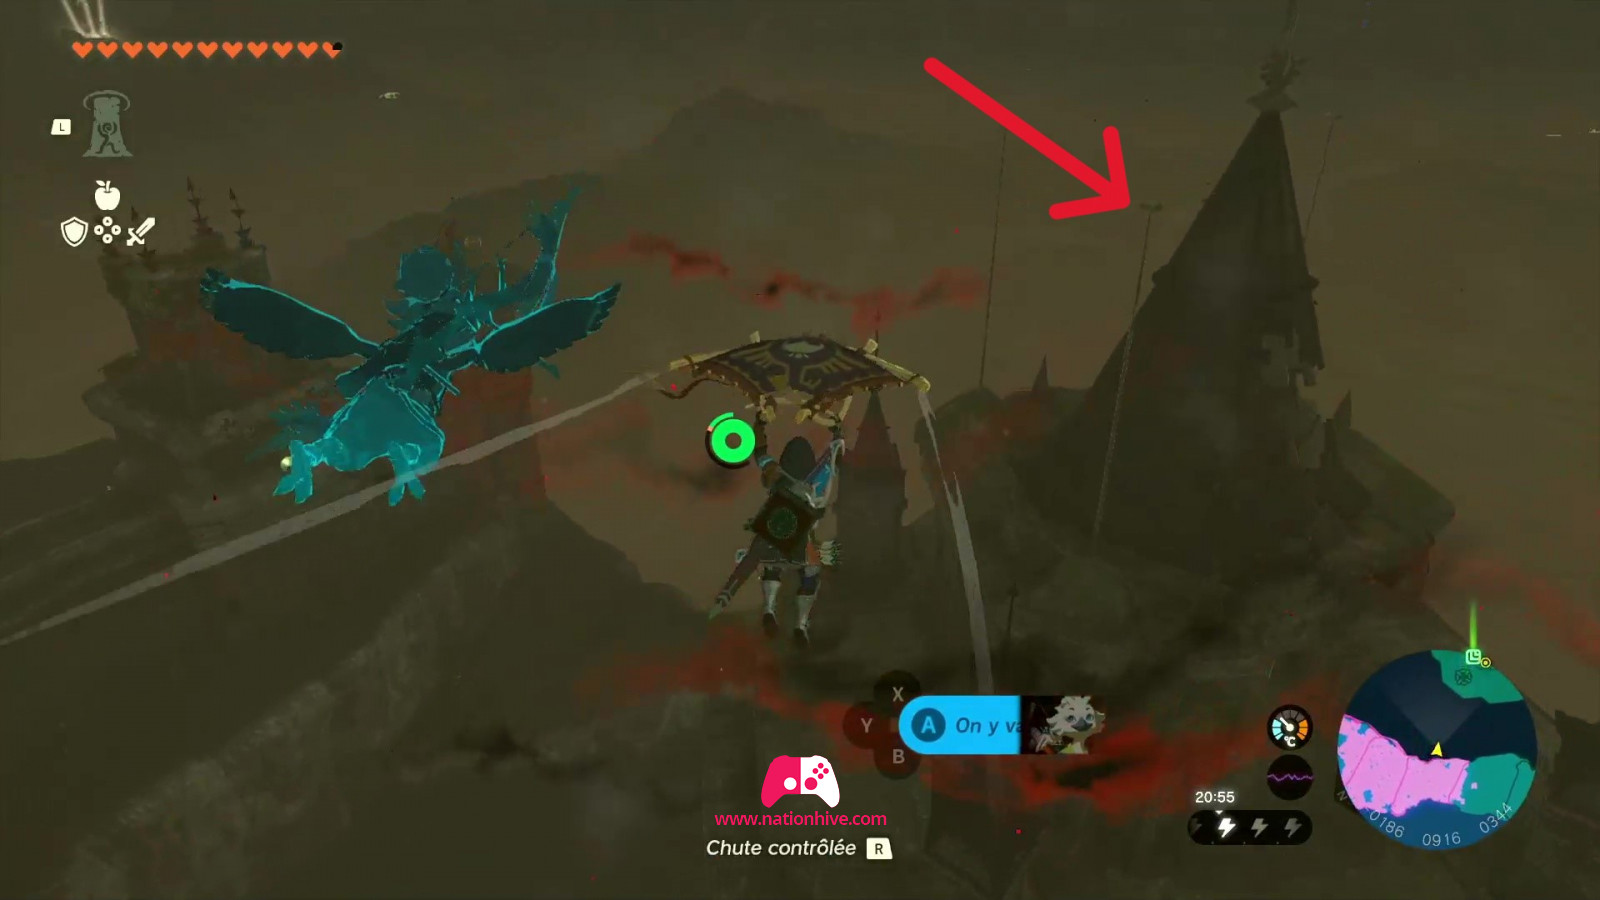
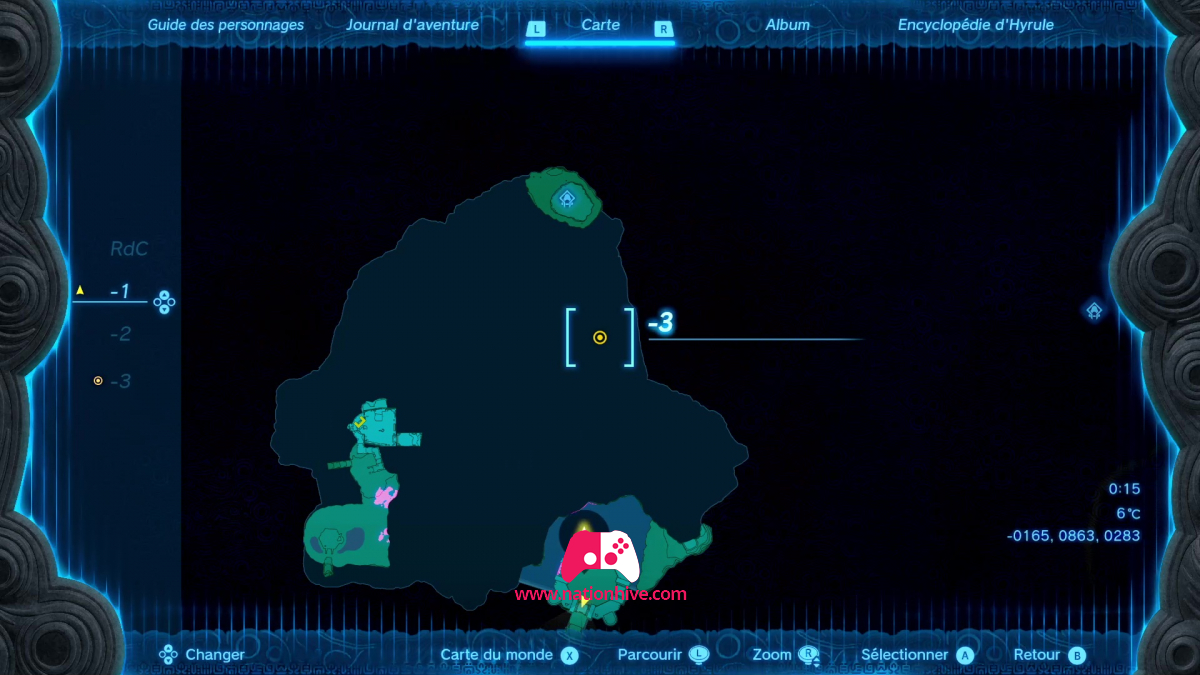
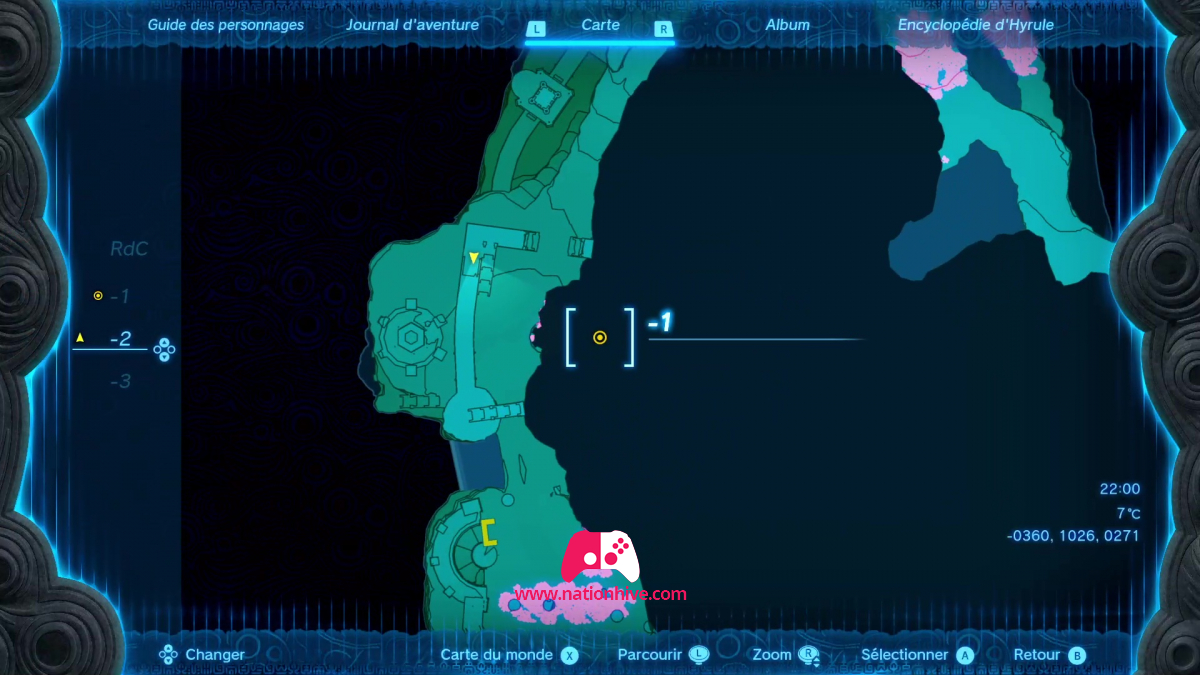
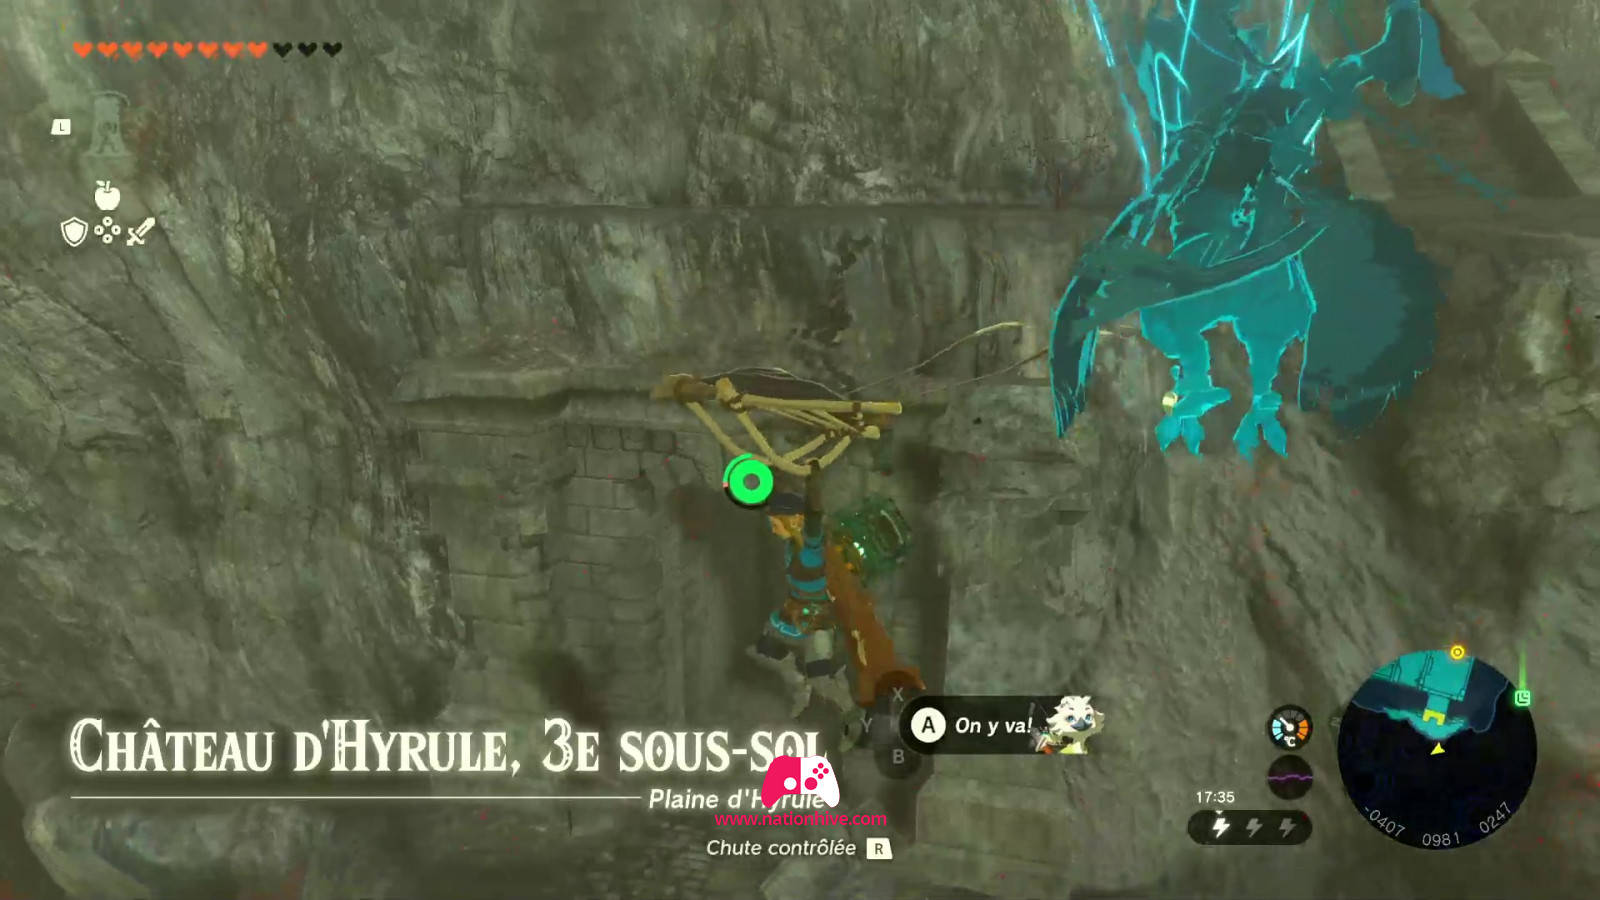
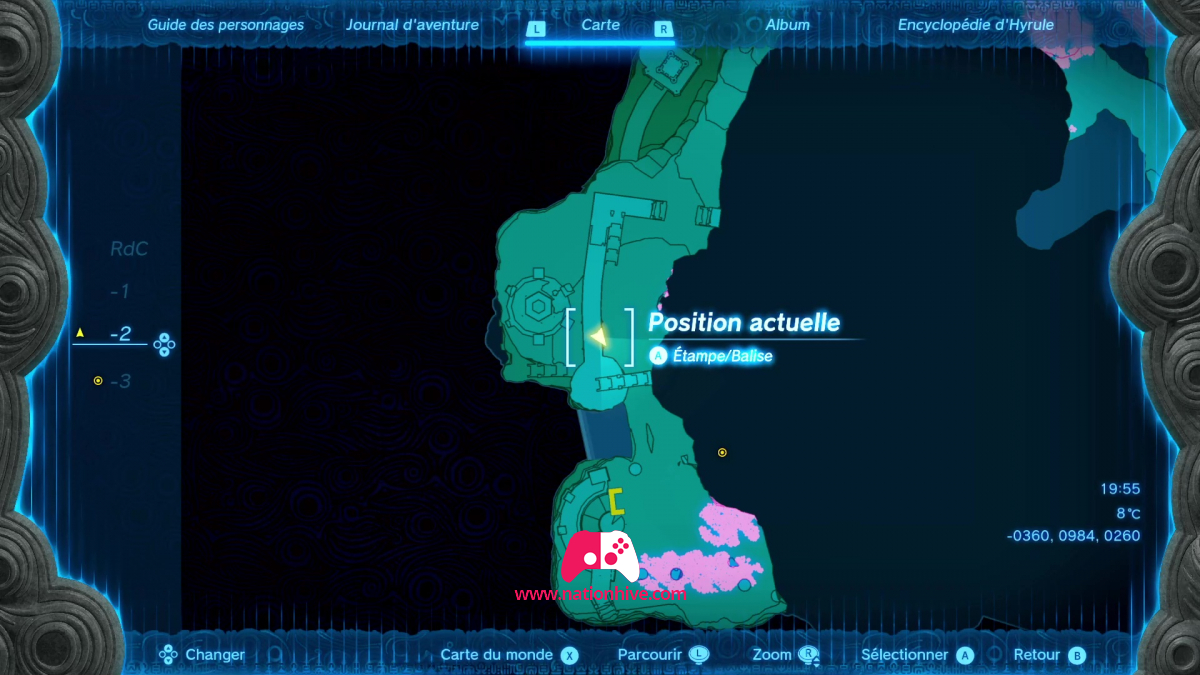
To get to Hyrule Castle suspended in the air, we recommend you to project yourself using the Lookout Standing Tower and head for Hyrule Castle using your Paraglider. The Castle is very difficult to access from the ground, as it is very high.
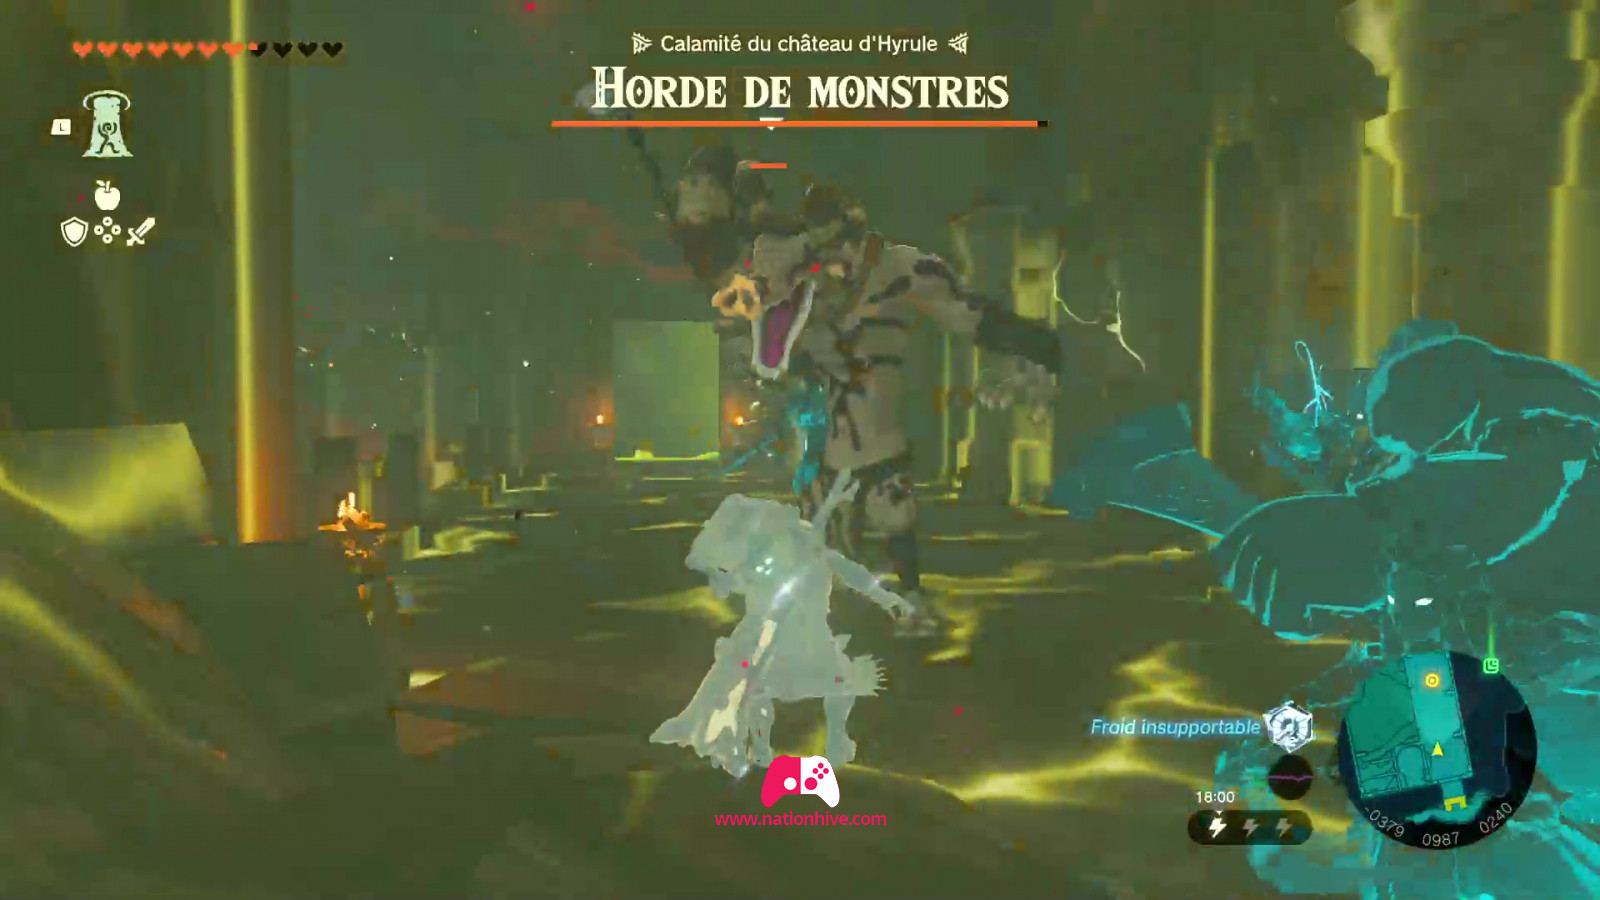
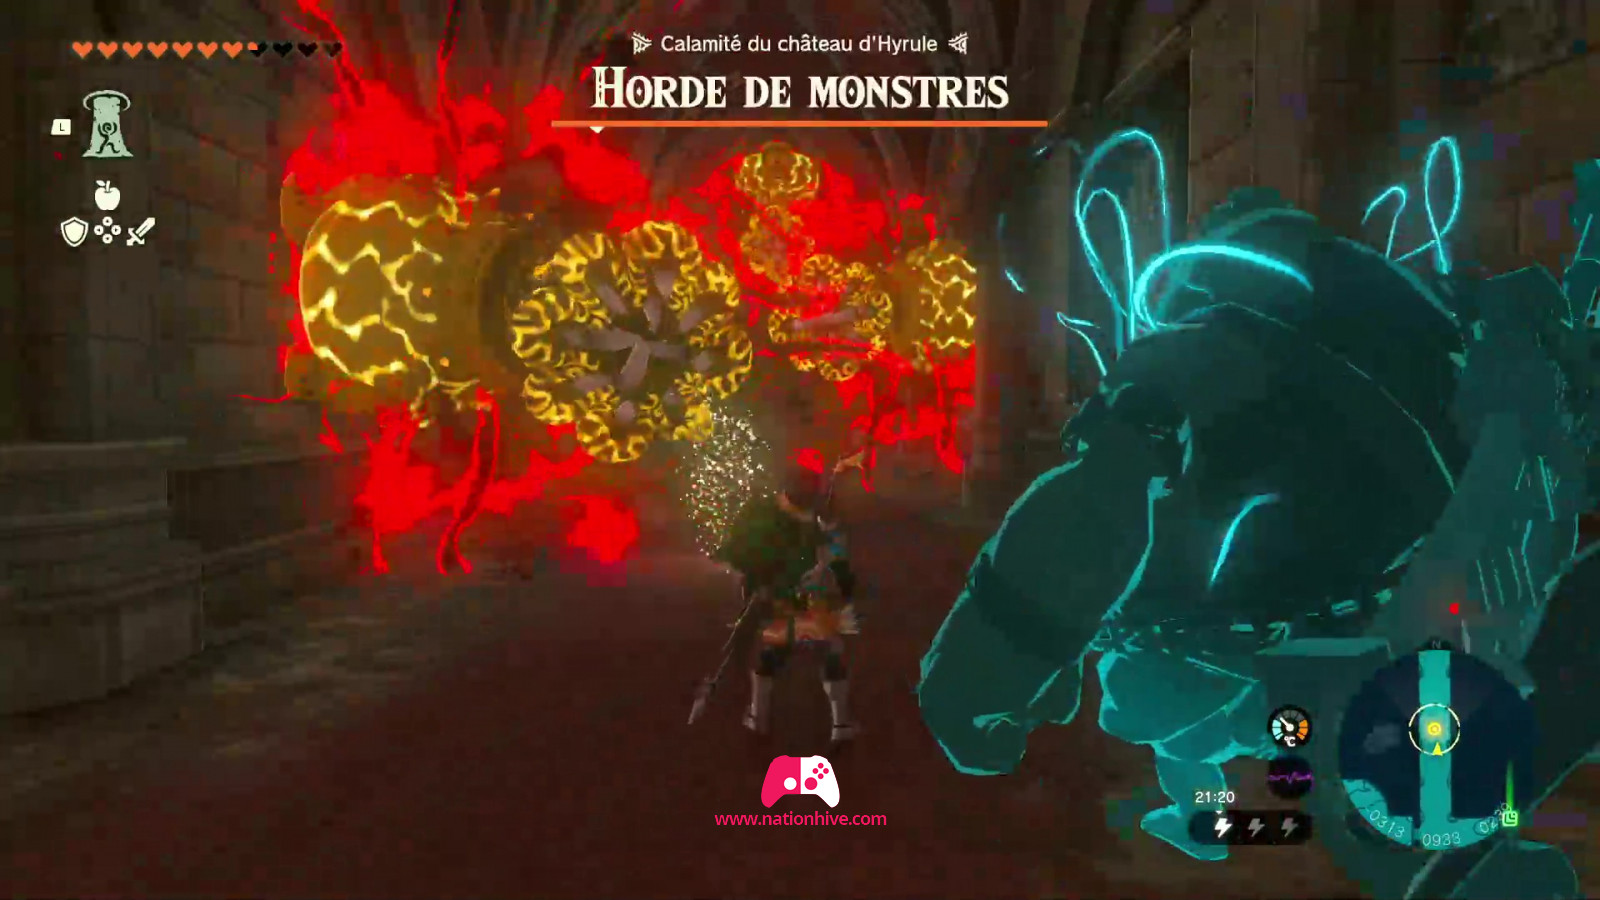
When you arrive at the Castle, a cinematic appears in which you hear Zelda's voice calling out to you. She'll tell you where she is on a map, and will appear in several places inside the castle. Watch out, though, because every time you see her, you'll be faced with battles against monsters!
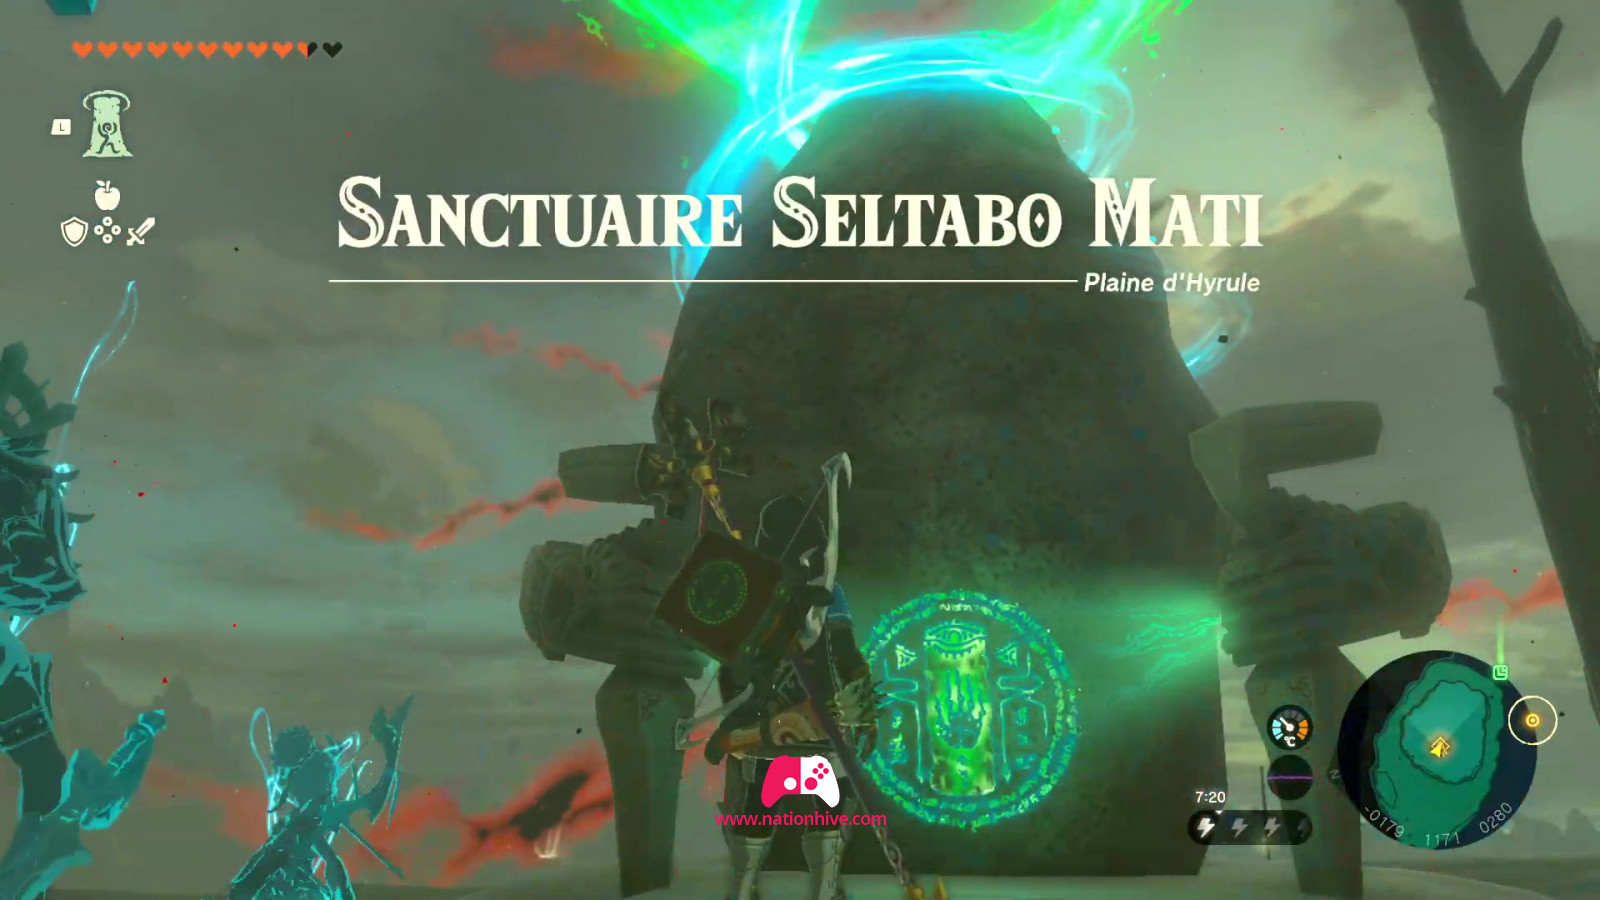
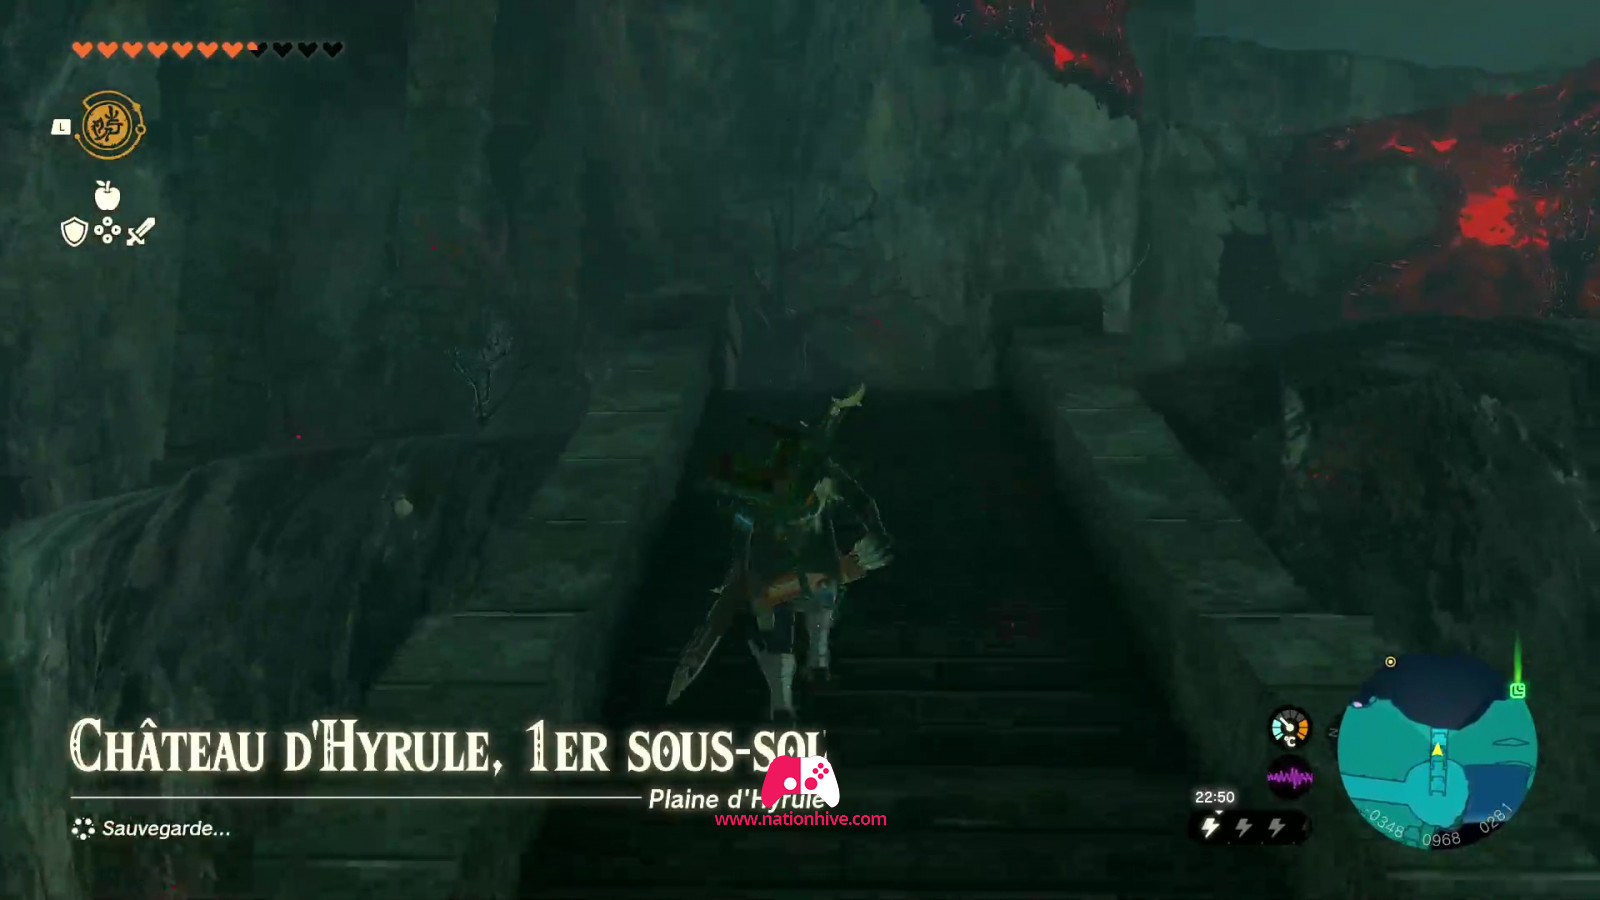
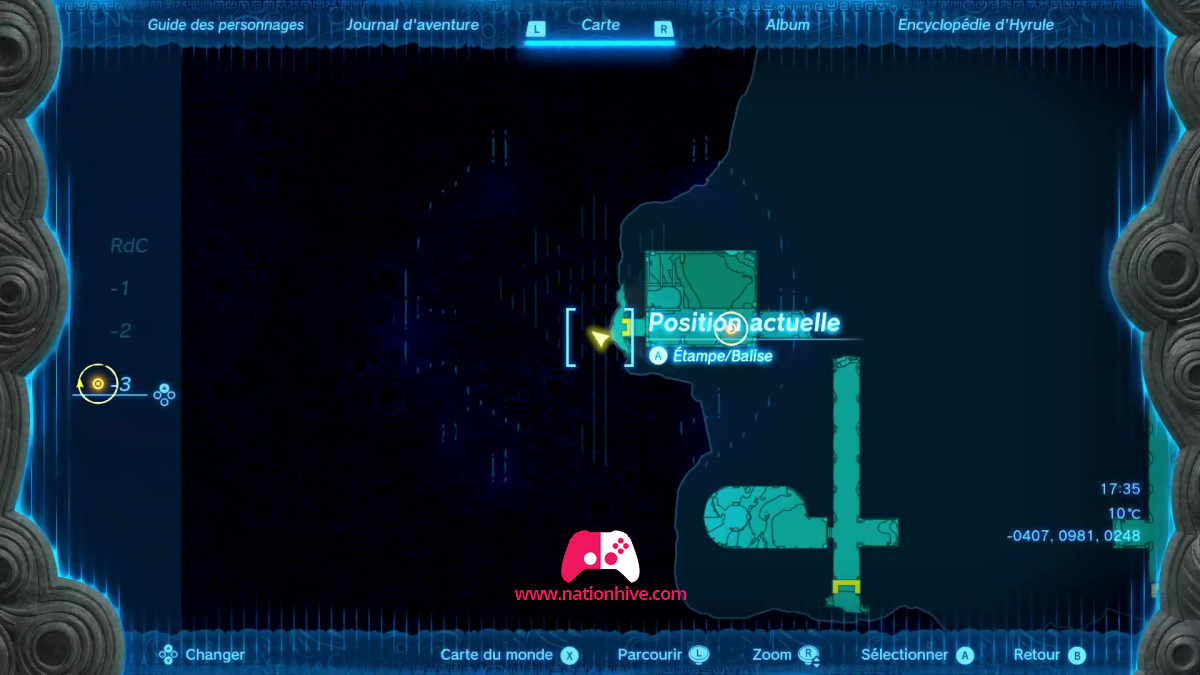
Before setting out to find Zelda in the Castle, it's also advisable to complete the Serutabomac Shrine, located in the 1st basement of Hyrule Castle. This will enable you to teleport there more quickly next time.
1) Find Zelda in the Second Gatehouse
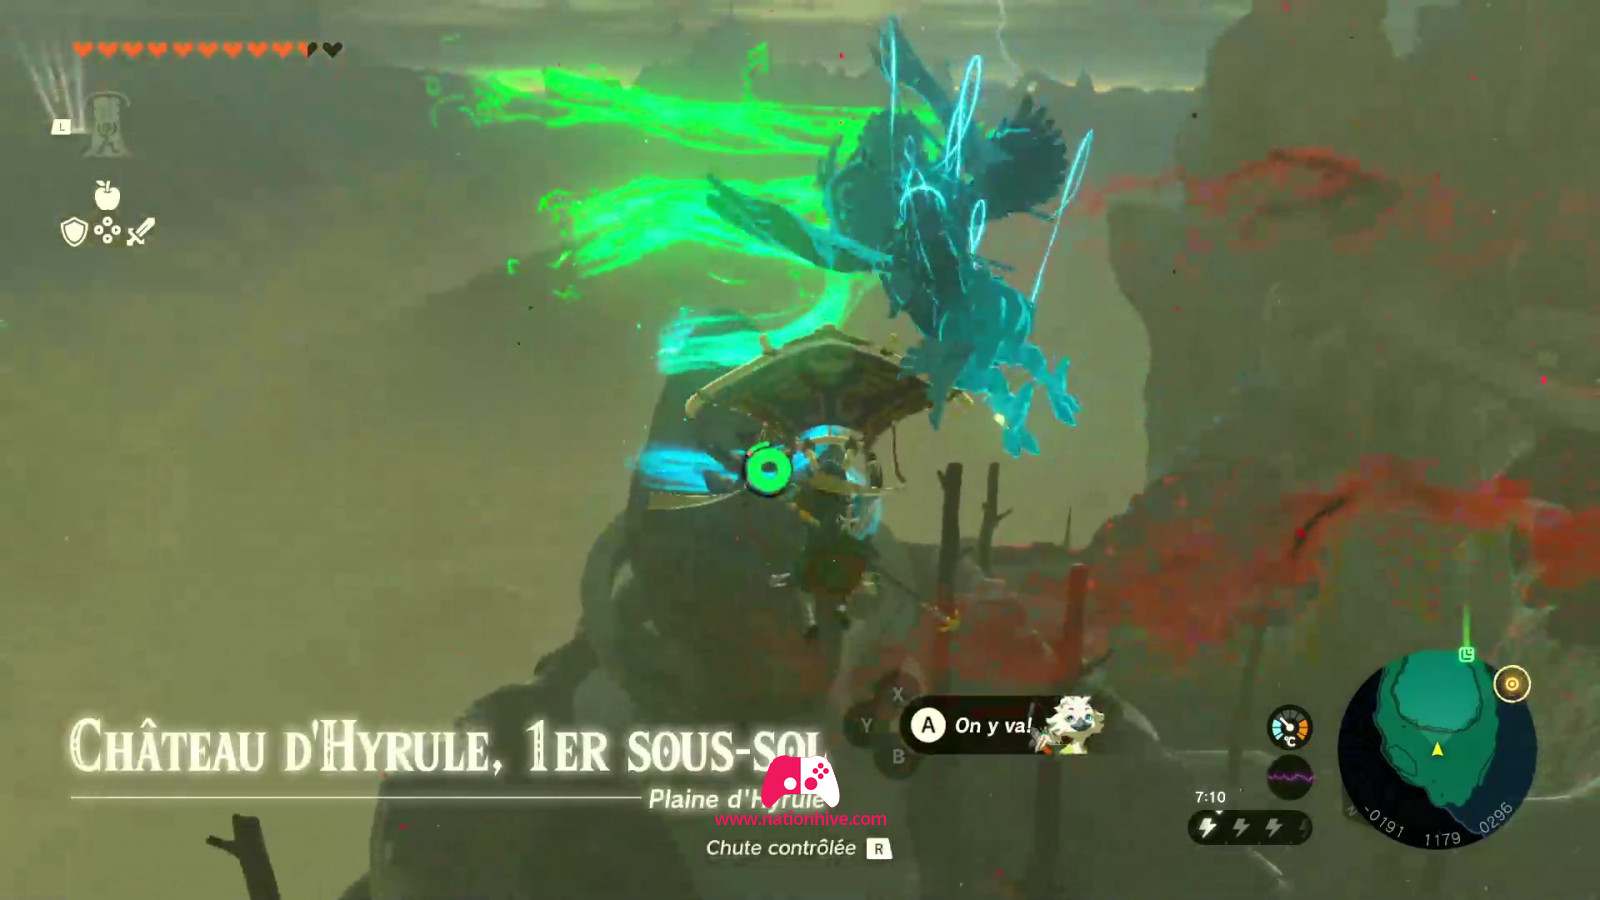
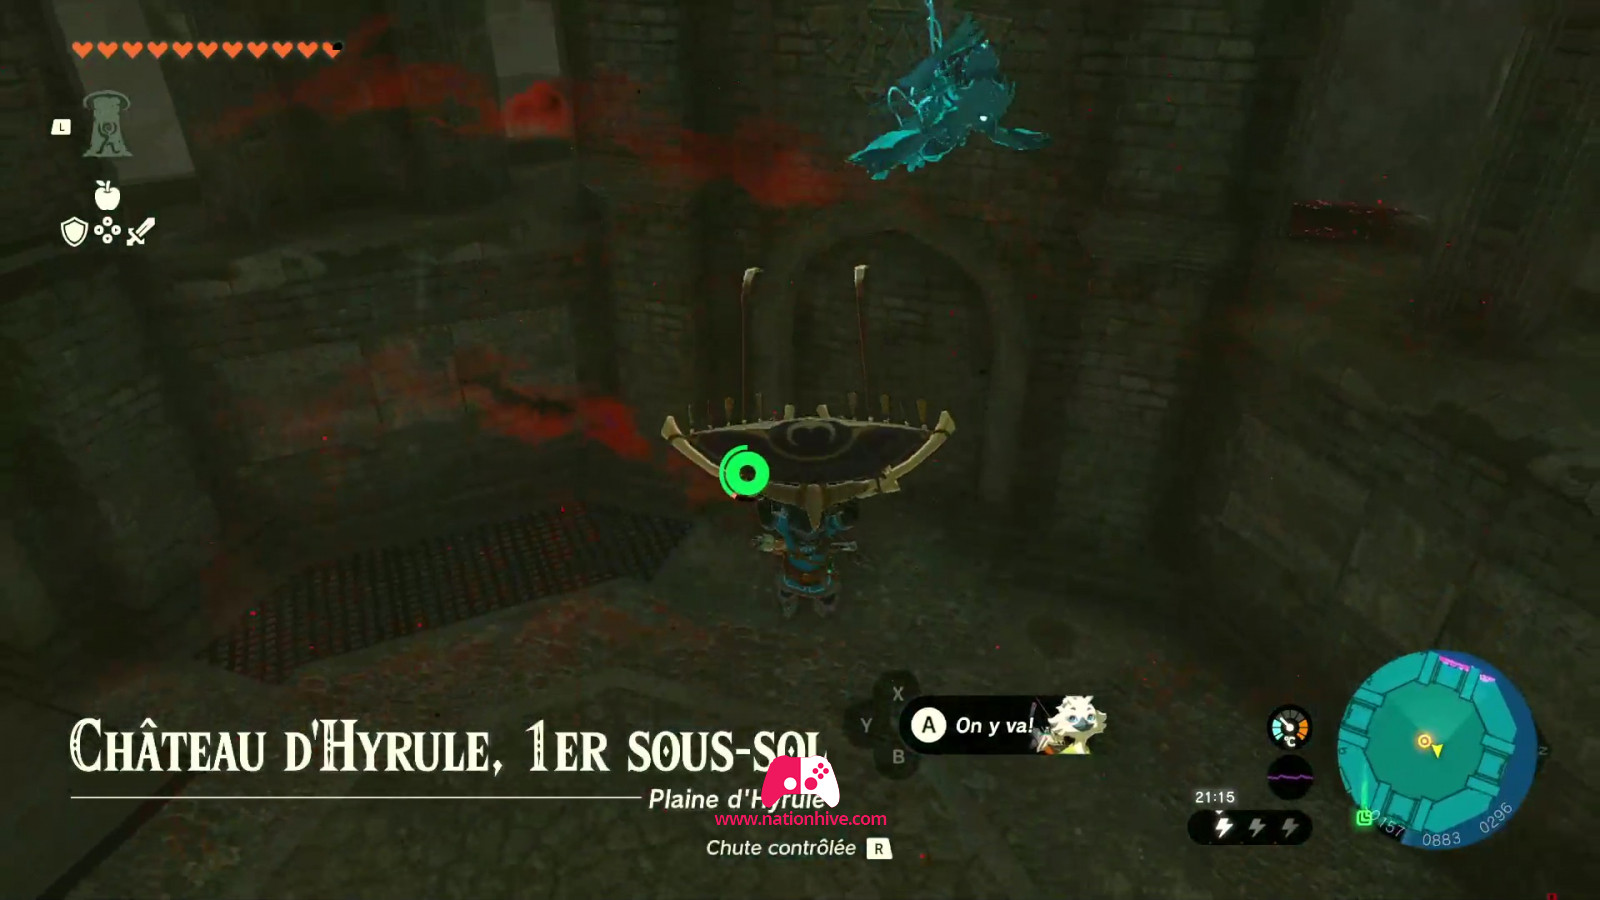
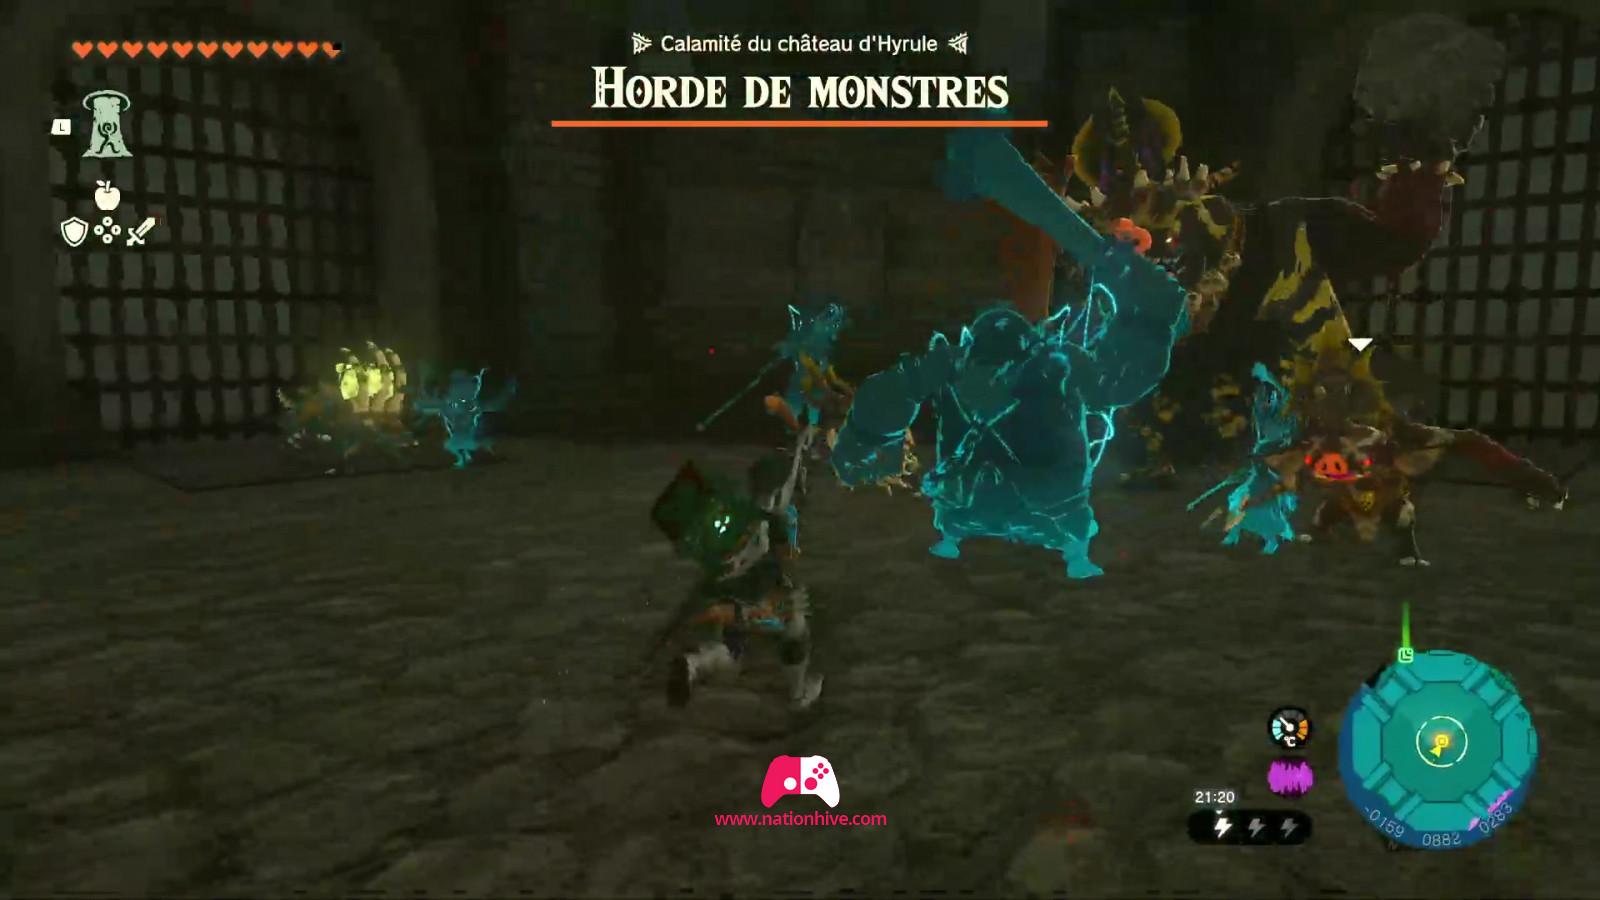
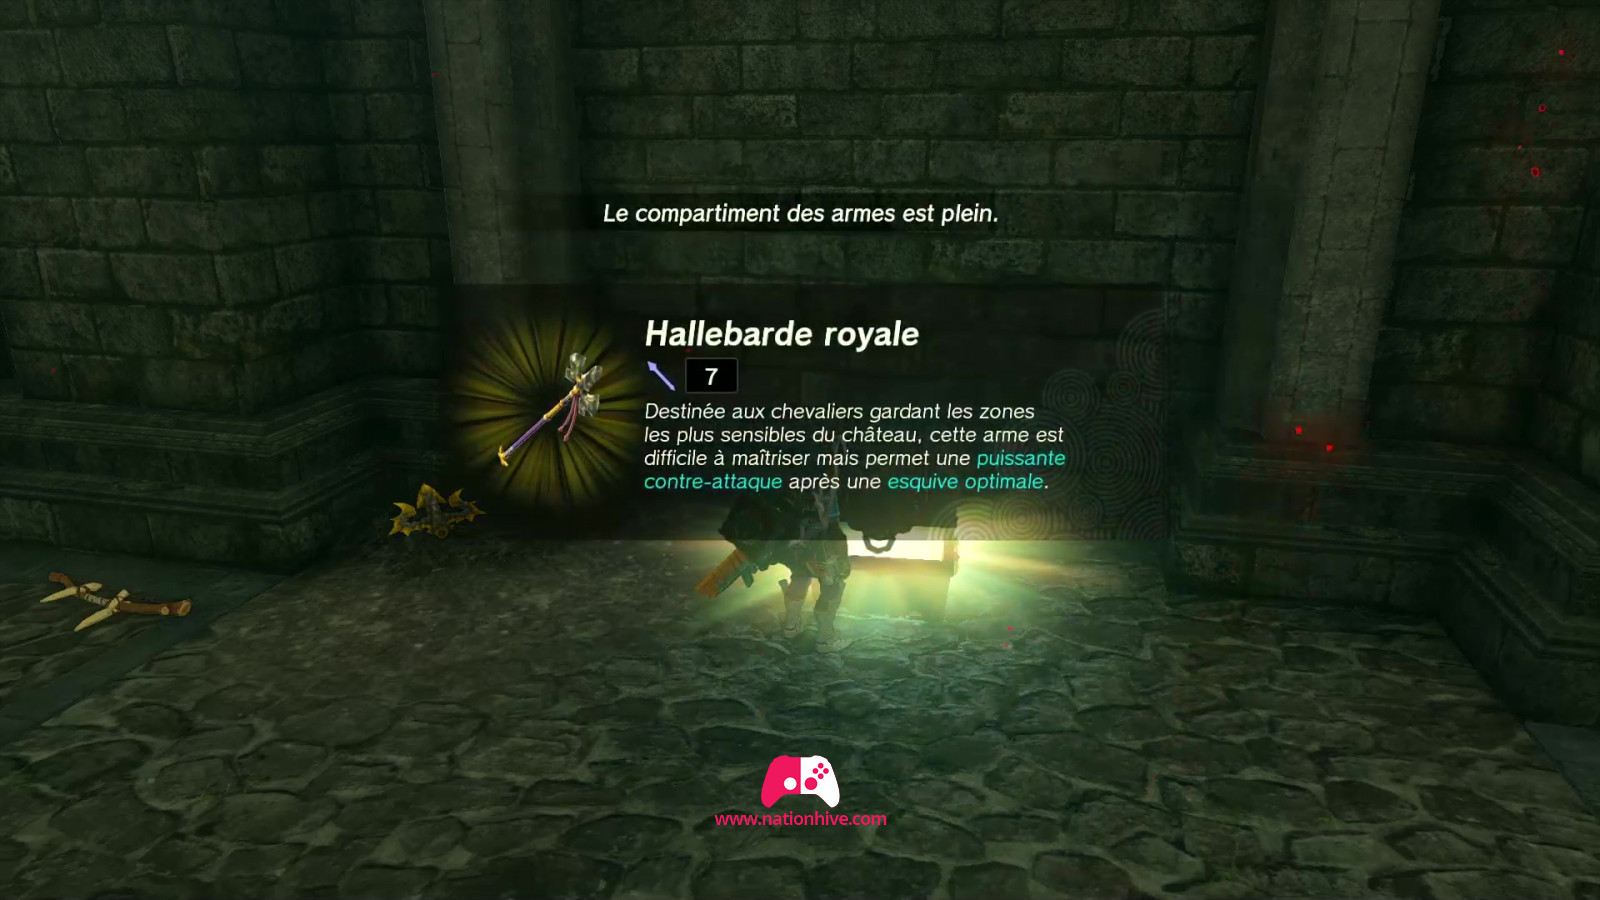
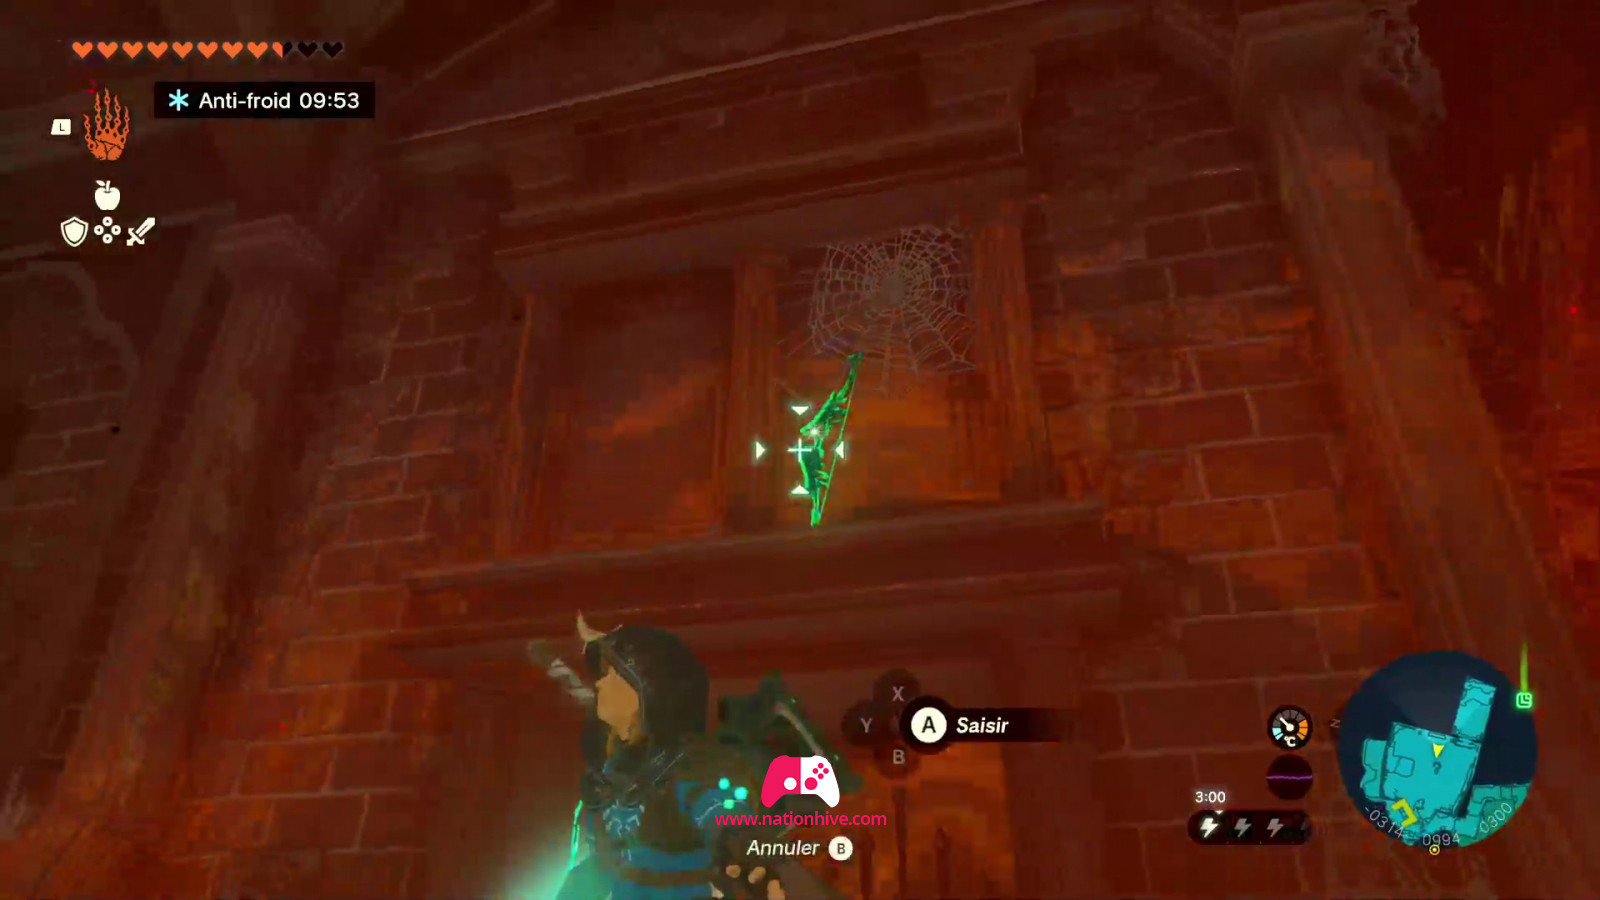
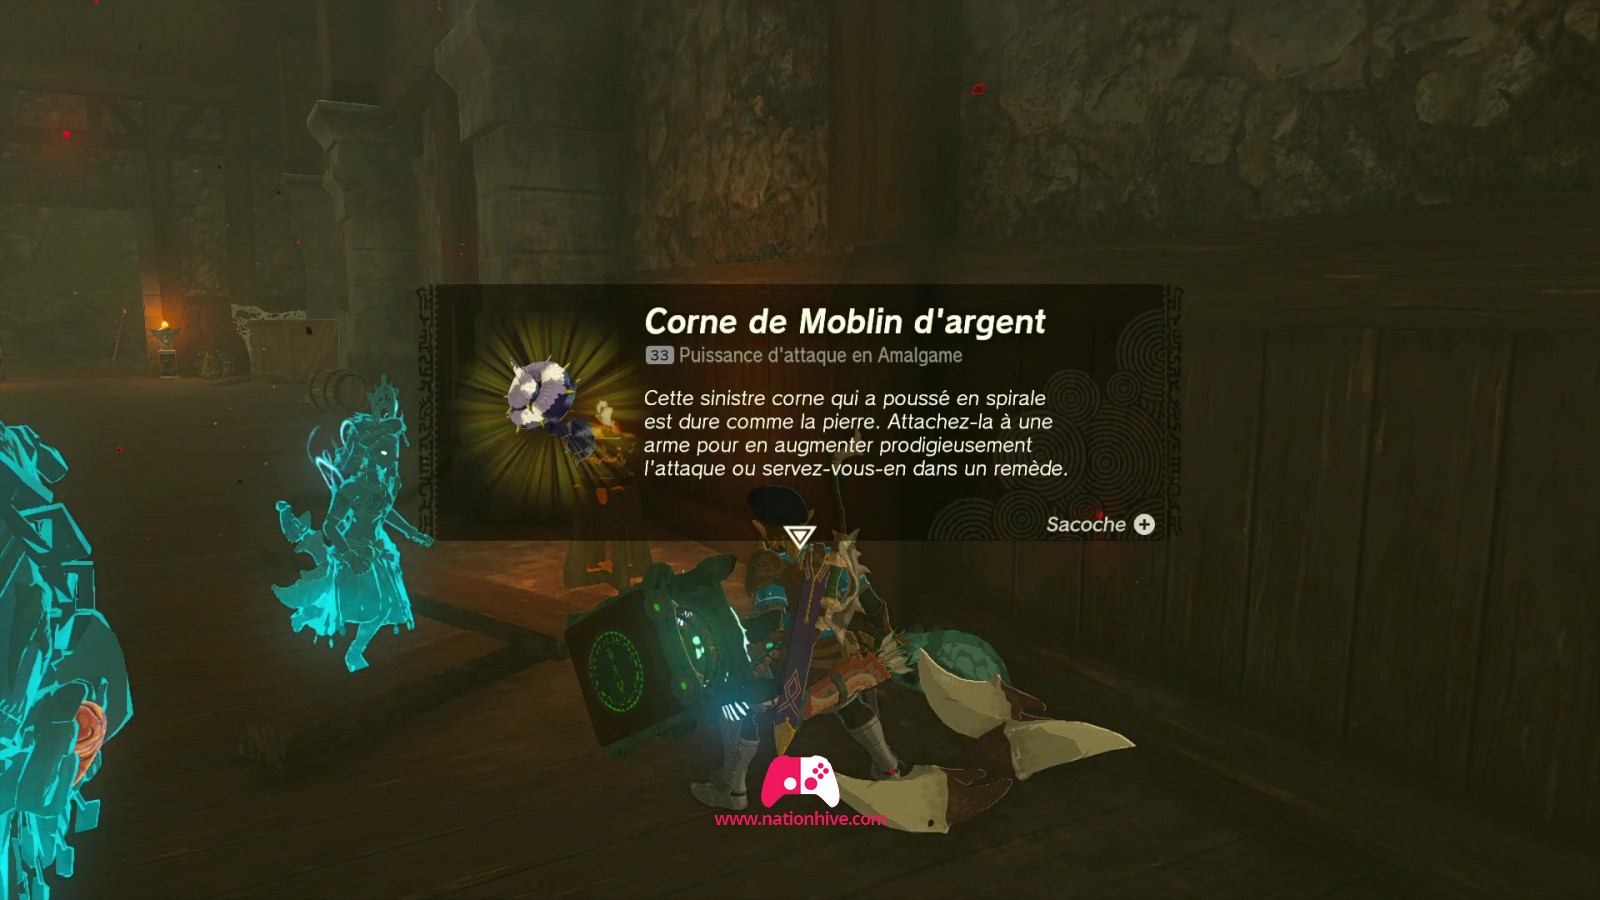
Zelda first appears in the Second Gatehouse, located in the castle's 1st basement. Head there and get ready for battle, as Zelda disappears to be replaced by a Scourge of enemies. Attack them all and collect the resources on the ground. Open the chest in the room to receive a Royal Halberd.
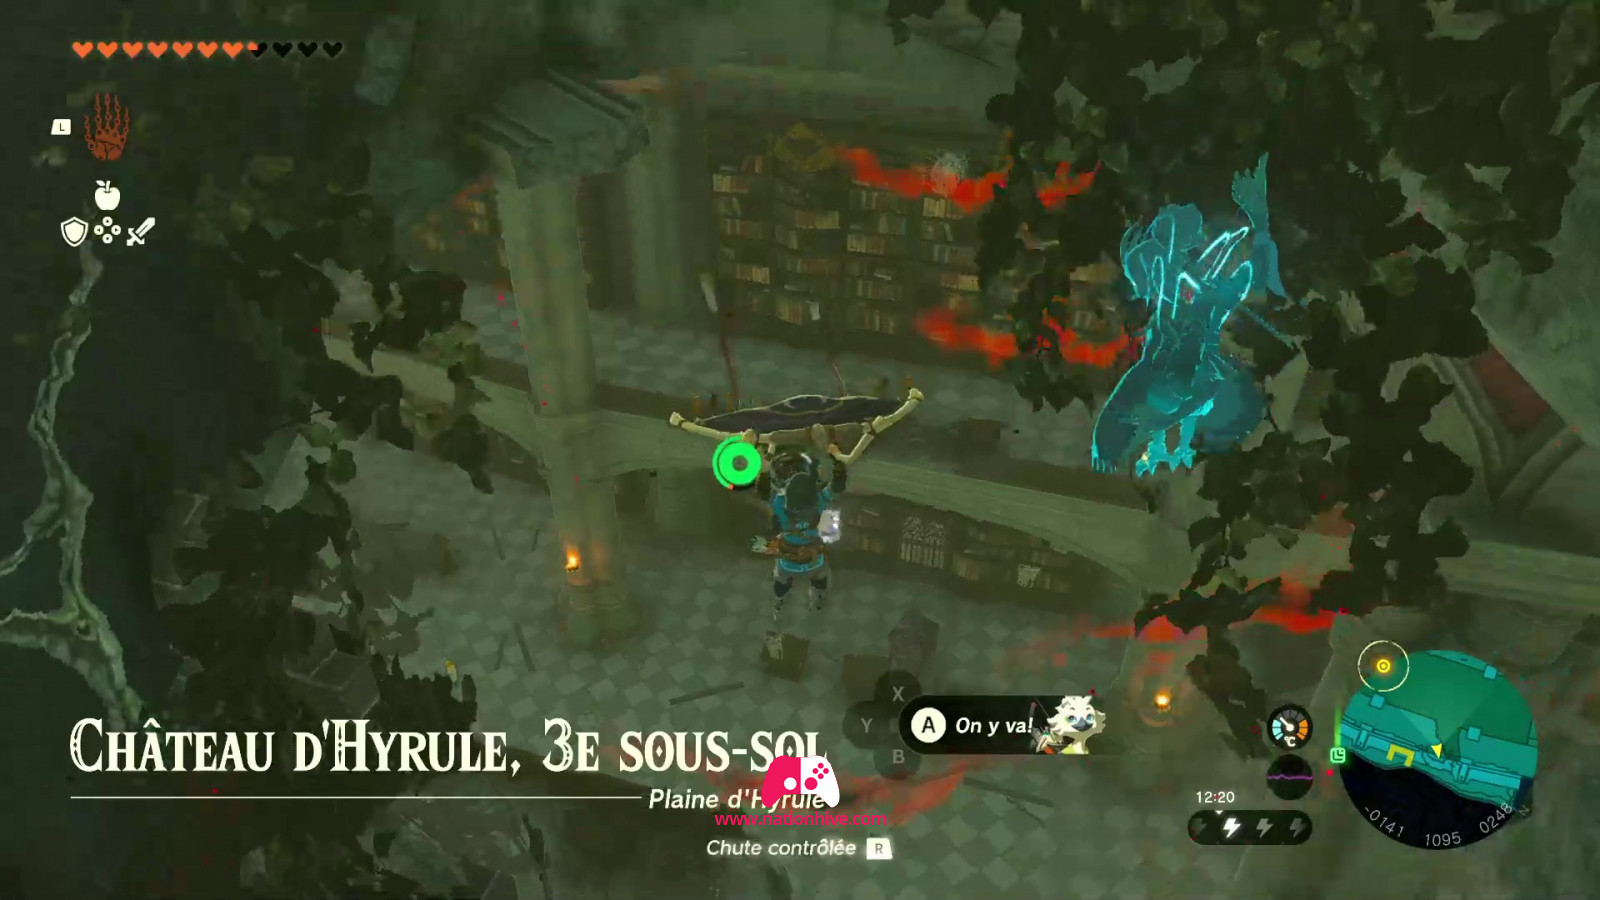
Once the fight is over and all the resources have been collected, Zelda will appear in the Library, located in the 3rd basement of the castle. Head there.
2) Find Zelda in the Library (3rd basement)
Once you've reached the Library, you'll come up against another scourge of enemies. To defeat it, simply attack its eye, located in the middle of its face. Keep attacking its eye (shoot an arrow at it) to destabilize it, then jump on it to inflict several blows with your weapon. Continue the process until his life bar runs out. Once all the enemies have been defeated, collect the resources on the ground.
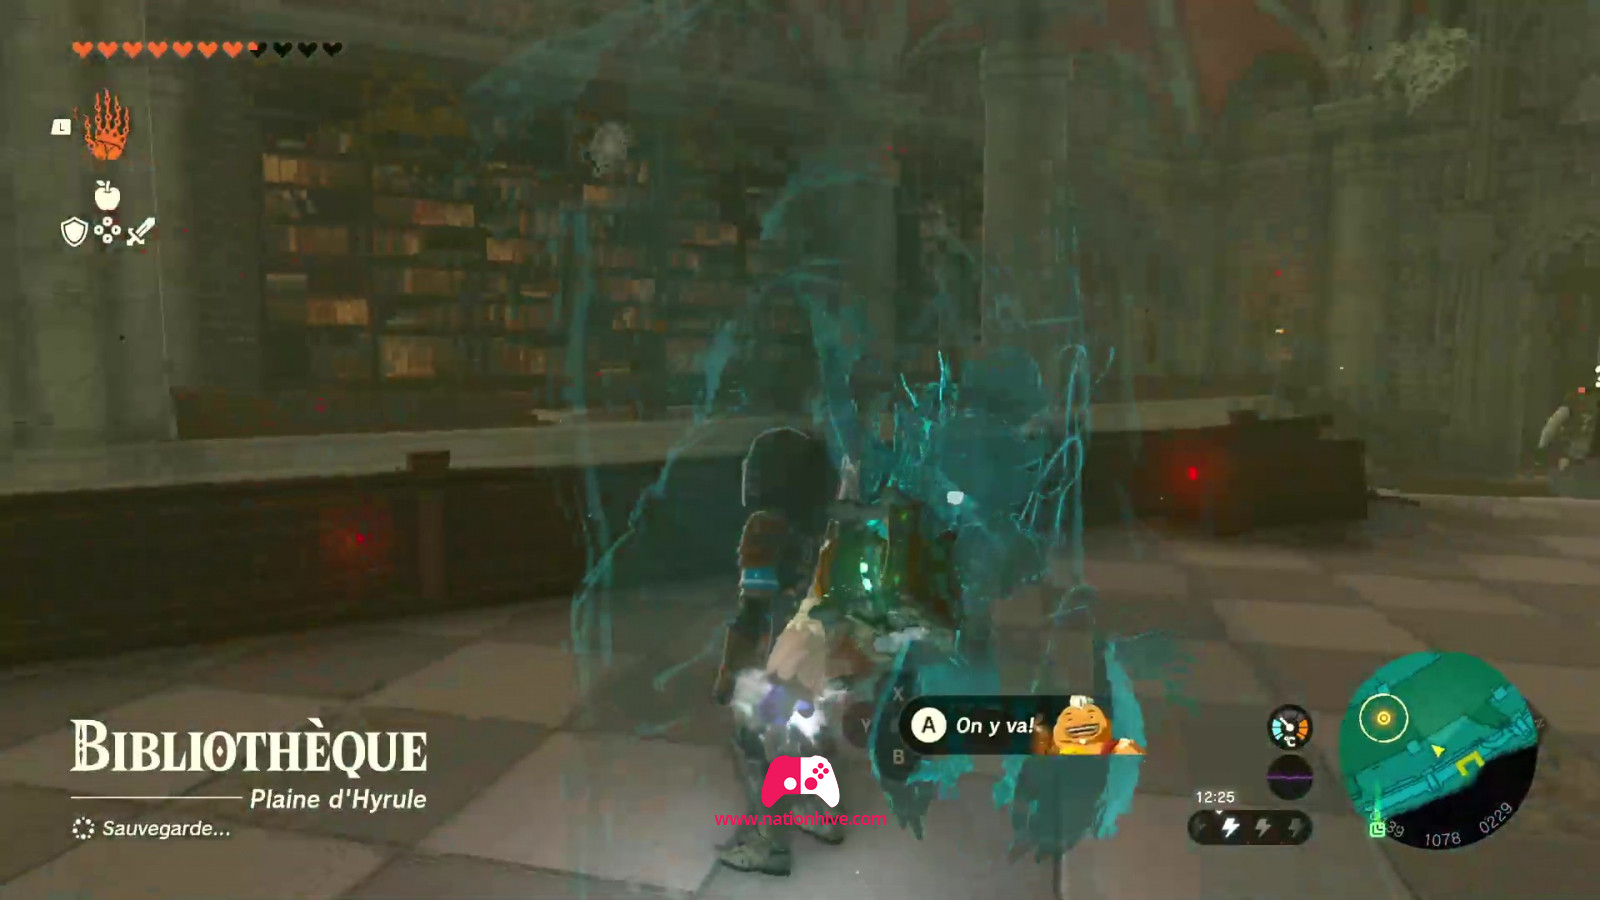
Once the fight is over and you've collected all your resources, Zelda will appear a little further on in the Library, so head for this corridor.
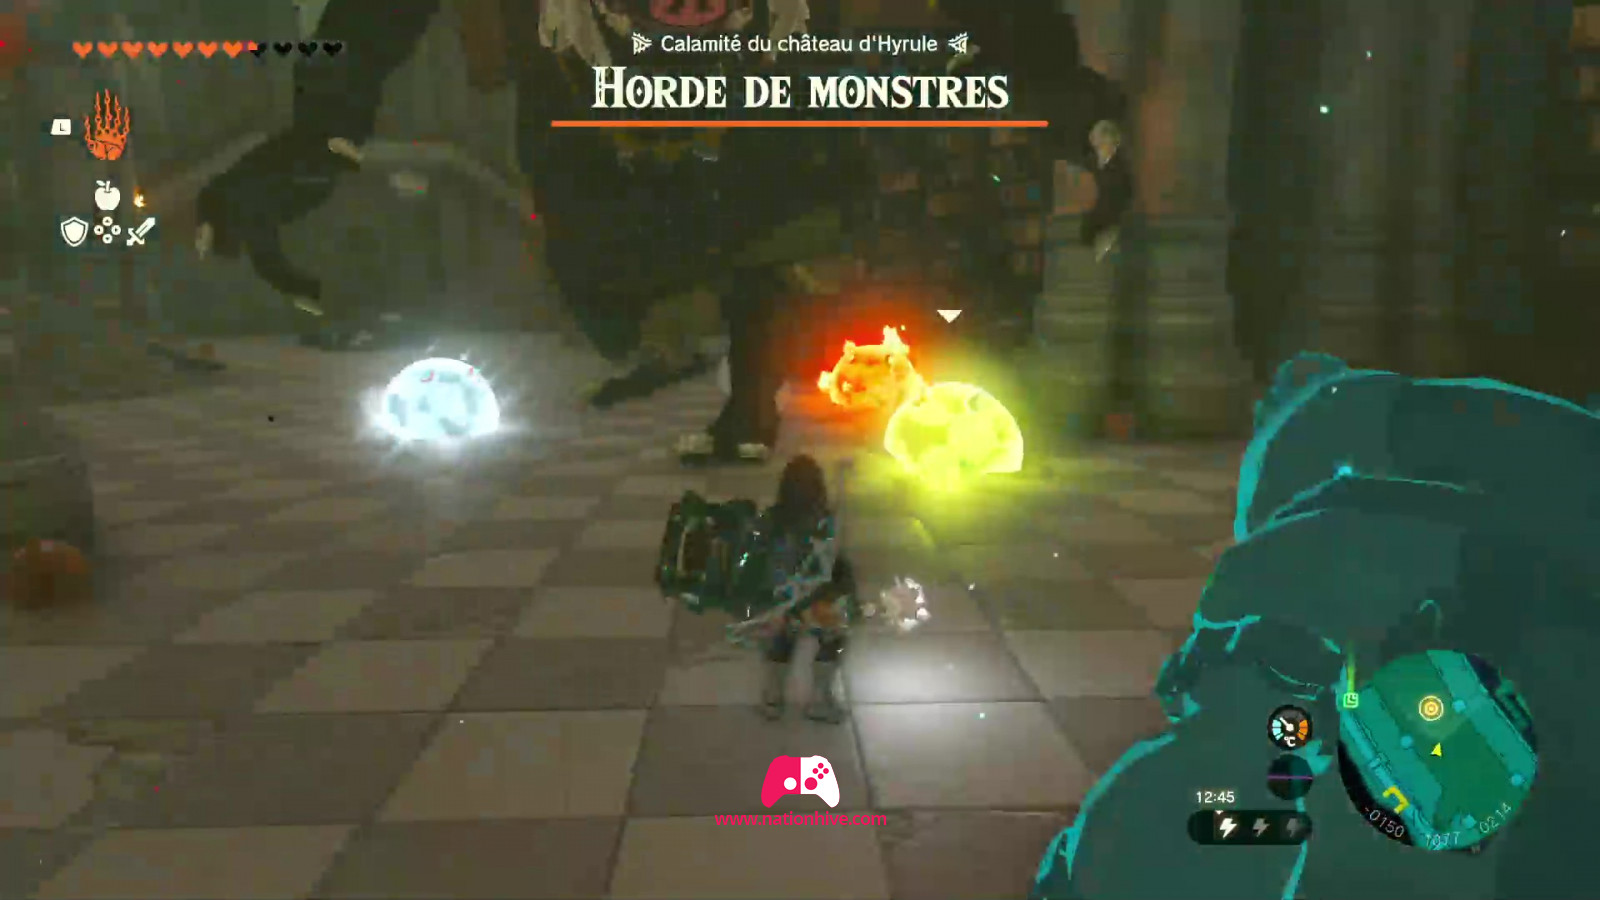
3) Corridor near the Library
In the corridor near the Library, Zelda will disappear, to be replaced by a scourge of Gibdo. Riju's ability will come in handy this time, as the Gibdo are powerless against lightning. Once all the enemies have been defeated, collect the resources on the ground.
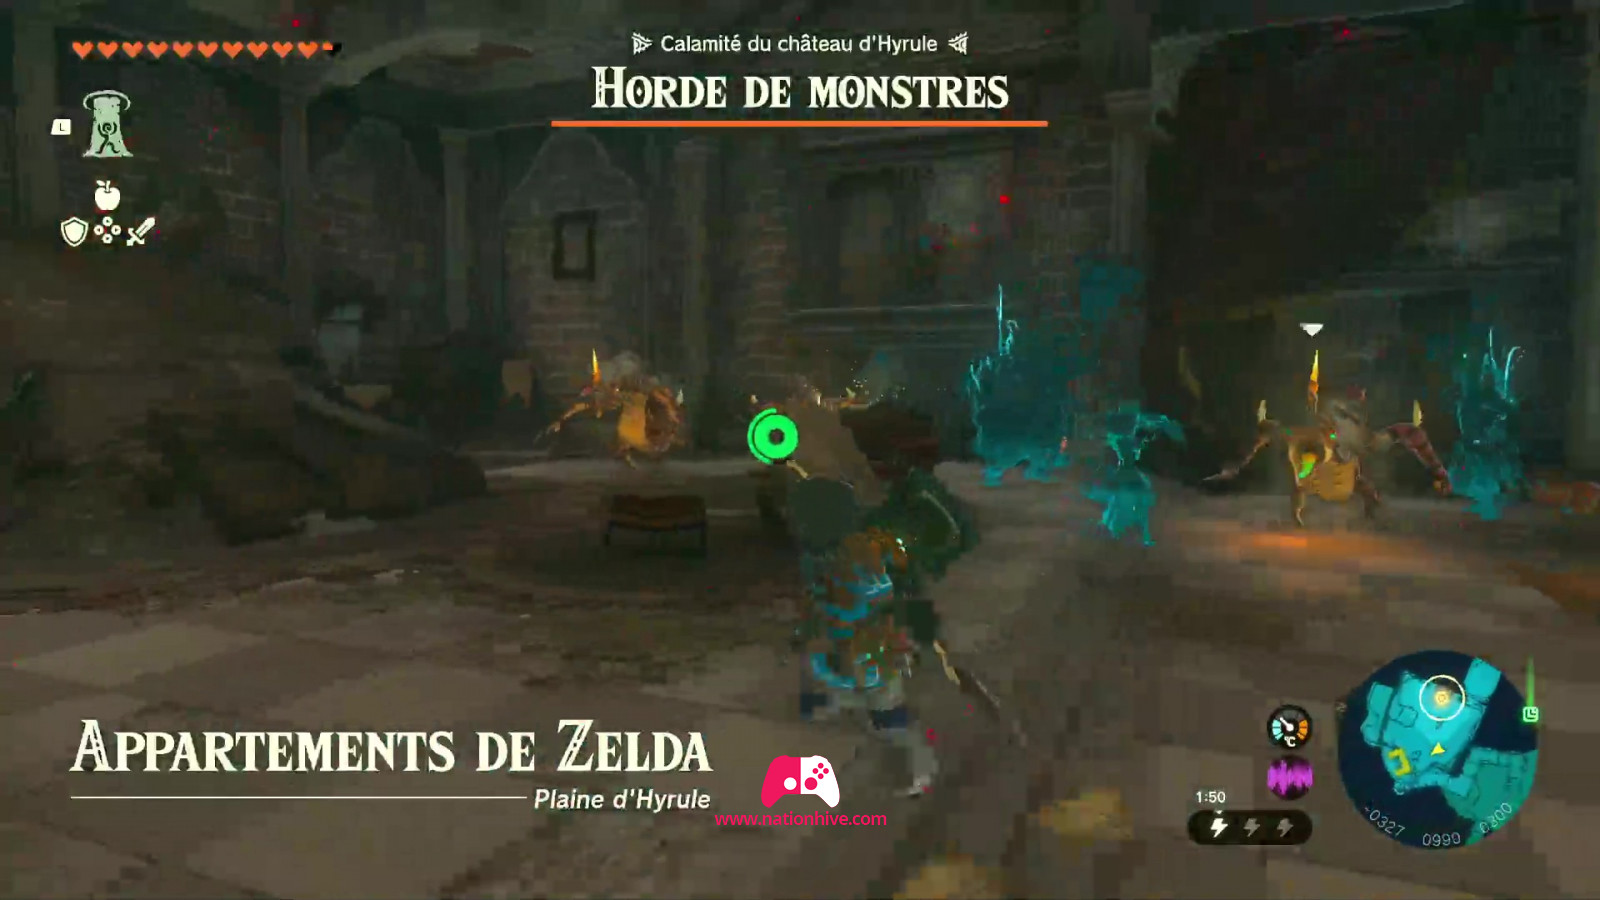
Once the battle is over and all resources have been collected, Zelda appears in her rooms, located in the castle's 1st basement. Head there, attacking any enemies in your path.
4) Find Zelda's room (1st basement)
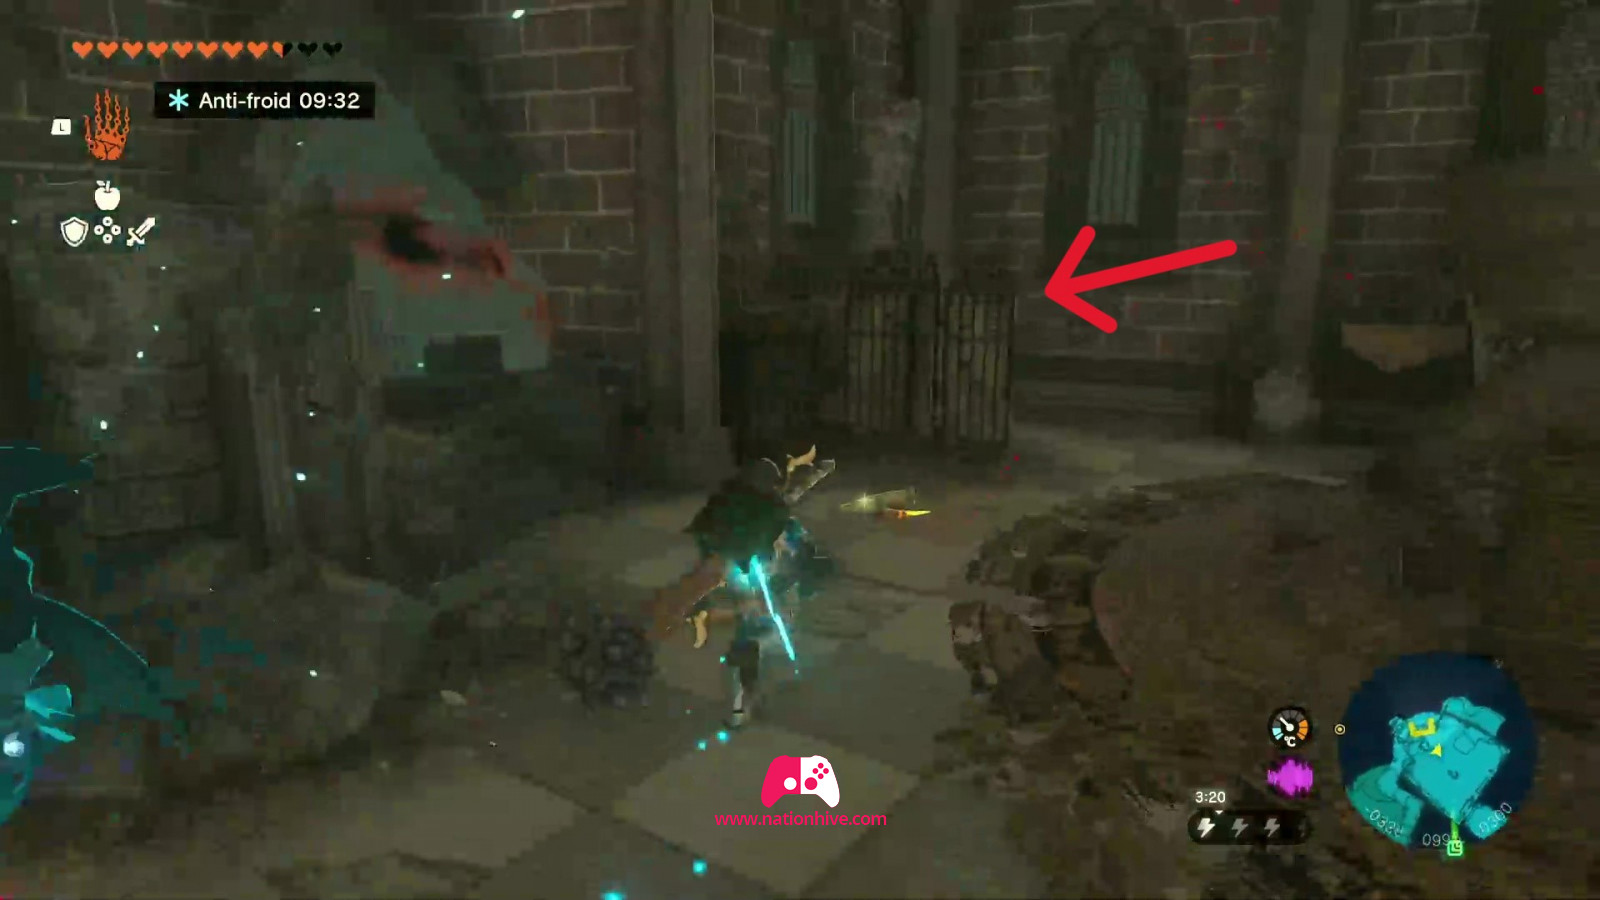
Once you've reached Zelda's rooms, located in the castle's 1st basement, you'll be confronted by another Scourge of enemies. Watch out for the fire! Once you've defeated all the enemies, collect the resources on the ground.
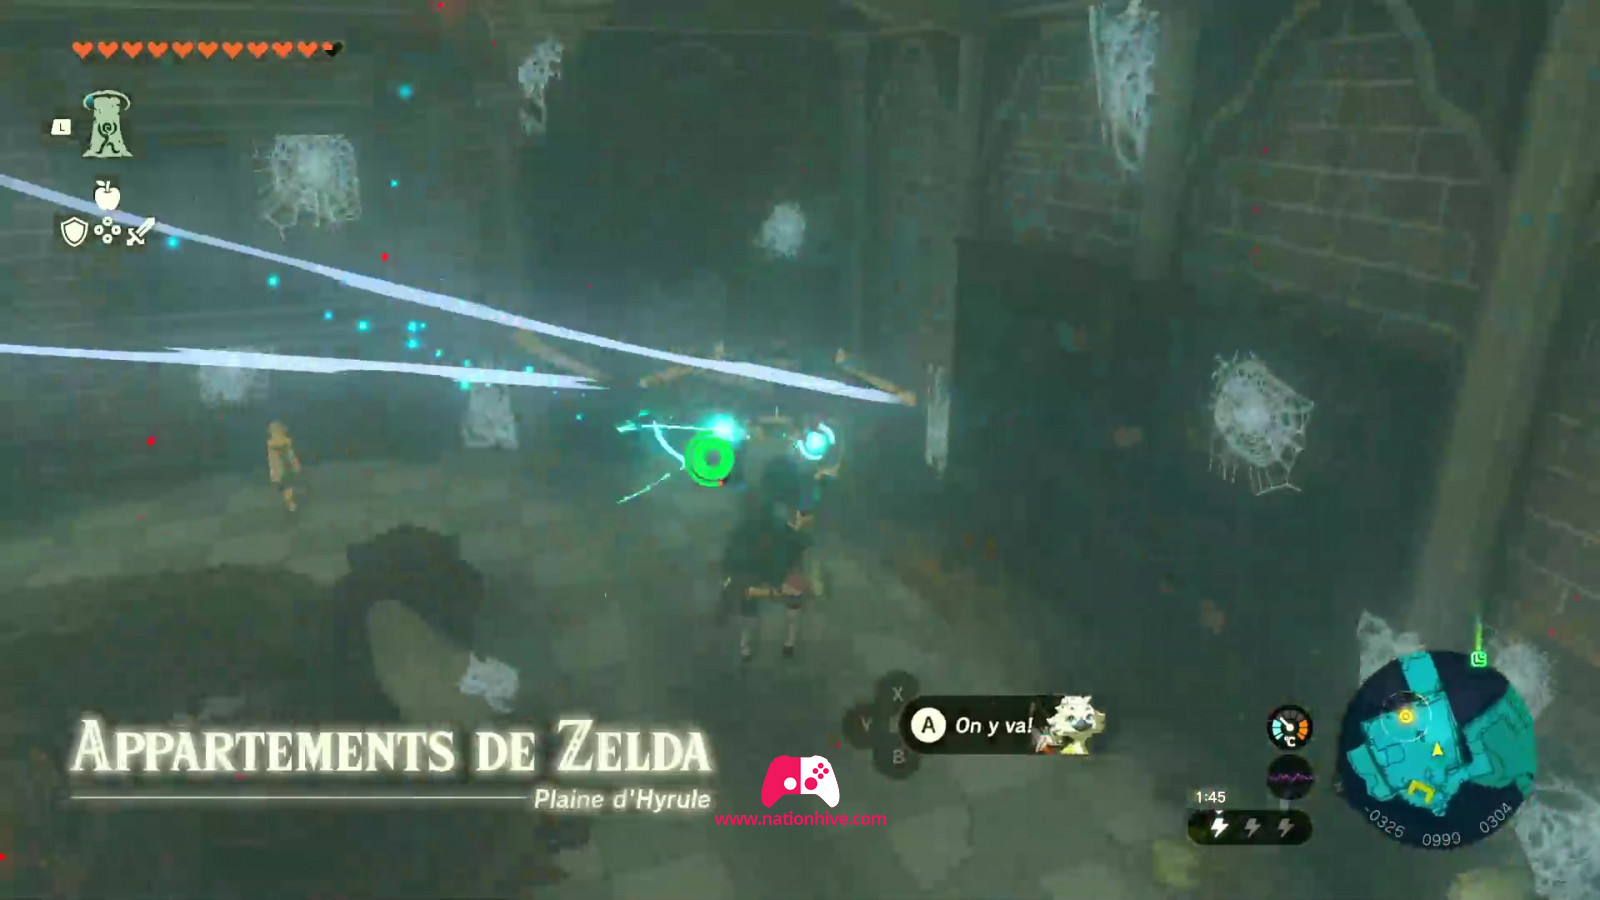
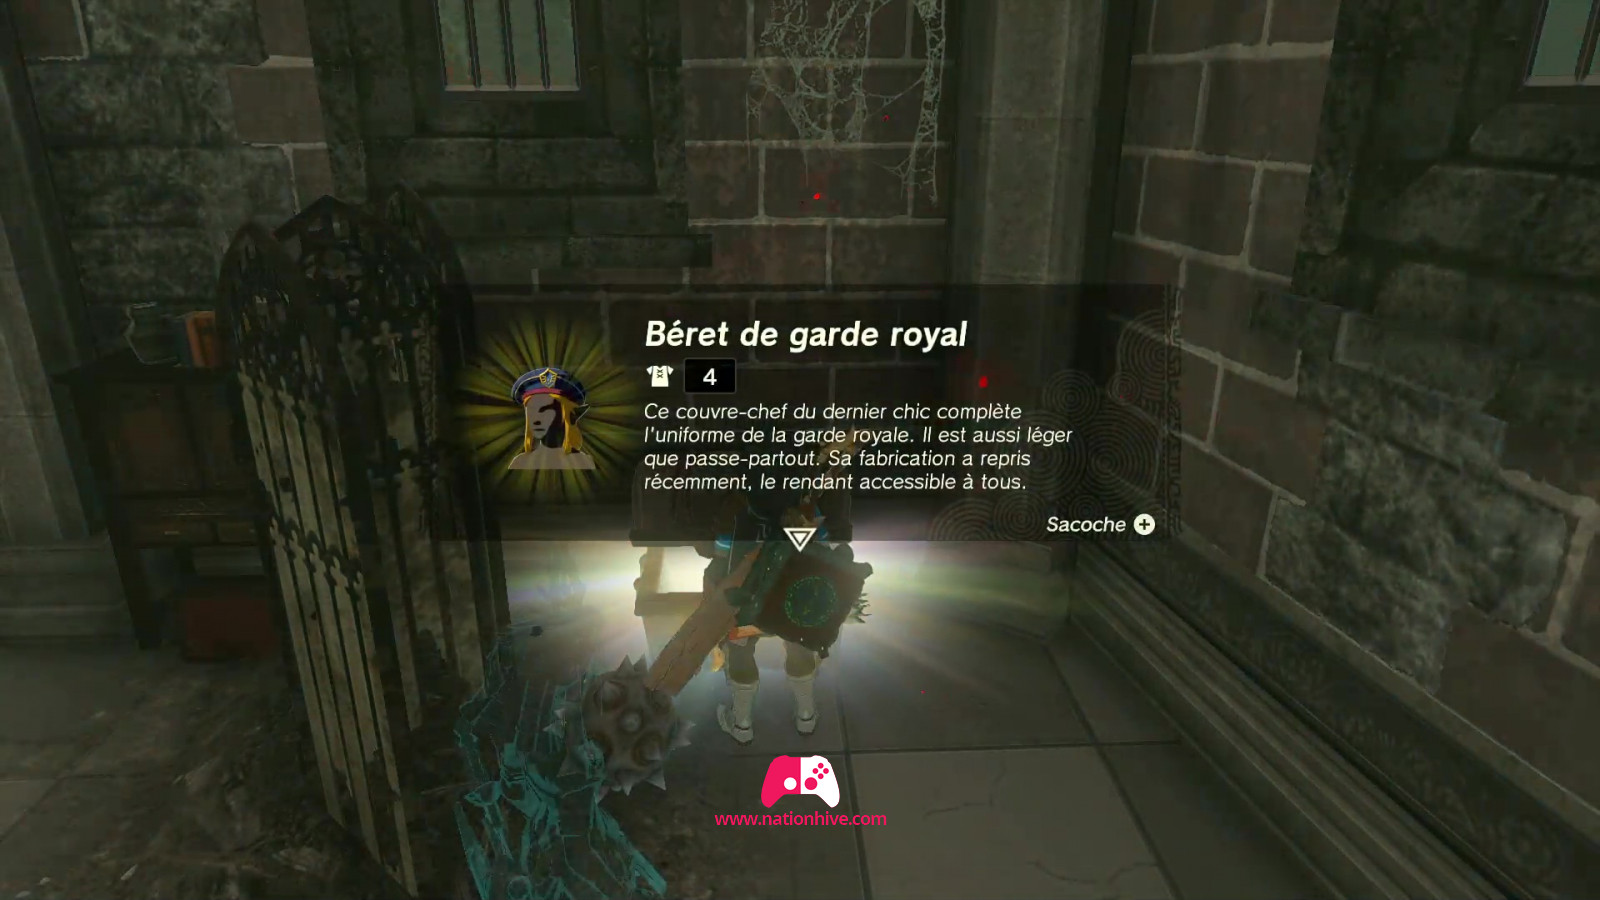
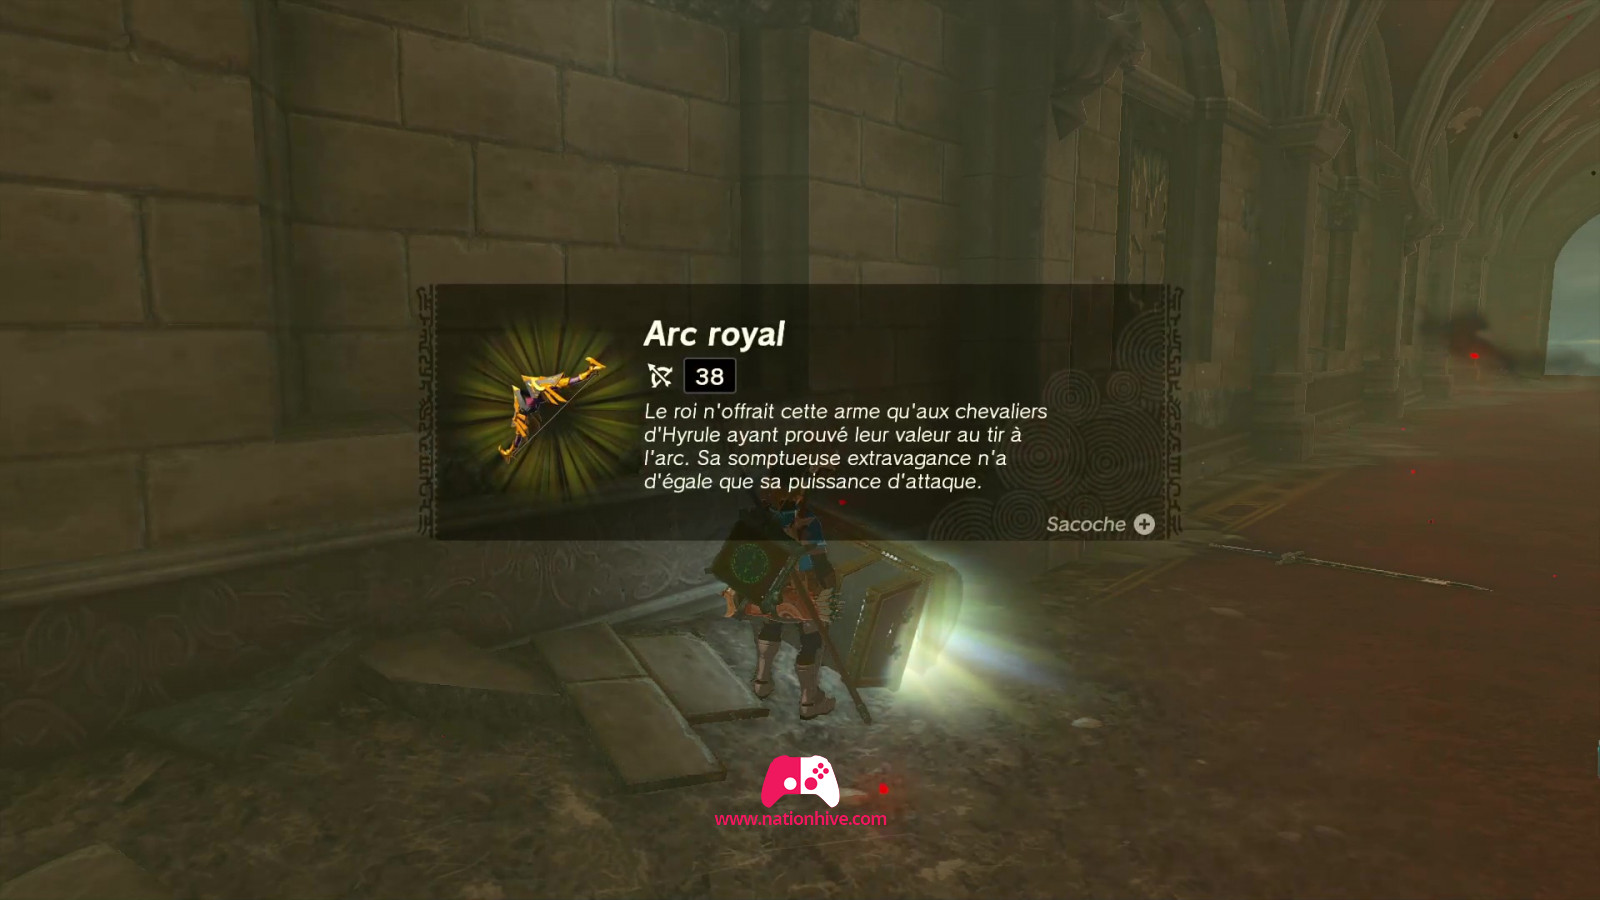
You can also pick up a Royal Guard's Bow from the top of the small fireplace. In addition, there's a chest hidden behind a screen in the room. Open the chest to receive a Royal Guard Cap Armor.
Once the battle is over and all resources have been collected, Zelda appears in the 3rd basement. Head there.
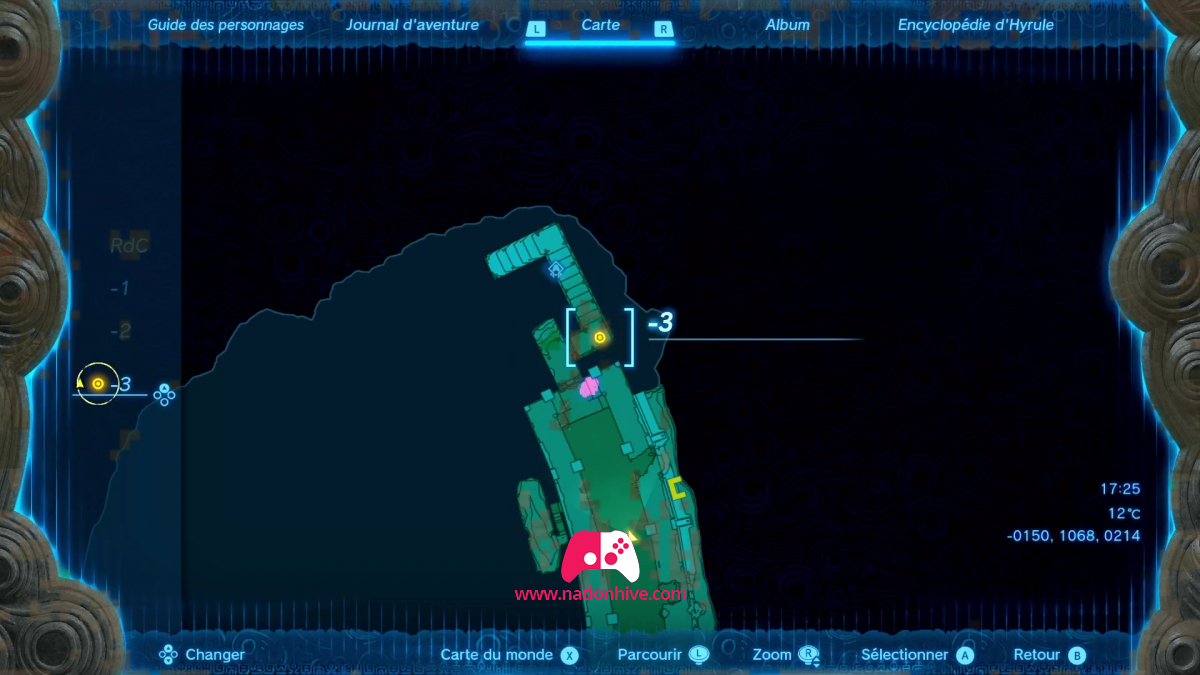
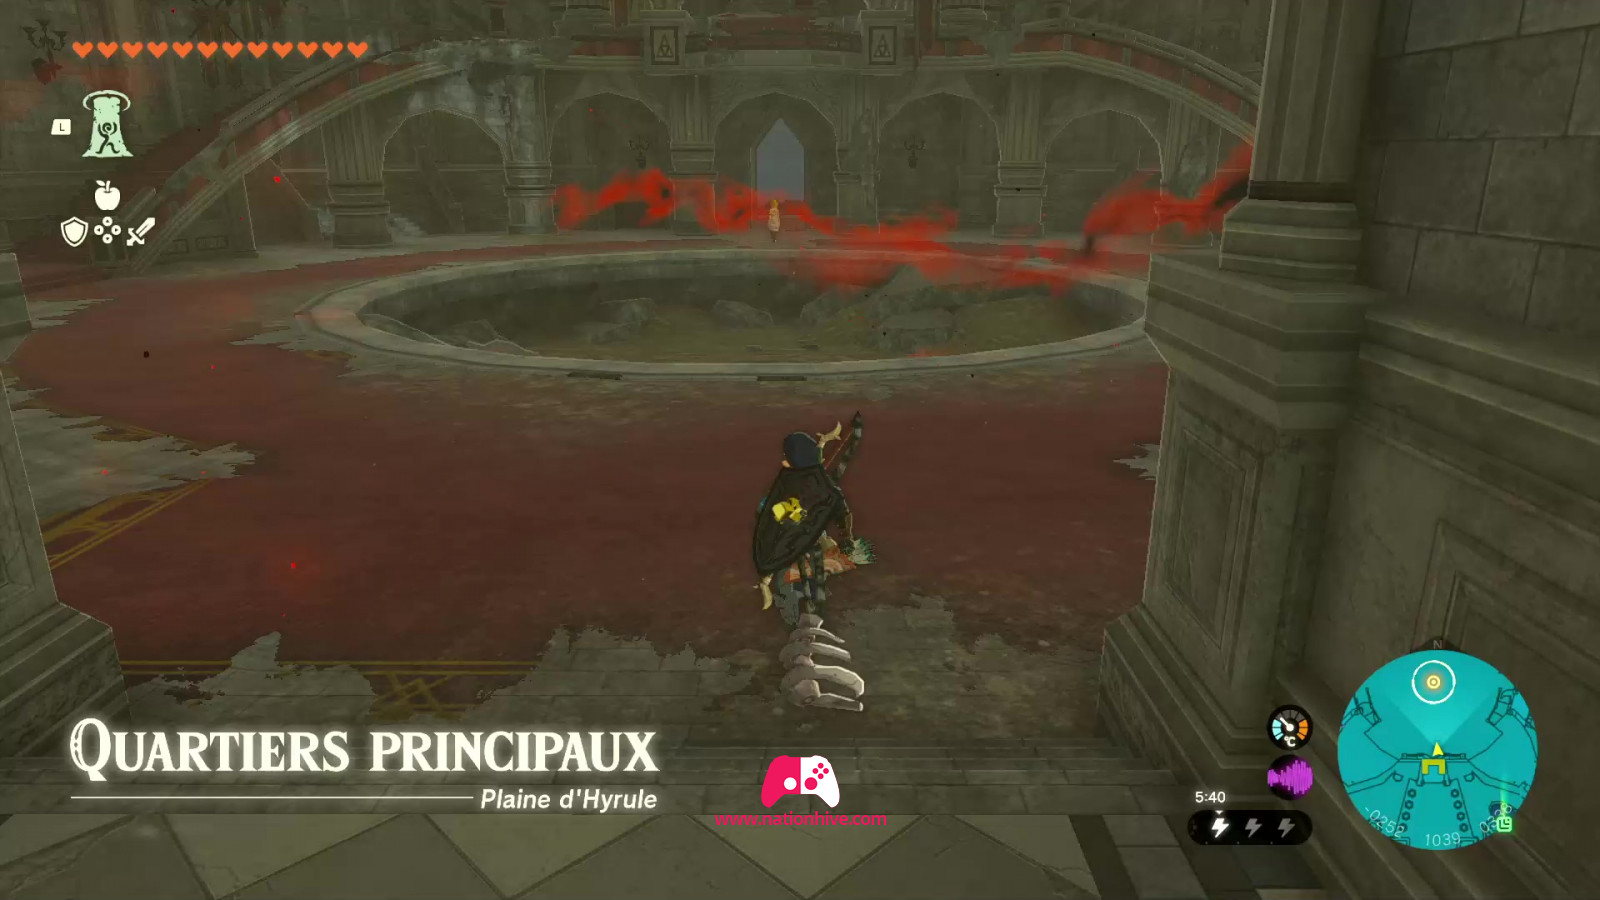
5) Find Zelda in the 3rd basement
Once you've reached the 3rd basement, Zelda will disappear to make way for another Scourge of enemies. Attack them all and collect the resources on the ground.
Once the fight is over and all resources have been recovered, use Ascend's ability to exit the room. Once outside, head for the next room where Zelda is, according to the map.
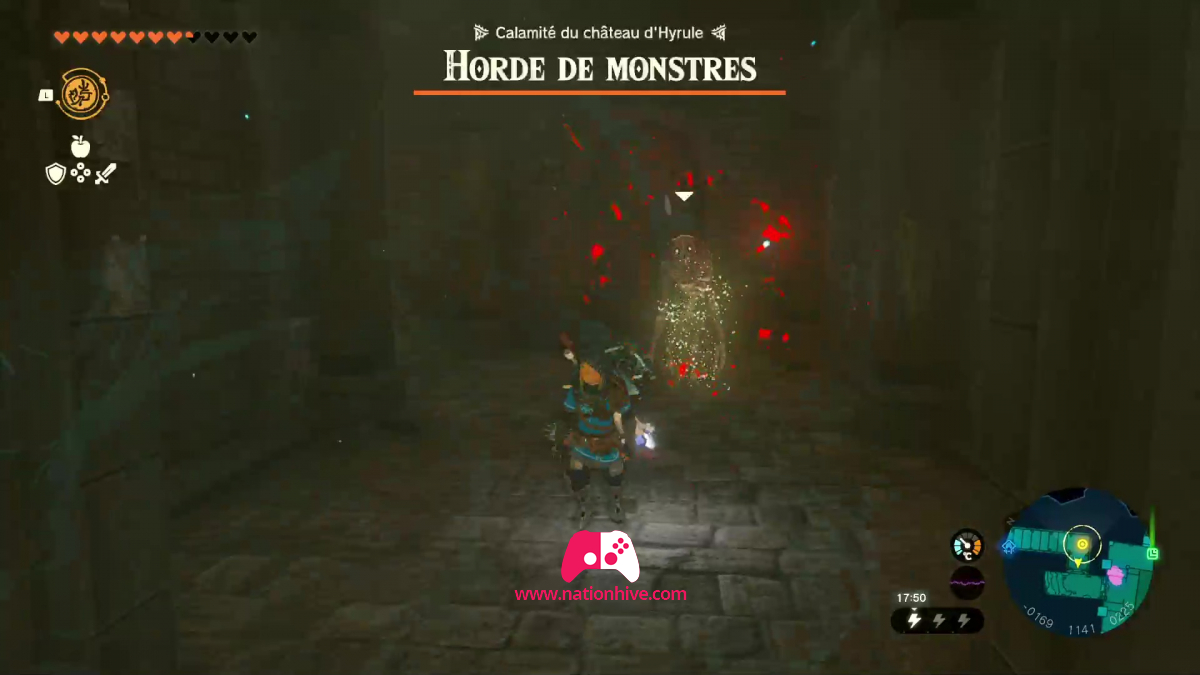
6) Find Zelda in the 3rd basement (enter by the staircase where the Like Like were)
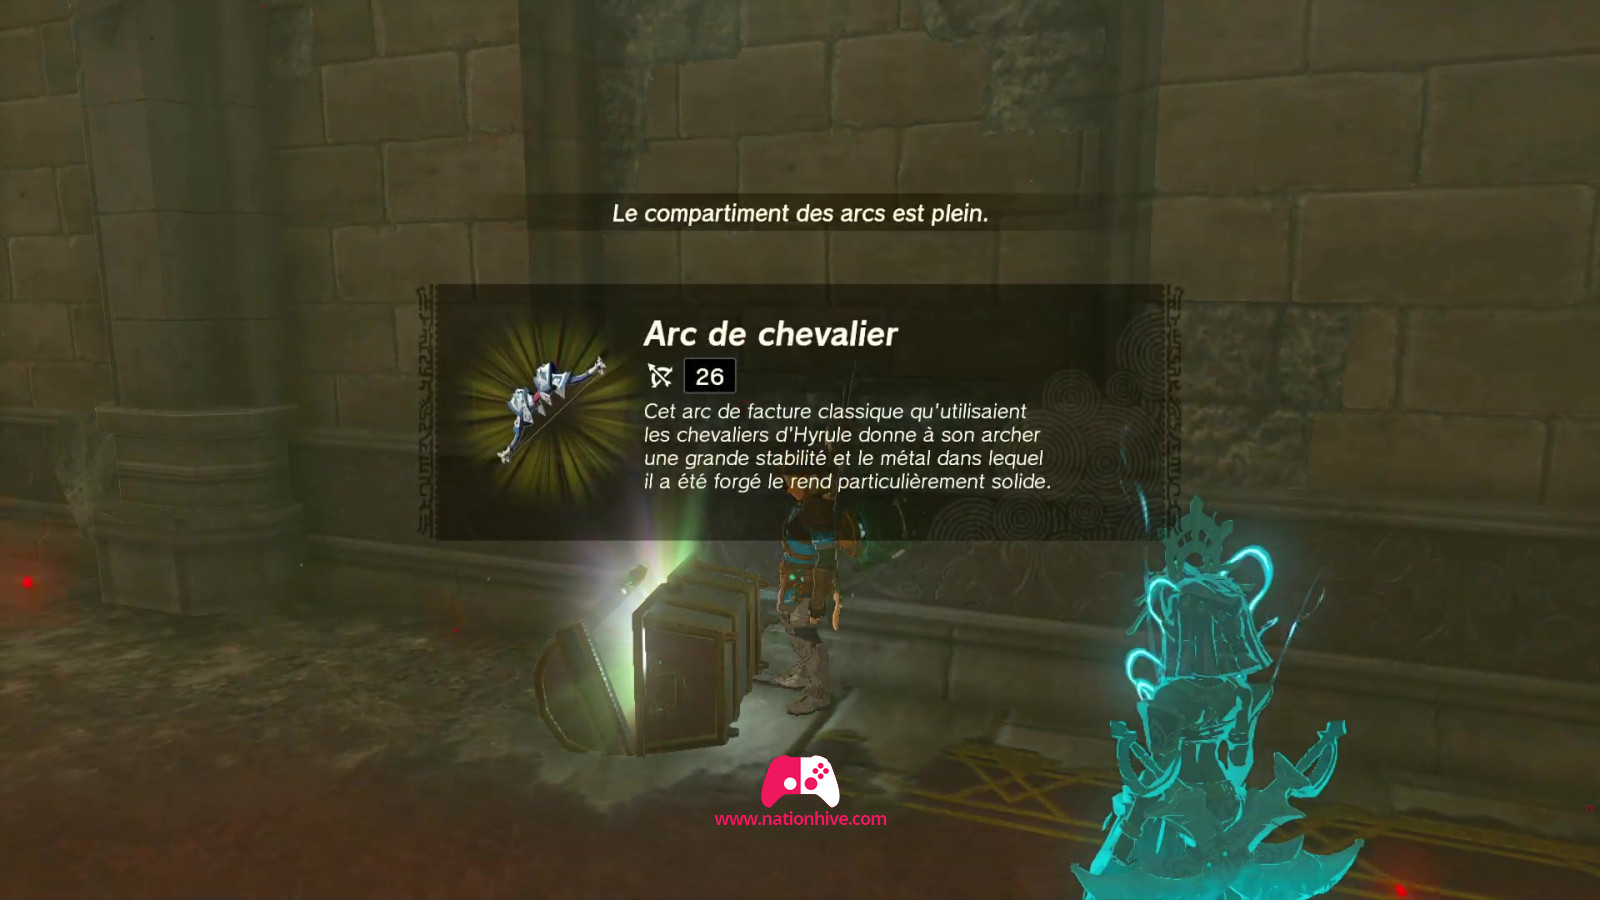
Once you've reached the 3rd basement, Zelda will disappear to make way for another Scourge of enemies. Attack them all and collect the resources on the ground. Open the 3 chests left by Like Like to receive a Knight's Shield, a Royal Bow and a Knight's Bow.

Once the fight is over and all resources have been recovered, use Ascend's ability to exit the room. Once outside, head for the main quarters, where Zelda will be.
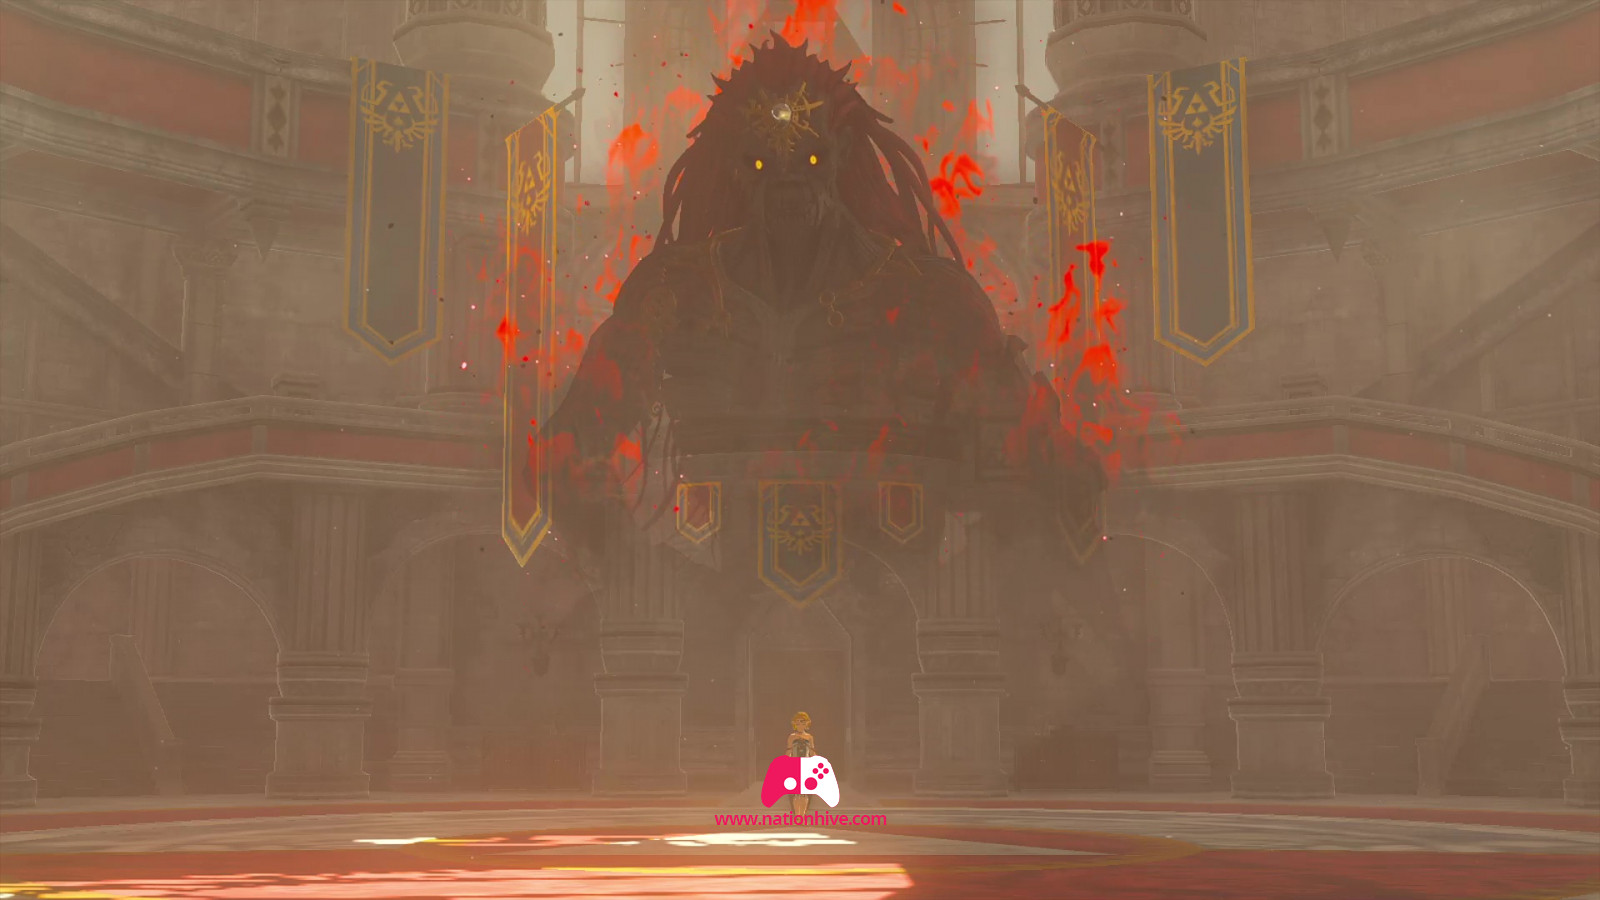
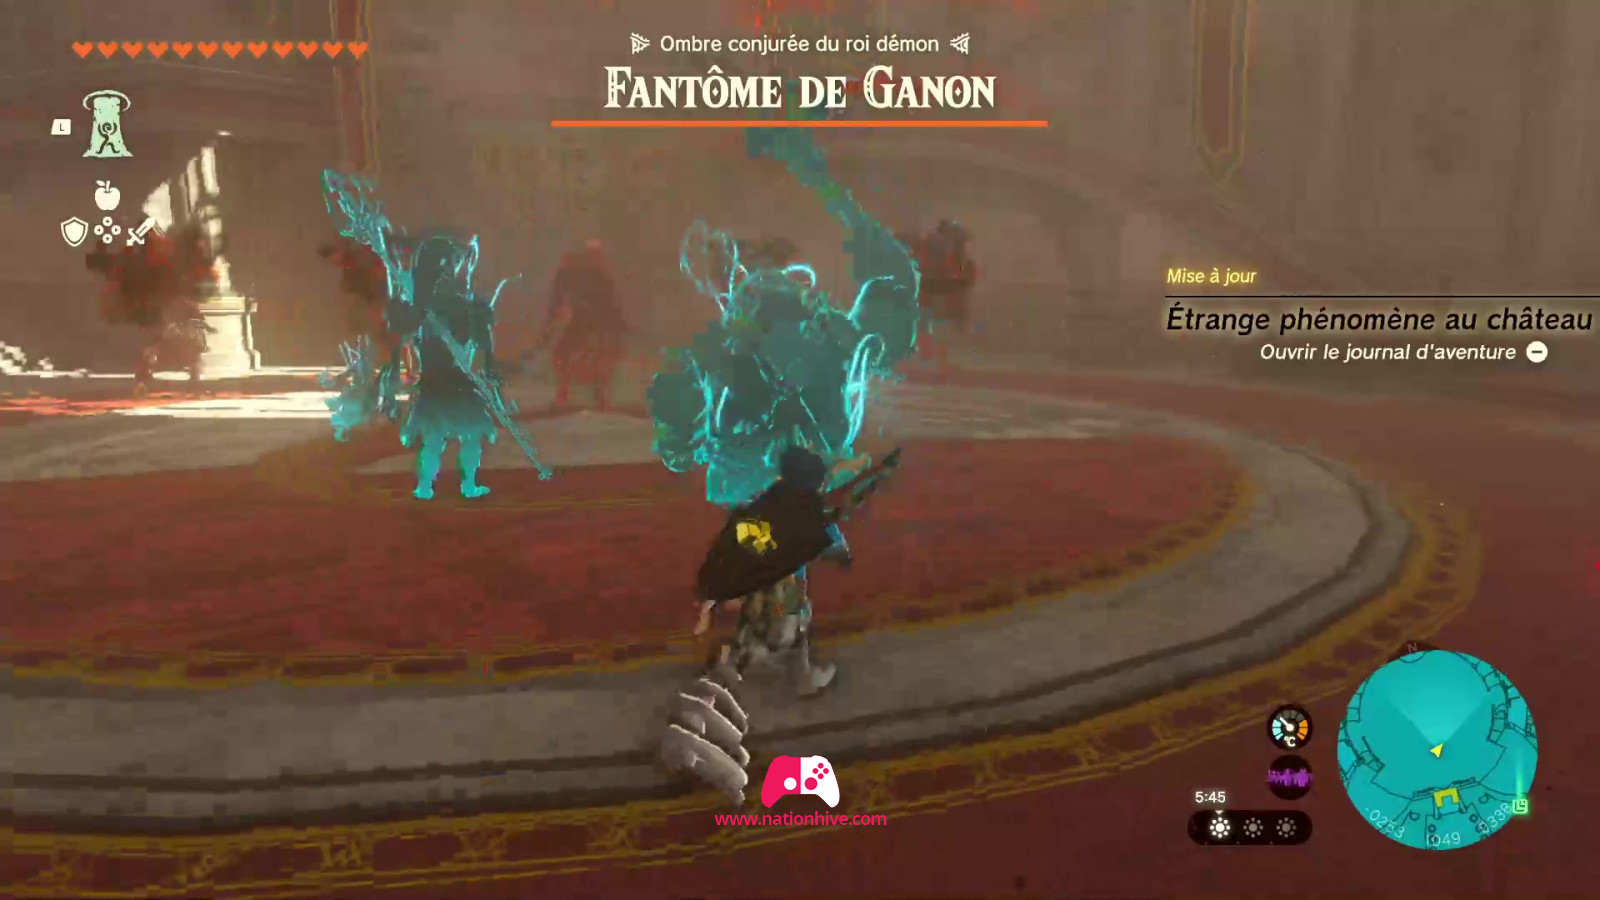
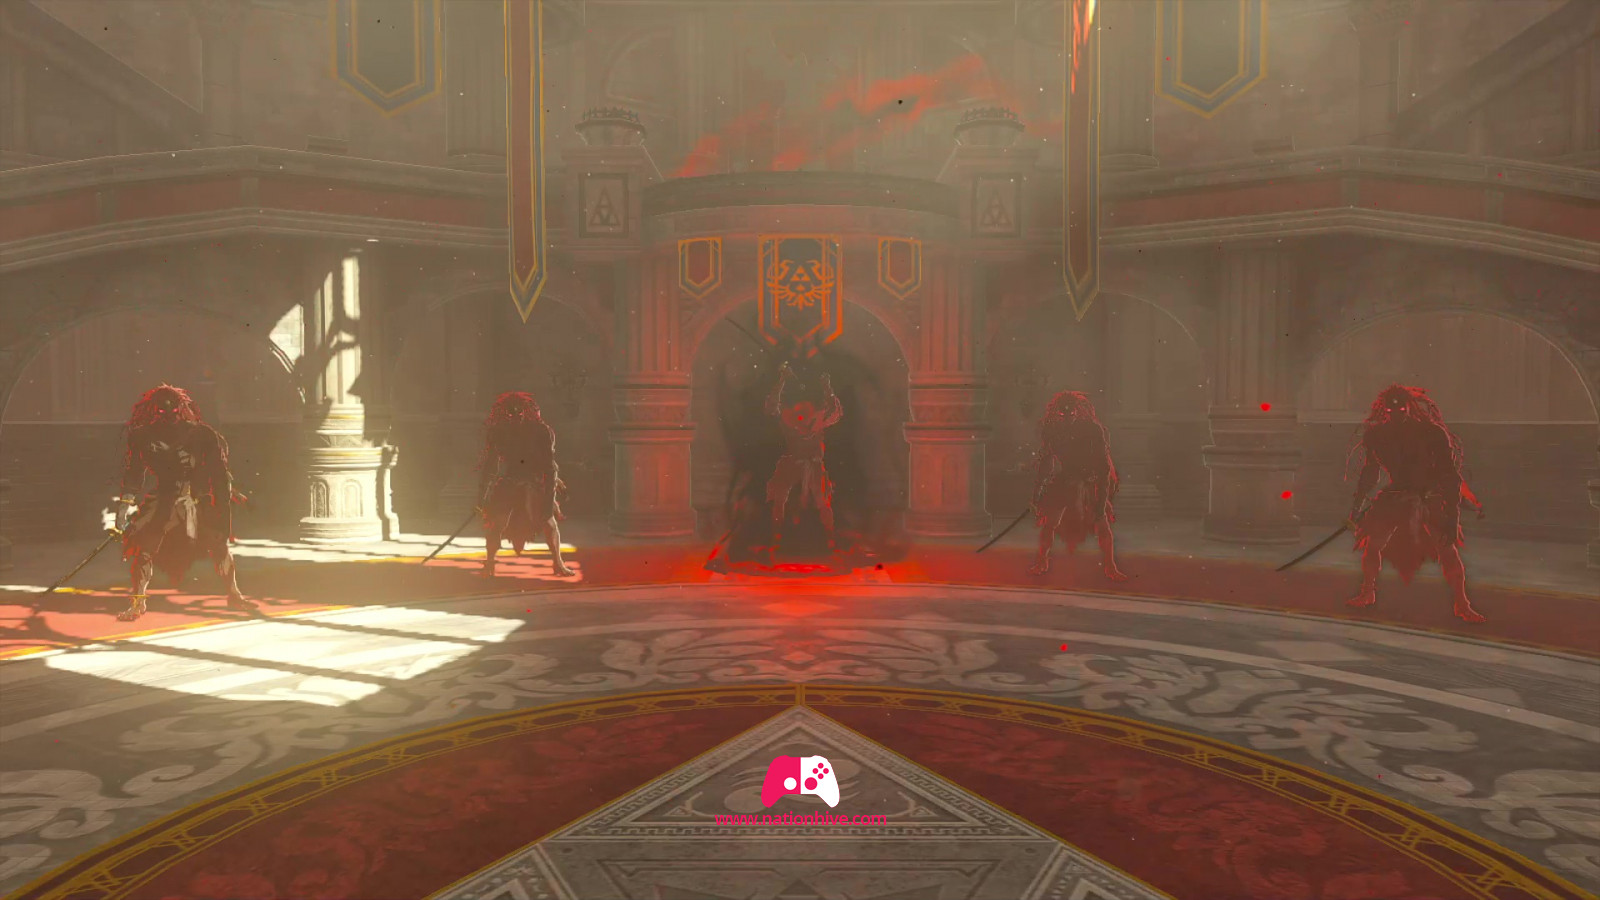
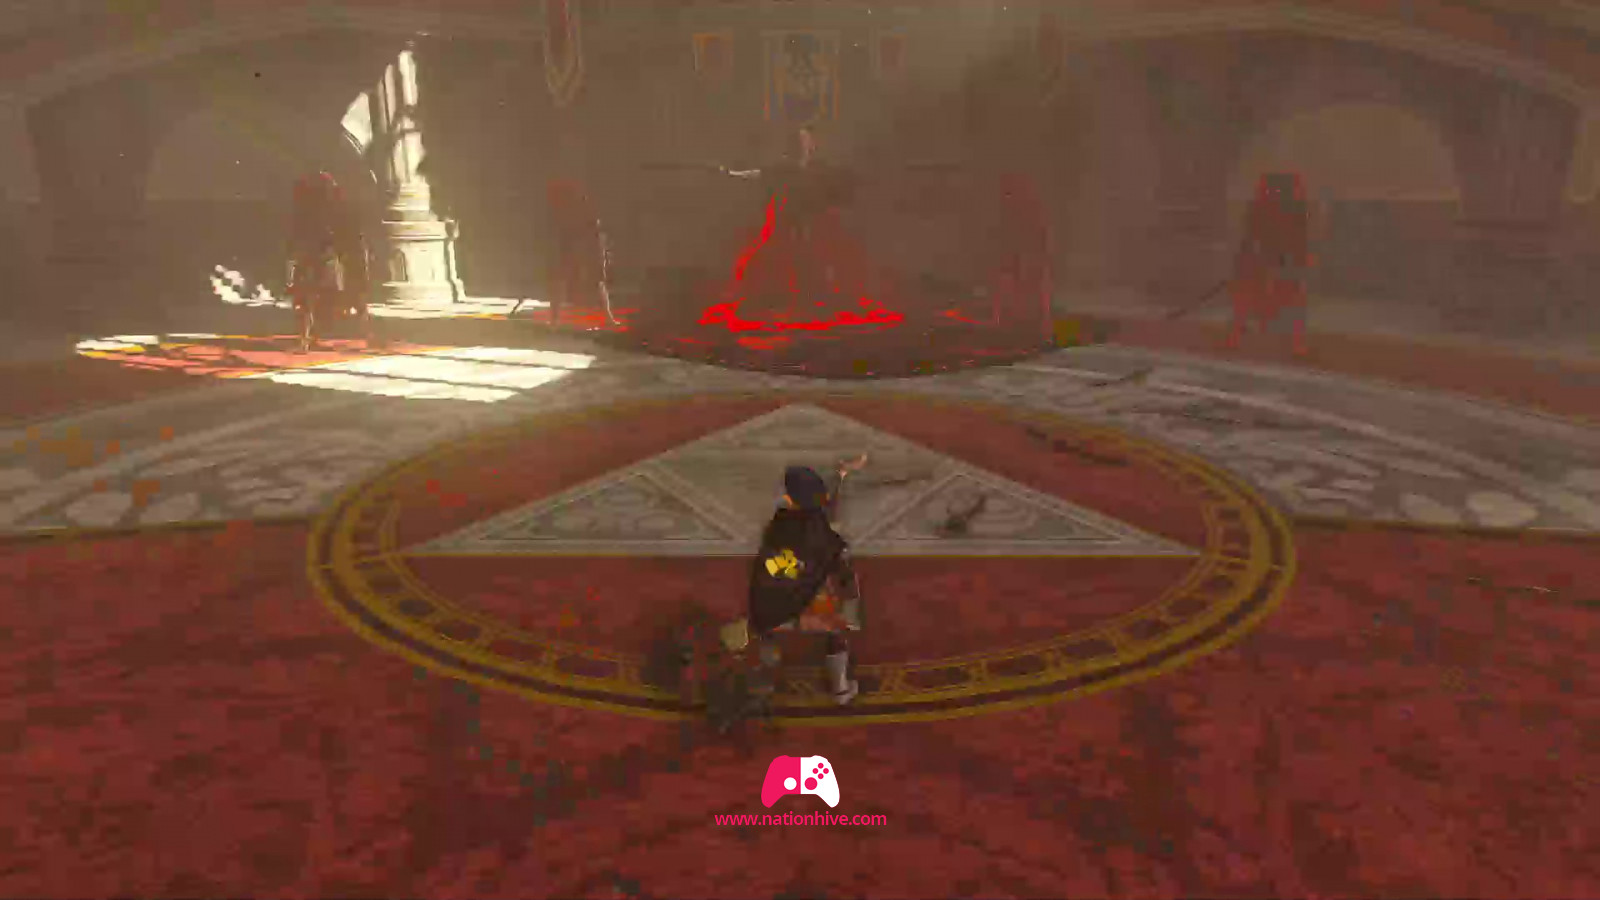
7) Defeat Ganon's Phantoms (Boss)
Once in the main quarters, you'll finally learn the mystery behind Zelda's multiple appearances. In fact, it was an illusion by the Demon King Ganondorf. You'll have to face all the Phantom Ganon to progress through the story.

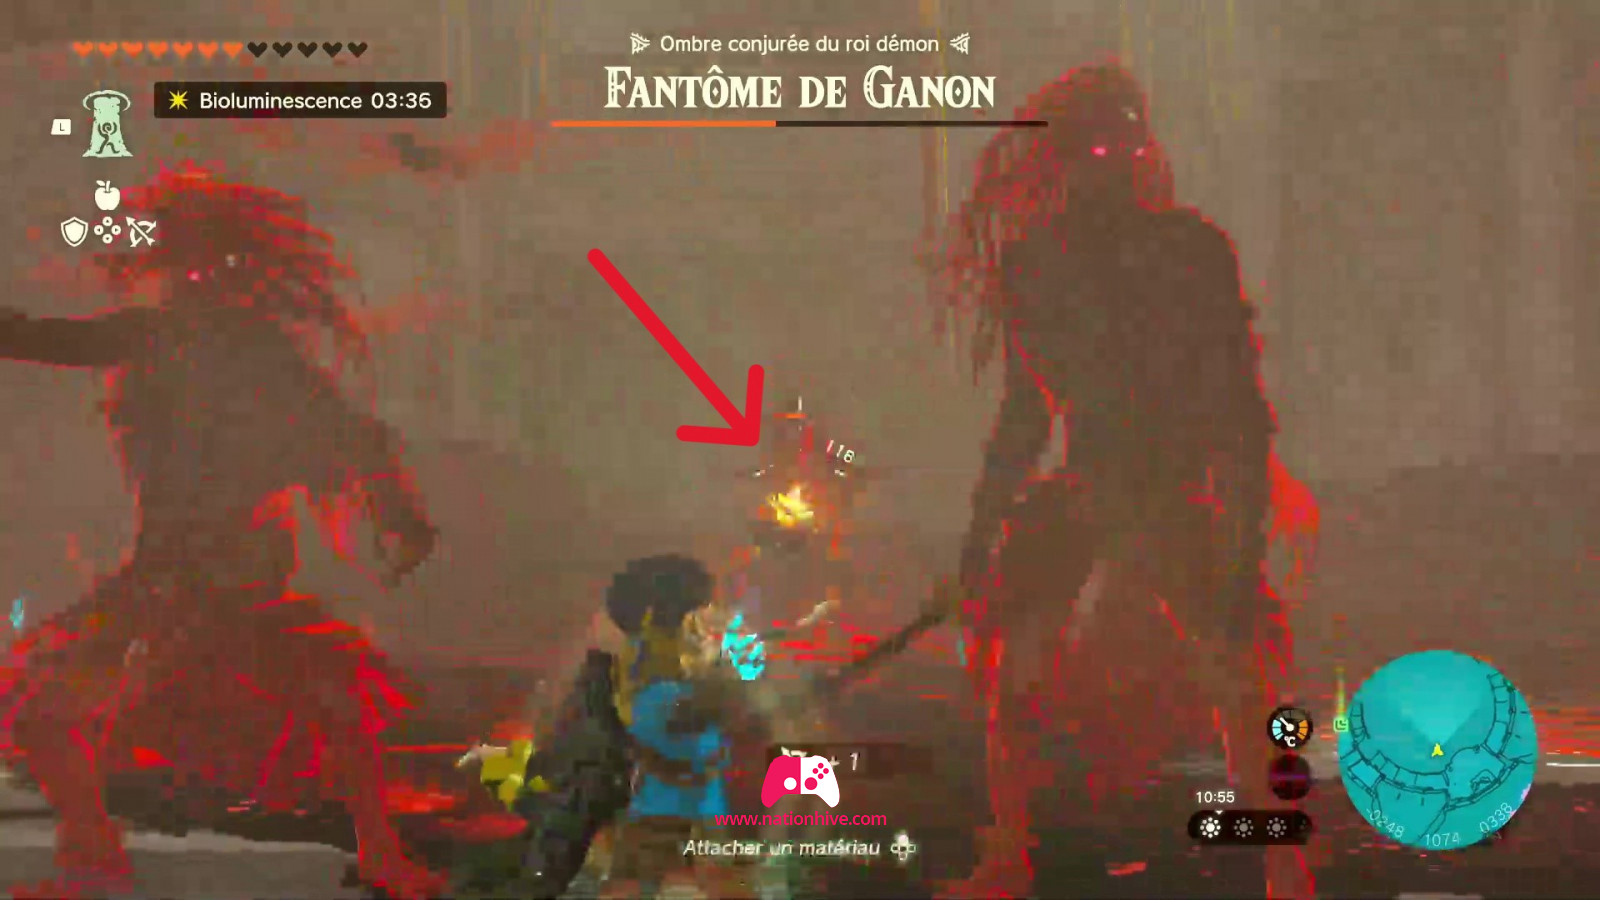
Warning! Phantom Ganon inflicts a lot of damage. Be constantly on the move and try to dodge their sword strikes. In this situation, the special action: Flurry Rush will be extremely useful. Simply lock the target (the enemy) with ZR, press X to jump while holding Stick de gauche to move backwards. Keep an eye on your life bar and eat food as needed.
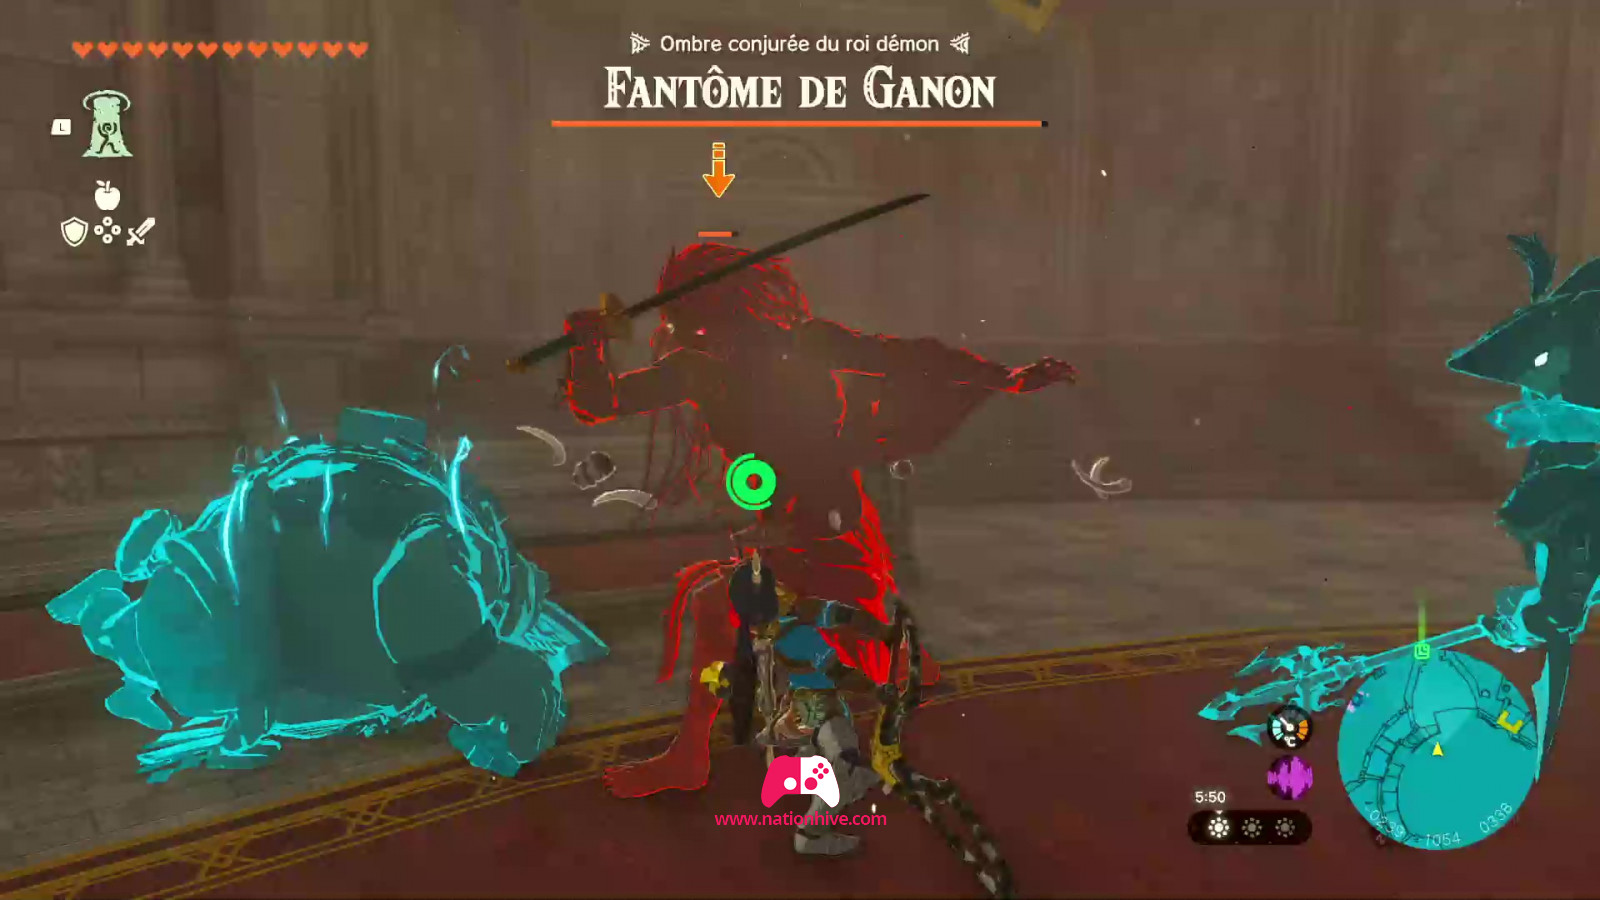
Remember to use all the abilities to help you in battle. We also recommend equipping yourself with weapons that have a Fuse power of at least 30-50.
Once the first 5 Phantom Ganon have been defeated, the enemy's life bar will be reduce to half. From then on, all 5 Phantom Ganon will reappear, but this time a Phantom Ganon will spread miasma on the ground. It's important to hit him quickly or shoot a Bomb Flower quickly enough to stop the miasma spreading, as this can damage your heart receptacles. This is where anti-miasma dishes or dishes that repair heart receptacles can be very useful.
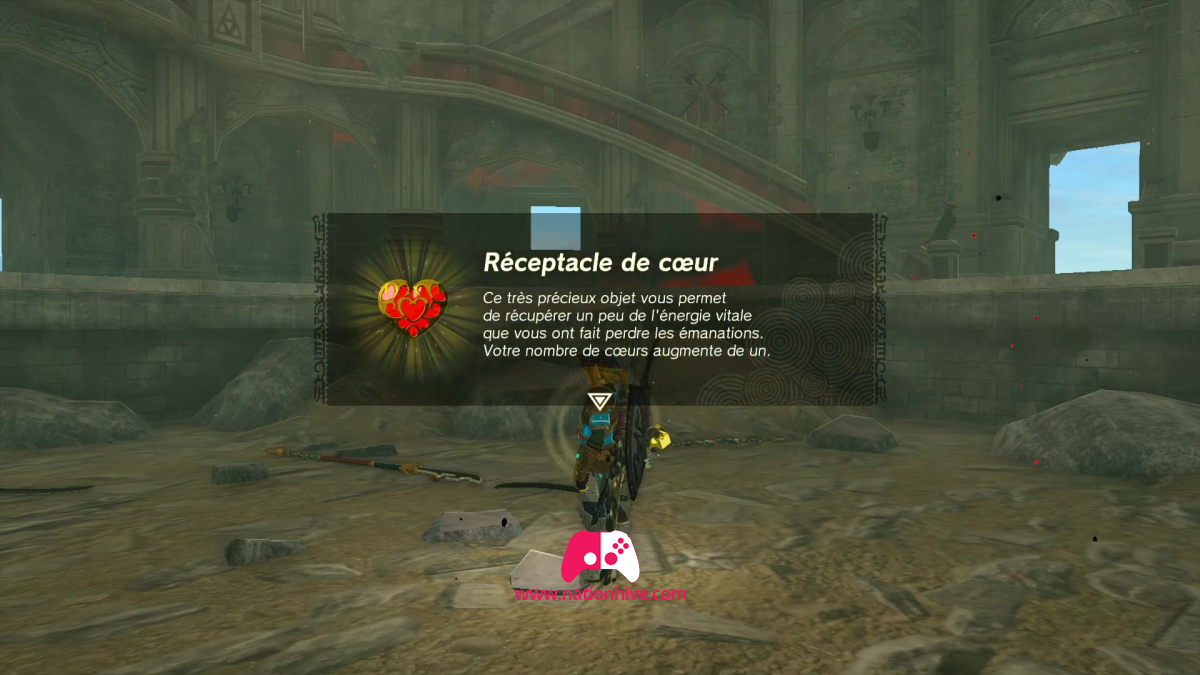
Keep dodging enemy attacks and performing the Flurry Rush to inflict damage until all enemies are defeated. Once the battle is over, you'll receive a heart receptacle. Remember to collect all the equipment and resources on the ground and head for the Lookout Standing to share your findings with Pru'ha.
This concludes the main quest: Crisis at Hyrule Castle - Part 2, making way for your next main quest in Zelda: Tears of the Kingdom - Find the Fifth Sage.