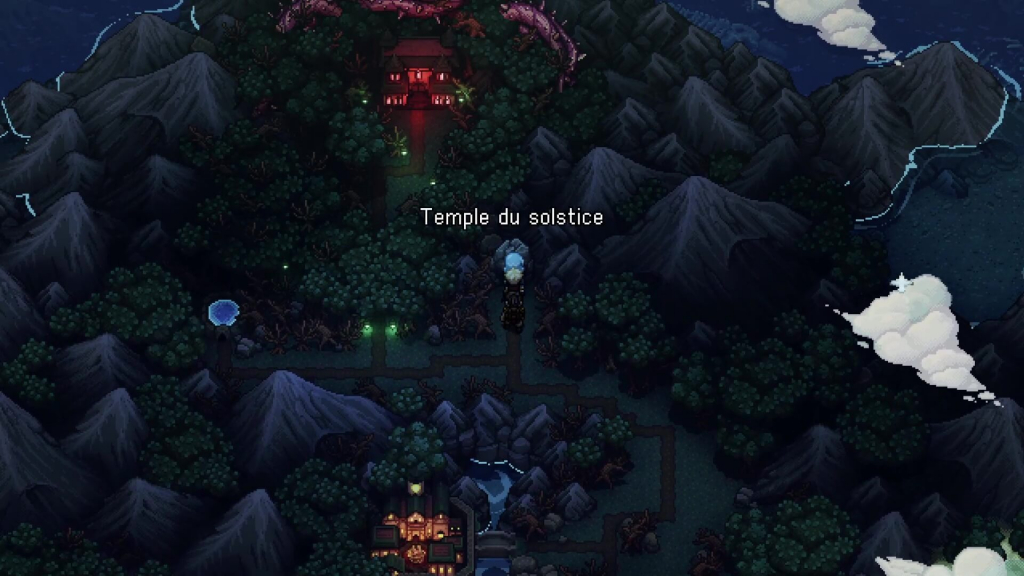
Solstice Shrine
In this Sea of Stars guide, we'll take you through this part of the game.
Once you've explored the City of Lucent, you'll have the option of visiting the Solstice Shrine. It's important to know that you can only complete this temple if you've unlocked the Grappling Hook. Once there, you can save your game using the book on the left.
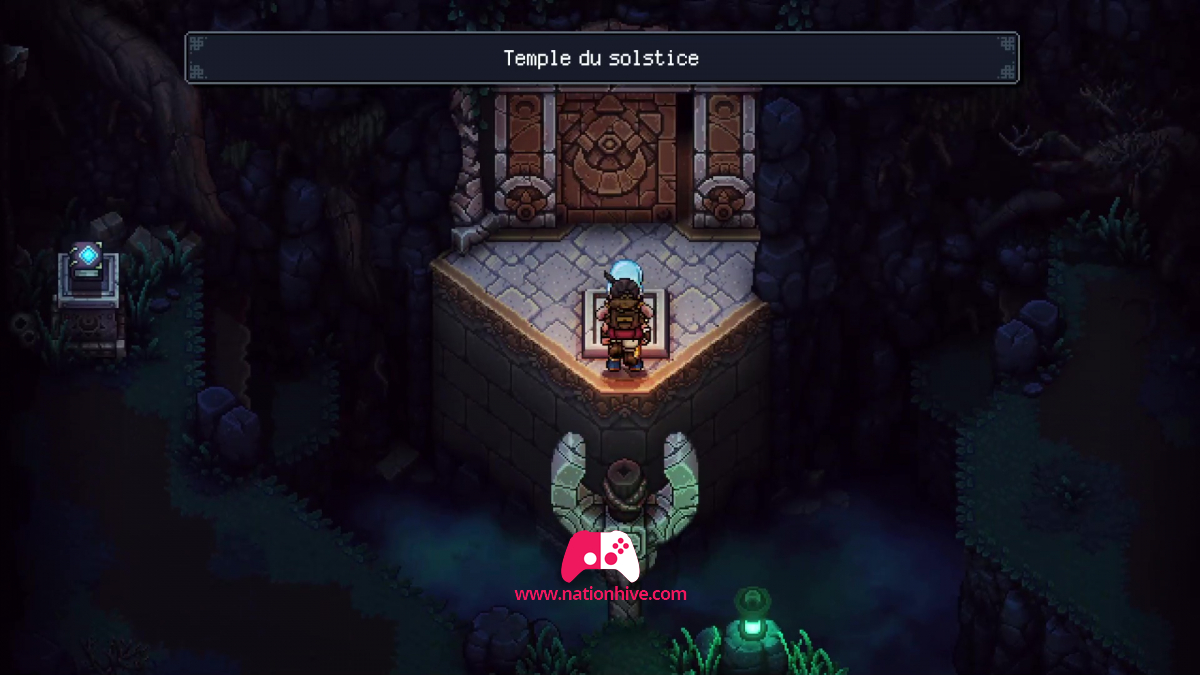
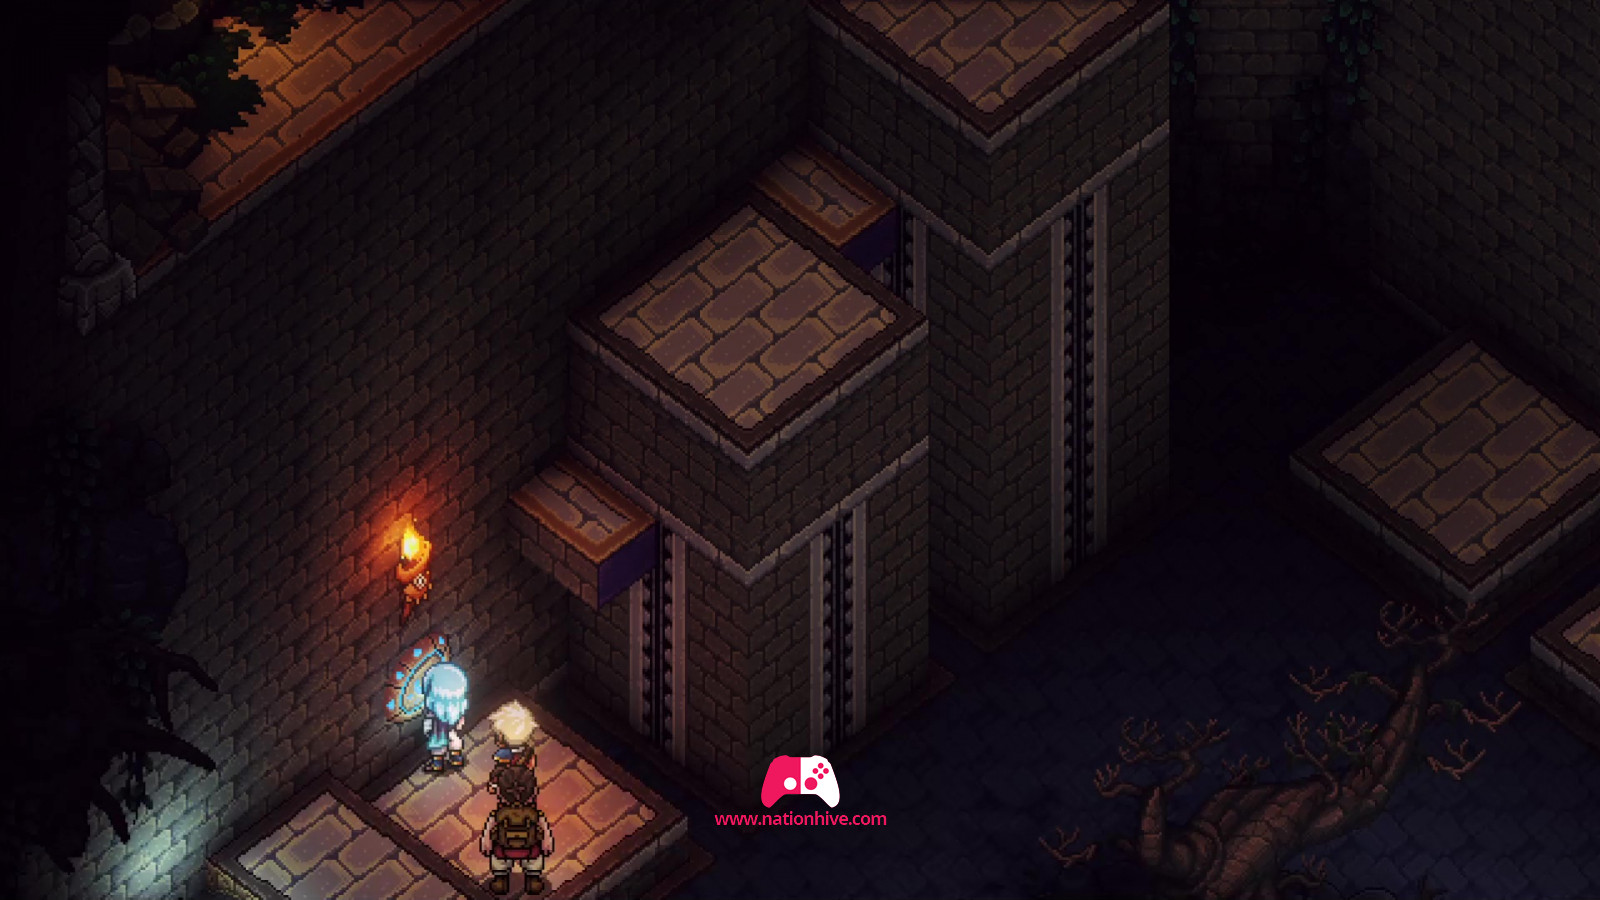
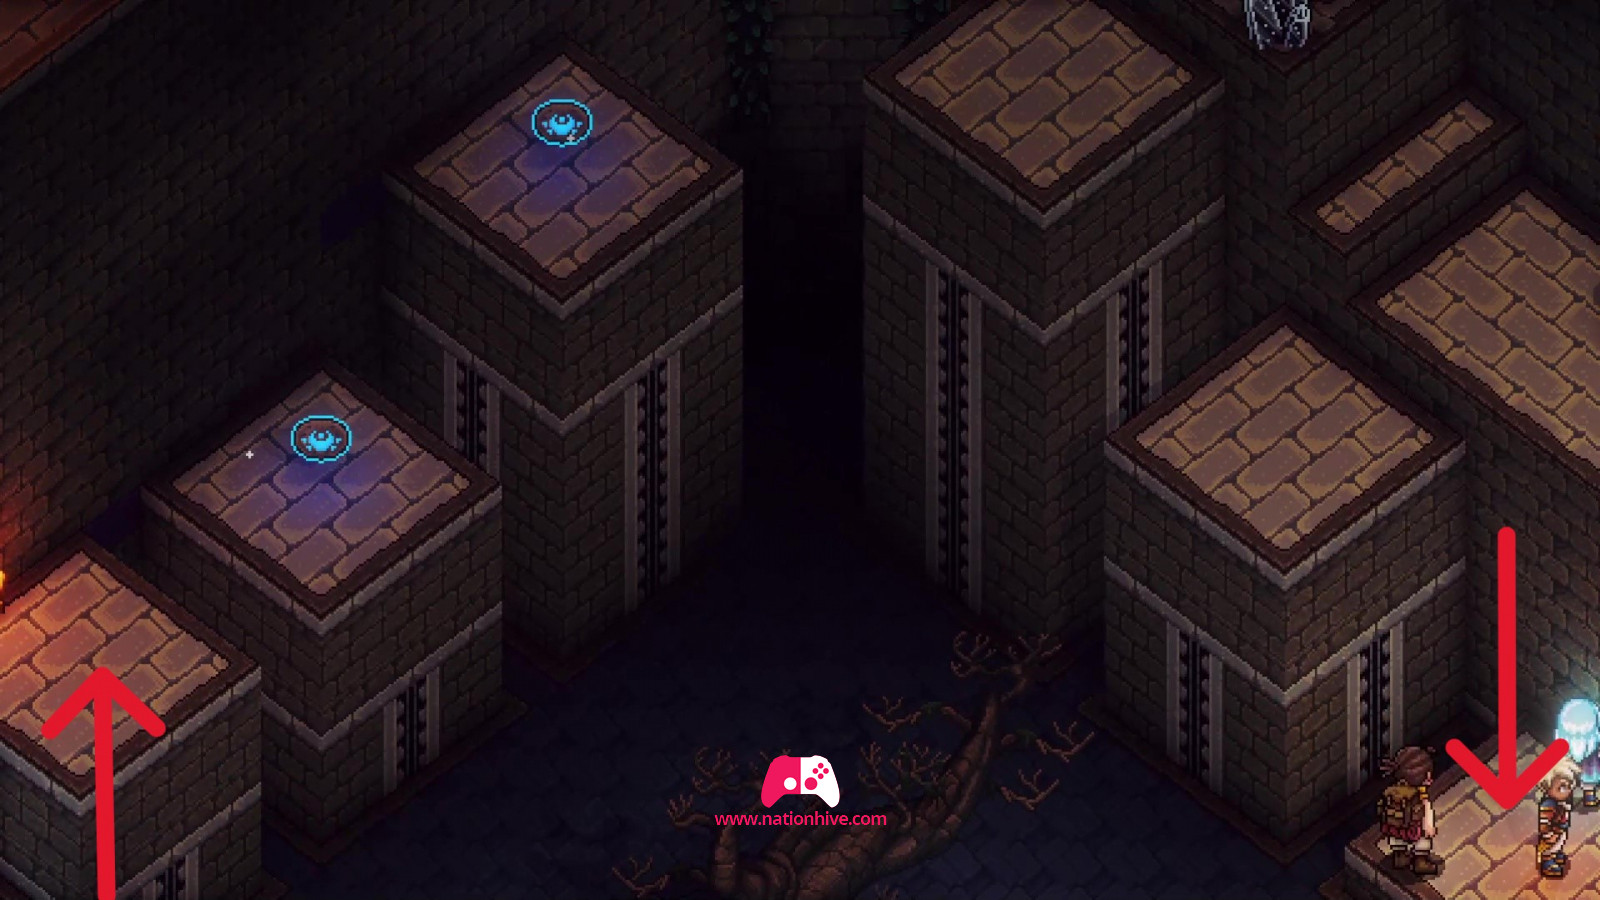
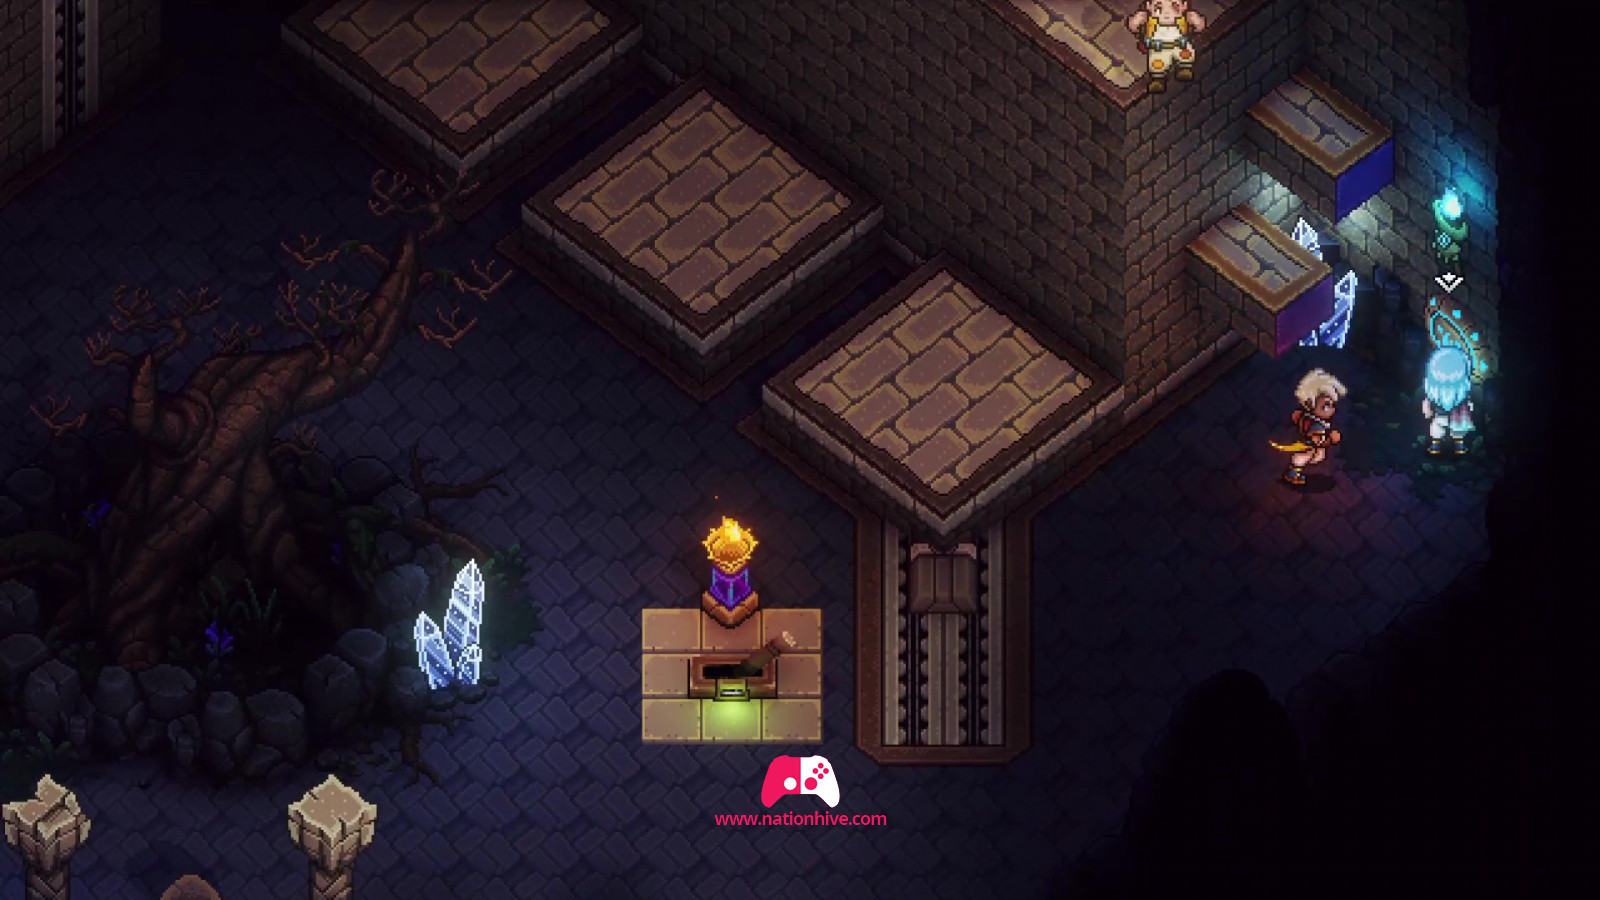
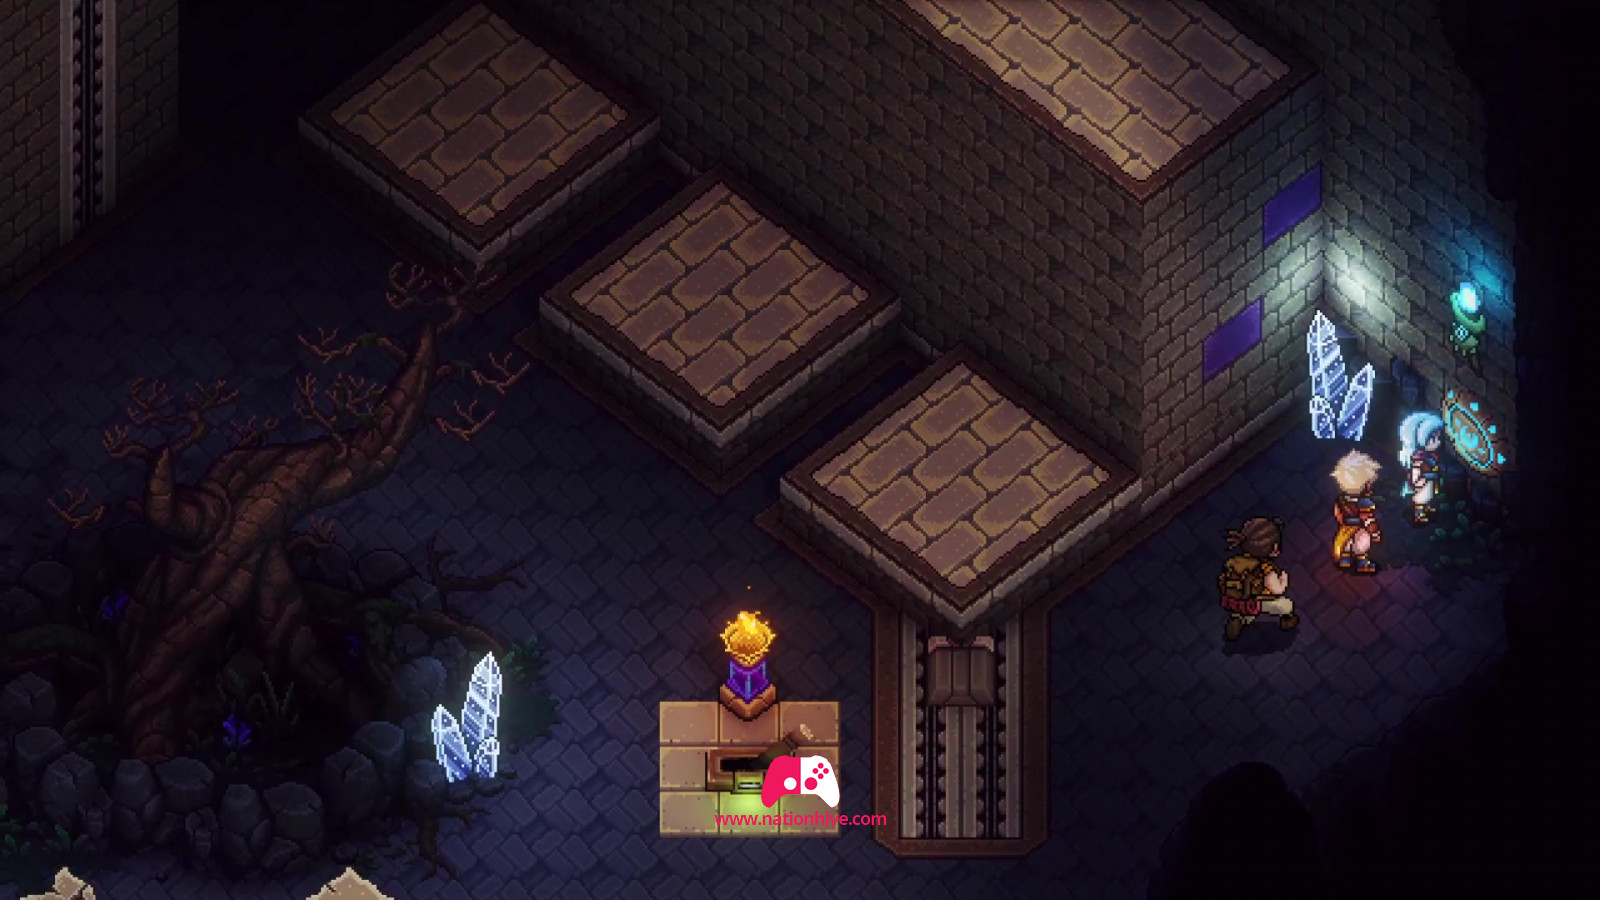
Enter using the Grappling Hook and stand on the platform to open the door. Once inside, you'll face several platforms. You'll have to make several trips to each side of the room to solve the puzzle.
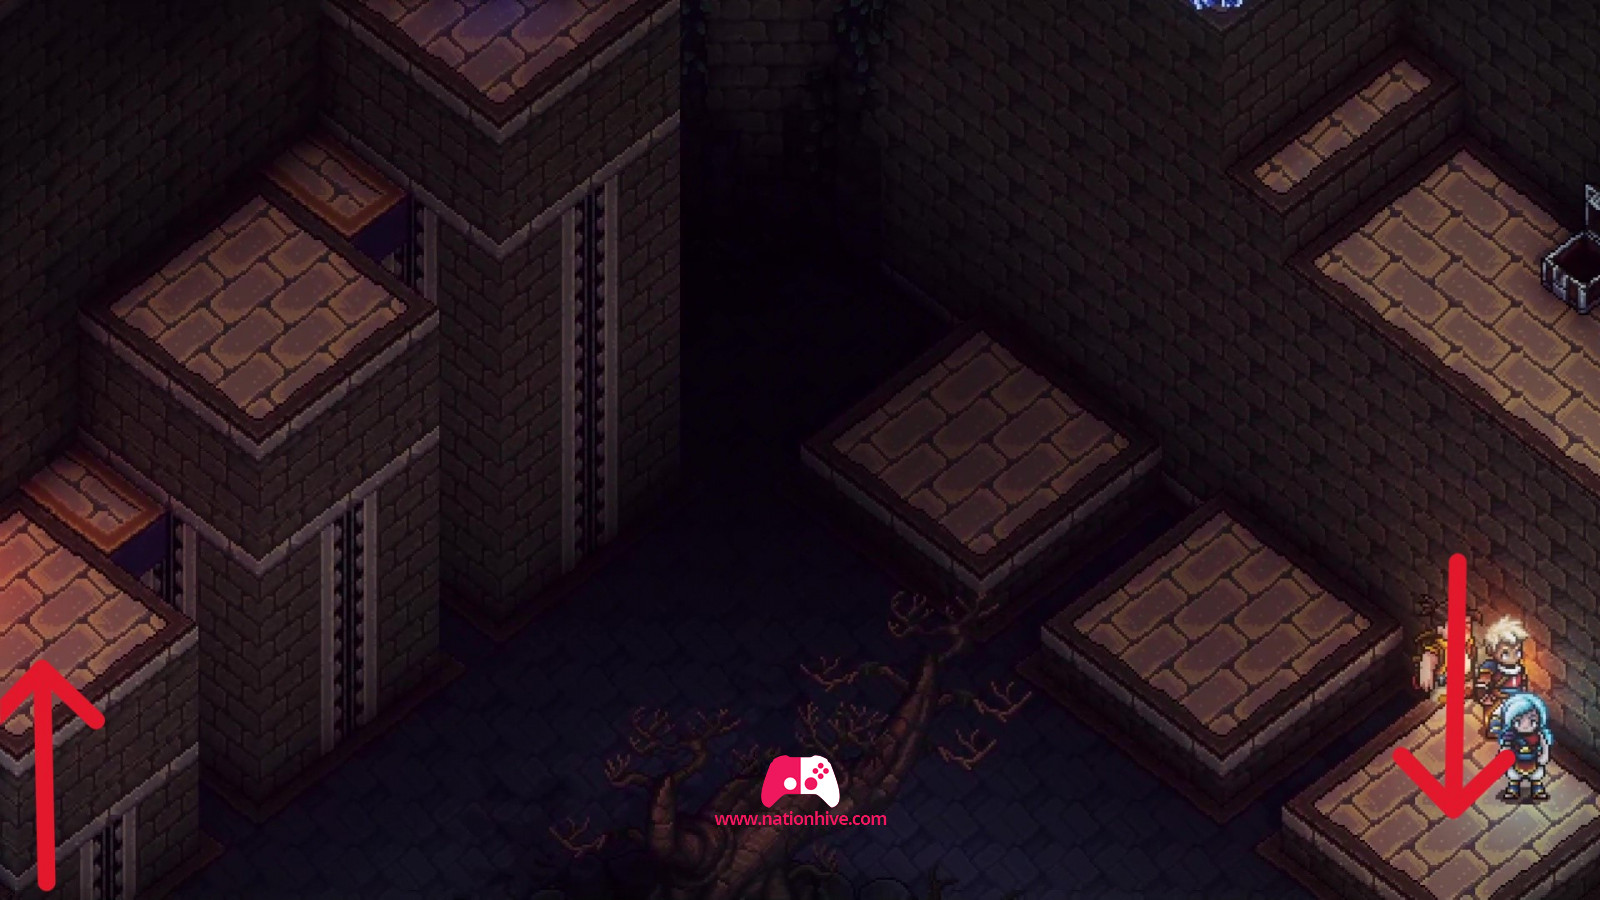
Collect all the resources you can. You'll soon realize that you can't activate the lever in front of you. Head to the right and climb the first platform you can reach. This will bring up a platform on the left-hand side.

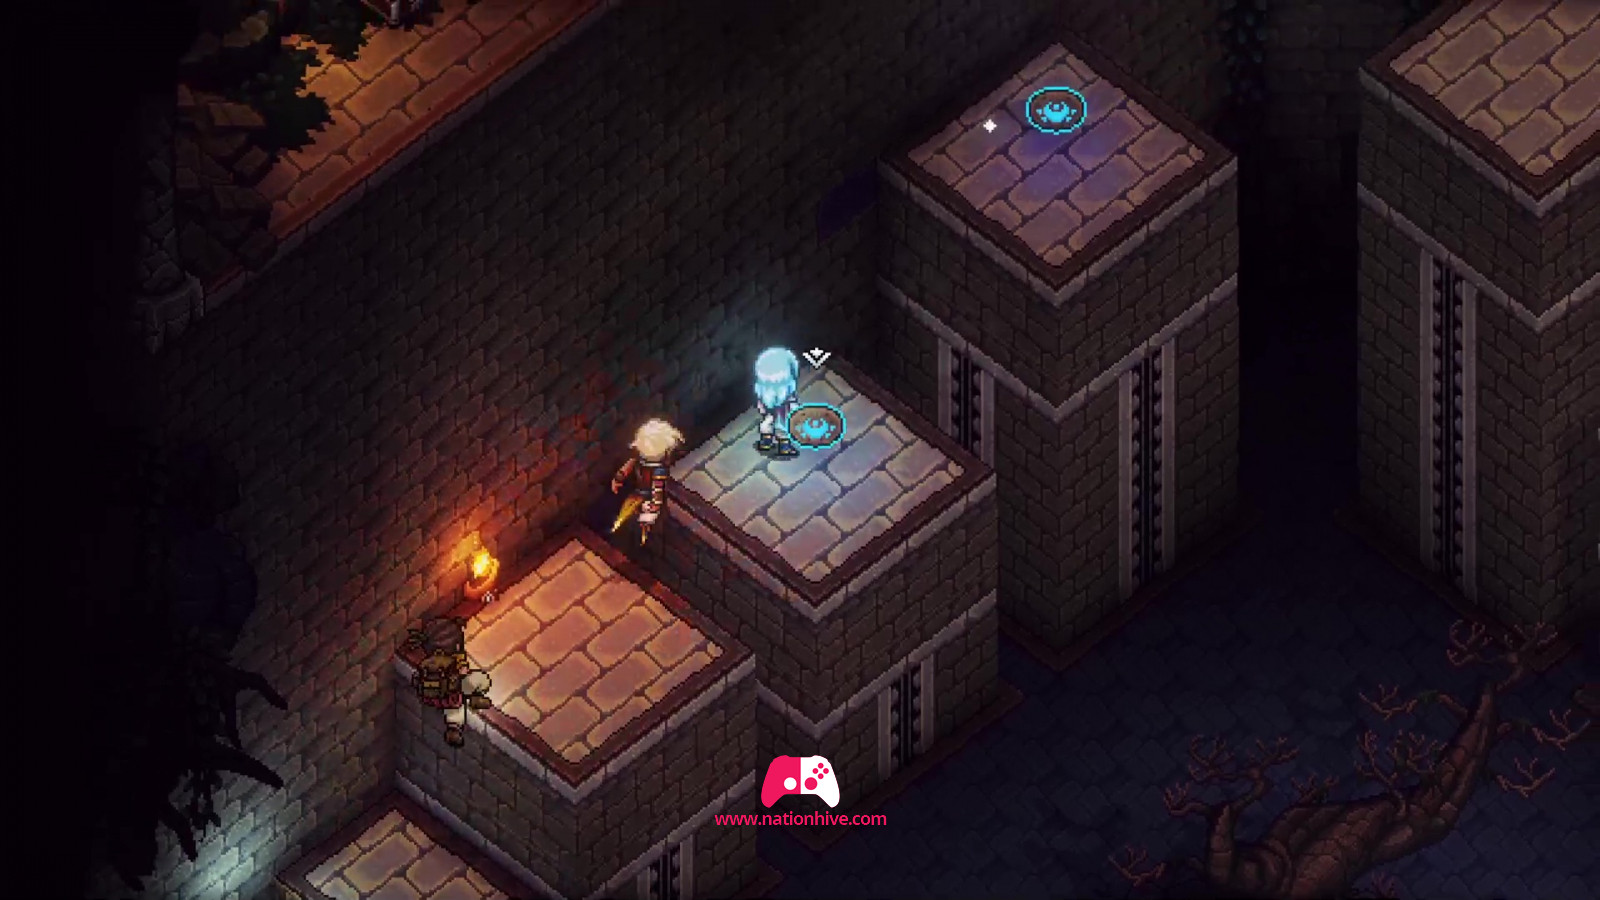
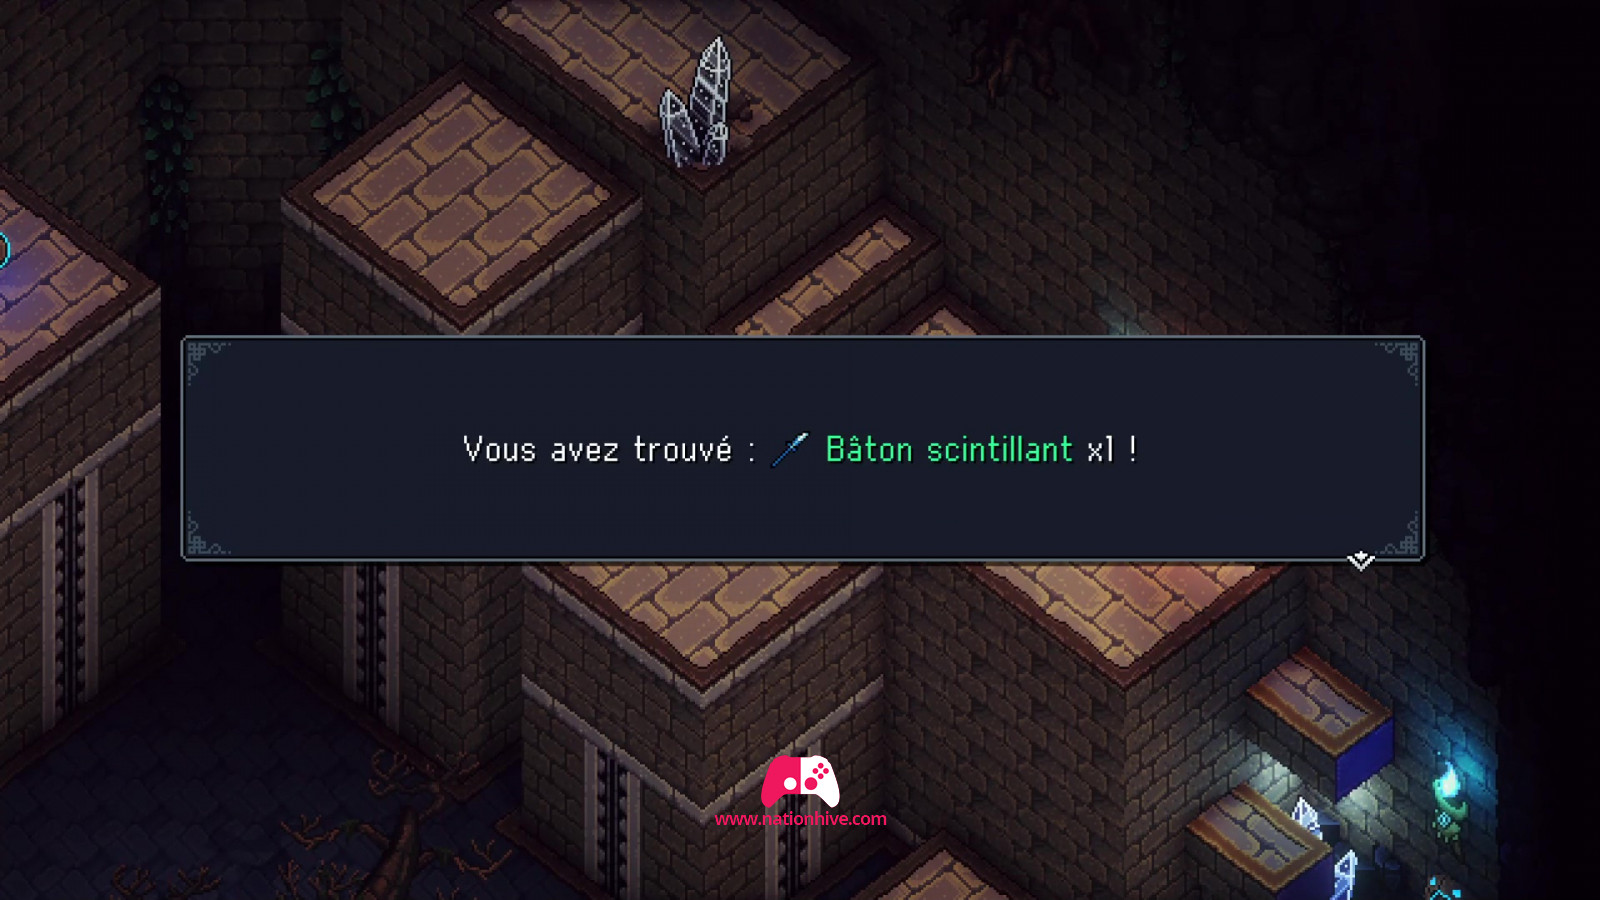
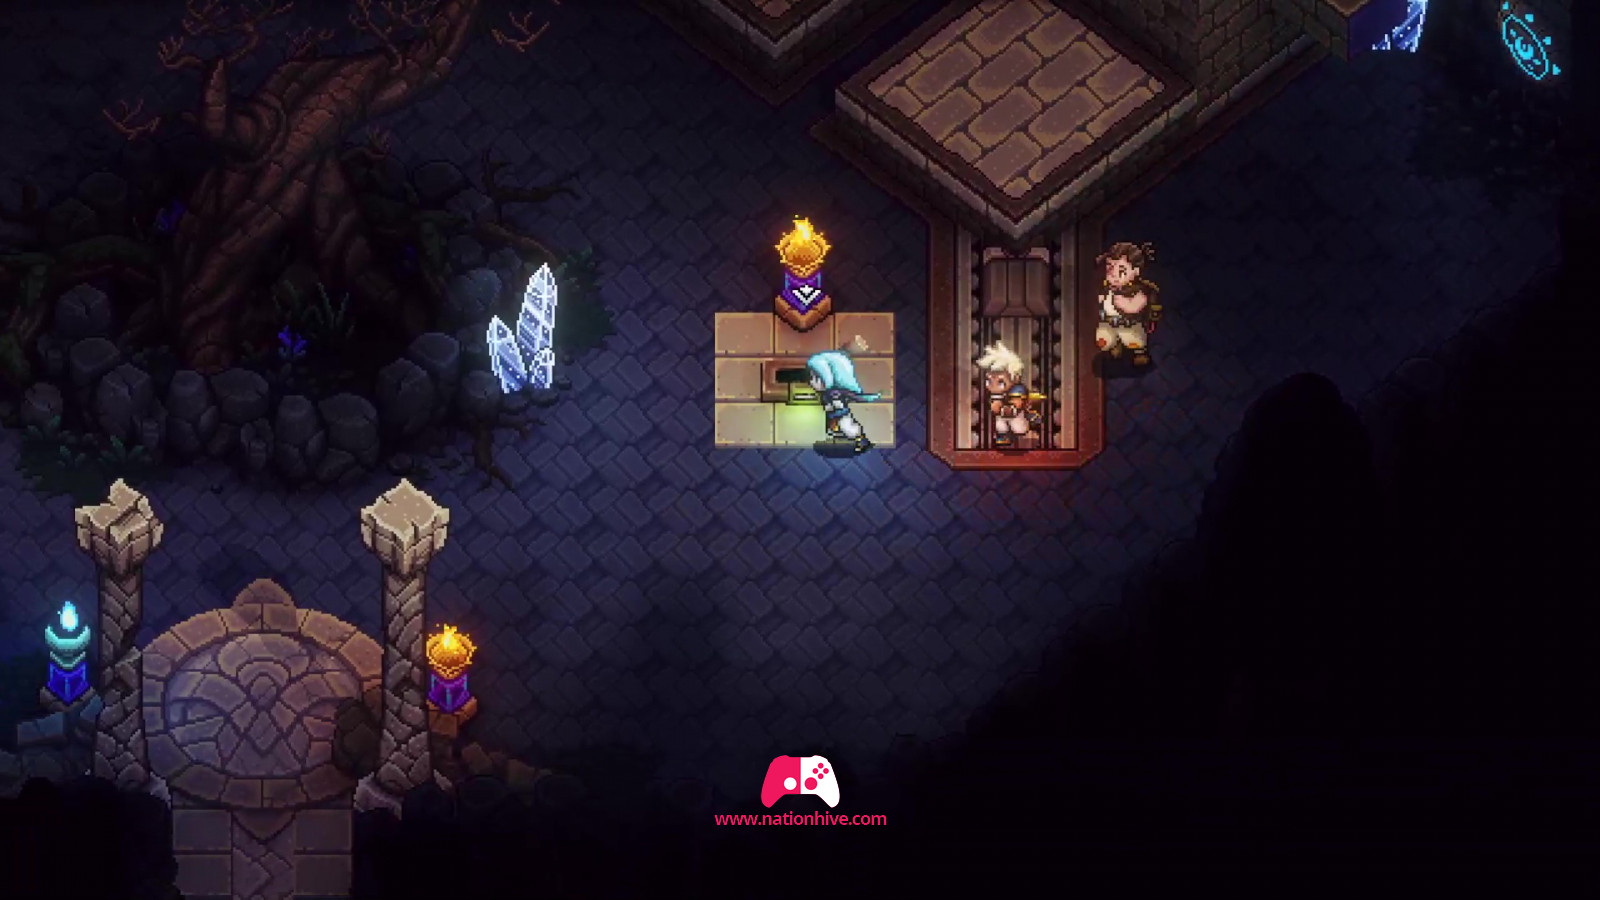
Jump down, then go left and grab the Solstice Shrine Key A. Take this key and return to the right-hand corner to use it in the wall opening. This will reveal small platforms above you, allowing you to reach the chest at the top and receive a Sparkling Staff.
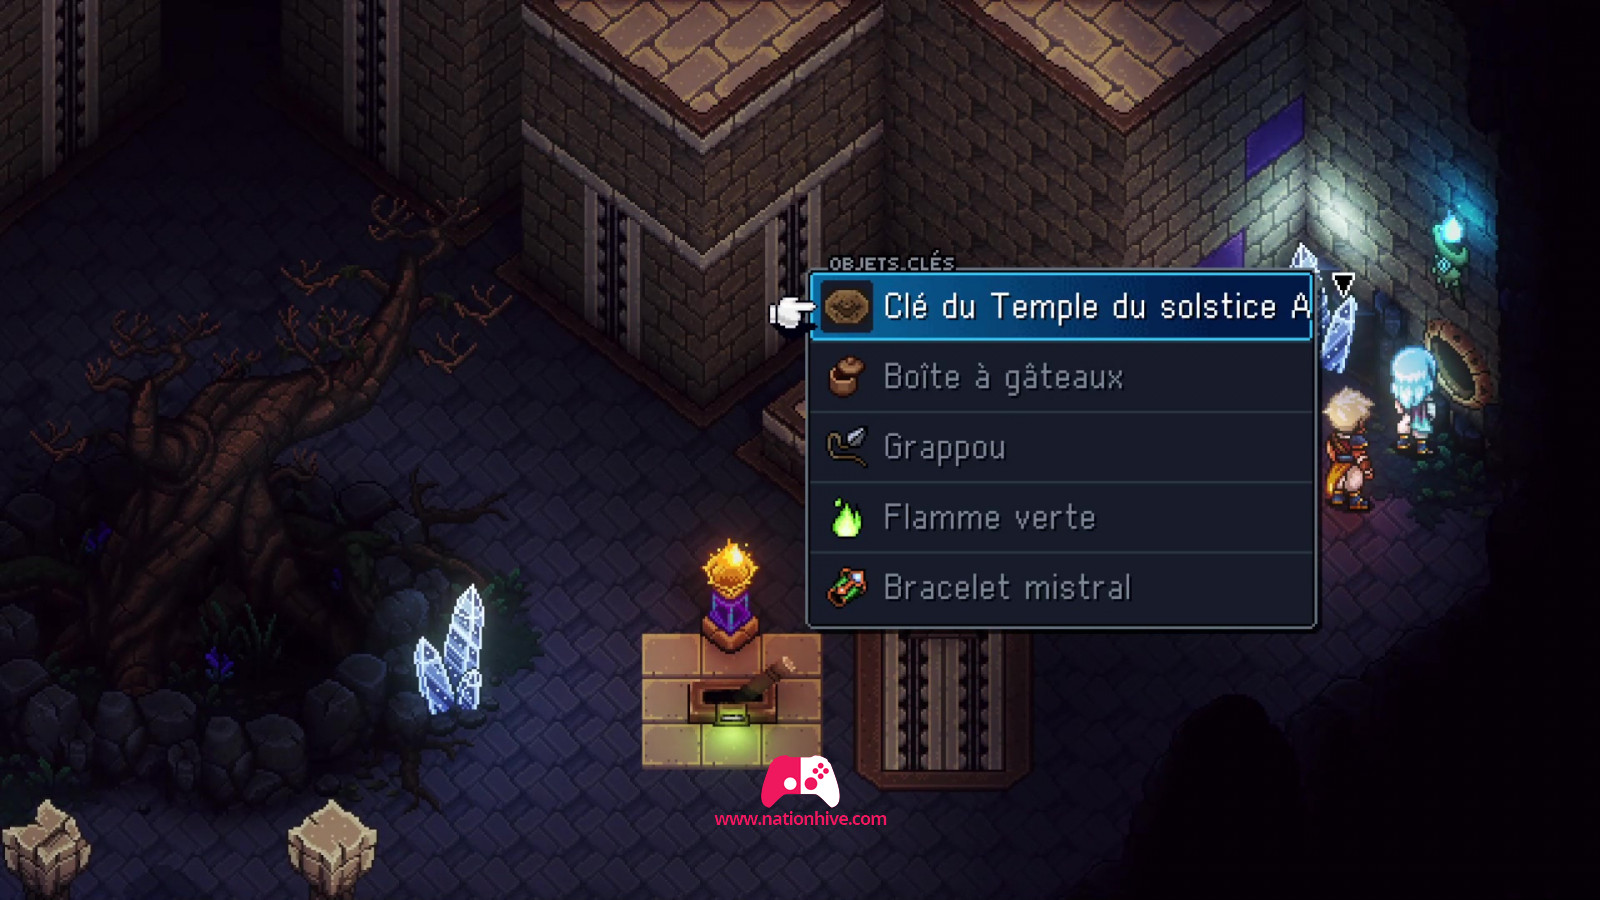
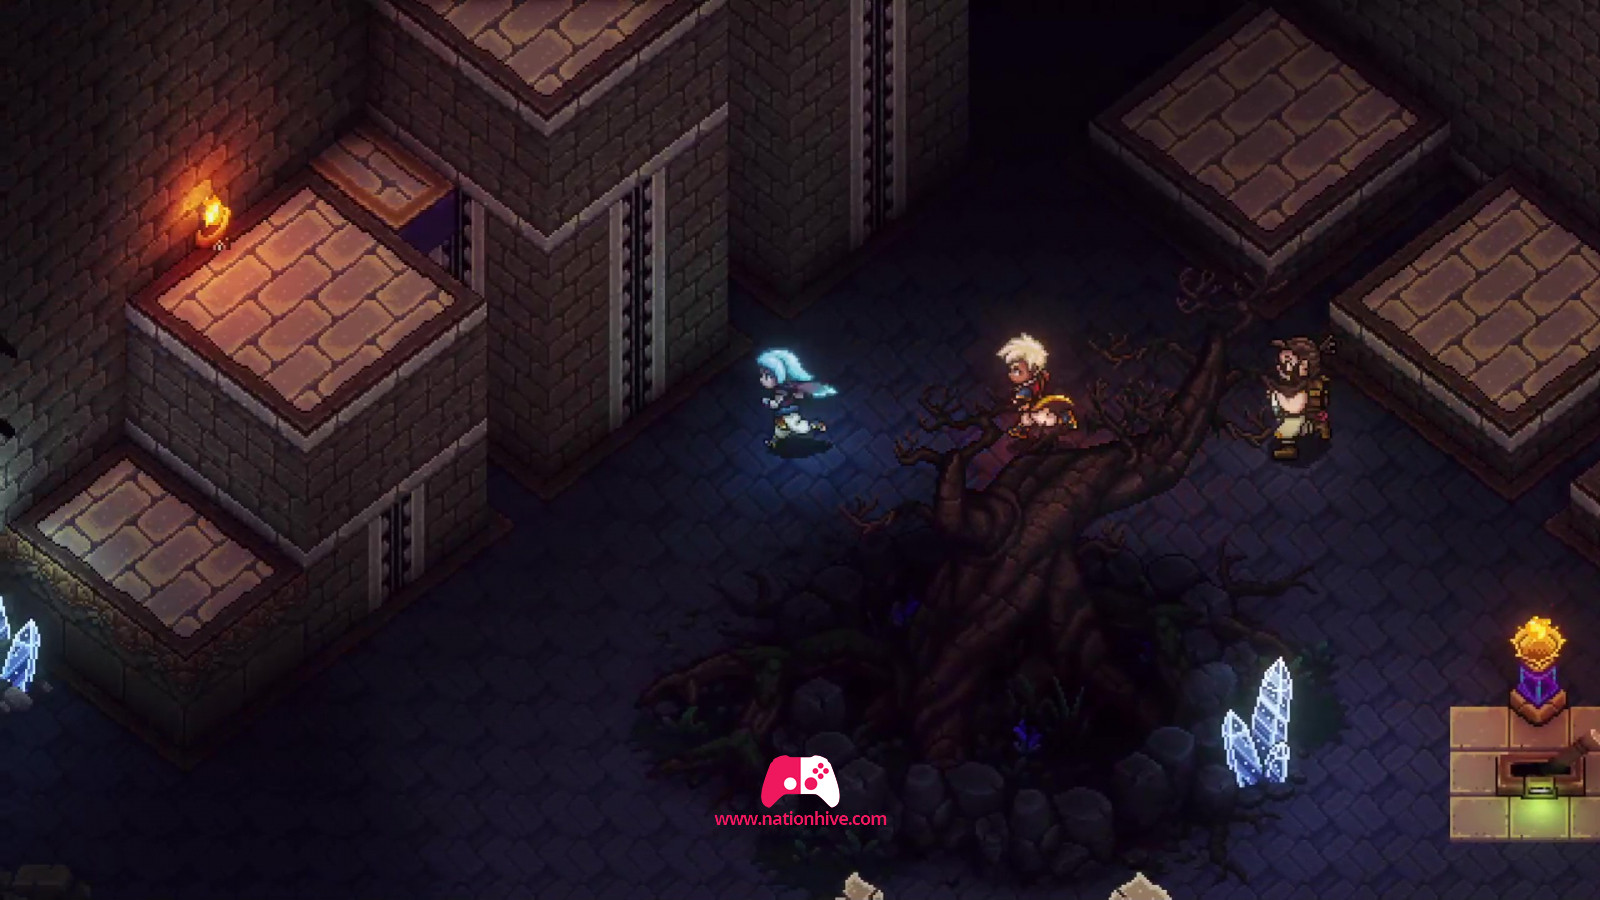
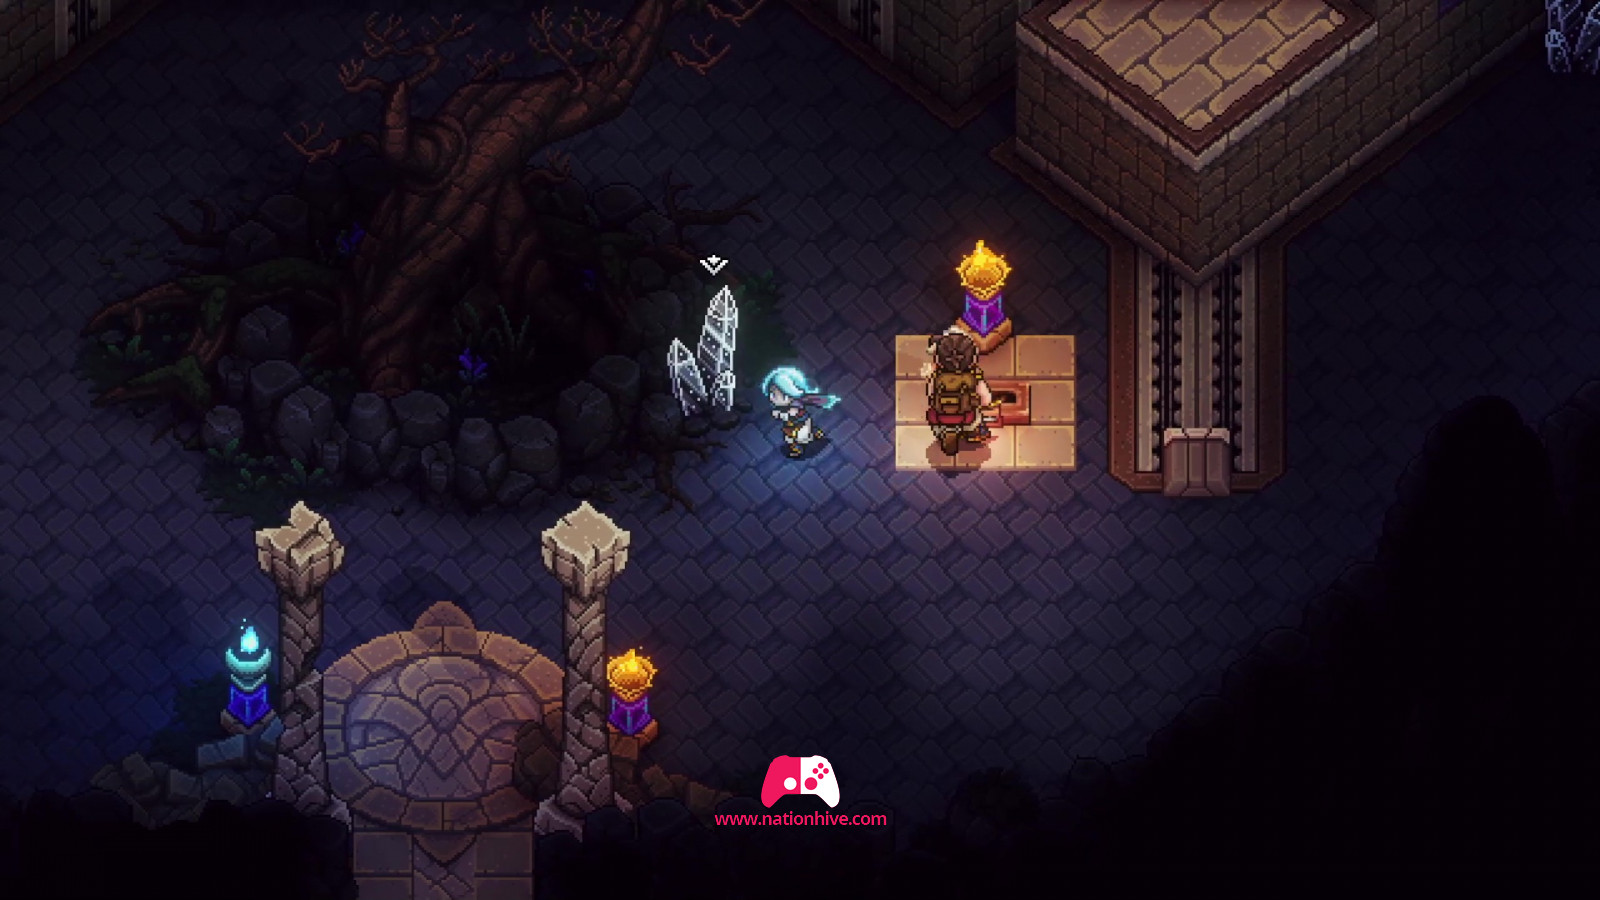
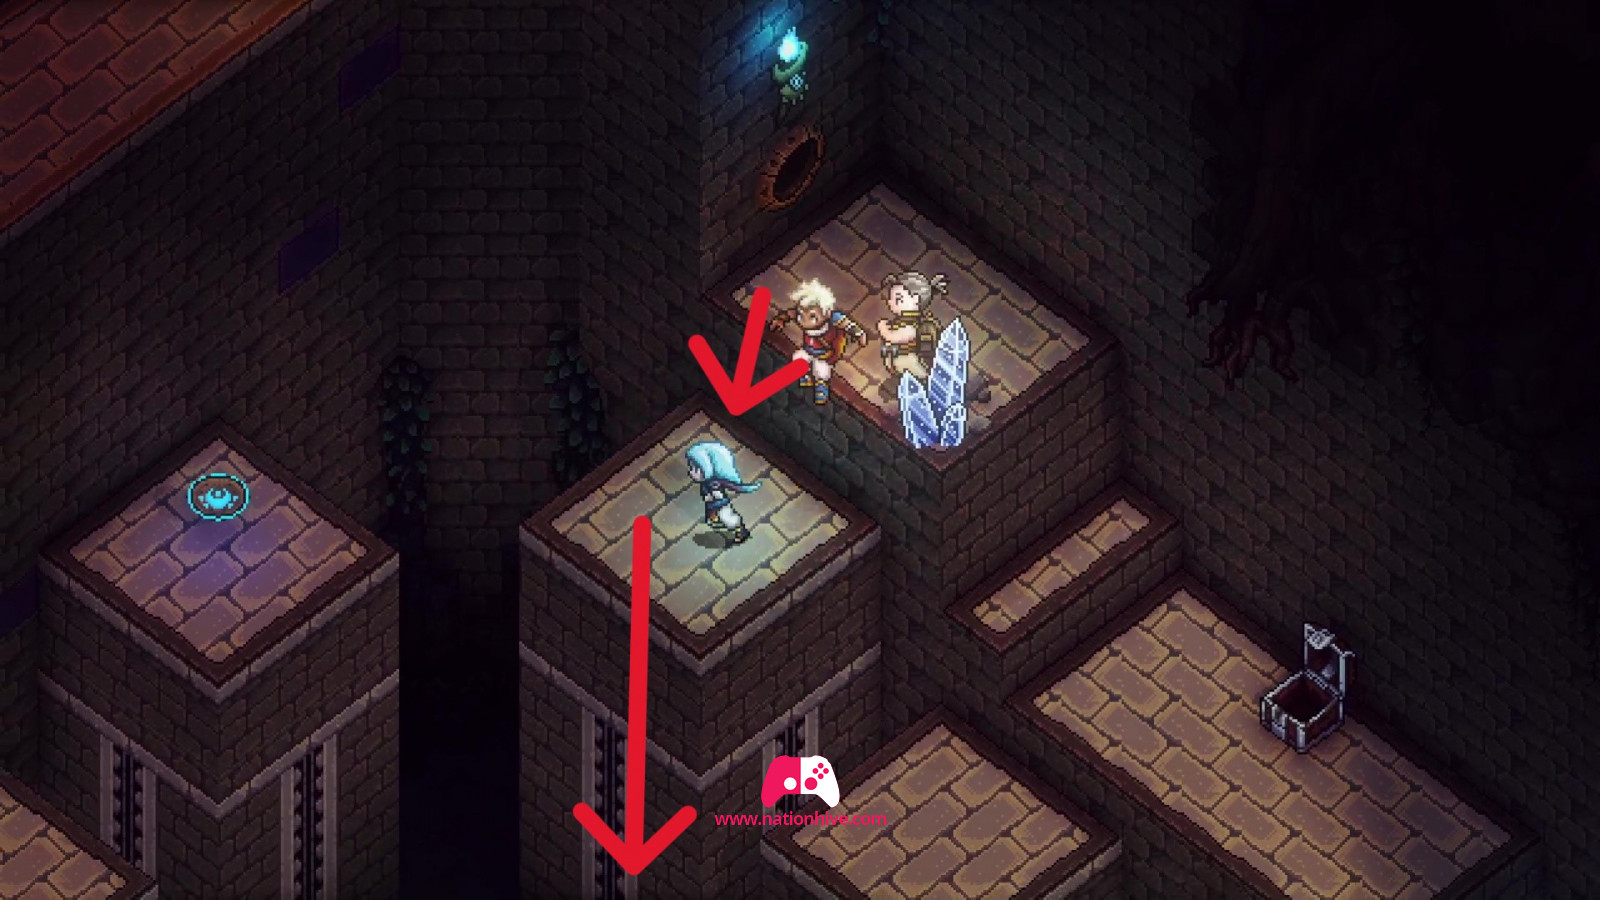
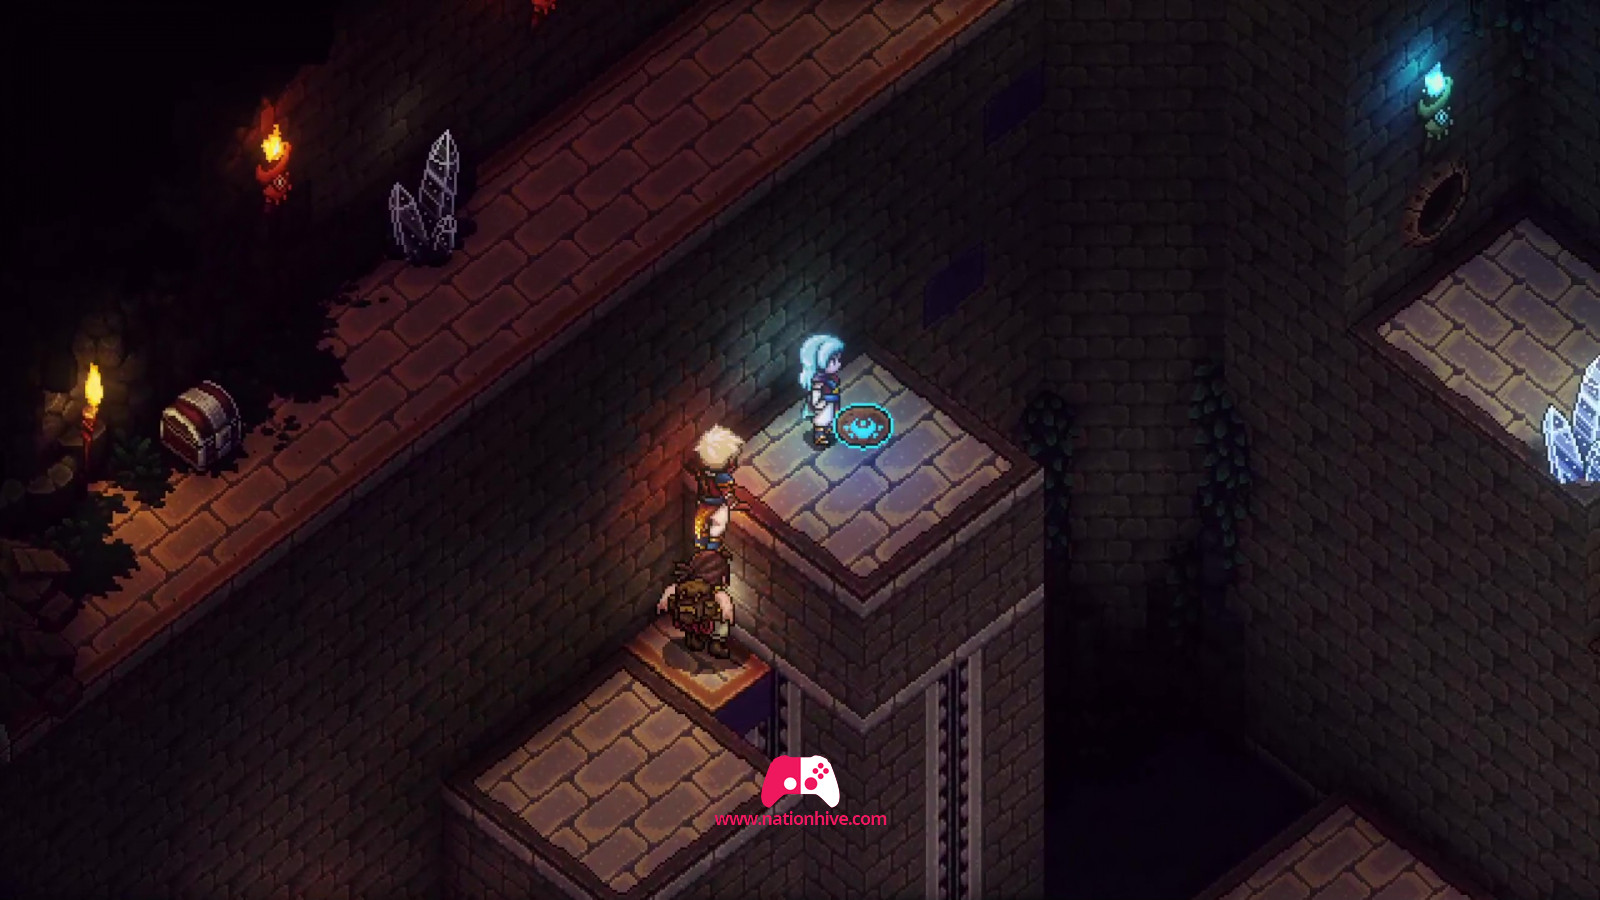
Climb to the top platform, pick up the resource and then jump onto the platform beside you to lower it to the ground. Climb up again and lower the central platform on the right (see image below). This will lift one of the platforms on the left to help you reach the second key. To reach the second key, however, you must first return to the corner and remove the Solstice Shrine Key A from the hole in the wall, then pull the lever to lift the platform behind you and lower the platform to the left, where a hole in the wall will appear. Head left to find the hole in the wall where you can use the Solstice Shrine Key.
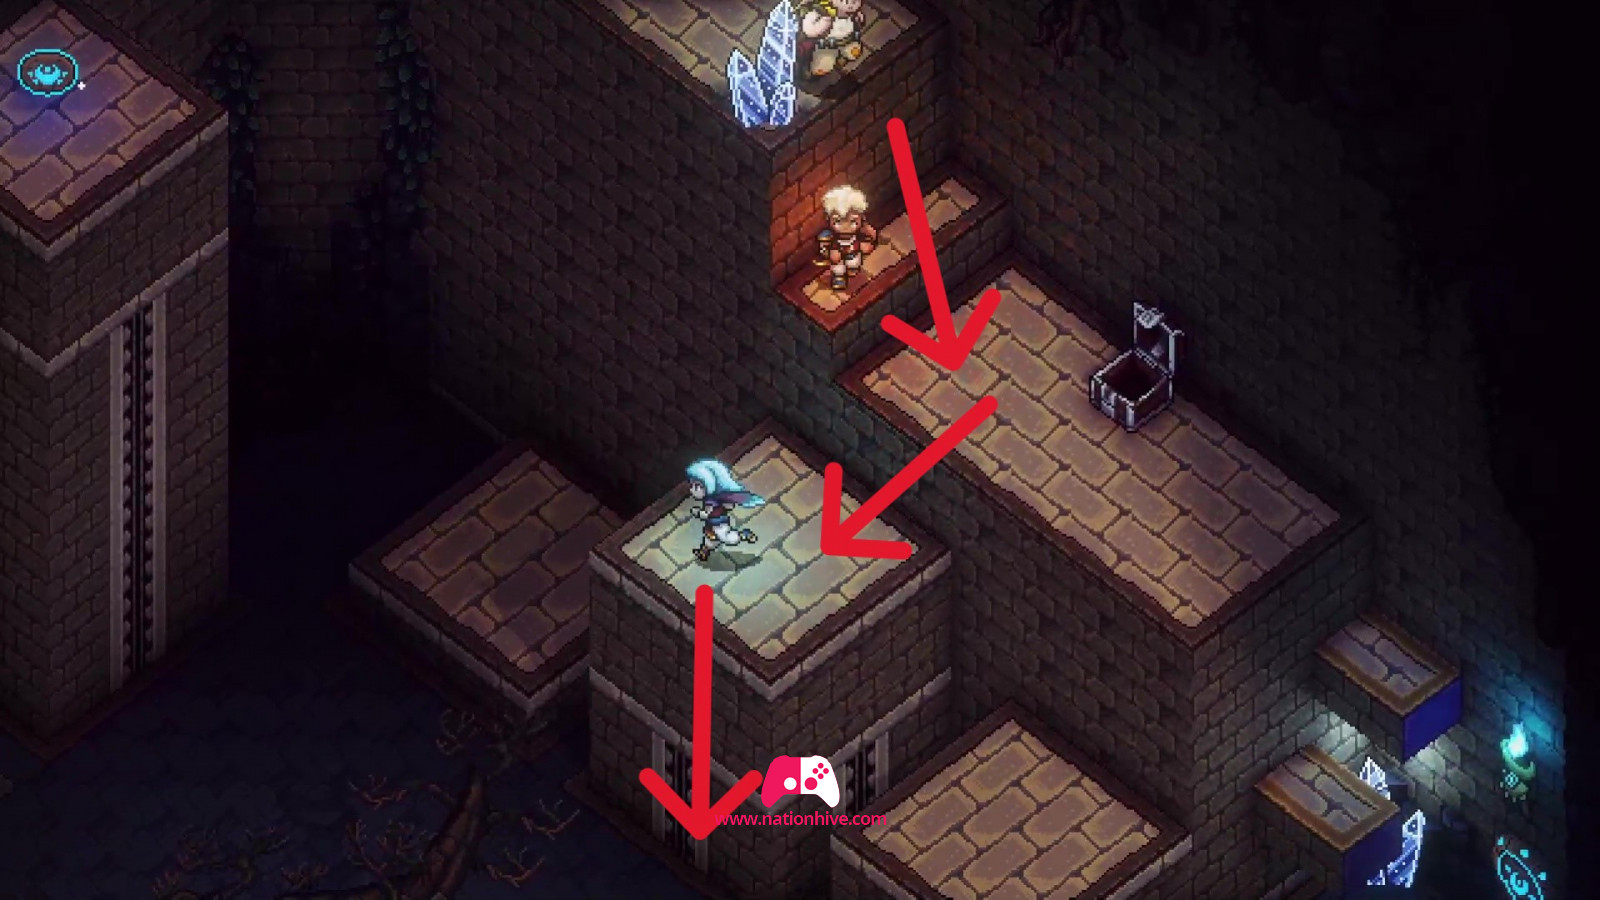


Return right and climb the first platform, then return left and climb the steps to grab the Solstice Shrine Key B.
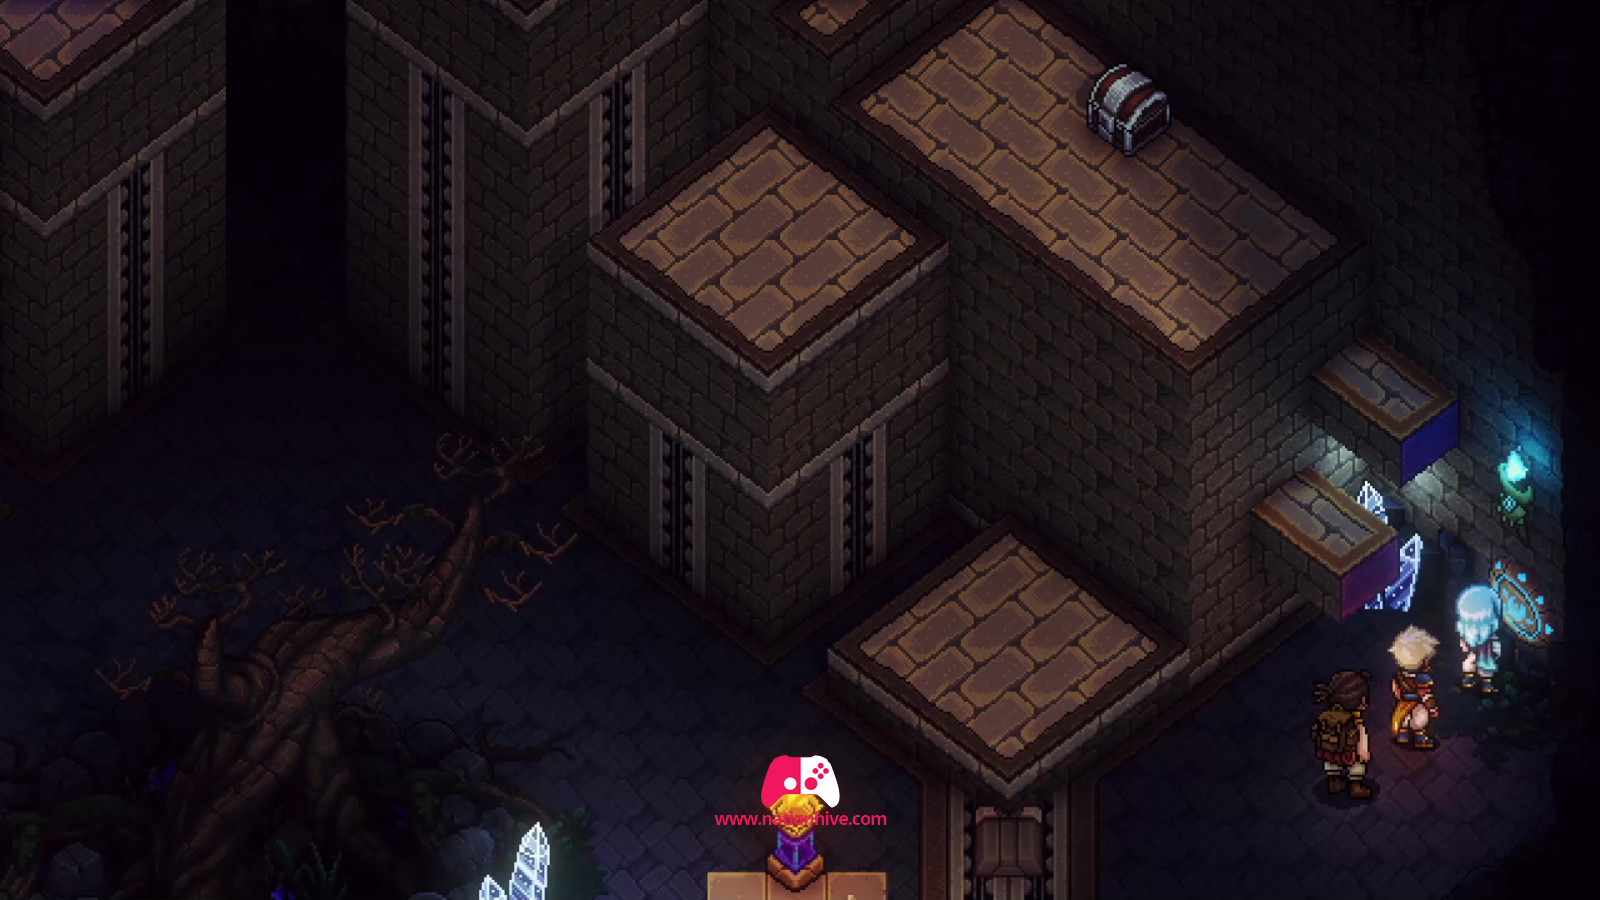
Once you've retrieved Solstice Shrine Key B, jump down, pull the lever (to access the hole in the left-hand wall) and remove Solstice Shrine Key A from the hole in the left-hand wall. Return to the right, use Solstice Shrine Key A in the hole in the right-hand wall, then climb to the top platform to use Solstice Shrine Key B. This will reveal new platforms on the other side, allowing you to reach the large chest at the top.

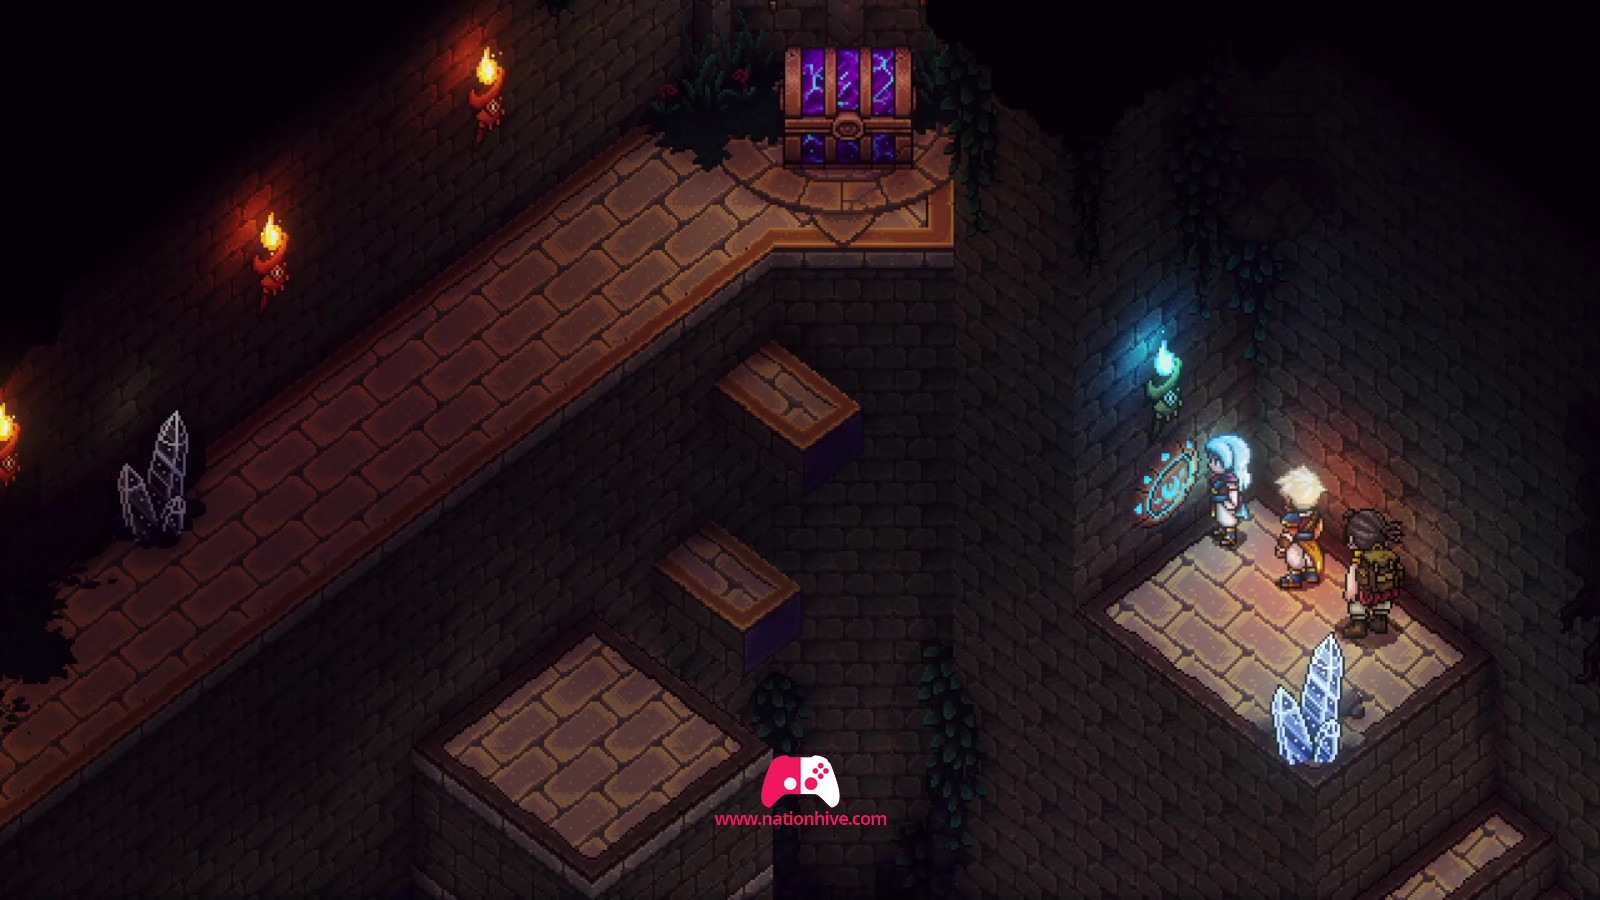
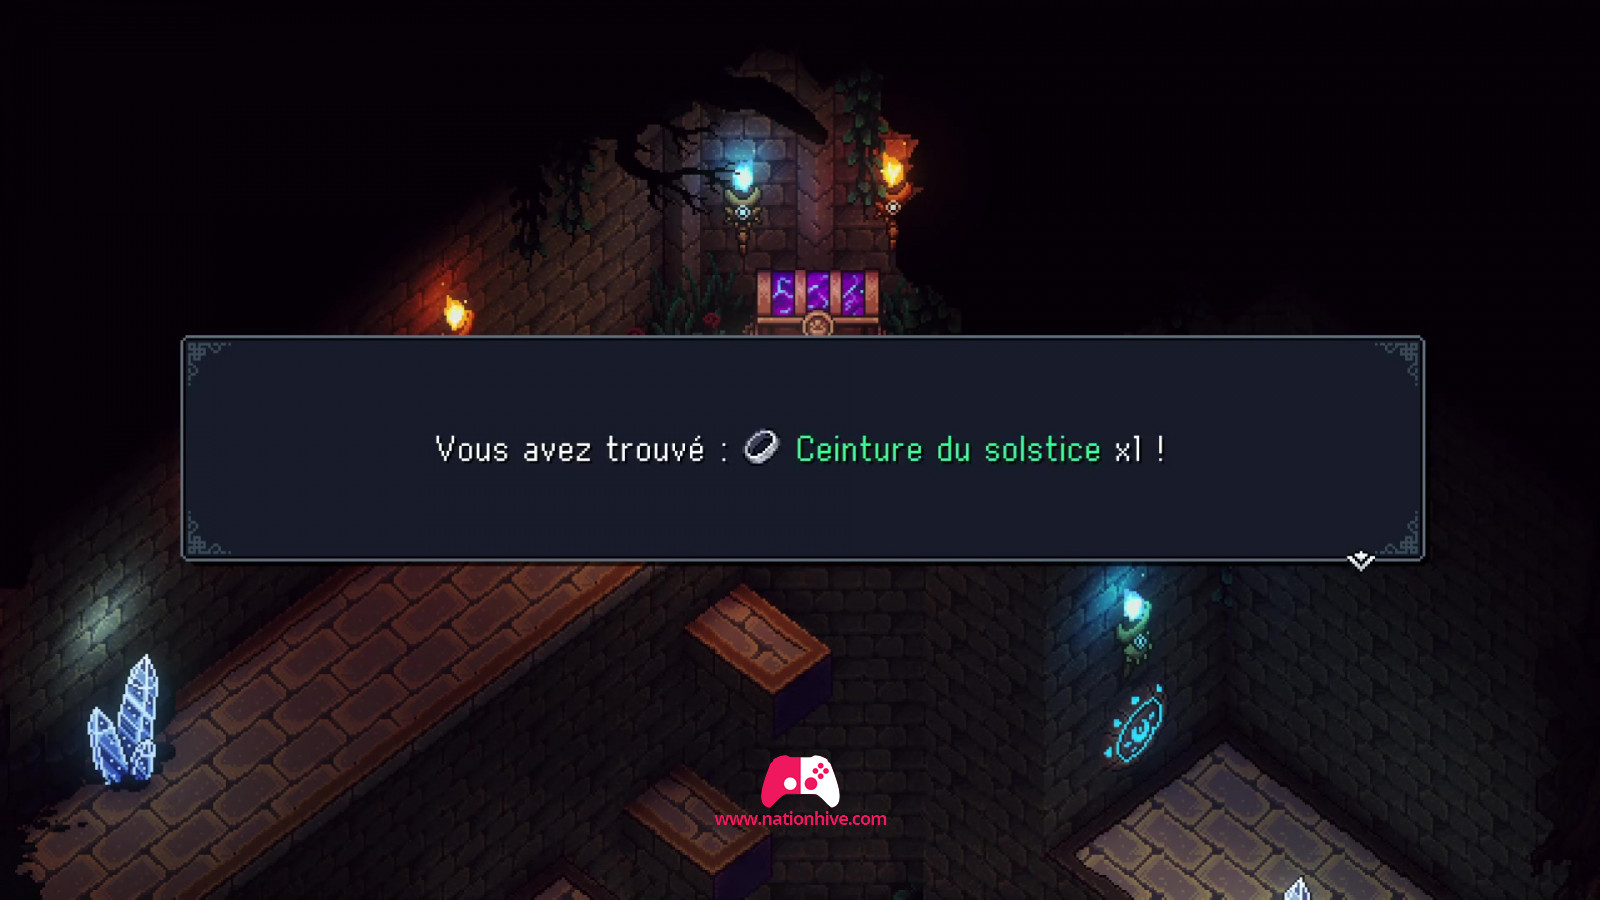
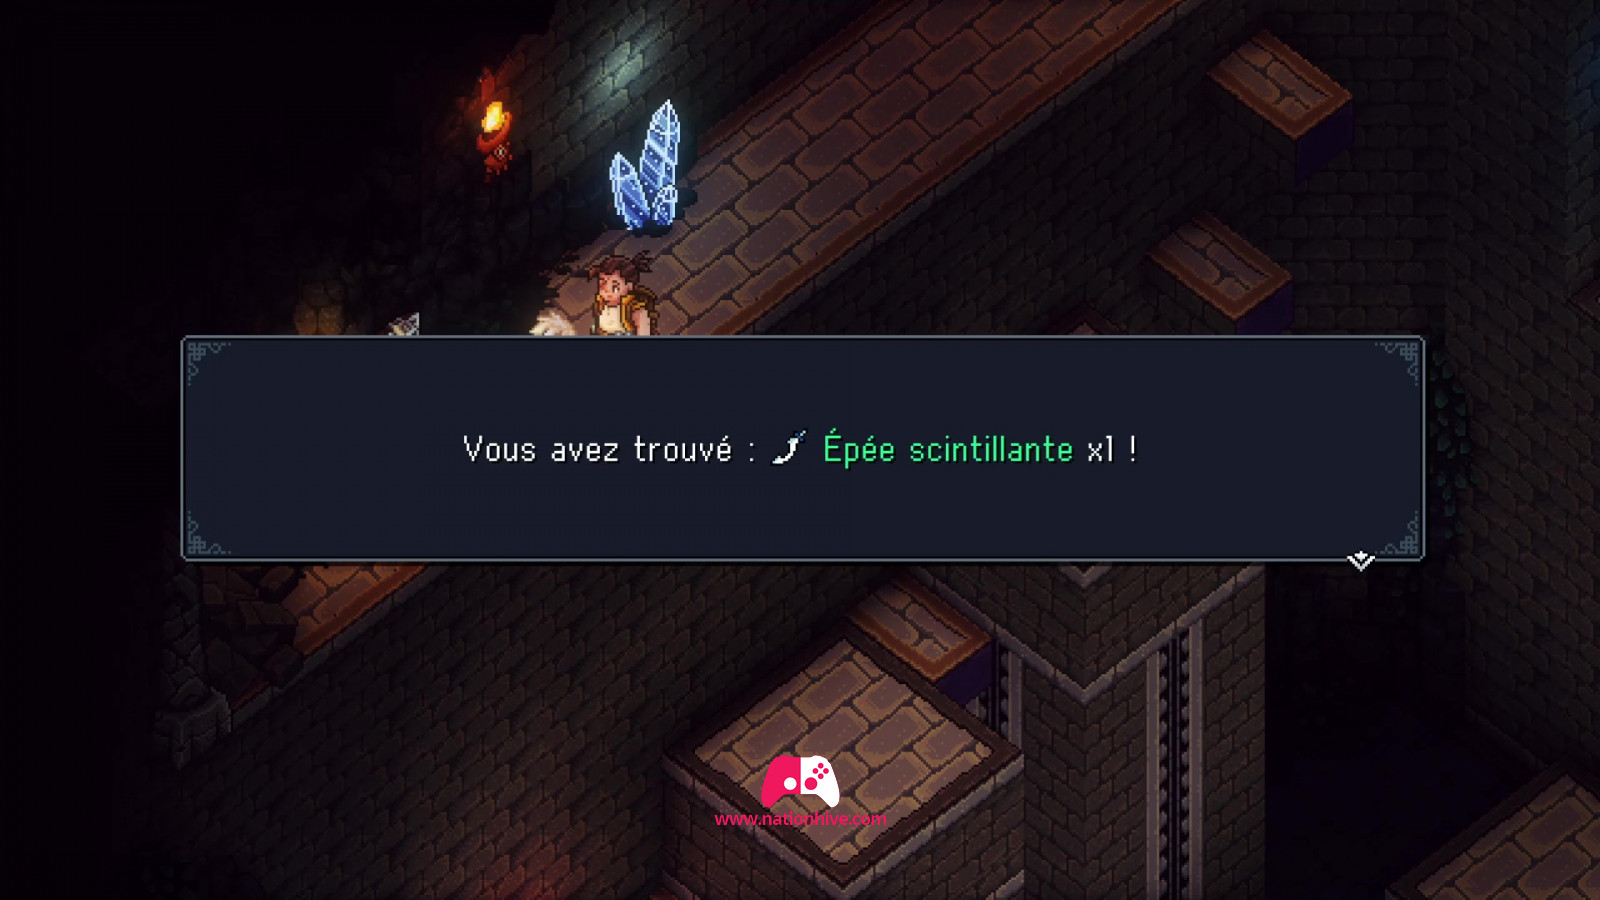
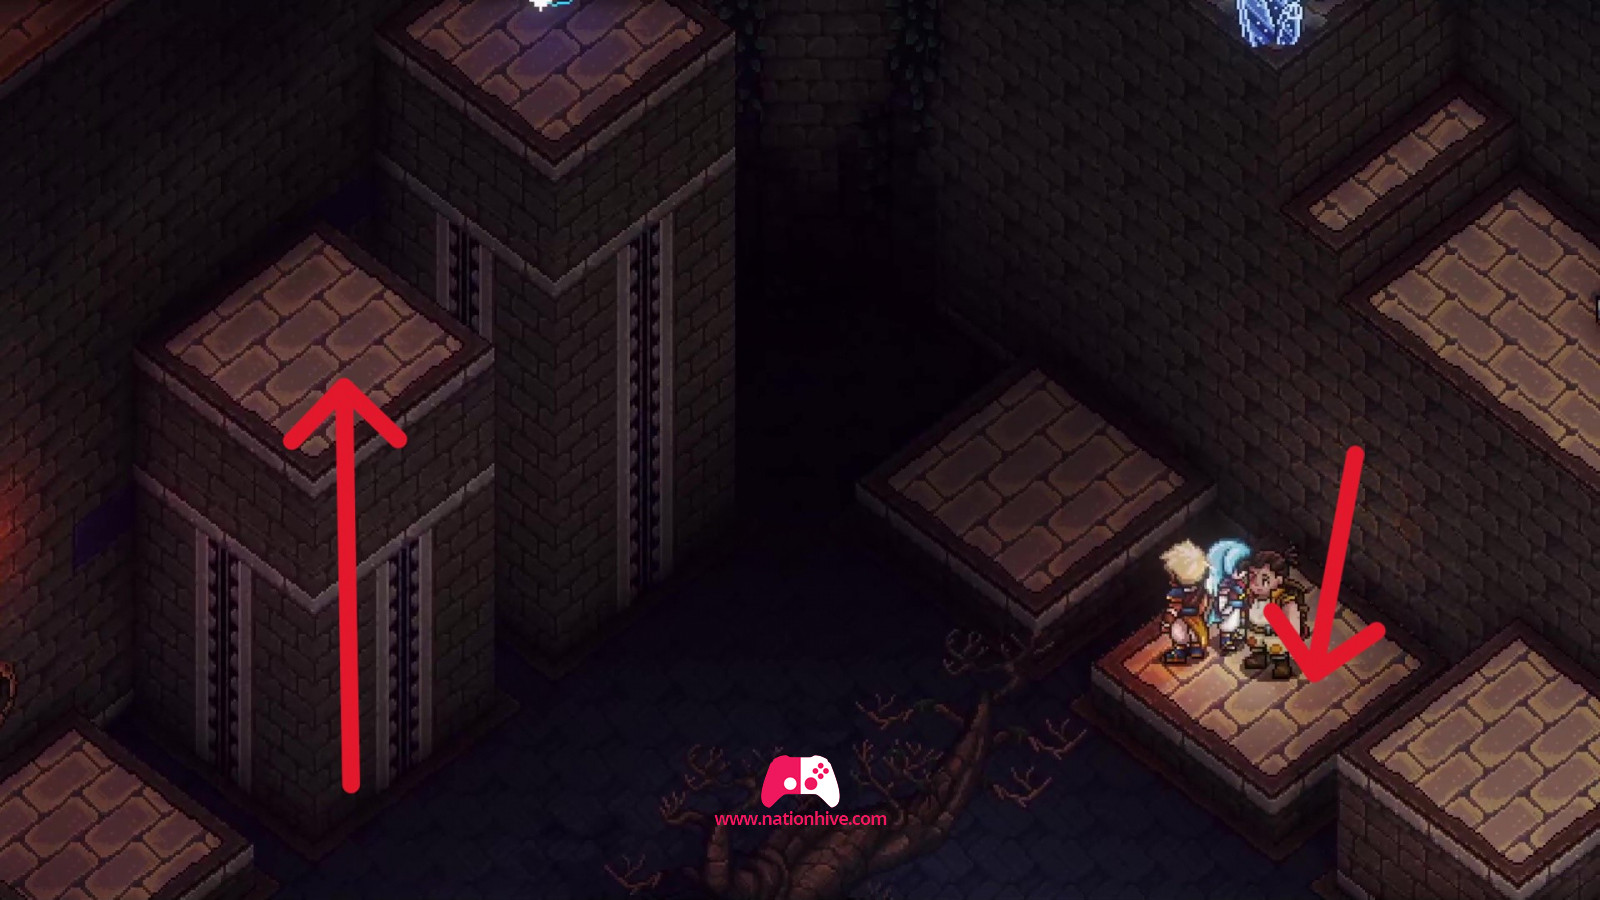
Repeat the process to create the walkable steps on the left. Simply replace a Solstice Shrine Key in the left-hand wall, and small platforms will appear, allowing you to reach the new platforms you've activated. Then activate the lever to raise the left platform to the top. Open the treasure chest to receive a Solstice Belt, collect the resource and open the chest on the left to receive a Glittering Sword. You have now completed the Solstice Temple puzzle.