Part 9: Abandonned Wizard's Lab
In this Sea of Stars walkthrough, we'll take you through Part 9: Abandonned Wizard's Lab.
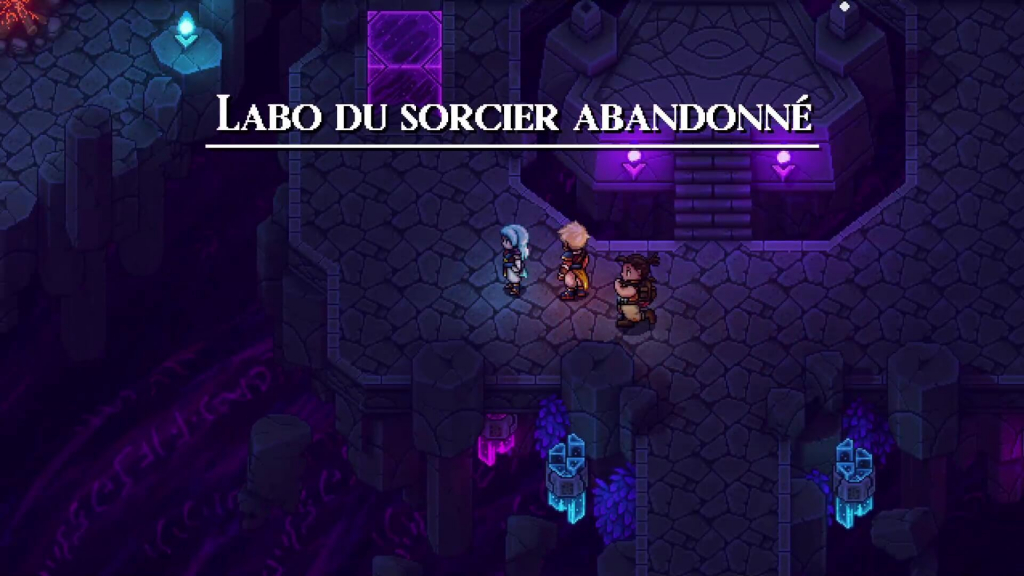
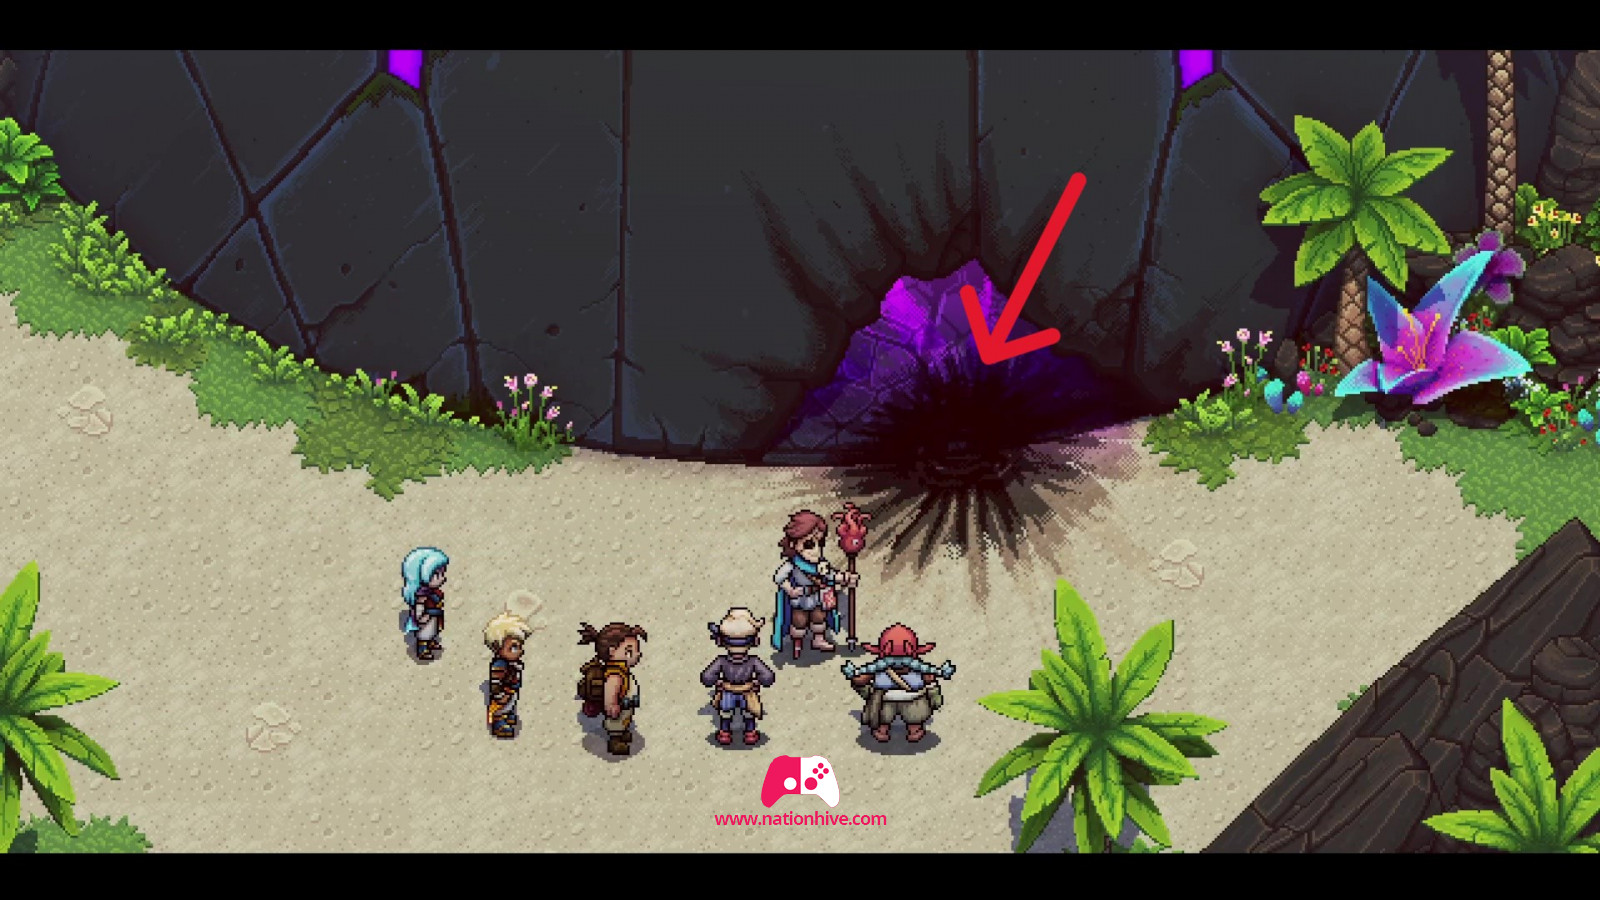
Once you've completed Part 8: Port Town of Brisk, head for the wizard's abandoned lab.
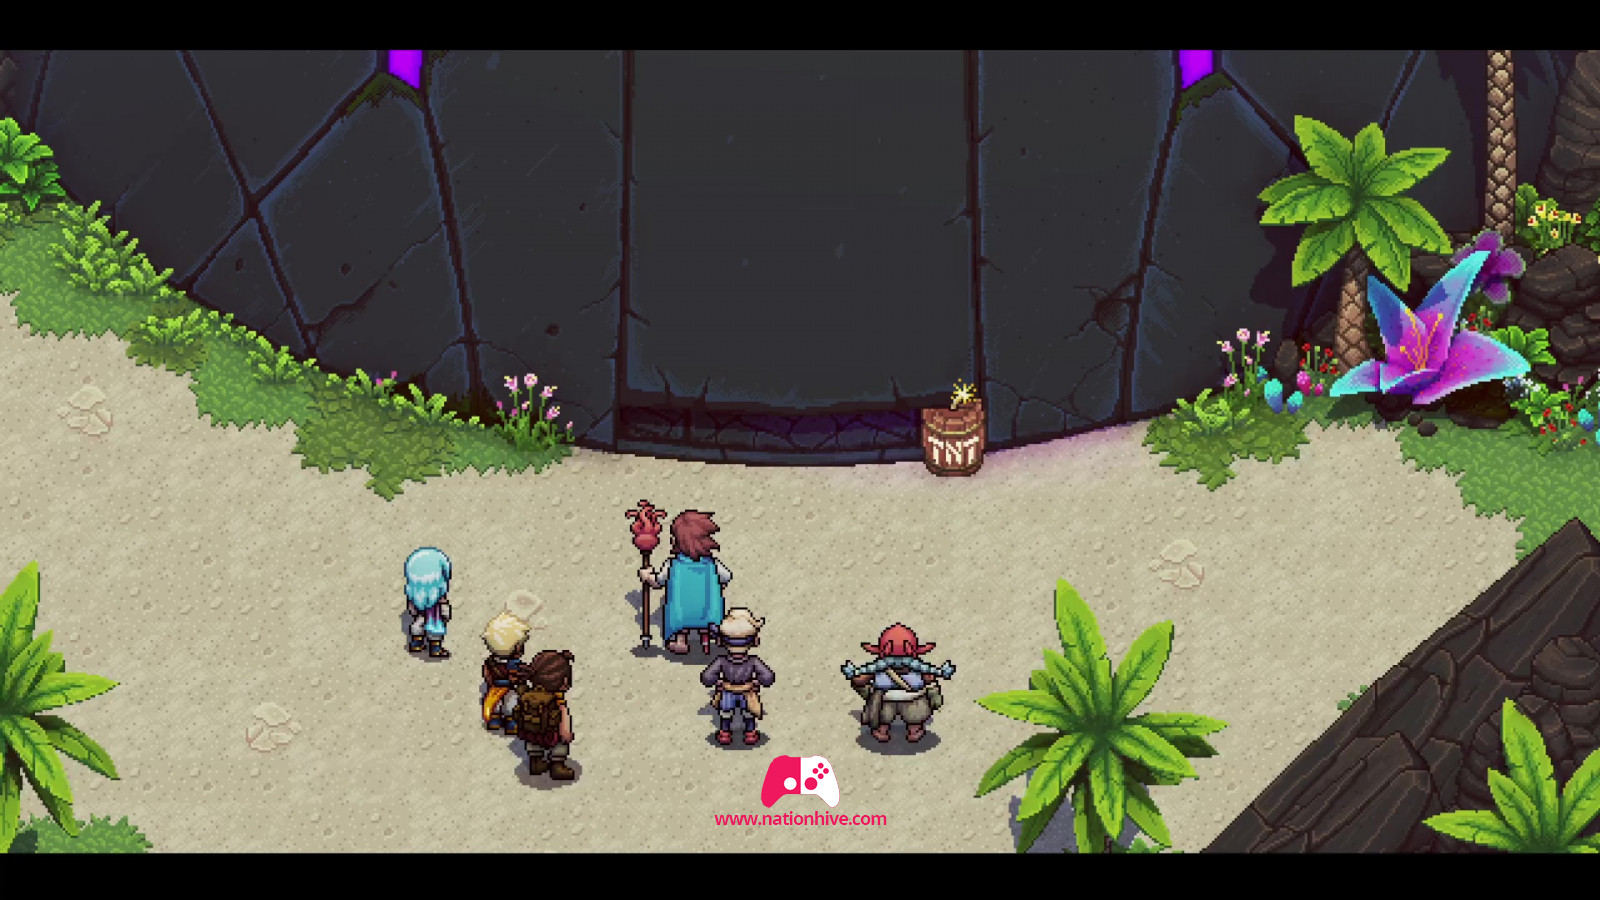
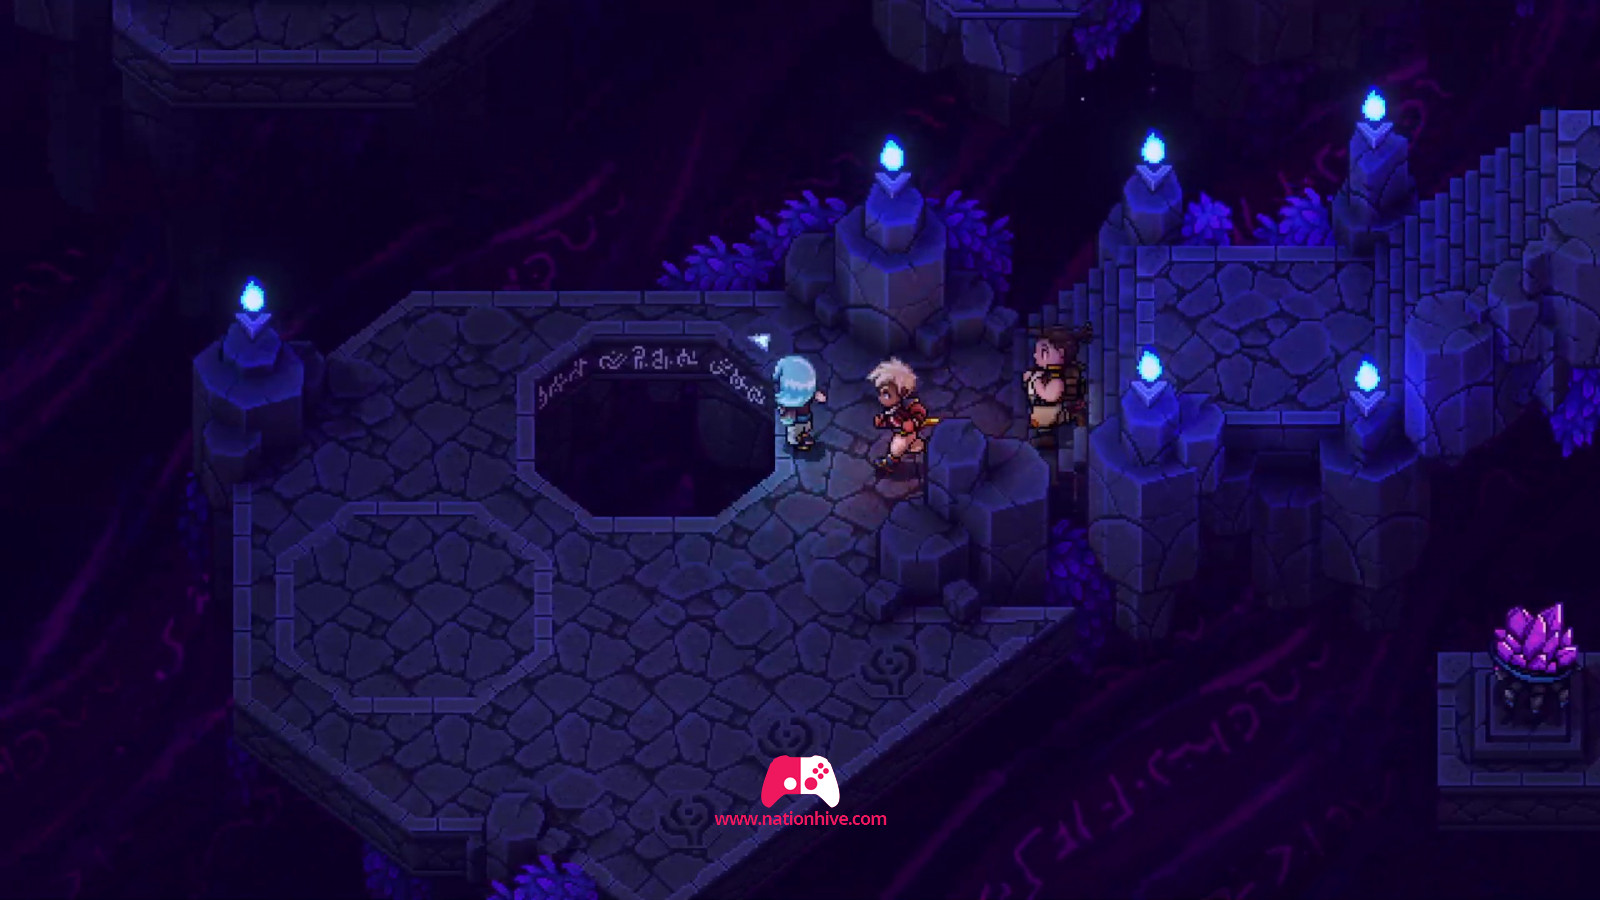
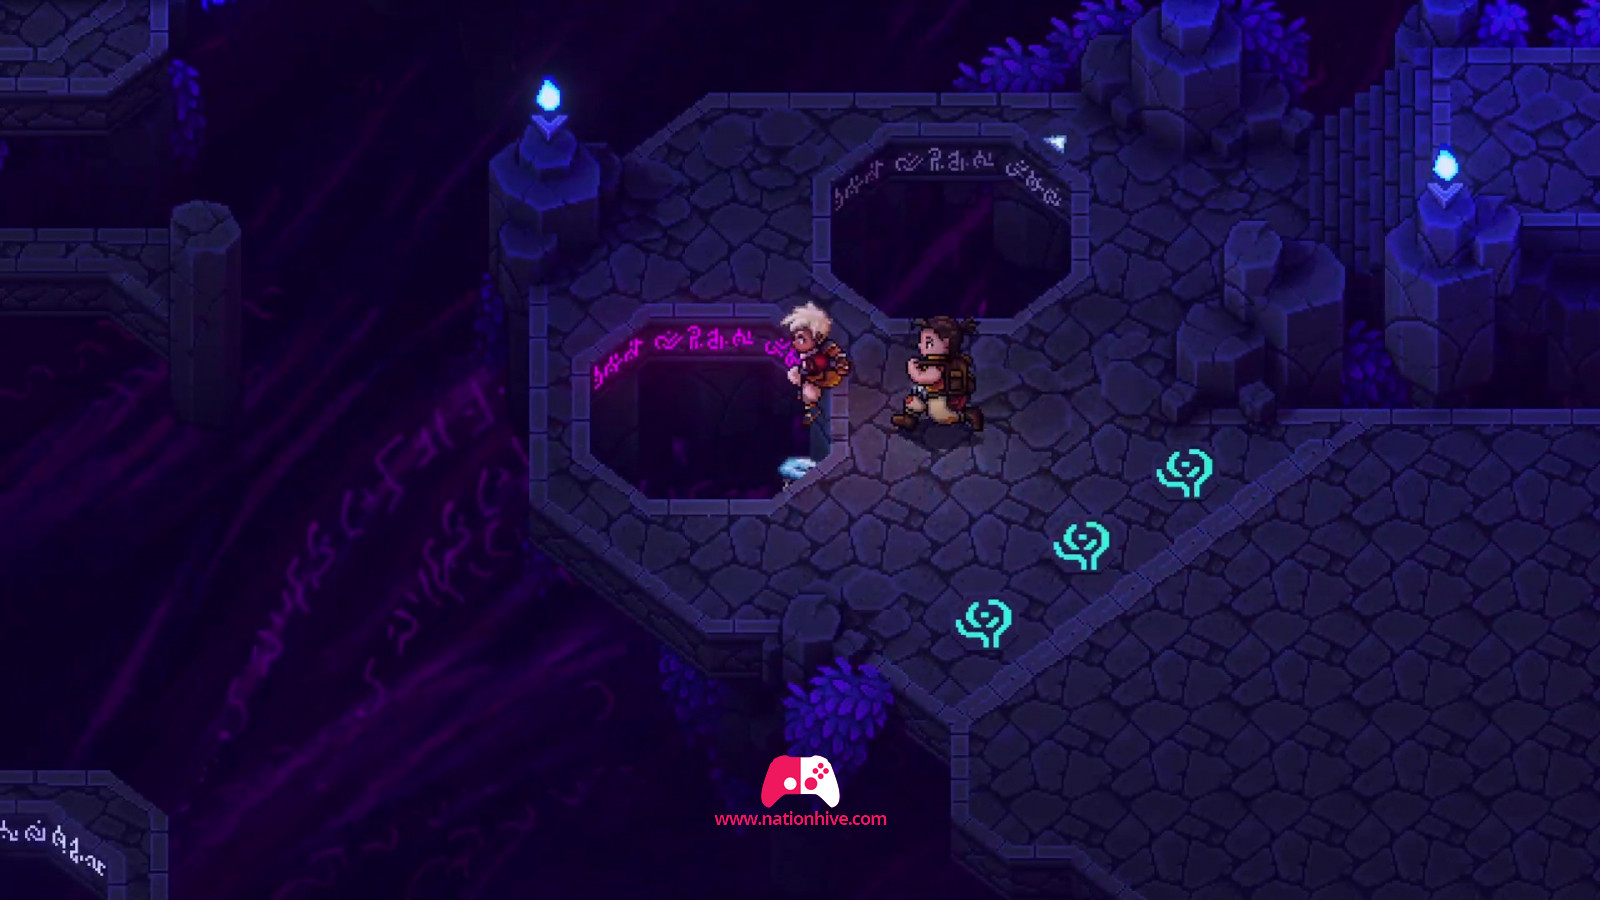
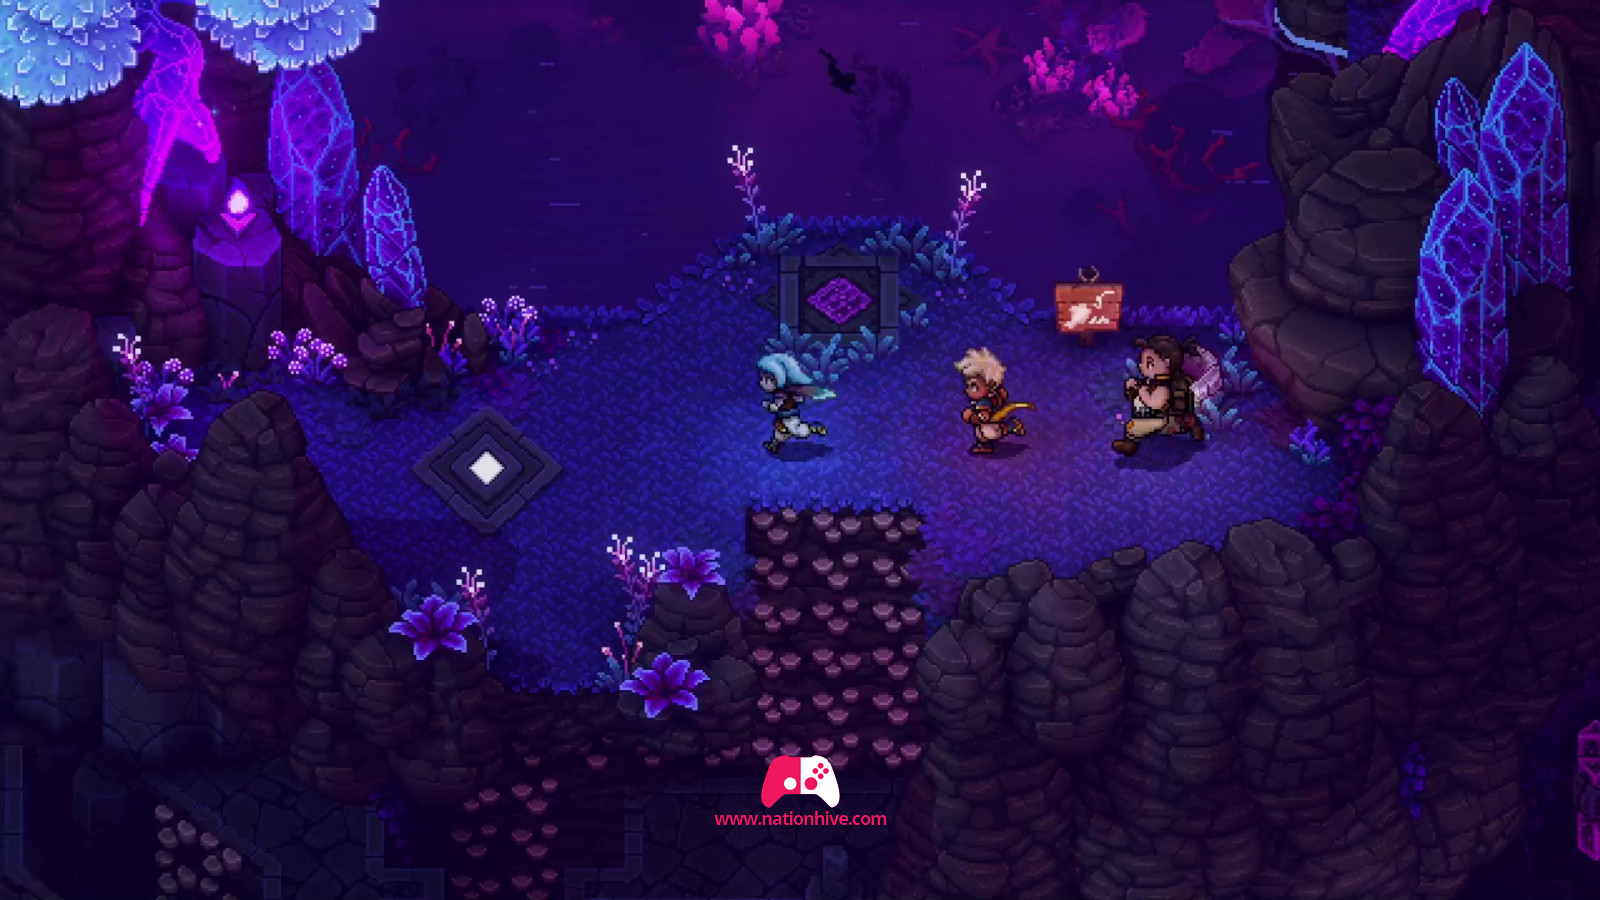
When you arrive at the lab, Keenathan uses his powers, and Valtraid and Yolande use their strength to create an entrance just a few centimetres wide. Step inside and walk straight ahead to trigger a cinematic in which Keenathan advises you to explore the area.
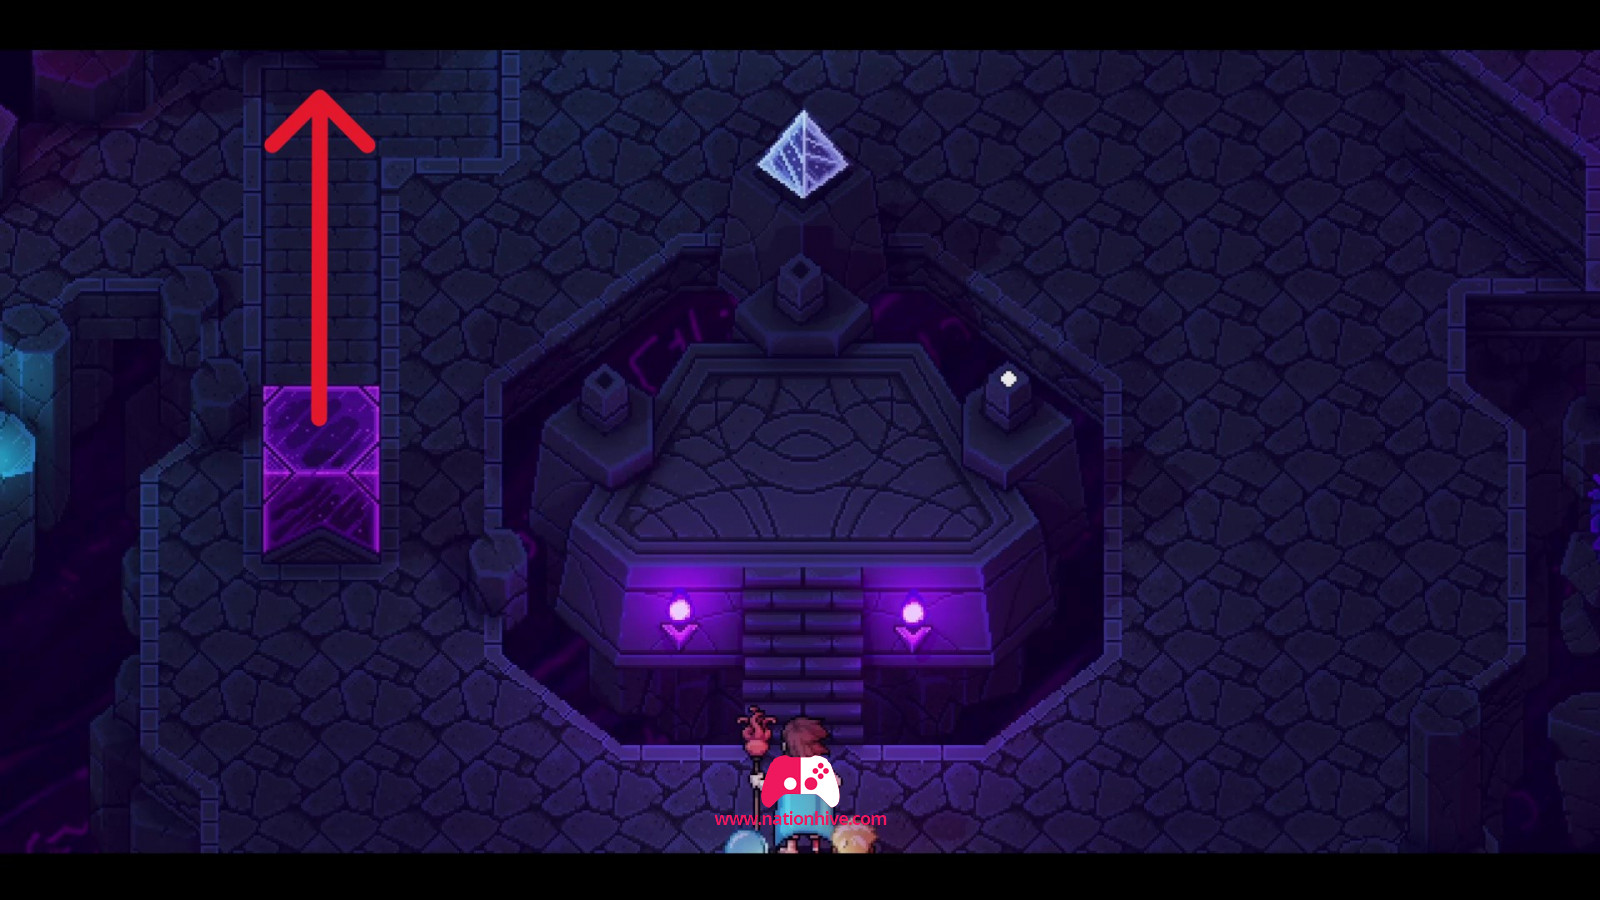
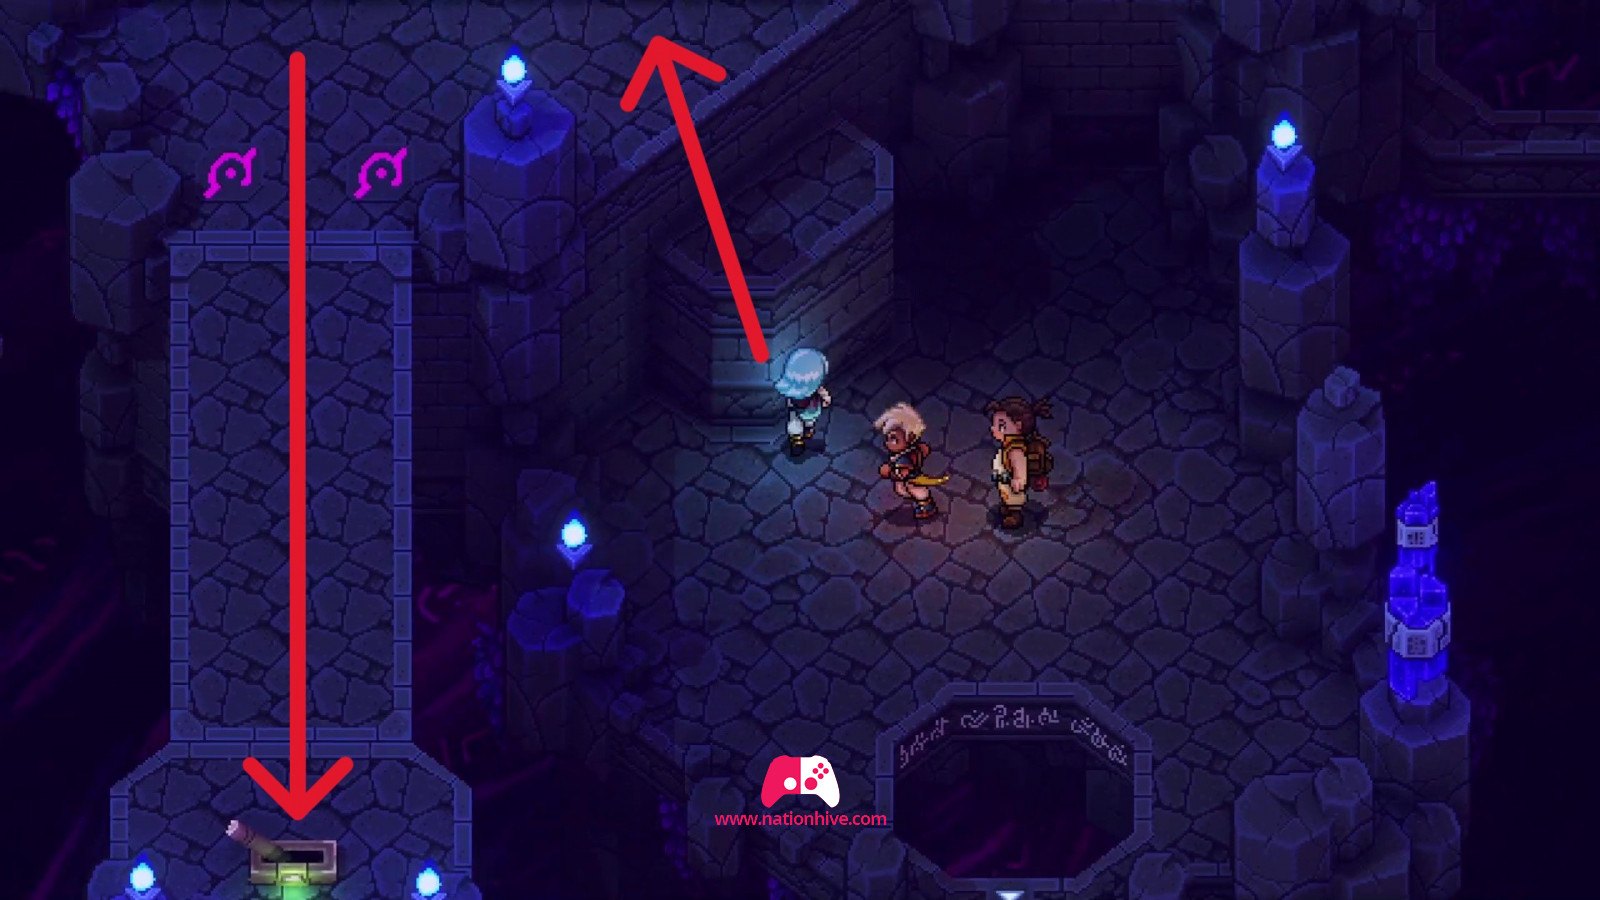
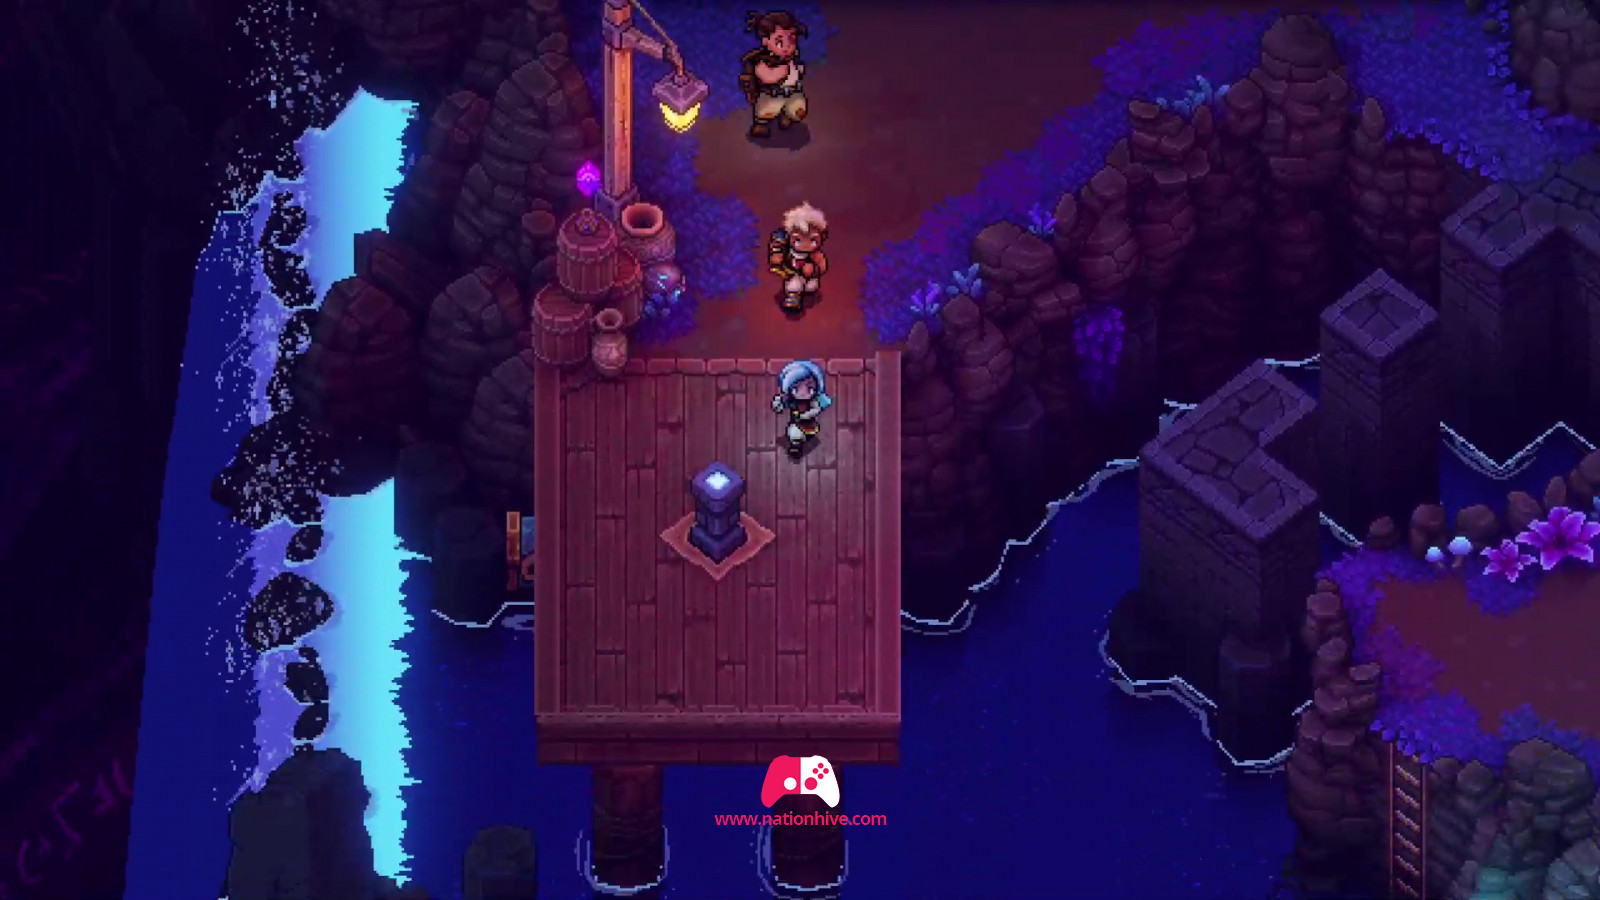
Step forward to the purple block on the left and use your skill to push the purple block in front of you and push it to the right to climb to the top platform. You'll also be able to save your game using the book on the left, and cook around the fire as required.
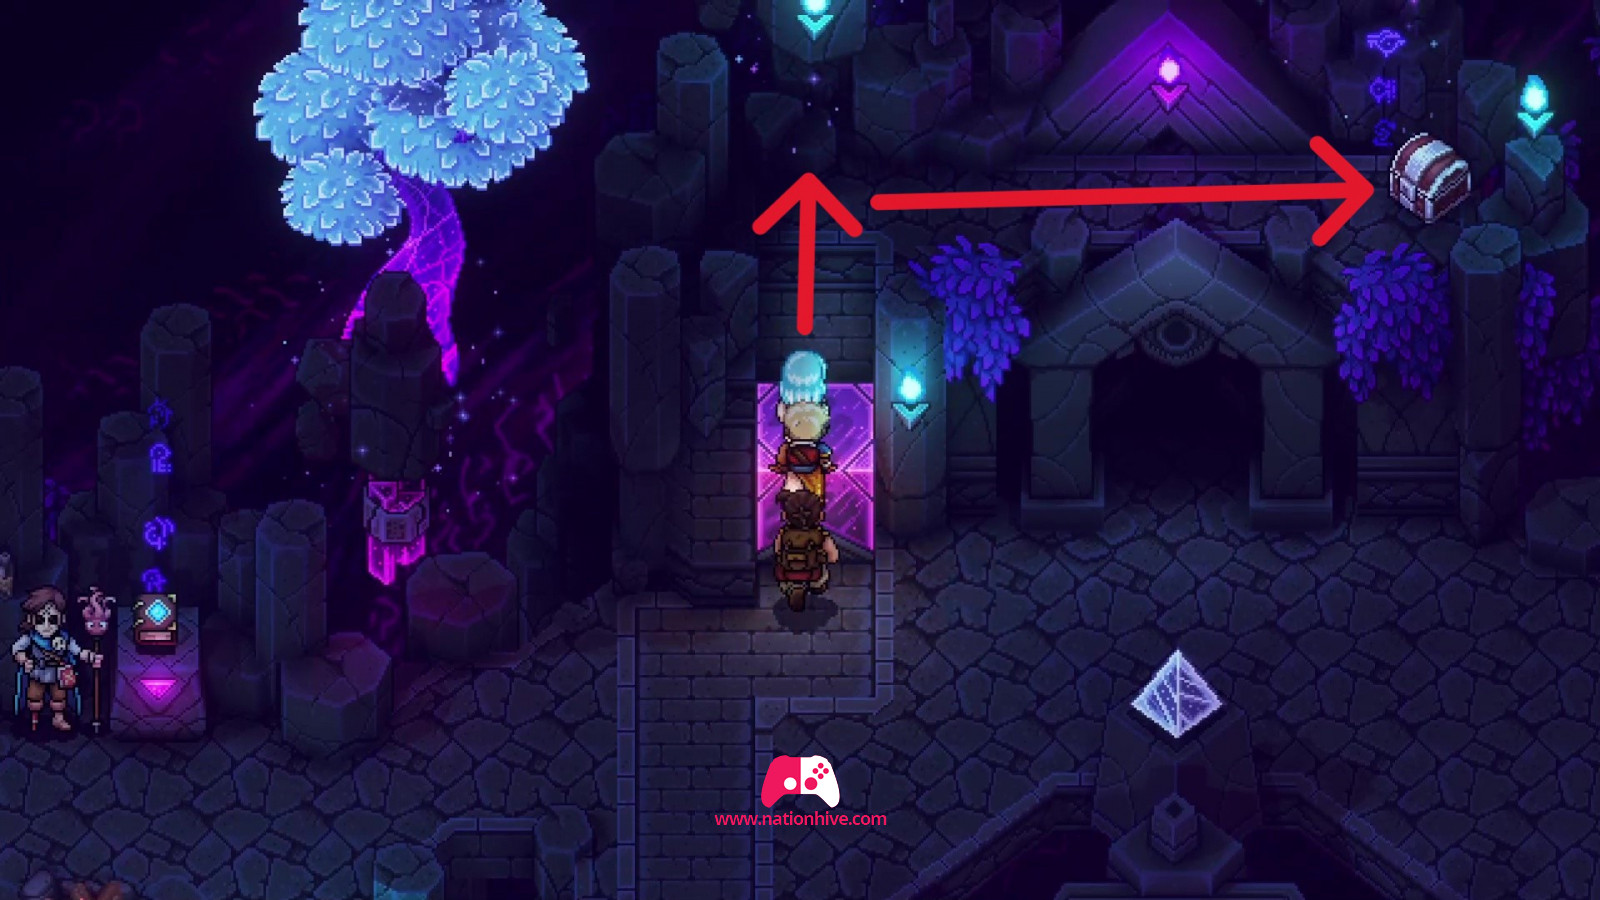
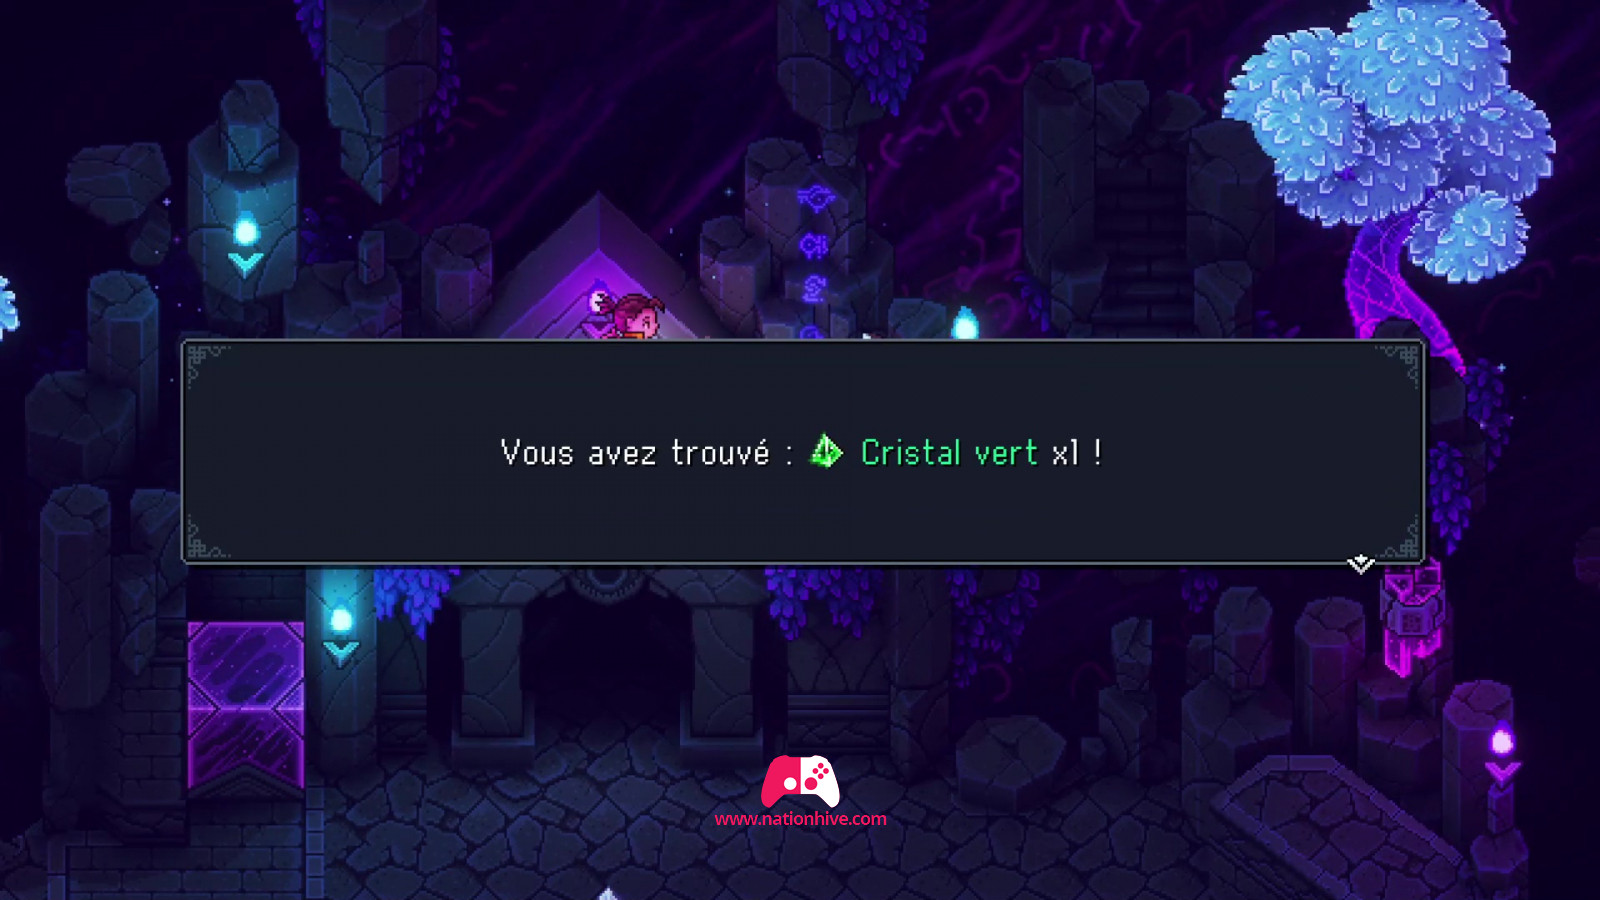
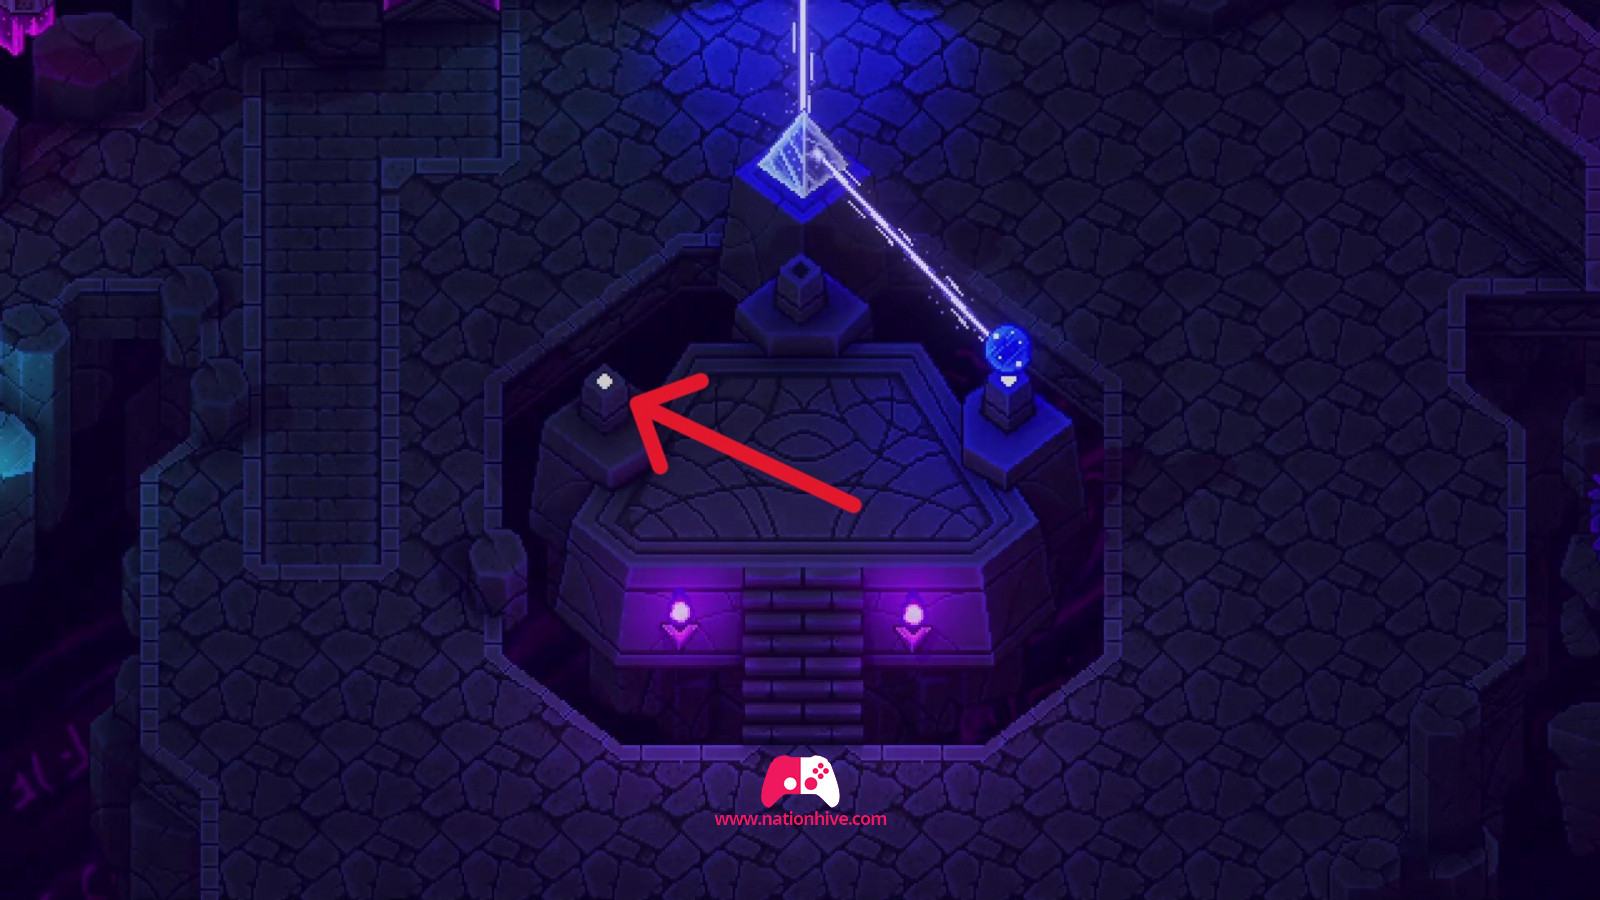
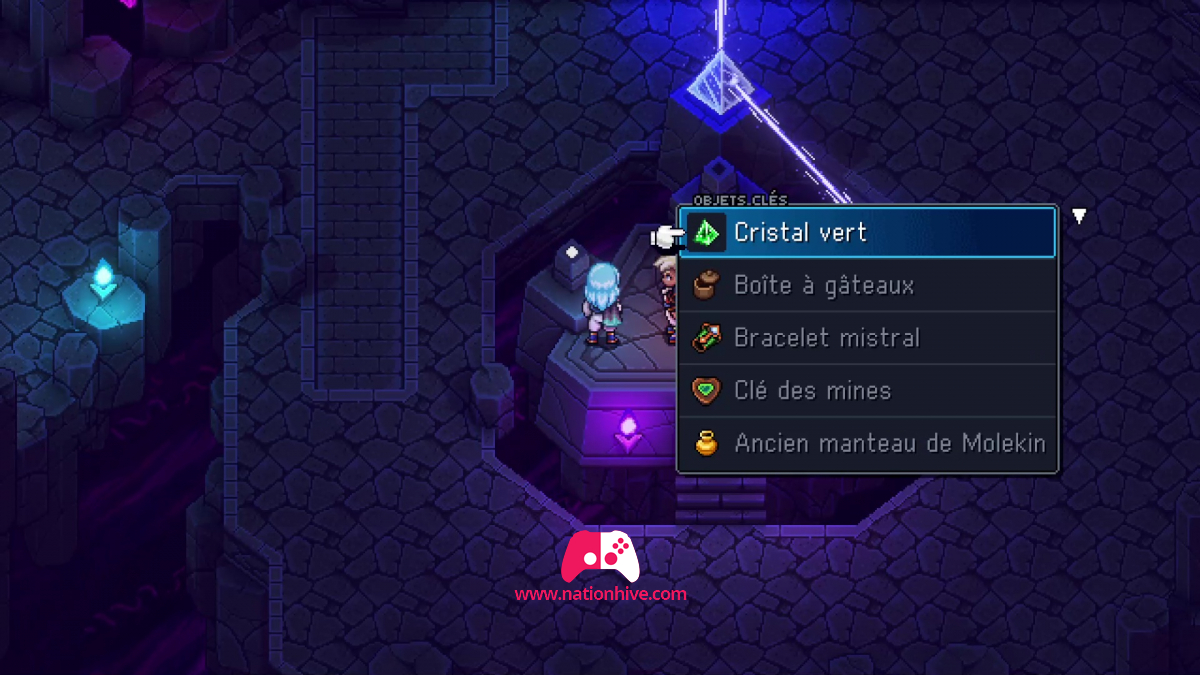
Once ready, return to the purple block and climb up to open the chest on the right to receive a green crystal. This will help you unlock the next zone. You'll need to collect several crystals and place them on the base in the center of the lab.
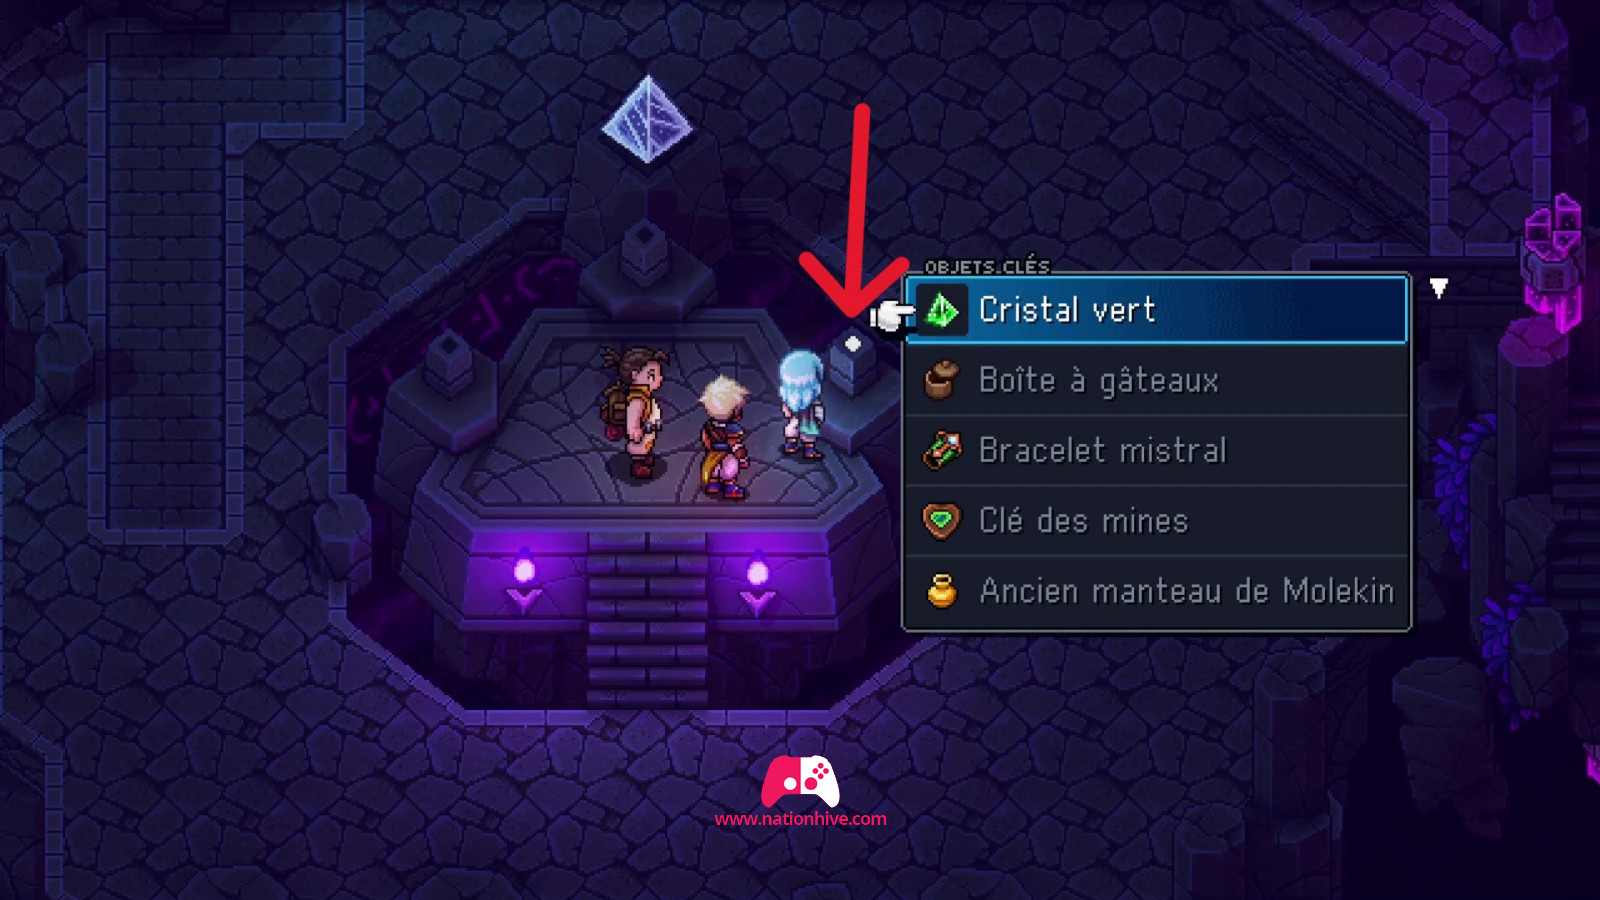
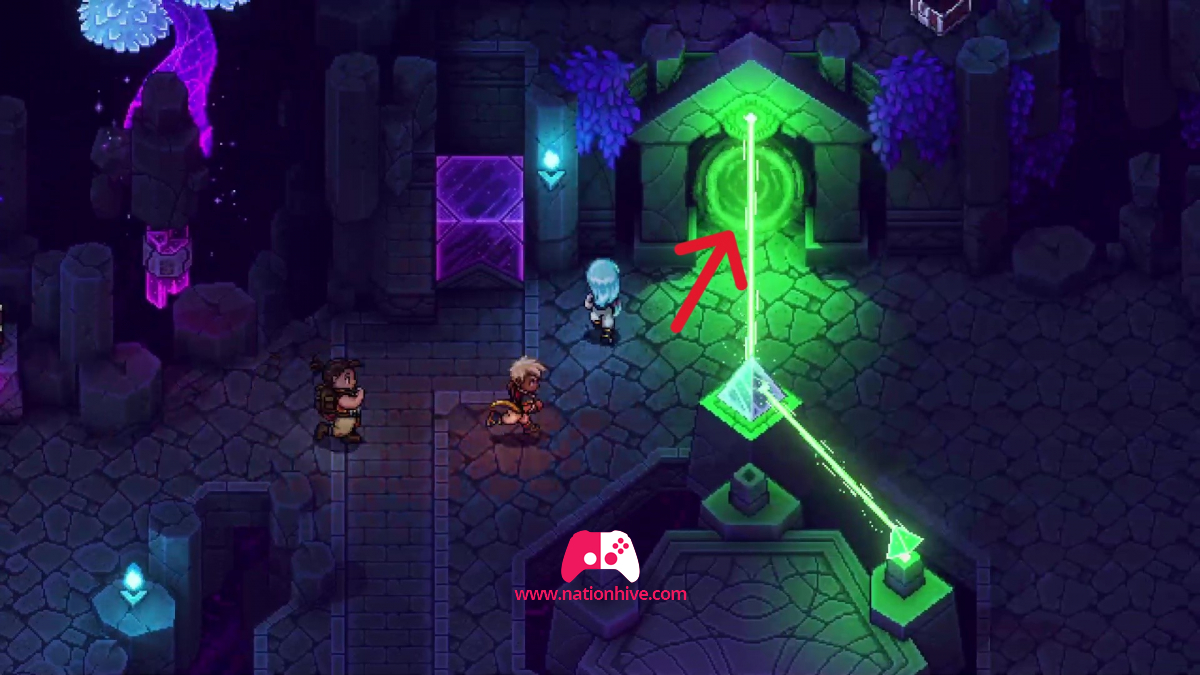
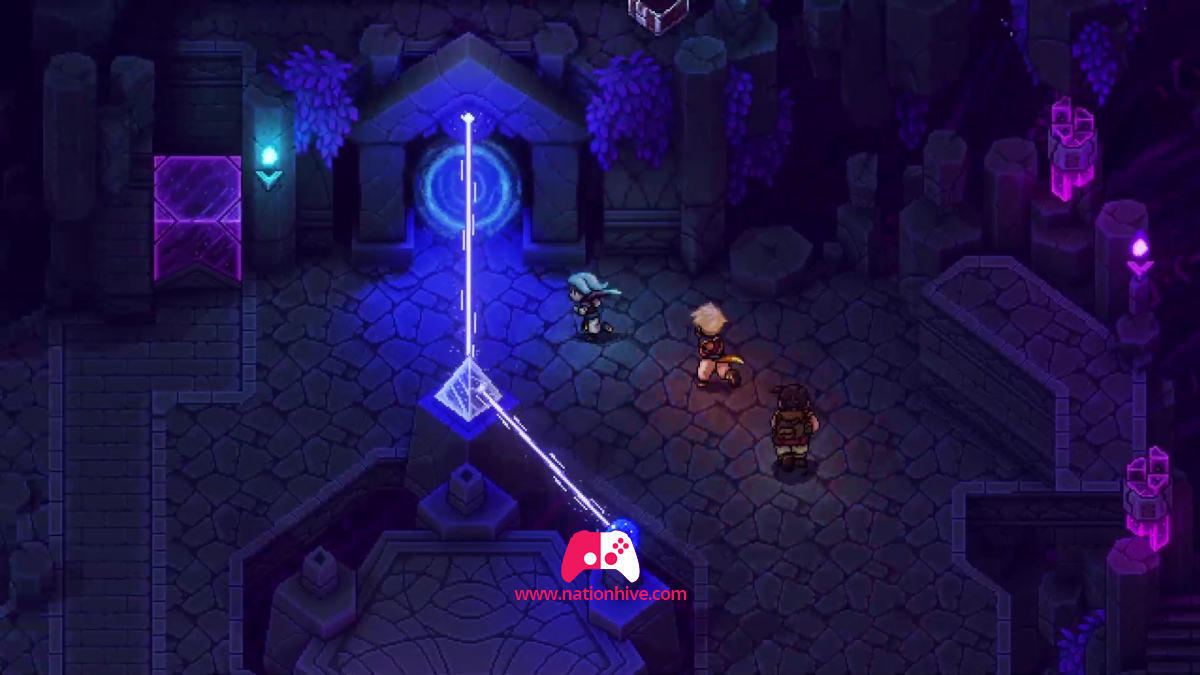
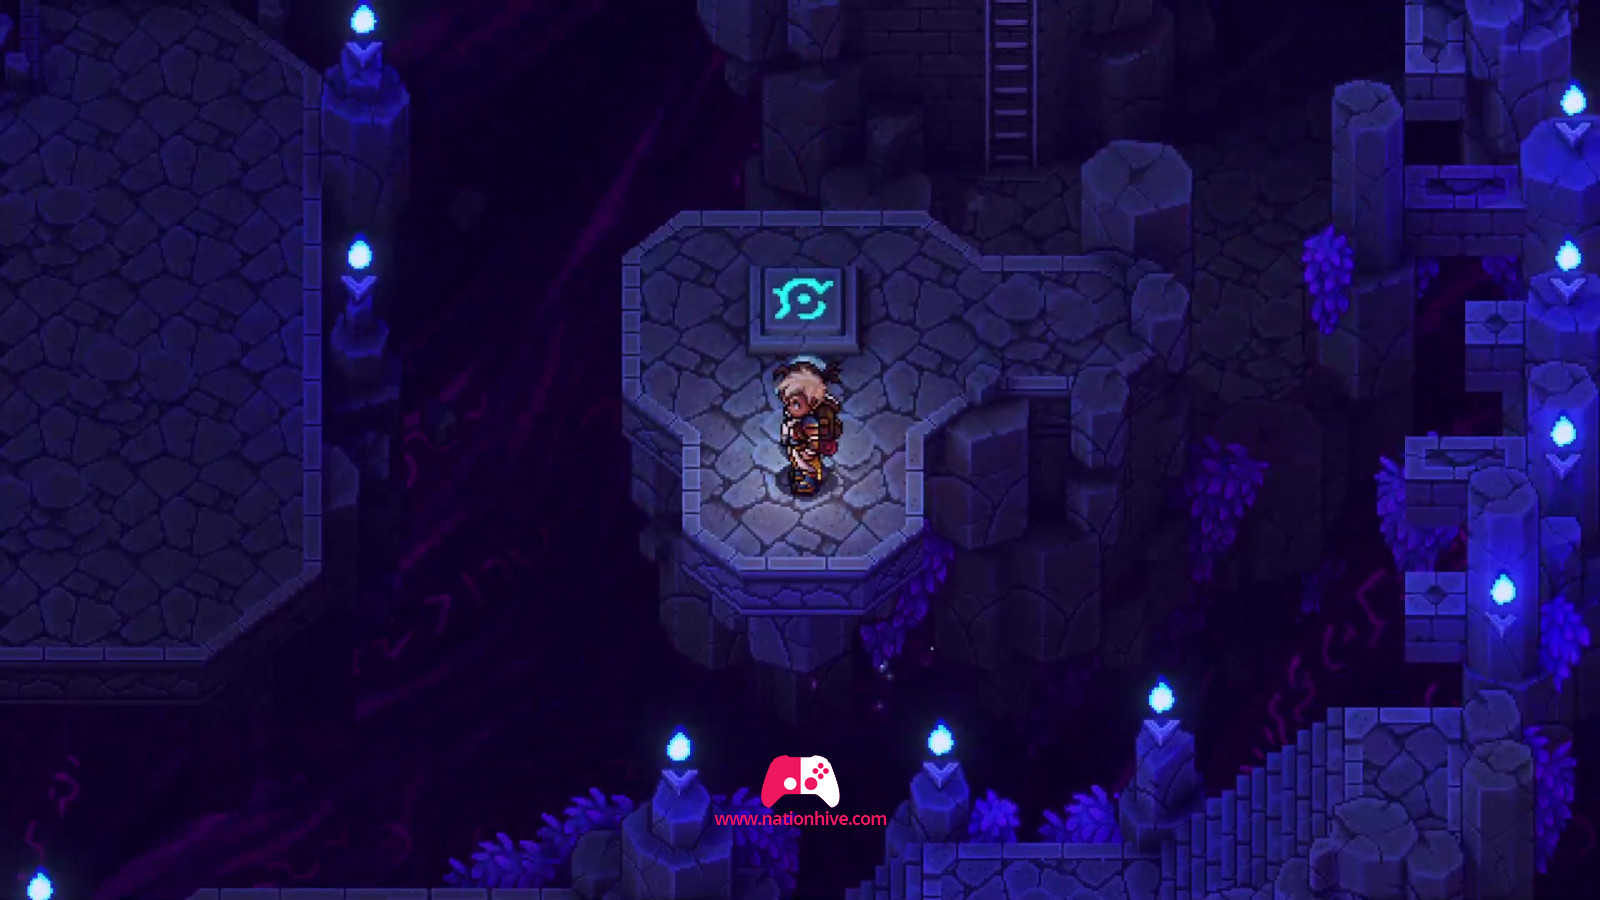
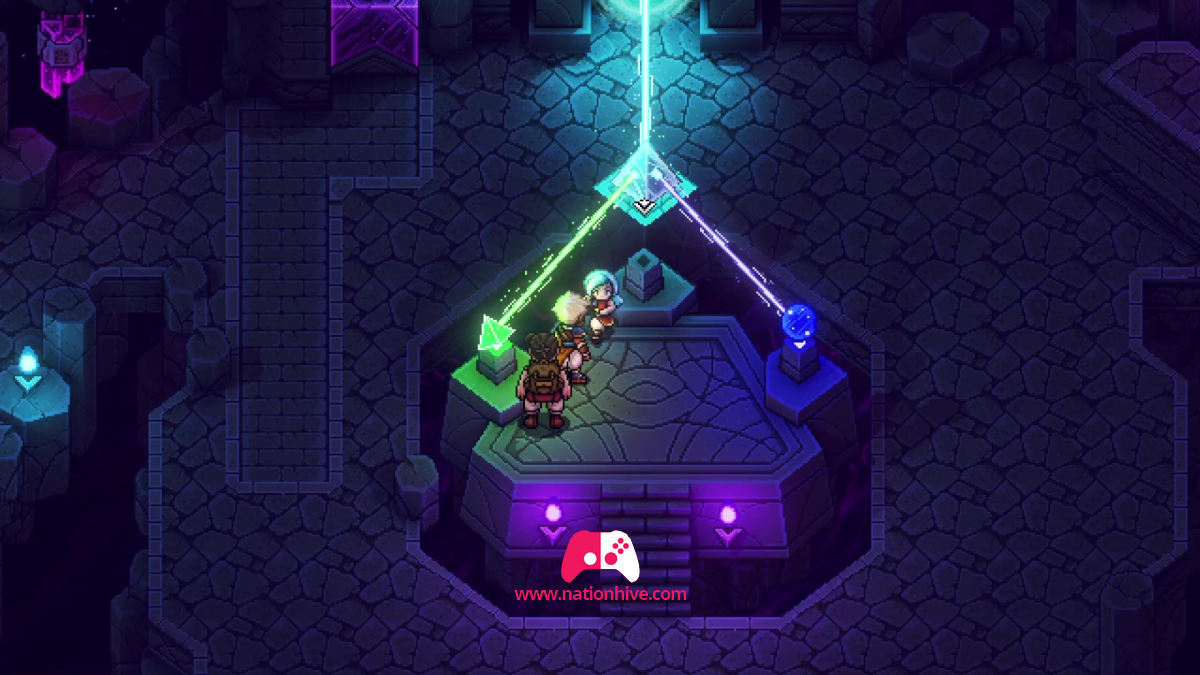
Once you've unlocked the green crystal, go back downstairs and place it on the base in the center. There's a small white dot on the right-hand base. Place the green crystal there. This will open a green portal. Enter the portal to proceed to the next step.
Green portal
Once inside, attack the enemies in front of you. Attack for boosts, and we advise you to use Valere's Lunerang skill to inflict damage on several enemies at once.
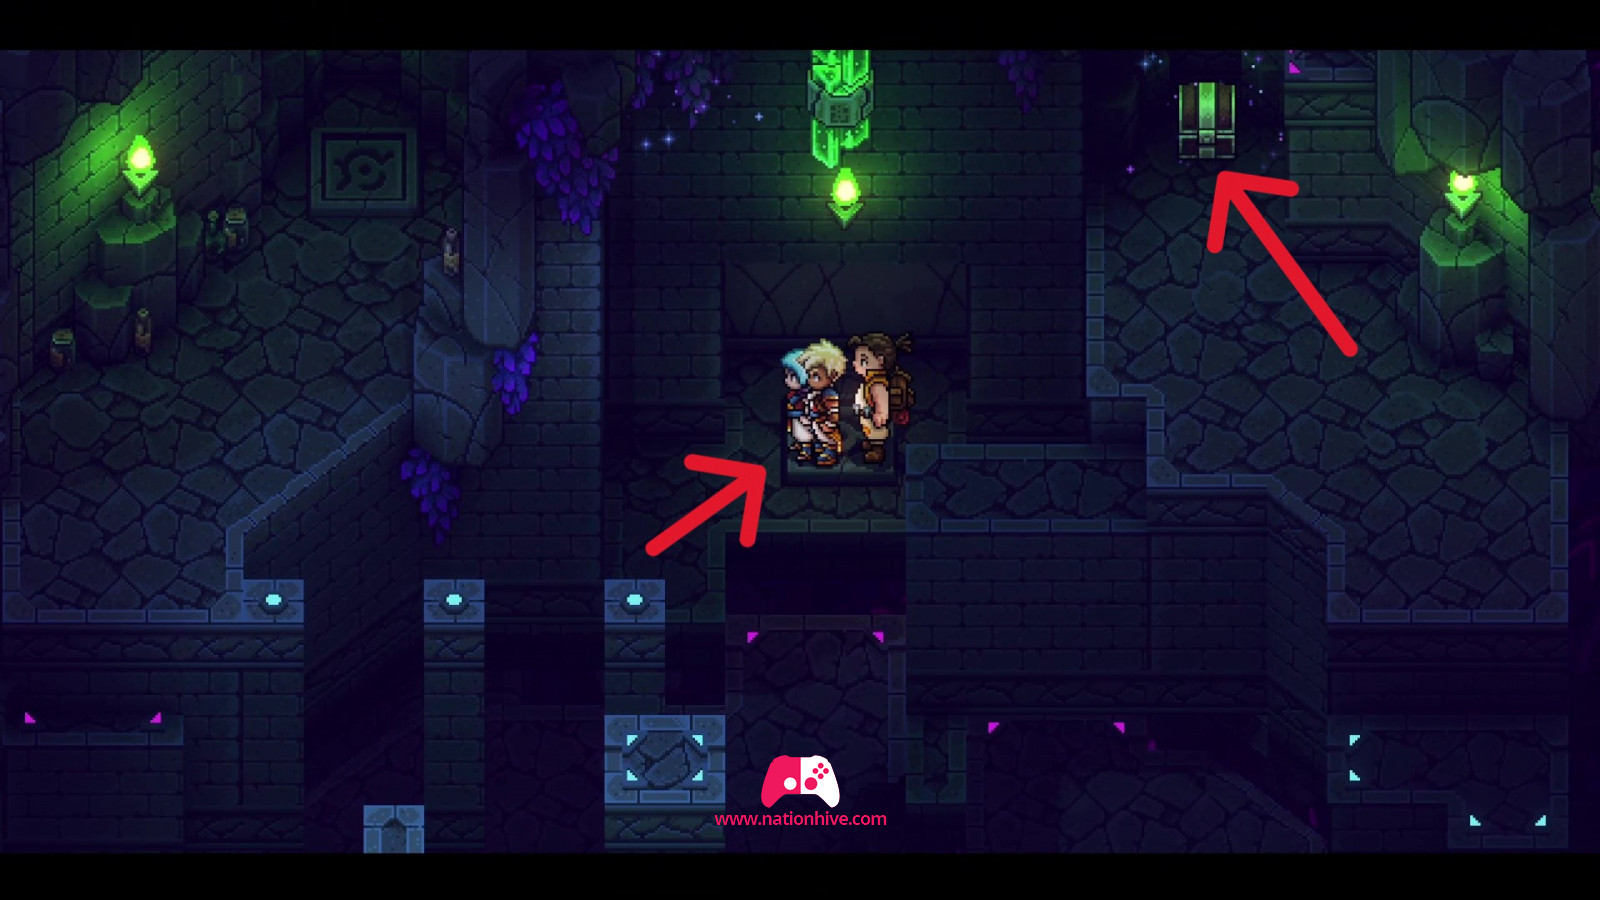
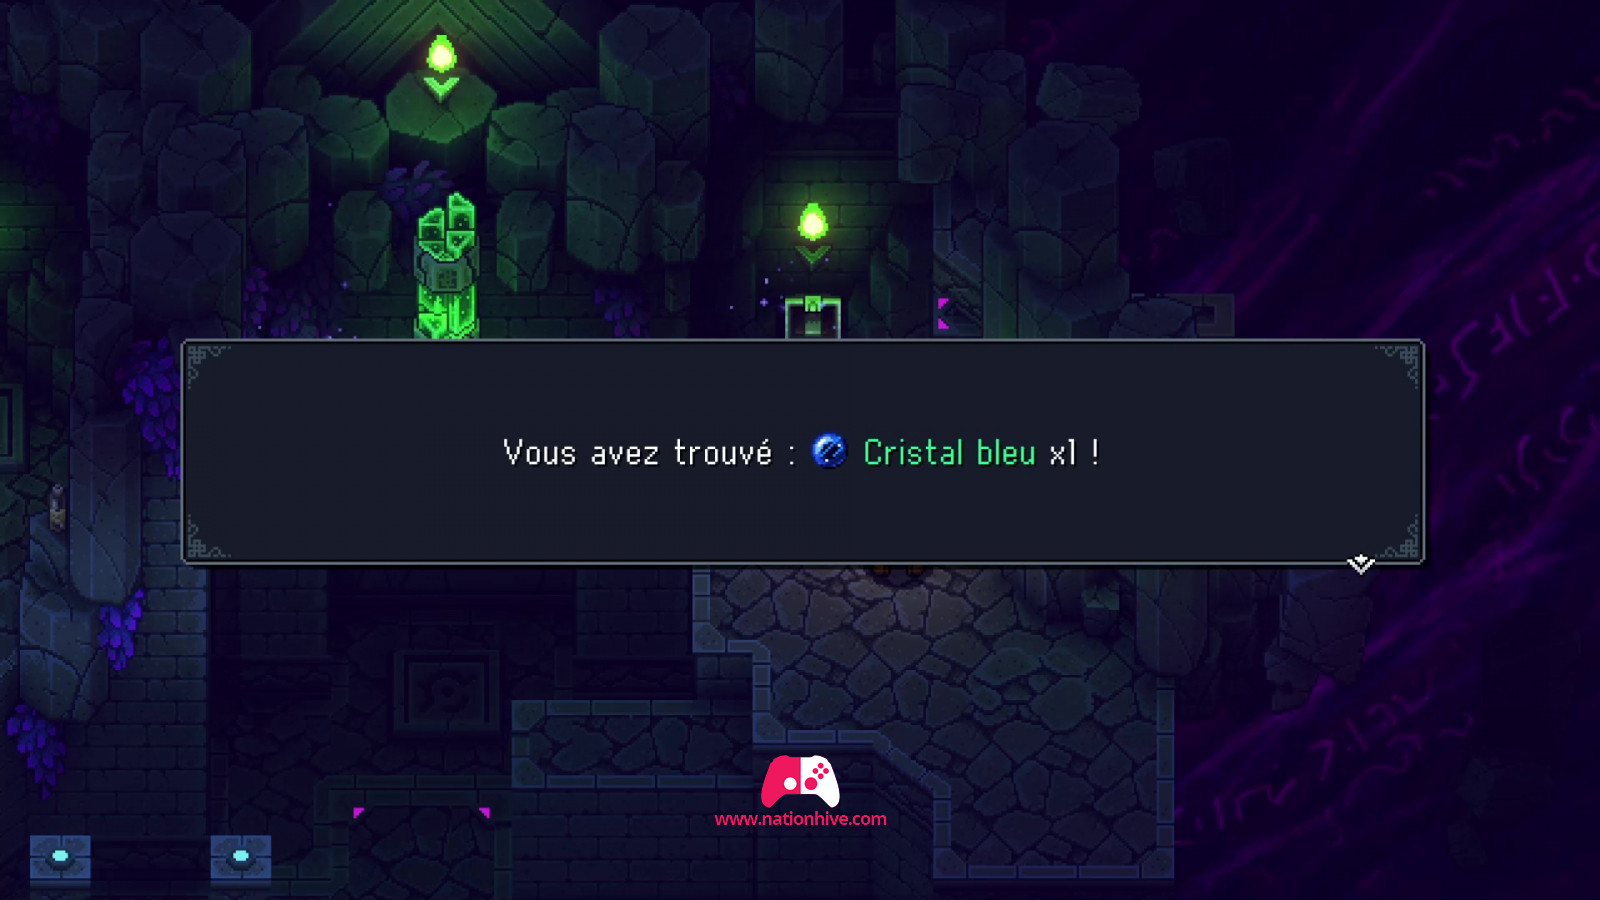
Then stand on the pink platform at the top to move the nearby platforms to the next stage. Then move to the blue platform on the left. Go to the pink platform in the center once more. This will take you to the chest on the top right. Open it to receive a blue crystal.
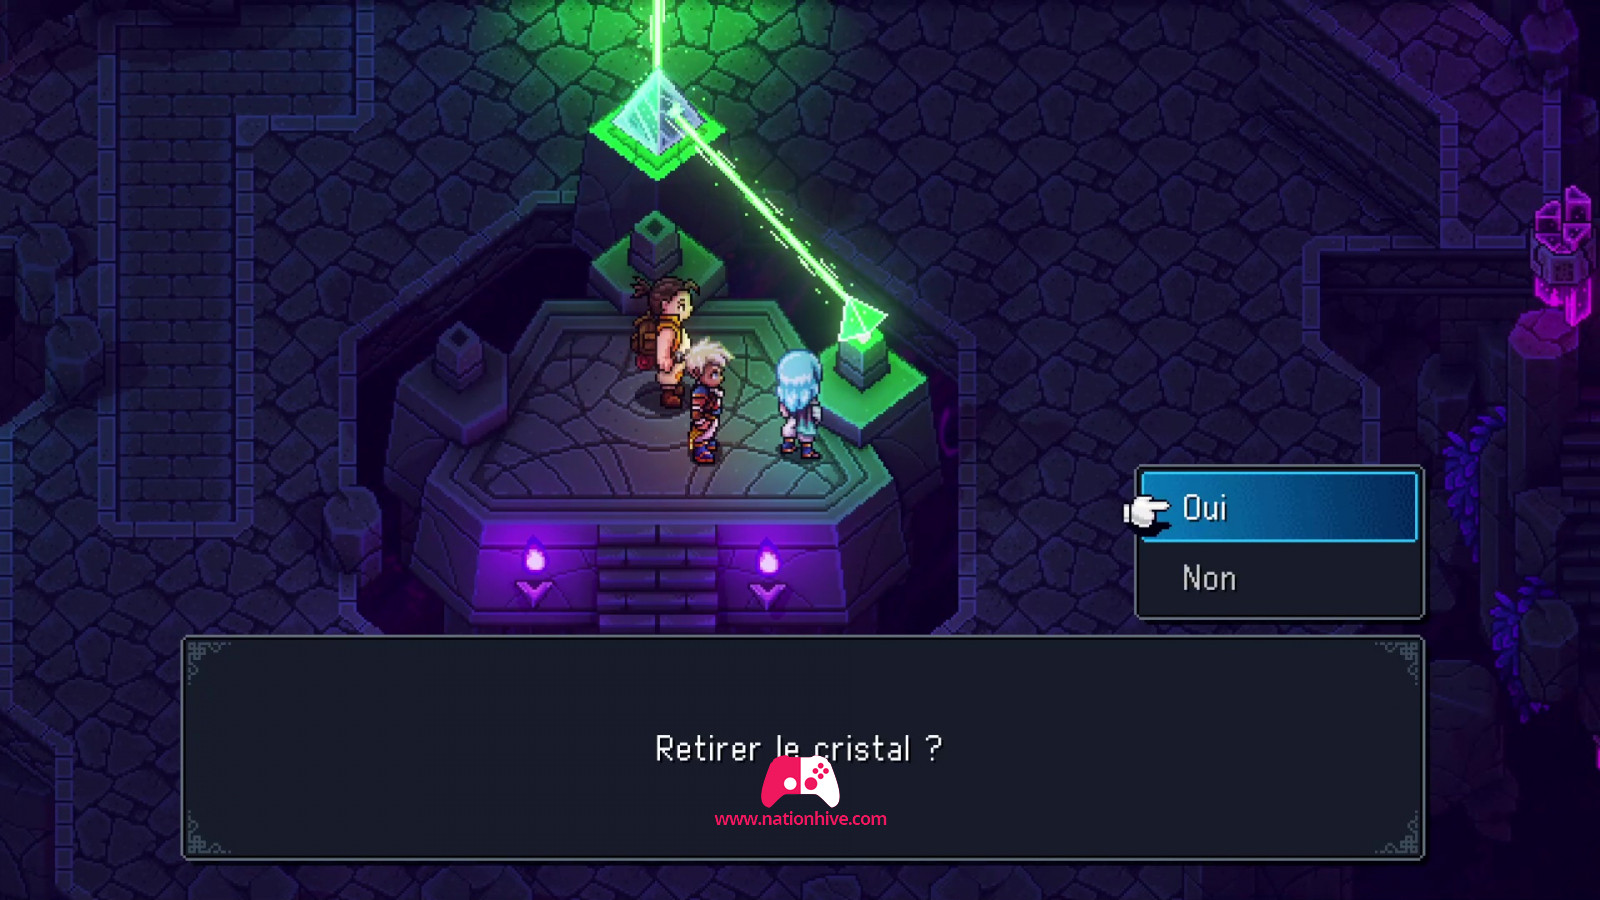
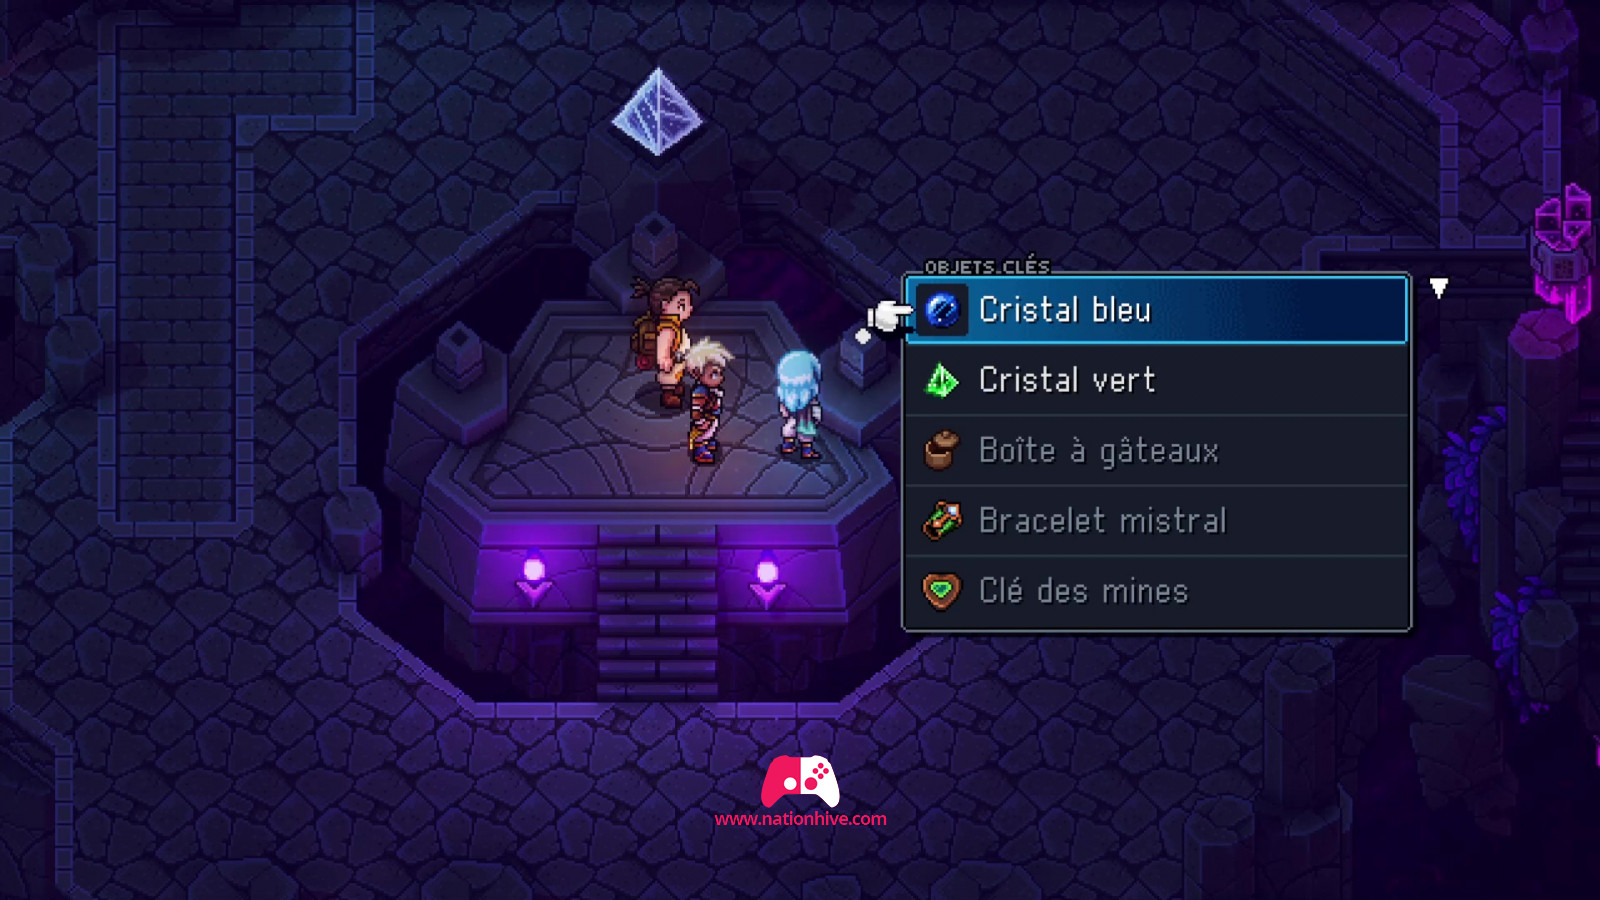
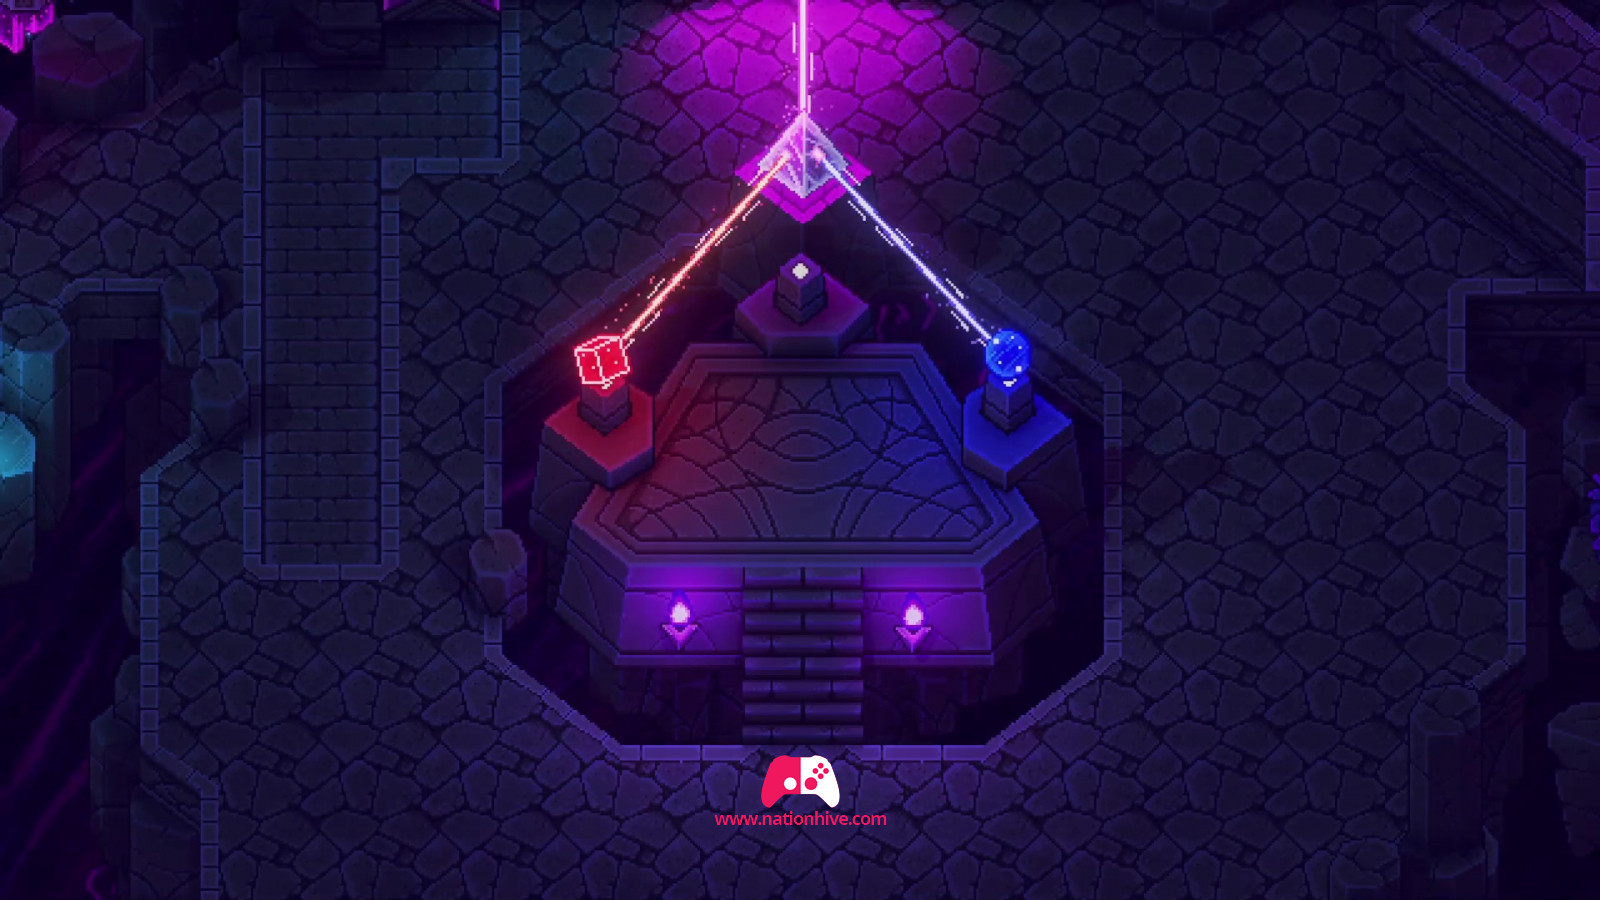
Exit this area (return to the path you entered from) and remove the green crystal to place the blue crystal on the pedestal in the center of the lab. This will open a blue portal to the next area.
Blue portail
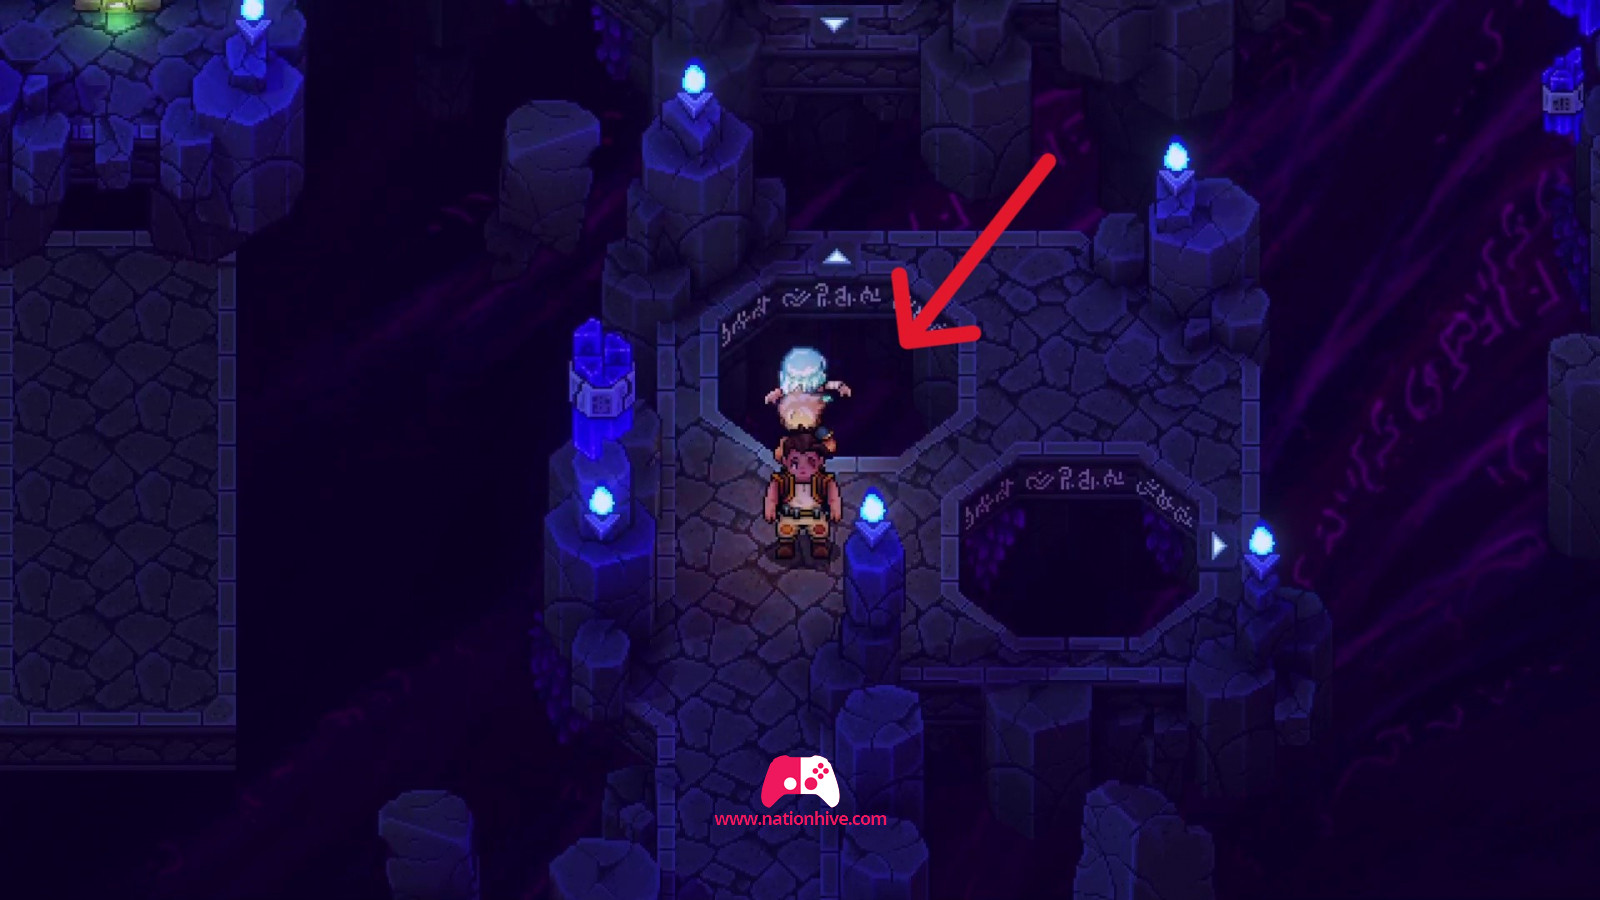
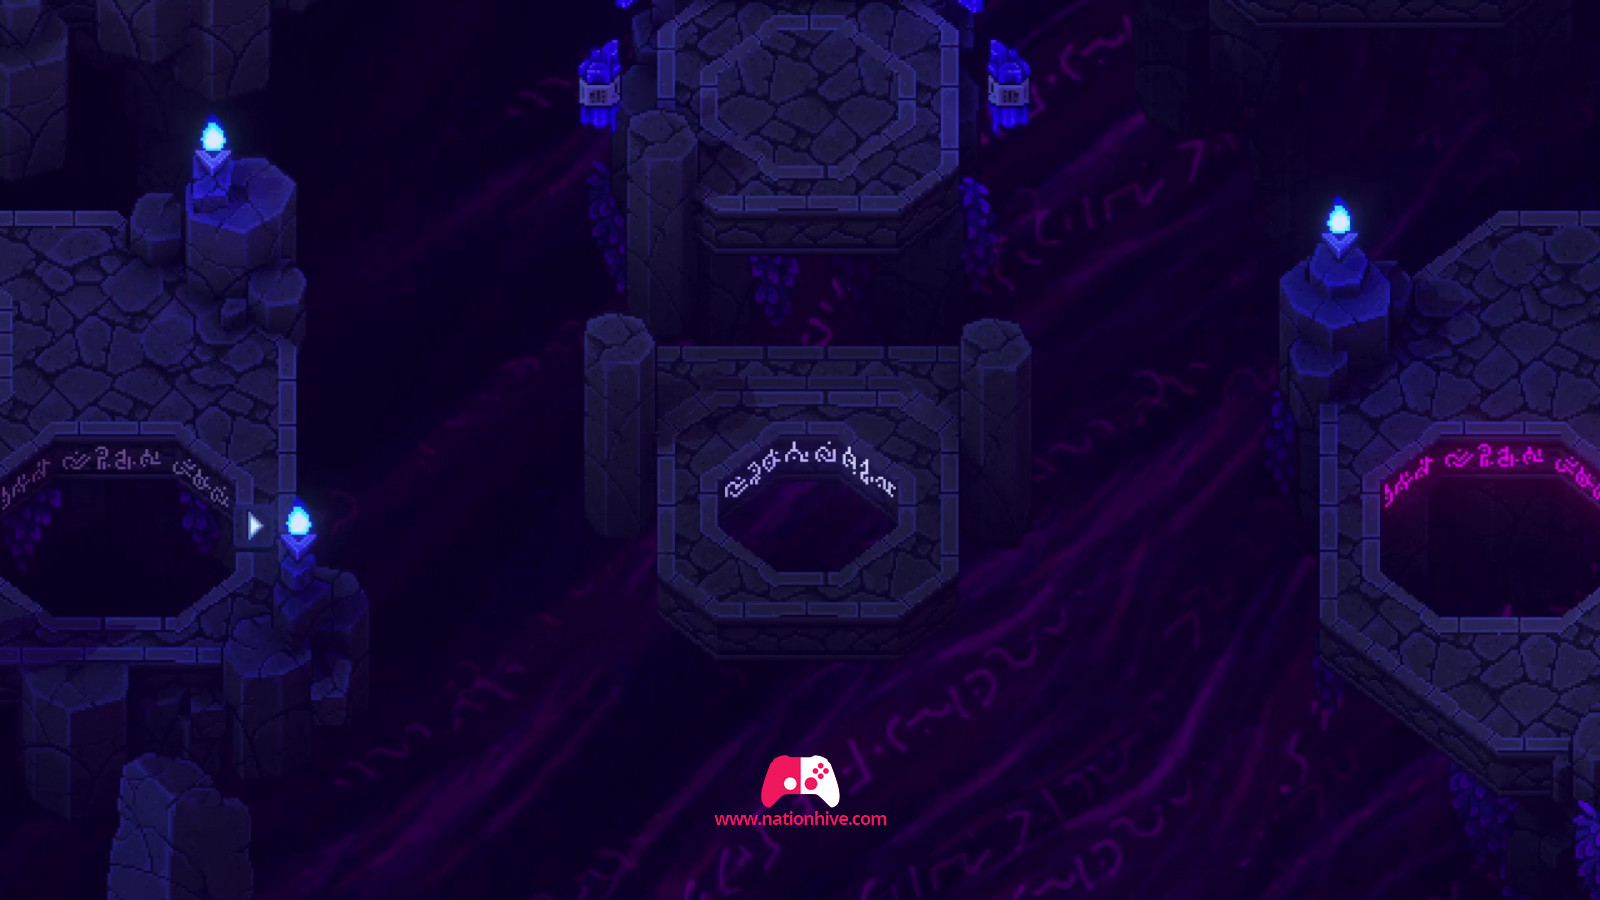
This time, you'll have to jump through holes to teleport to another nearby platform. You can tell which direction you're heading by looking at the little arrows on the side of the holes.
Start by jumping into the hole to go upwards, as the hole leading to the right doesn't yet exist. Then climb to the top platform and attack the enemies, or simply run to the hole on the right.
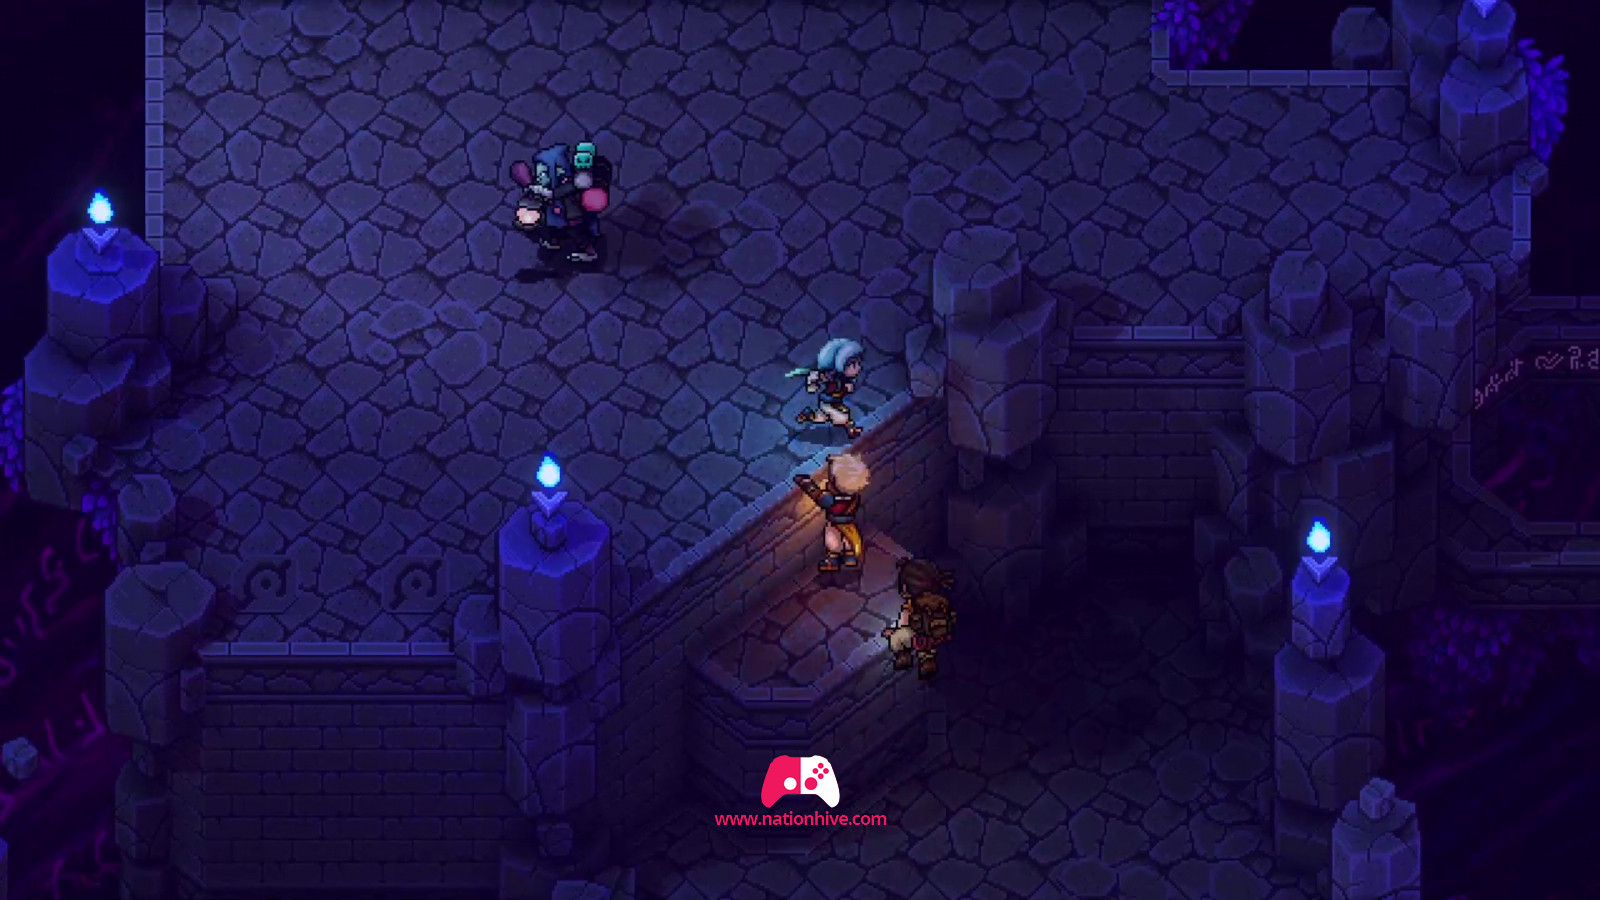
Once on the other platform, use the ladder to attack the enemies in front of you. Then head to the right and jump to climb the platform below. Then jump through the hole in front of you to reach the blue platform. This will reveal a new platform.

Head to this new platform and attack the enemies in your path. We advise you to use skills that attack several enemies at once. Since there are 4 enemies in front of you, it's a good idea to damage several people at the same time.
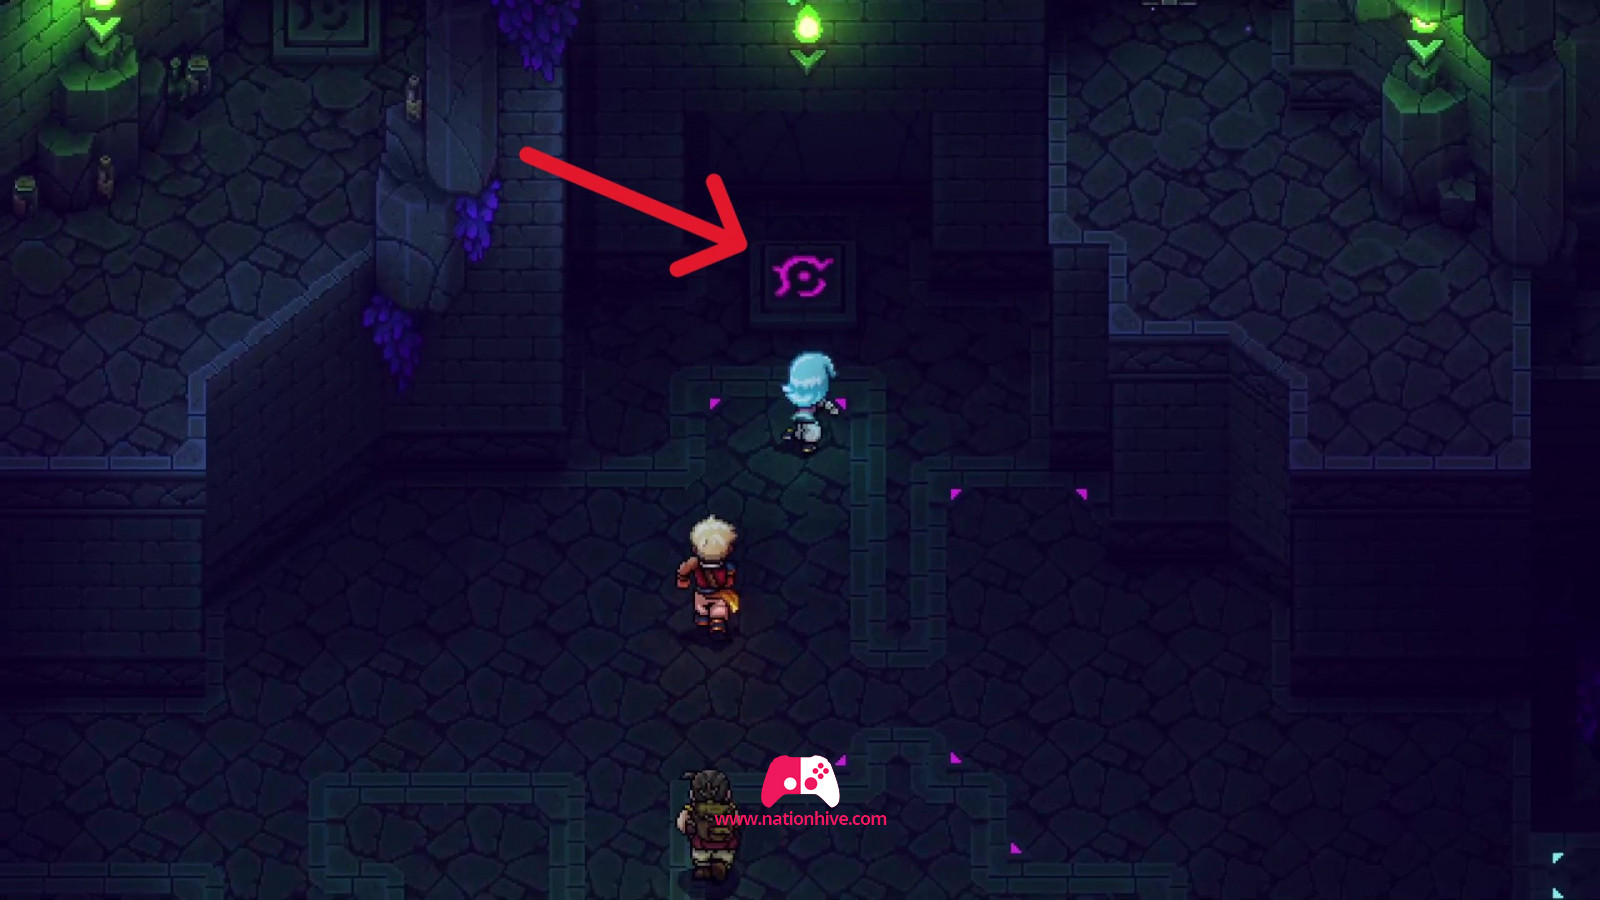
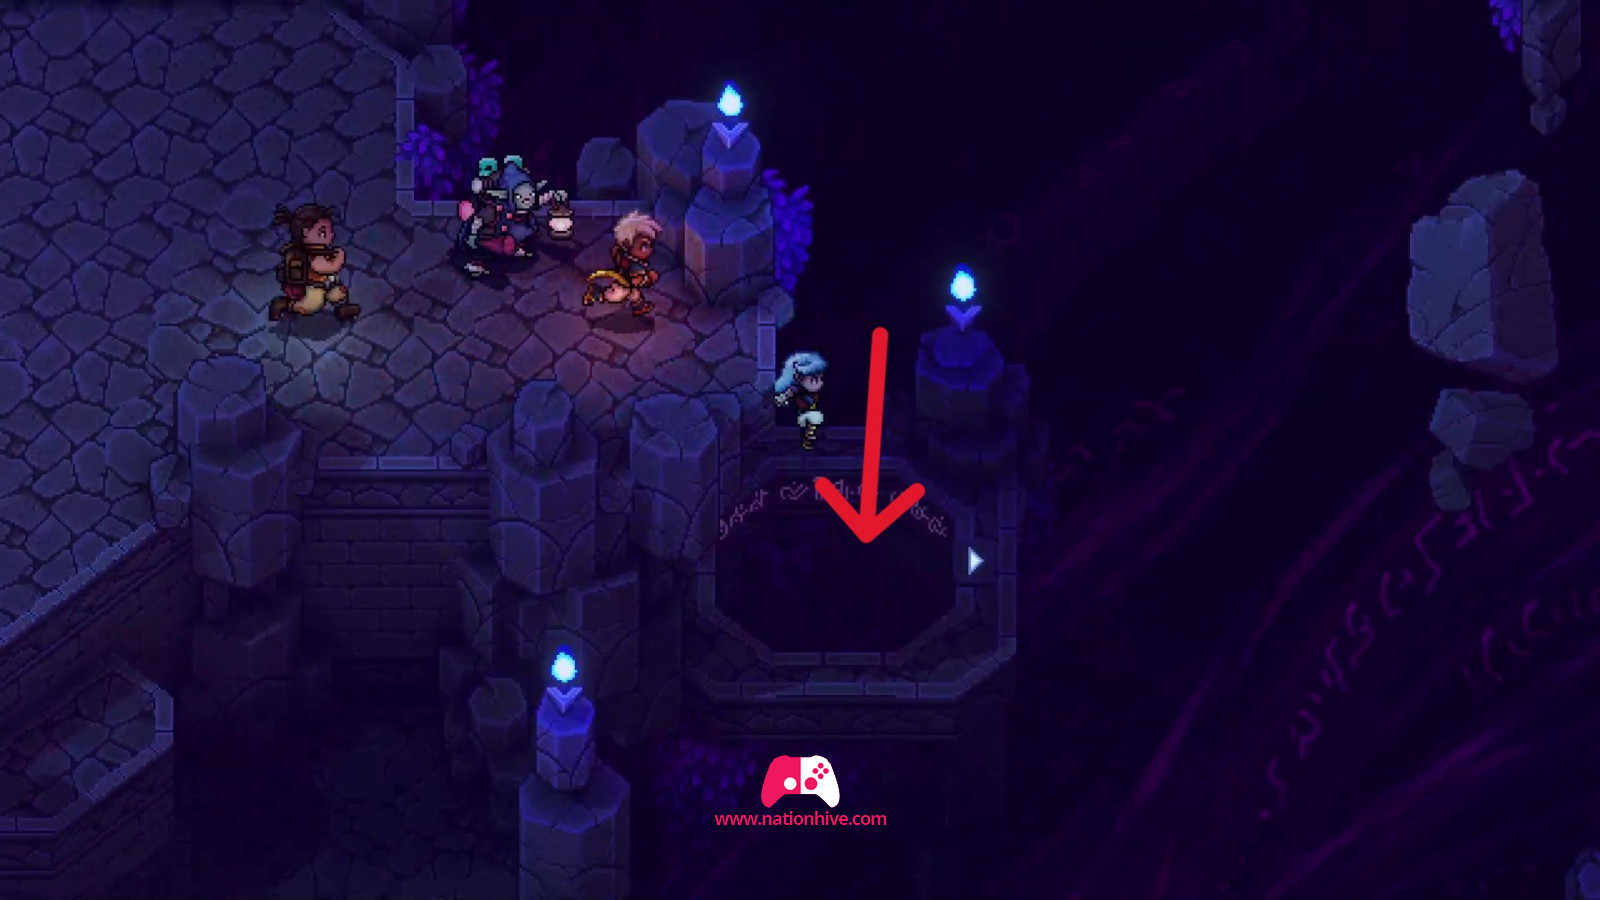
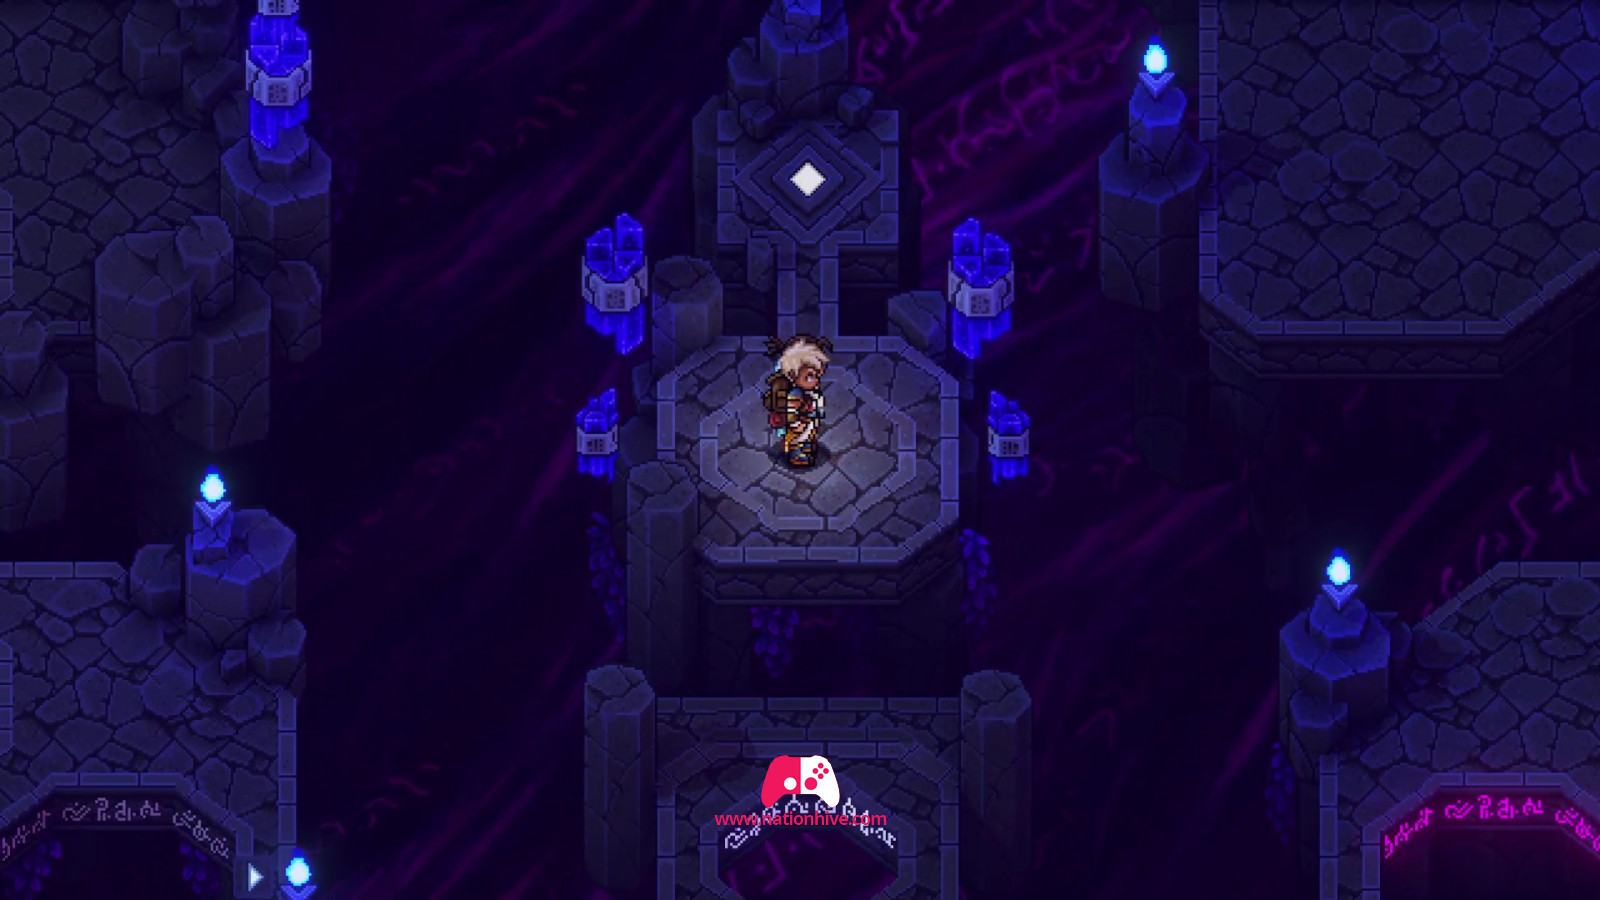
Then stand on the small pink platform to reveal a new hole and a platform that will give you access to a lever.
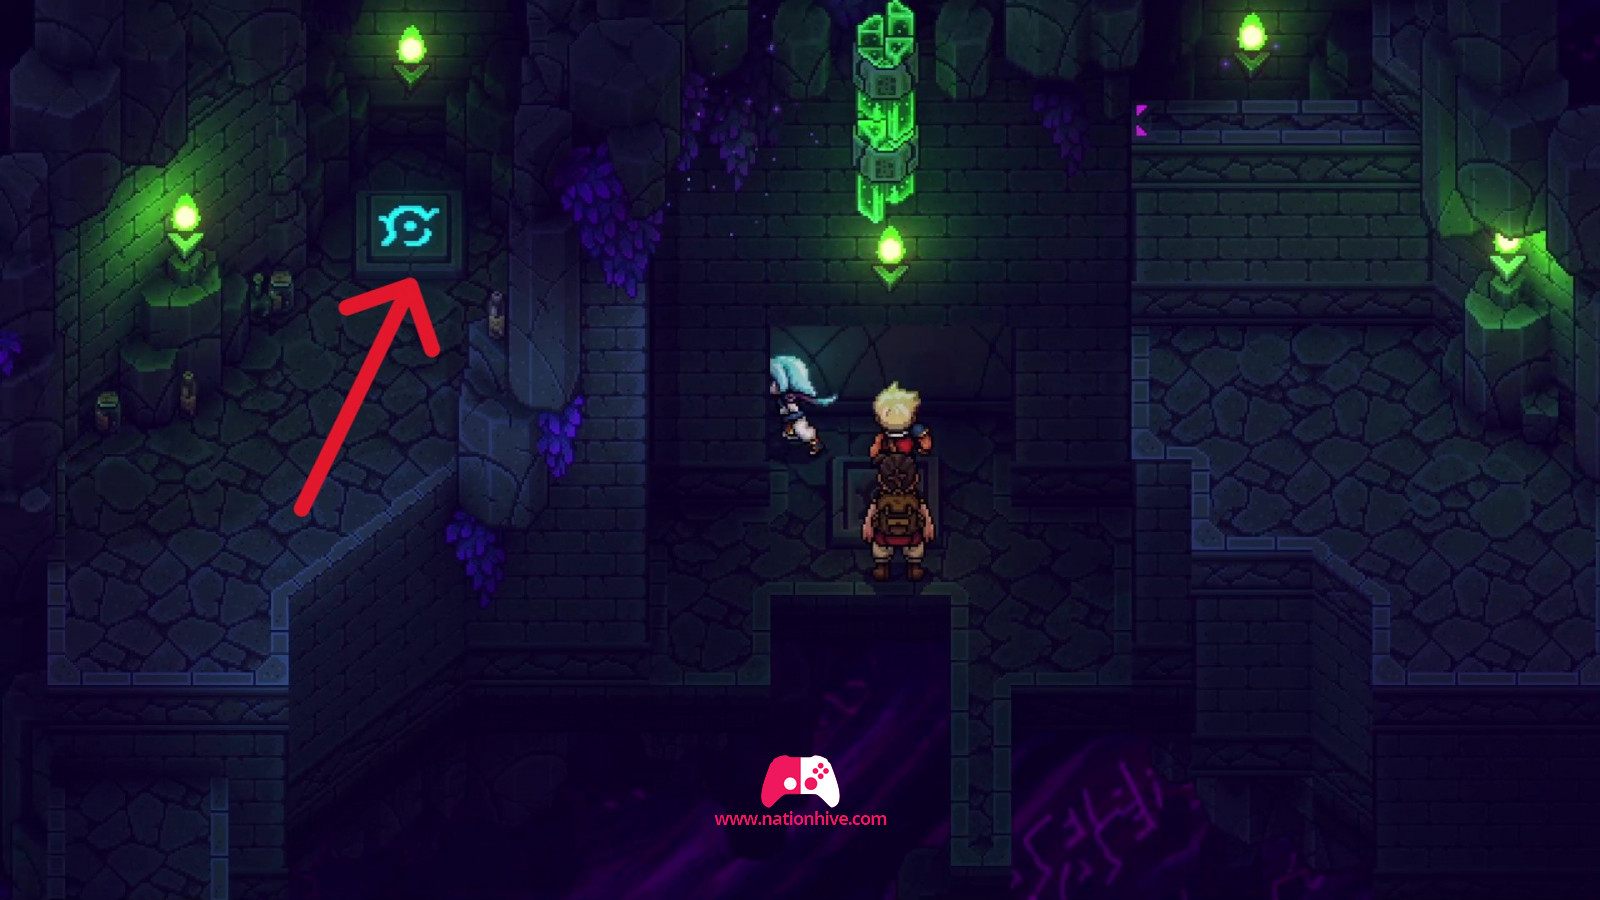
Jump into the new hole and move towards the lever to activate it. This will reveal another hole. Head for the white diamond to activate another small base in the center of the lab. Then exit this area.
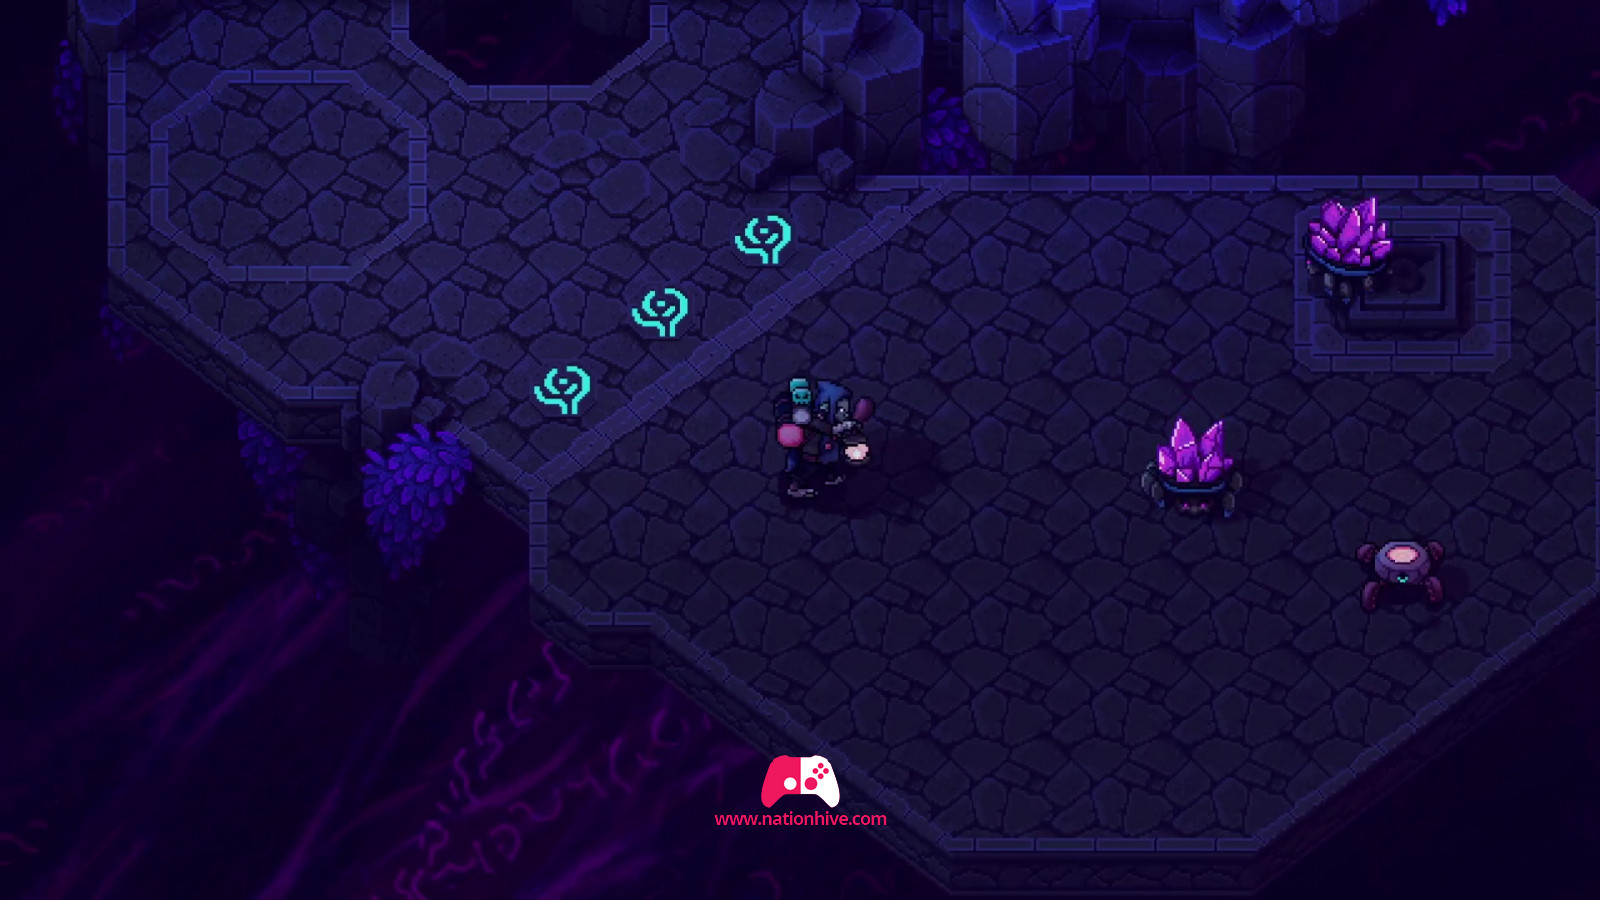
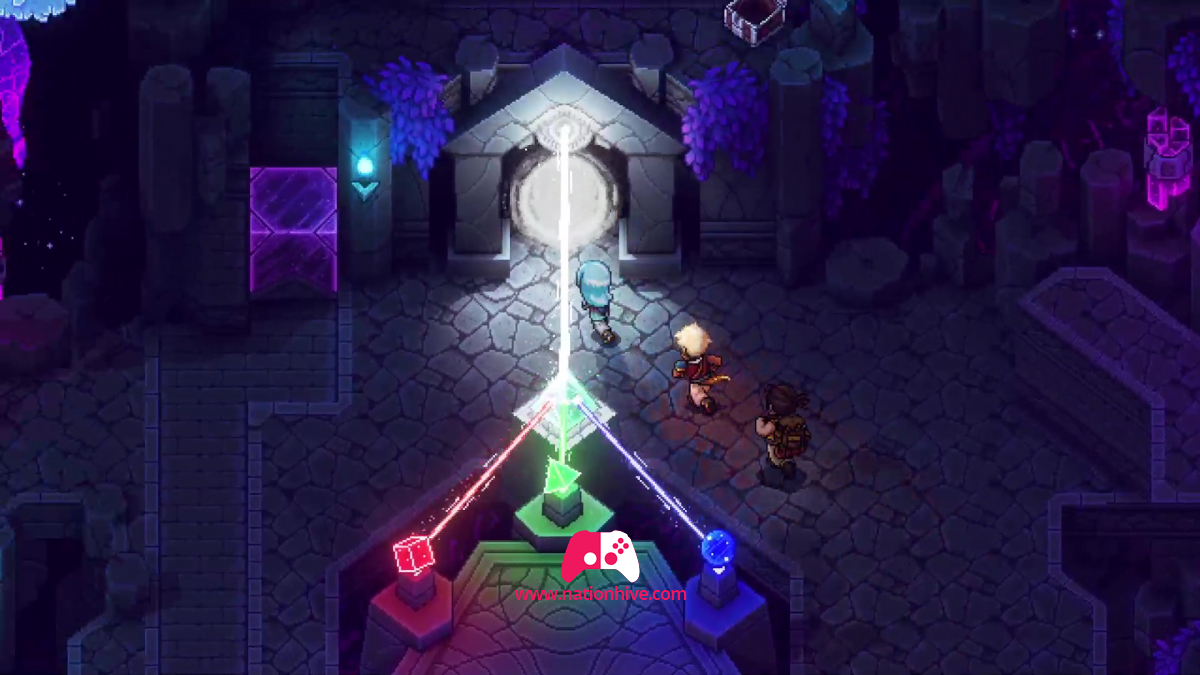
Once in the center of the pedestal, place the green crystal on the small pedestal that has just been activated. Then head for the light blue portal.
Light blue Portal
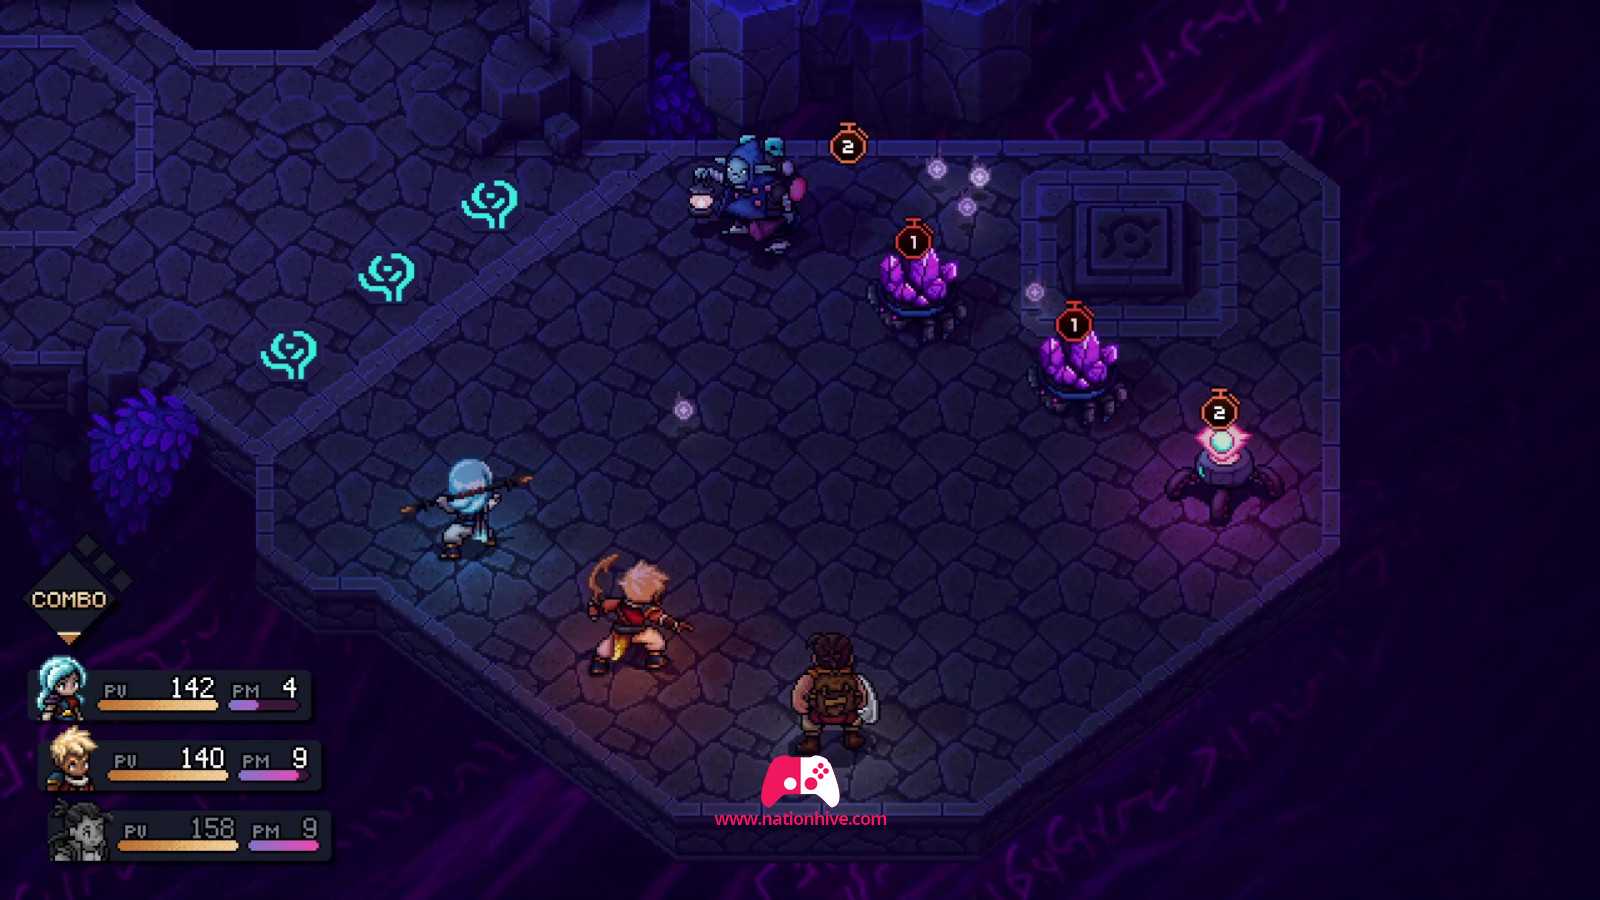
For this zone, you'll need to activate small structures. There are 3 in total to activate.
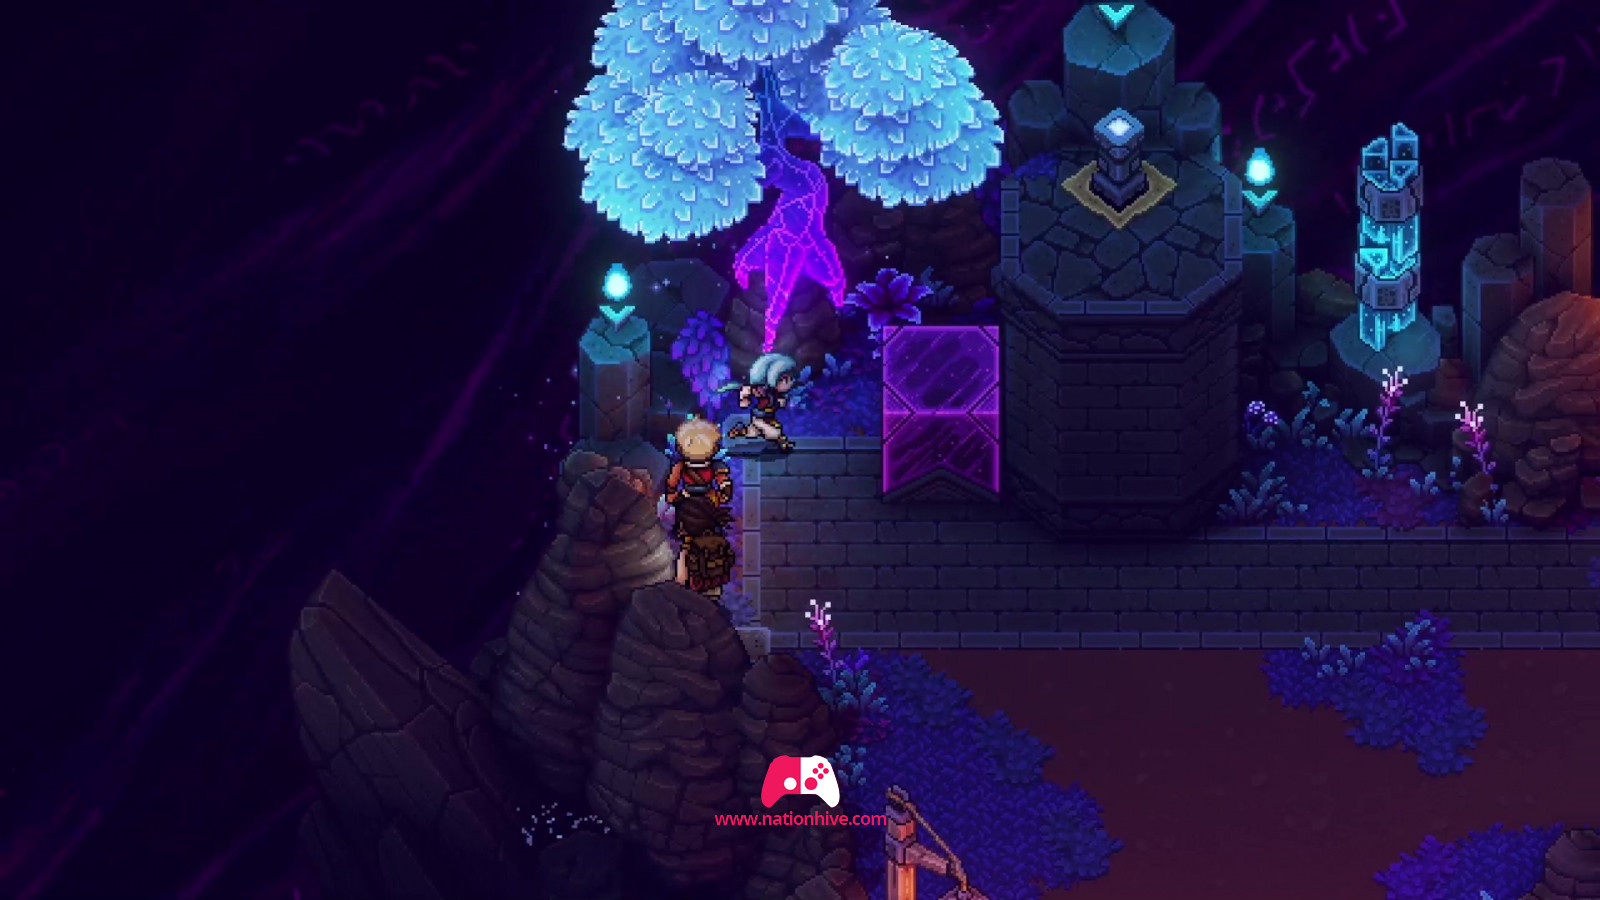
- The first structure is behind a purple block; use your skill to move the block and activate the structure. Each time you activate a structure, enemies will appear. Attack them all before moving on to the next structure.
- The second structure is at the bottom of the pontoon.
- The third structure is high up, and you'll need to move the purple block to reach it.
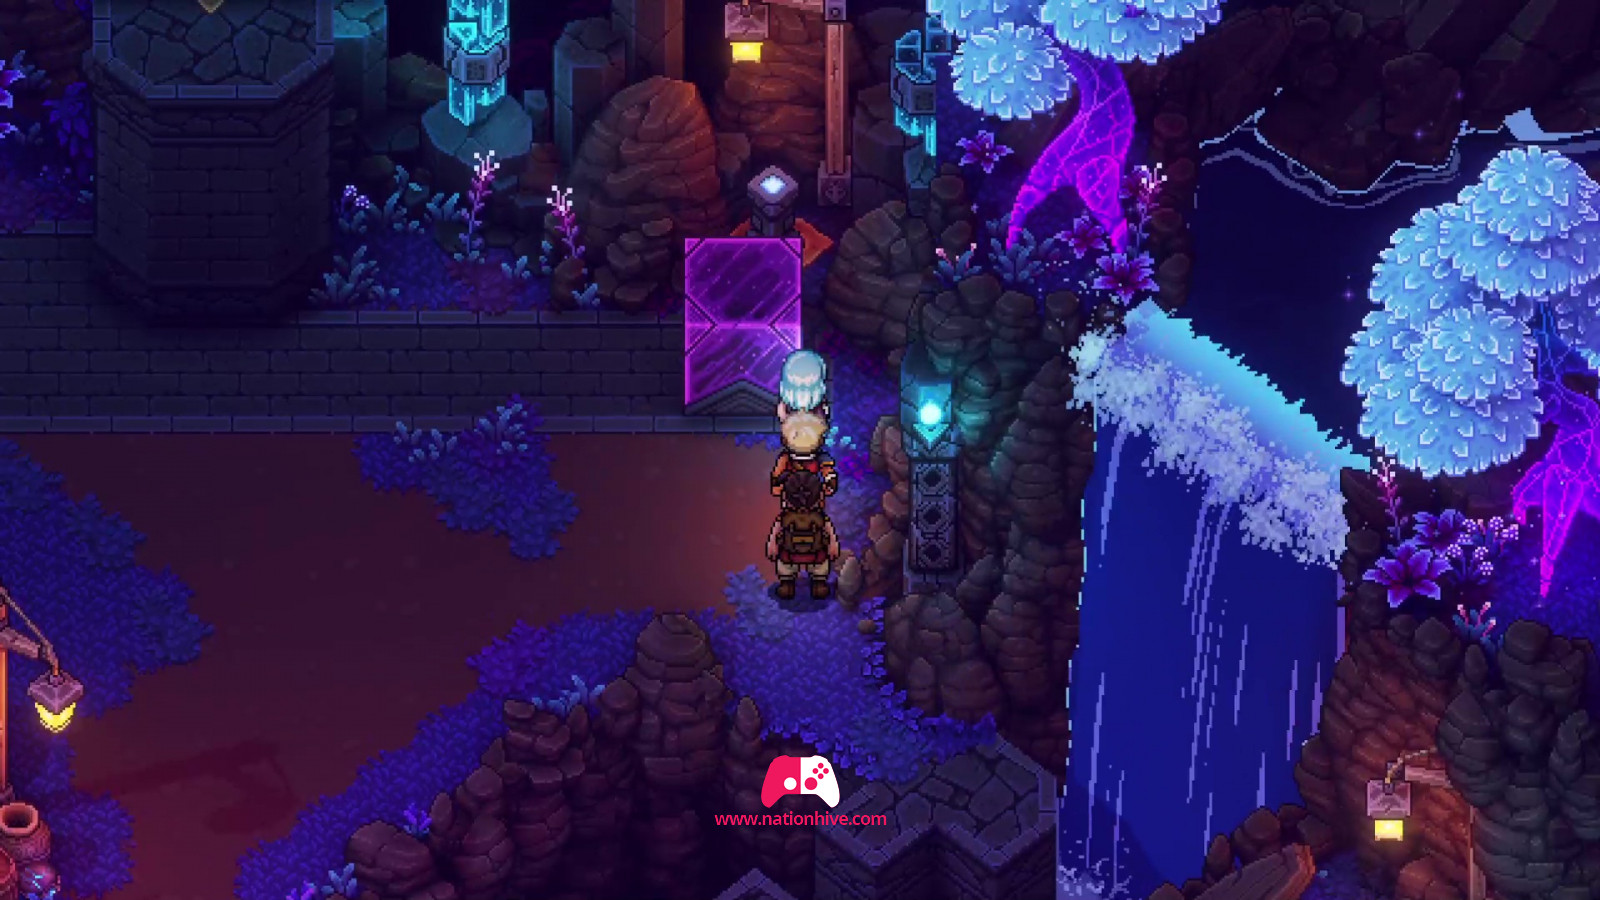
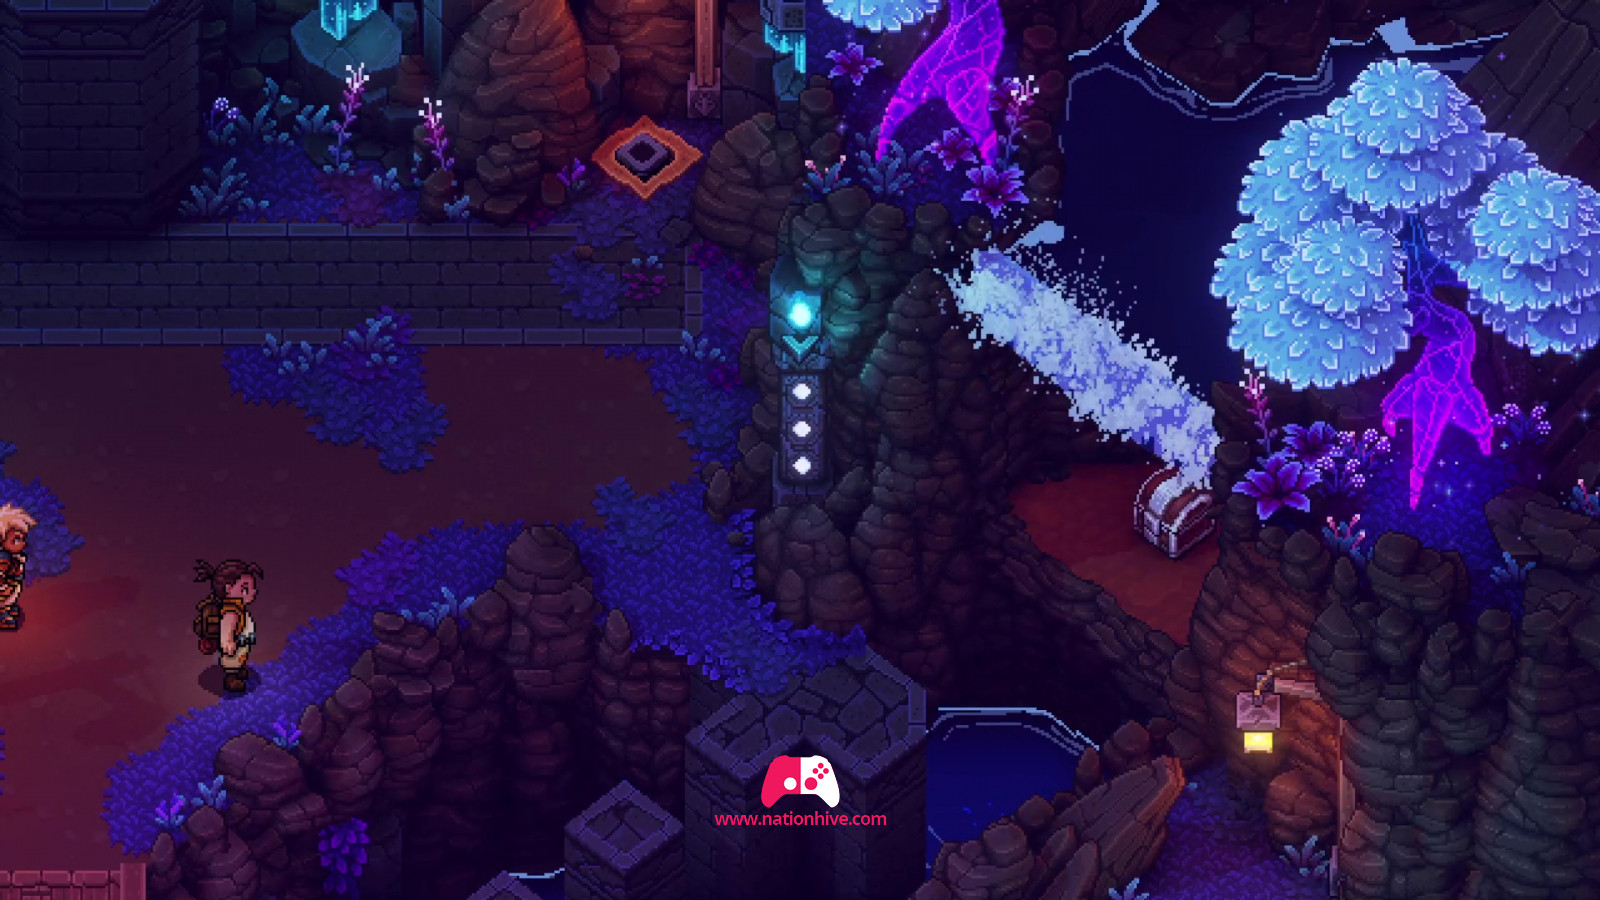
Once all 3 structures have been activated, head for the chest behind the waterfalls to pick up a red crystal. Then leave this area.
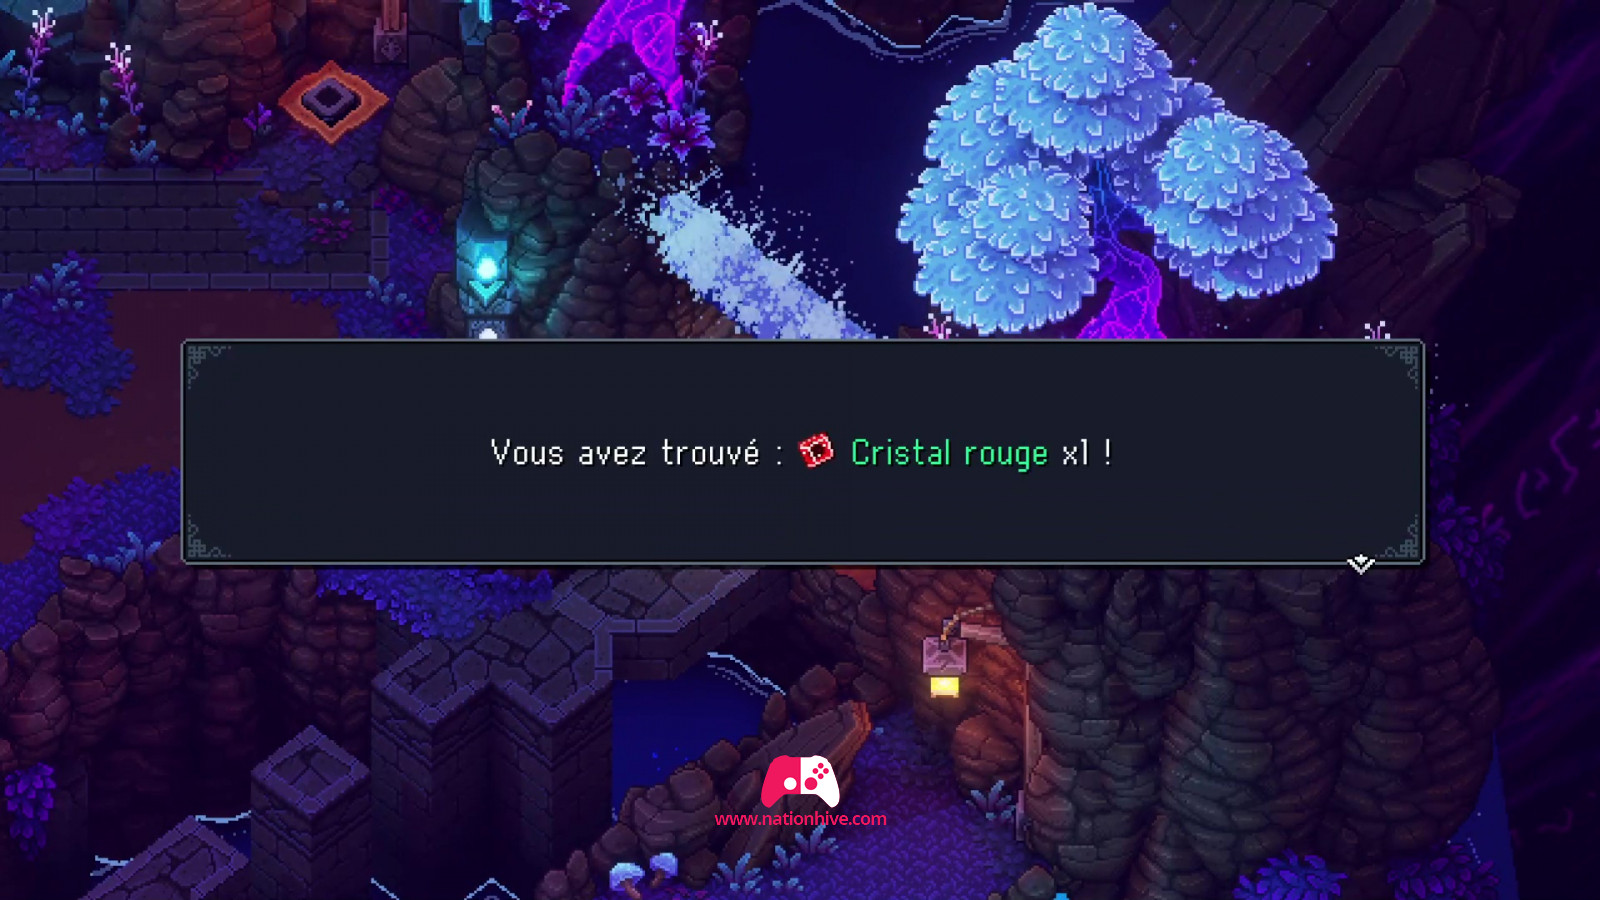
However, it is not yet possible to place the last crystal. You need to exchange one crystal for the red one. In this case, we've decided to swap the green crystal for the red one.
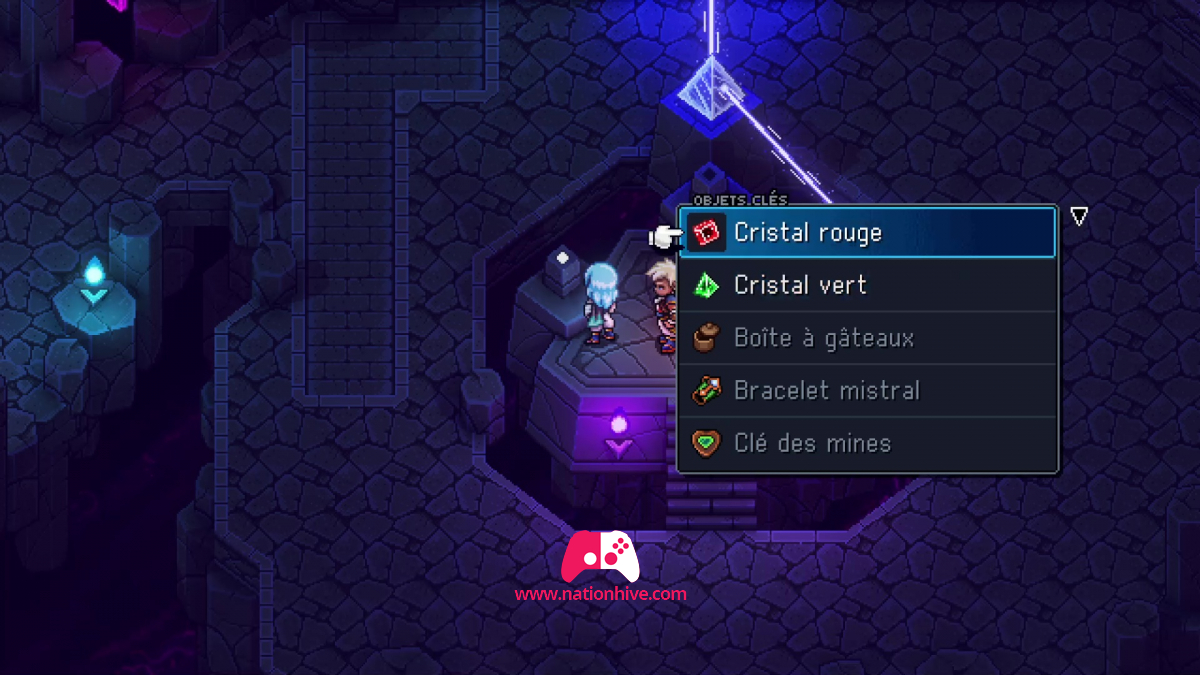
Pink portal
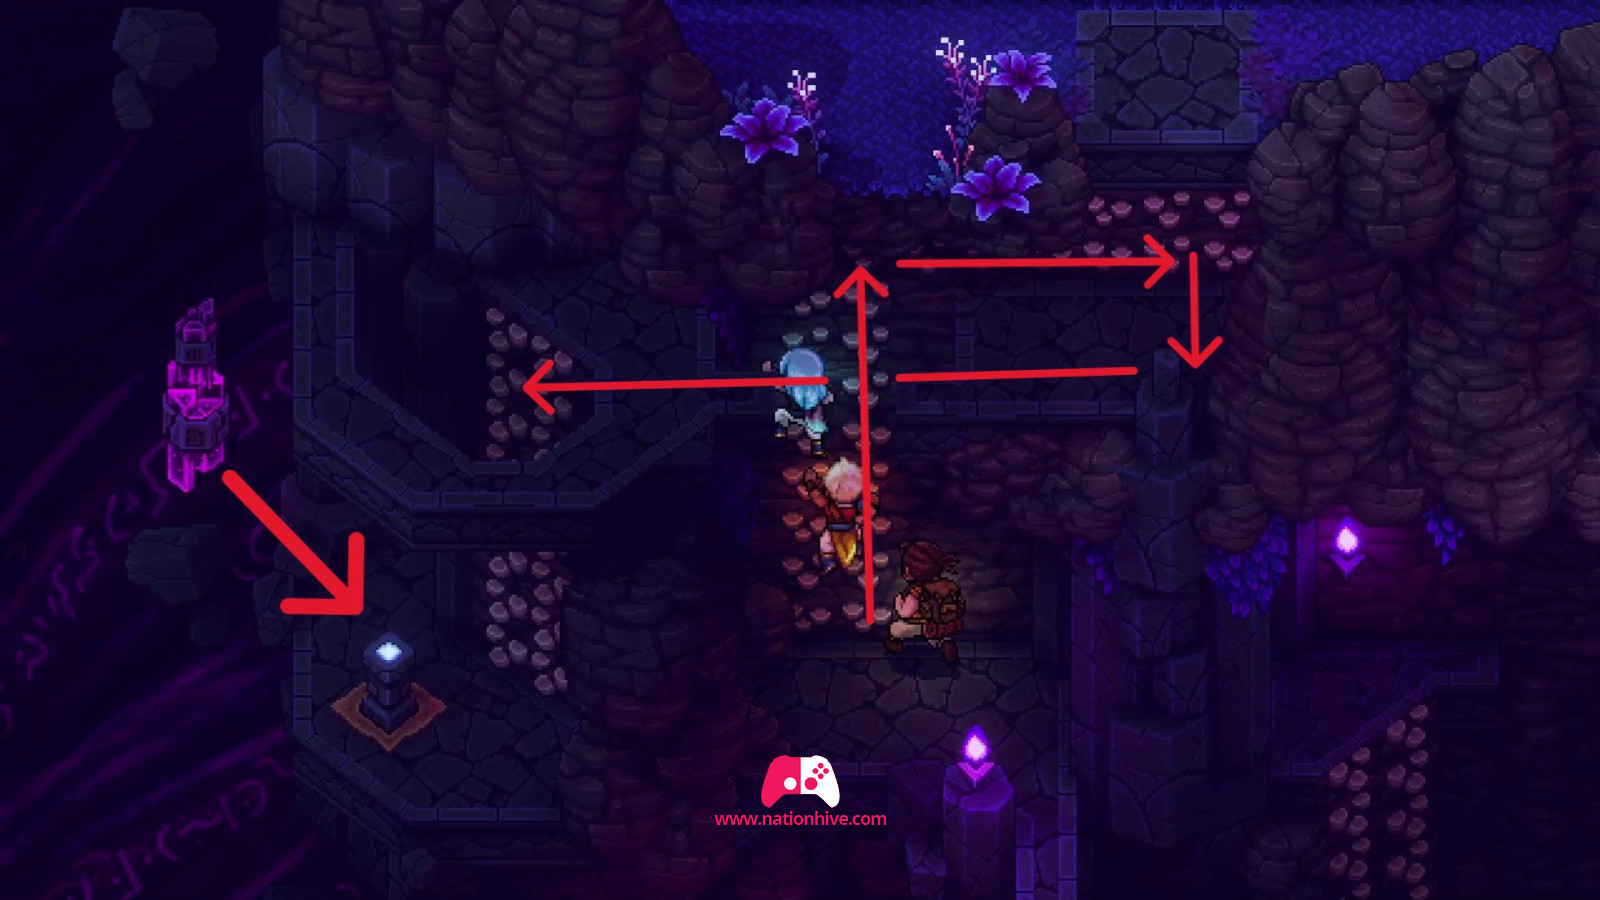
Inside, climb the platforms. Activate the structure at bottom left to reach the top platform.
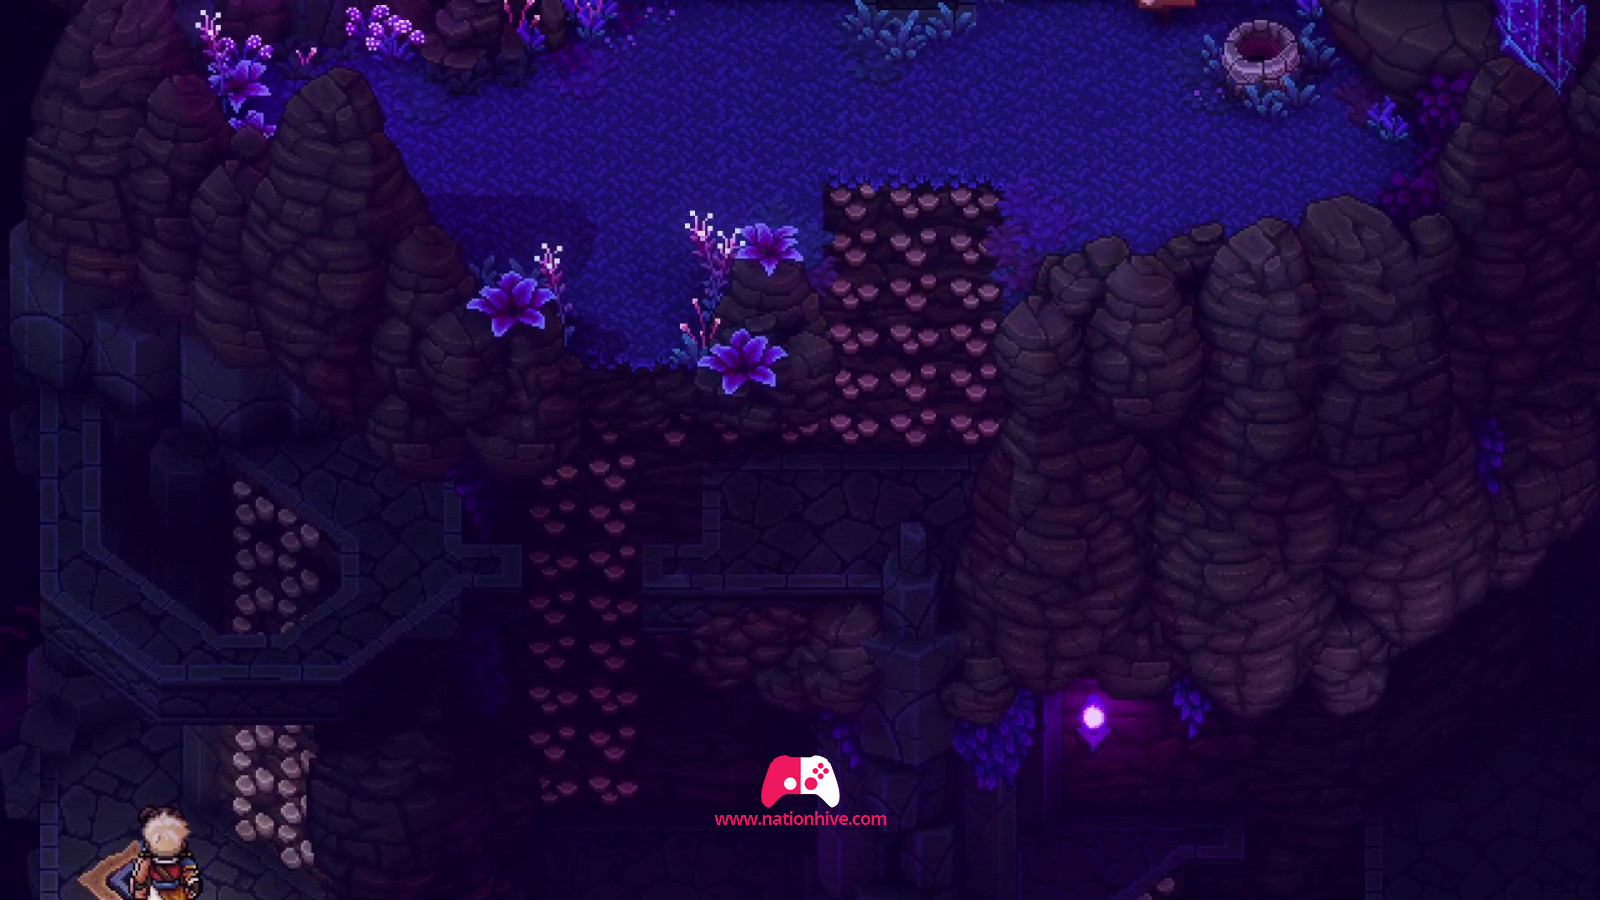
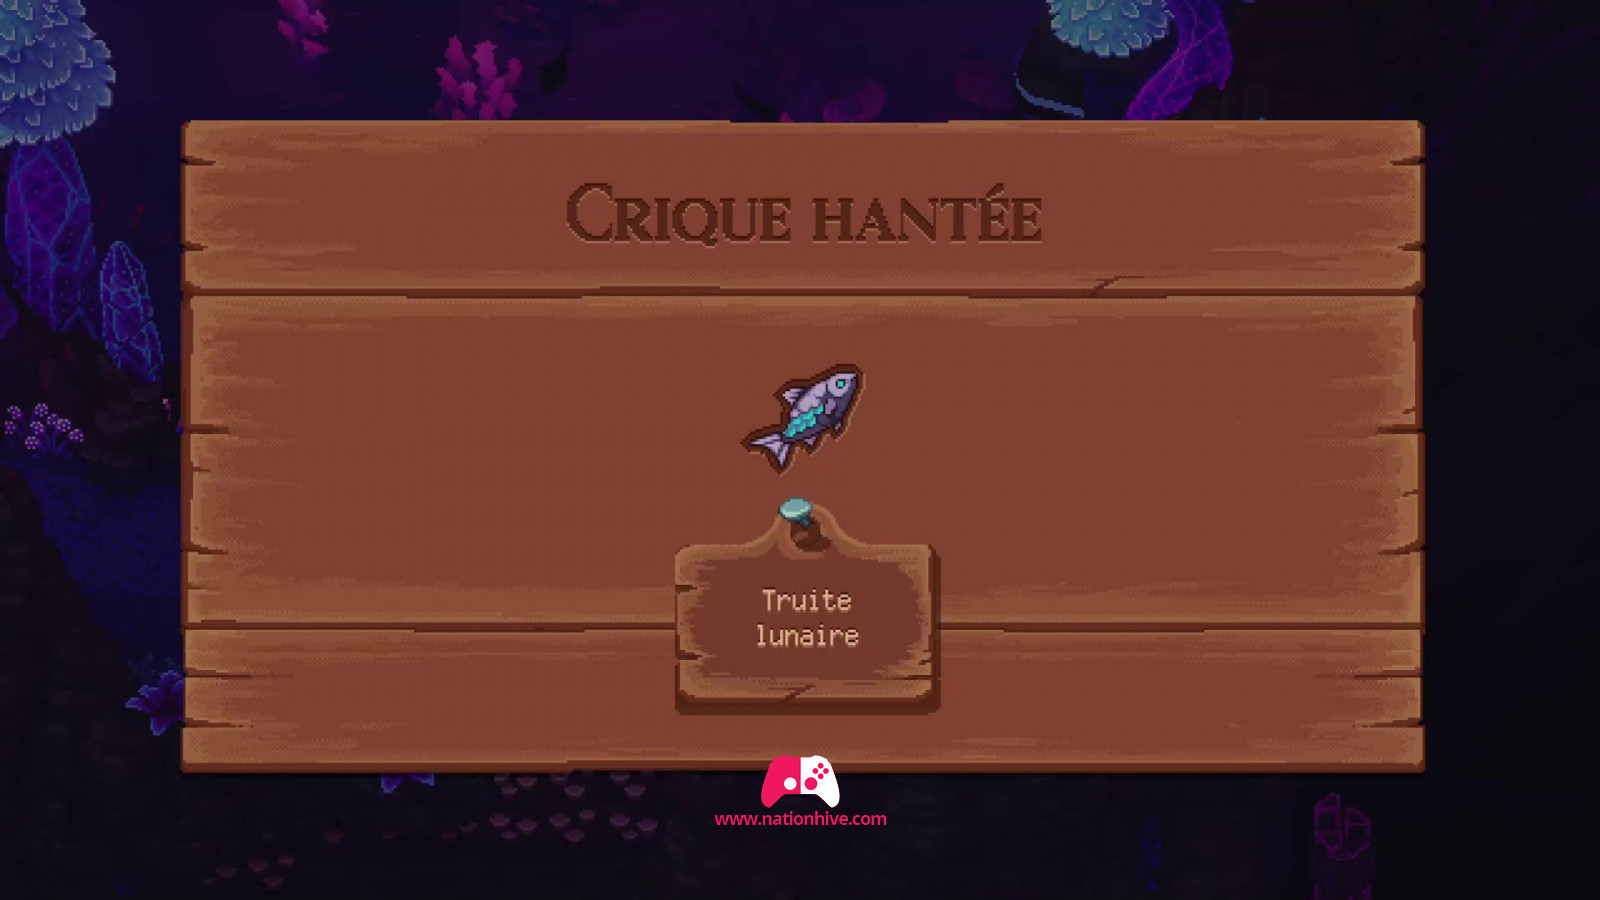
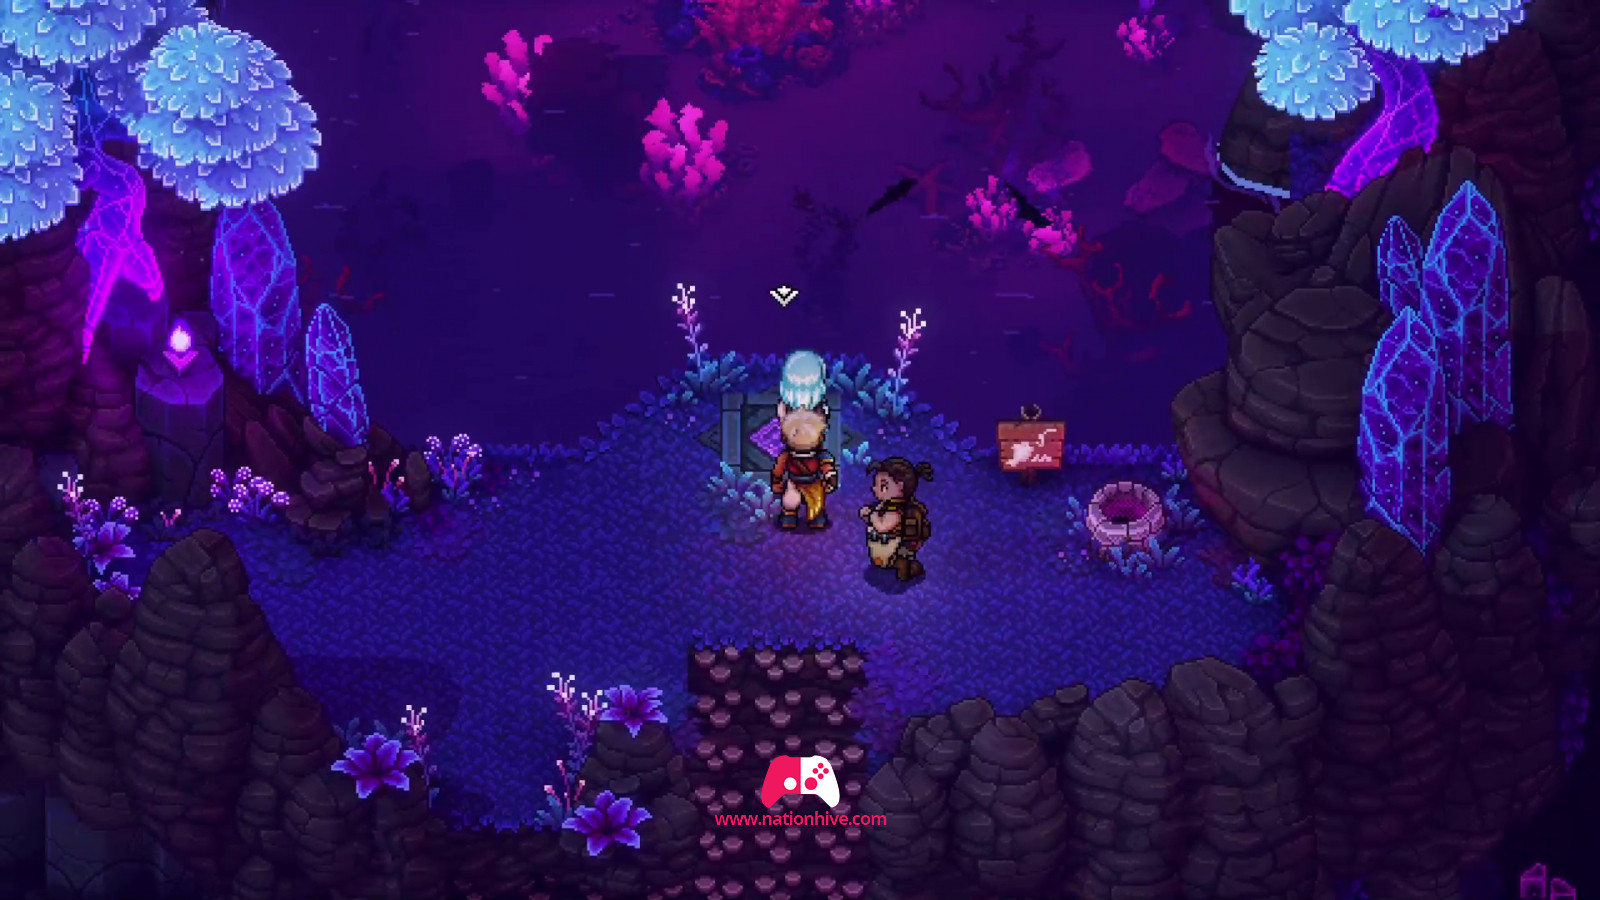
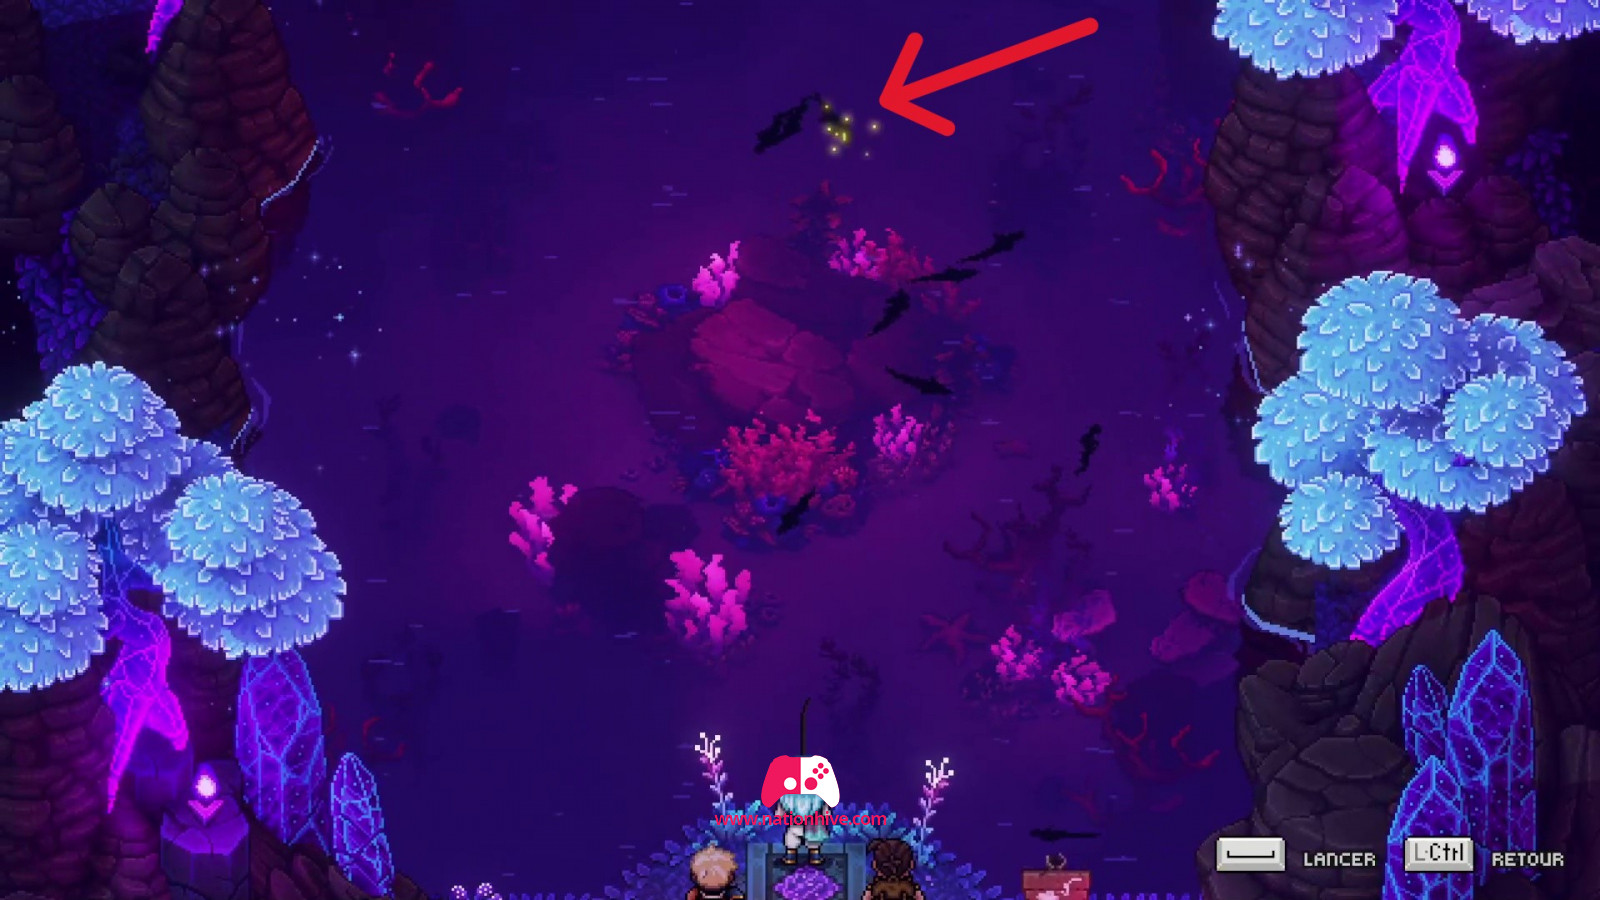
Climb up and head for the well. You'll be able to catch lunar trout. Stand on the purple platform to fish. While you're fishing, you'll notice a shiny fish, which you need to catch to get a gold watch.
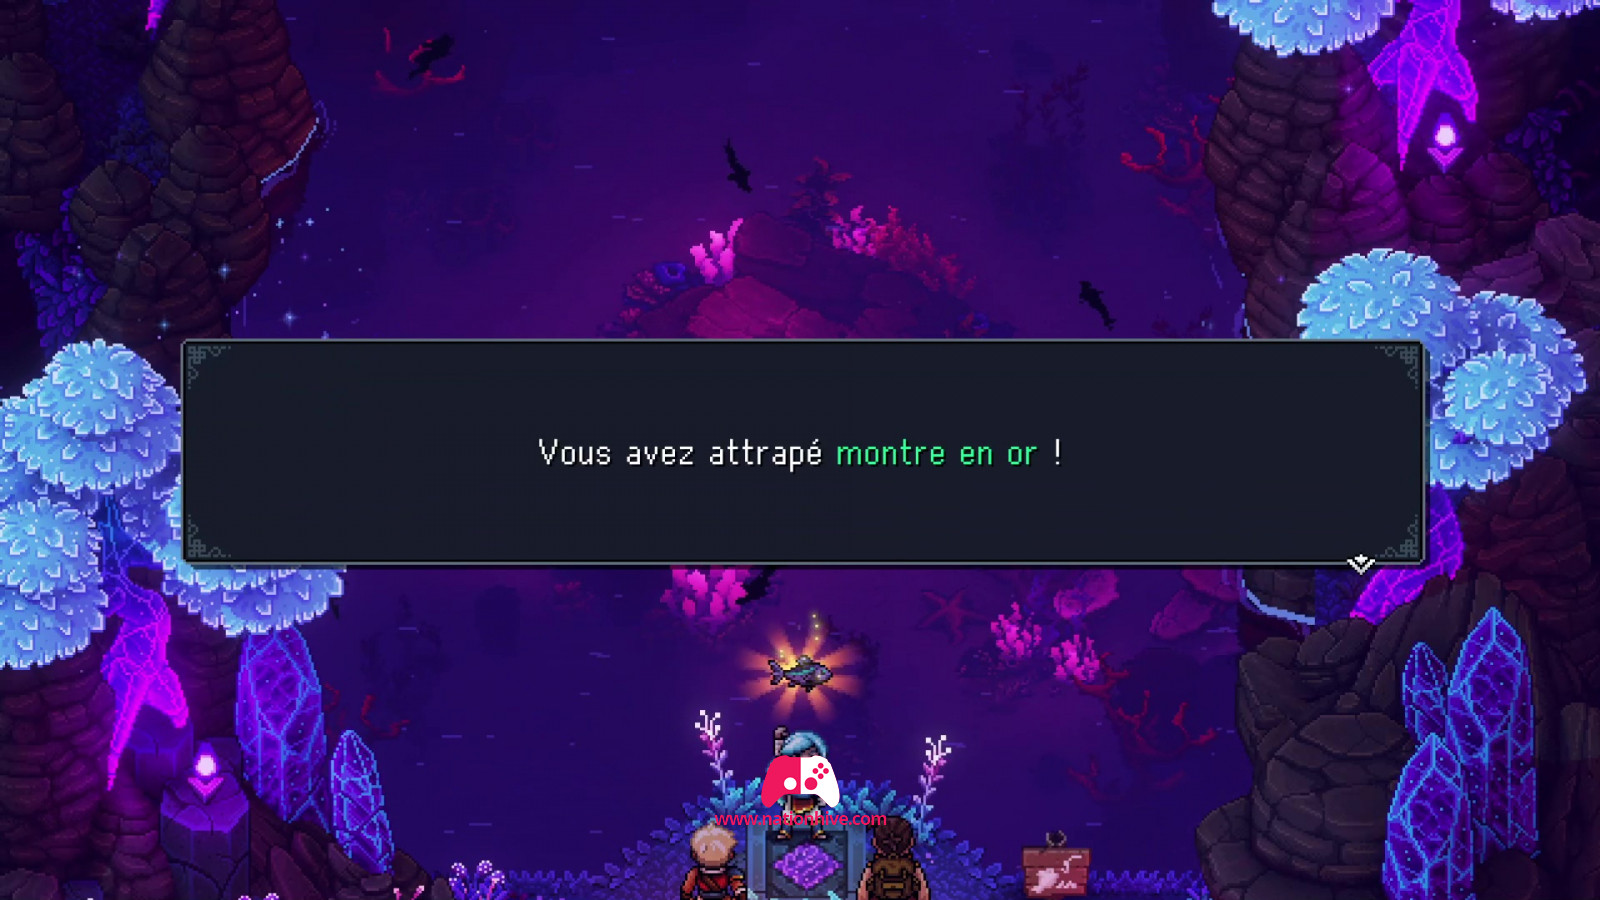
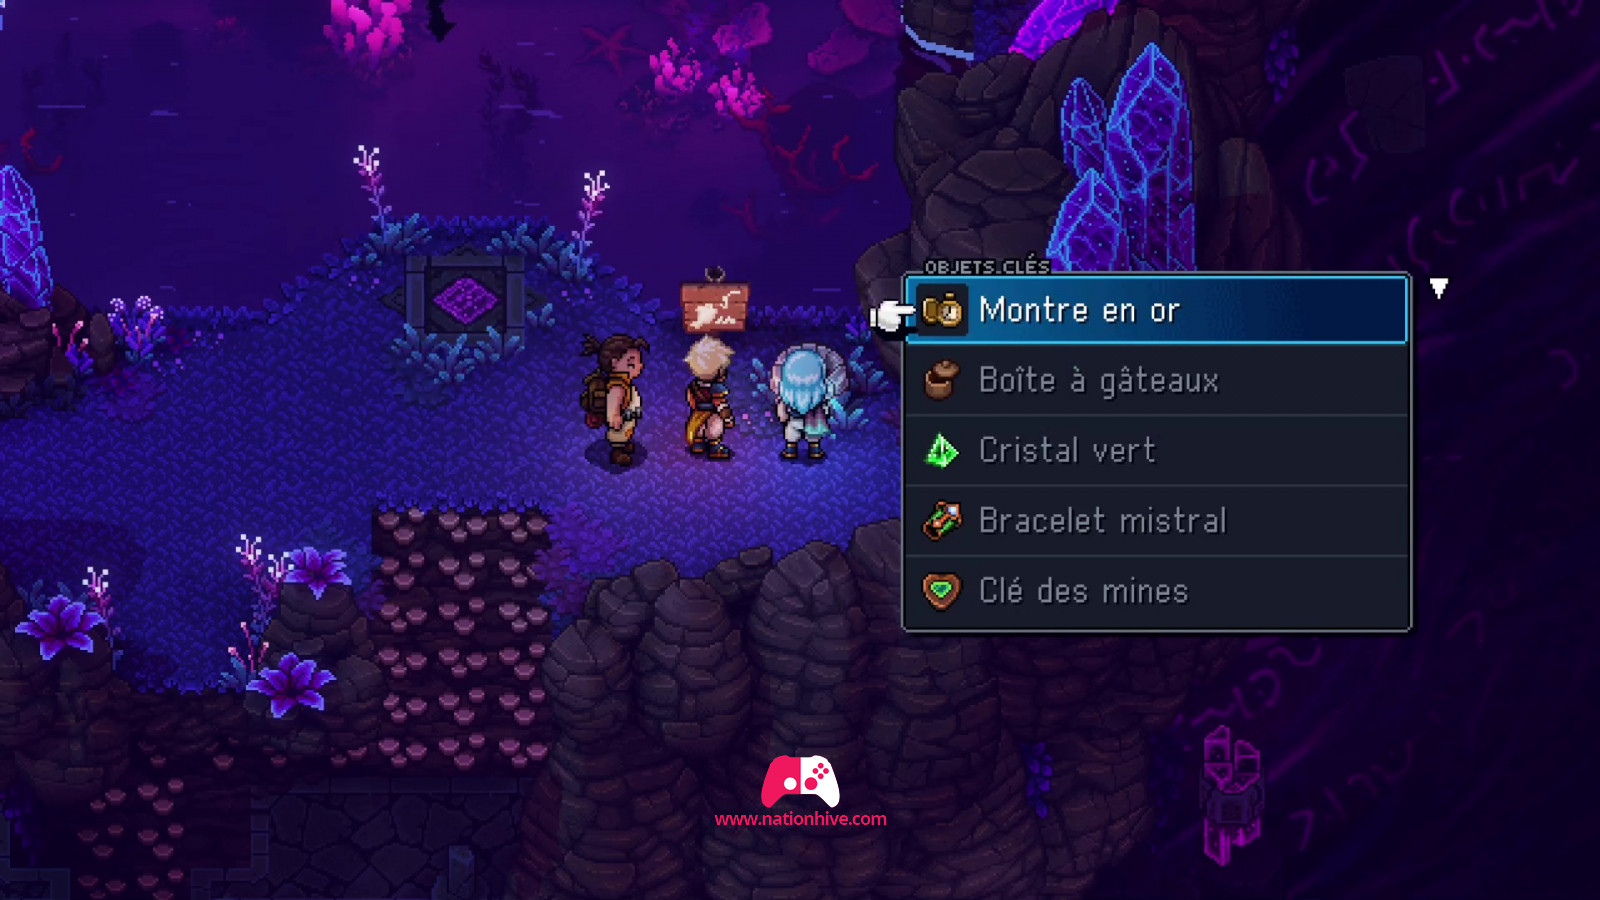
Then head for the well, where someone will ask you to find his lost watch. Give him back his watch to reveal a white diamond on the floor to the left. Stand on it to activate the last small pedestal in the center of the lab. Exit this area.
Place the last crystal on the empty base and go through the white portal. You'll suddenly face a boss.
Defeat Chromatic Apparition (BOSS)

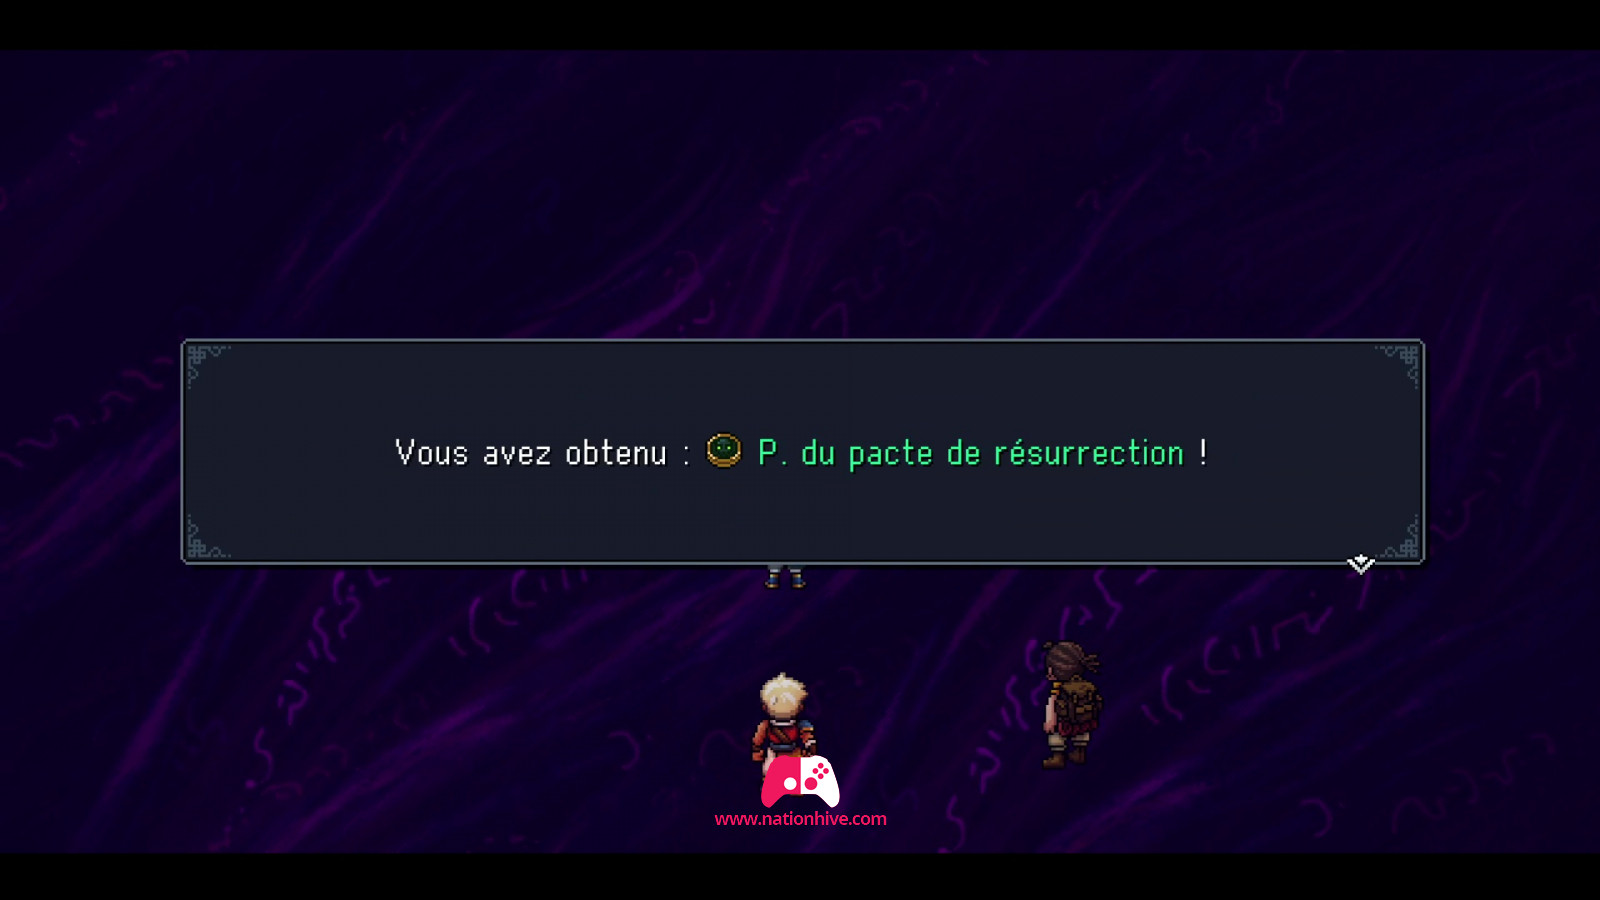
It's important to know that this boss can change his appearance to resist certain types of attack (physical or magical). That's why it's important to observe its form before choosing your type of attack.
Use dishes or healing spells as needed and continue attacking the boss. Once the boss has been defeated, collect the resurrection pact coin and return to Brisk to speak to the captain.
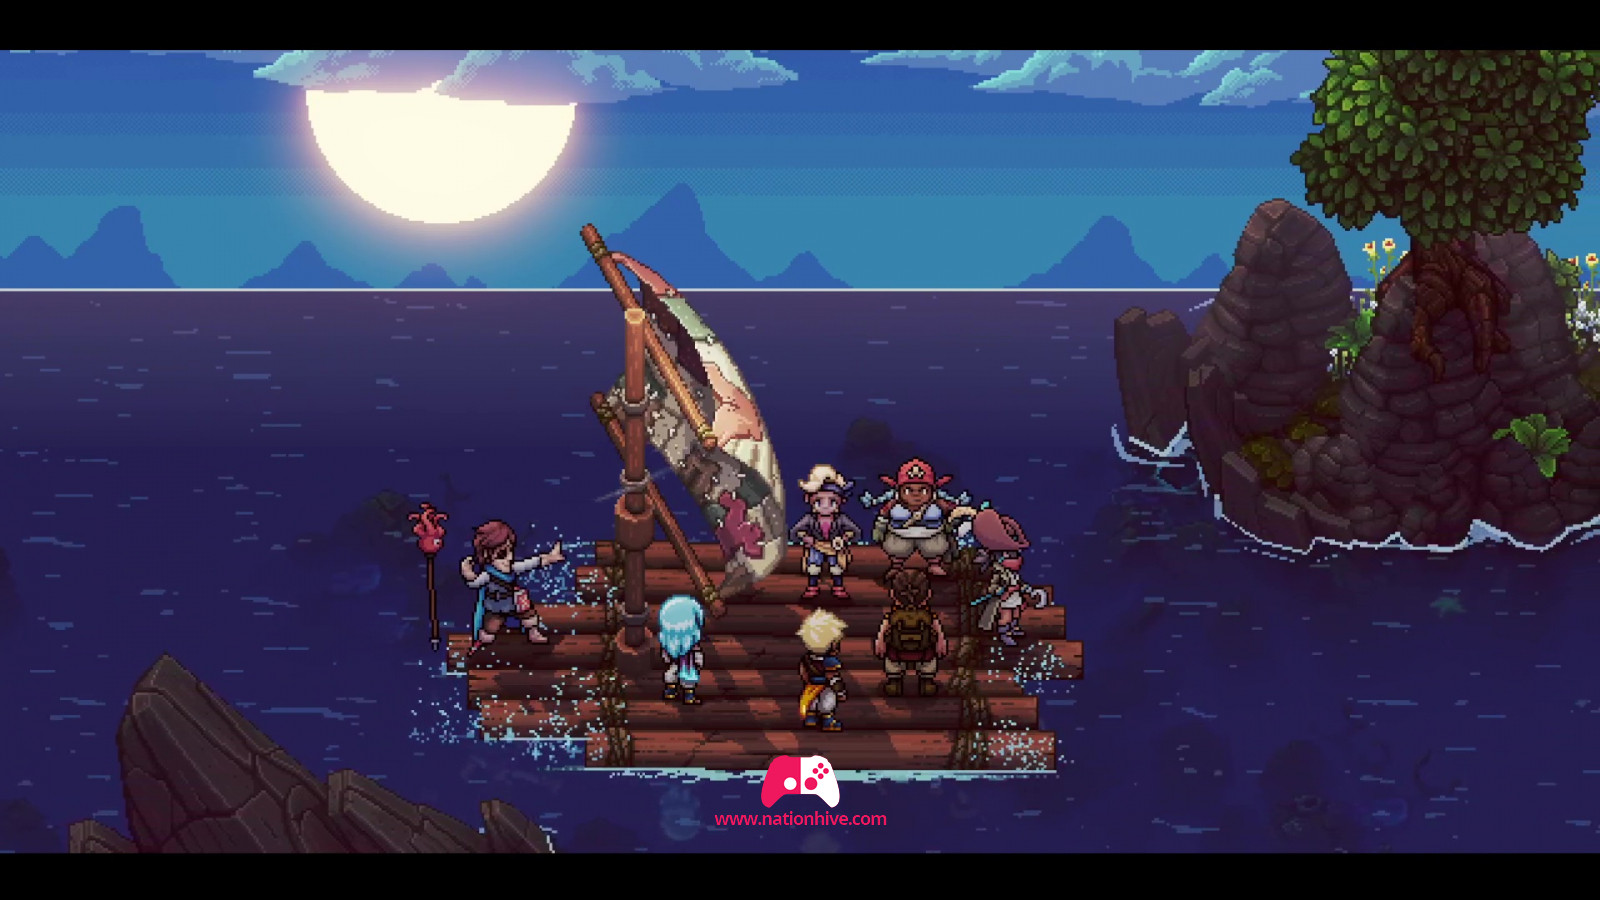
Reach the Island
Once you've arrived in the port city of Brisk, head for the big boat on the waterfront to meet the captain and her crew. Now that you've completed your mission, the captain will take you to the Island.