Part 6: Wind Tunnel Mines

In this Sea of Stars walkthrough, we'll take you through the entire process of Part 6: Wind Tunnel Mines.
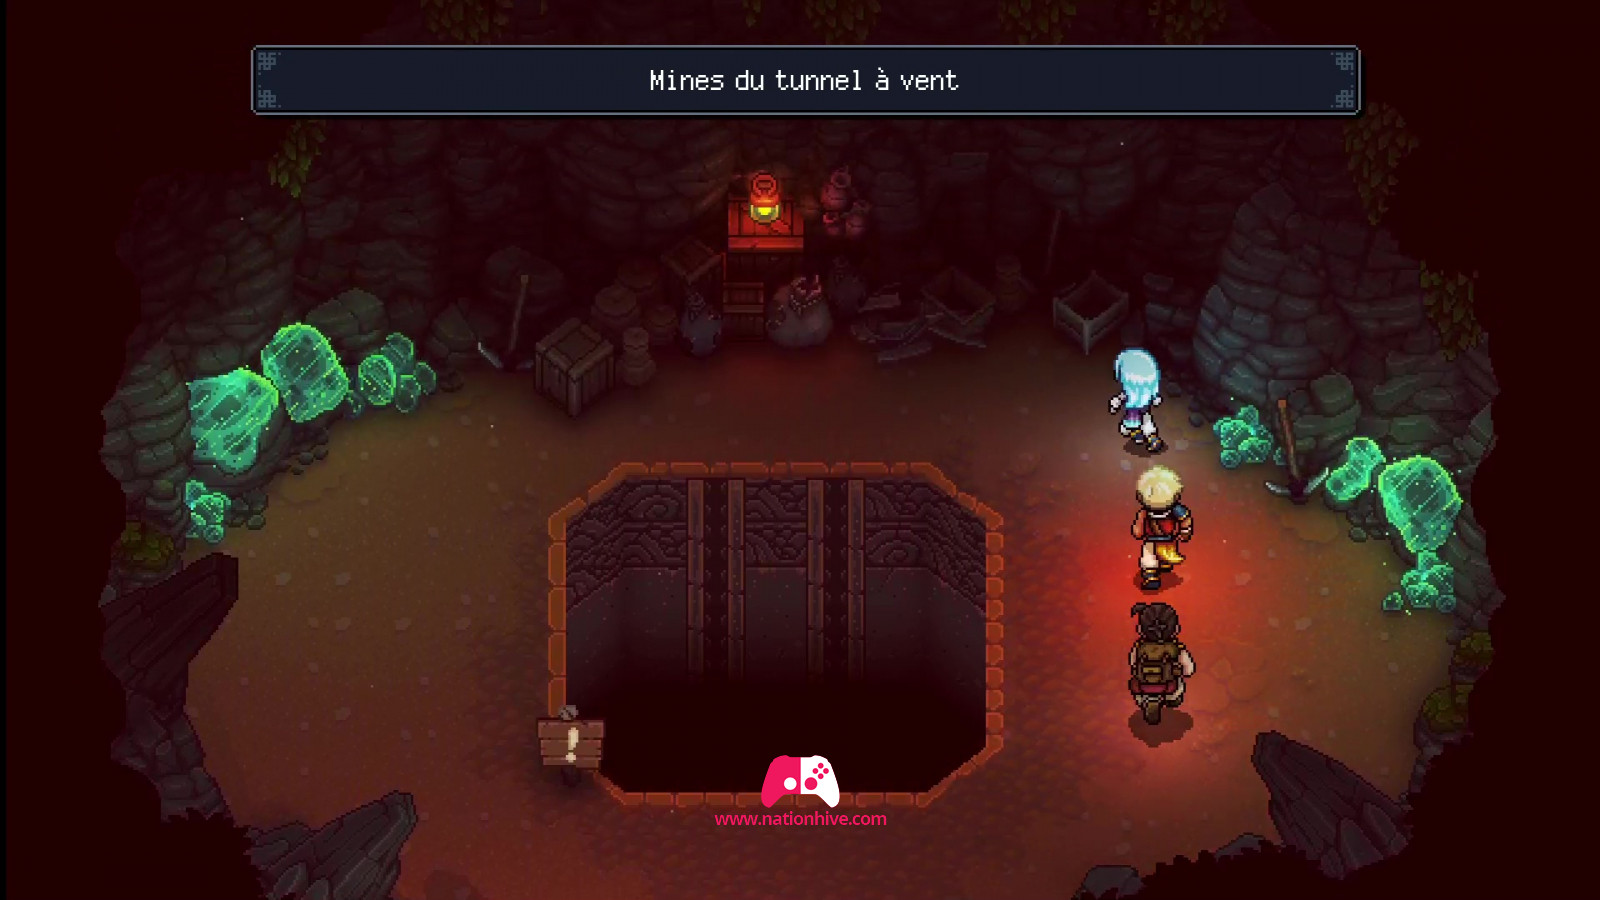
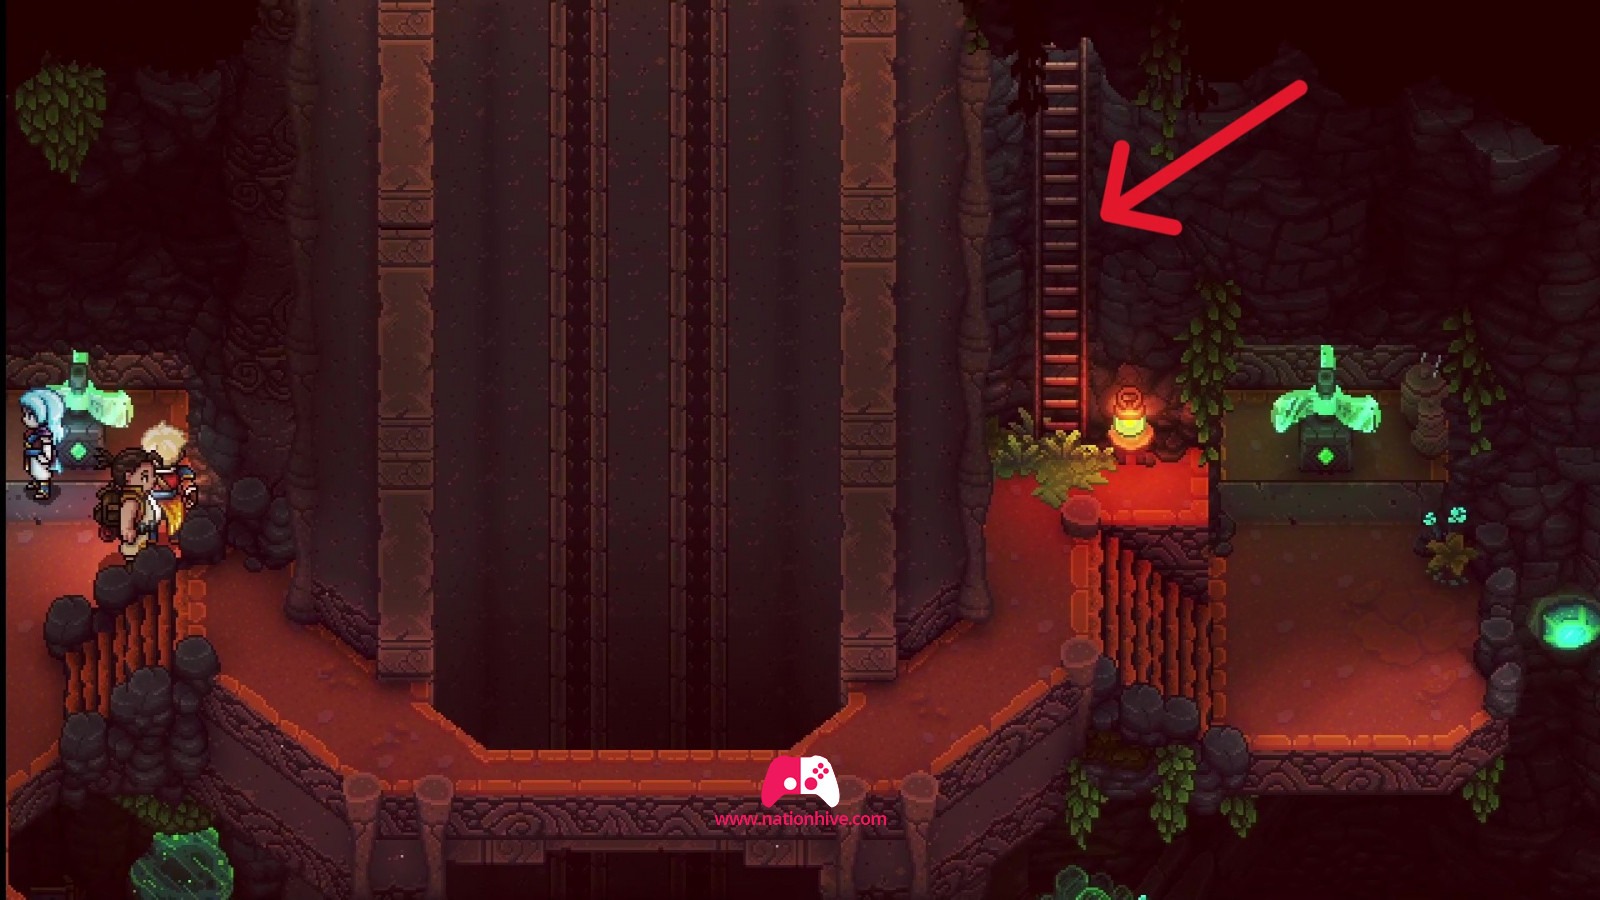
Wind Tunnel Mines - Part 1
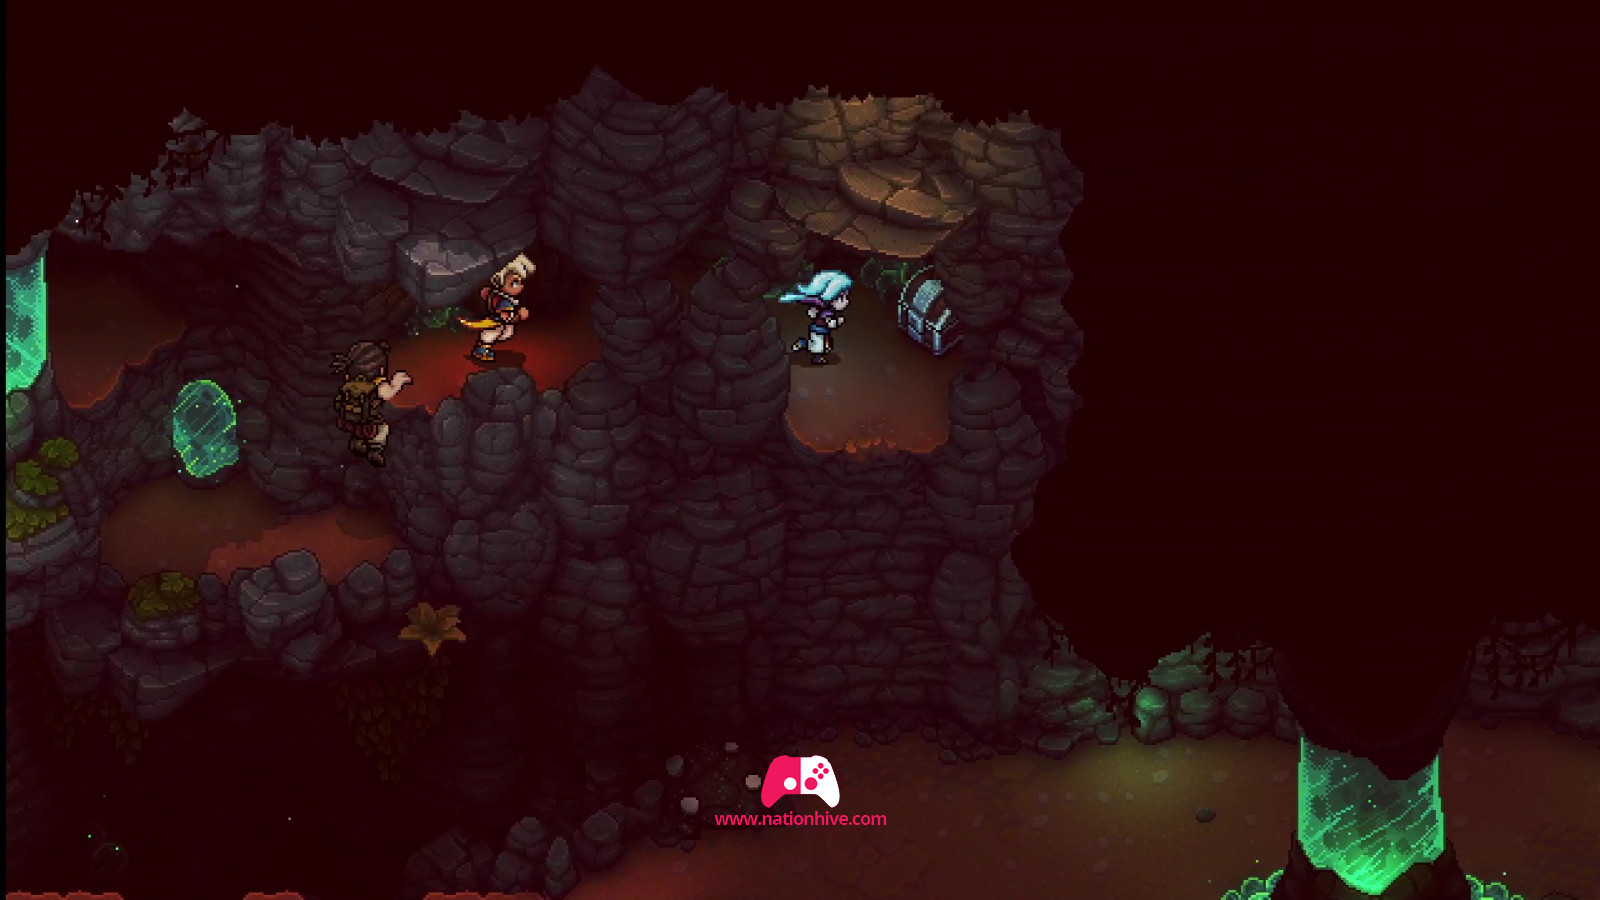
Climb to the top and enter the mine to begin your mission. Several puzzles await you!
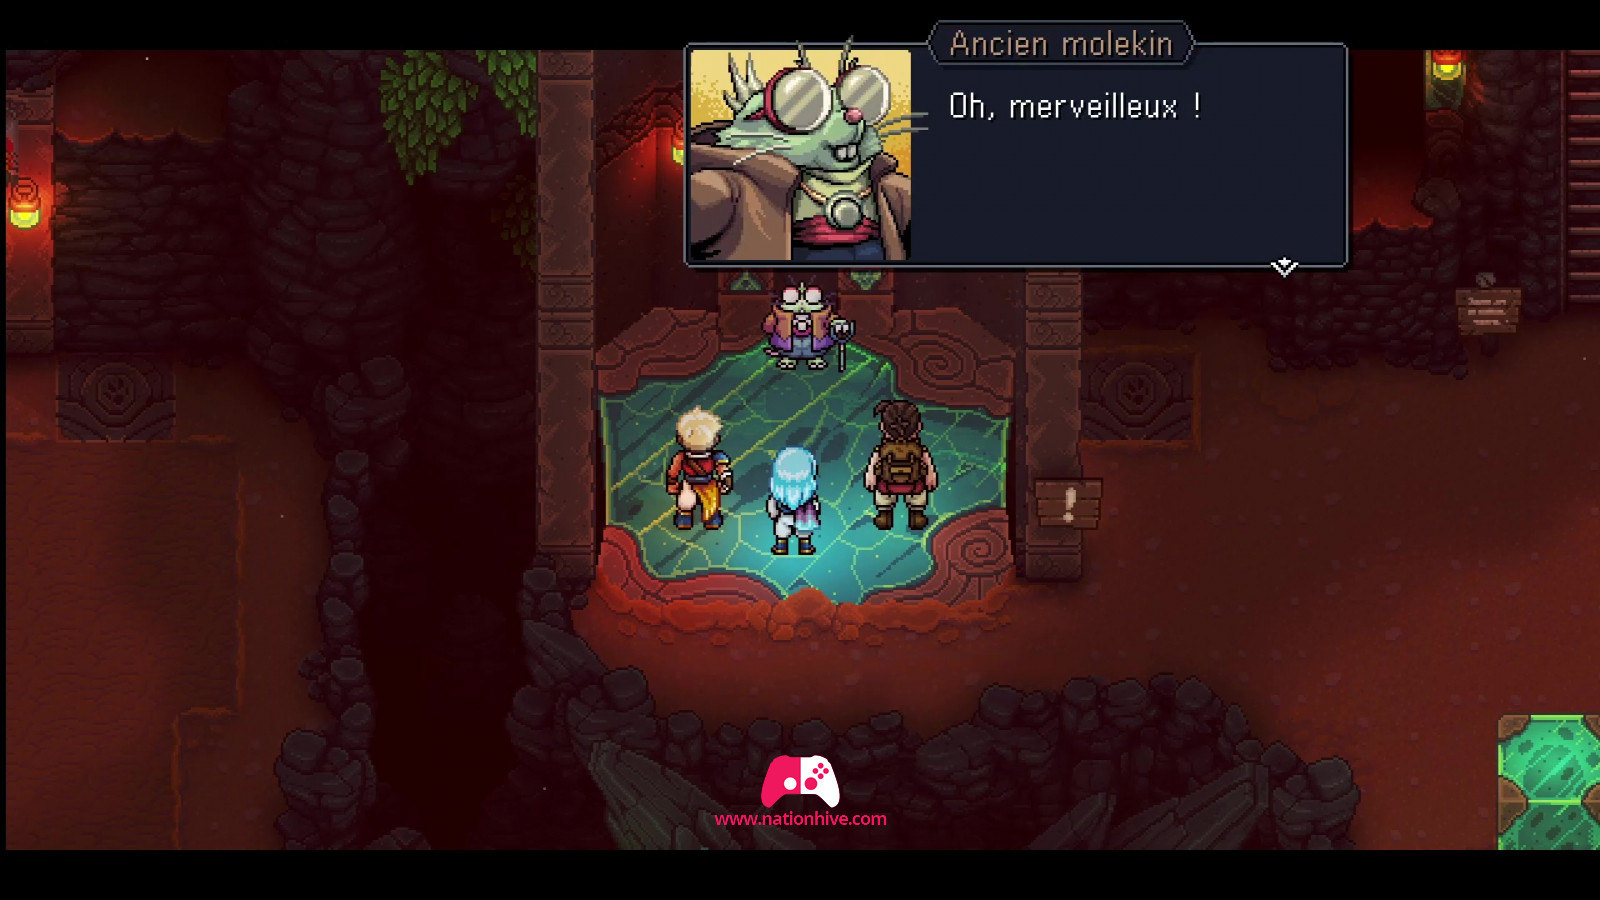
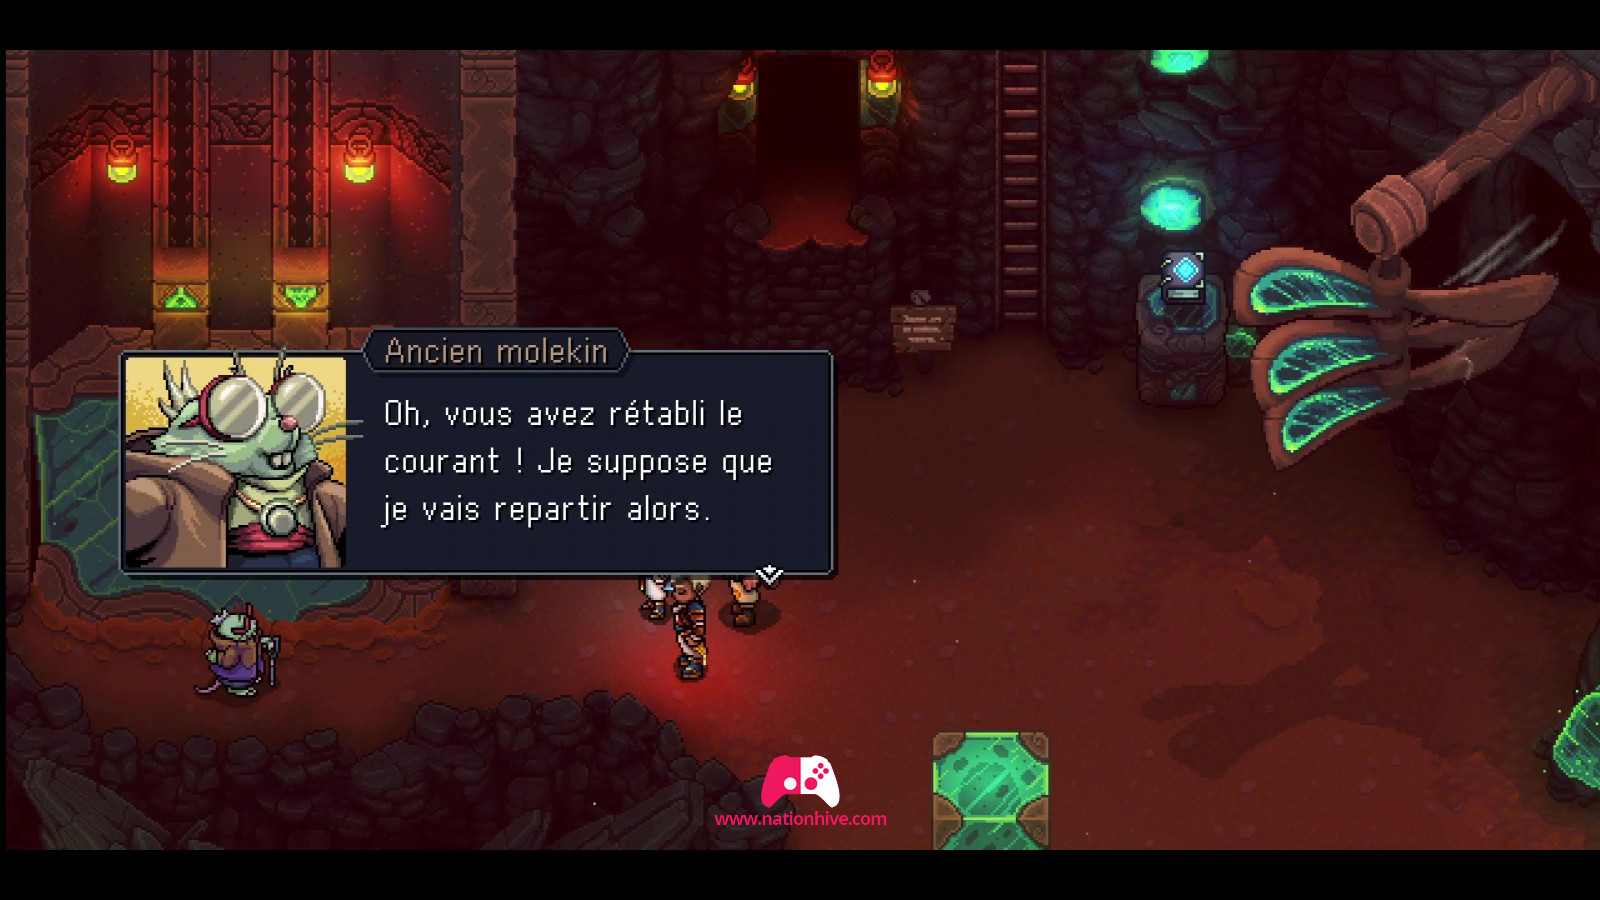
Once inside, jump down and meet the Ancient Molekin. You can save your game using the book, if you wish. It's also possible to cook dishes or buy materials if you enter the miners' break room, located to the left of the book.
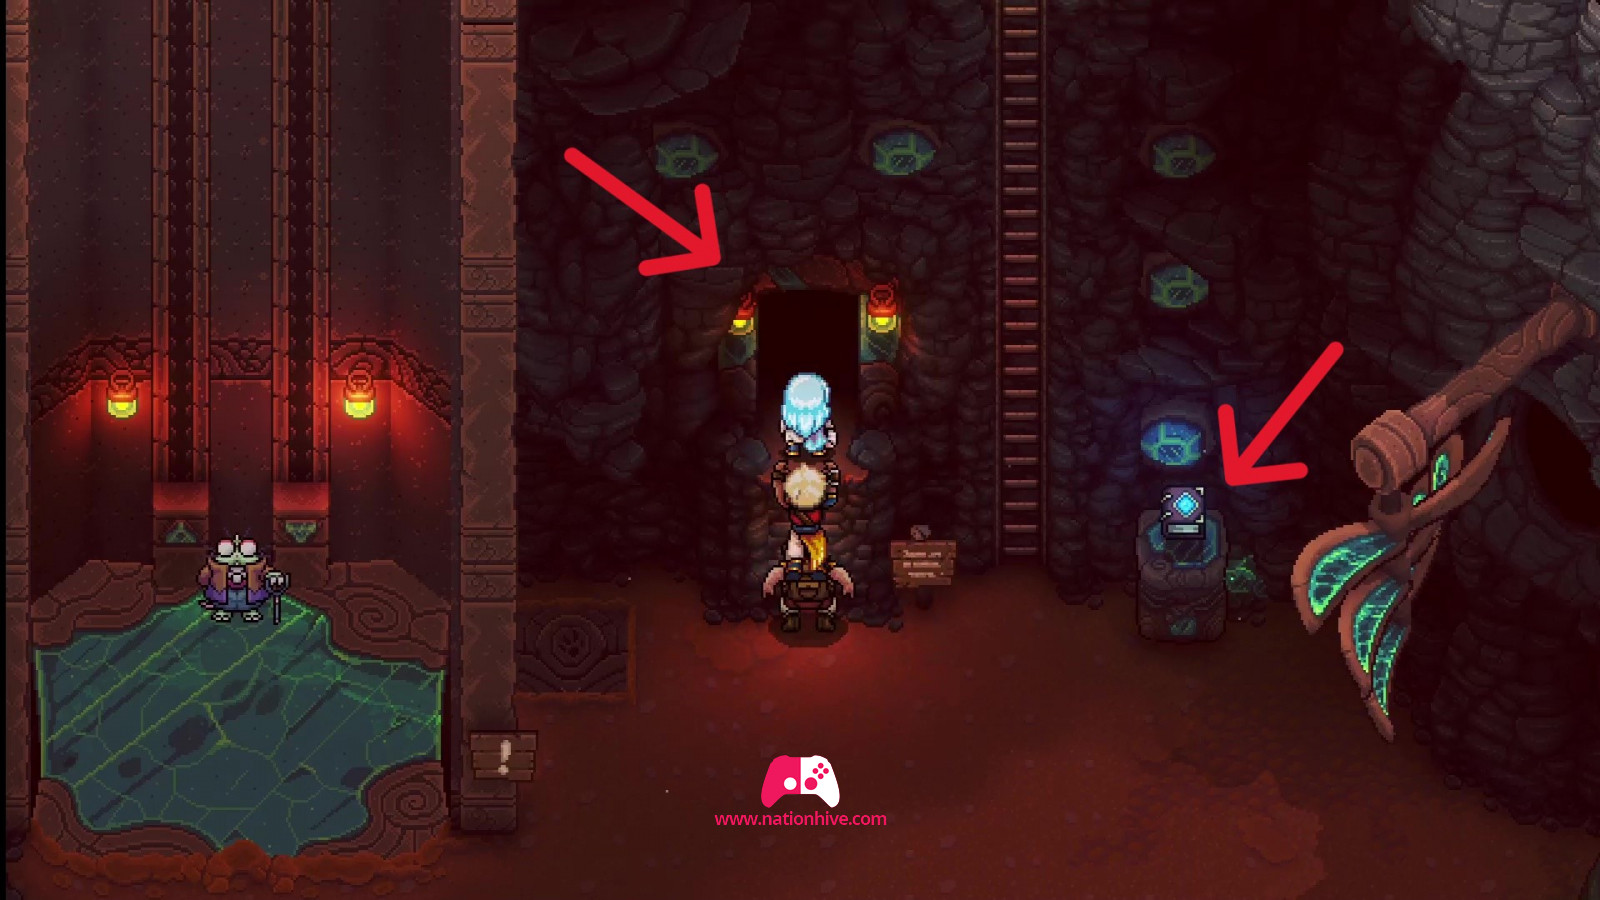
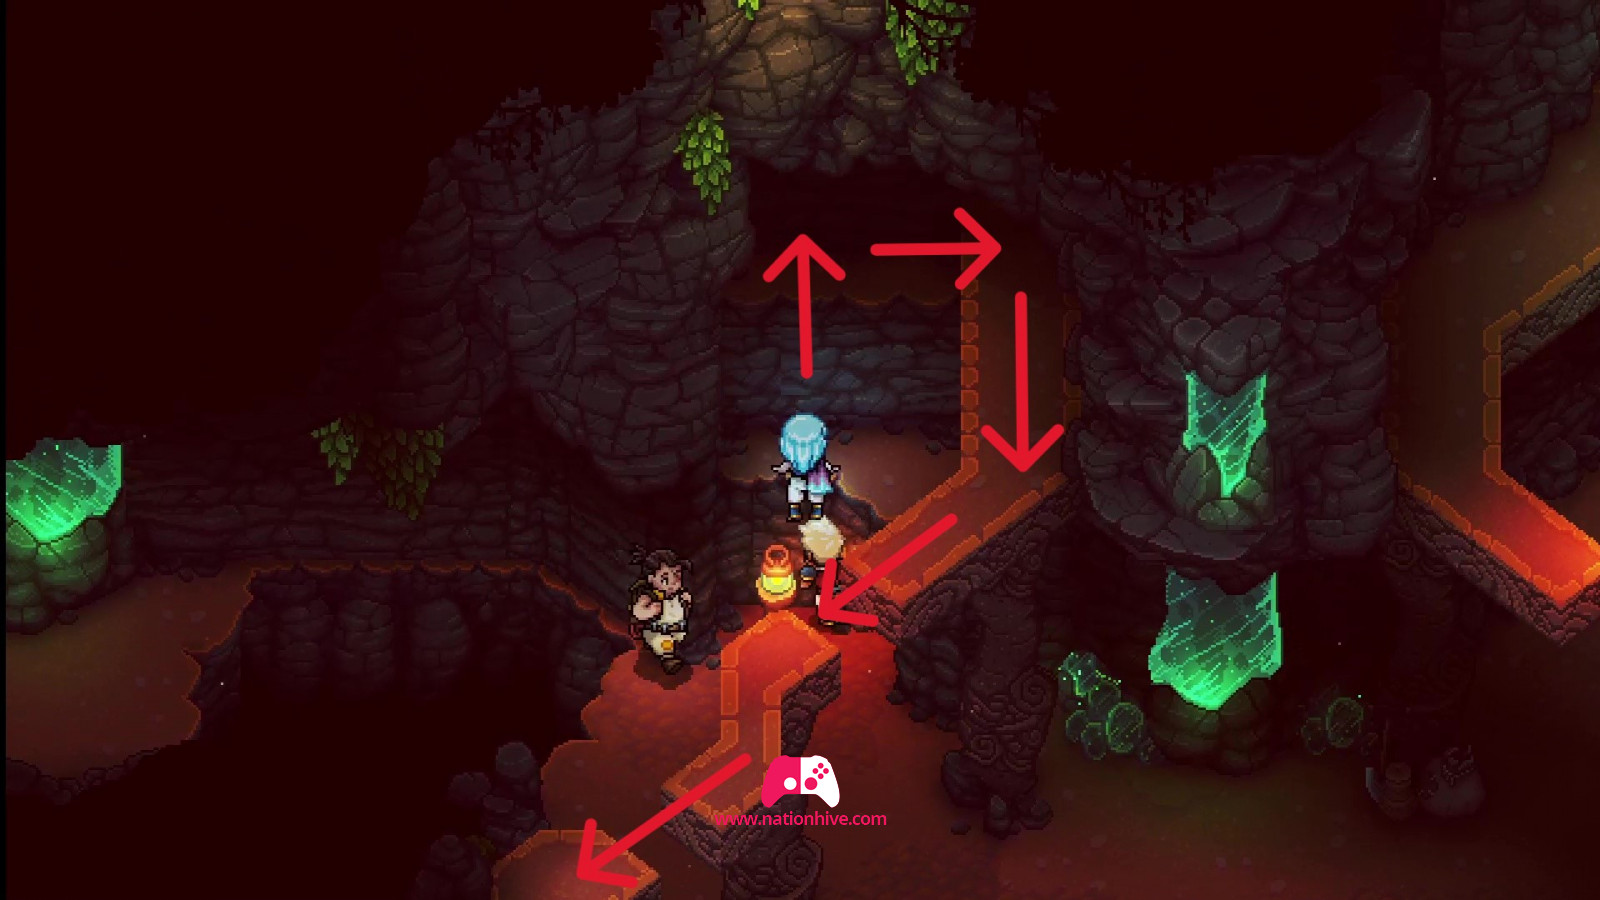
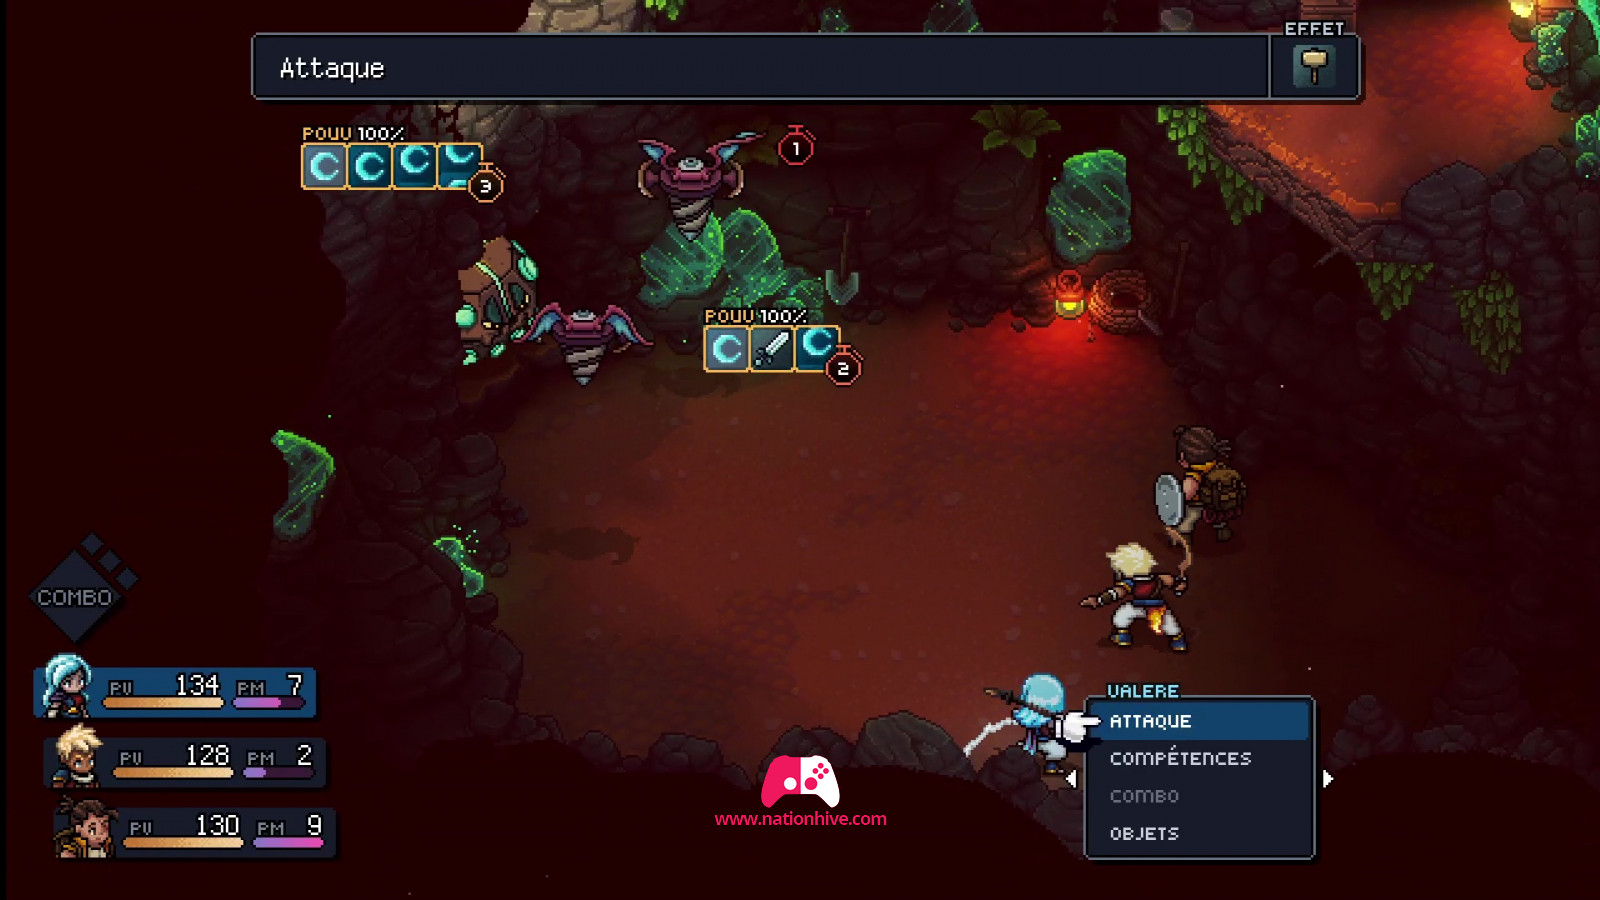
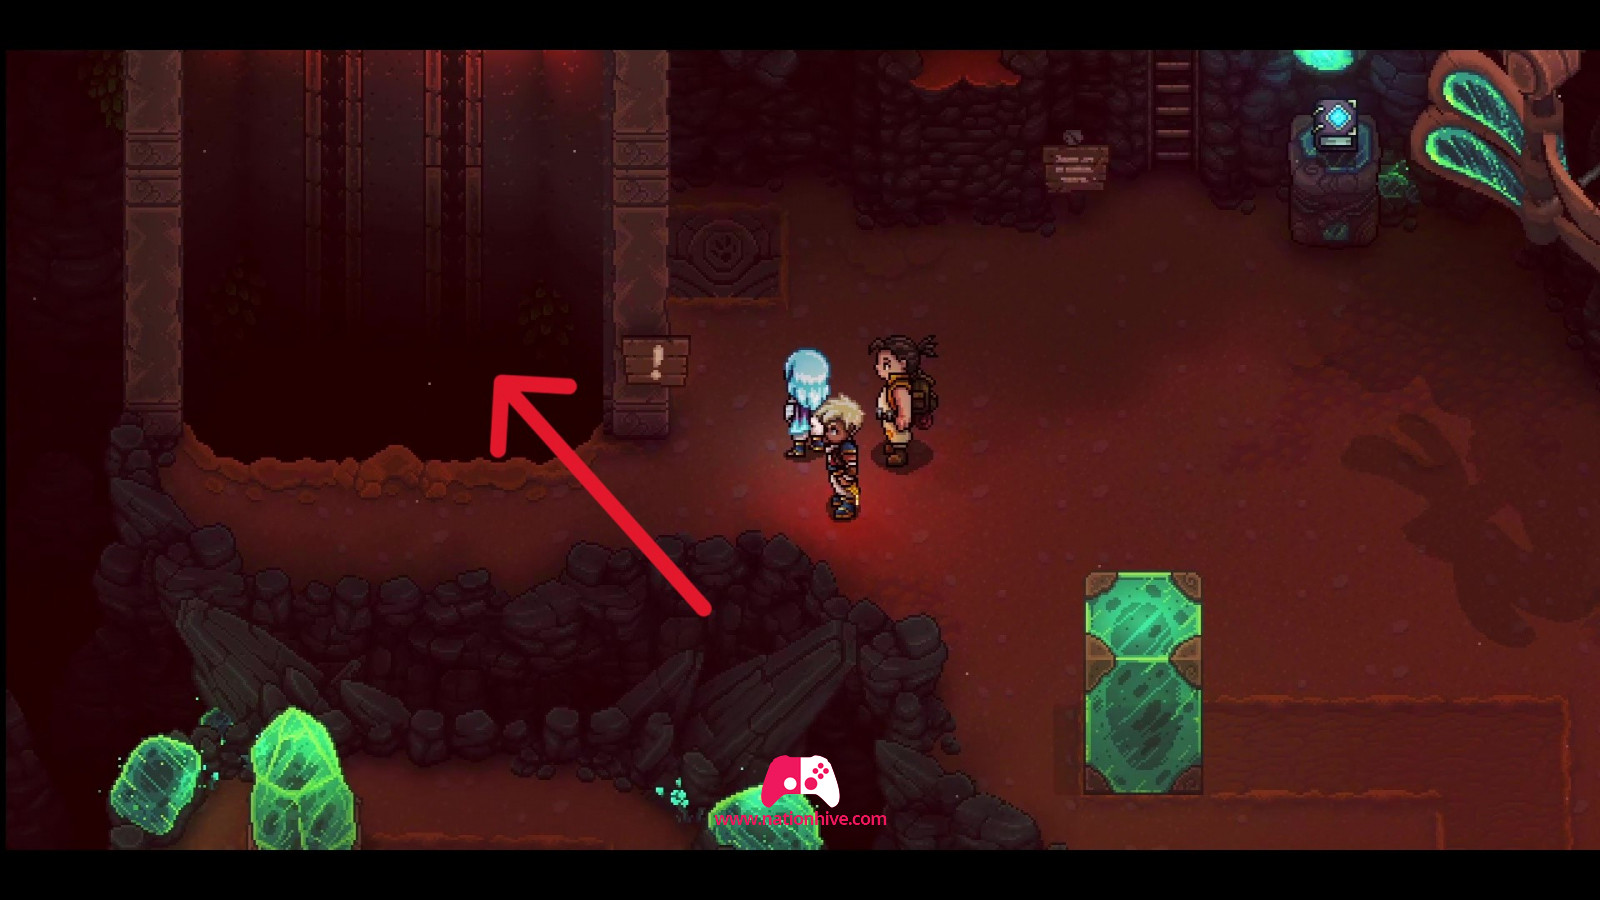
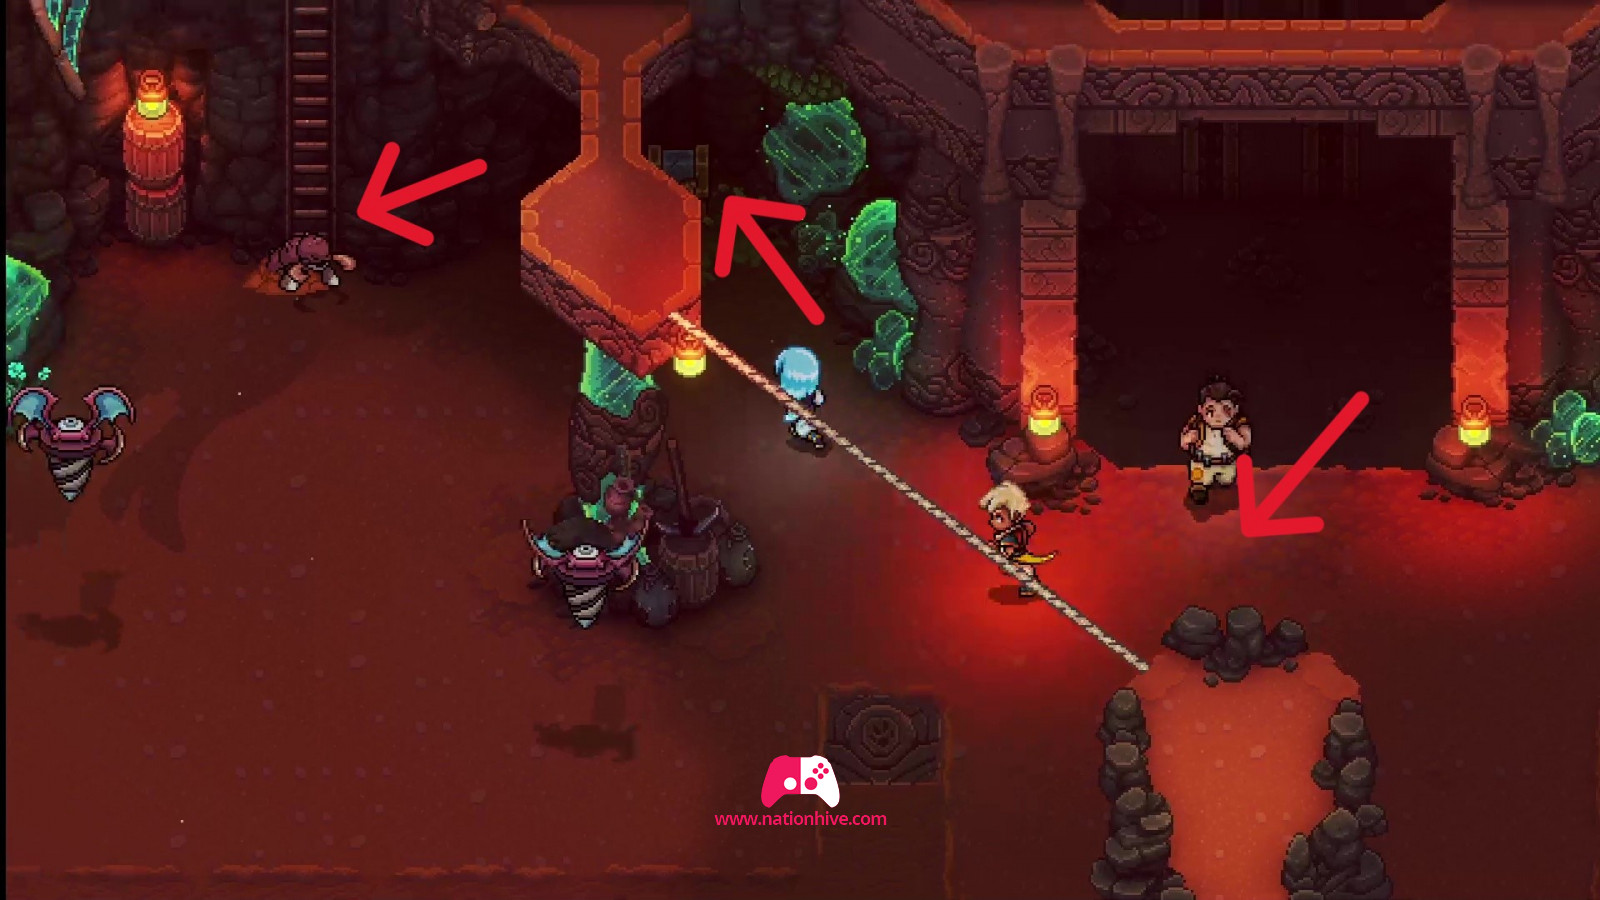
When you're ready, climb the ladder and enter the mine. Move forward and activate the lever in front of you. This will reveal a platform which will allow you to cross over to the right.
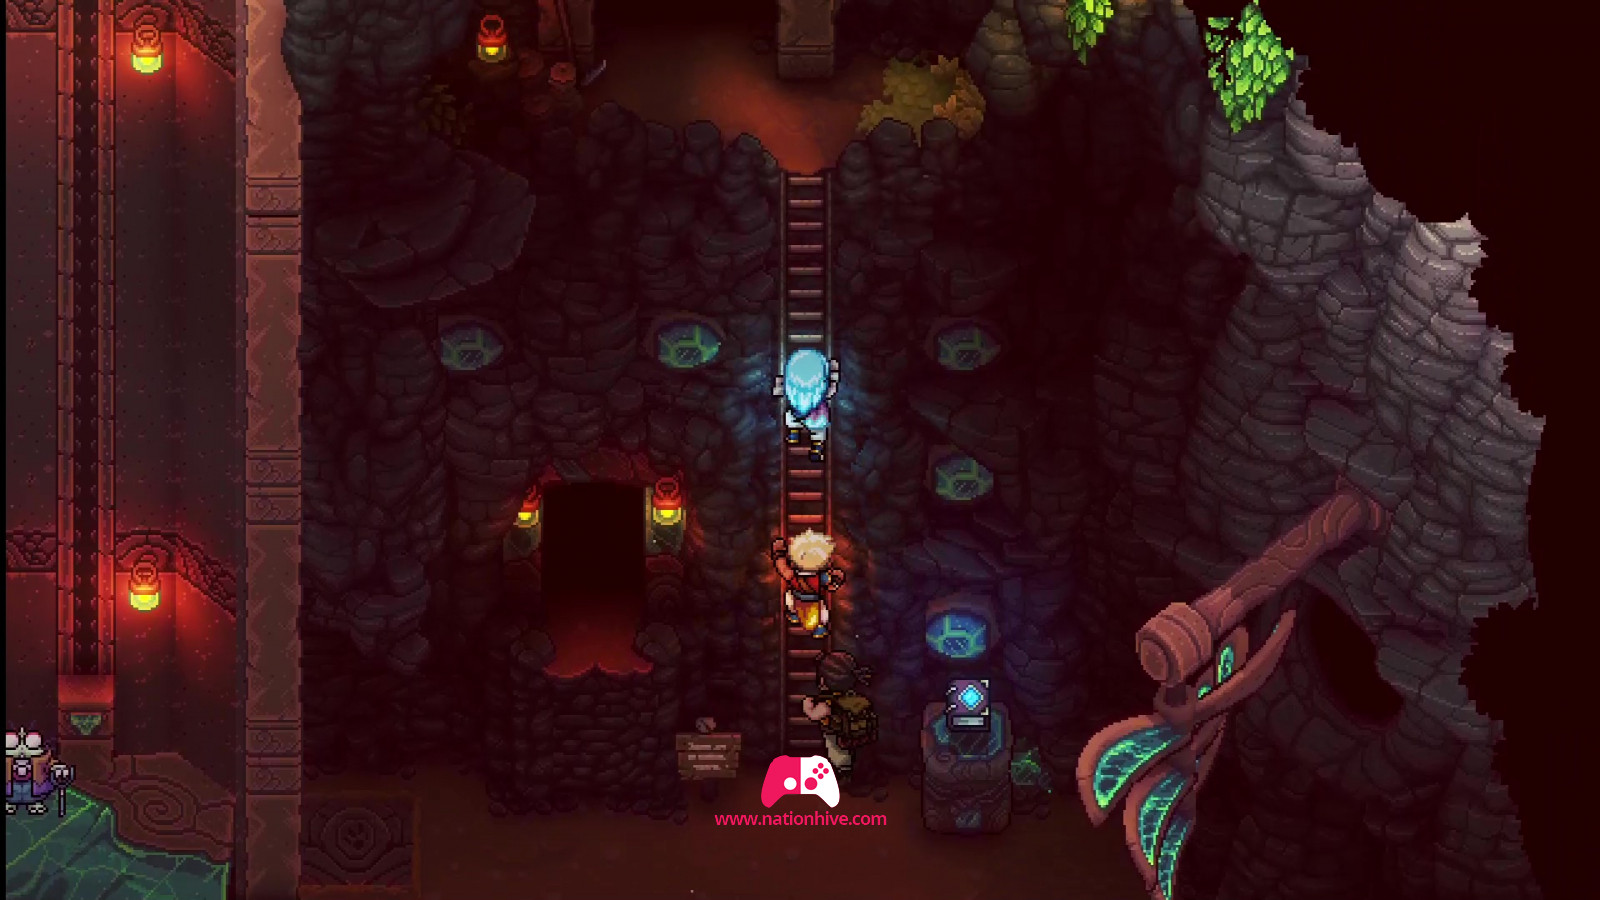
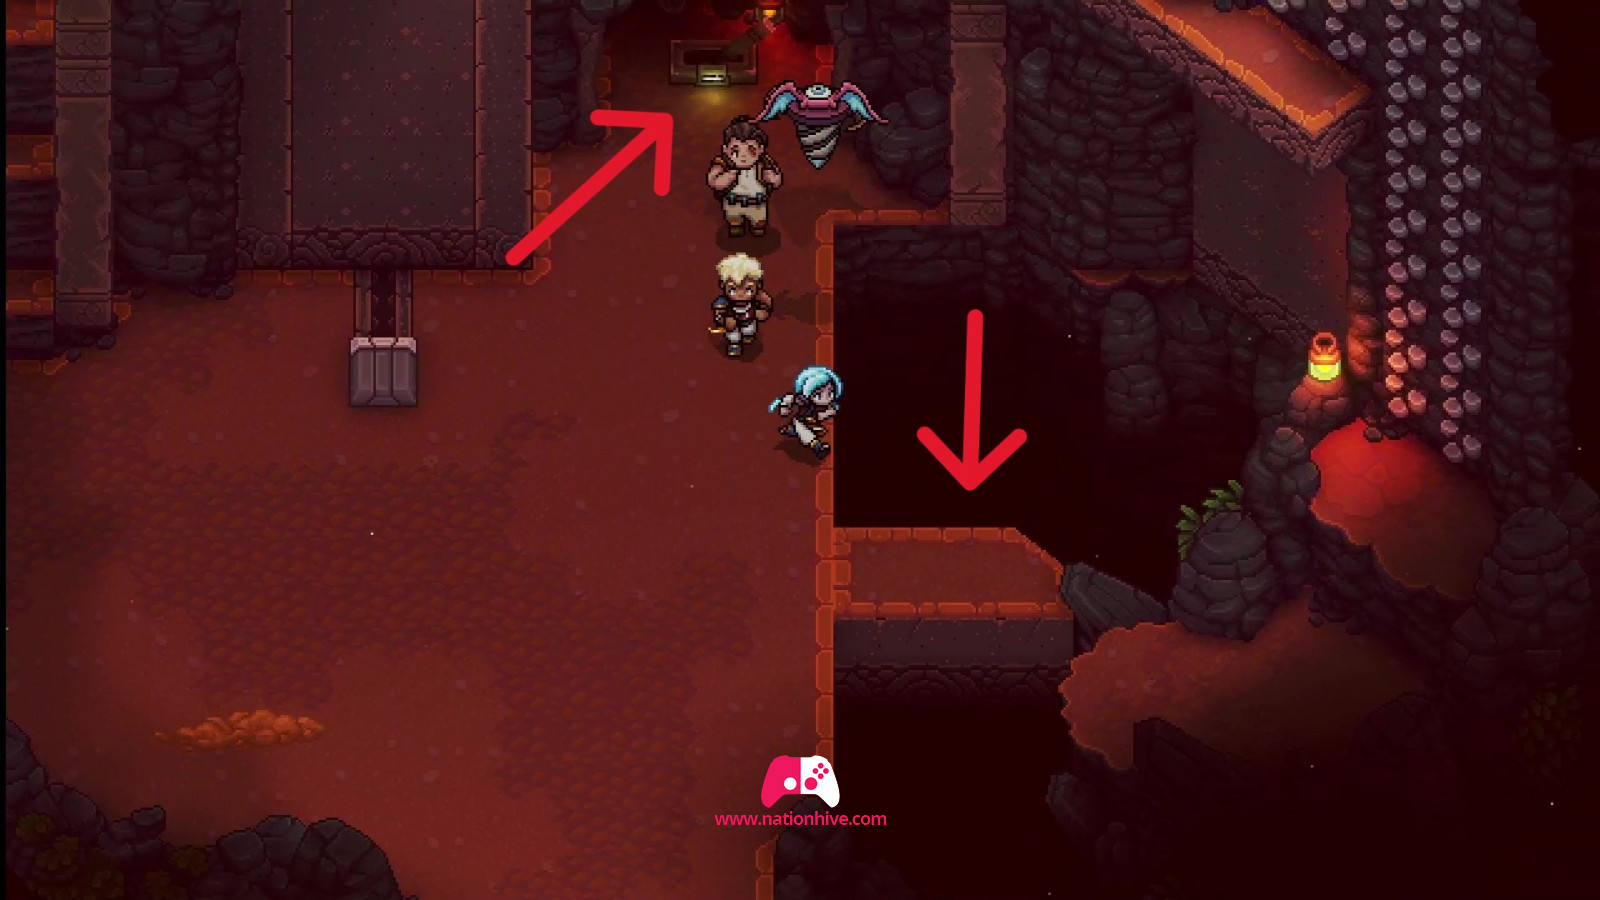
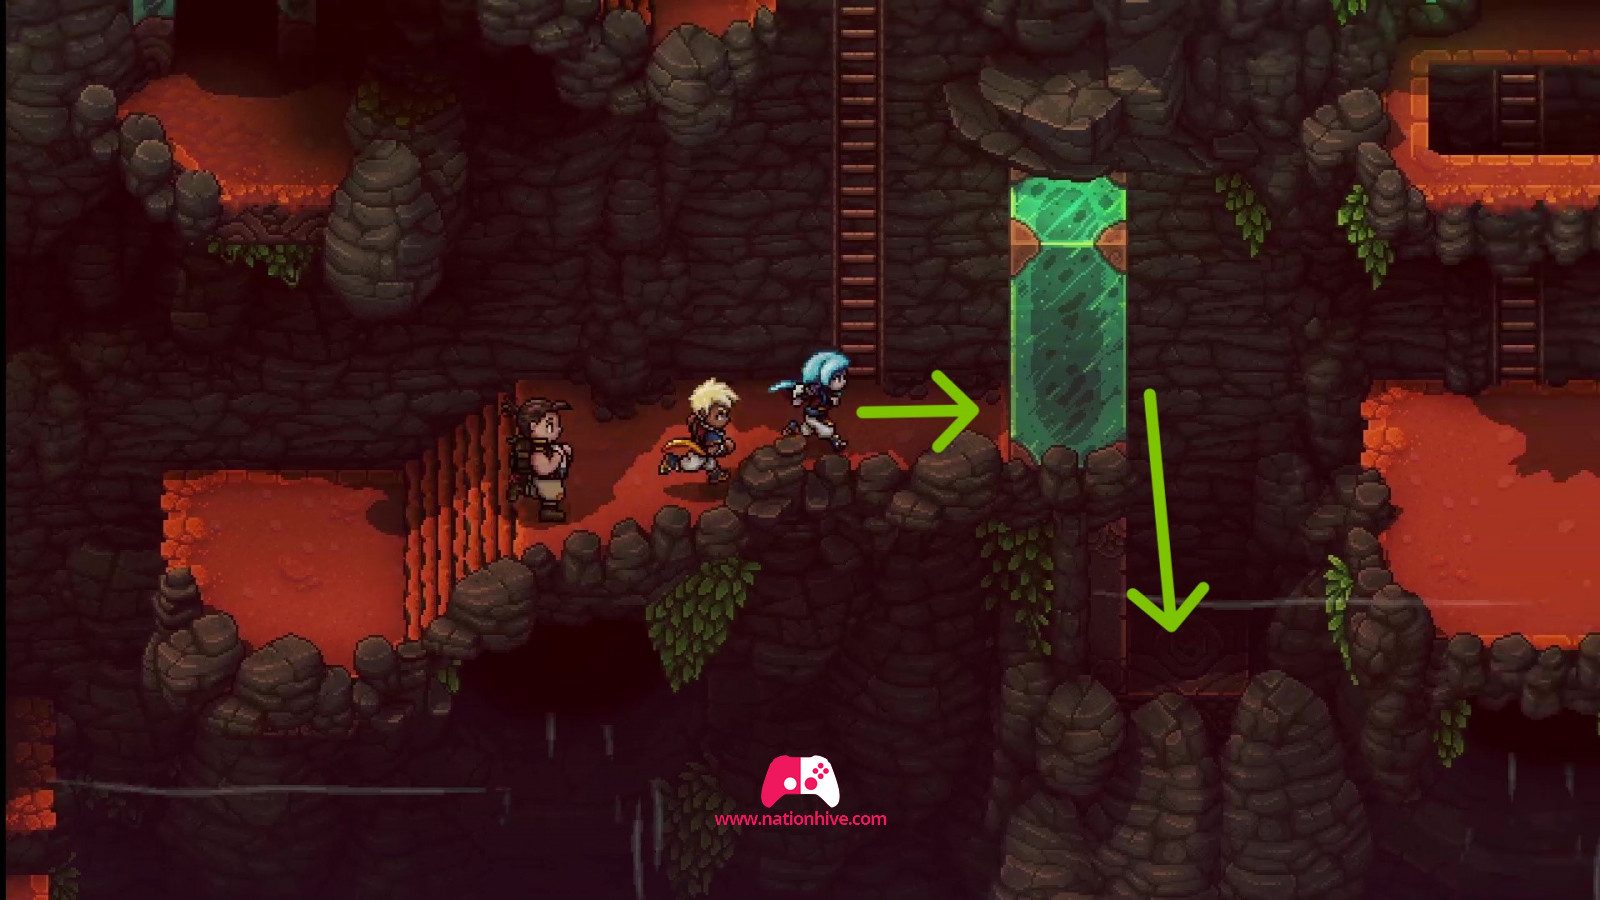
Climb the wall on the right and jump onto the platform to lower it. On the left is a basket containing 3 eggs. Attack enemies as necessary and reactivate the lever to cross the small passage on the right (see picture). Climb the platform along the way and pick up the mushrooms along the way. Open the chest on the right to receive 1 green leaf.
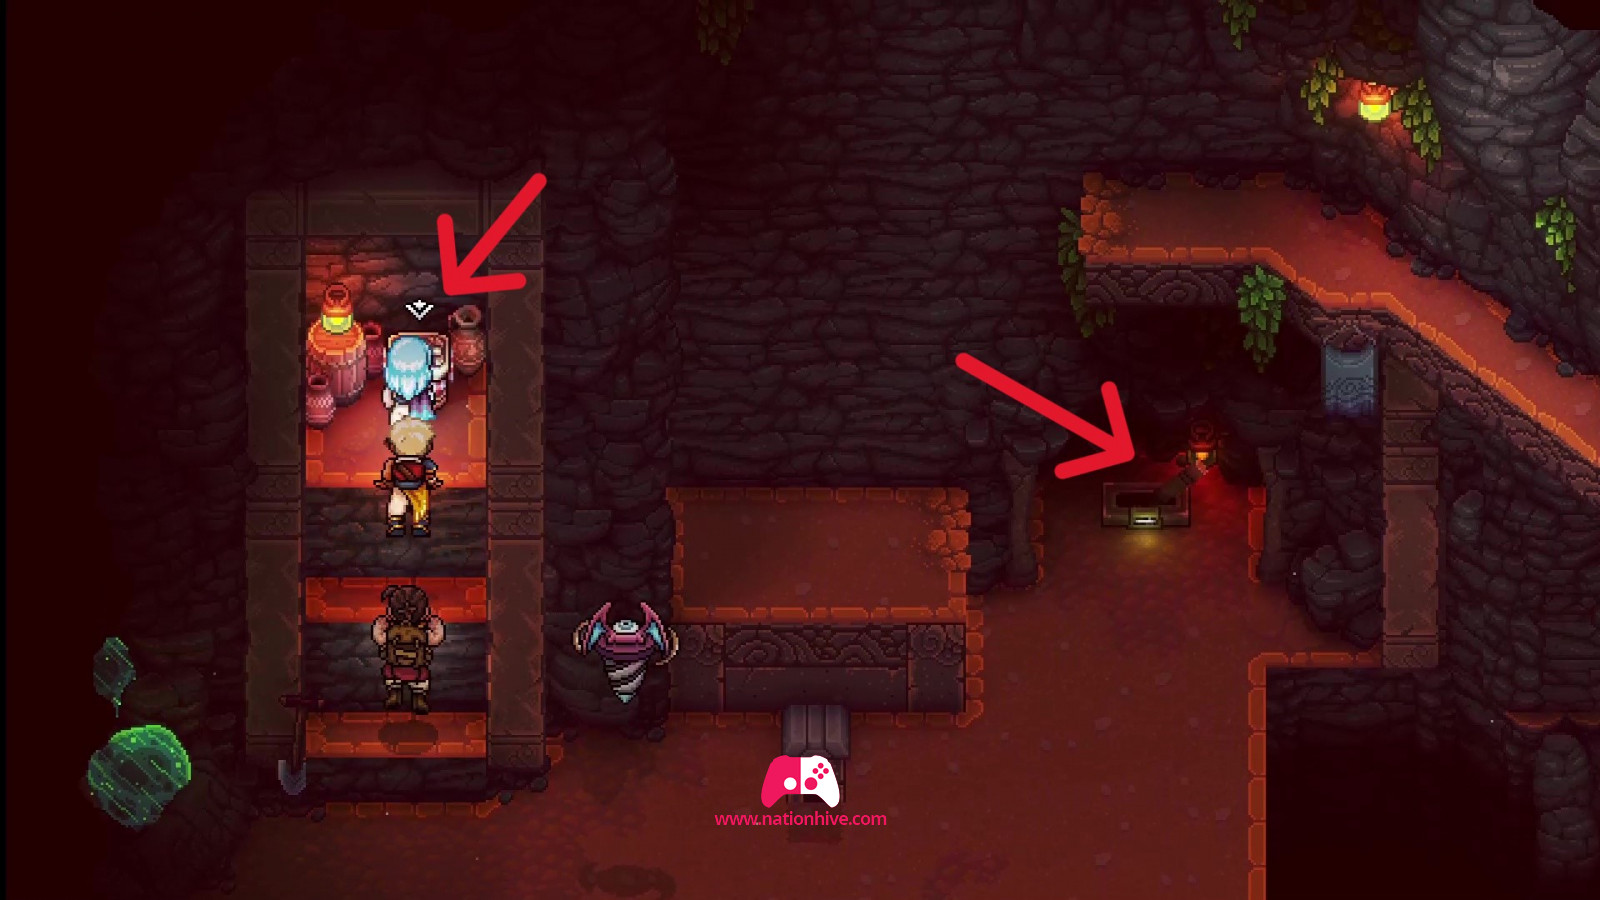
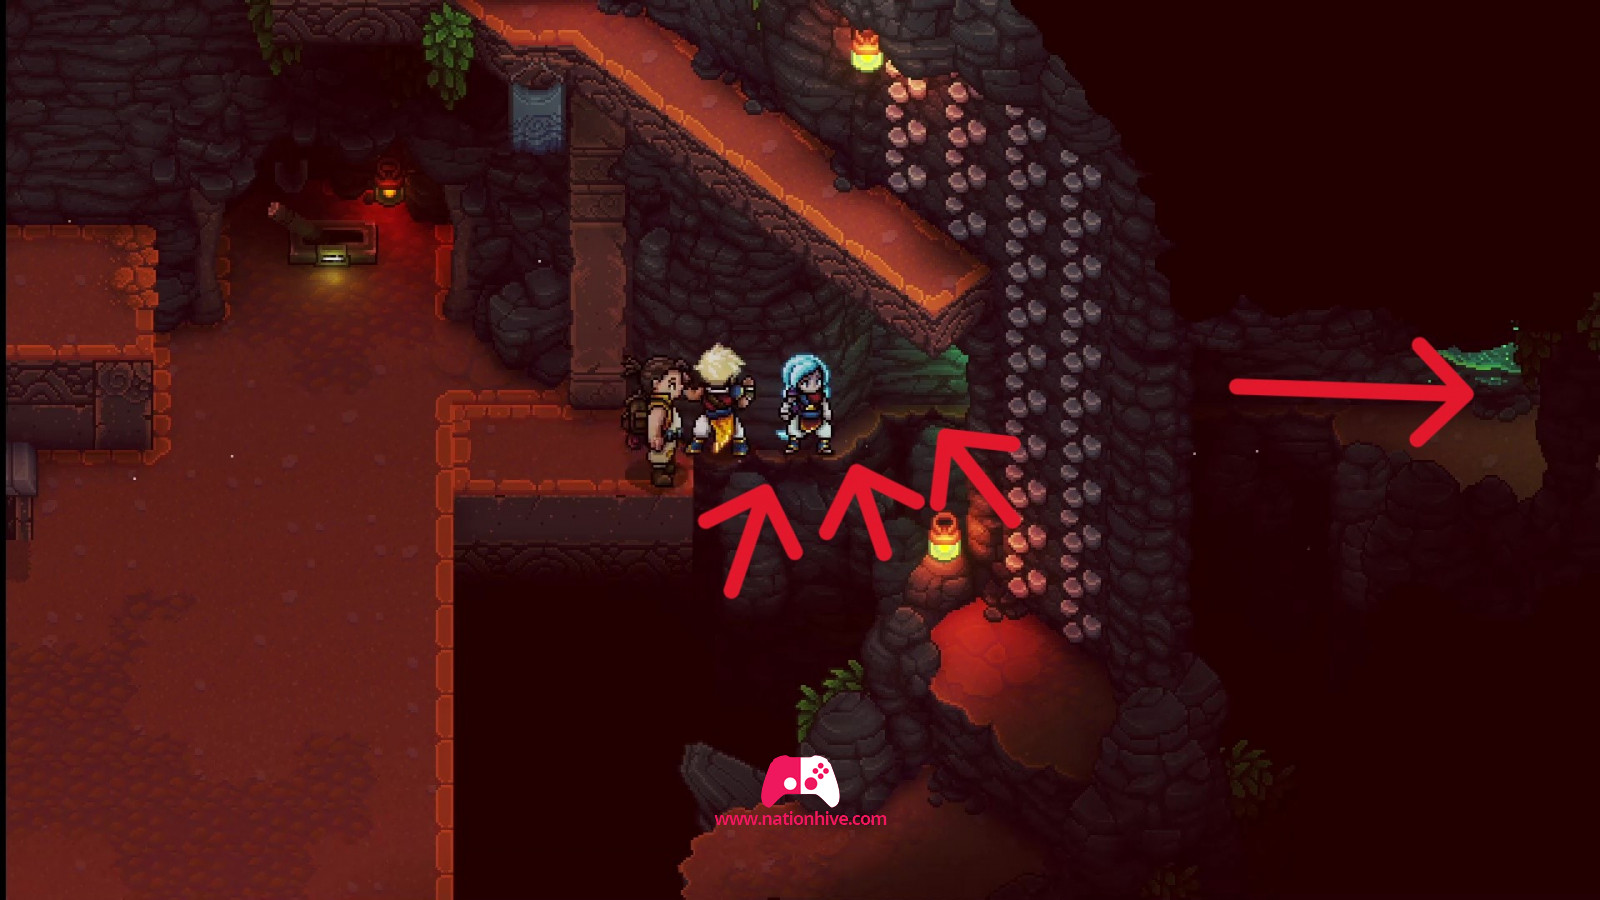
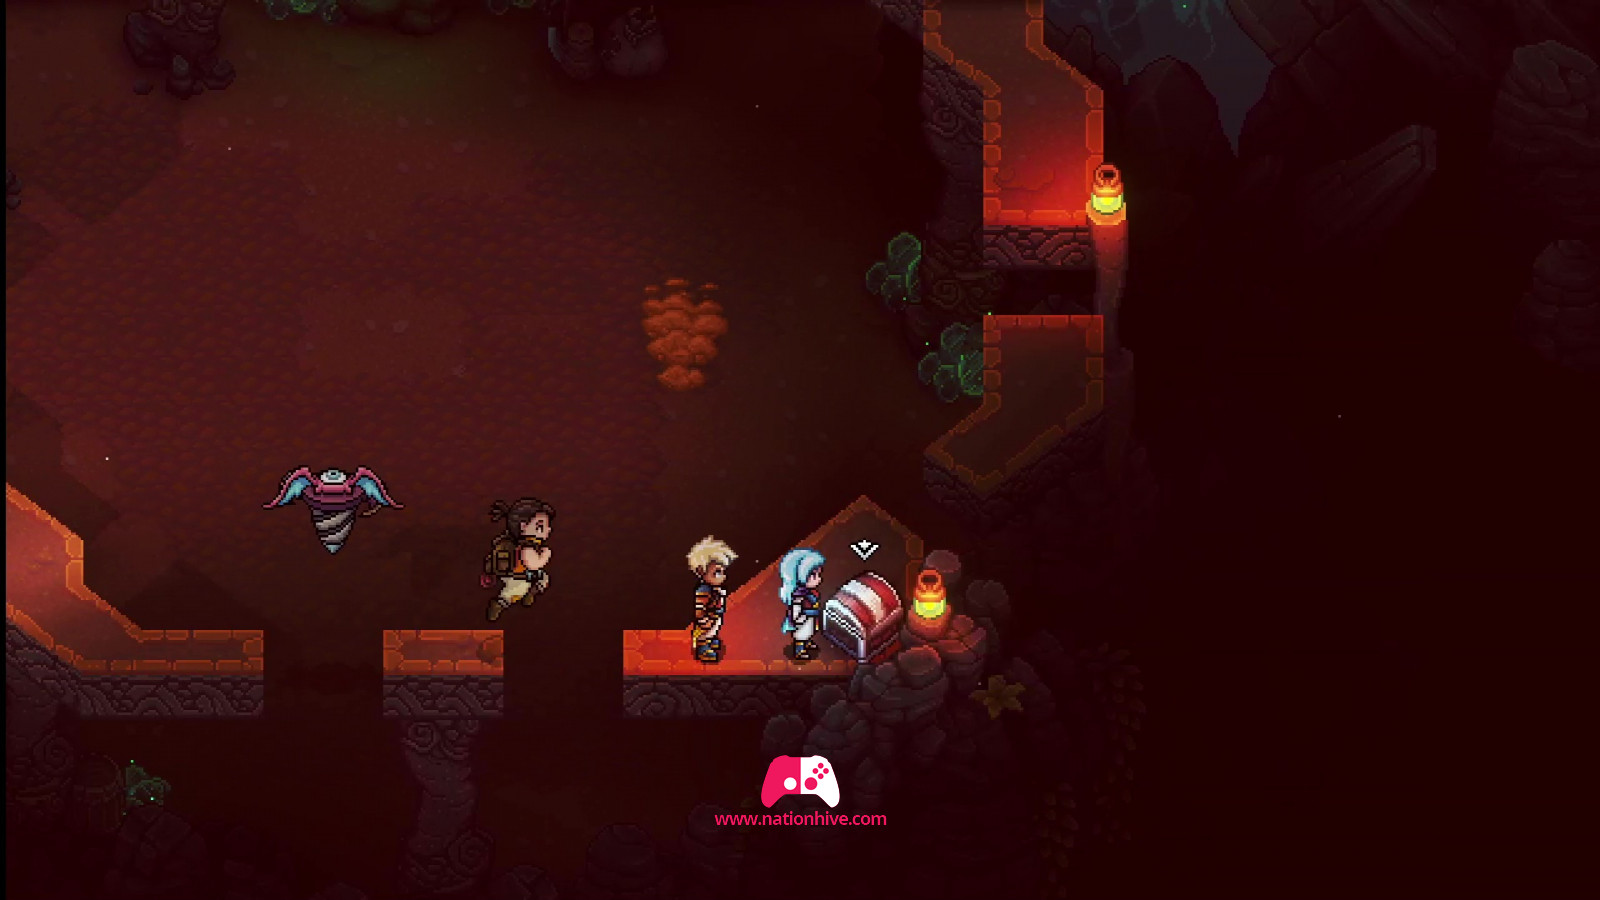
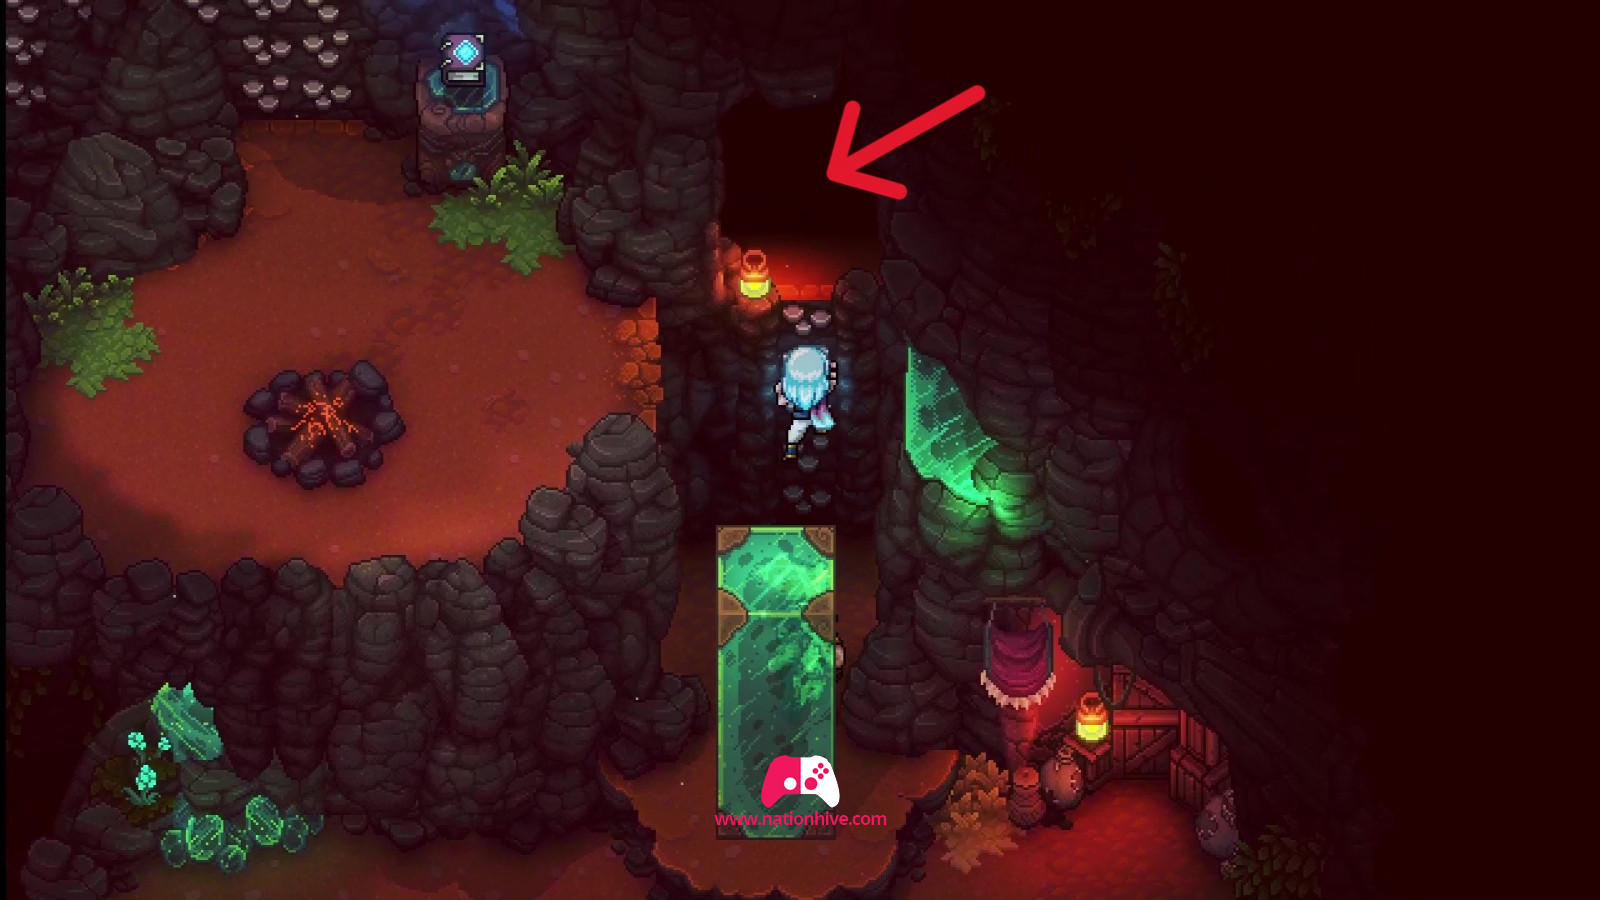
Jump over several high platforms to find a chest. Open it to receive a Teal Amber Ore. Continue towards the door on the right. It won't be possible to open it at the moment, so climb down the nearby ladder and open the basket on the right to receive 3 dairy products. It is not yet possible to do anything if you enter on the left of the ladder.
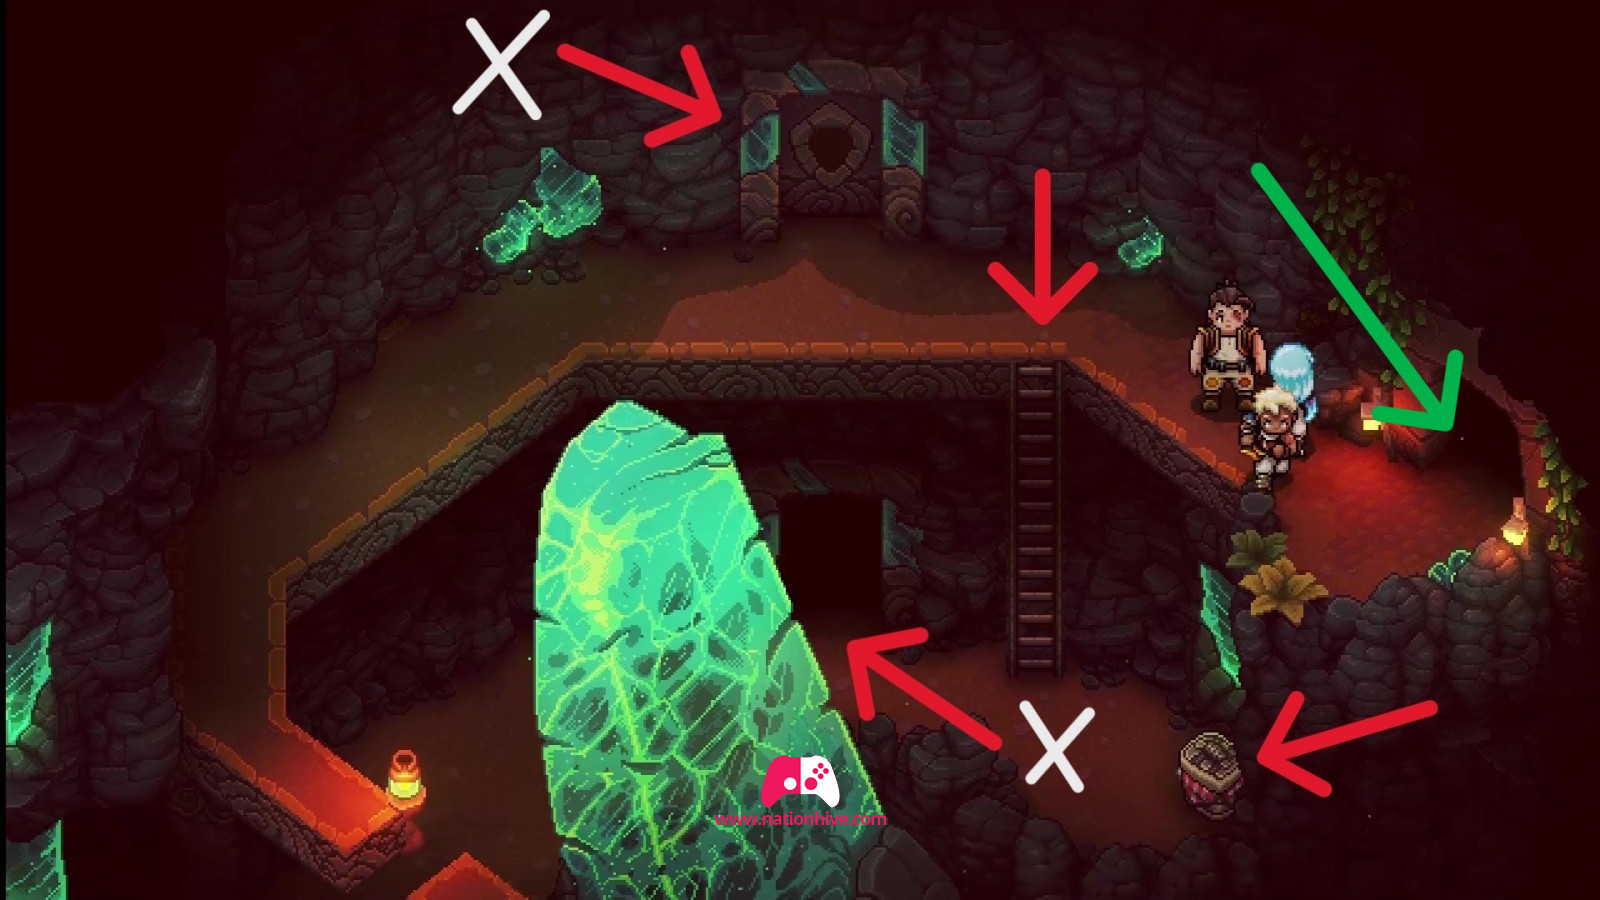
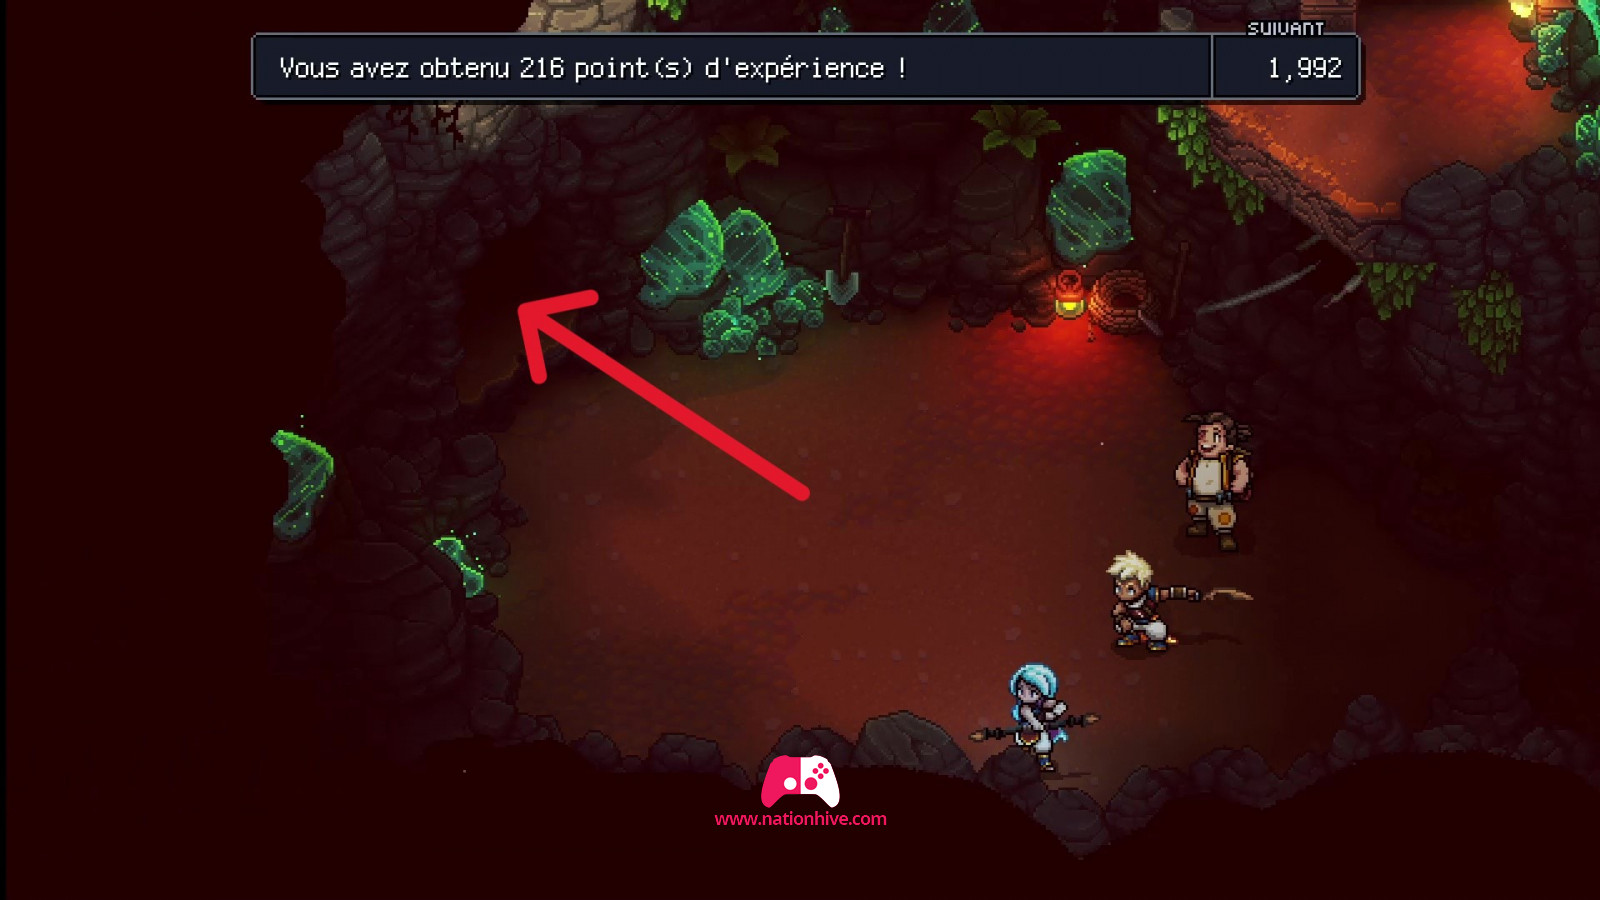
To progress, you'll need to unlock a Mistral Bracelet (which you'll be able to unlock later in the mine). To do this, you must first defeat the Drillbats and the Bushtroo. Once the enemies have been defeated, enter the cellar where the Bushtroo was located. You'll be propelled to the mine entrance, the mine is now unblocked so that the wind can play its melody.
Wind Tunnel Mines - Part 2
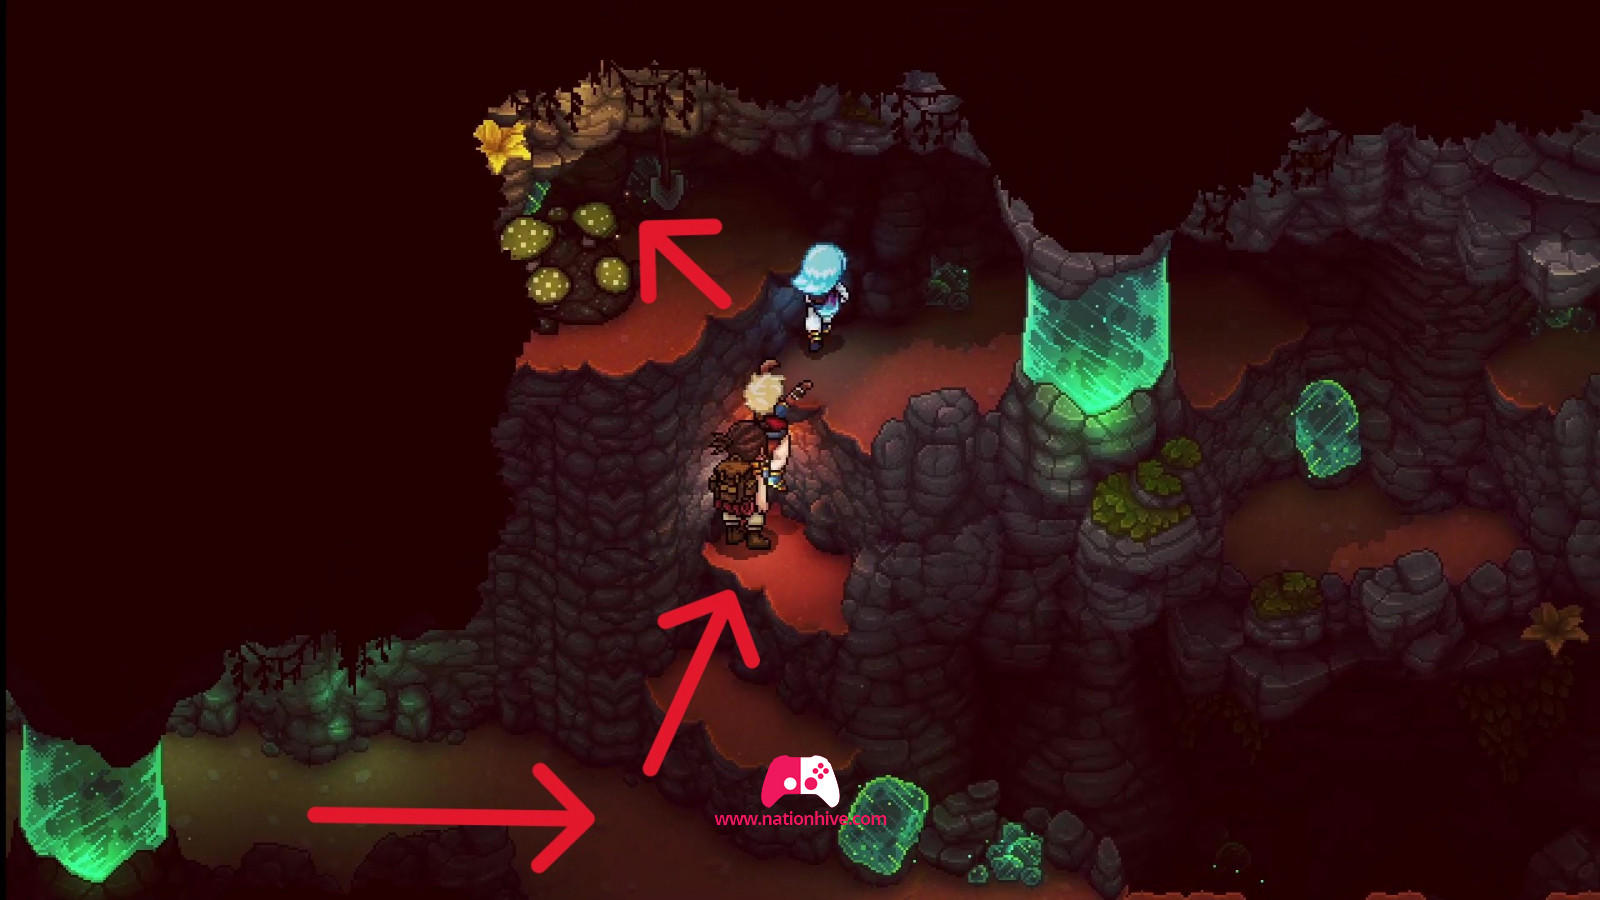
Jump down into the now accessible hole (where the elevator was). You'll arrive in another section of the mine. Head left to open the chest and receive a Rainbow Conch. Then climb the ladder to the left of the chest.
Cross the hanging rope and exit, you'll find yourself in another section. Cross over and climb the ladders on the right to reach the entrance nearby.
Once inside, head right and climb the wall. Keep moving until you reach the campfire and the book. Take this opportunity to save your game or cook some meals if you need to.
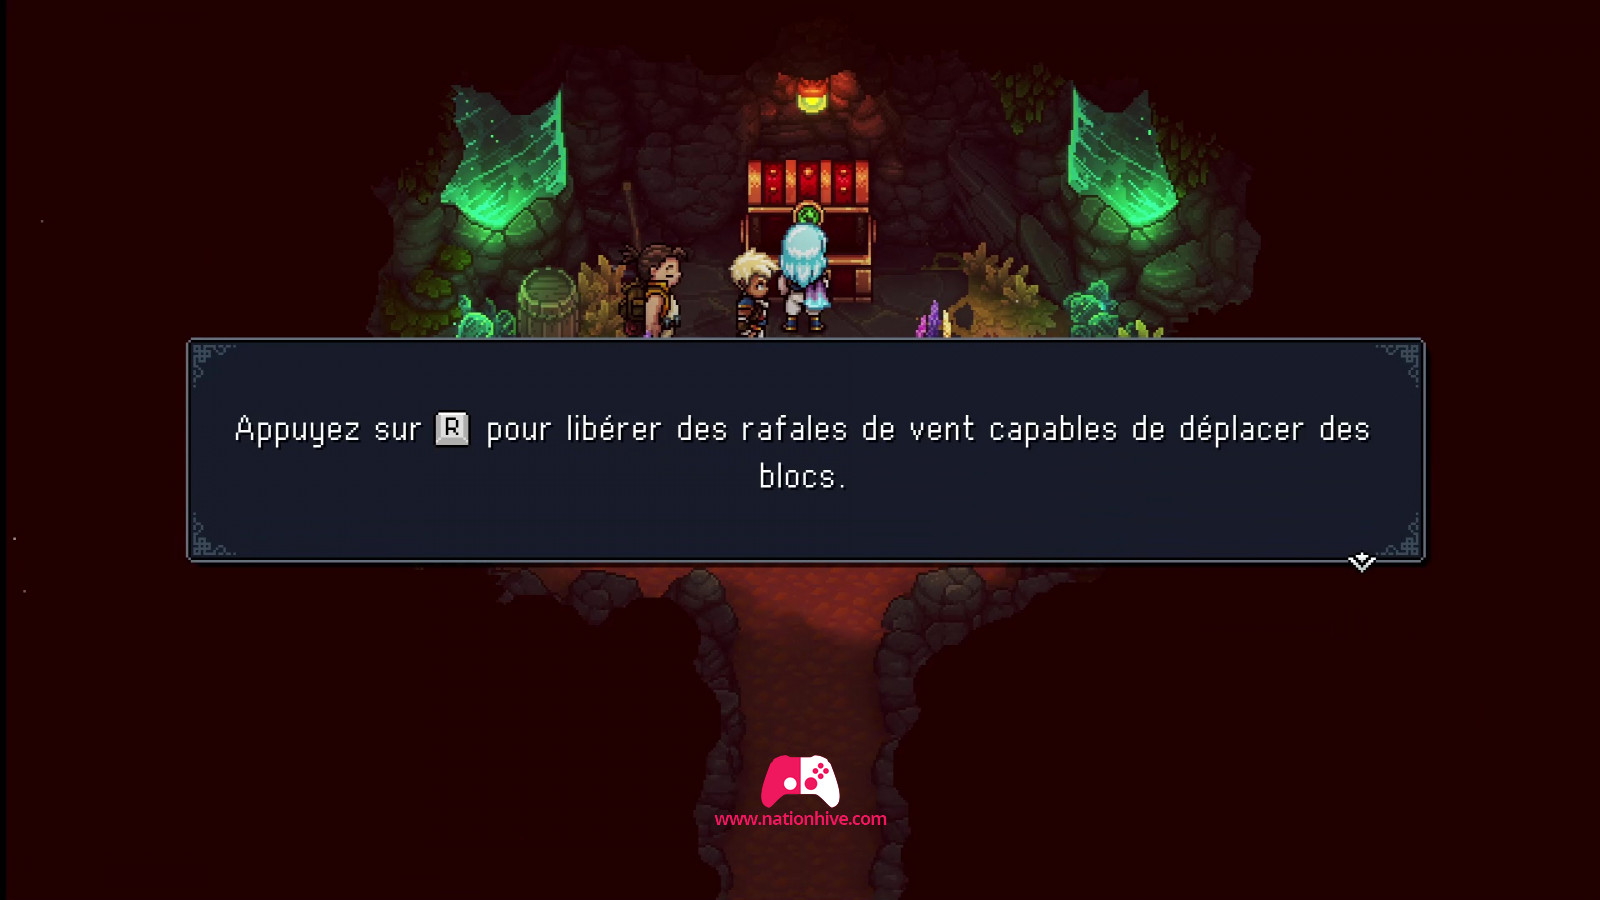
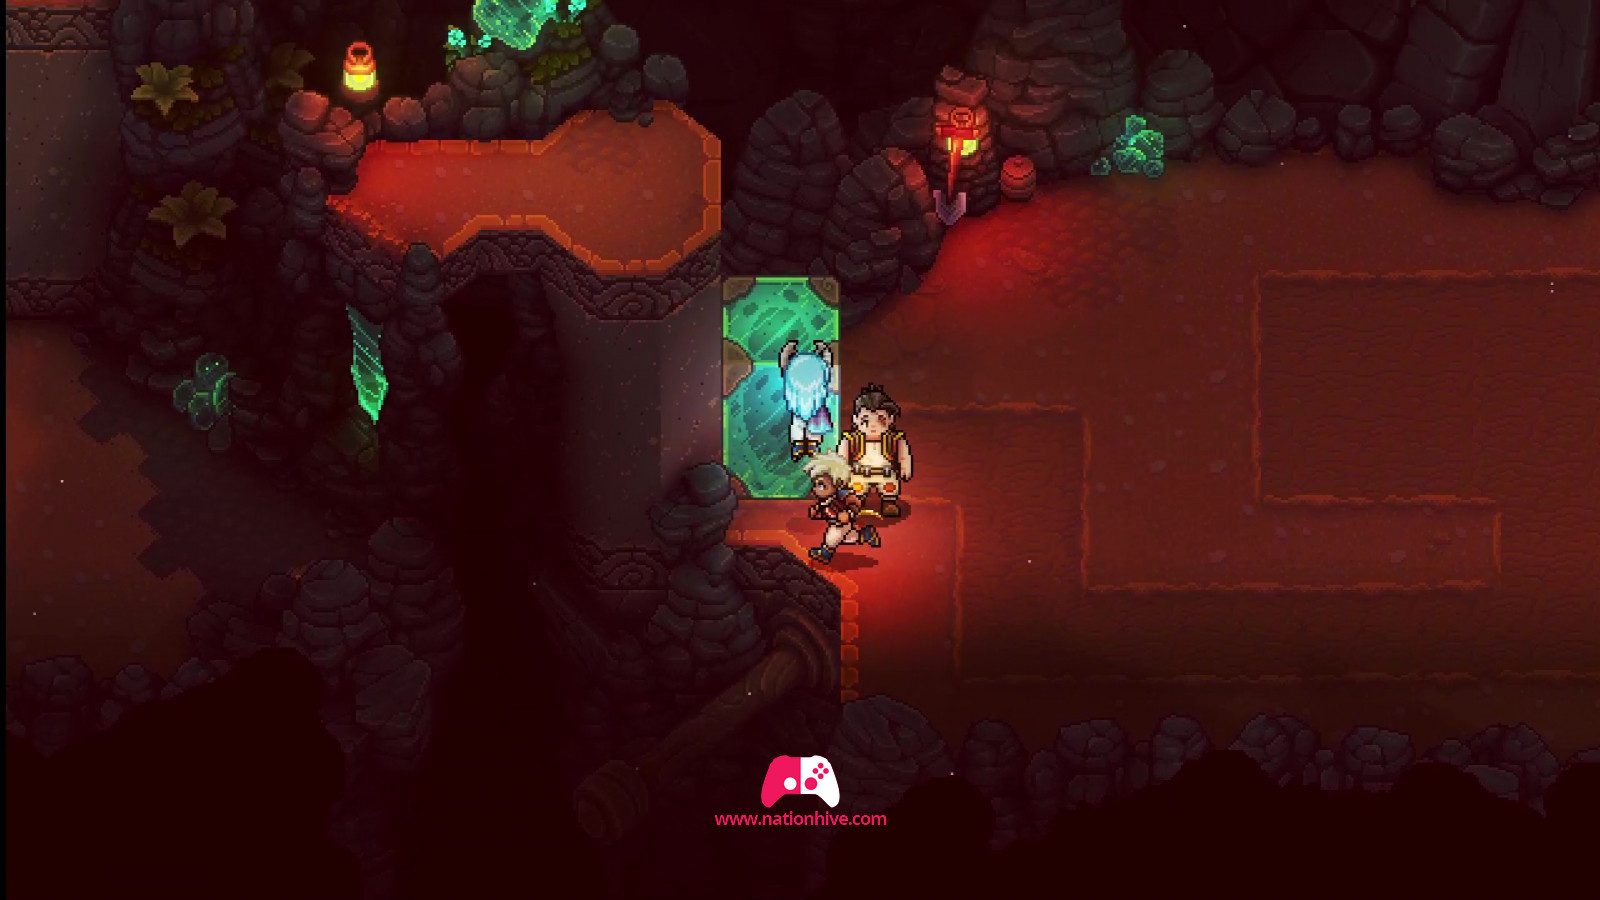
Once you're ready, head for the entrance to the right of the book. Open the large chest in front of you to unlock a Mistral Bracelet. You now have the ability to move blocks of green crystals.
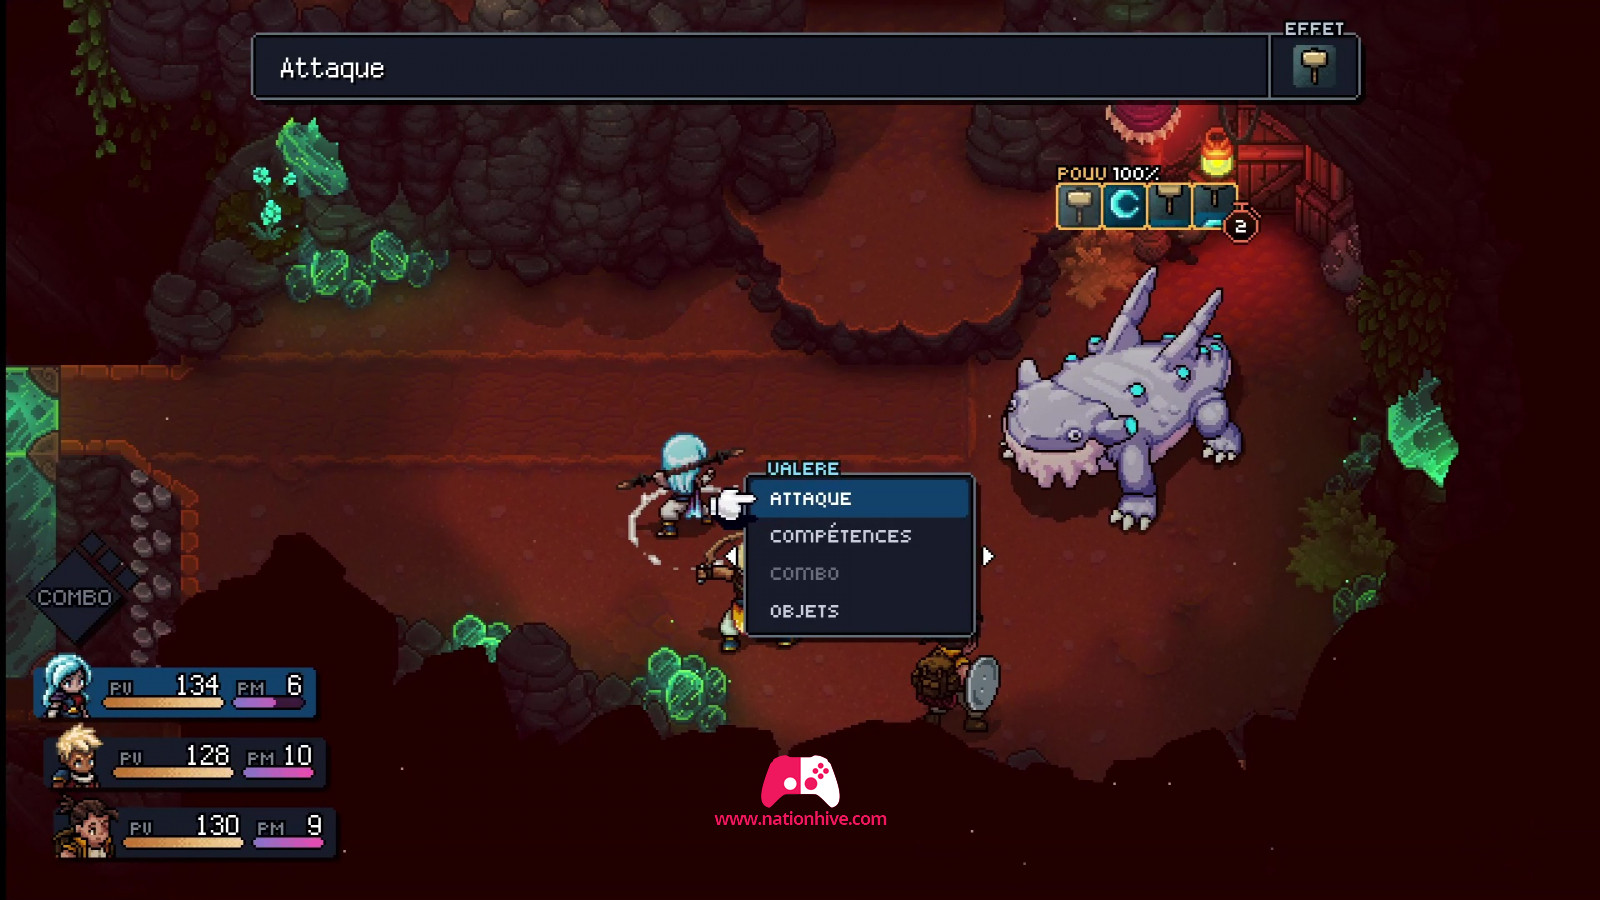
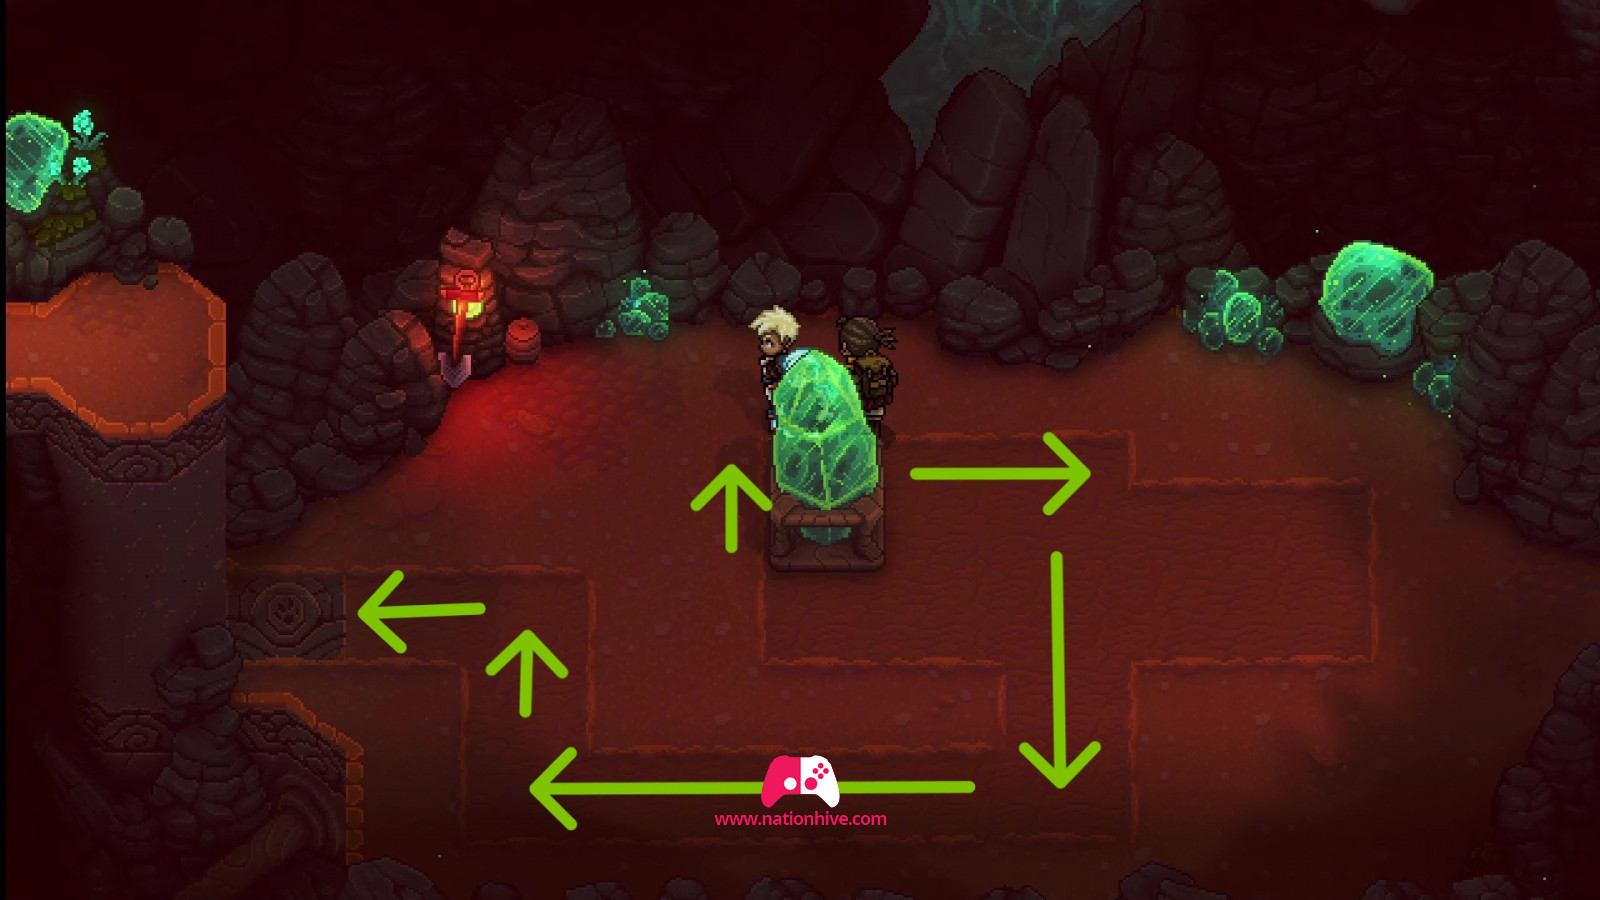
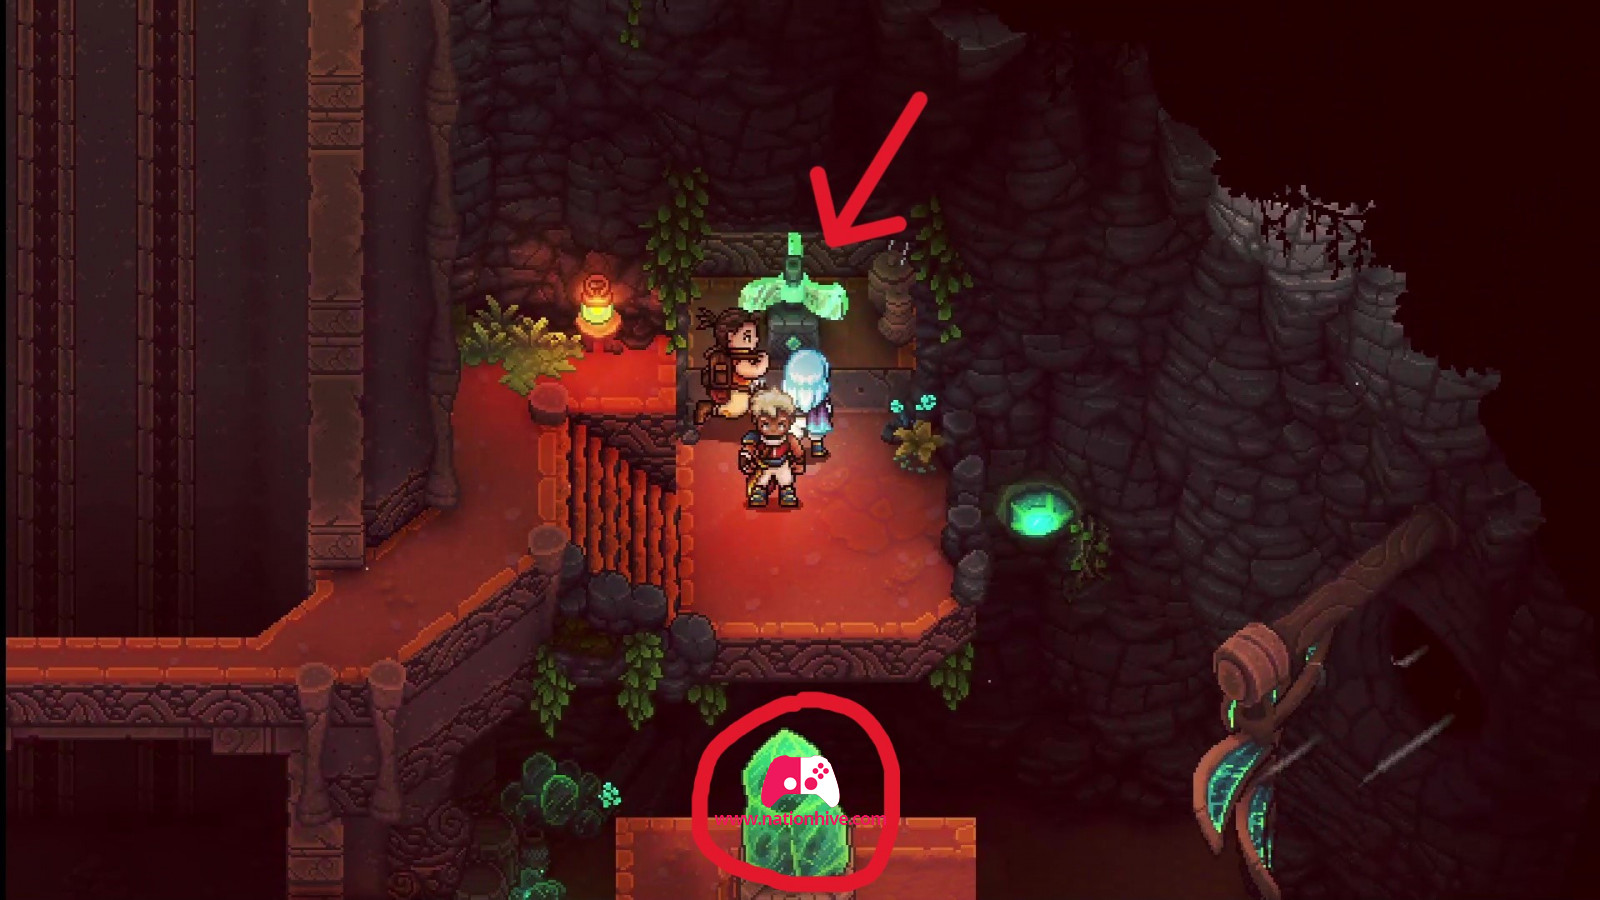
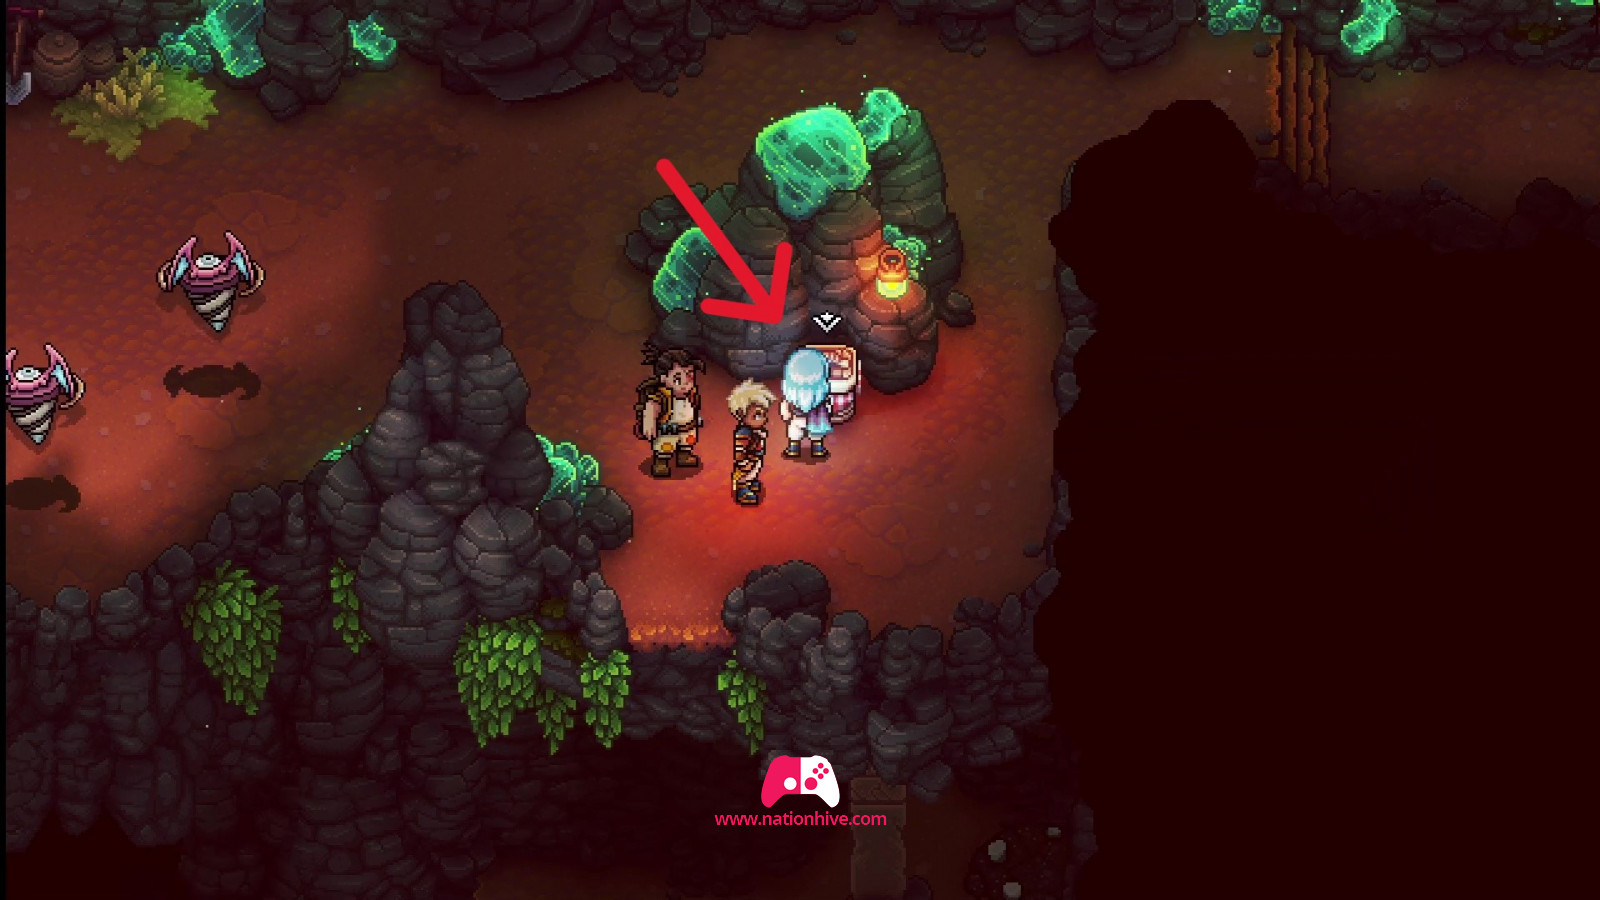
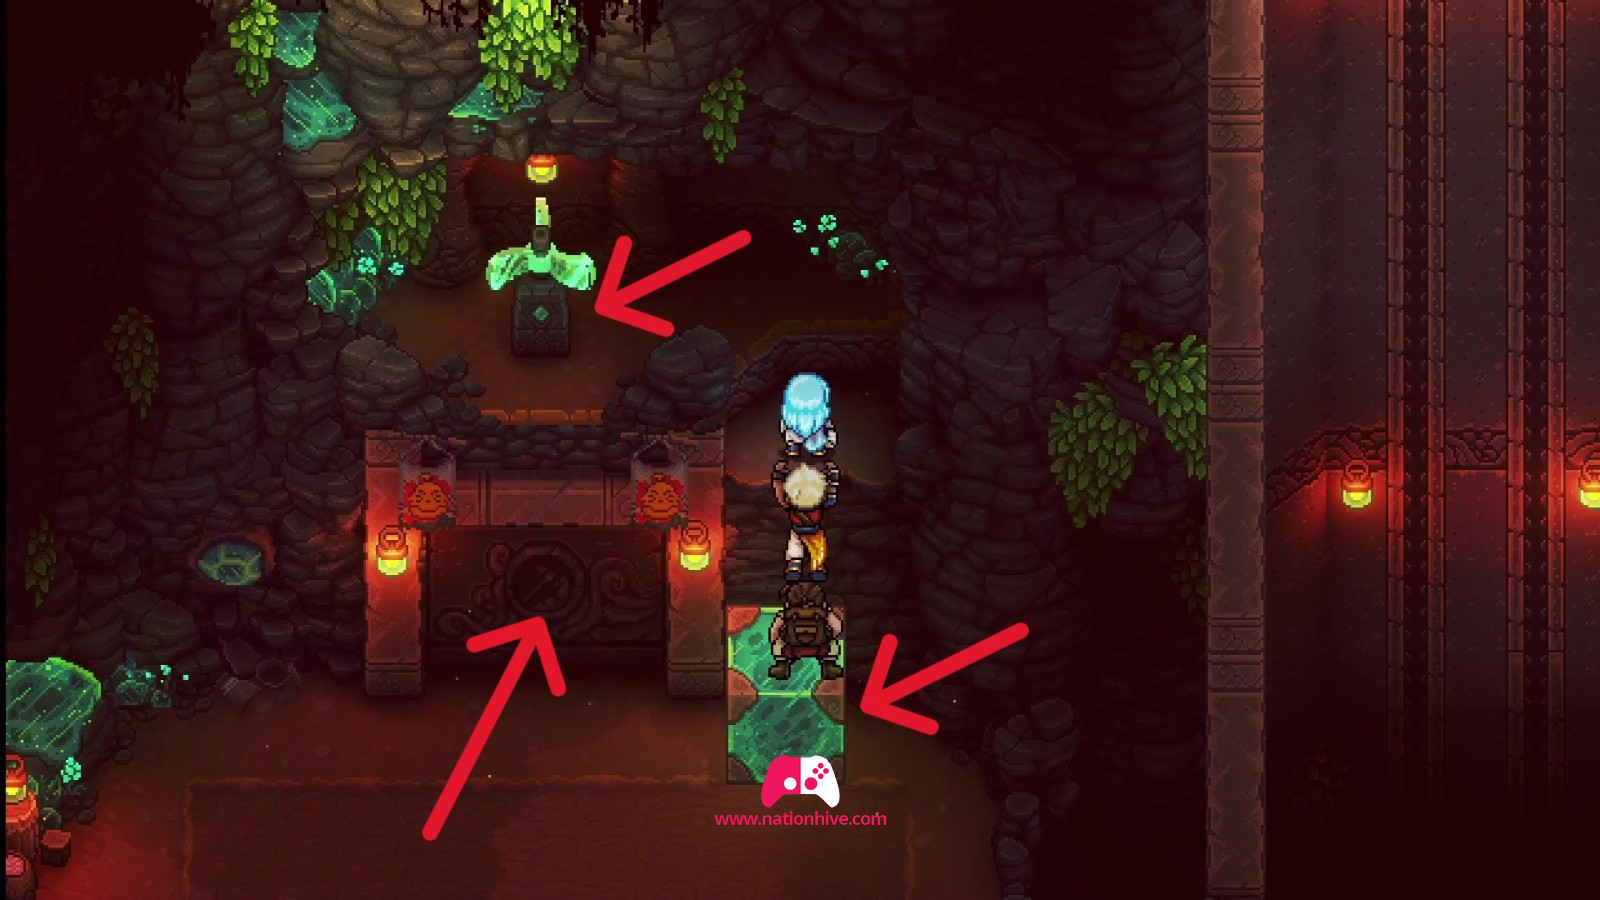
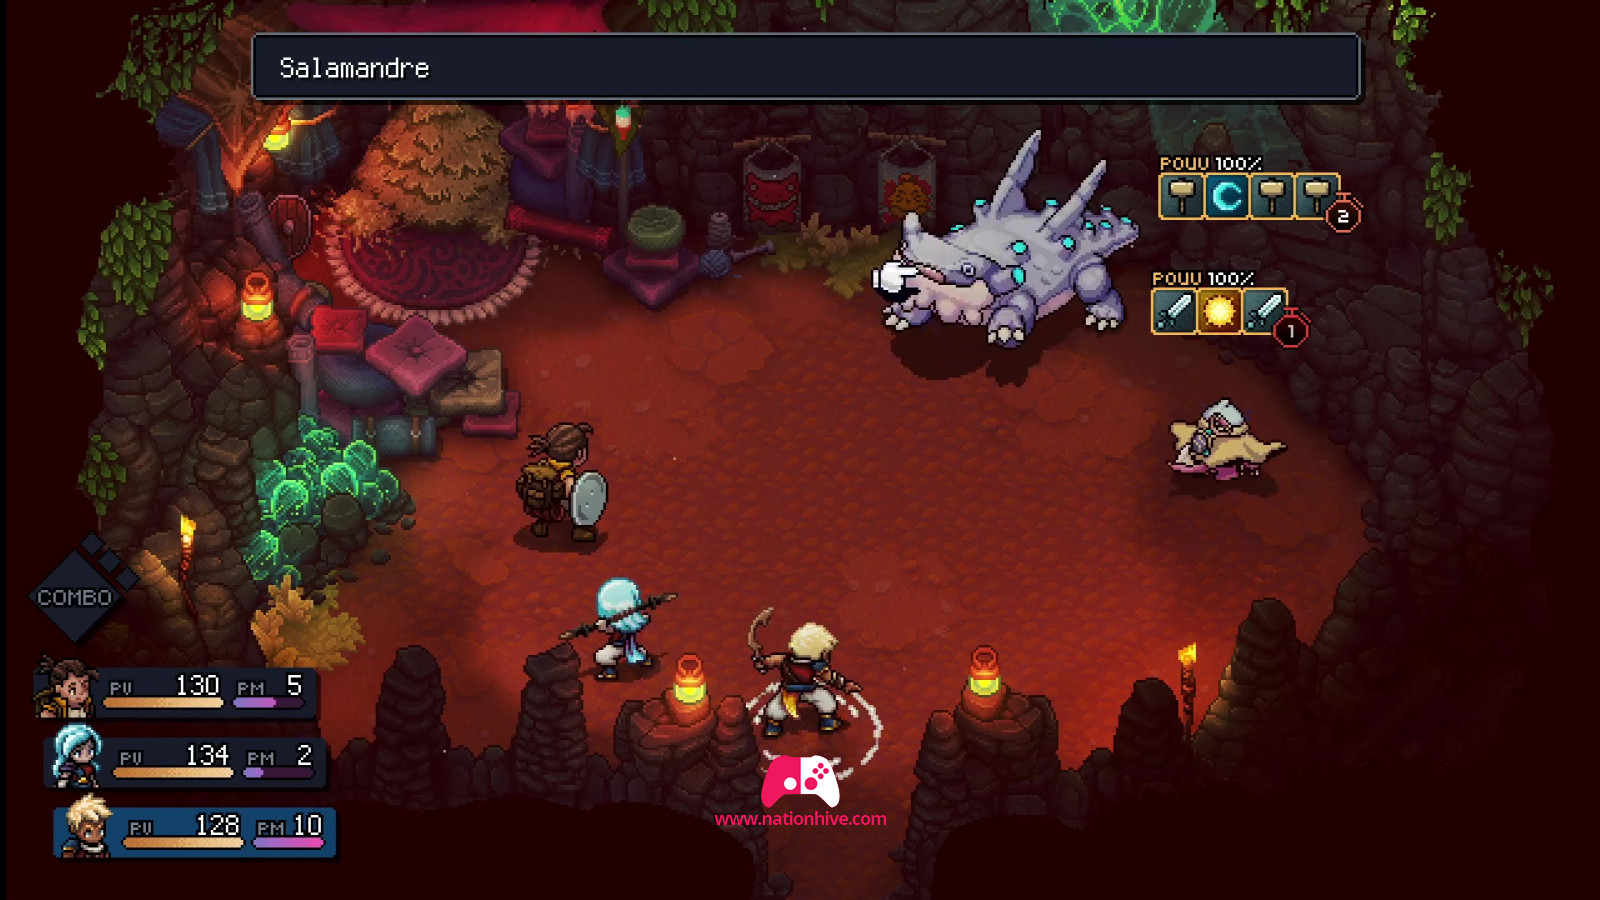
Using your new skill, move the green block (see image). This action will reveal a Boss: the Salamander. The enemy can injure 2 people at a time. Try to defend yourself with the right attacks and keep going until the Salamander runs away.
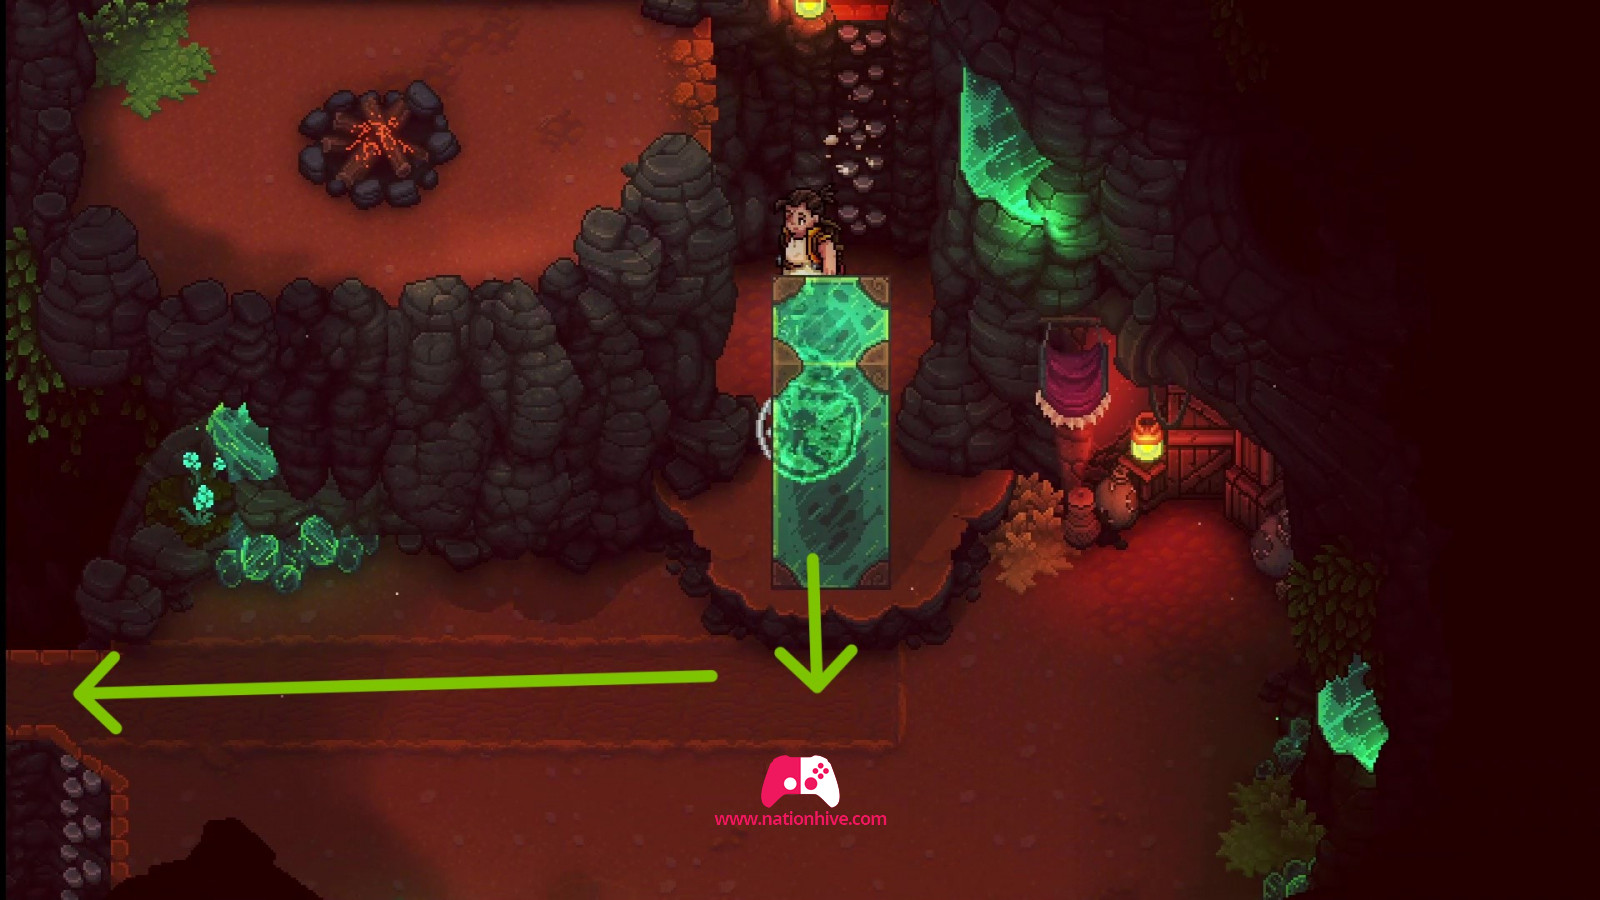
Then move to the right, as you've moved the green block which now allows you to reach the platform on the other side. You're now faced with a puzzle. Move the green block (see picture) to access the upper platform on the left.
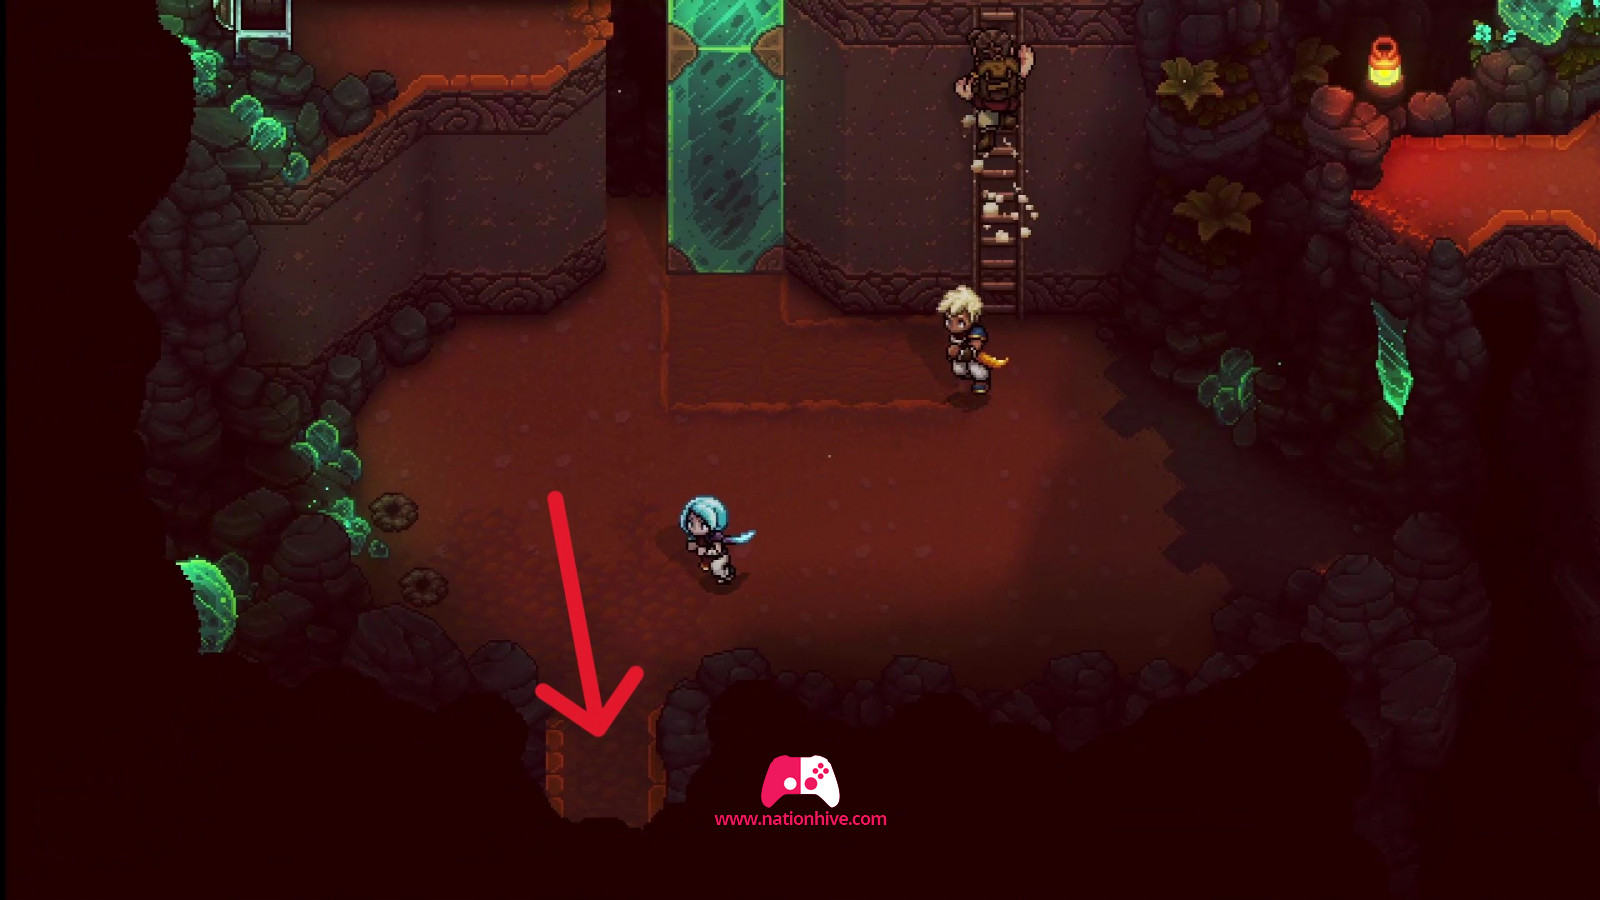
Move the green block to the left again to reach the chest and receive the key to the mines! Head for the exit at the bottom. Once out, push the green block so that it drops to the bottom. This will take you through a new section. Collect the resources along the way and open the chest at the bottom to receive a Teal Amber Ore.
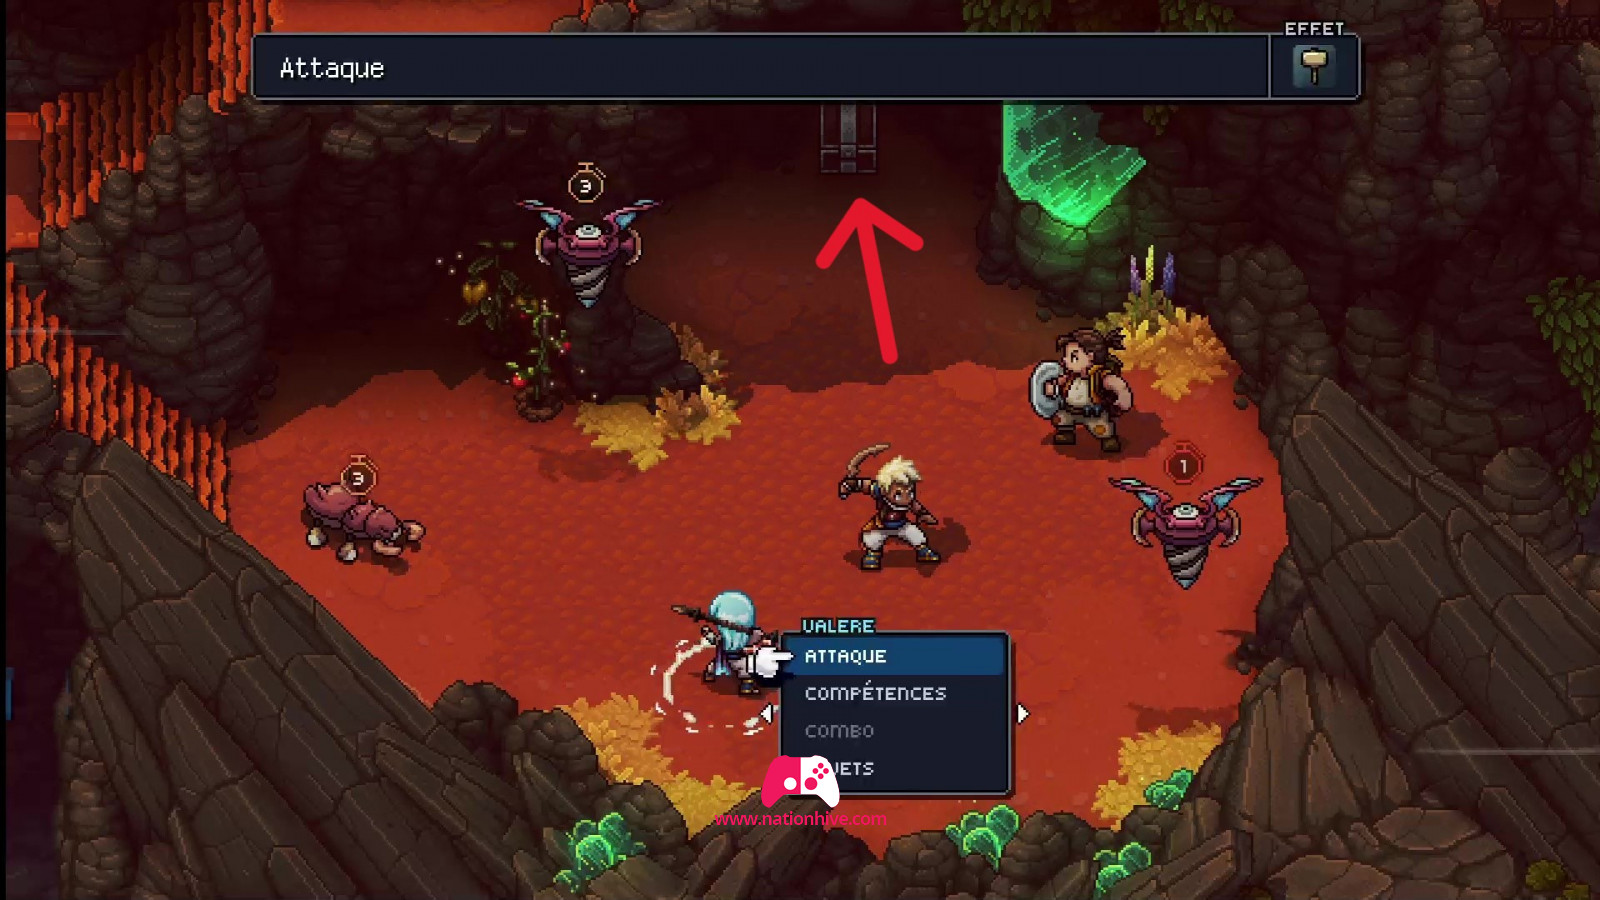
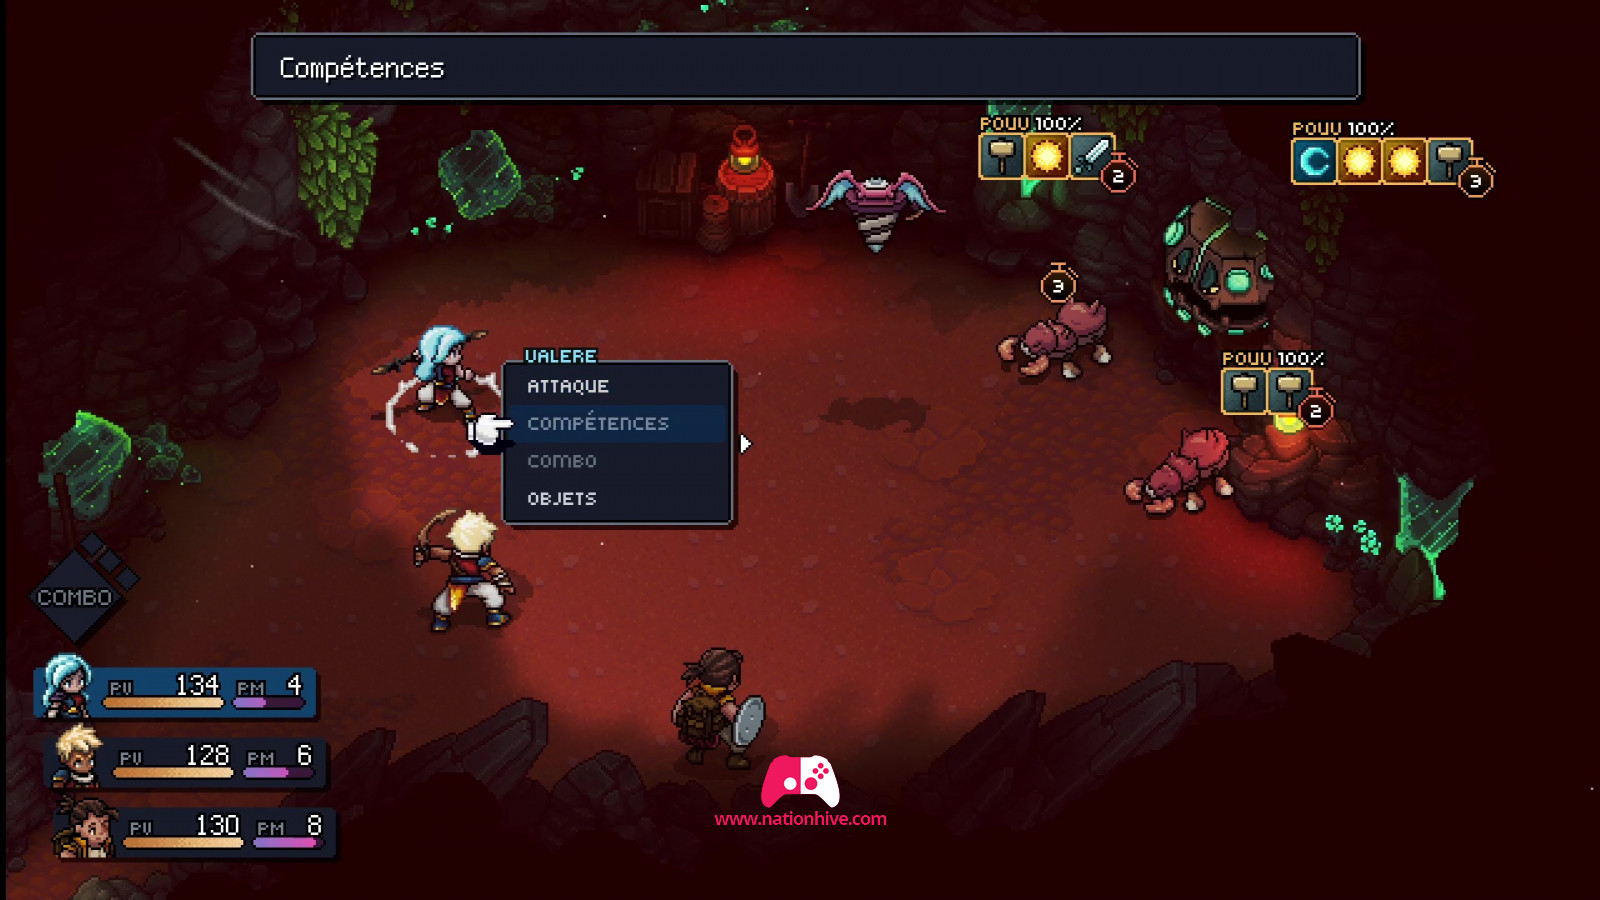
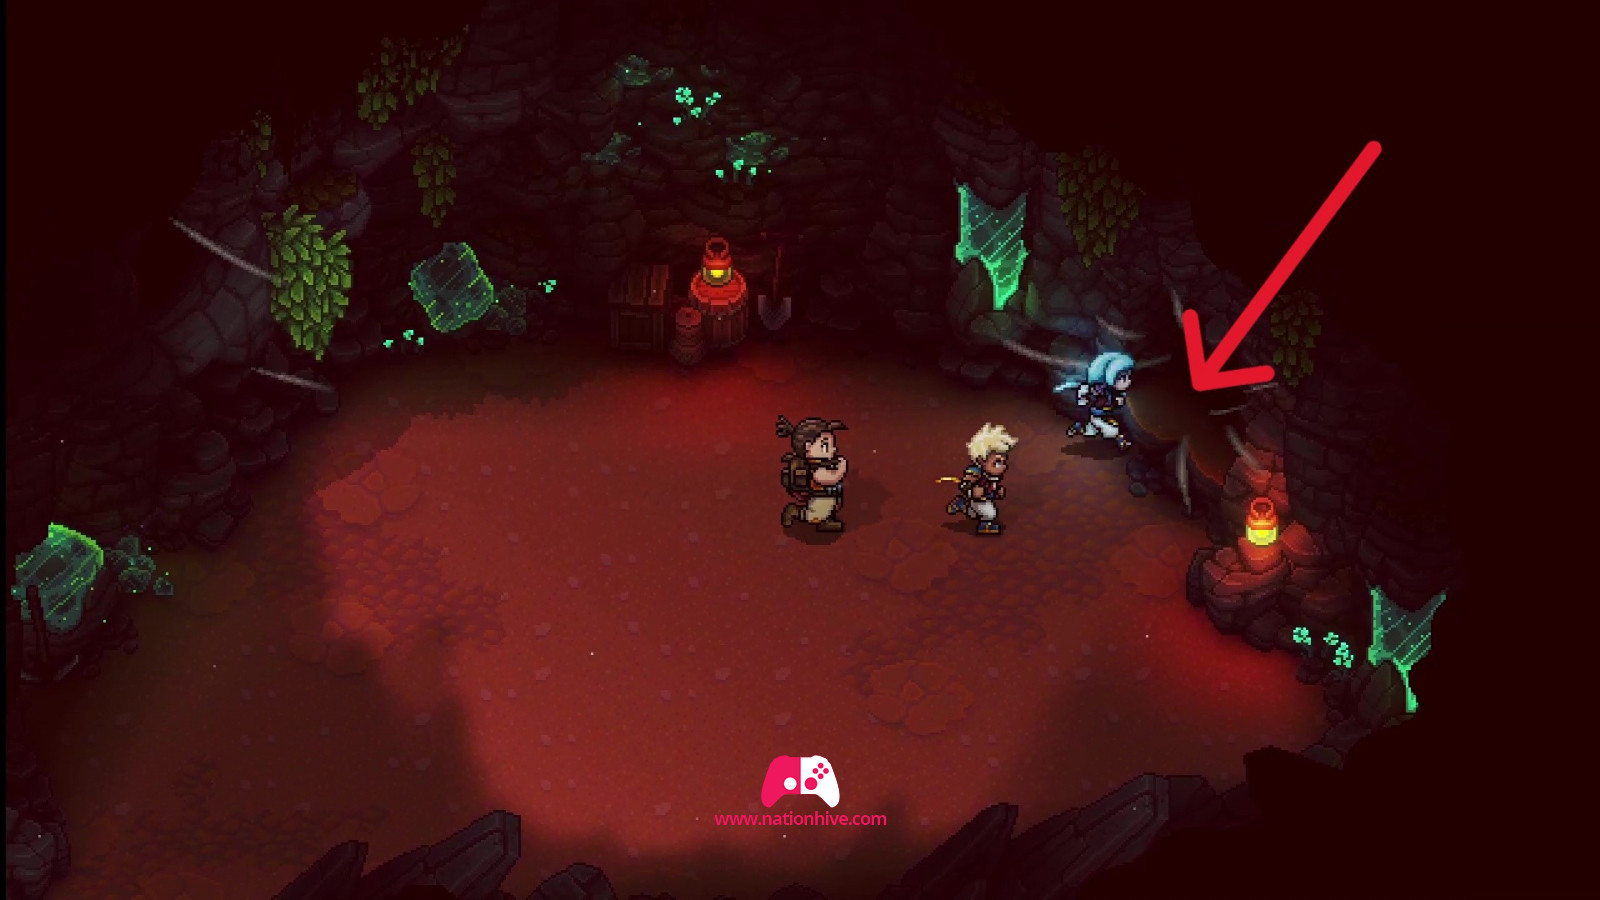
Head for the entrance on the right. You'll face another boss. You'll need to defeat them all to unlock the wind in this part of the mine. We recommend that you defeat the enemy in the wall, as he can inflict damage on all your characters at once. Vale's Moon Crescent skill will come in very handy.
Once you've defeated the enemy, enter the tunnel where the airstream is located. There is now 1 final tunnel to unlock.
Wind Tunnel Mines - Part 3
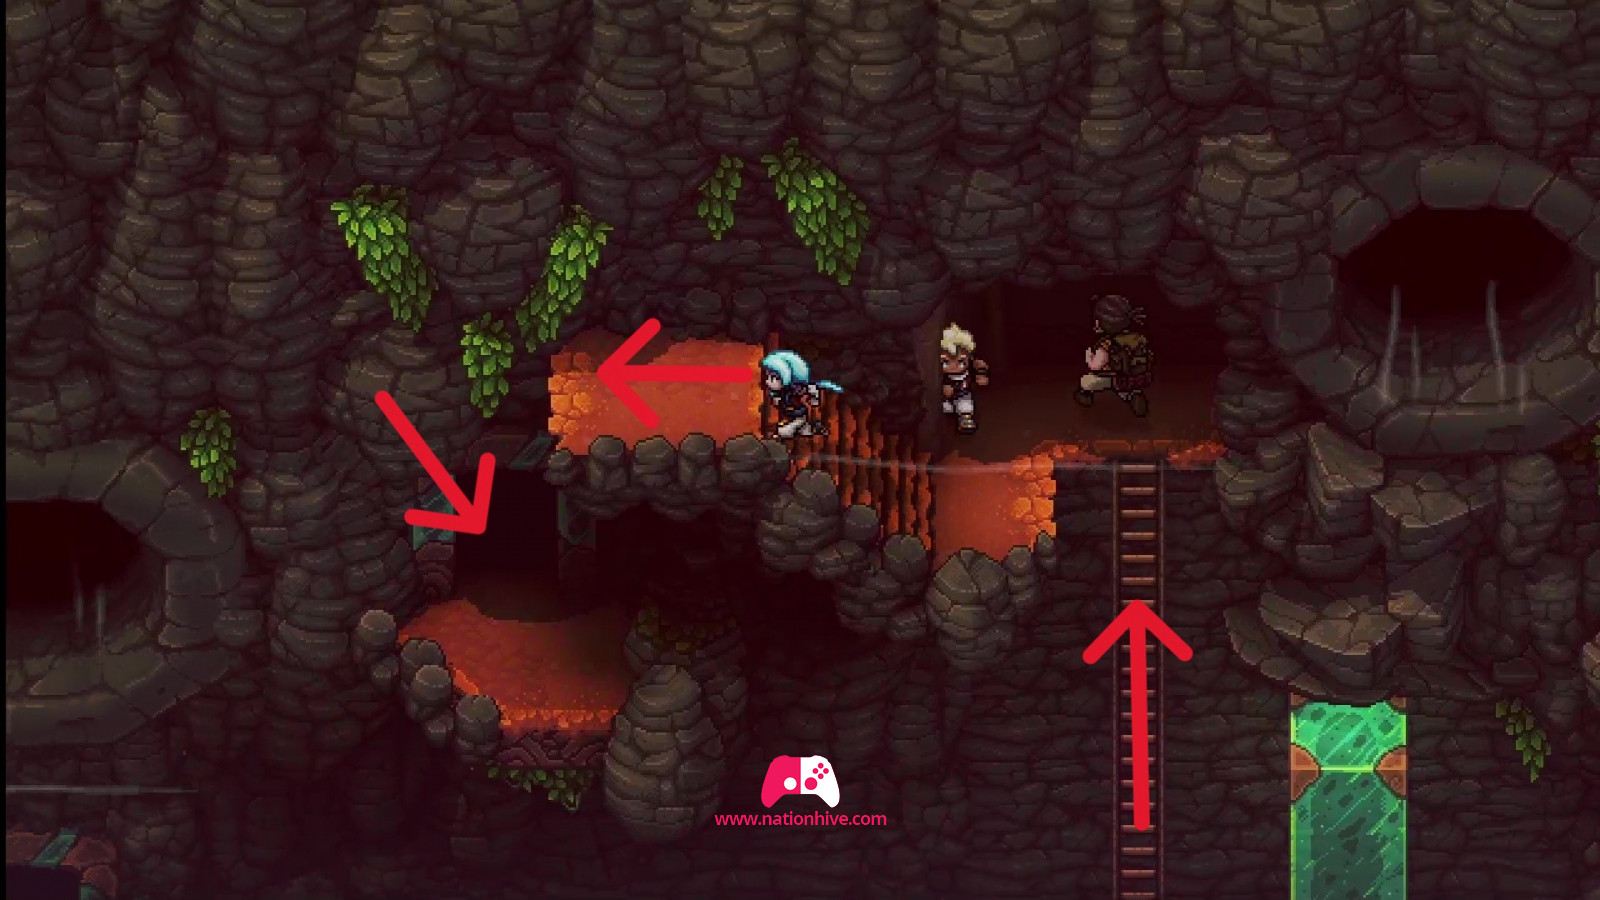
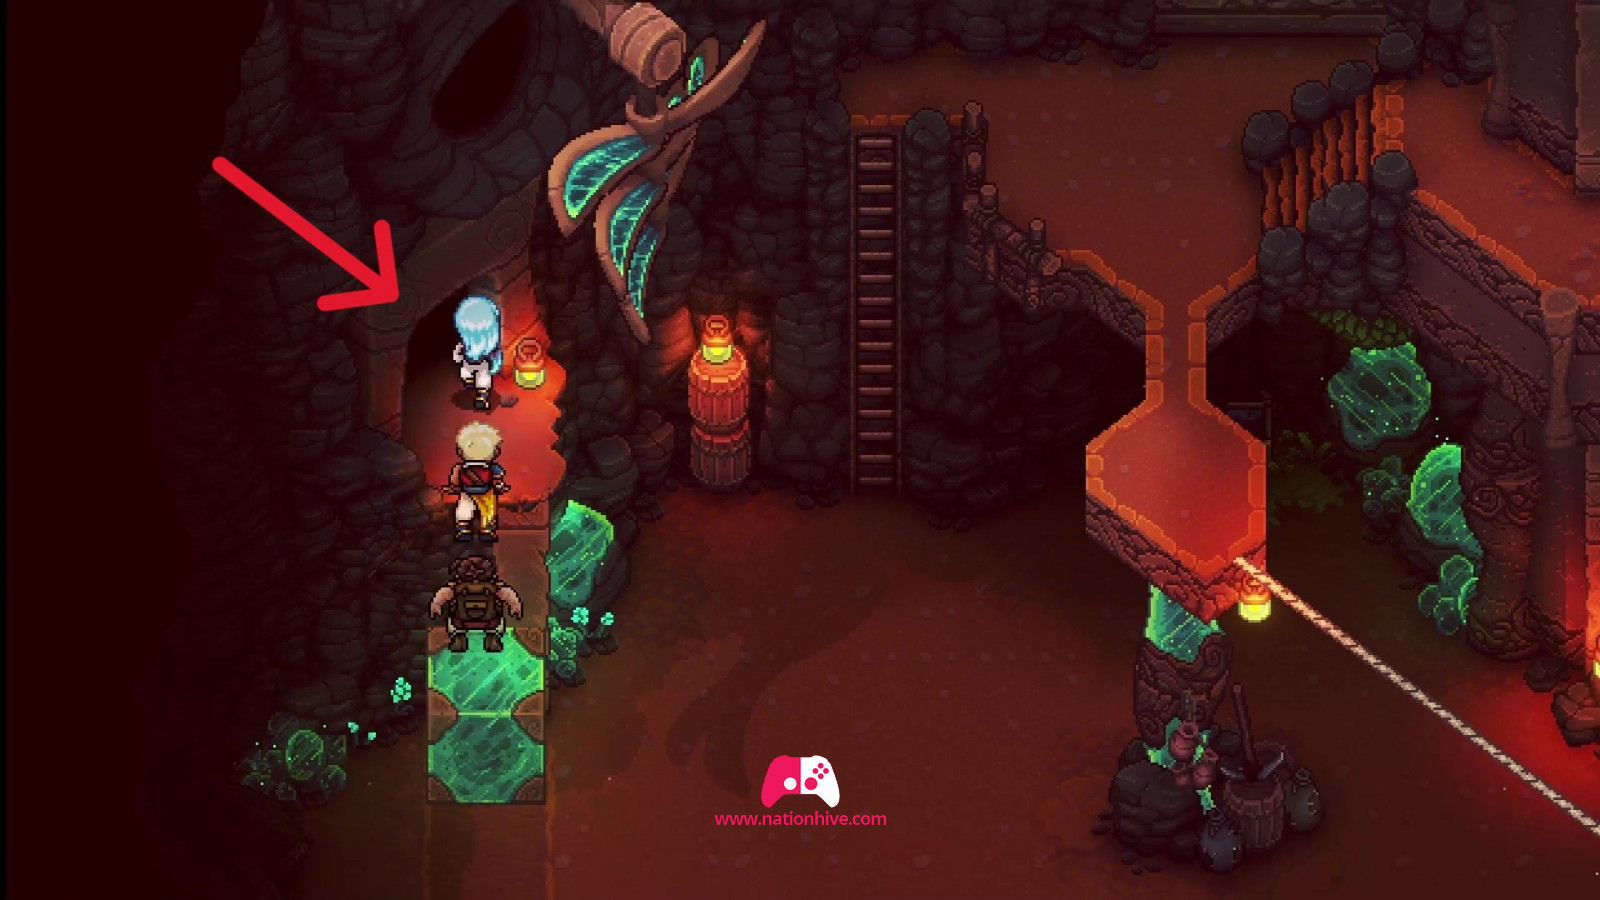
To do this, head for the ladder on the left to climb up, then move towards the small mill on the right and use your skill to turn the mill. This will bring the green crystal down to the pass, allowing you to move it to access a new passage on the left.
Enter and collect resources along the way. You'll be able to pick up a mushroom soup in a basket.
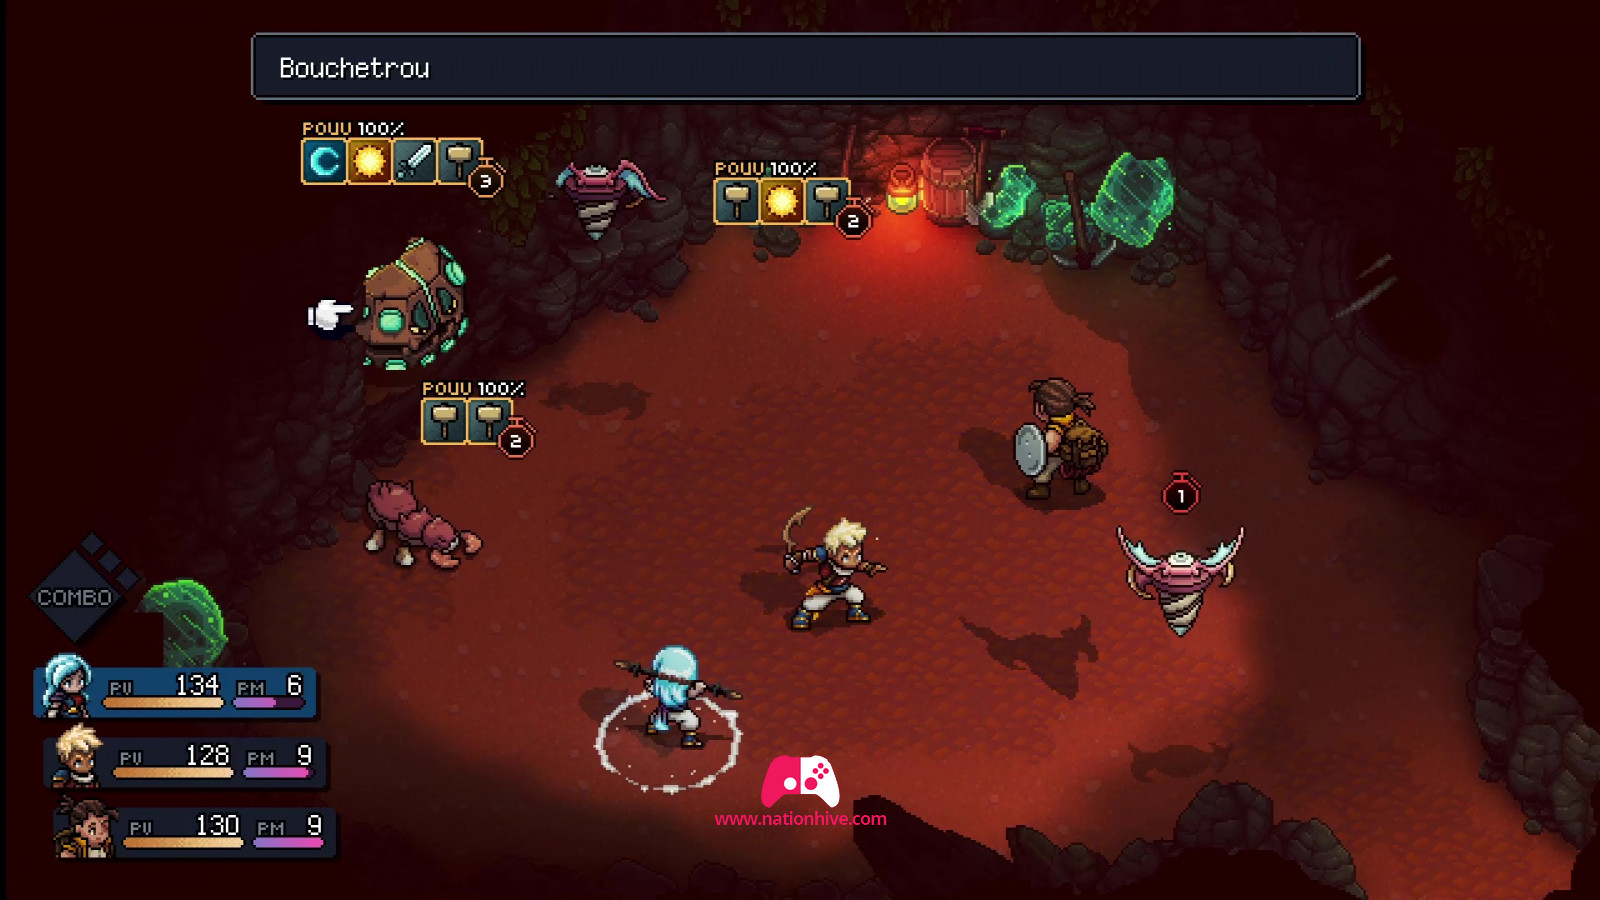
Continue on your way to face another boss. Repeat the same steps you did for the other bosses. This time, however, several Burning Ants will be present. Be careful! Ants can multiply quite rapidly. However, we advise you to attack the enemy in the wall first, as it inflicts damage on all 3 of your characters at the same time. Then, try to use skills that inflict damage on several enemies at once.
Once the enemies have been defeated, take the tunnel where the airstream runs to return to the main mine area. Then activate the windmill that has just appeared to bring up a new ladder and climb to the top floor of the mine.
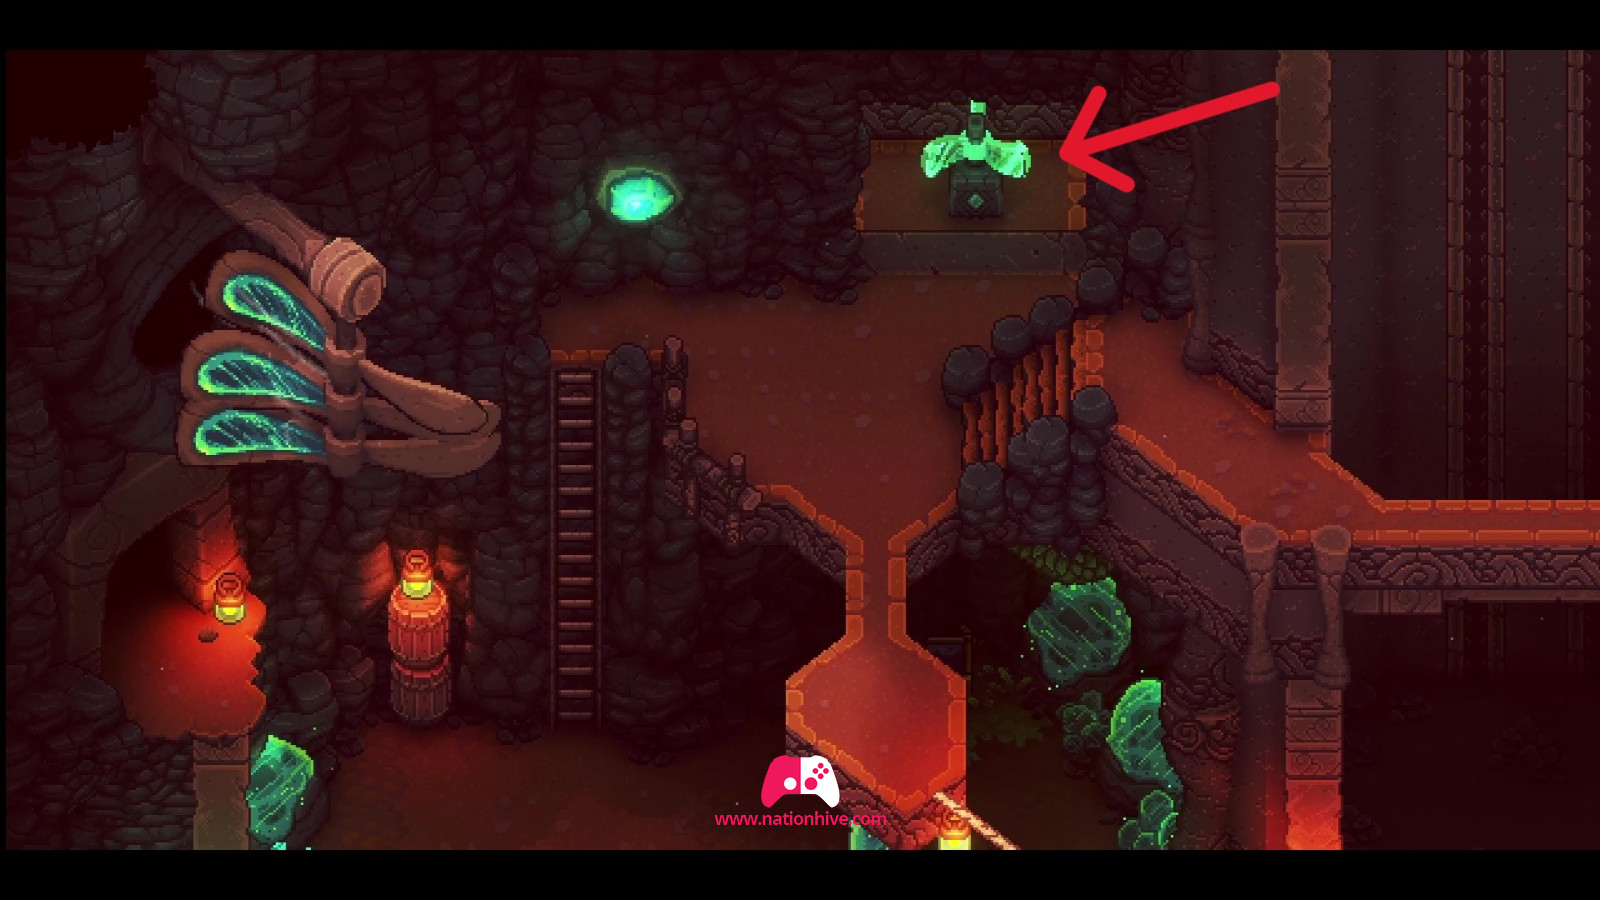
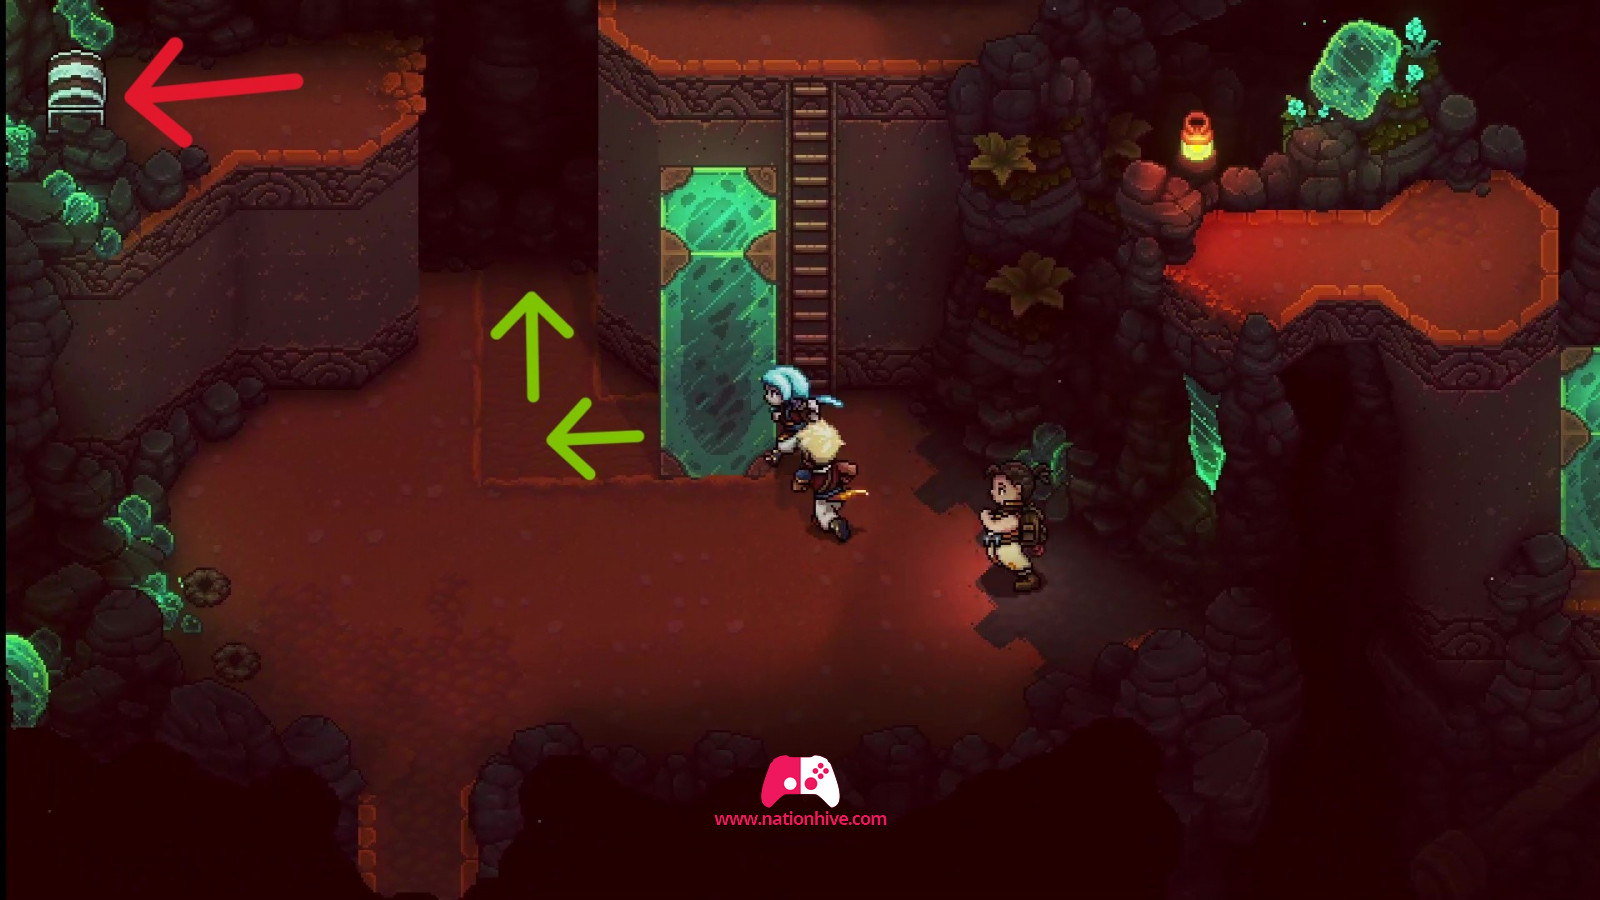
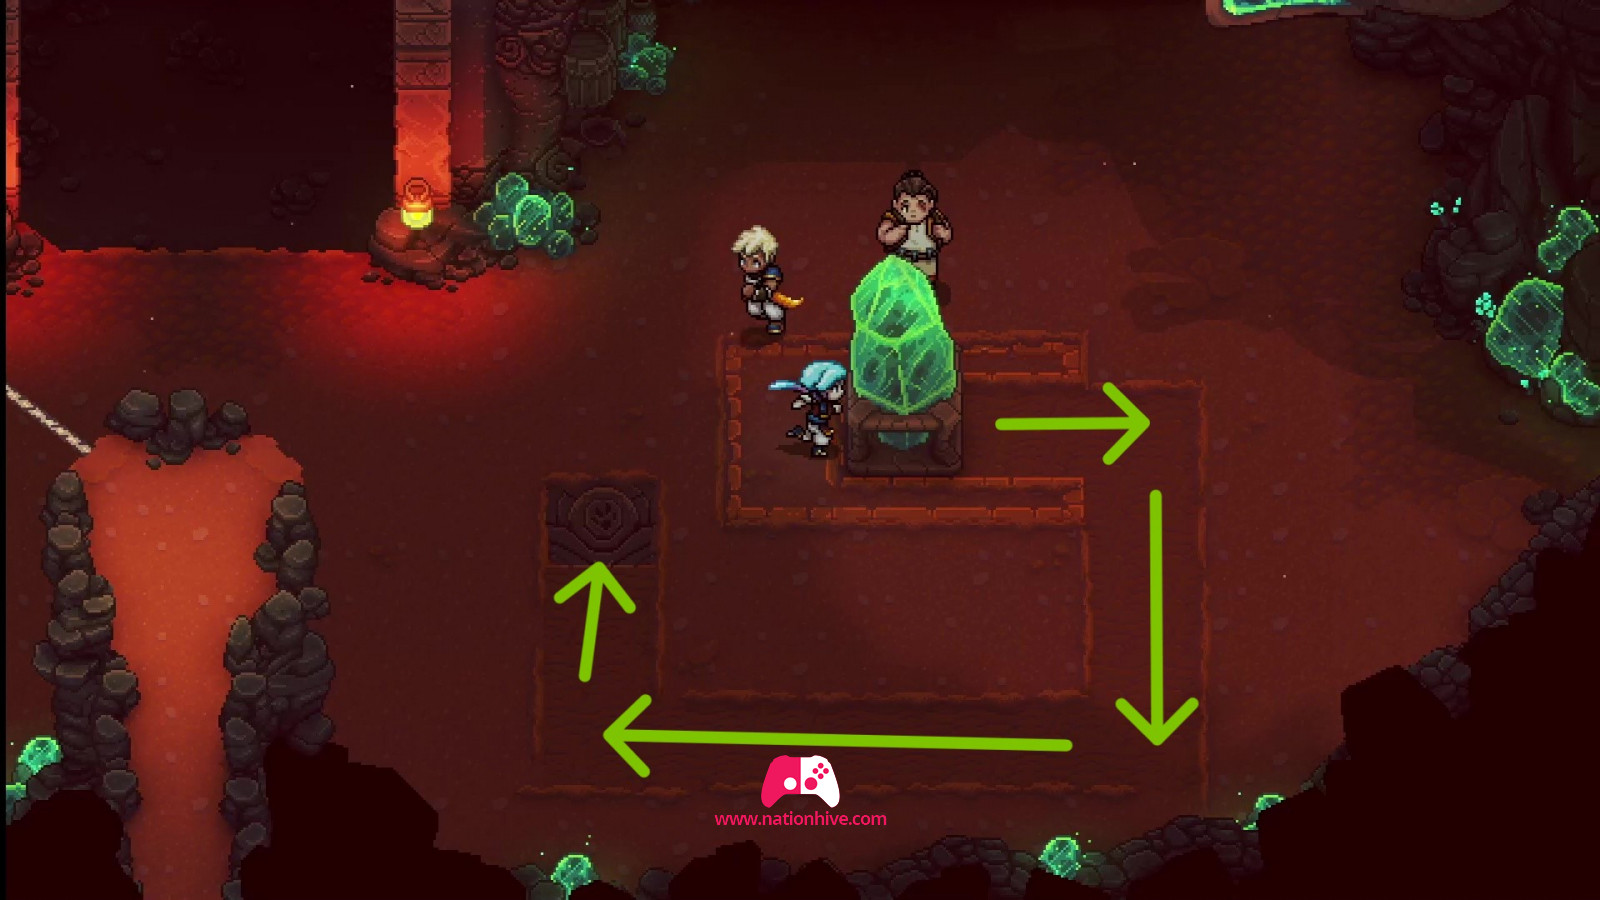
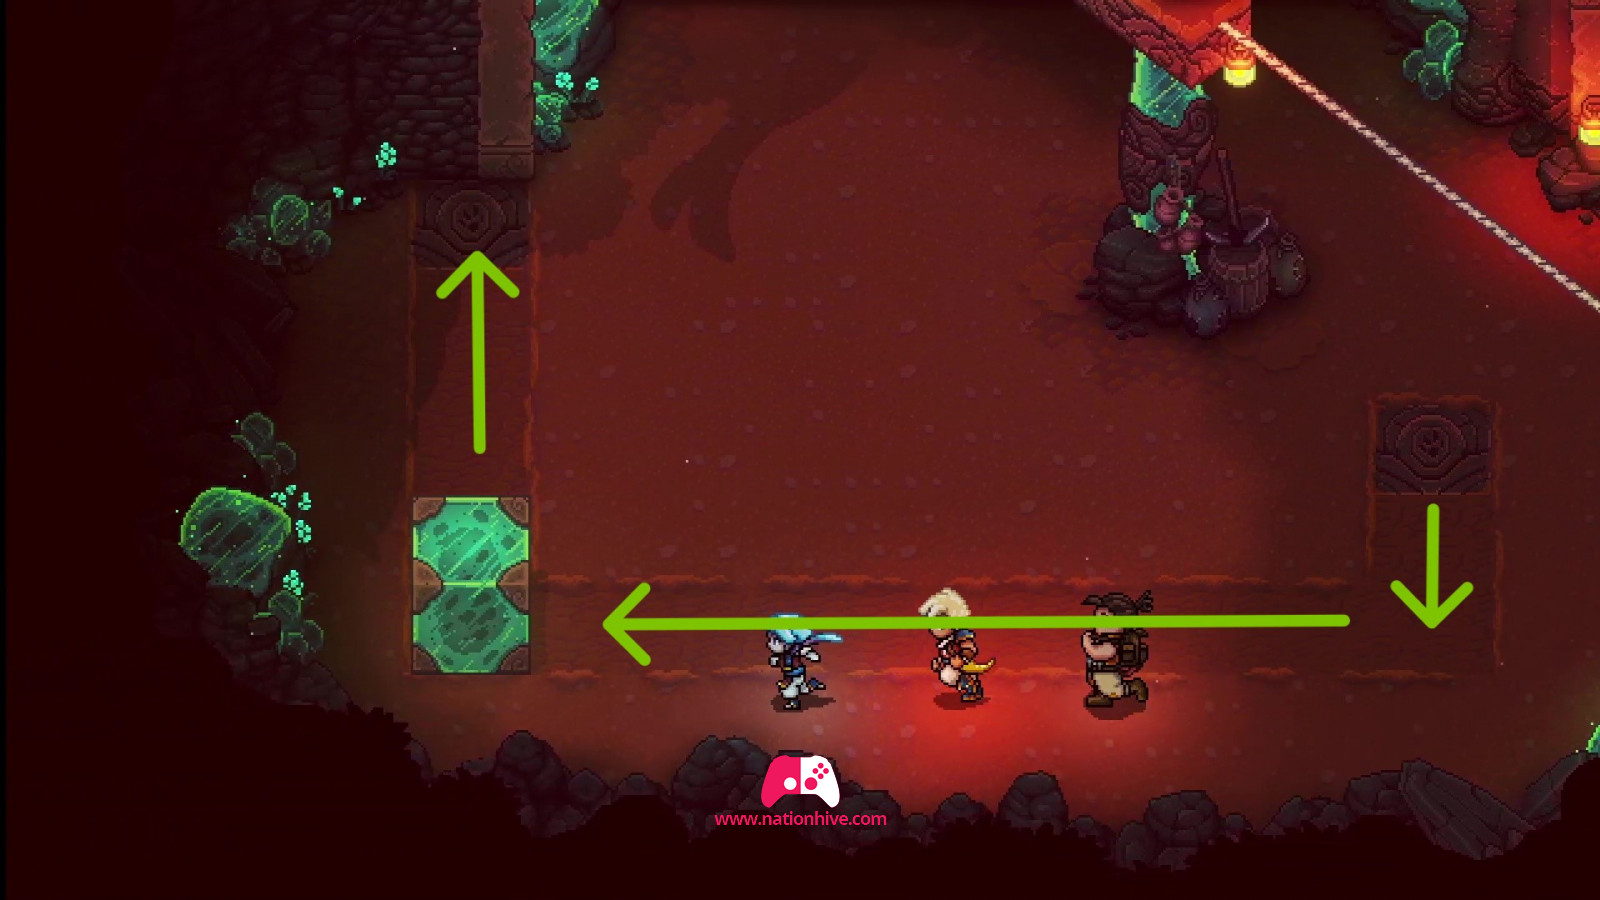
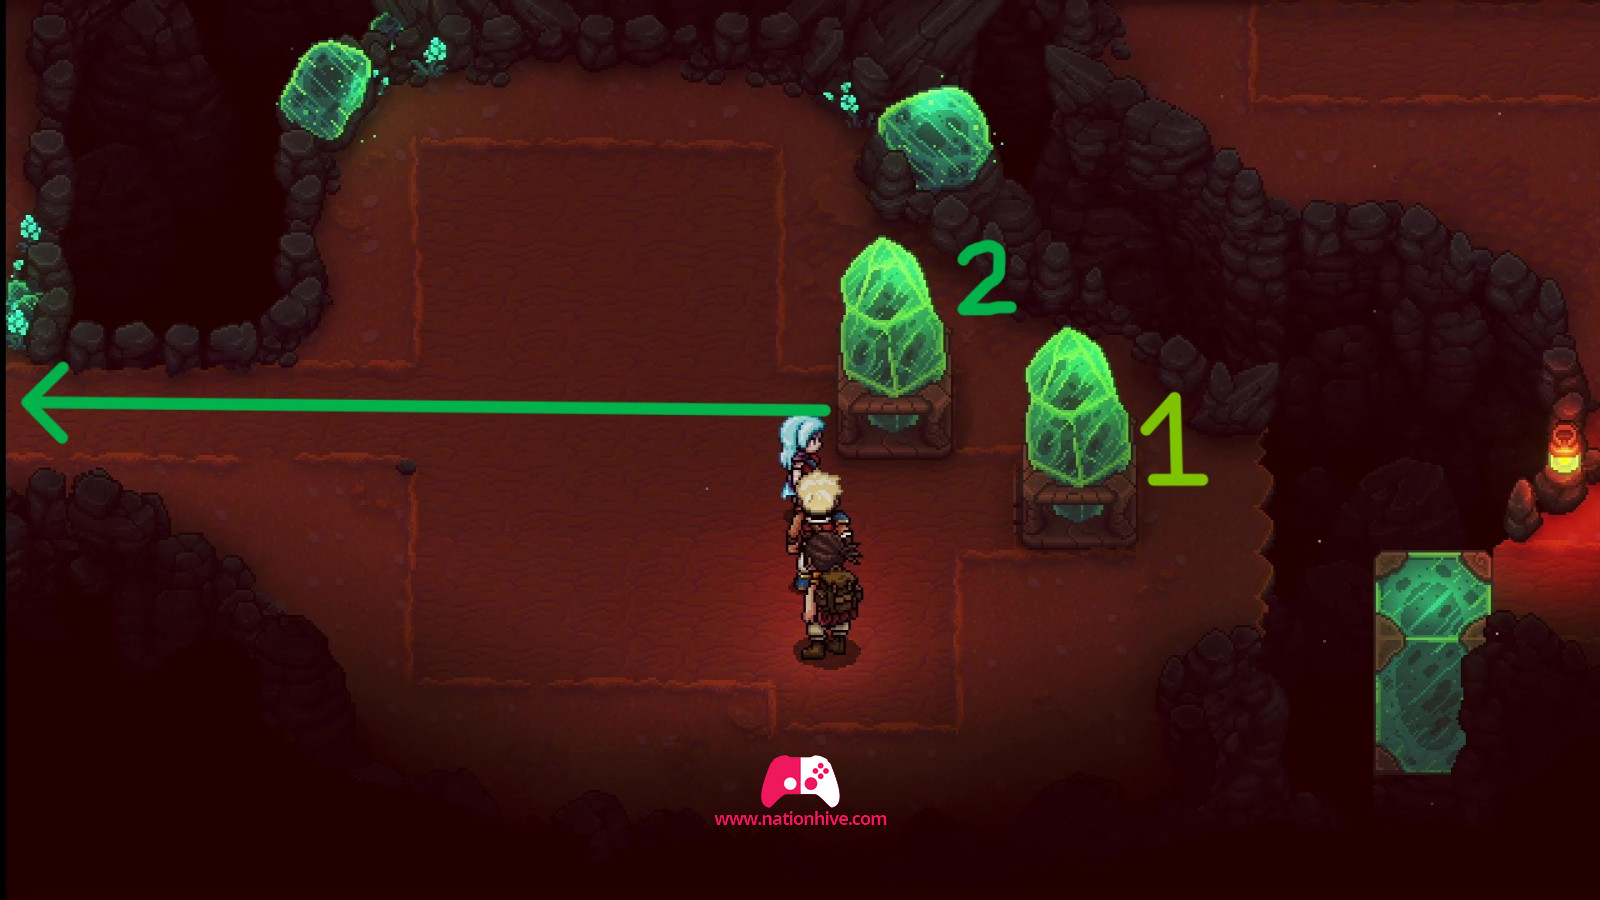
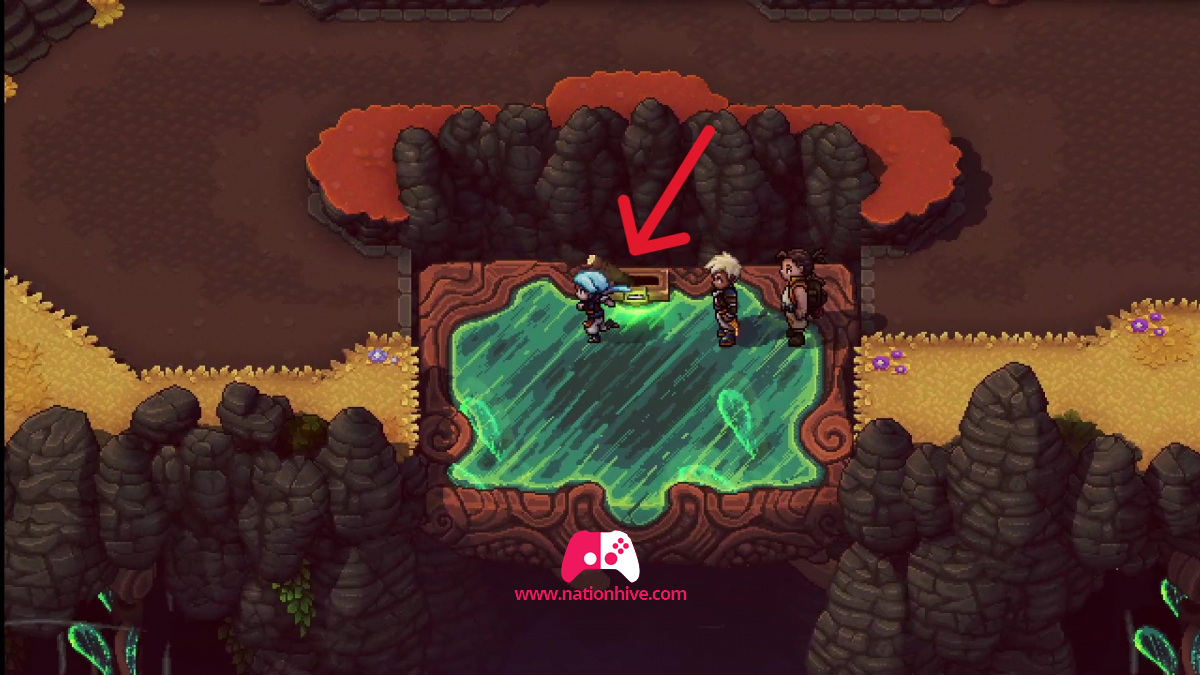
With your new skill, it's now possible to move the green blocks. This will allow you to cross to the other side to discover the new section on the left. For the section on the left, please refer to the image below, as you'll need to use the 2 green blocks.


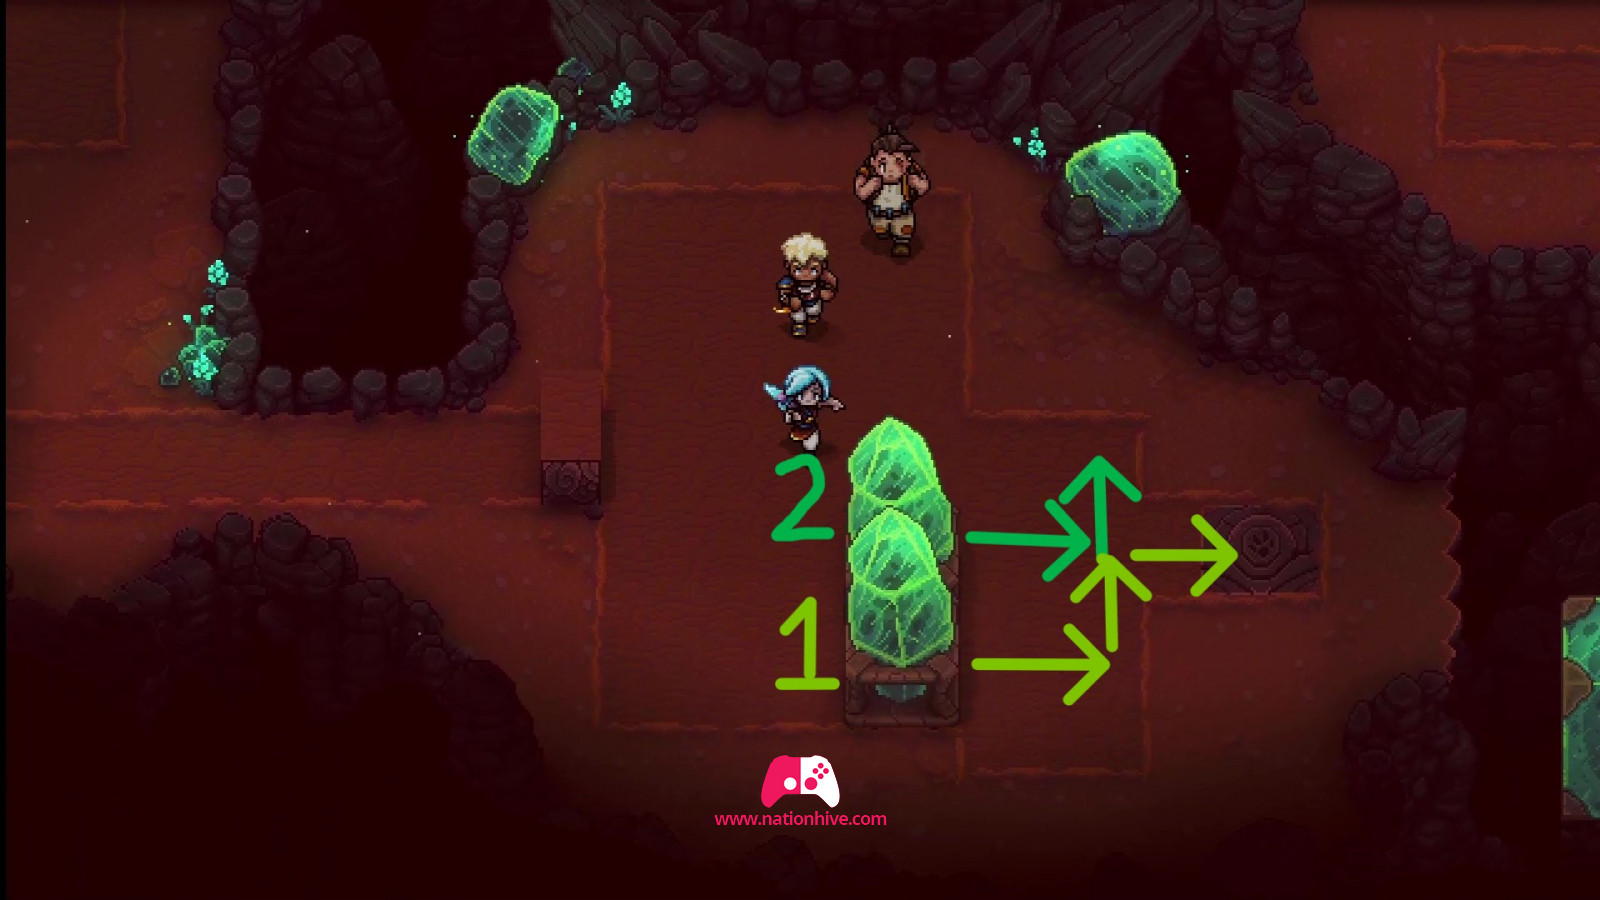
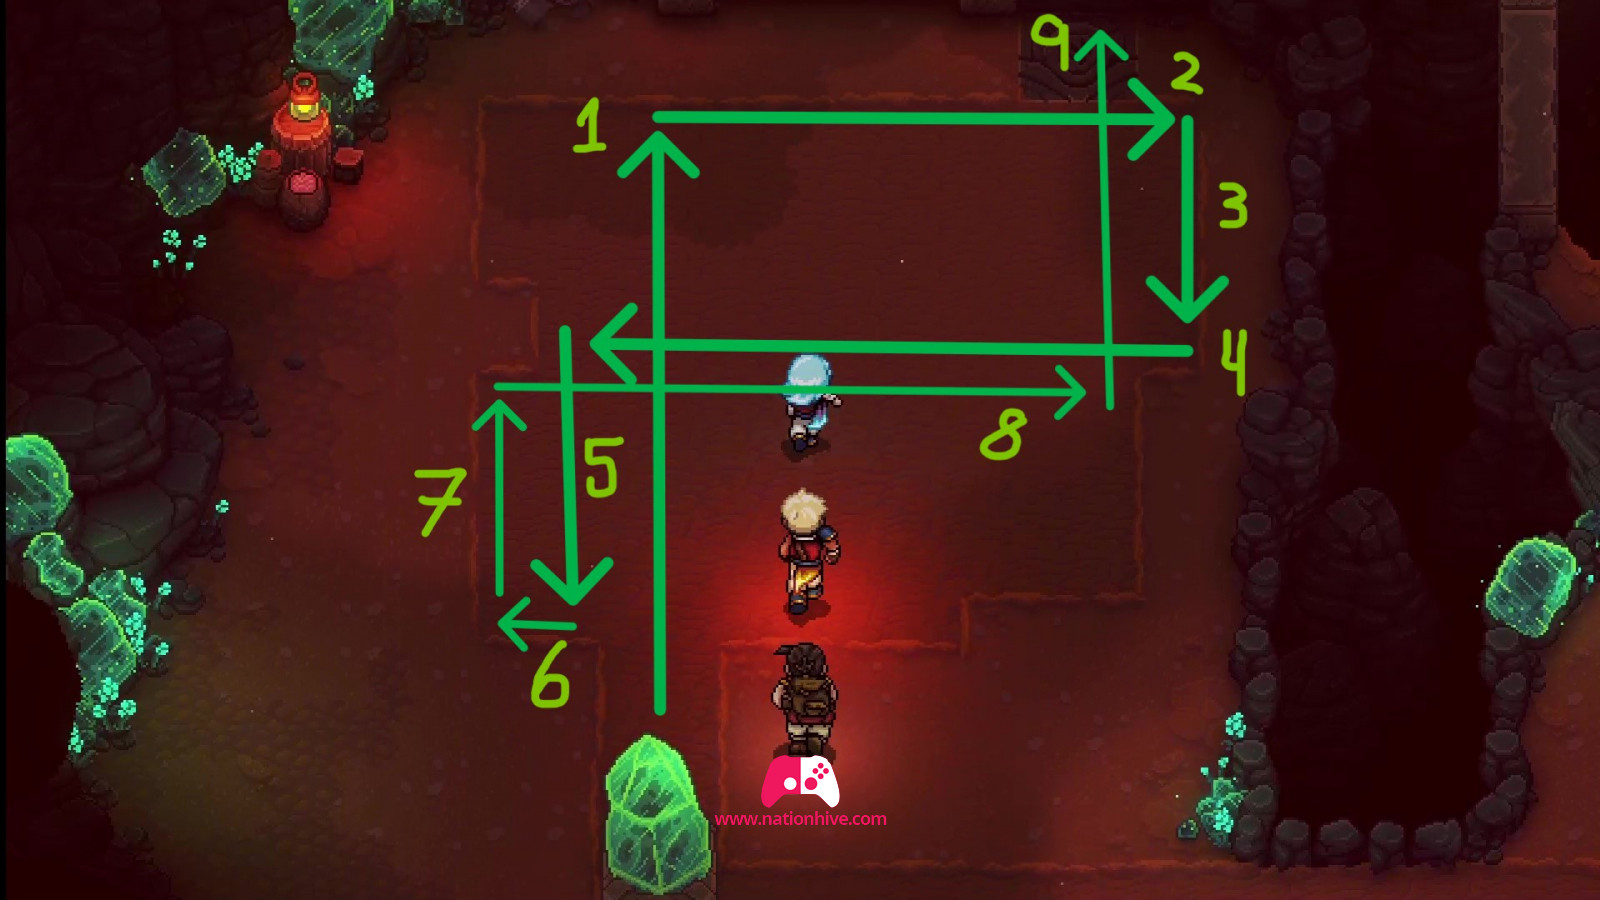
Once the 2 green blocks have been placed, push one of the 2 blocks to the other side to face another puzzle. Use the image below to complete the puzzle and gain access to the mill to open Malkomud's secret spot.
Defeat Malkomud and the Salamander (Boss)
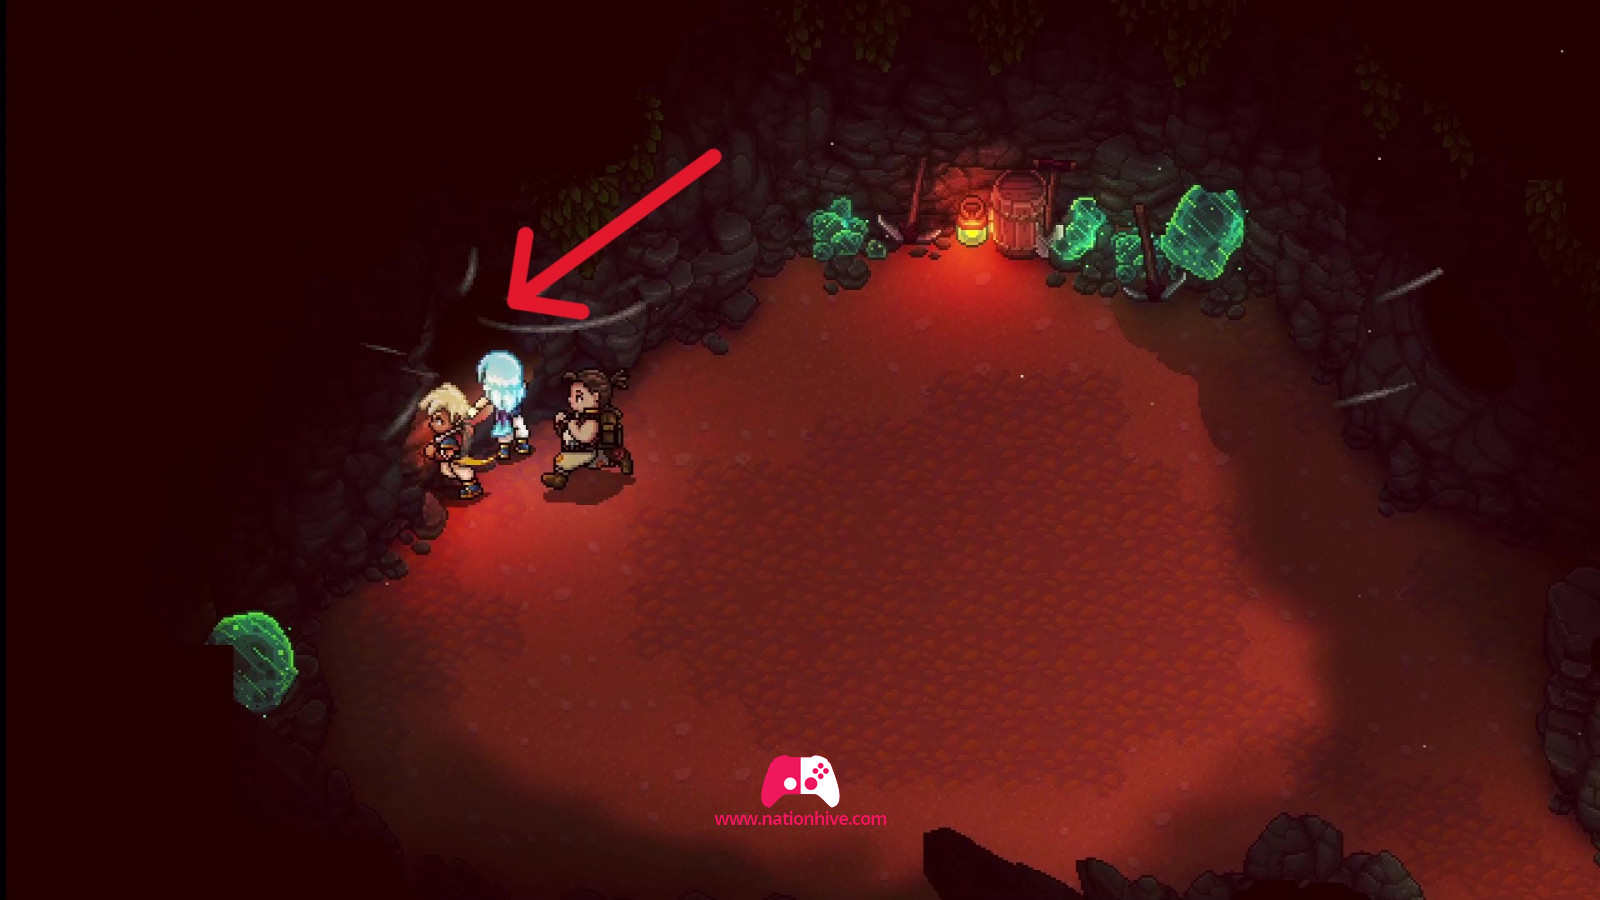
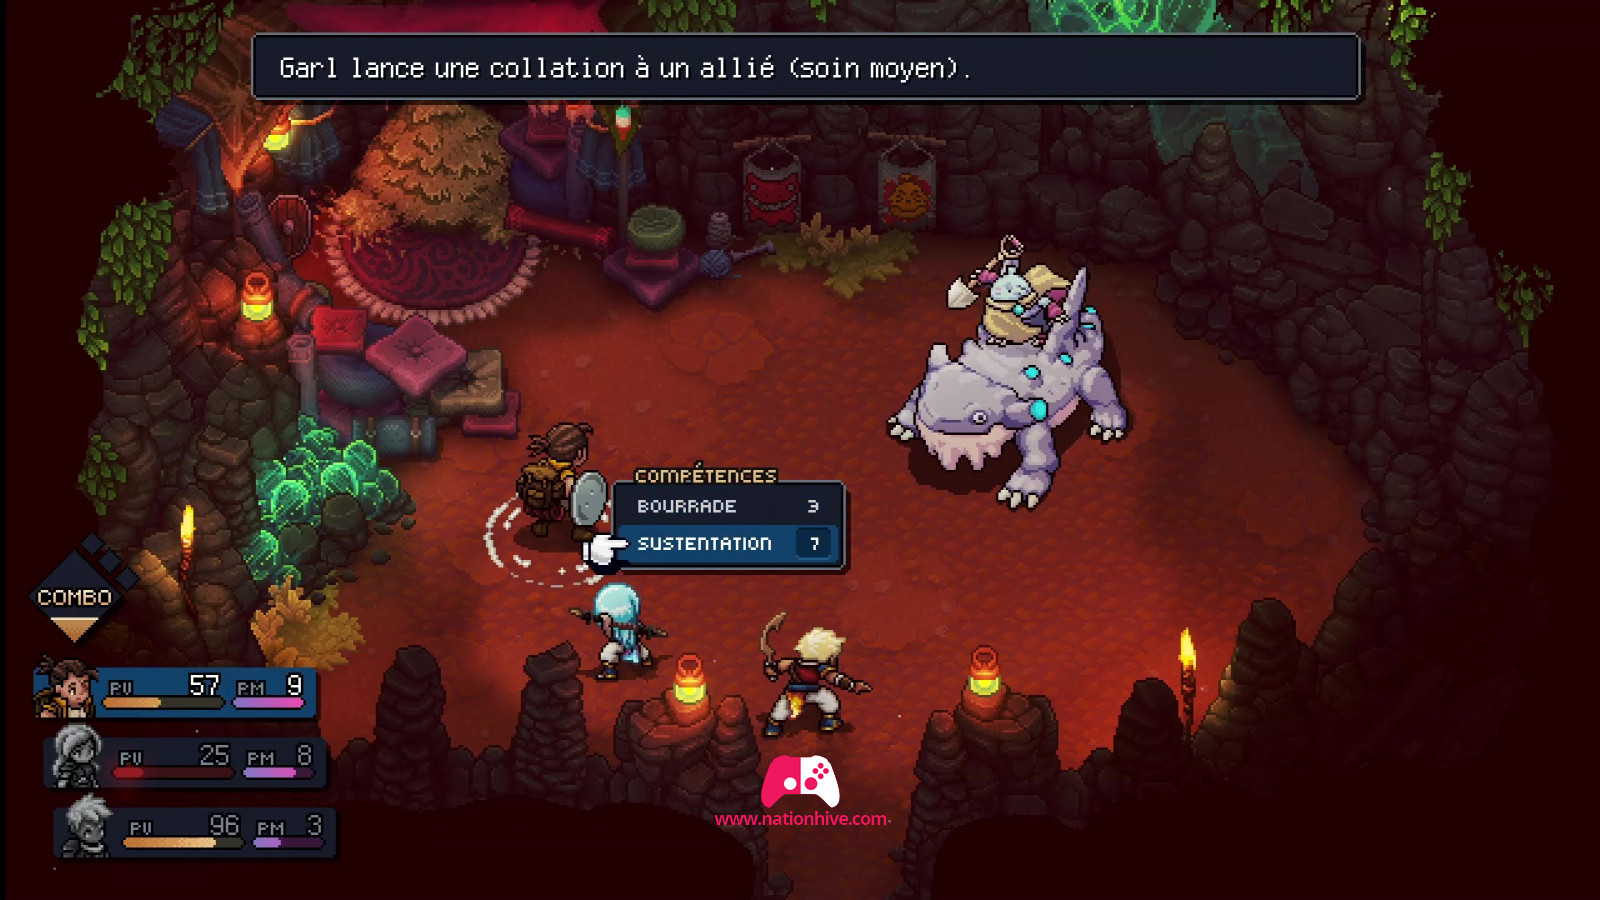
You'll have to face Malkomud and his companion. Once again, you'll have to face the Salamander, repeating the same steps. We recommend you start by attacking the Salamander. Once you've inflicted a certain amount of damage, Malkomud and his companion will team up to attack you with combos. This time, you'll need to be careful with your life bar, using healer spells as needed. Use Zale and Valere's skills with boosts to inflict even more damage.
Once the fight is over, Garl will reason with Malkomud and peace will return to the village. Leave the secret spot and return to the Stonemasons Outpost. The Ancient Molekin will suggest that you go to the Port Town of Brisk to find a crew of adventurers who can help you reach the island.
Head for the elevator to progress to the next region. This concludes Part 6: Wind Tunnel in the Mine.