Part 21: The Sacred Grove
In this Sea of Stars walkthrough, we'll take you through Part 21: The Sacred Grove.
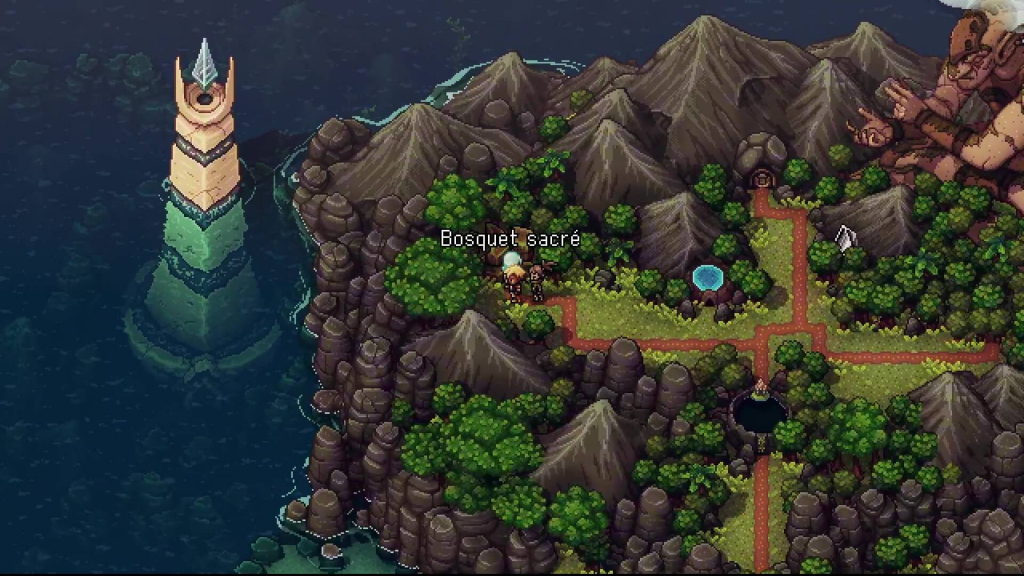
Once you've reached the Sacred Grove, take the opportunity to save your game and cook some food if you need to.
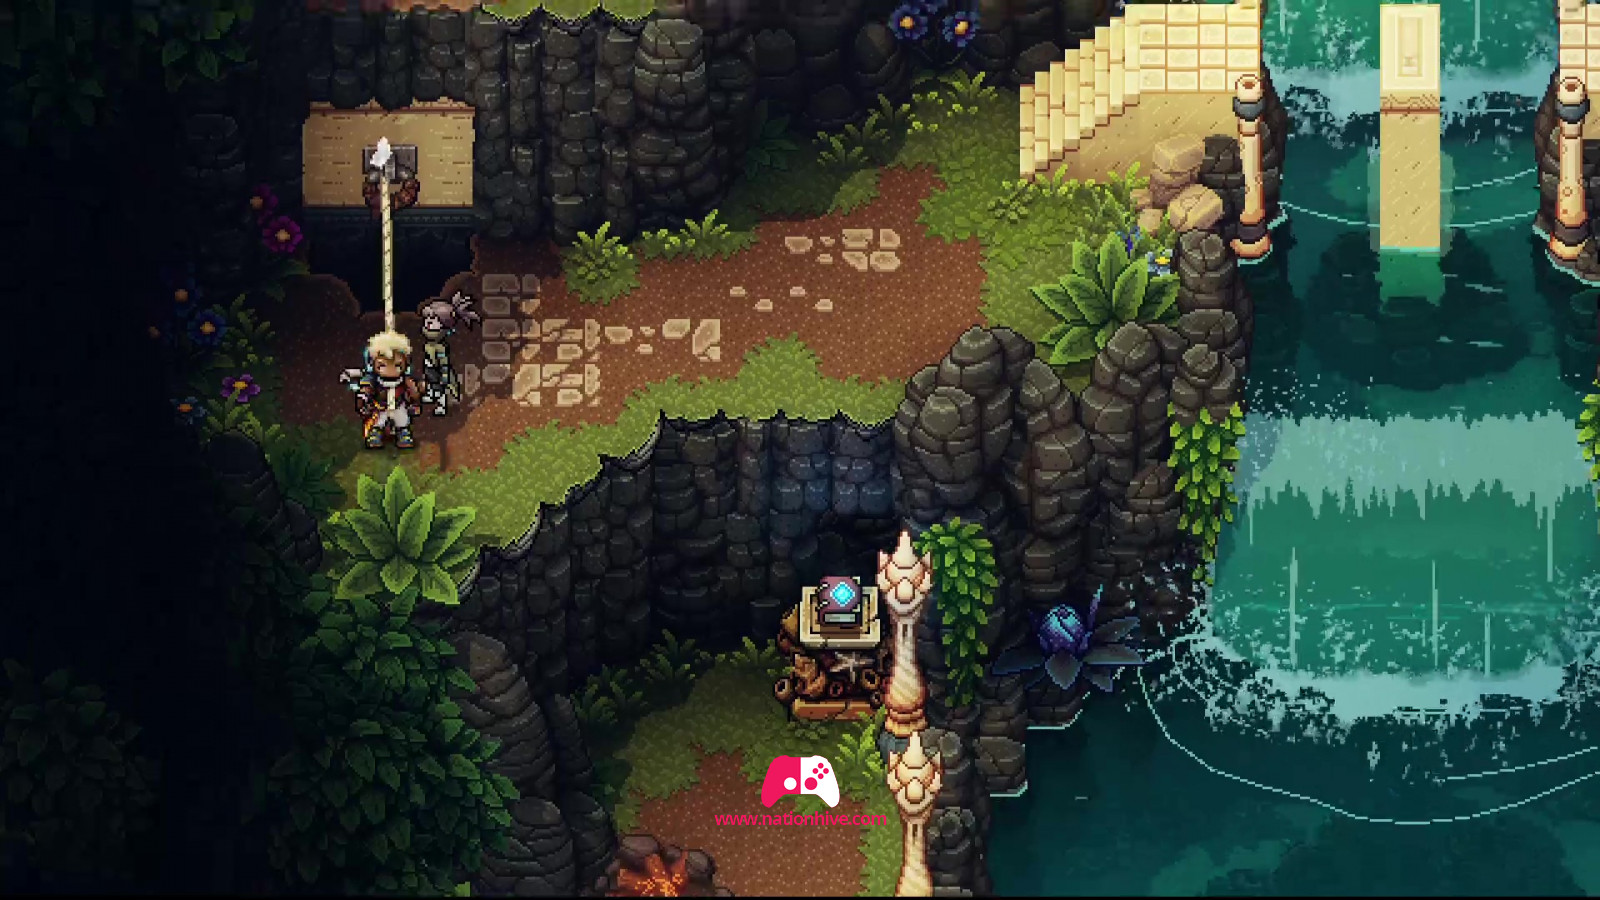
Then head right and climb the platforms. Cross the stairs and use your Grappling Hook to pull the platform towards you, allowing you to reach the platform at the top.
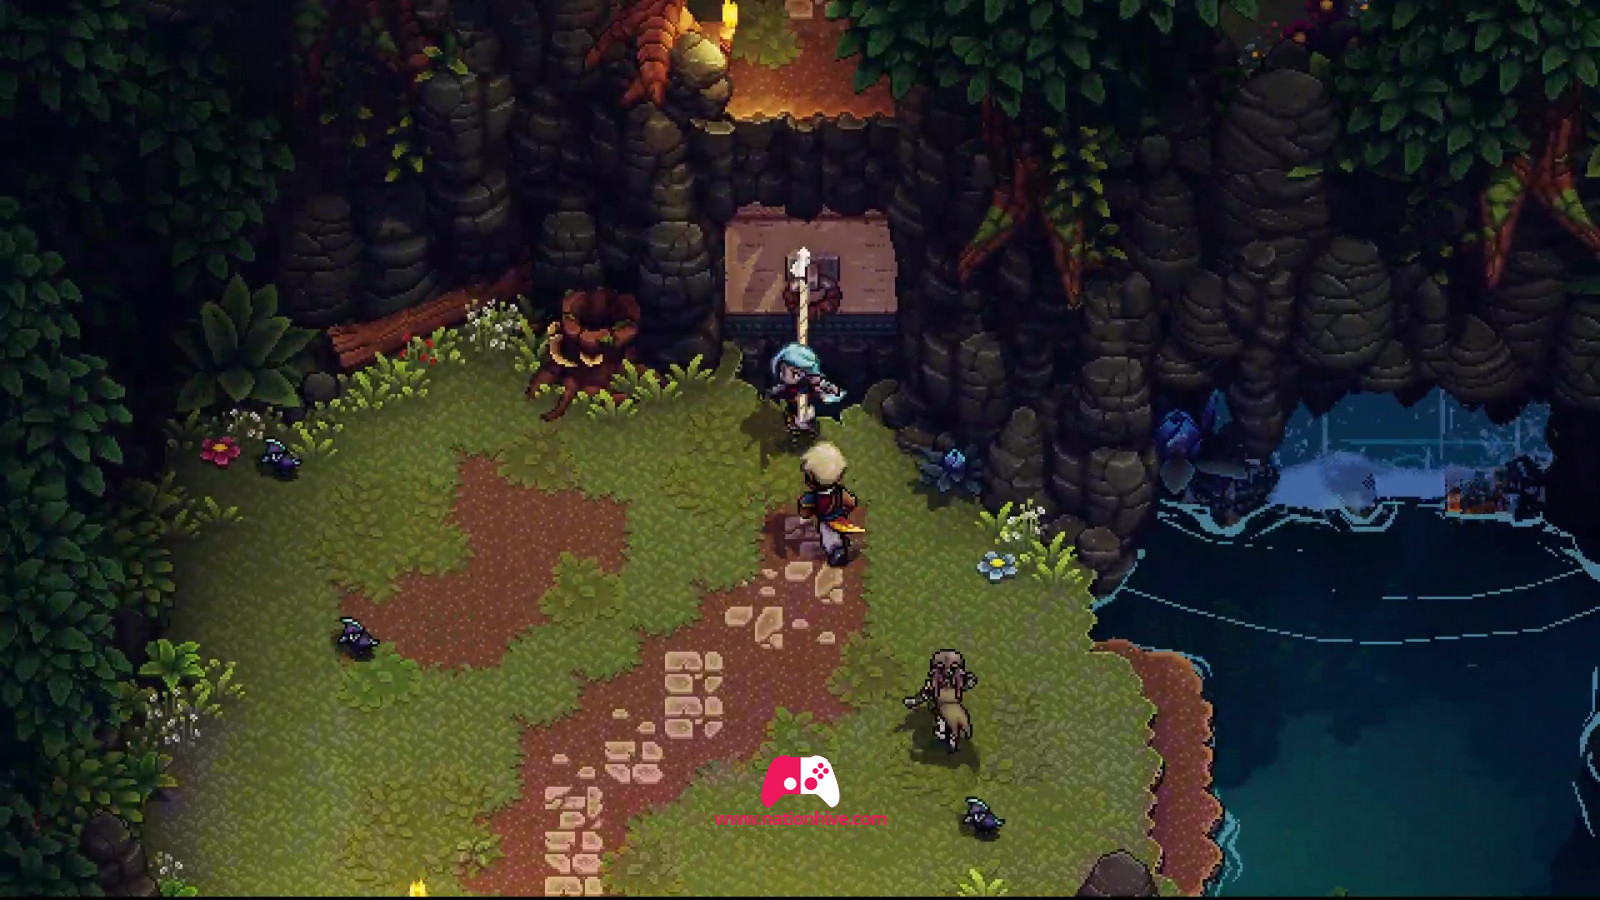
Continue on your way and attack the enemies in front of you. Continue to pull the platforms towards you, using your Grappling Hook to reach the platforms at the top. Attack the enemies in front of you and advance towards the light puzzle. You'll need to be quick to cross to the other side.

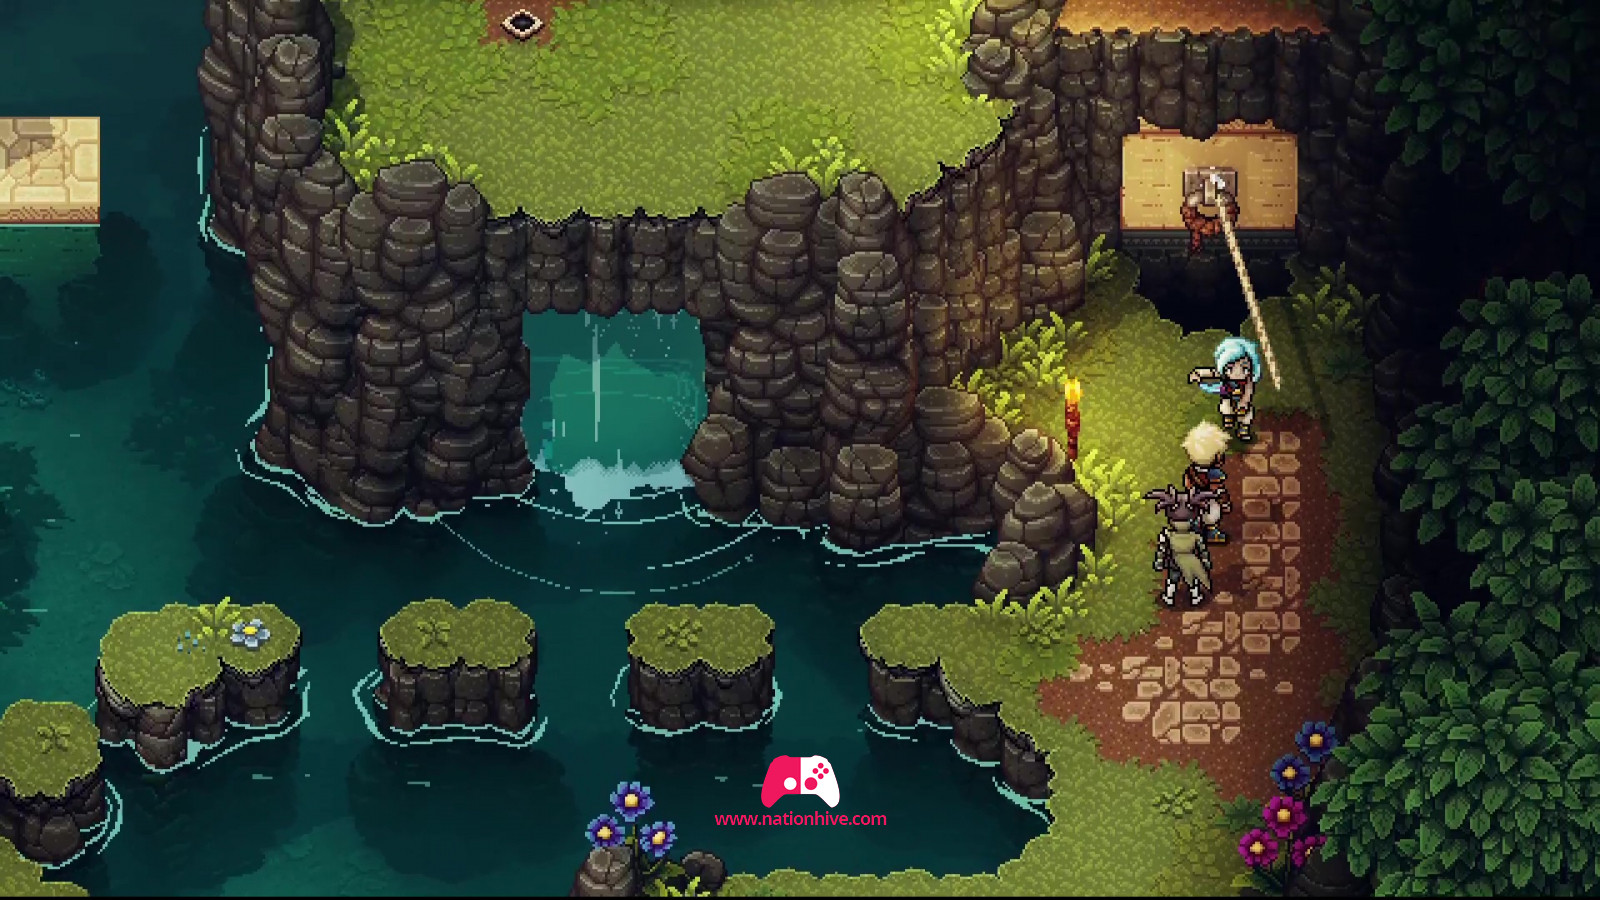
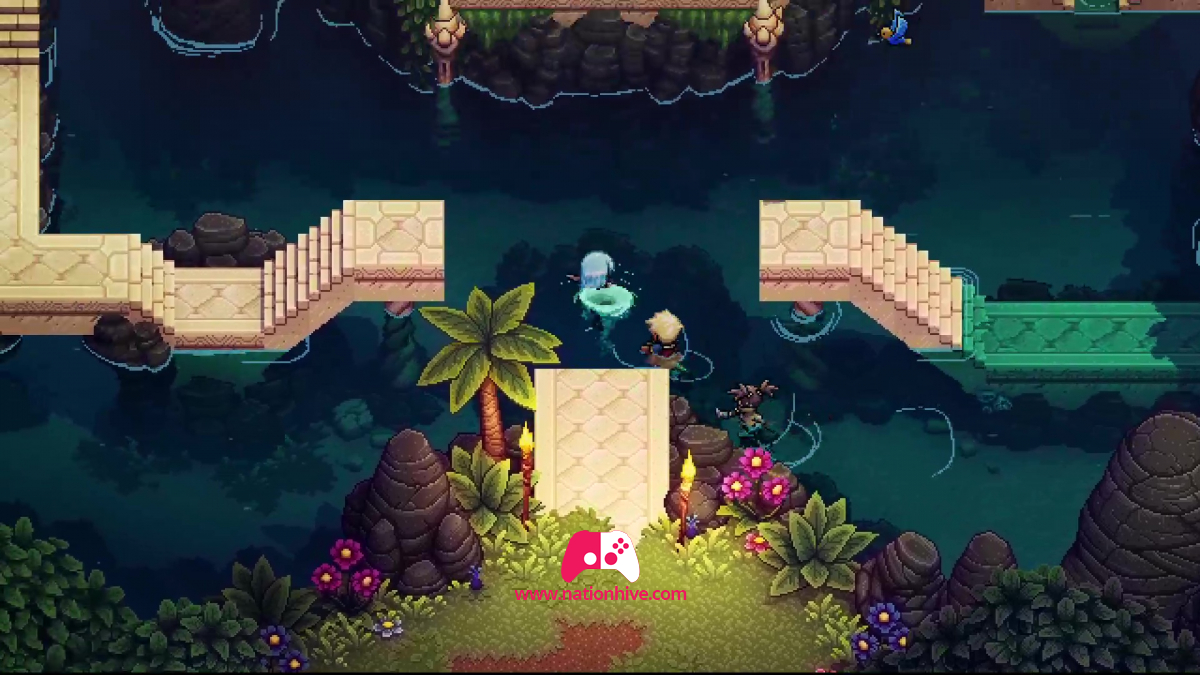
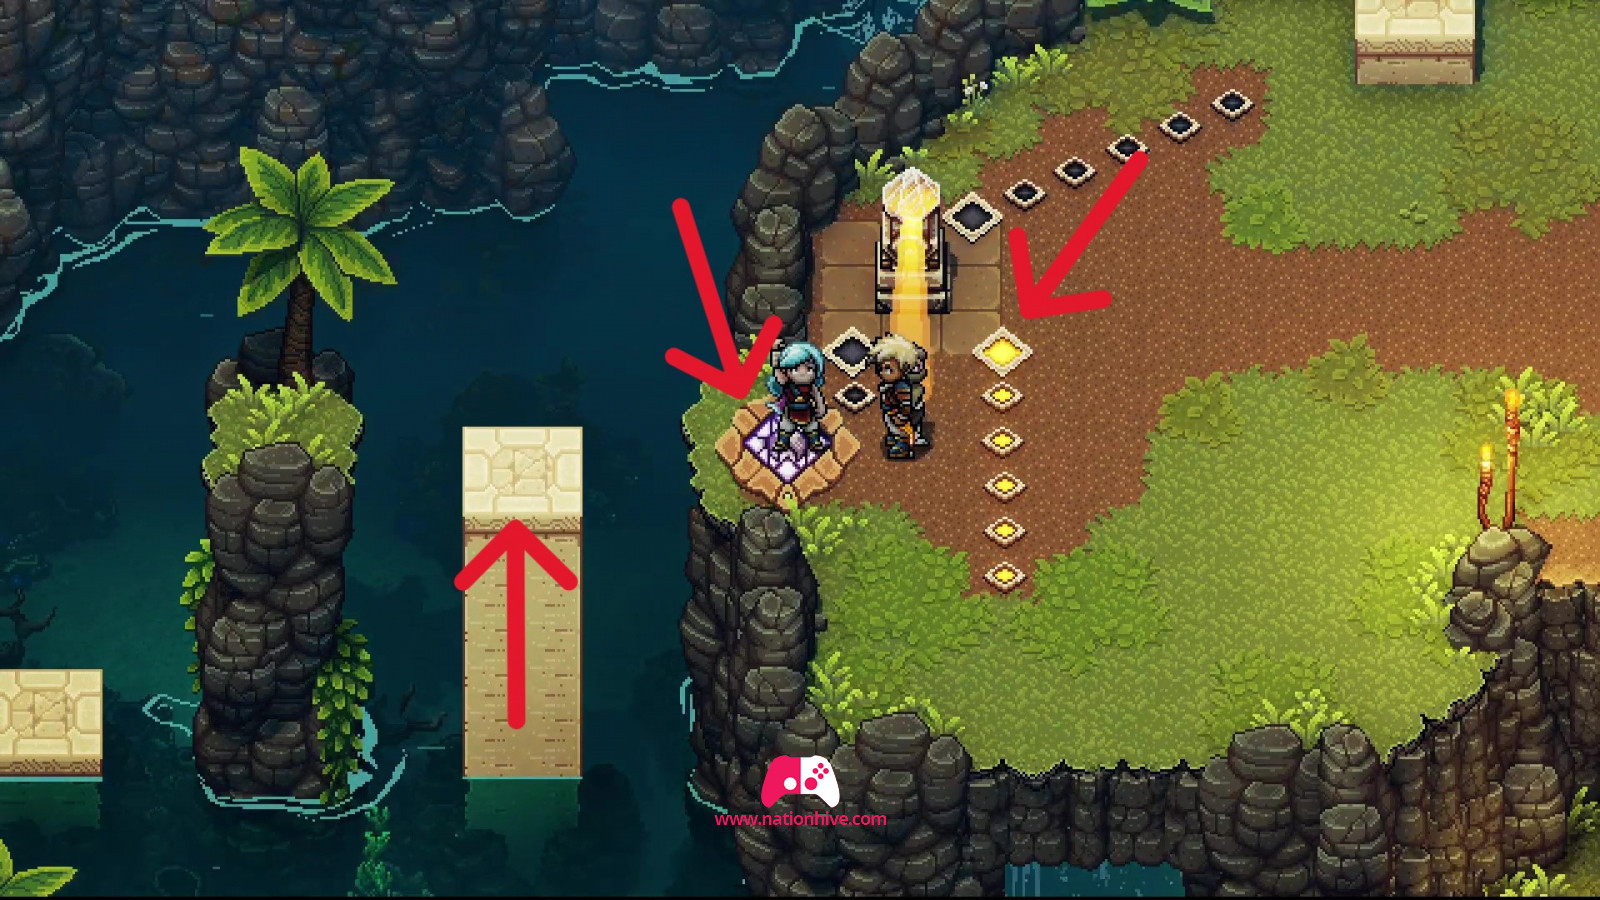
To cross to the other side, use the celestial rune in front of you by placing yourself on the purple square and direct the light onto the small squares to activate small platforms that will allow you to cross to the other side. It's important to activate the right-hand squares (see images) and then the left-hand squares, and to hurry across when the platforms go up, as they will come down after a few seconds.
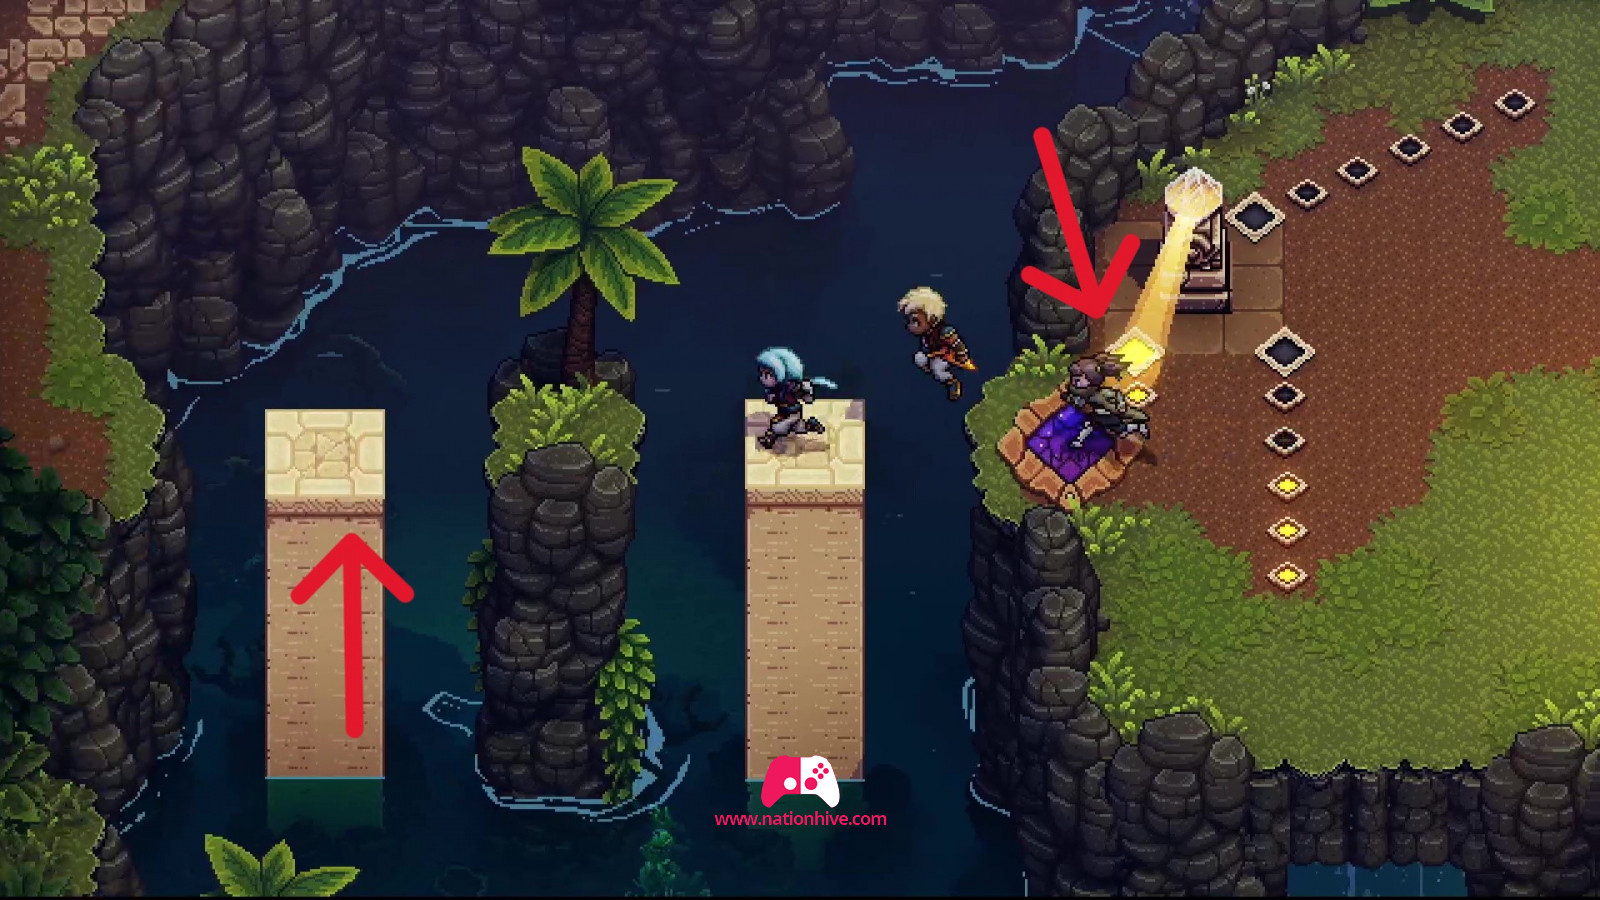
Once on the other side, pull the platforms up again using your Grappling Hook.
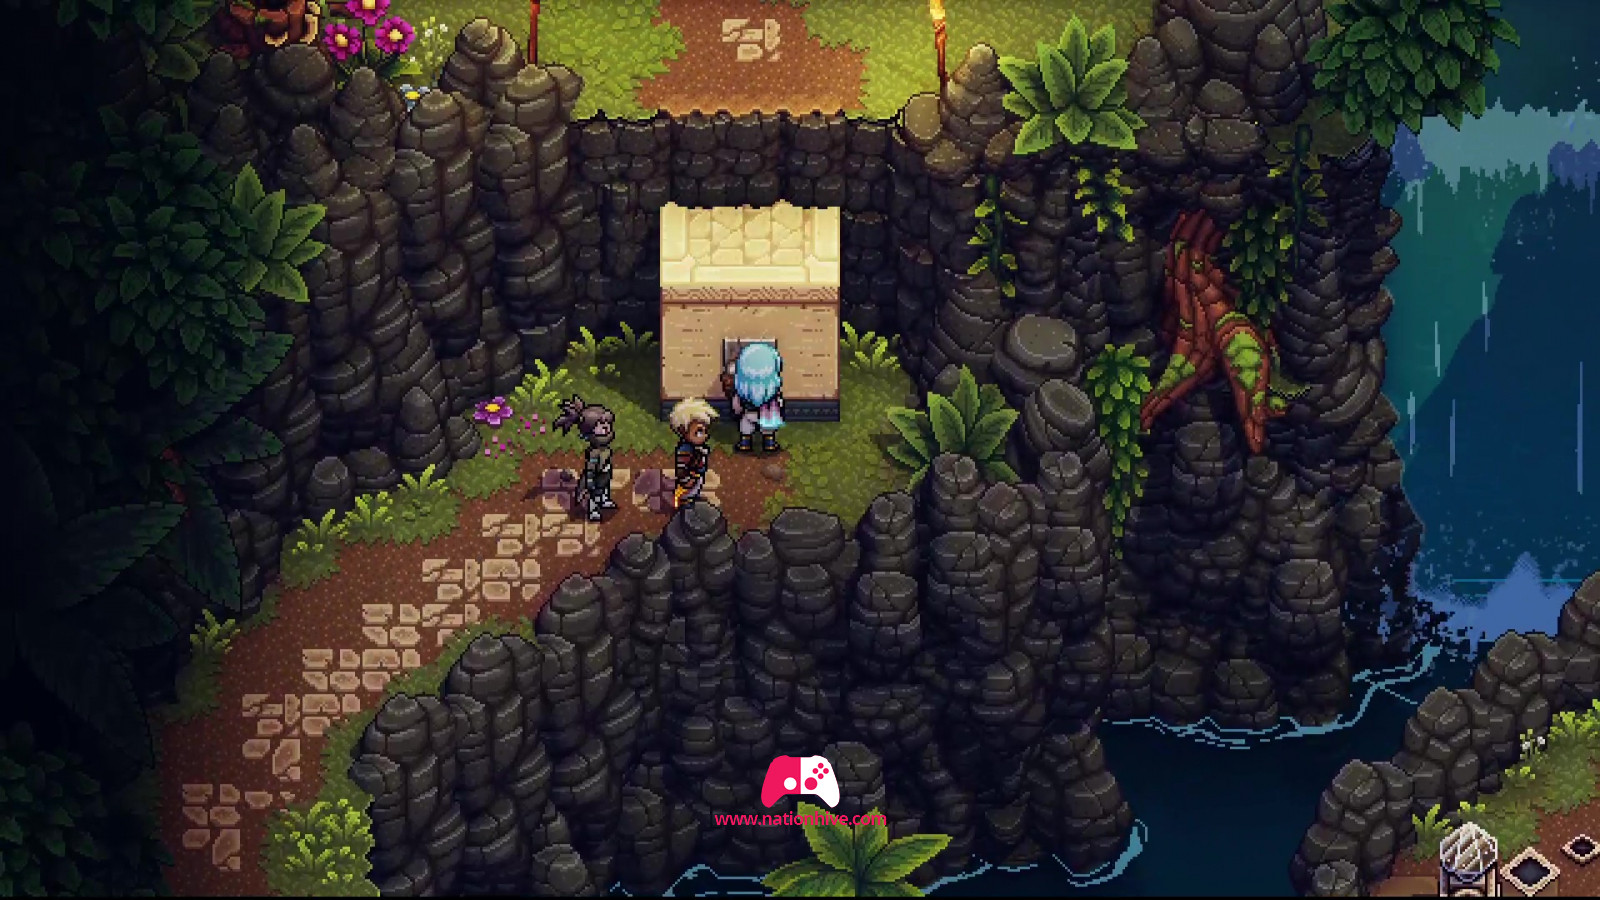
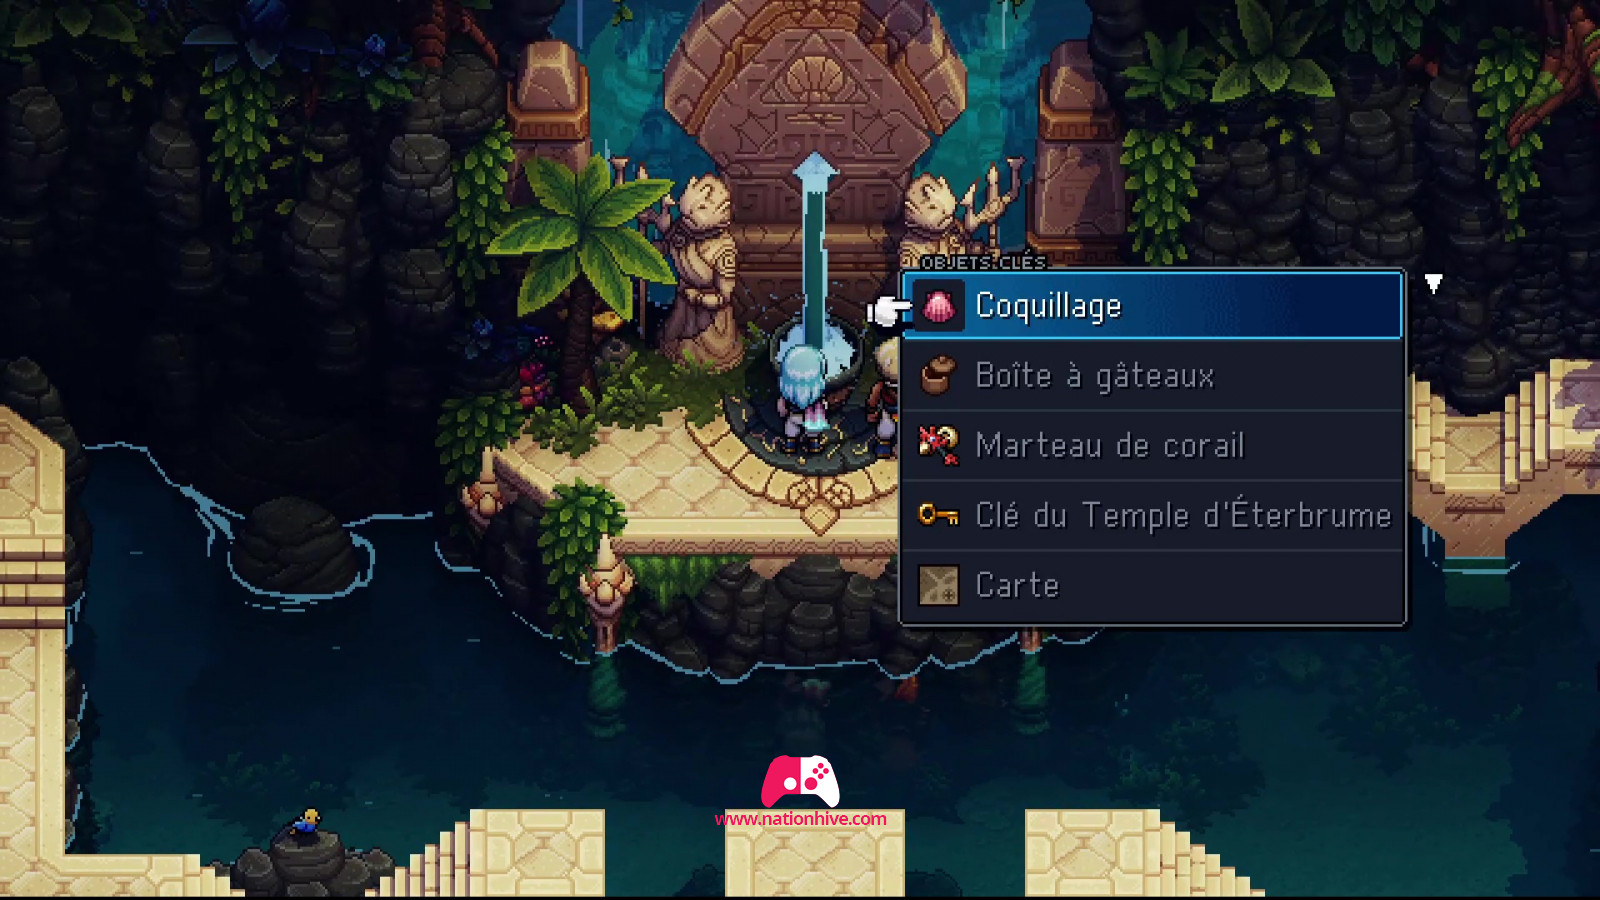
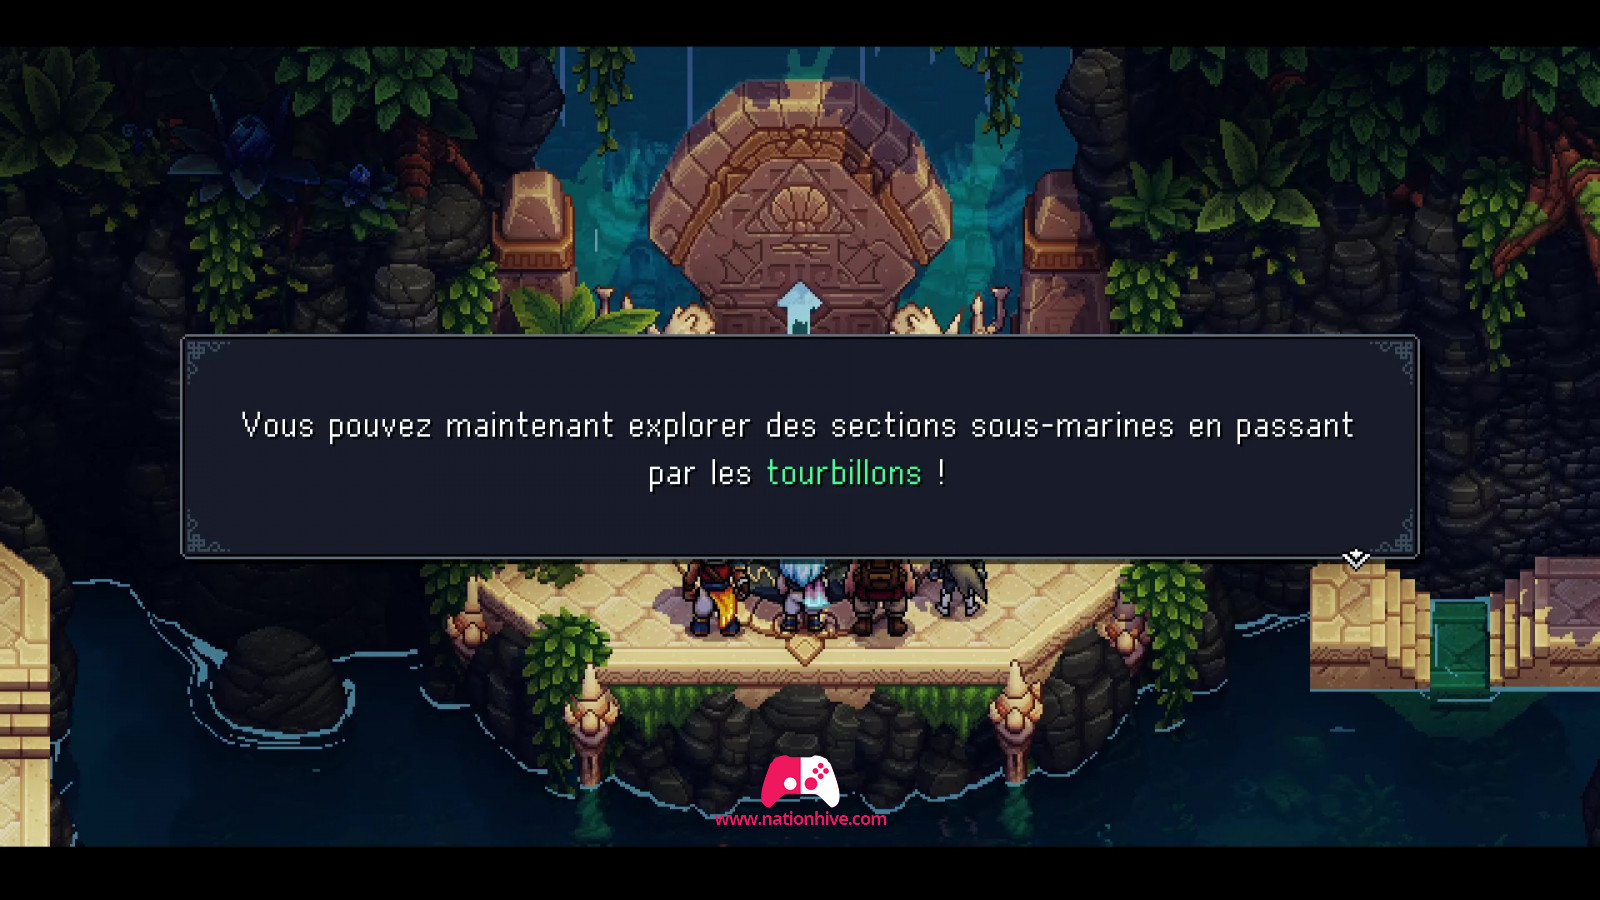
When you arrive at the altar, drop the shell Garl has chosen to reveal the entrance to Docarria Village and receive a magic shell. With this new item, you can now explore underwater sections via whirlpools.

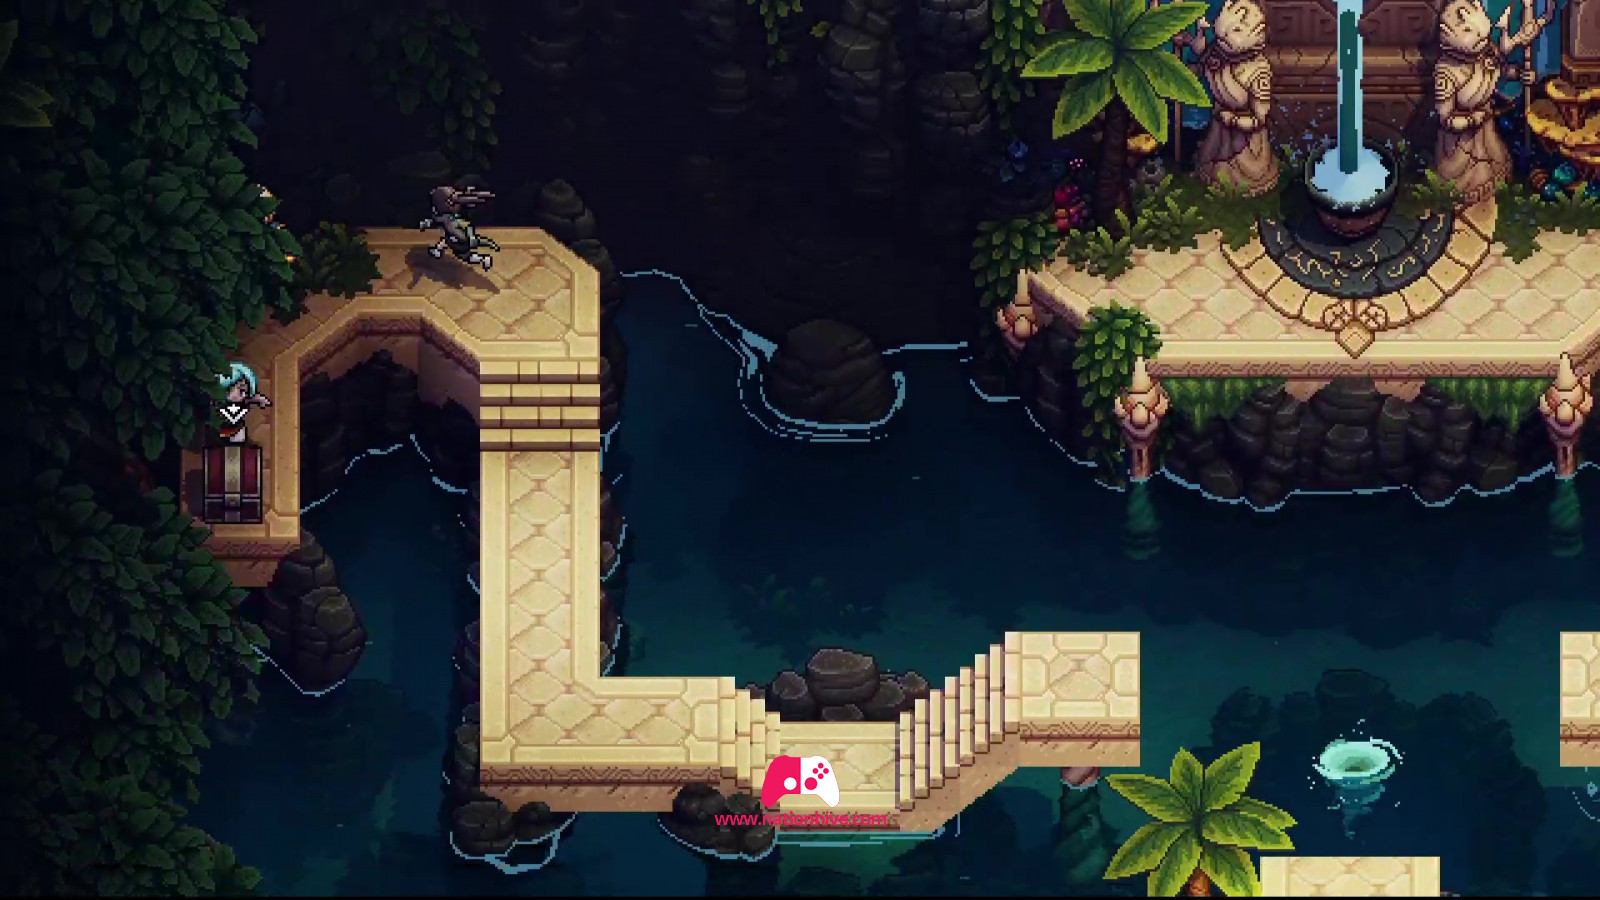
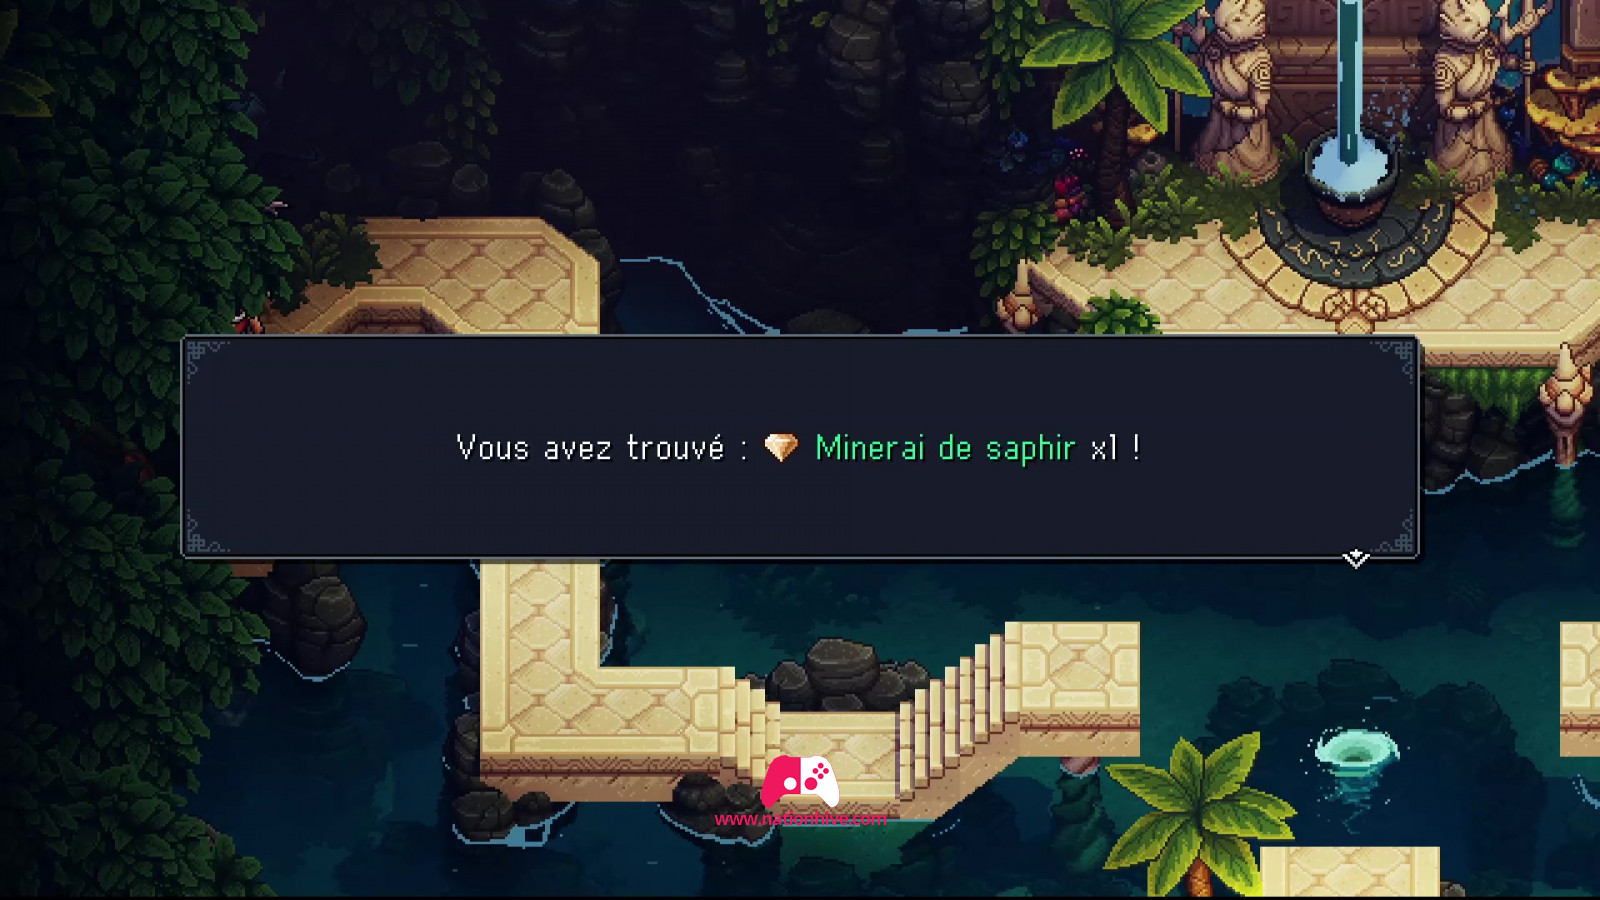
- On the way, open the chest to the left of the altar to receive a Sapphire Ore.
Once you're ready, enter the whirlpool at the center of the lake. This concludes Part 21: The Sacred Grove, and gives way to Part 22: Docarria Village.