Part 14: Haunted Mansion
In this Sea of Stars walkthrough, we'll take you through the whole of Part 14: Haunted Mansion.
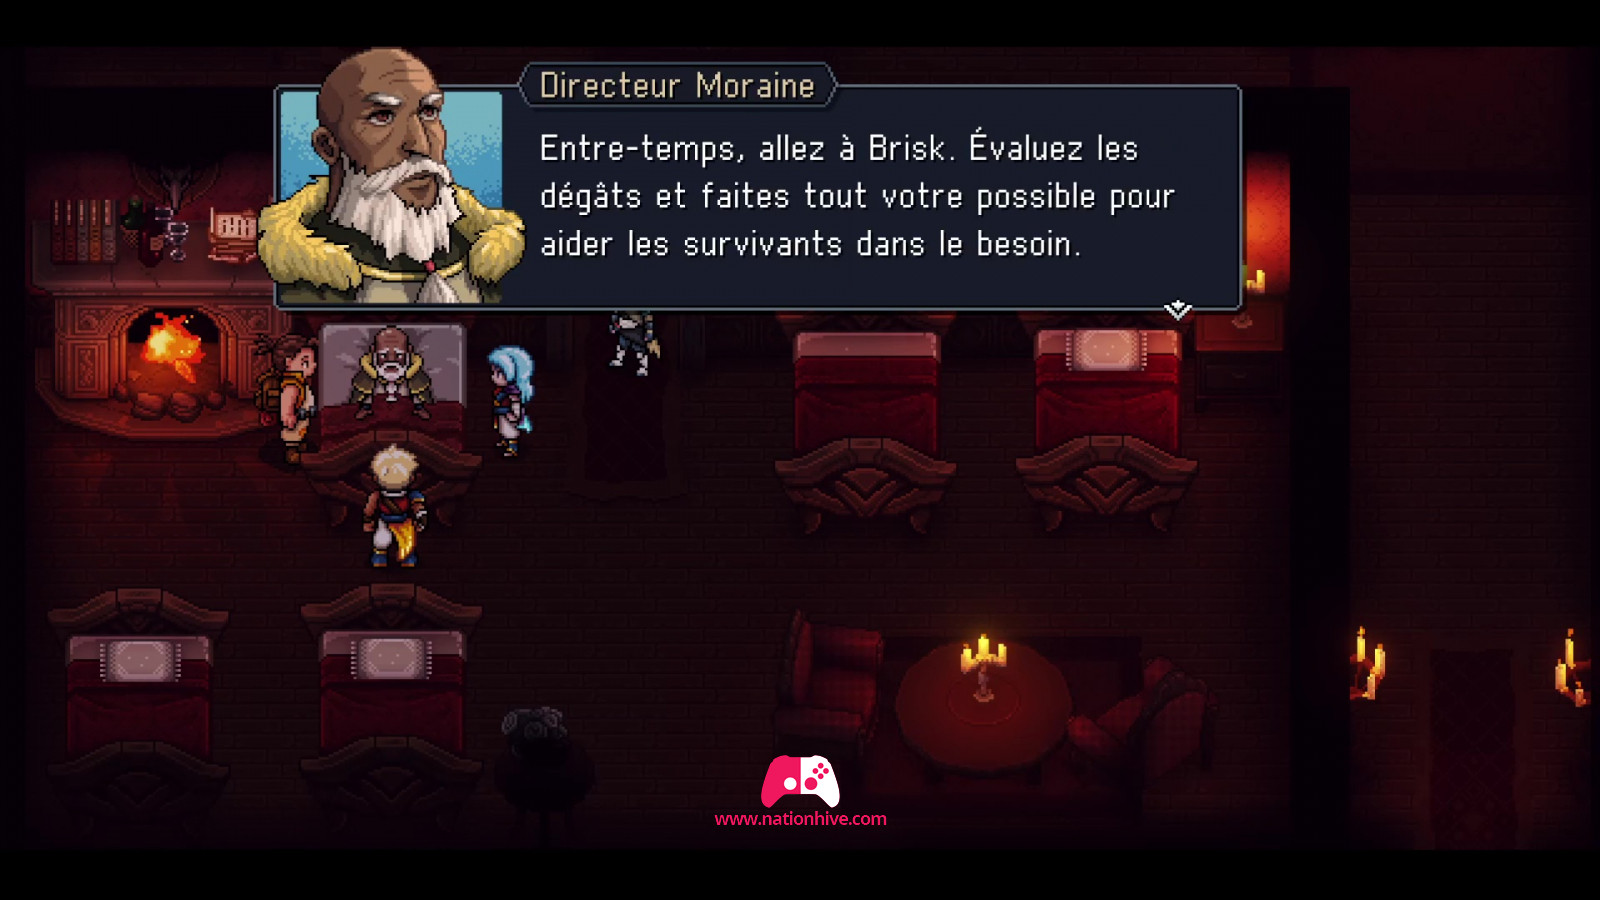
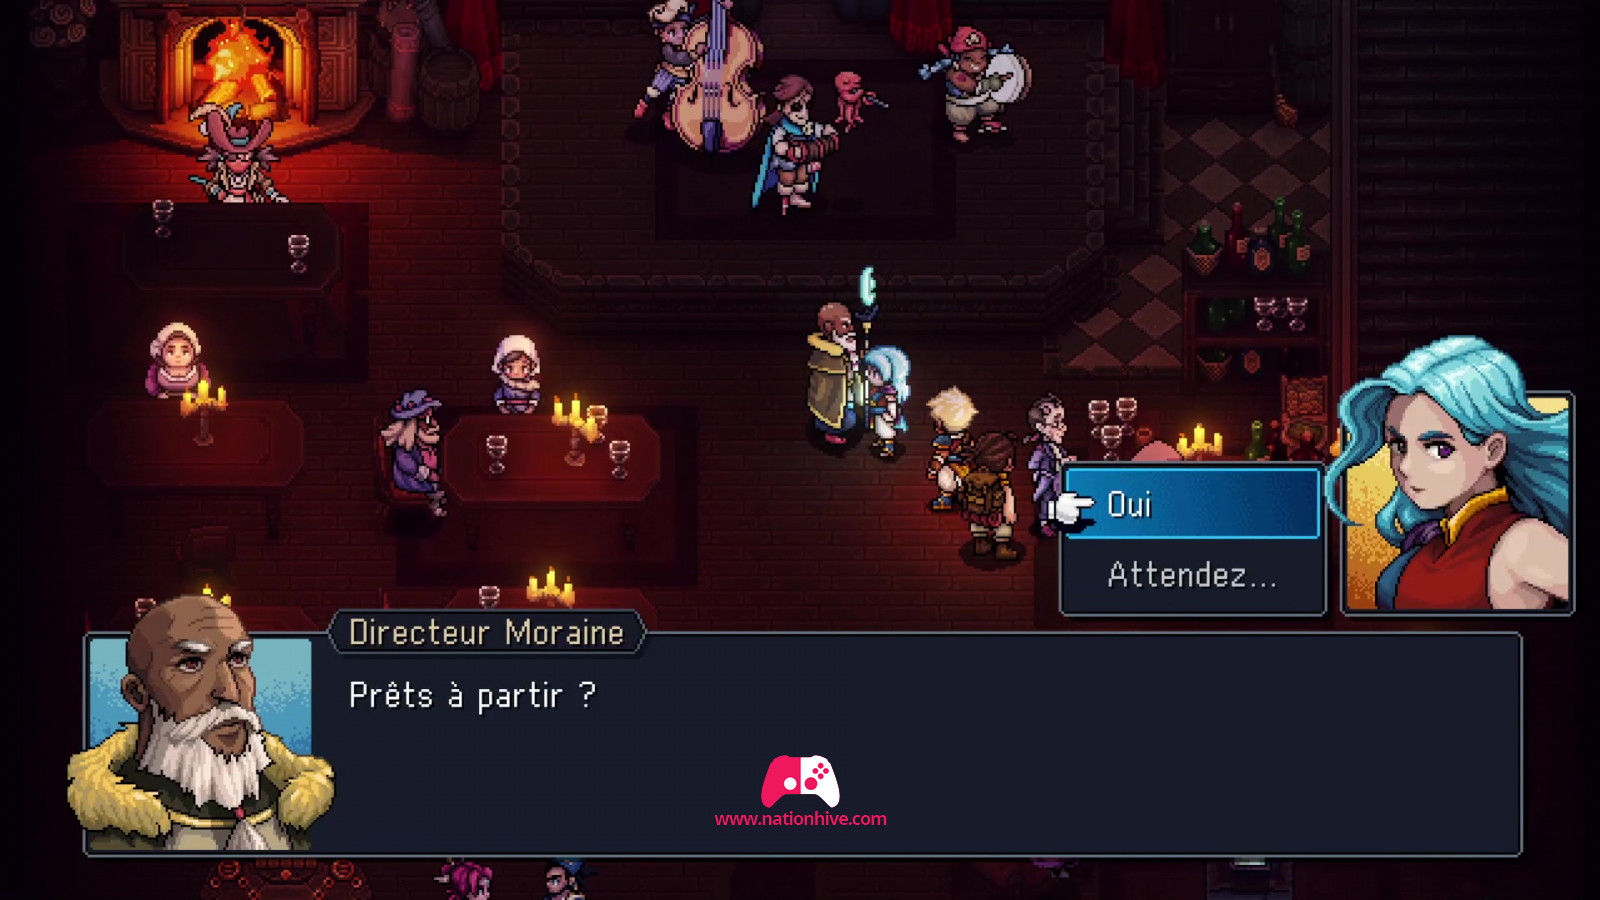
Once you're ready, talk to the Director to let him know you're ready to leave and move forward in the story.

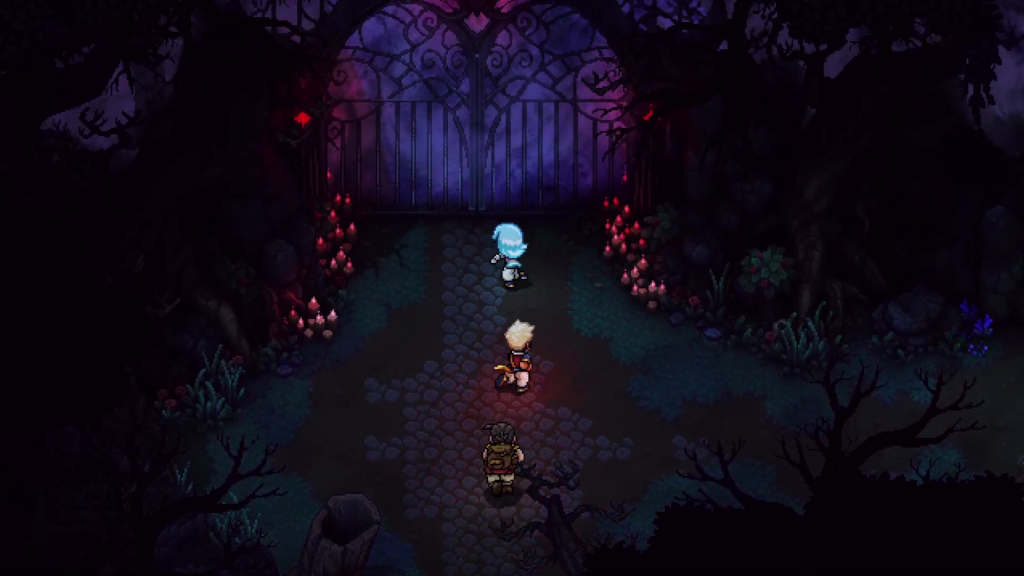
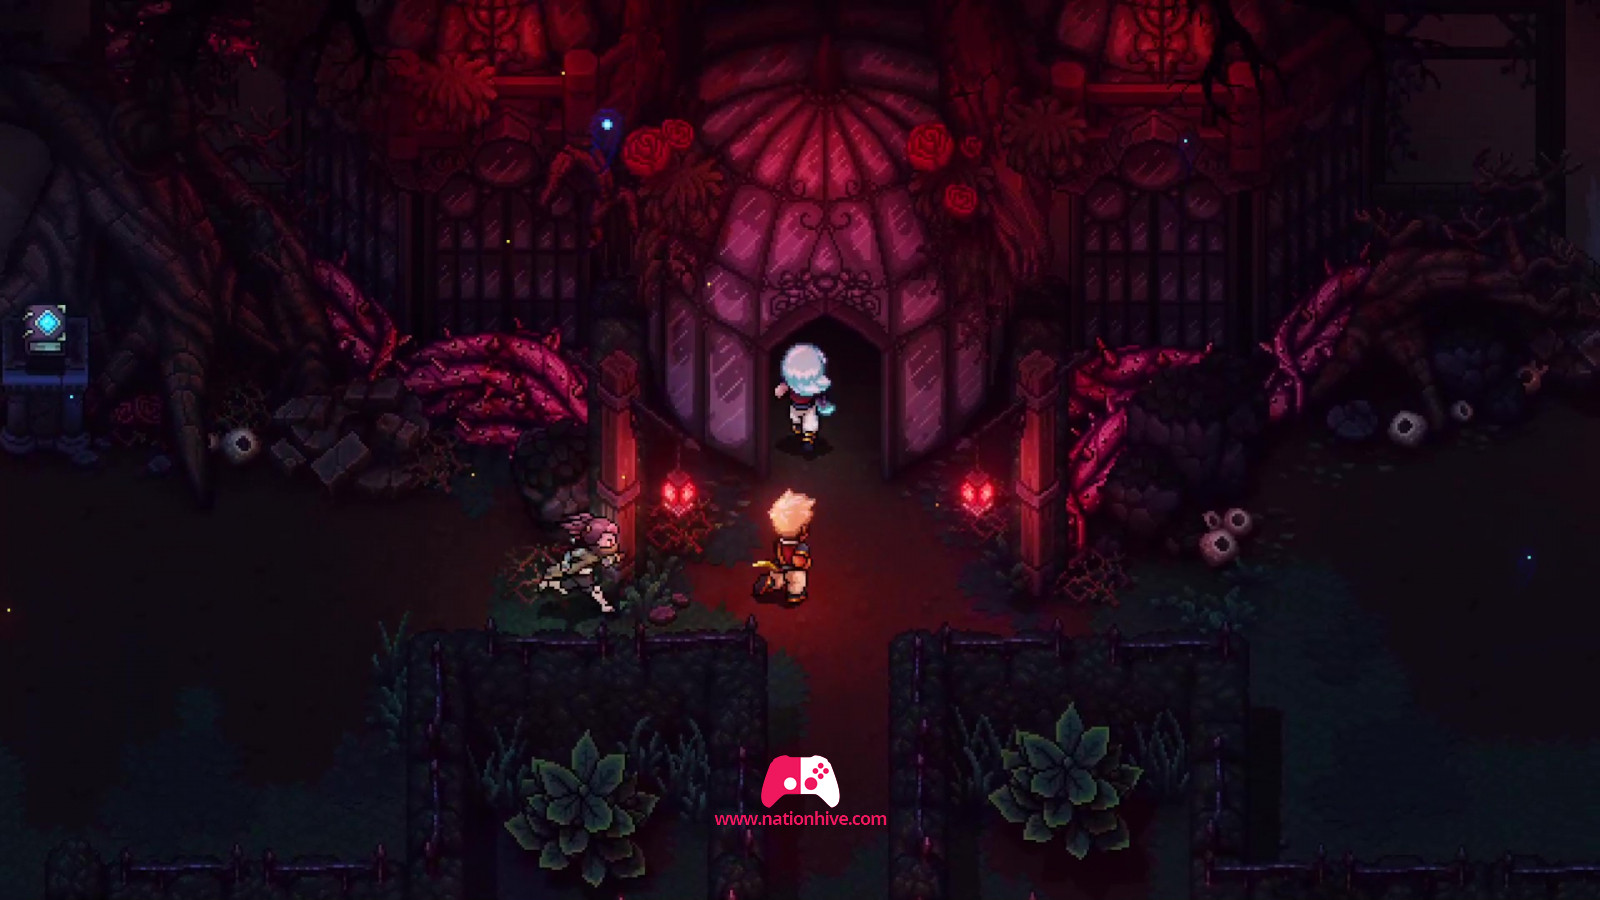
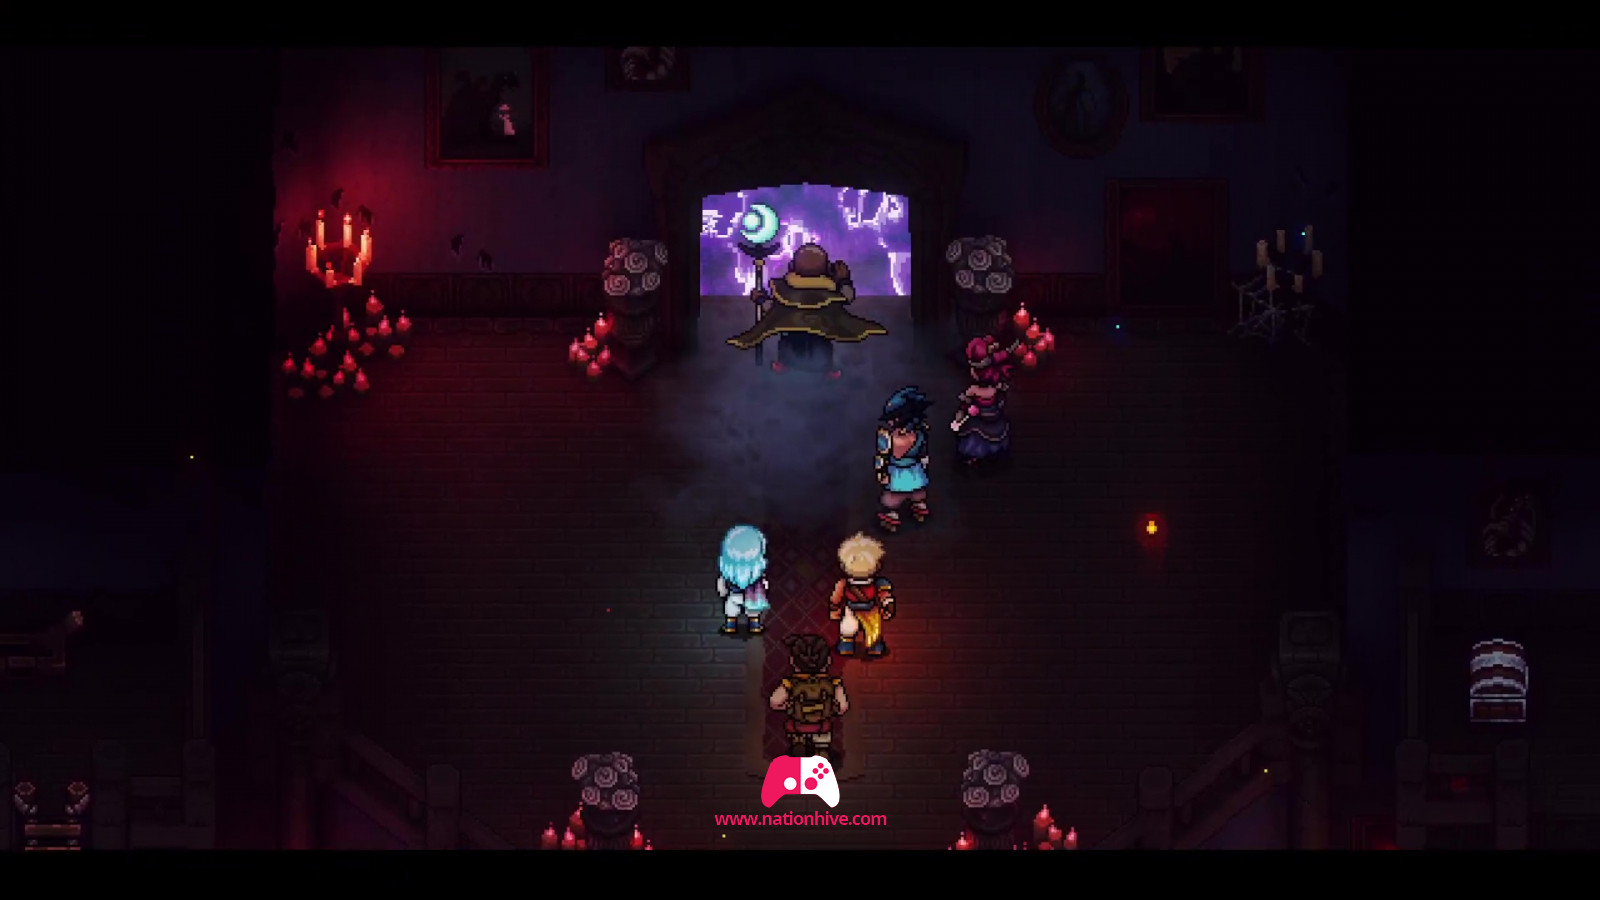
You'll then find yourself in front of the haunted mansion, where the Director will open the gate to let you in. Once inside, the Director will ask you to begin purifying the ballroom, before proceeding to the gardens.
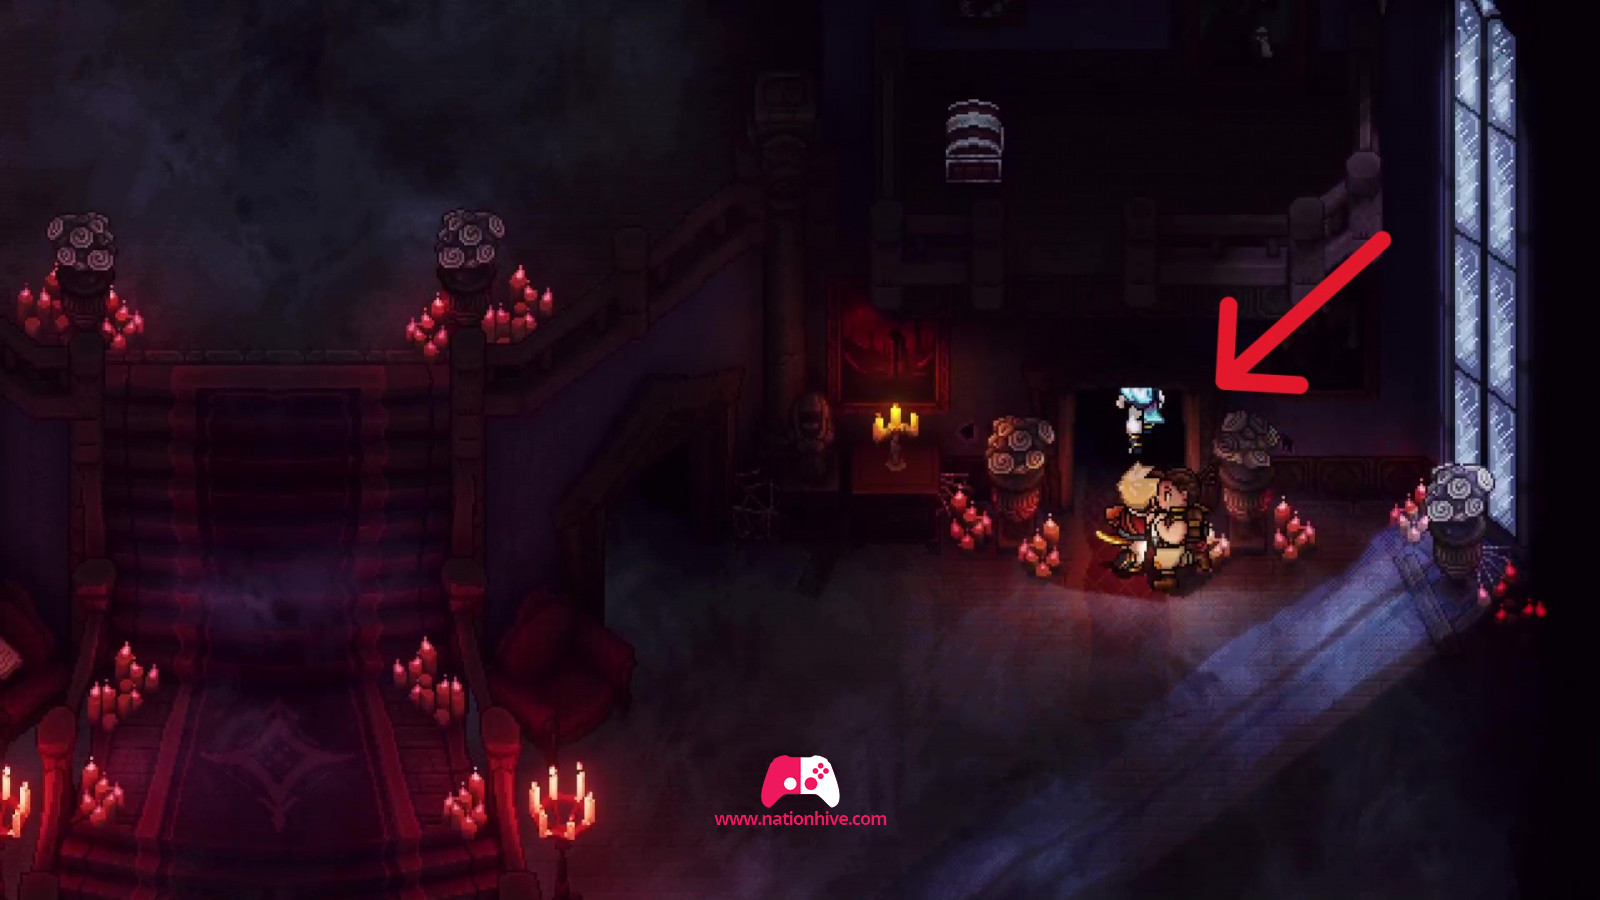
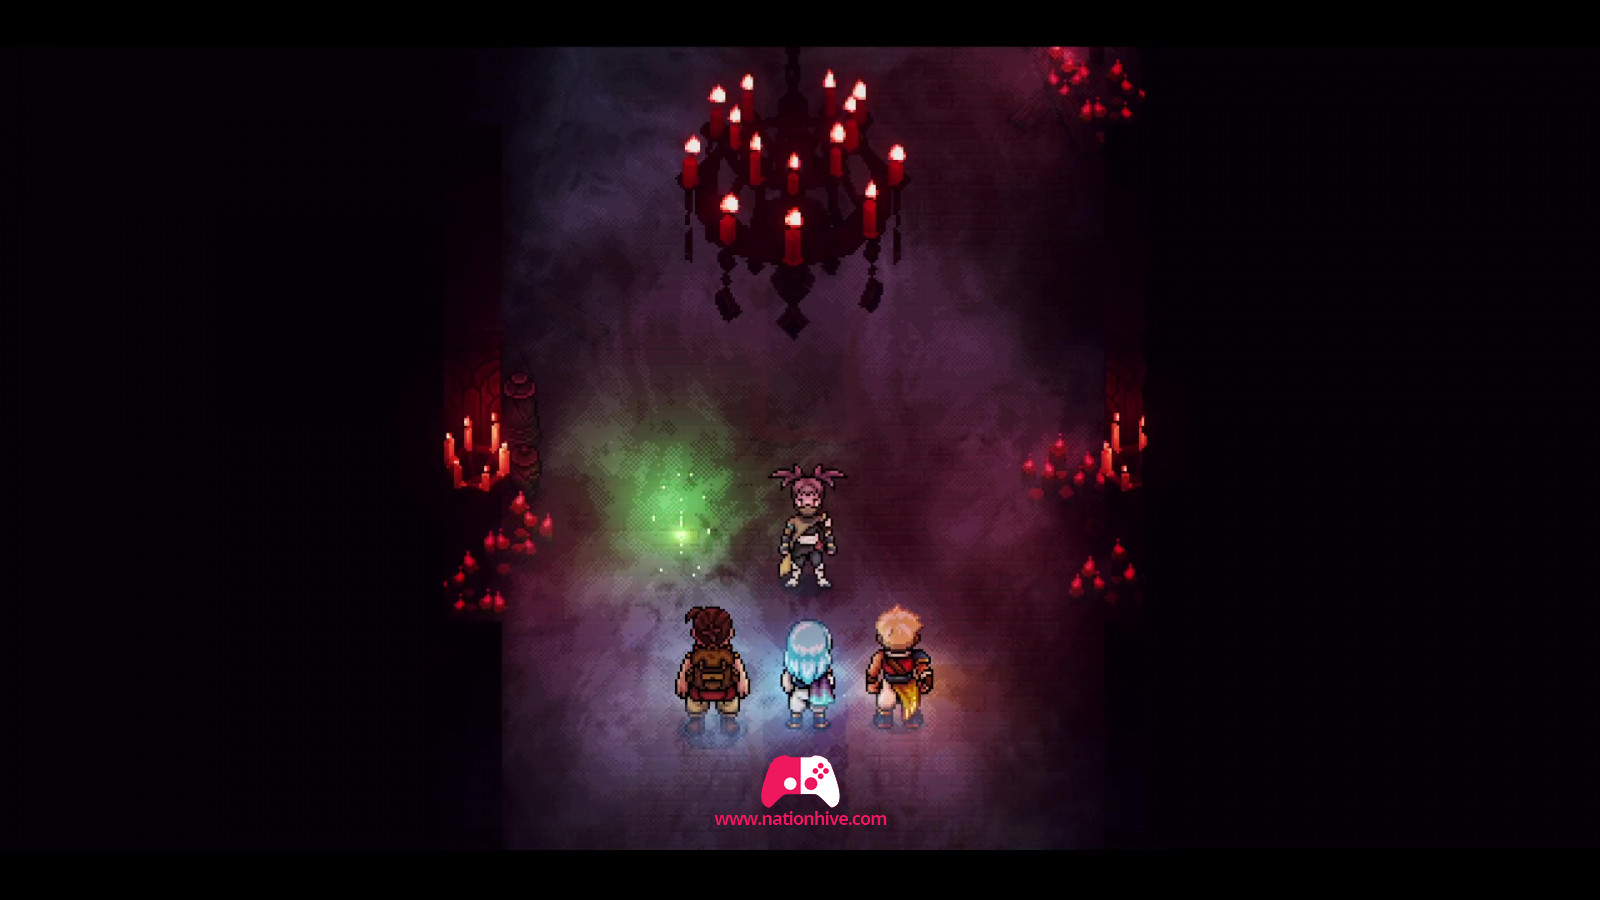
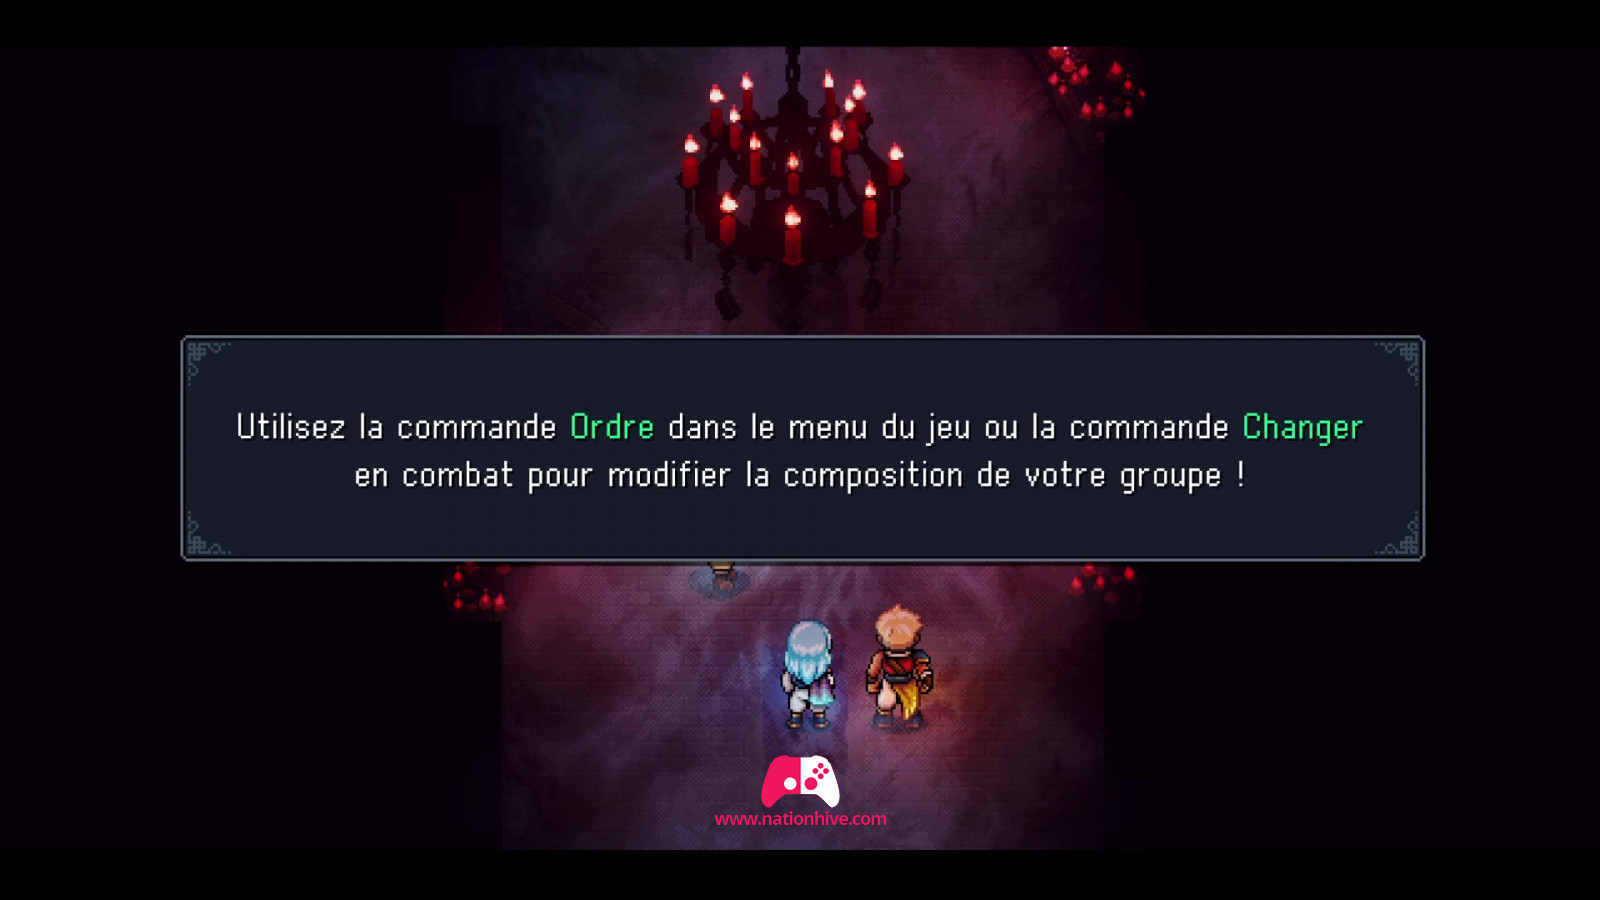
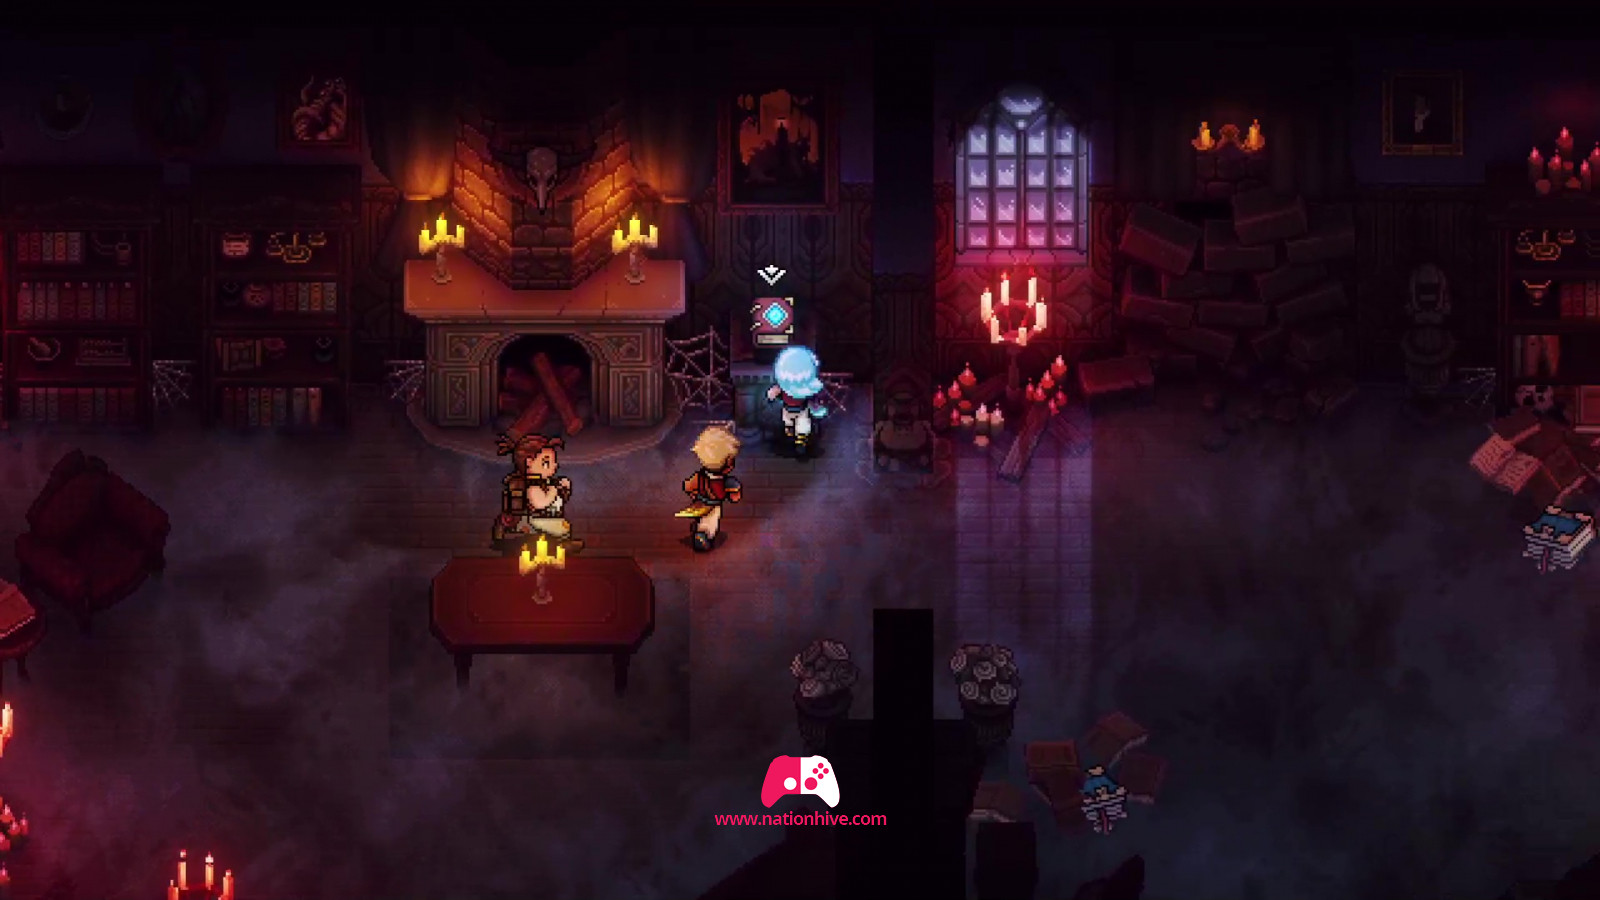
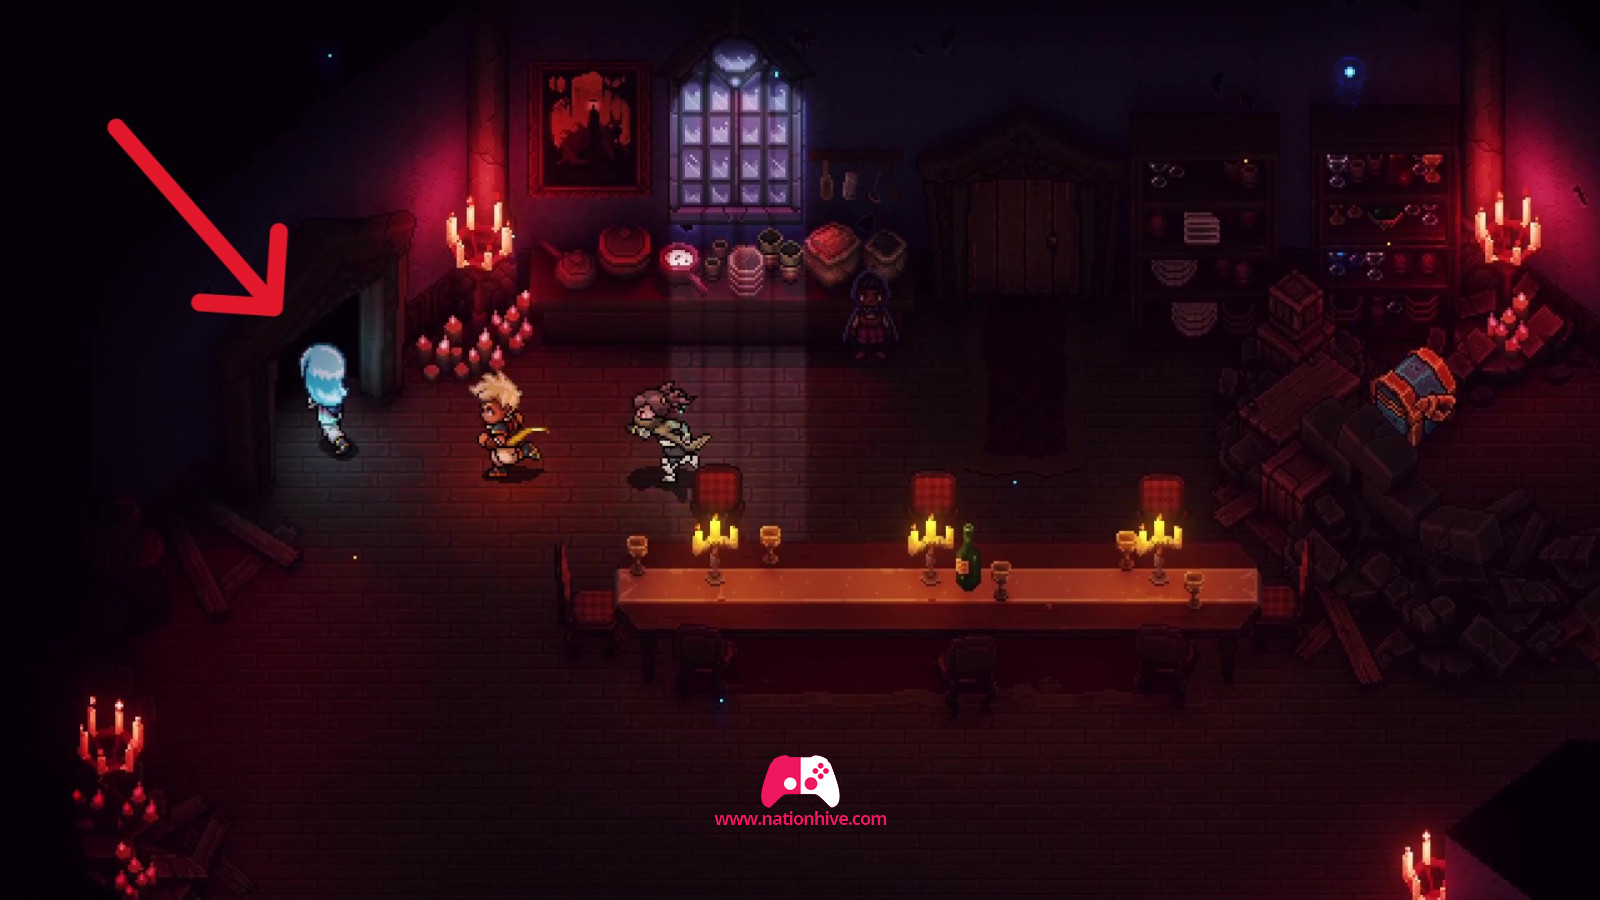
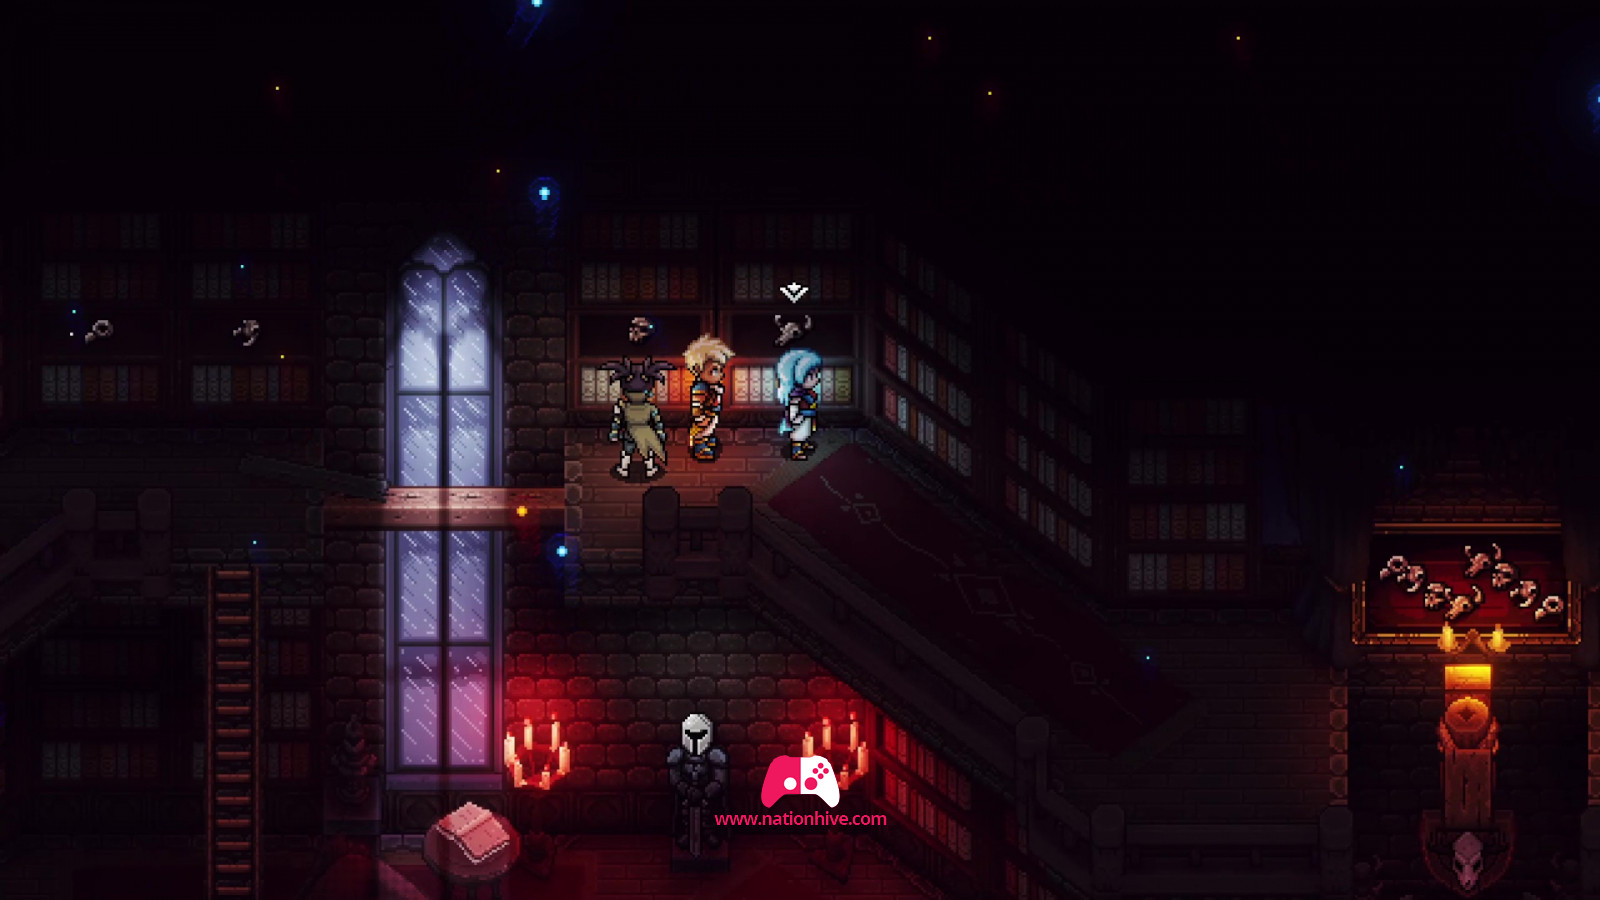
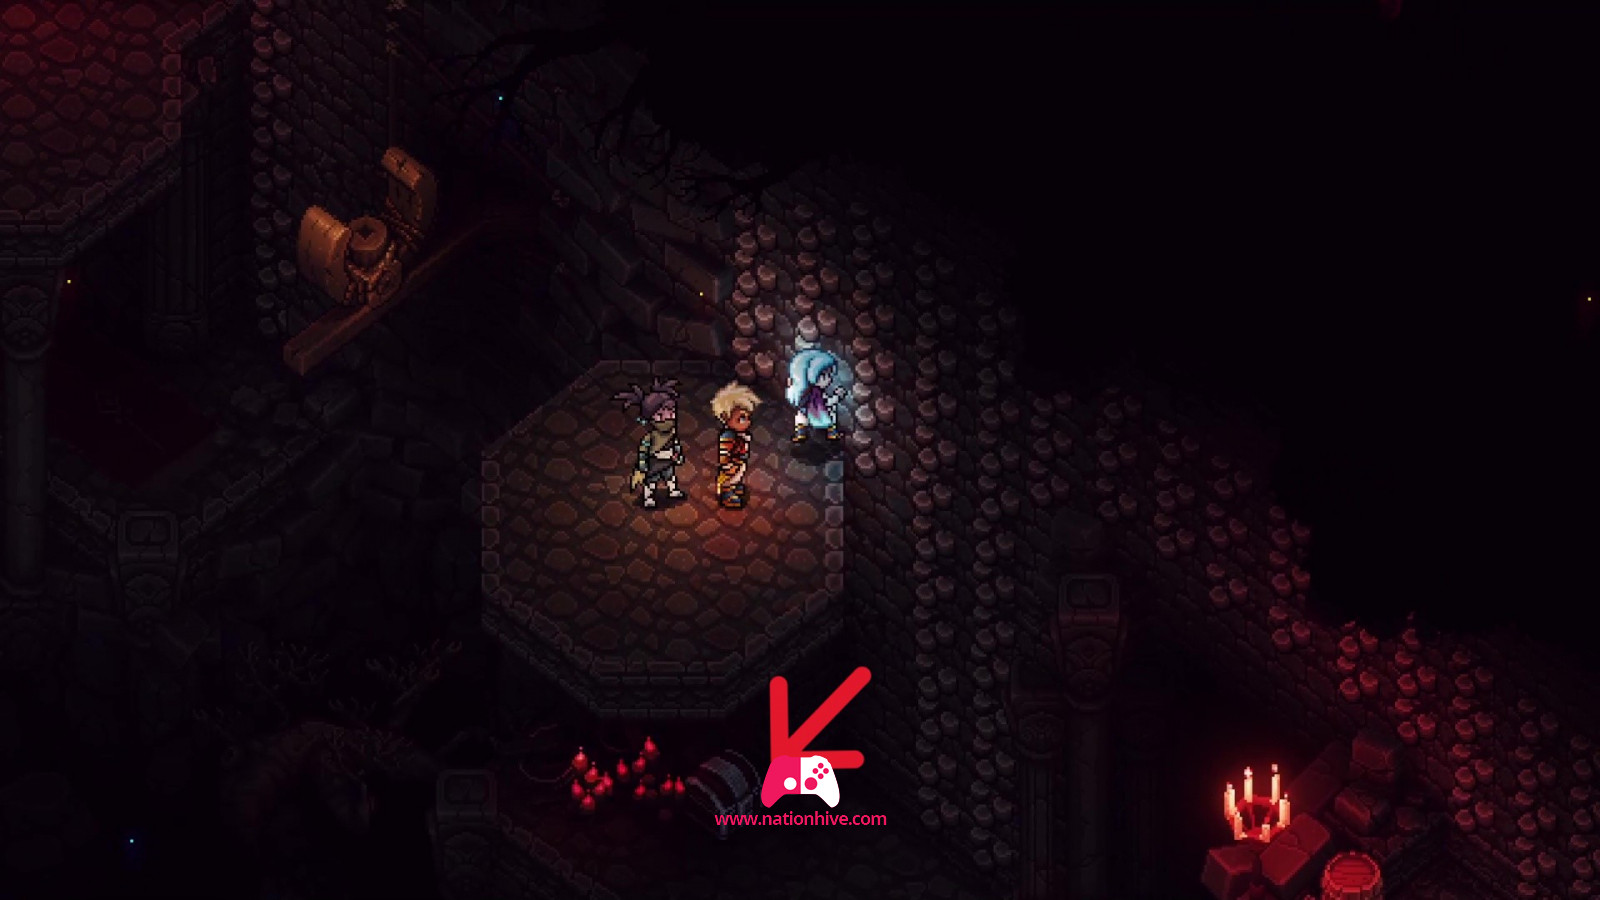
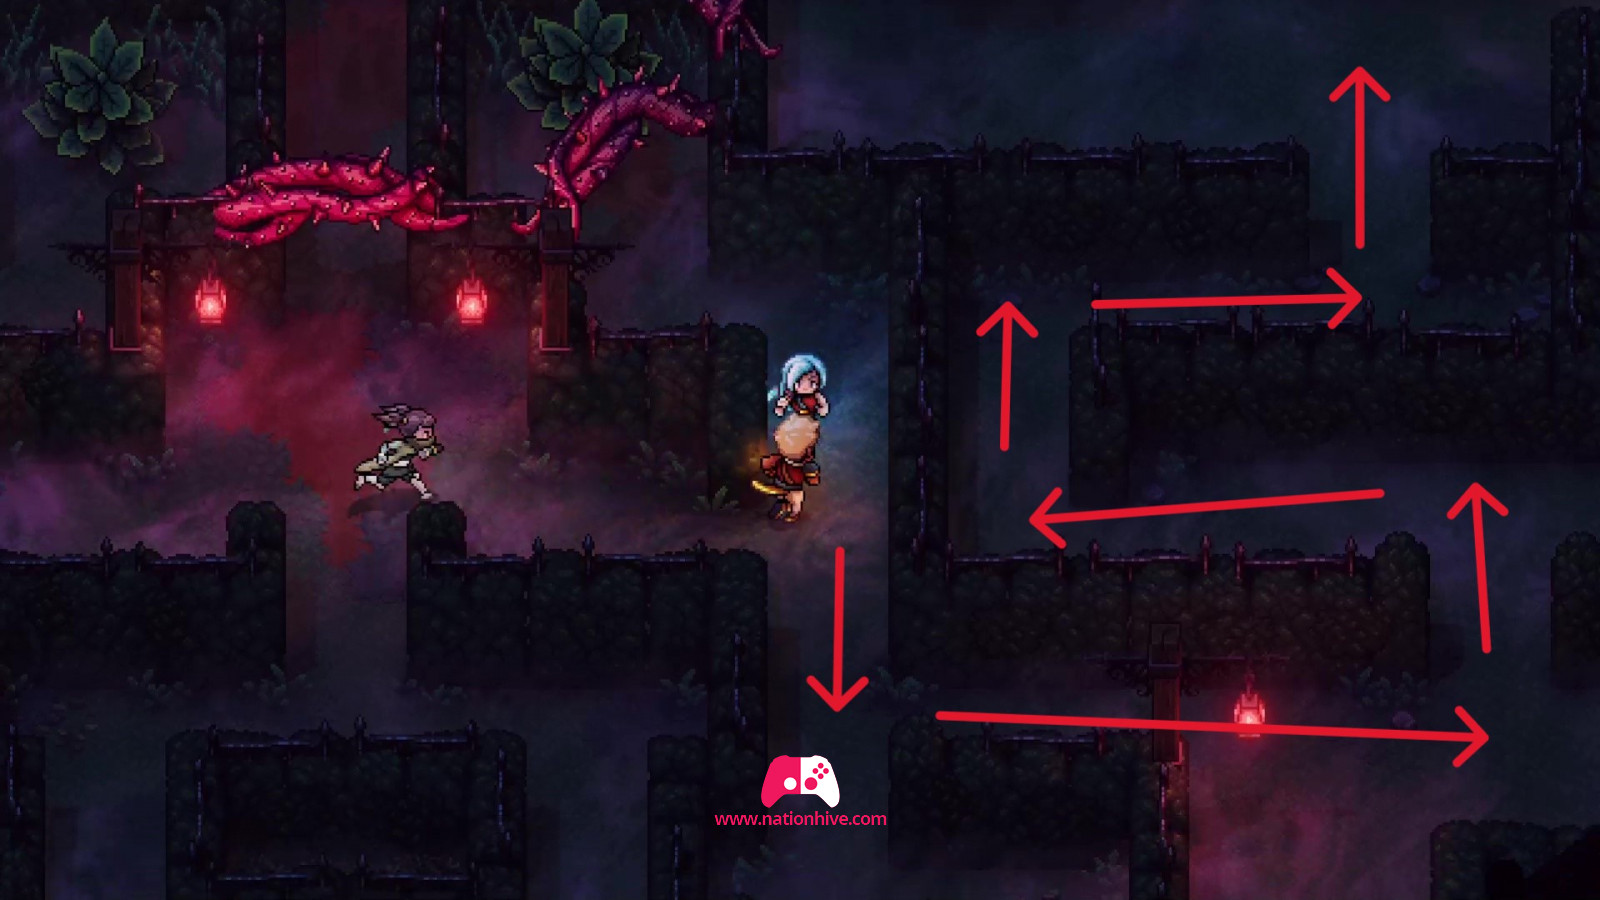
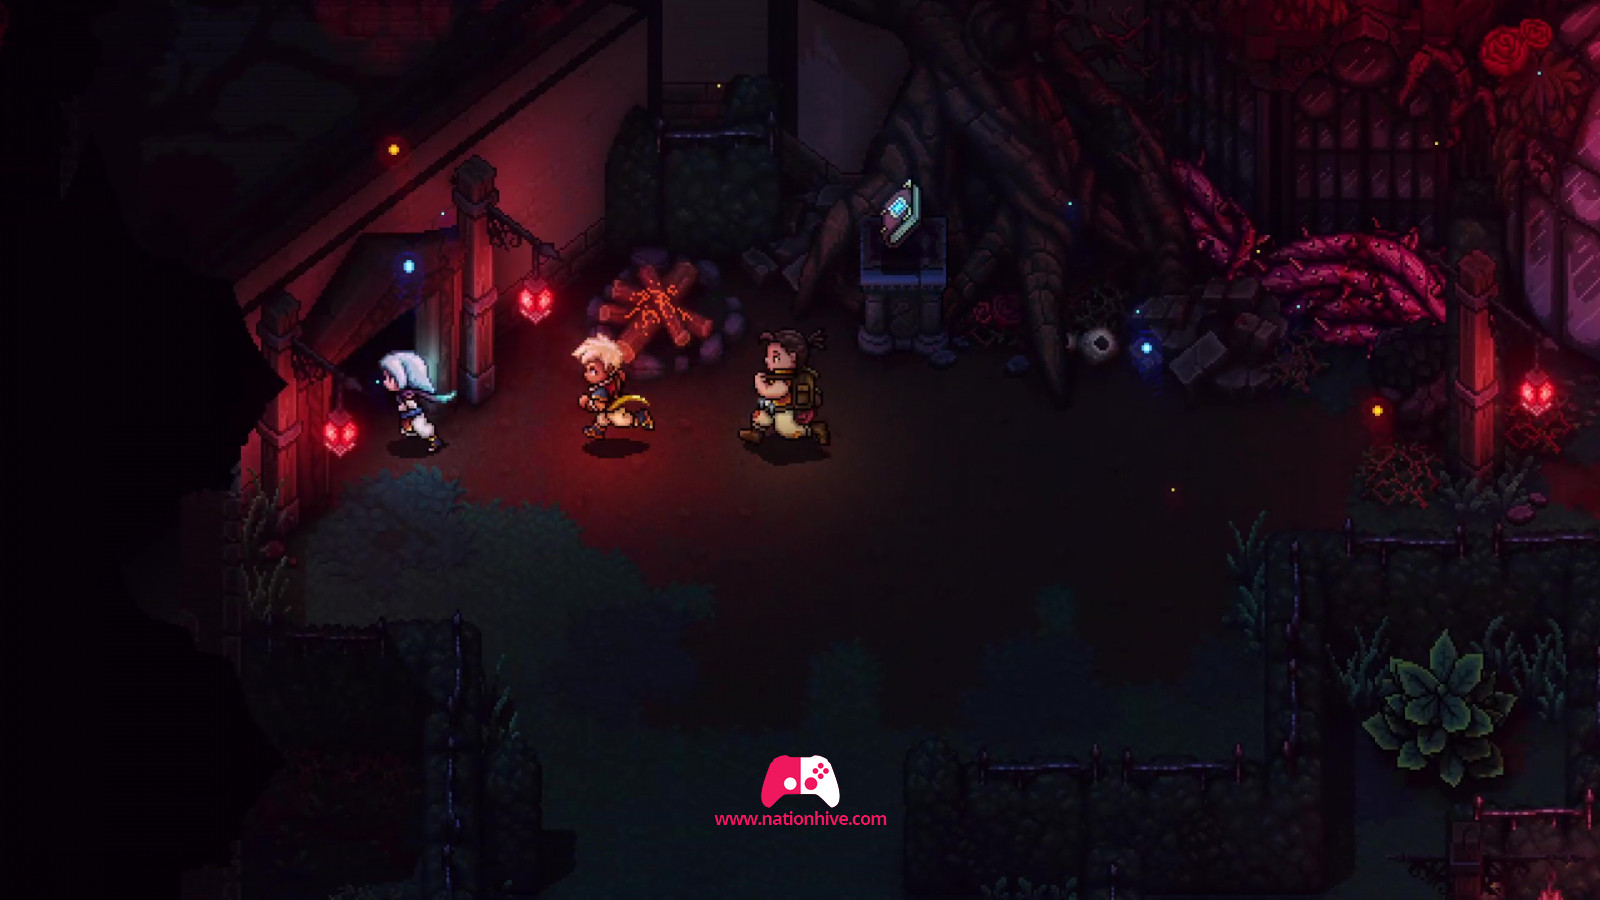
Head for the room on the right (see image below). In the next corridor, Seraï will officially join your group. You can use the Order command in the in-game menu or the in-combat command to change the composition of your group. Move to the back of the room and head for the north-west entrance.
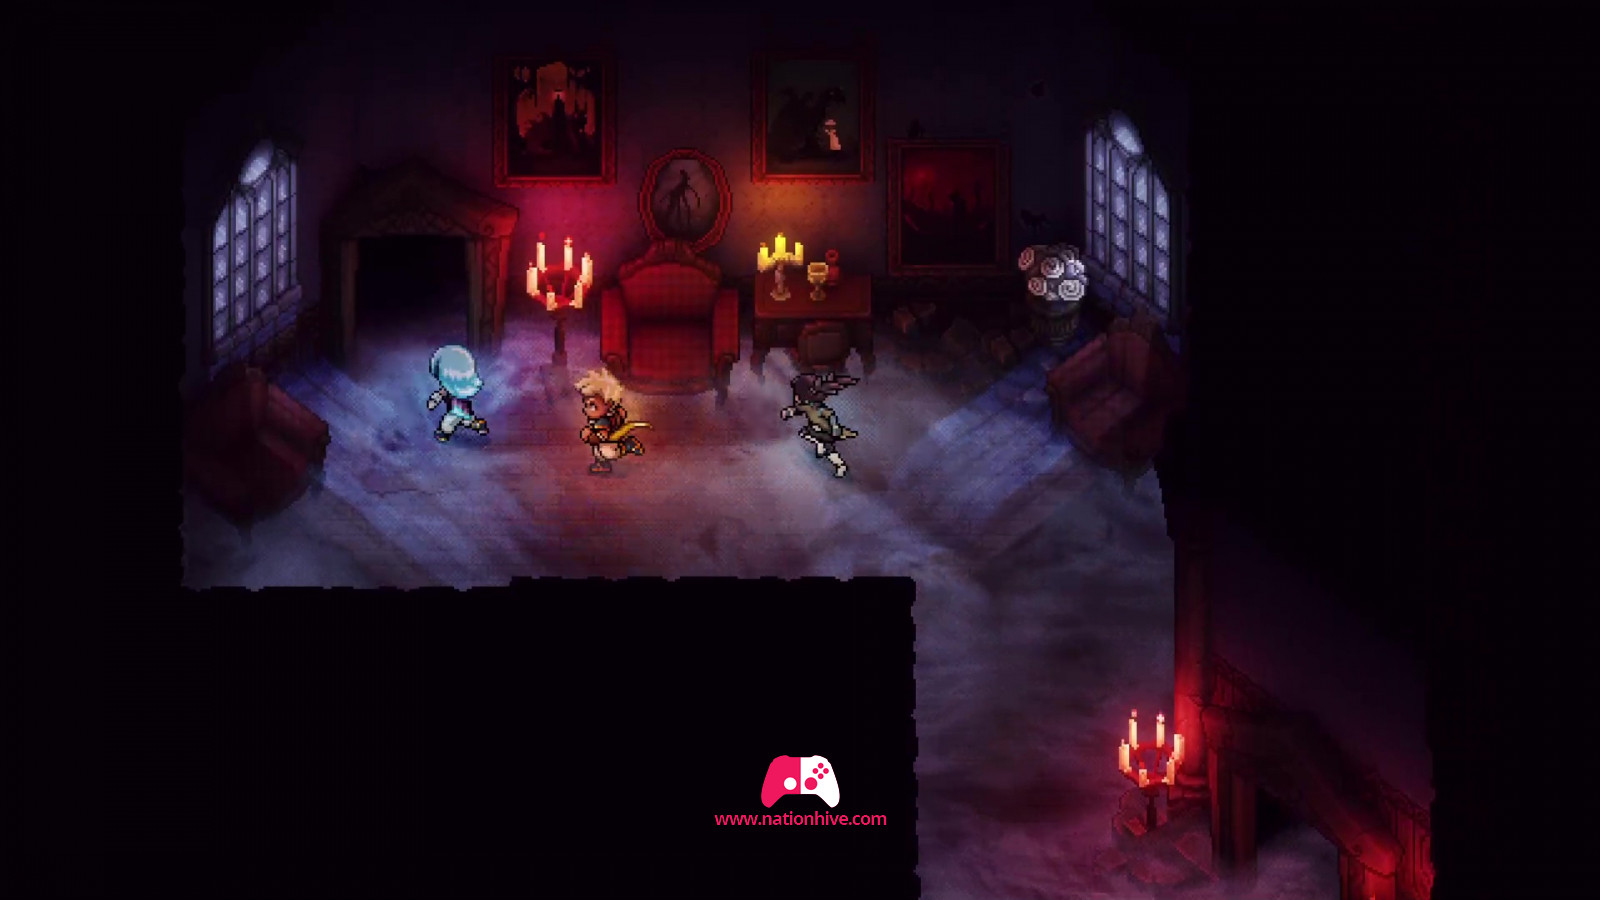
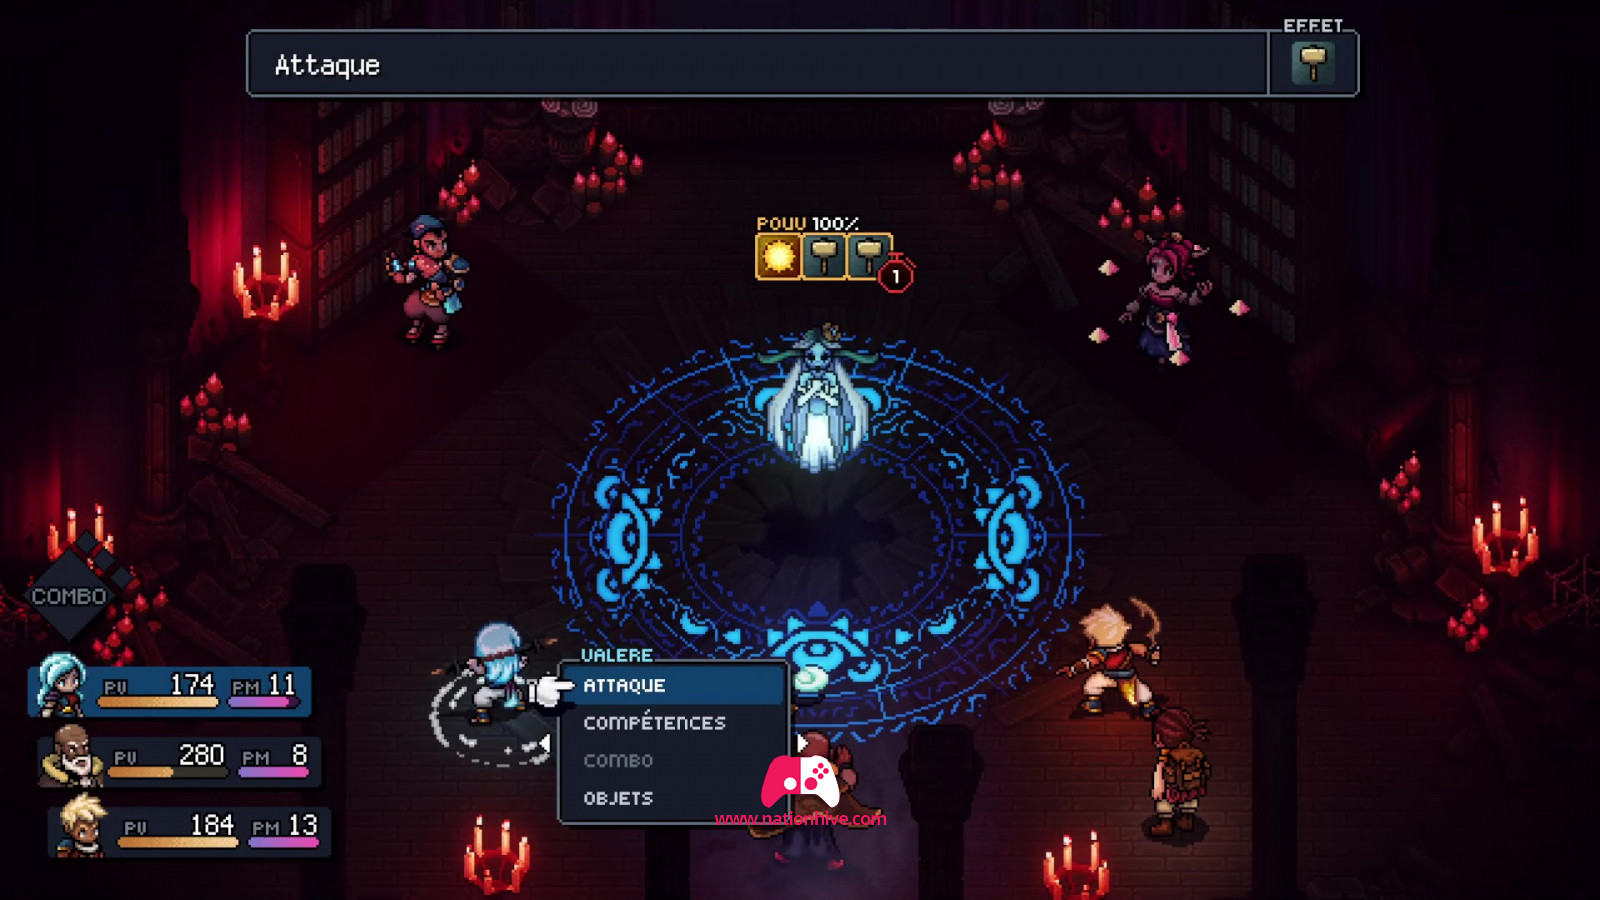
You'll arrive in the living room. Take this opportunity to save your game. Attack the enemies in flying book form and head for the next room on the right.
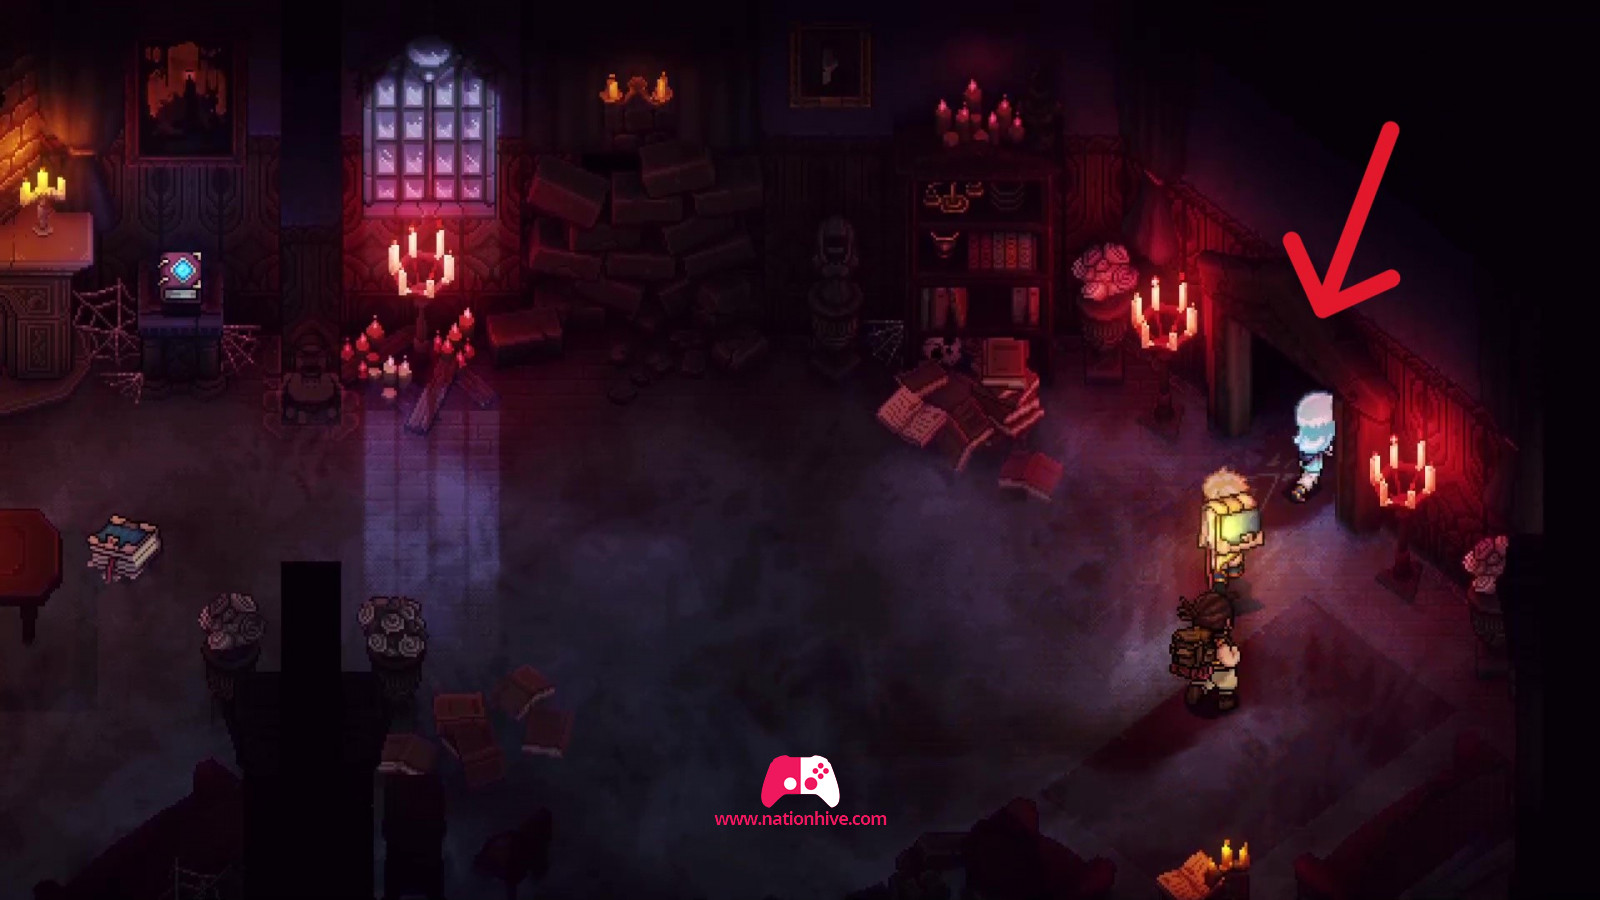
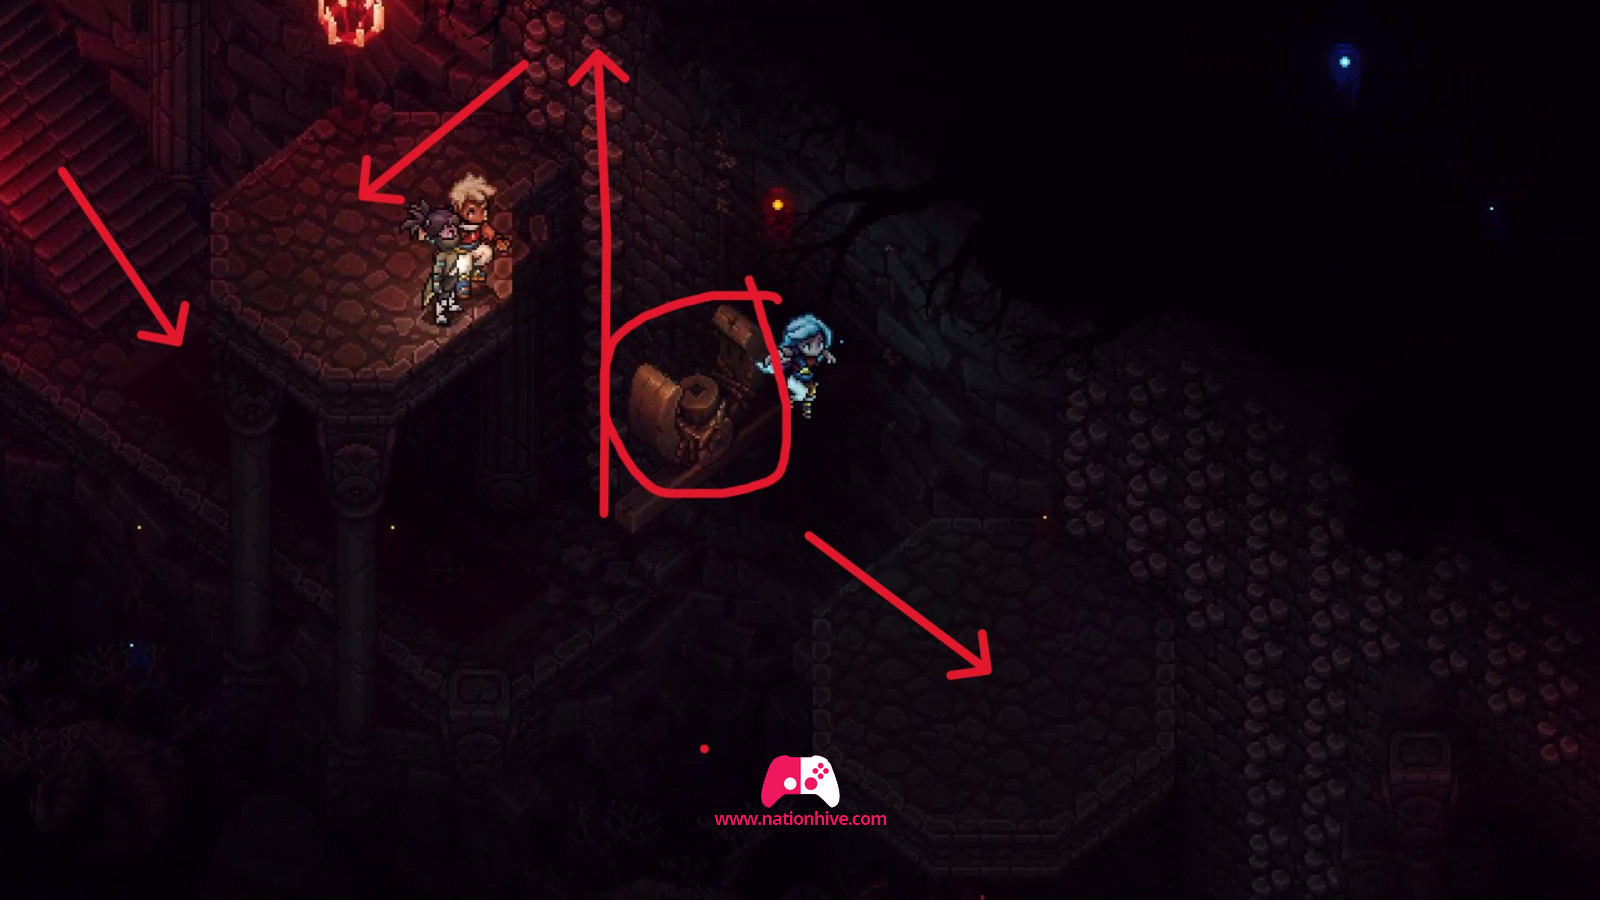
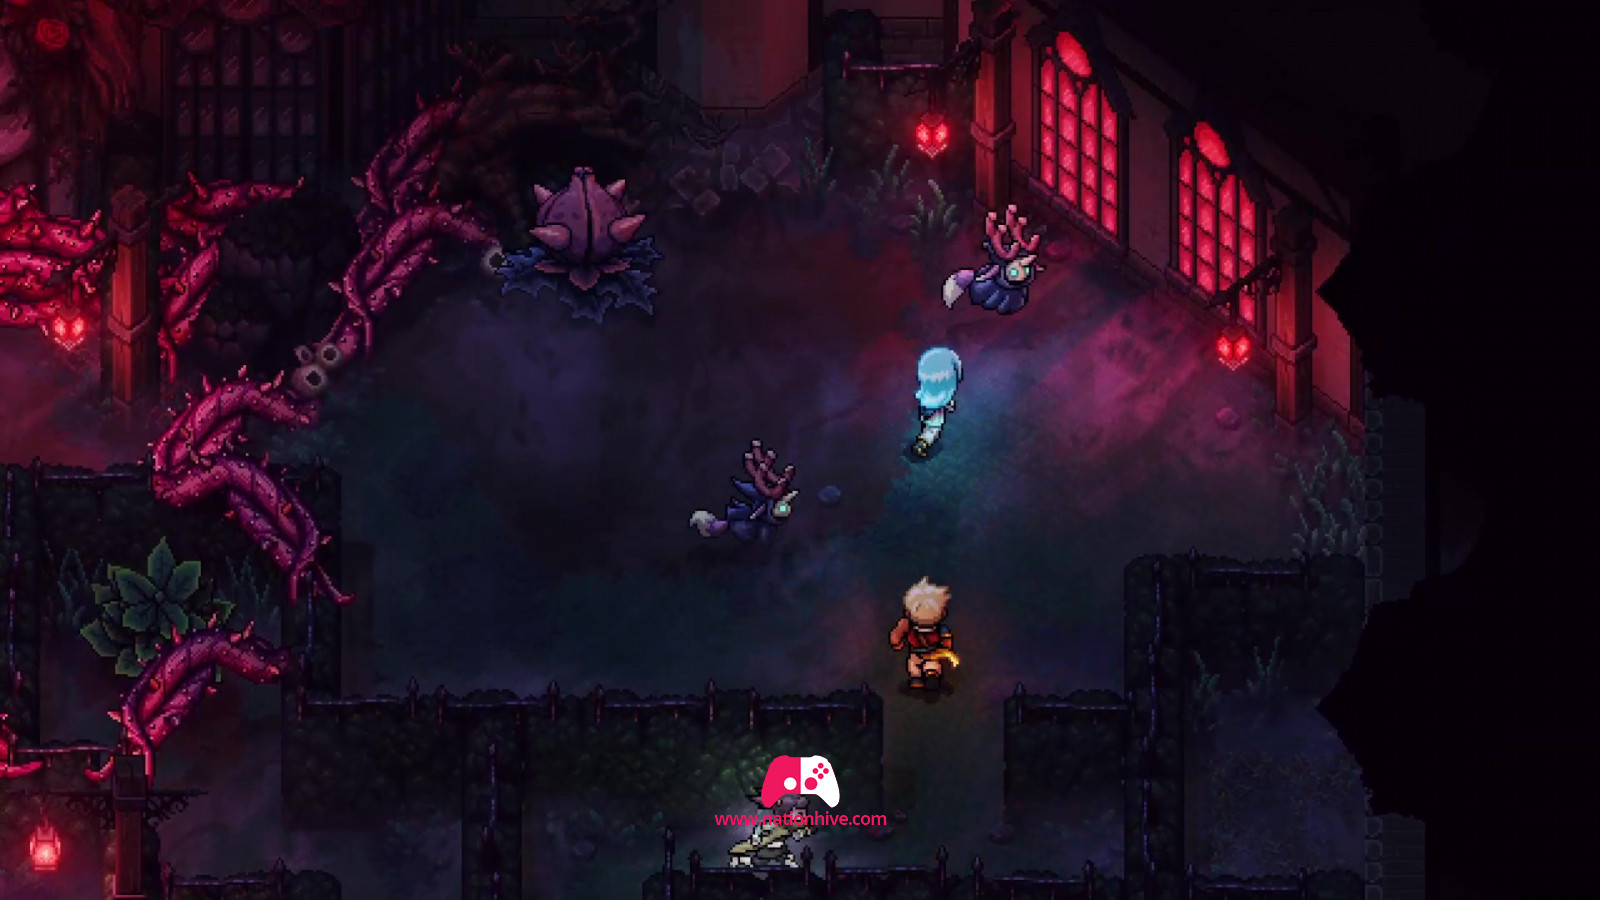
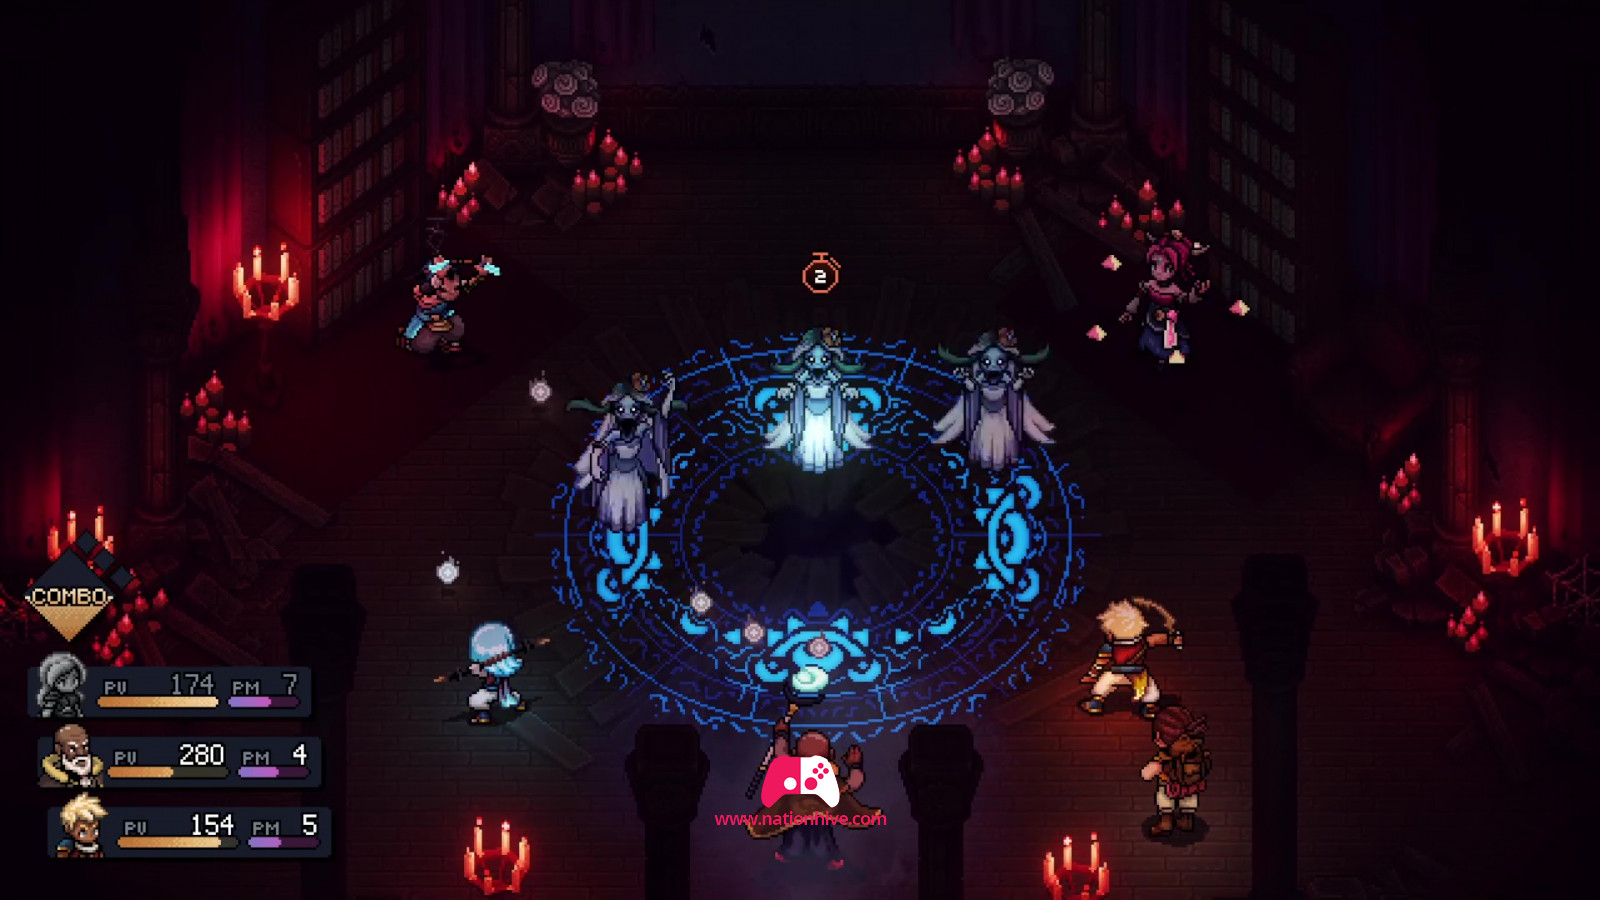
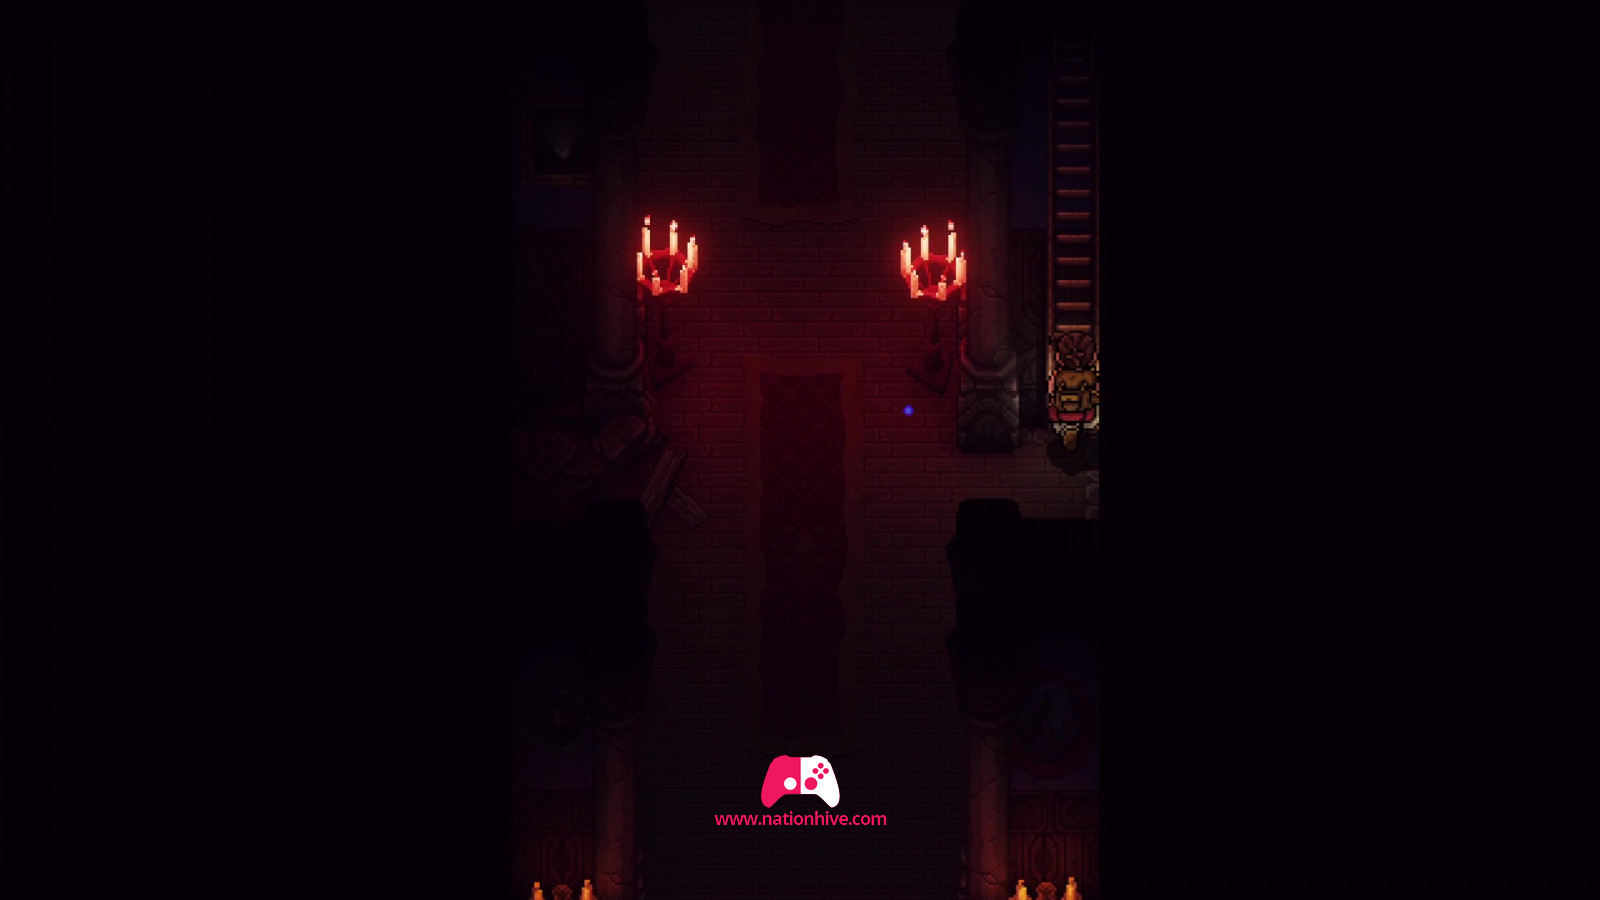
You'll face enemies in the form of dancers, so watch out for their projectiles. Head for the small lever on the wall just to the left of the fireplace. Activate it to discover a secret passage.

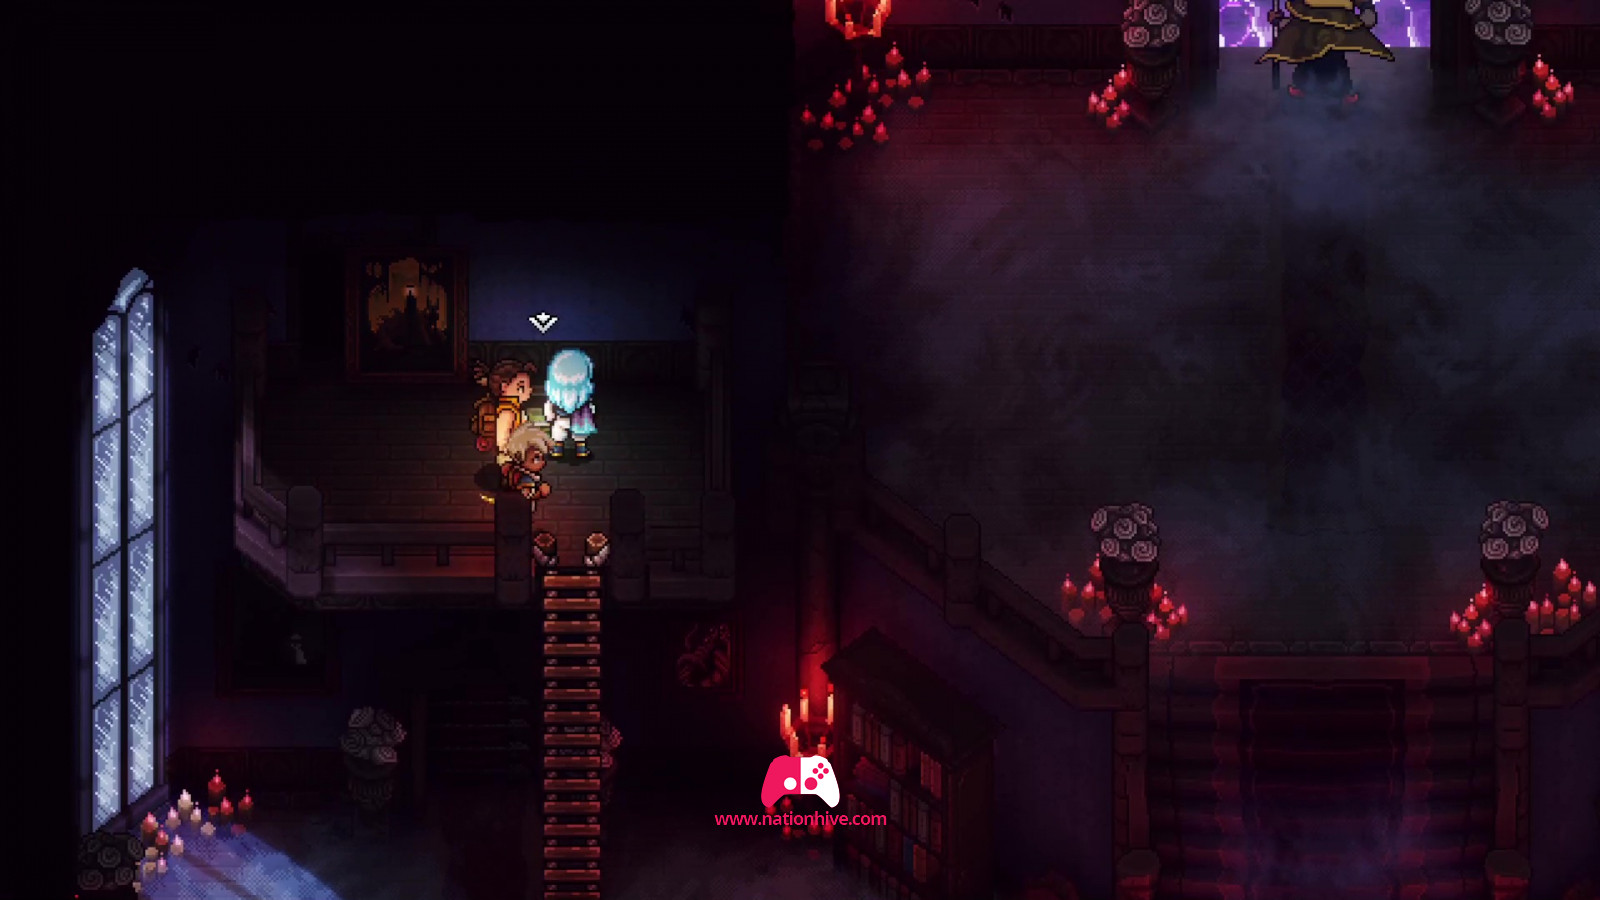
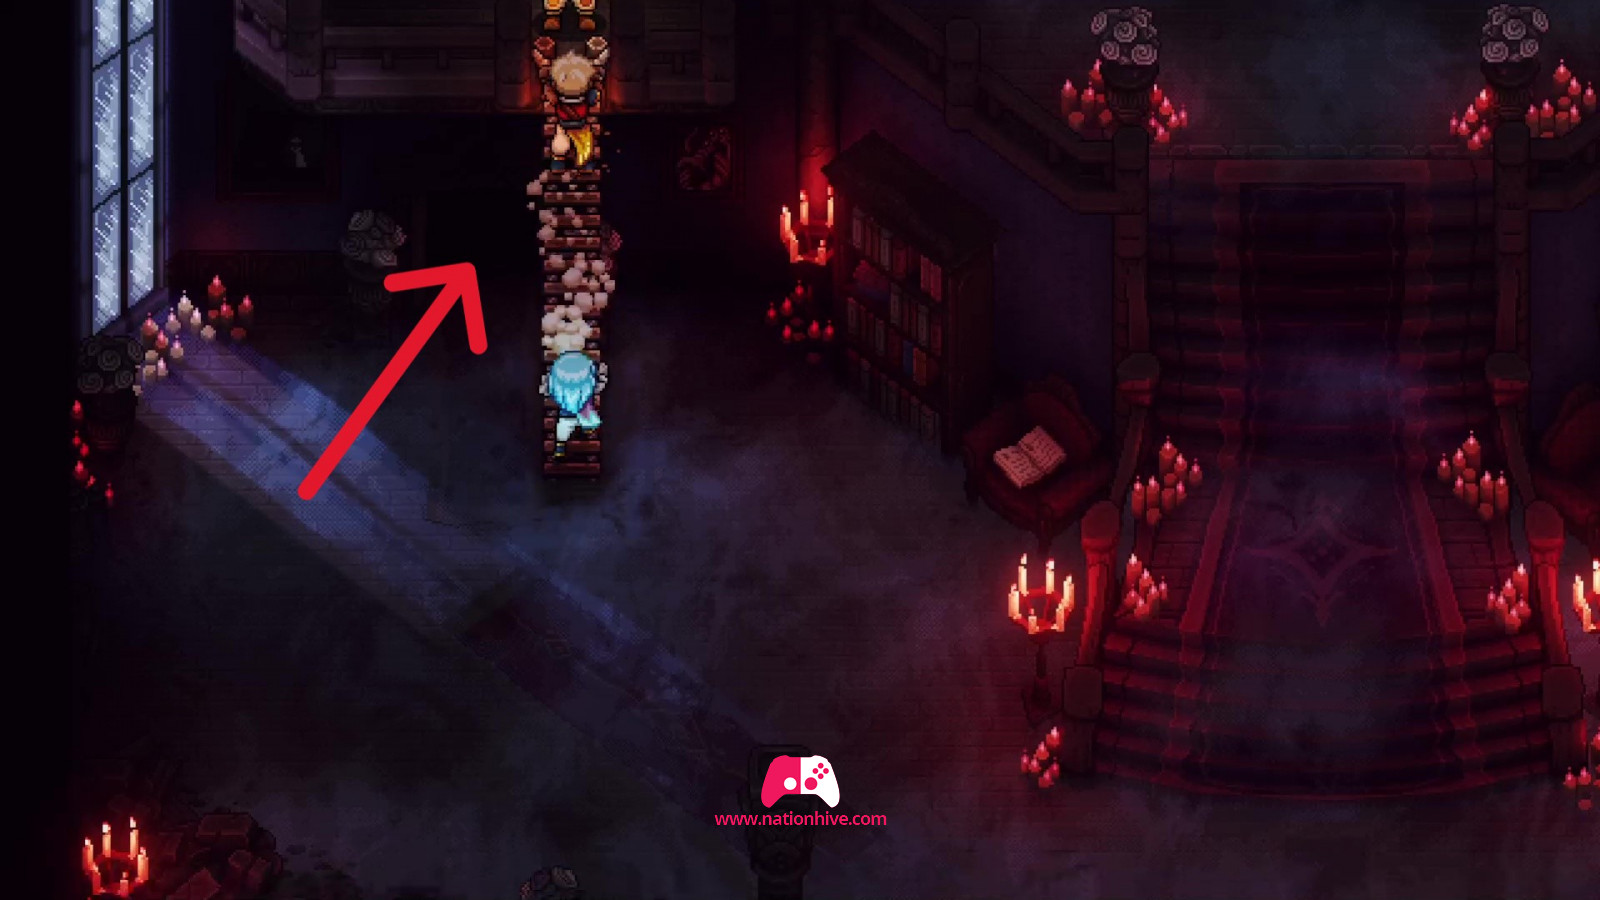
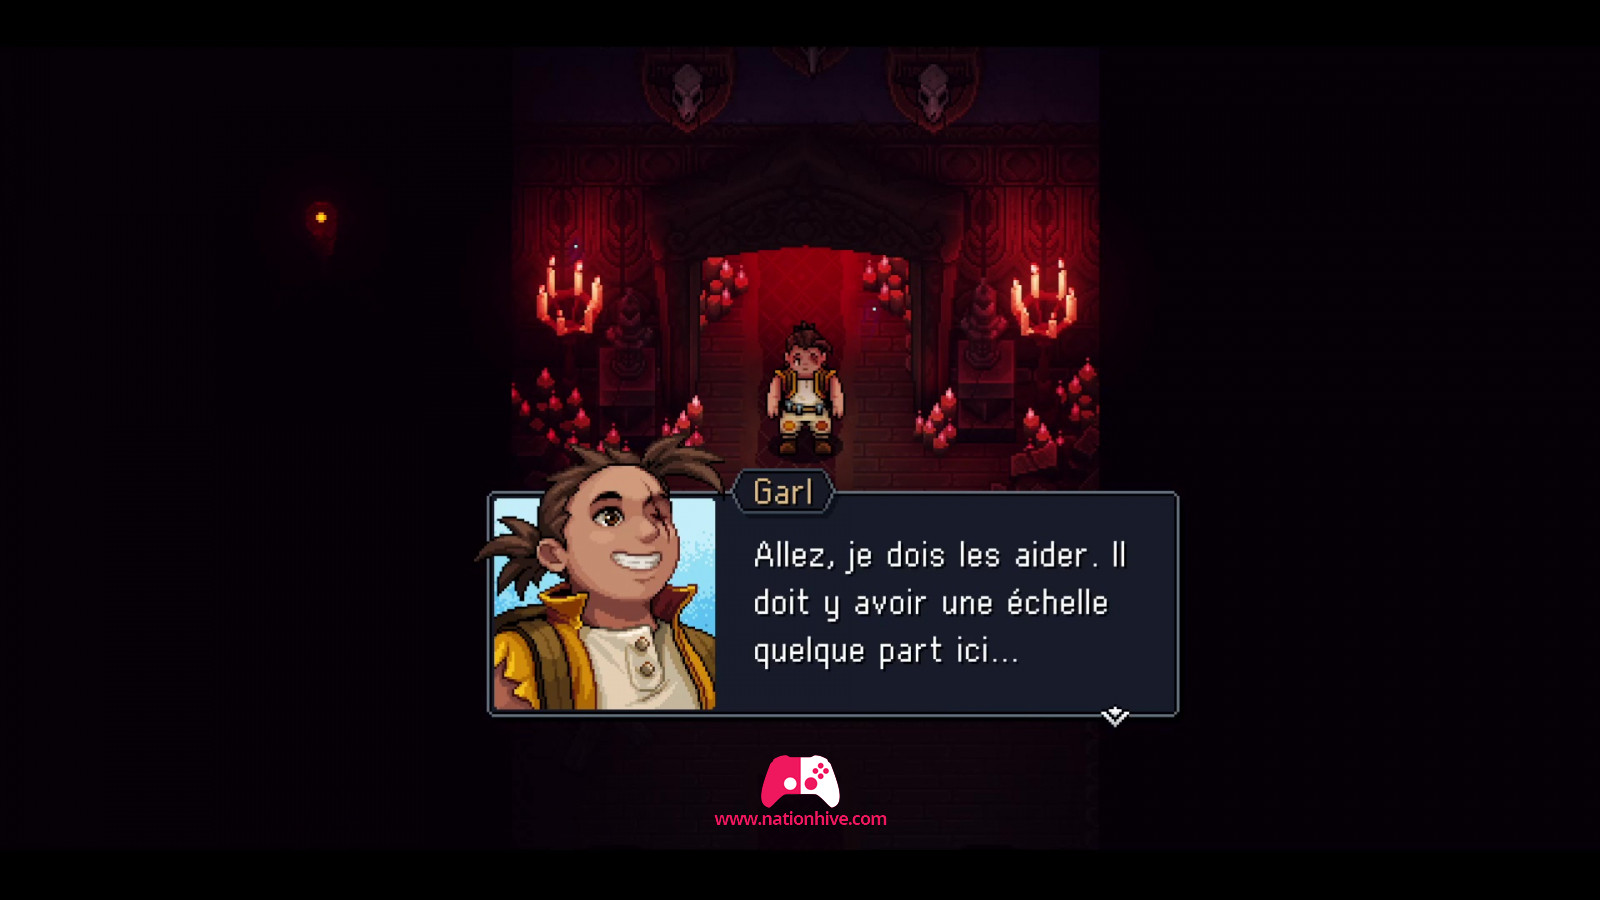
You'll find yourself upstairs. Climb down the ladder in front of you to facilitate future movements, and activate the lever to unlock the door just below. Climb down the ladder and enter the newly unlocked room.
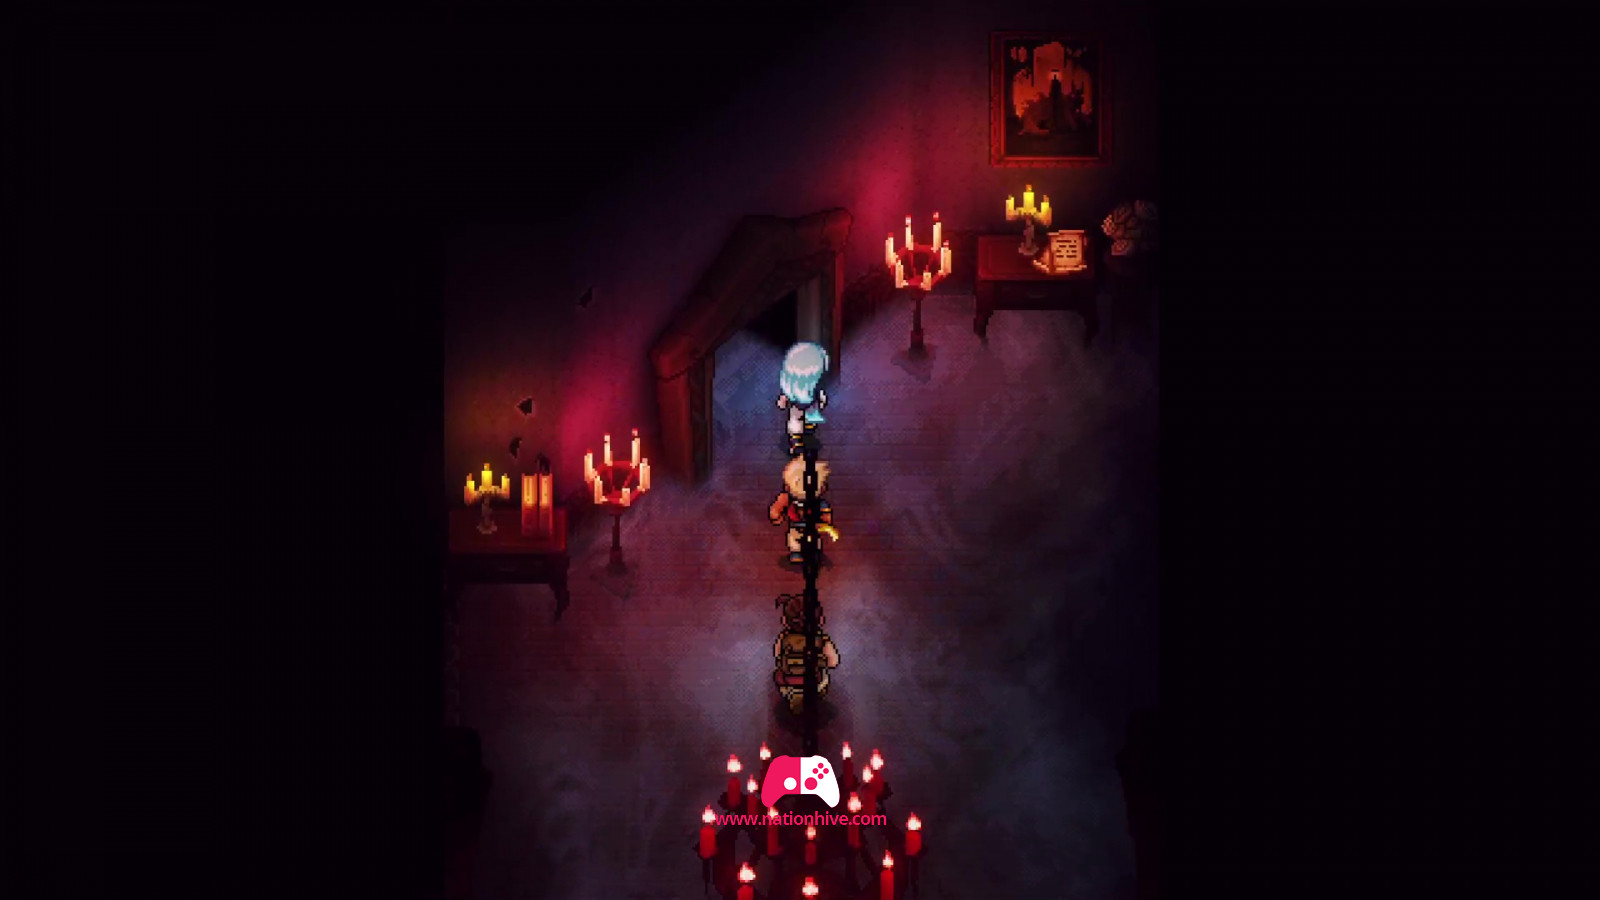
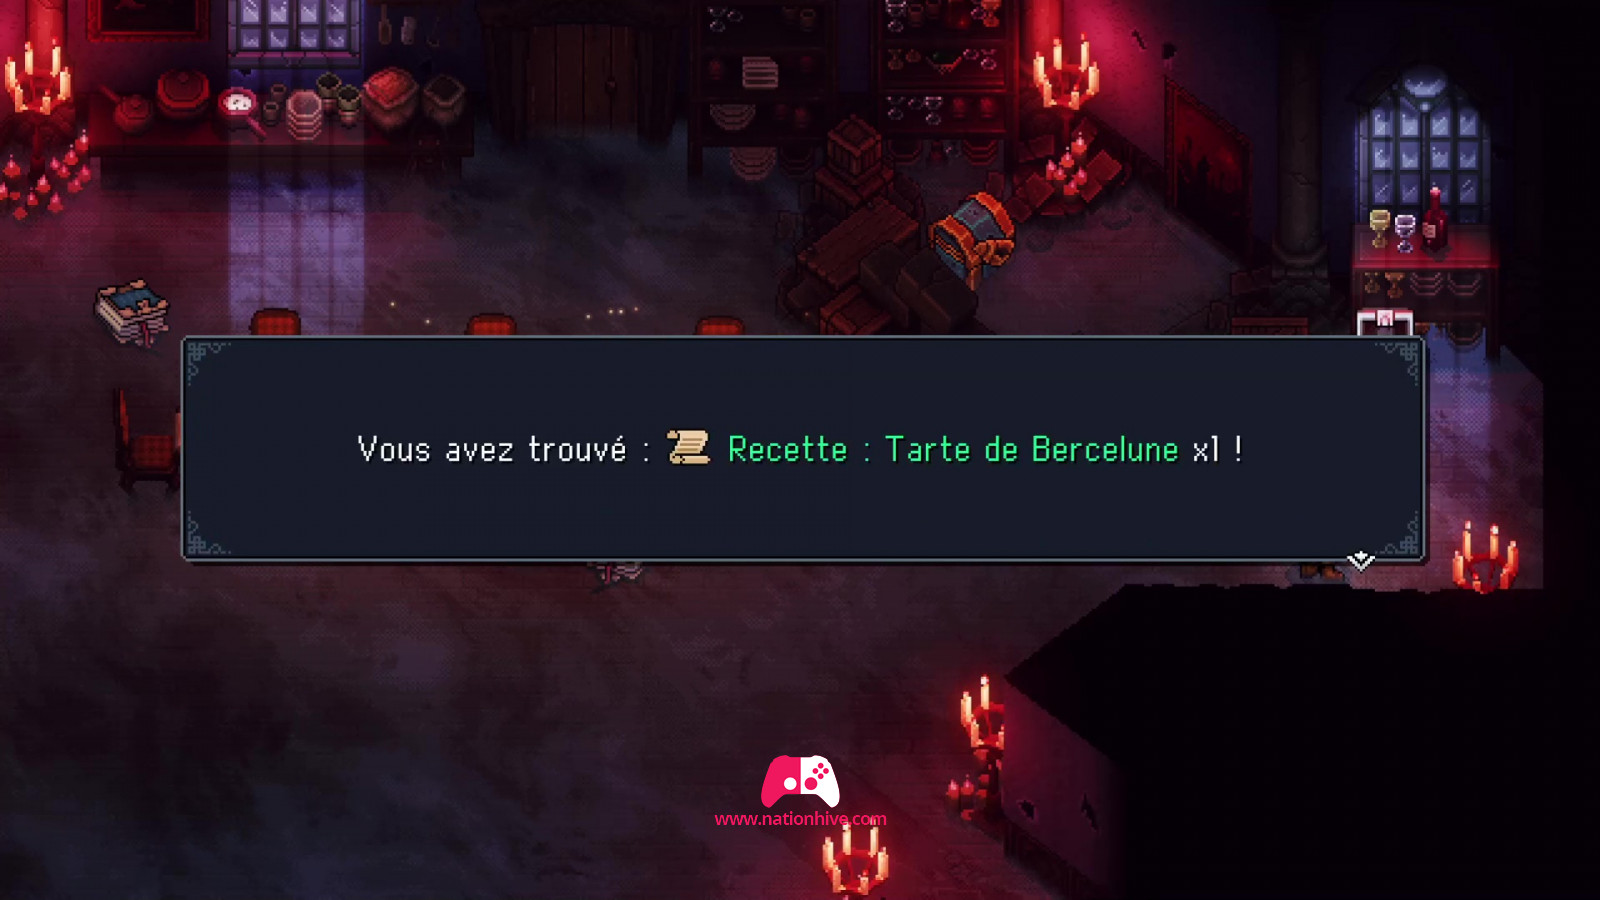
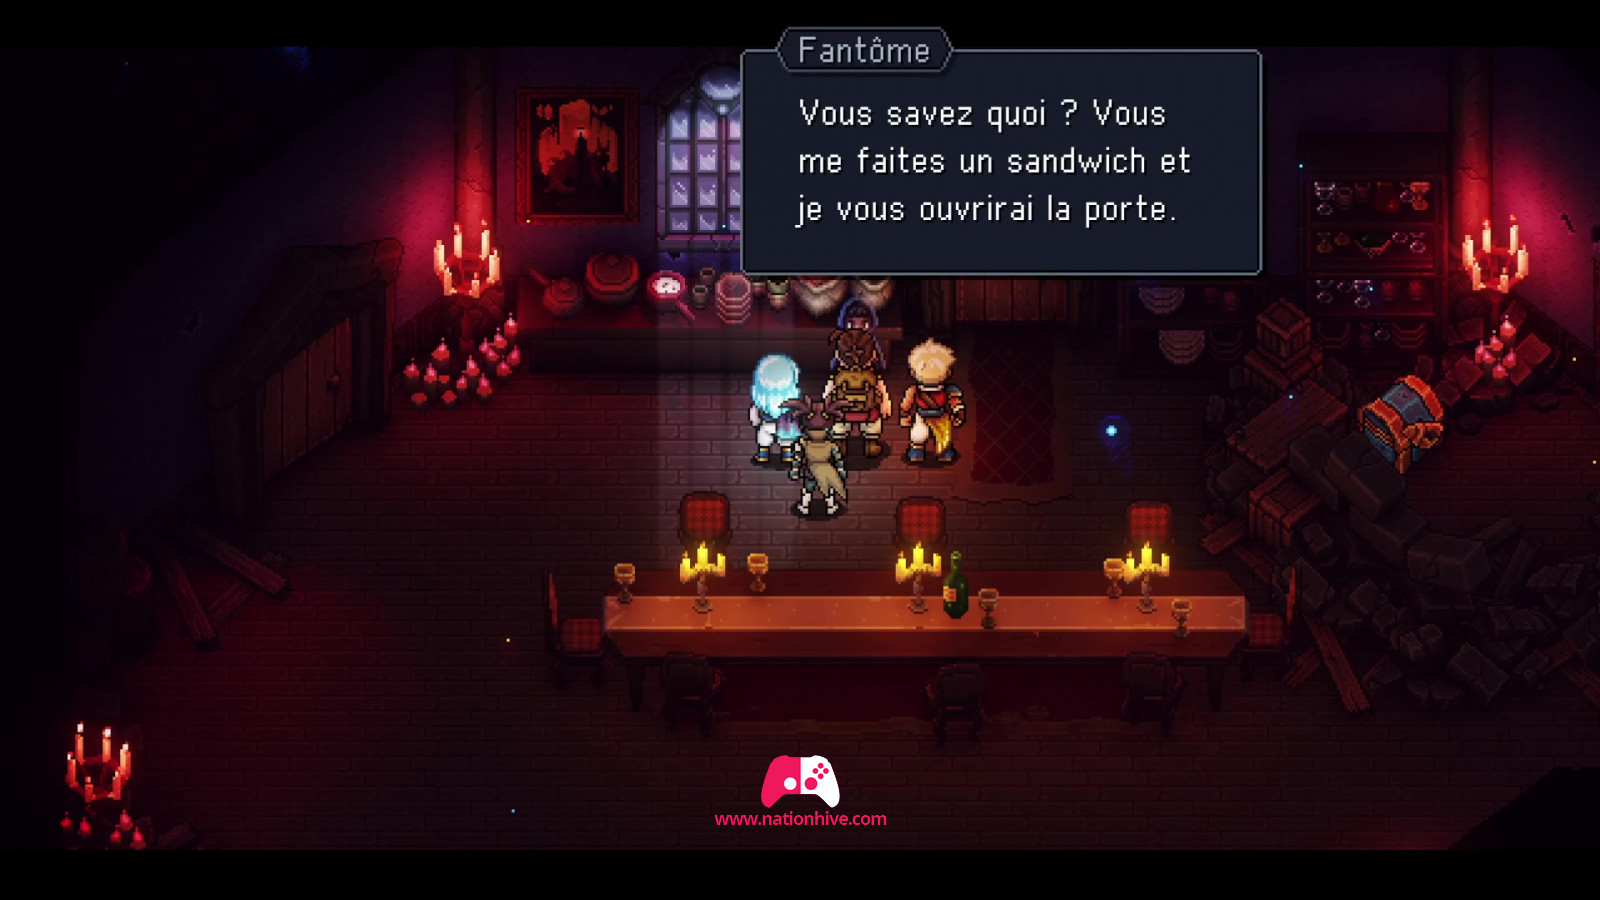
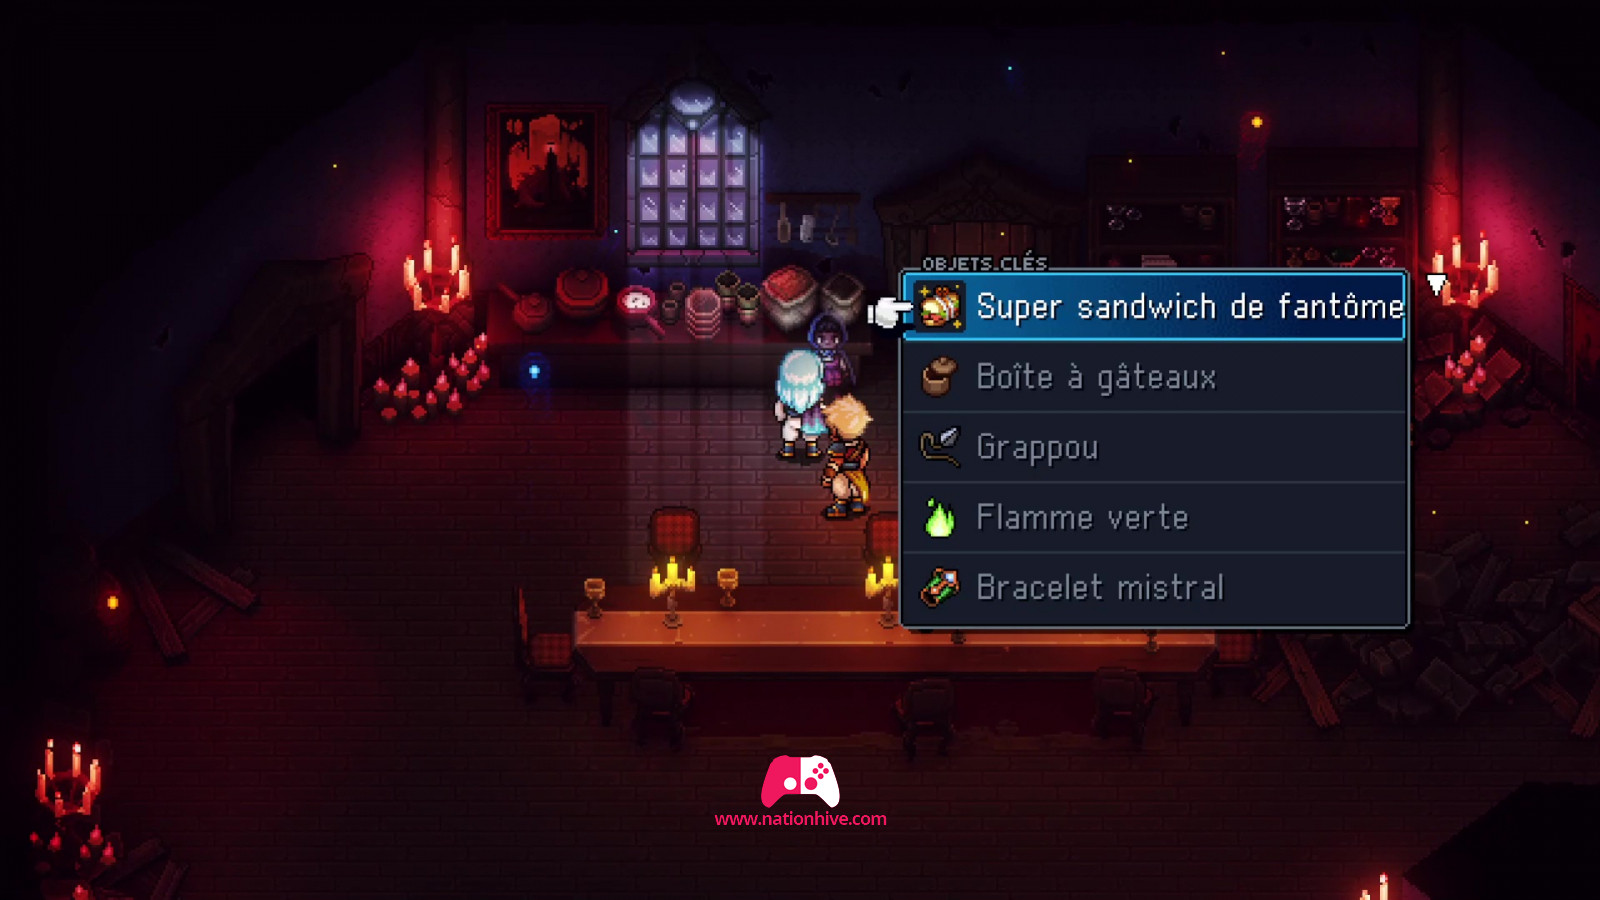
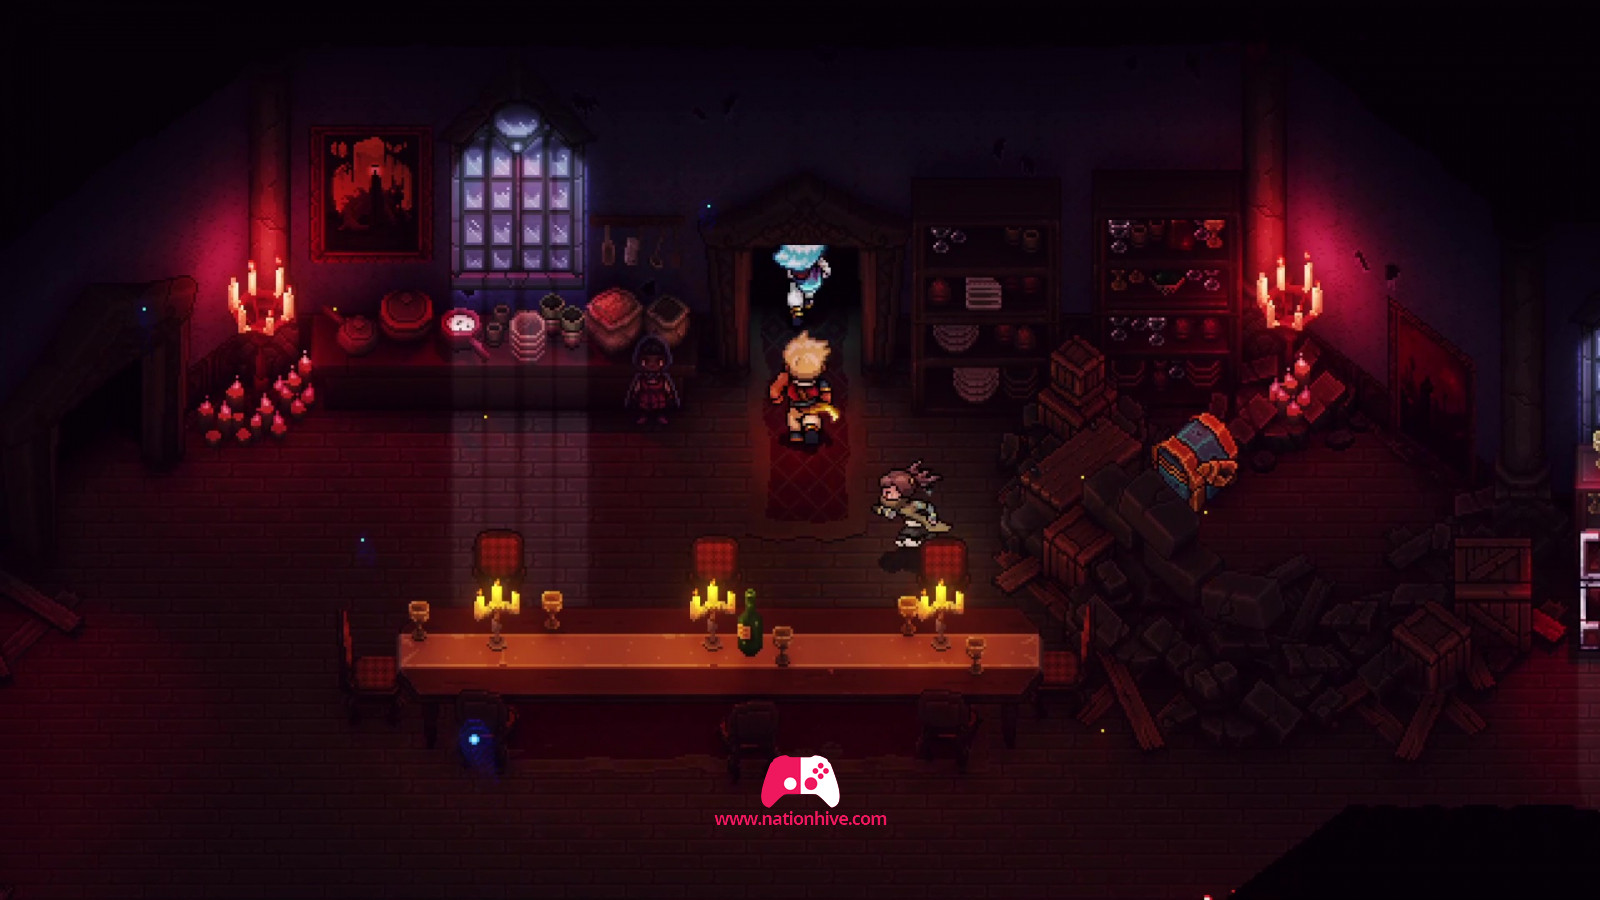
Go to the back of the room, where you'll find some notes you can read, then enter the room on the left. You'll find yourself in the dining room. Collect the many resources in the room and open the chest on the right to receive a Recipe: Mooncradle Pie. Attack the enemies to make a ghost appear. Talk to him to find out where the ballroom is. To gain access, the ghost asks you to make him a Sandwich. To make the sandwich you want, you'll need to collect ingredients, all of which can be found in the kitchen, i.e. in the room on the left.
Enter the kitchen and collect these ingredients for the Chef Sandwich recipe, which requires 2 parts hepar, 4 parts dust, 3 parts sugar and 1 part rust:
- Collect 2 loaves of fear
- Collect 3 sugars
- Collect 4 pinches of dust
- Collect 2 drops of Hepar
- Collect 1 share of scraped rust
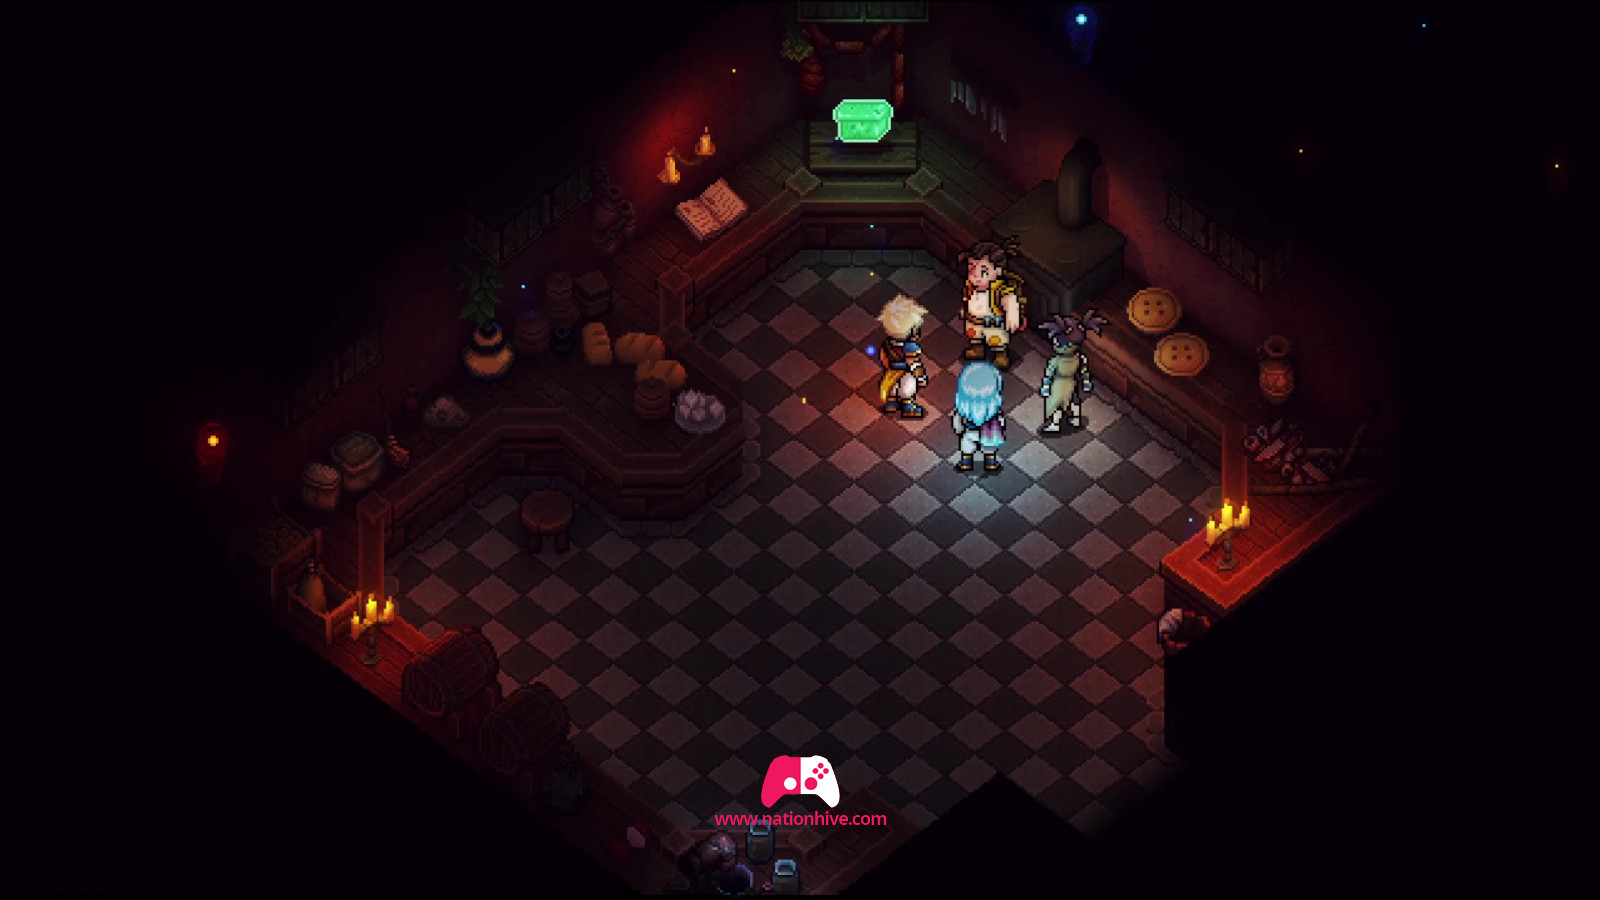
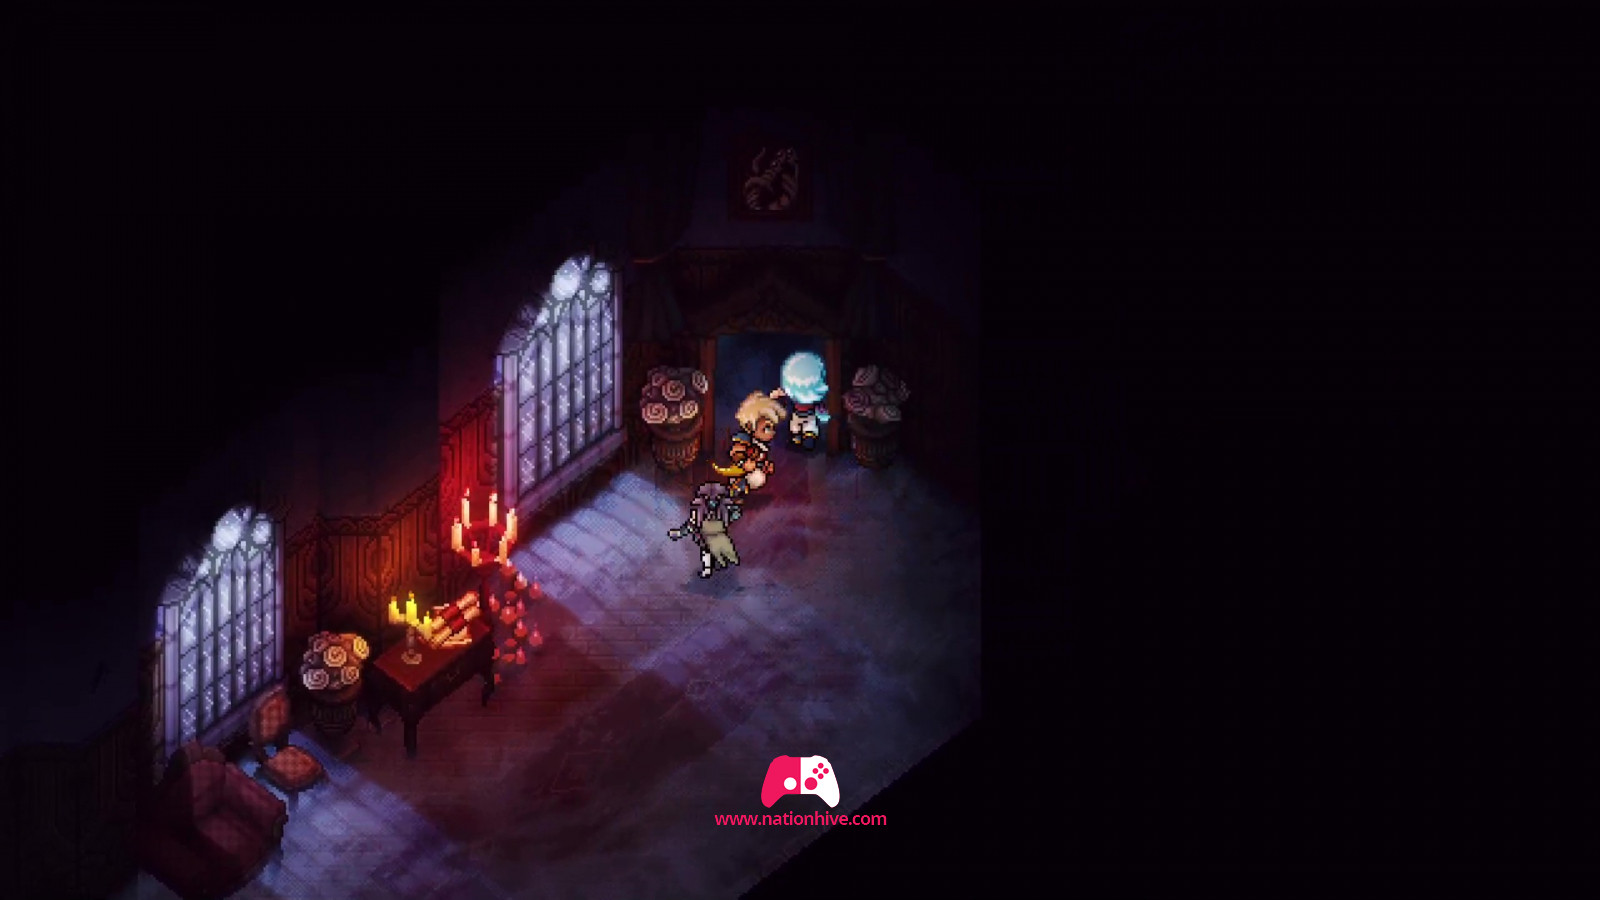
Once you've collected all the ingredients, head for Garl to cook the Sandwich. Then give the Sandwich to the ghost. As a reward, you'll receive 100 coins and access to the library which leads to the ballroom, just to the right of the ghost. Once in the library, as mentioned earlier by the ghost, in order to access the ballroom, you'll need to crown the king in the library.
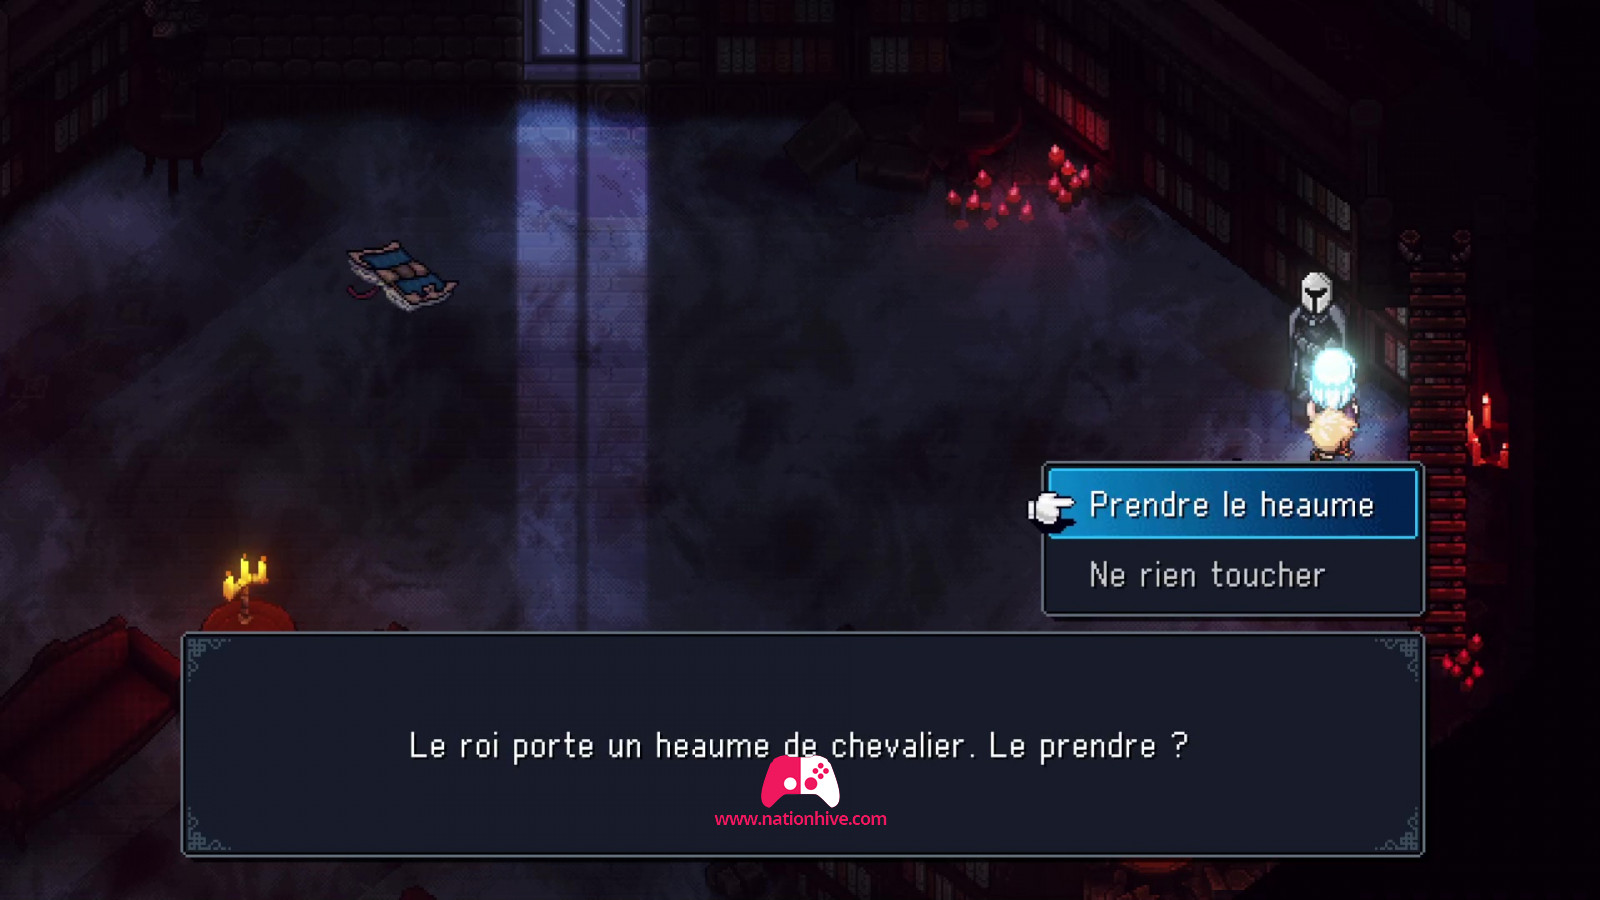
Explore the library for papers. To crown the king, first go to the ladder on the left of the room. You'll find the crown in the top left-hand corner. Still upstairs, use the Grappling Hook to cross to the other side and climb down the ladder. Climb down to find yourself in front of another statue. This statue of a king wears a knight's helmet, which you simply remove to place the crown you found earlier. Go back to the first statue on the left and remove the knight's helmet.
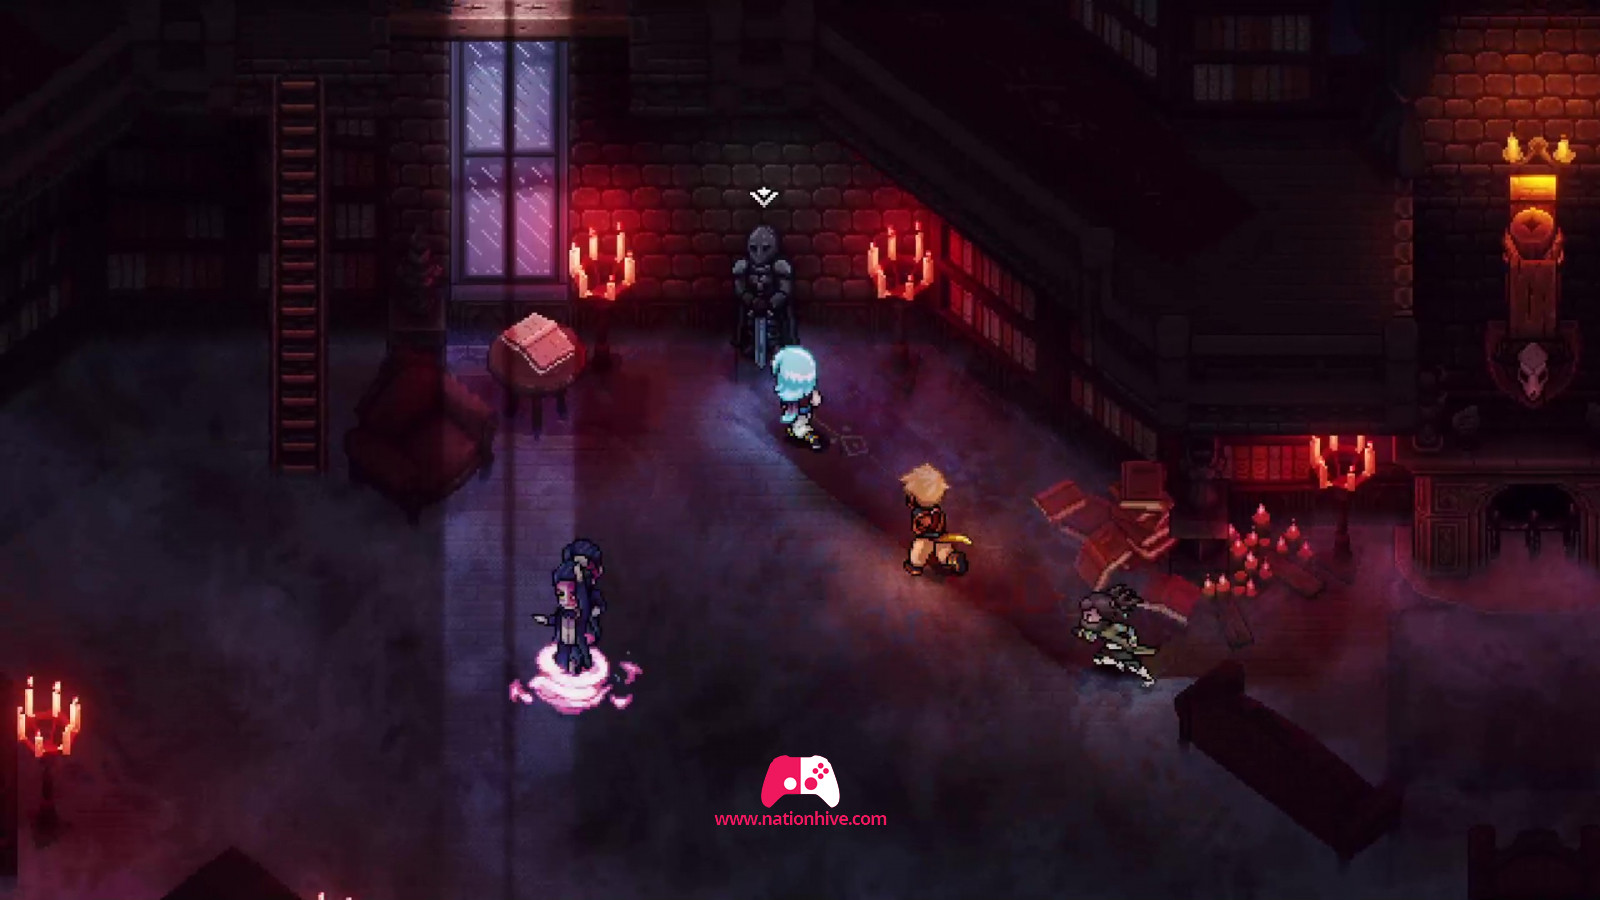
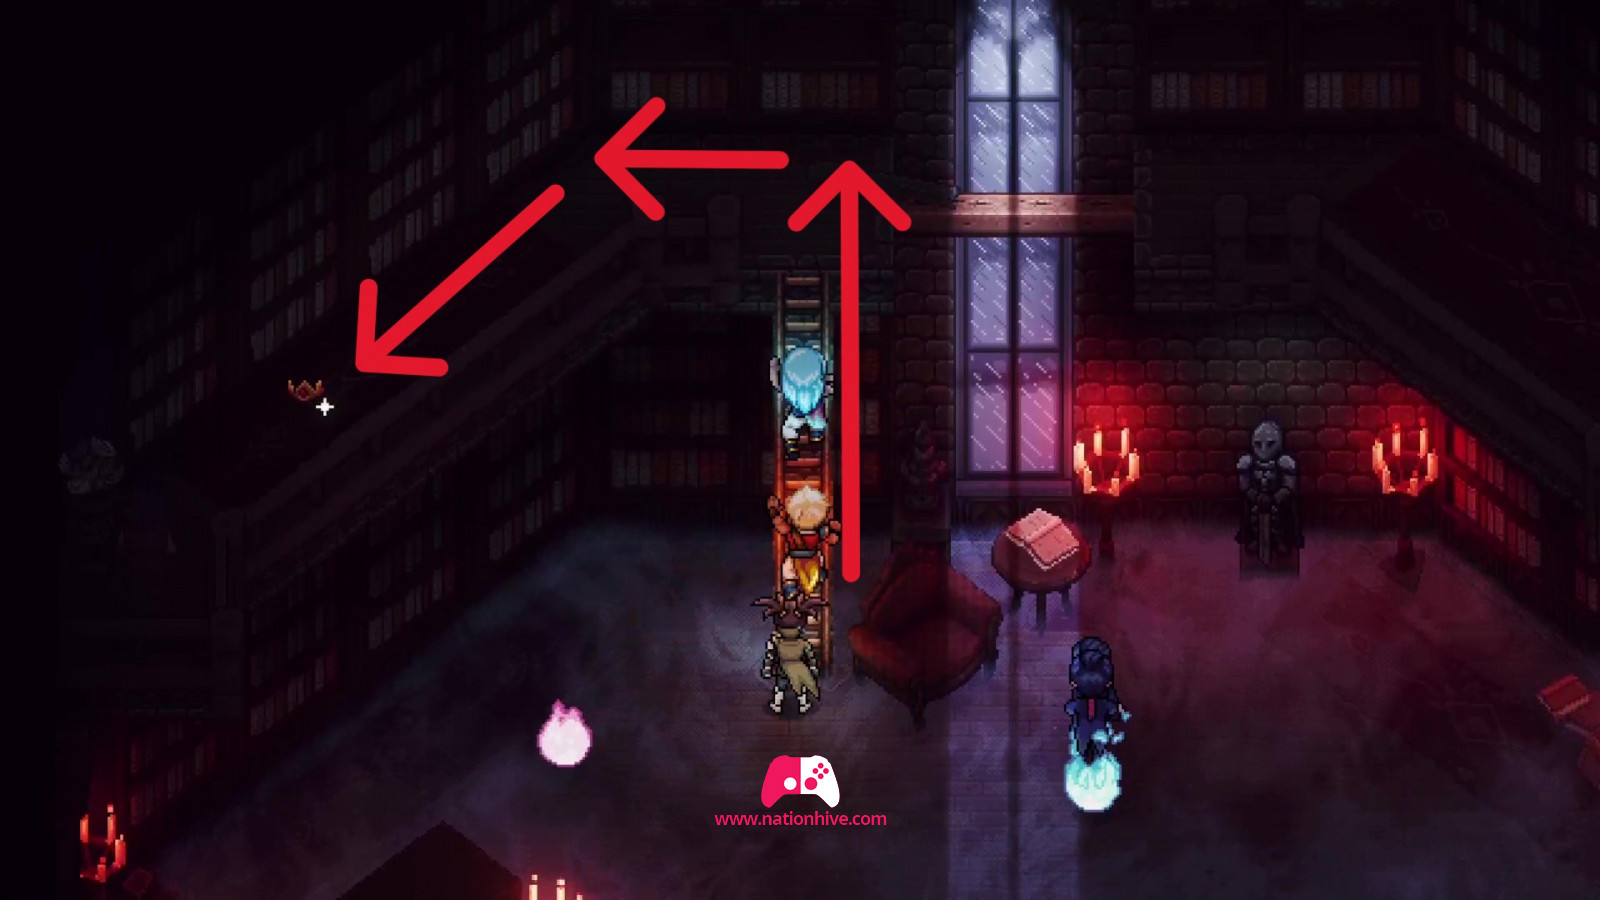
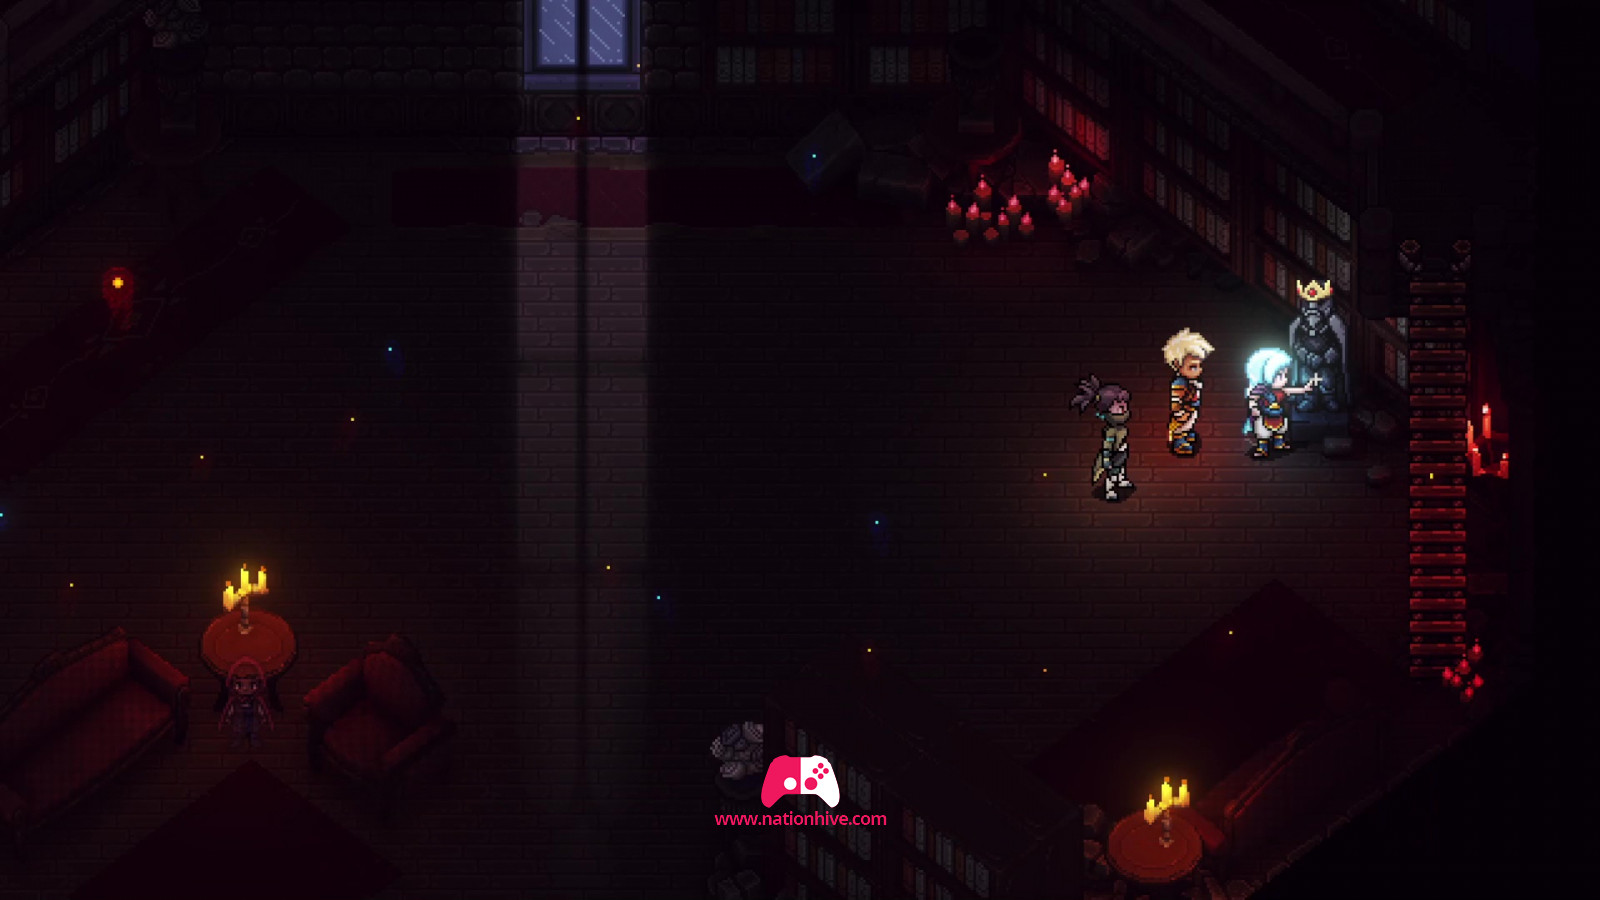
Correctly placing the crown and helmet on the right statue will reveal a picture at the top of the mantelpiece. This picture is very important as it is the solution to the next riddle. Small figures will appear on the floor on either side of the room; follow the exact order of the picture that has just appeared to solve the riddle (see picture below for left and right sides).

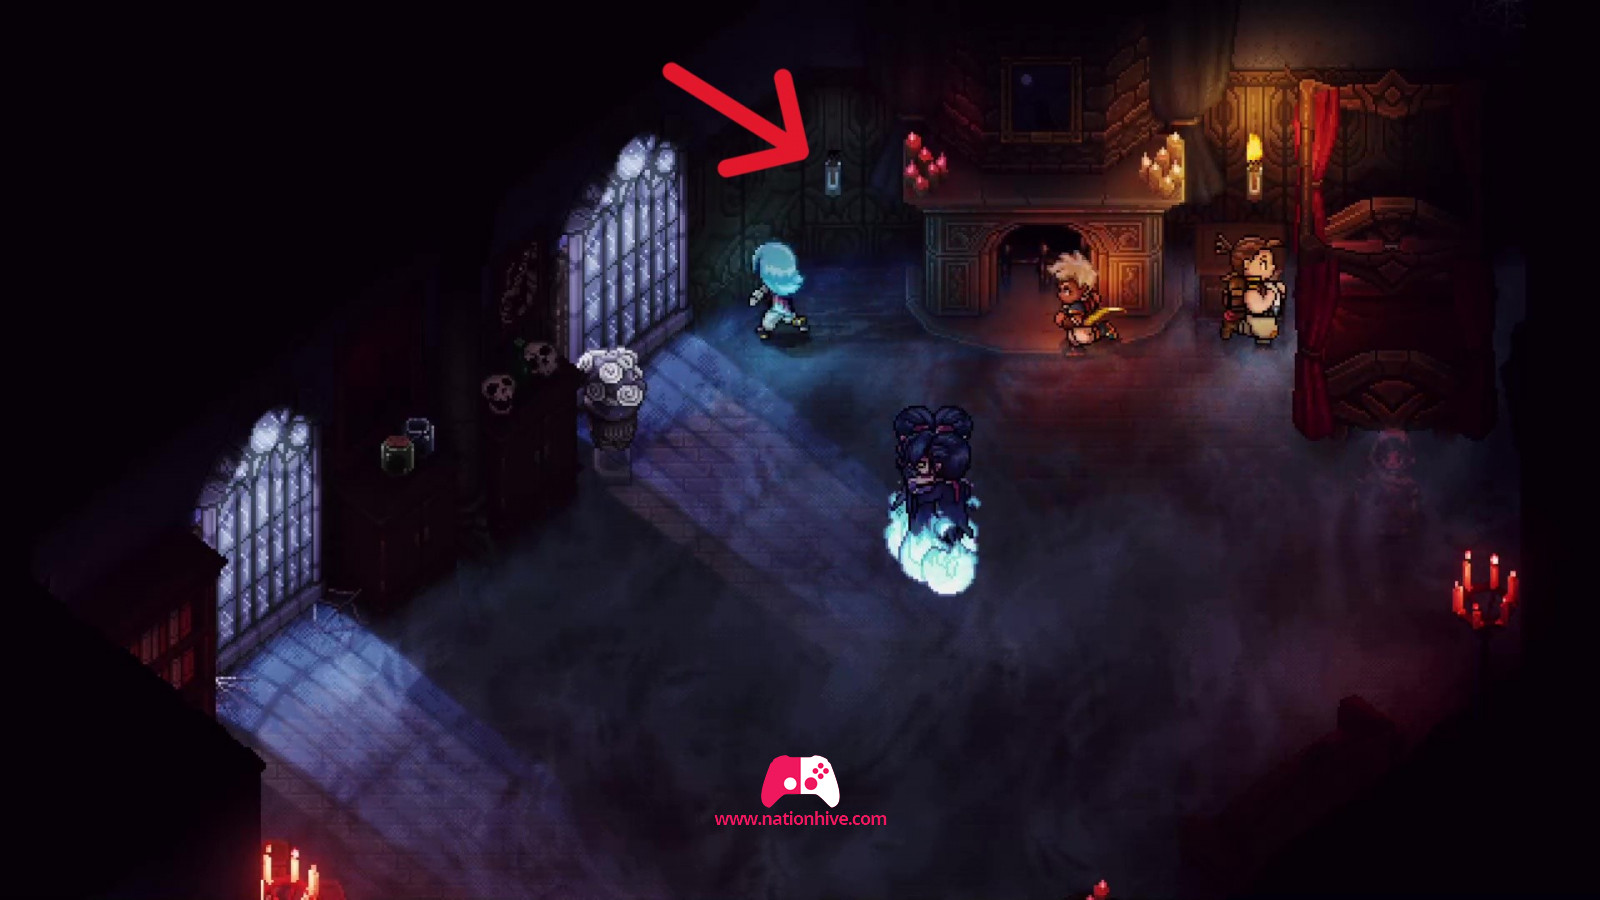
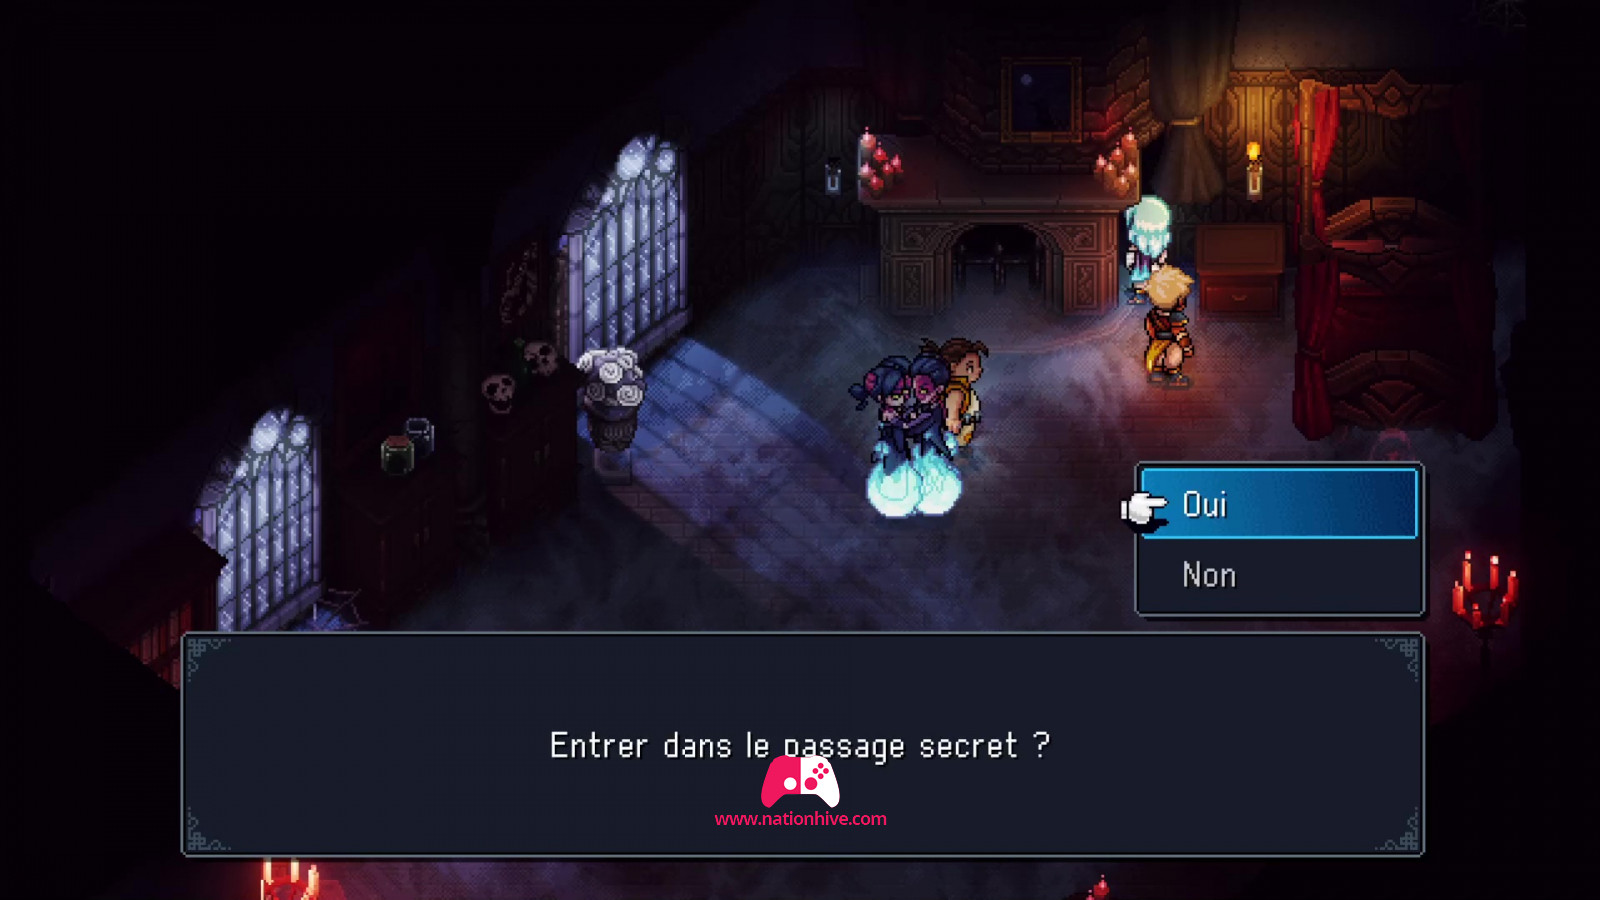
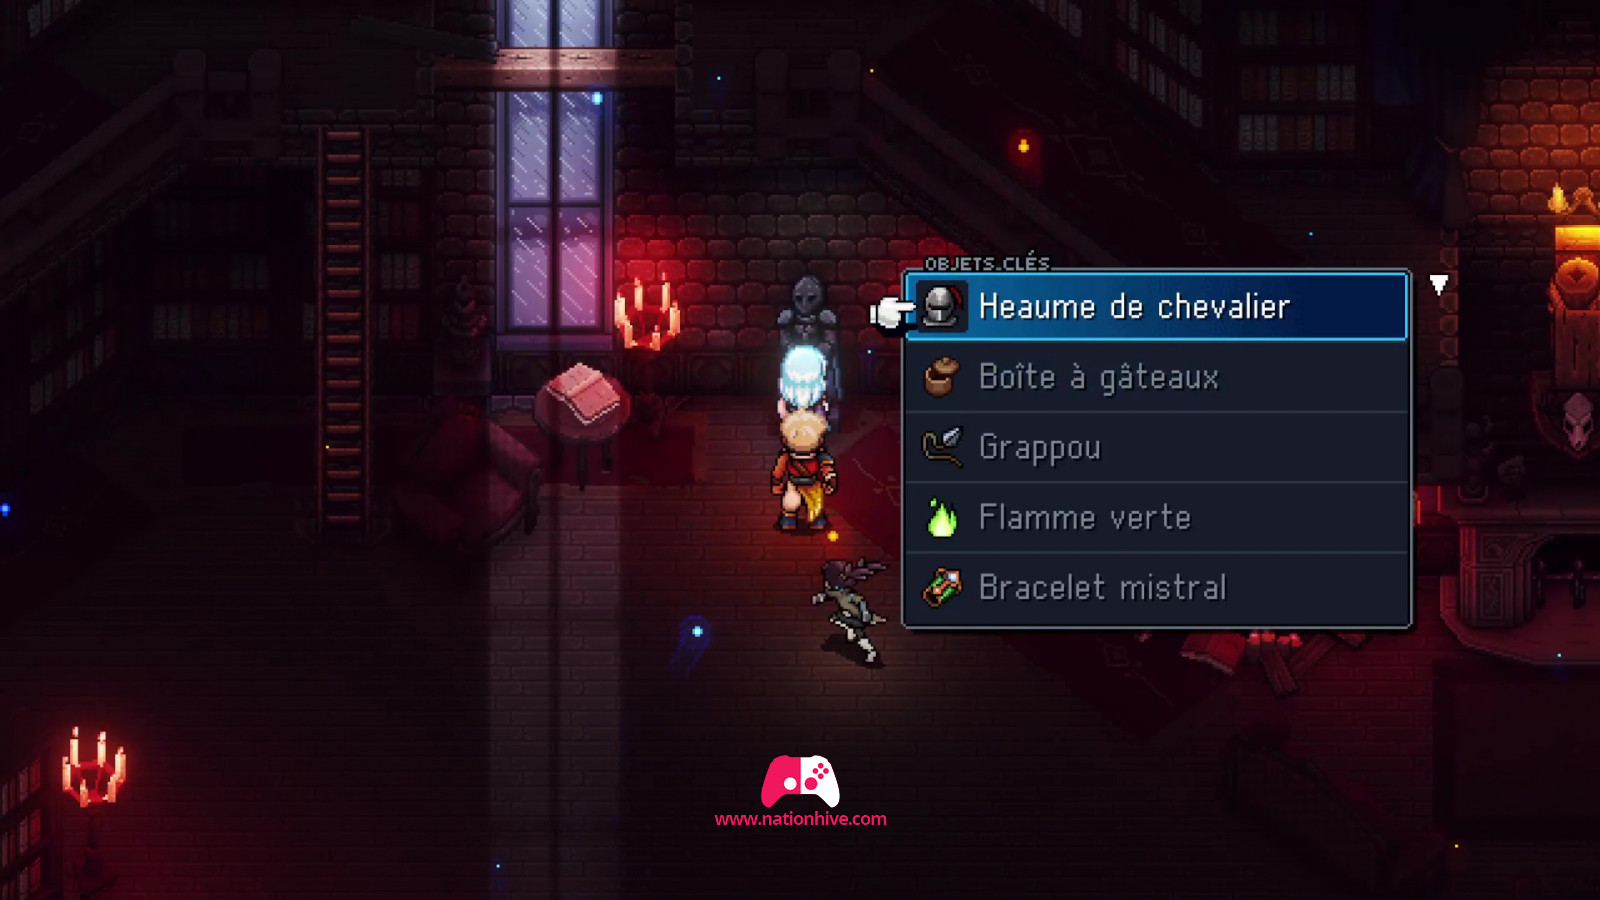
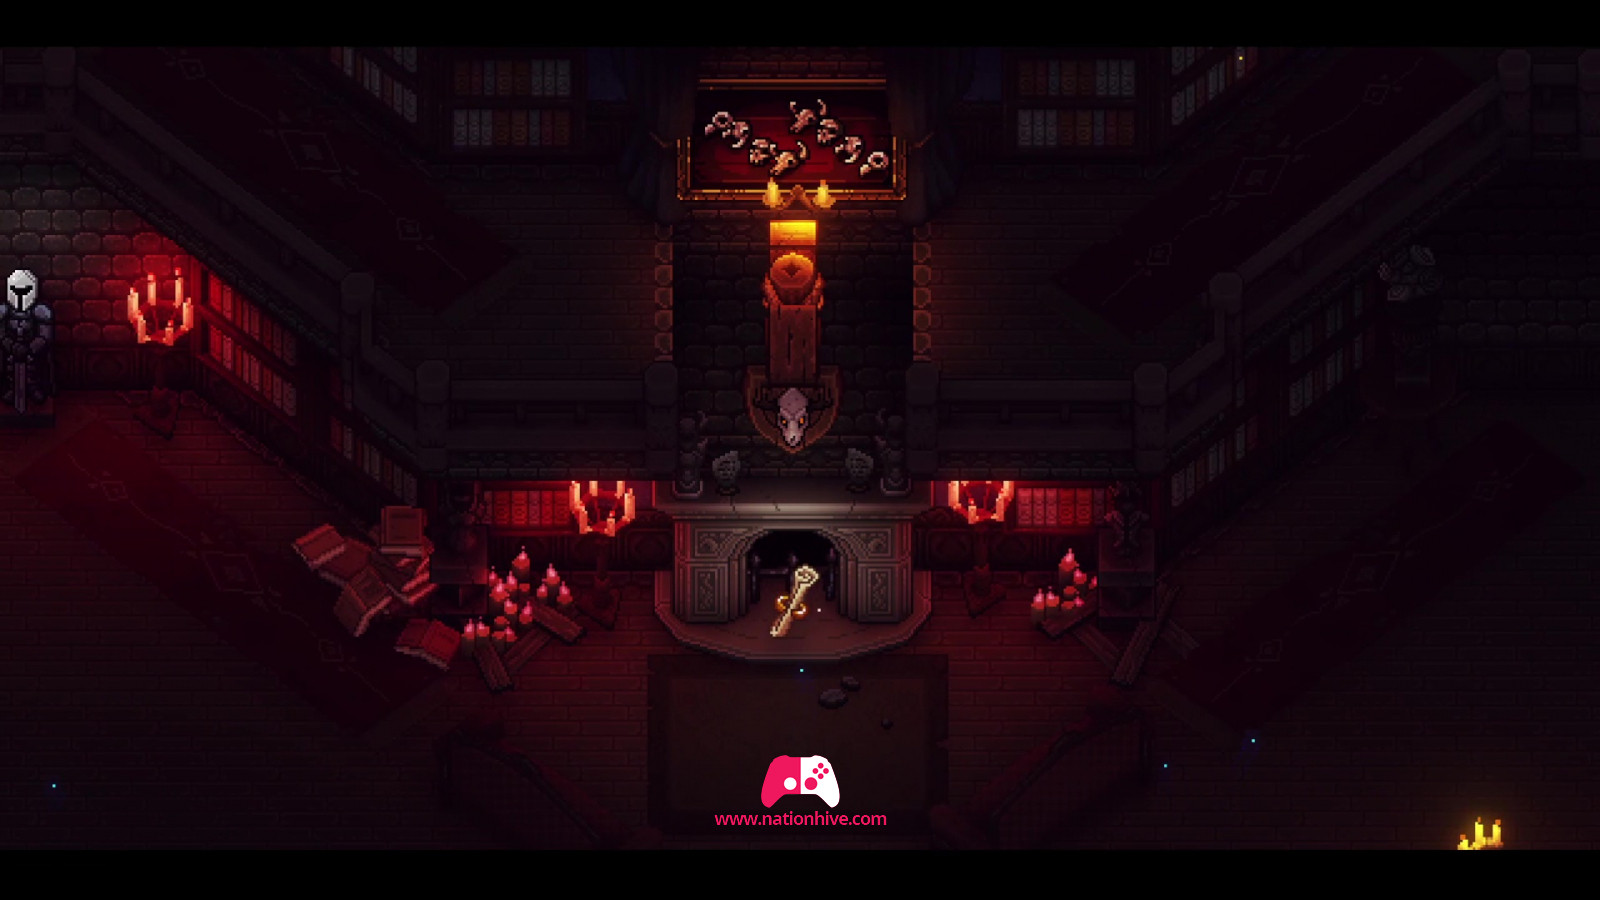
Once the riddle has been solved, a scroll will appear in front of the fireplace and a secret passage will open. Pick up the scroll to acquire Zale and Seraï's Cross Strike combo skill. Then head for the secret passage on the right.
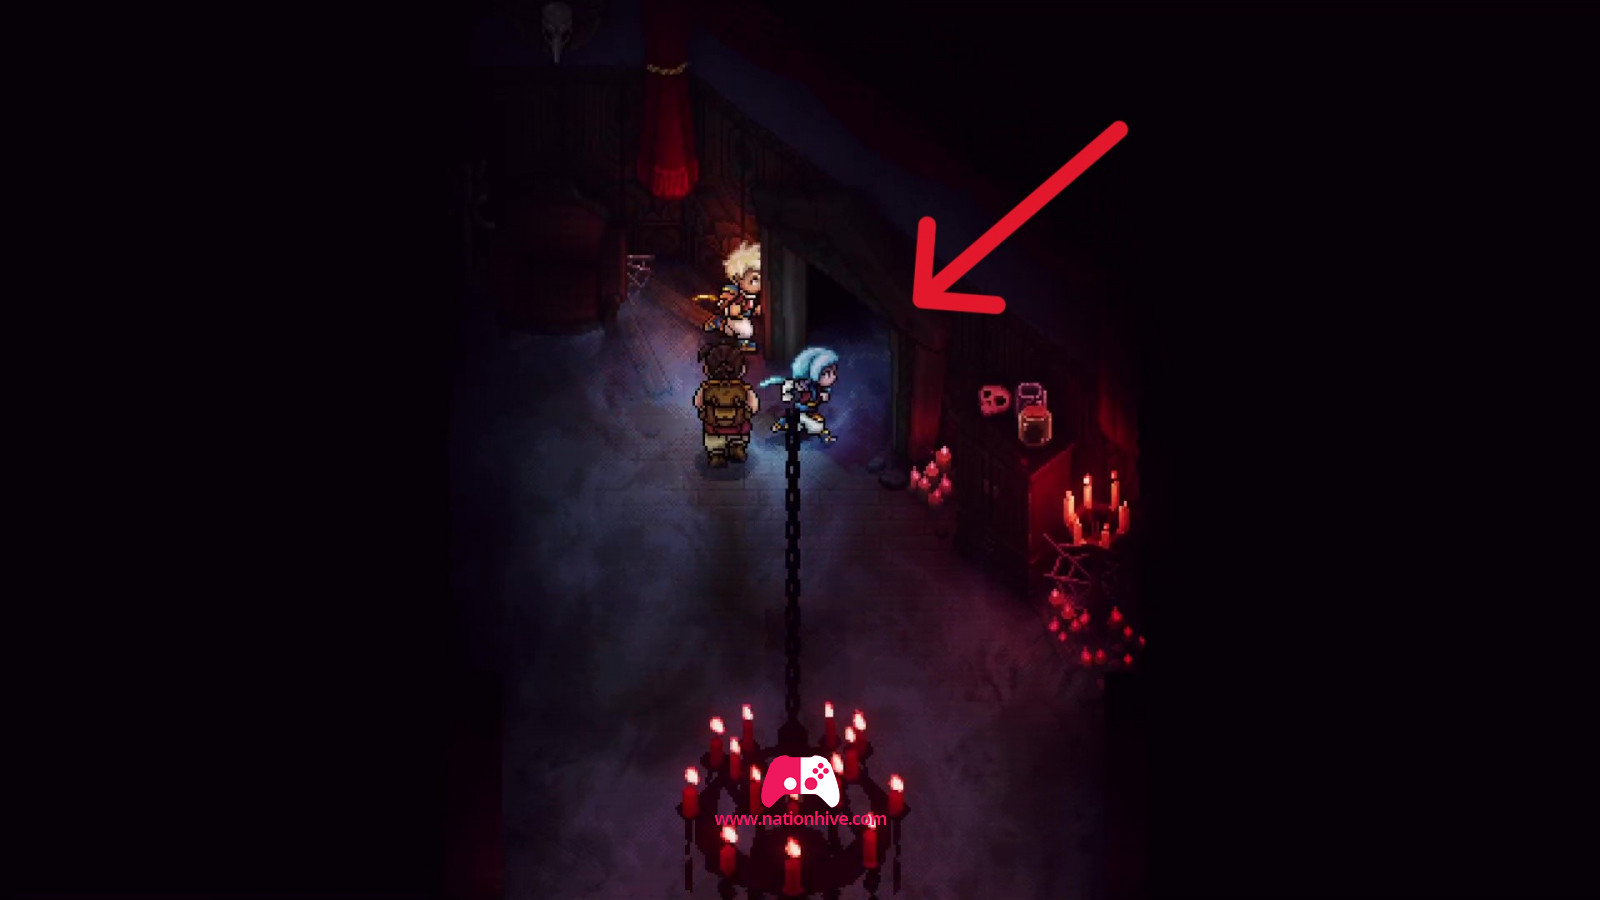
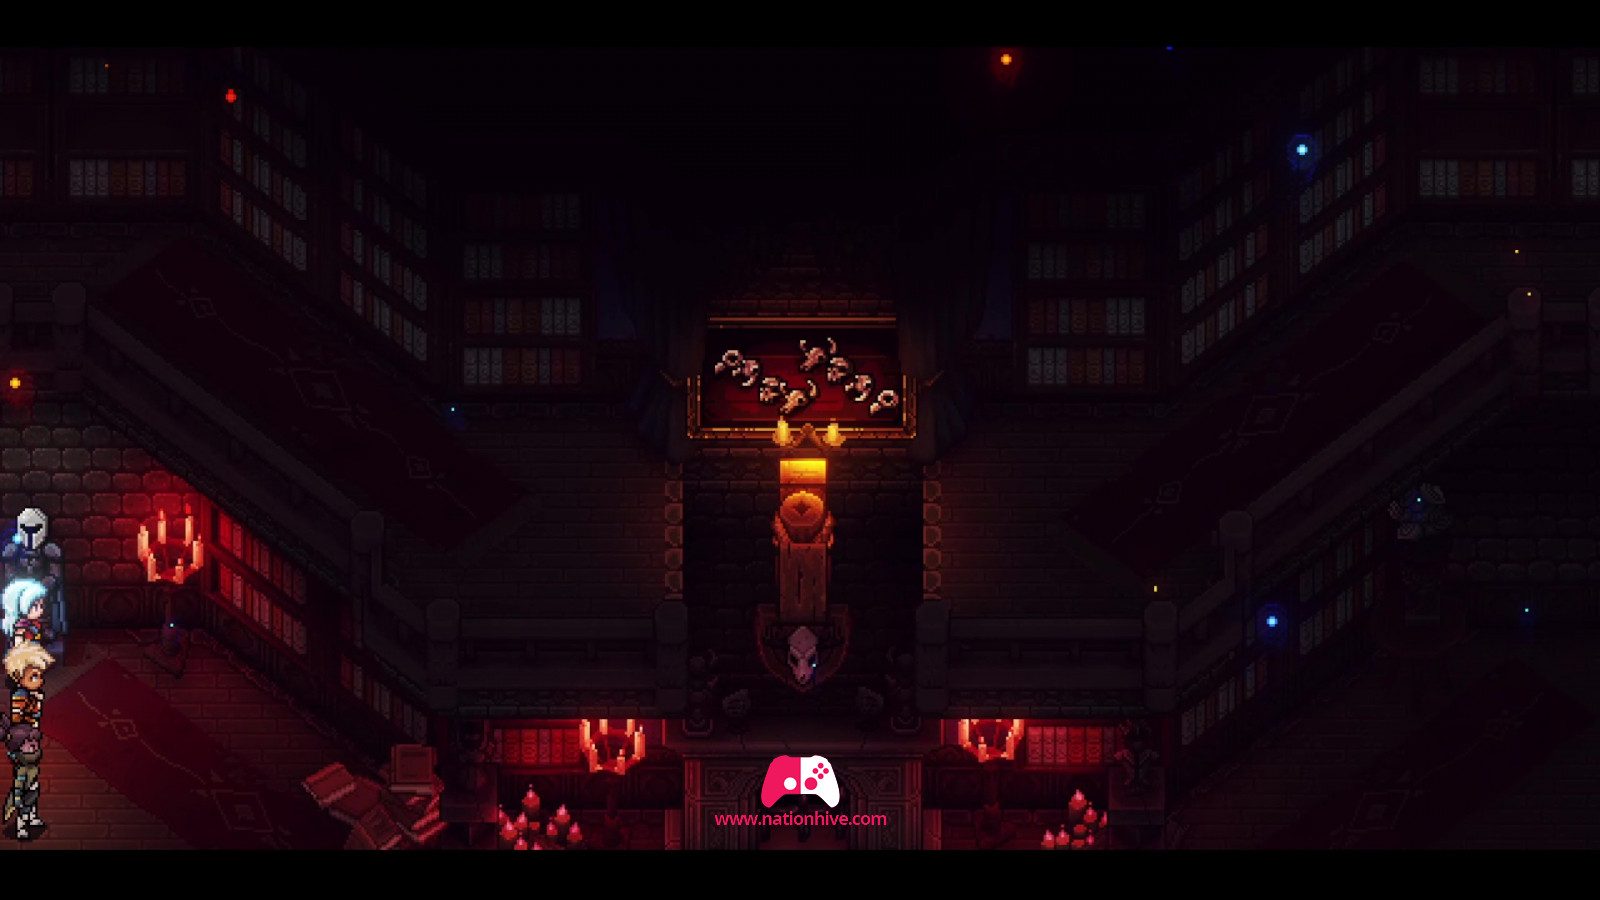
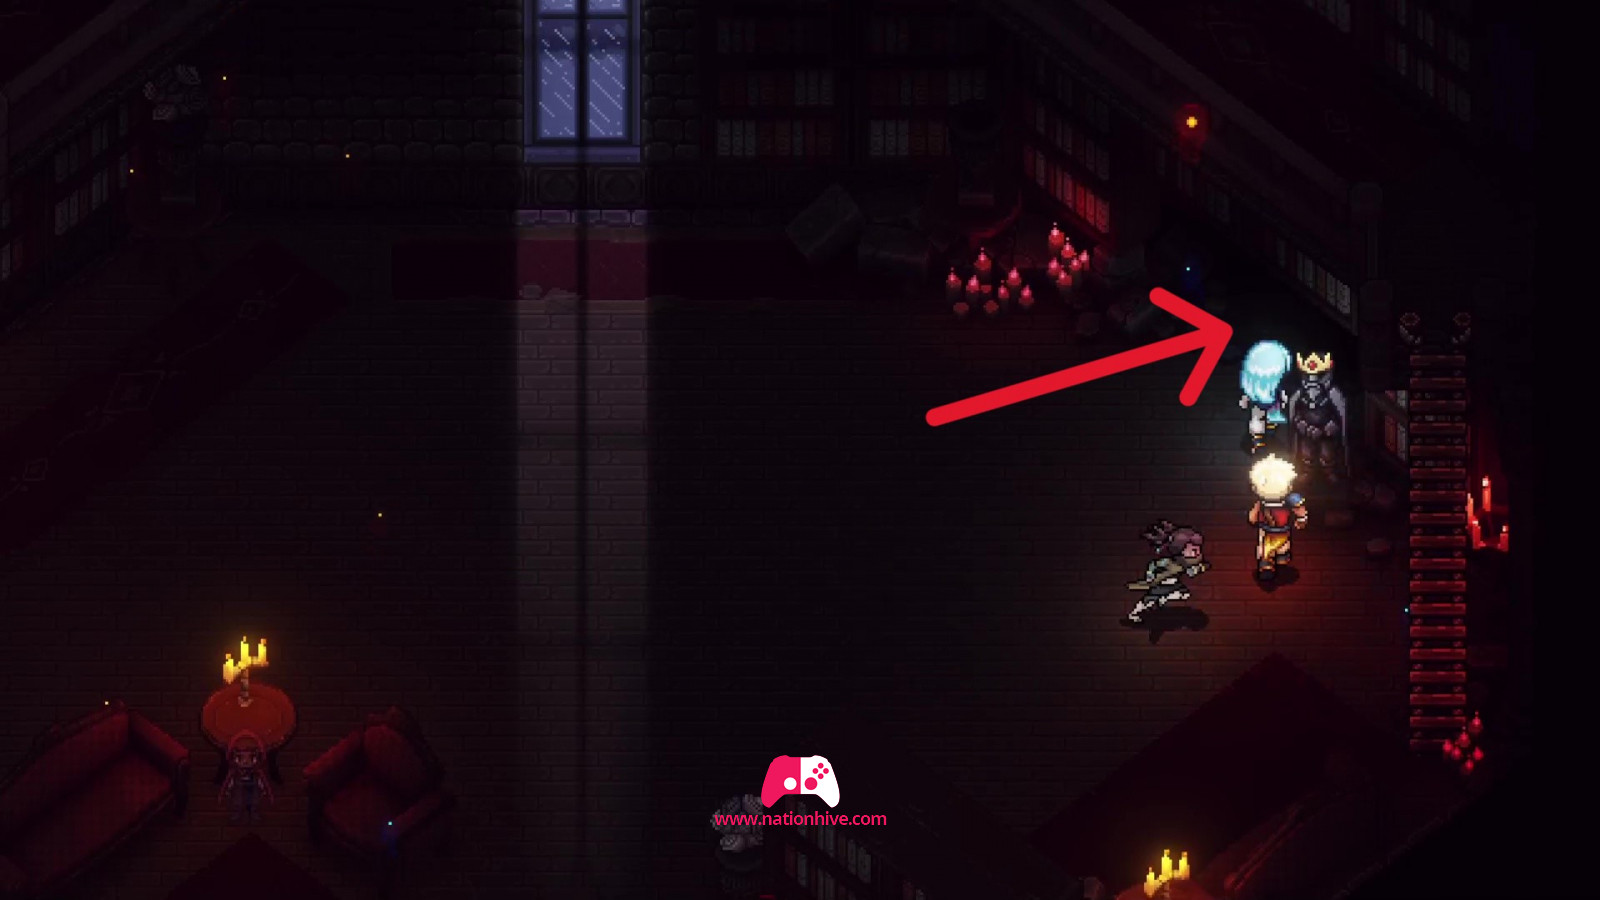
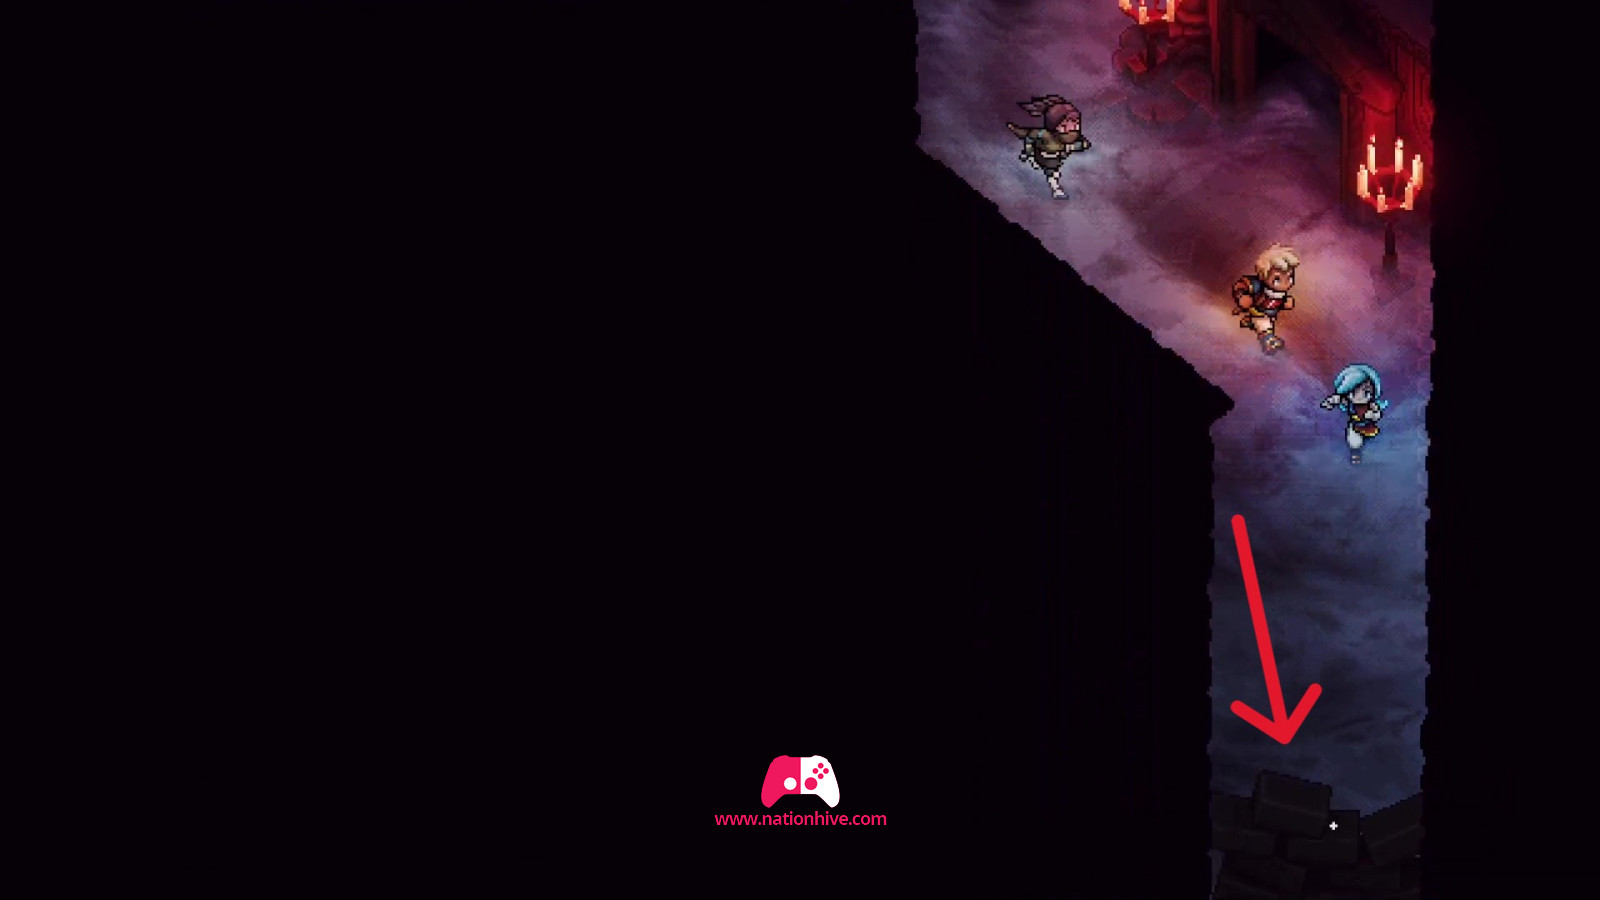
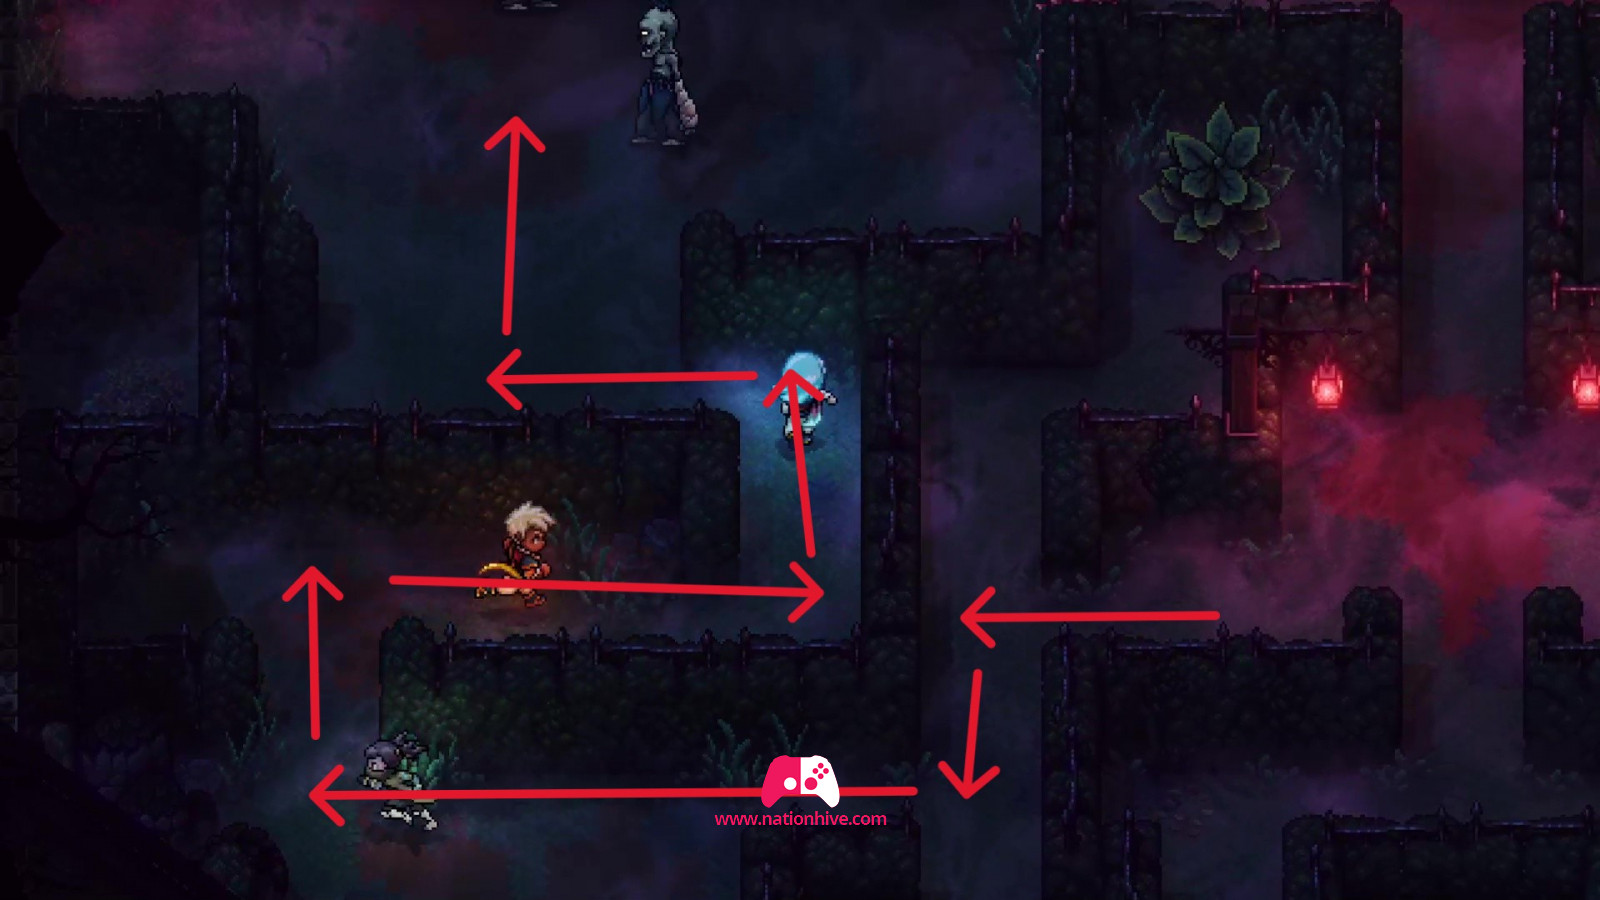
You'll arrive in another room. Go down the stairs and climb the wall to reach the platform and use the Grappling Hook to get to the next platform (see picture below). Climb the next wall to access the chest below. Open it to receive a Spectral Cape. Continue climbing the wall to reach the exit on the right.
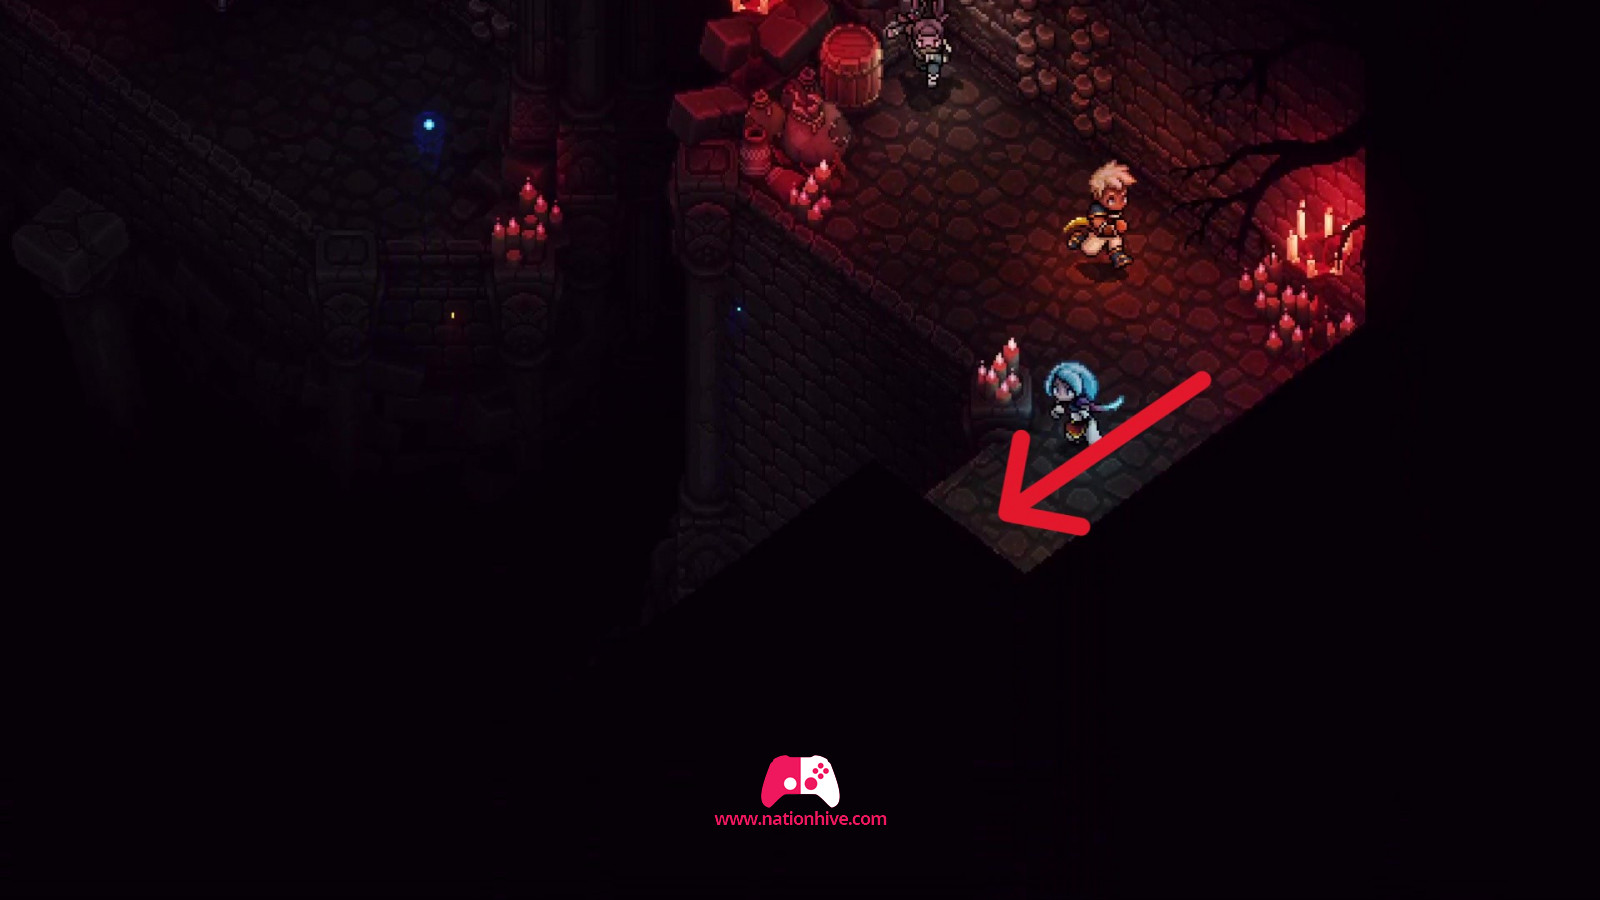
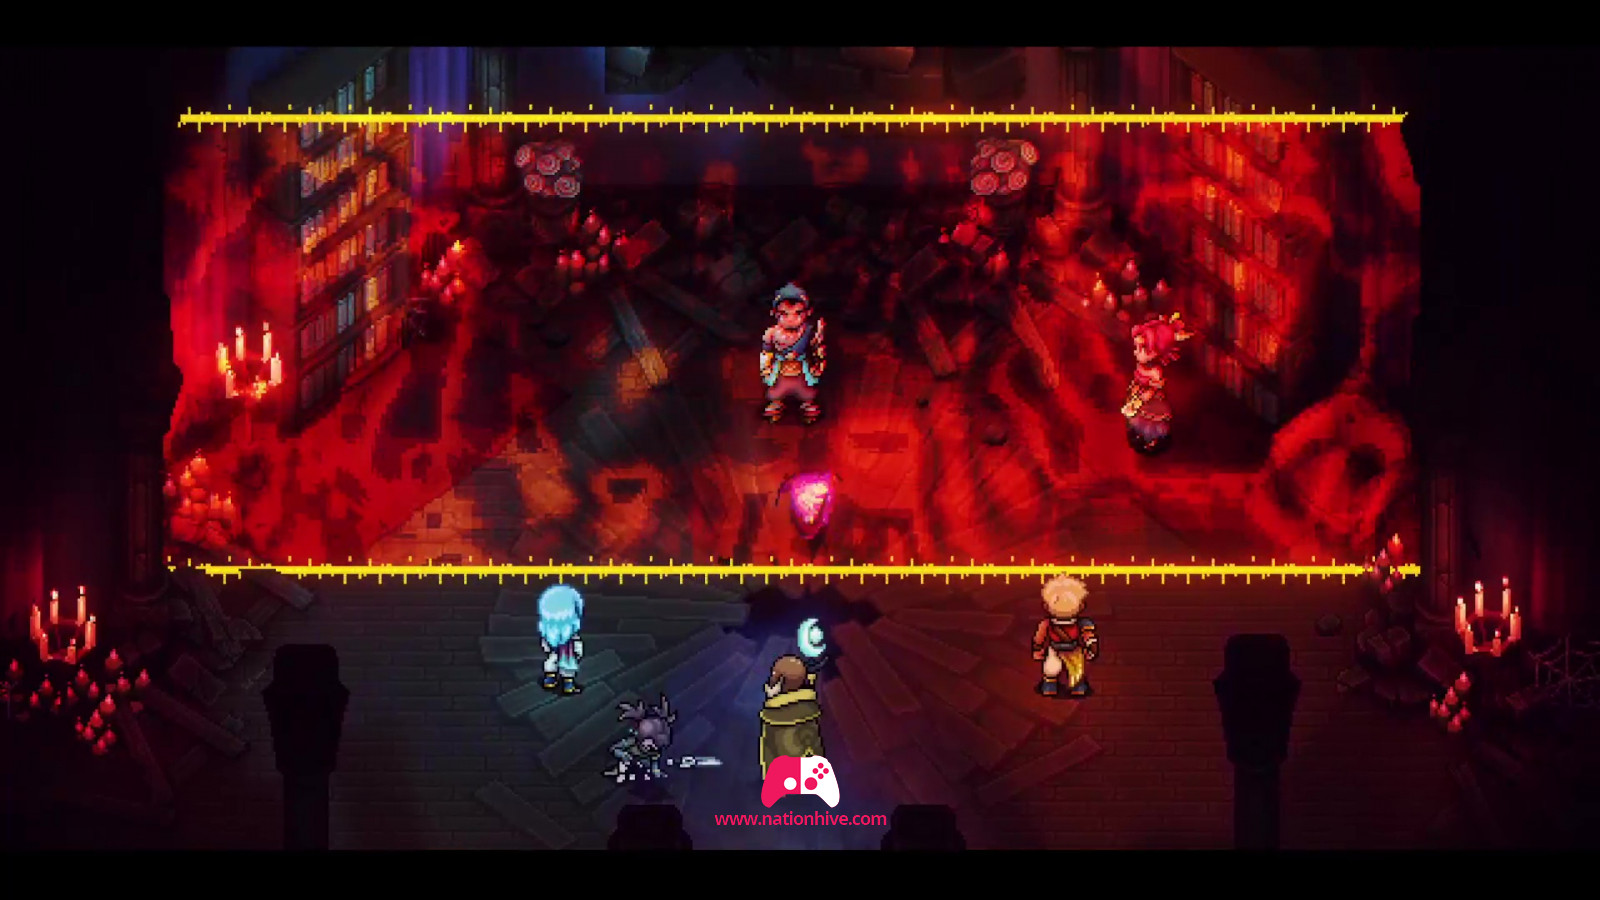
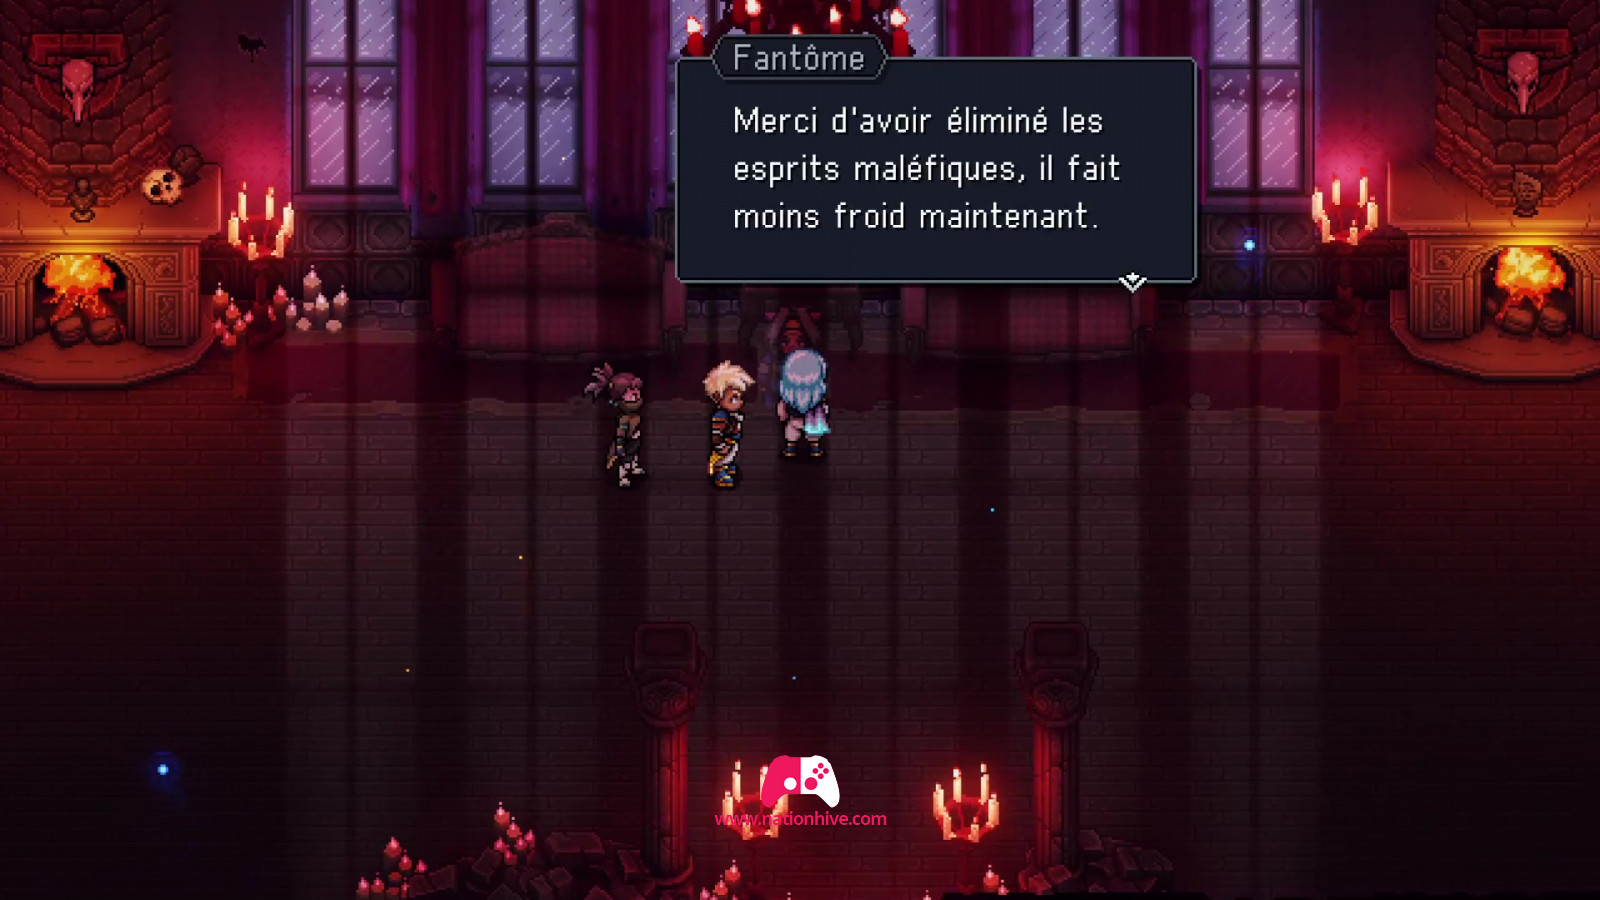
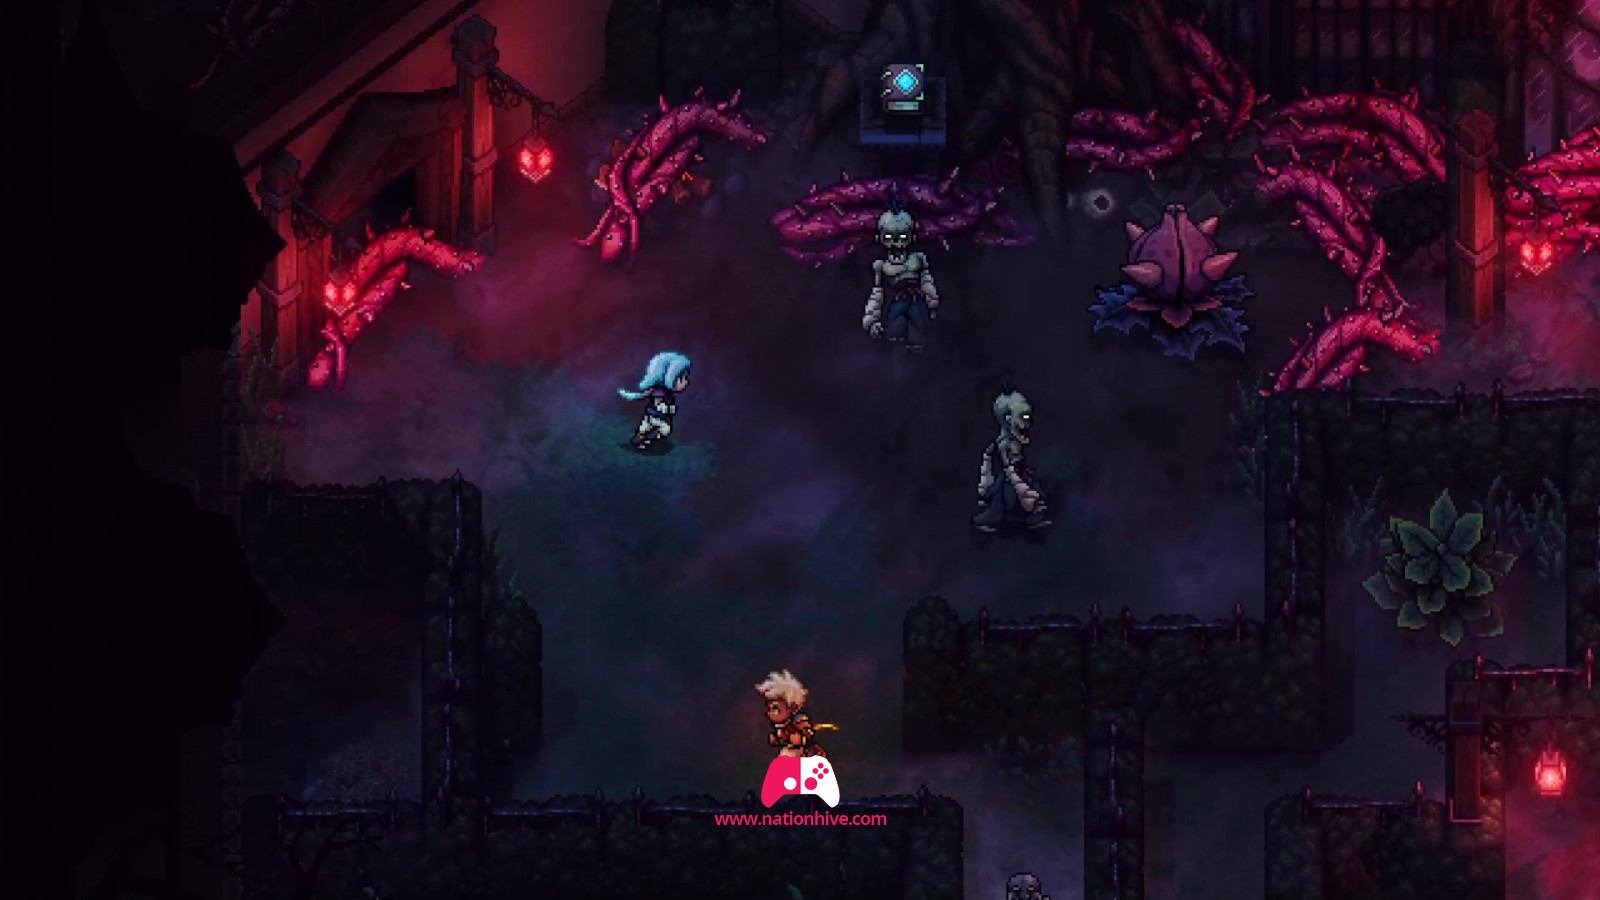
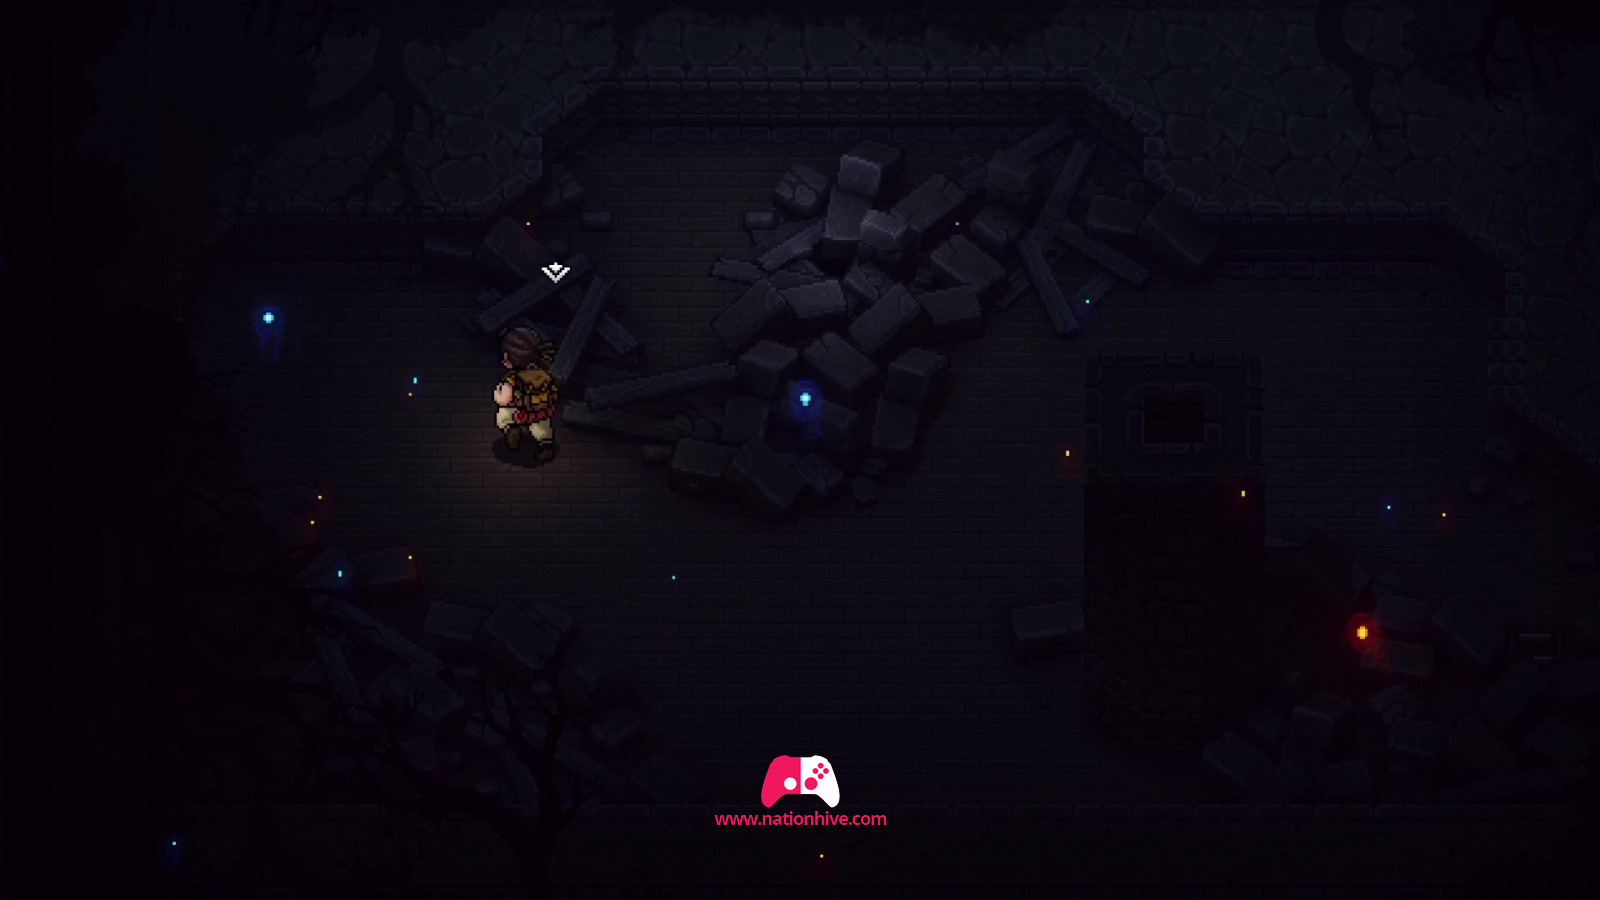
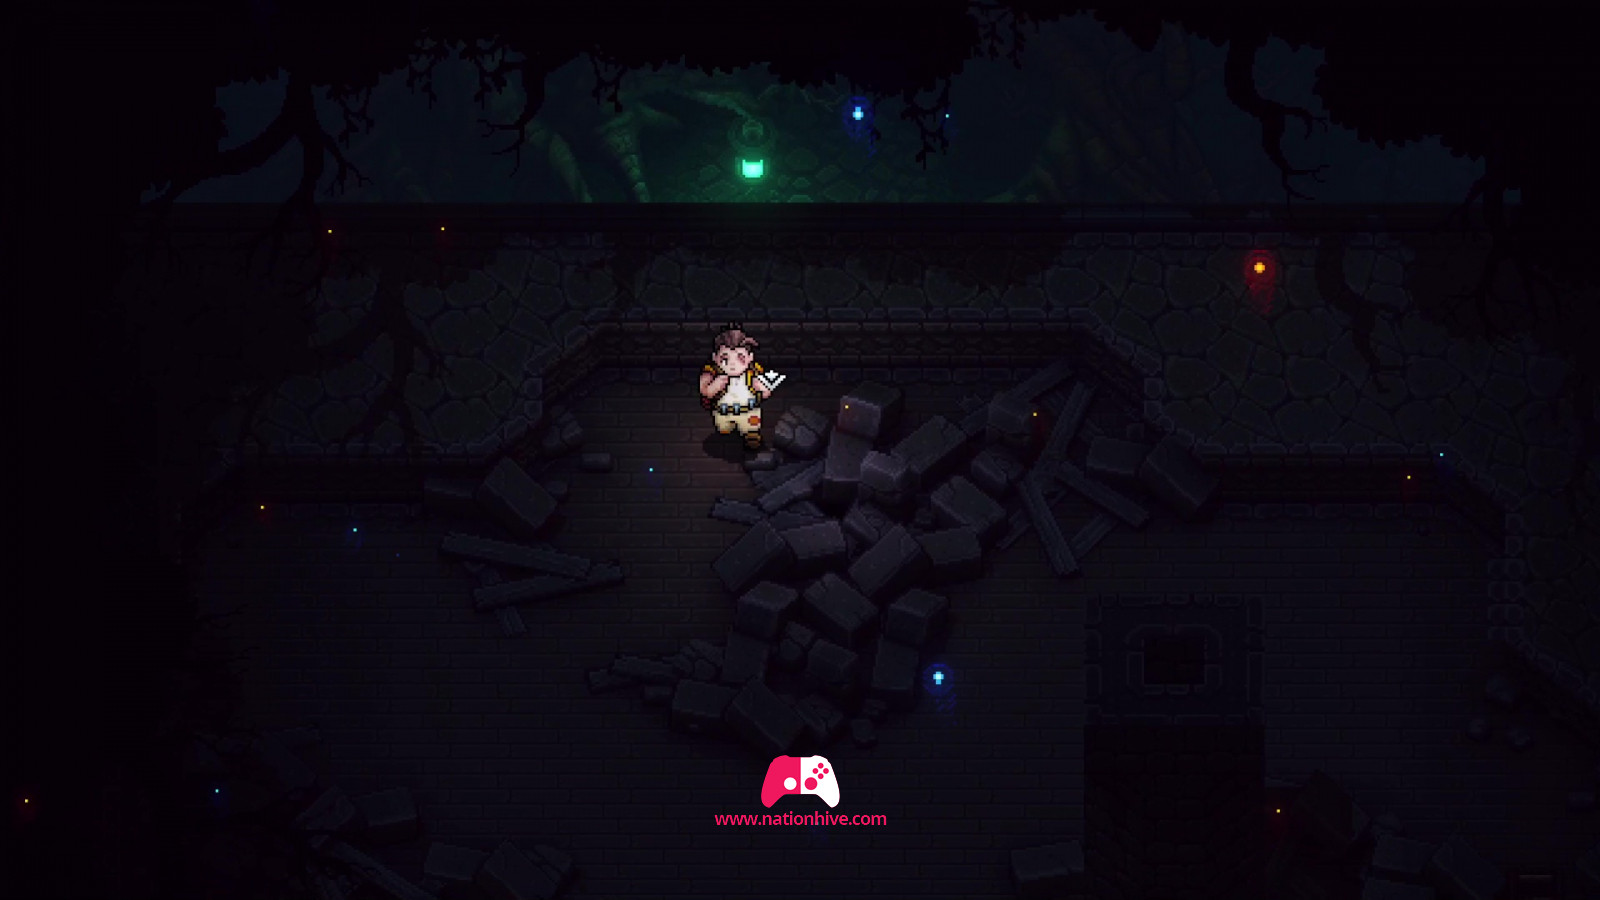
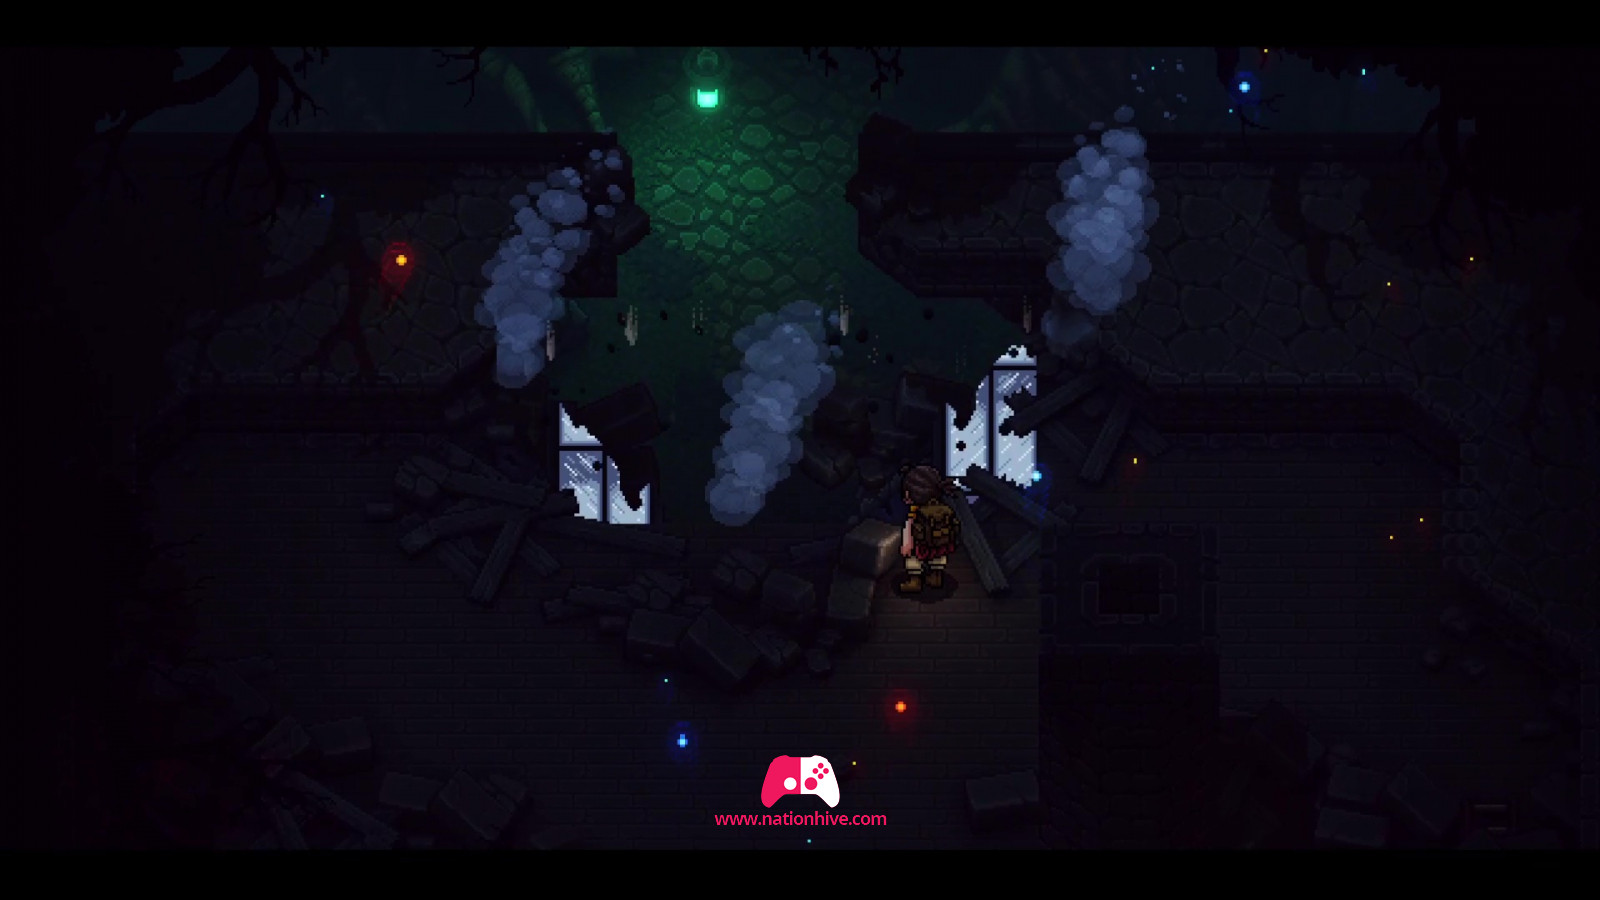
Then head downwards, a wall will block your path, but you'll be able to destroy it to create a shortcut to the living room. Return and head for the upper entrance to reach the ballroom. Be careful to avoid the dancers' projectiles. Eliminate all enemies (dancers) and chat with the ghost who will appear in the ballroom, a secret door will appear to give you access to the garden.

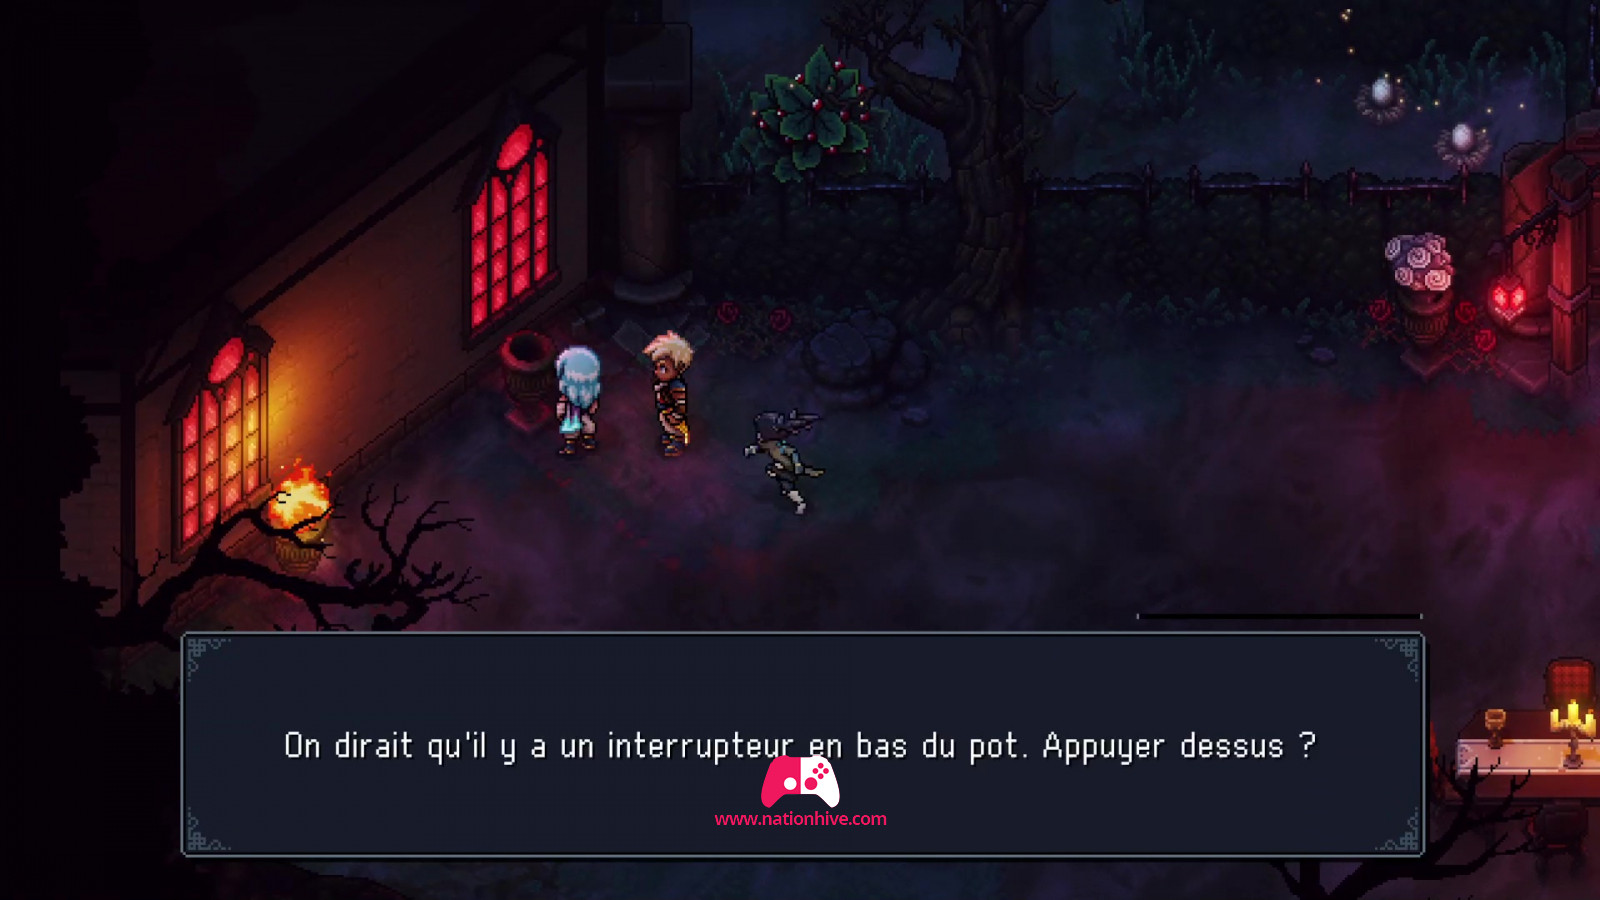
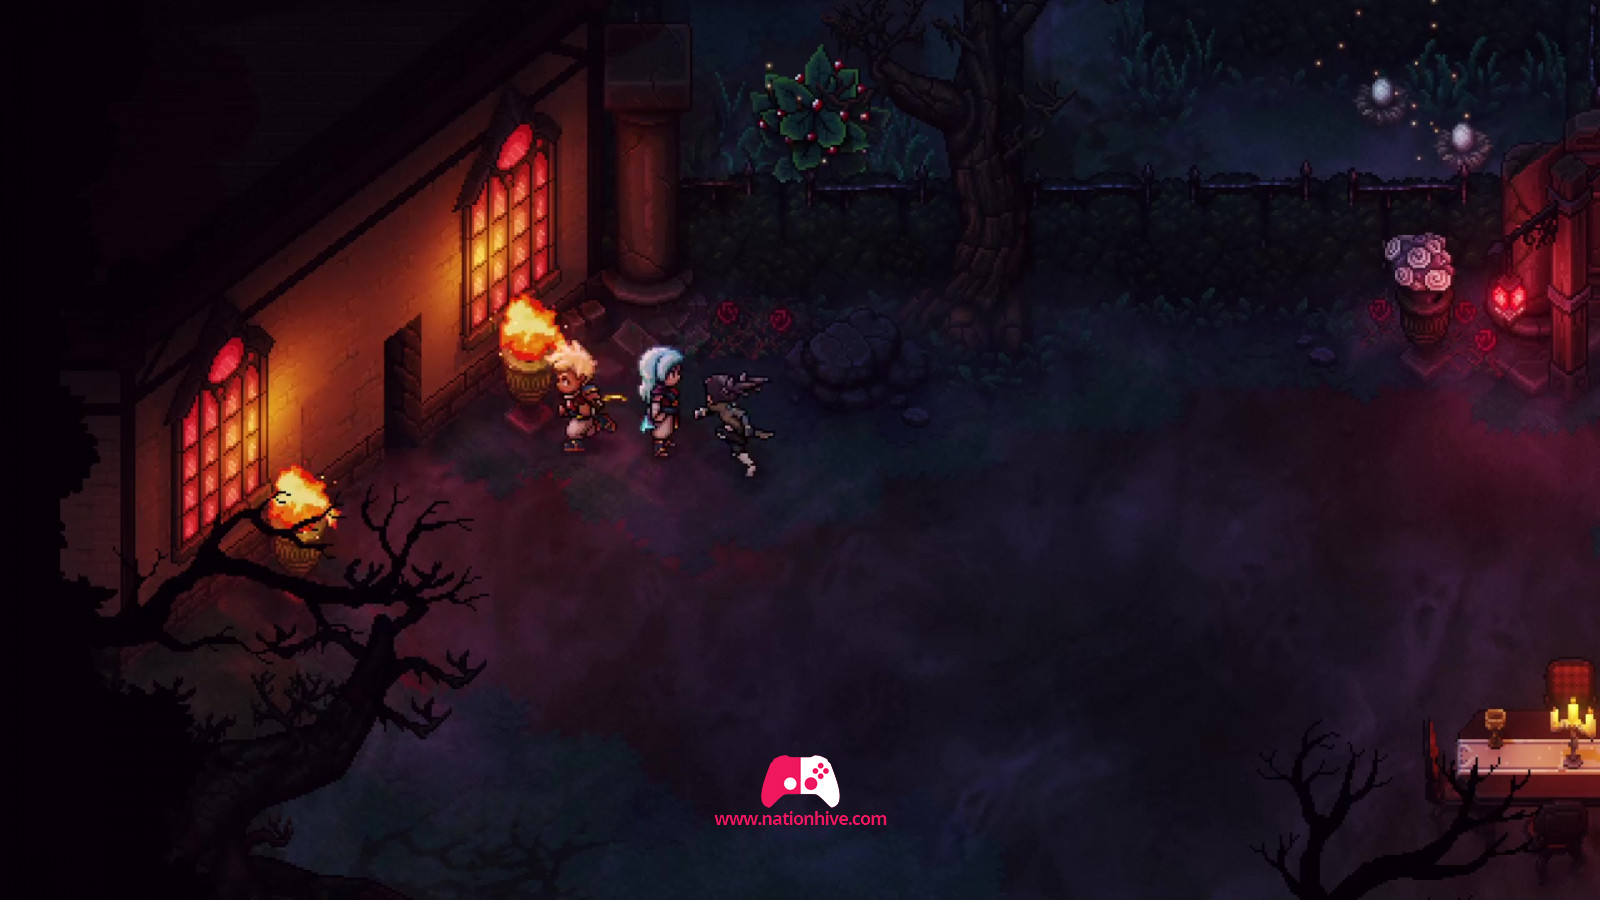
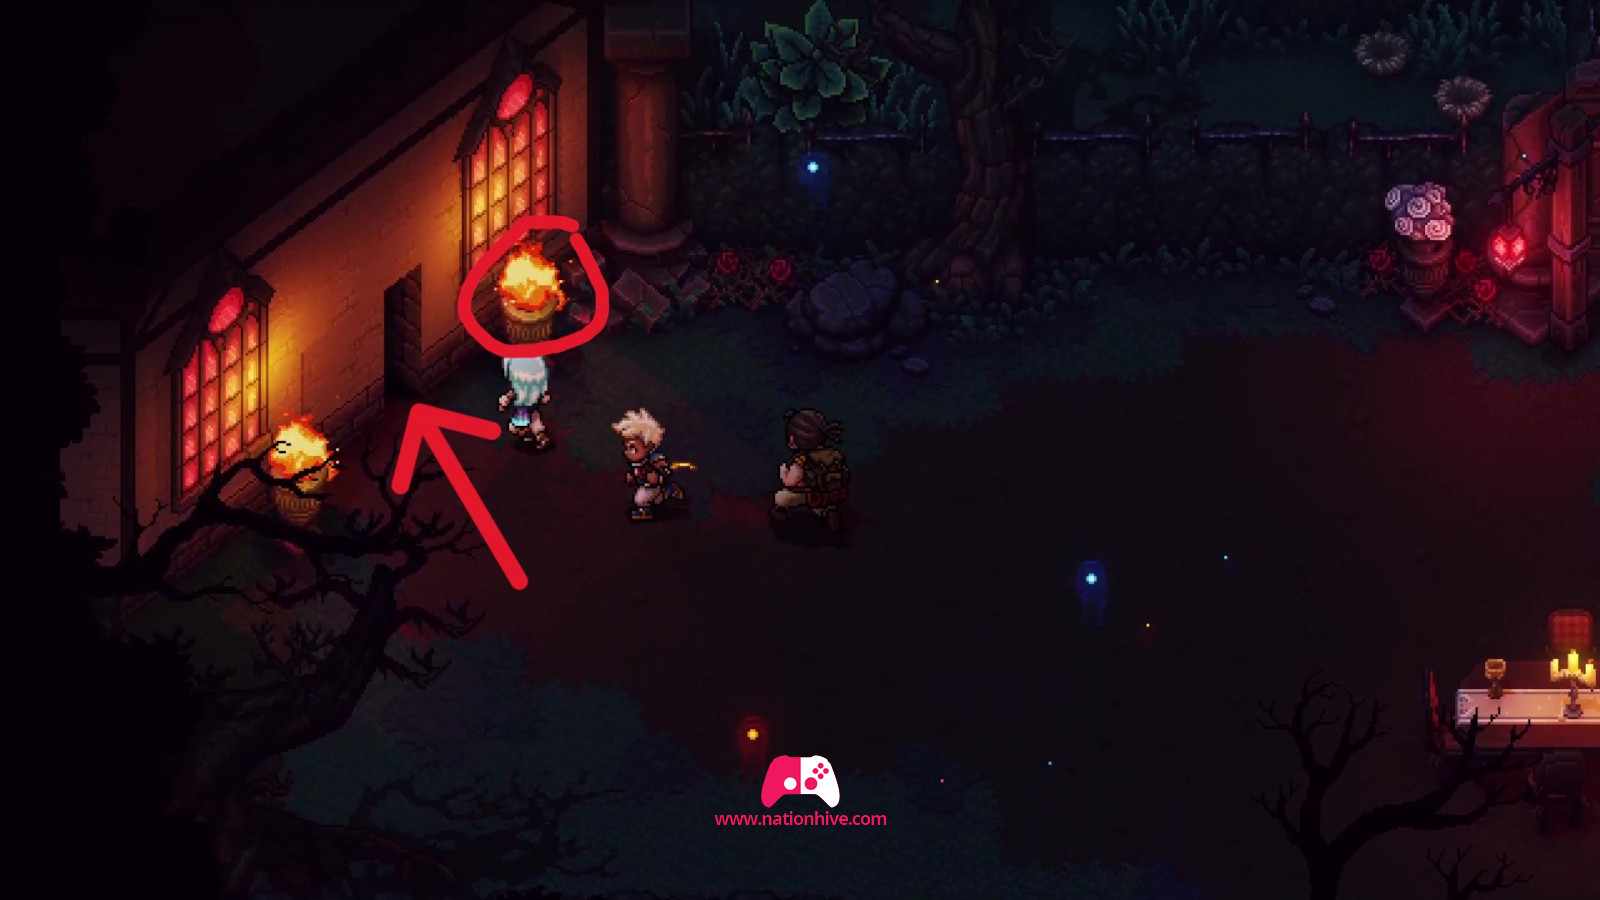
Once outside, collect the resources. You can also open a secret passage by pressing a switch under a flowerpot (see picture). Then head for the maze, collecting resources along the way, and in order to reach the boss, you'll need to defeat the flower-shaped enemies on either side of the maze. Then enter the greenhouse to fight the Botanical Horror.
Defeating Botanical Horror (BOSS)

The Botanical Horror is a fairly simple boss, but has several moving parts. There are four limbs that inflict varying degrees of damage, and the horror itself.
The top two use charged projectiles called Quillshot, while the bottom two are more physical, sinking into the ground and striking from below, aptly named Ground Flower. Each of these members can be eliminated in any order, but as the bottom two have faster charges, it's advisable to target them first. The top flowers have 105 HP, while the bottom ones have 88 HP.
Once you've eliminated the two lower limbs, concentrate on the two upper limbs and try to break the locks to delay the attacks. Use your mana boosts carefully and at the right moment - don't use them just any old time. With all four limbs down, the botanical horror will be vulnerable, and this is where you can use your mana boosts to do more damage.
Moonerang with a full mana boost is an excellent choice here, especially if your reflexes are sharp. Serai can also be useful to give you more time before the boss regenerates his 4 limbs. Continue in the same way until the botanical horror's life bar is empty.
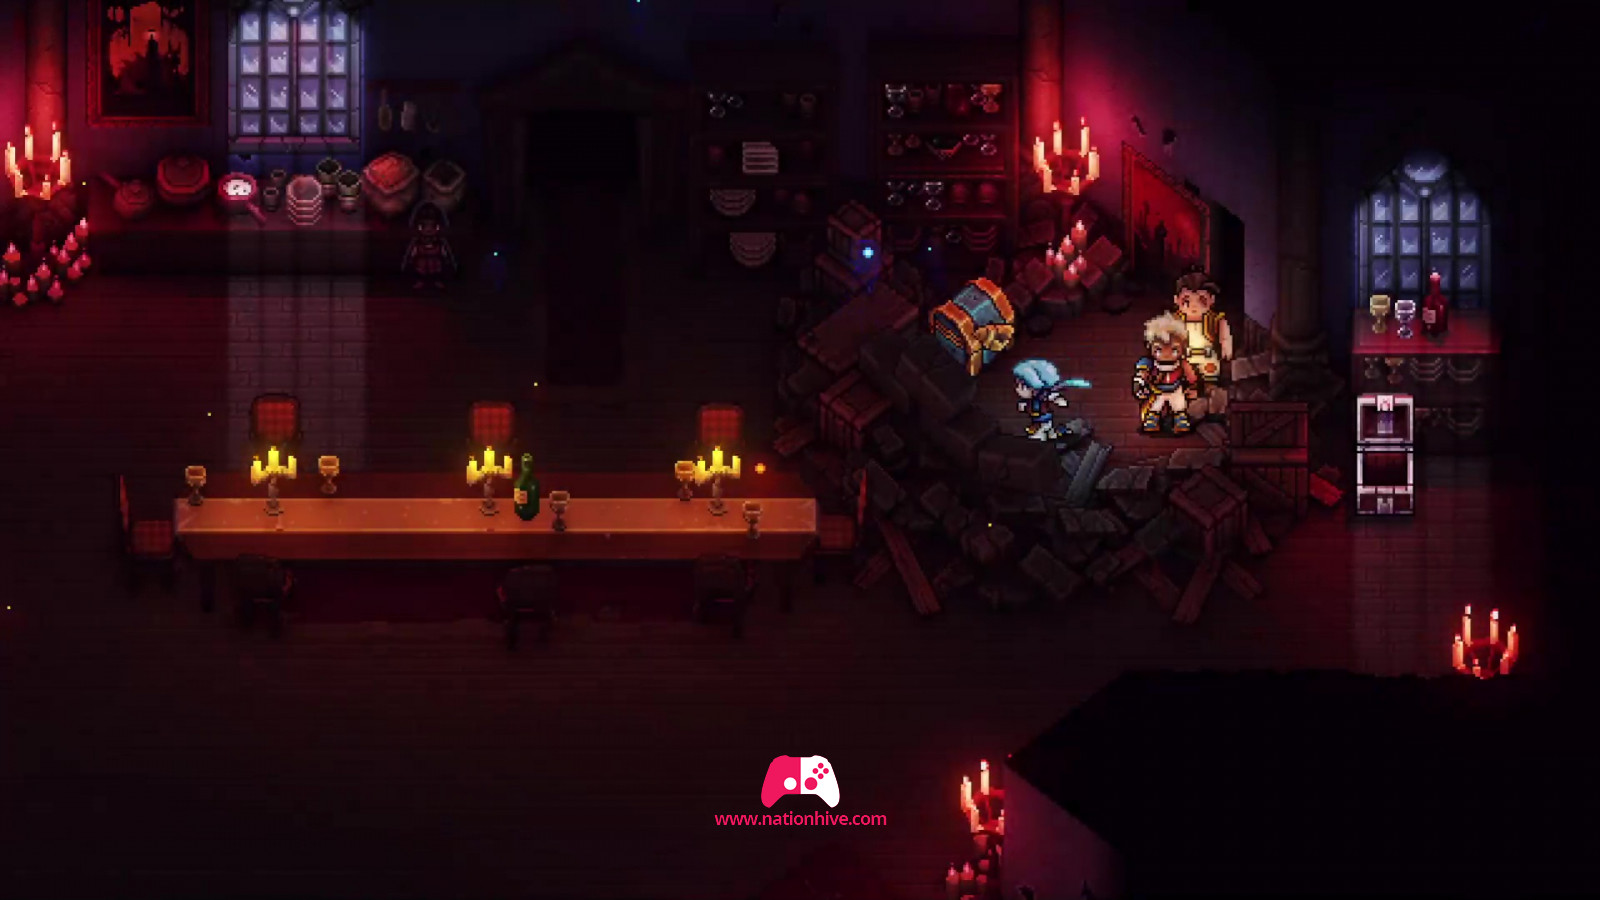
Once you've defeated the Botanical Horror, head for the door on the left to access the chest and receive Music Score 2. Leave the garden and head for the secret door on the left, which you activated by pressing a button under the flowerpot. You'll arrive in the dining room in front of a blue chest; open it to receive a conch shell. Then return to the garden and re-enter the mansion and go to the main entrance. Join the Director at the gate to defeat the Dweller of Woe together.
Defeat the Dweller of Woe
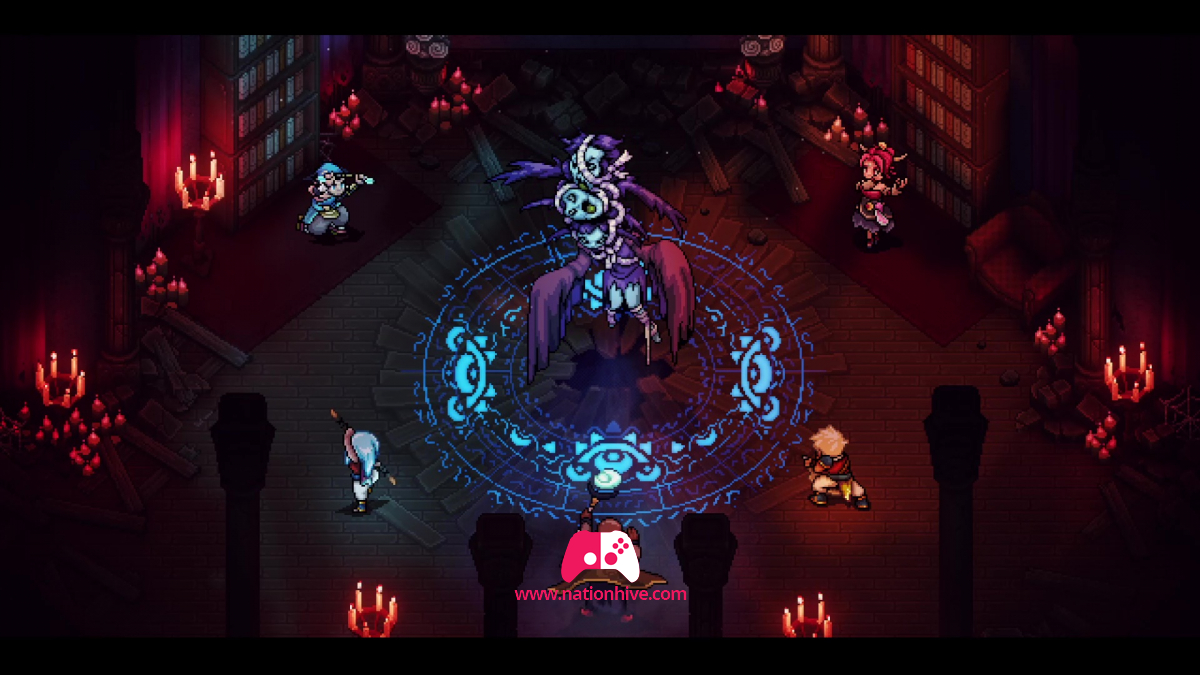
You've finally reached the battle against the Dweller of Woe, with Brugraves and Erlina also on hand to help.
At the start of the battle, you'll control Director Moraine and can choose between healing the group or keeping the rune. Holding the rune increases the damage inflicted exponentially. As we have characters who can heal, we advise you to hold the rune with the Director.
The host can attack you in a variety of ways, including making cloned copies of itself. He also uses Soul Spikes, which injure all group members at once for a small amount of damage.
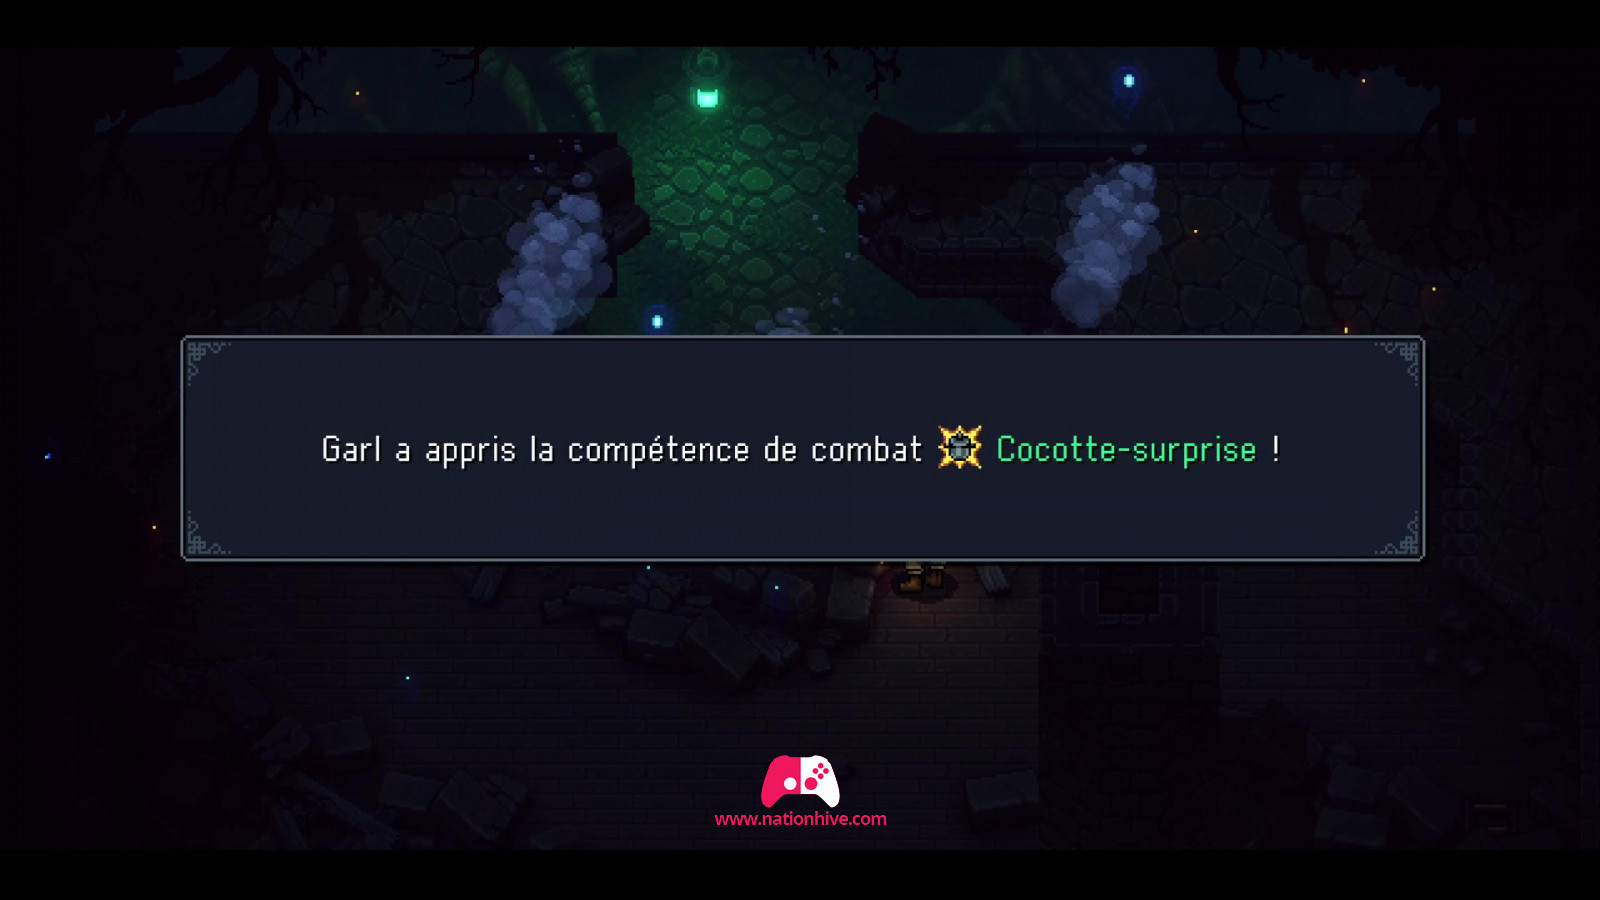
At some point, the Director will need more light, at which point you'll control Garl and be tasked with finding a way to access the roof via the ladder. Once on the roof, head for the pile of debris on the left (see image below). Continue in the same way with the debris in the middle (they glow to tell you that you'll need to select it). Garl will place a gunpowder to let the light through. In this way, Garl learns a new combat skill.
With more light on the host, it will transform into a much more monstrous form. This inflicts much more damage and has a new range of attacks. There's Pain, which inflicts damage on all members of the group. Spectral Scythes is a nasty attack that hits all group members three times in a row and once more. Finally, Possession is a unique attack that allows you to control one of your group members and use it against you, including the abilities it possesses.
Try to break the locks to reduce the percentage of damage the host will inflict. Don't hesitate to use the combos of attacking and healing characters. Use dishes as needed if your life bar is too low. This fight may take a little longer, but repeat the process until the host's life bar is empty.
Once the host is defeated, you'll be faced with a twist of fate! That's right! Brugraves and Erlina will become obstacles to your mission, and a cinematic sequence will appear. You'll then find yourself at the inn in Lucent Town, where the director is recovering. He will then ask you to return to Brisk. Go down to the bottom floor and talk to the pirates in the area so that they can take you back to the port city of Brisk.