Part 13: Necromancer's Lair

In this Sea of Stars walkthrough, we'll take you through Part 13: Necromancer's Lair.
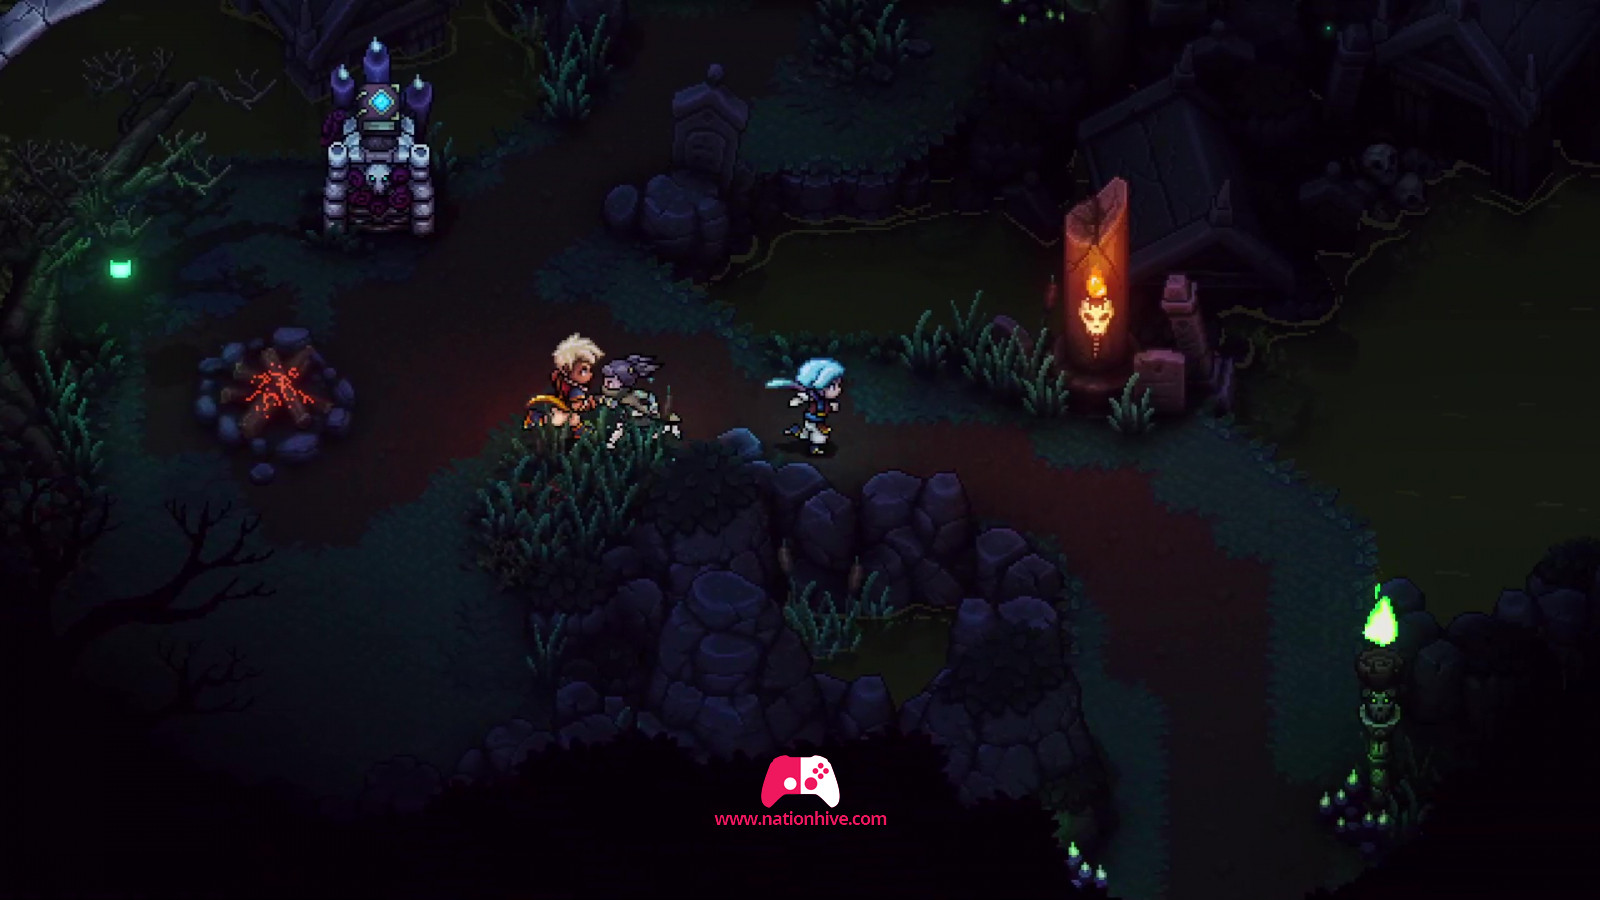
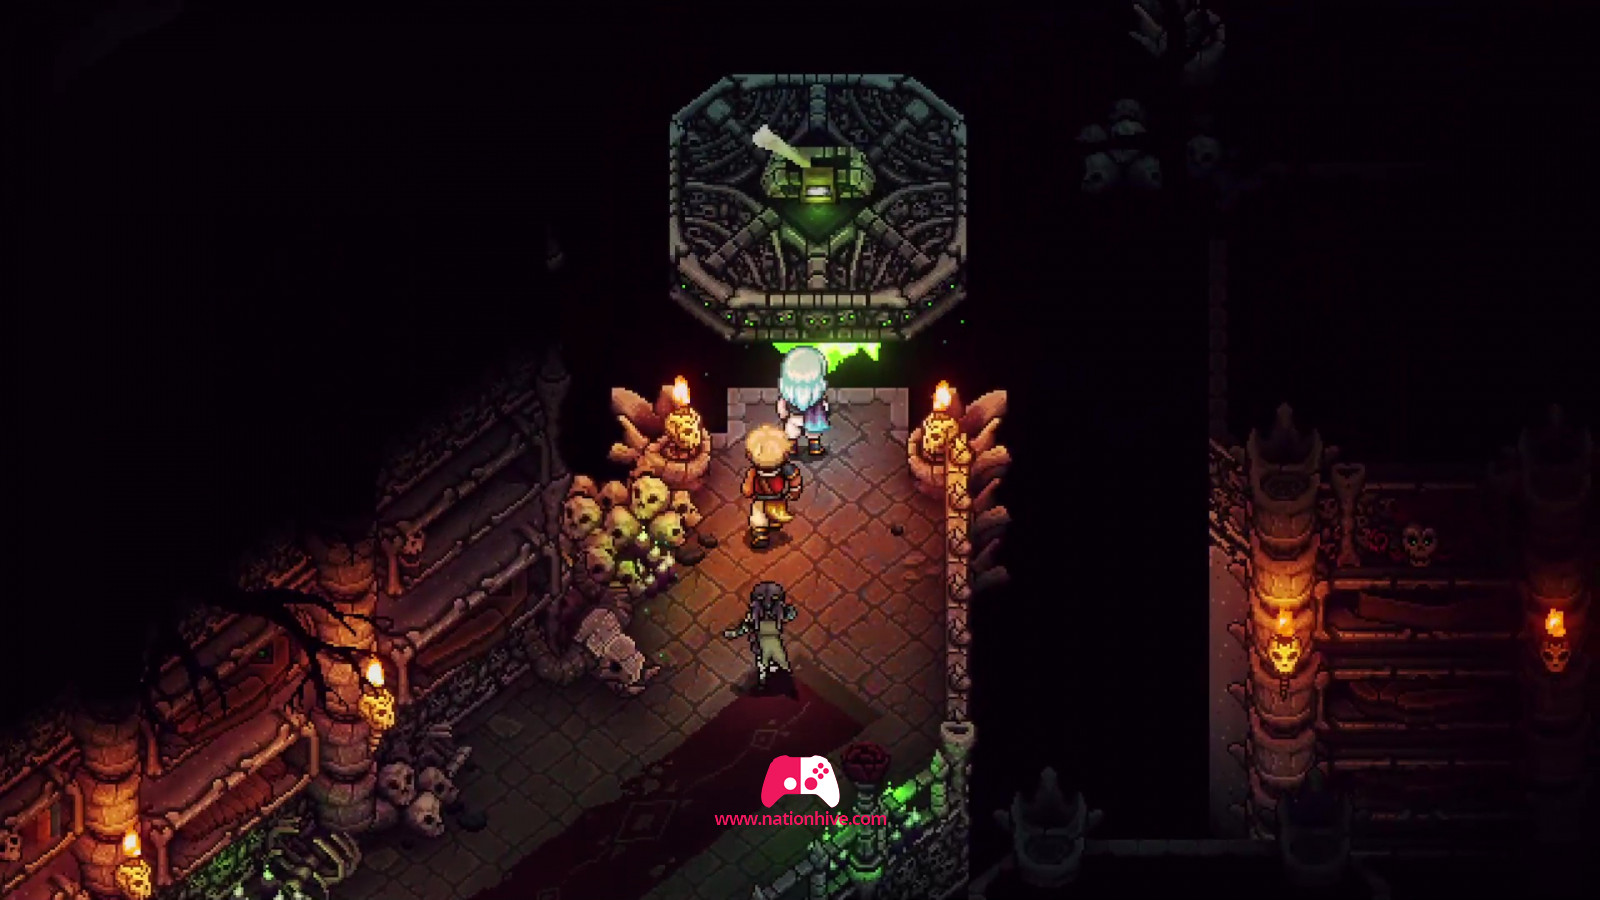
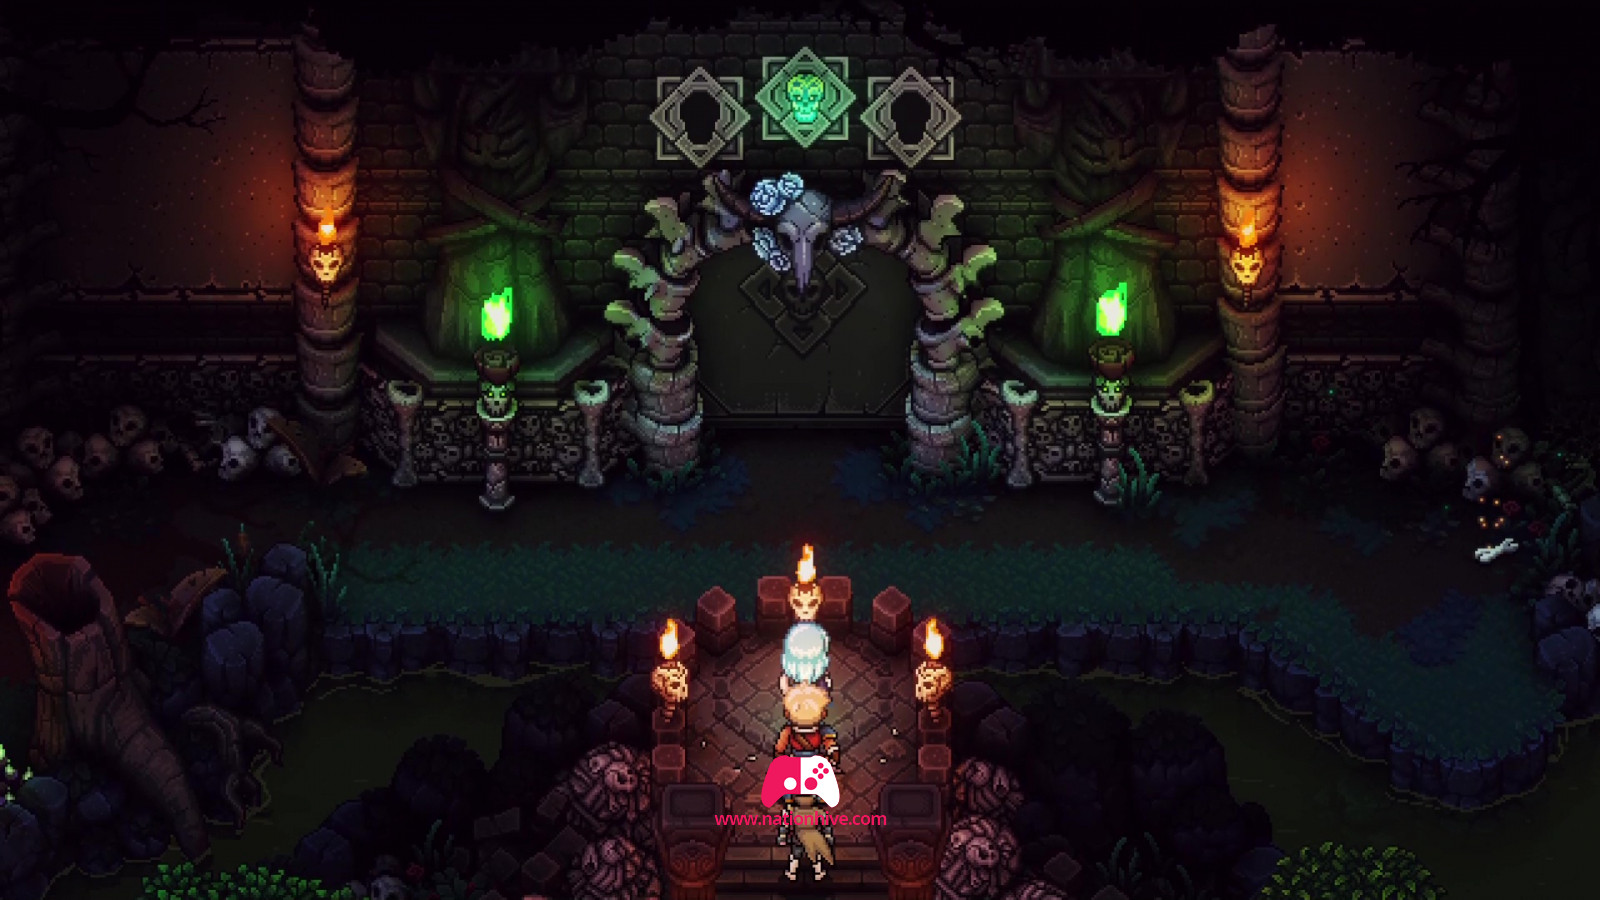
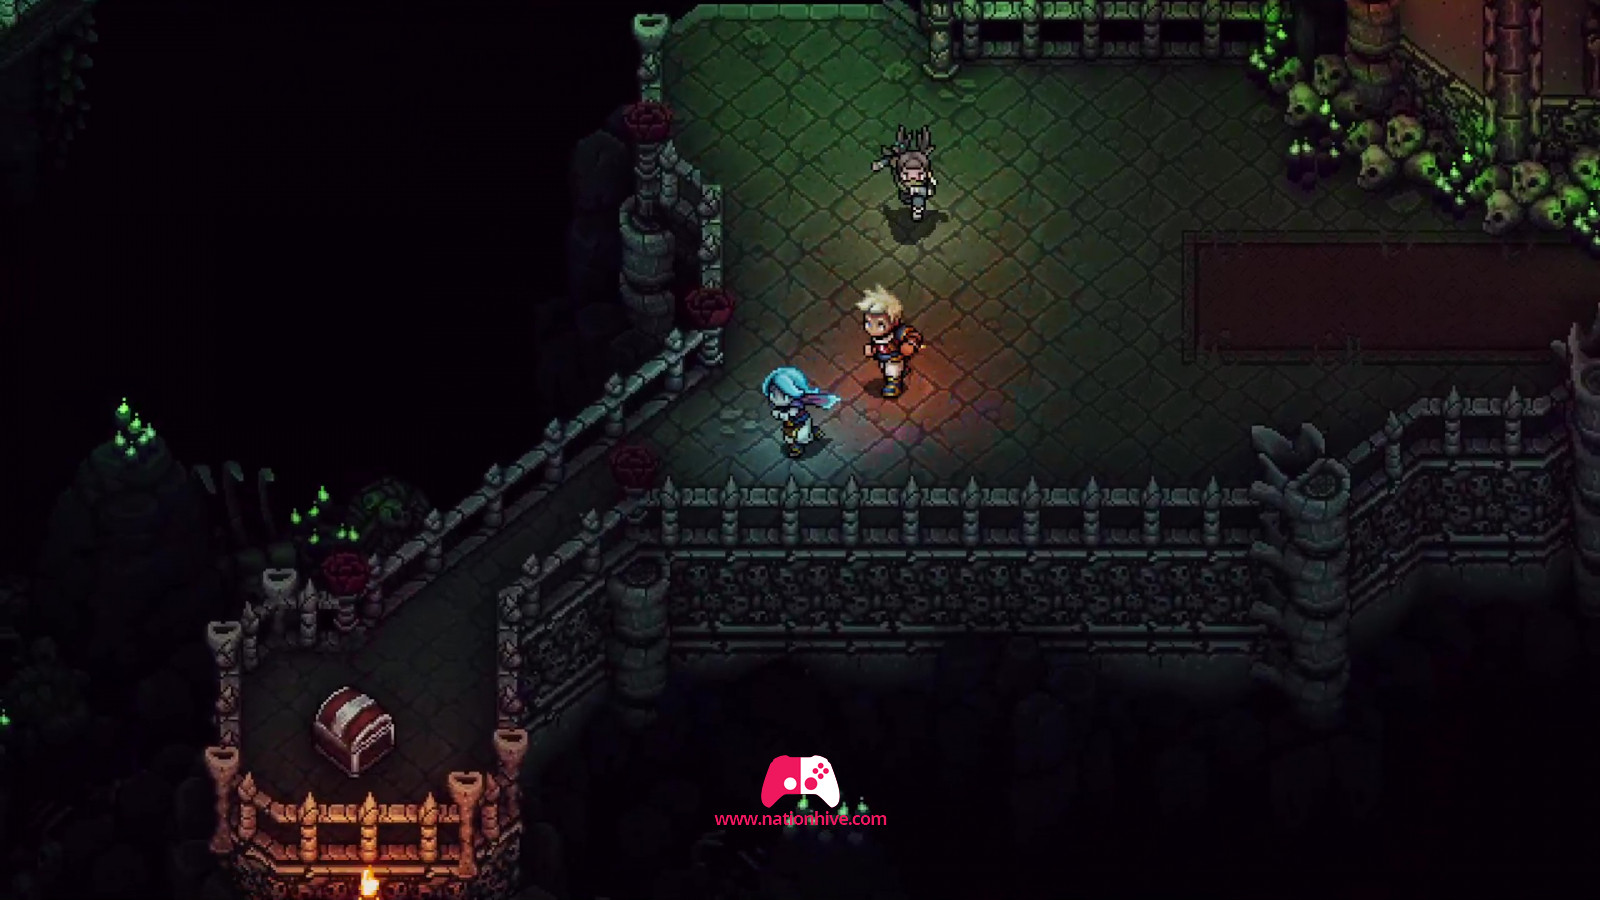
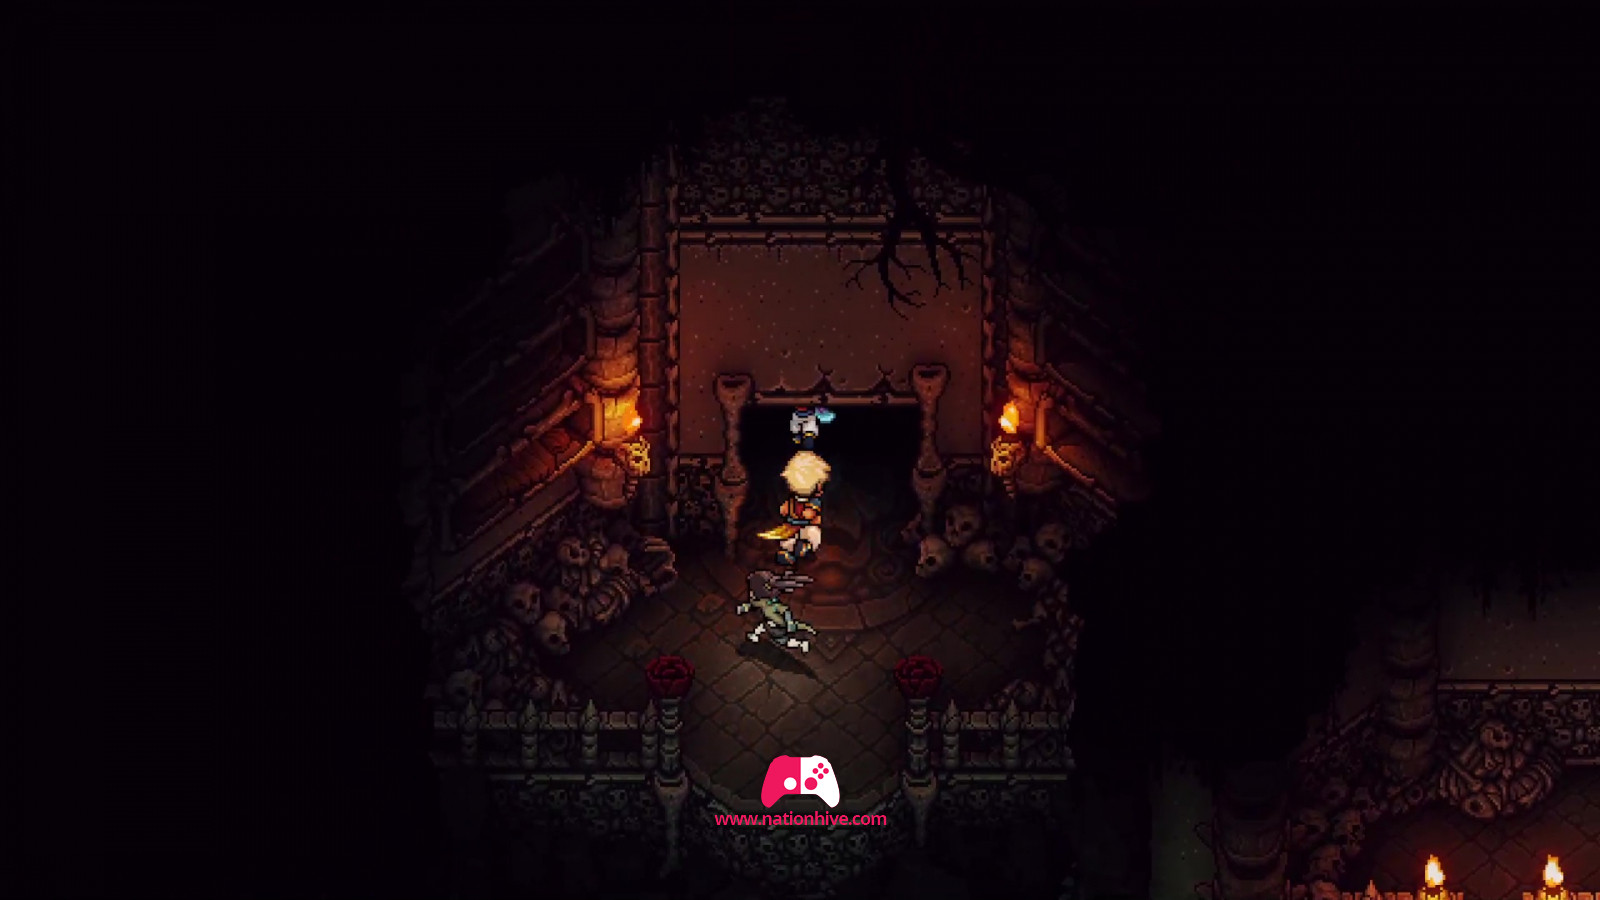
Once Duke Aventry has been defeated, enter the necromancer's lair. Jump into the water and open the chest in front of you to receive a Romaya Brooch. Climb the stairs and attack the enemies in front of you. Then enter the next room.
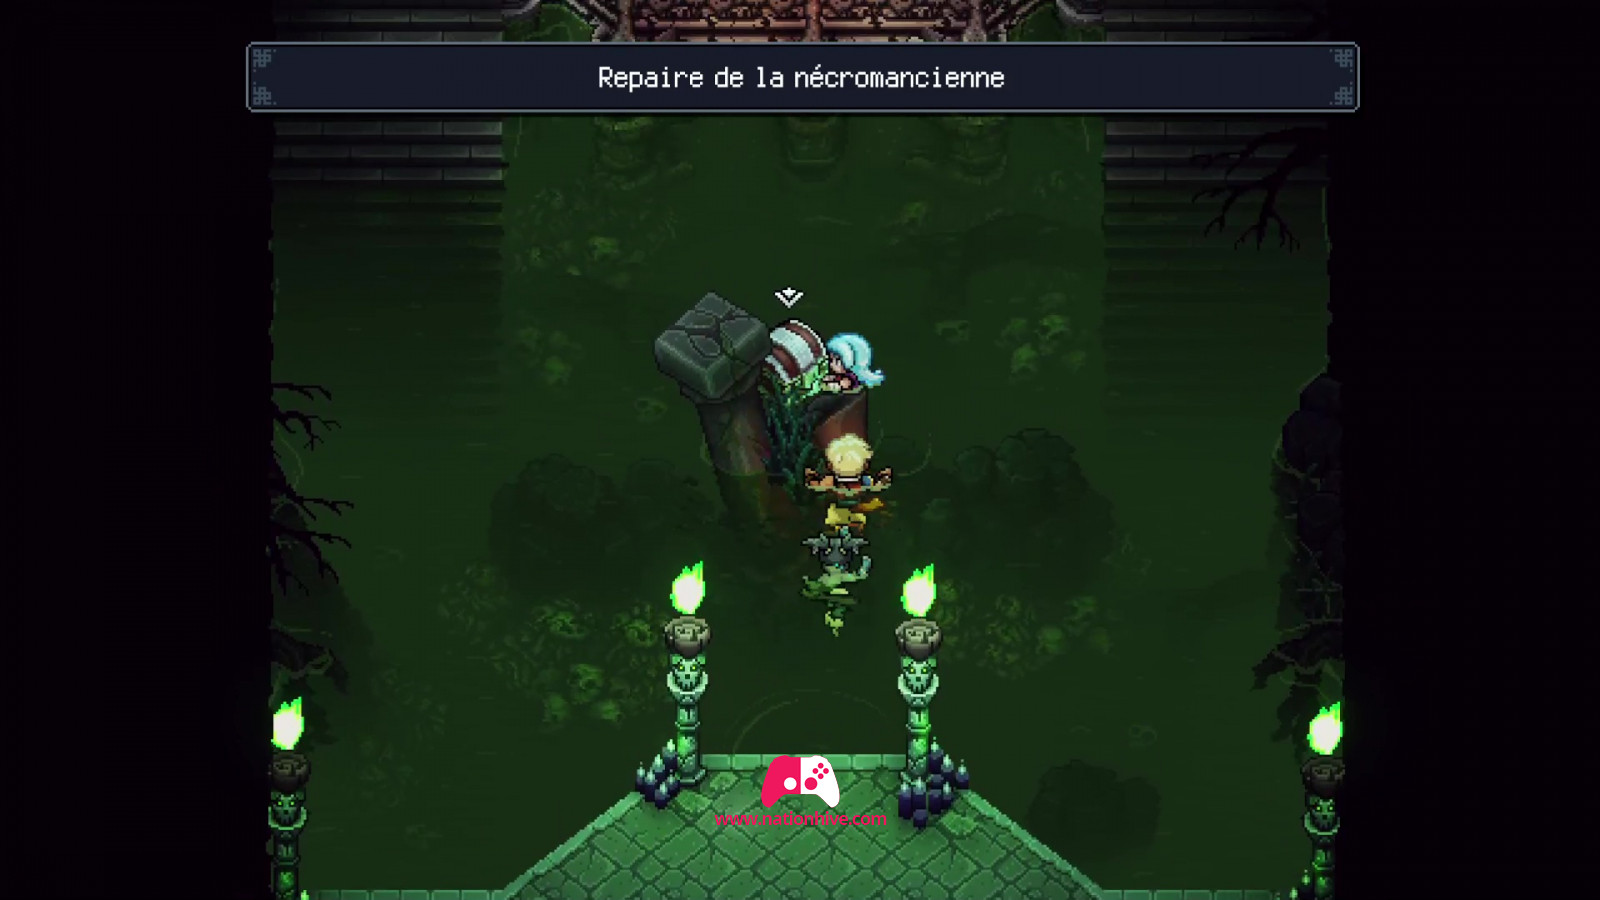
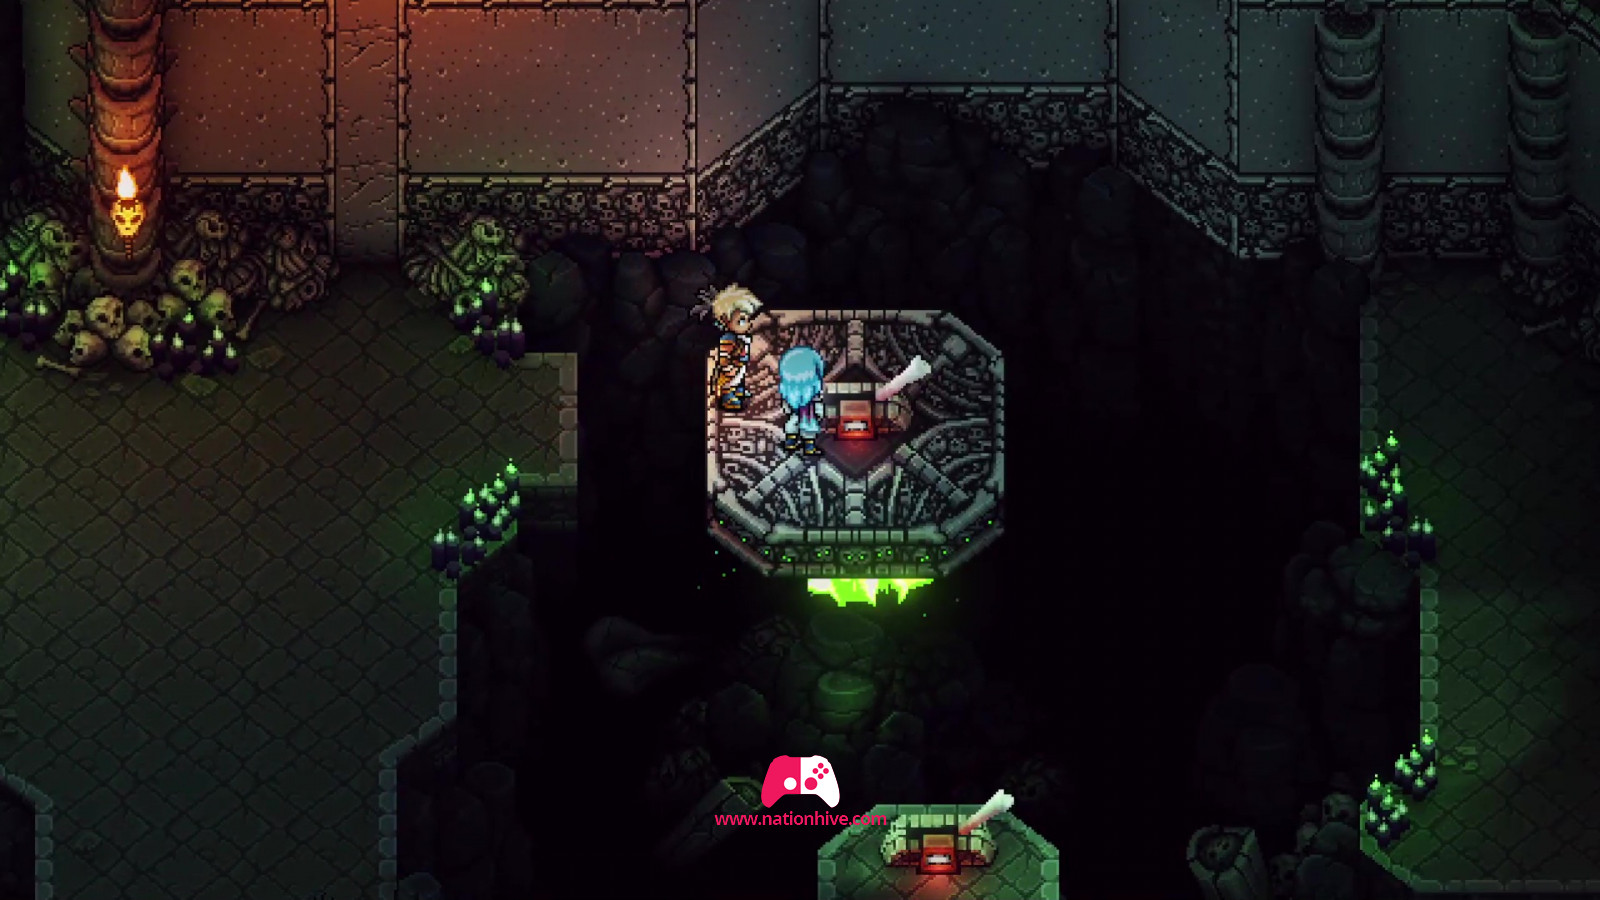
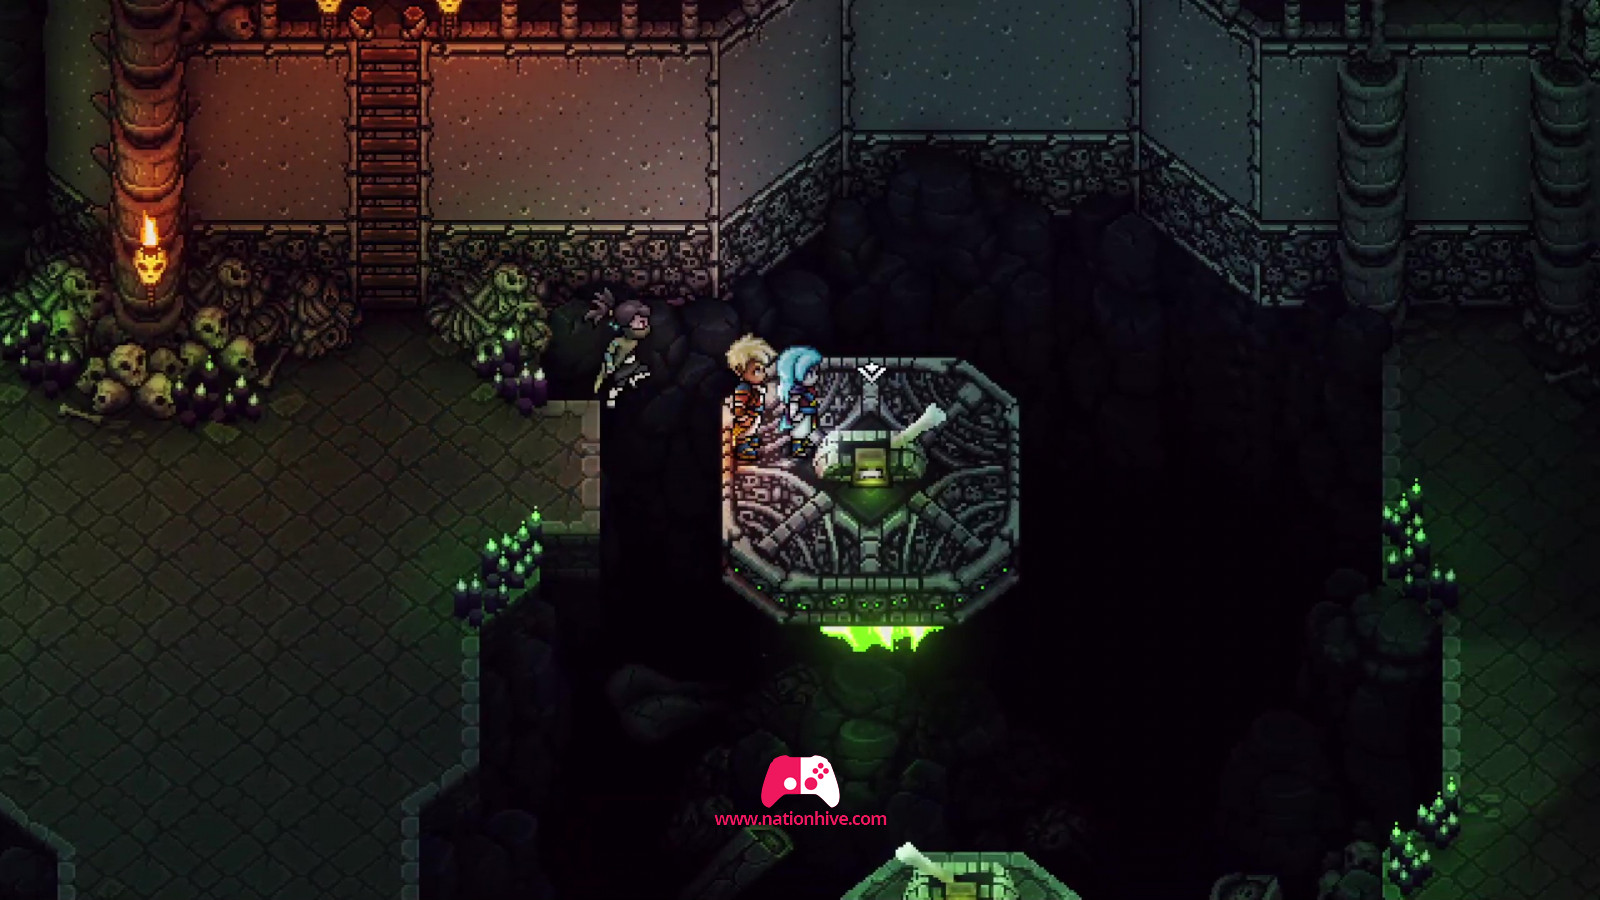
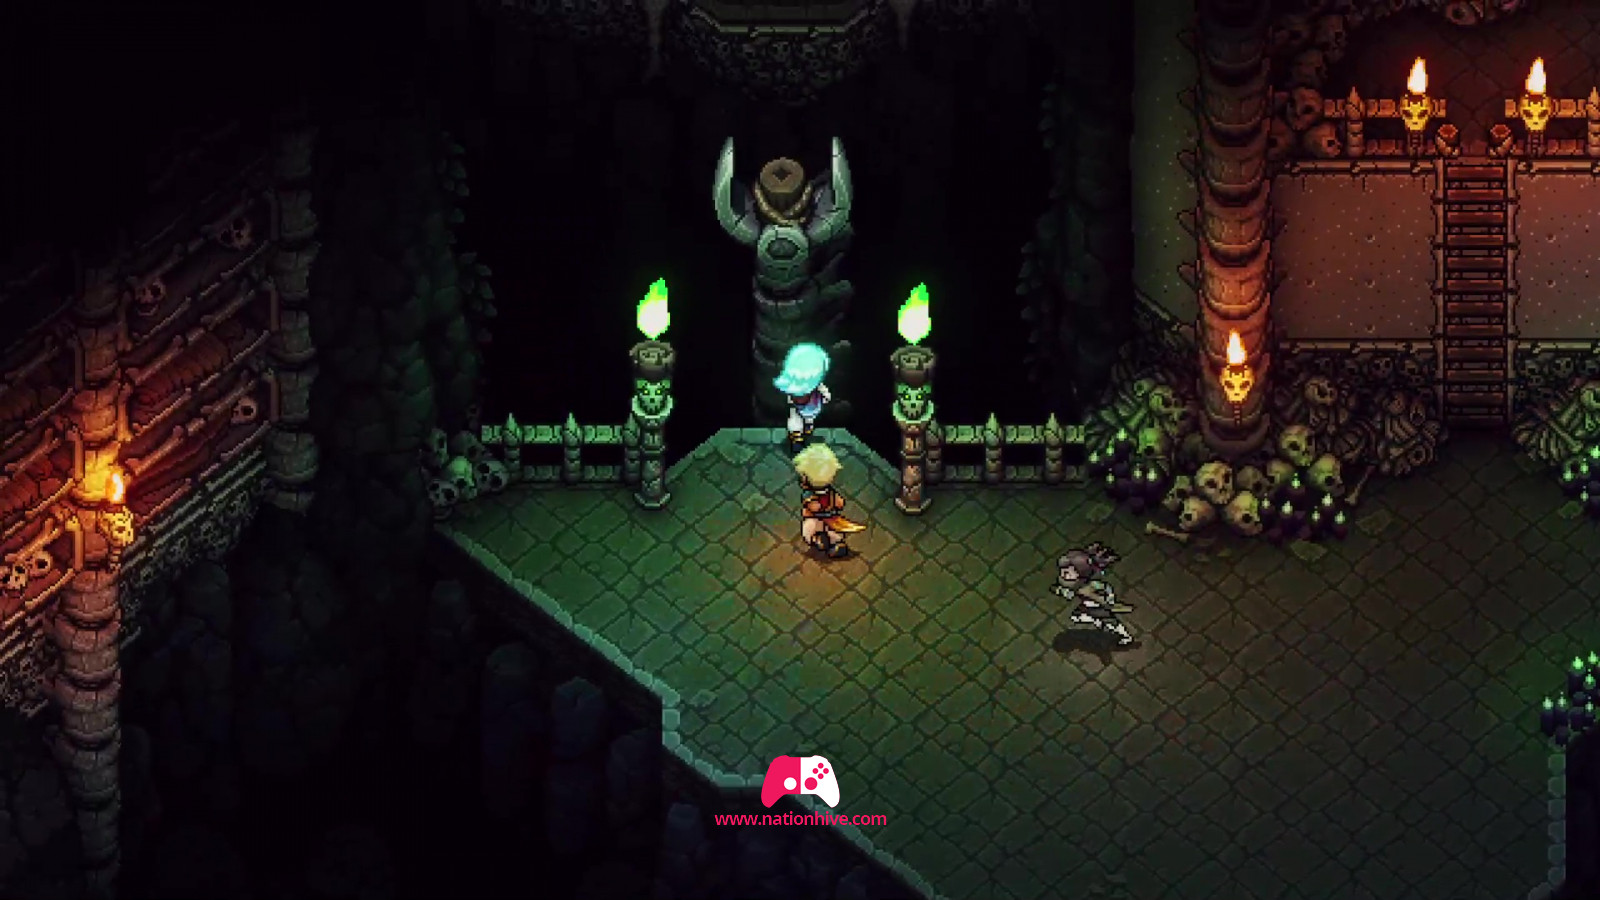
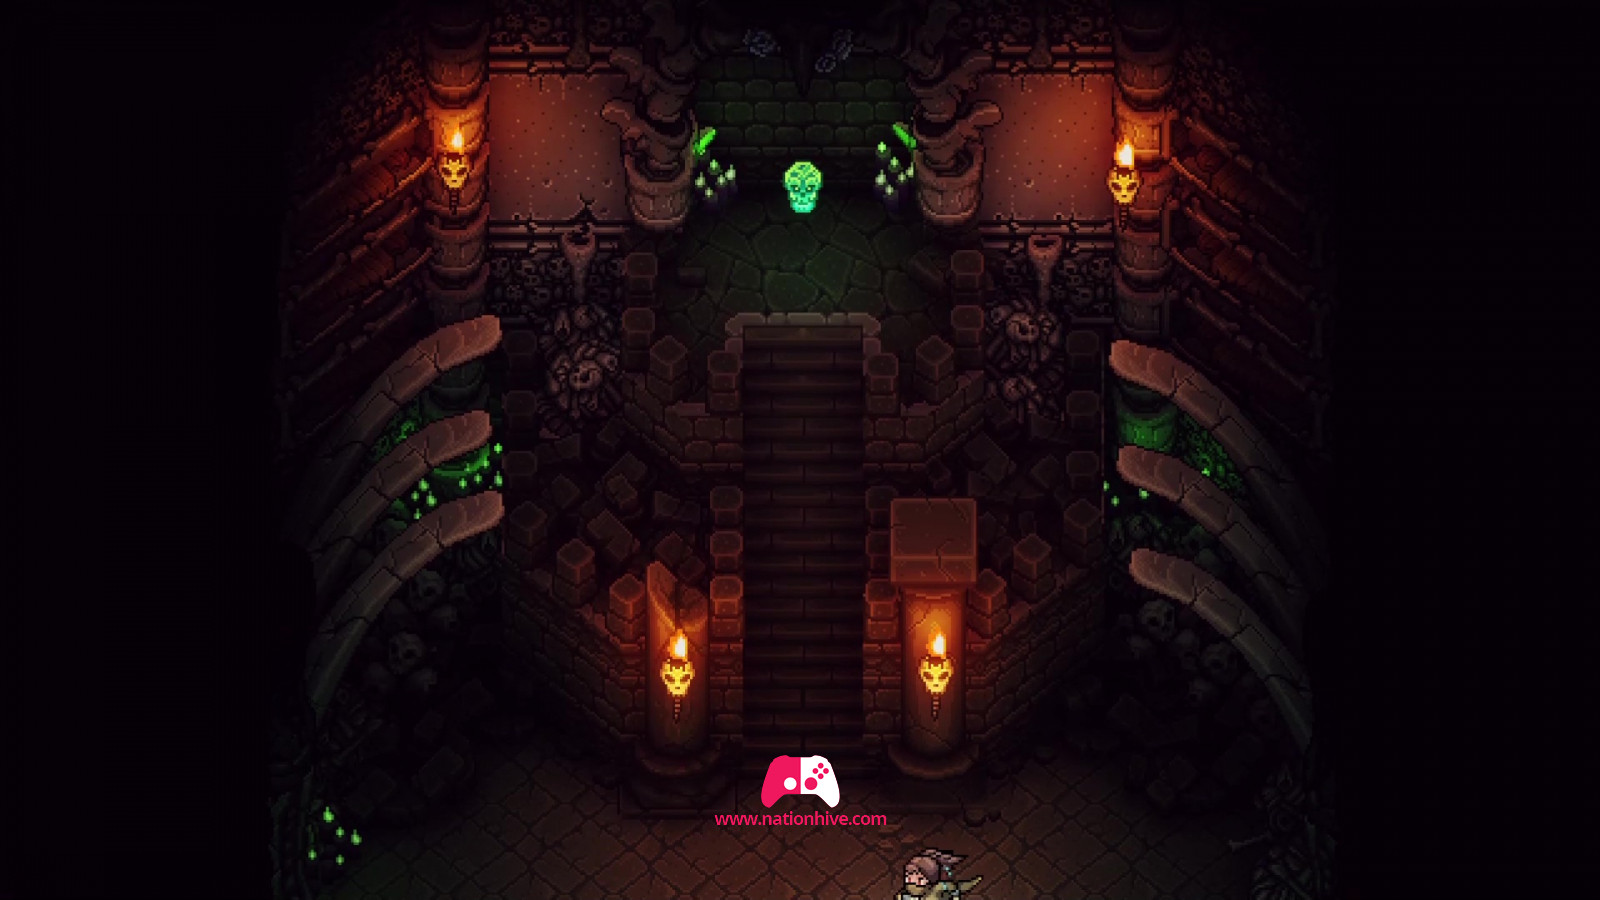
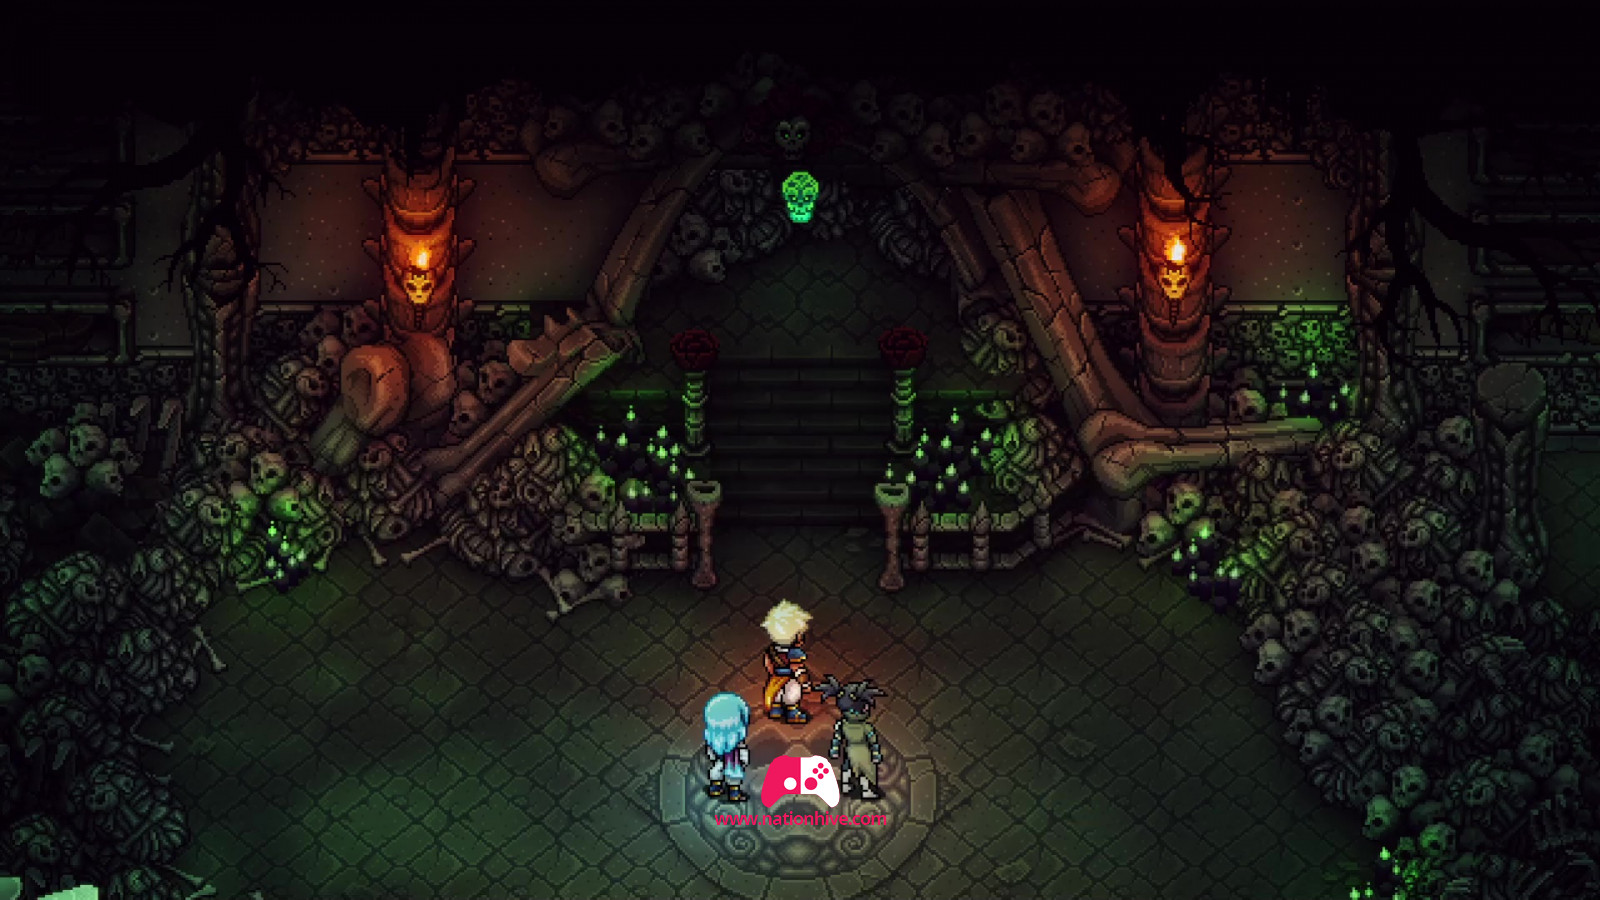
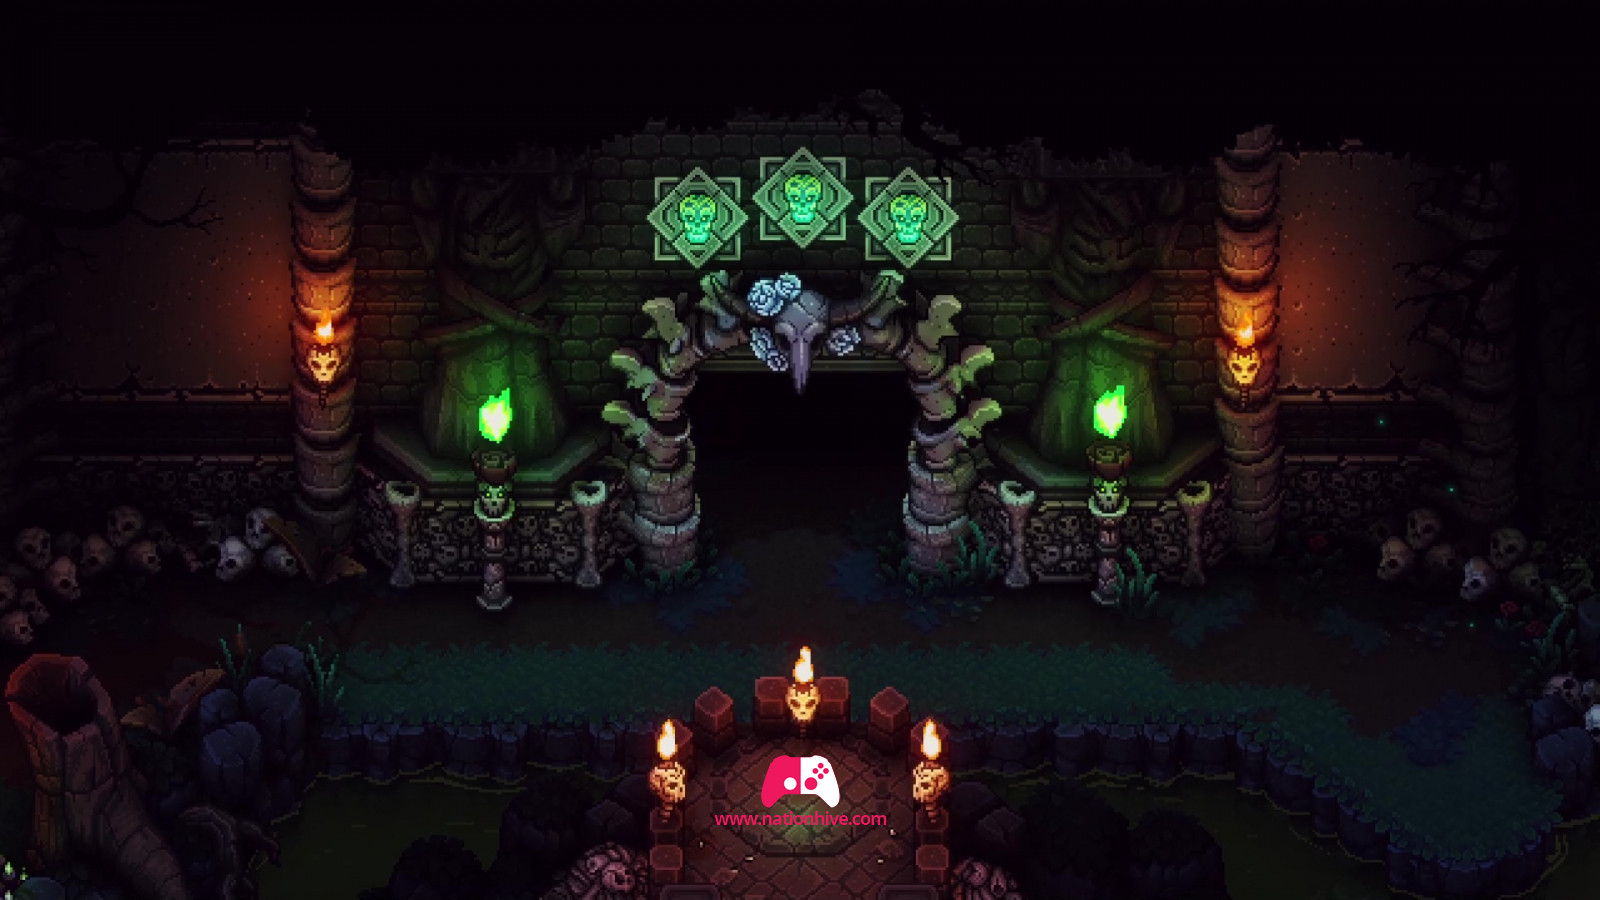
Move forward to the platform and activate the lever on it. This will move the platform to the next area. Once you've reached the next area, cross the corridor (it's possible to avoid enemies without touching them, so you don't have to fight) and you'll find yourself in a cave. A cinematic sequence appears in which you have to collect the 3 green skulls to unlock the door to the necromancer.
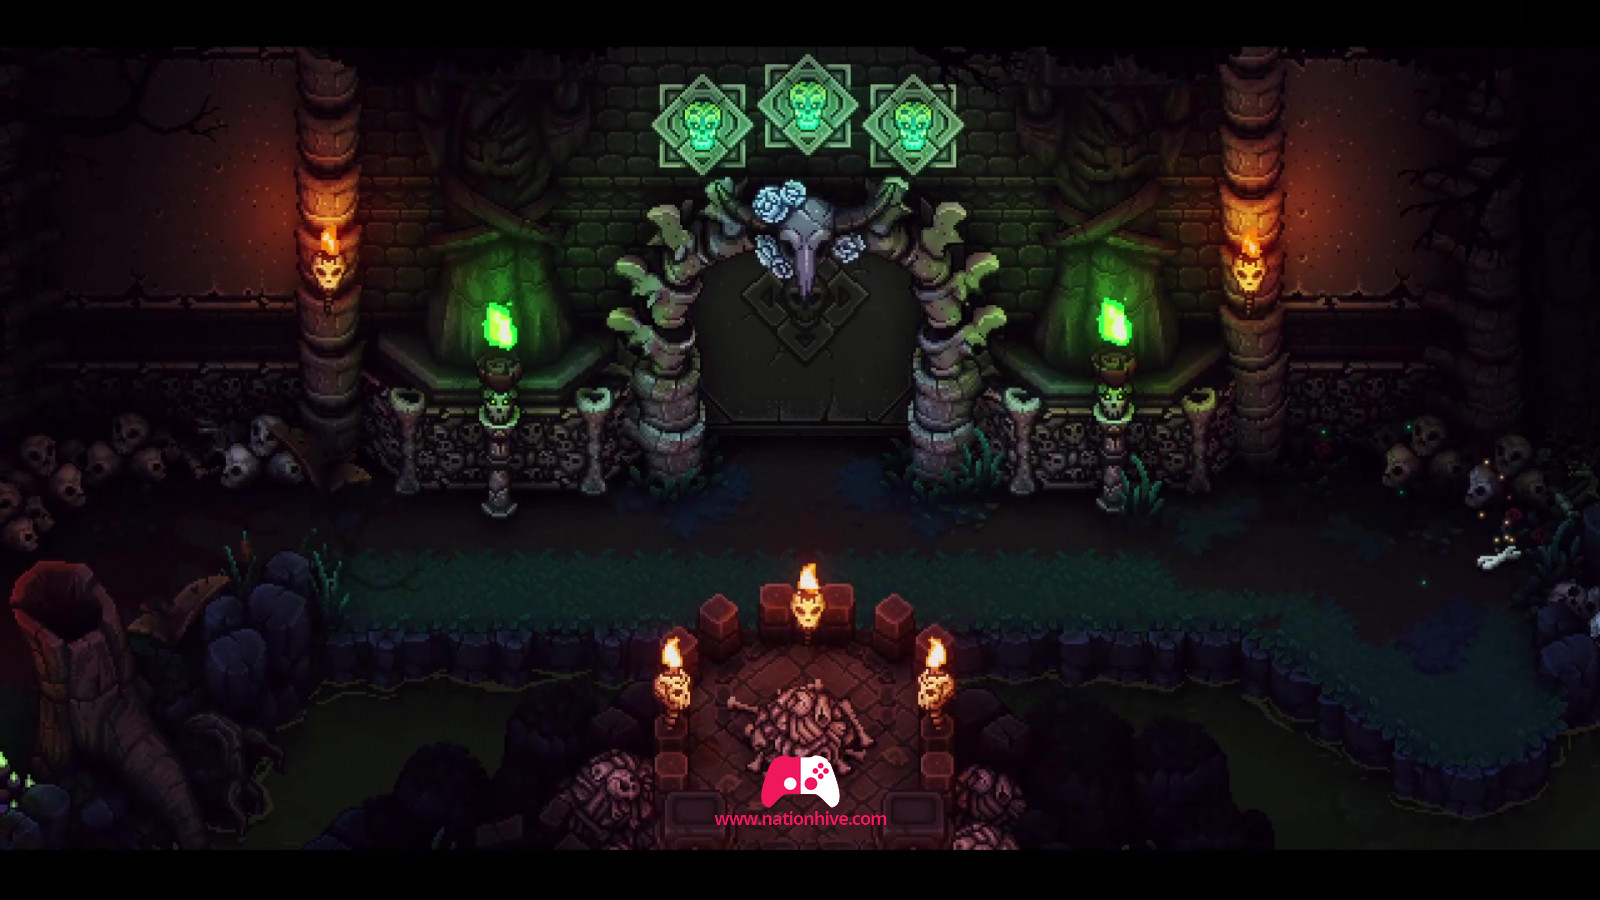
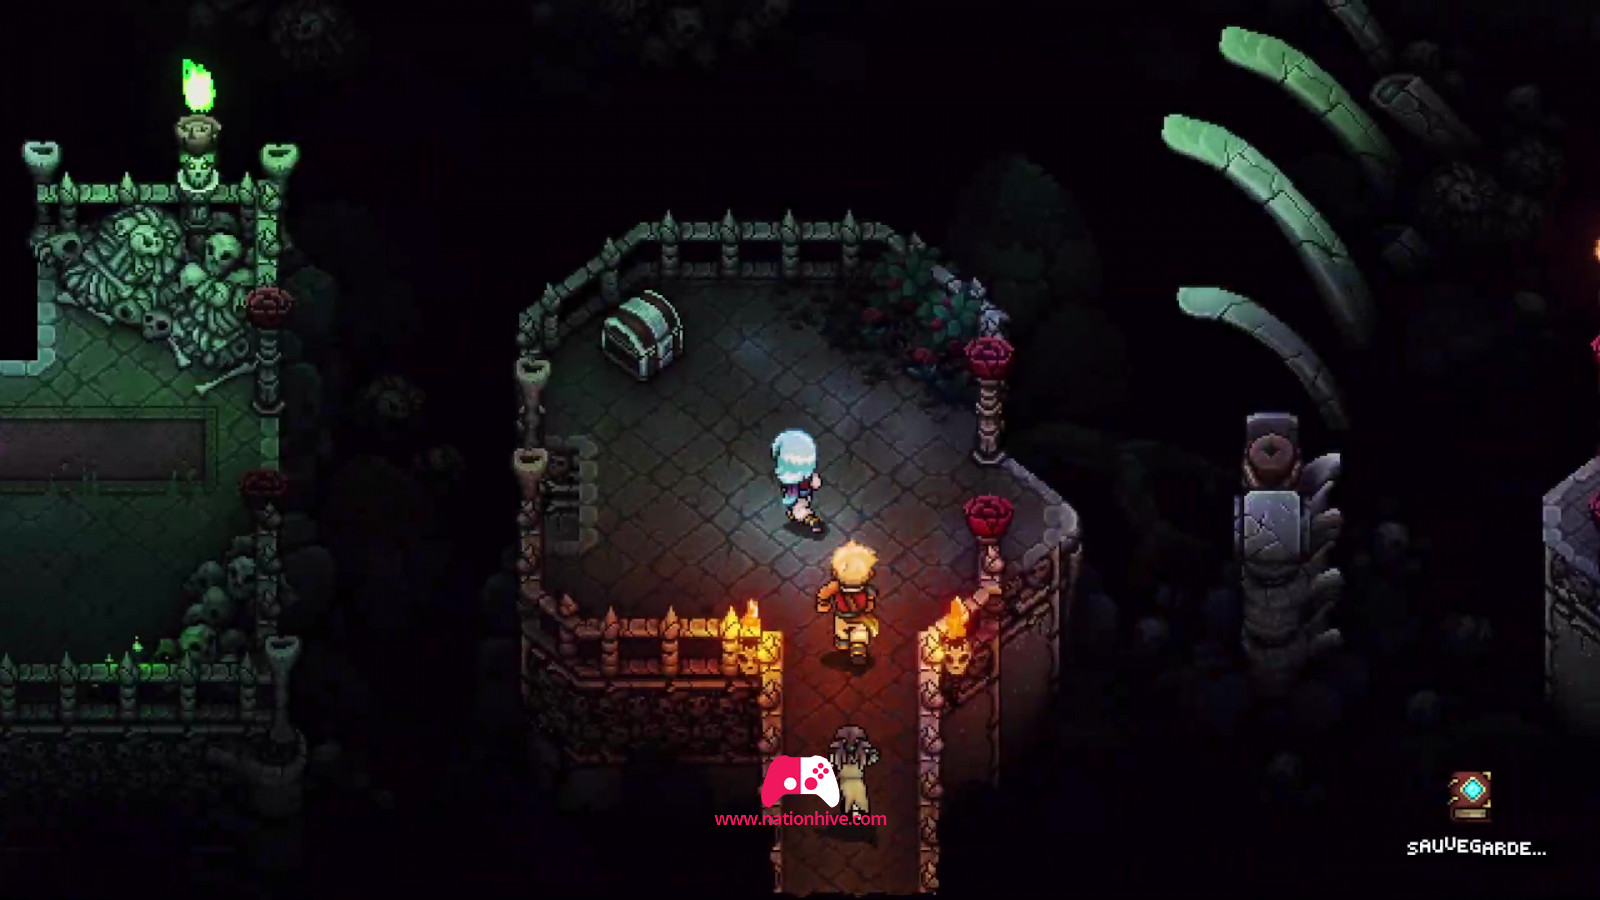
Before the battle begins, there's a campfire and a book nearby. Take advantage of this to save your game or to cook dishes that may come in handy in battle.
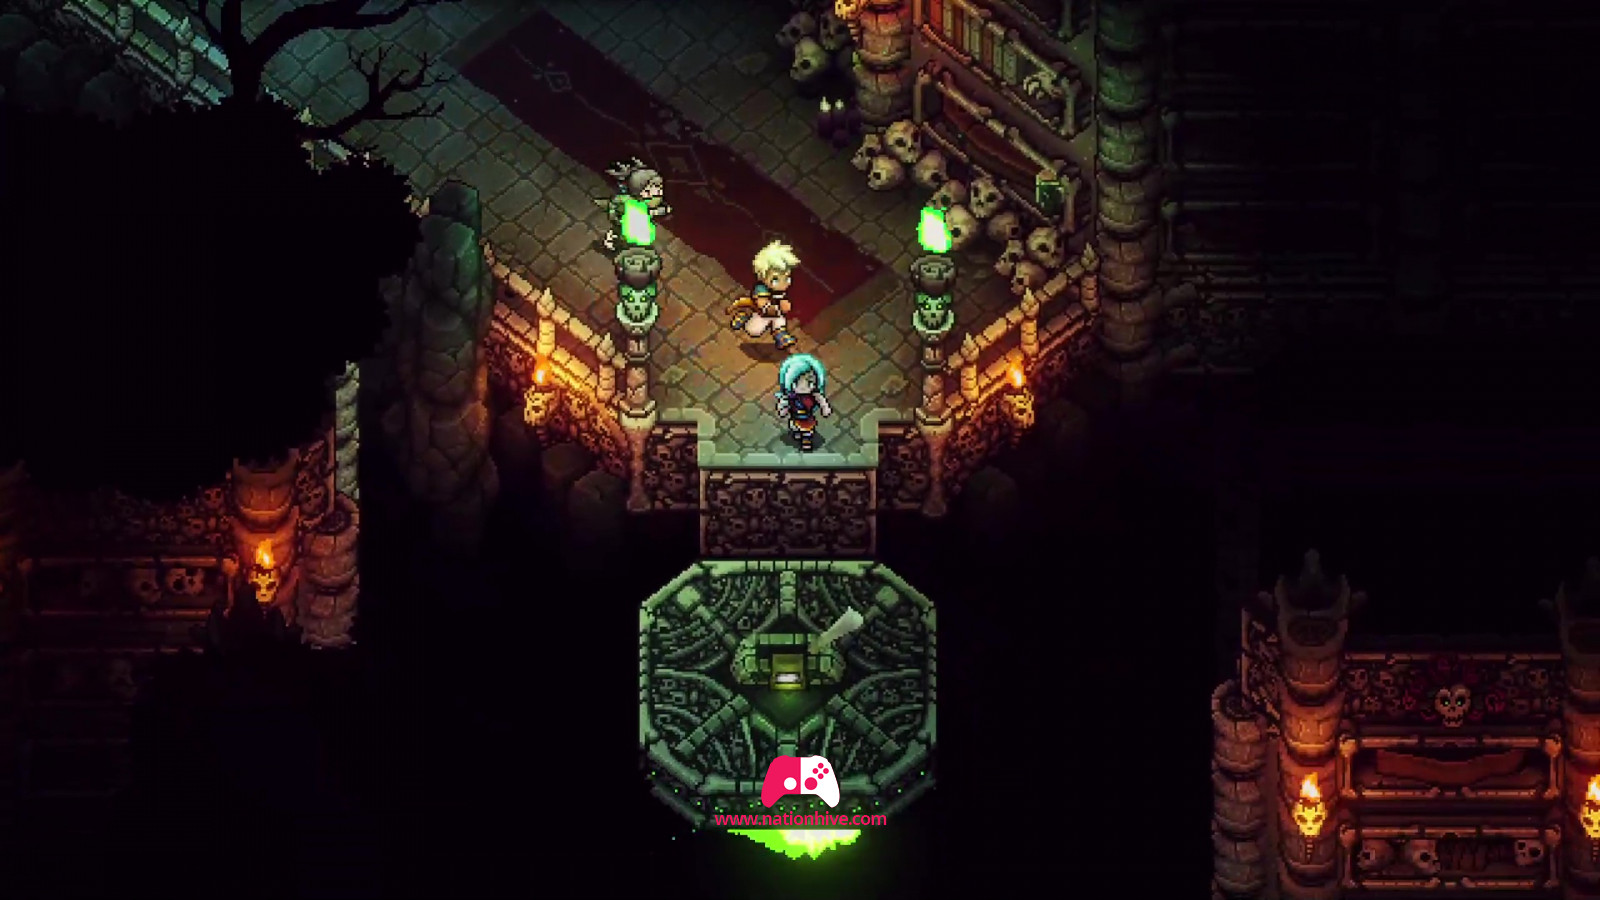
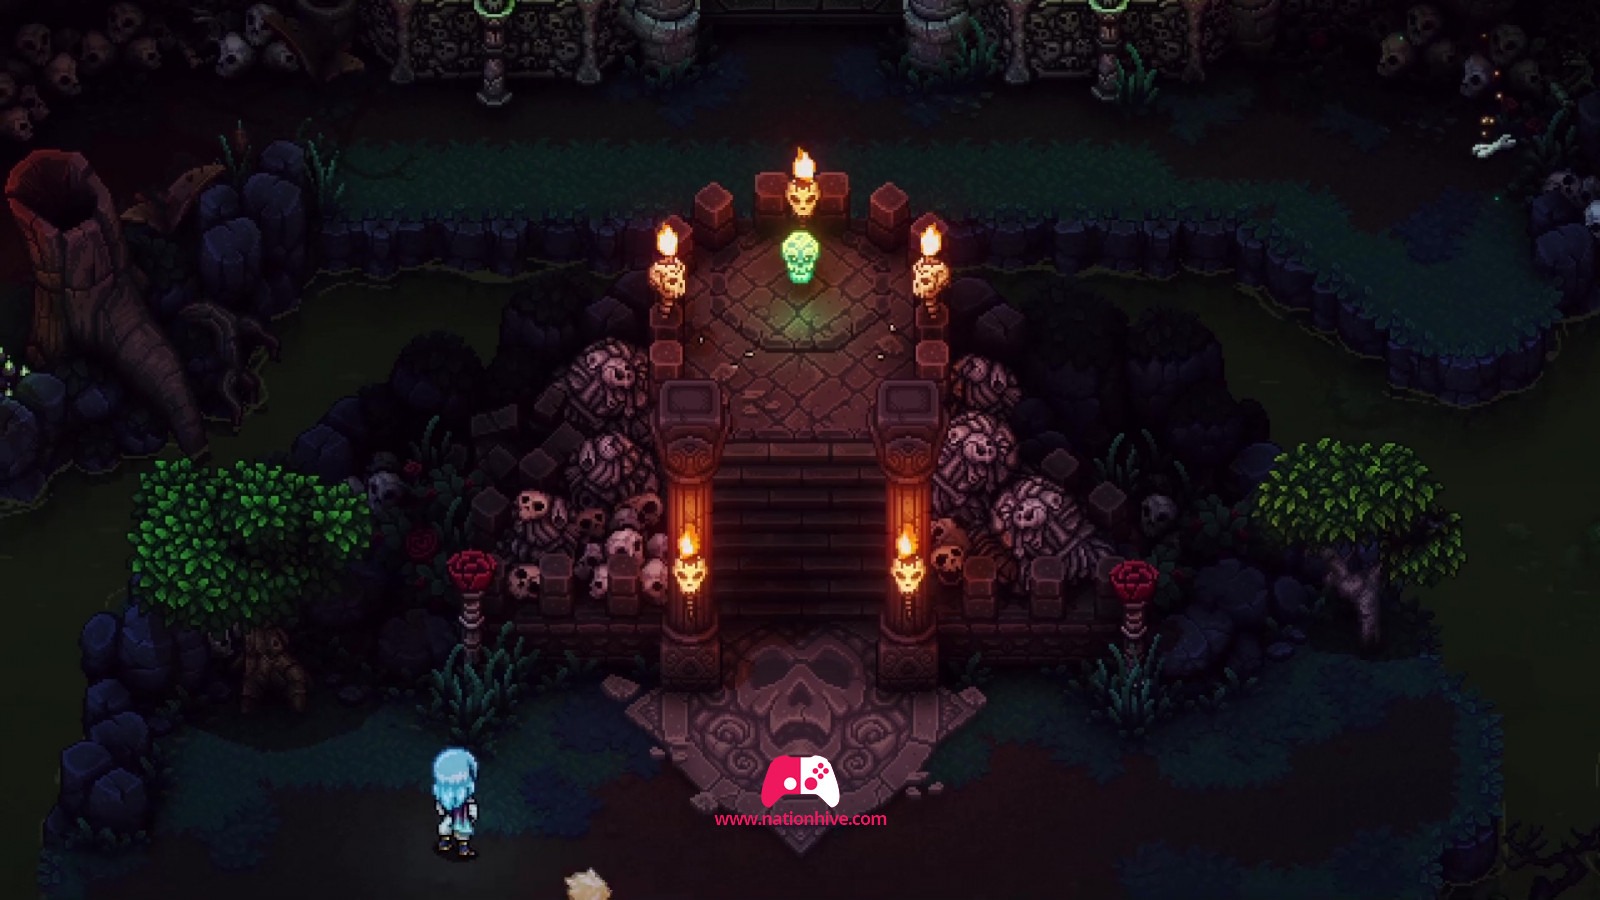
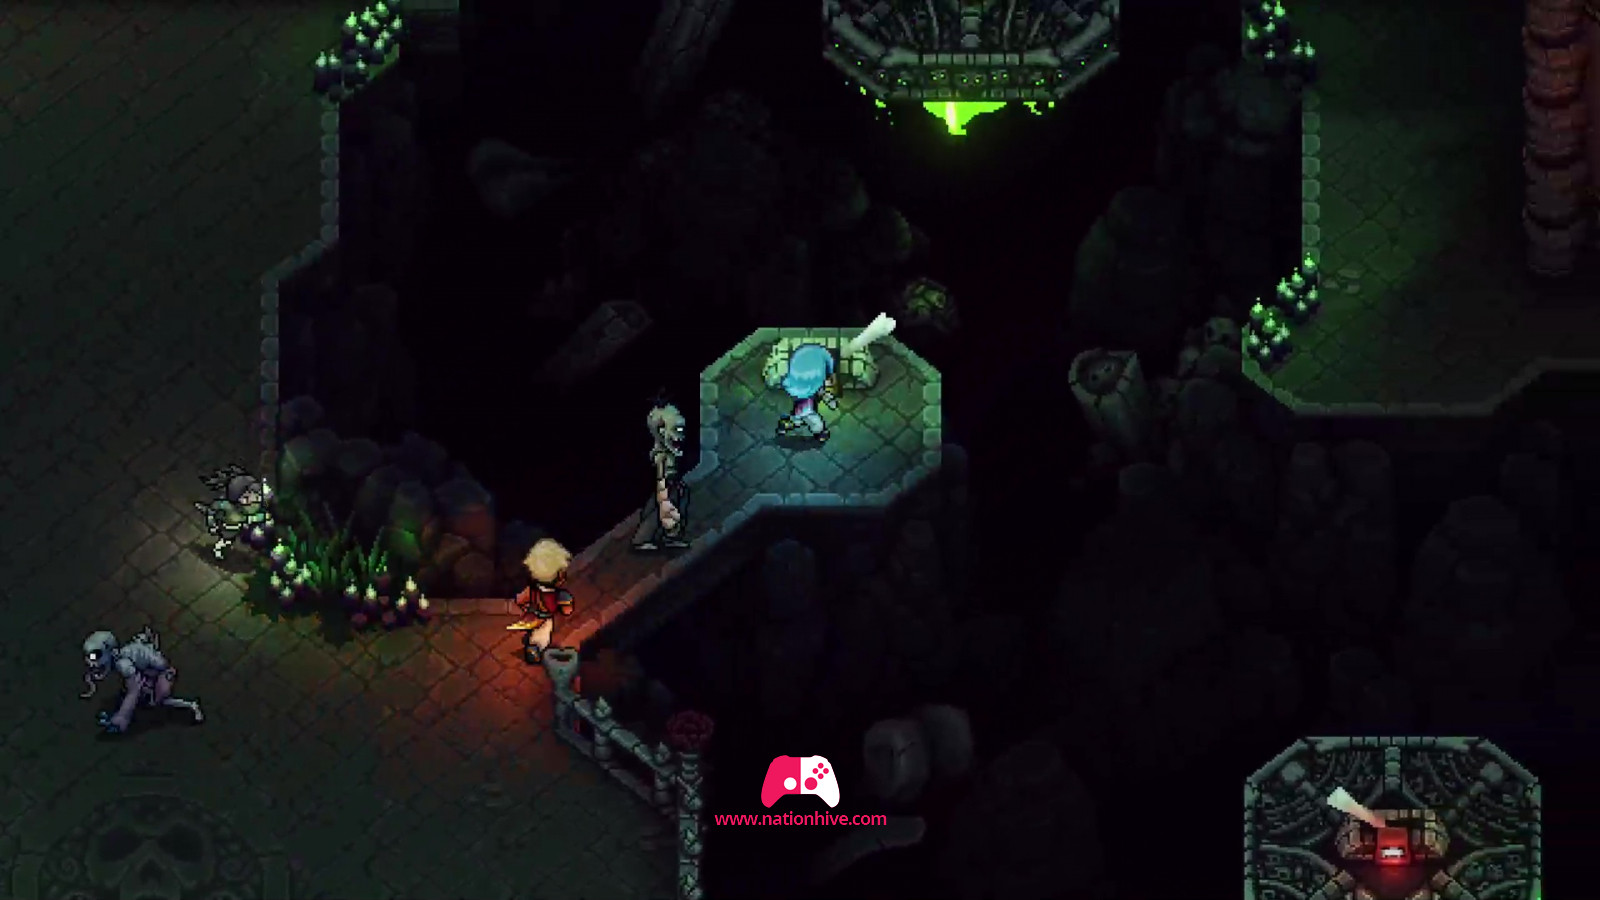
Skull recovery in the middle (in front of you)
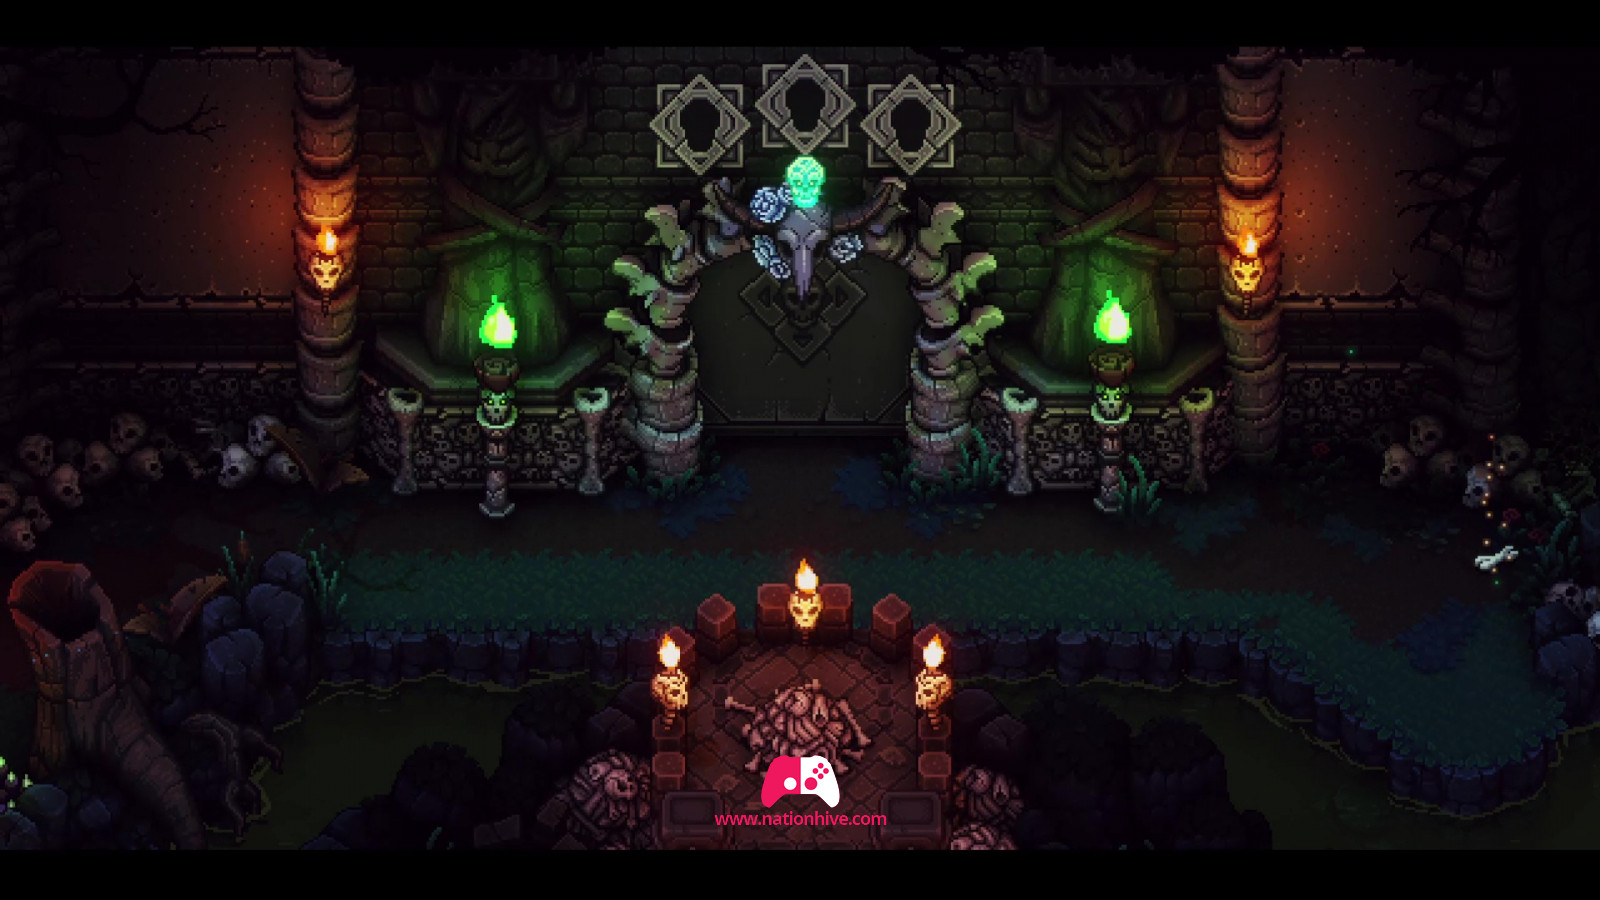
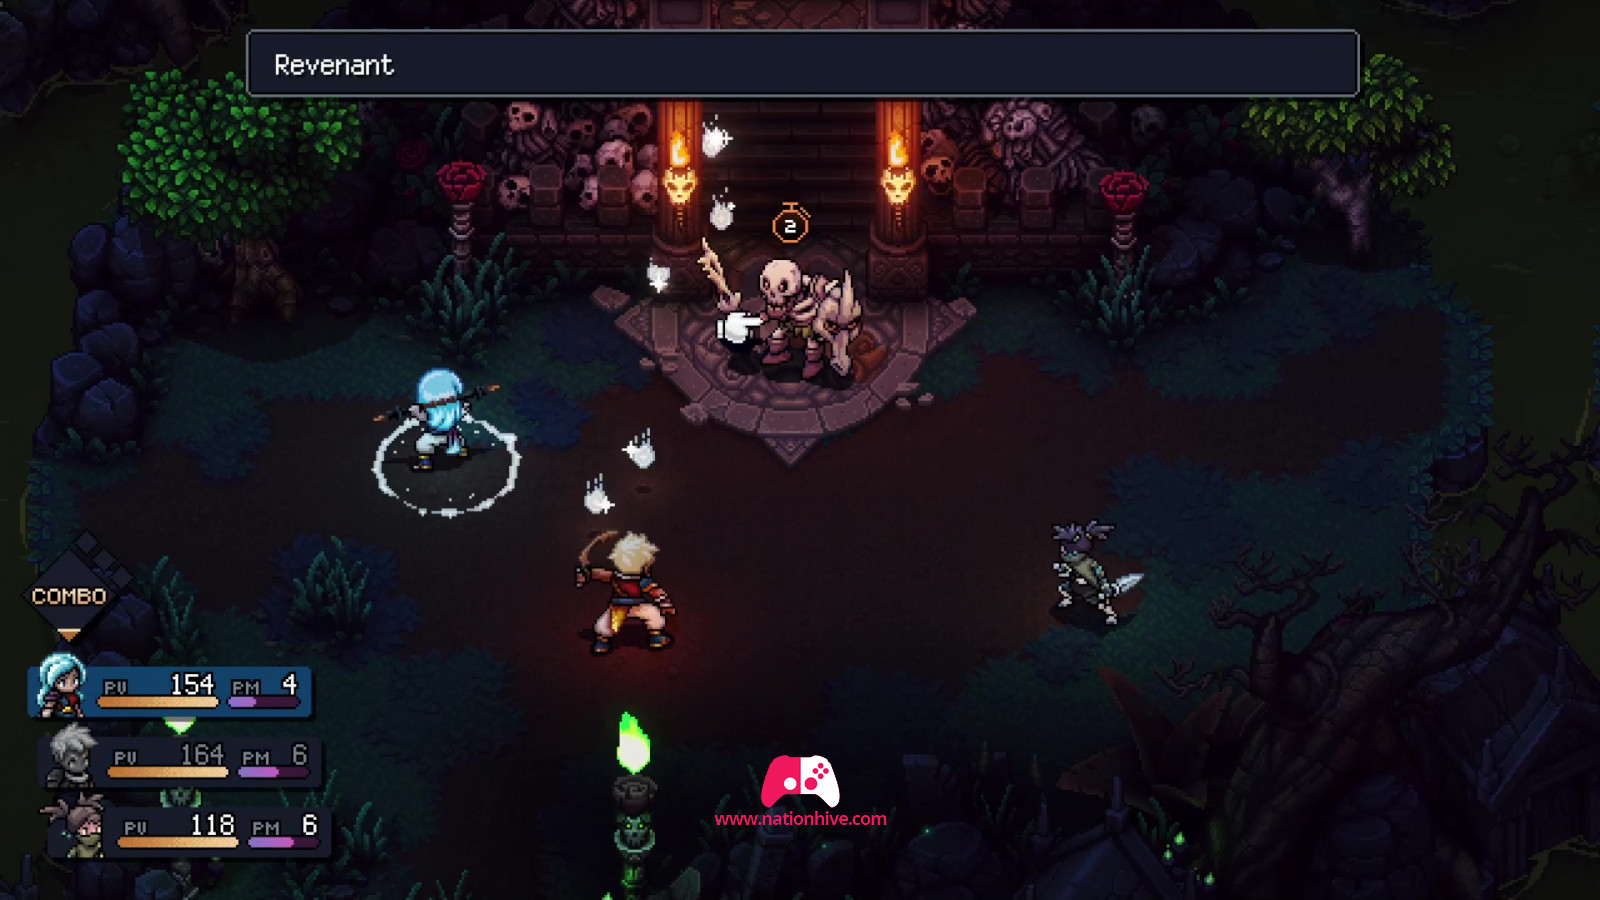
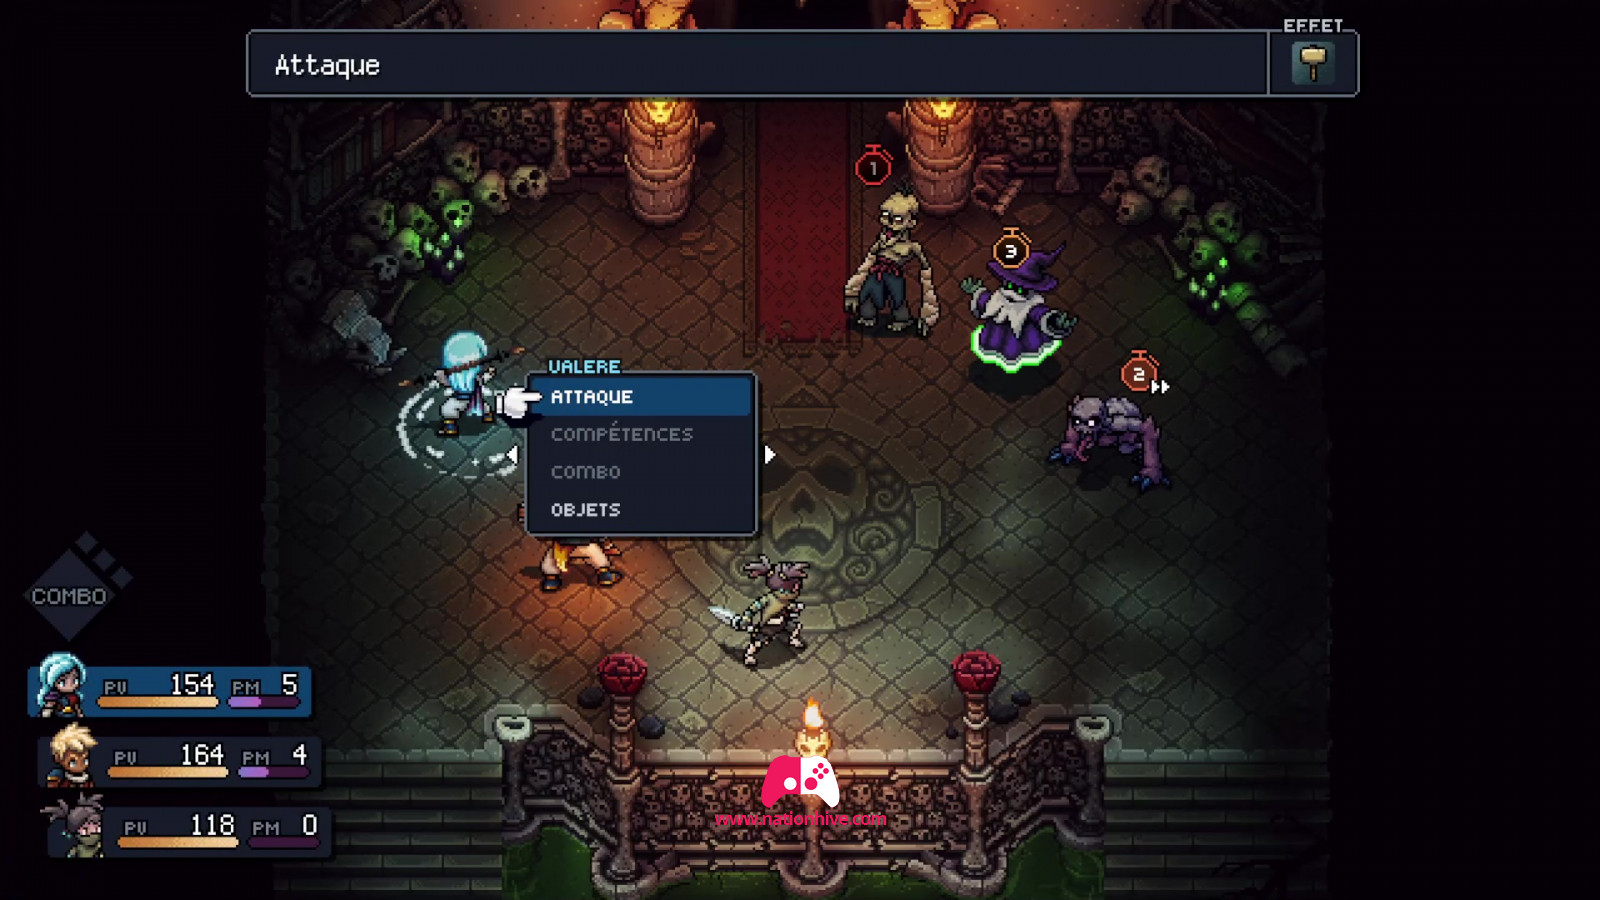
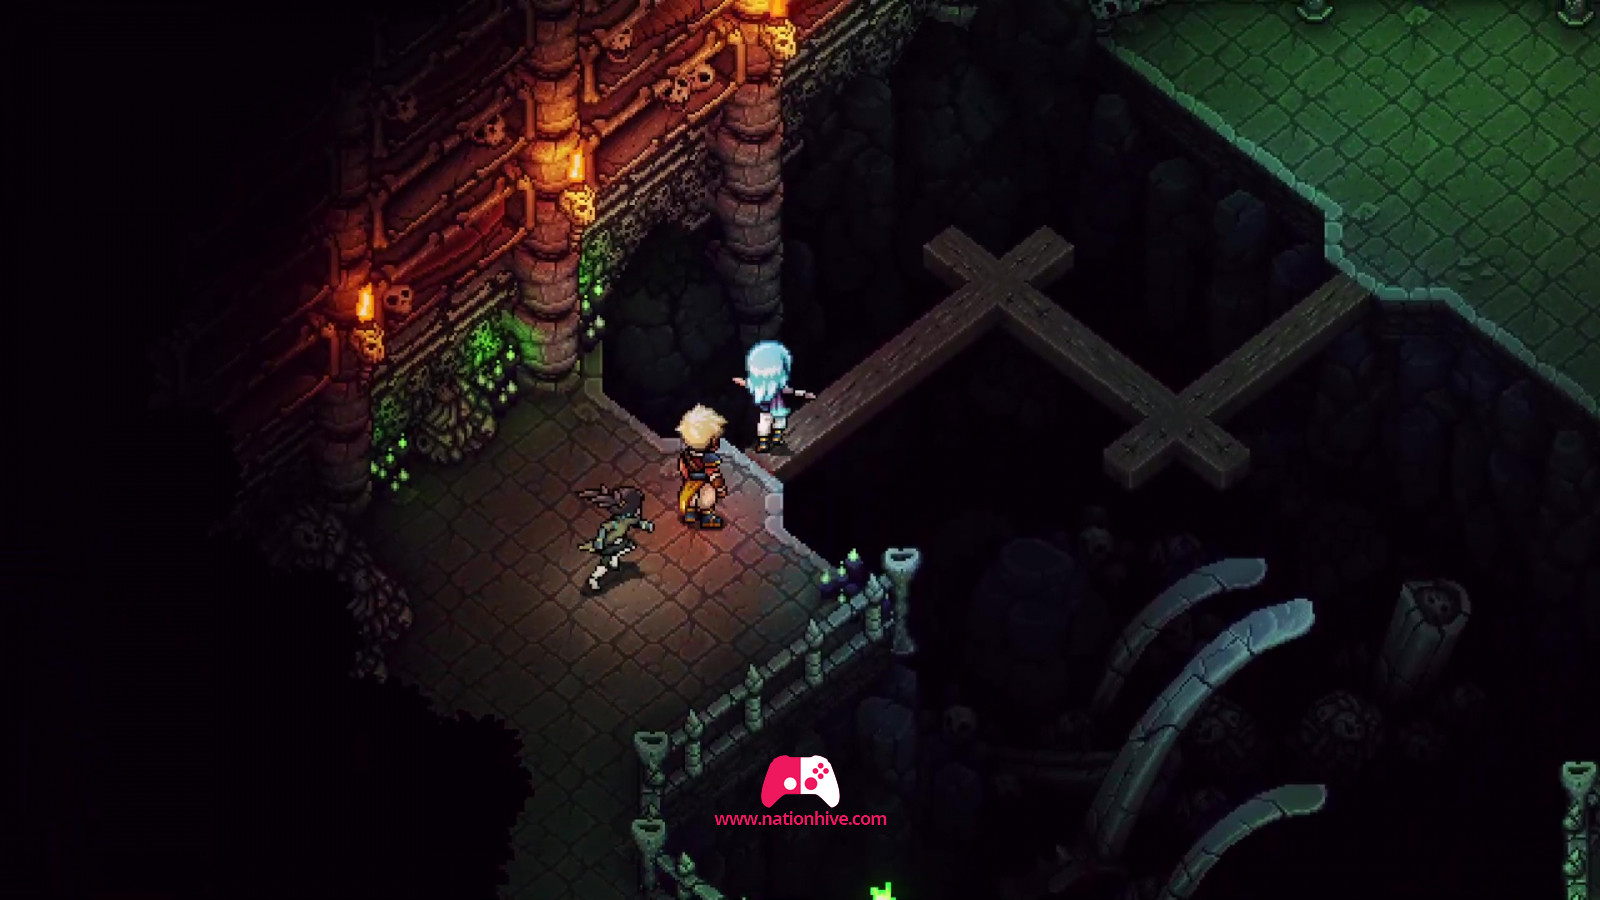
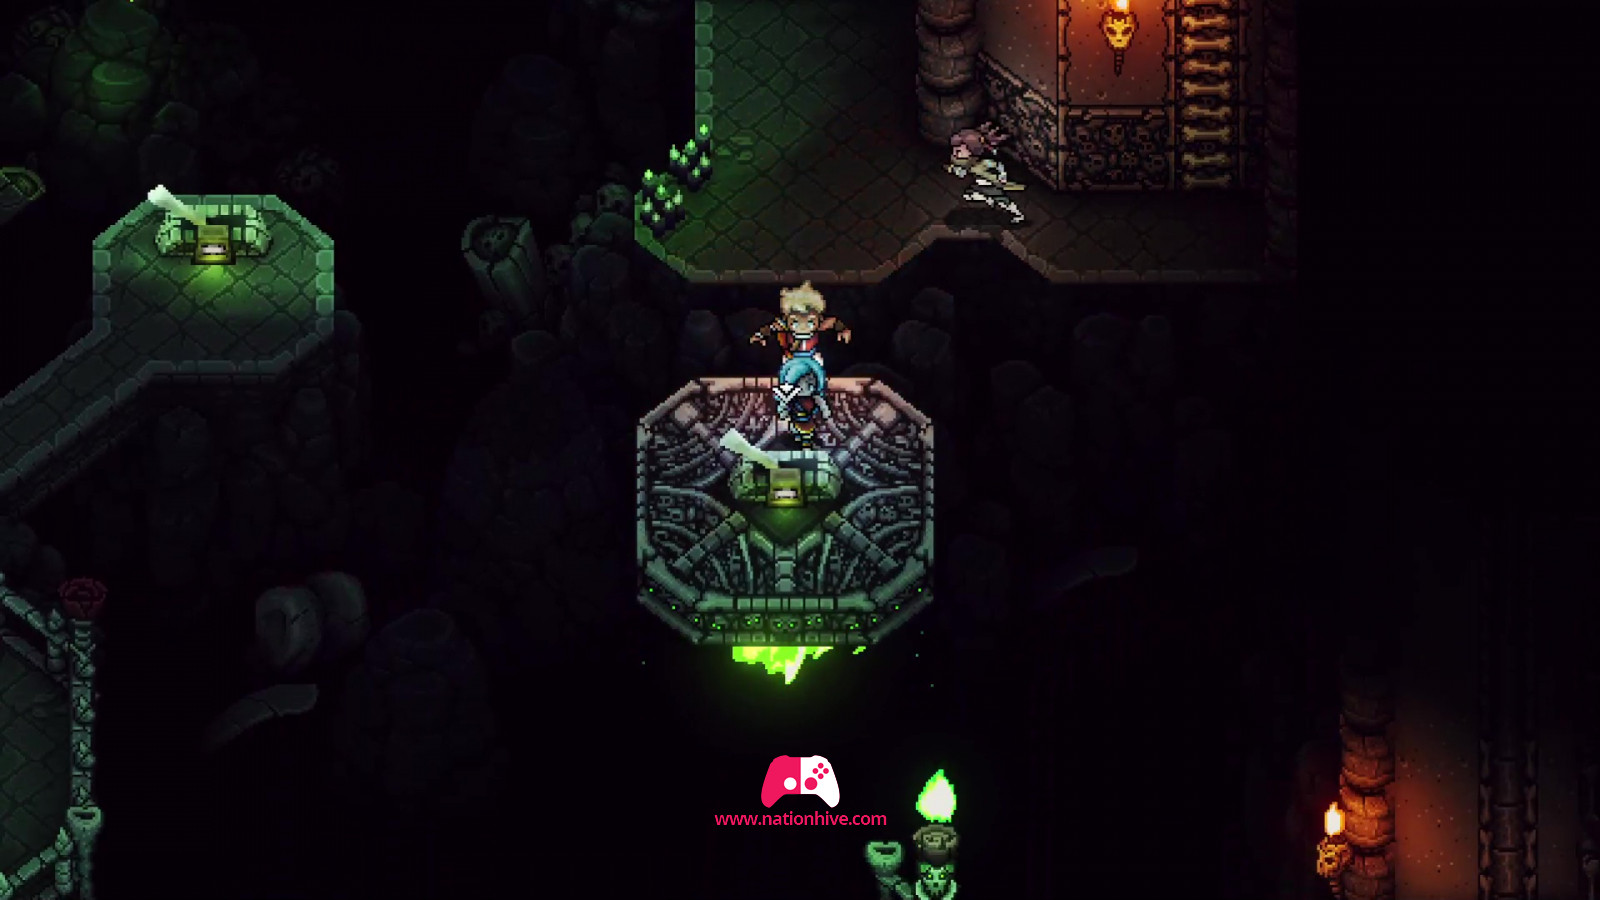
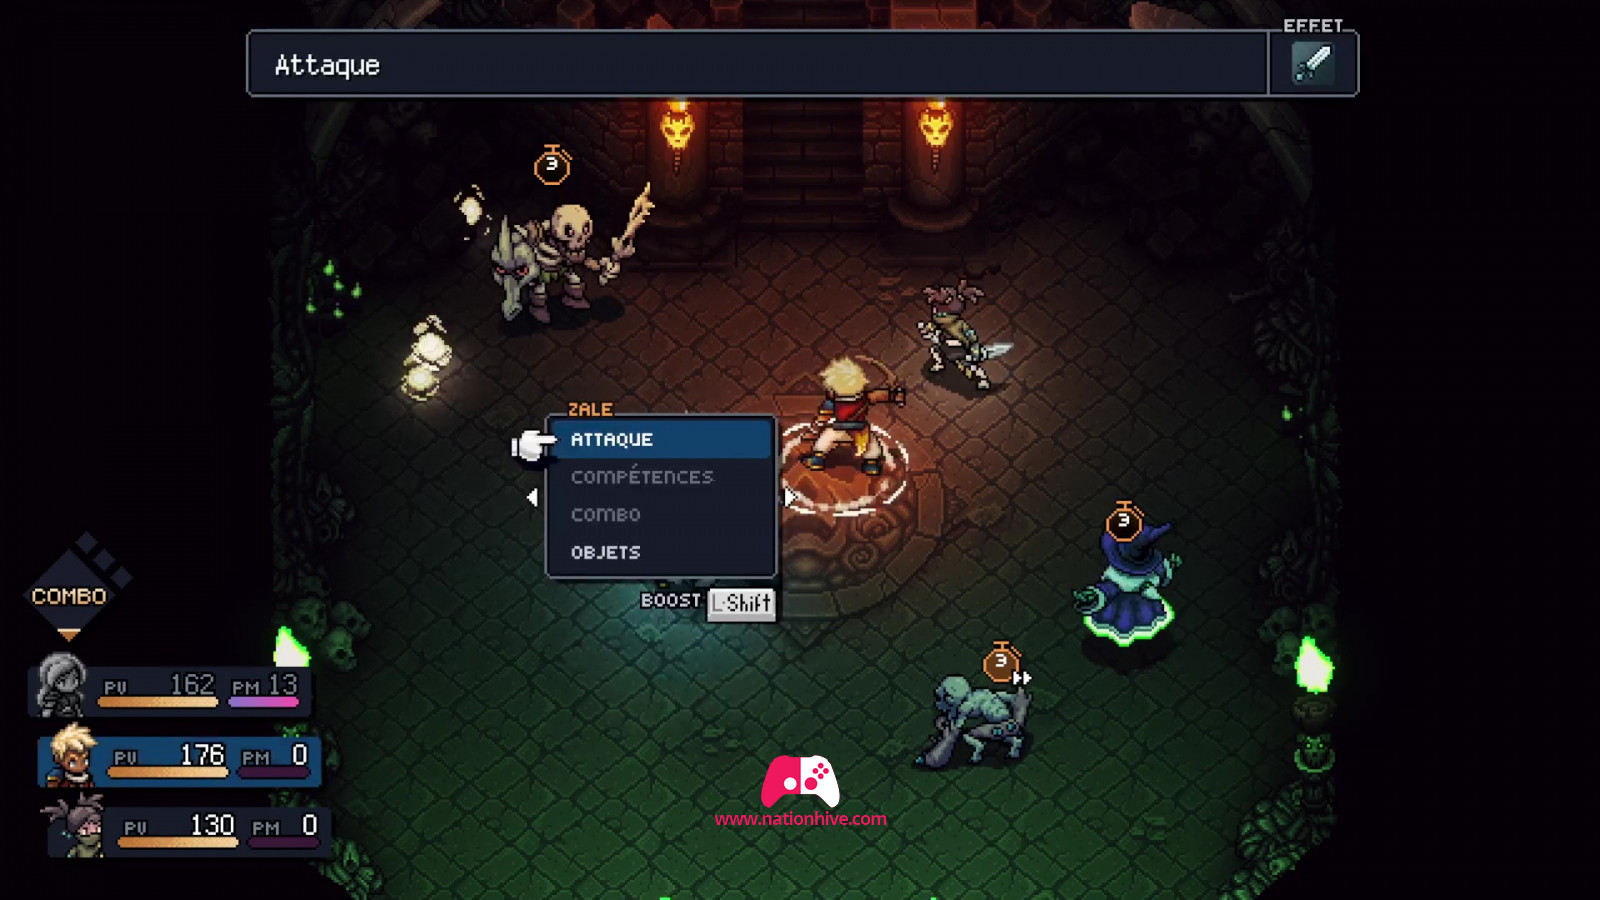
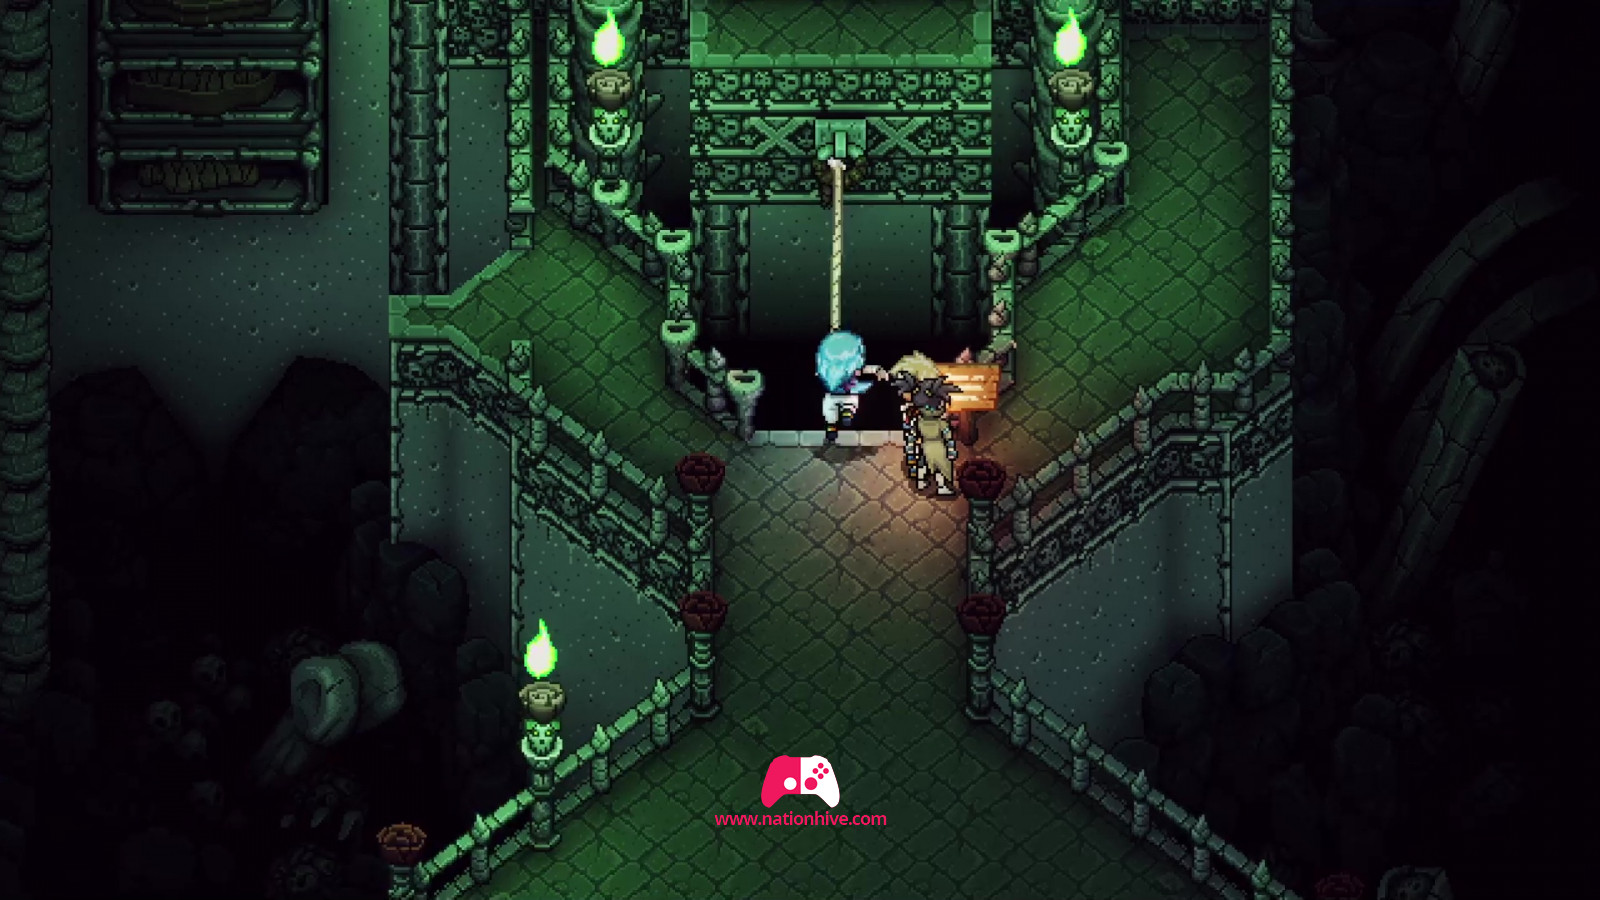
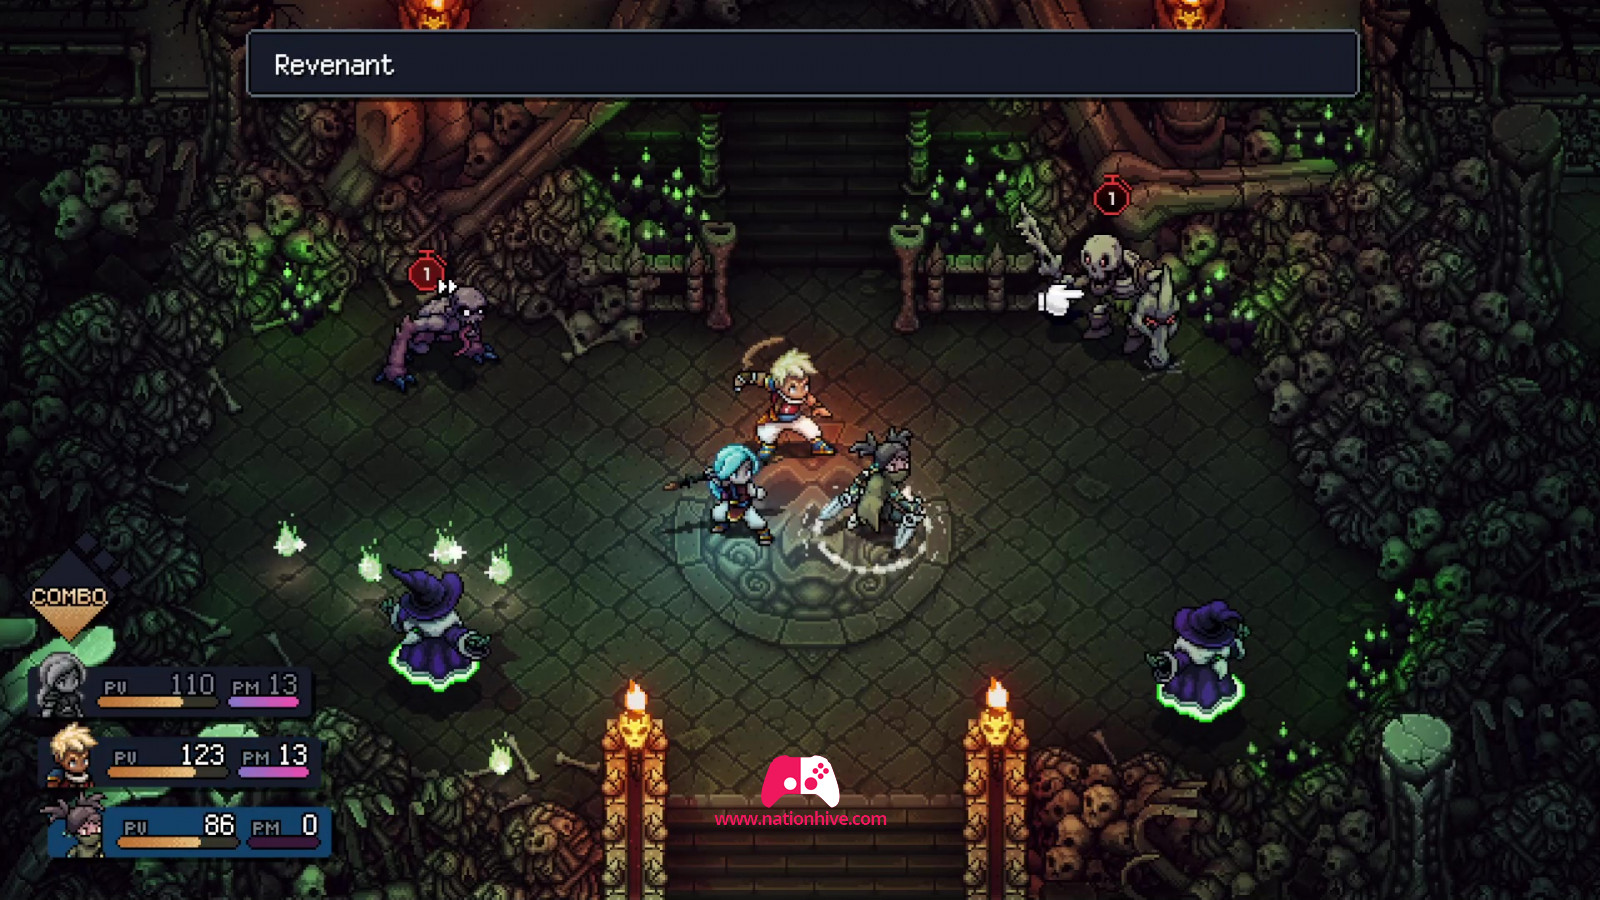
Head to the center to collect the first green skull and unlock the door to the necromancer. You'll have to fight an enemy skeleton called the Revenant. His weak point seems to be Seraï's skills, so take advantage of his weakness by using Seraï's combos whenever possible on the enemy.
Revenant attacks with his bone sword, so block at the right moment to reduce the damage he can inflict. Keep attacking him until he's defeated. Collect the first green skull, which will appear in the middle of the door. There are now 2 more to collect.
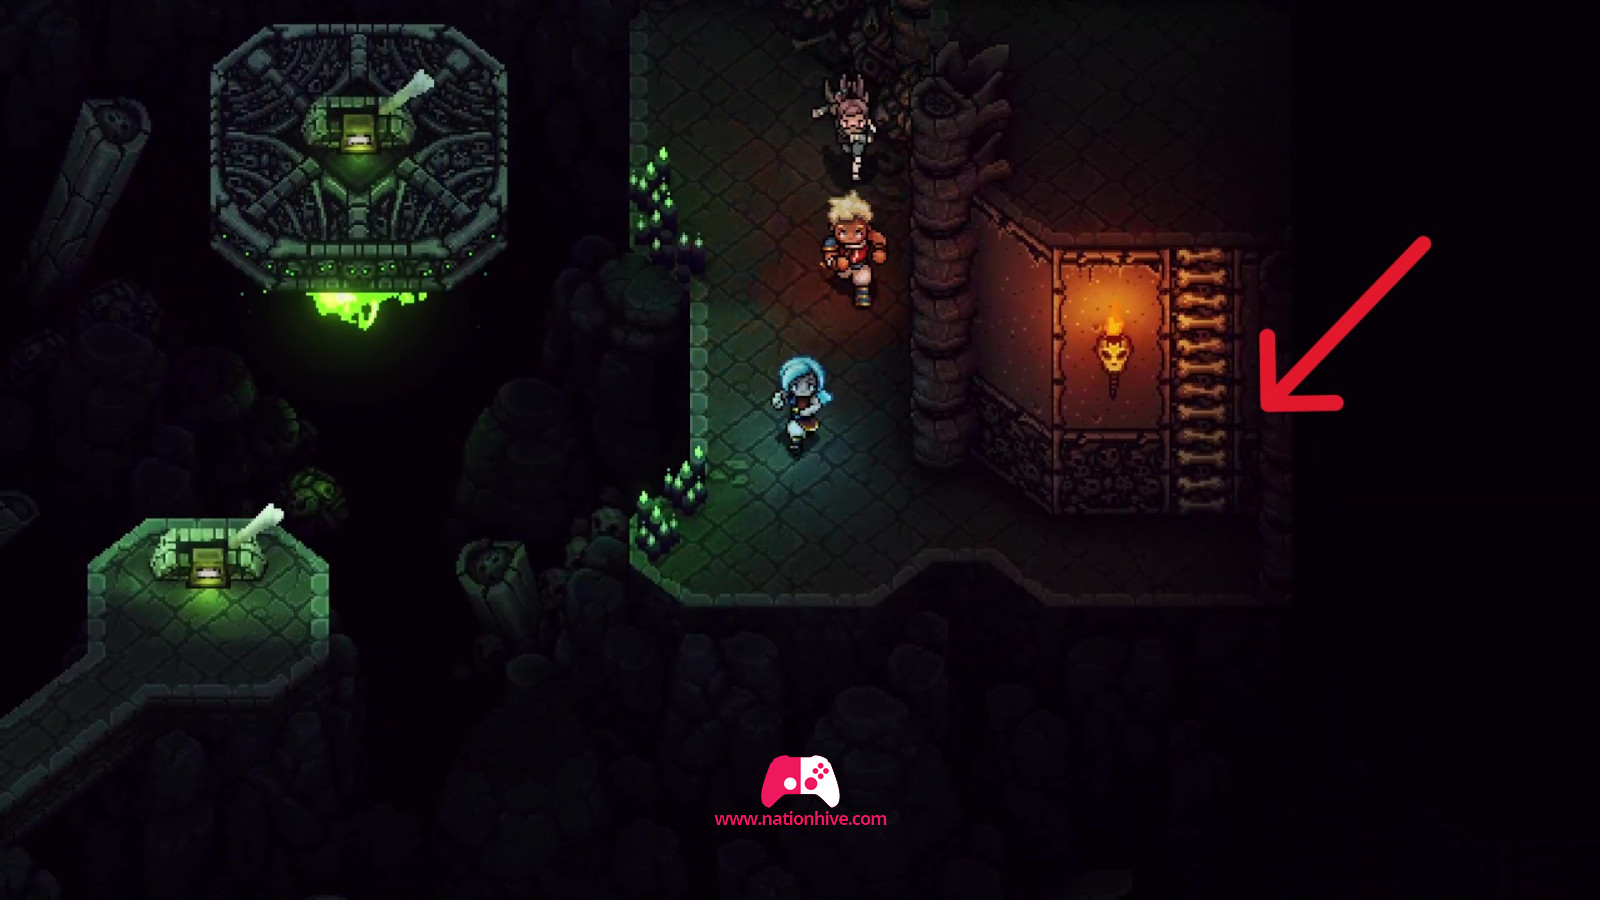
Skull recovery on the right
Then head to the right. It's not advisable to head left at the moment, as you haven't yet unlocked the tool that lets you jump and move from platform to platform.
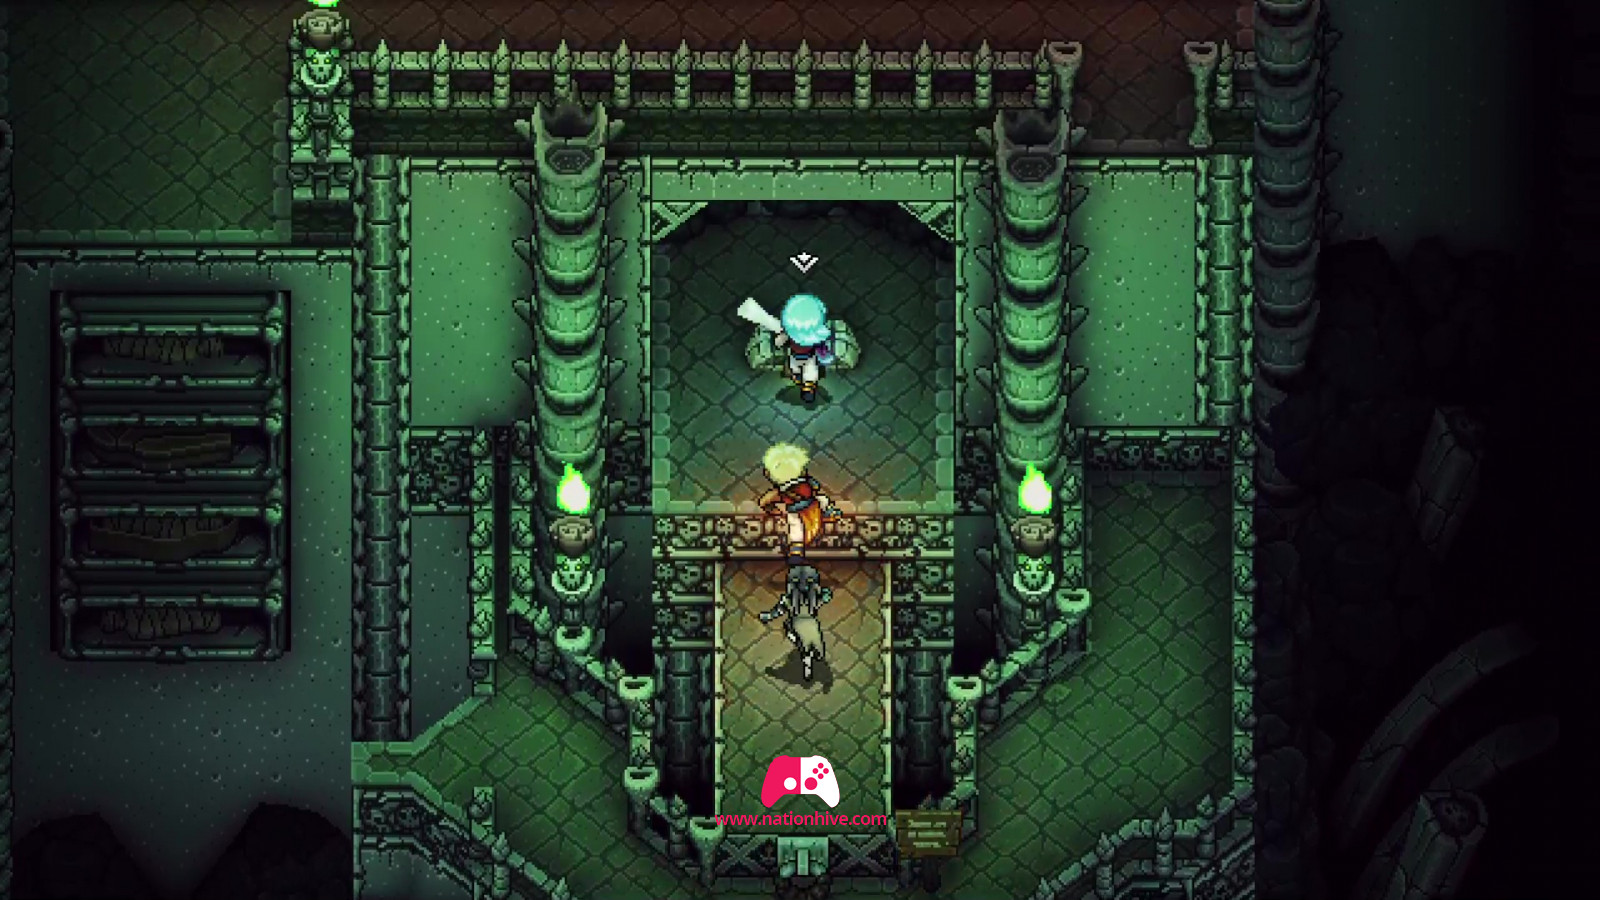
Move inside and attack the enemies in your path. Then activate the nearby lever to move the platforms. This will bring the top platform closer to you. Then head for the platform at the top and activate the lever. This will take you across to the other side. Then climb the ladder on the right. Open the chest on the way to receive a Spectral Cape and then climb down the ladder to the left.
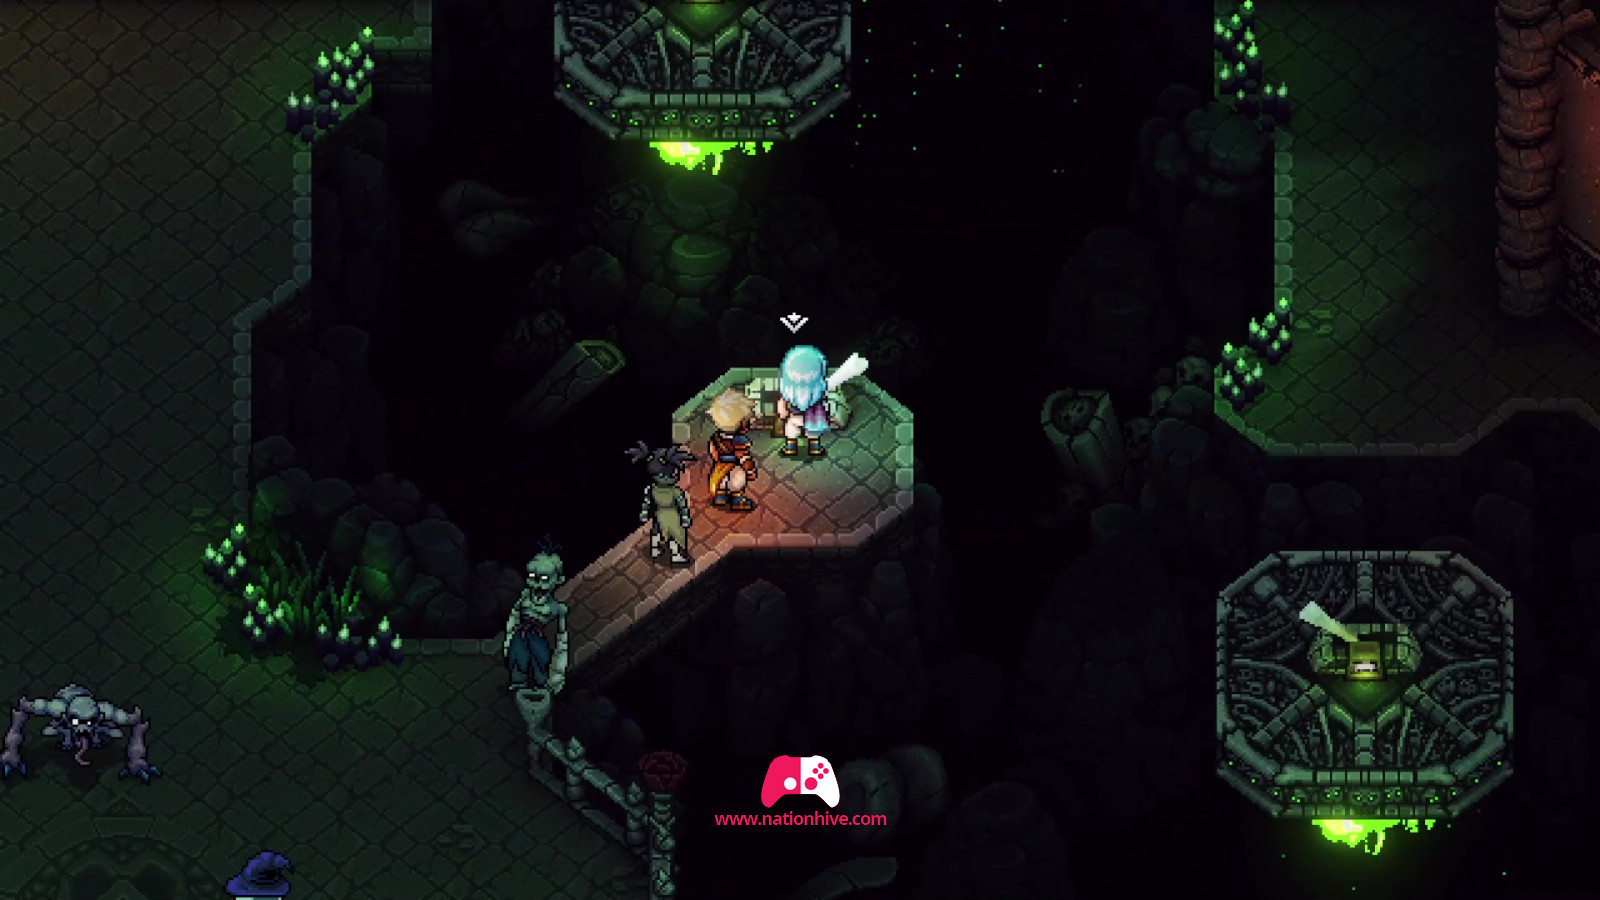
Climb down this ladder and activate the lever again. Your aim is to move the platform to your right to reach a new section (see image below). Go to the other side, where the platform is, by climbing the ladder you've just made appear on the left.

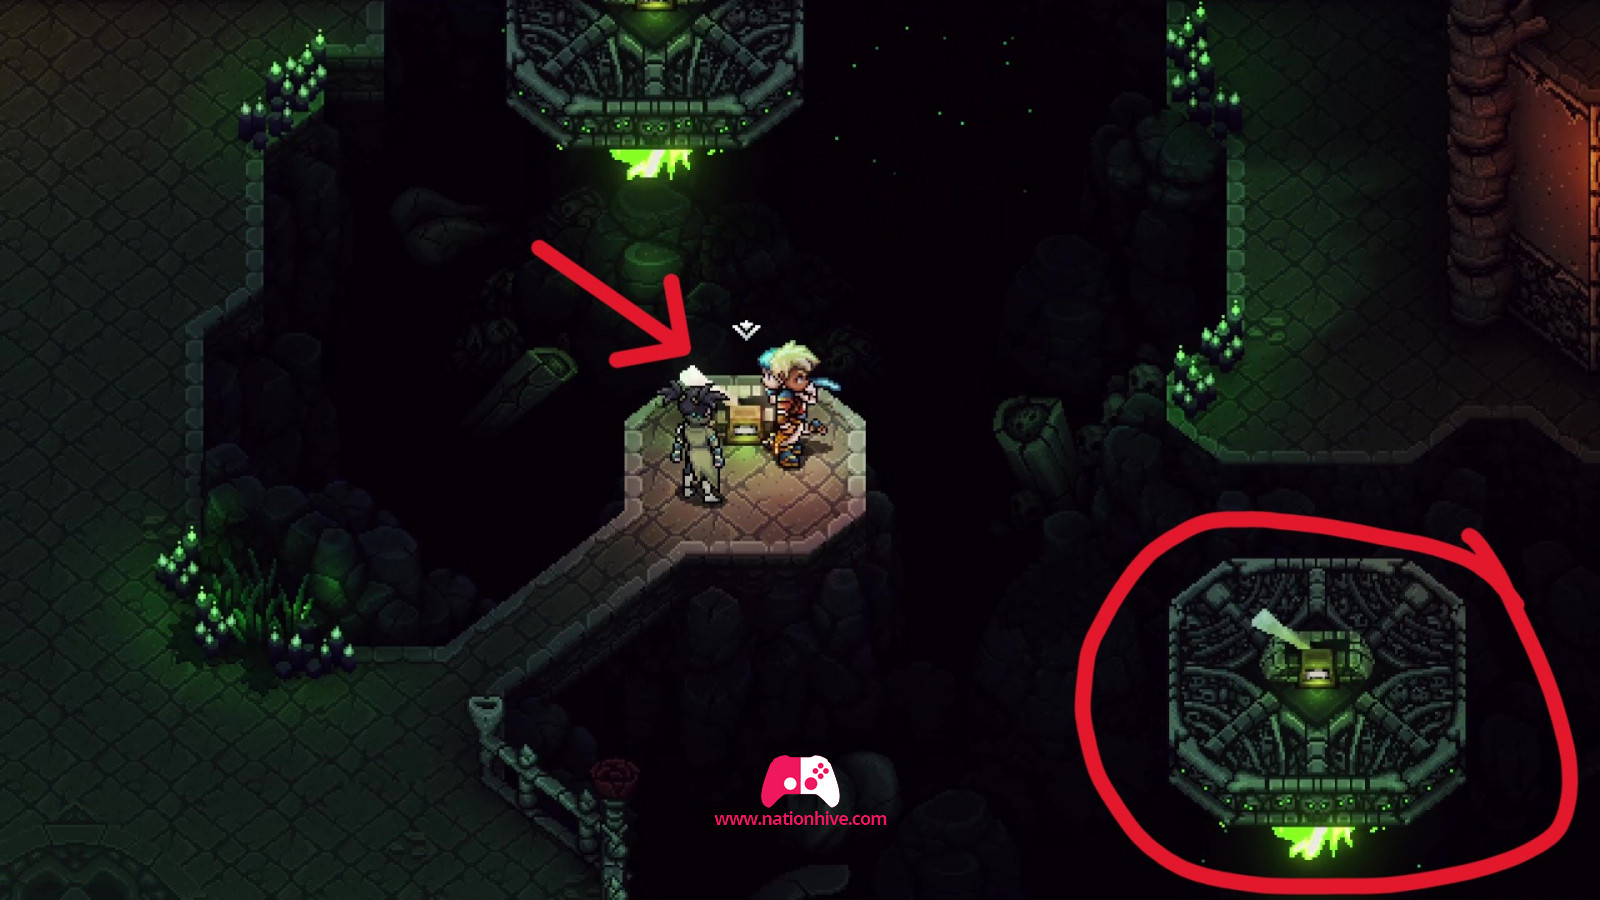
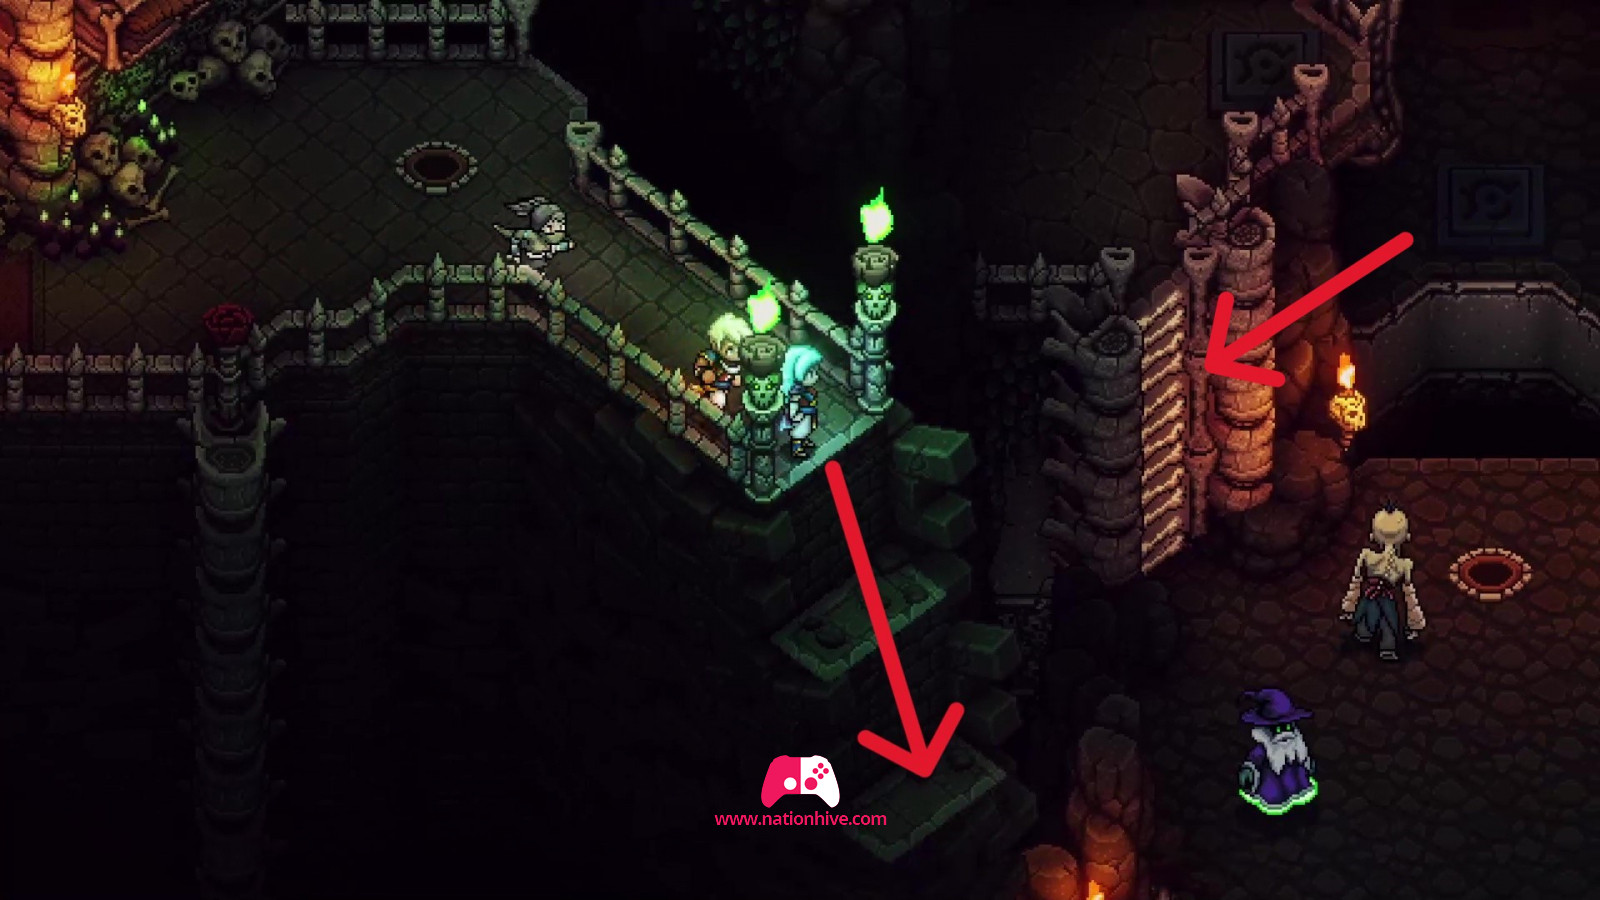
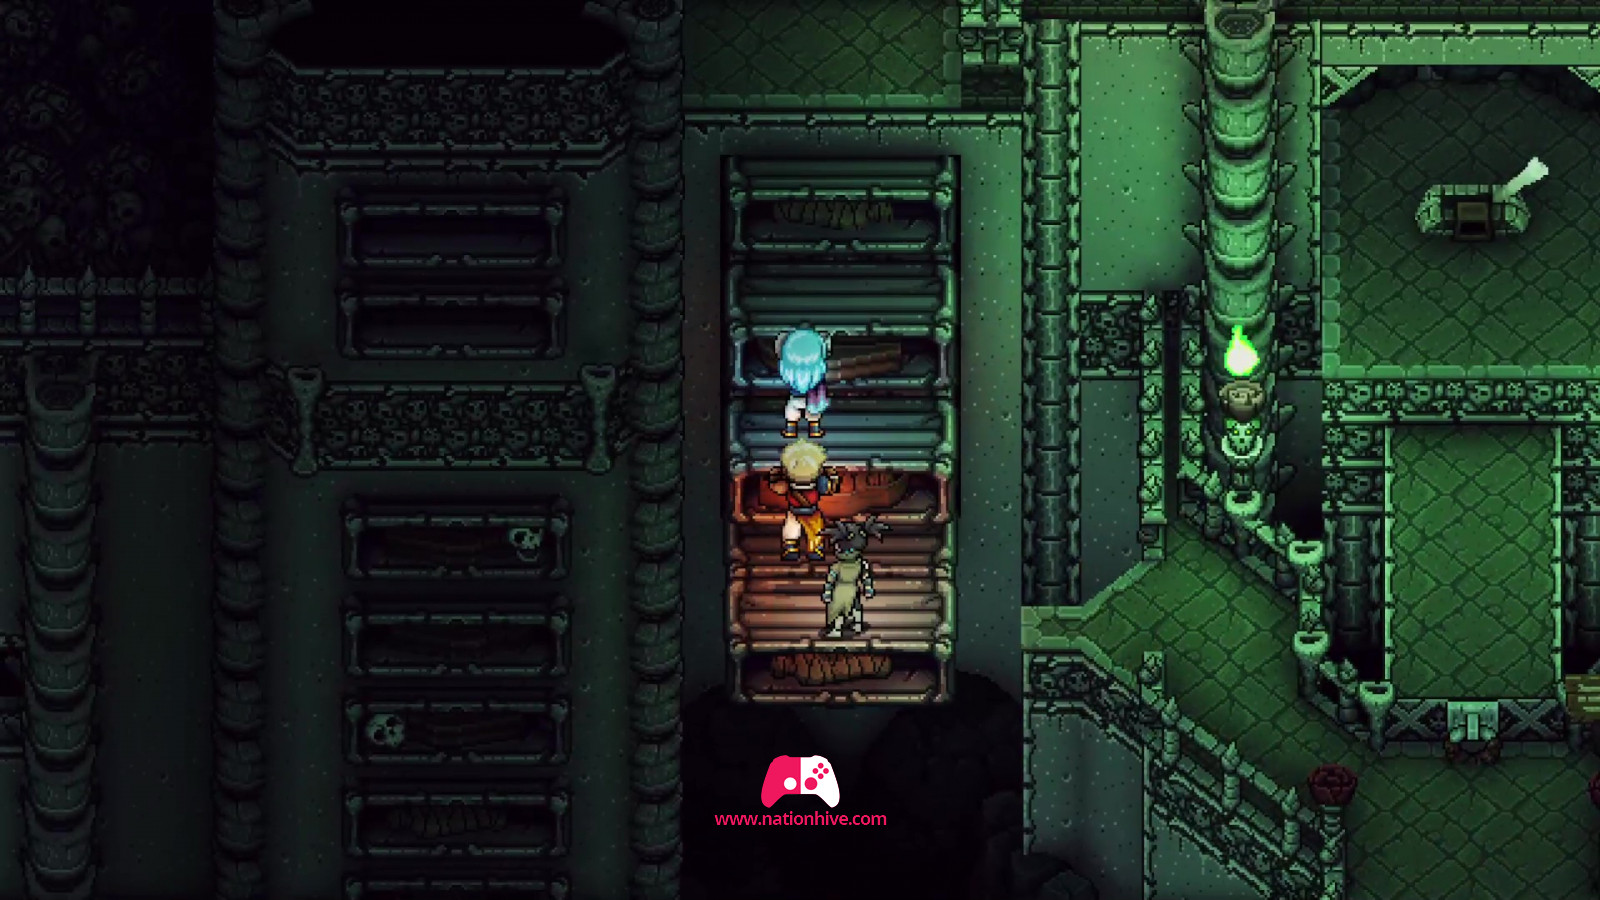
Once on the right platform, activate the lever to reach a new area. Open the nearby chest to receive Obsidian Ore. Then proceed to the corridor on the right.
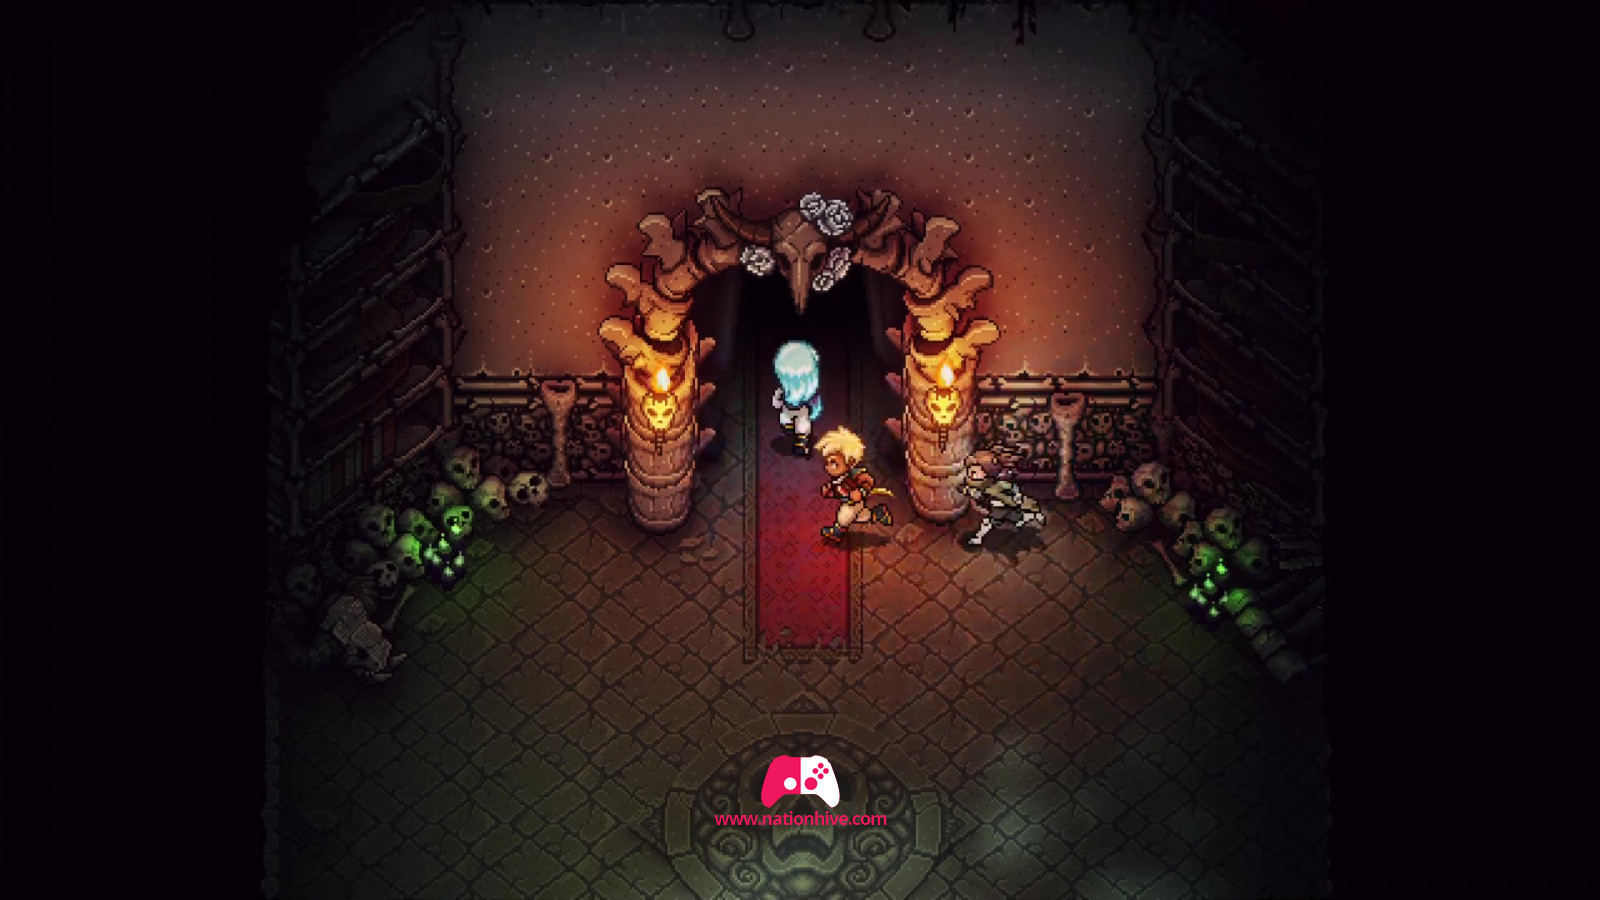
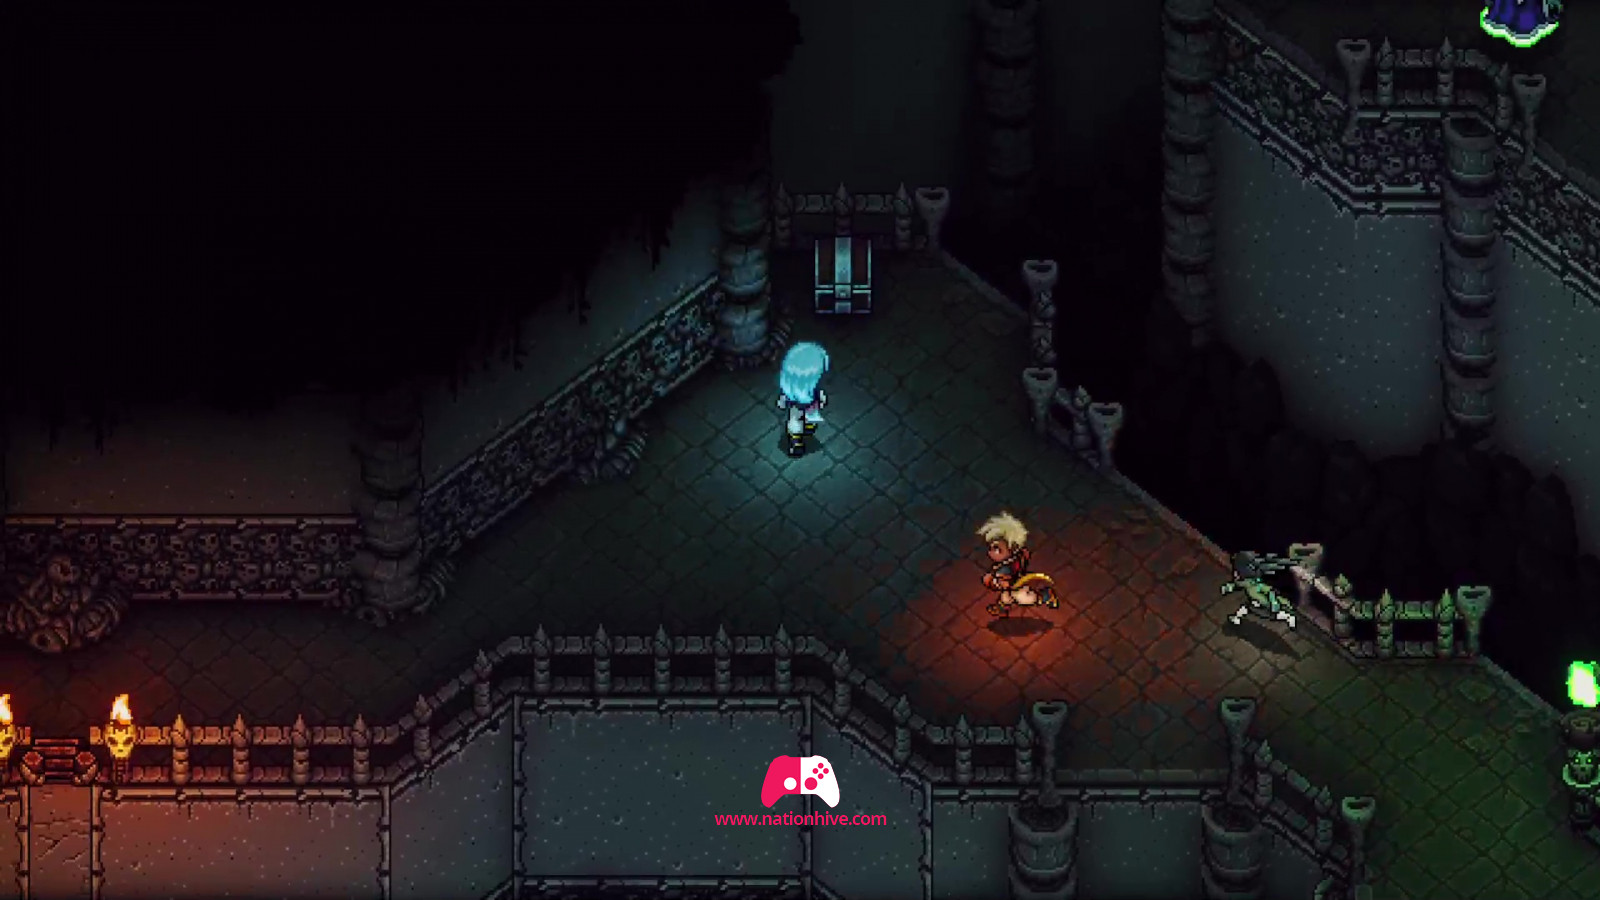
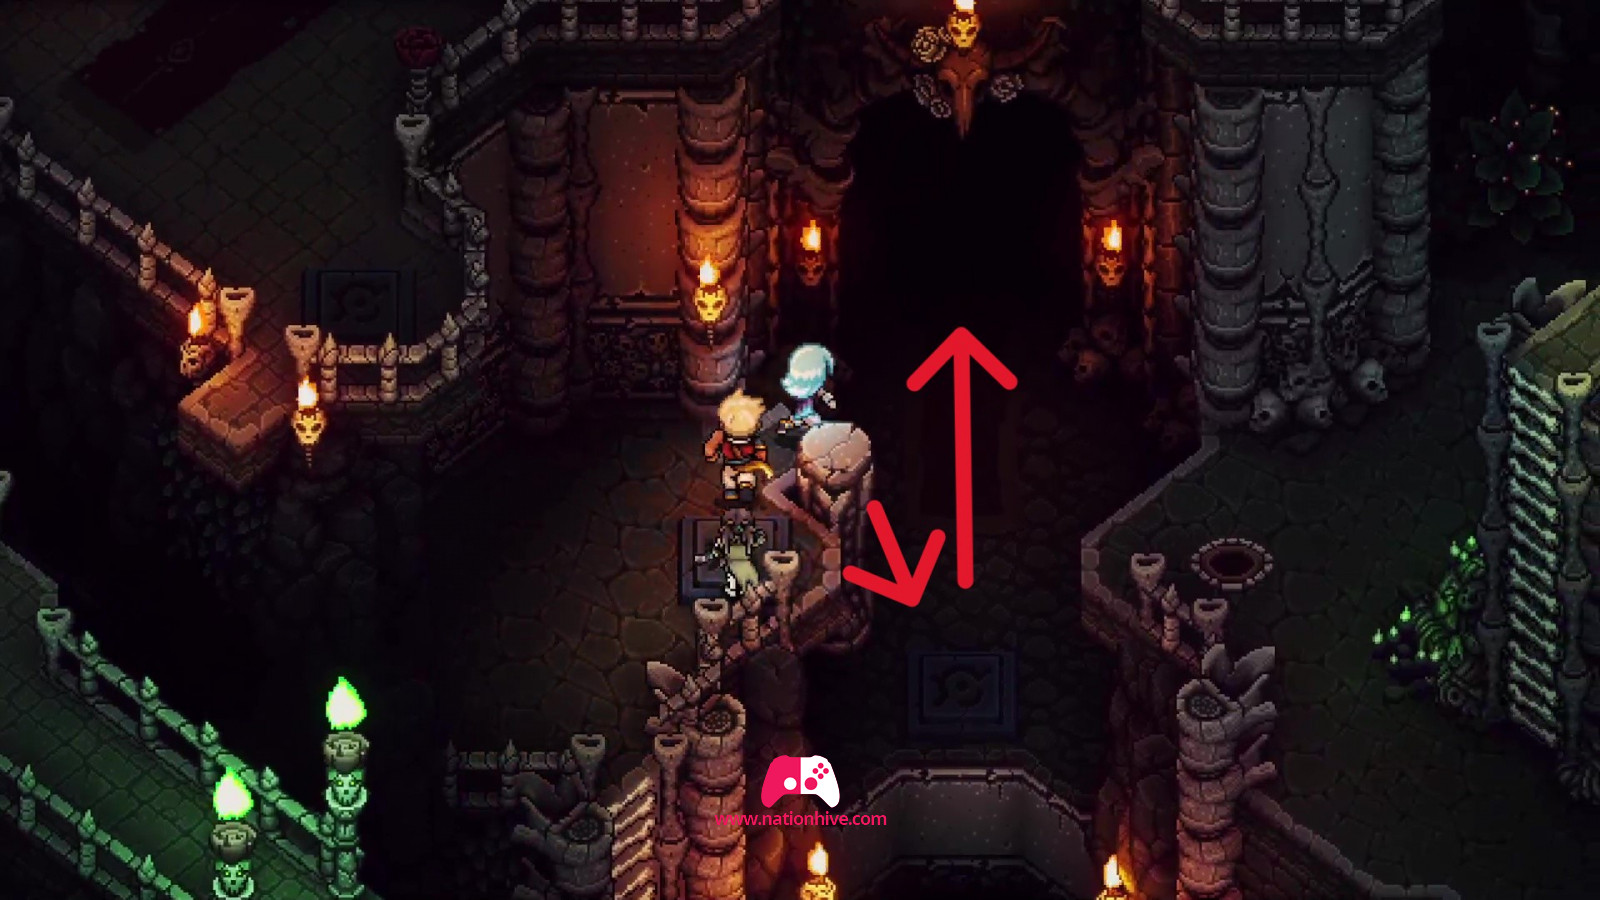
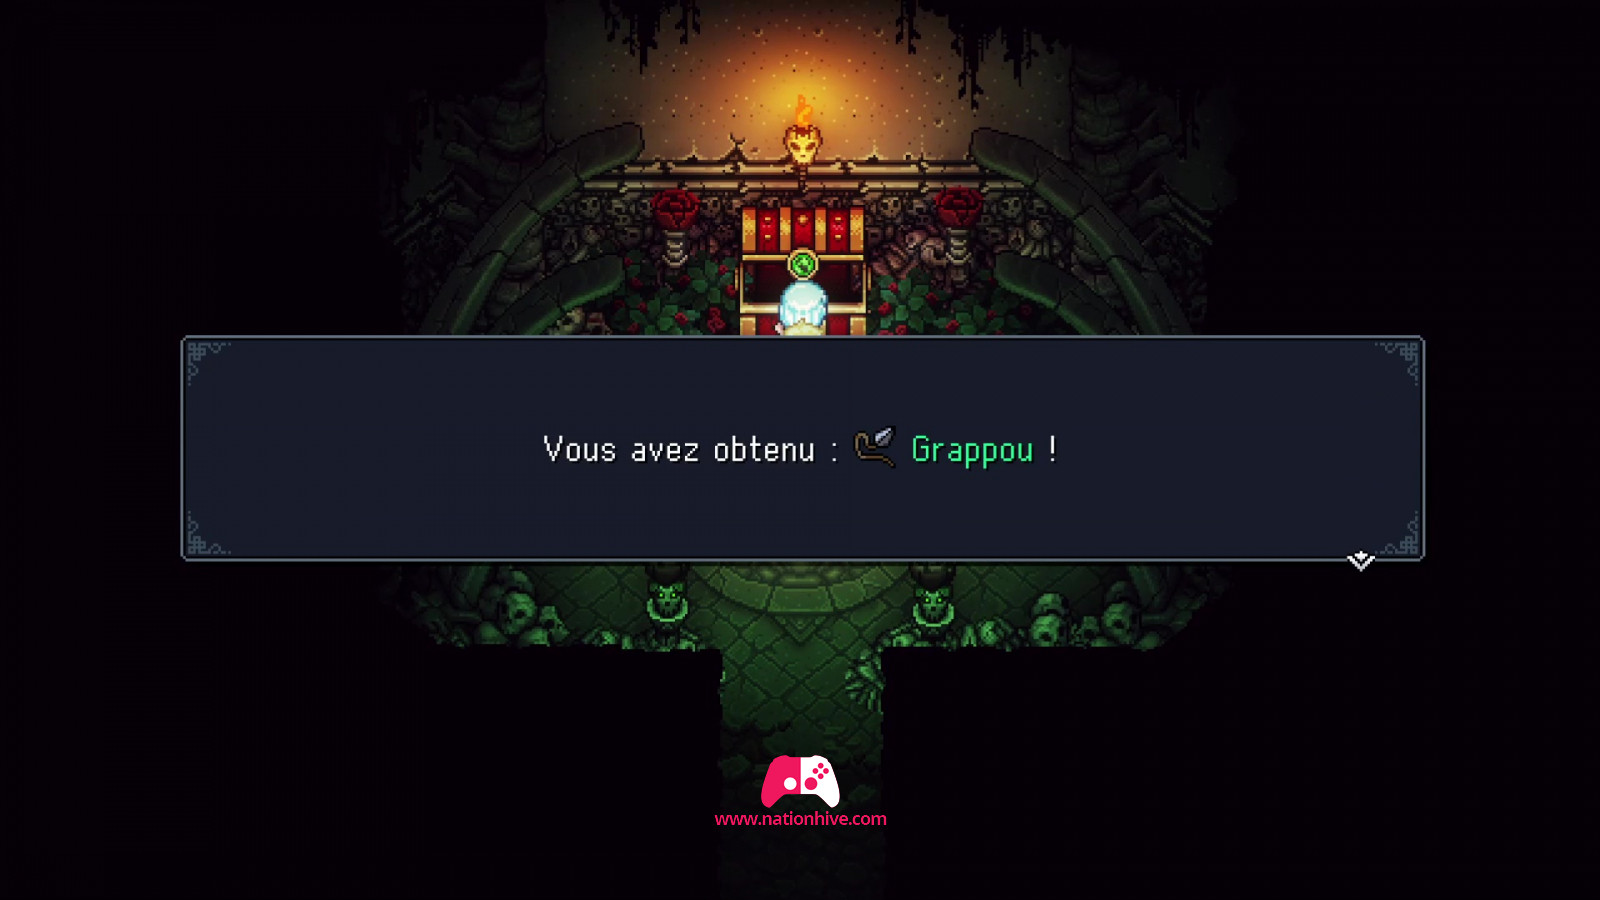
Go down the large steps and climb the nearby ladder, then jump to the ground to head for the large entrance. Open the large chest to receive a Grappling Hook! You can now use the Grappling Hook to grab onto hooks, enemies and surfaces that can be climbed.
As you exit the cellar, you'll see blue-lit platforms. Stand on the blue platform in front of you. Use your Grappling Hook on it to cross to the other side.
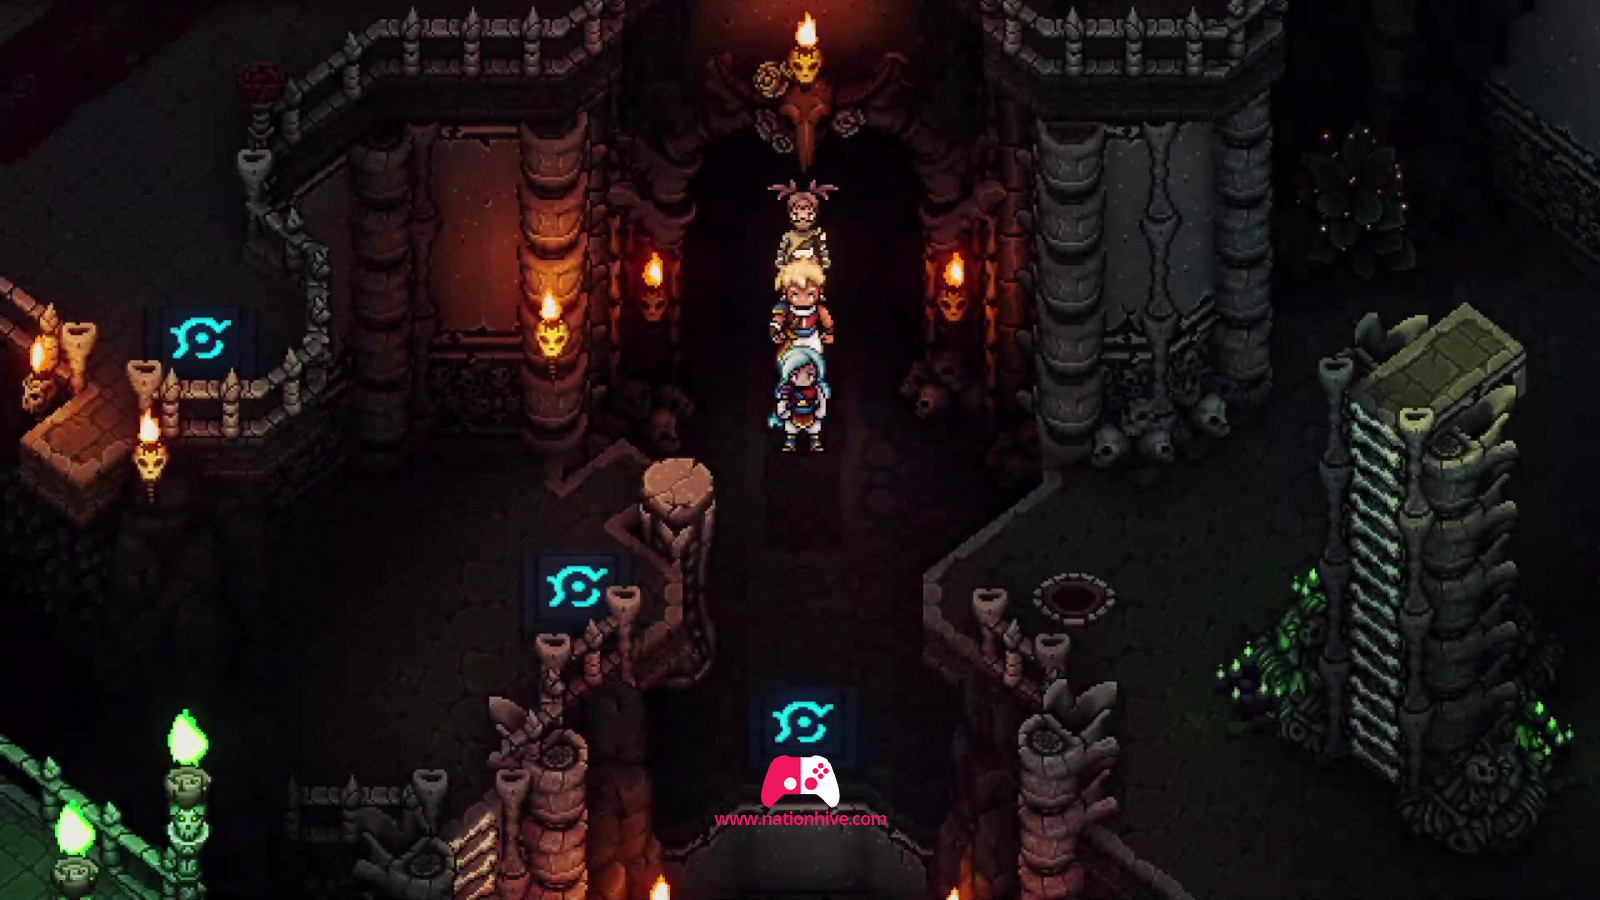
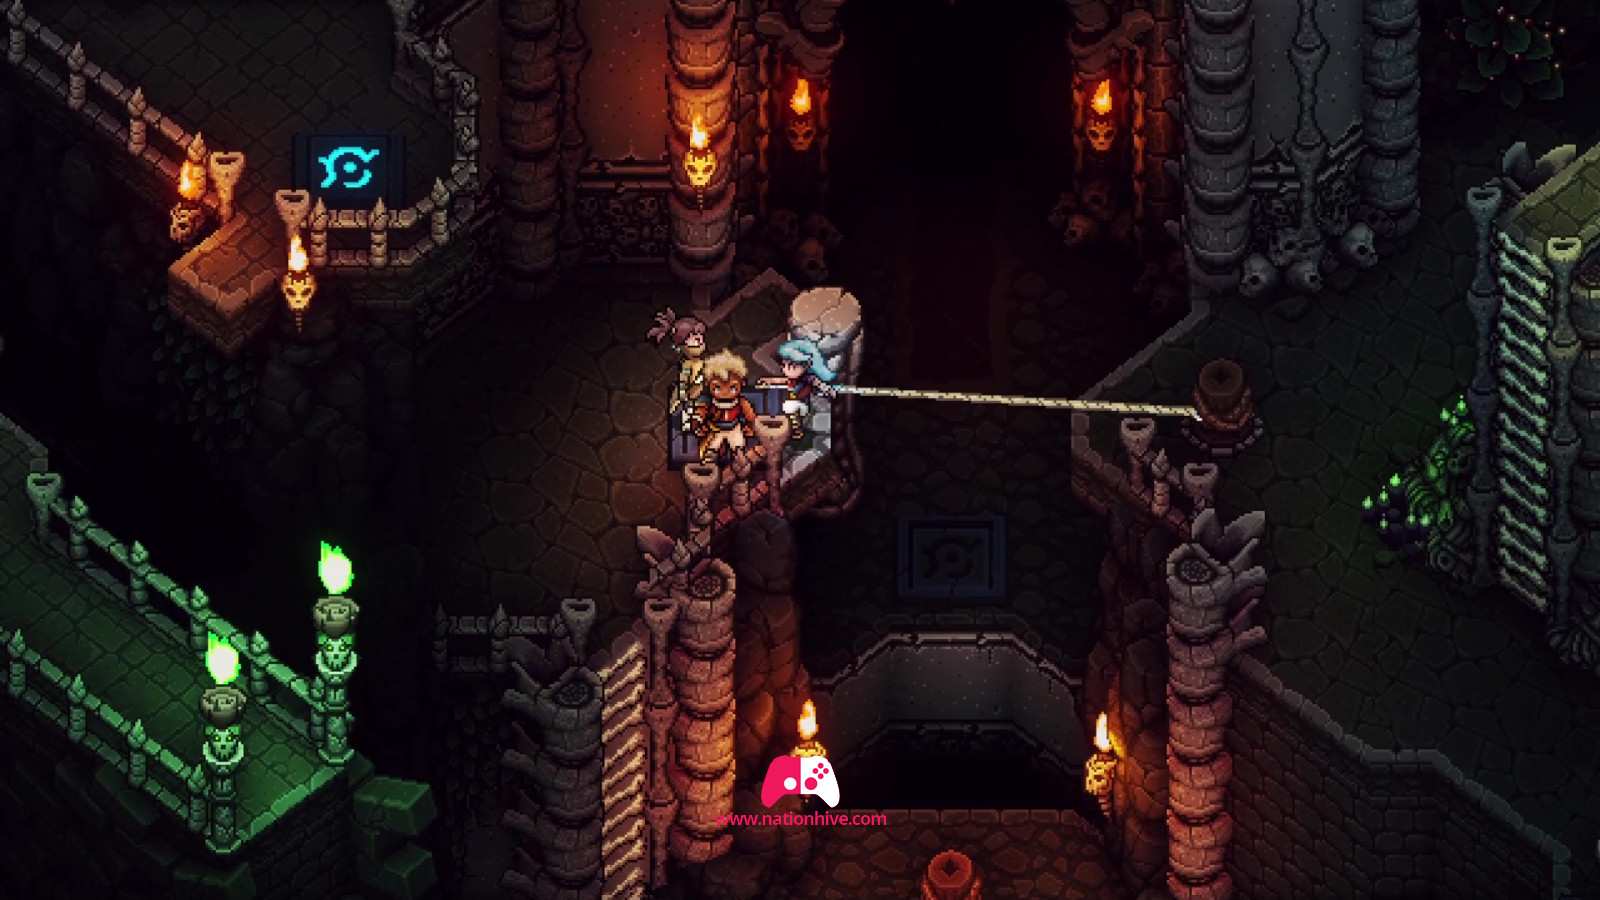
Once on the other side, climb the ladder and stand on the second blue platform. Use your Grappling Hook on it to cross to the other side. Climb the ladder in front of you and use your Grappling Hook once more to land on the wall. Climb the wall to reach the next blue platform.
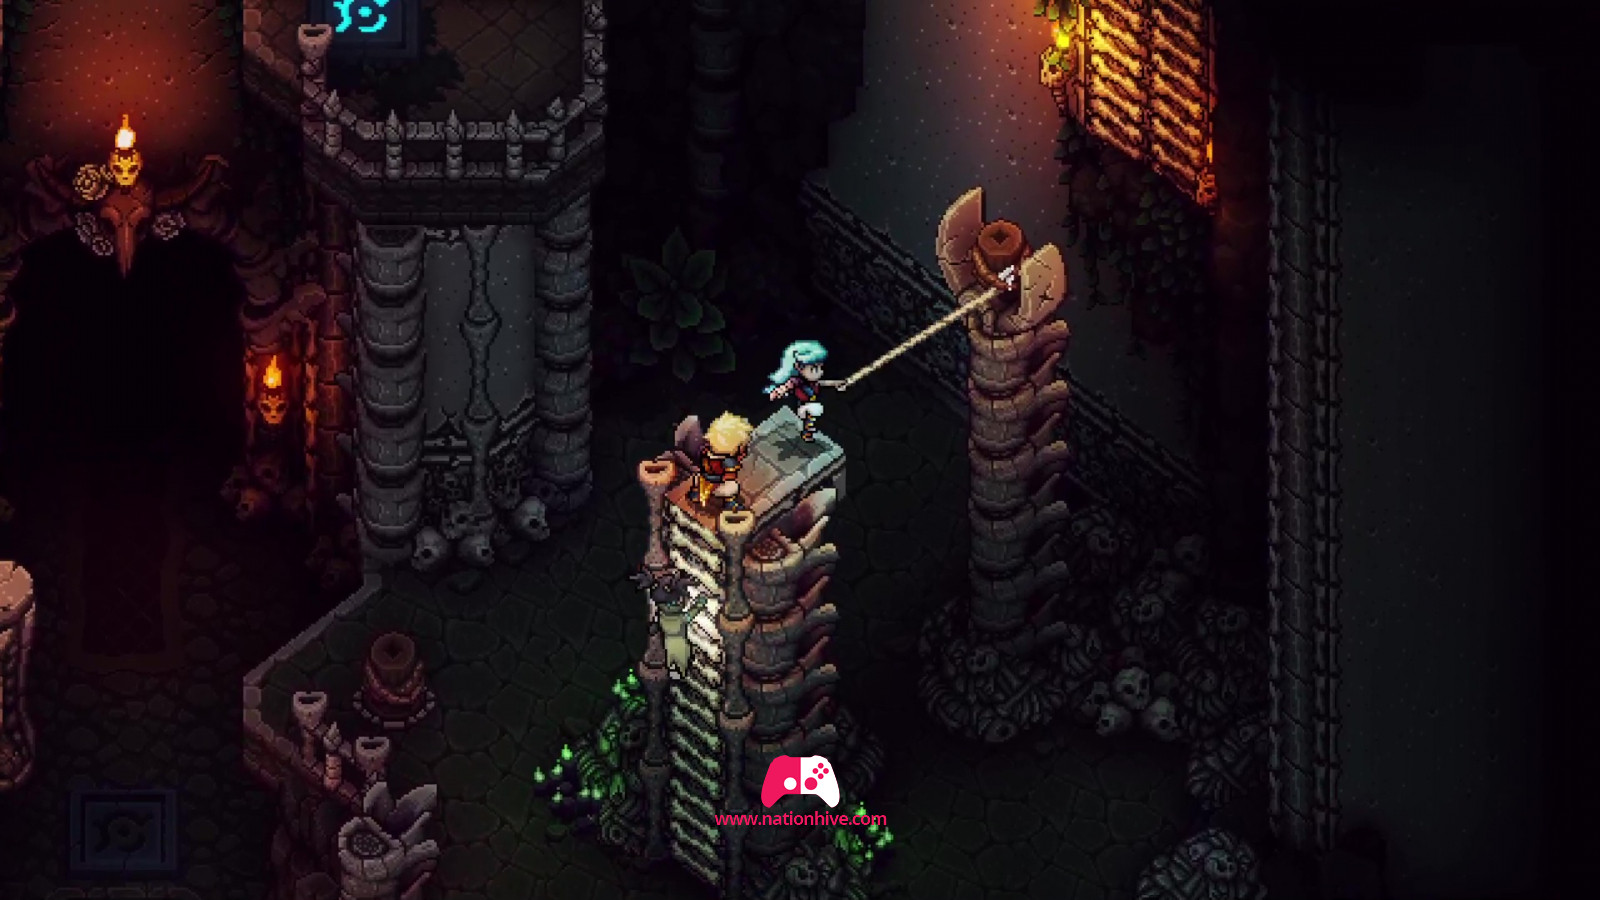

Stand on it. This action will reveal another hanging point, so use your Grappling Hook on it to cross to the other side. Repeat the process for the next platform. Then exit this area and head for the platform to return to the other side.
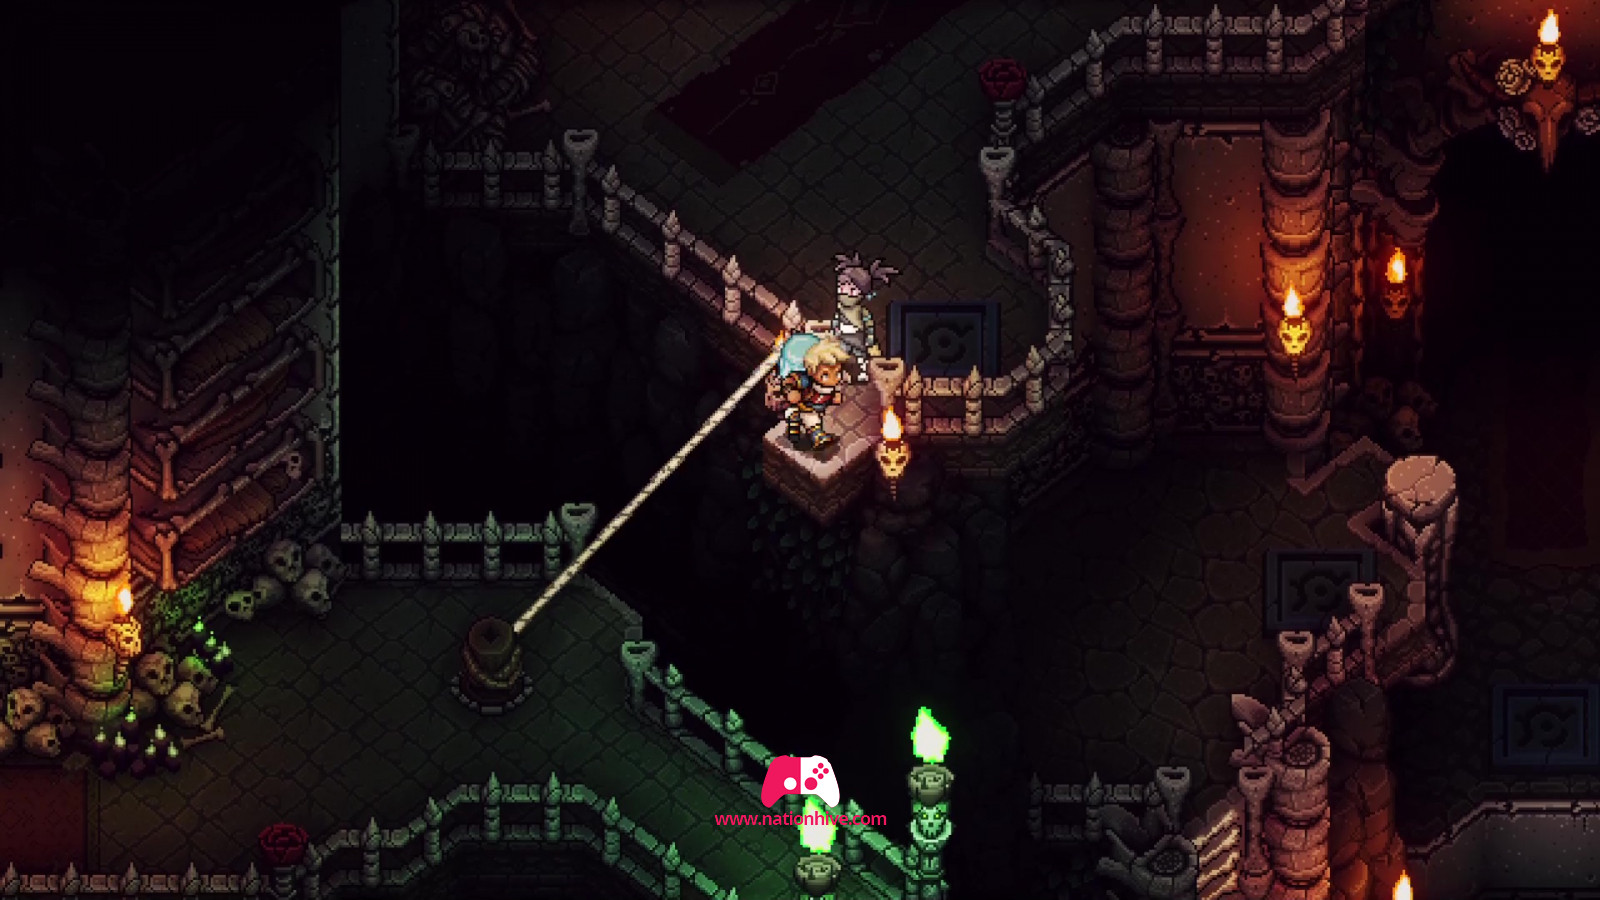
Now that you've unlocked the Grappling Hook, you'll be able to traverse the various platforms very quickly. Use the Grappling Hook on the hook near the entrance to reach an entrance.

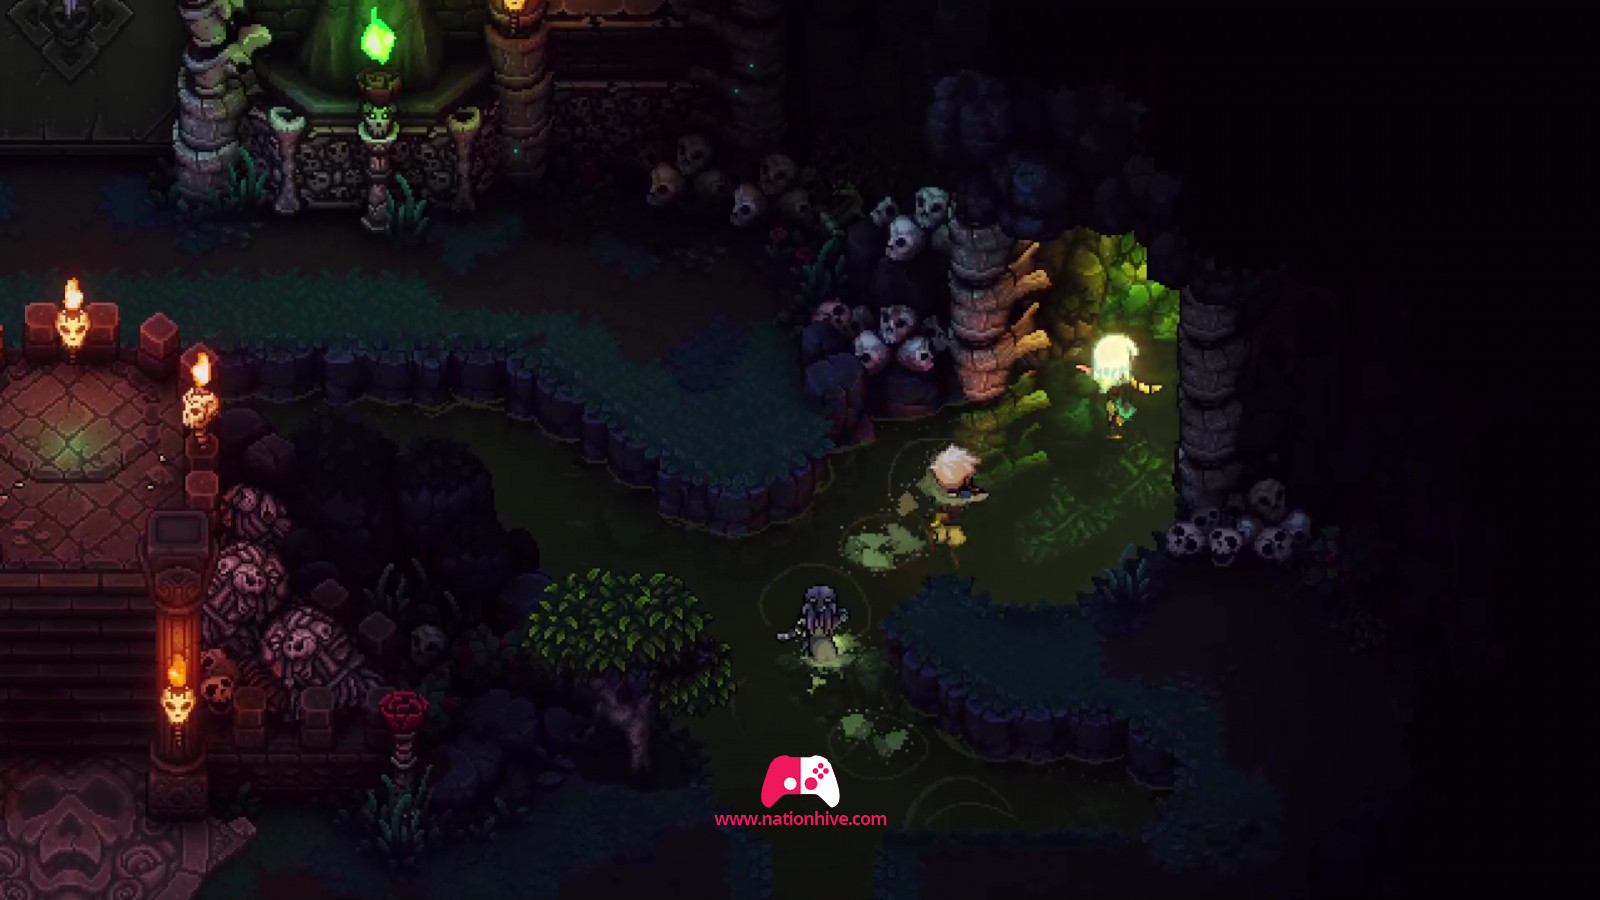
Attack the enemies and fight yet another revenant to collect the second green skull. This time, there are many more enemies. Use dishes to heal your characters if necessary. Once you've retrieved the skull, exit and head left to collect the third green skull. Now that you've unlocked the Grappling Hook, use it as soon as possible to exit this area. A chest containing a Bone Stick can be found when you use the Grapple to access a lever. You'll find another area here too.
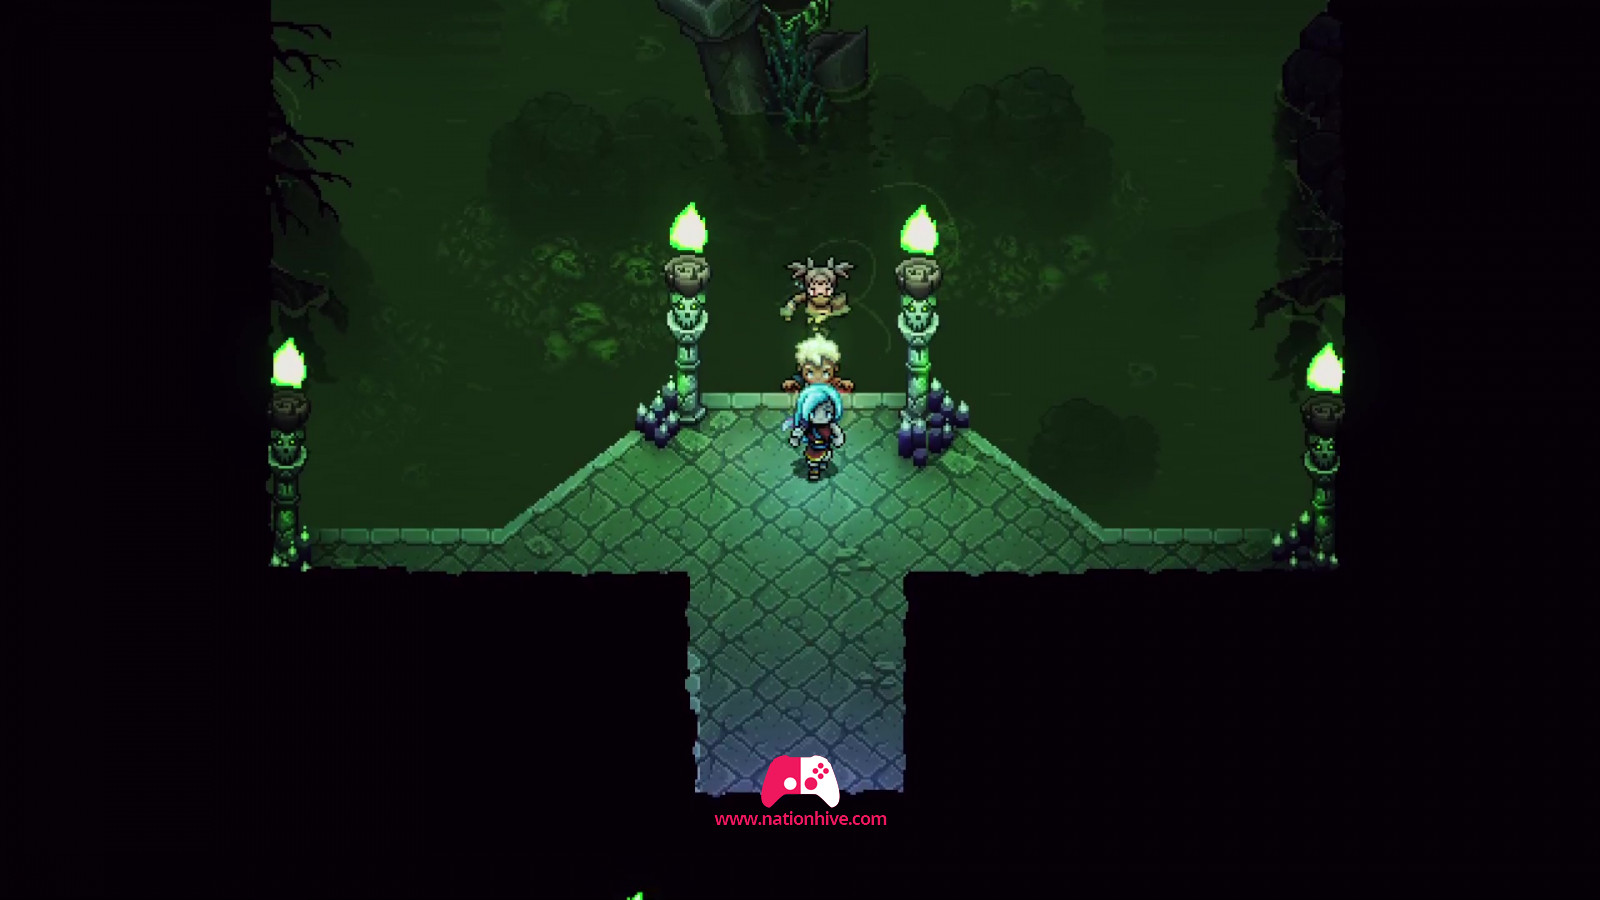
Skull recovery on the left
Now that you've unlocked the Grappling Hook, use it to retrieve the third skull. This can be accessed by heading to the left. Repeat the same process, attacking all the enemies to retrieve the last green skull. Exit this area.
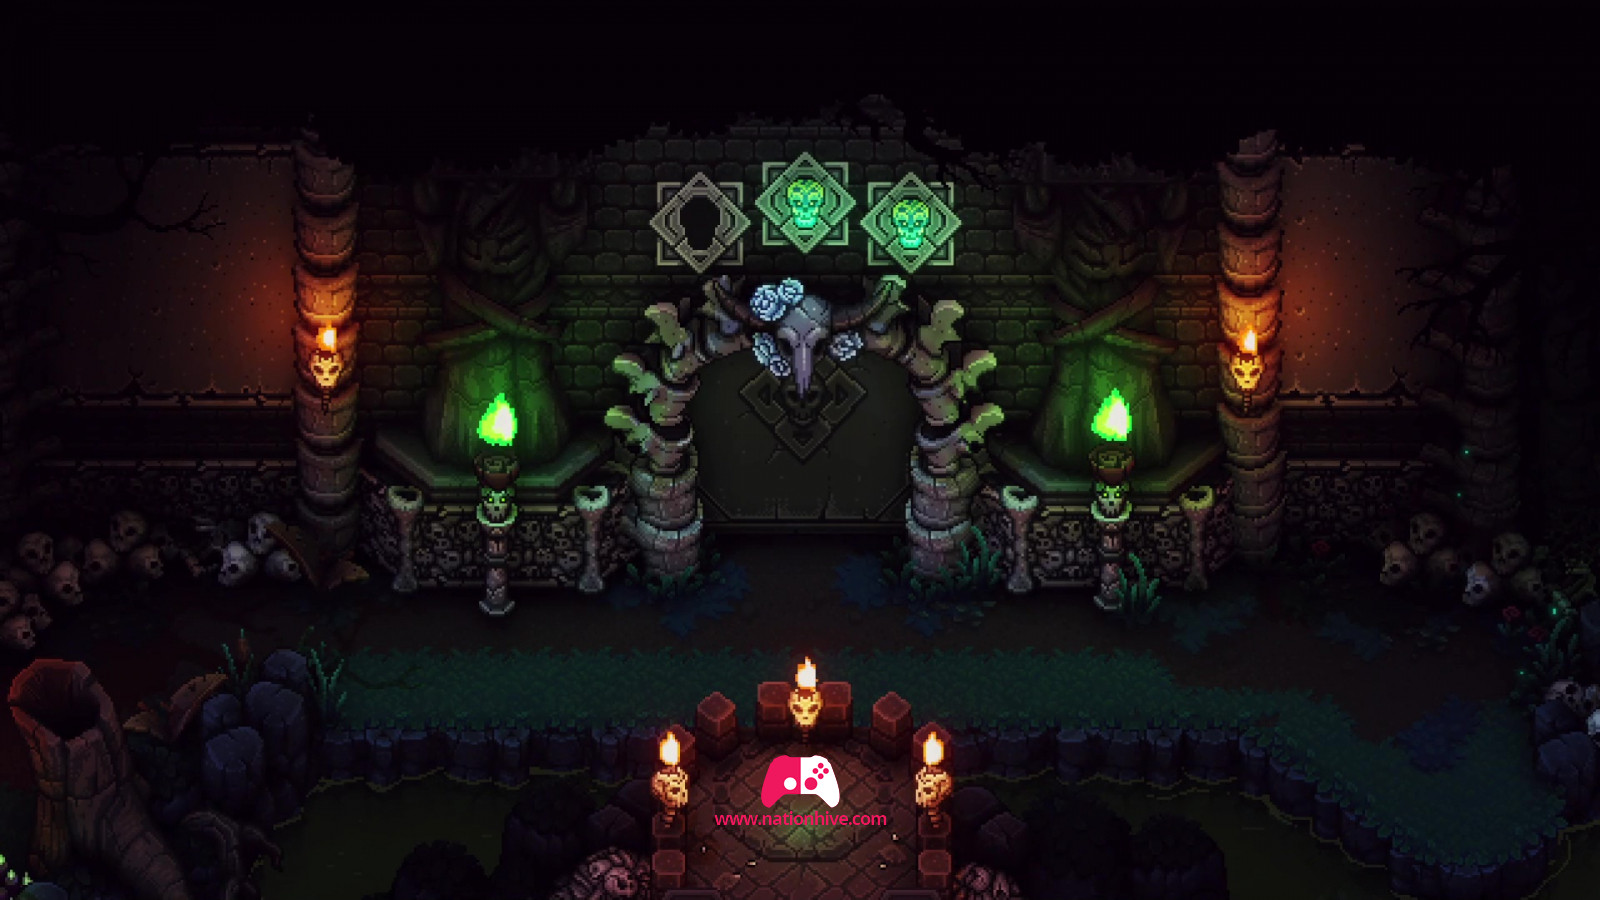
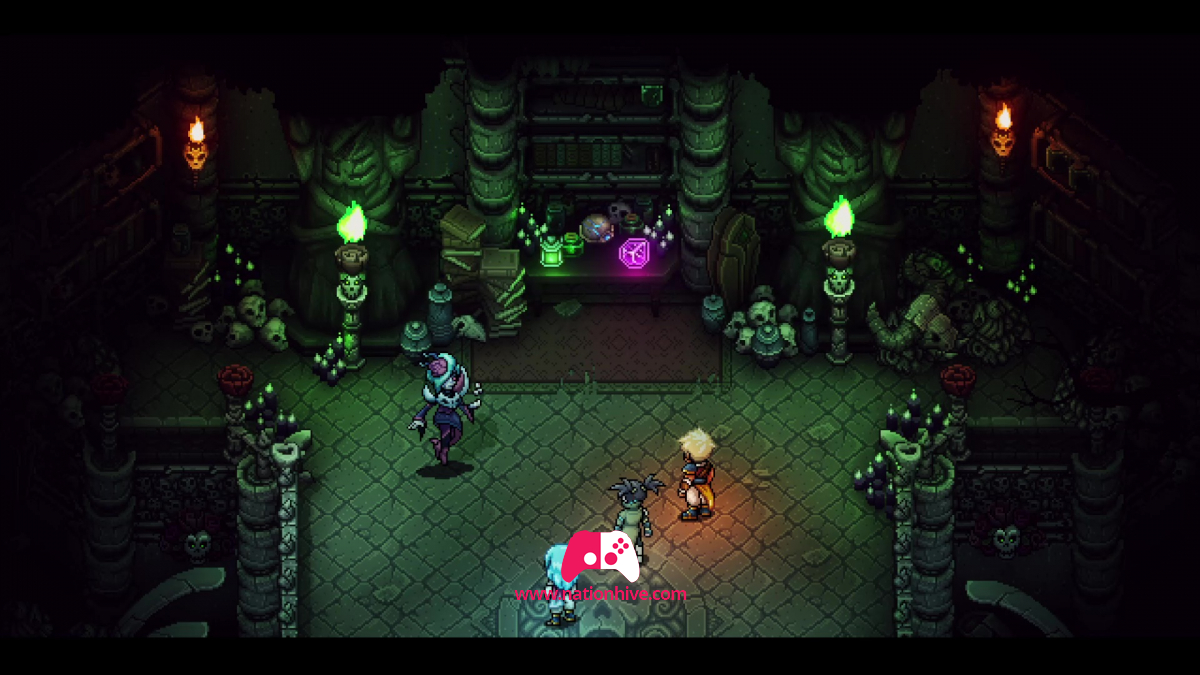
Defeating Romaya
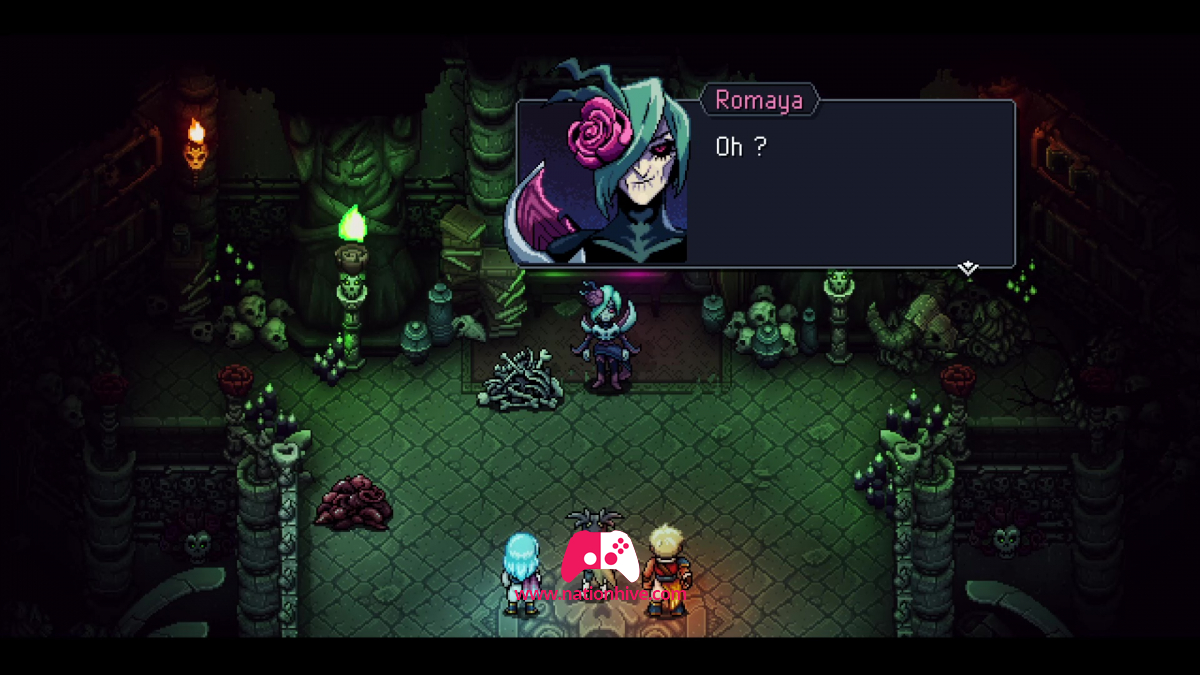
Enter the lair and confront Romaya. It's important to know that Romaya has the ability to summon other enemies. Indeed, on the ground, you'll see a pile of flesh and a pile of bones next to her. As long as these piles remain, she can use her skills to create new enemies to fight alongside her. We advise you to inflict the most damage on the pile of flesh and the pile of bones first, to avoid the appearance of new enemies.
The pile of flesh seems vulnerable to Zale's skills, so use his attacks as well as his skills on that. While the pile of bones seems vulnerable to Valere's skills, so use his attacks as well as his skills on that.
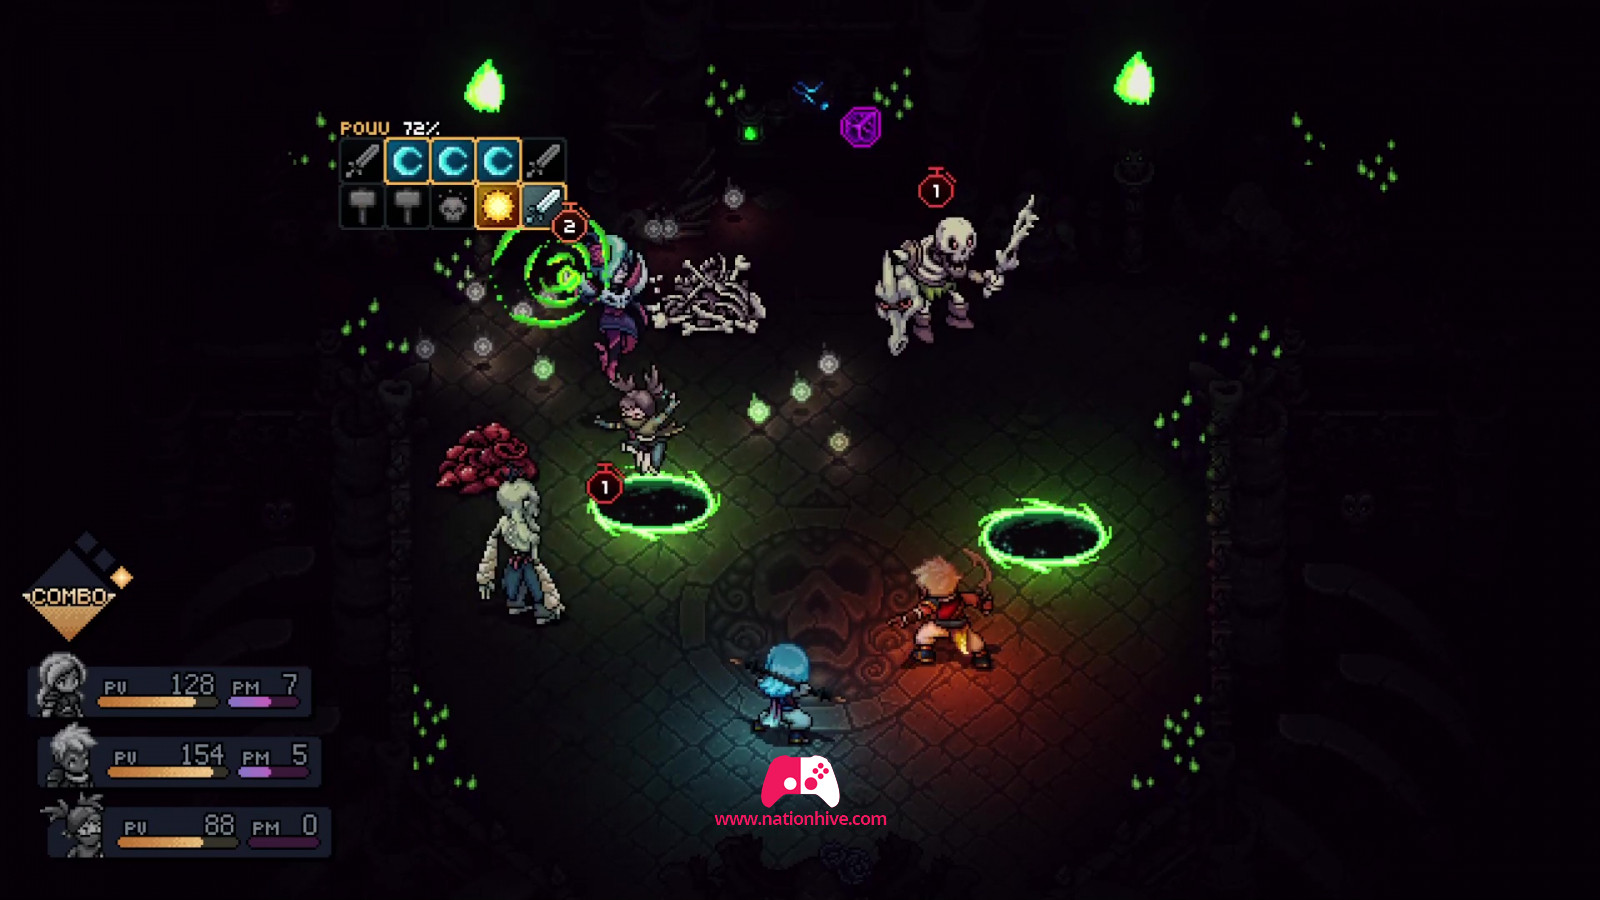
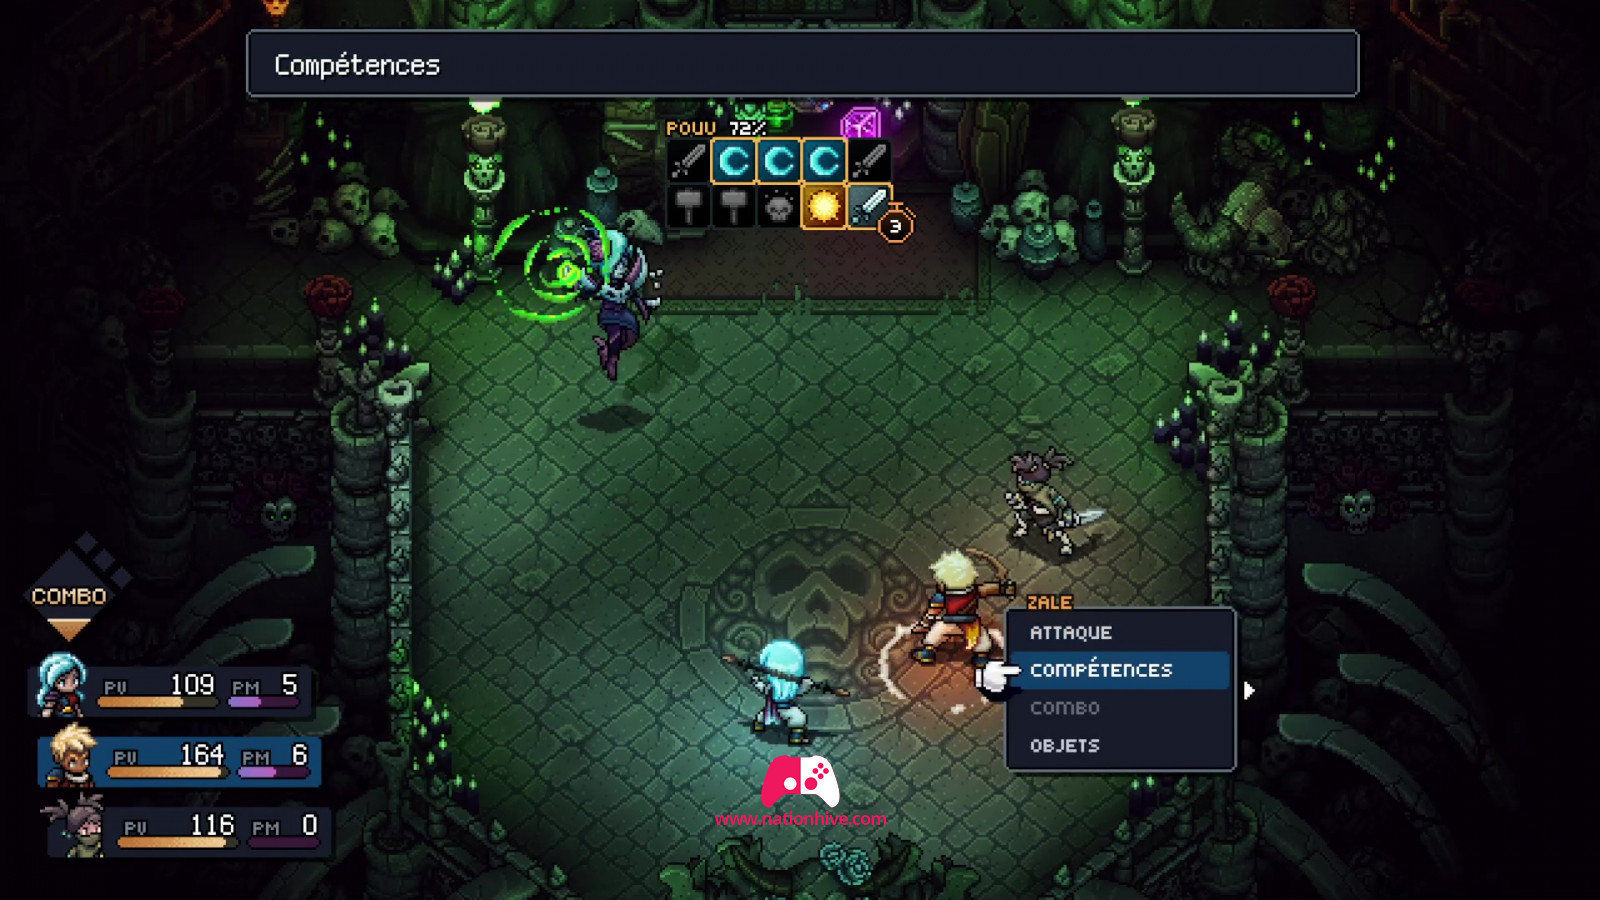
We also advise you to destroy the blocks above her, using the right attacks and skills to reduce the damage she inflicts when she attacks. Seraï's skills will come in very handy during this fight, especially for adding towers to the enemy, allowing you to destroy as many blocks as possible.
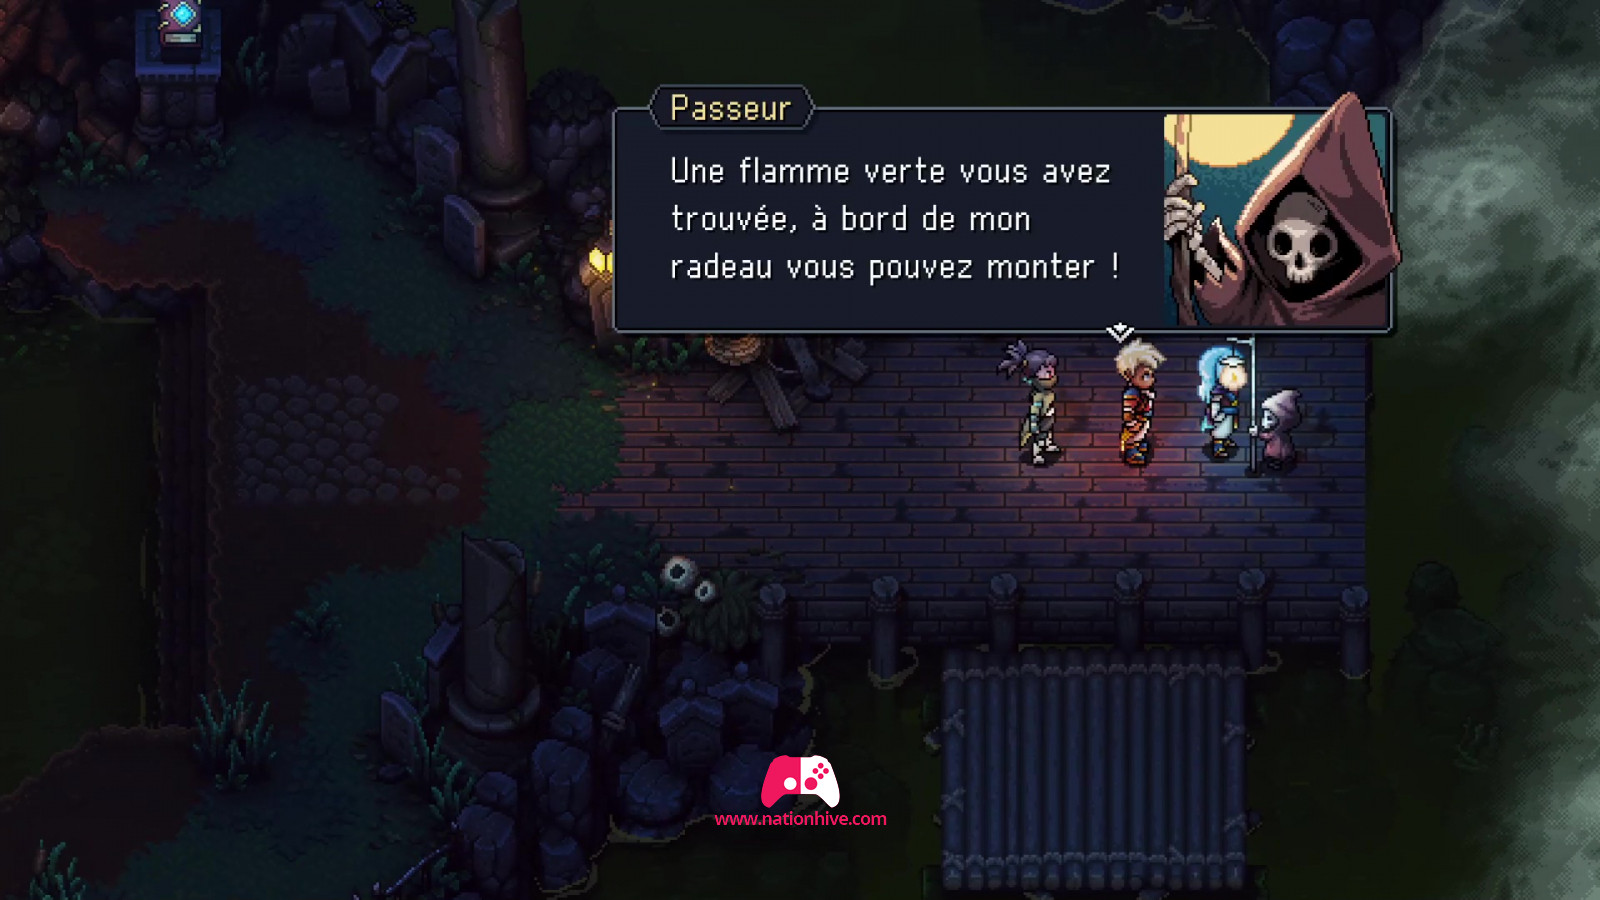
Repeat the process until Romaya admits defeat. After the battle, she'll give you the Soul Stone. She will also give you a Green Flame, which you must give to the Ferryman on your return journey.
Back to Garl
Exit this area (back to where you entered) and use the platform to return to the Ferryman. Now that you have a Green Flame, it will be possible to return to Lucent City and heal Garl. A cinematic appears in which Director Moraine asks you to signal him when you're ready to head for the Host's lair (Haunted Mansion).