Secret of the Ring Ruins
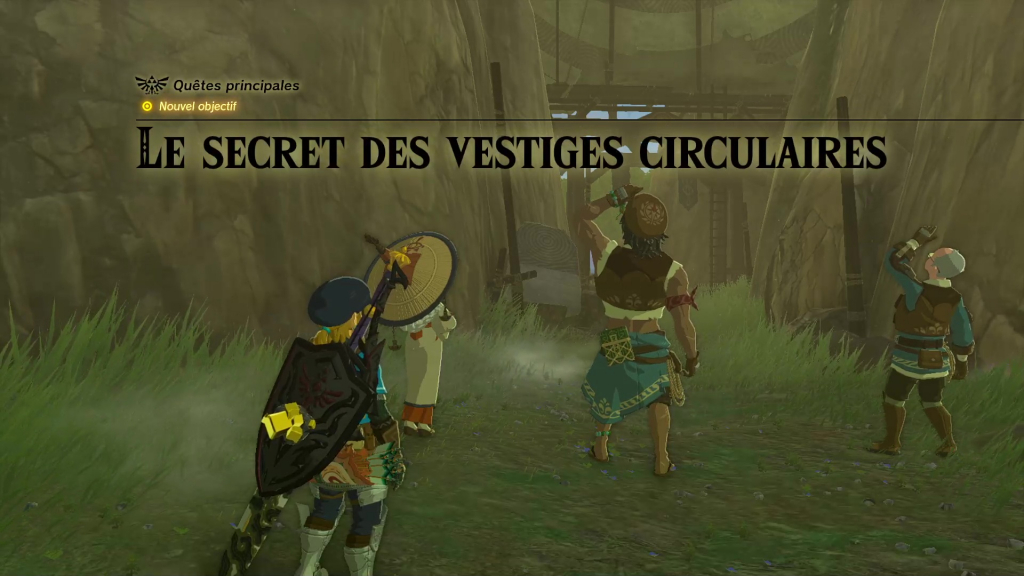
In this walkthrough for The Legend of Zelda: Tears of the Kingdom, we'll give you the complete tutorial for the main quest: Secret of the Ring Ruins.
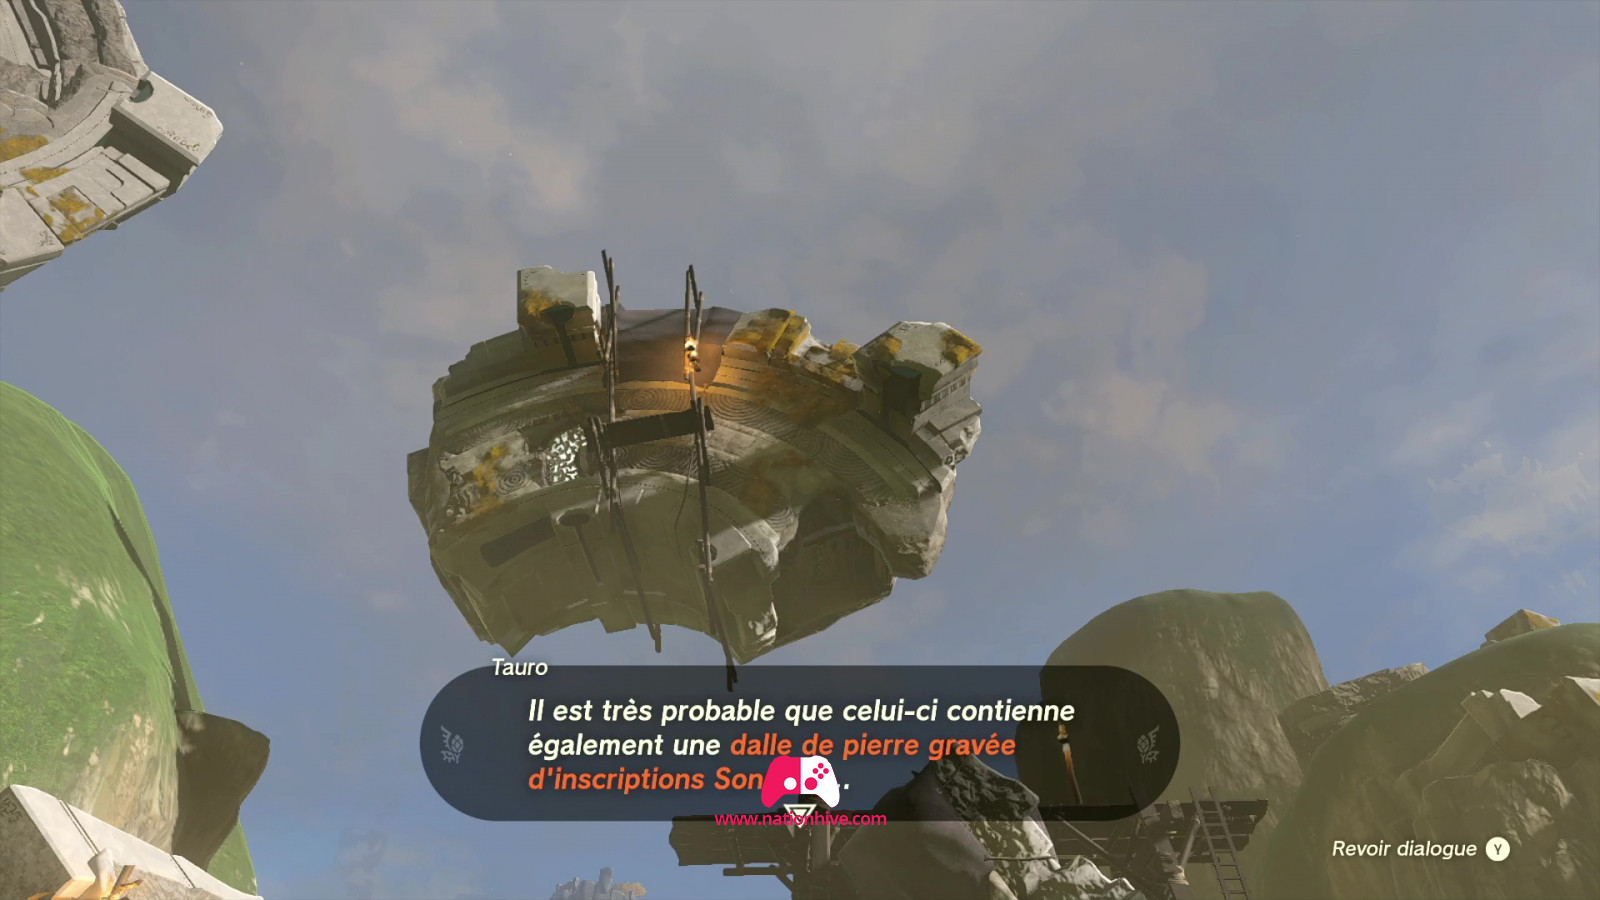
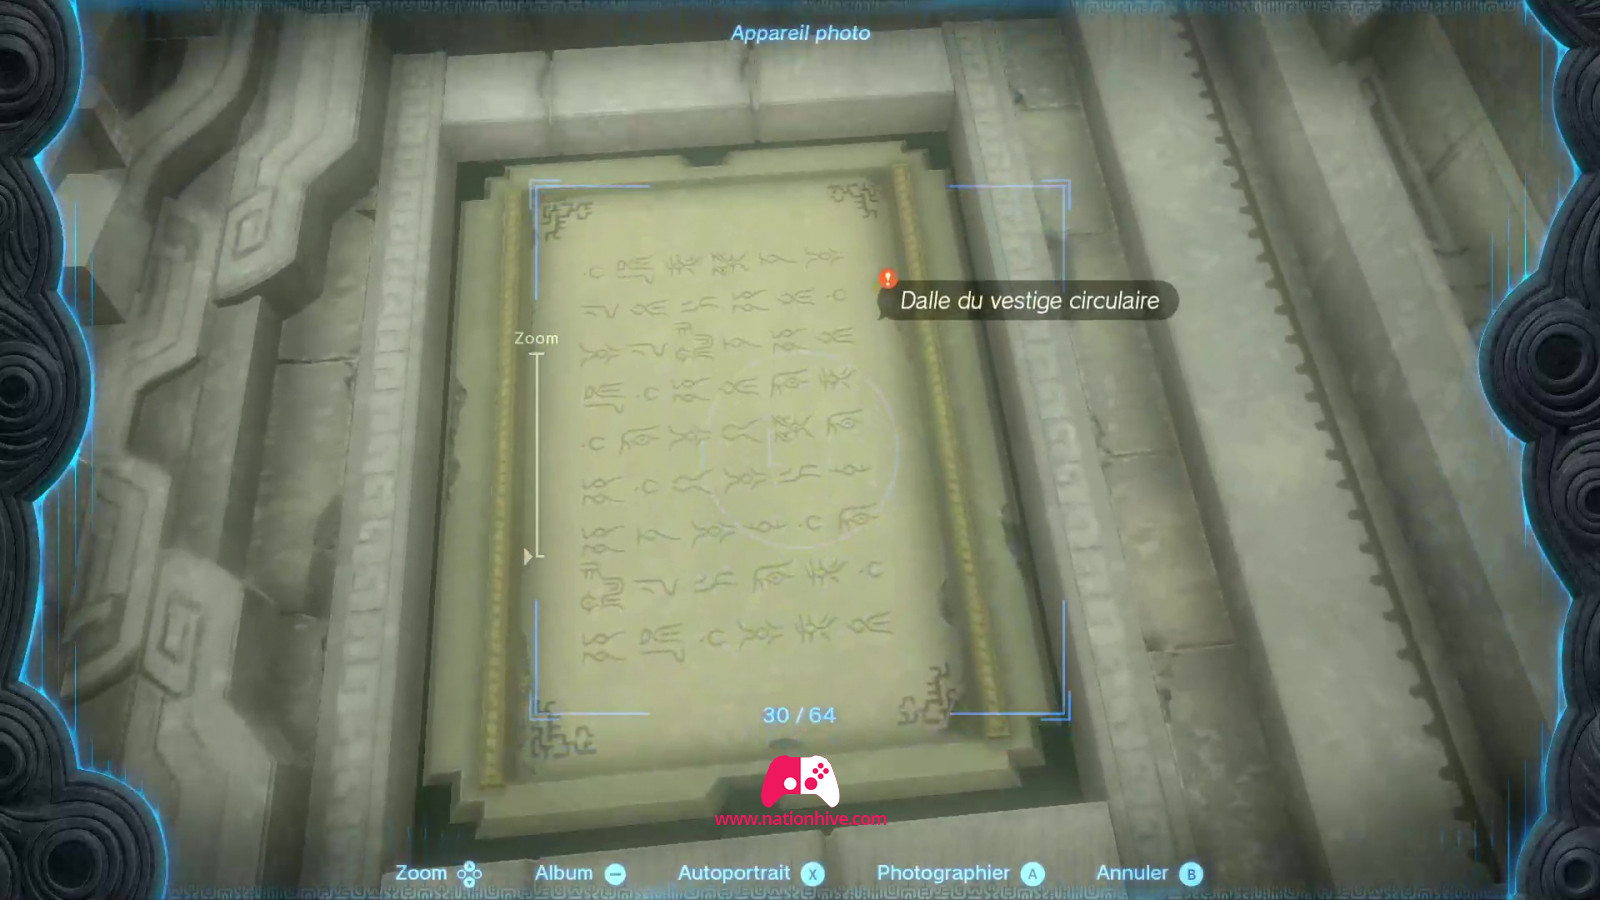
A cinematic sequence is triggered, in which you learn that they need to investigate the floating Ring Ruins, since it contains a stone tablet engraved with Zonai inscription.
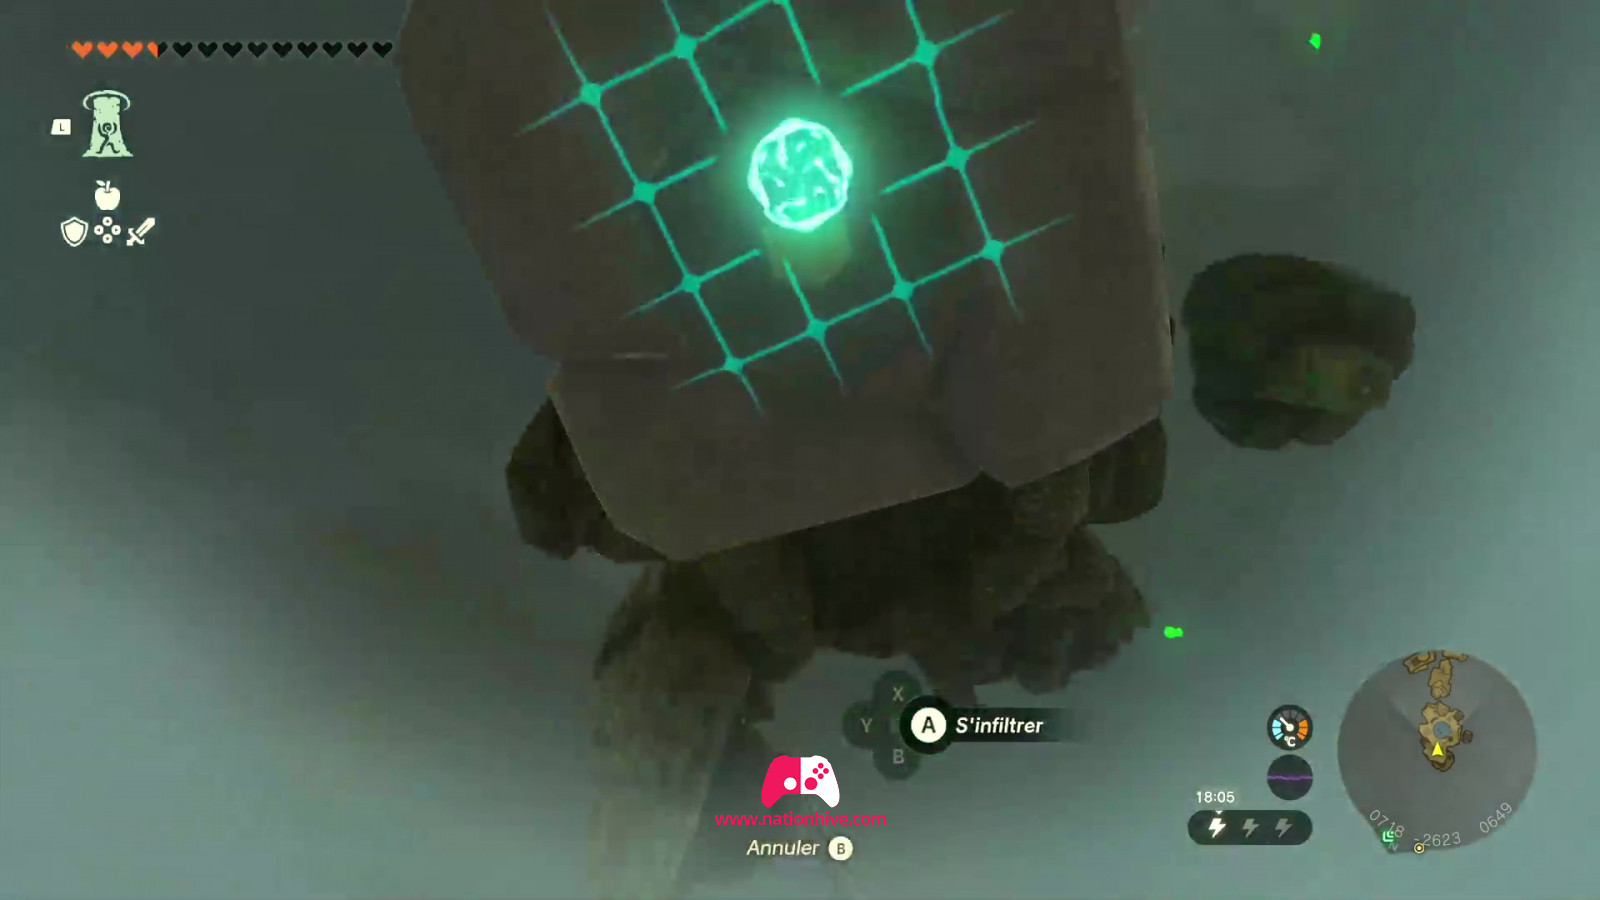
It's up to you to use Ascend's ability to enter the floating Ring Ruins! Start by climbing the ladder at the bottom of the platform on the right and continue upwards until you see a semicircle. Drop down into it and use Ascend's ability to climb to the platform above. Use Ascend again to reach the floating Ring Ruins.
Once in front of the stone tablet engraved with the Soneaus inscription, take a picture with Purah Pad's camera feature. Then exit the floating Ring Ruins with Ascend and go down to share your discovery with Tauro.
Popla Foothills Skyview Tower
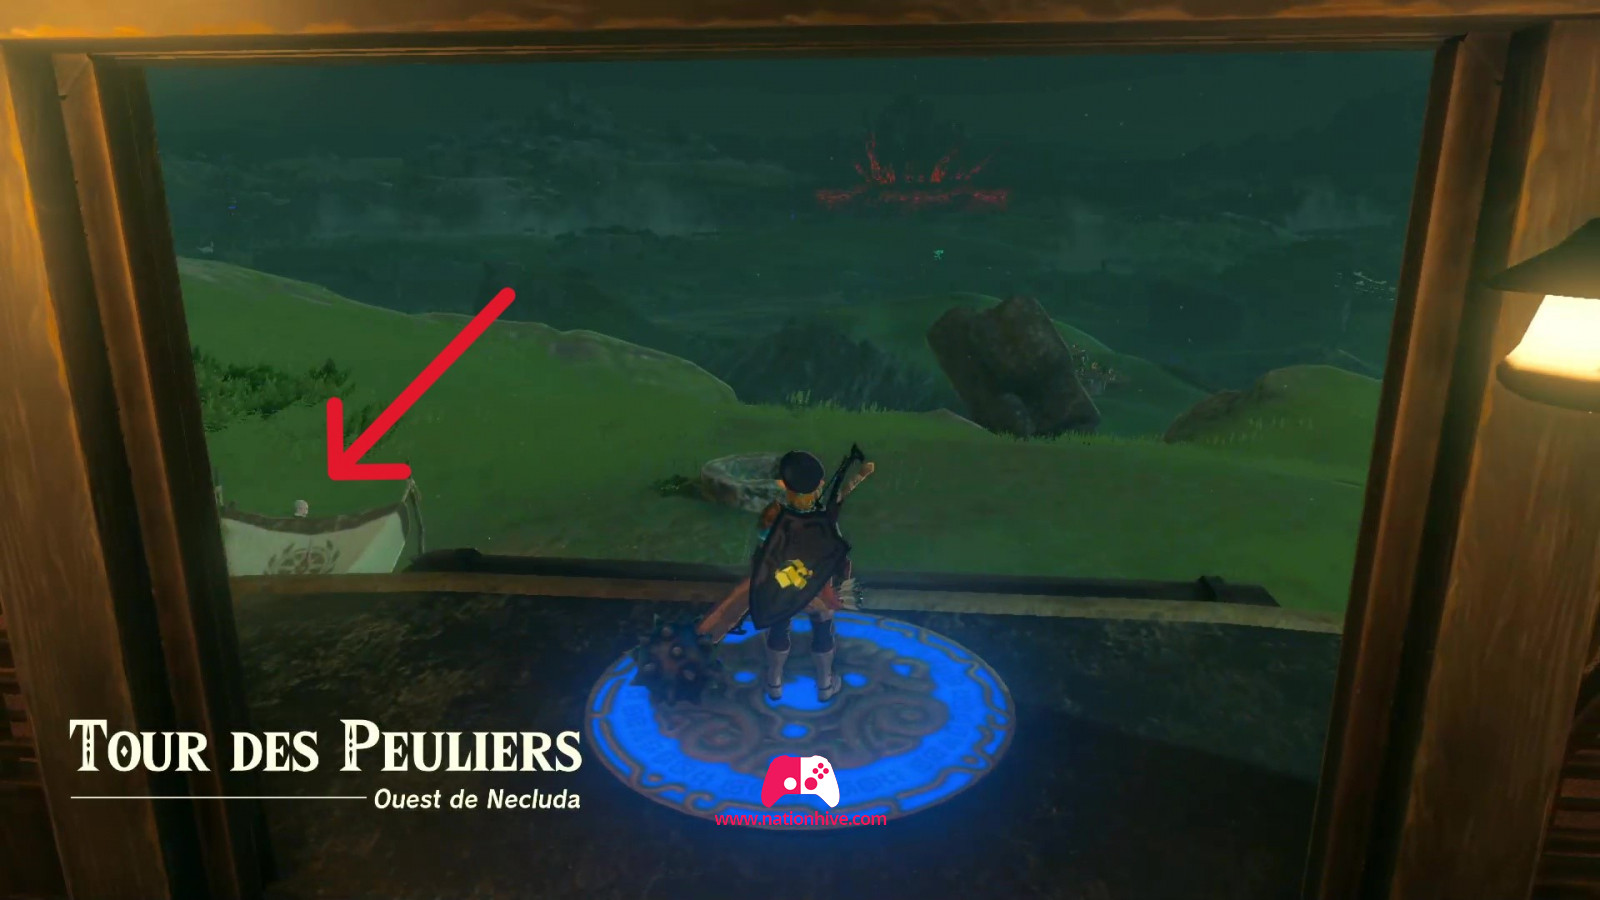
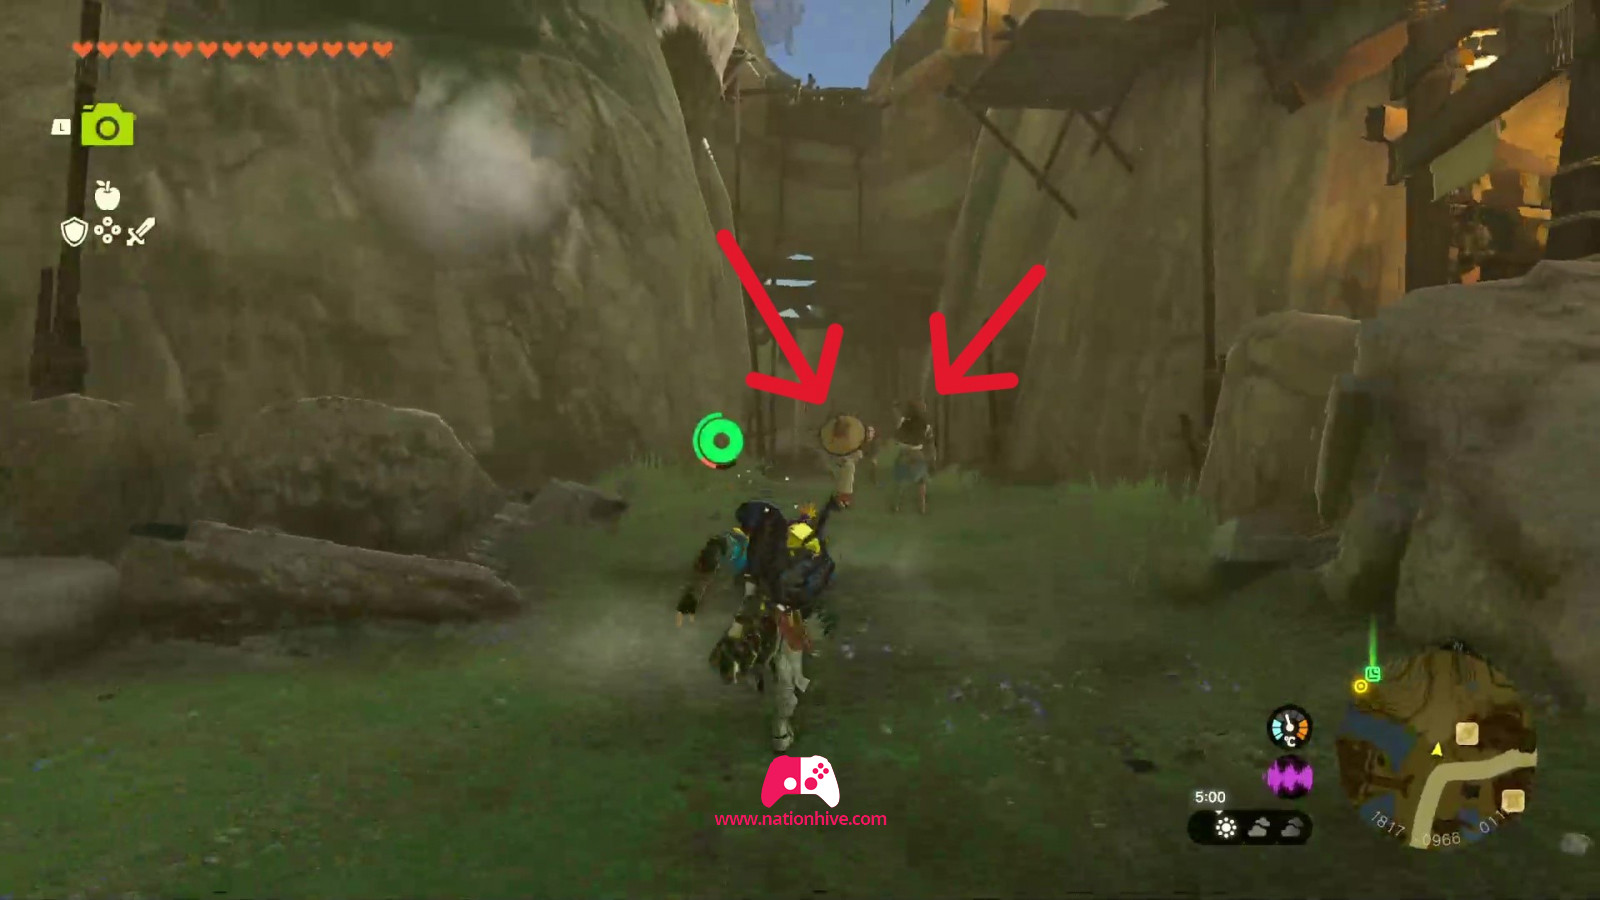
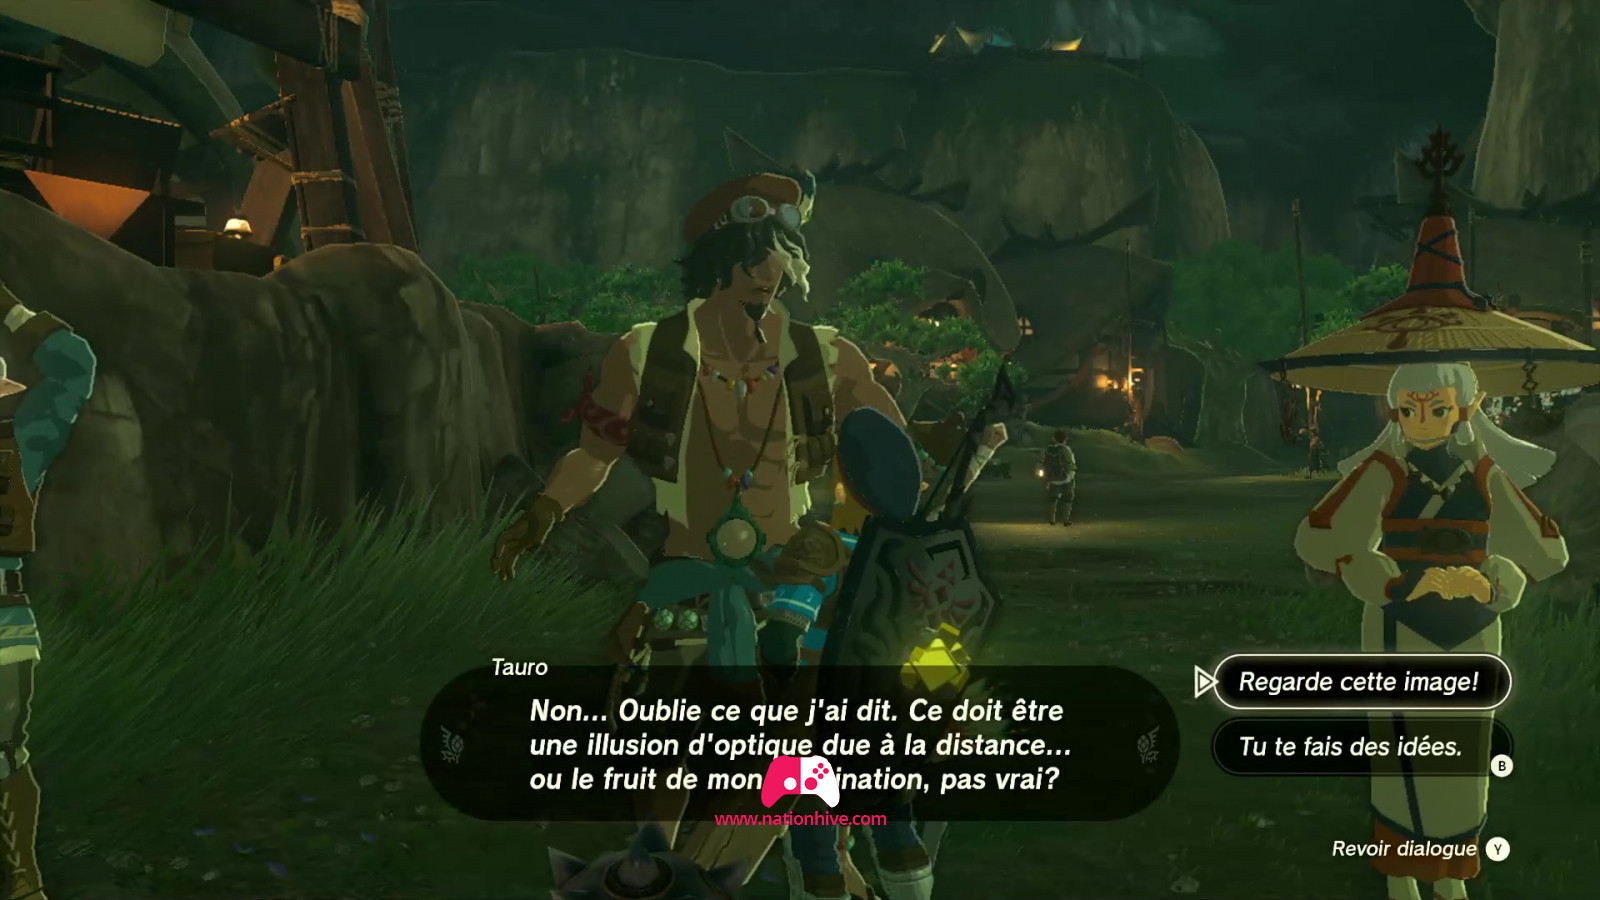
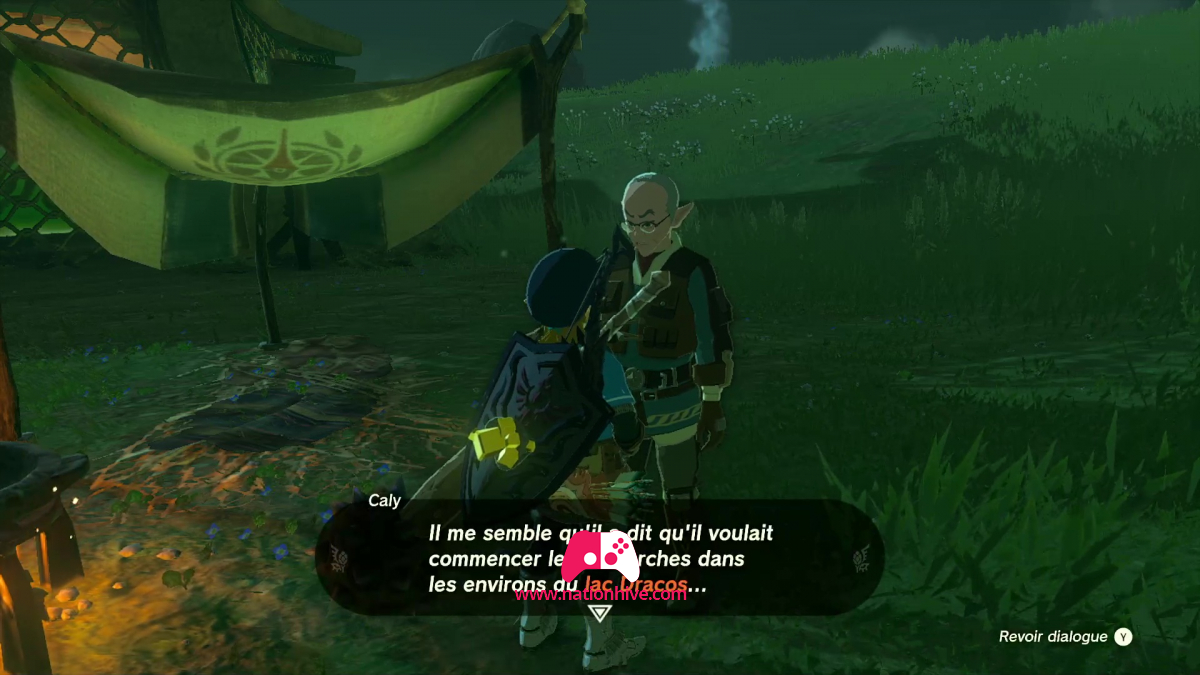
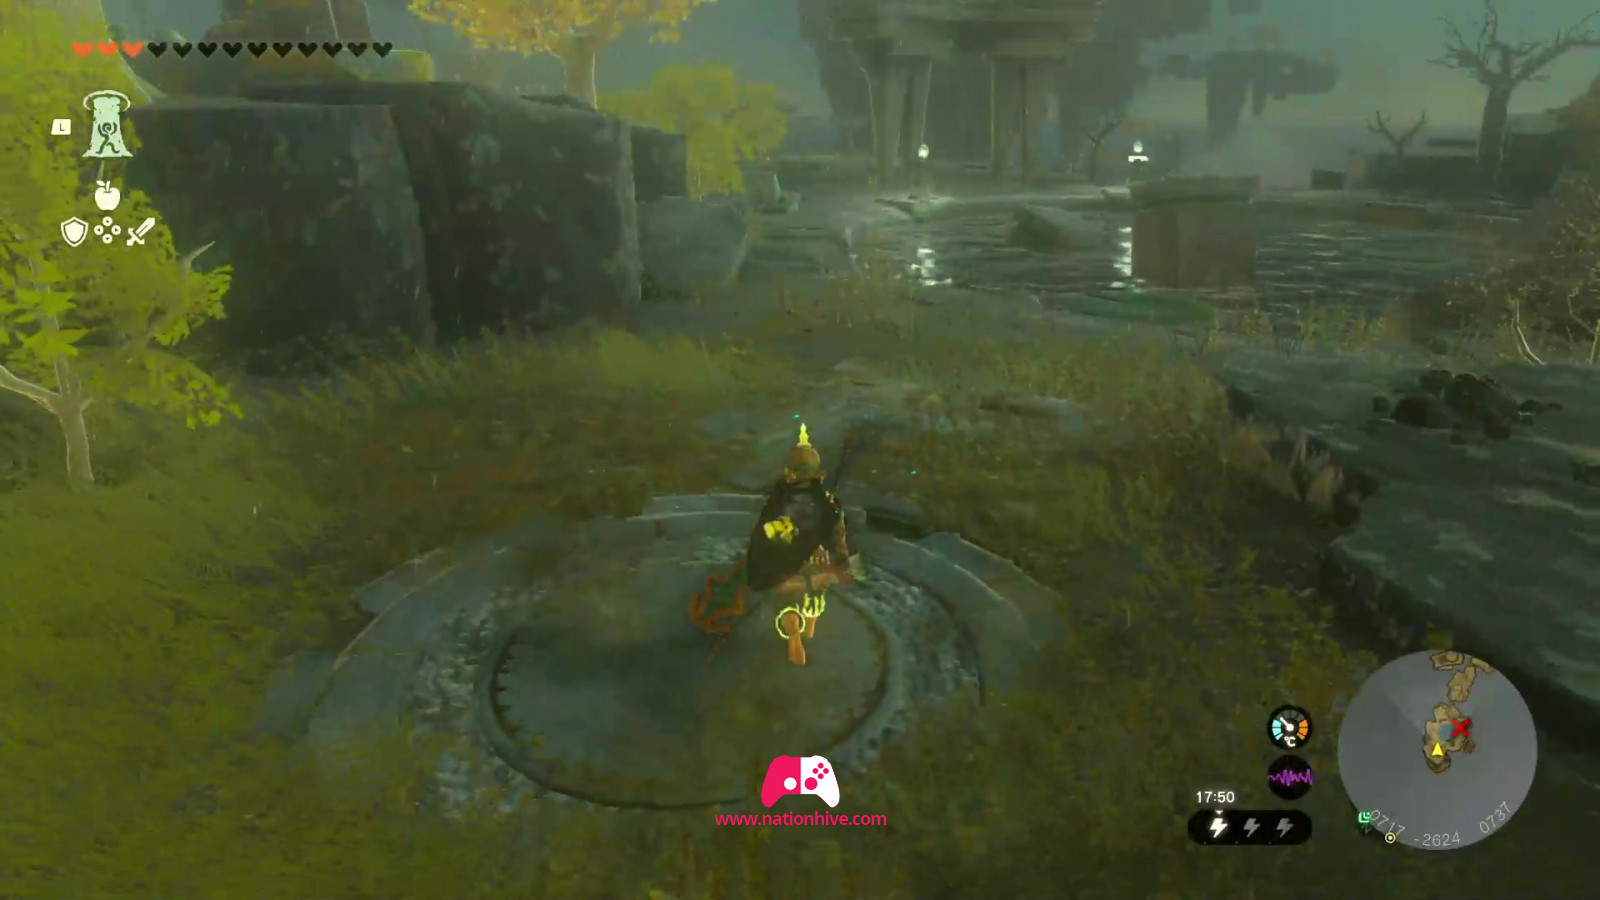
Then join Tauro at the Popla Foothills Skyview Tower for further research as Tauro explores the Zonai Ruins, located close by the tower. When you arrive at the Tower, talk to Caly, who has set up a tent just to the left of the Tower entrance. Caly will inform you that Tauro has headed southeast towards Dracozu Lake.
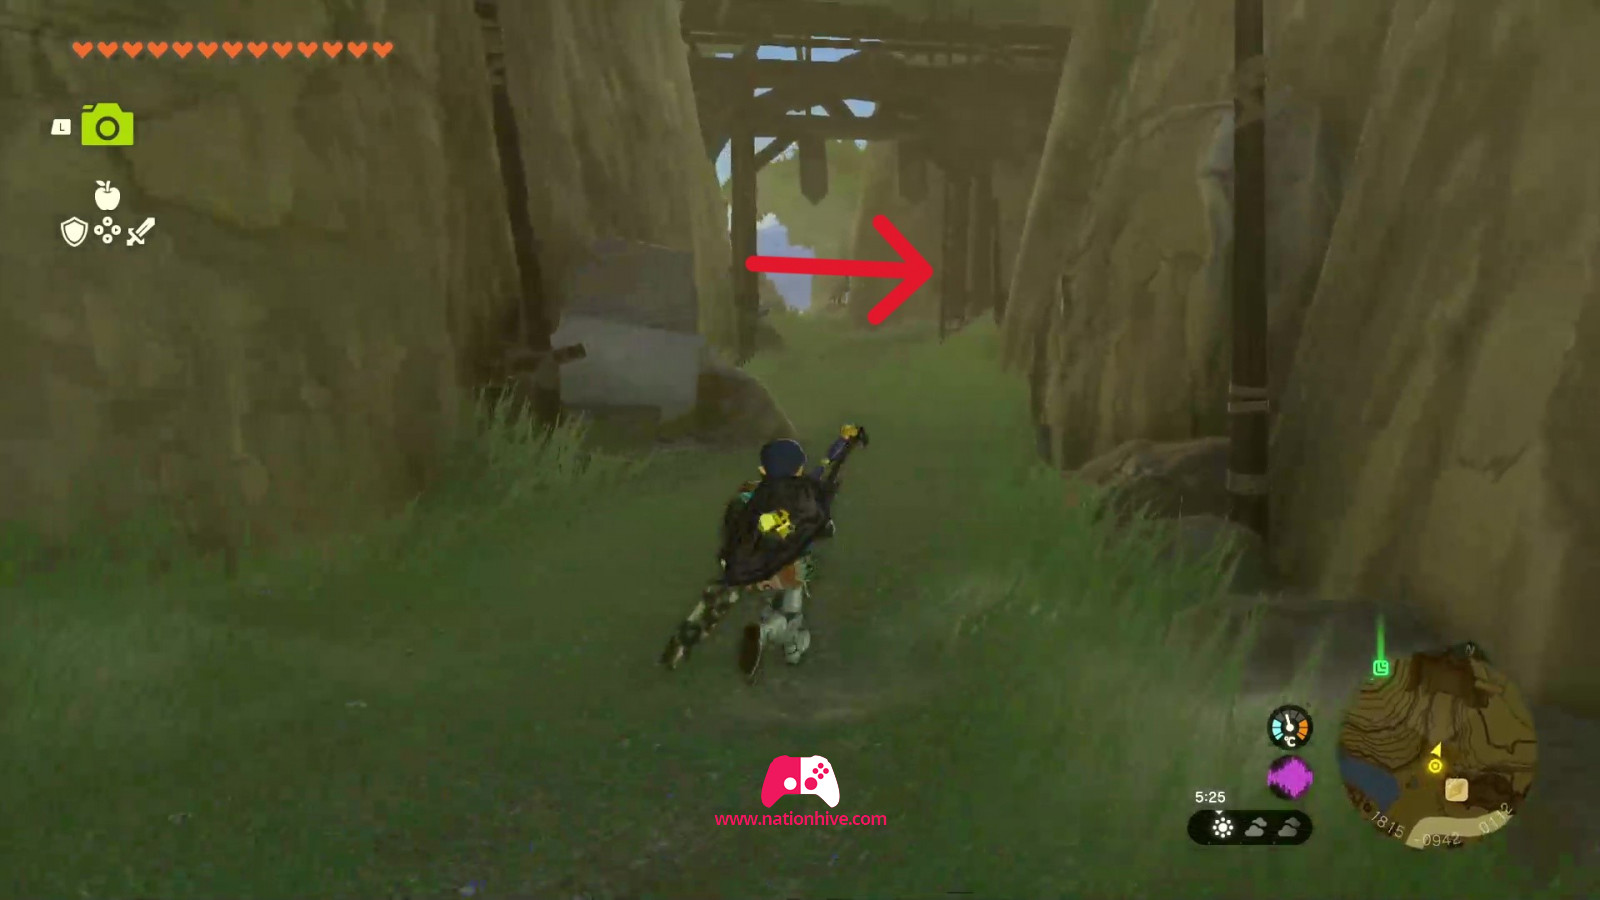
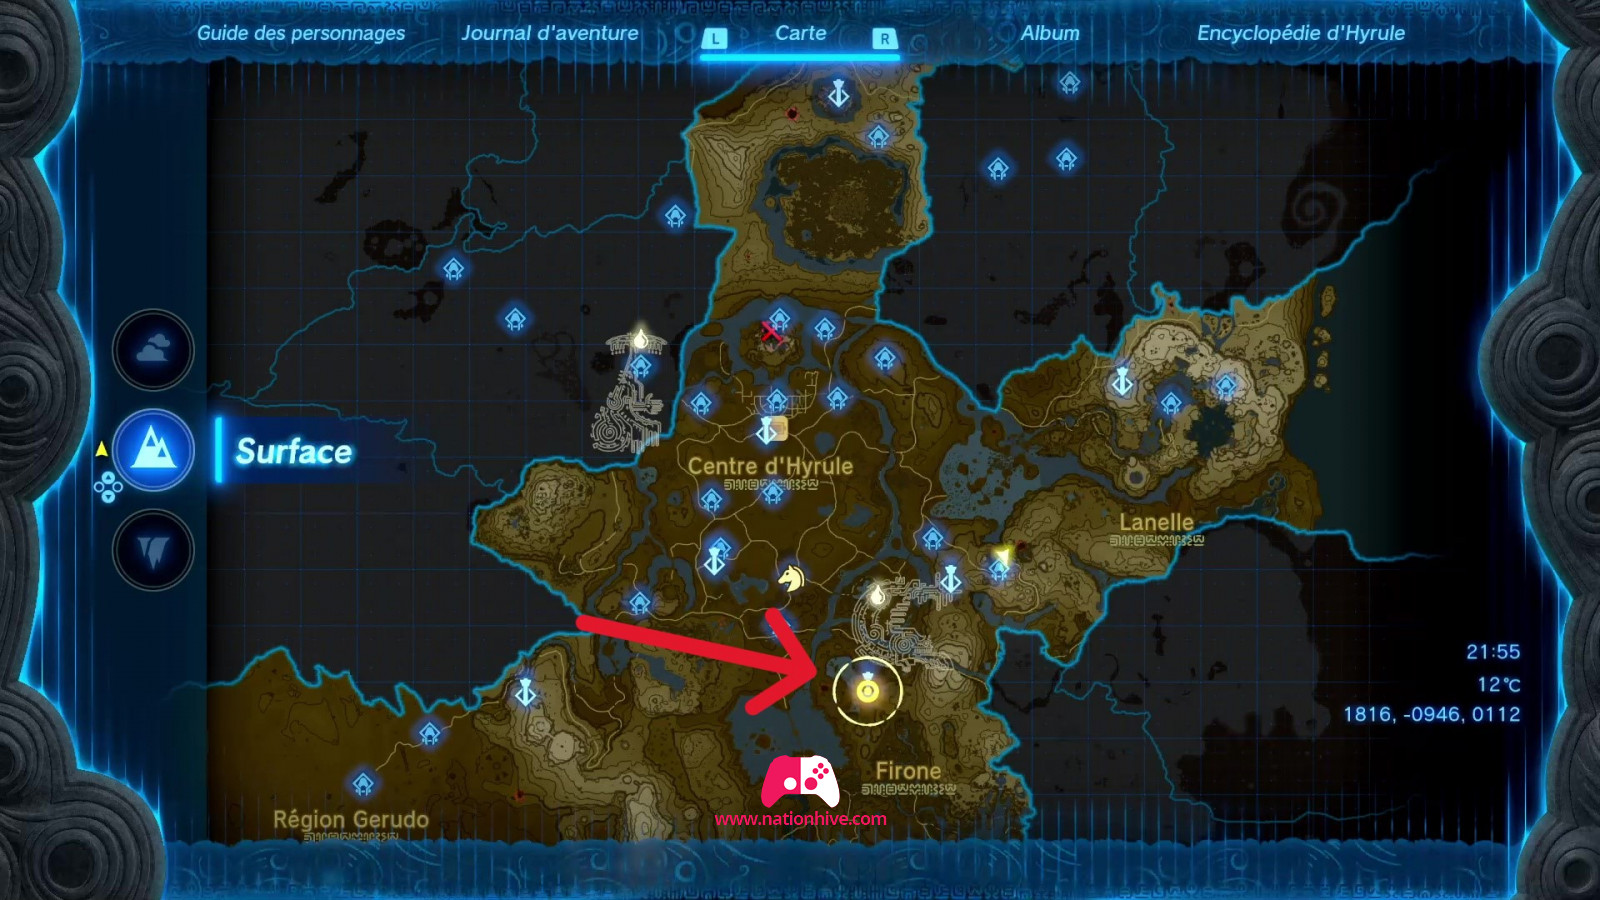
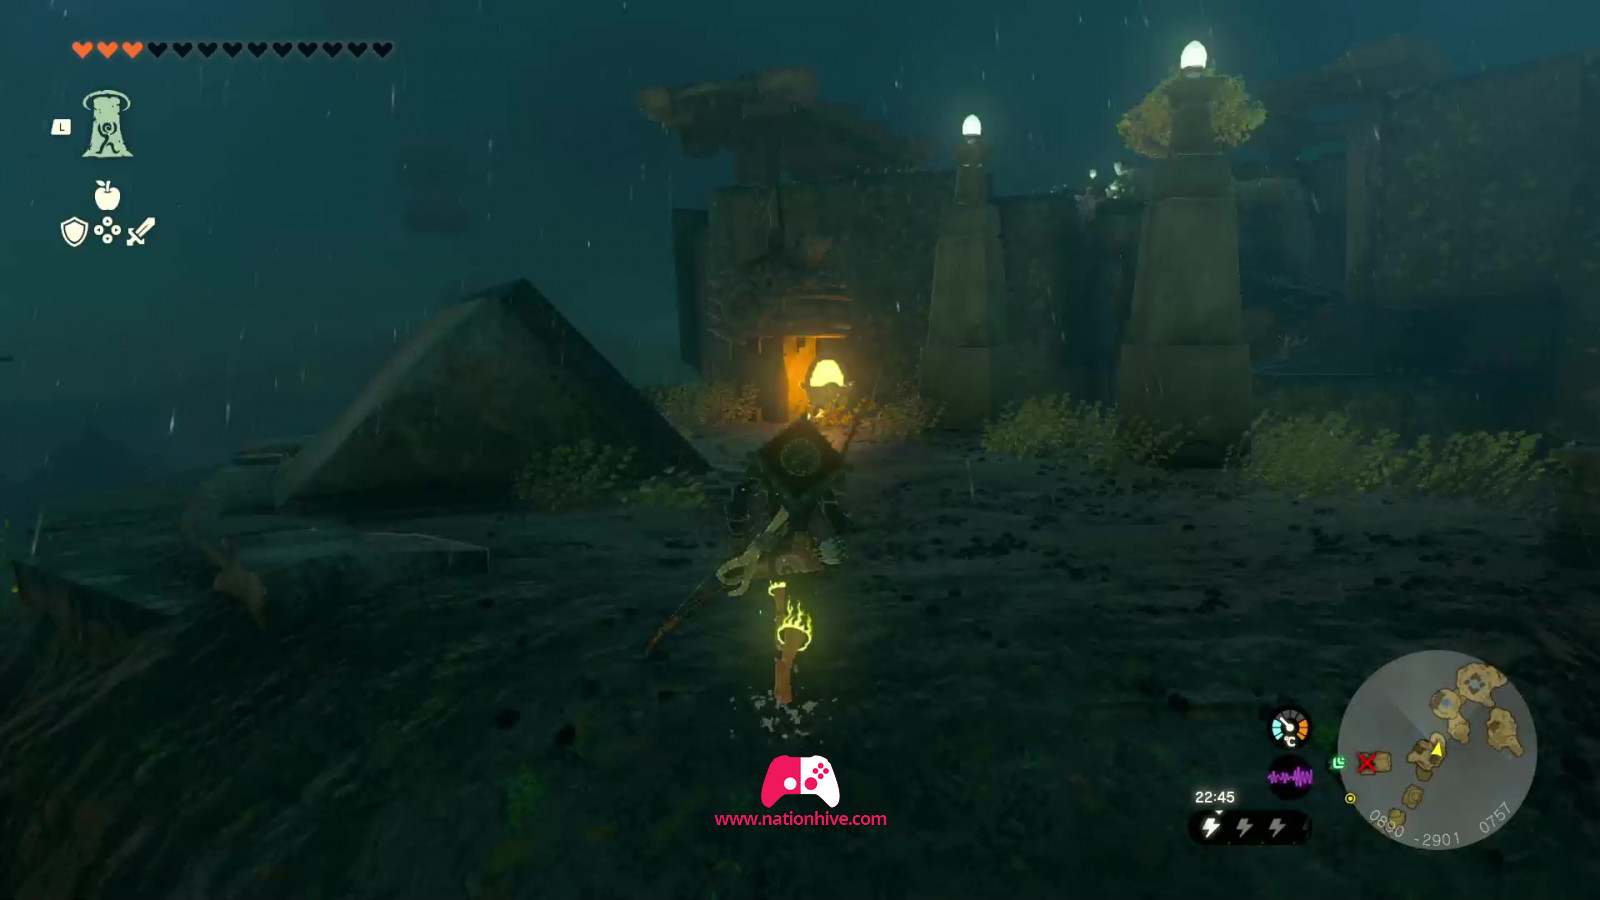
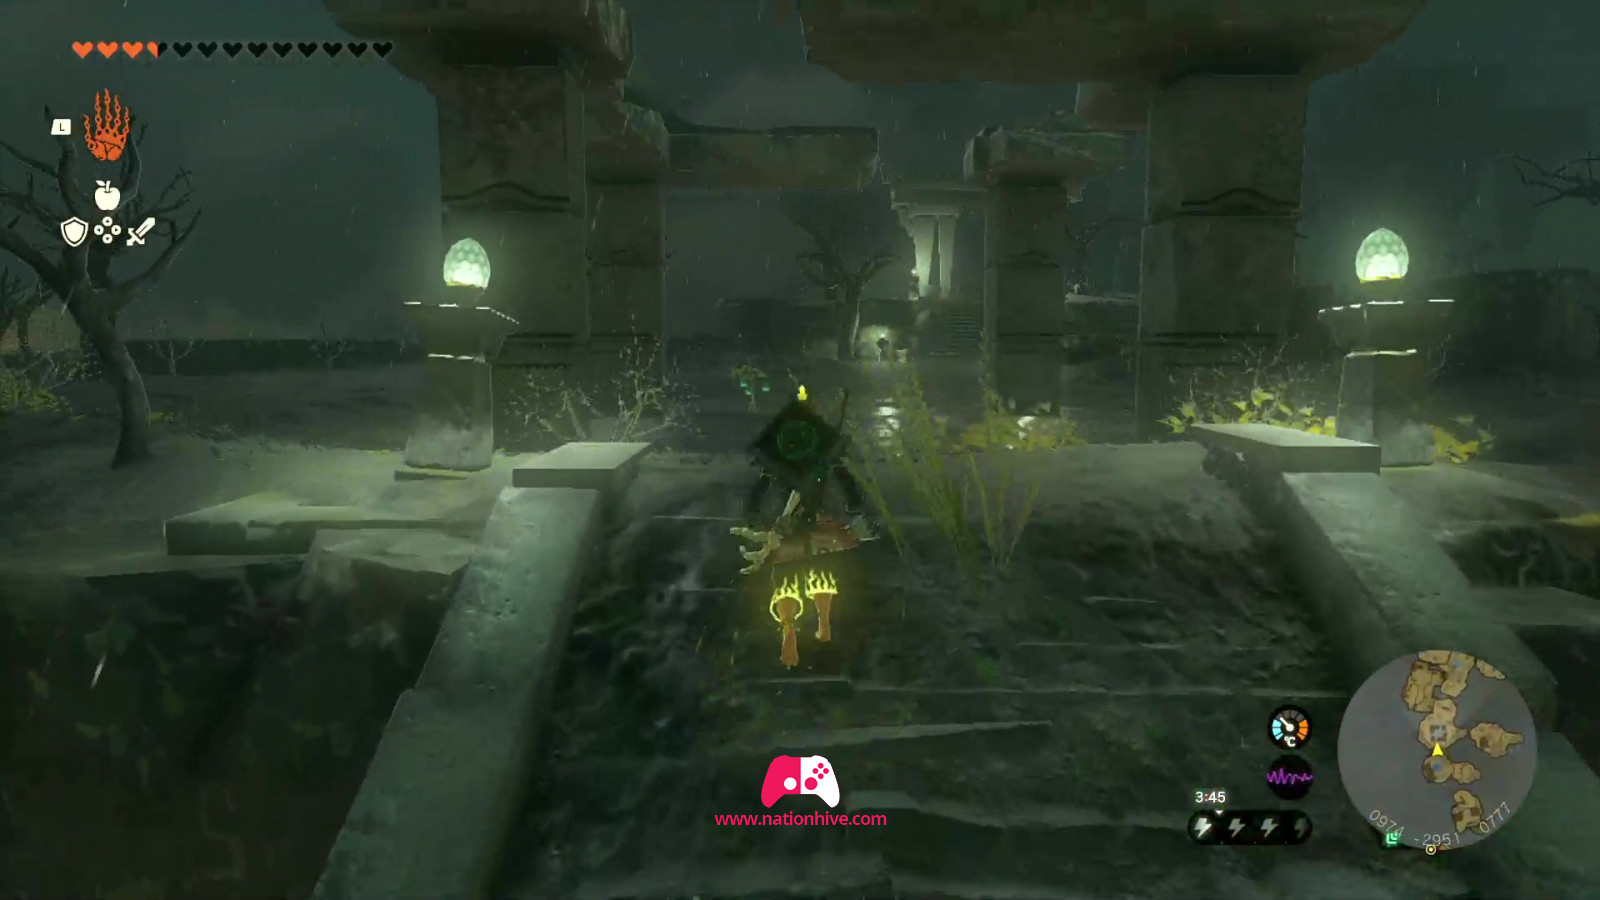
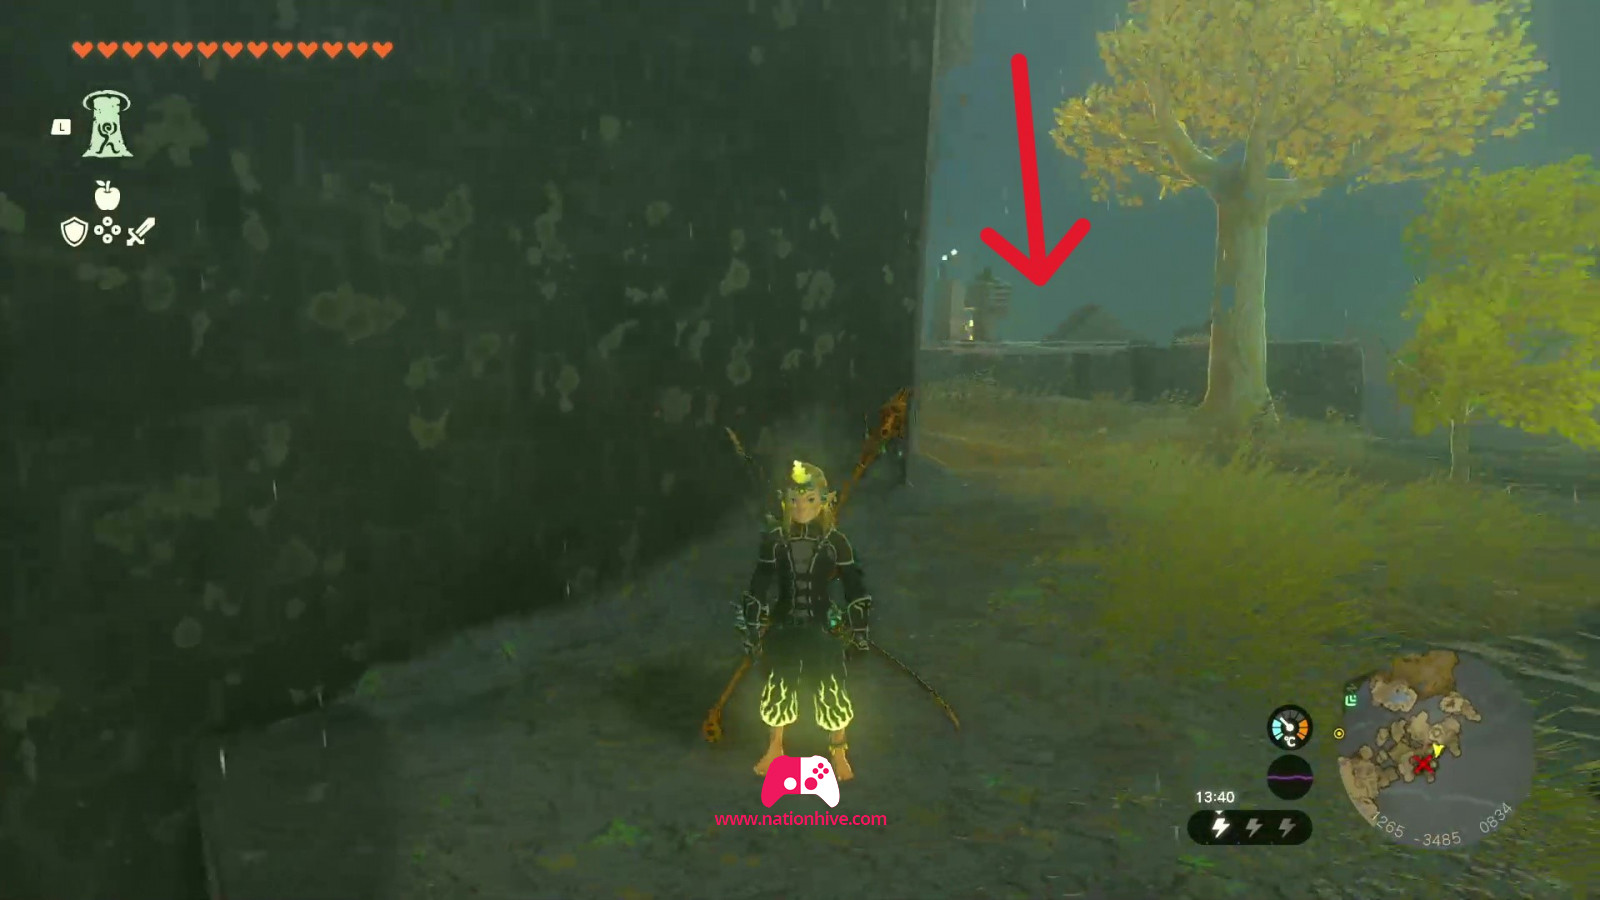
Dracozu Lake
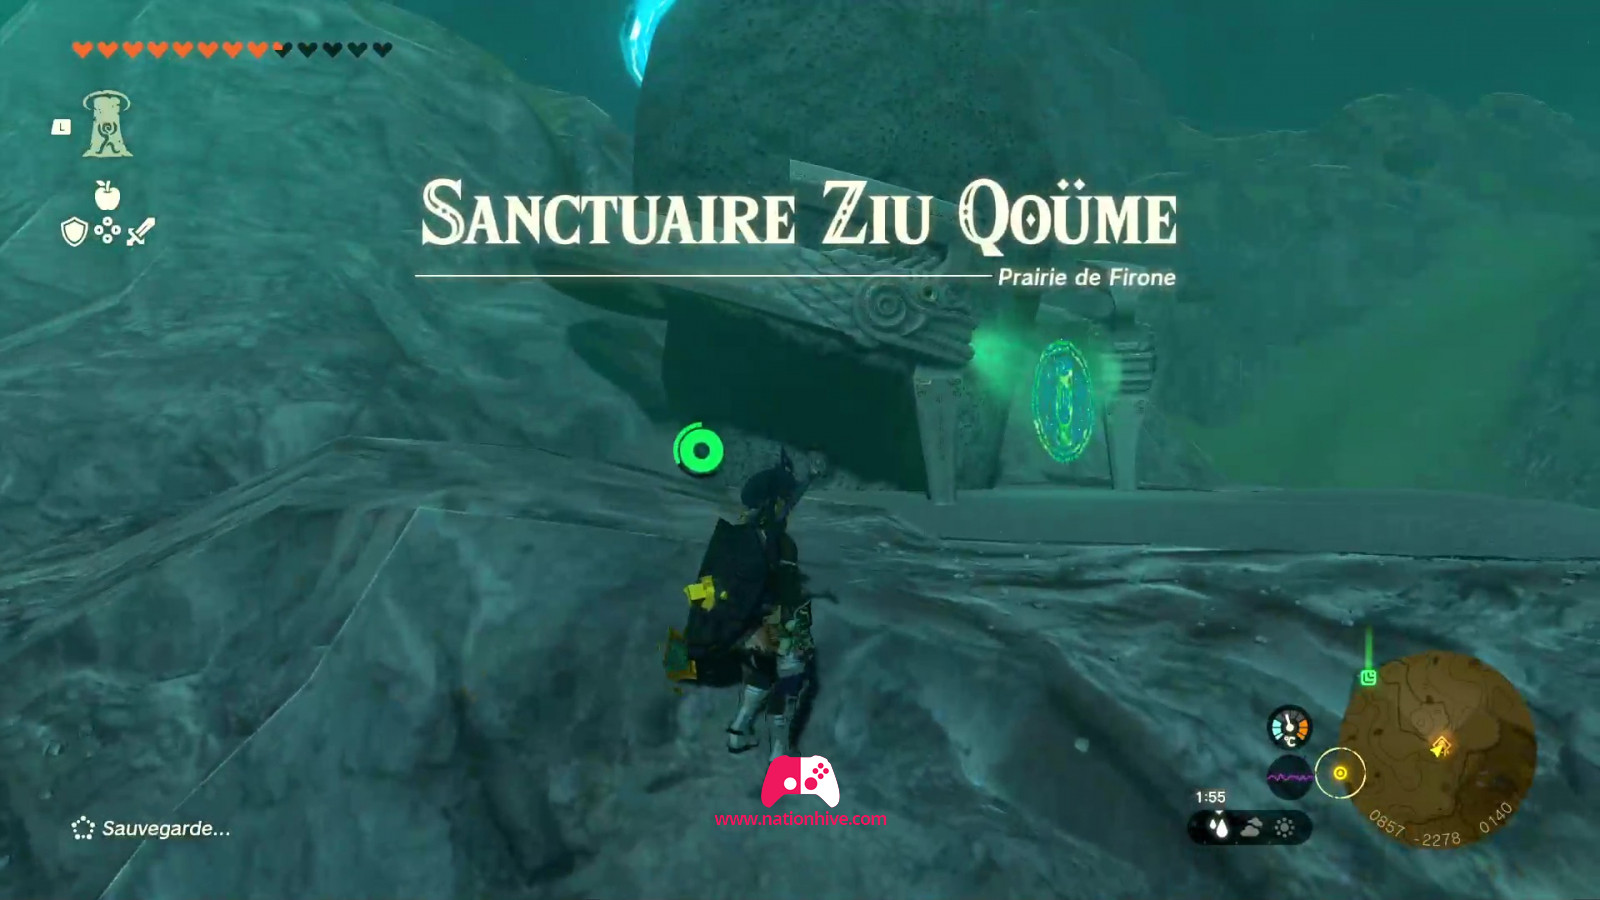

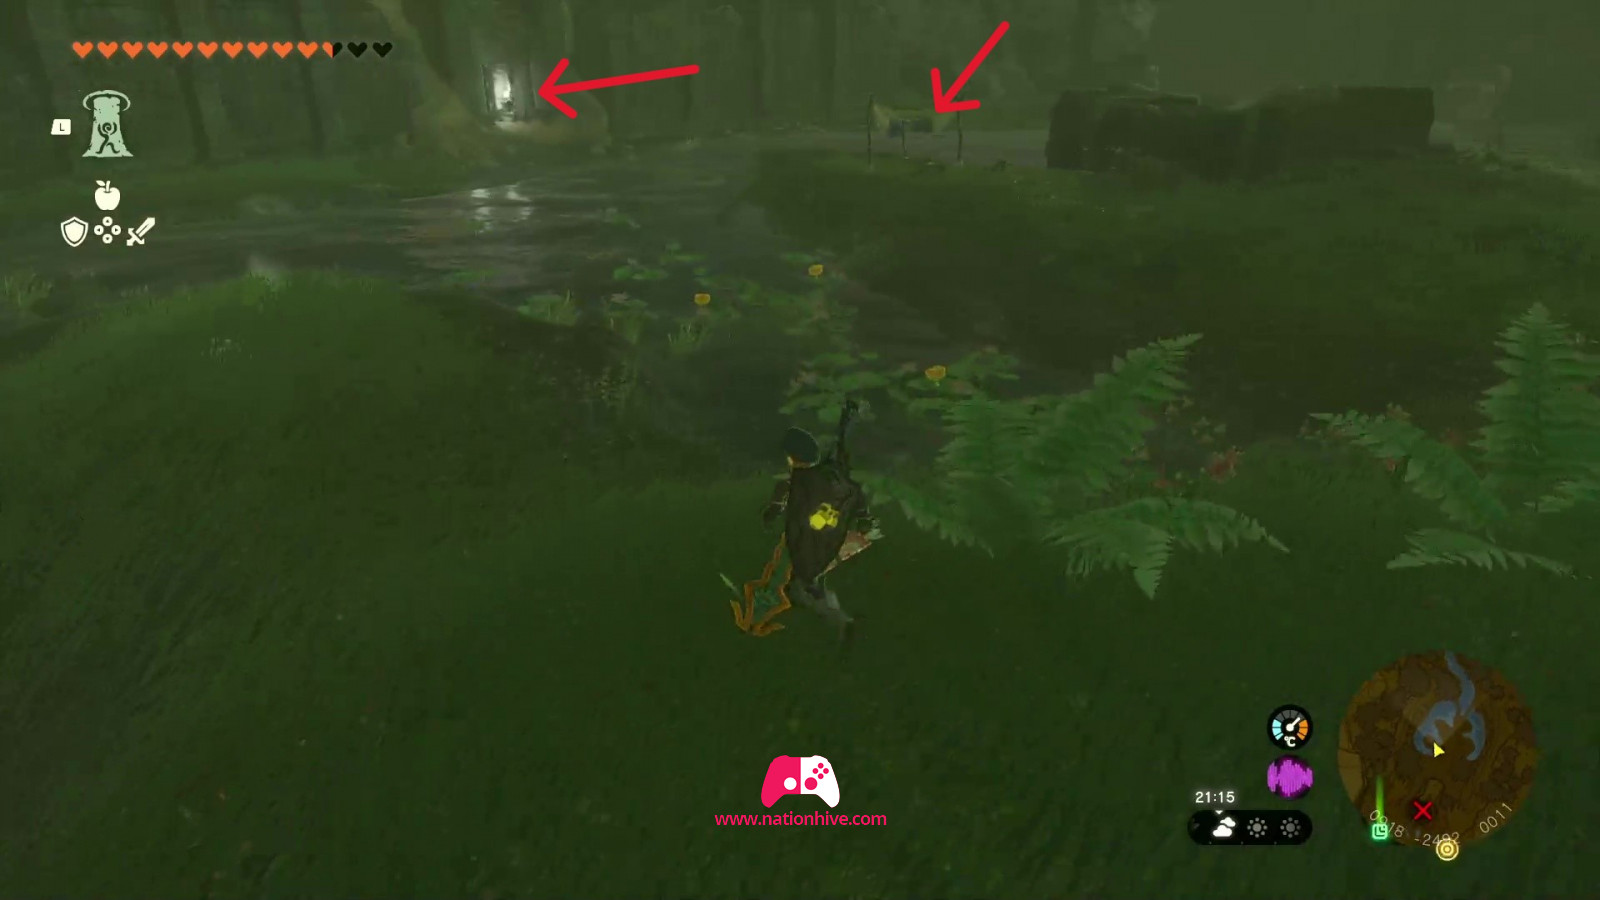
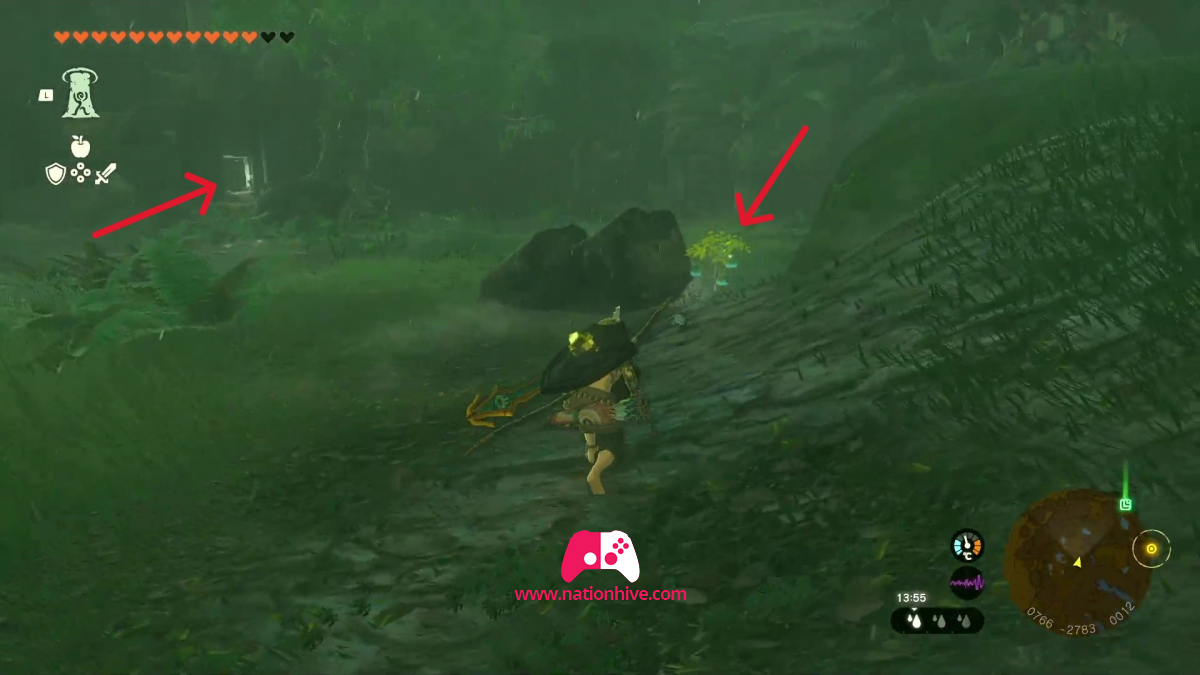
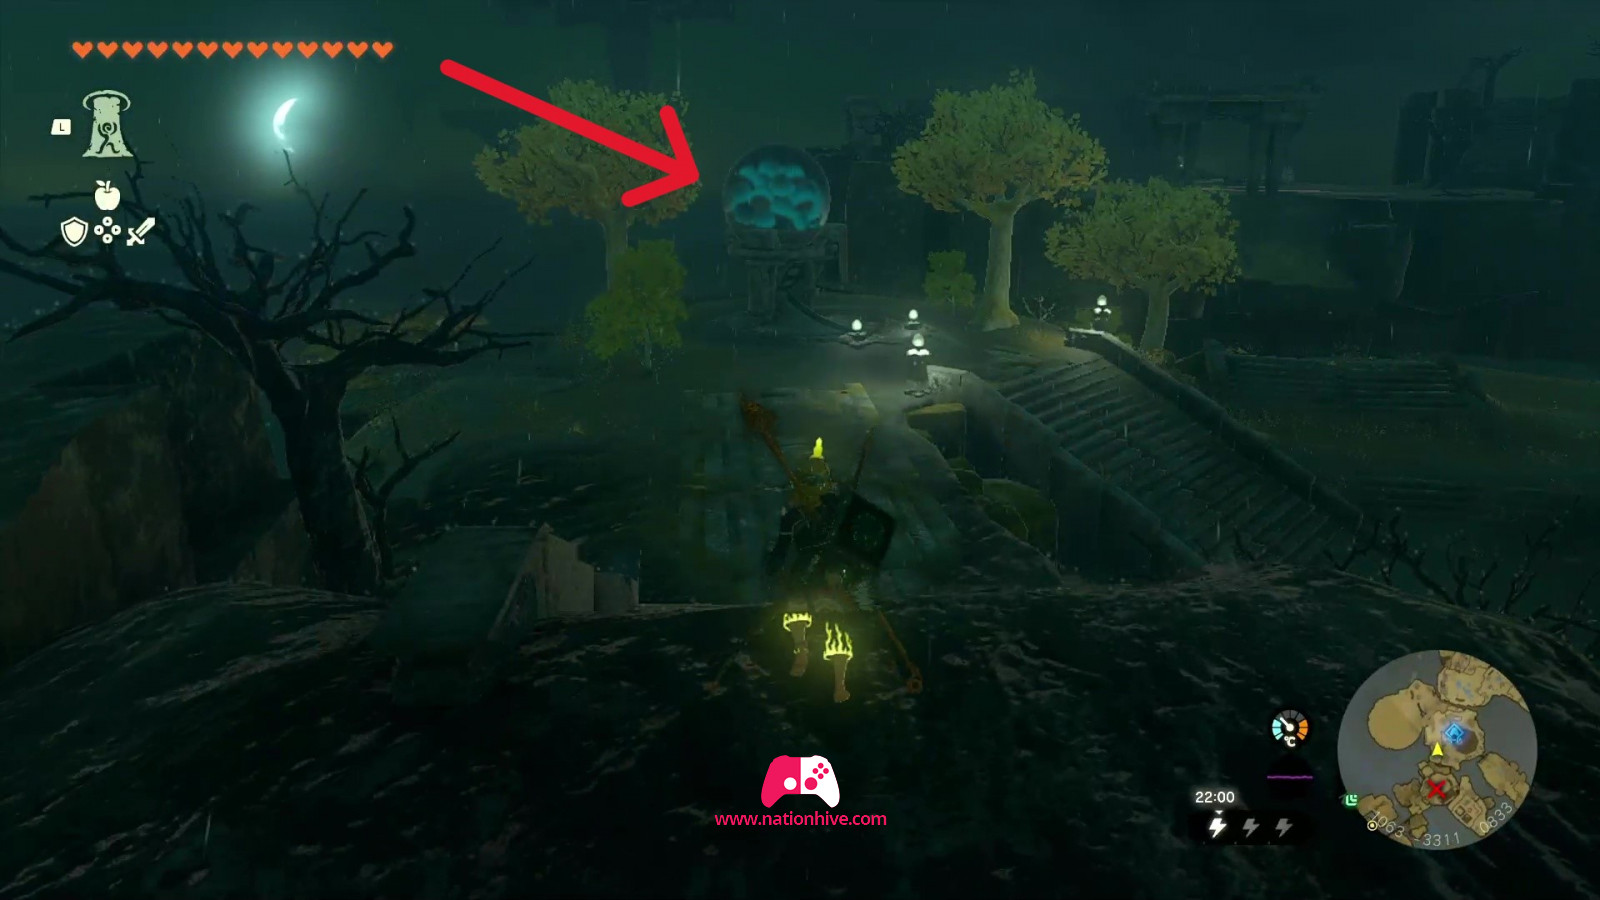
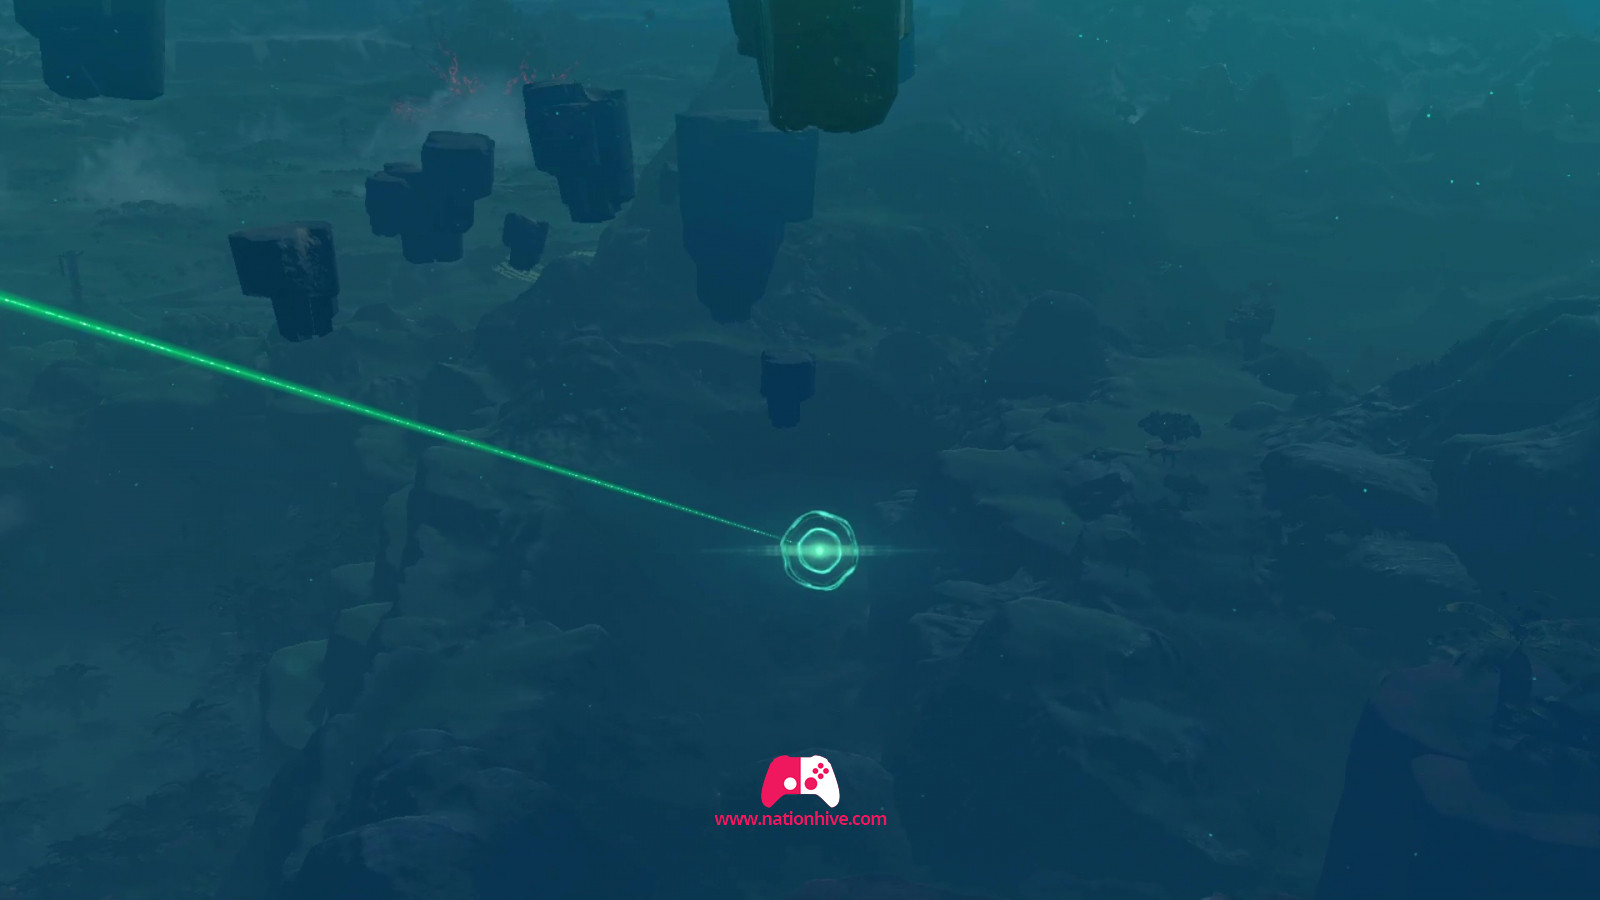
To find Dracozu Lake, head for the Jiukoum Shrine on the way to Dracozu Lake. The entrance you want to find is shown in the image below.
Find the Charged Shirt
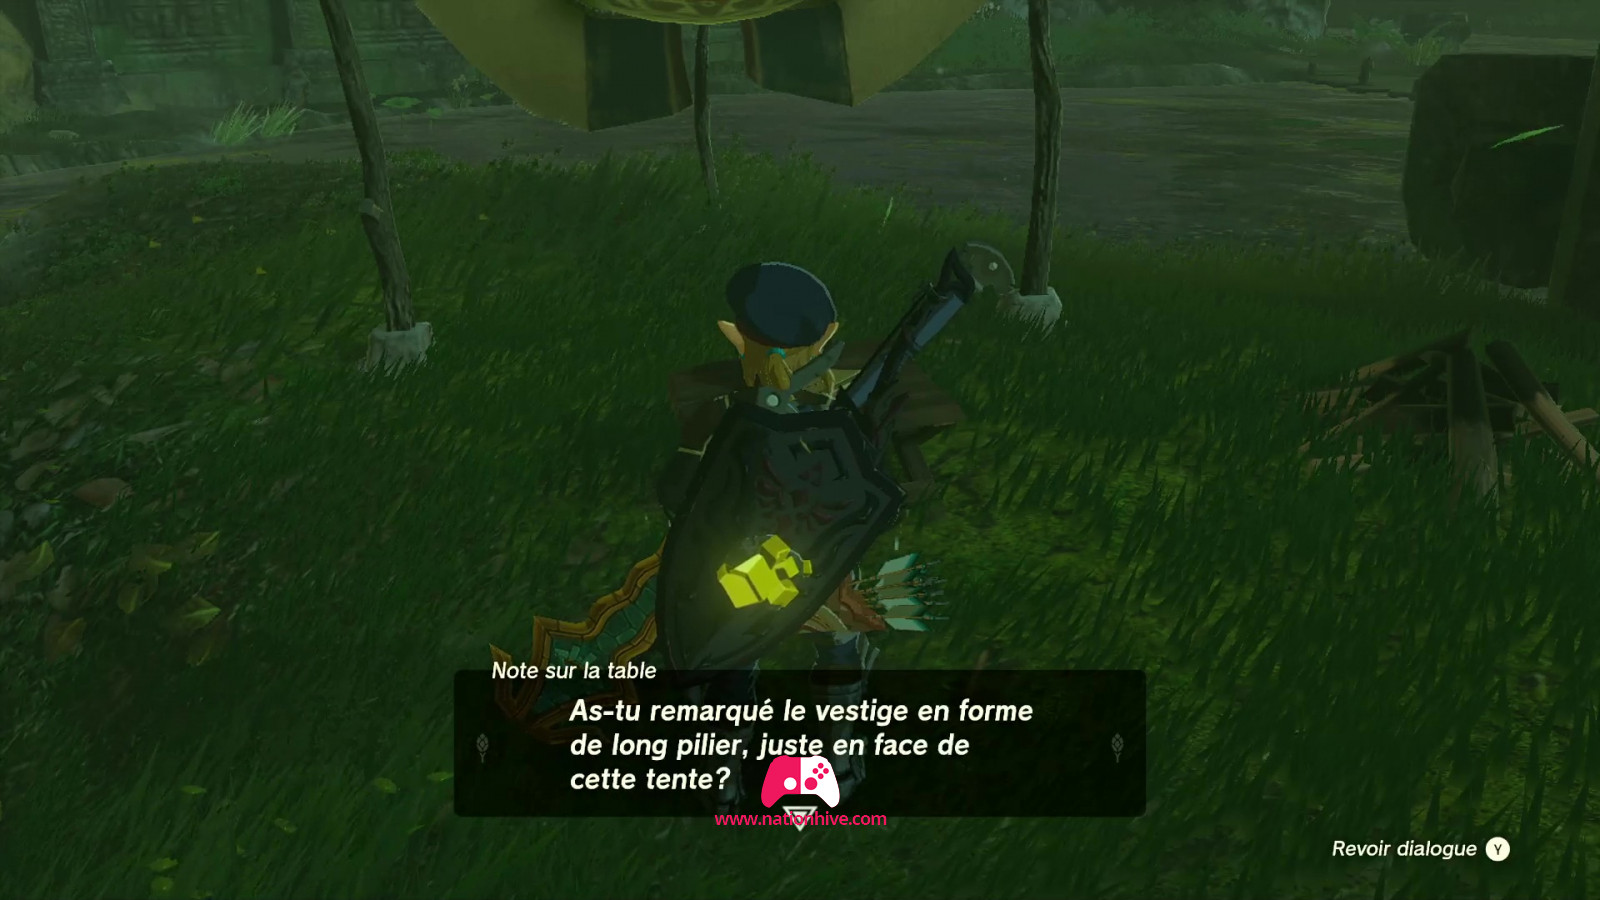
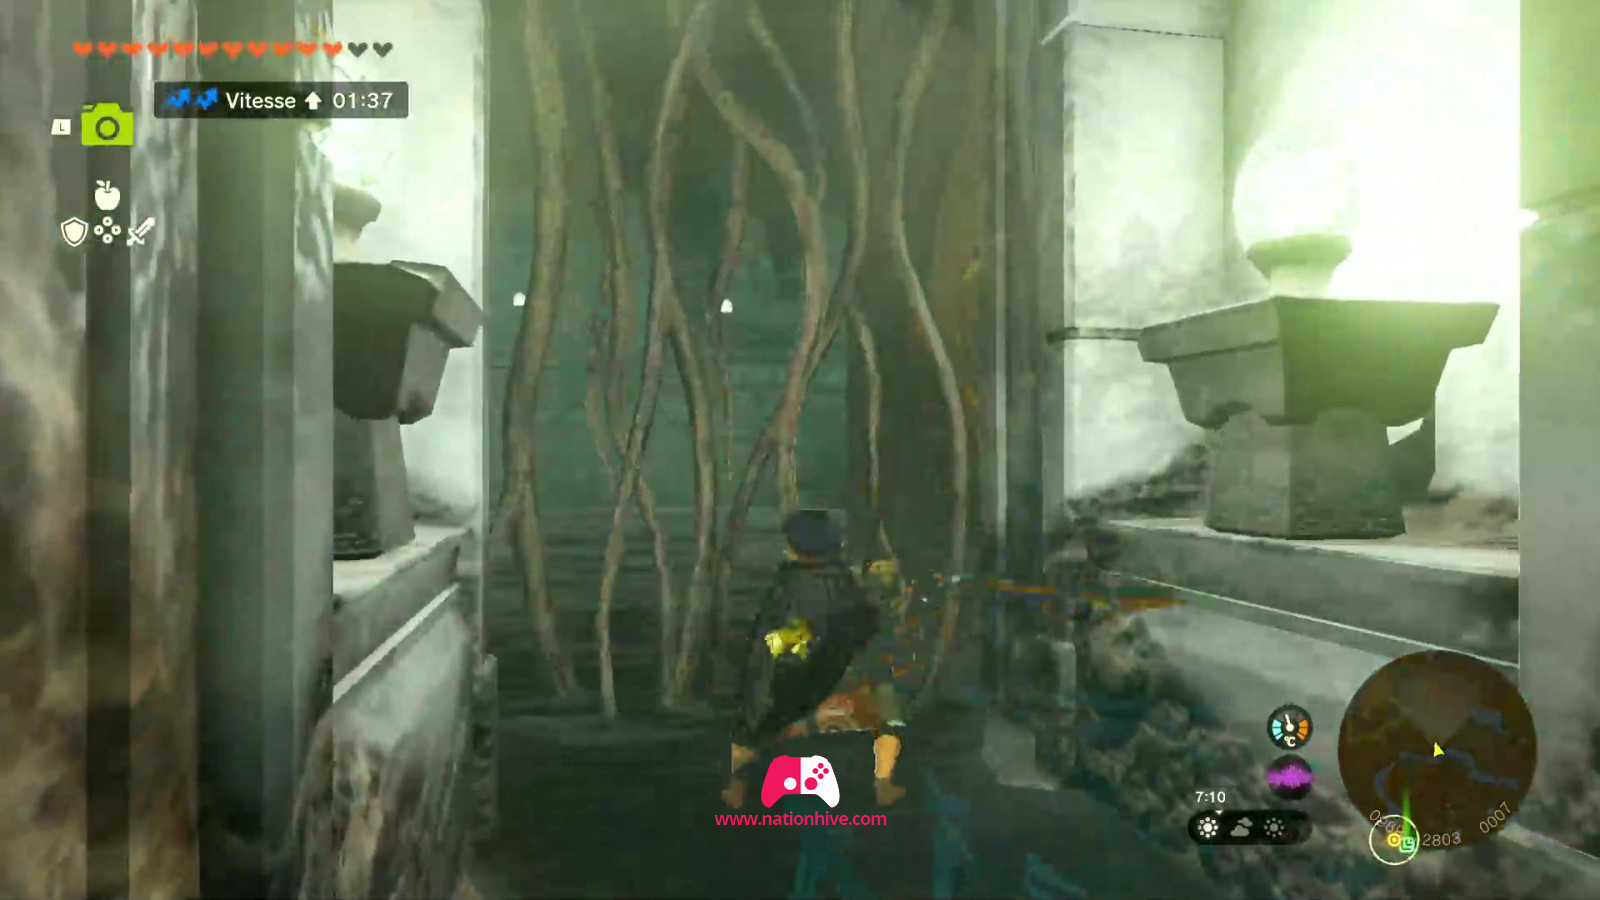
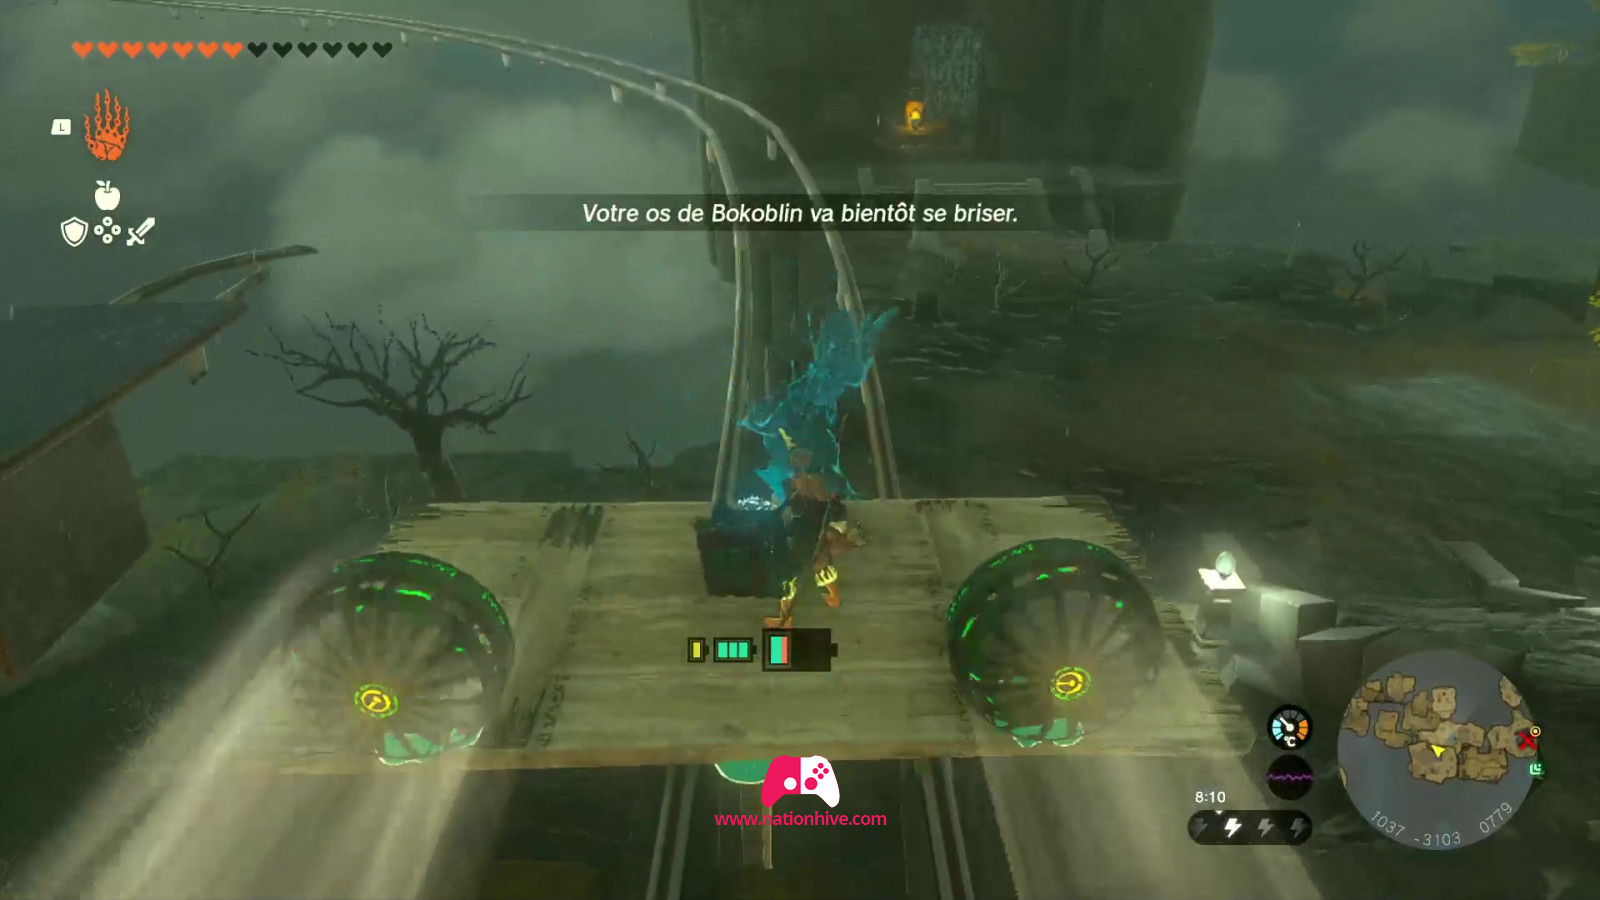
You'll find Tauro's tent; read the note which informs you that Tauro is inside a remnant in front of the tent. Talk to Tauro to find out more about the riddle which tells you to place a Zonai charge on an altar. However, before being able to do this, you need to be well equipped with anti-electricity gear, otherwise you risk taking a lot of damage.
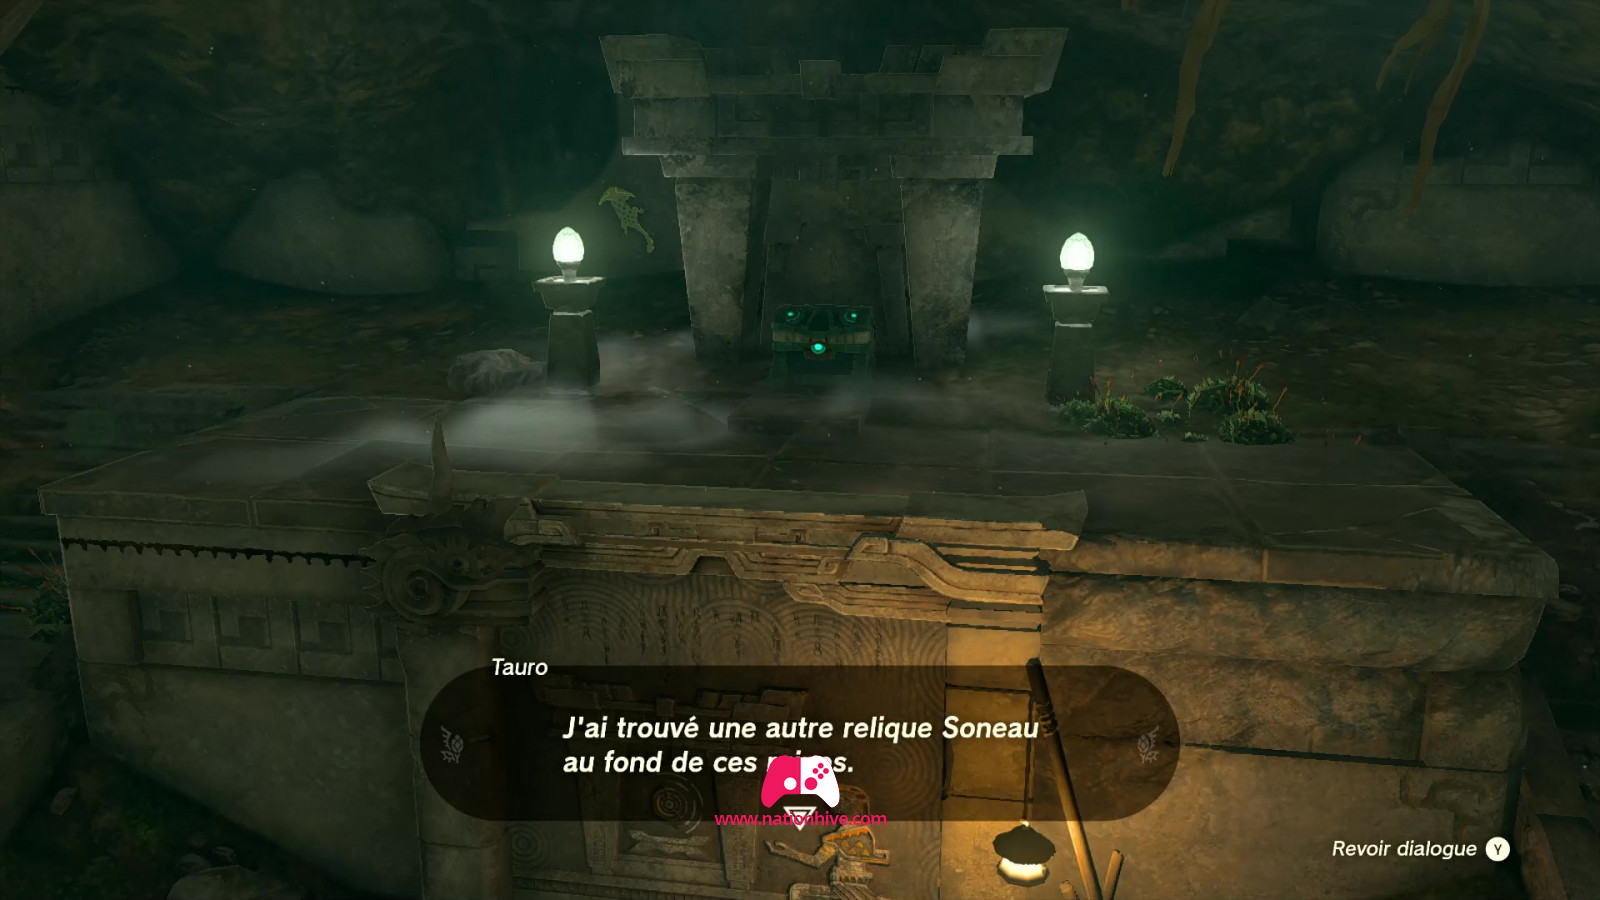
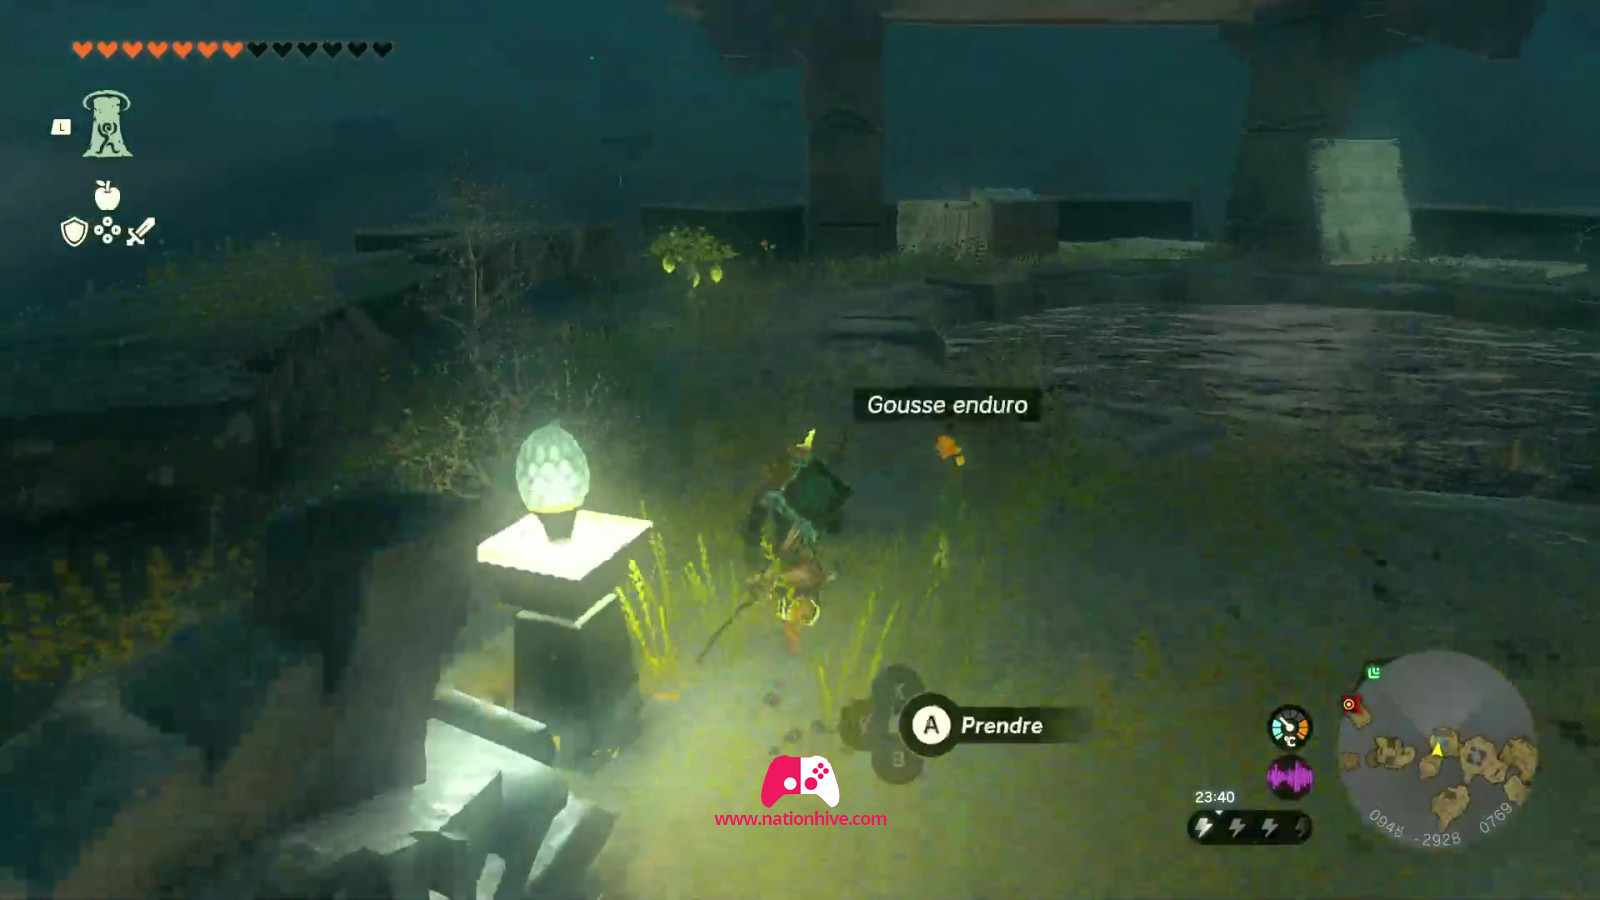
Open the chest just above to receive a Charged Shirt. Head to the other areas of Dracozu Lake to find the other pieces of the ornament, which holds the electricity in the air.
Find the Charged Trousers

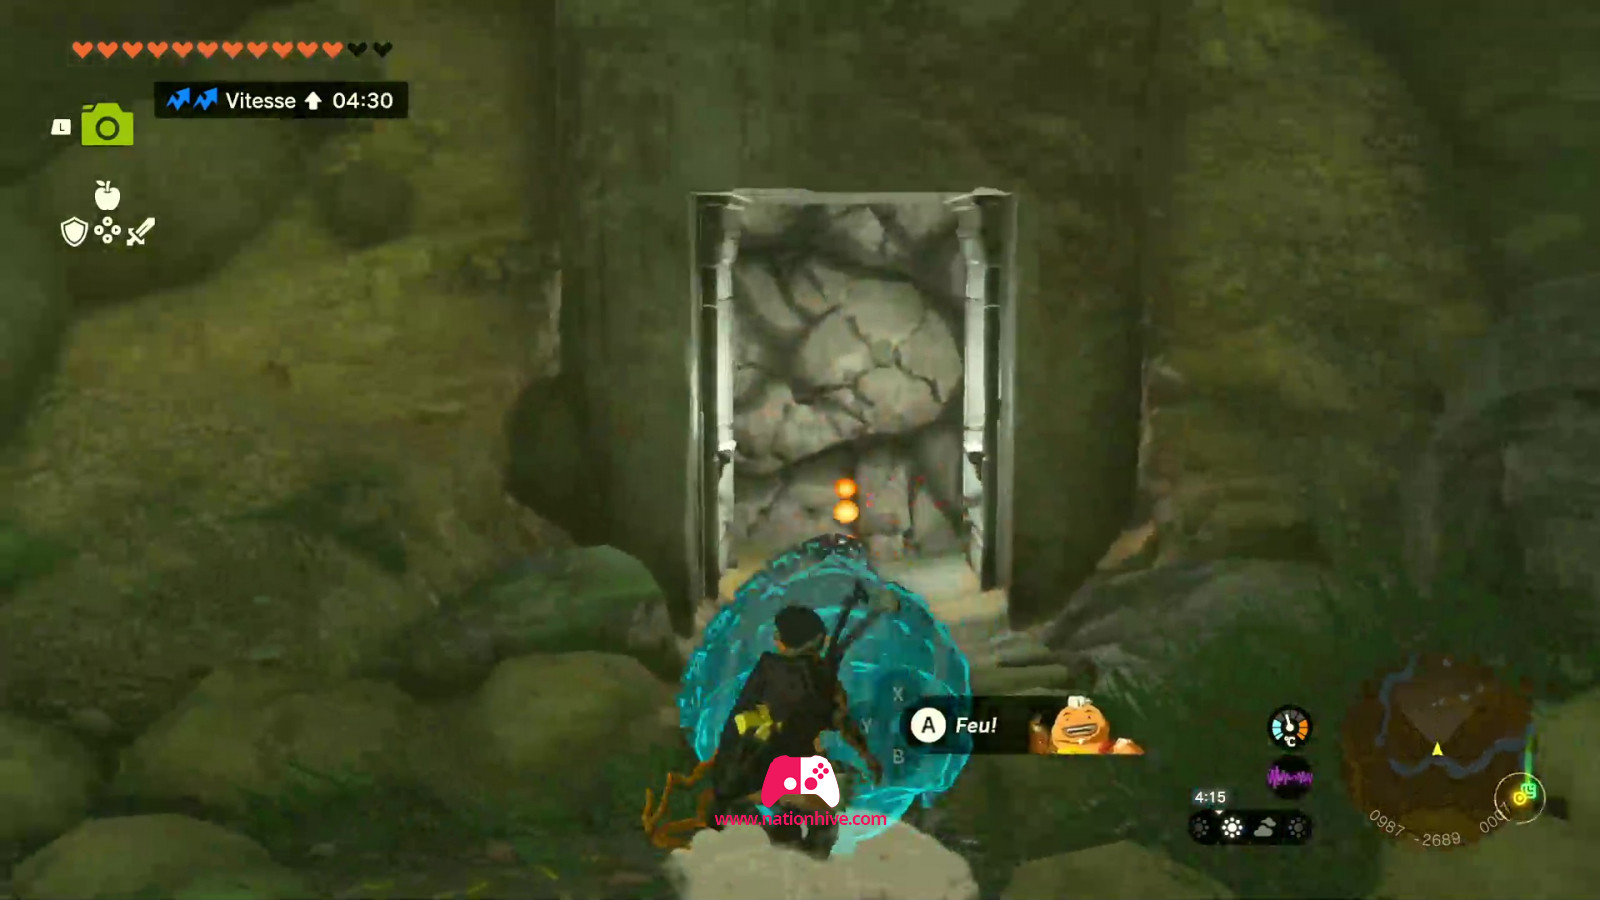
To find the second piece of the ornament that holds the electricity in the air. Head for the right side of the river. A light will show you the entrance to the cave, where you'll find the chest containing the Charged Trousers. To enter, simply break the rocks using Yunobo's ability or a Bomb Flower.
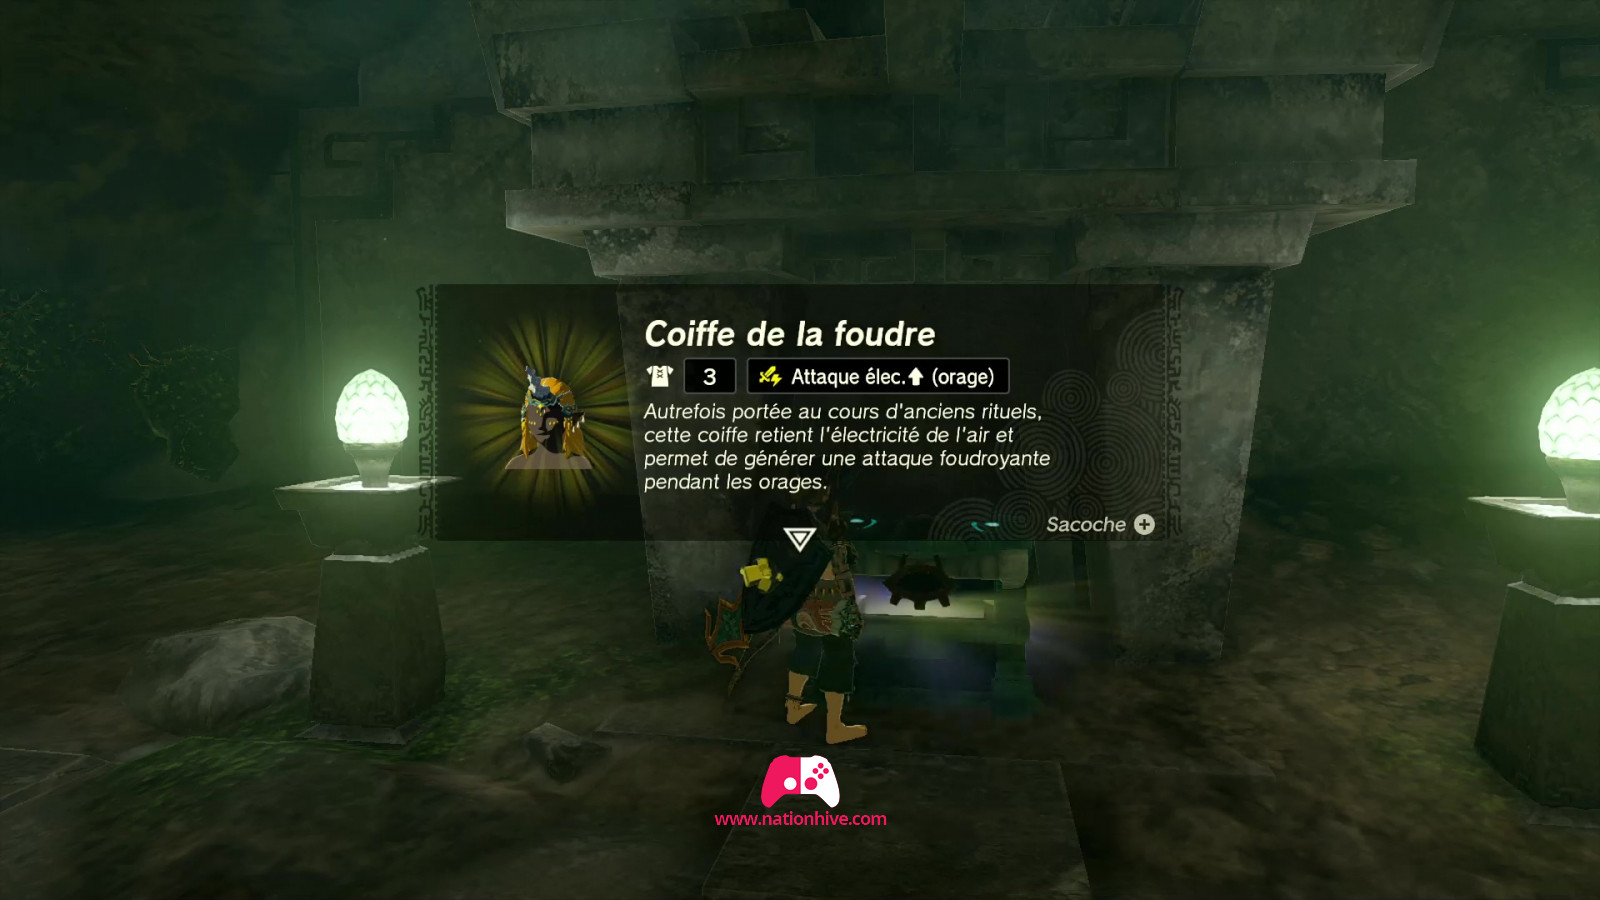
Find the Charged Headdress

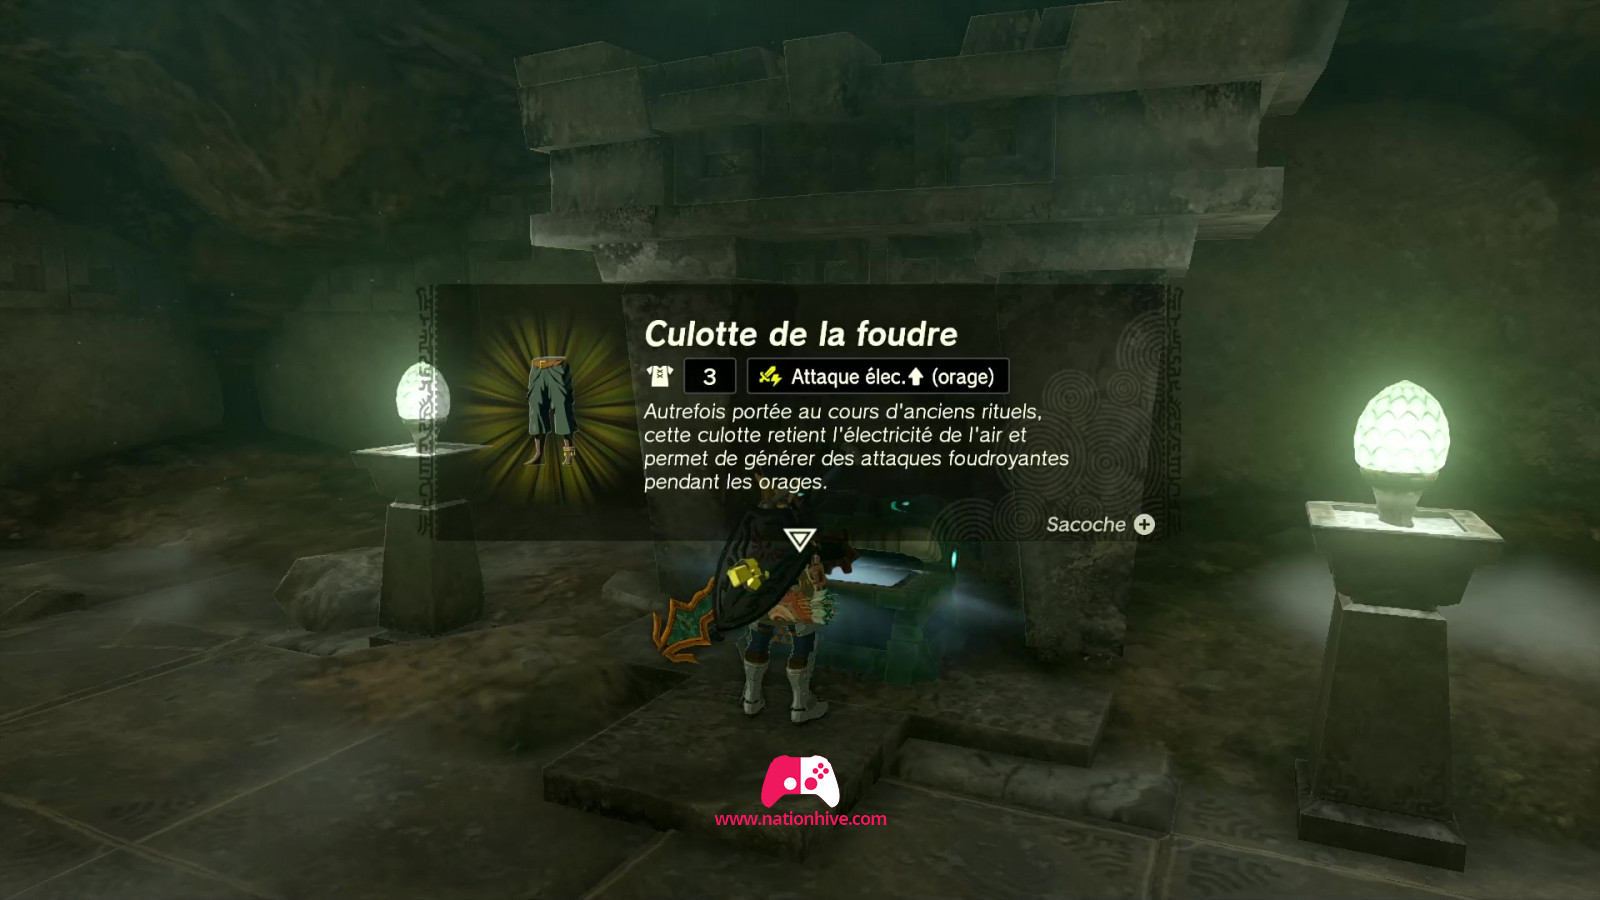
To find the third piece of the set, which holds the electricity in the air. Head for the left side of the river. A light will show you the entrance to the cave, where you'll find the chest containing the Charged Headdress. To enter, simply cut the vines blocking the entrance.
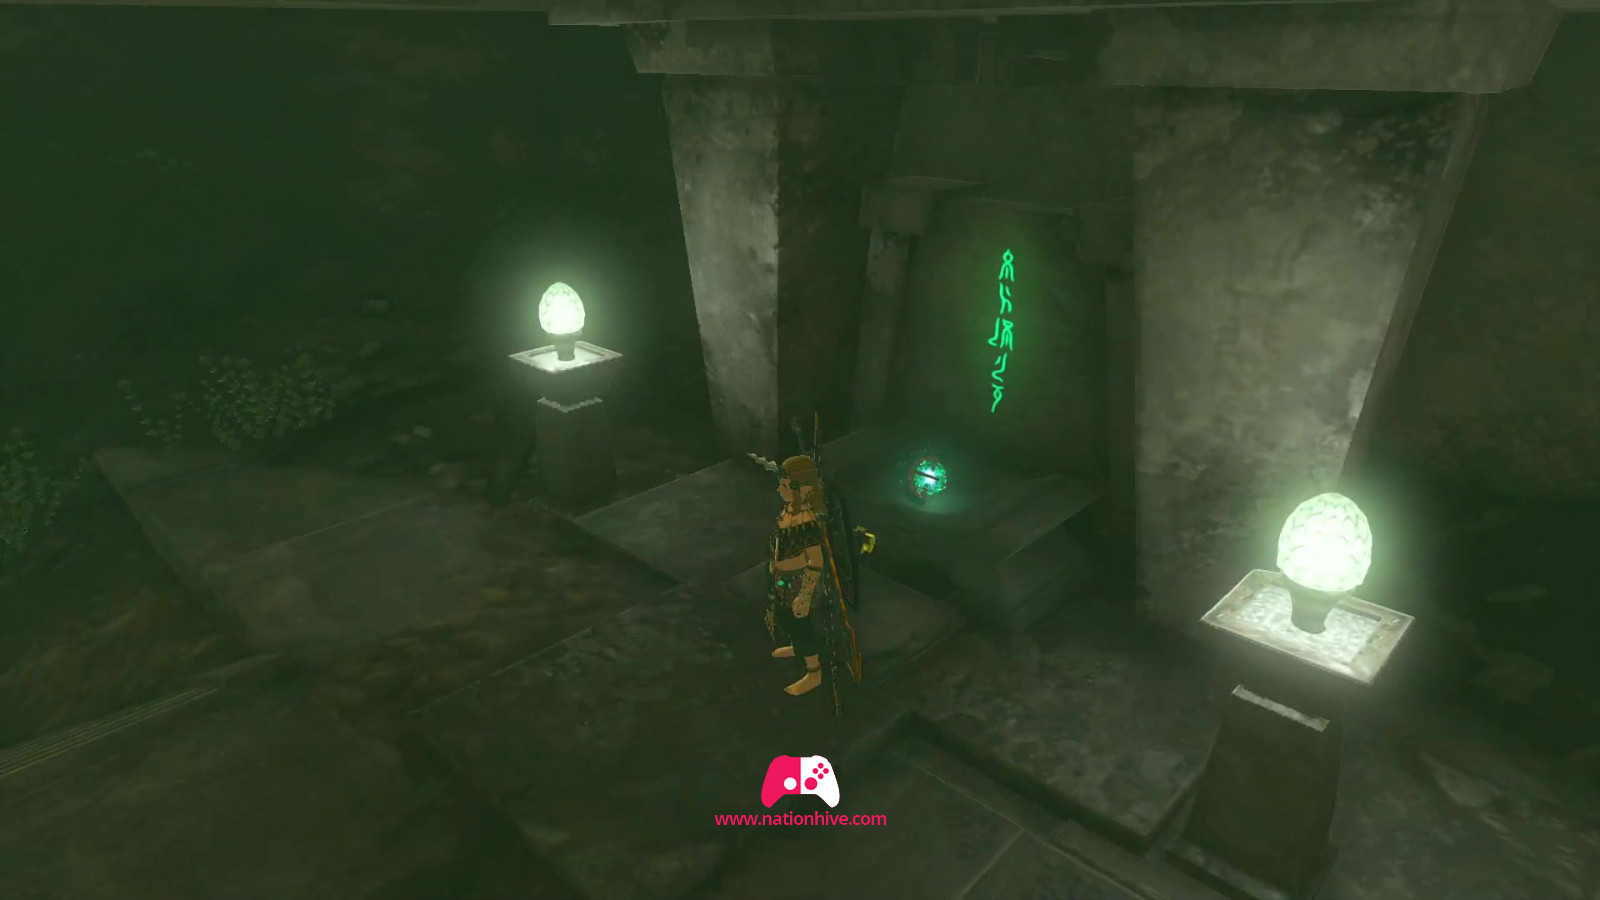
Place the Zonai charge on the altar

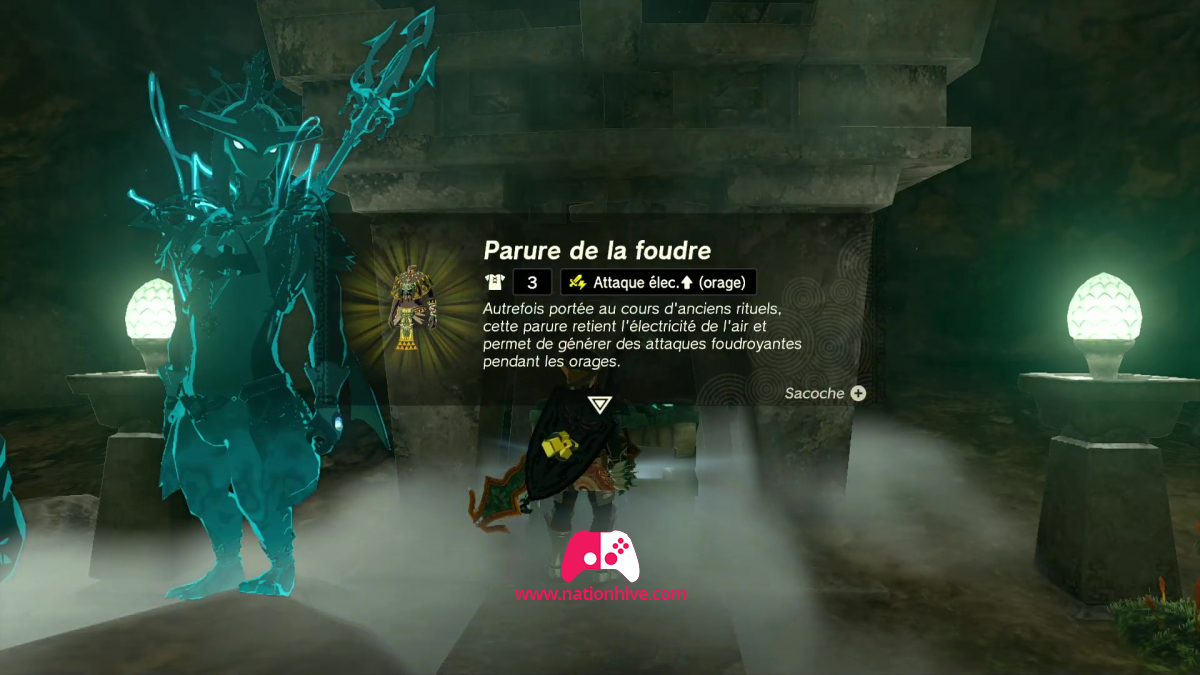
Maintenant que vous êtes équipé des 3 pièces de la parure qui retient l’électricité de l’air. Dirigez-vous maintenant au bout de la queue de serpent, où se trouve l’autel sur lequel vous devrez déposer une Orbe d’énergie Soneau. Il y a un arbre de Fruit d’eau juste devant l’entrée de l’autel comme repère.
Now that you've acquired the 3 pieces of the Charged equipment, head to the end of the snake tail, where you'll find the altar on which you'll need to place a Zonai charge. There's a Splash Fruit tree just in front of the altar entrance as a landmark.
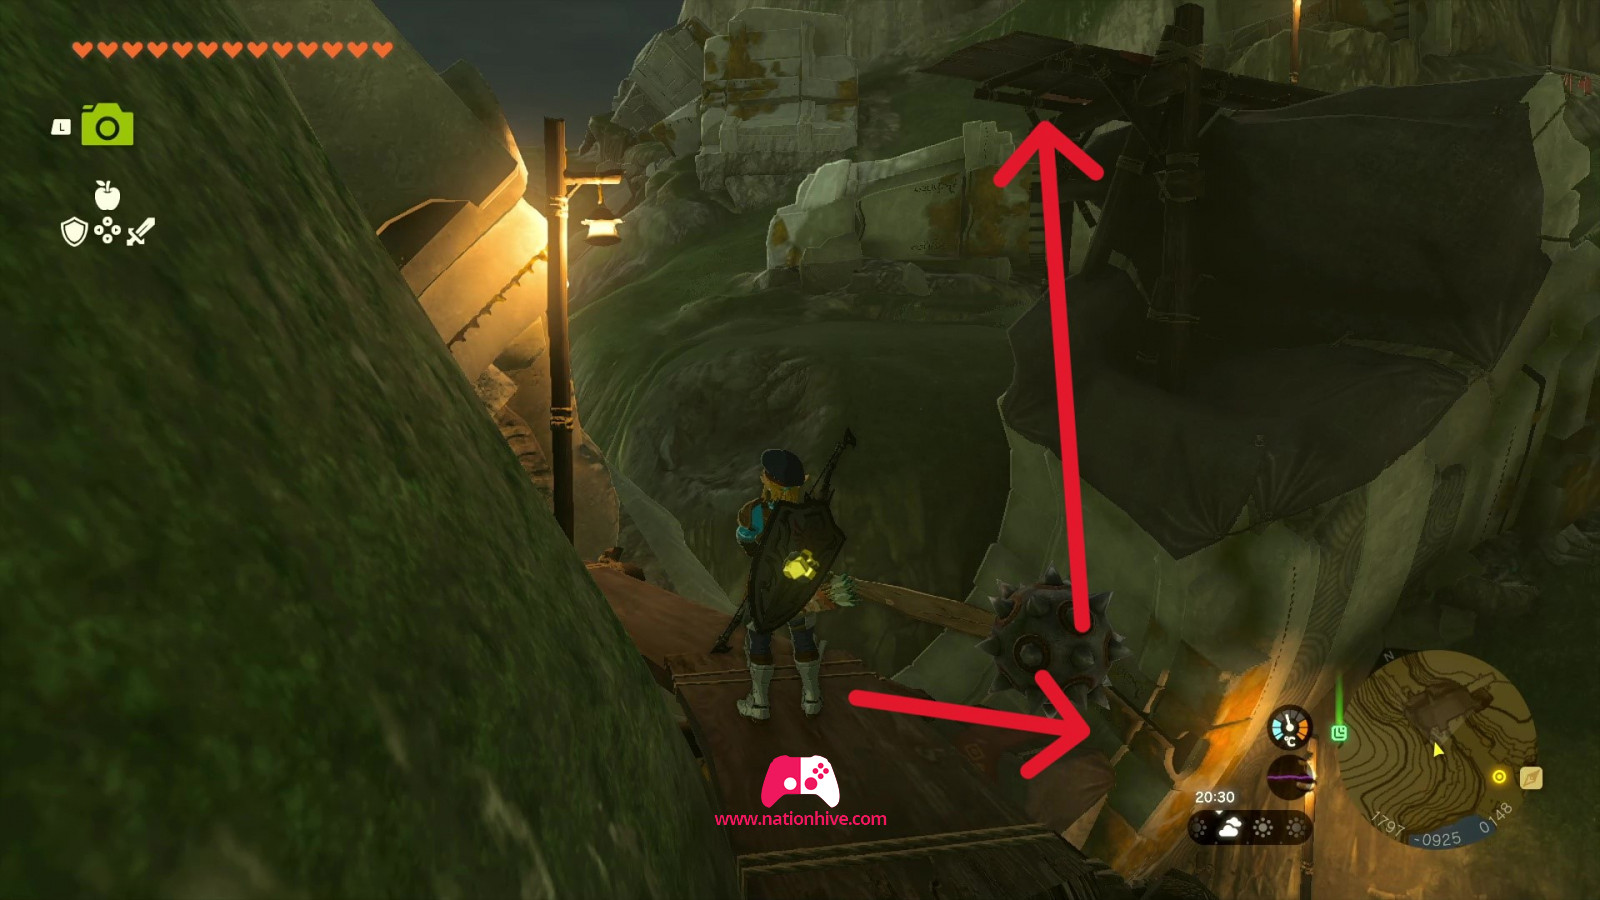
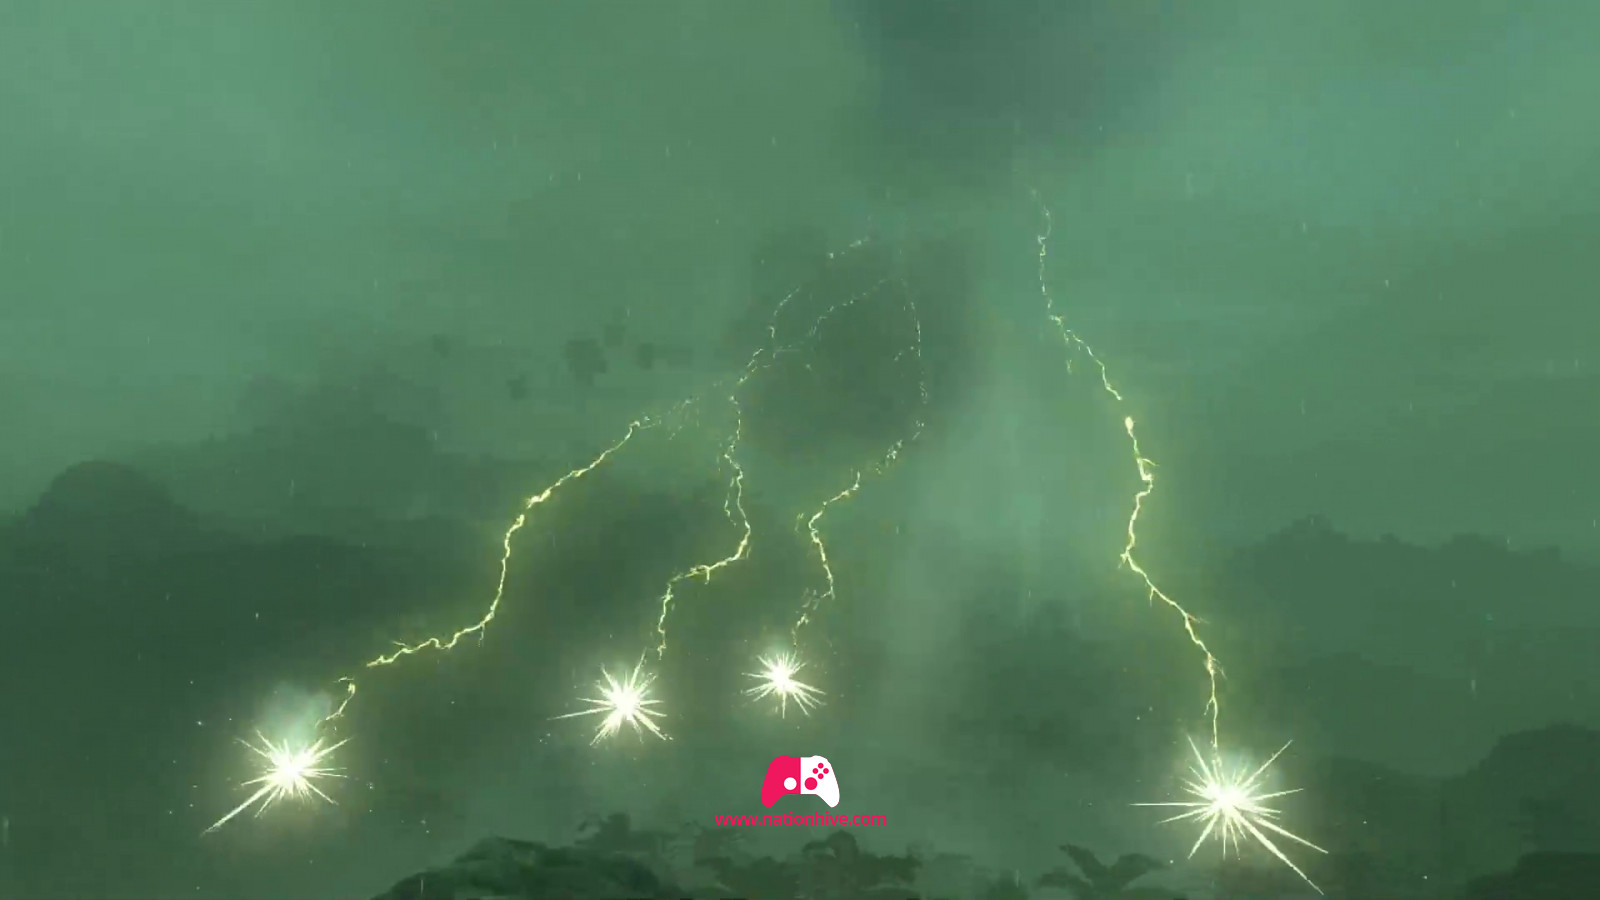
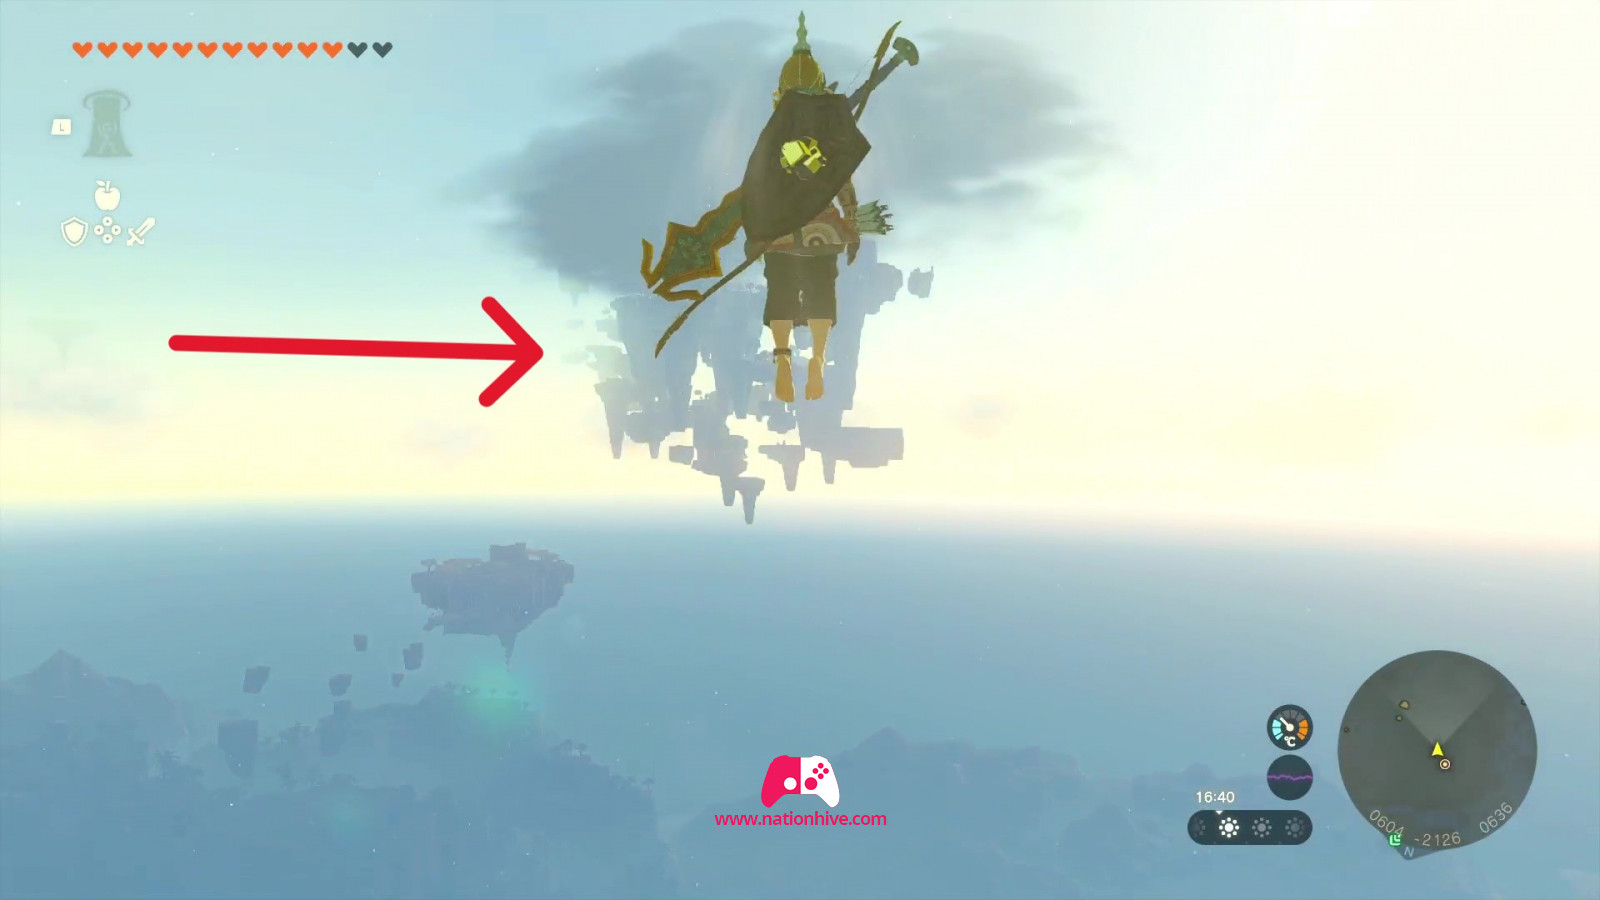
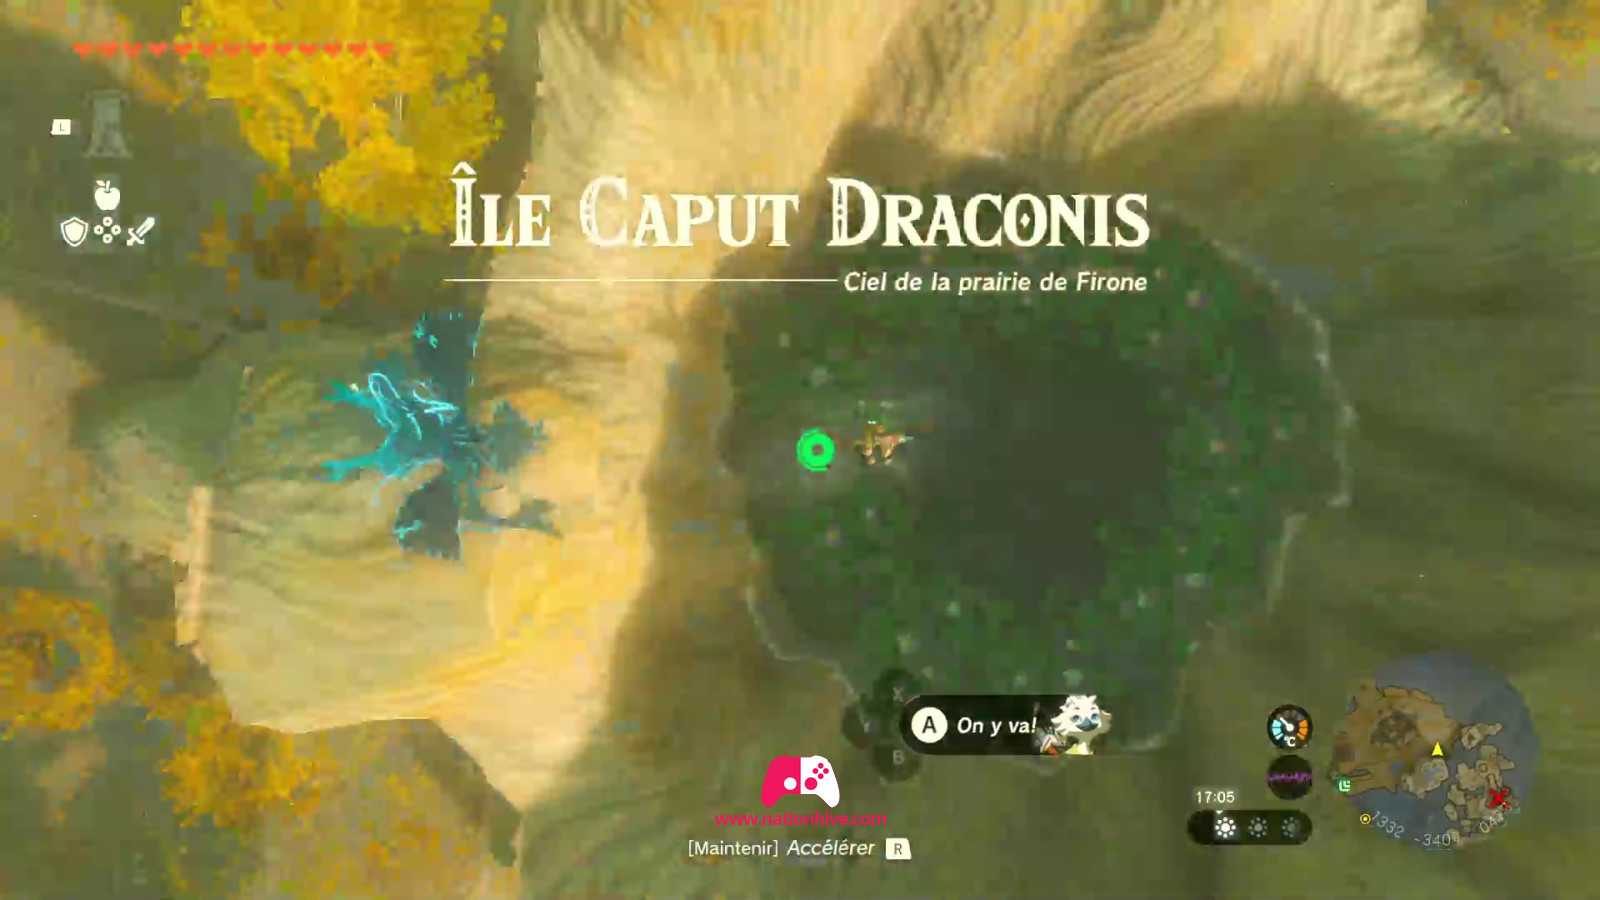
Place the Zonai charge on the altar to trigger a cinematic effect in which huge bolts of lightning strike the dragon pillars. This action will make the storms around Firone disappear, revealing New Sky Island. Then return to the Popla Skyview Tower and launch yourself into the air to reach the New Sky Island.
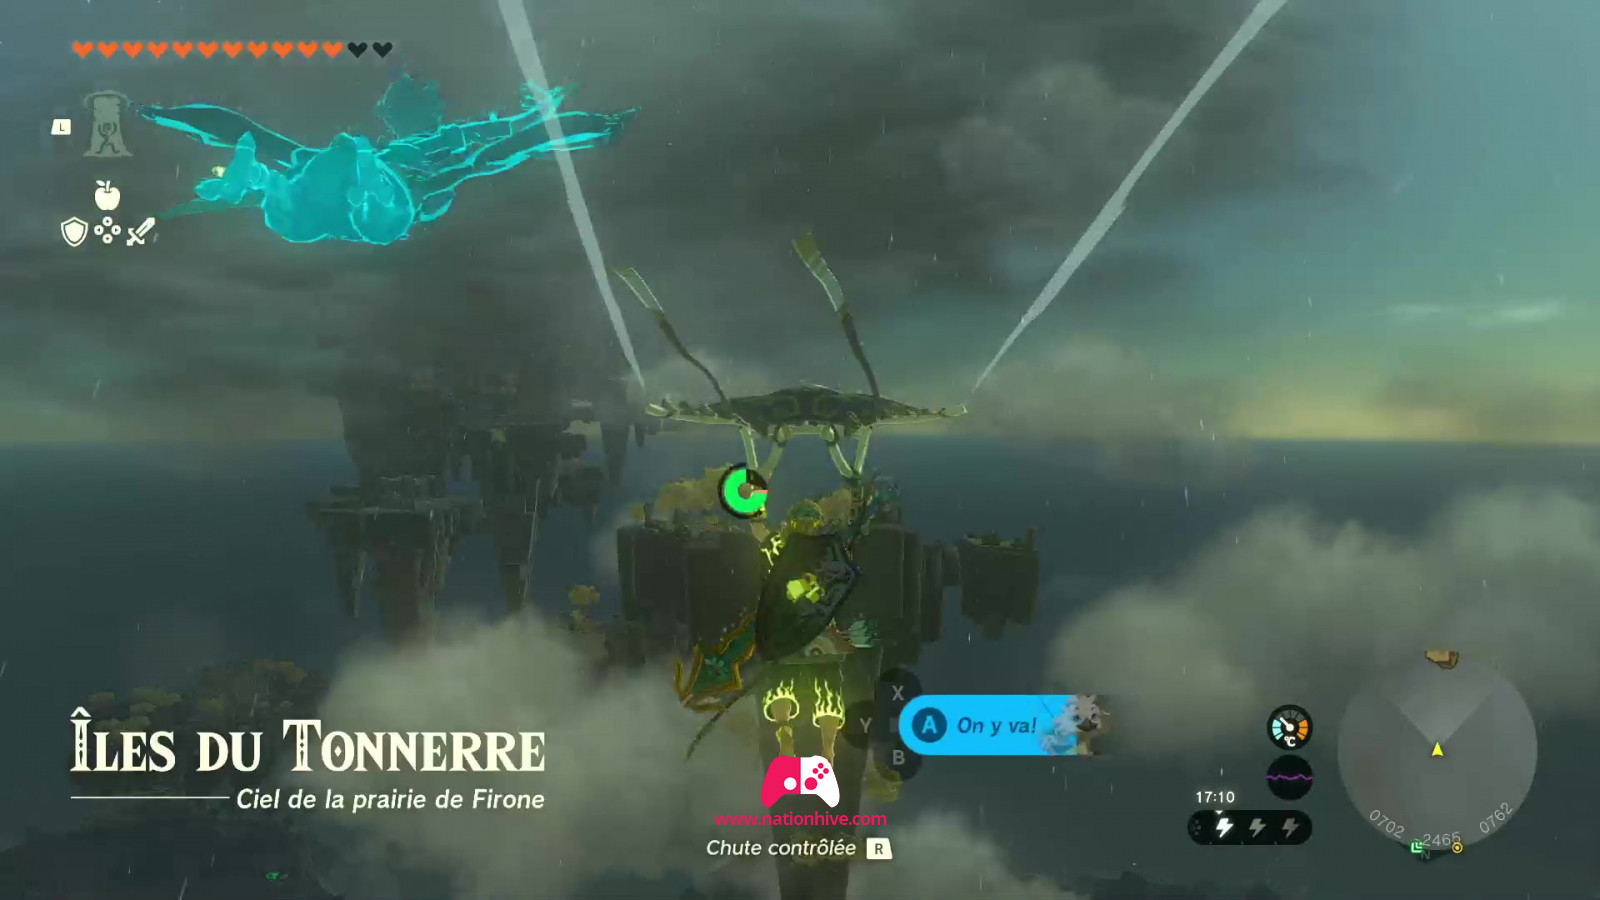
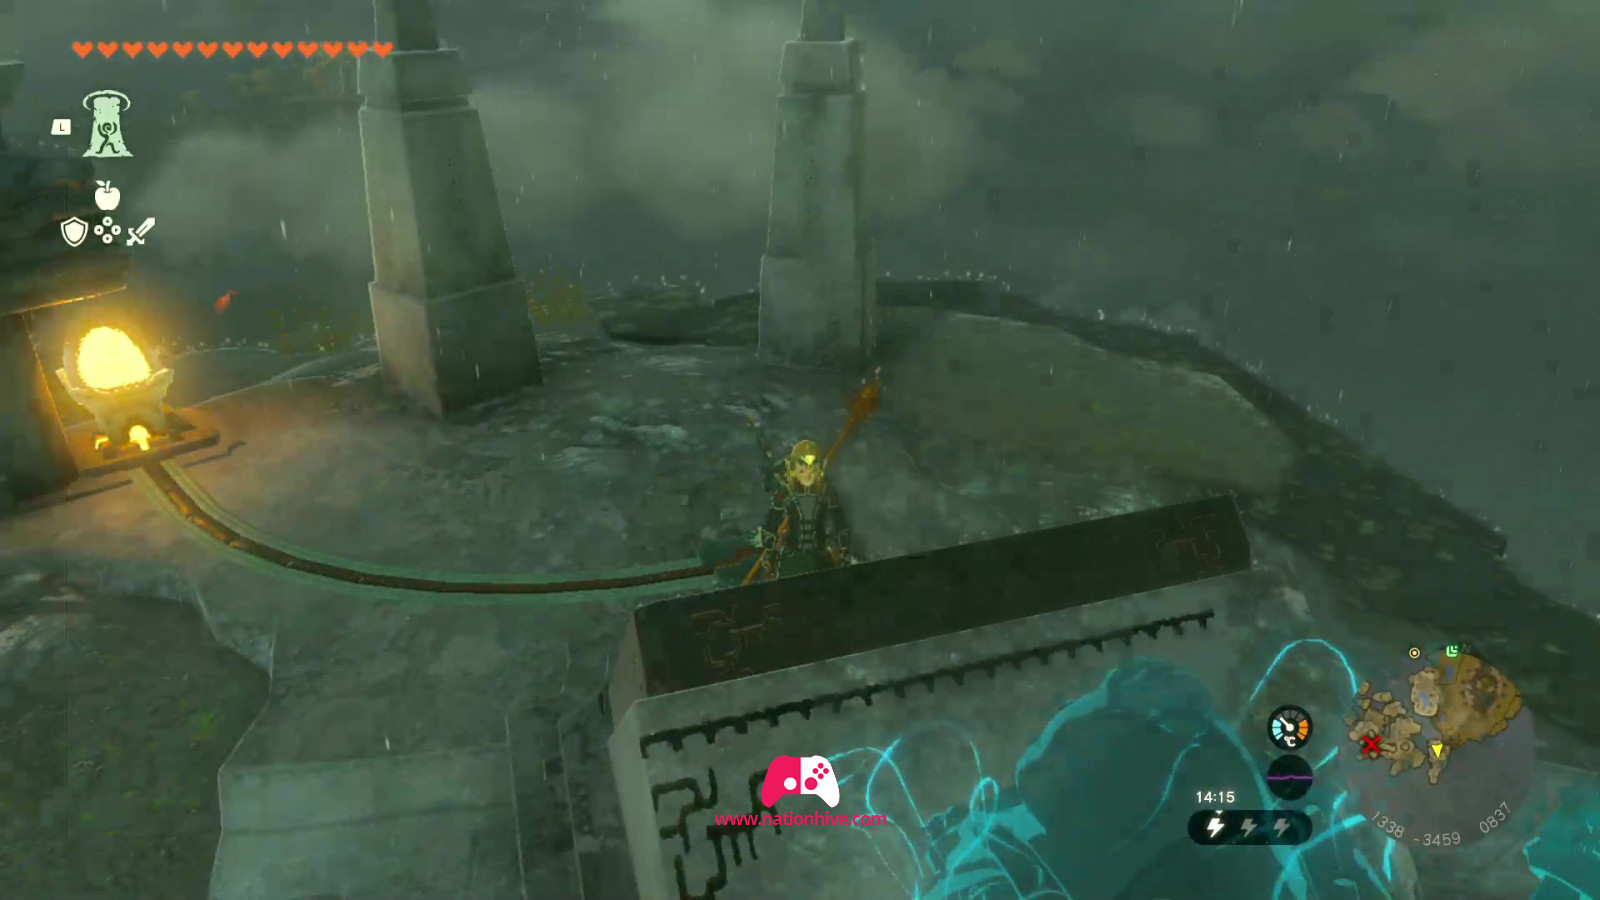
Thunderhead Isles
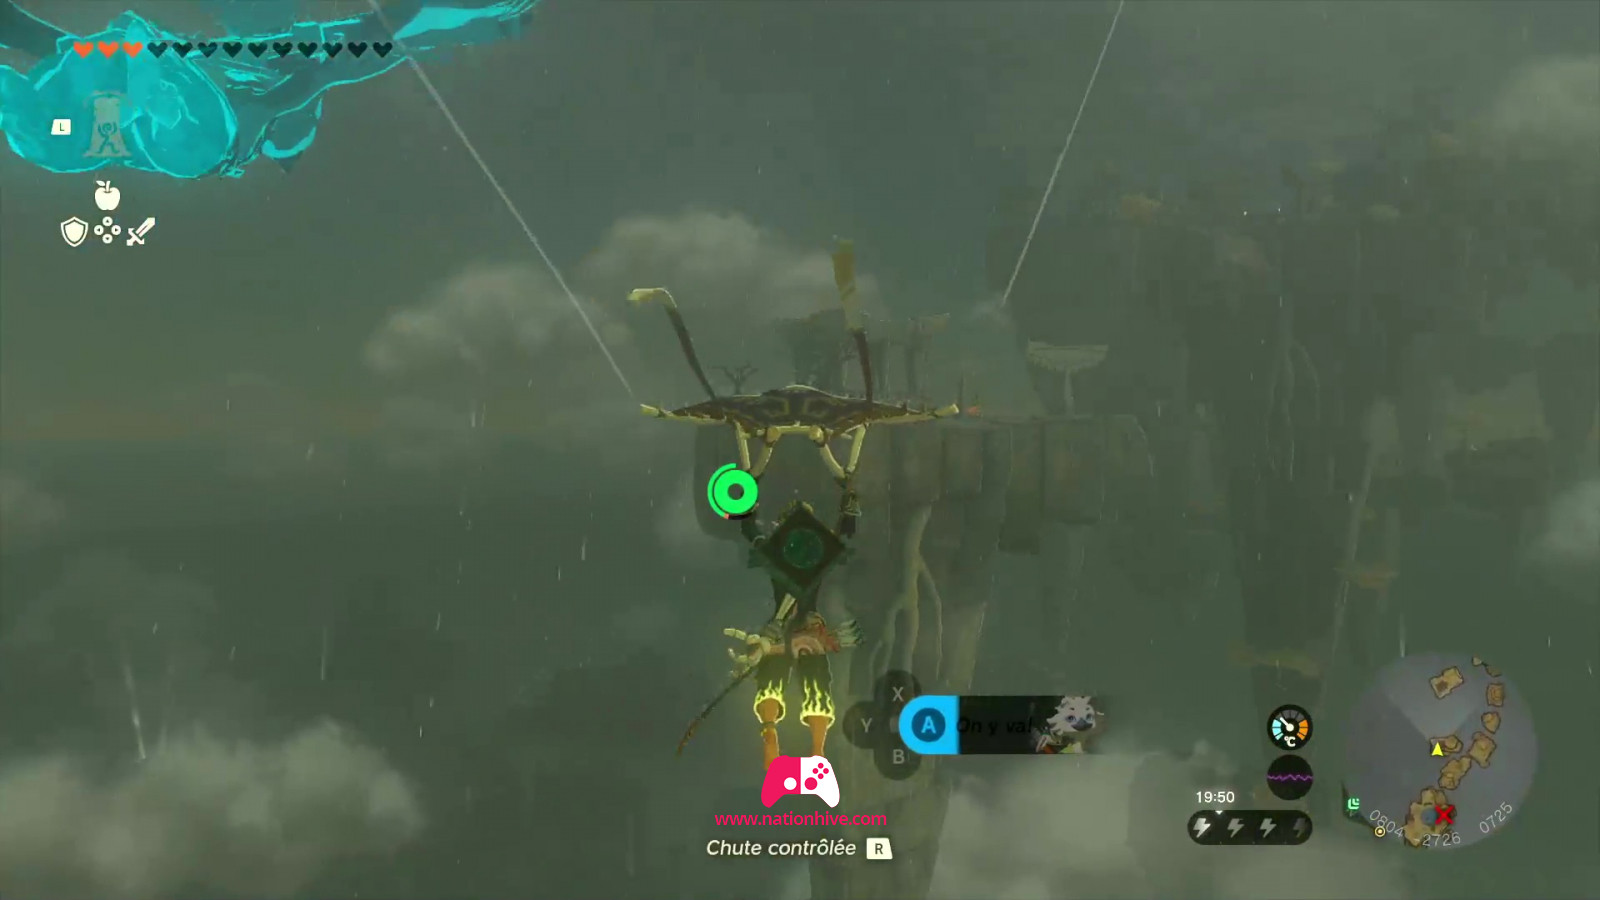
Once in the air, head for Thunderhead Isles. Make sure you have enough stamina to fly there. If you reach the bottom of the island, you can use the spikes below the platforms to climb up using Ascend's ability.
* It's important that Link is not equipped with metal, as it attracts lightning. Open your equipment inventory and you'll see what's made of metal and what's not.
Once on the island, your aim will be to head south to reach the pillar that resembles a dragon's head. To do this, you'll have to cross the entire island using bouncing platforms and Ascend ability.
You'll normally land at the entrance to the island, opposite the pillar that resembles a dragon's head. We'll show you landmarks so you can find your way around the island and be able to reach the pillar that looks like a dragon's head.
Thunderhead Isles landmarks
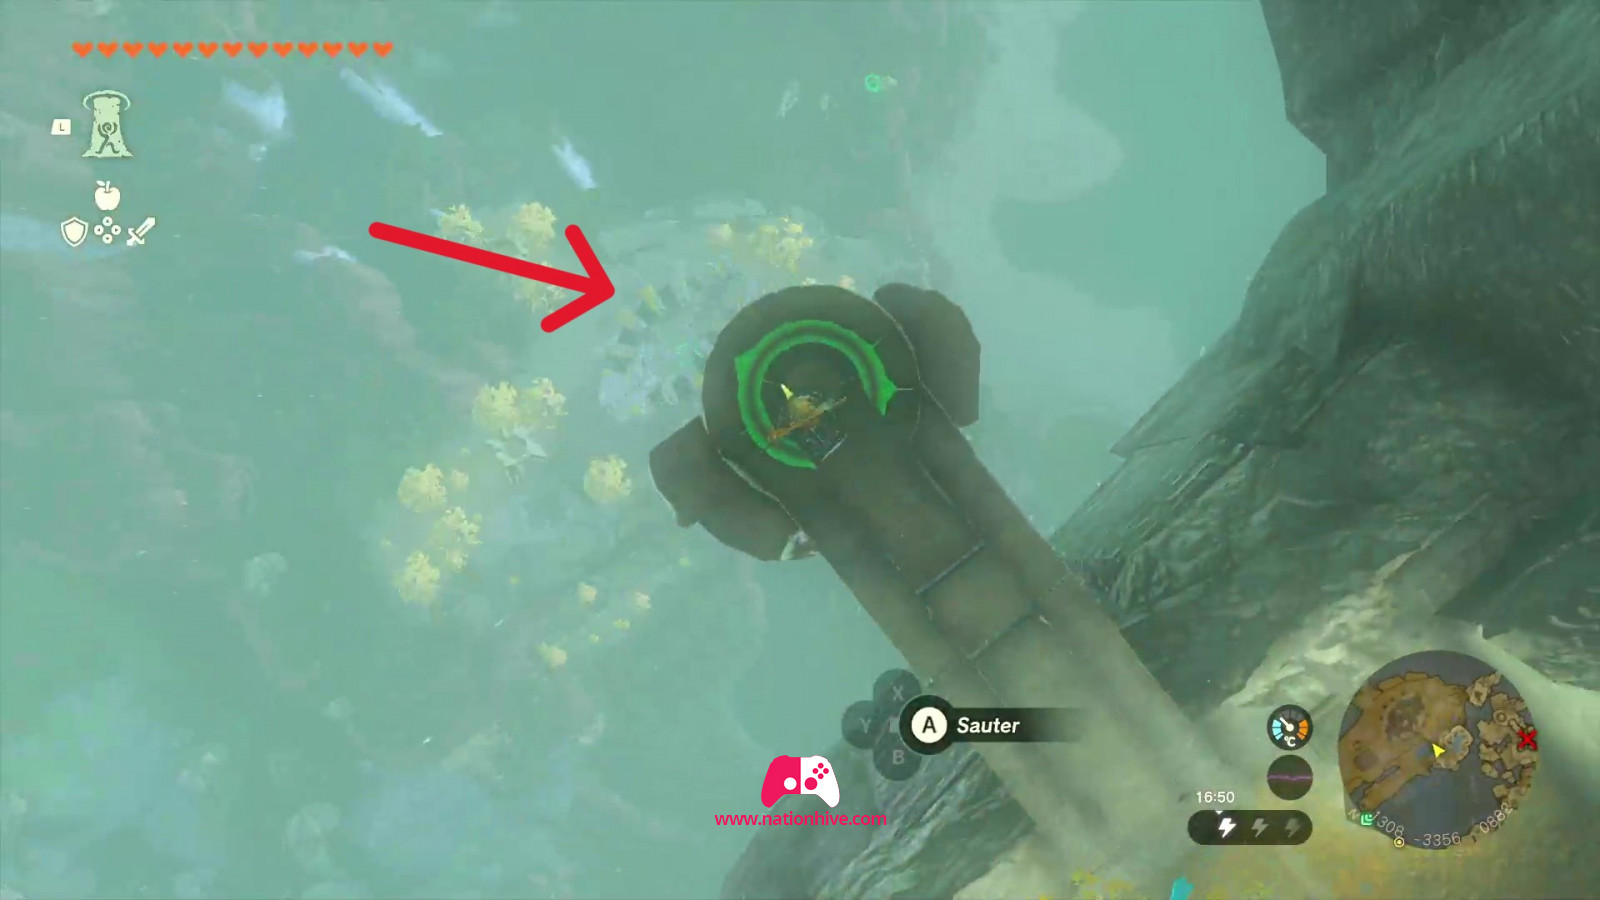
You'll normally come to a platform with a pool of water. Jump off this platform to advance a little further onto the island.
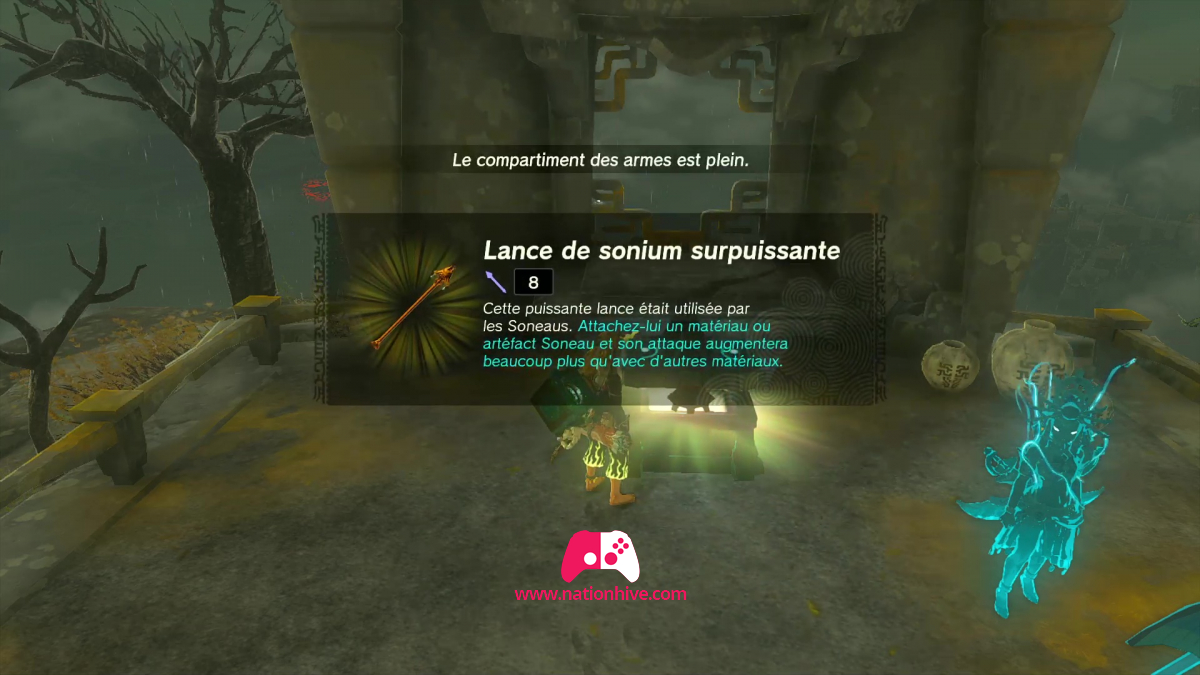
Use Ascend's ability if necessary to climb up. You'll find a chest containing a Mighty Zonaite Spear at coordinates: 0886, -2786, 0727.
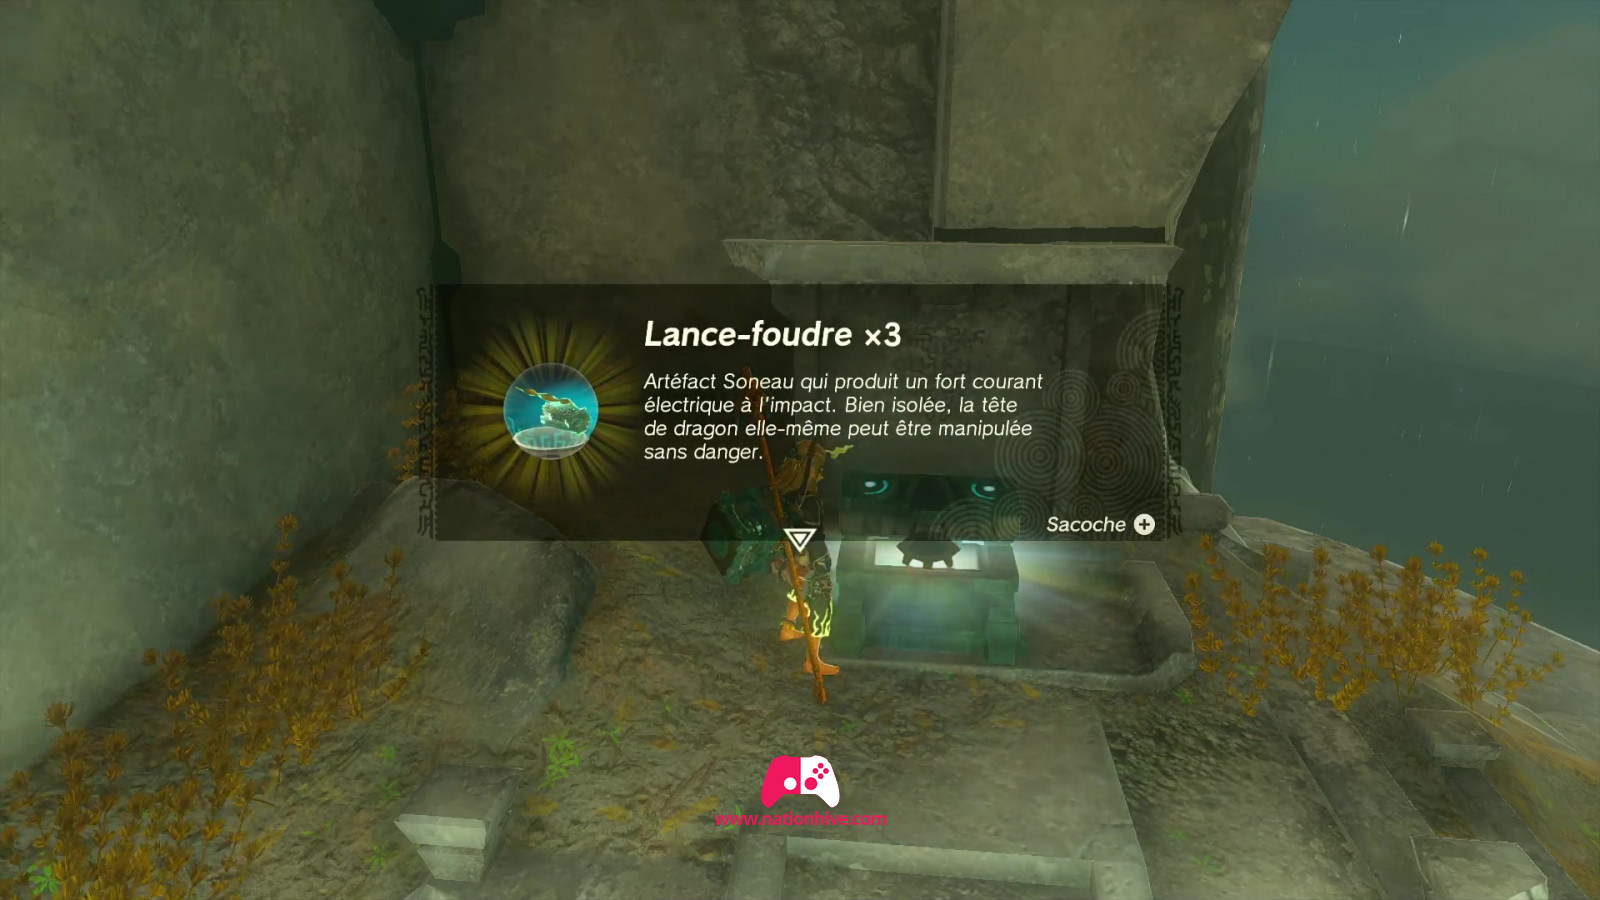
You'll find a dragon-headed pillar with a yellow orb underneath.
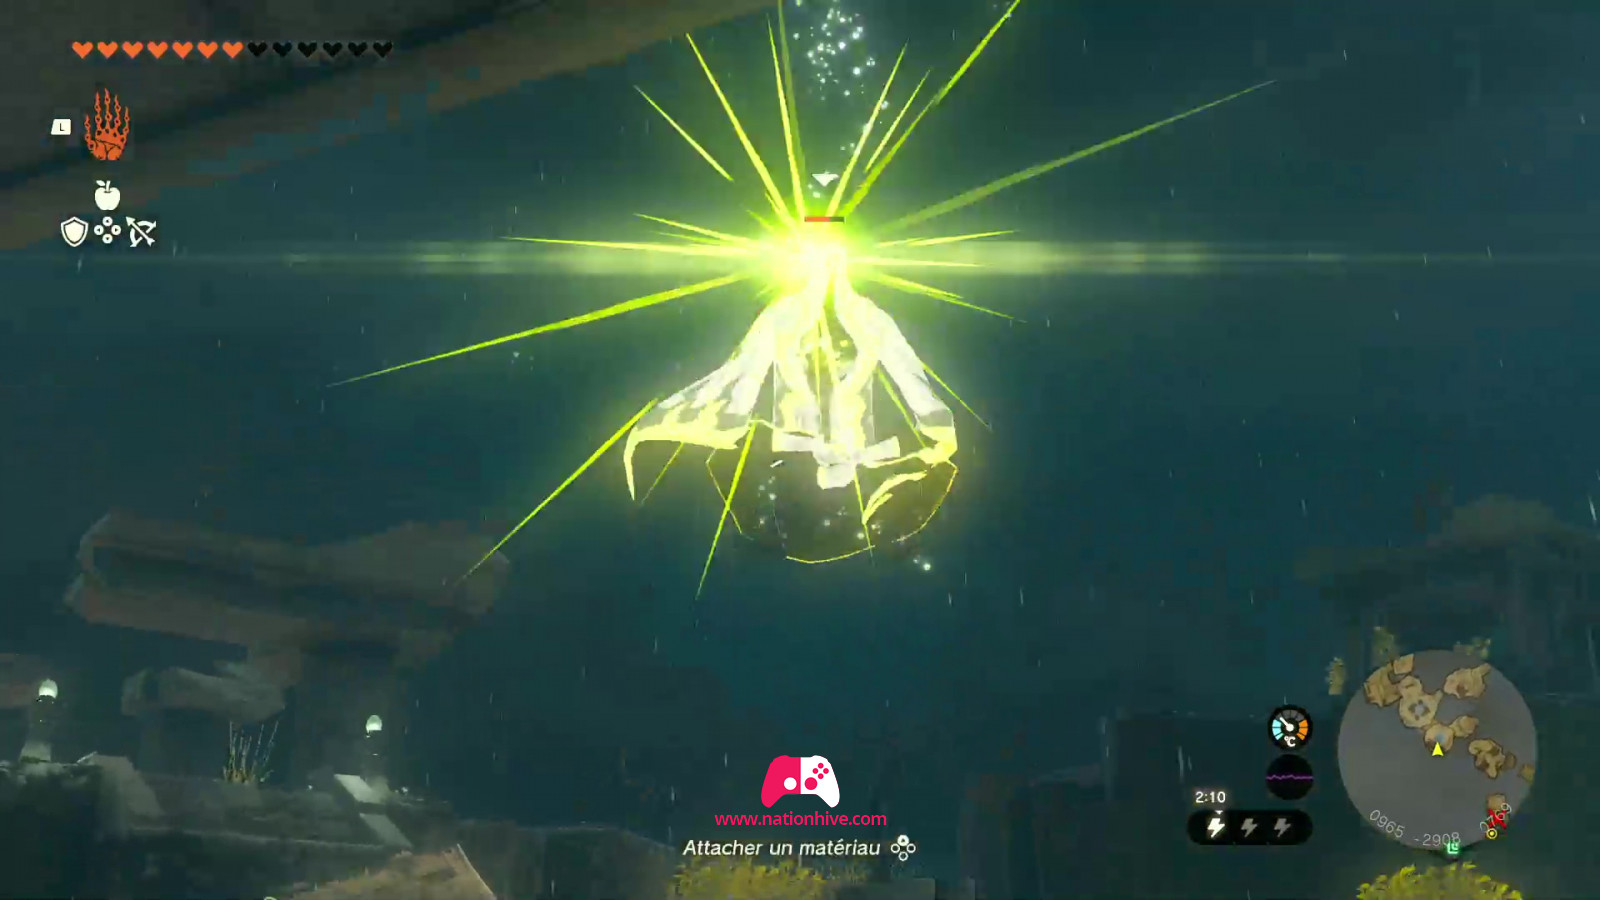
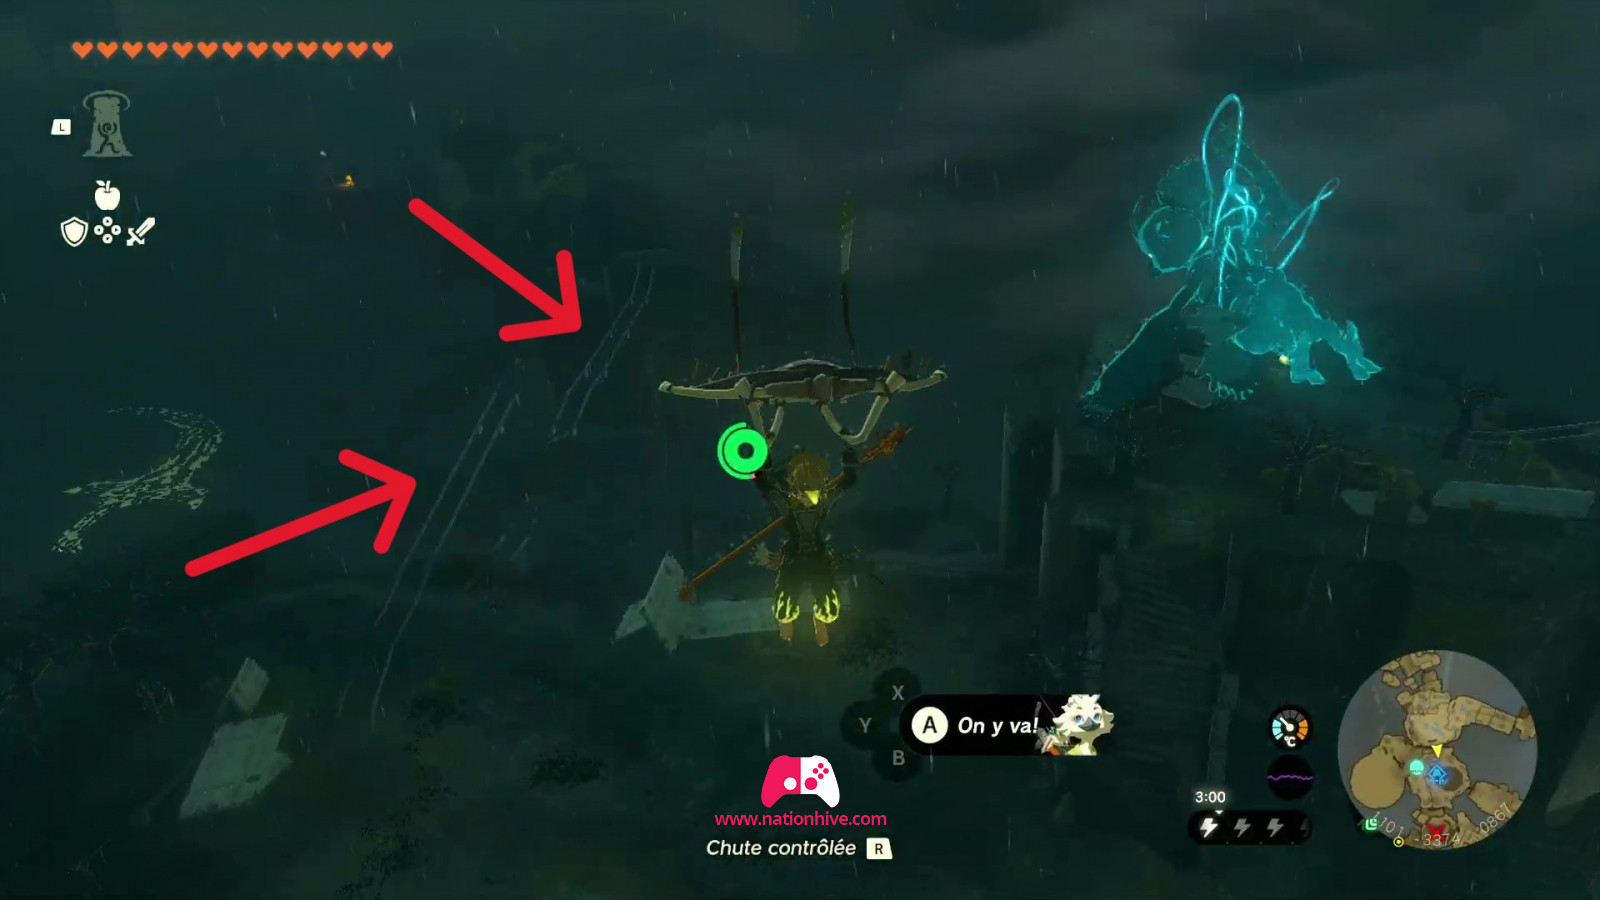
Near this pillar is a spring-loaded platform that will bounce you away when lightning strikes the structure. Climb onto the platform and wait for the lightning to strike the pillar (or shoot an arrow equipped with a yellow Chuchu Jelly) to land at the next platform on the island.
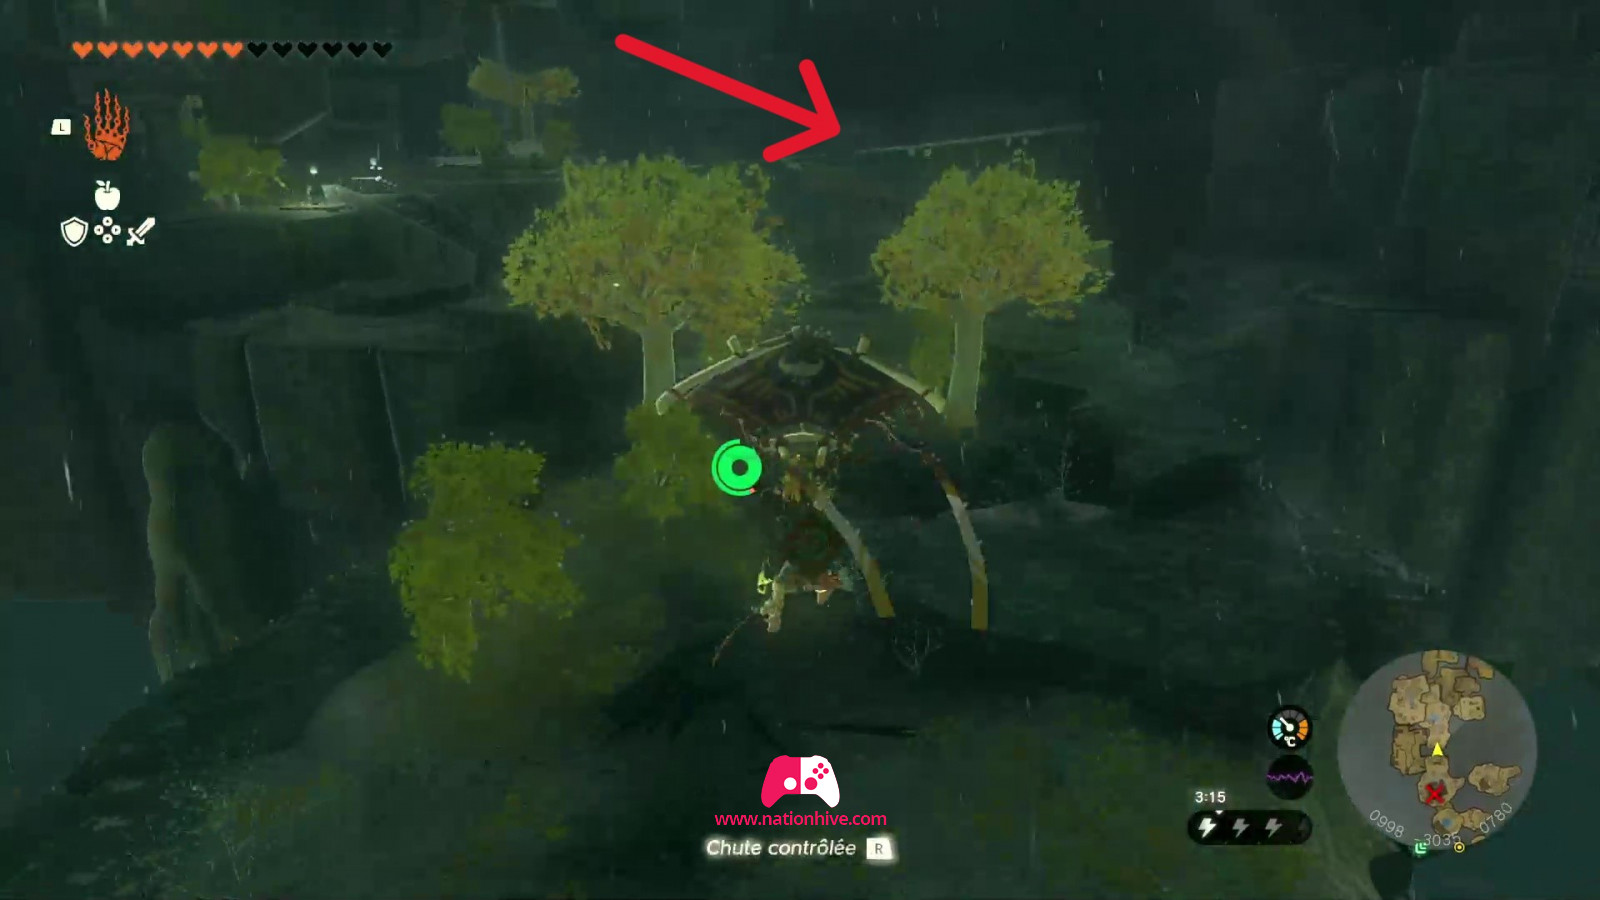
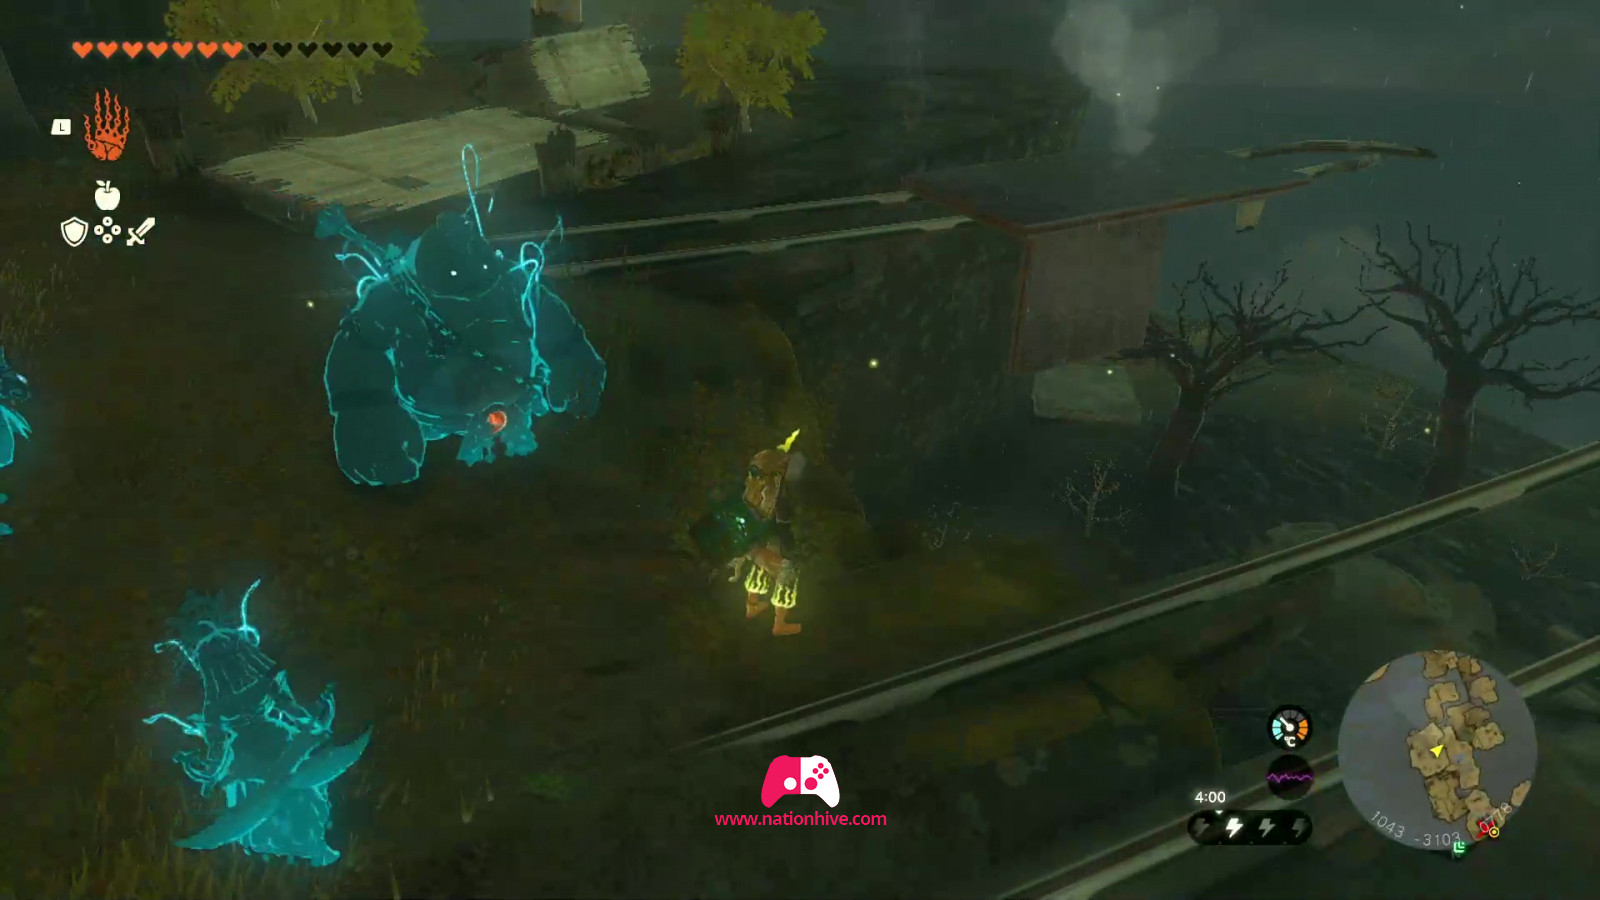
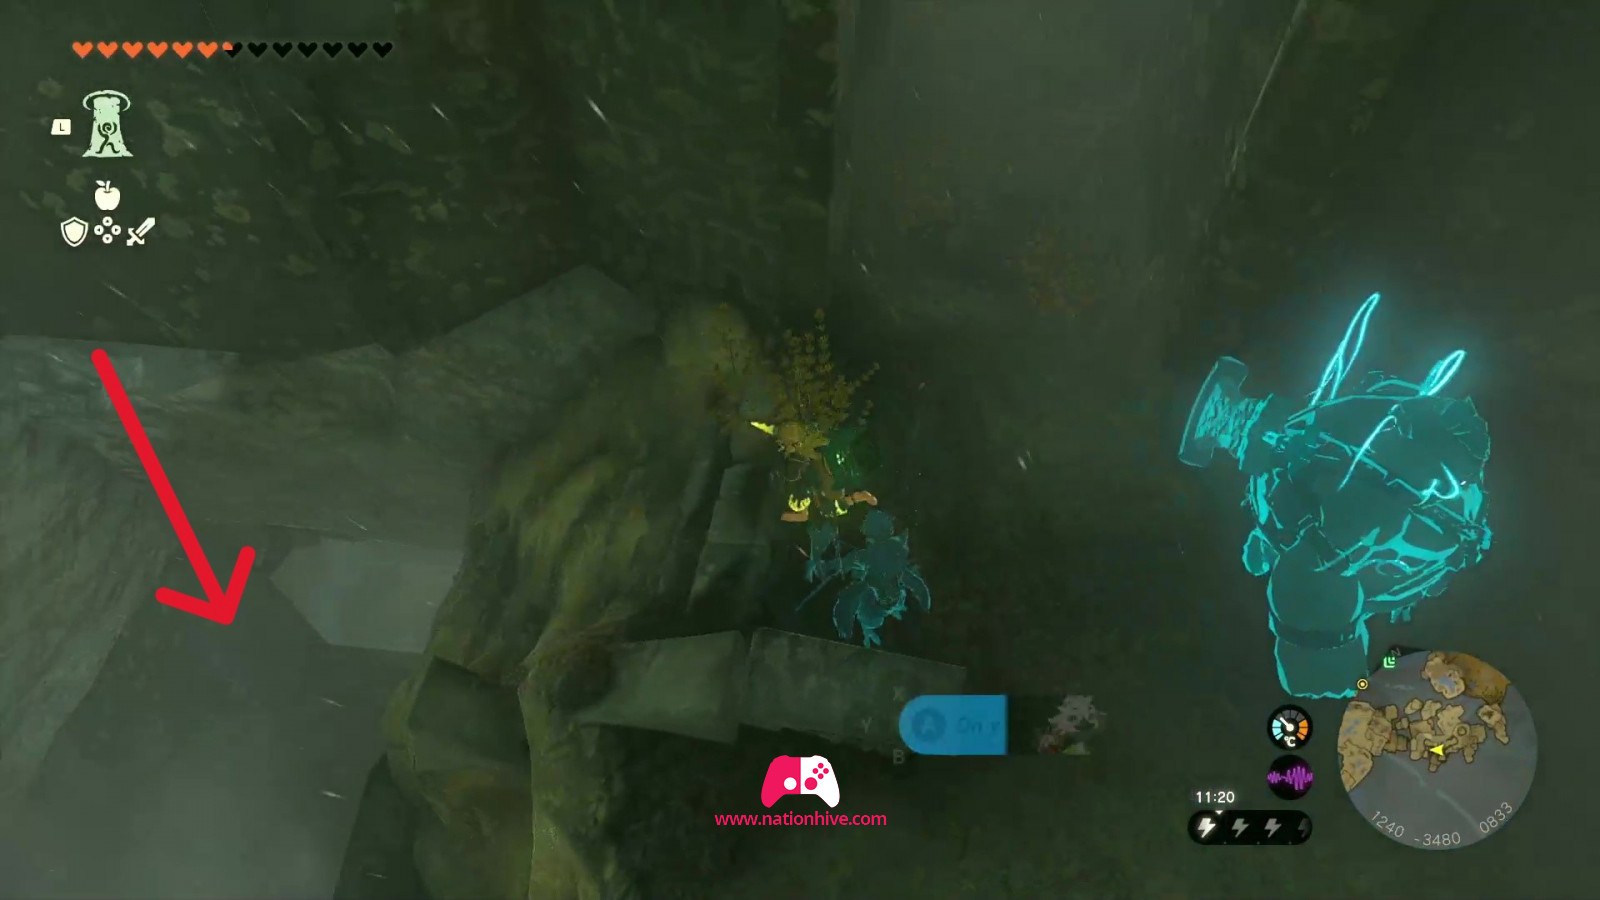
You'll come to a platform where there's another pool of water. Collect 2 wooden platforms and glue them together using Ultrahand to be able to cross to the upper platform. You'll be confronted by a Thunder Wizzrobe. Once the enemy has been defeated, climb up and jump to the next platform to advance across the island.
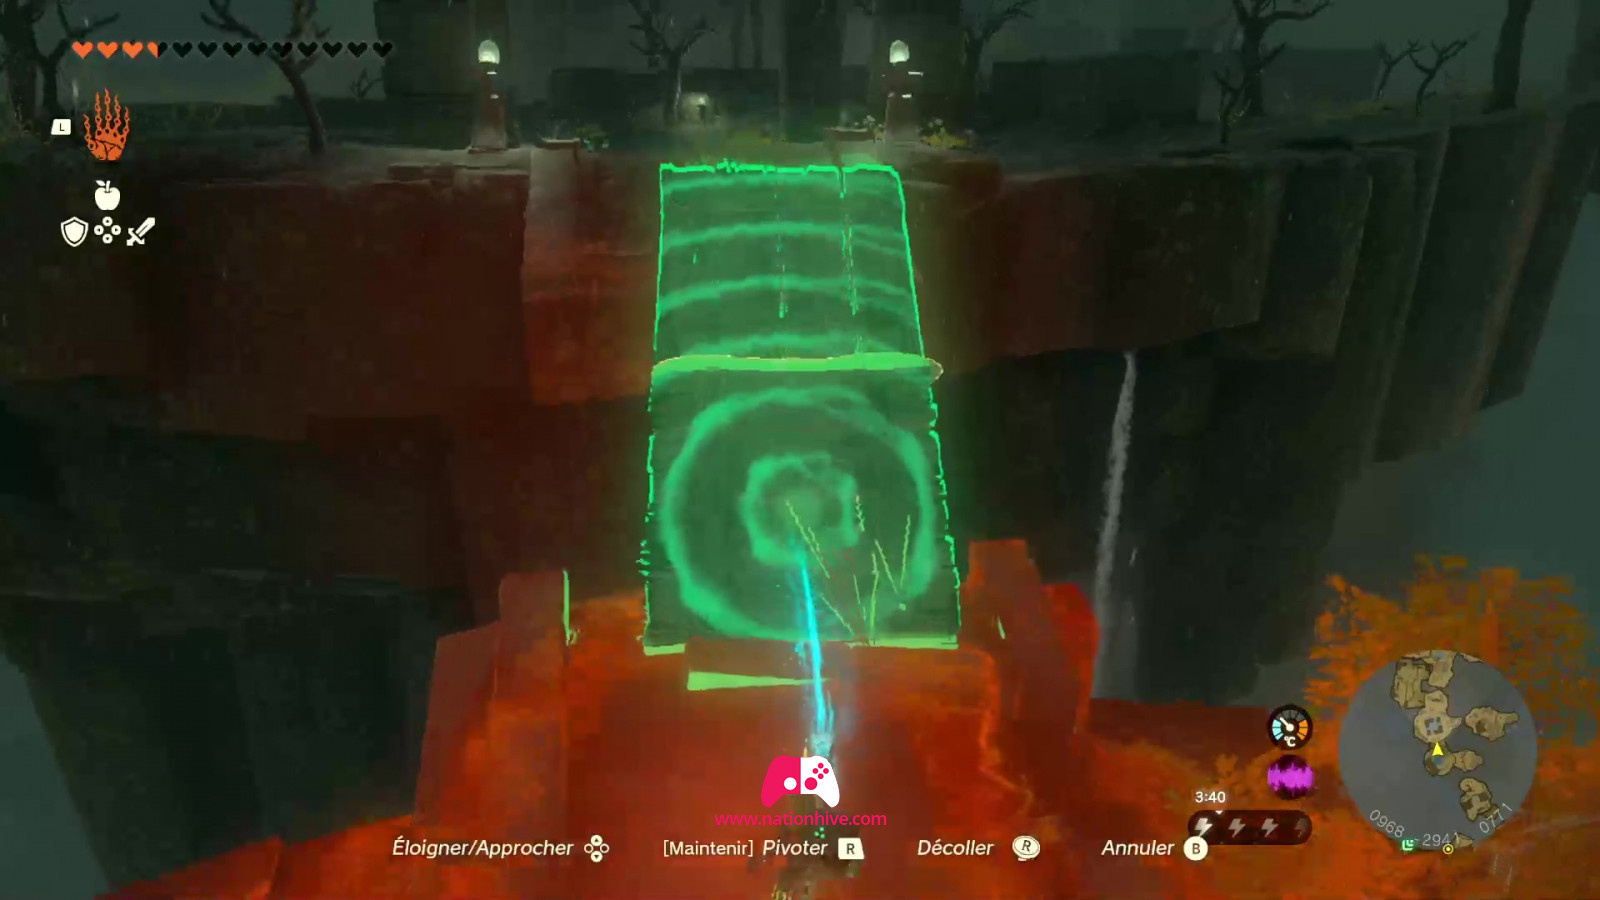
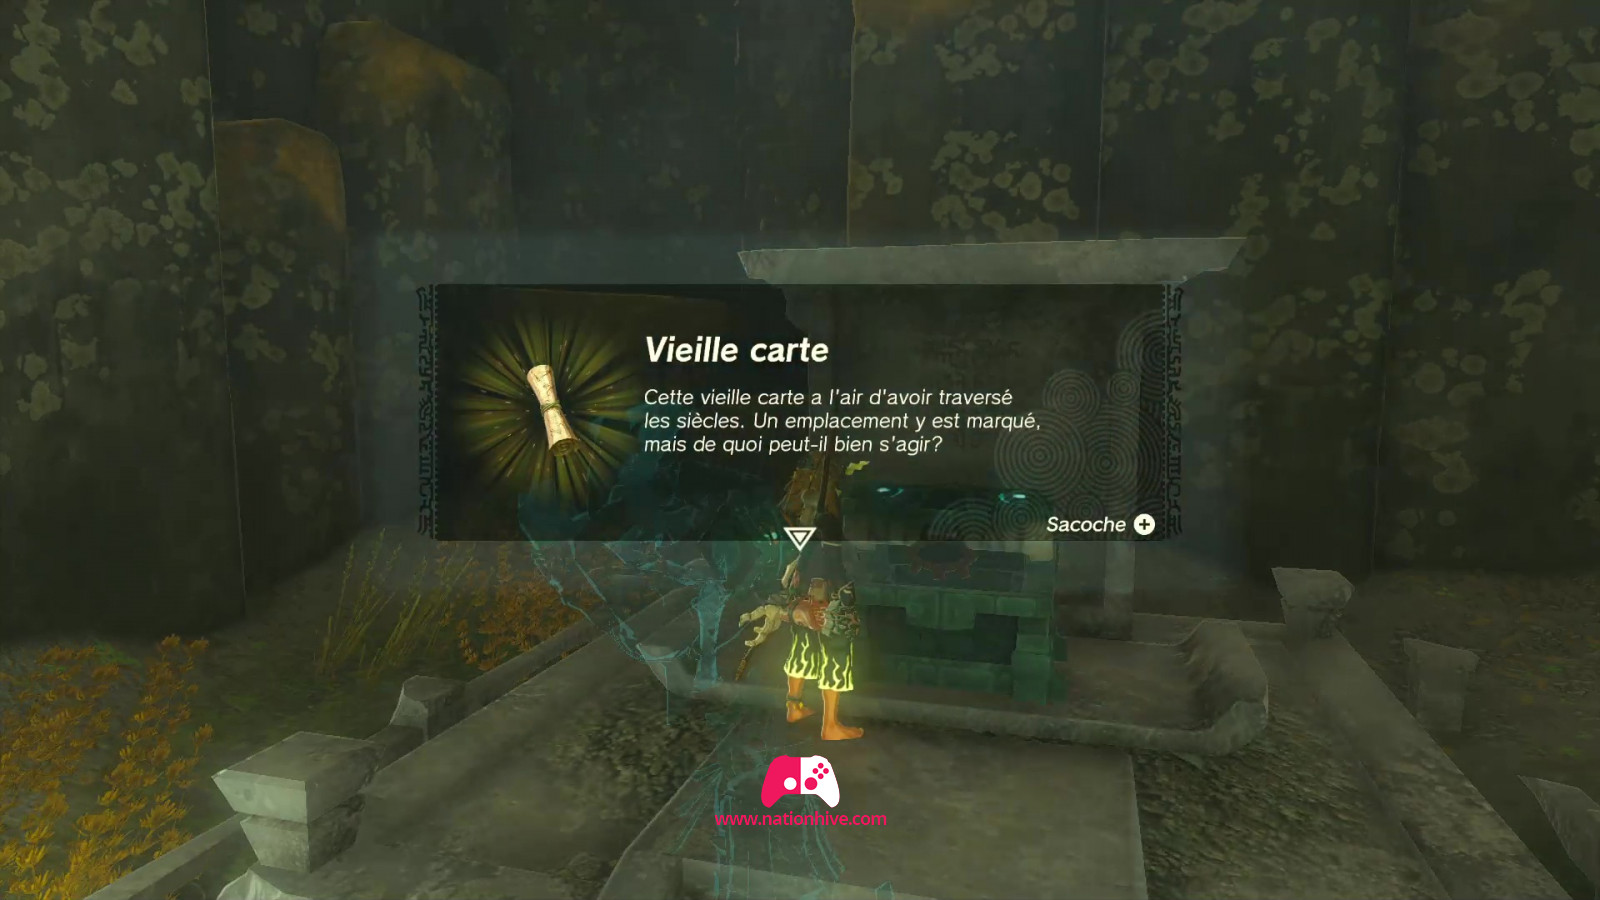
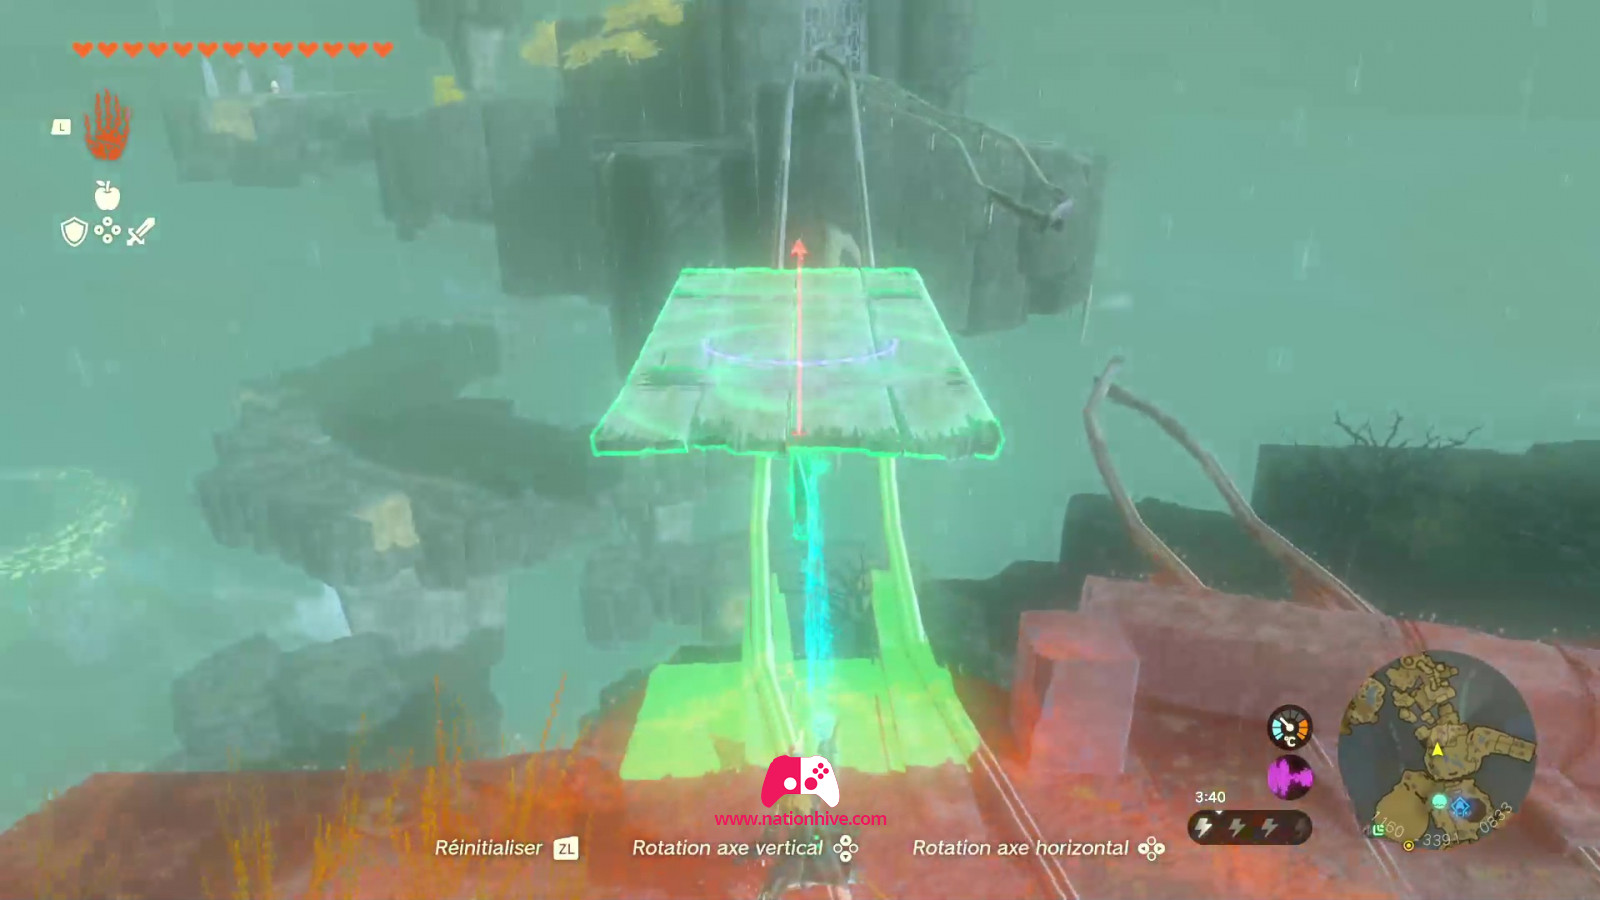
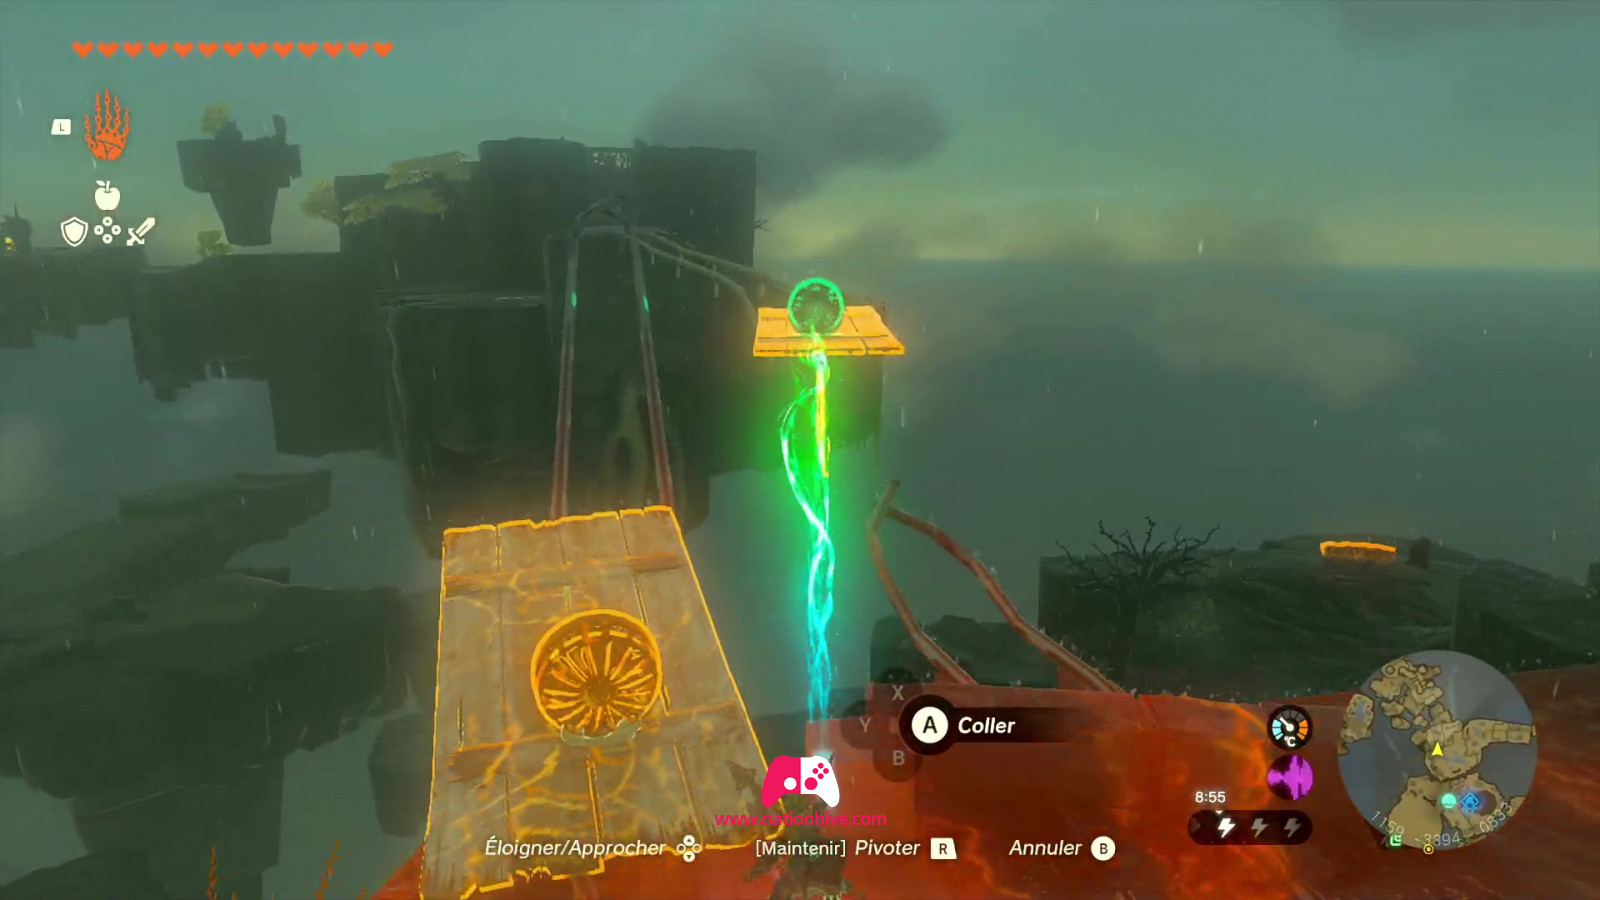
Next, face the rails, build a platform to go on the rail (see image below) and use Ultrahand to stick a Fan behind the wooden platform. You'll also find a chest near the rail, which you can open to receive an Old Map.
Then board this platform and head for the next platform. At this point, you'll see the Joku-usin Shrine (not yet accessible) and a chest at the top of a pillar. Open it to receive a Shock Emitter.

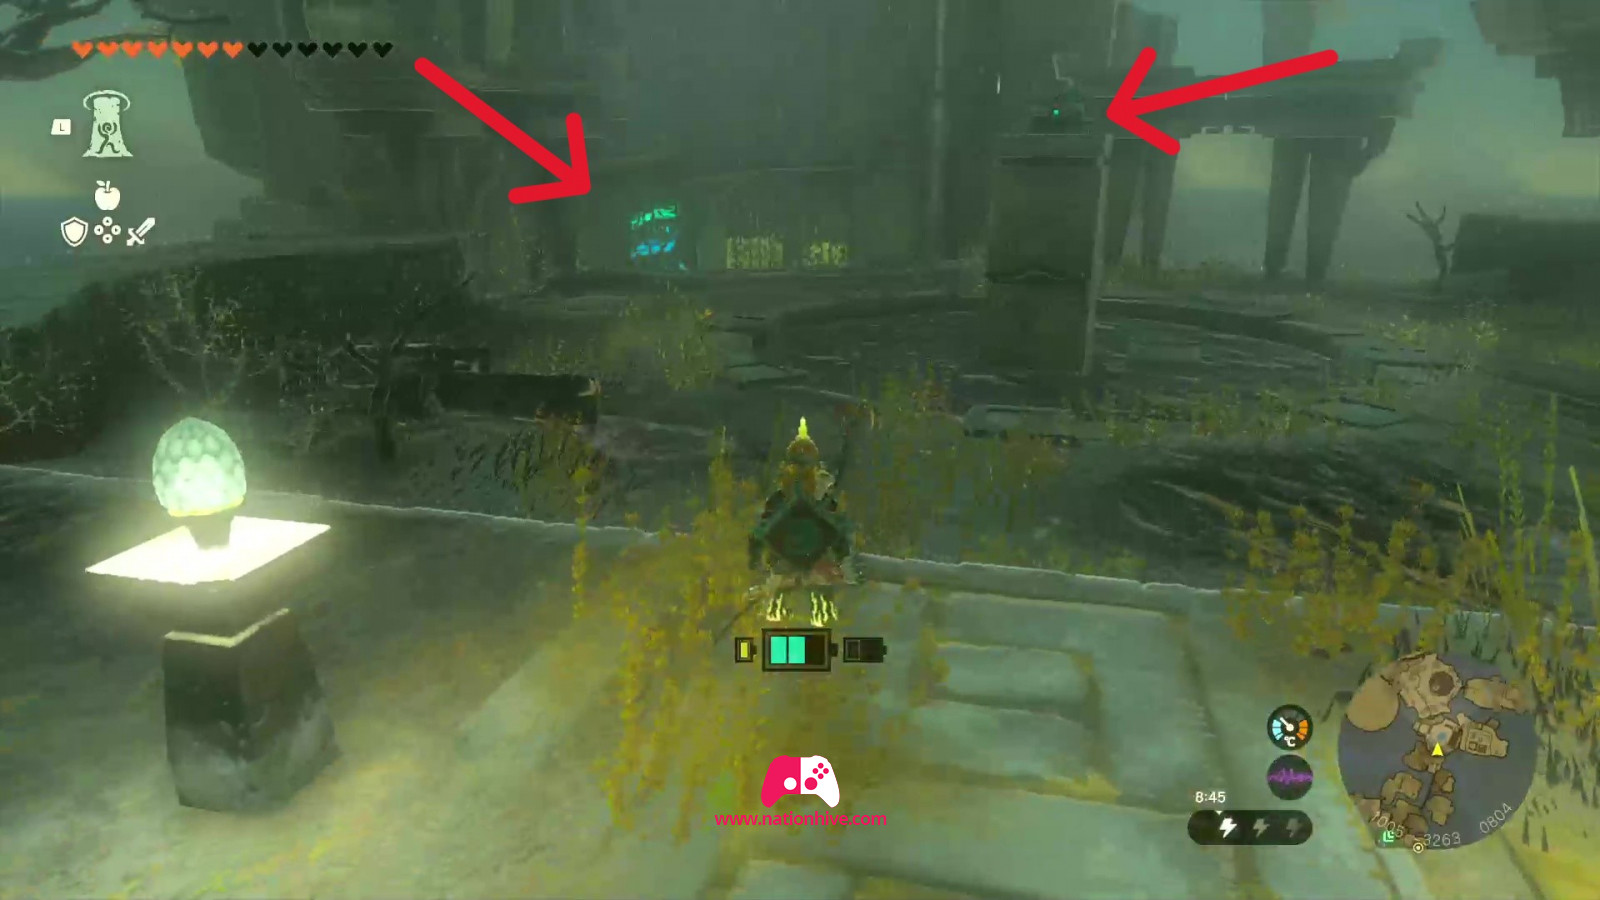
Nearby, you'll see an Flux Construct III and more rails. You have the choice of confronting the Flux Construct III (you'll receive another Old Map and several resources) or simply heading for the rails to continue on your way.

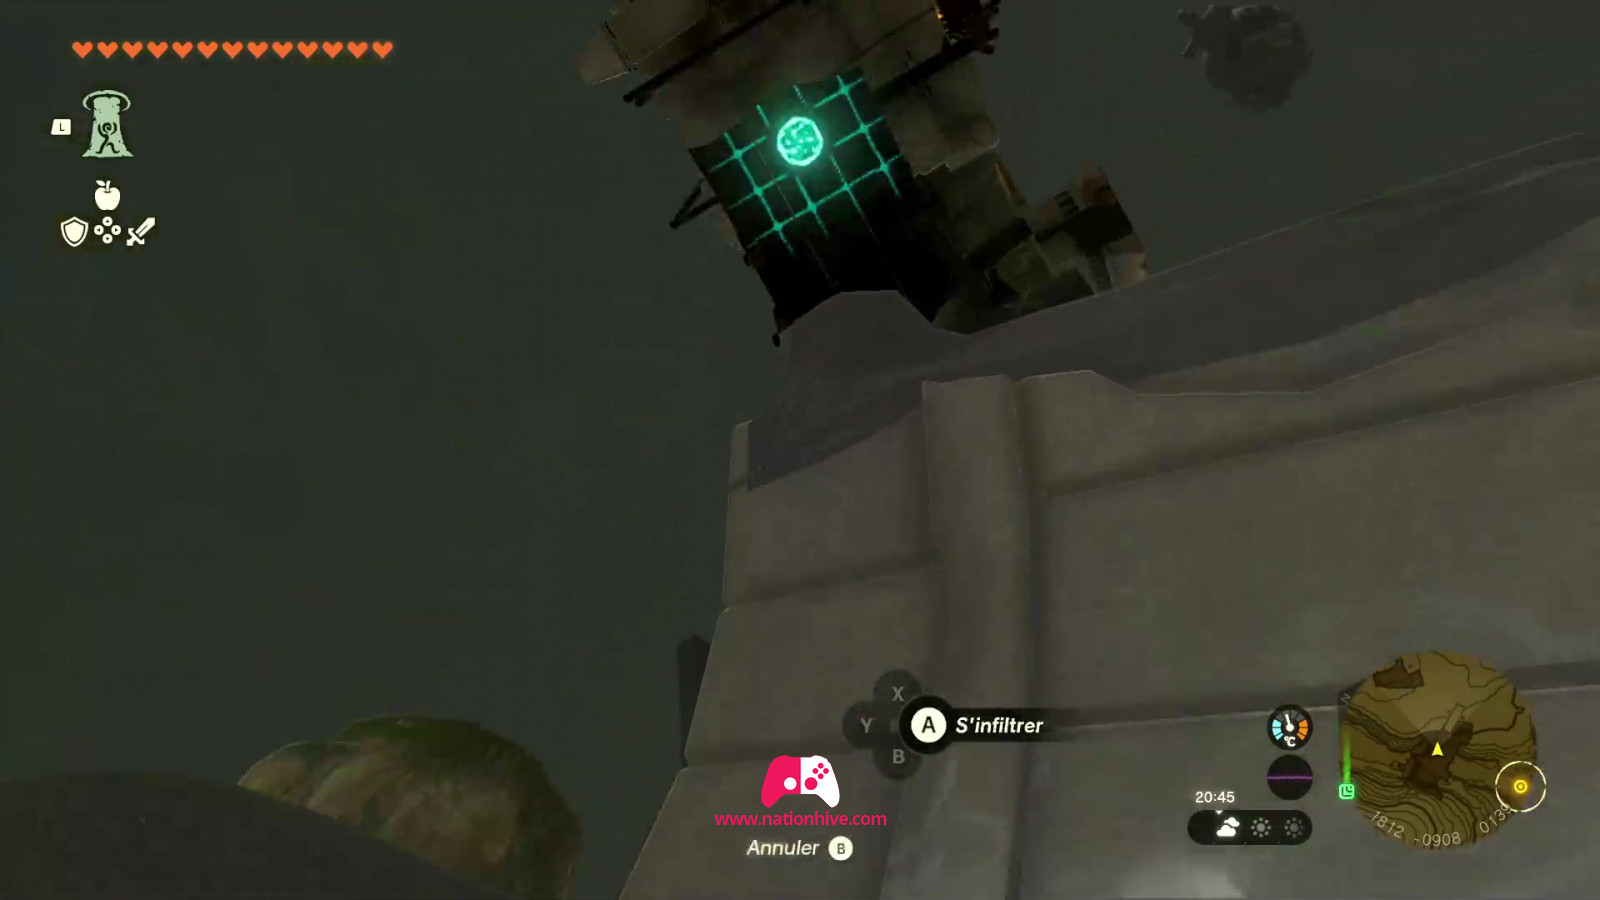
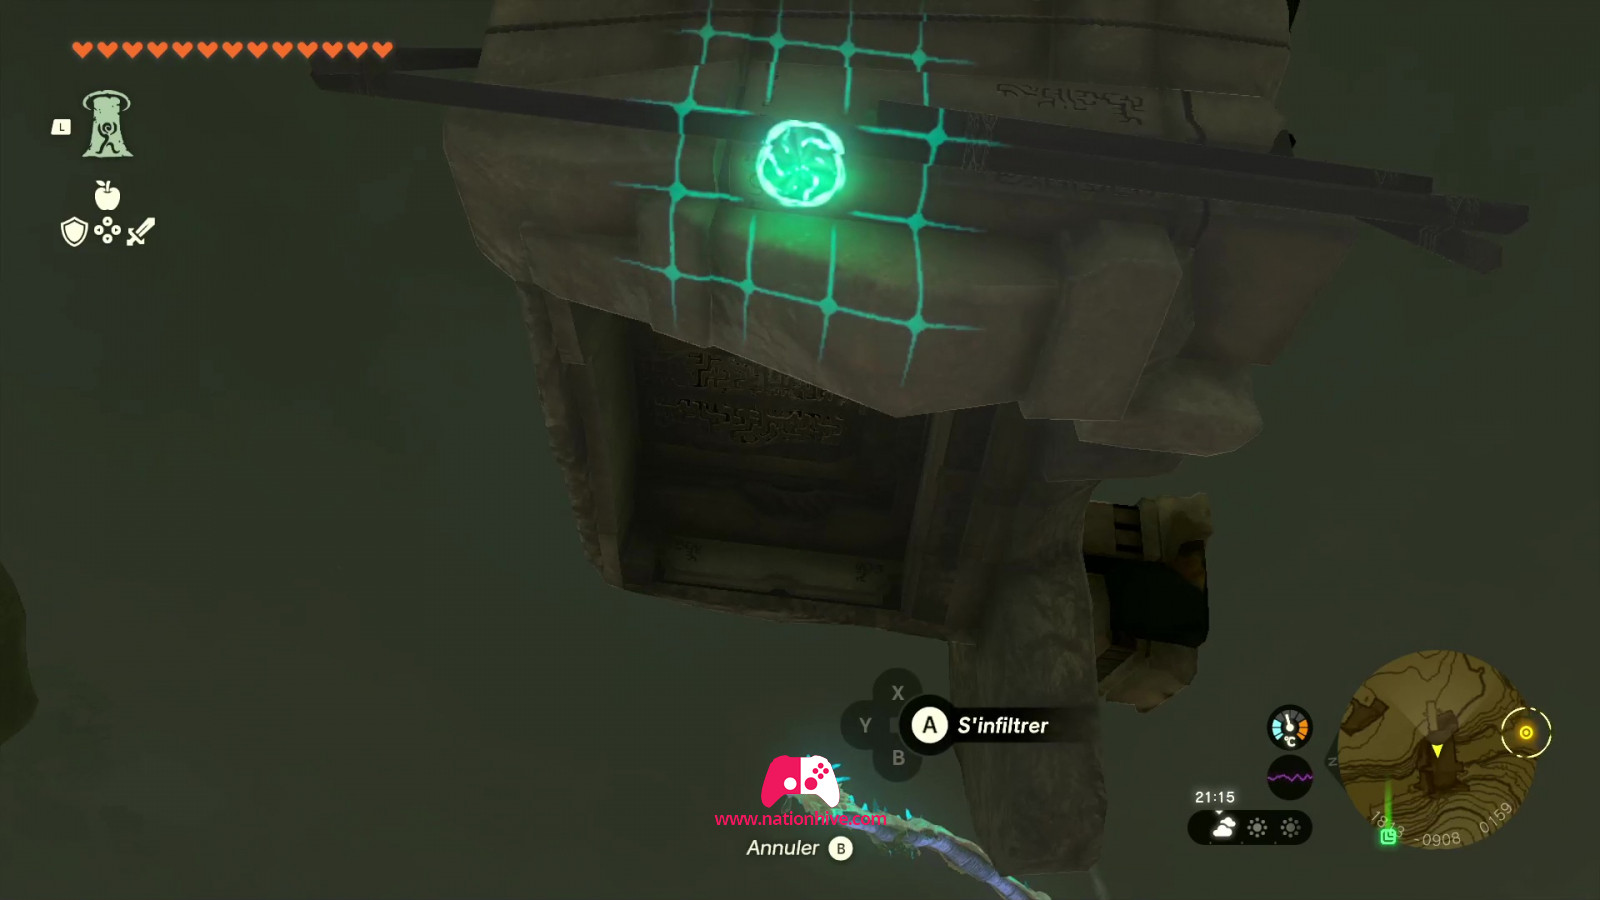
Then head for the rail and build another platform to cross. As you cross a pillar, use the Ascend ability to go inside and arrive in front of the Joku-usin Shrine, or cross to the other side.
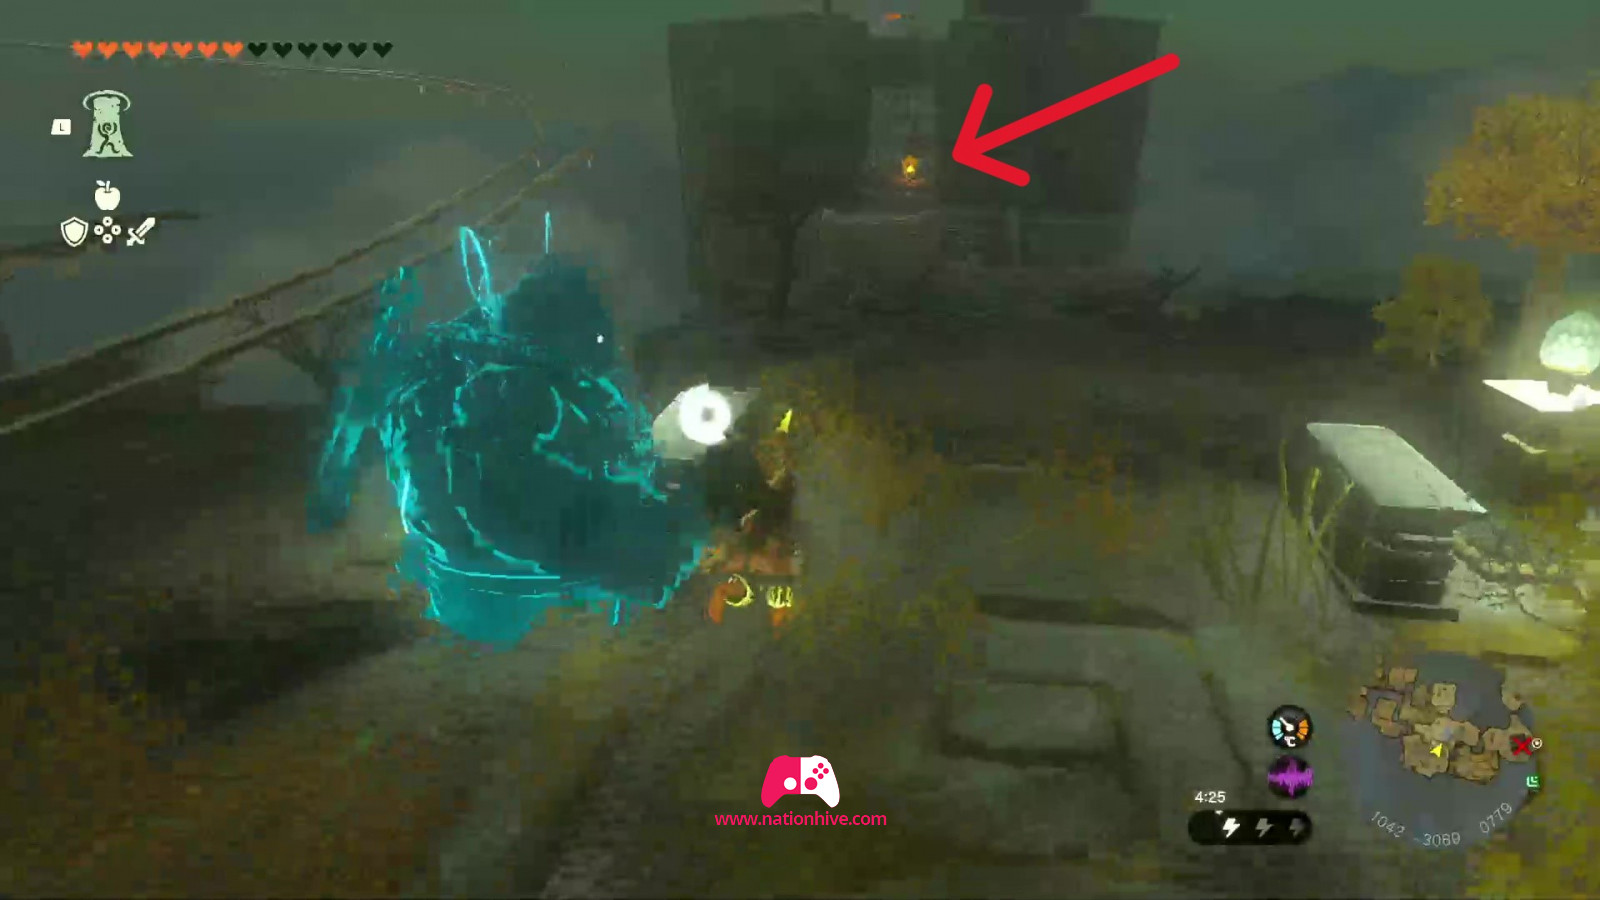
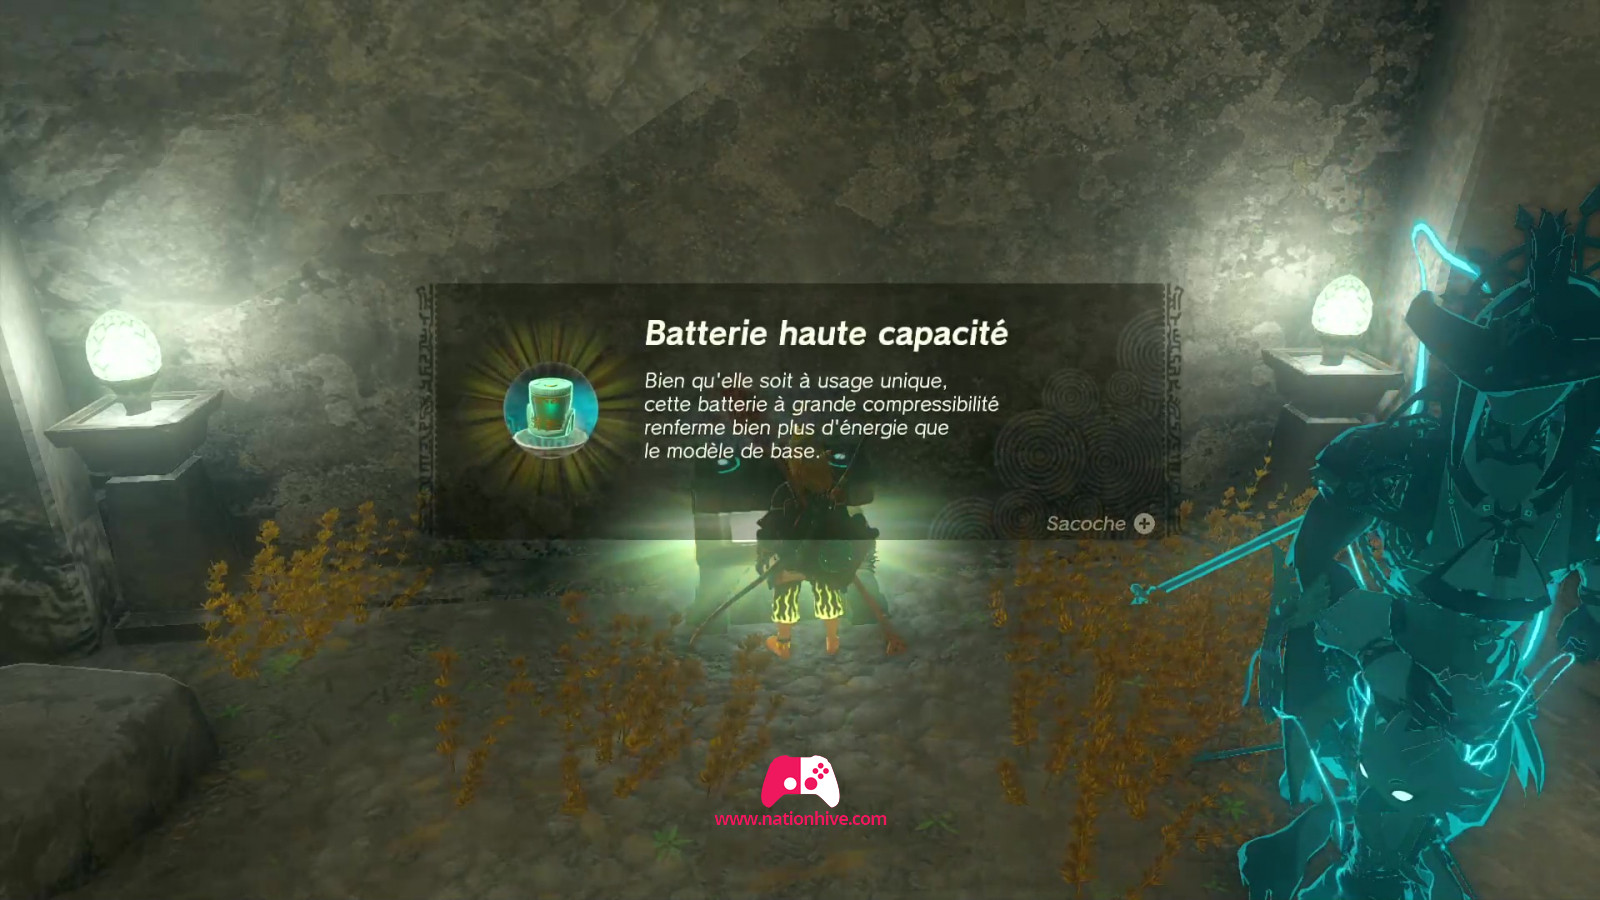
Once you've completed the Shrine, use Ascend to exit the pillar. Then head for the nearby Zonai Dispenser. Attack the Like Like nearby and open the chests to receive a Big Battery and equipment.
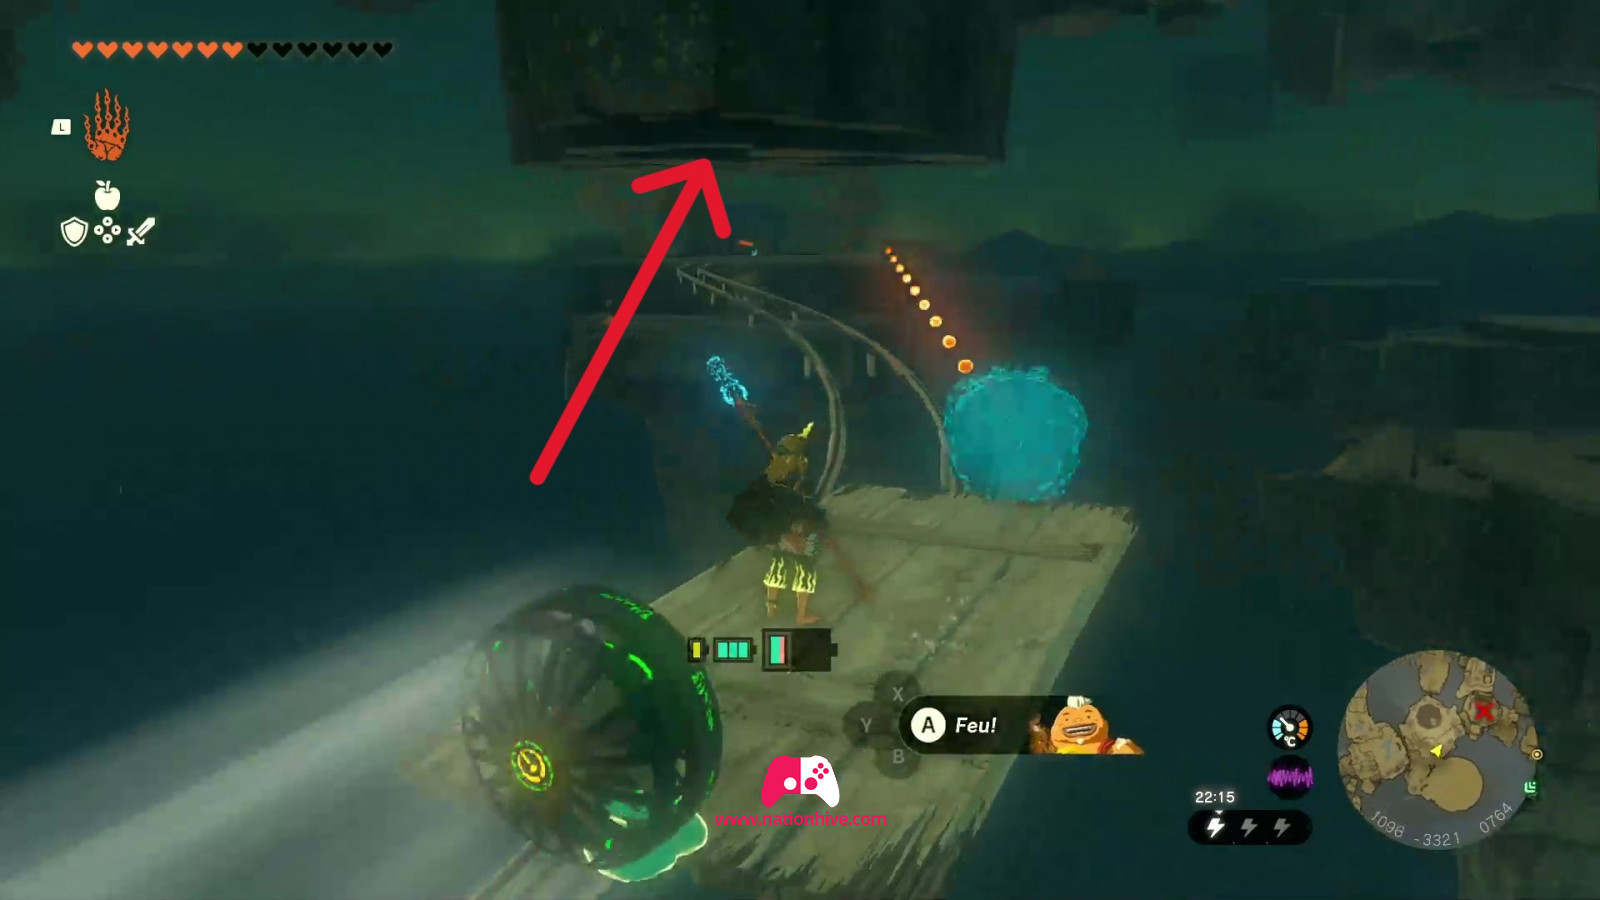
Then climb to the top using Ascend and head for the wheel in the middle. Push the wheel clockwise (make sure the wheel is moving and the platform is facing south-east) and stand on the spring-loaded platform.
You'll be thrown into the air, so head for the platform where there are 2 rails. Nearby, you'll find a chest containing a Zonaite Bow. You'll need to cross these rails to get to the other side. However, you'll notice that there's a problem with the rails. To do this, prepare 2 platforms with a fan and place them on the 2 rails. Activate the first fan and jump to the next platform to continue along the track.
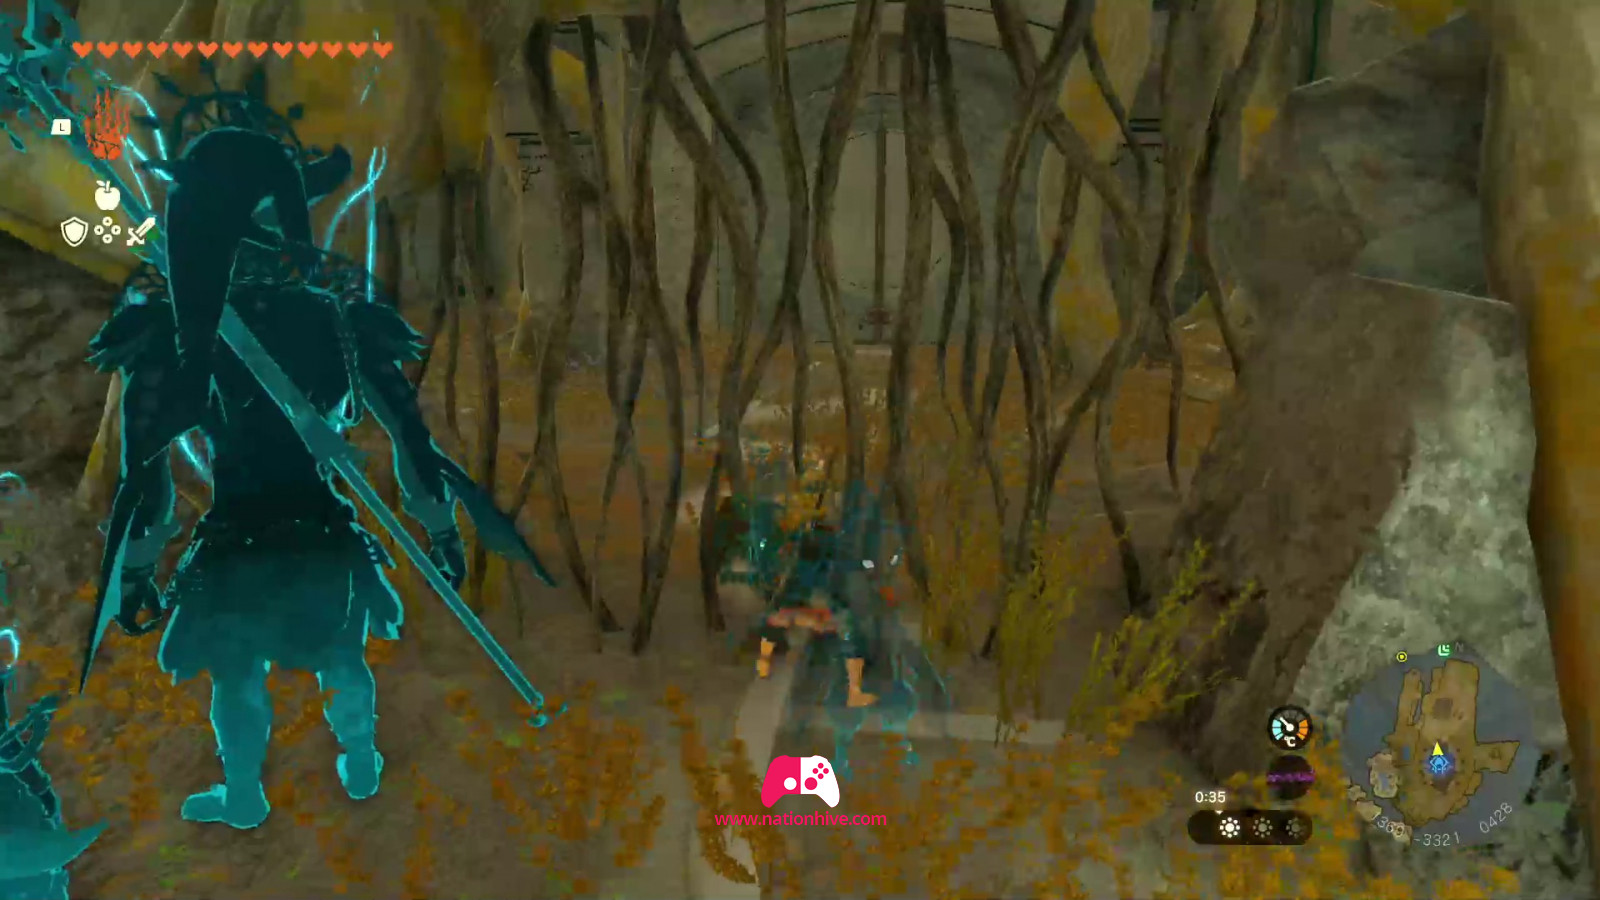
At the next stage, head under the pillar and attack the enemies. Then climb up using Ascend.
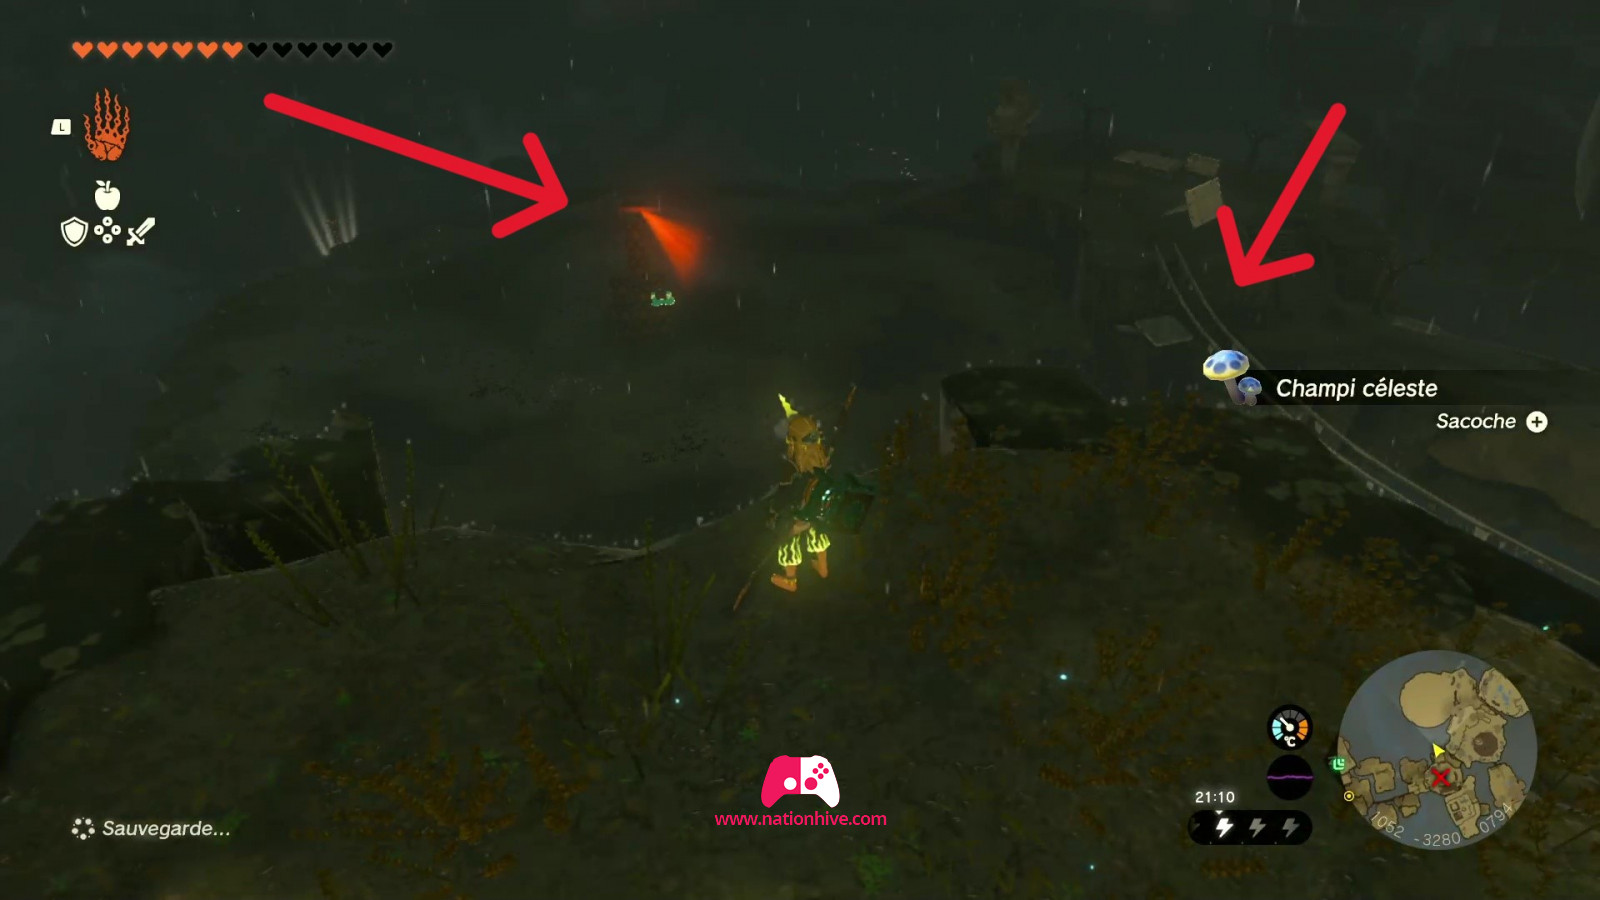
Then head for the next spring-loaded platform to be projected upwards. You'll find a chest containing 3 Shock Emitters. Continue on your way to a platform where you can jump. But before doing so, climb with Ascend and collect resources and a Zonai charge.
Return to the platform and jump off to land on Dragonhead Island.
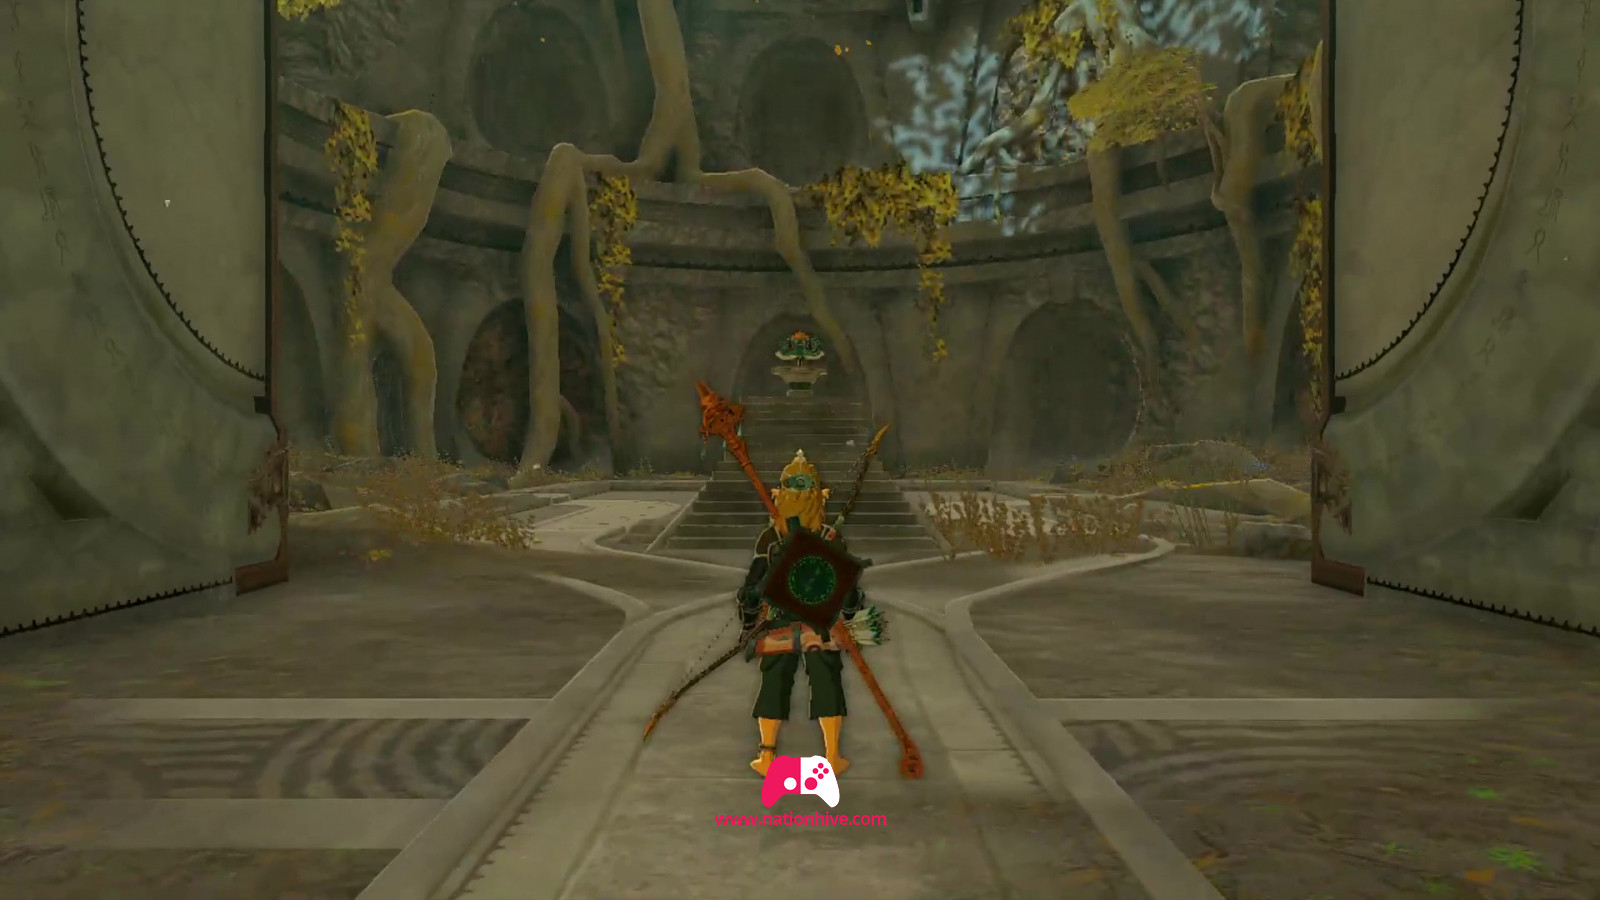
Dragonhead Island
Land in the tree trunk to receive a Korok Seed. Go out and collect resources if you wish.
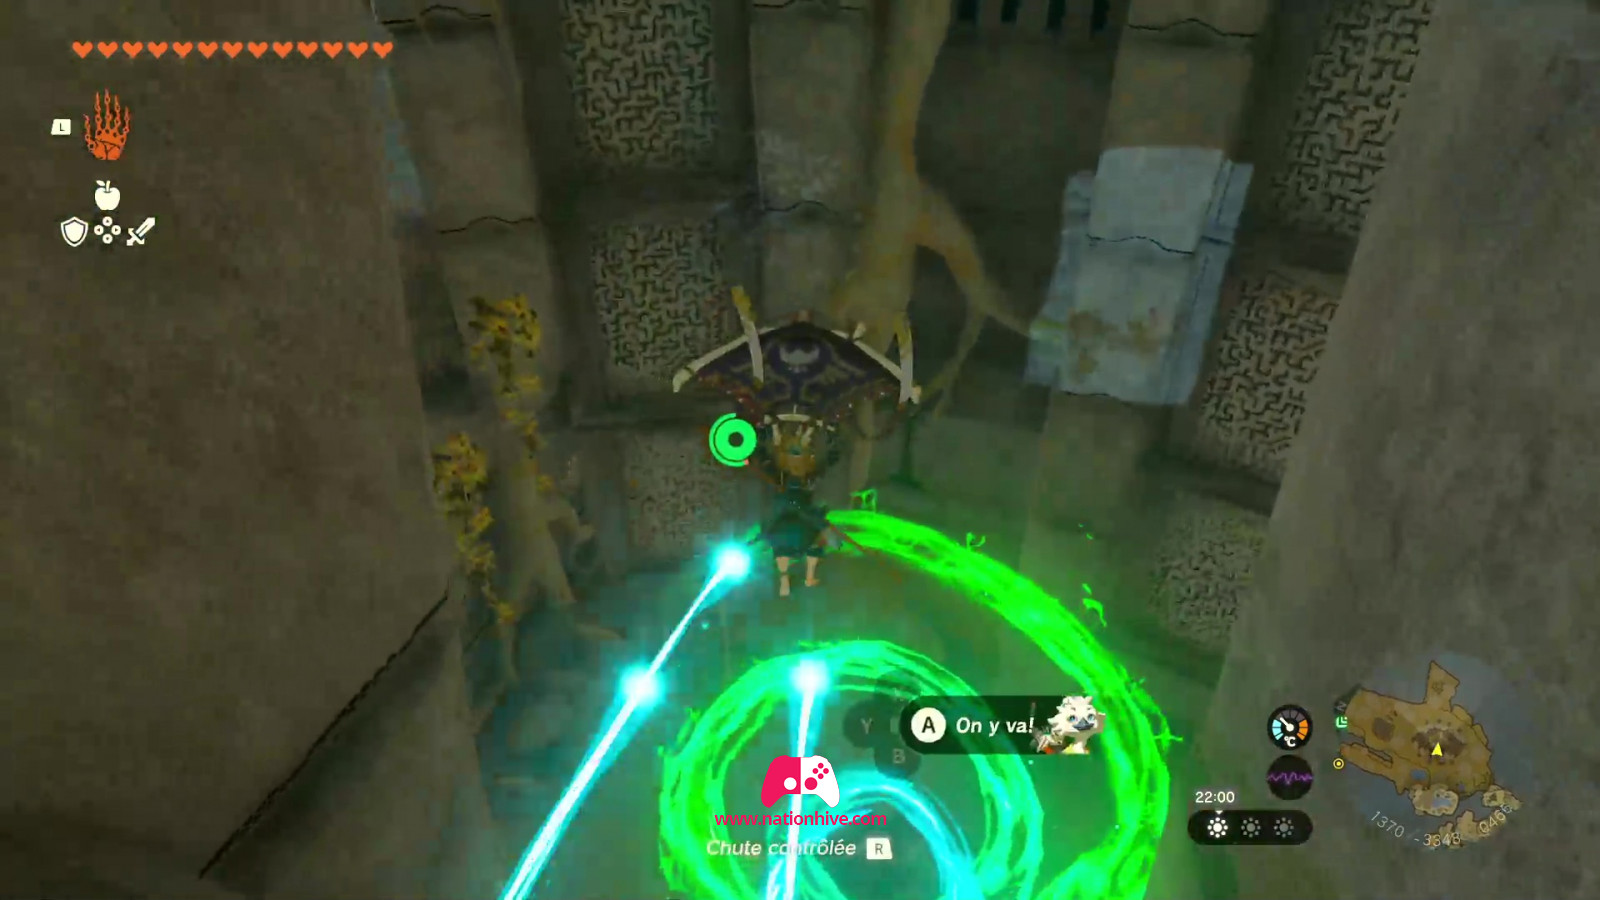
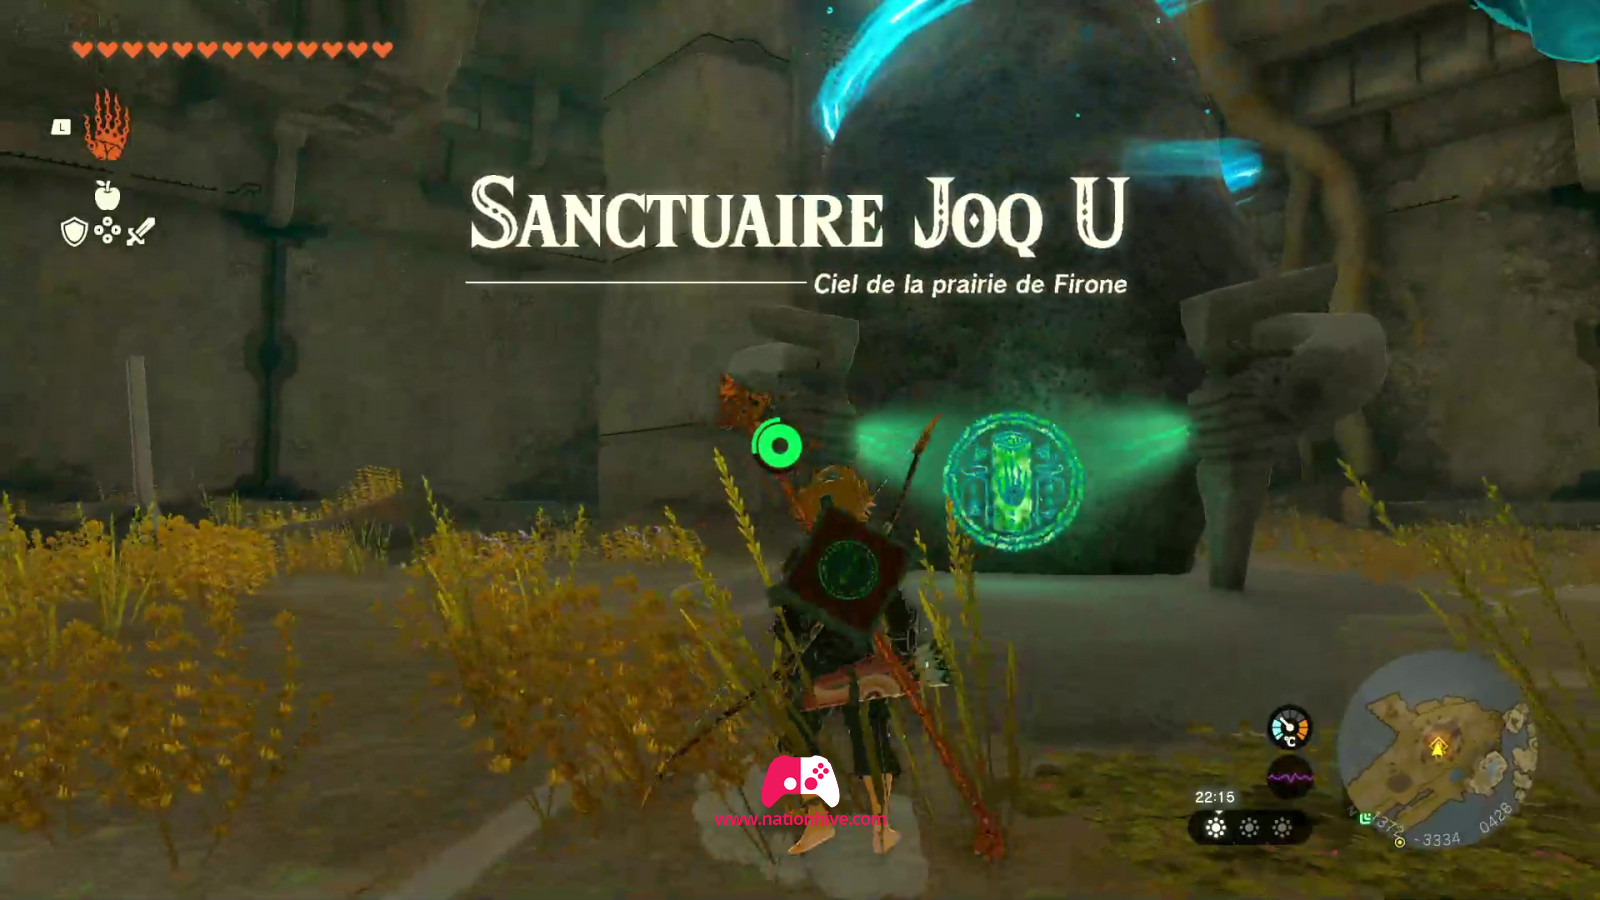
Then enter the pillar to face the Joku-u Shrine. Complete it to be able to teleport there next time.
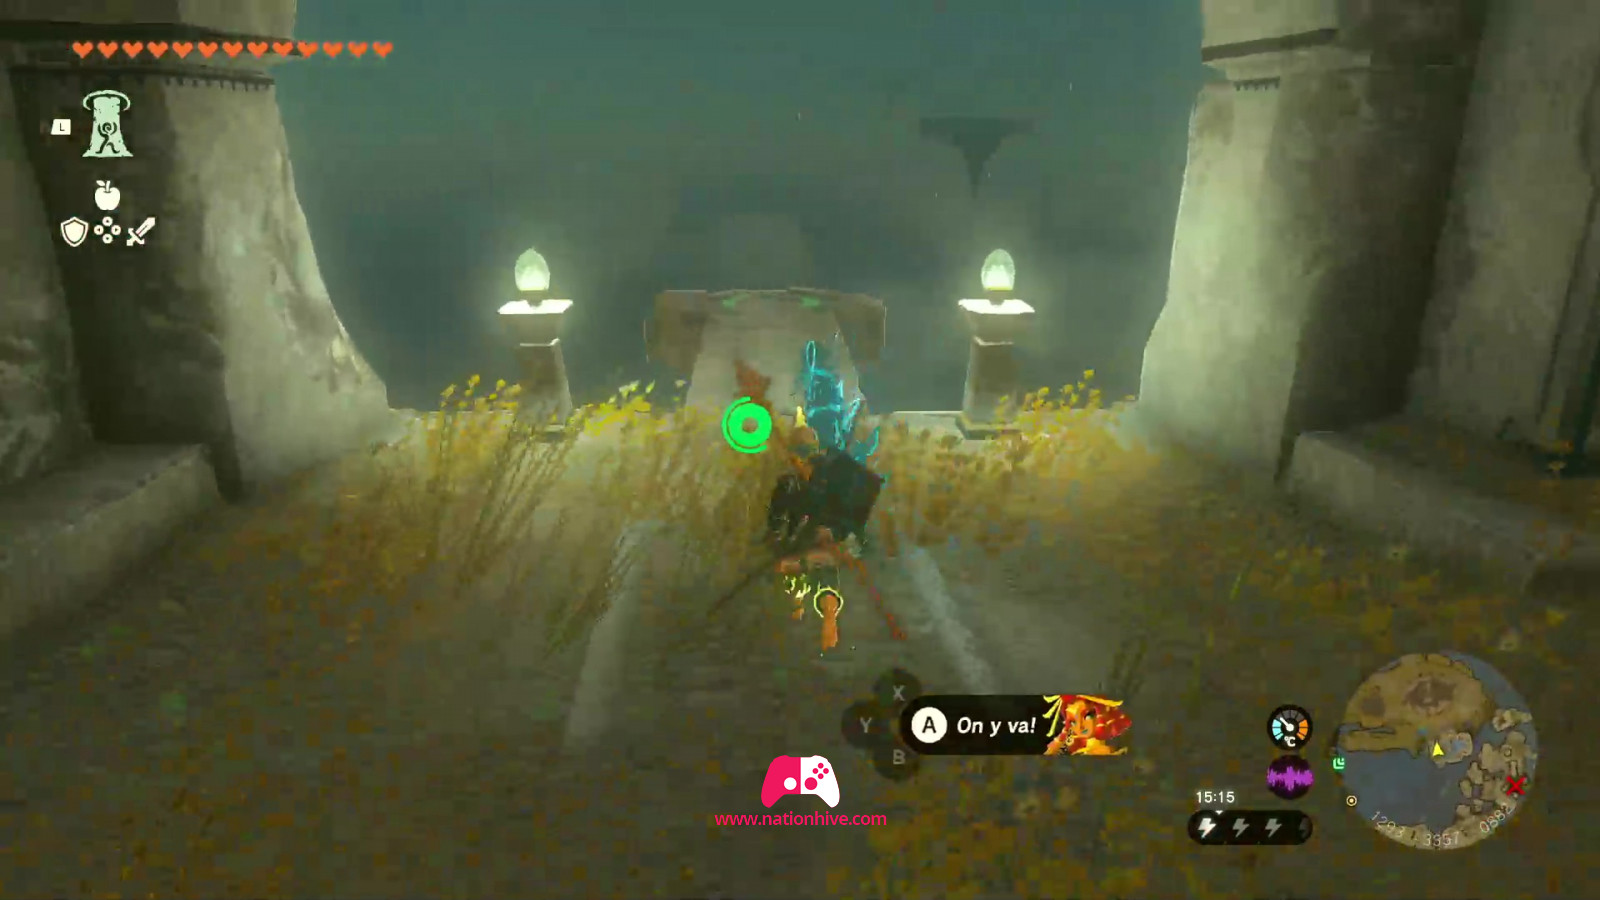
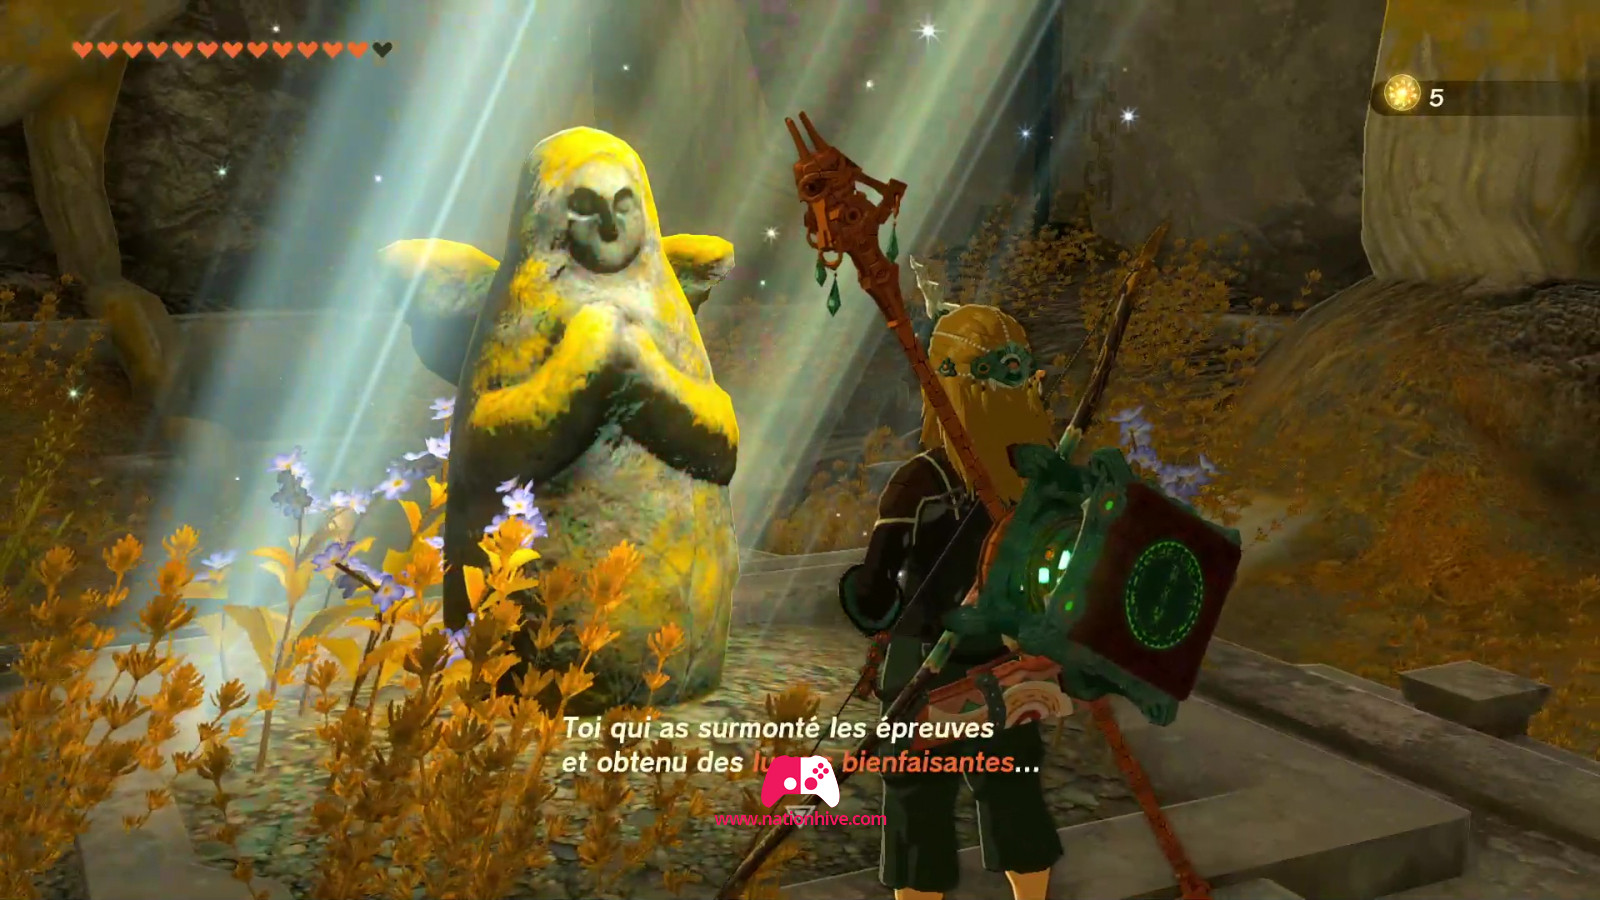
Then head for the vines blocking the path and cut them with a blade. You'll be faced with a door. It's important to know that you'll need at least 10 heart receptacles to be able to open the door. A statue of the goddess is nearby if you have any Light of Blessing to trade.
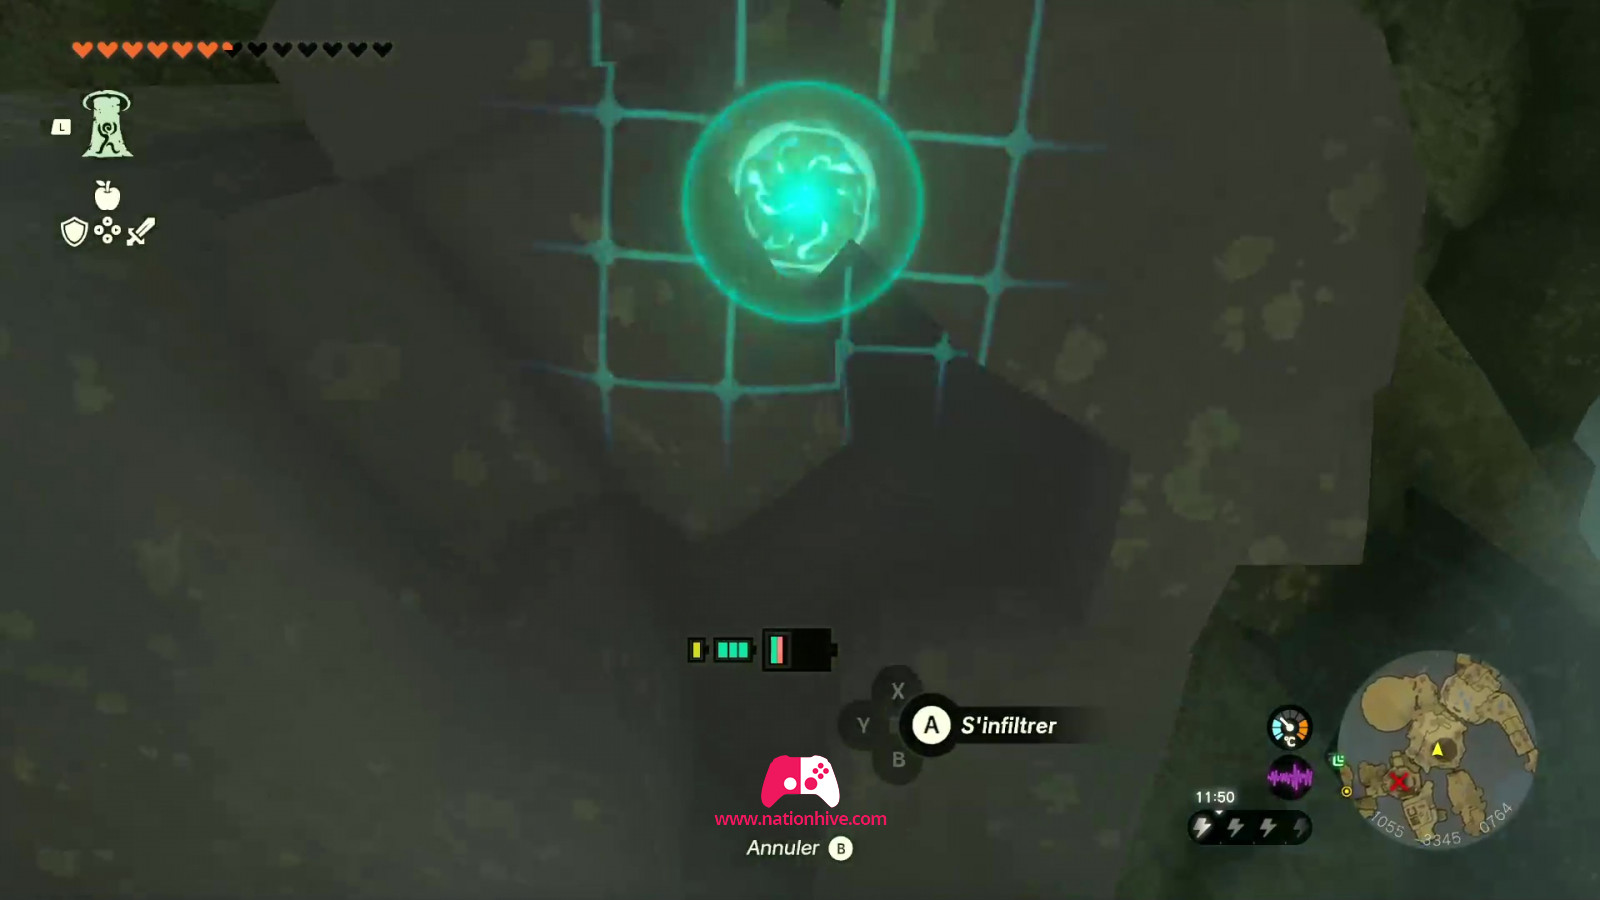
Once ready, stand in front of the door and hold down the A key. The door will open to reveal a Zonai relic pointing to a specific location.

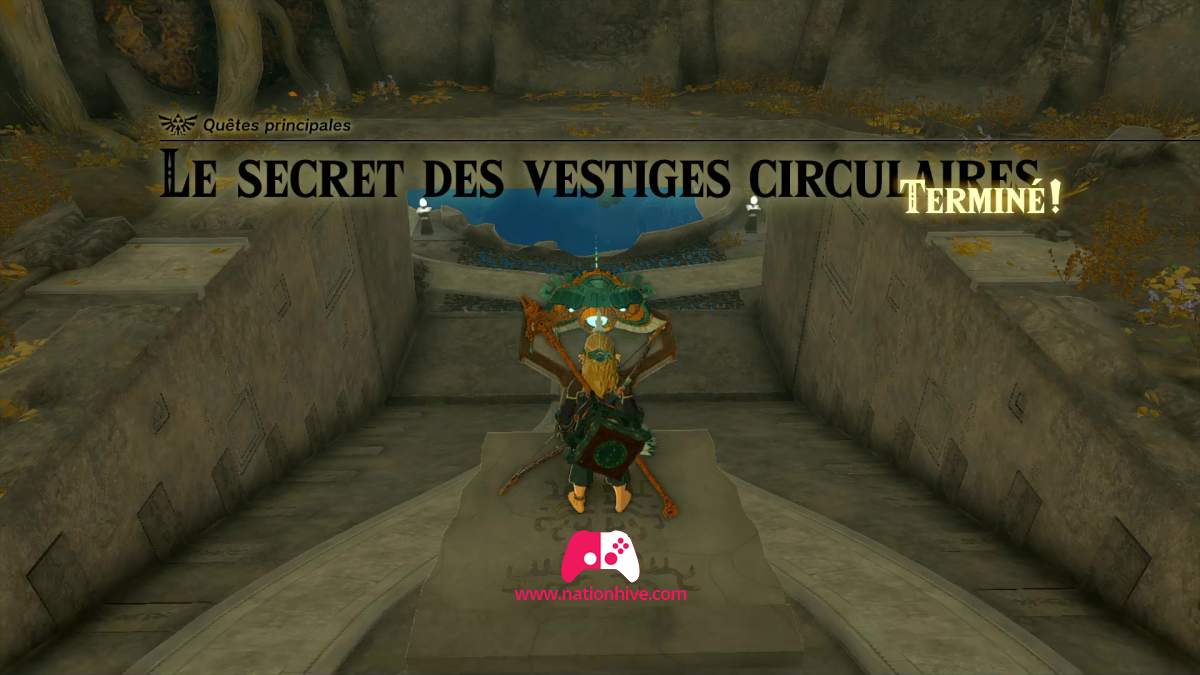
And so the main quest: Secret of the Ring Ruins comes to an end, making way for your next main quest in Zelda: Tears of the Kingdom - Guidance from Ages Past.