Guidance from Ages Past
In this walkthrough for The Legend of Zelda: Tears of the Kingdom, we'll give you the complete tutorial for the main quest: Guidance from Ages Past.
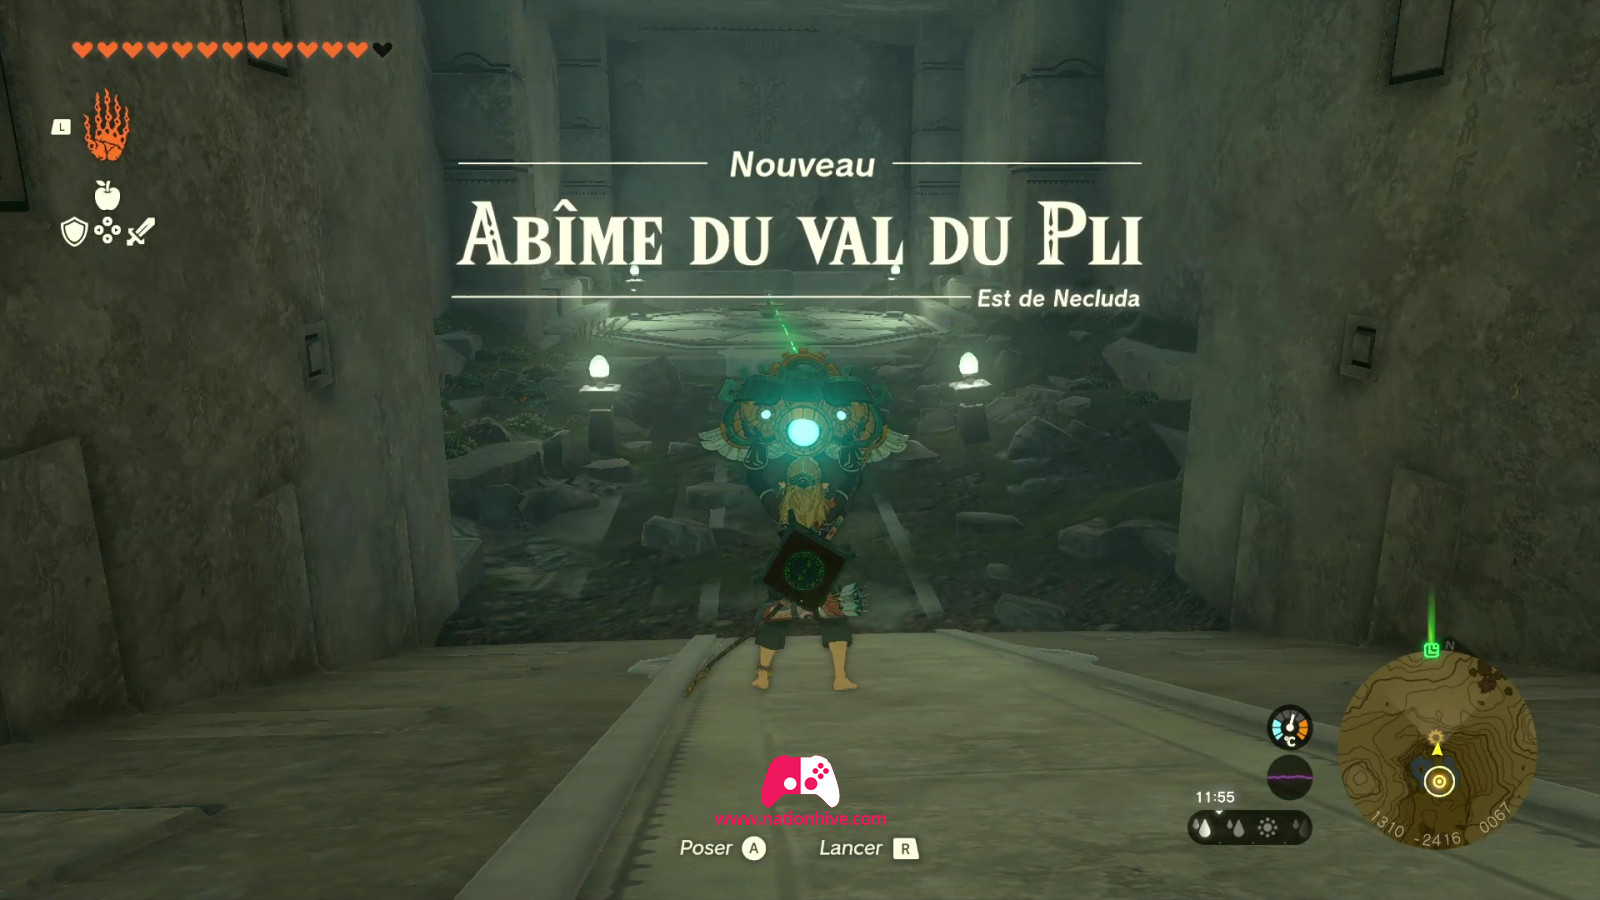
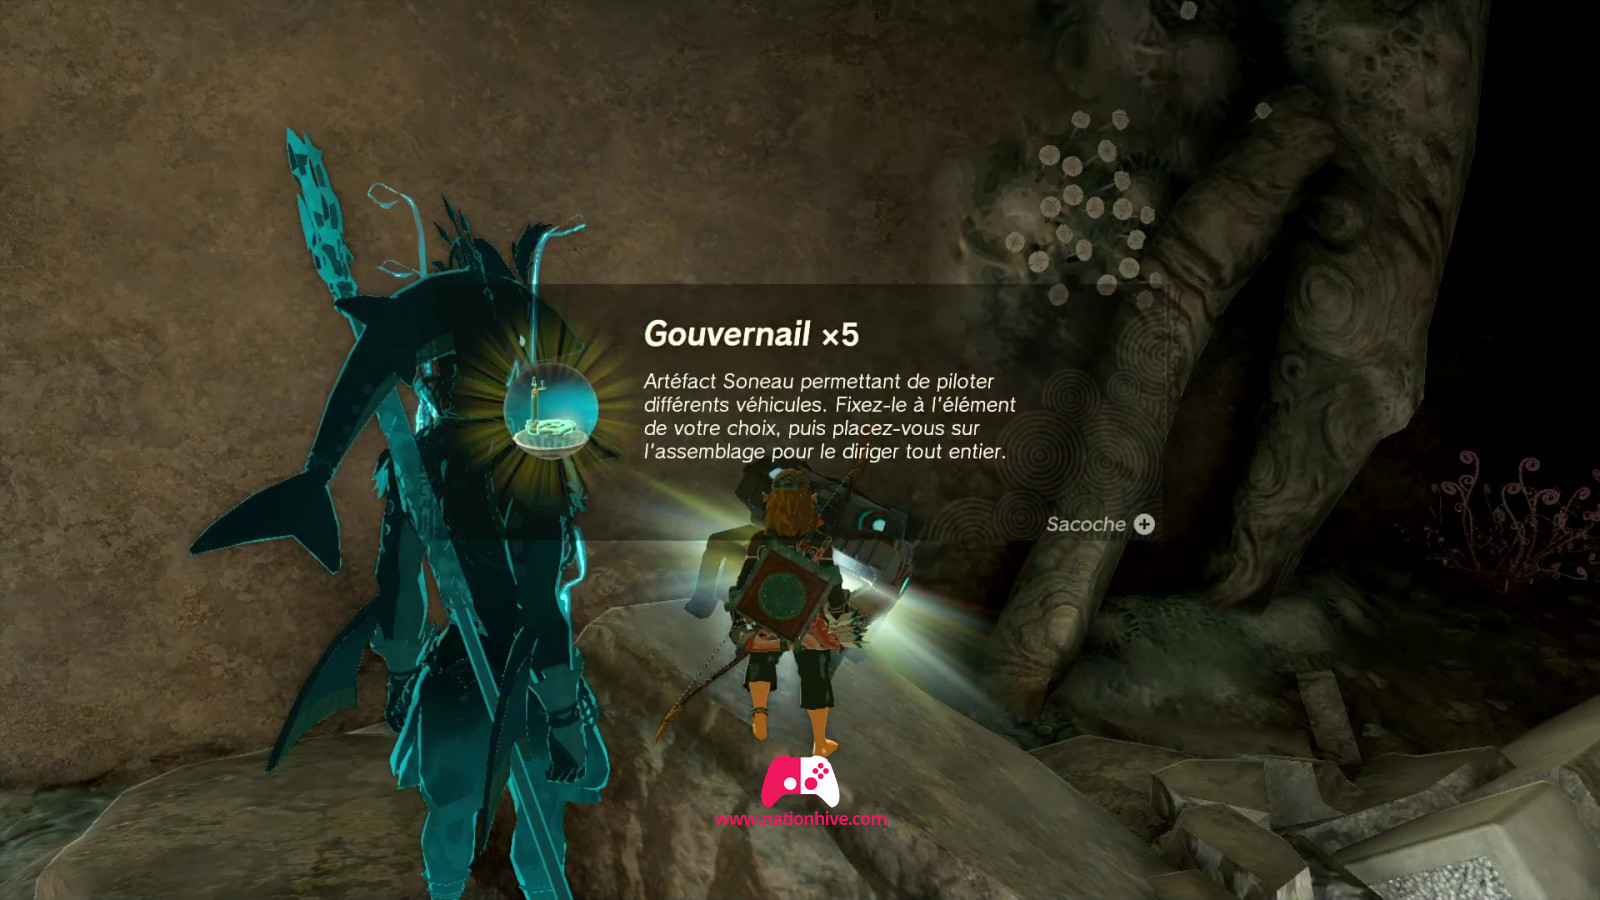
Once you've found the relic, pick it up and place it on a Wing glider, since you'll have to follow the direction the relic is pointing. Once there, lift the relic and place it on the base in the center. This will reveal an entrance.

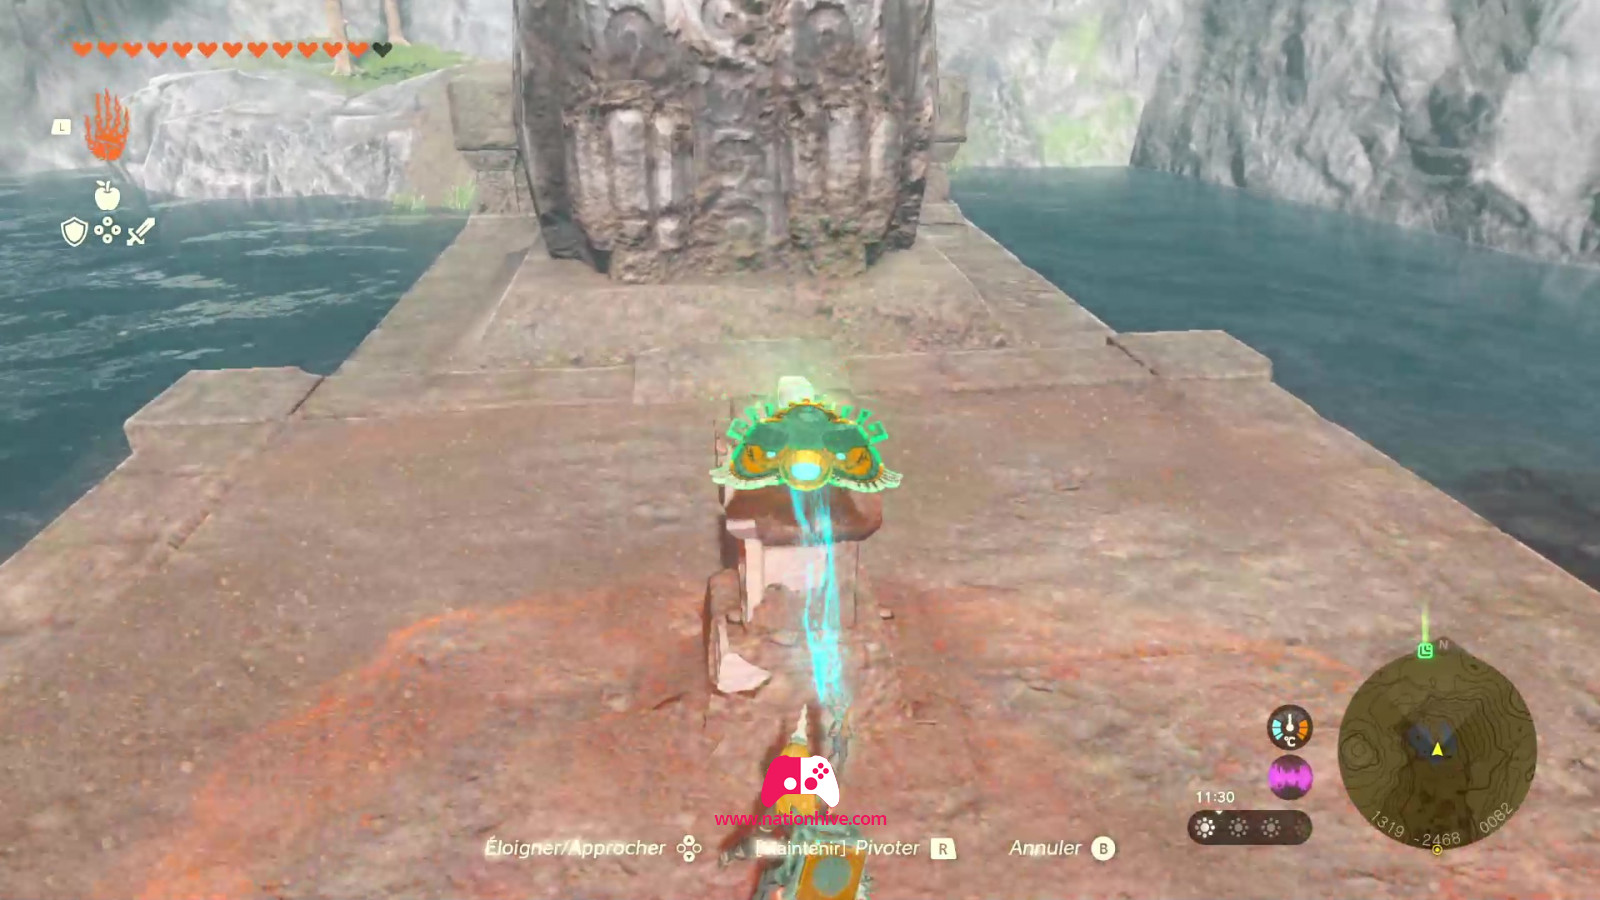
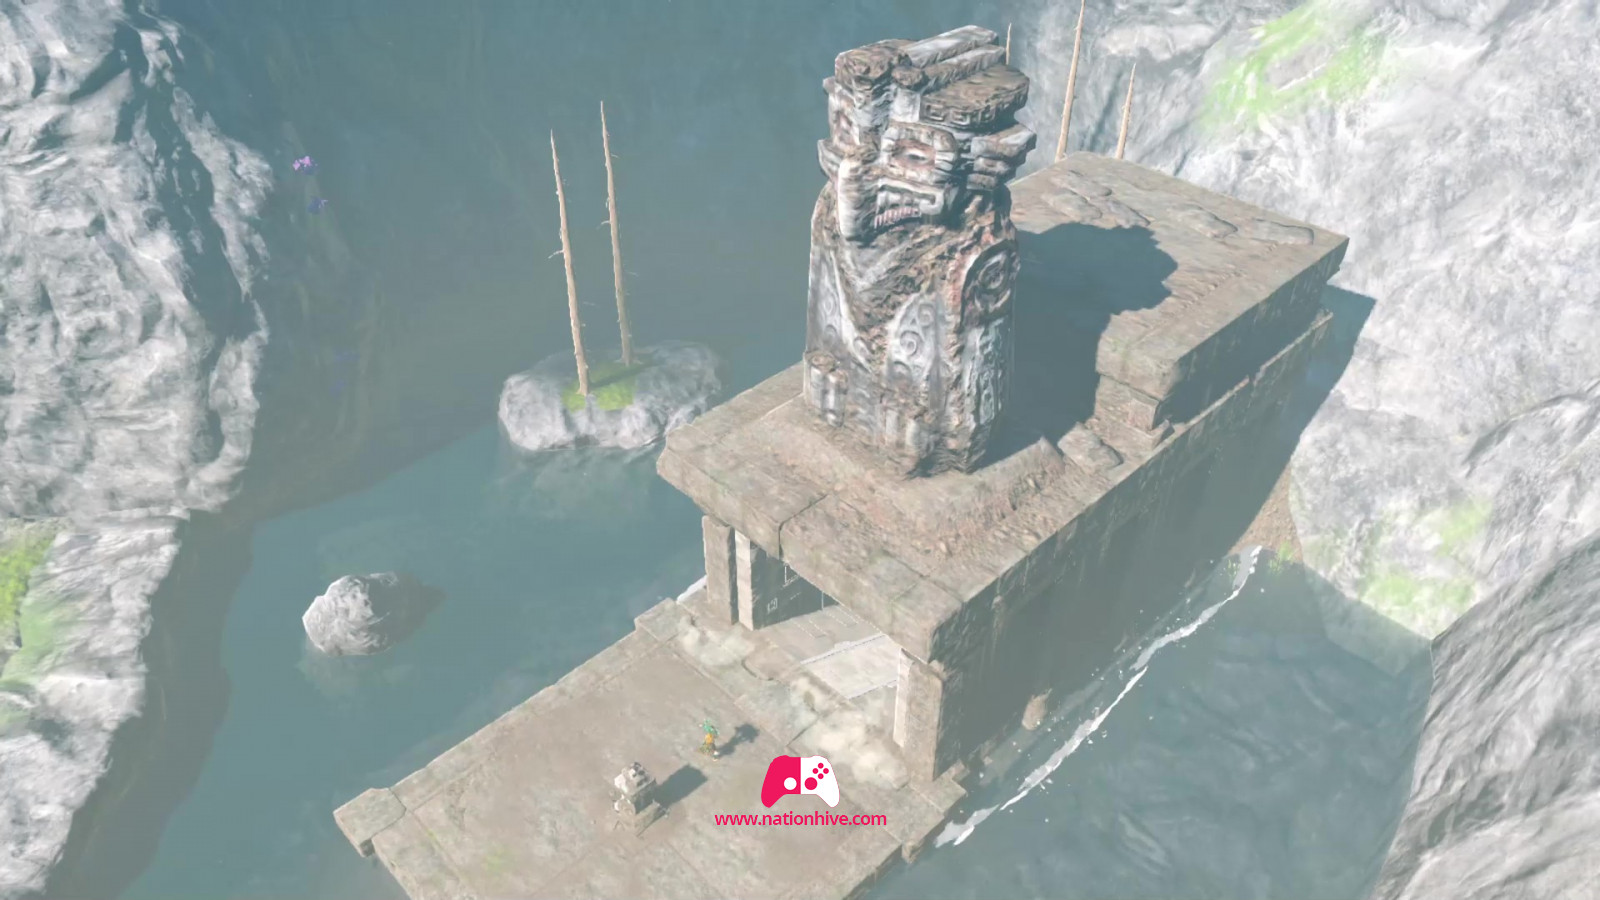
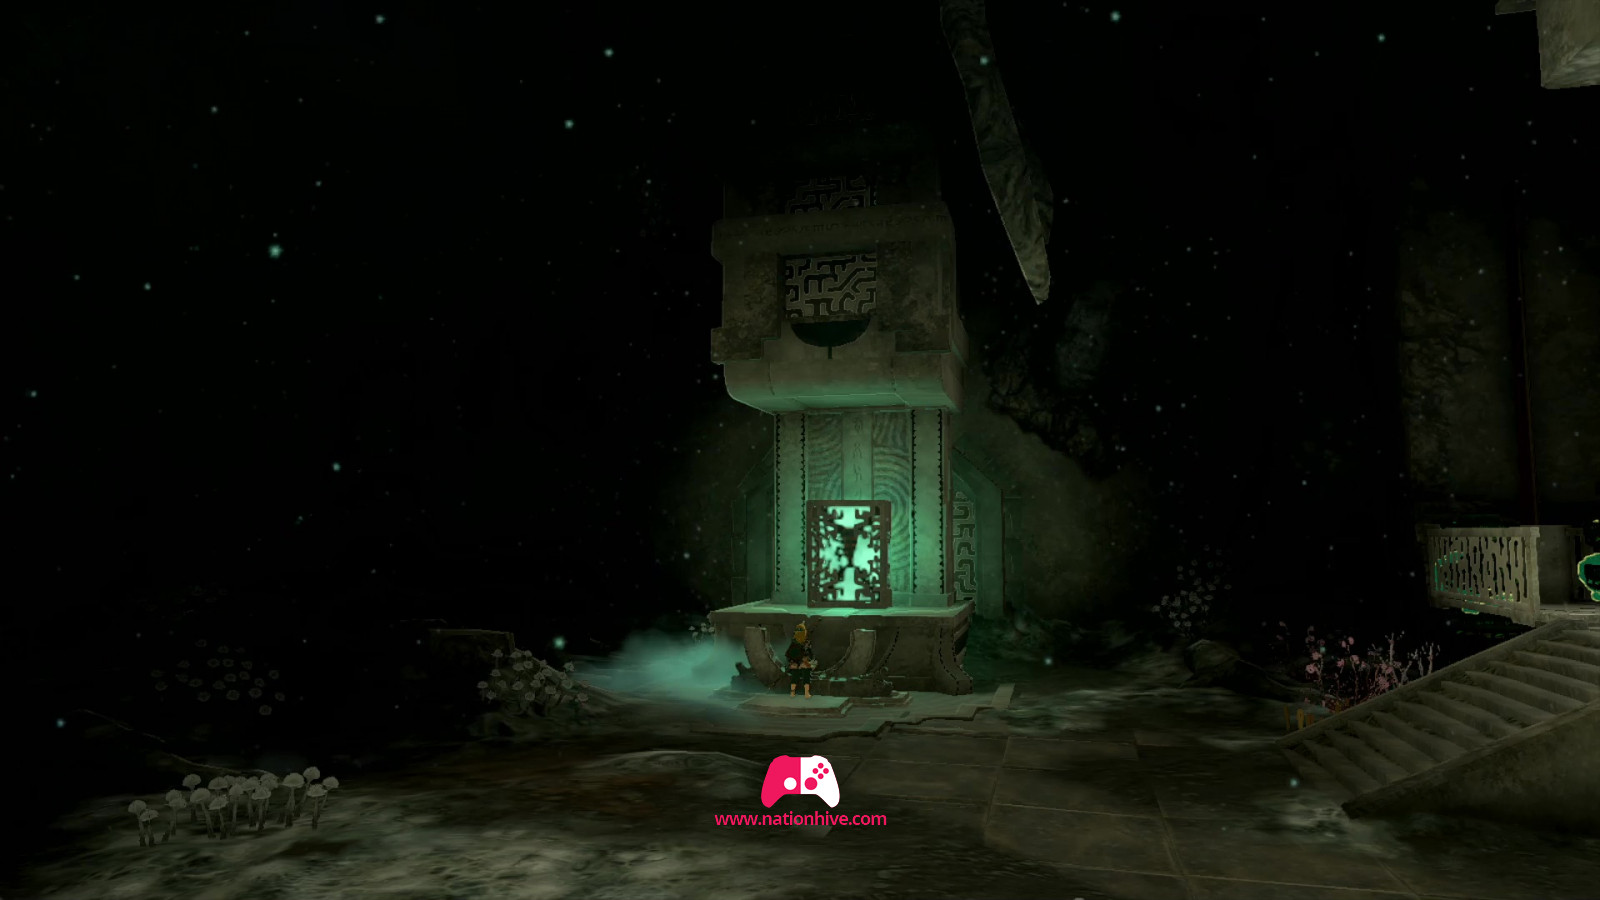
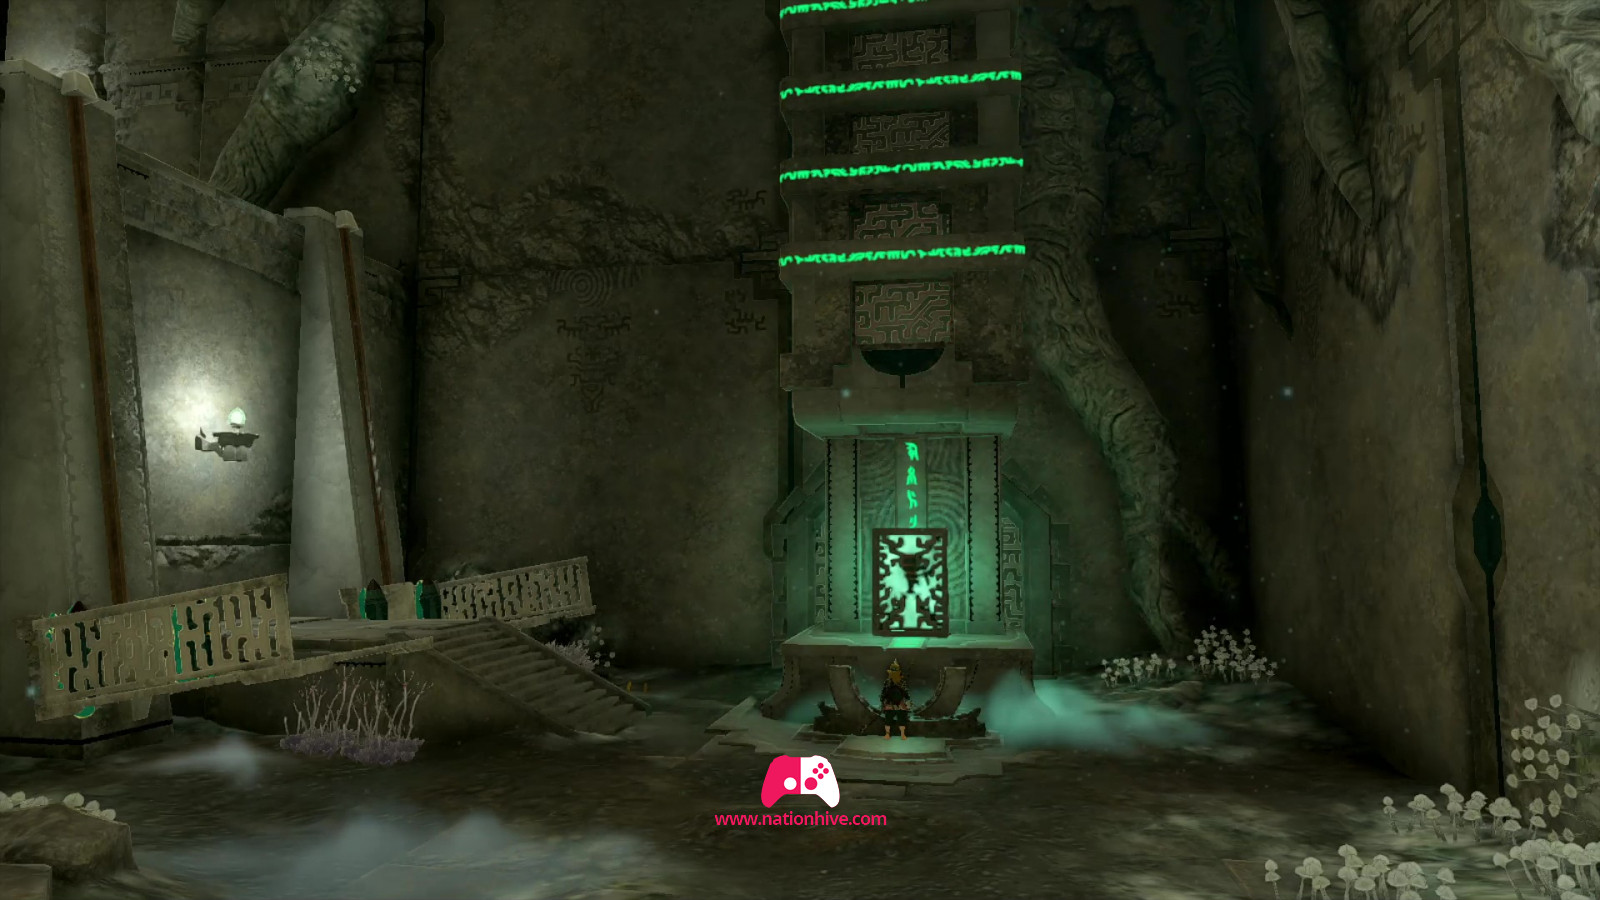
Step inside with the relic to reach the Tobio's Hollow Chasm. Once again, place the relic on the base in the center. This will lower the pillar, allowing you to reach a structure in the Abyss.
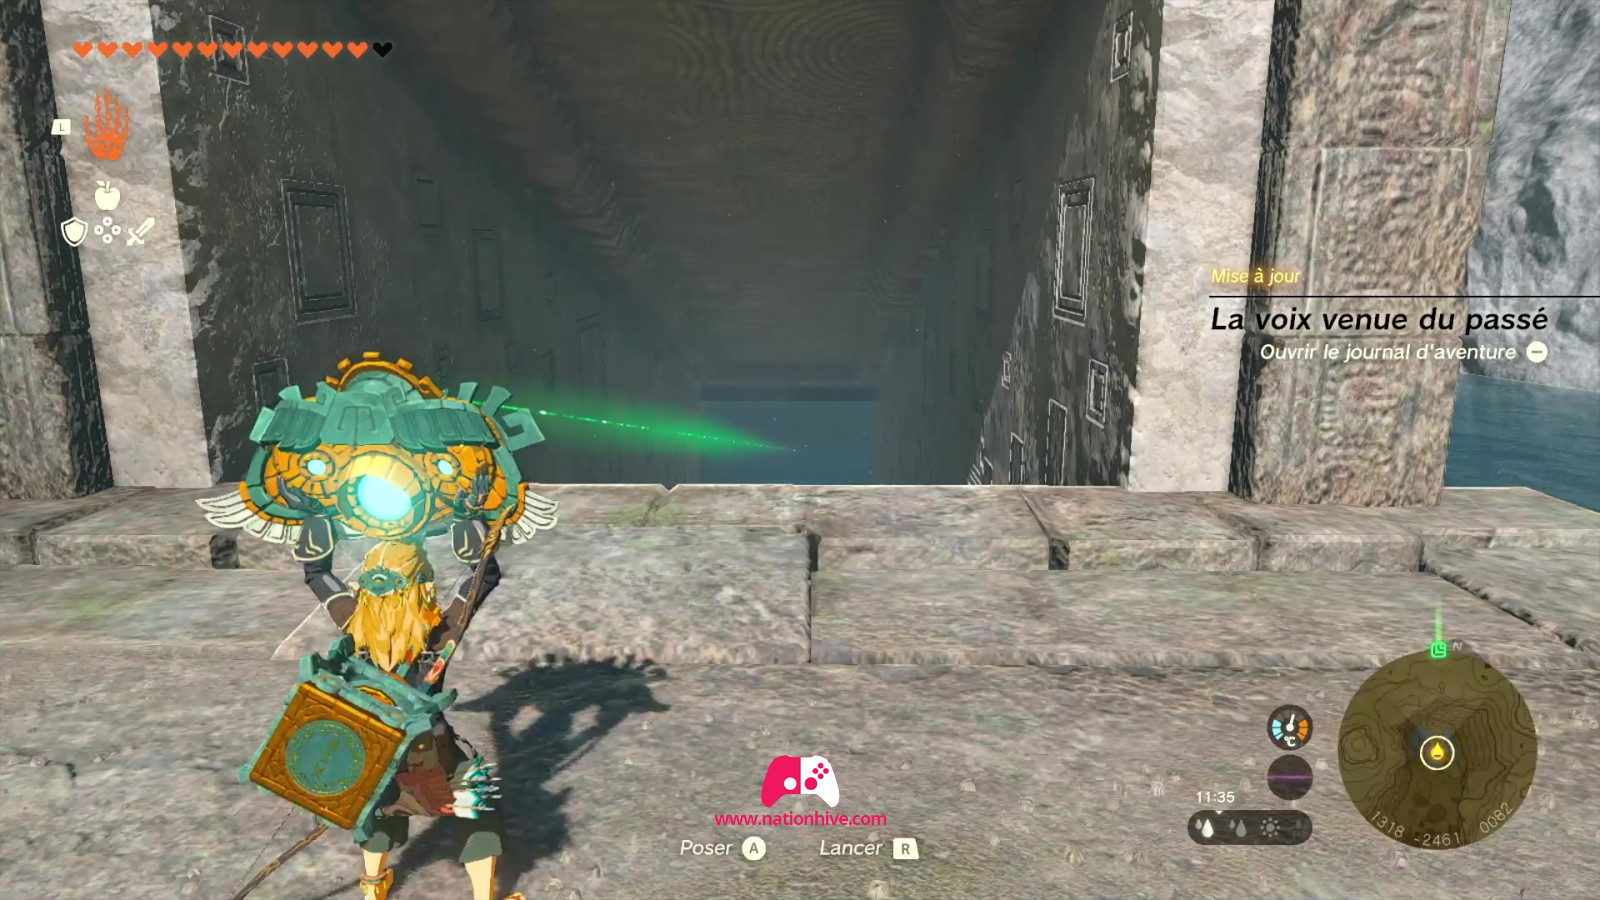
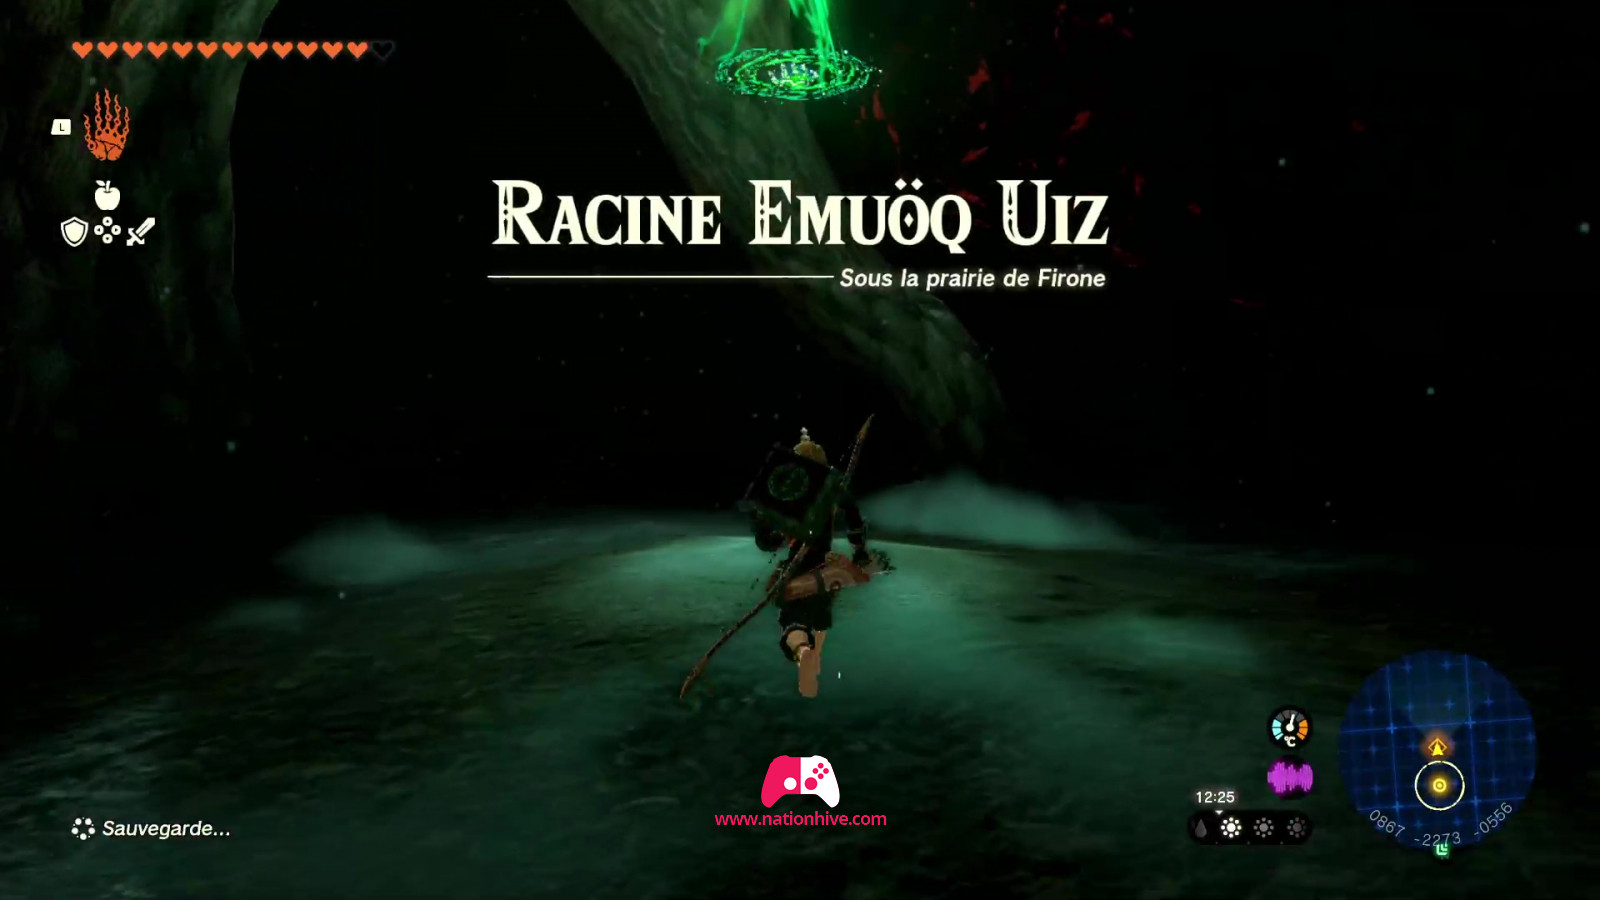
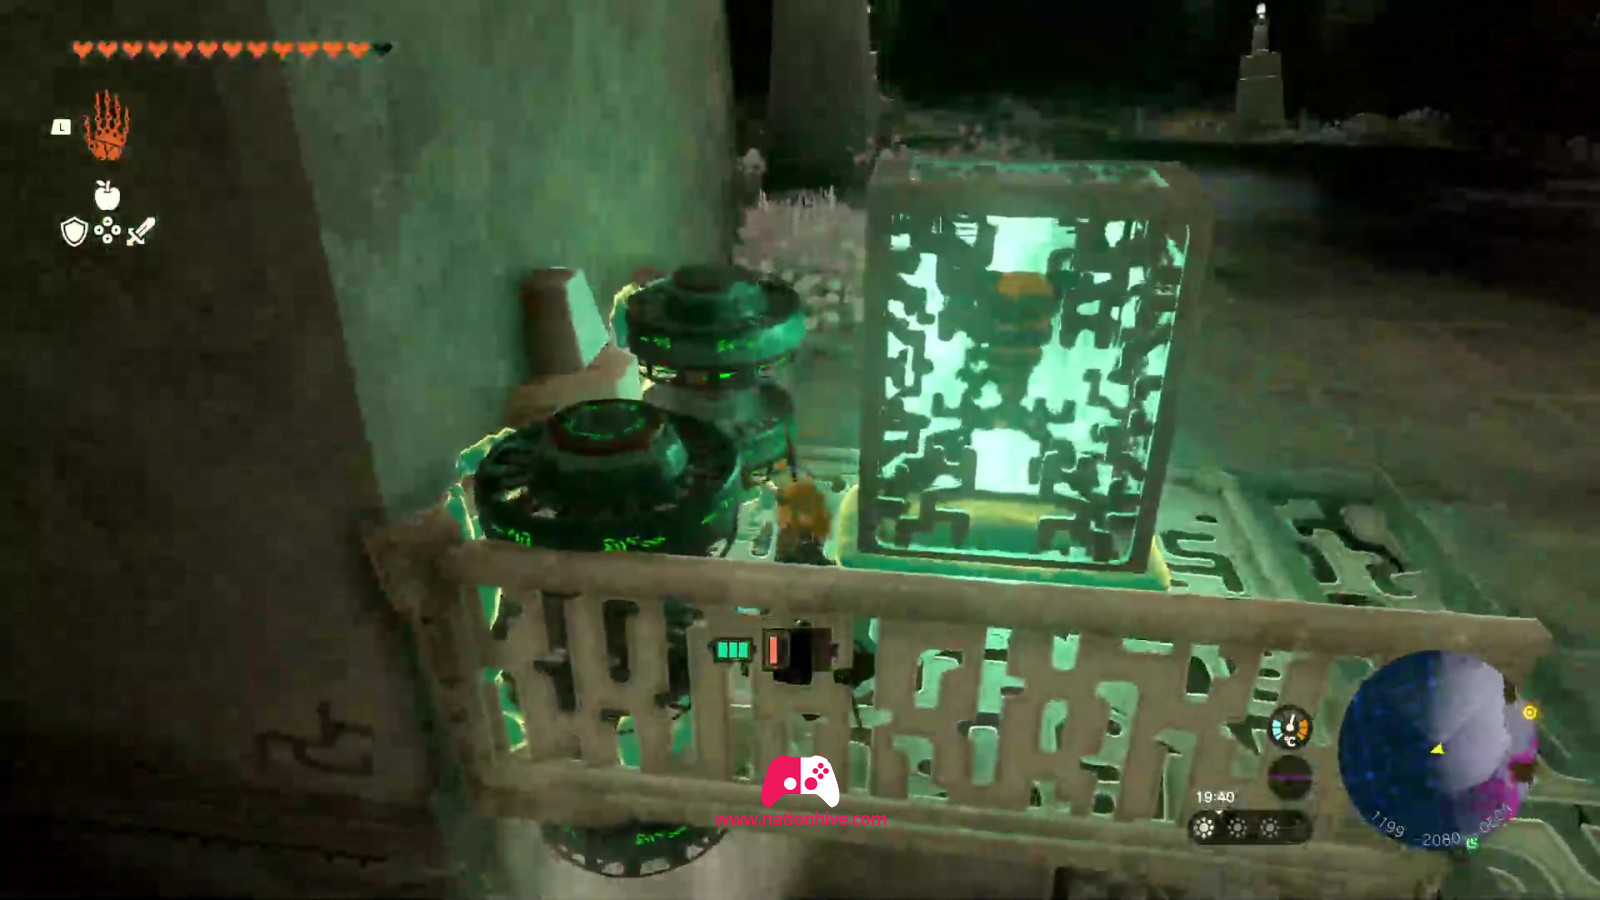
Before you start, you'll find the Muokuji Lightroot right behind you. Activate it to light up your surroundings. Return to the relic and use Ultrahand to lift it towards the Construct Factory and place it on the disc where another piece of relic appears to be.
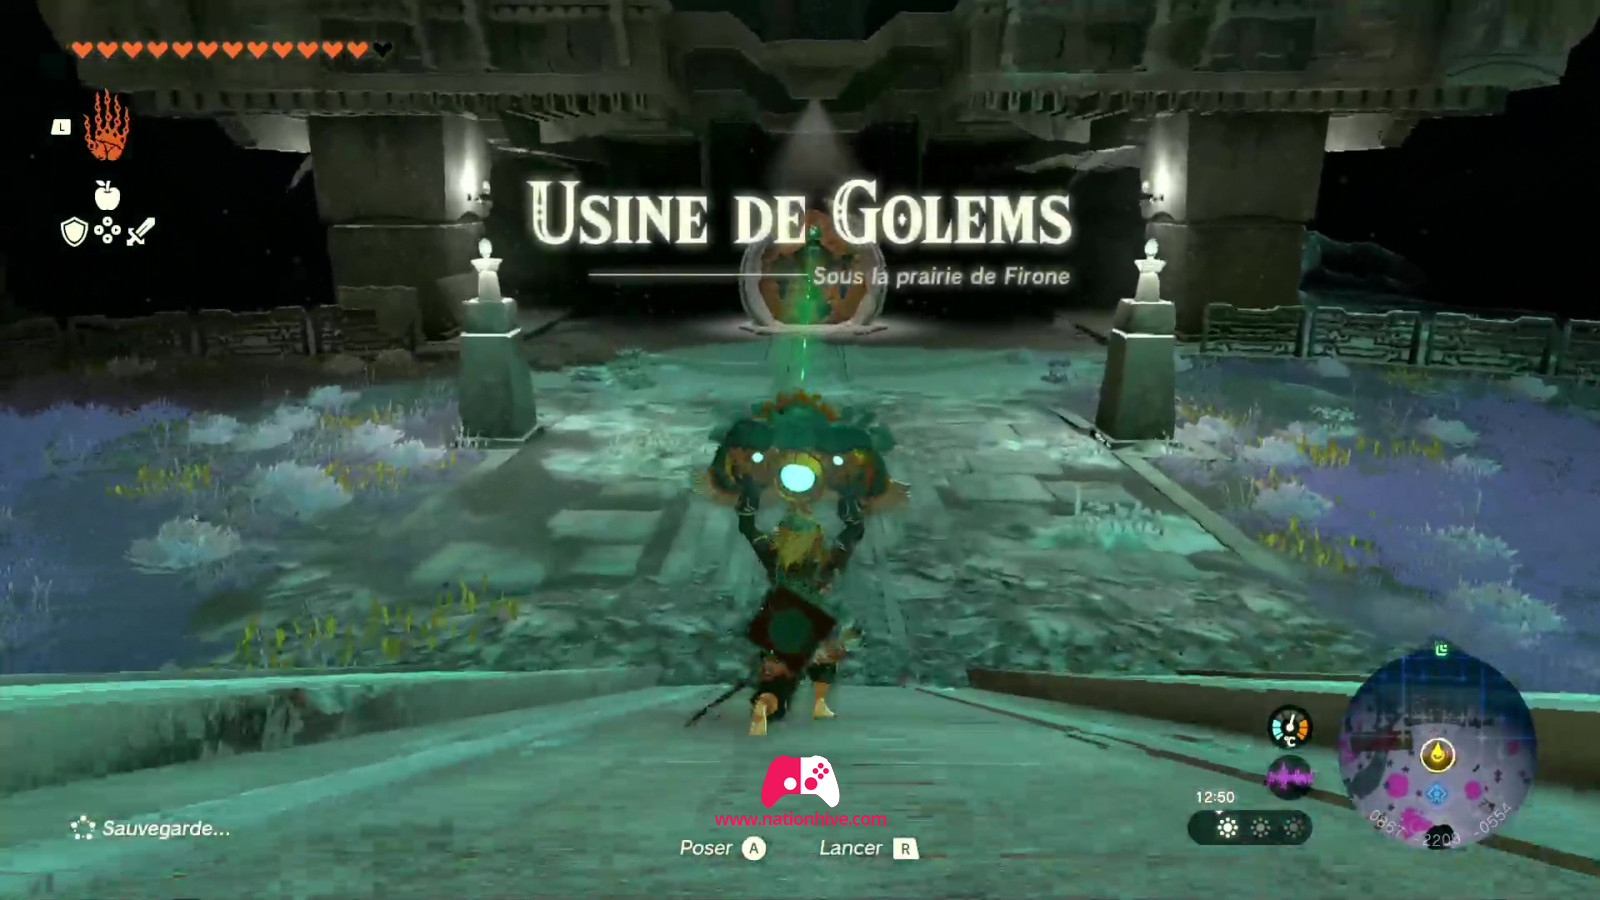
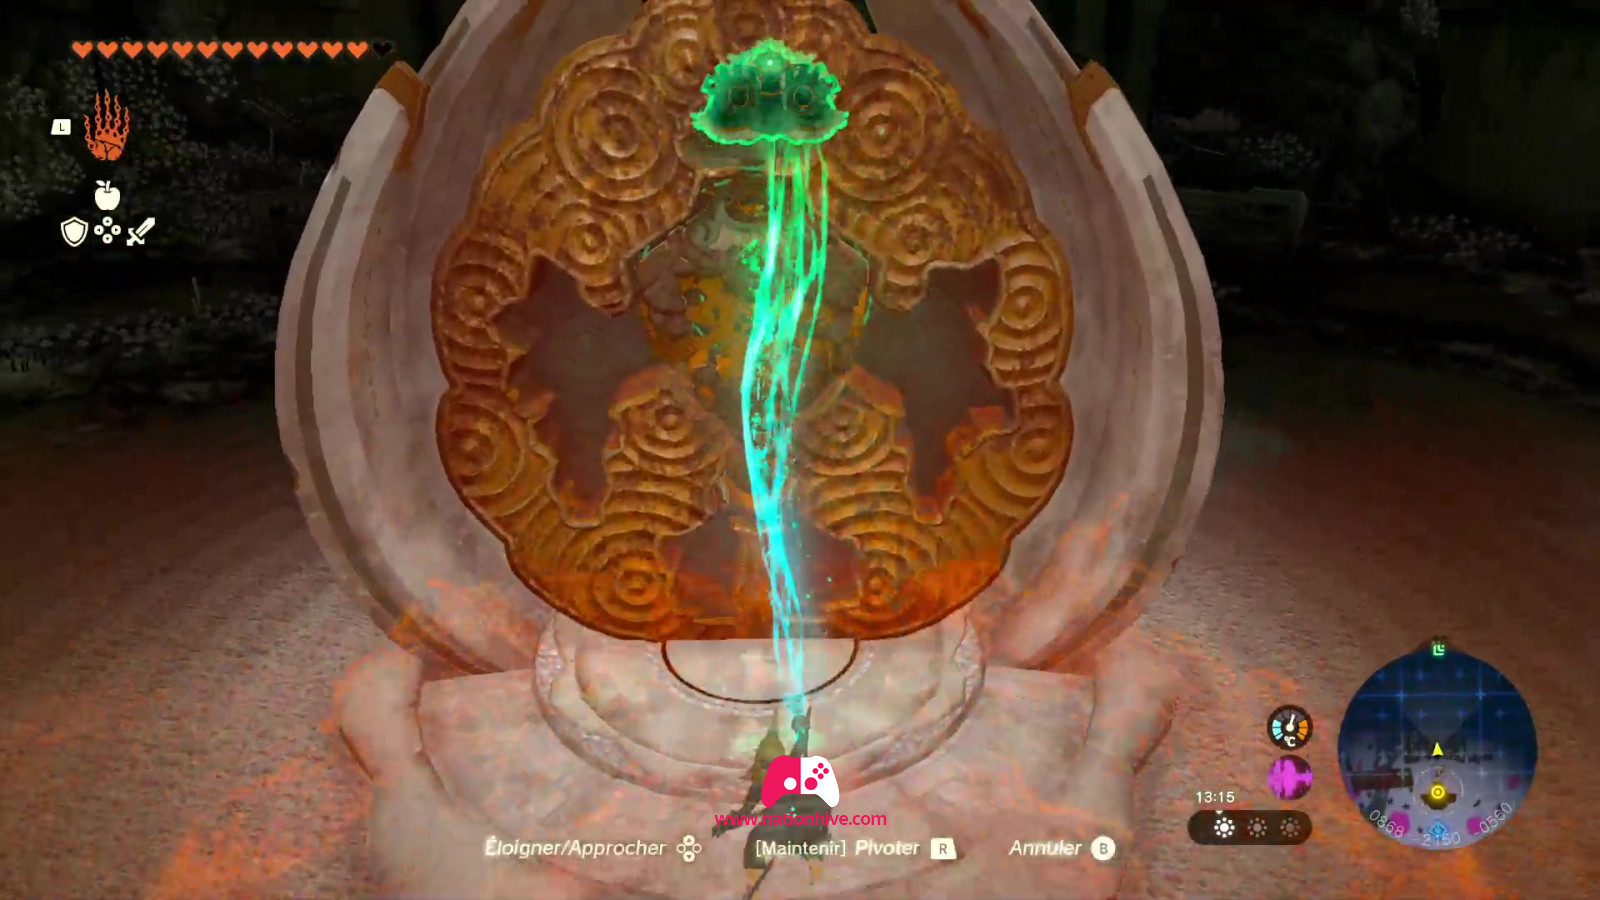
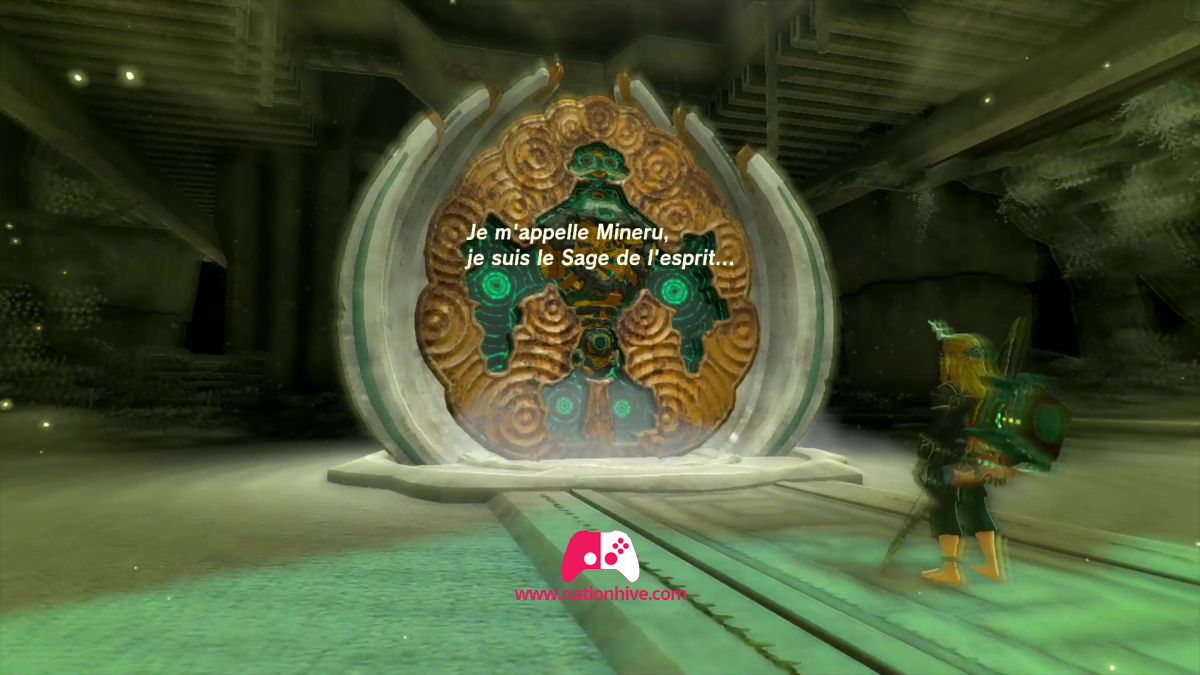
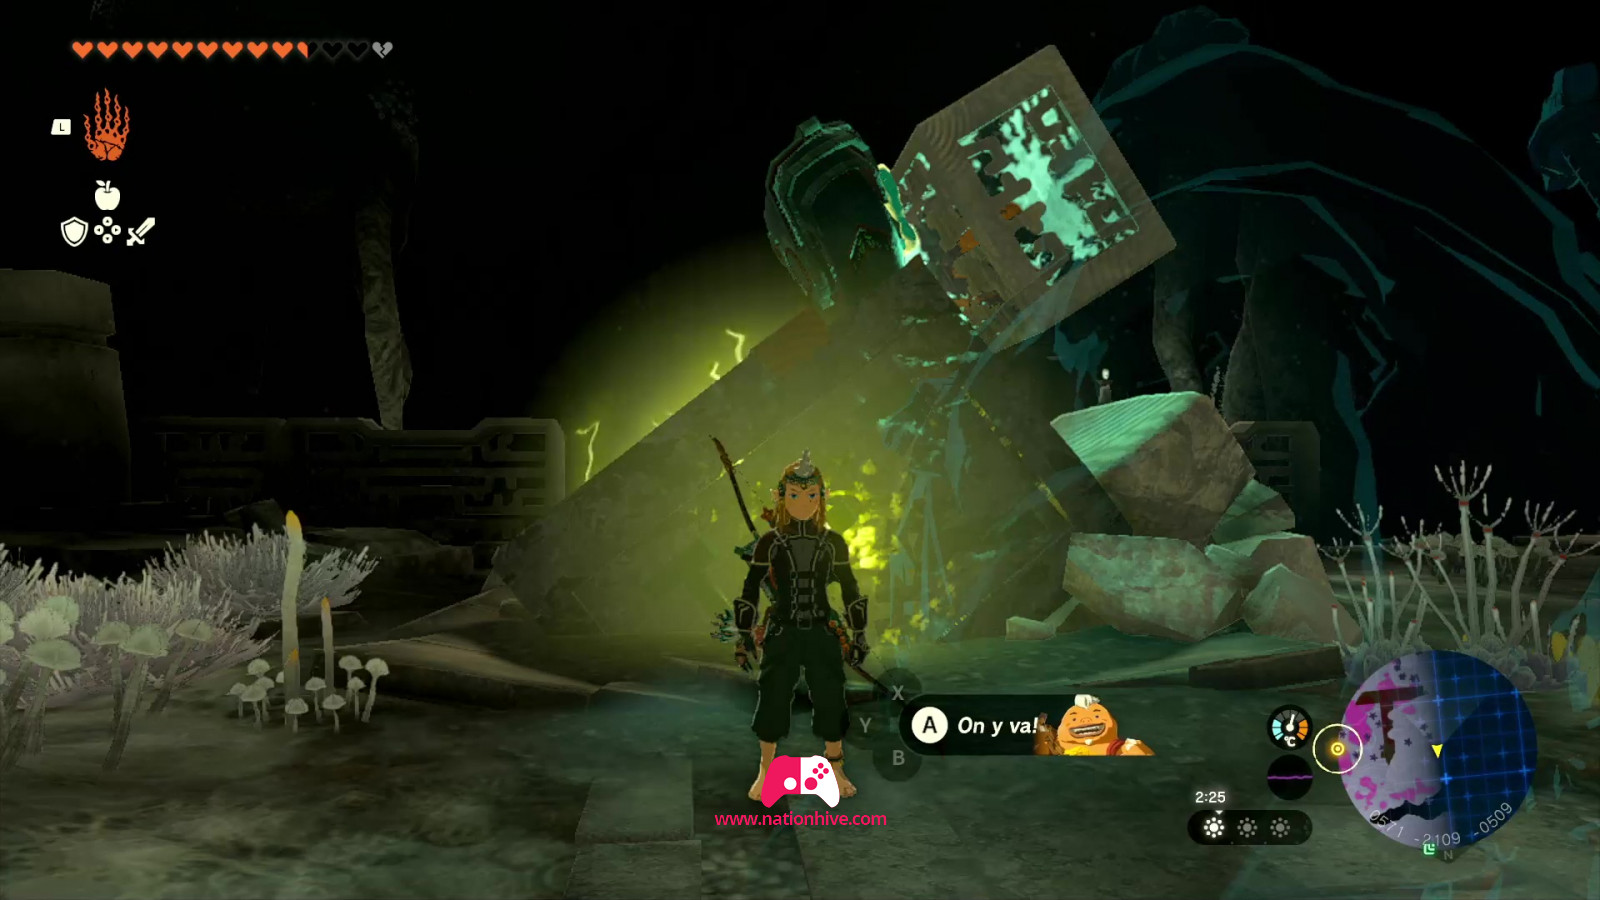
You'll meet Mineru, the Spirit Sage. He'll ask you to help him by recovering the 4 missing body parts scattered around the 4 sides of the abyss.
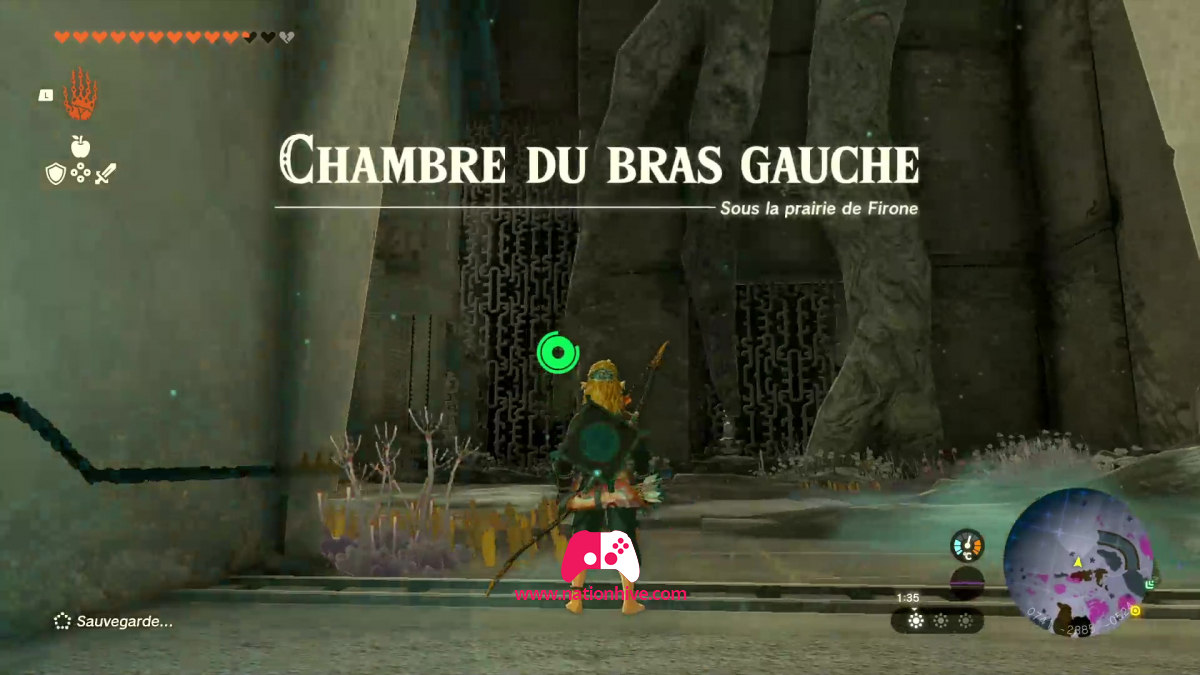
Find Mineru parts
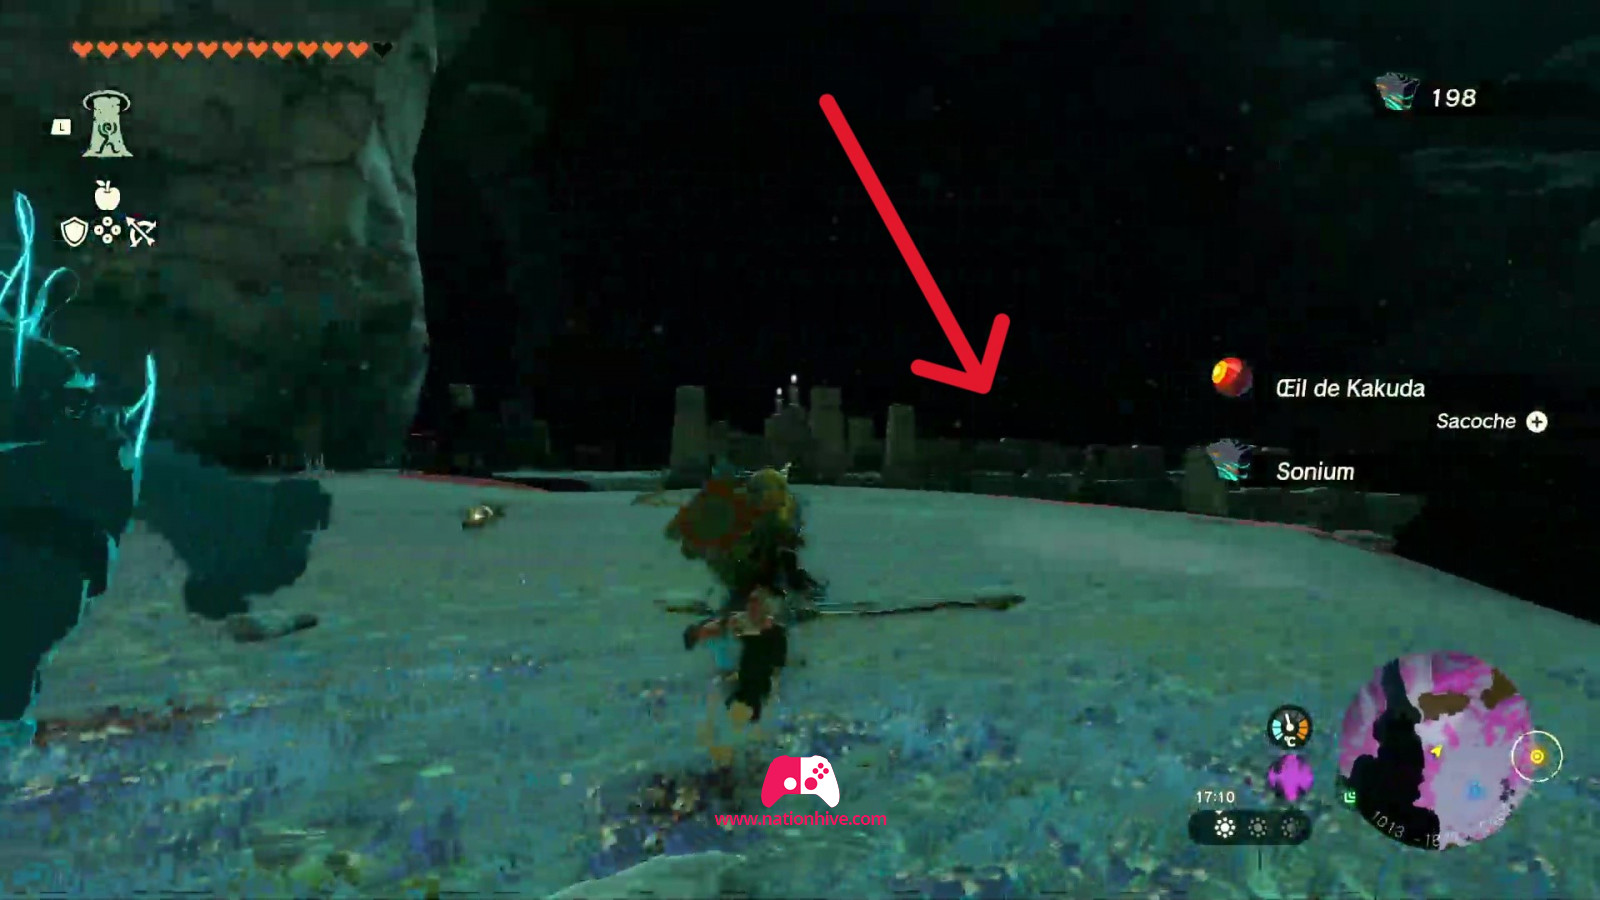
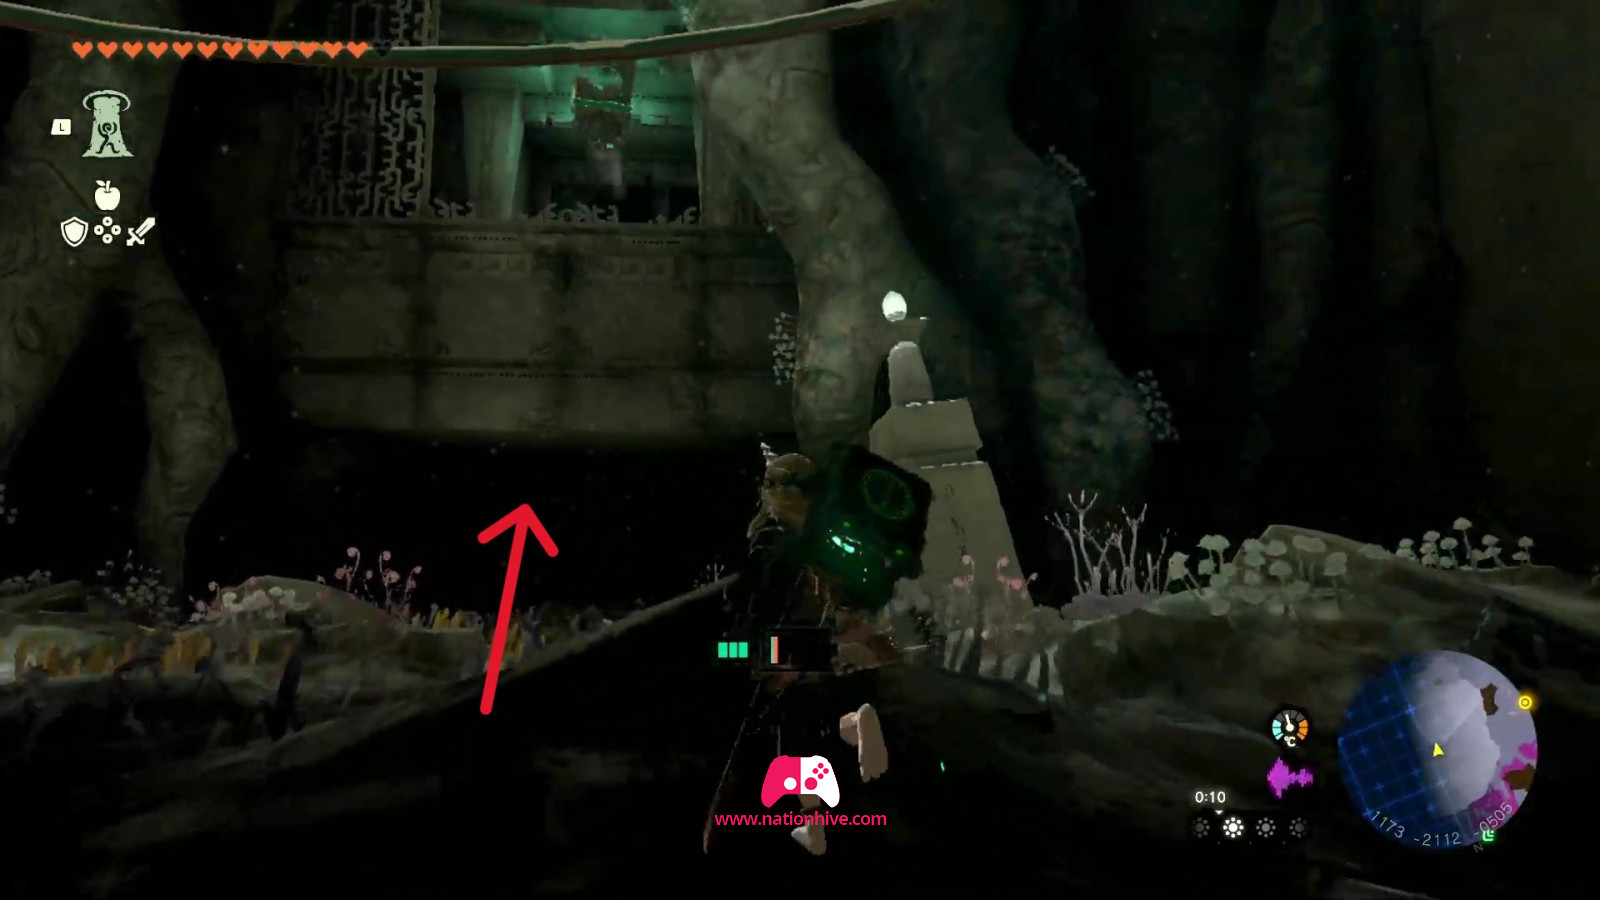
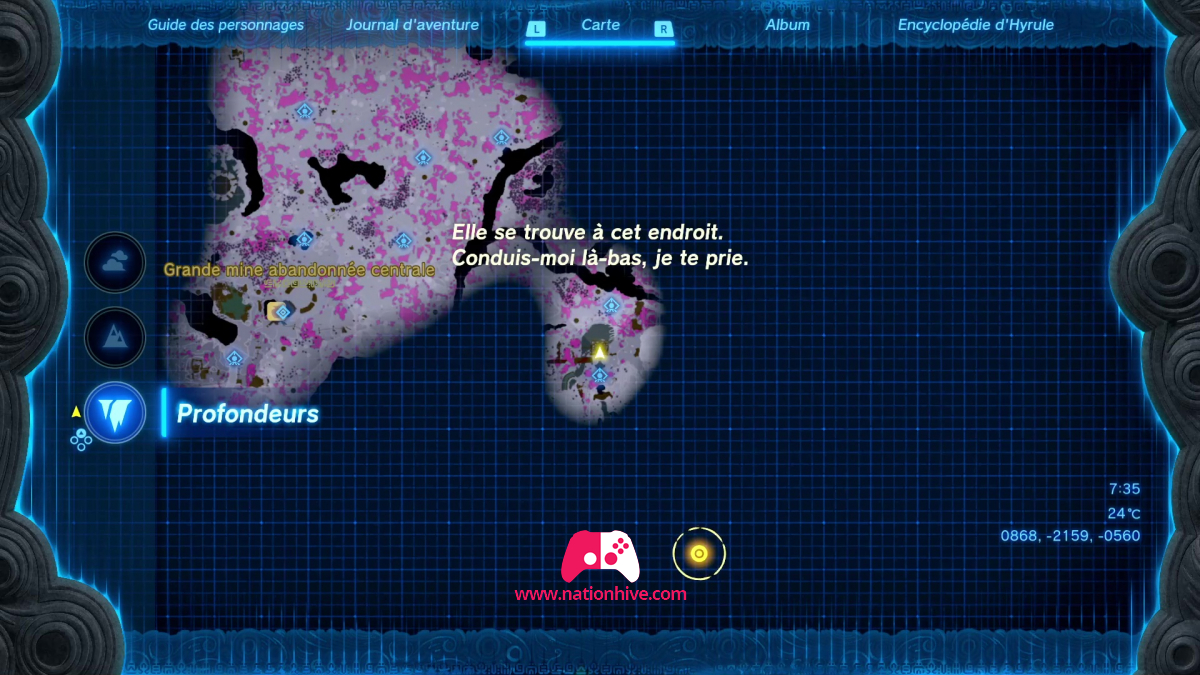
You'll need to collect the 4 missing Mineru parts that are hidden nearby. The parts are located to the north-east, south-east, south-west and north-west of the disc.
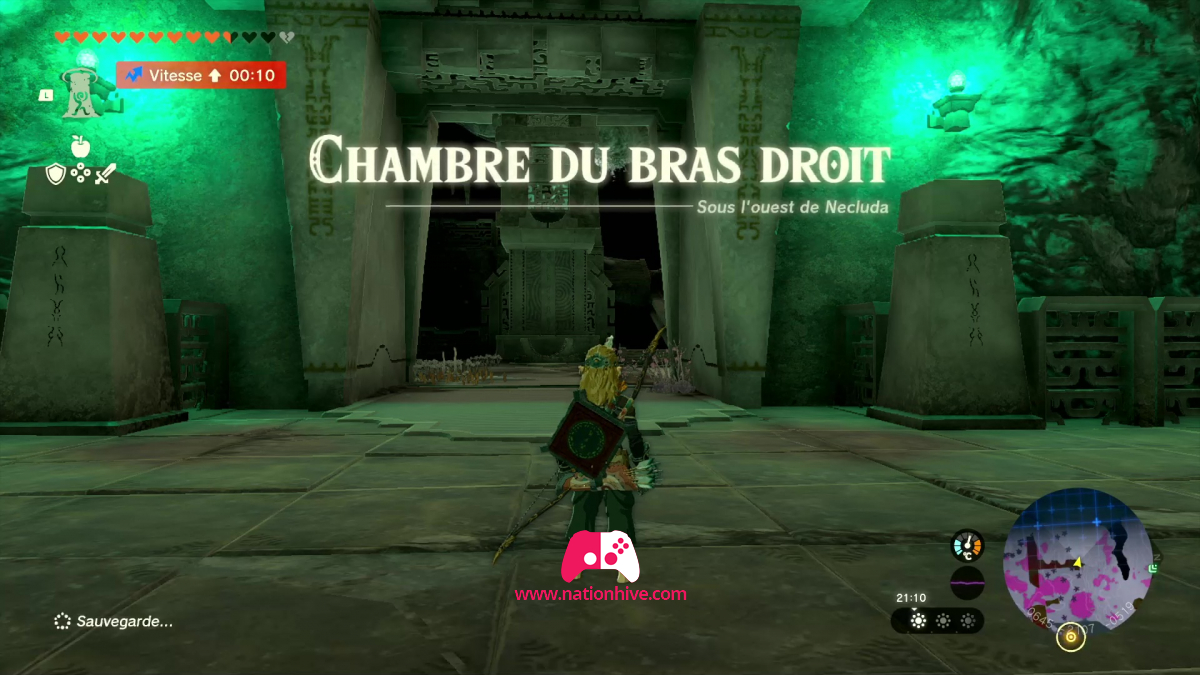
Right leg Room
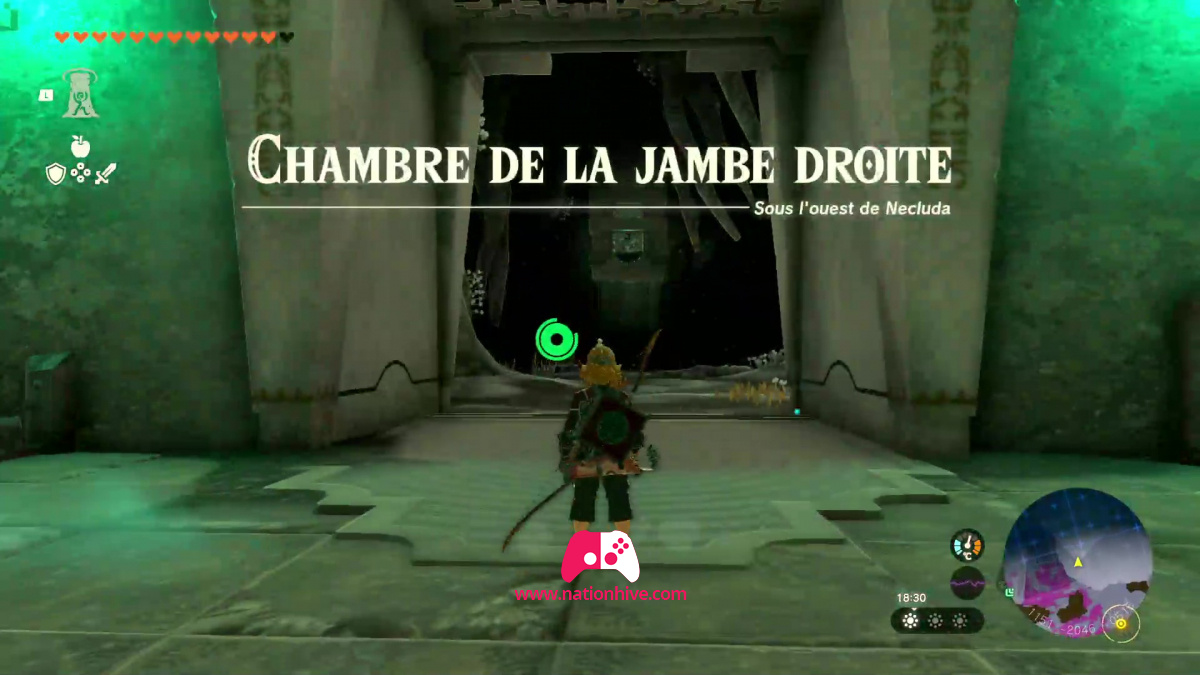
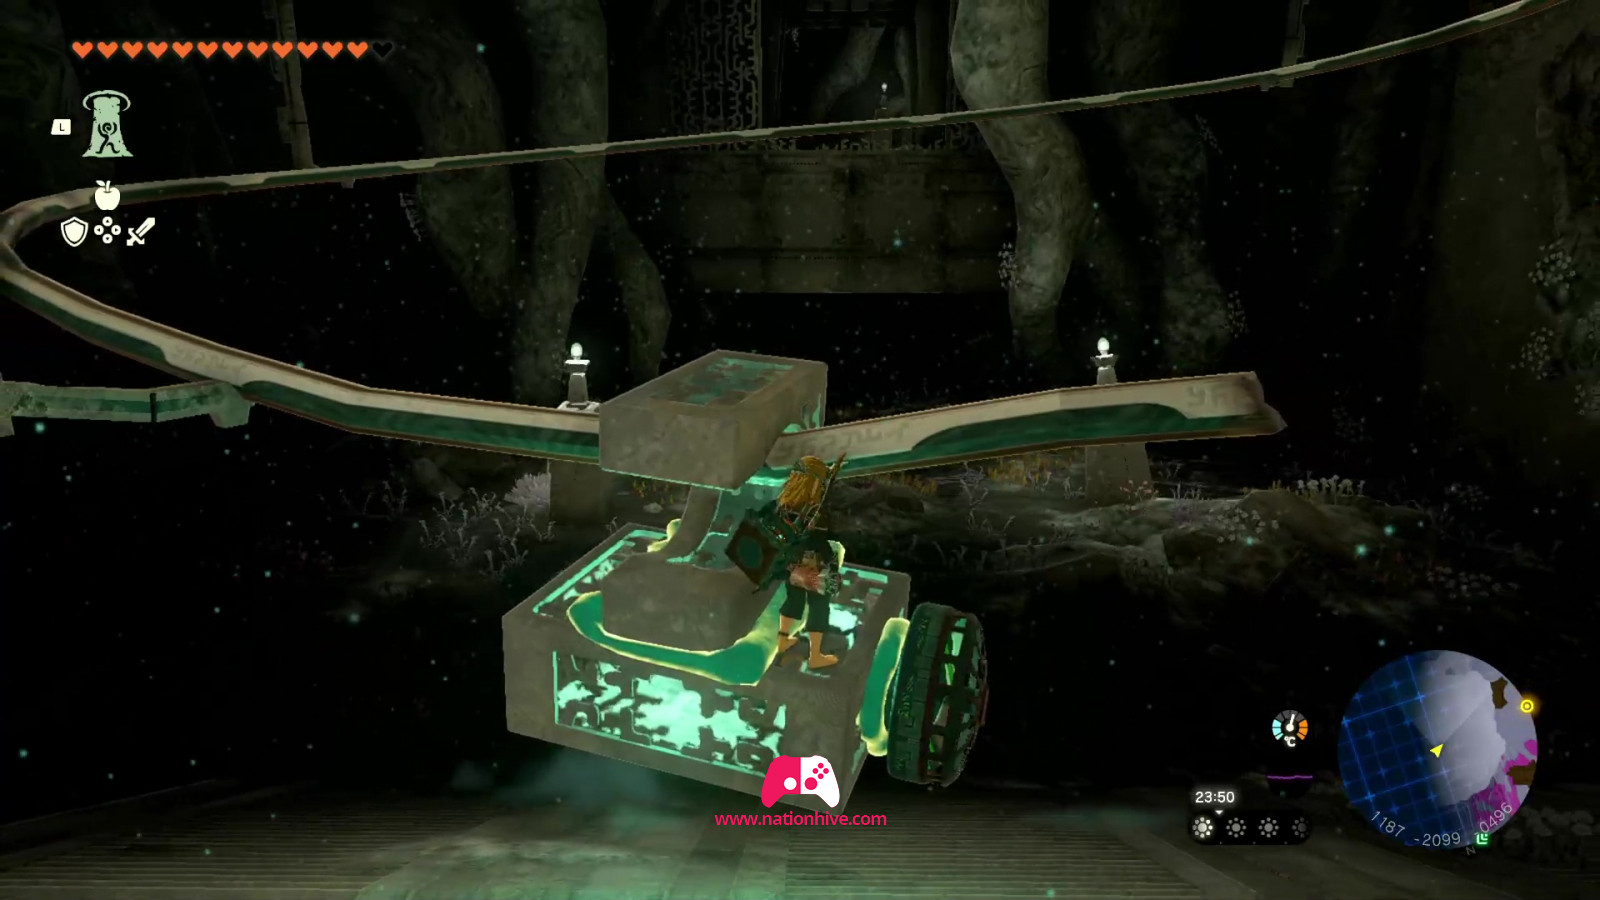
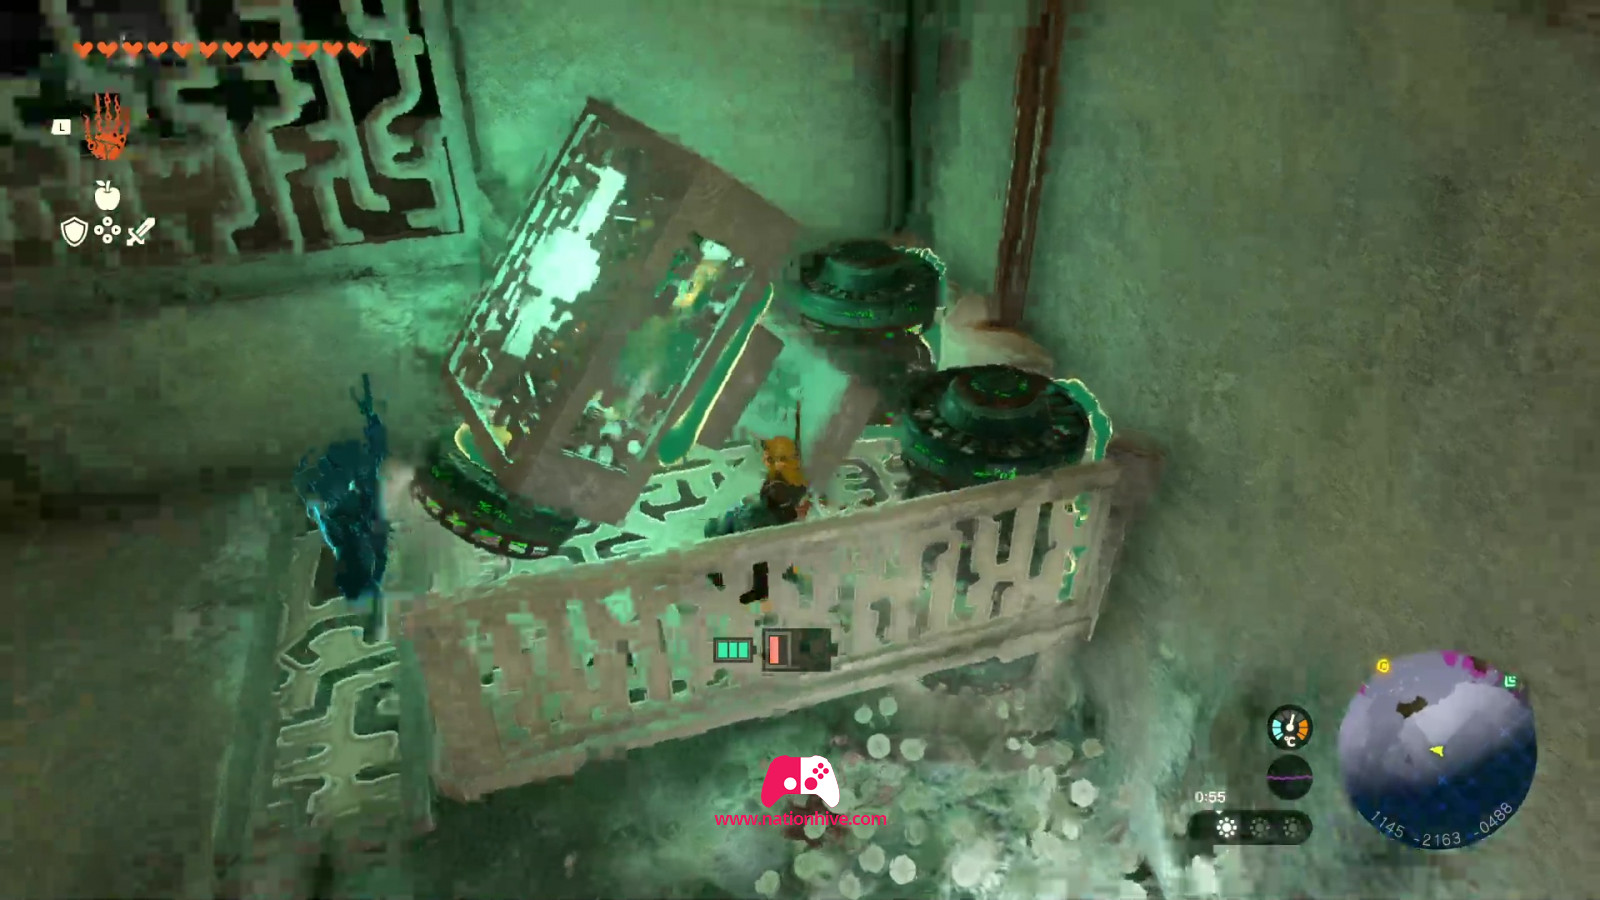
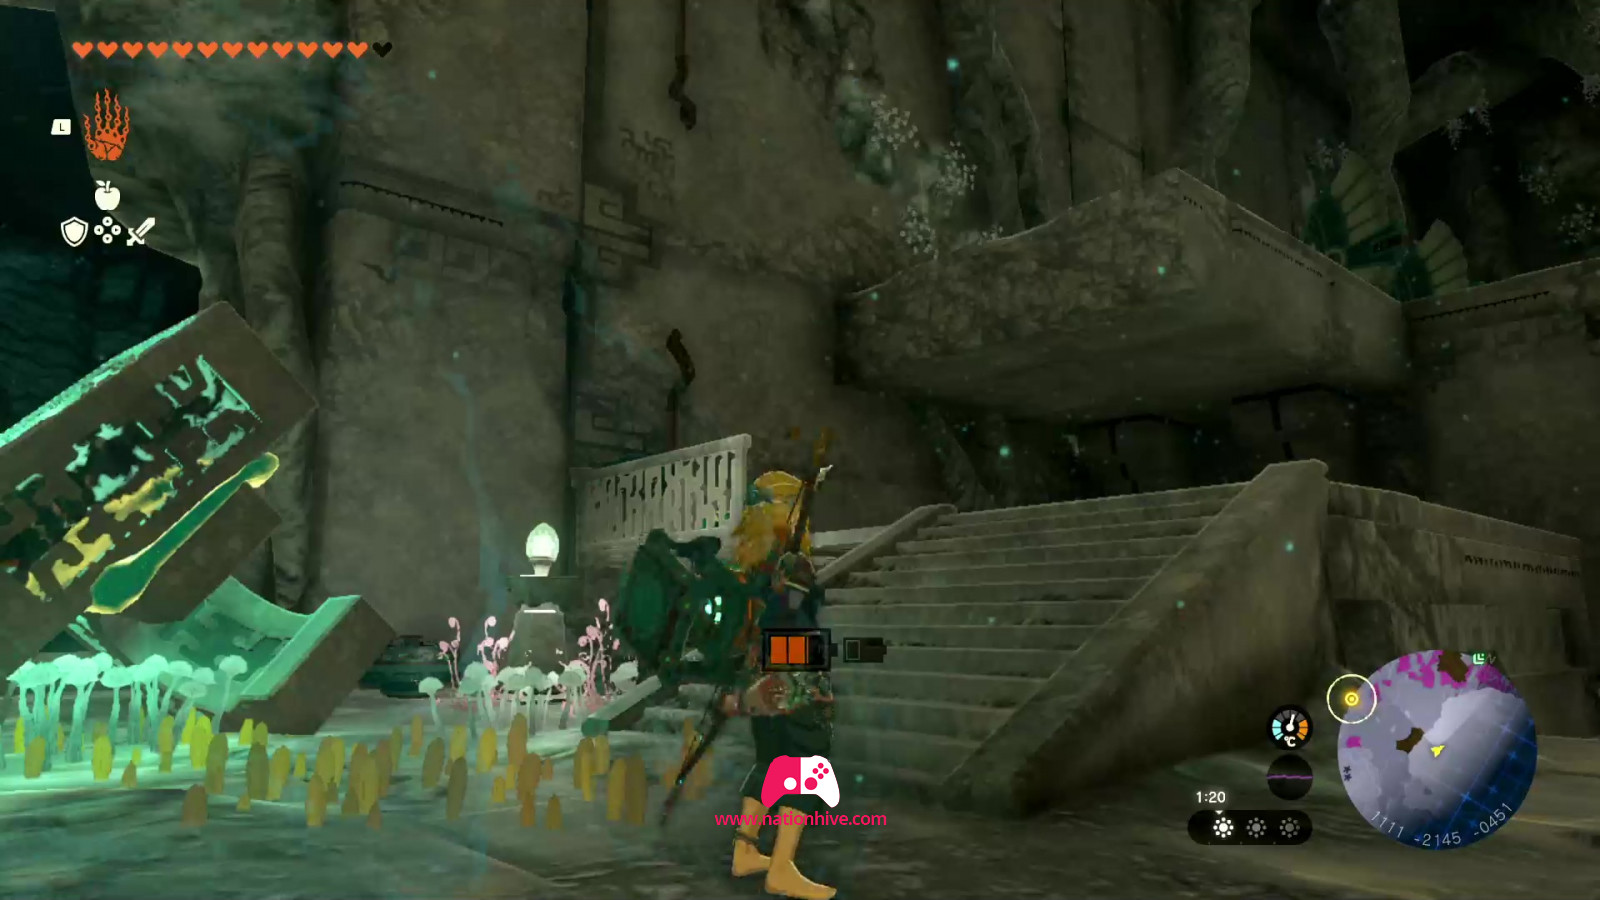
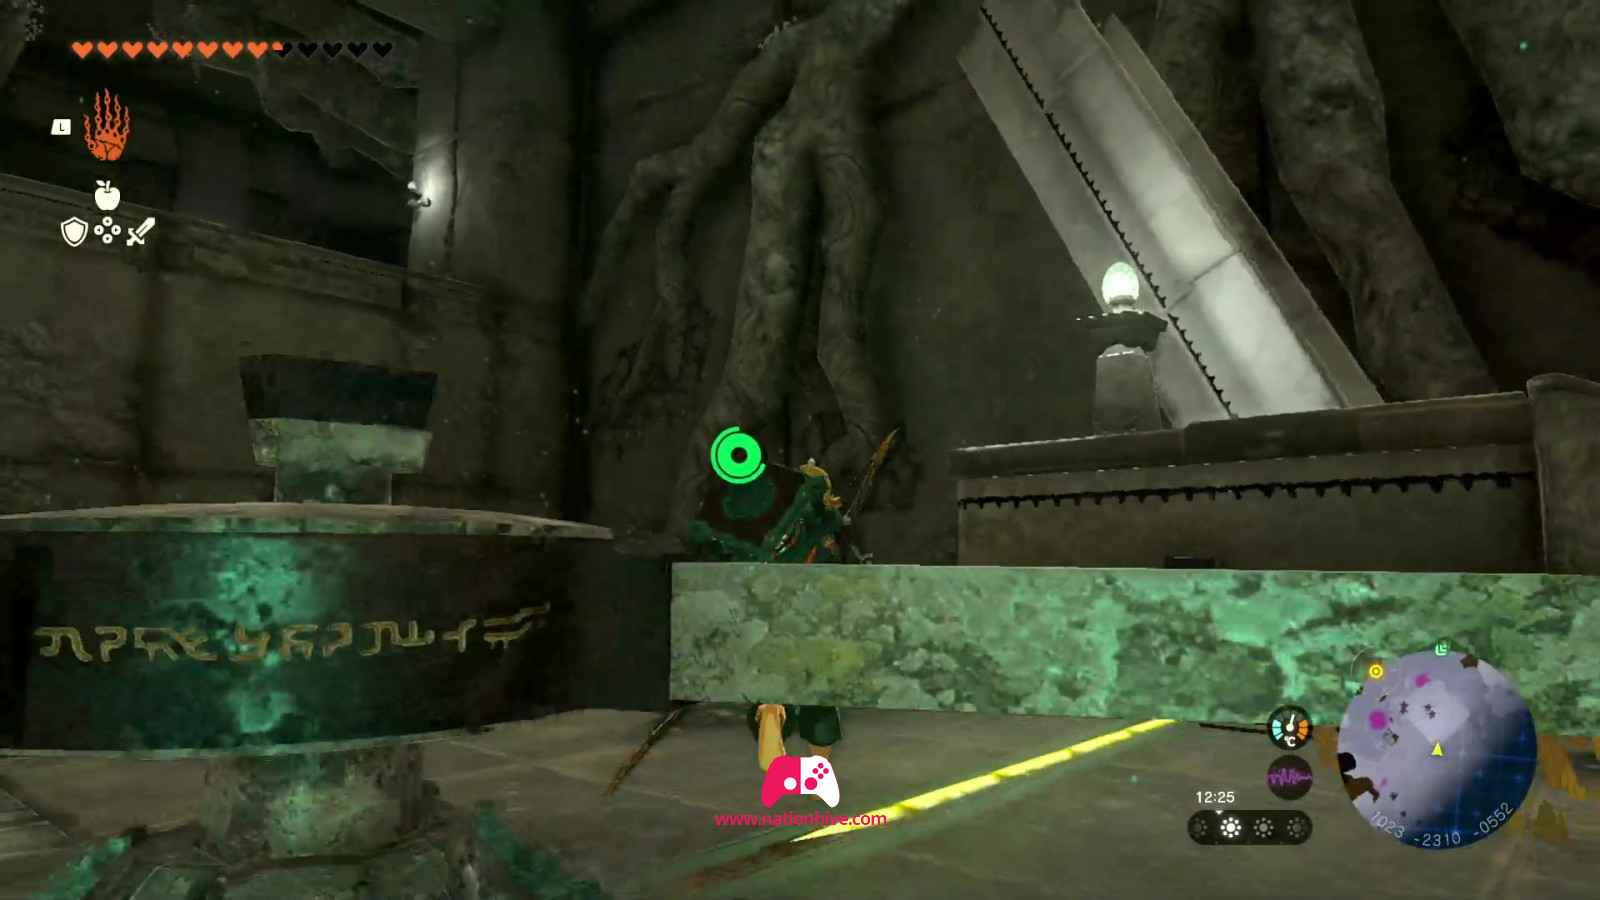
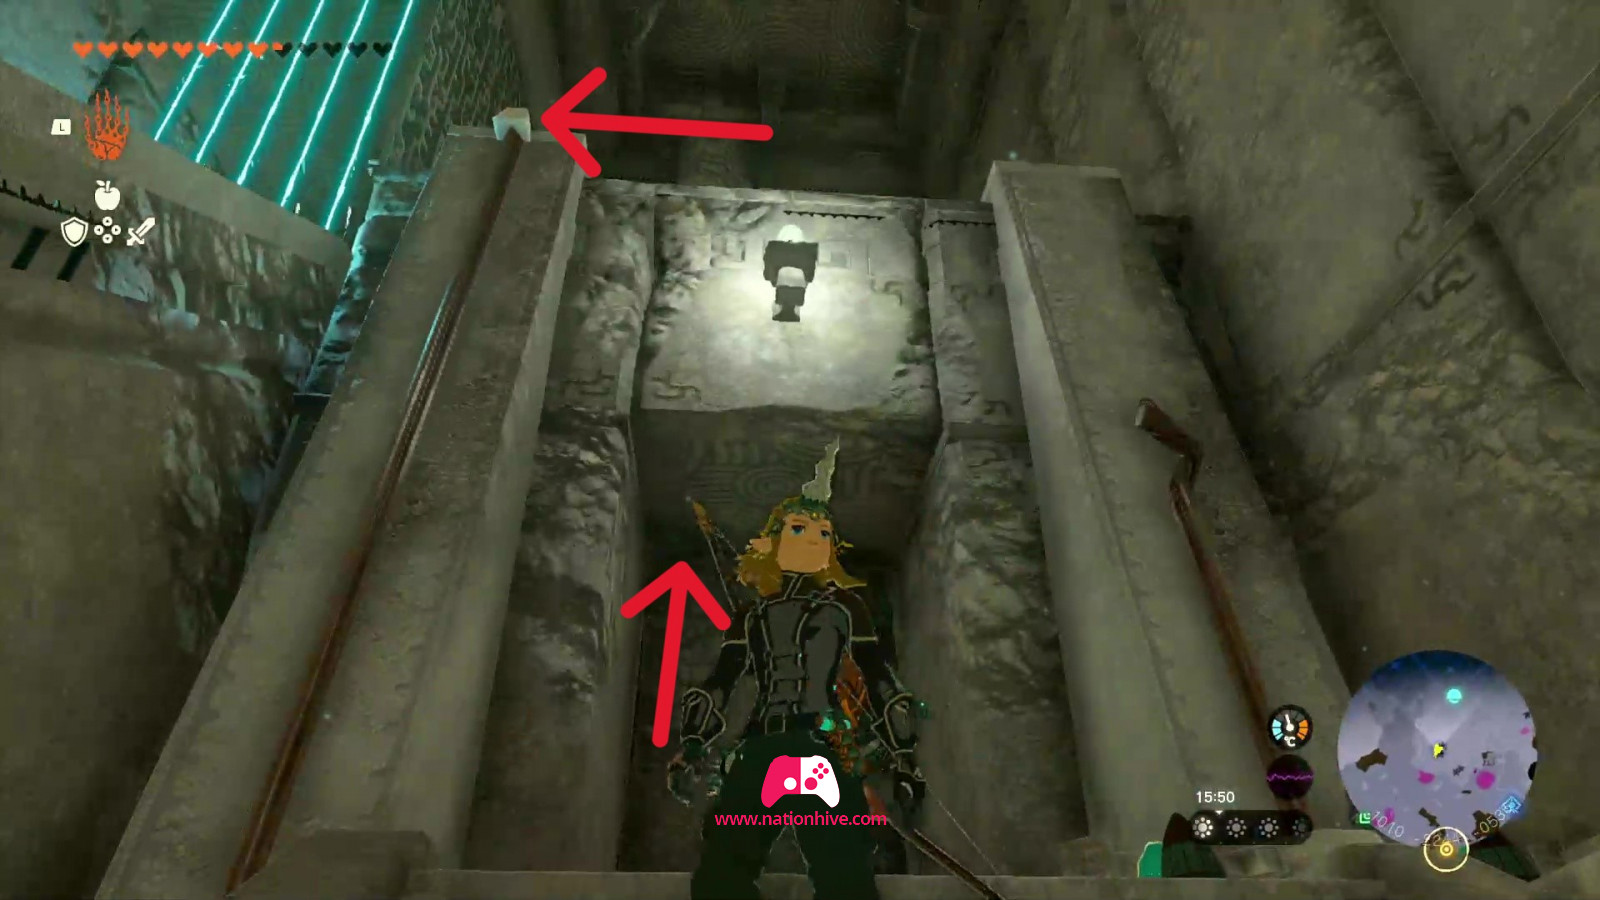
Head northeast of the disc. Since the entrance to the right leg chamber is quite high, climb the giant skeleton which forms a ramp leading to the Uisihcoj Lightroot at the top. Use the appropriate objects to light the way.
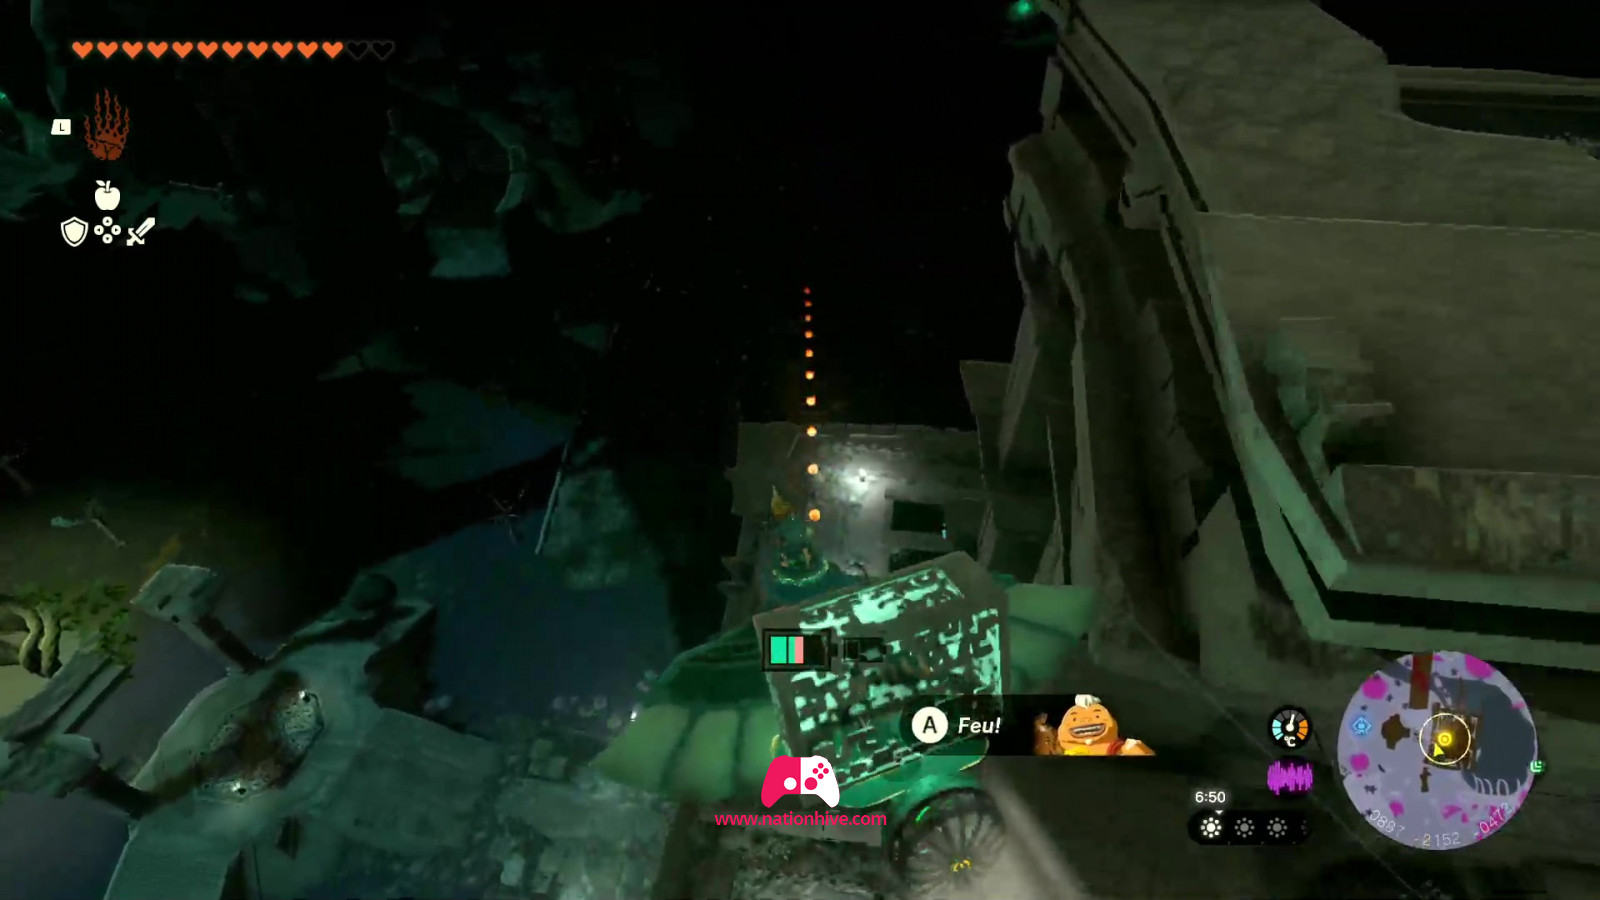
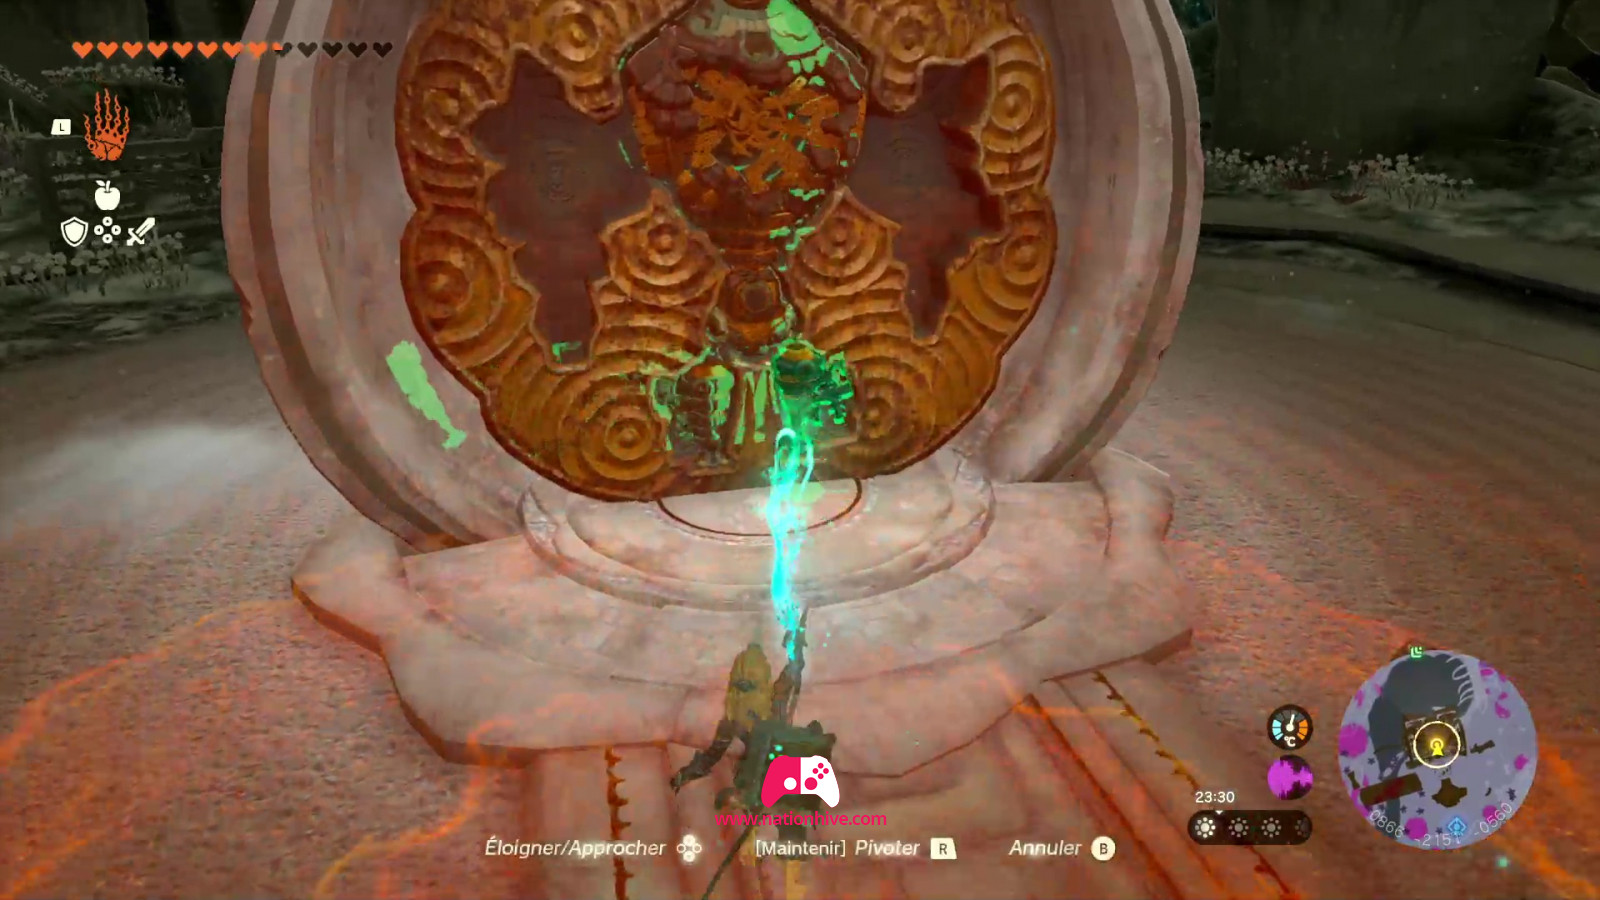
Once in front of the chamber, activate the magic circle to receive the Mineru part. Then move the Mineru part using Ultrahand onto the platform and activate the Fans to climb up.
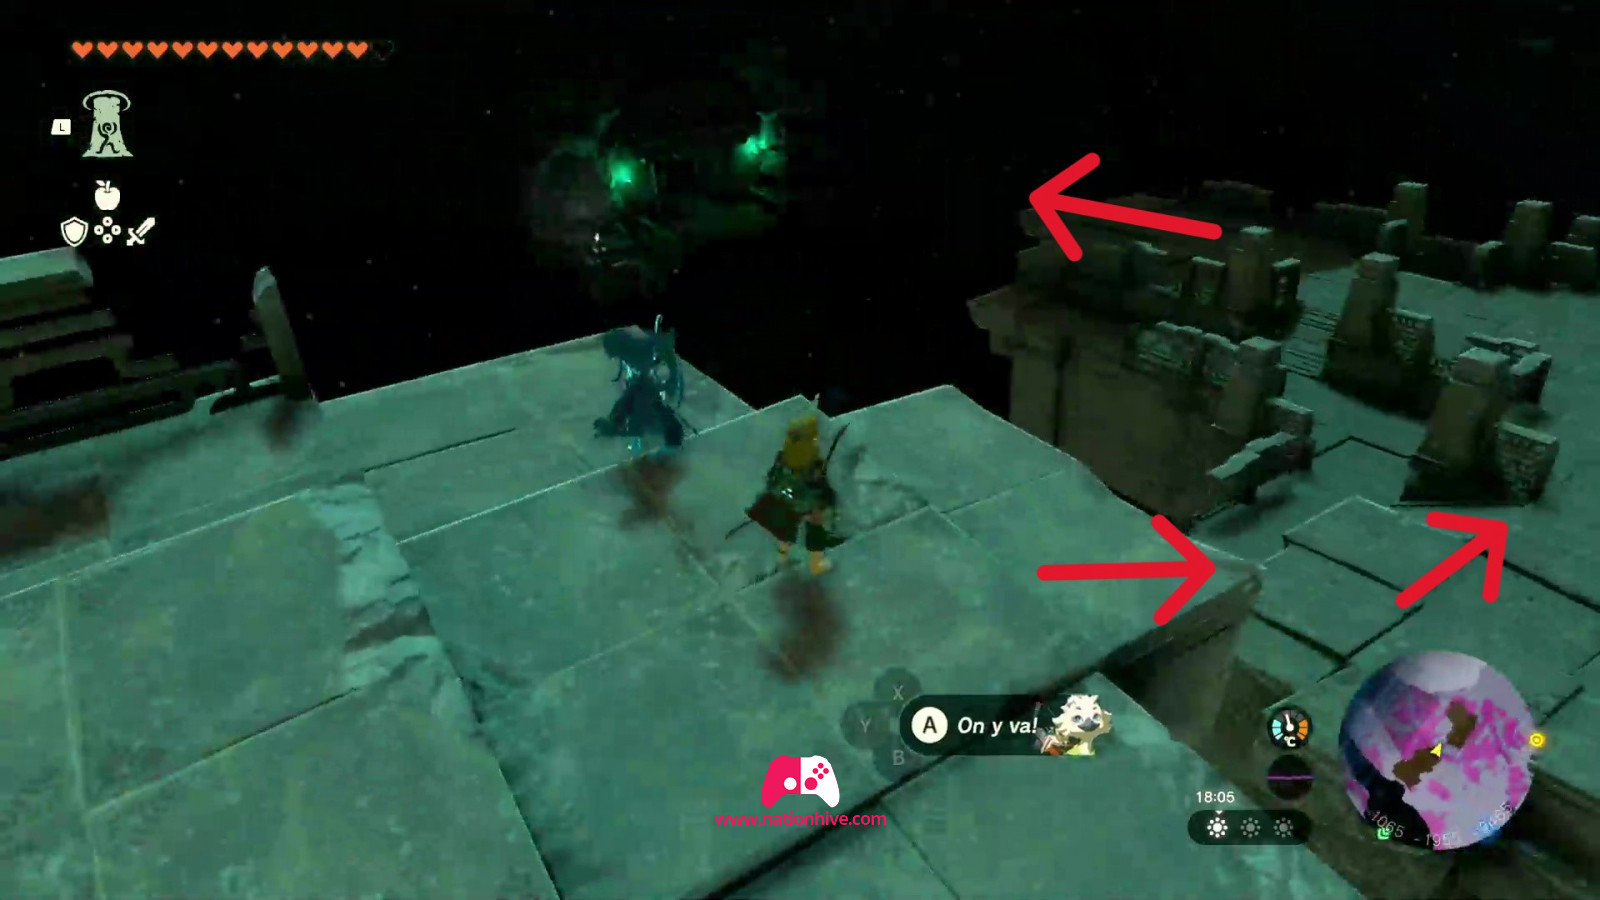
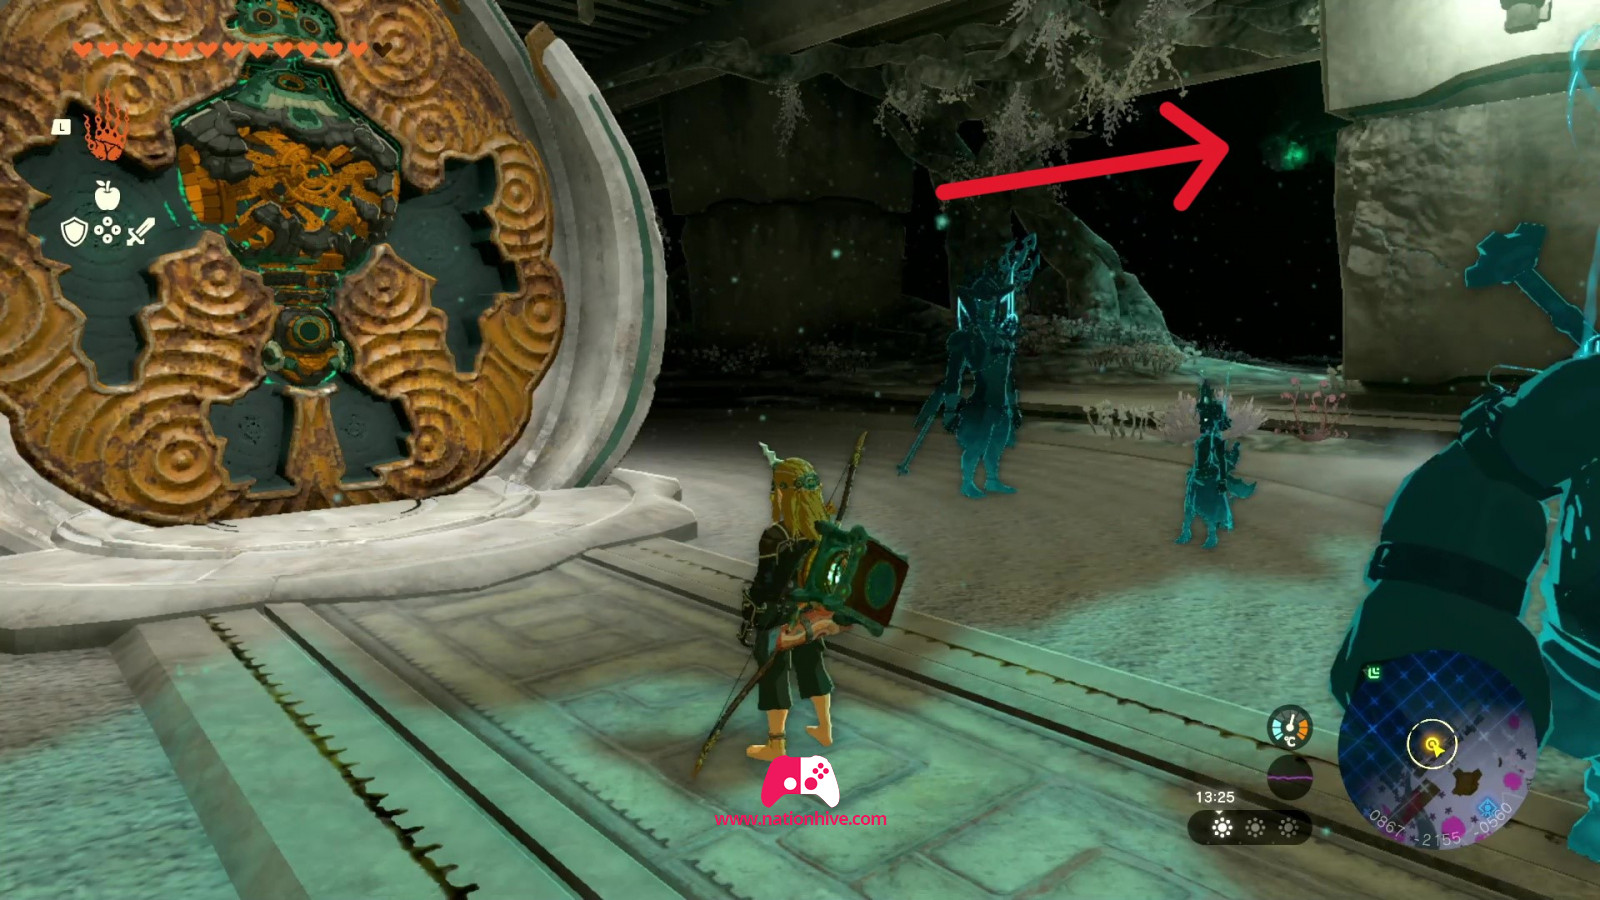
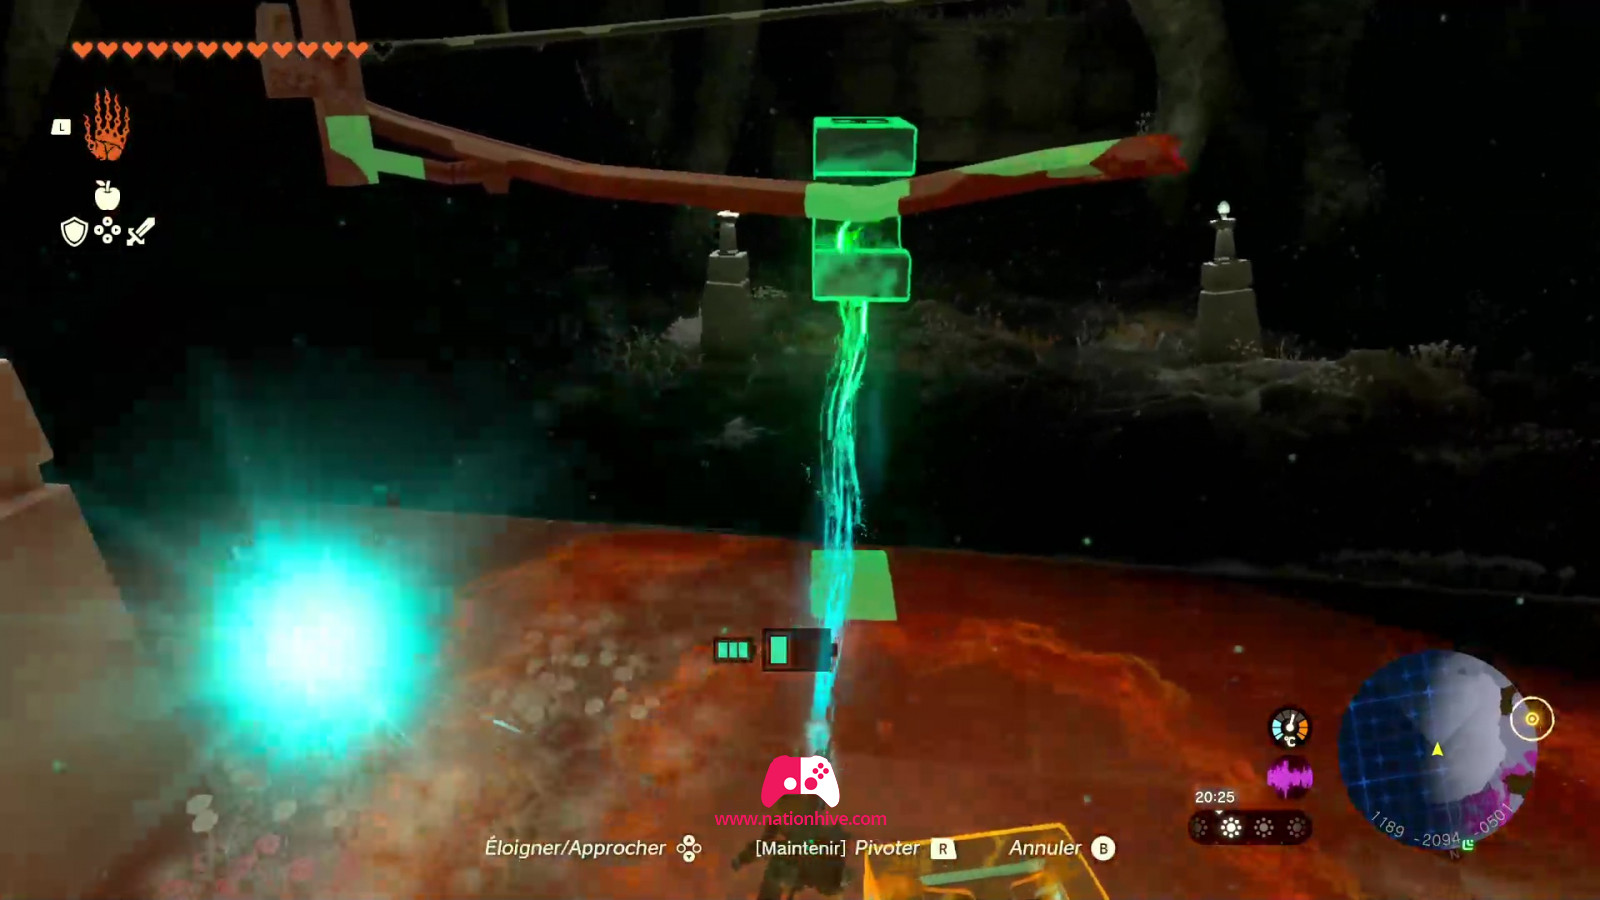
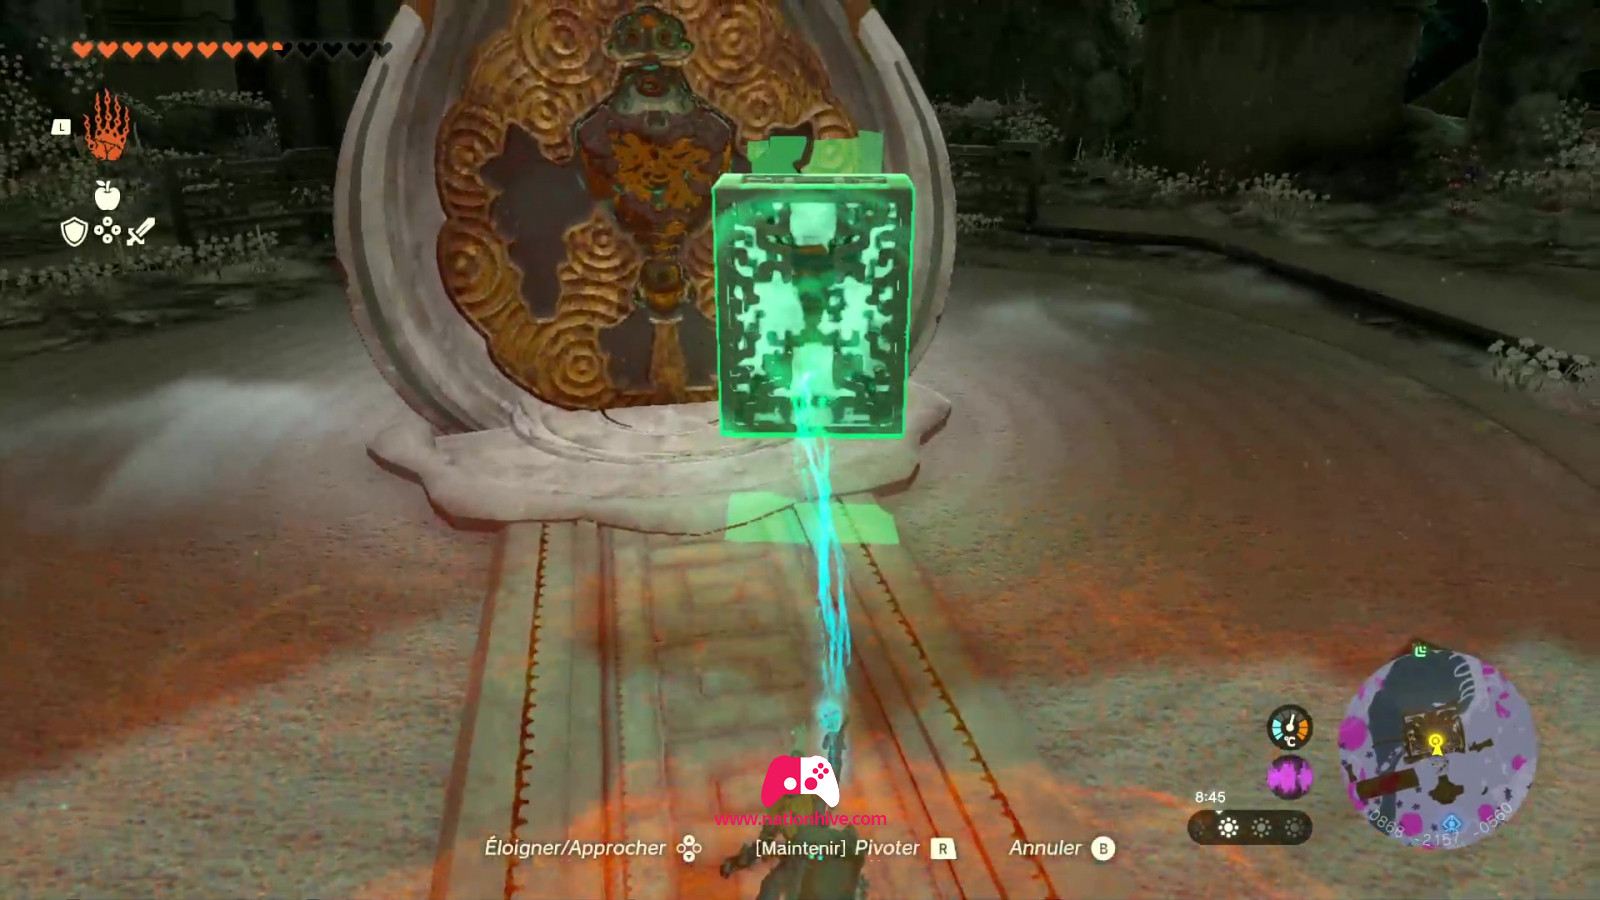
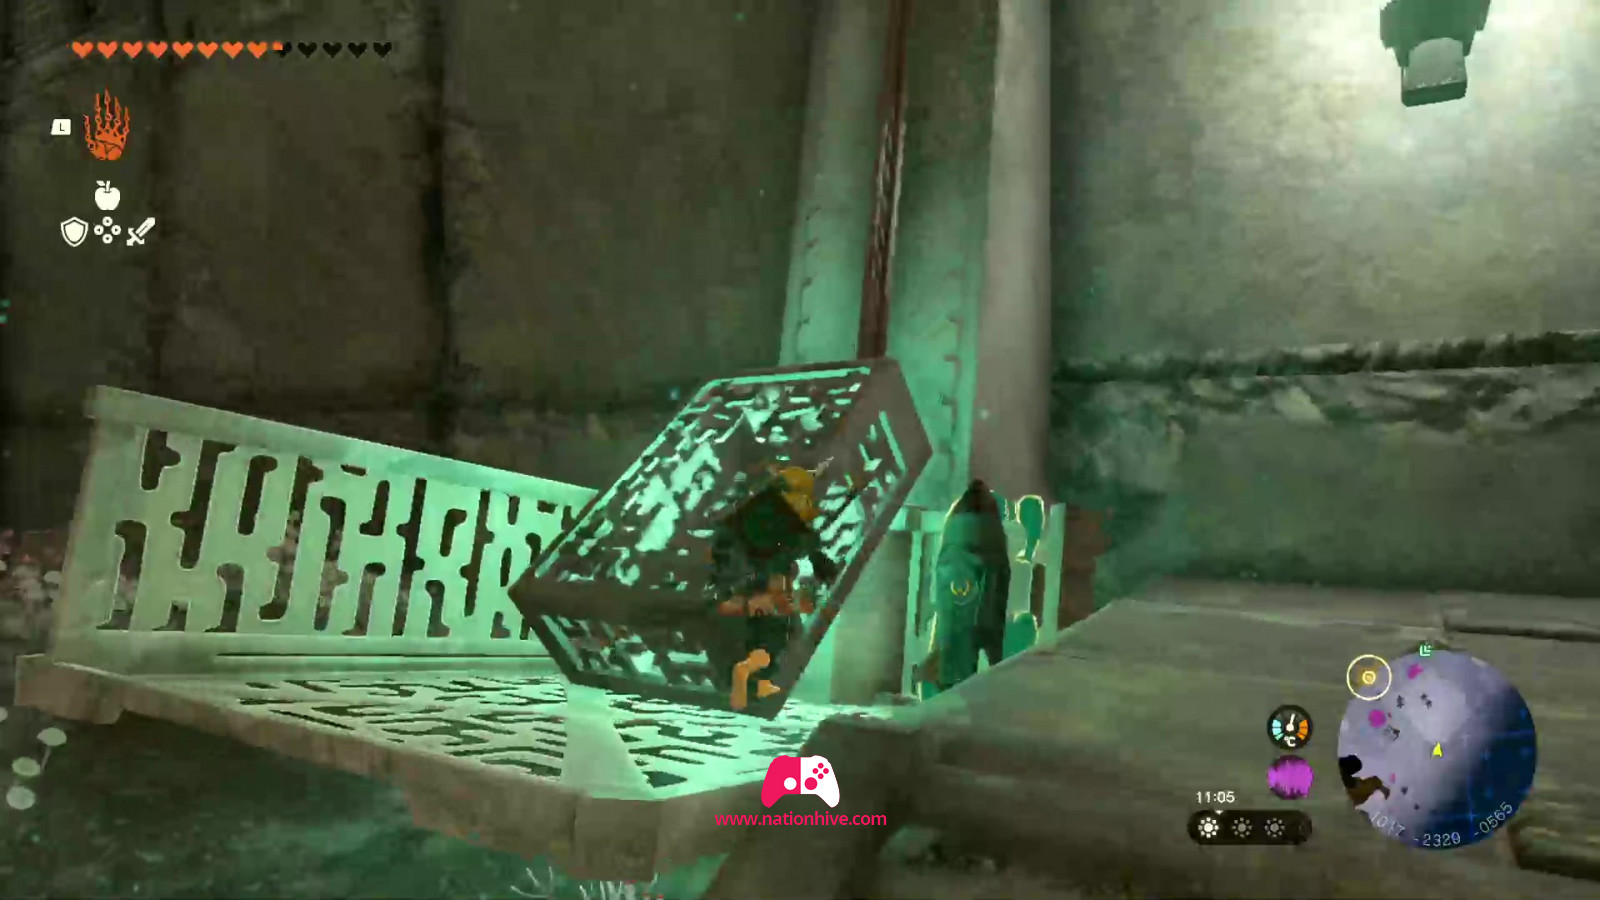
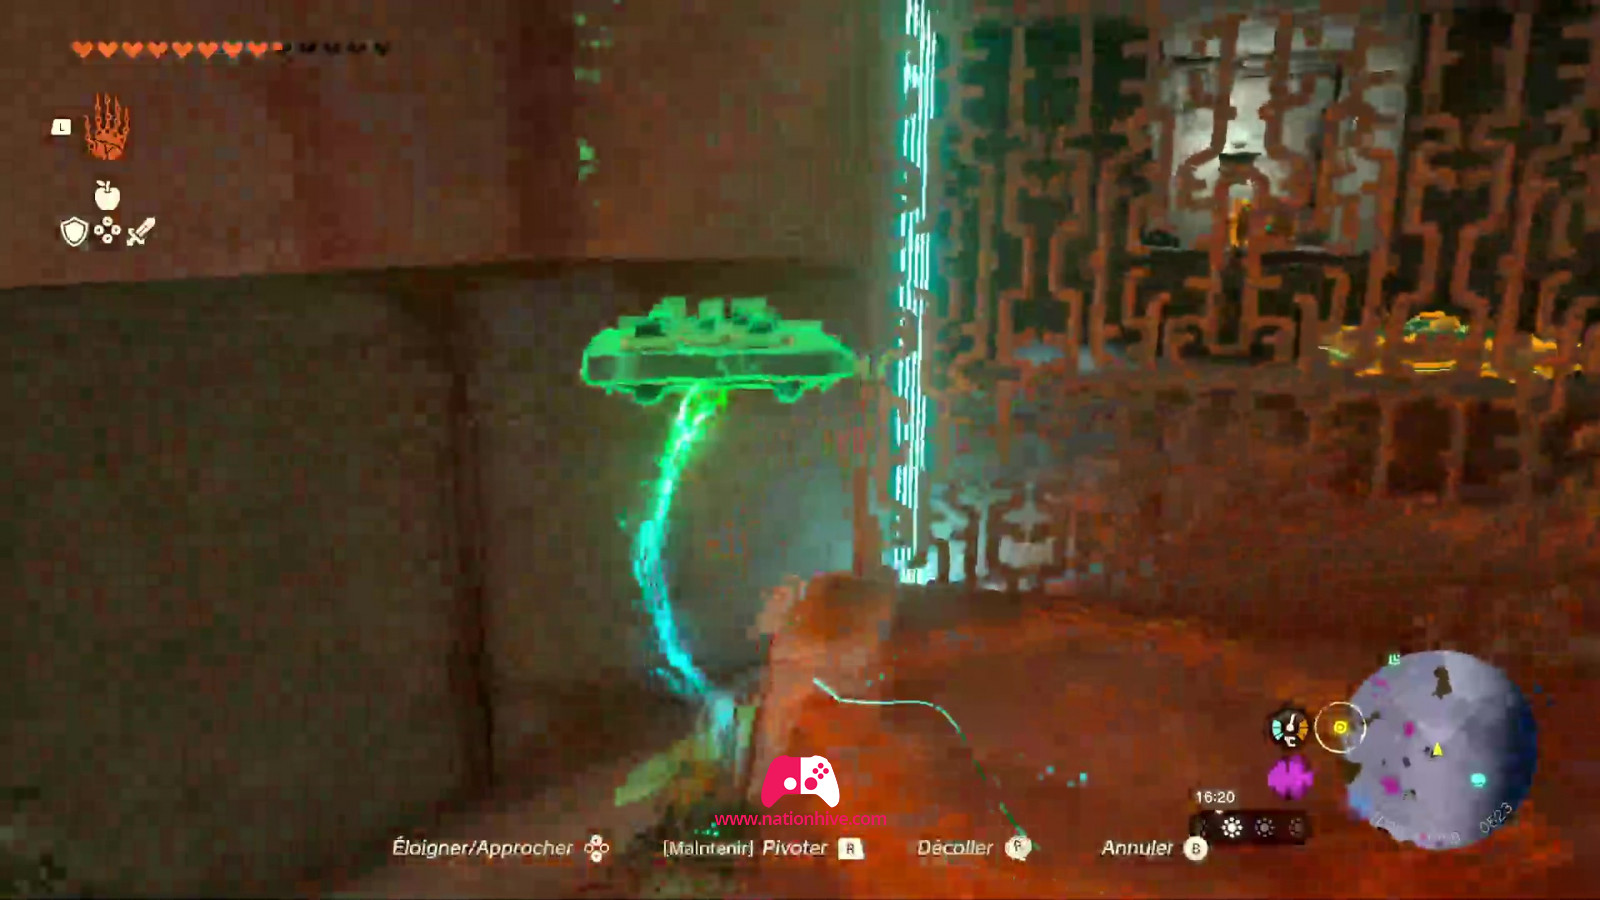
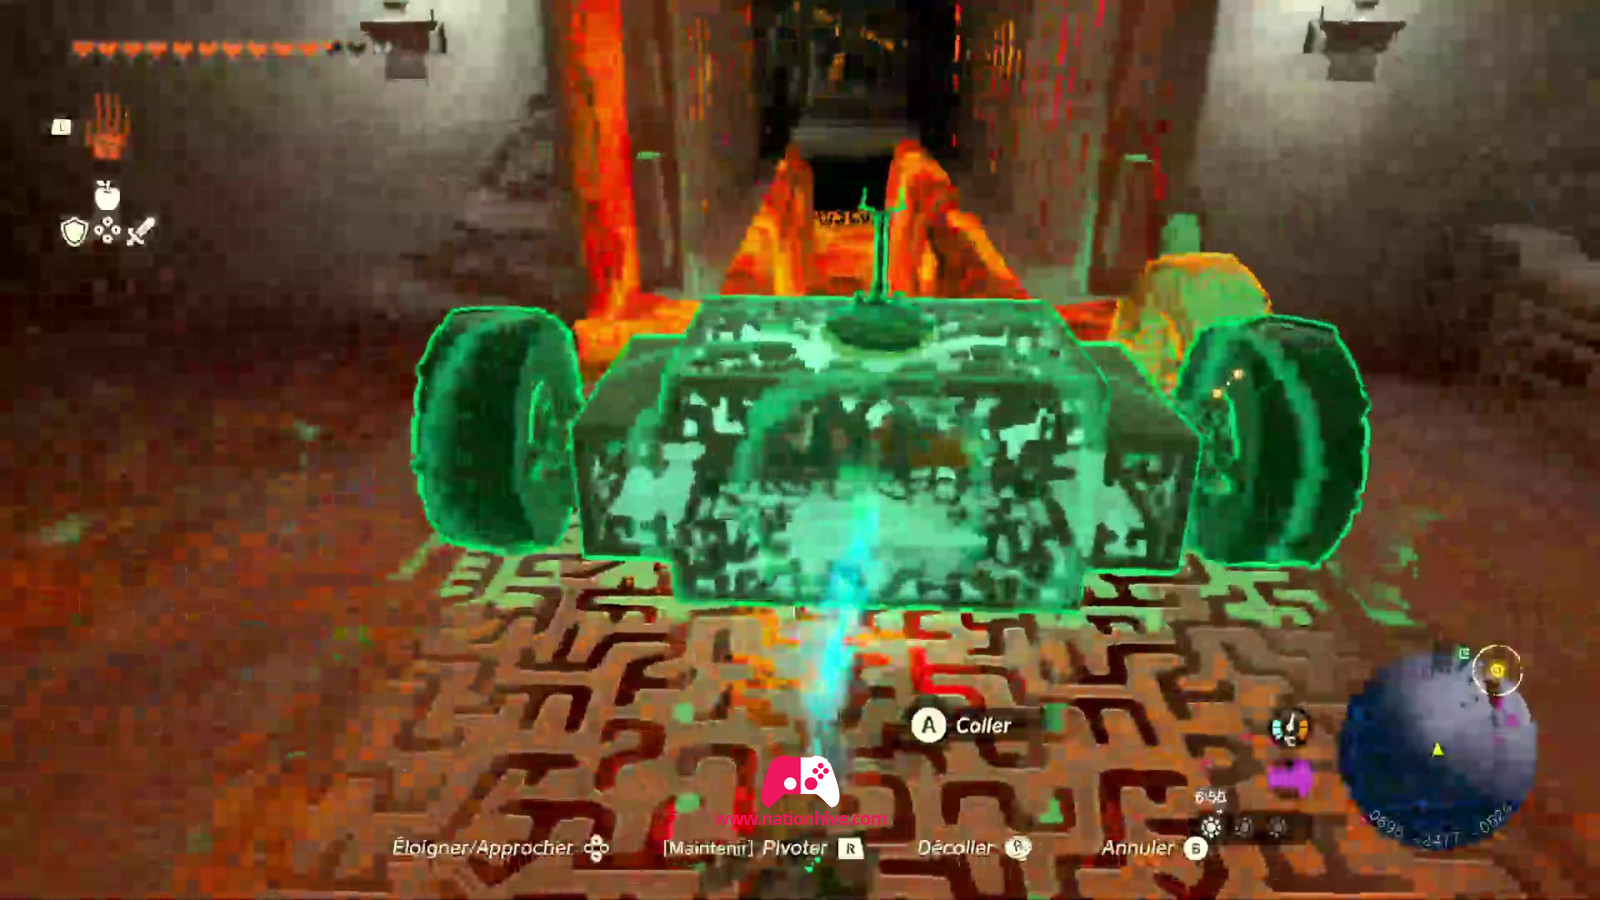
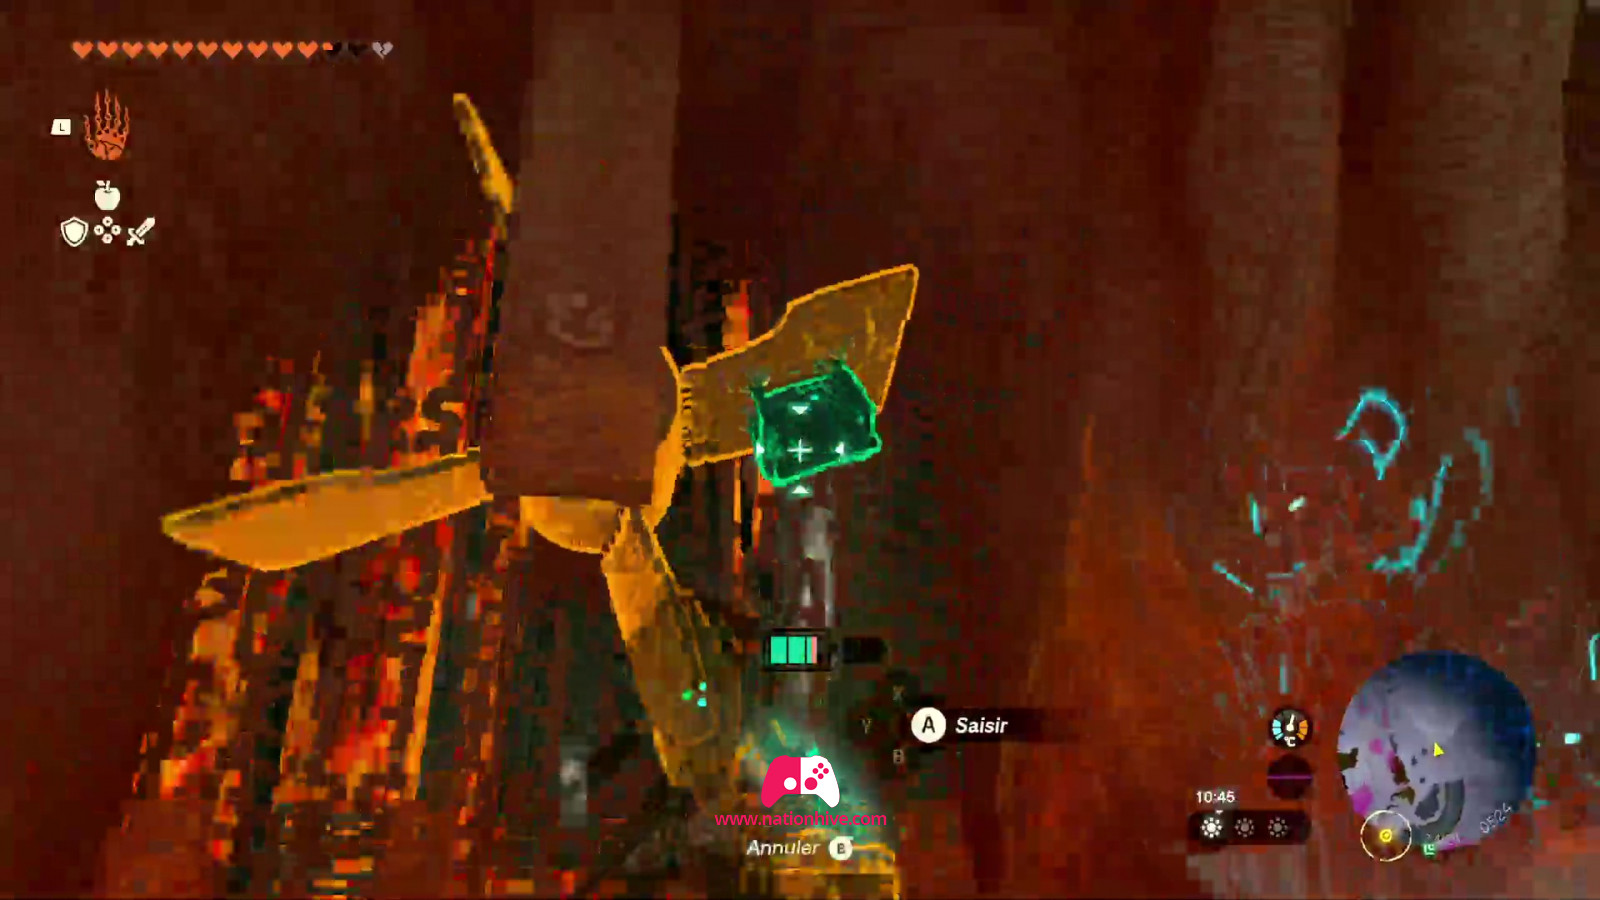
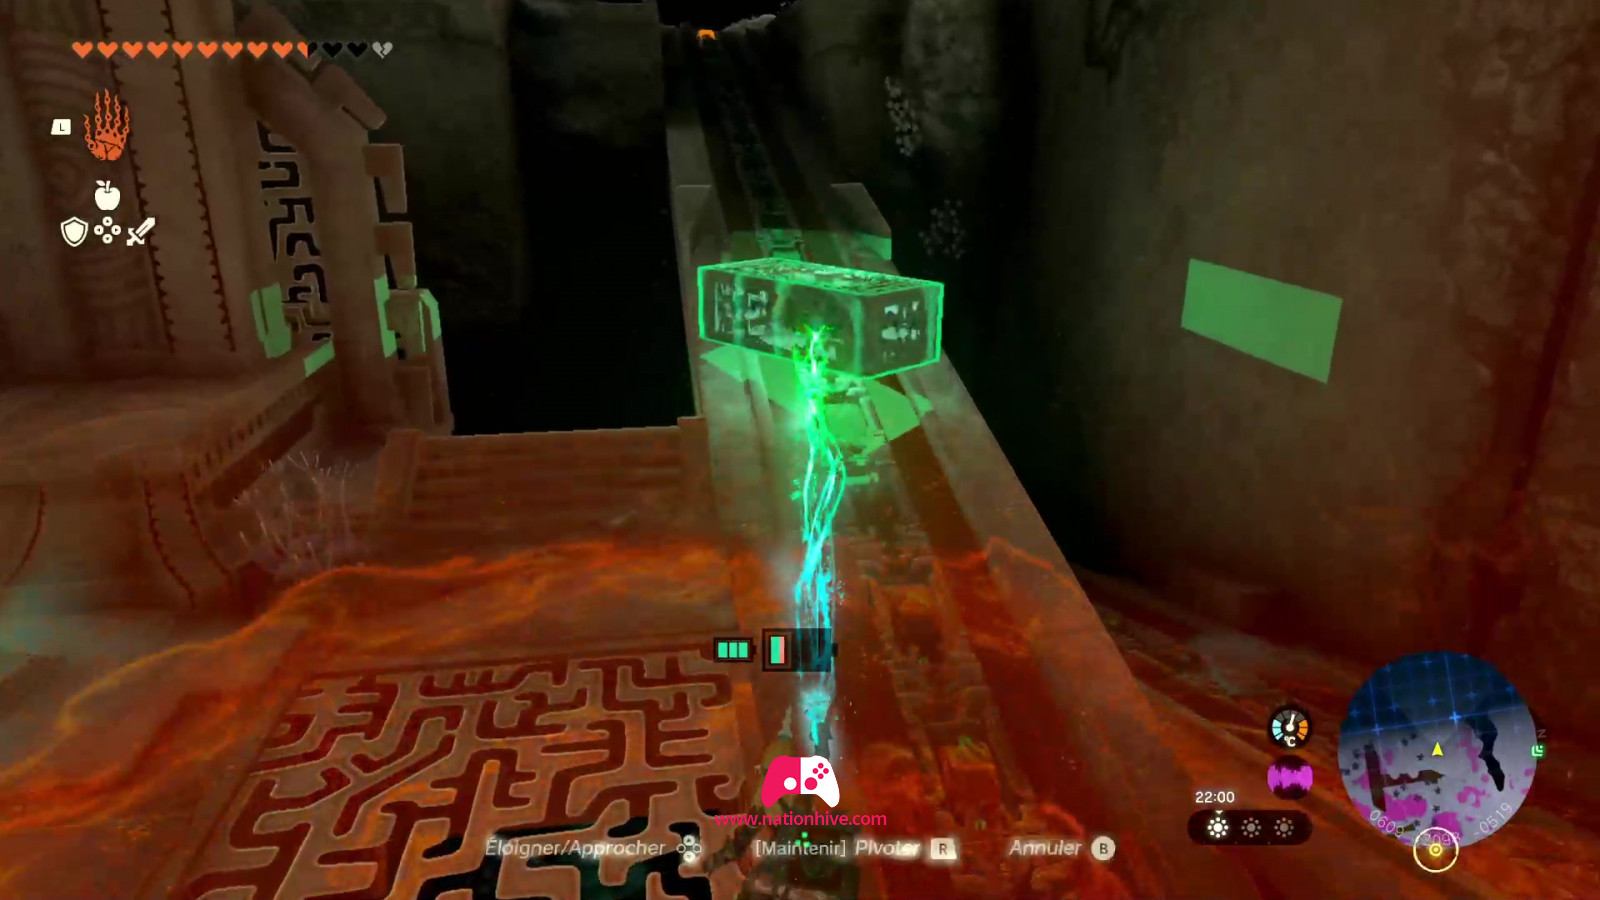
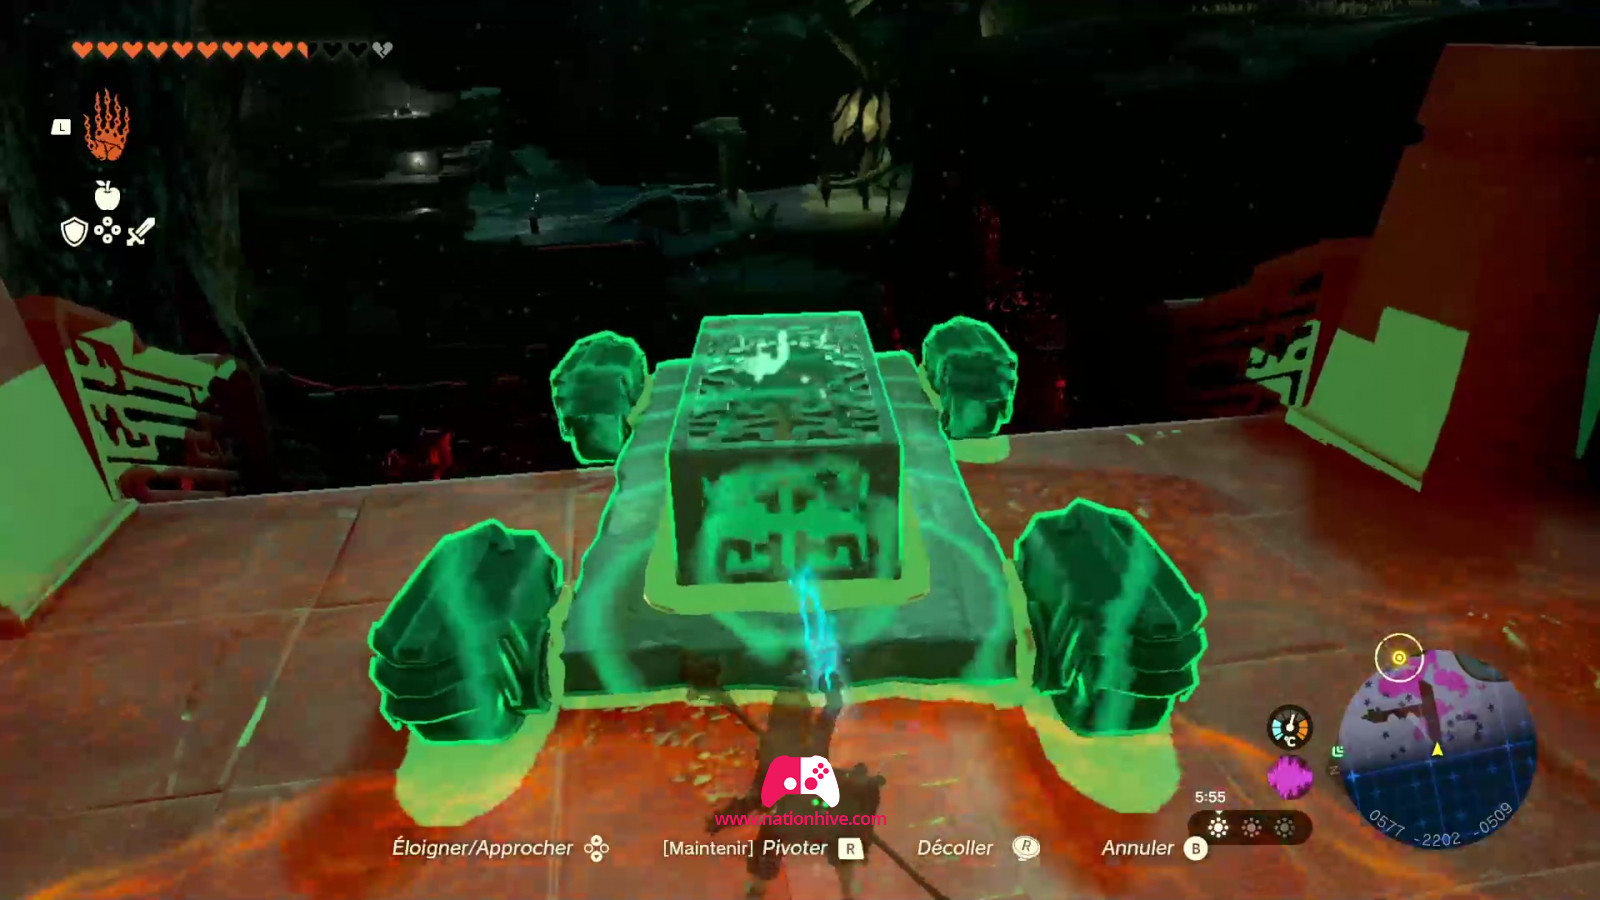
You'll be facing an elevated railway. Use the hook and place it in C (see image below), stick with Ultrahand the Mineru part and a fan to move the pillar to the top. If you fall off the pillar, simply use the Ascend ability to get to the top.
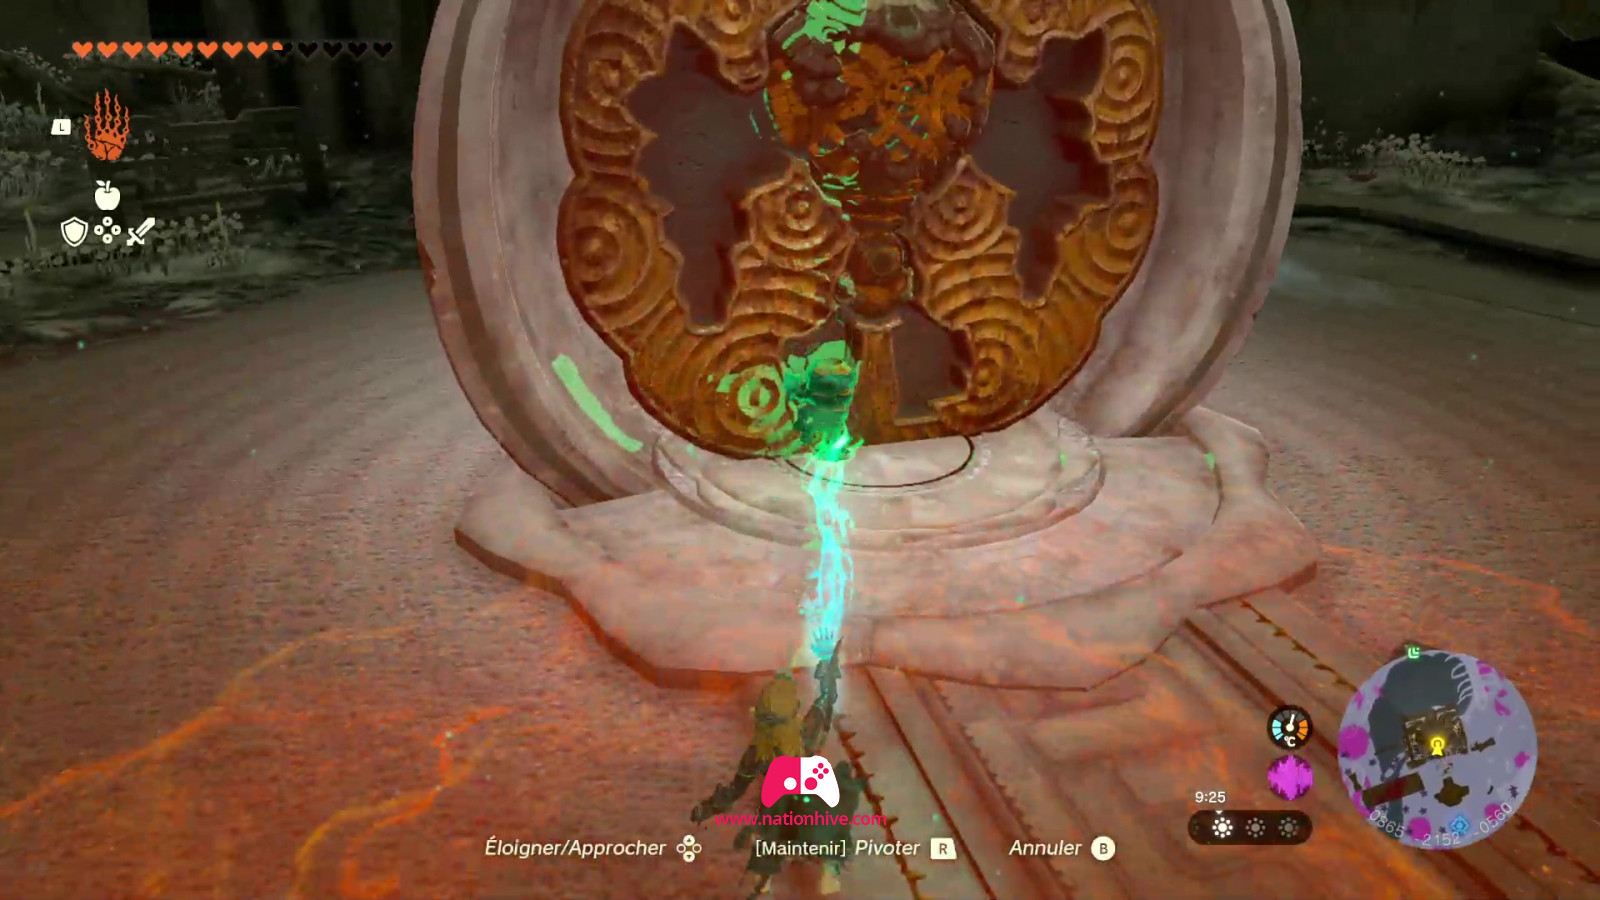
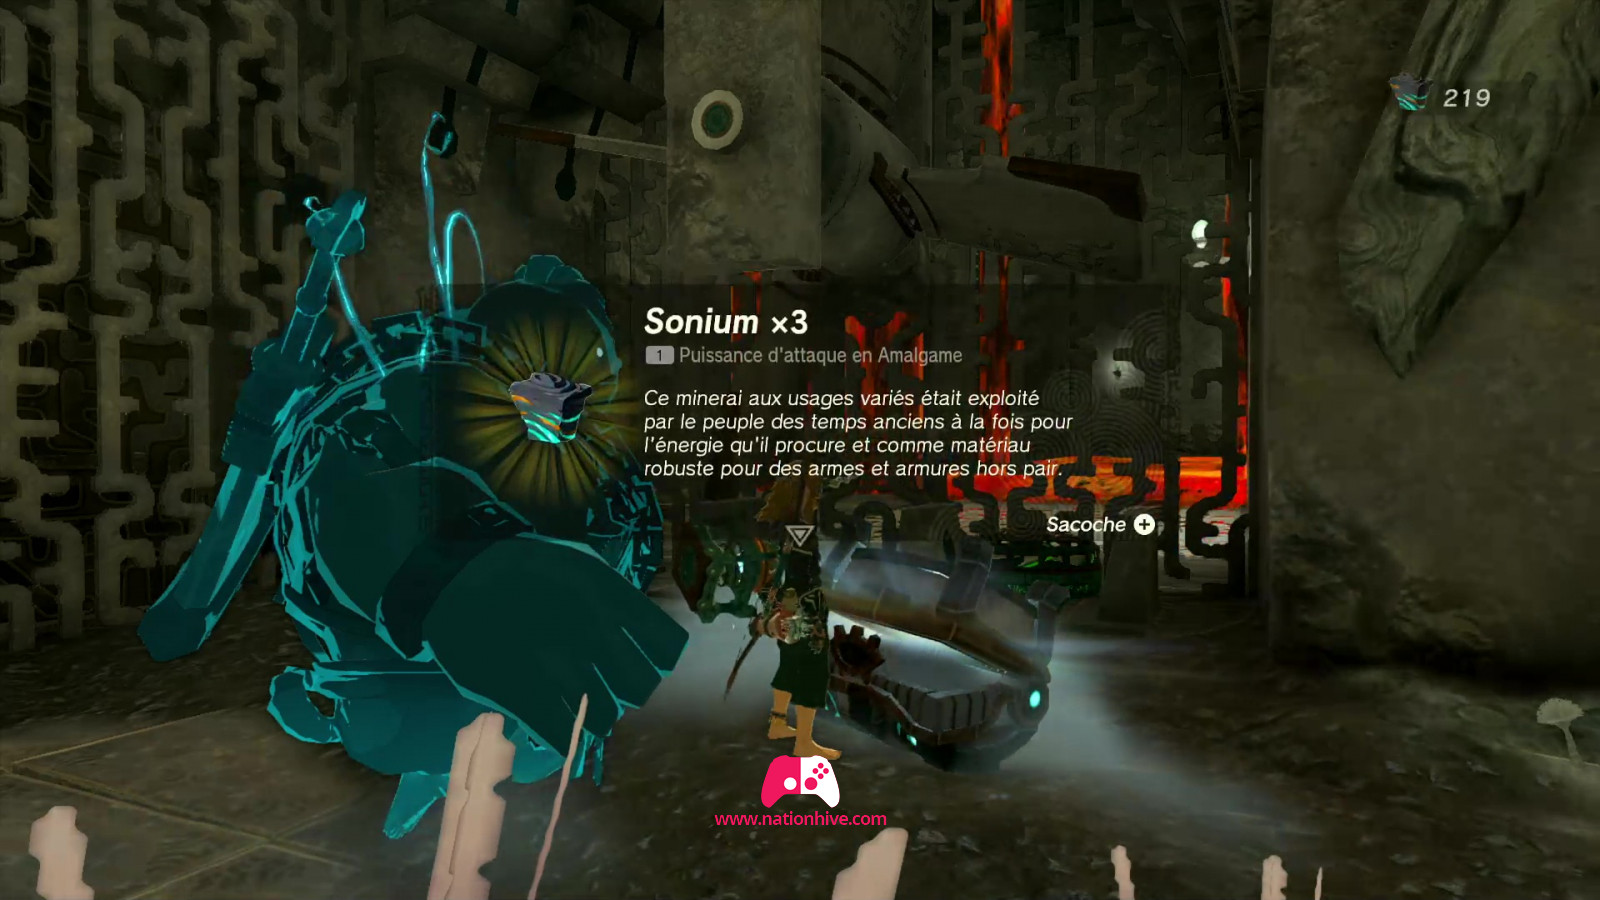
Once at the top, repeat the steps, moving the Mineru part onto the platform and climbing up, activating the Fans. It will also be possible to find a chest to receive 3 Zonaites.

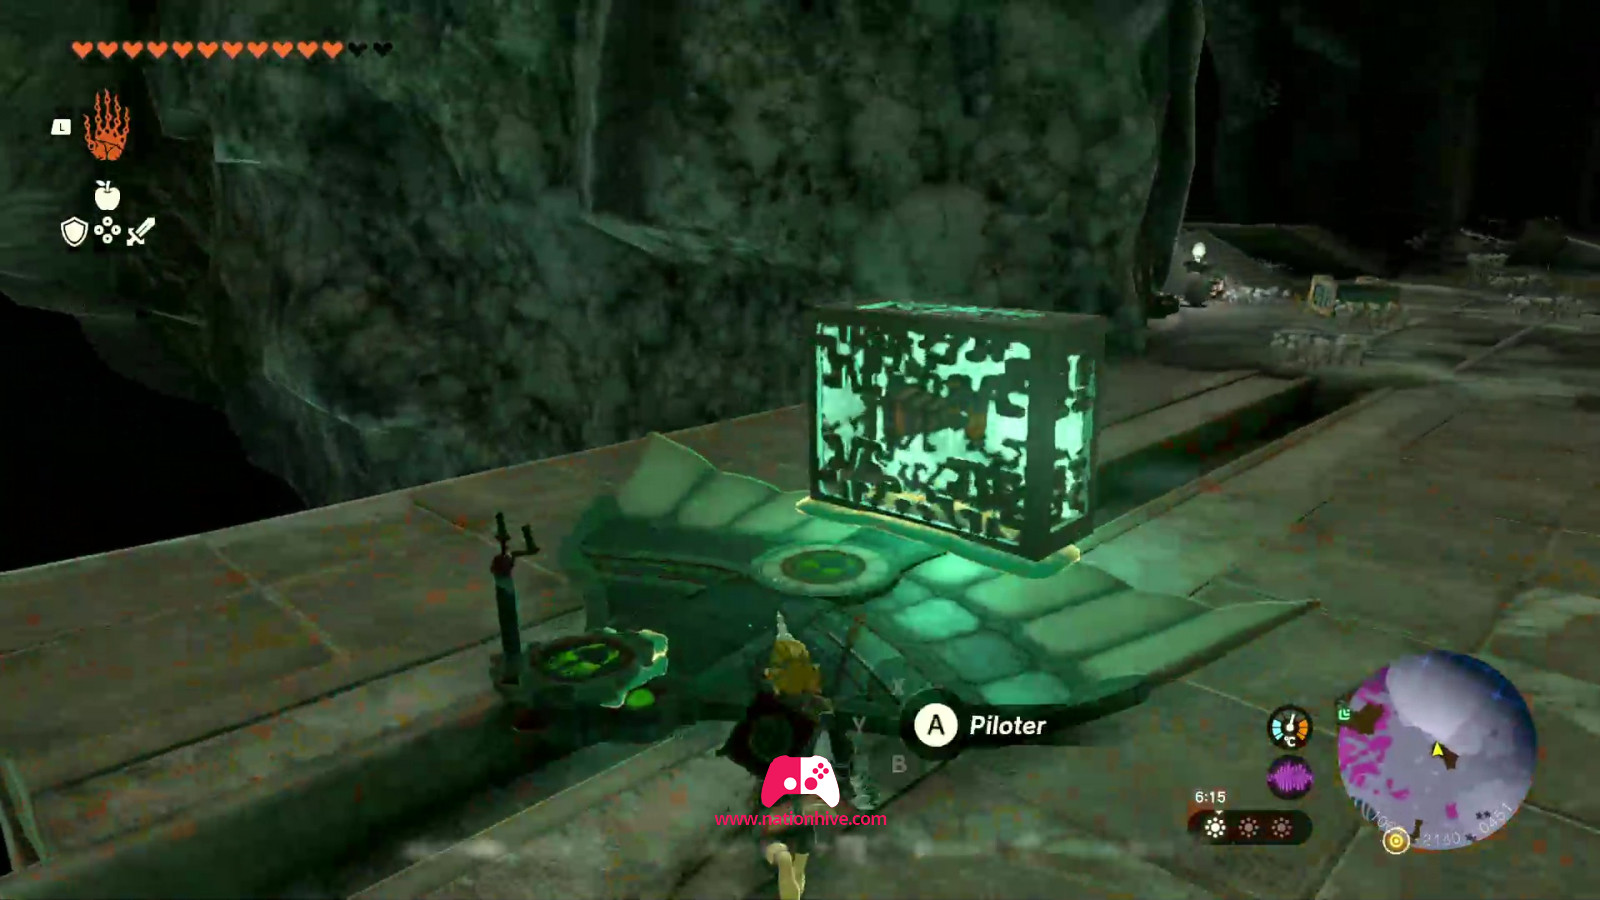
Then use a nearby Wing gliders and glue the Mineru part to it, bringing it to the disk in the center of the factory.
Left leg Room
Head south-east of the disc. The entrance to the chamber is fairly easy to reach. Once inside, head for the magic circle to receive Mineru's part. Then move the Mineru part using Ultrahand onto the platform with a rocket to climb up and be projected to the top.

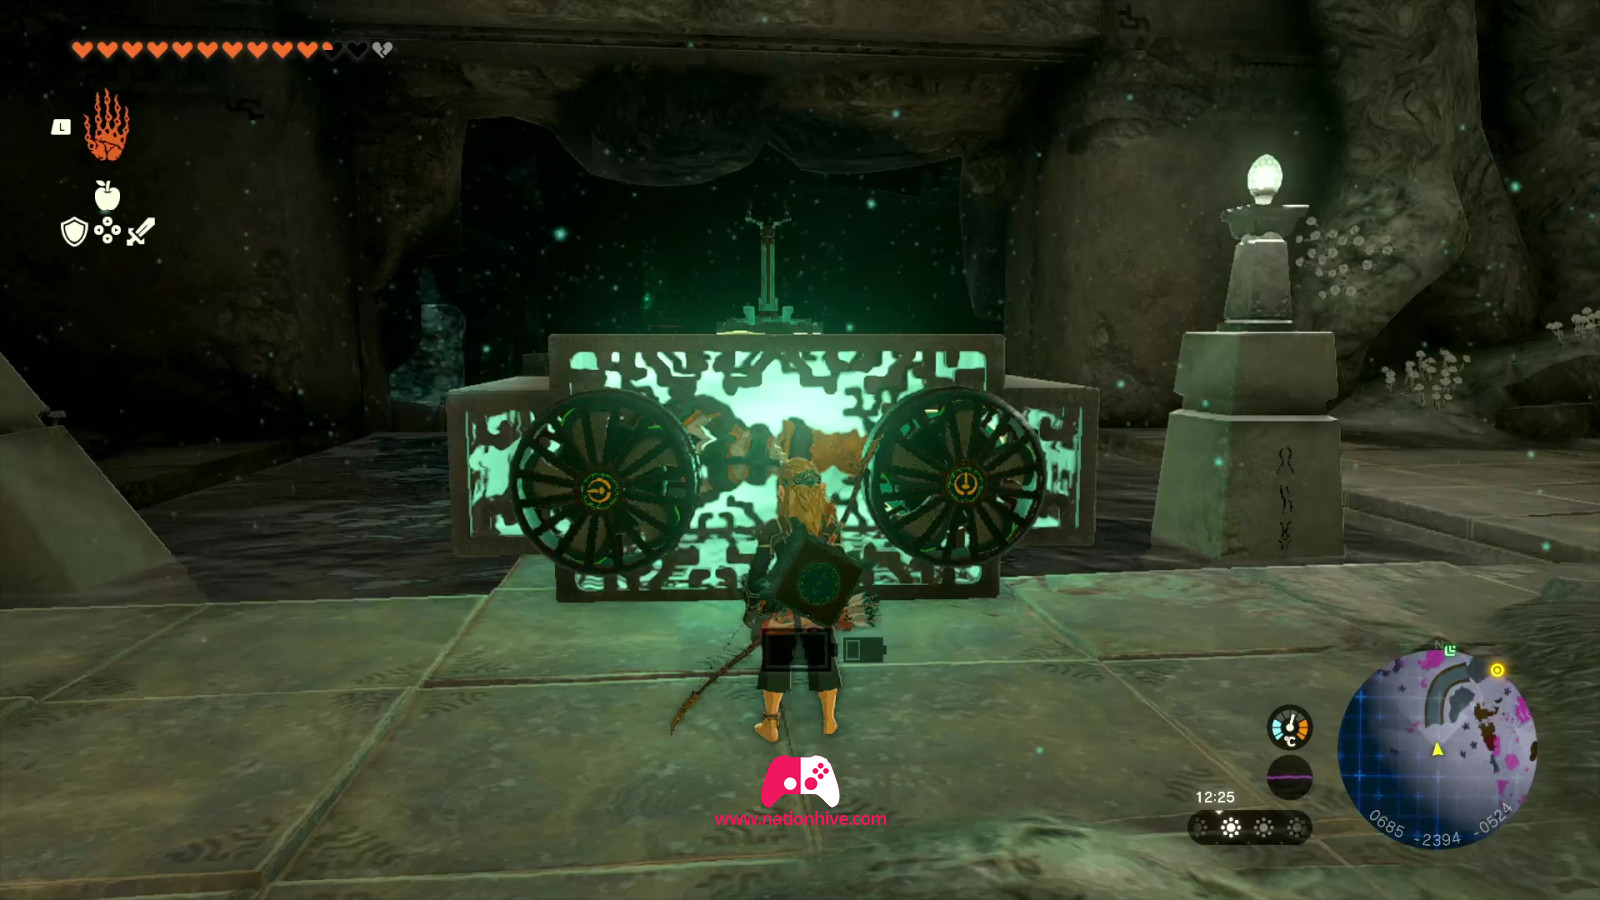
When you reach the top, you'll face a wheel. Turn it clockwise to create a 45-degree platform to the right of you. This platform will allow you to project the Mineru part upwards. Stick 2 rockets on each side and activate.

* There's a dispenser nearby, where you can drop Zonai energy orbs to collect artifacts if you wish.
To go up, simply head left where there's a space and use Ascend to show.
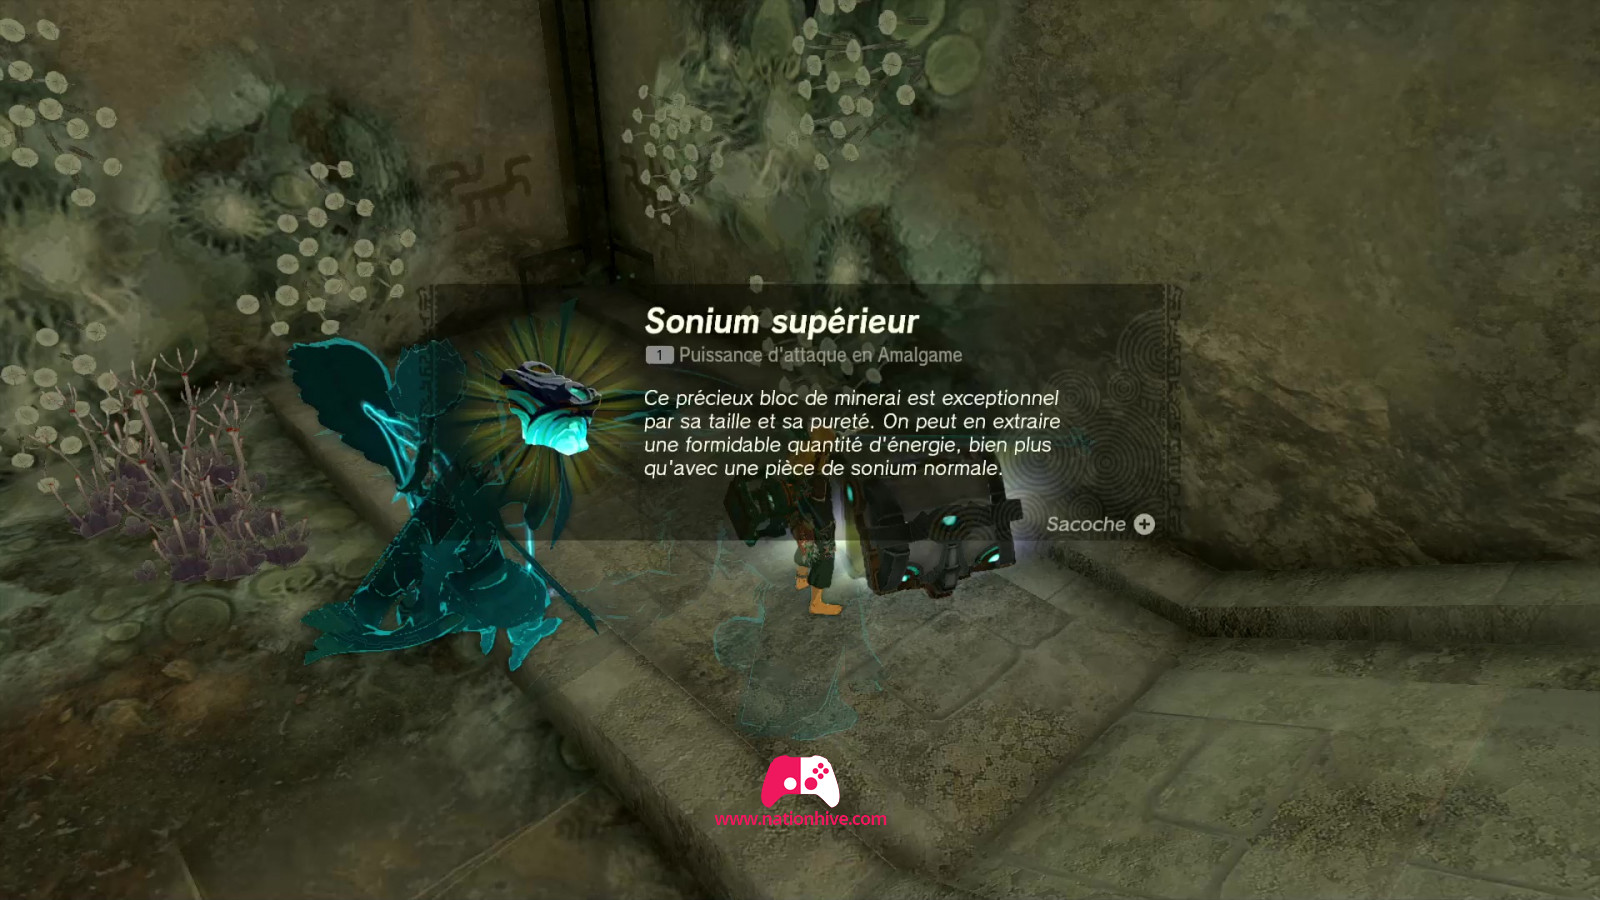
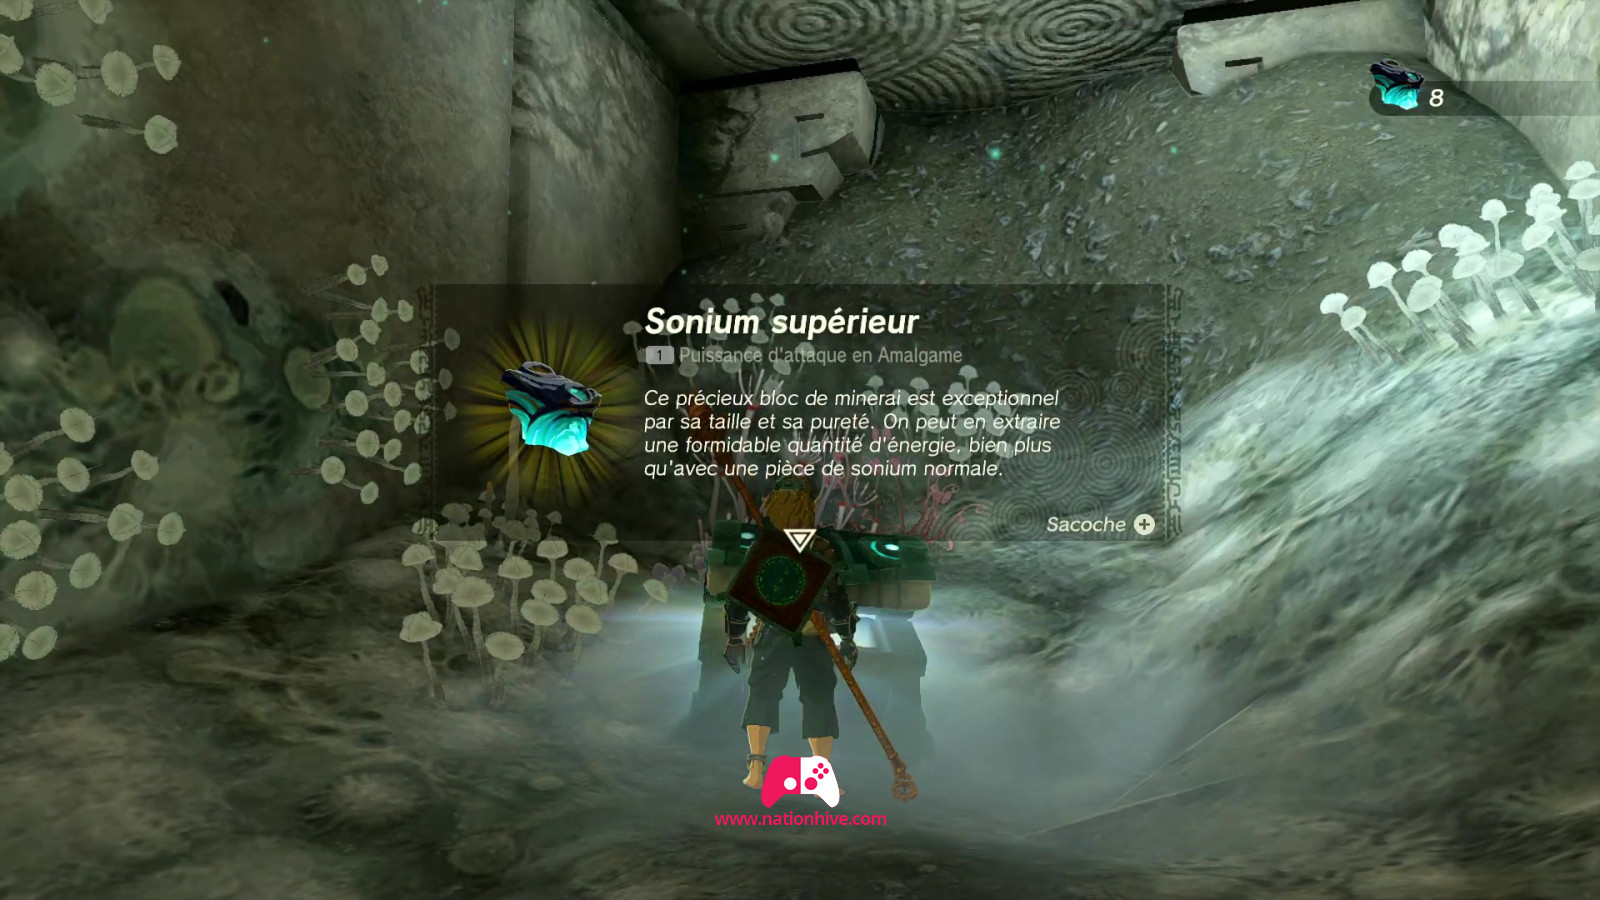
At the top, you can use Ultrahand to collect materials and a chest containing a superior Zonaite. Simply use Ascend to gain access, as the entrance appears to be blocked by lasers.
Then use the materials provided to transport Mineru's part to the disc. Place the left leg on the disk.
Left Arm Room
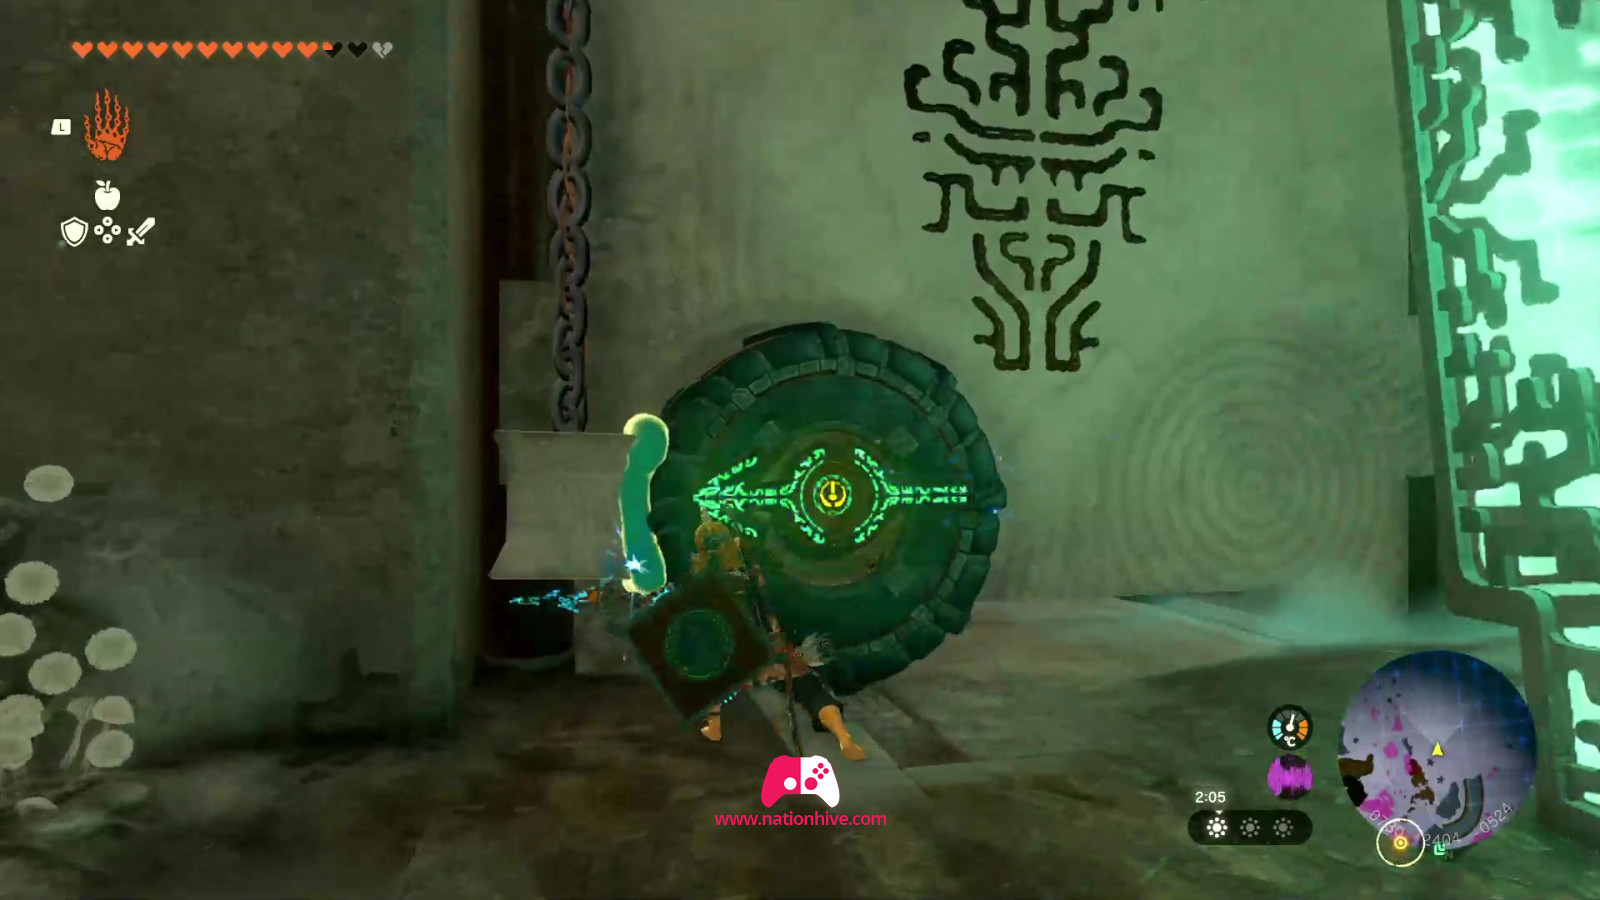
Head south-west of the disc. Climb the leaning tree trunk to reach the entrance to the chamber. Once inside, head for the magic circle to receive Mineru's part. Activate the wheel on the wall to unlock the door, and go to the other side with the Mineru part.

Once on the other side, use Ultrahand to remove the wheels from the door and glue them to the Mineru part to build a vehicle that will cross the lava. Once on the other side, climb the ladder on the left to find a chest containing 5 Guiding Sticks.
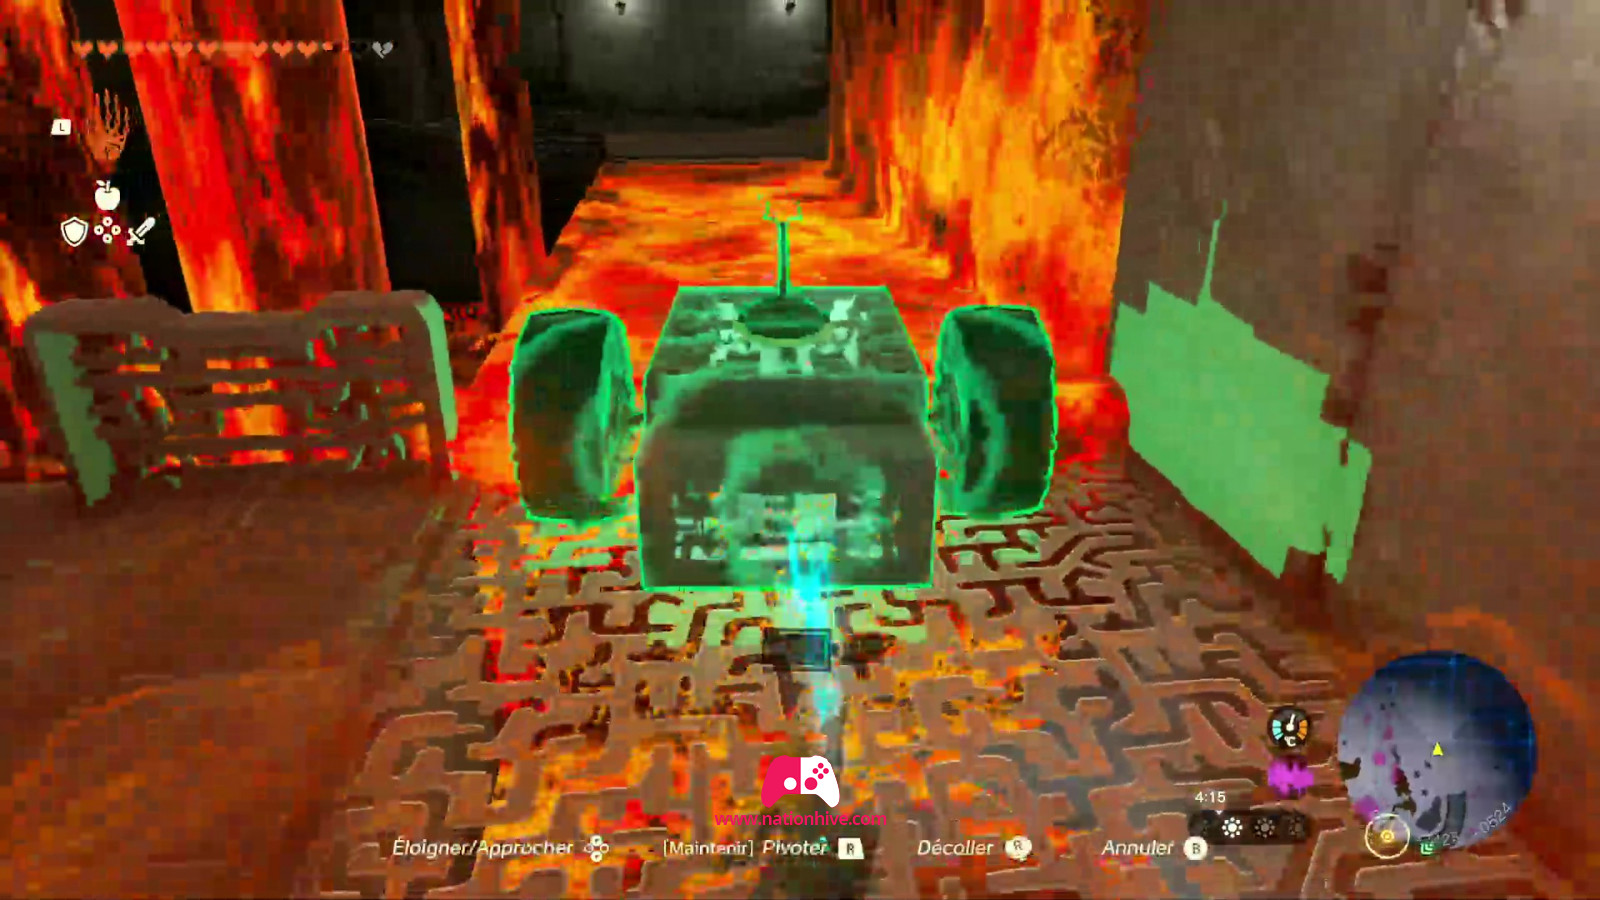
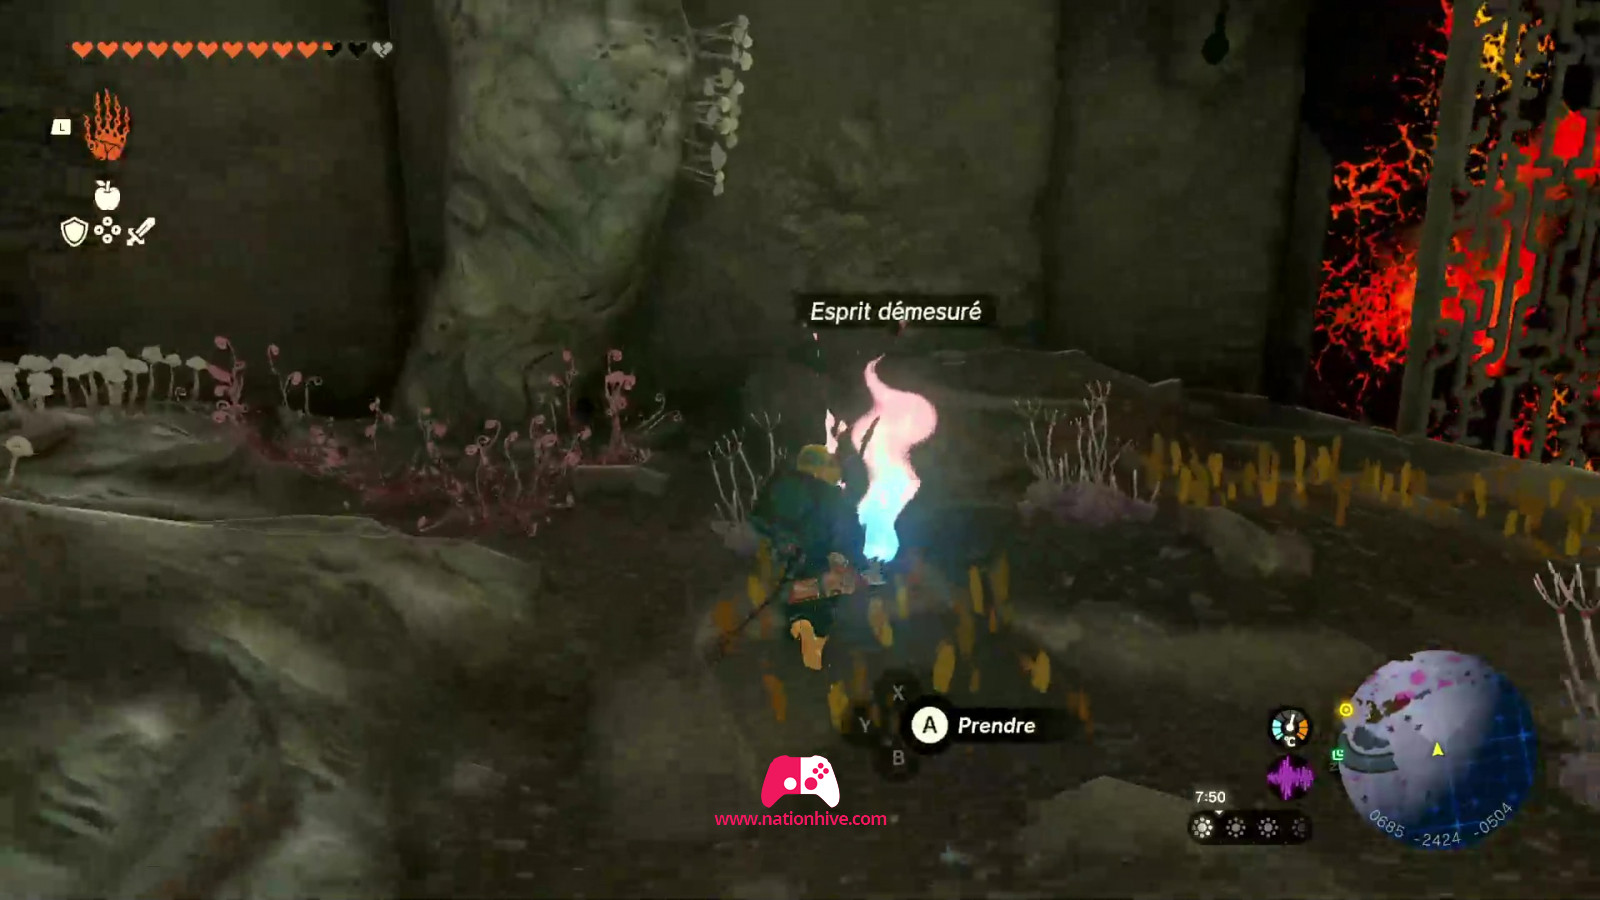
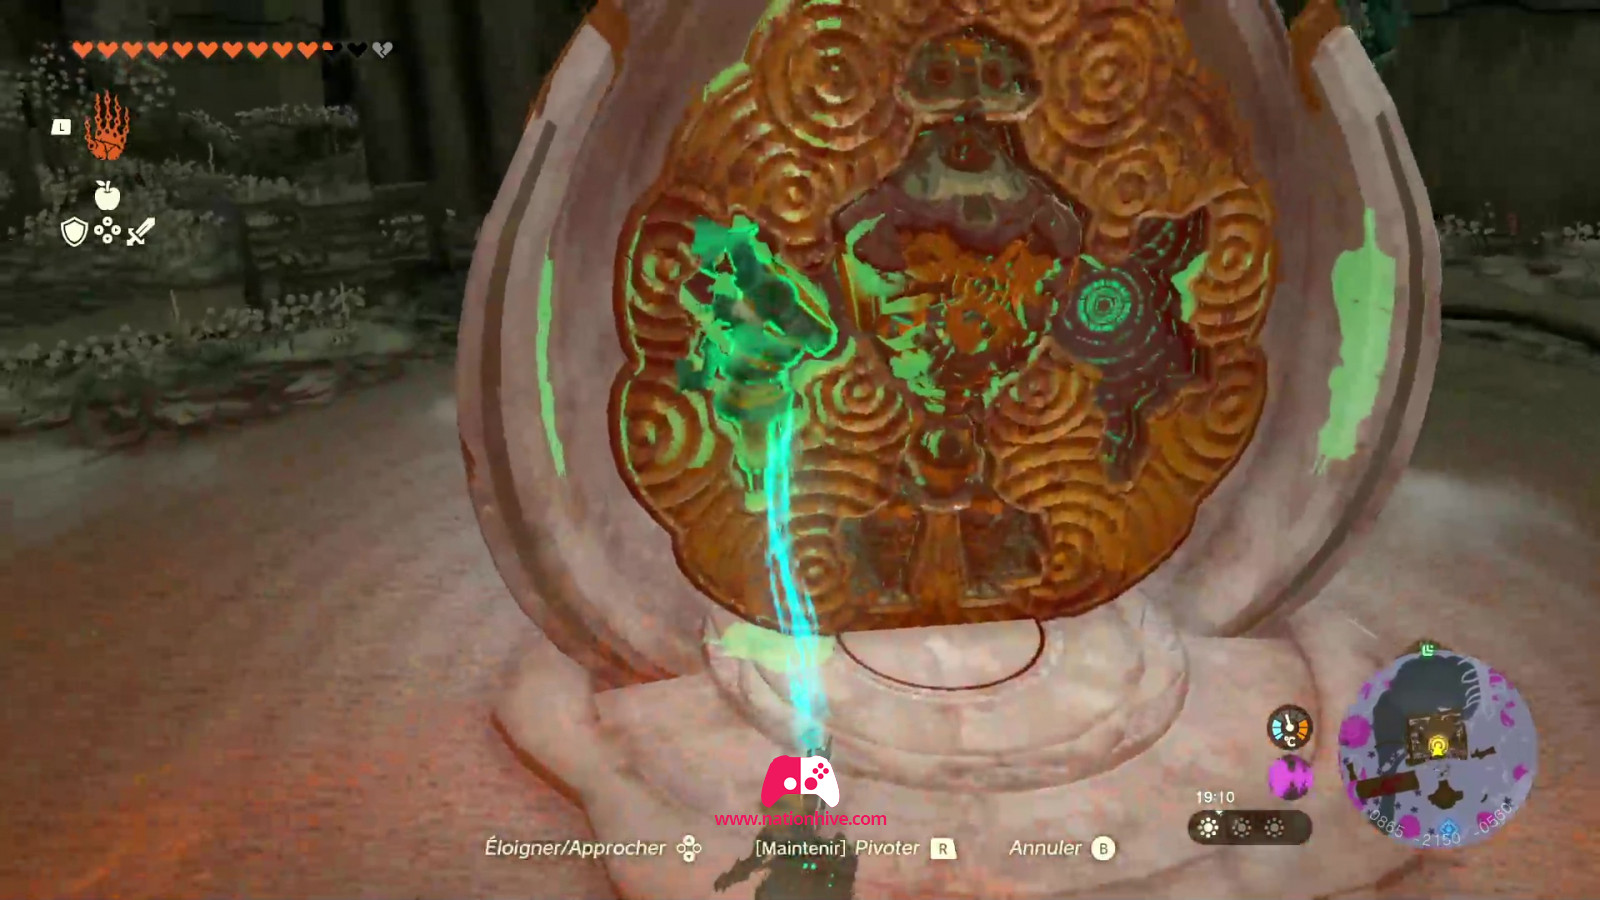
Head down to the other lava path. This time, you'll need to change the pillars horizontally, with the wheels on either side (see image below). Once you've crossed the path, you'll find another ladder on the left, climb up to find an oversized Spirit. Go back down and glue 2 wheels to the chains on the door, then activate the wheel to raise the platform and pass through.

Pass through the Mineru section on the other side of the gate. You'll be faced with 2 large Fans. The second fan on the left contains a chest; open it to receive 3 Zonaites.
Then glue the necessary materials to the Mineru part to turn it into a boat, since you'll have to cross water currents to get to the bottom. Carry the Mineru part to the disc. Place the left arm on the disk.

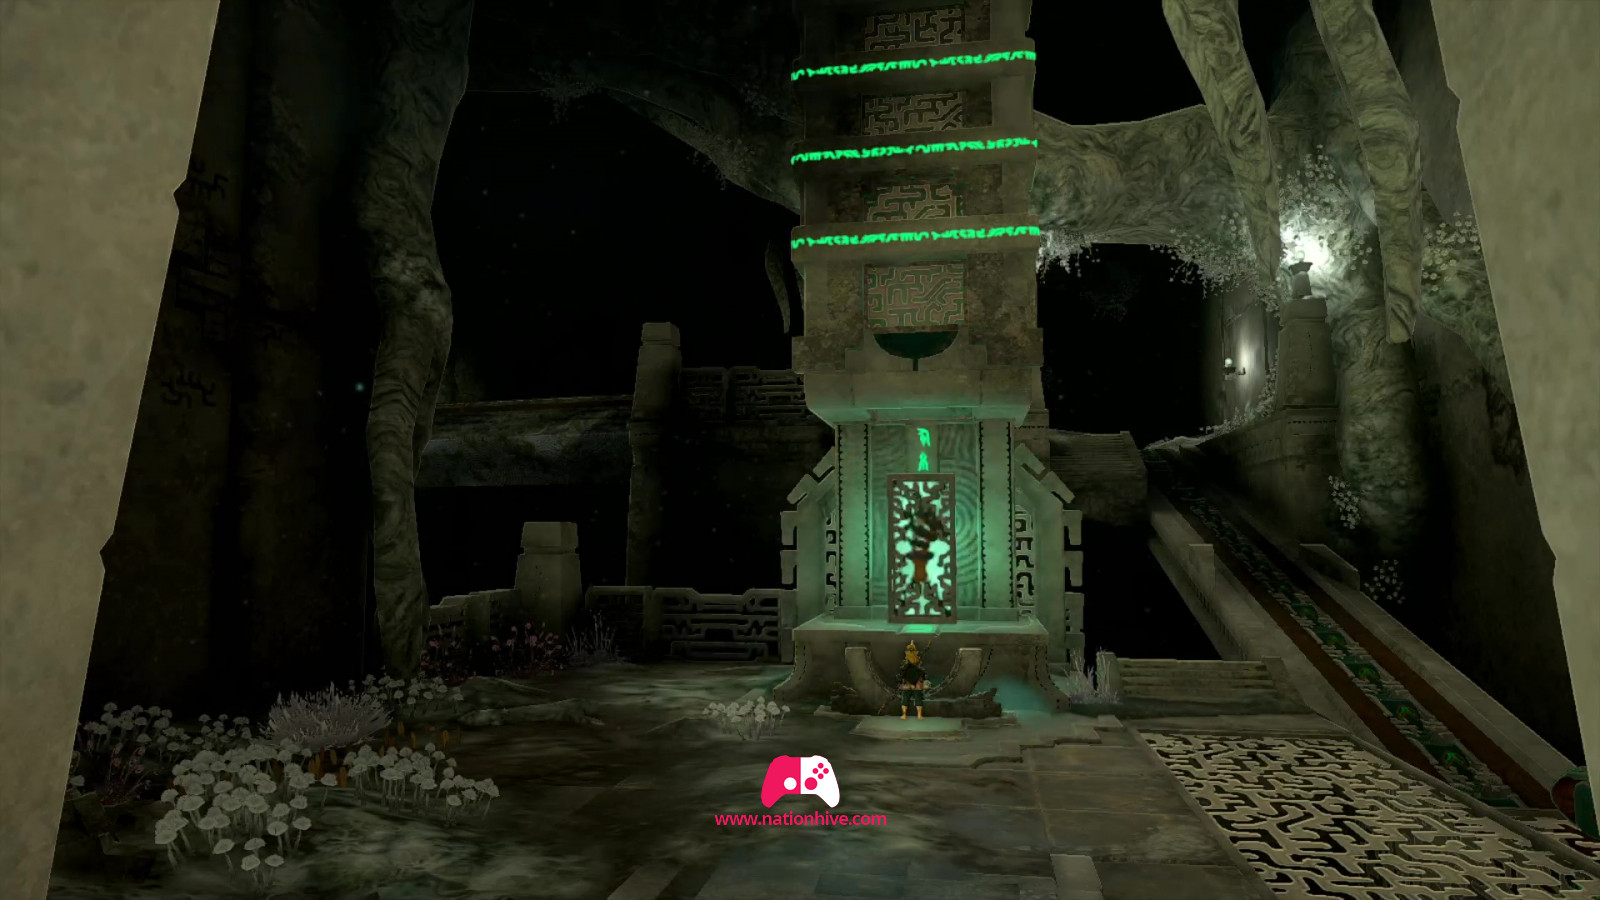
Right Arm Room
Head northwest of the disk. Use Ascend to get to this chamber, as it is elevated. Once inside, head for the magic circle to receive Mineru's part.
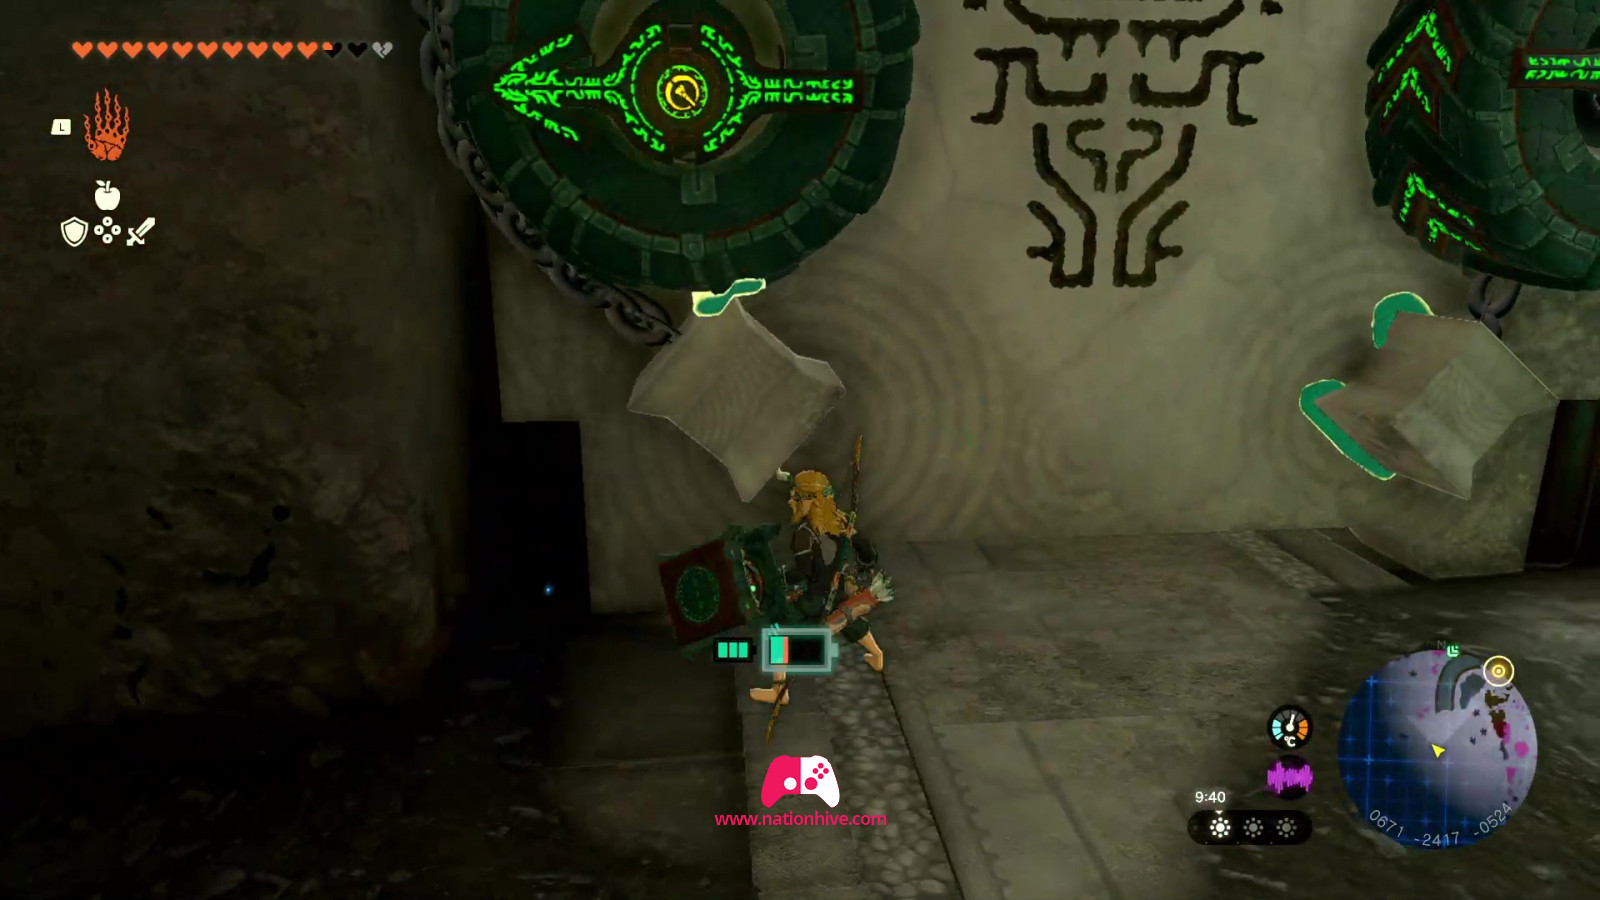
Place the Mineru part on the conveyor belt on the right to climb up. At the top, you'll come to an electric bridge. It won't be possible to cross. However, you will notice a small ramp on the side of the bridge. Glue a wheel to the side of the part to move it to the other side of the bridge.
You may find a chest below. Open it to receive a superior Zonaite. Ascend and build a vehicle with the materials provided to take Mineru's part to the disk.
Mineru, Spririt Sage
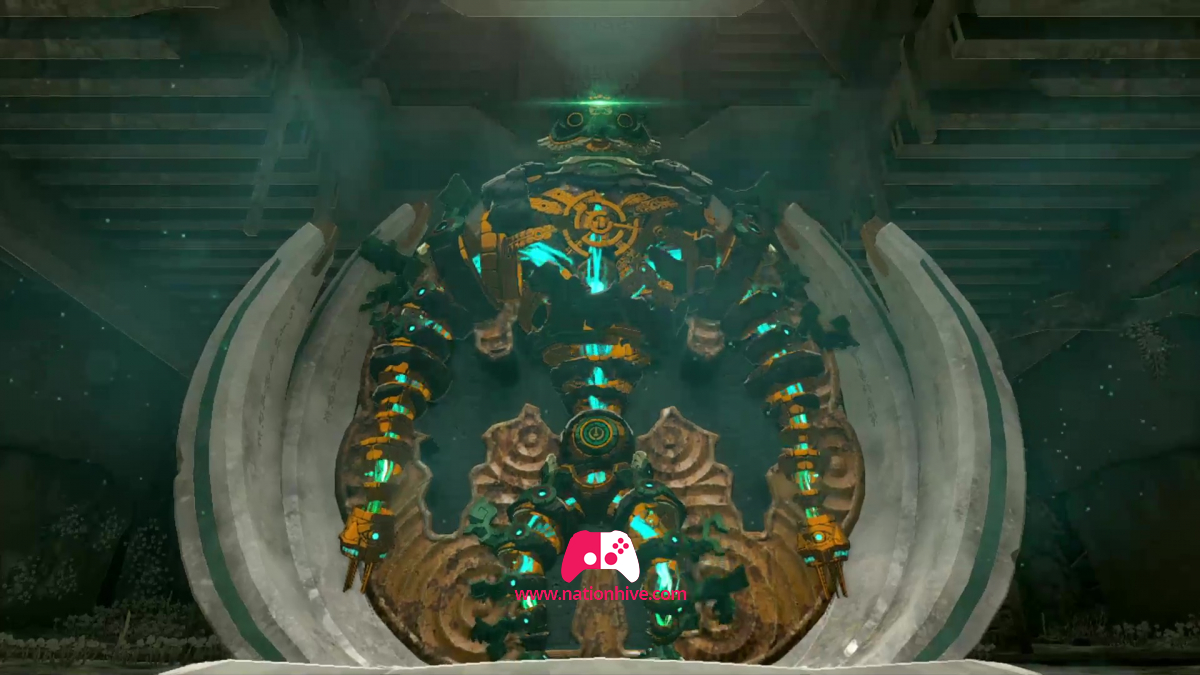
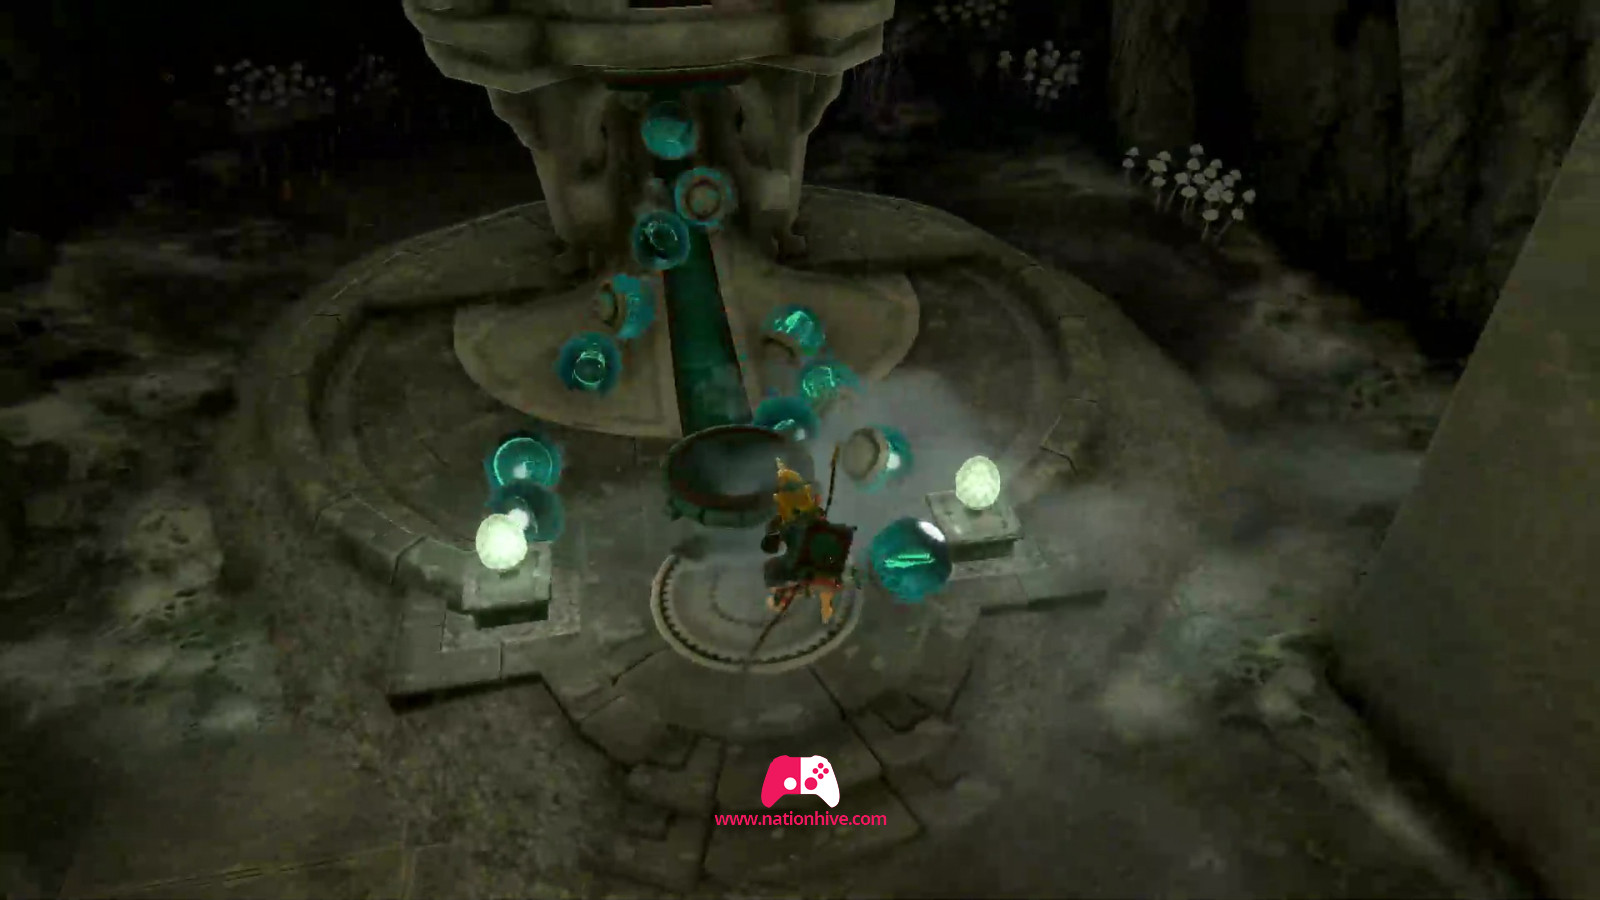
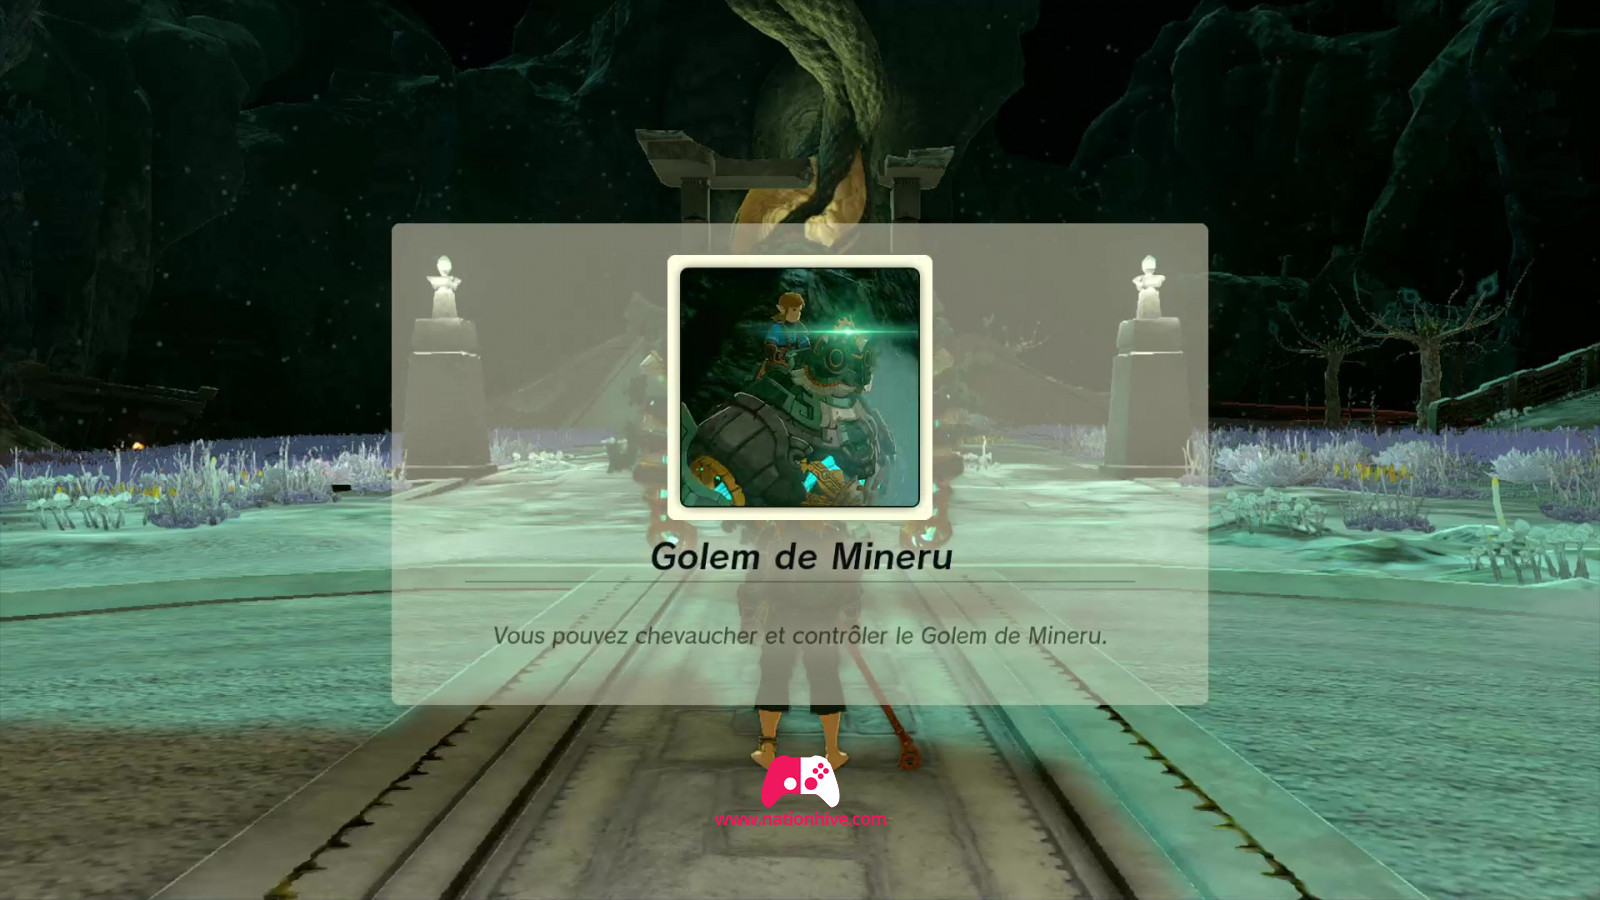
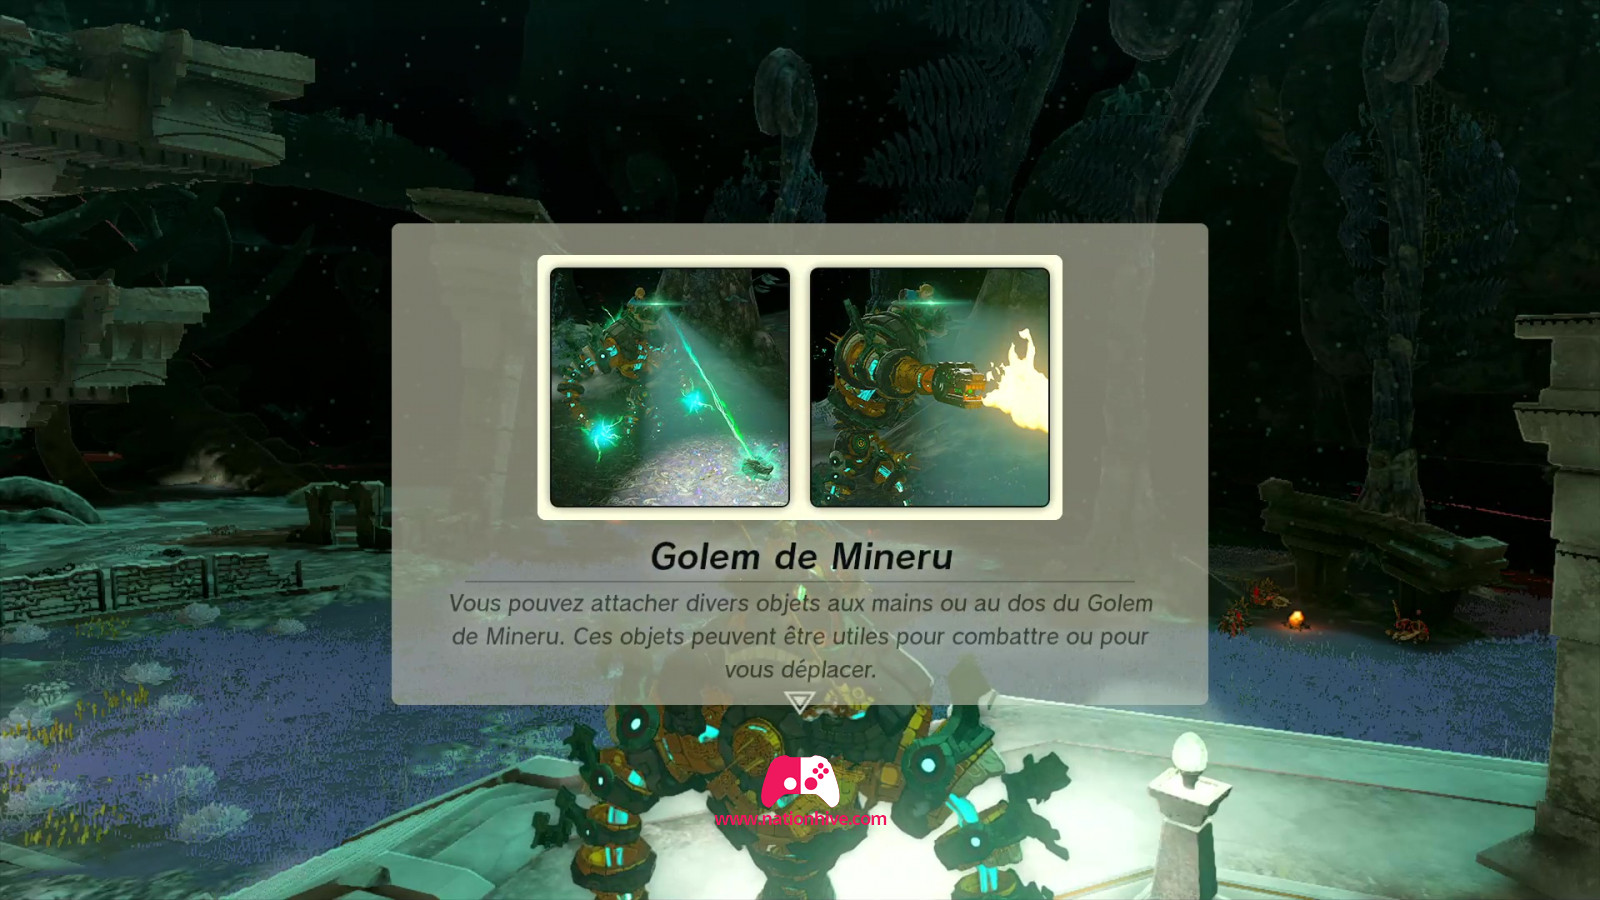
Once all Mineru's body parts have been assembled, the Sage will appear in front of you and ask you one last time to find his occult stone, located in the southeast. Materials will be provided to equip Mineru. It is now possible to ride and control Mineru's Construct.
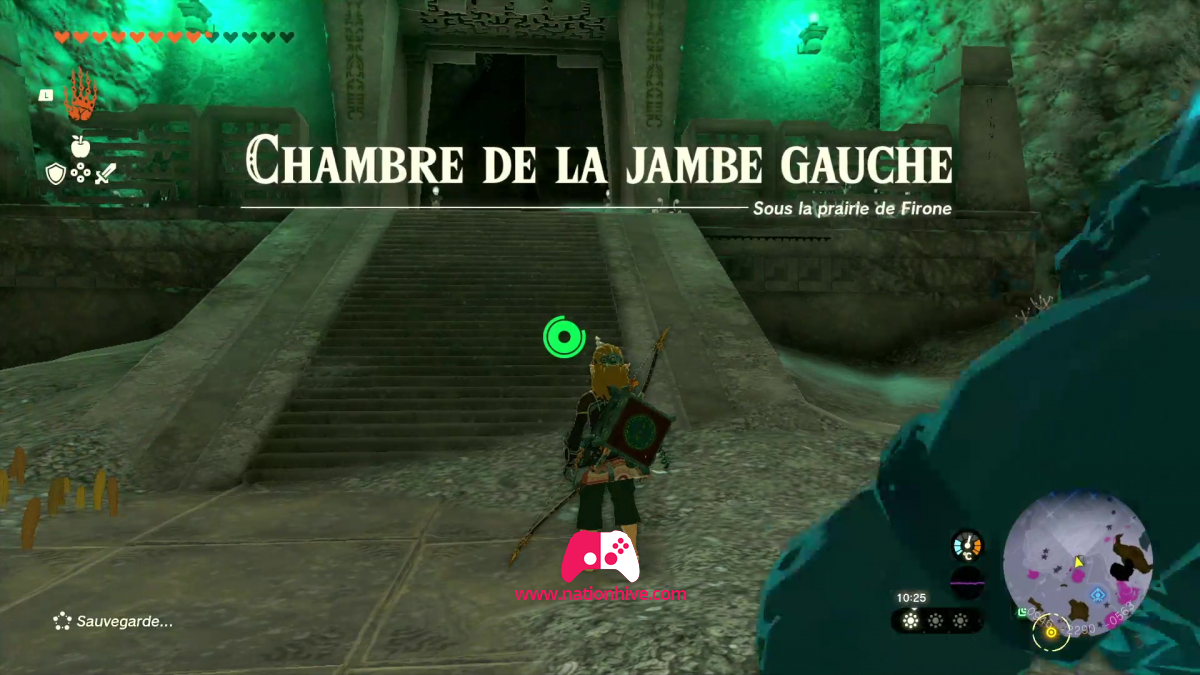
The Spirit Temple
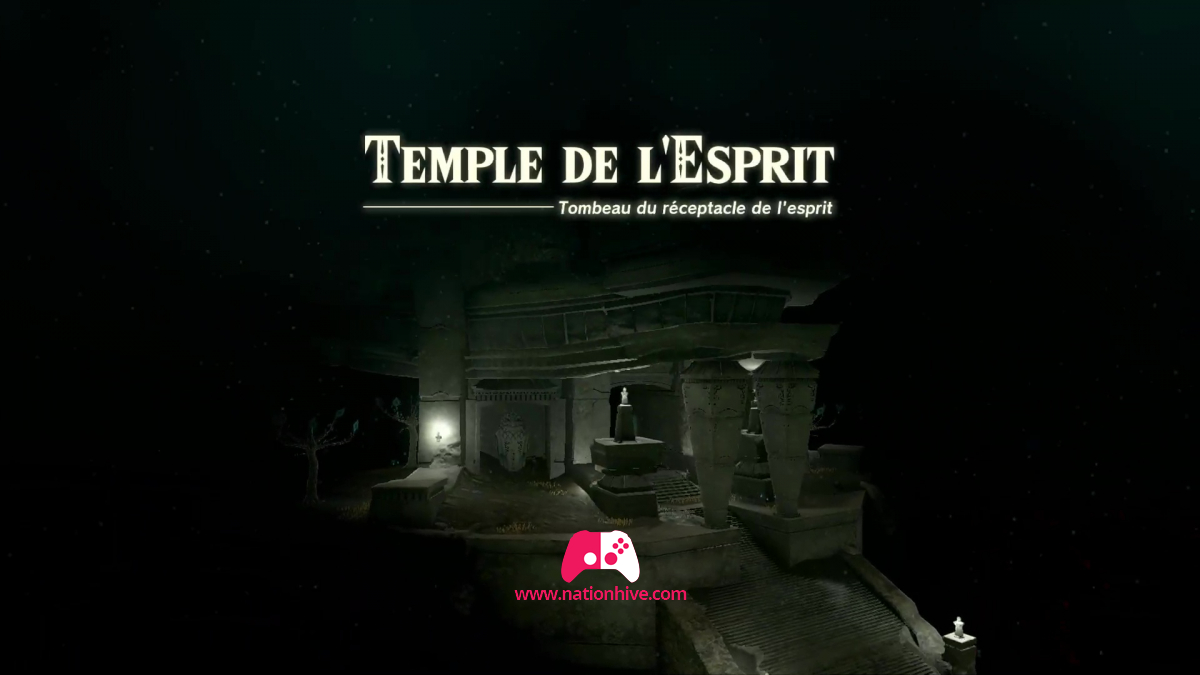
Now head for The Spirit Temple. You'll find the Sijotu Lightroot on your way. Activate it to be able to teleport there next time if necessary. Move on to The Spirit Temple.
And so the main quest: Guidance from Ages Past comes to an end, making way for your next main quest in Zelda: Tears of the Kingdom - The Spirit Temple.