The Lighting Temple
In this walkthrough for The Legend of Zelda: Tears of the Kingdom, we'll give you the complete tutorial for the main quest: The Lighting Temple.
Once the triangle is illuminated, approach the center and move towards the pillar that has just appeared.
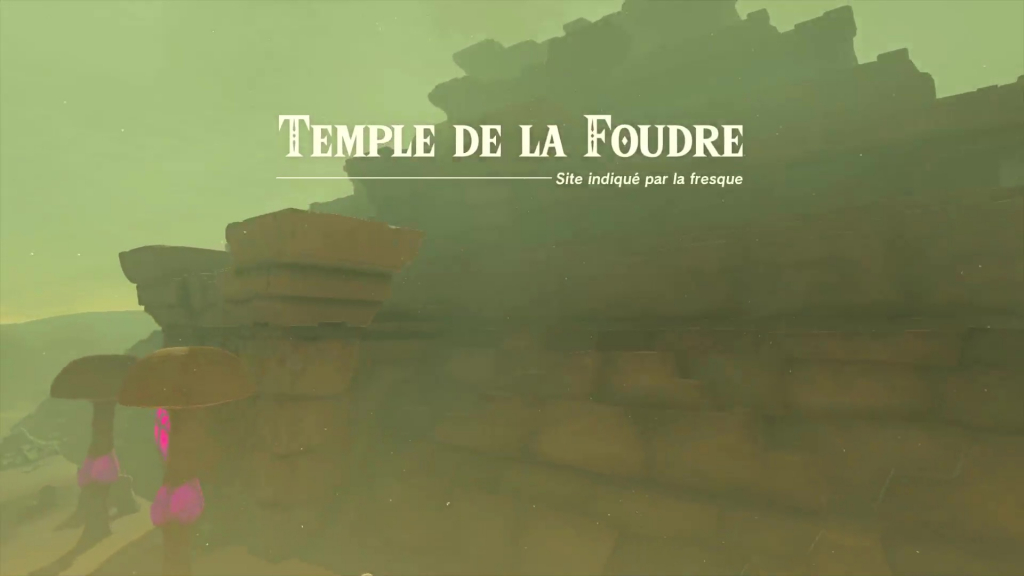
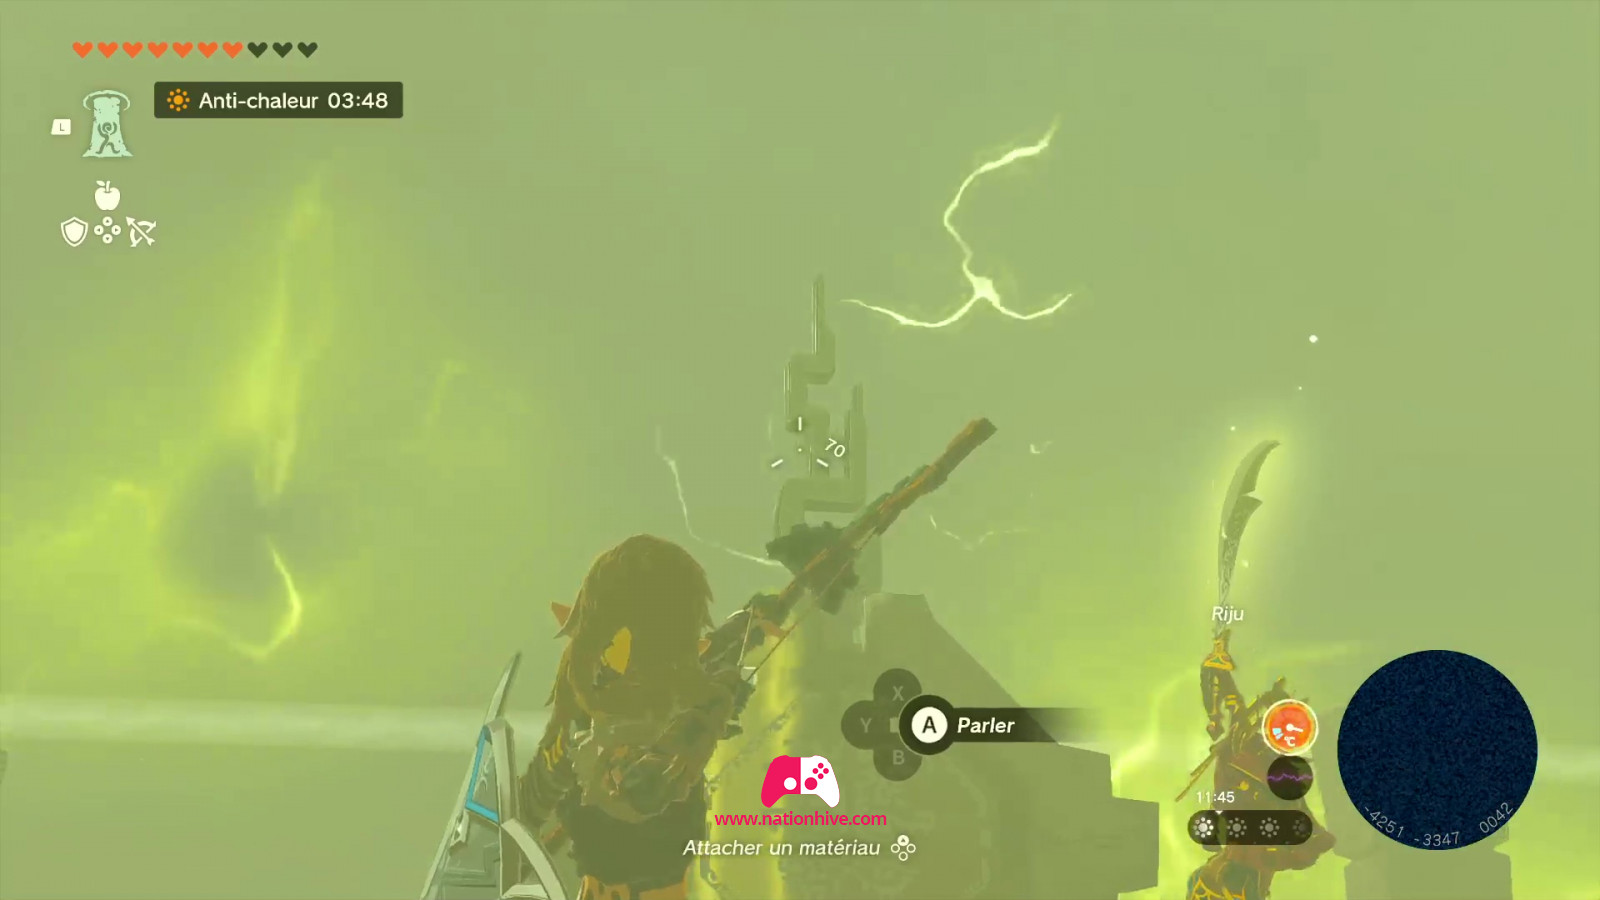
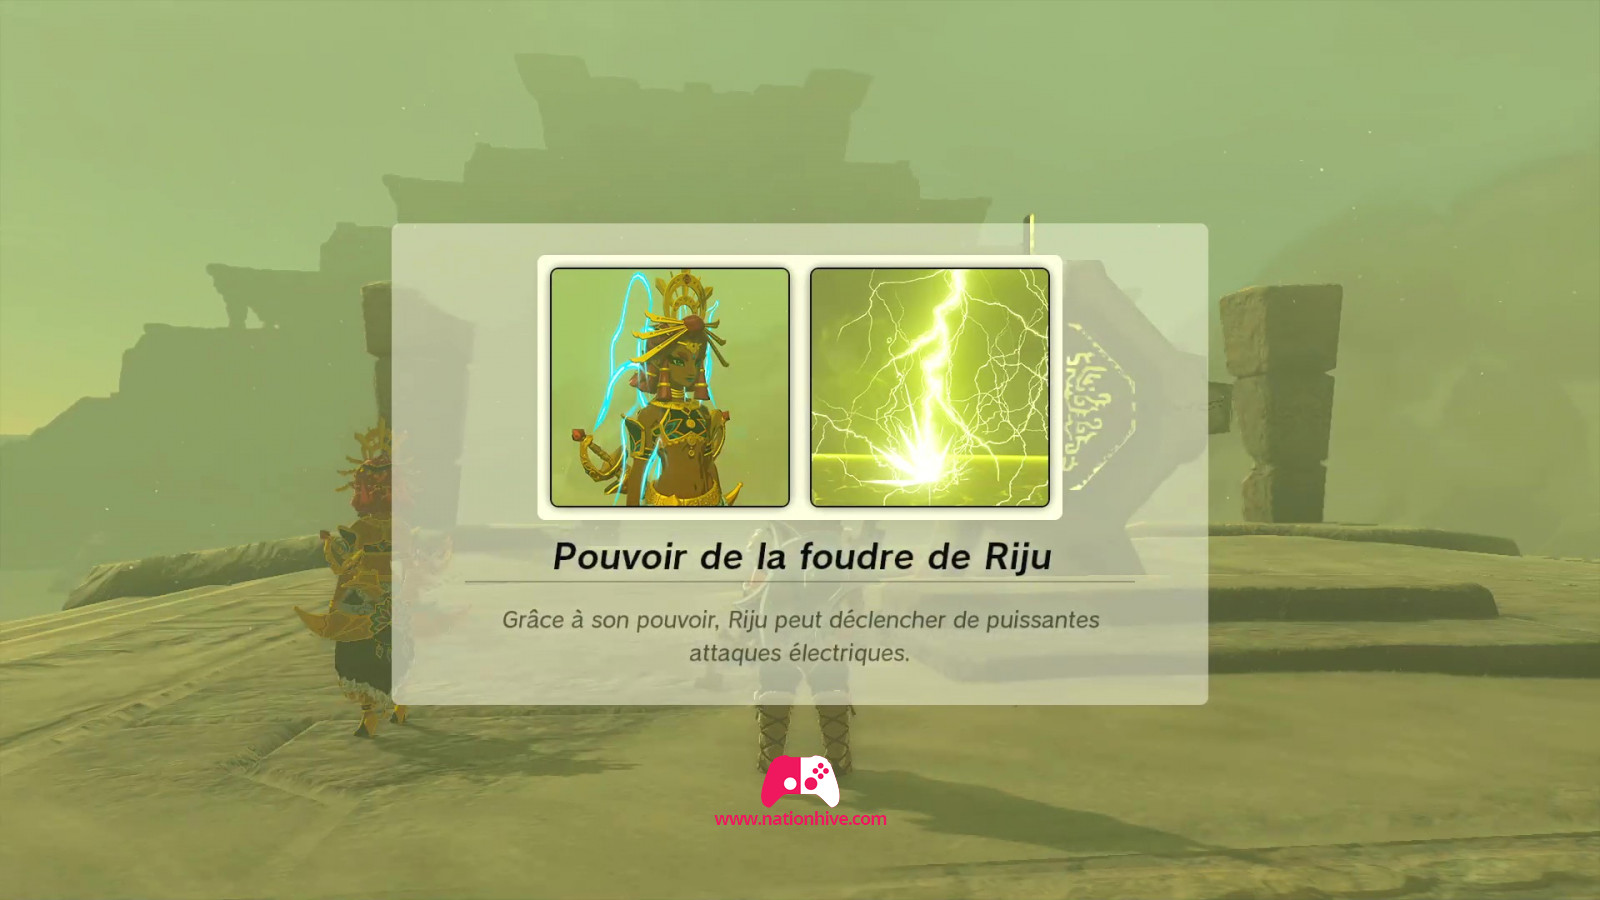
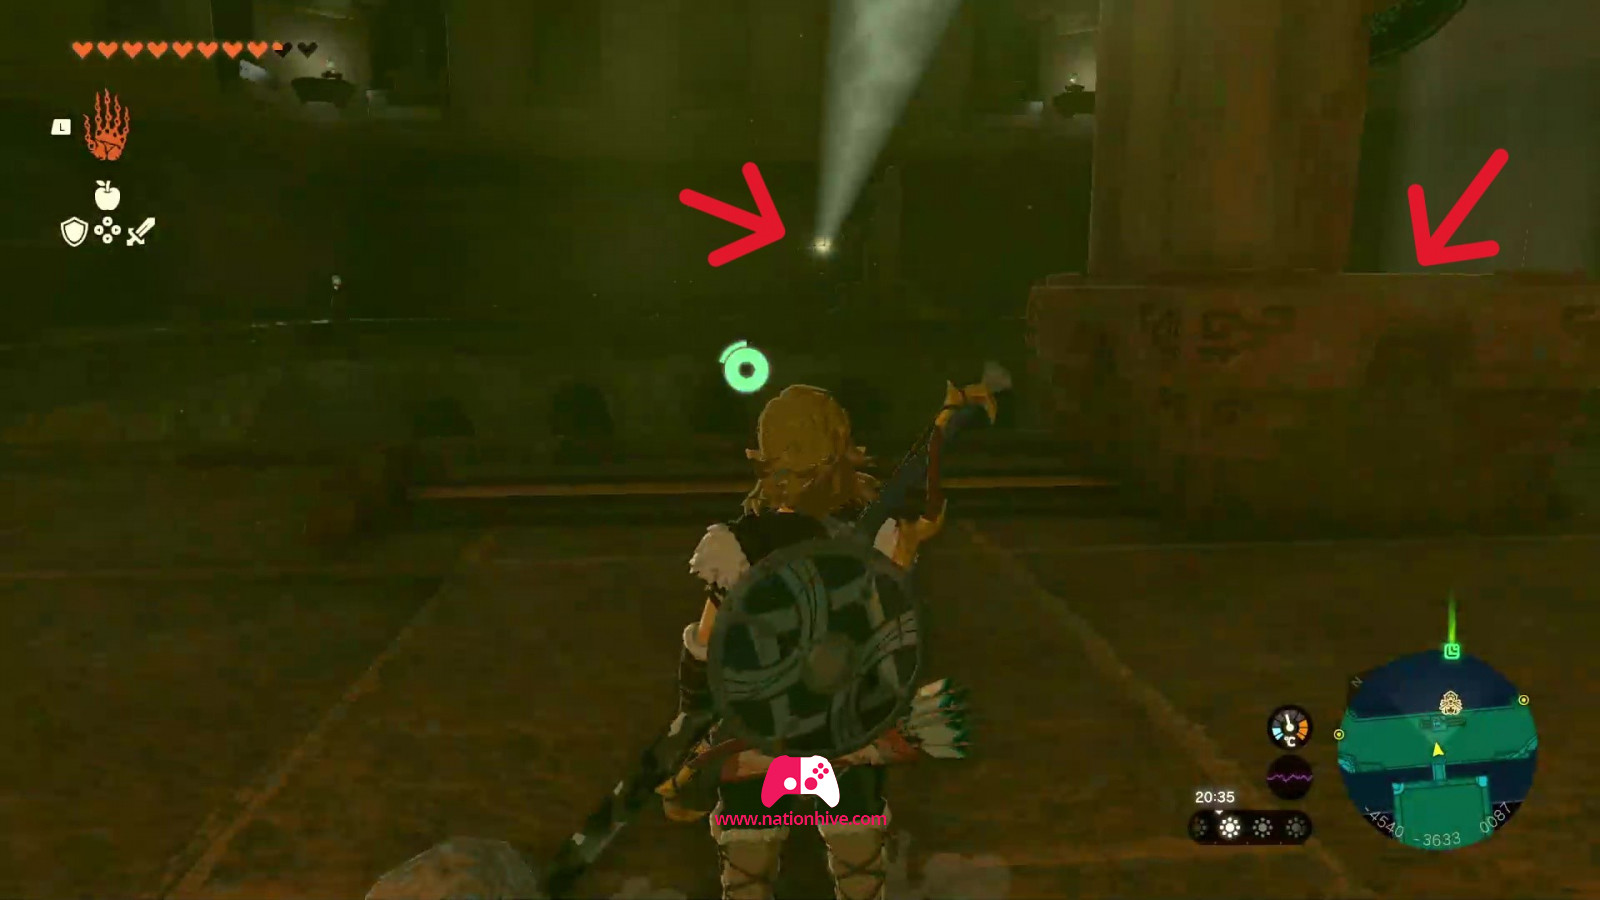
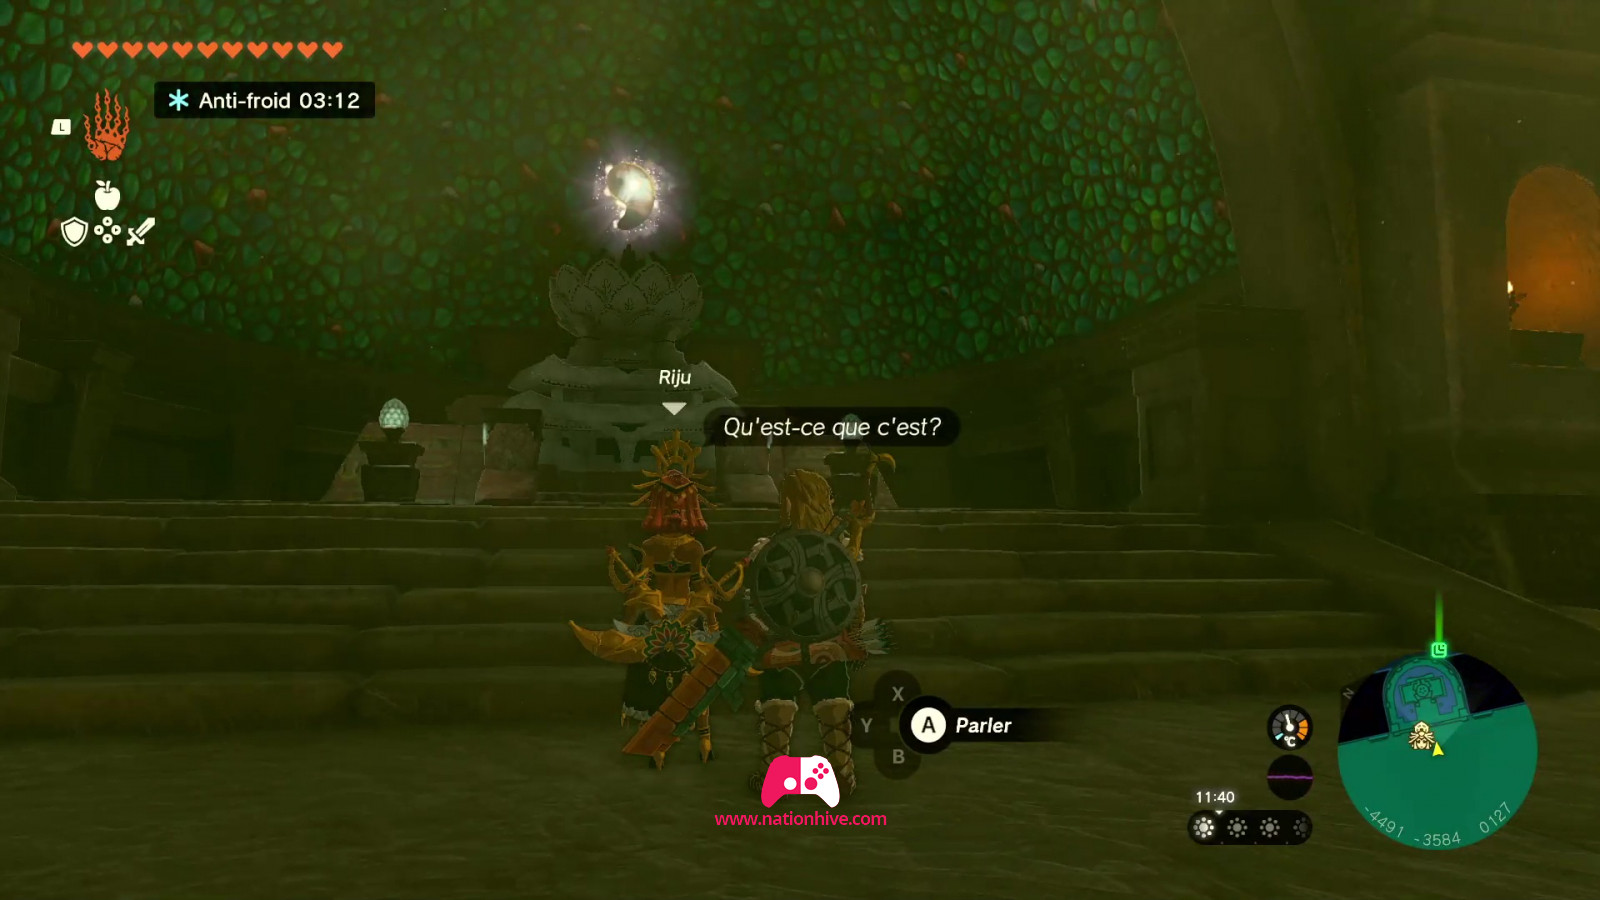
As you reach the pillar, a cinematic sequence will begin and Riju will appear. Talk to Riju, who suggests that the light jets might help reveal more. Aim for the top of the statue, and Riju will unleash his attack. This will reveal a large building in the distance, none other than The Lighting Temple. Now you can also use Riju's ability, as she teams up with you to explore the temple. Head for the bright pink nest to progress.
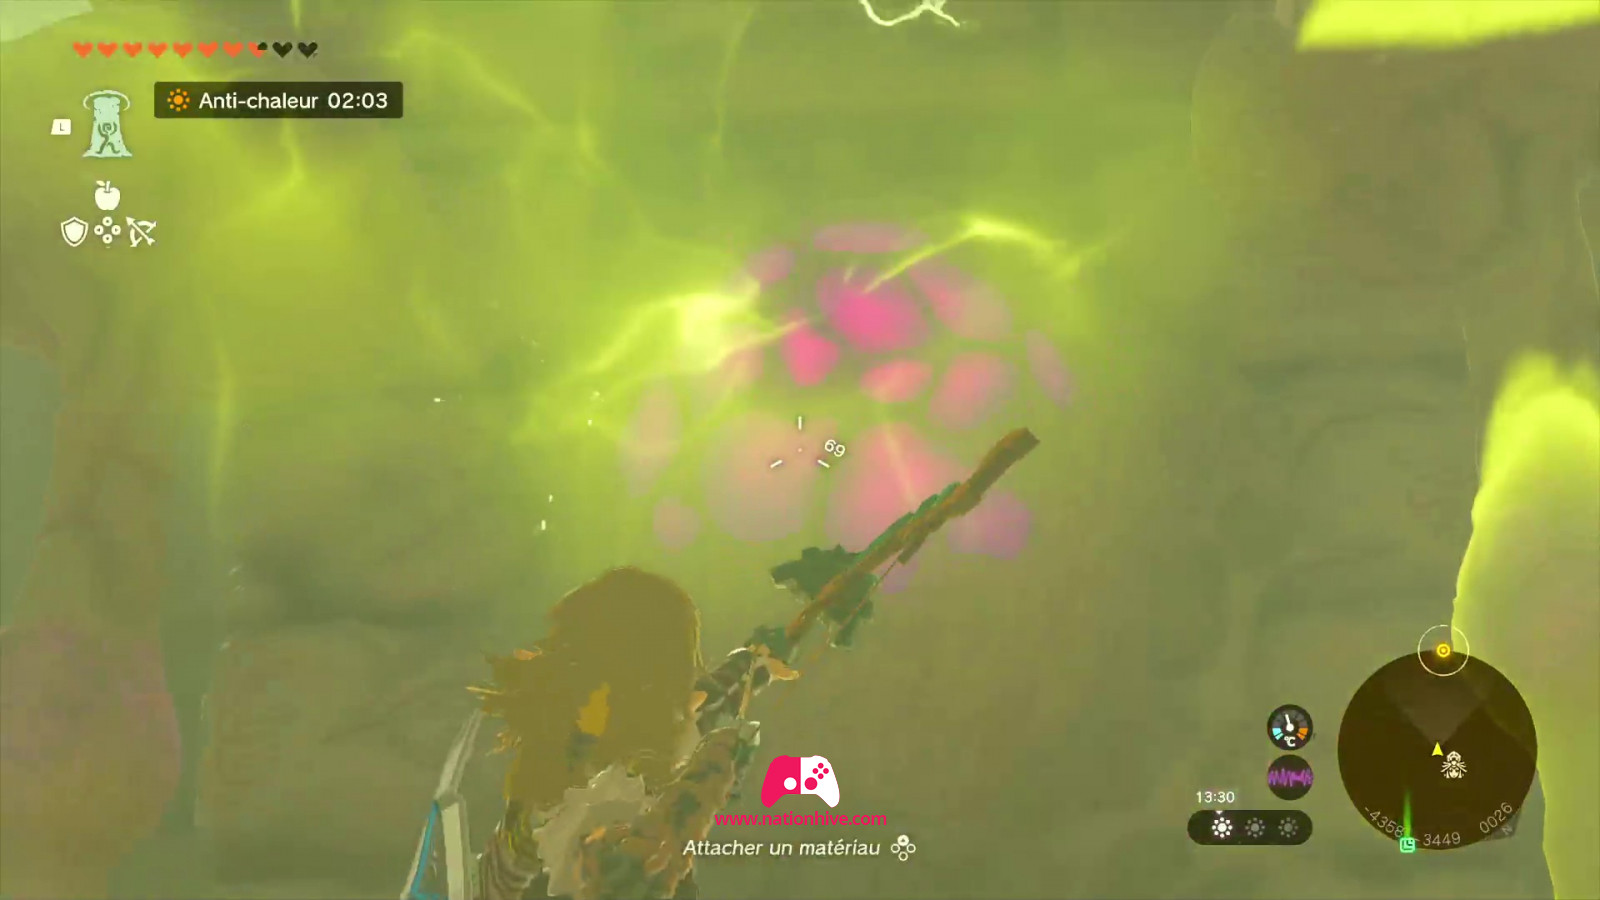
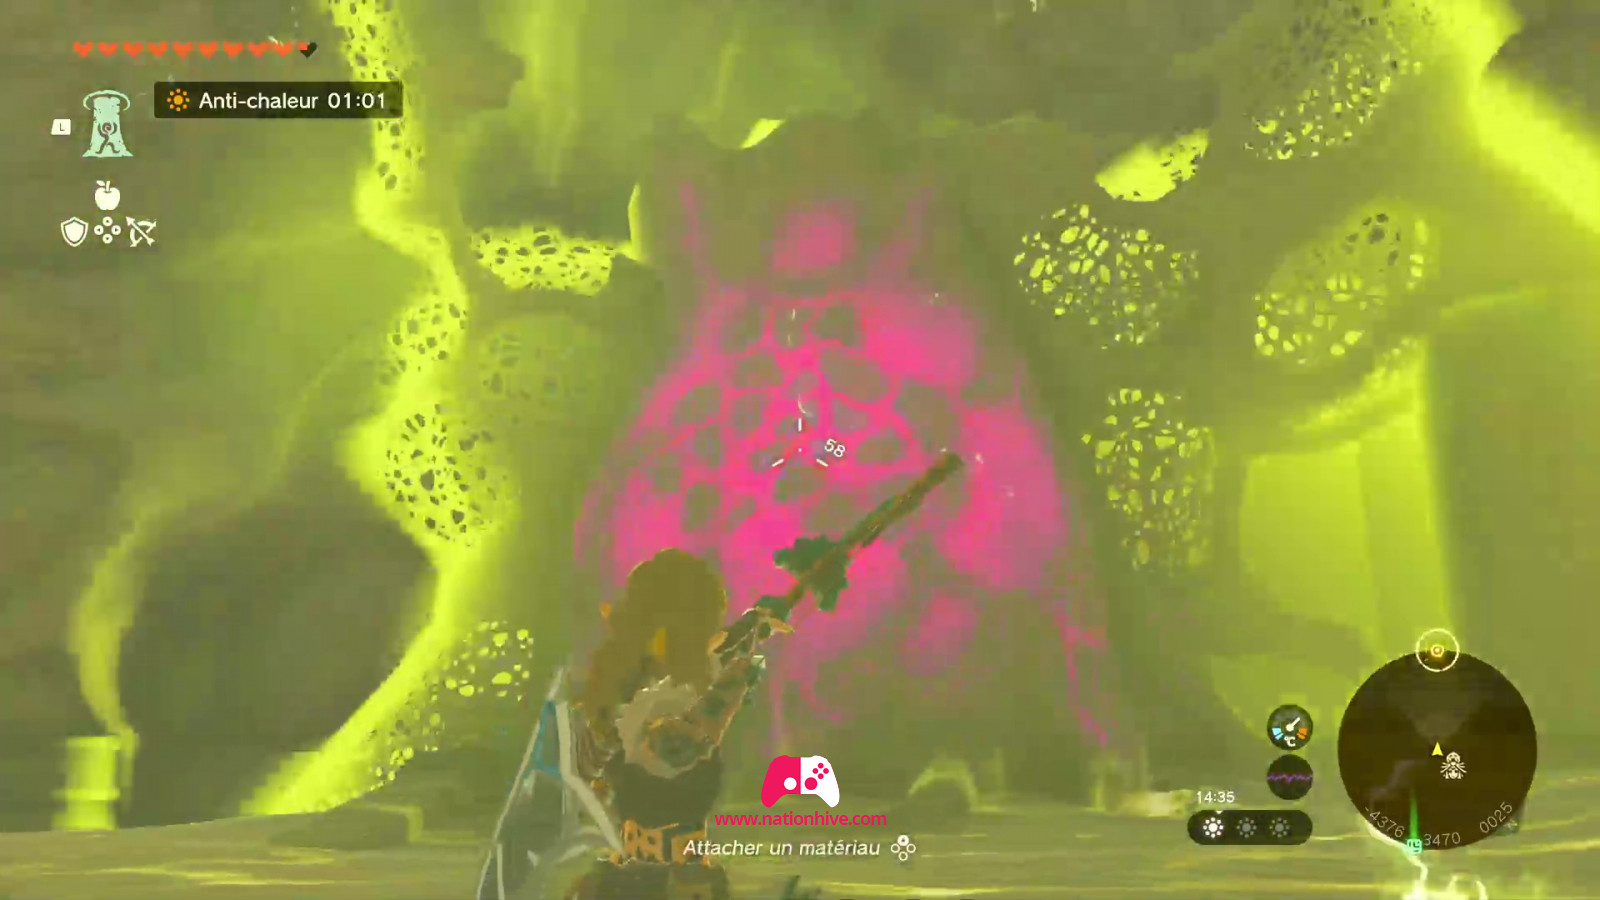
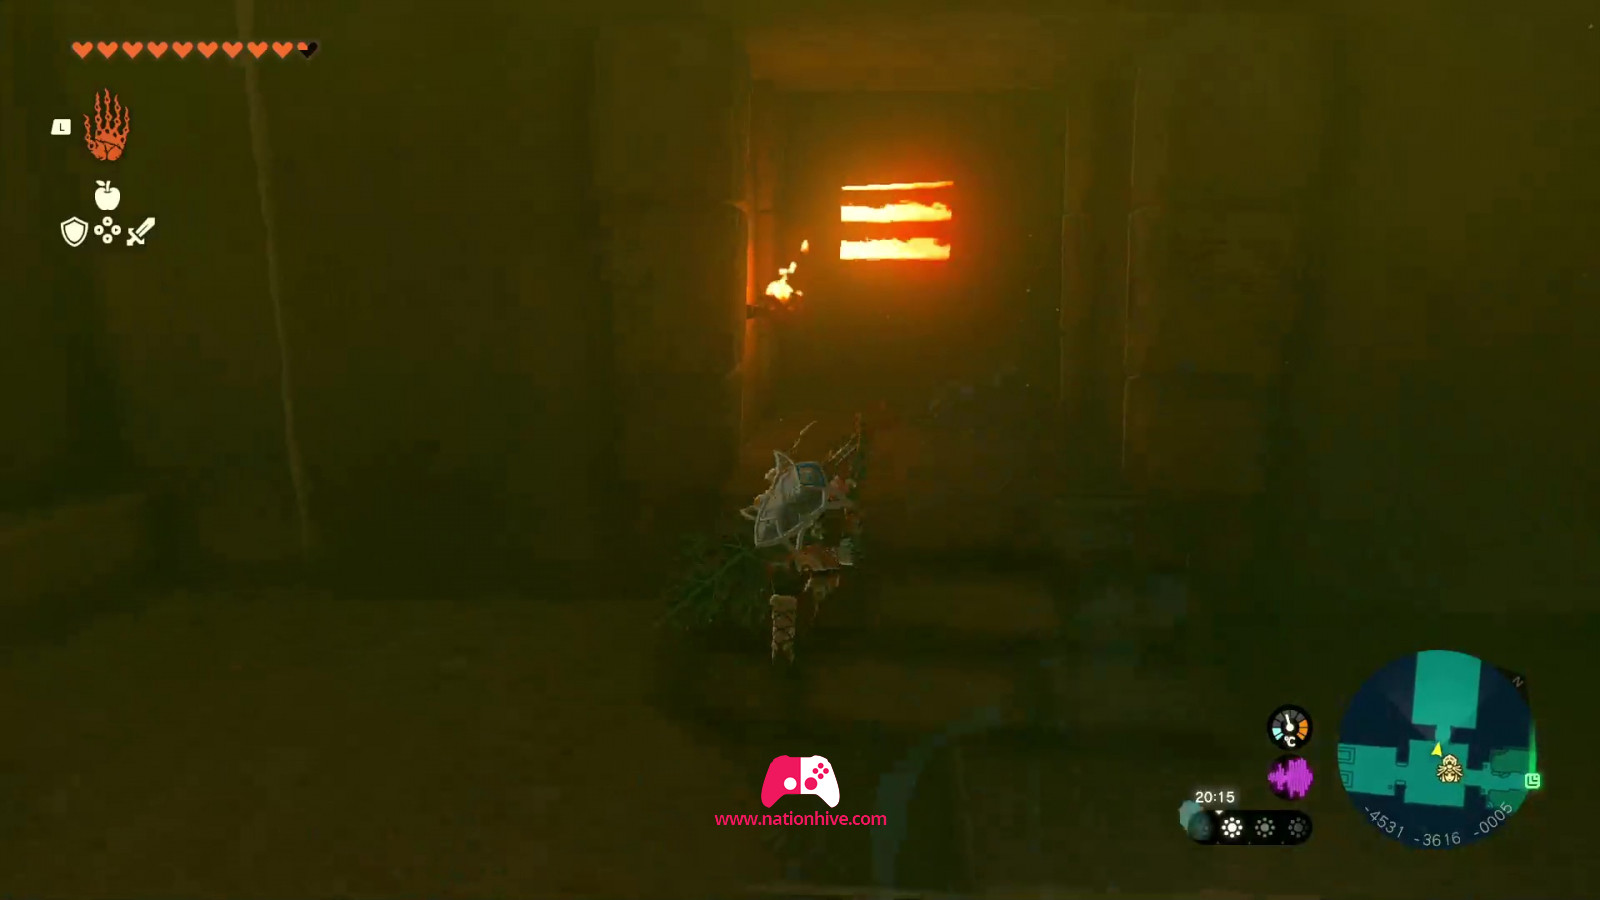
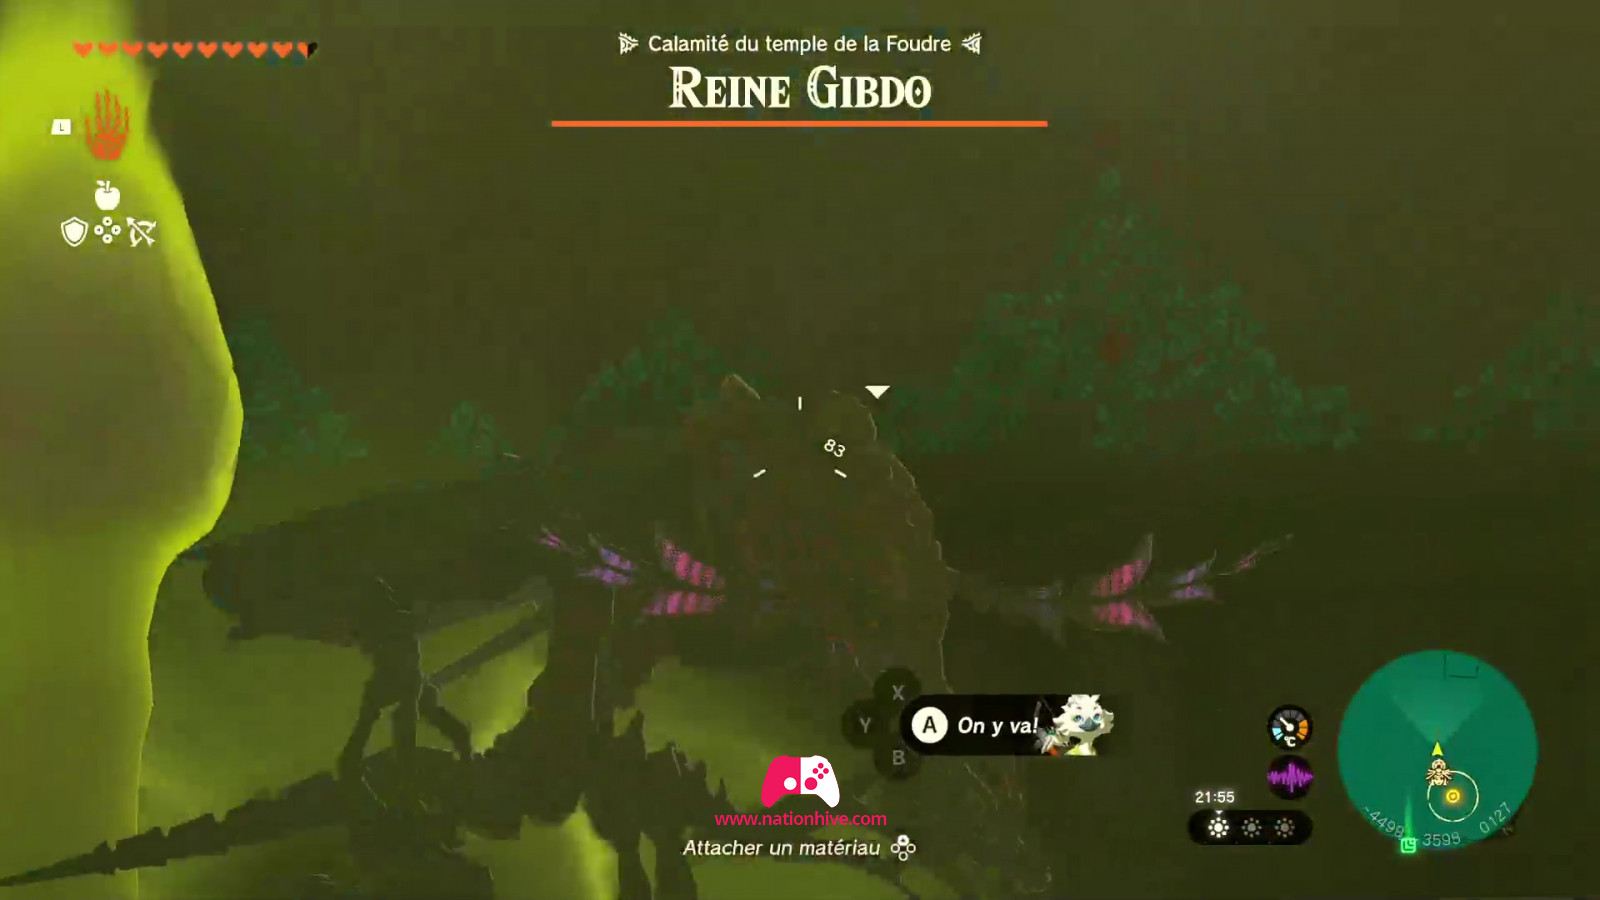
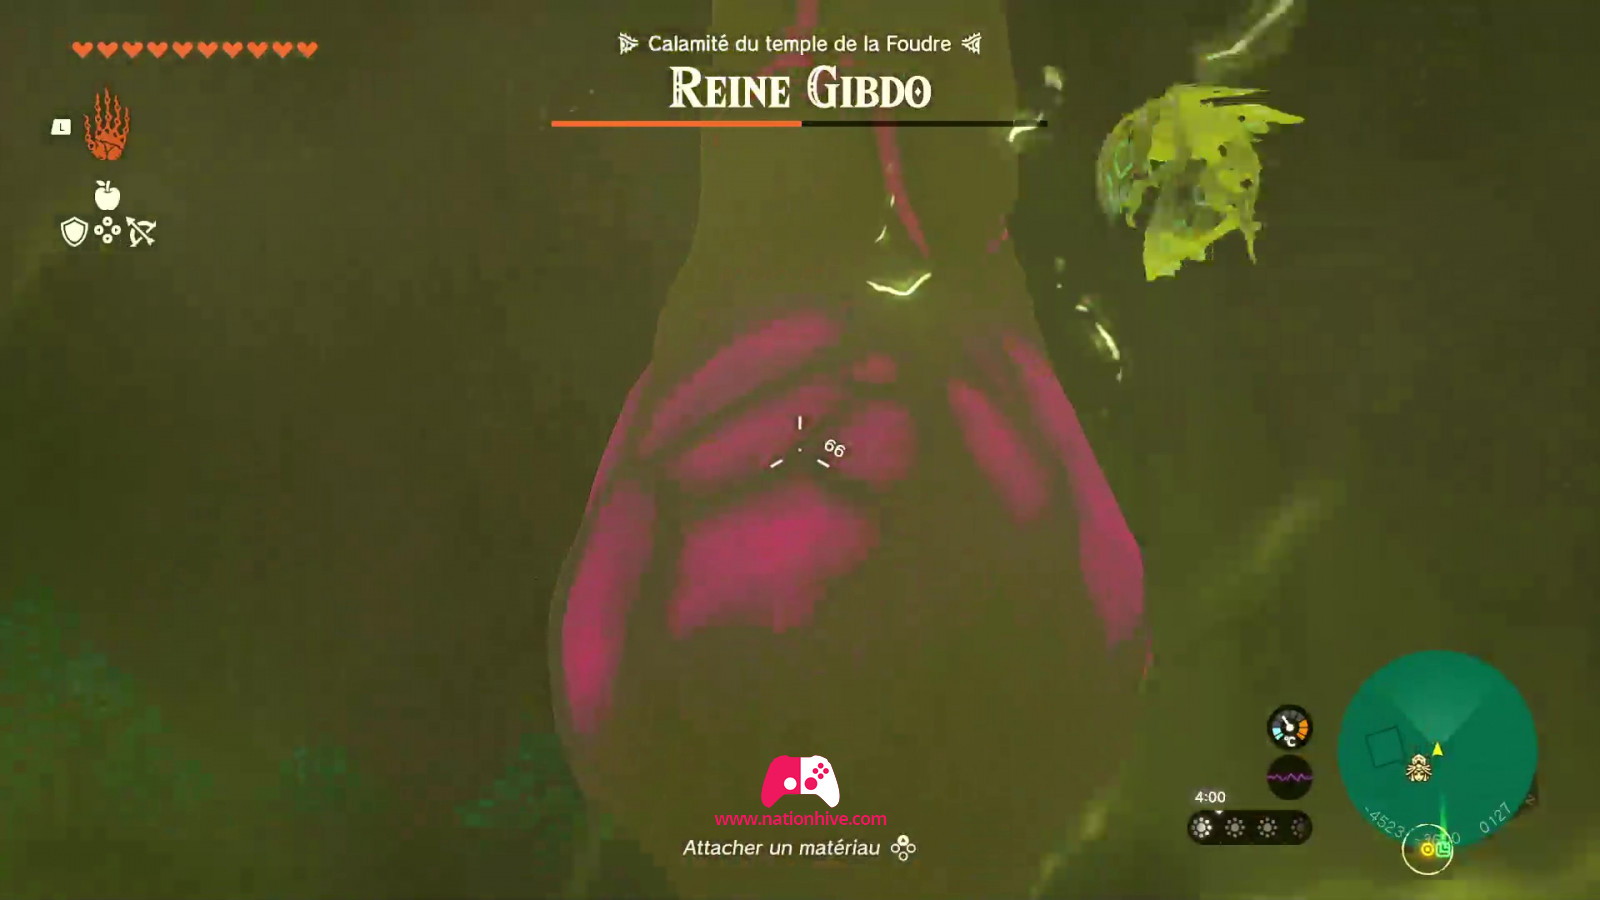
Activate Riju's ability and shoot an arrow at the bright pink nest blocking the entrance to the temple. This will reveal the Scourge of The Lighting Temple: Queen Gibdo.

Defeating ennemies in front of the Temple
The first fight against the Scourge of The Lighting Temple: Queen Gibdo is fairly straightforward. To inflict damage on Queen Gibdo, simply activate Riju's ability and shoot an arrow at her. This action causes Queen Gibdo to turn white. As she turns white, she will be weaker against attacks, but will become a little more threatening.
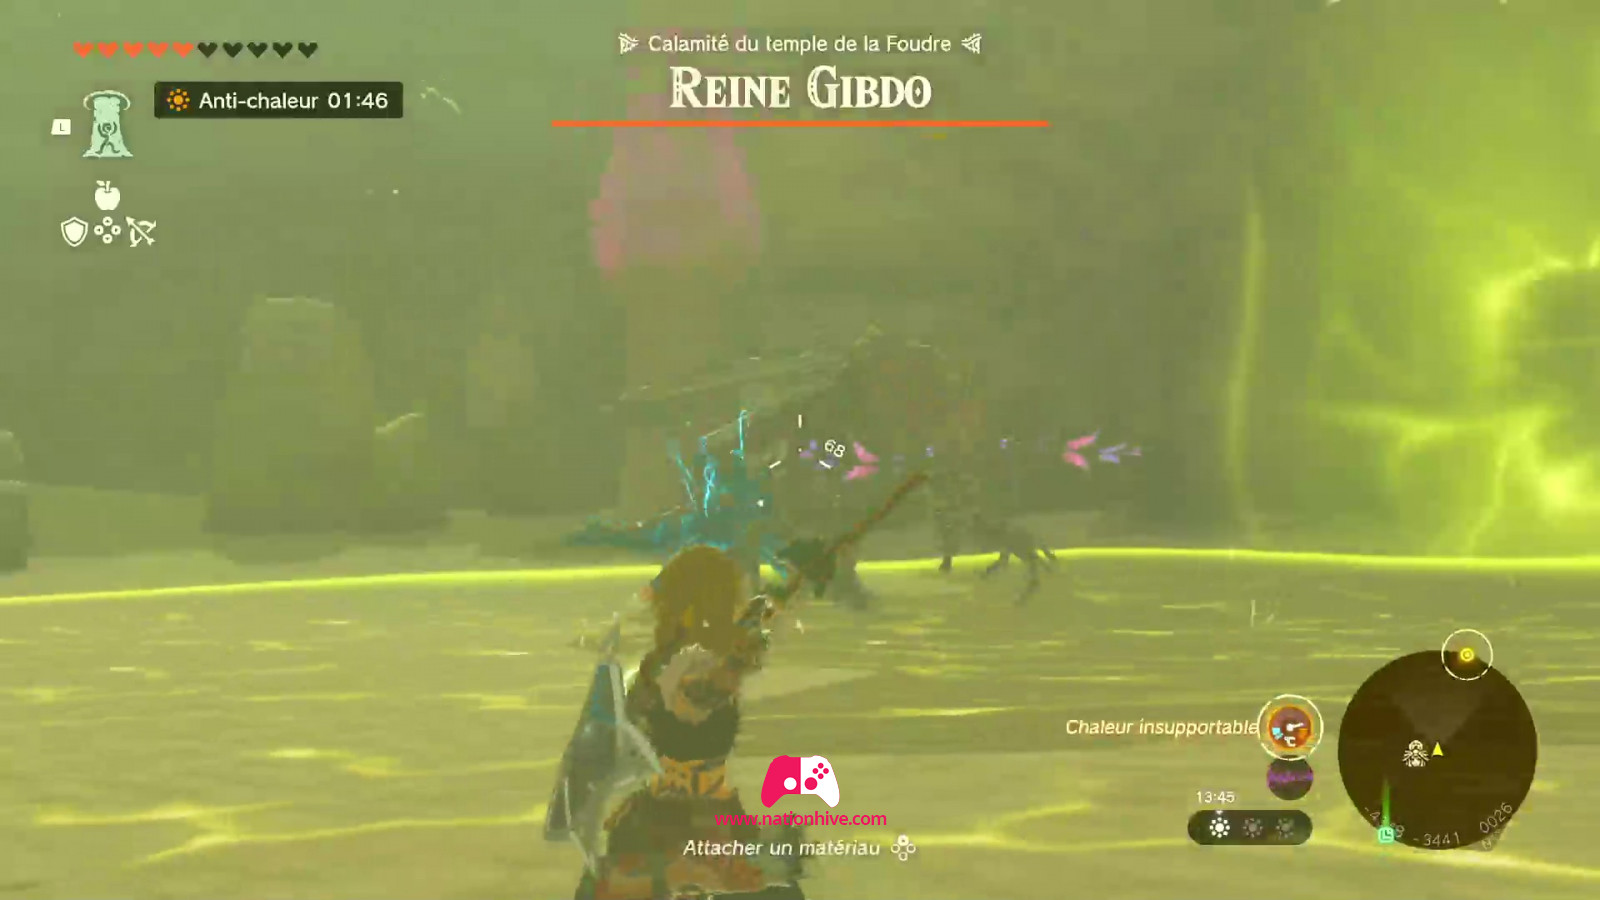
- Watch out for her sand tornadoes, which you'll want to avoid, and you'll also want to keep Riju away from them so she isn't thrown off balance when she sets up her ability.
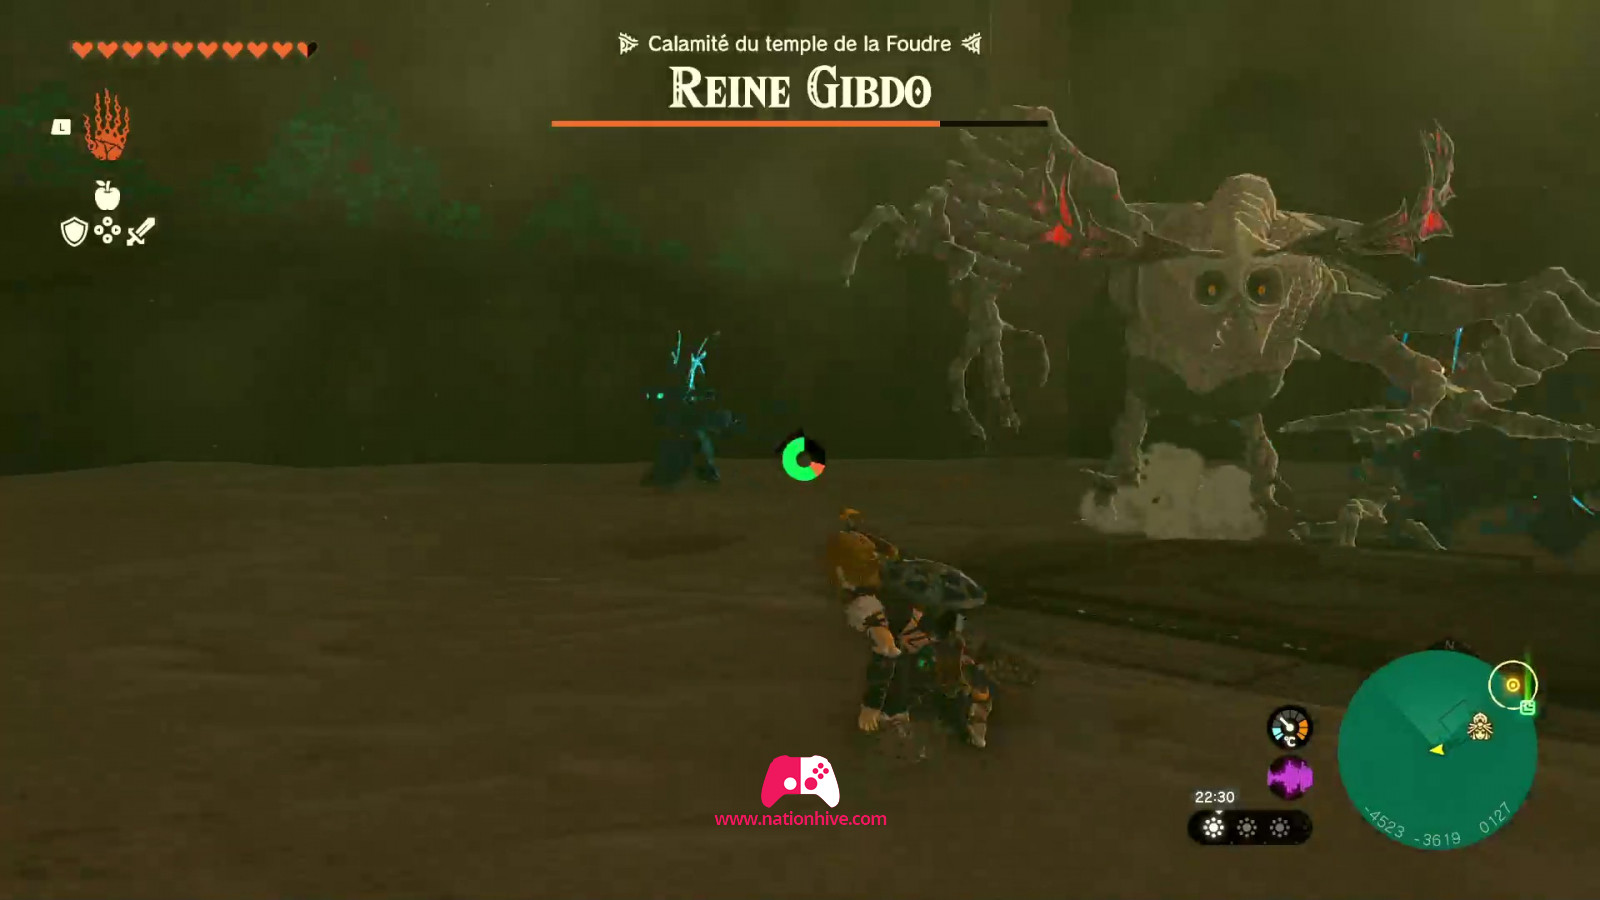
Continue the process until the Scourge of The Lighting Temple: Queen Gibdo runs away. We had to repeat the process 2 or 3 times before she fled.
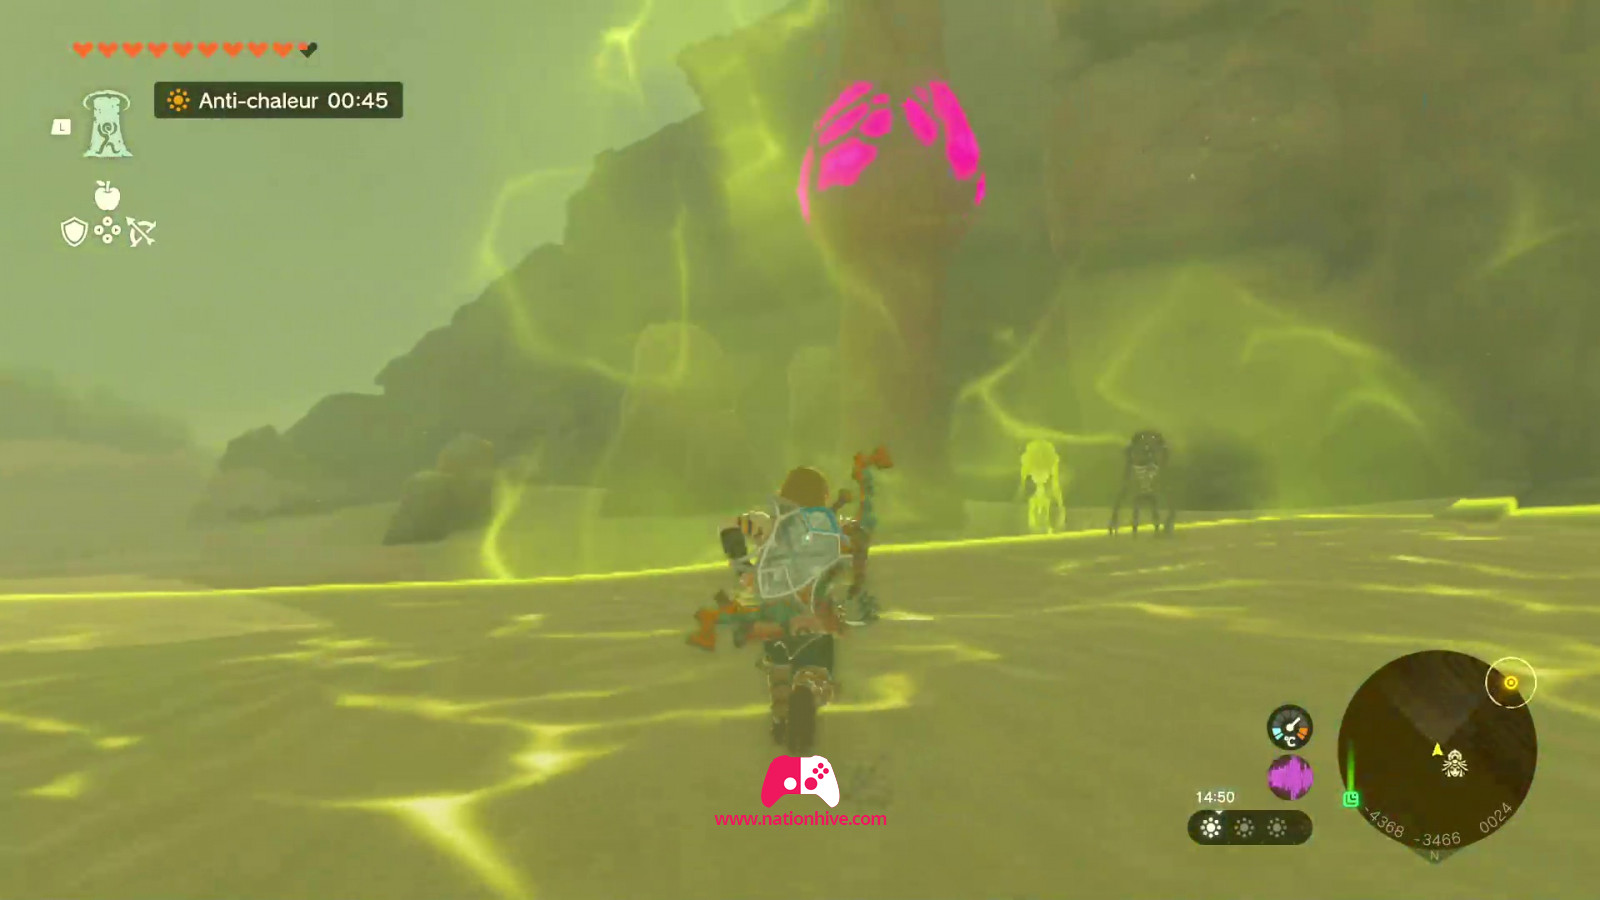
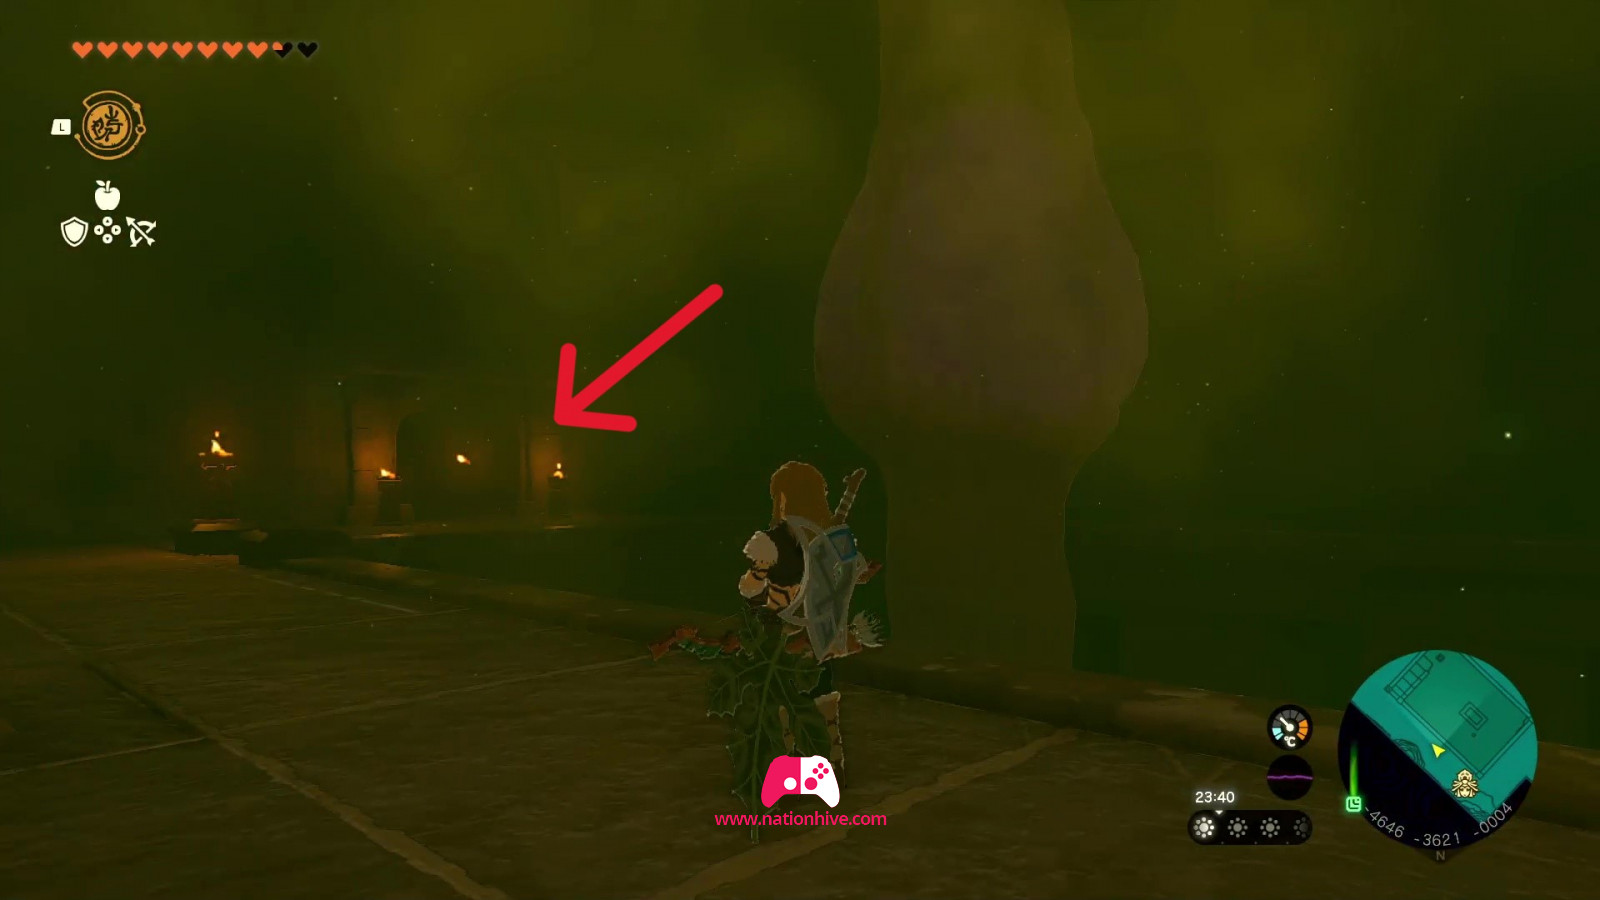
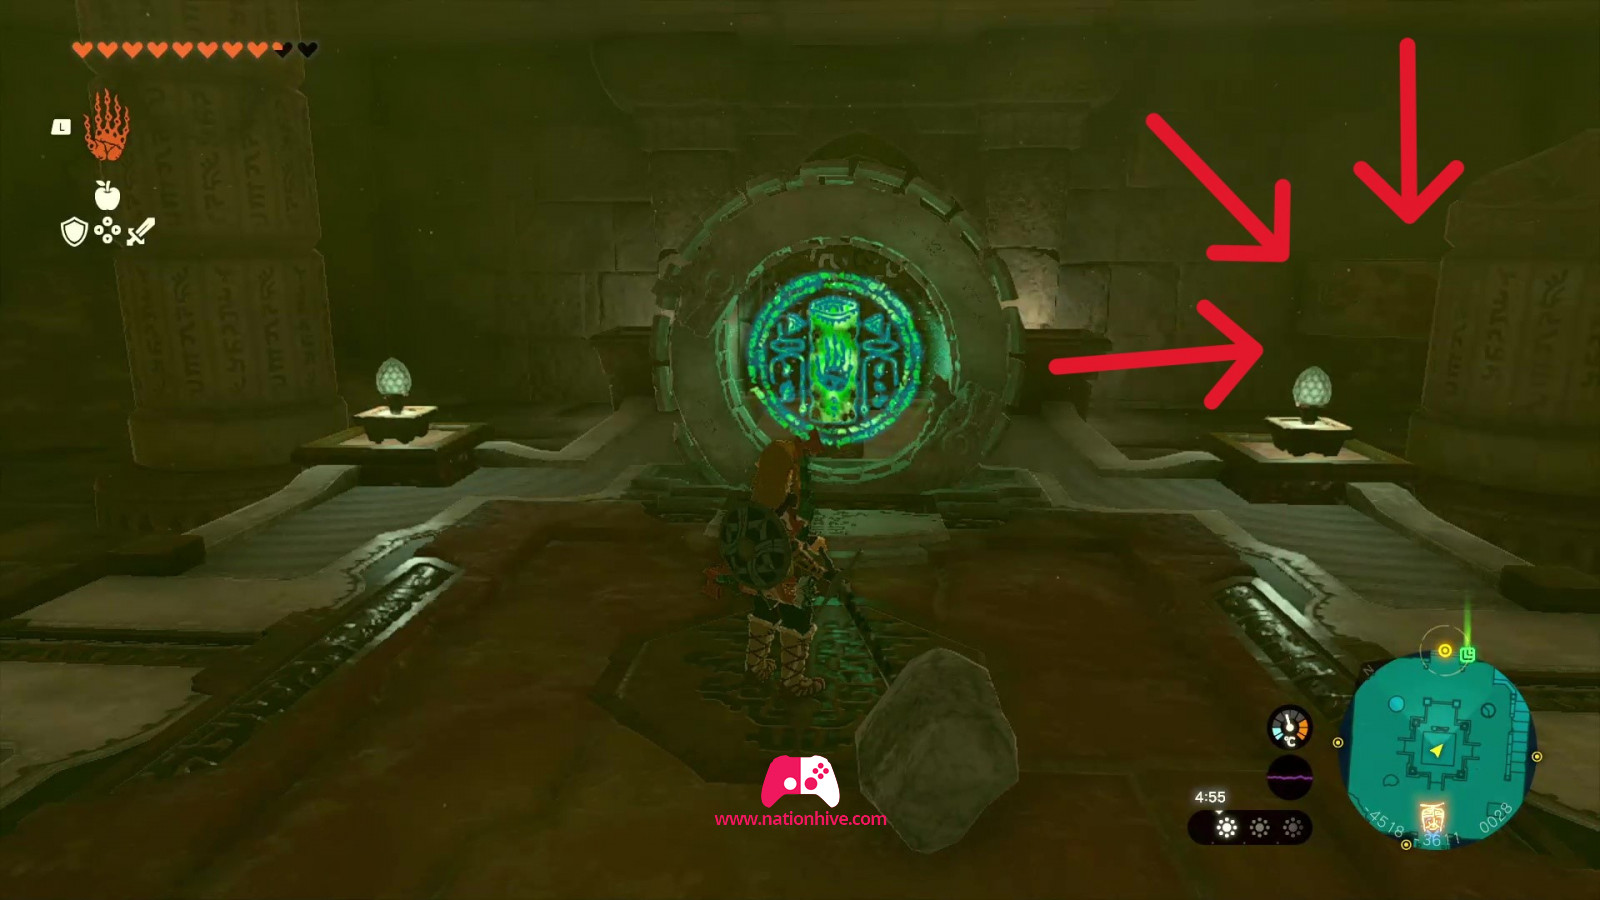
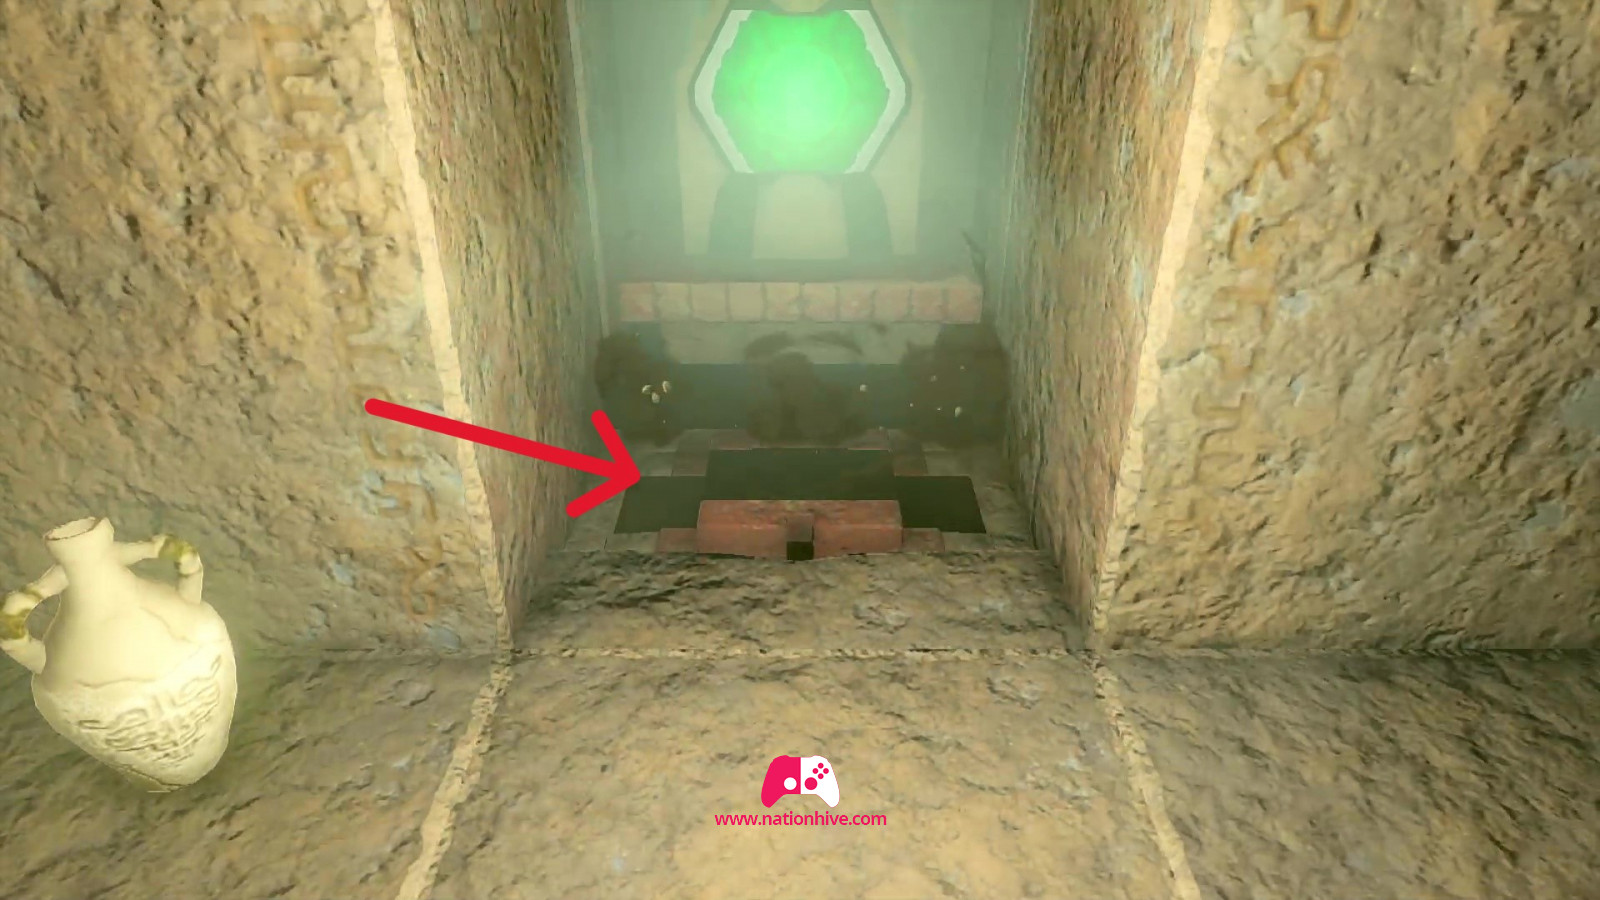
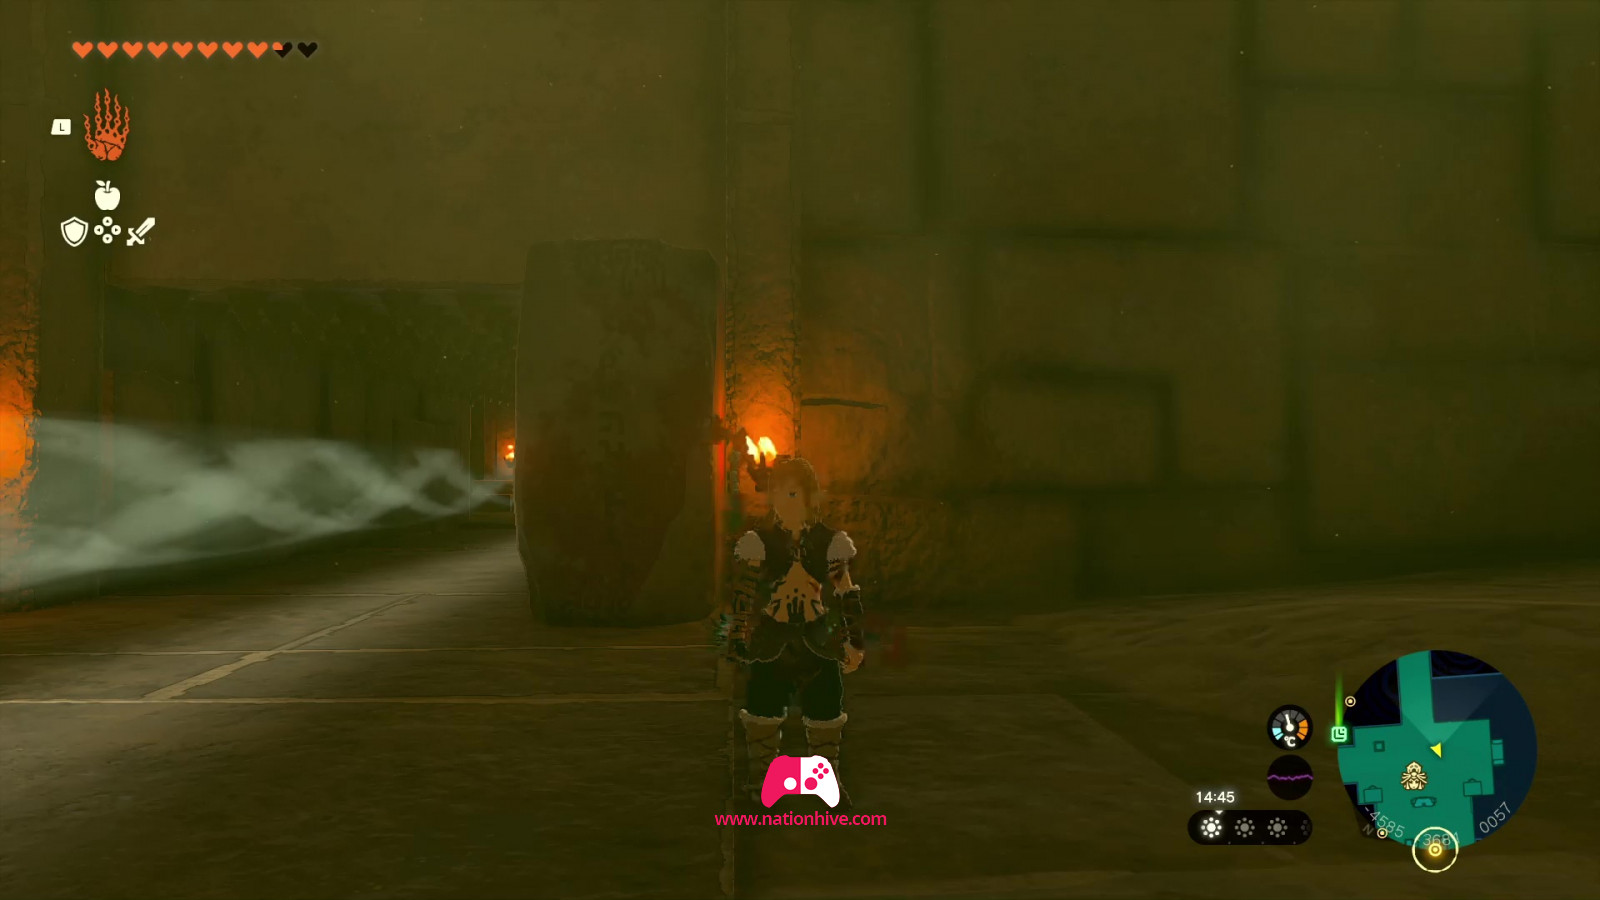
Then move towards the entrance and use Riju's ability once again to shoot at the bright pink nest in front of you. You'll suddenly be attacked by Gibdo, so simply use Riju's ability to destroy the 2 nests in front of you (shoot the nest when it's bright pink) and eliminate all the Gibdo. Then enter The Lighting Temple.
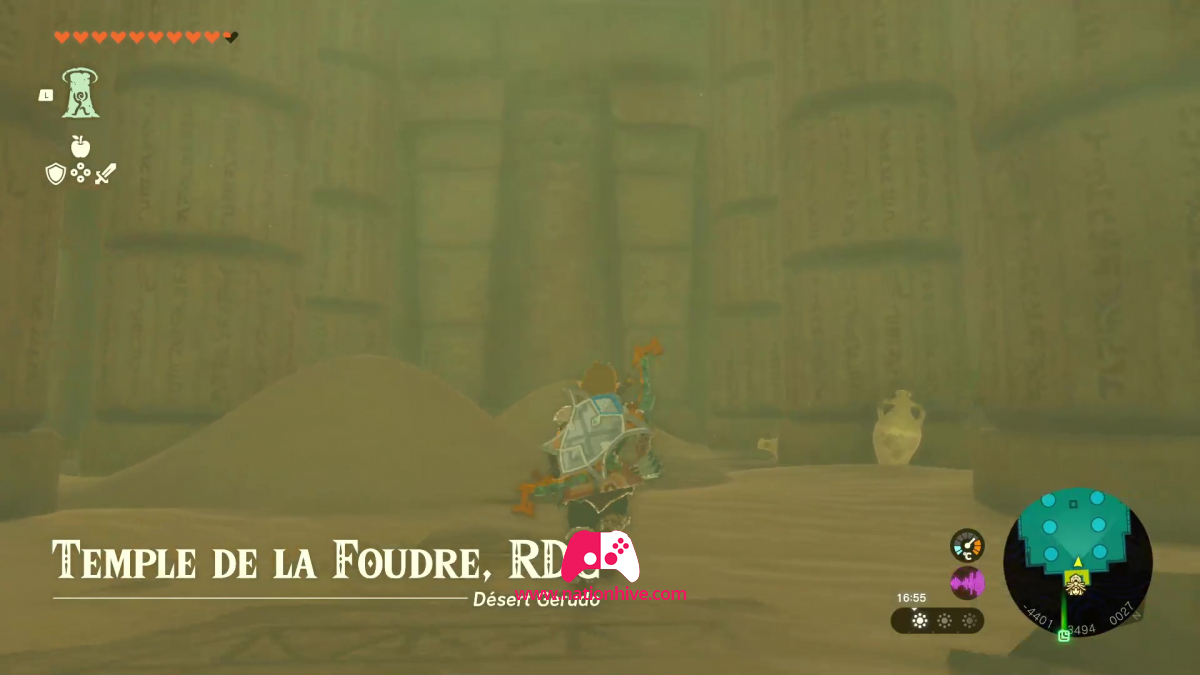
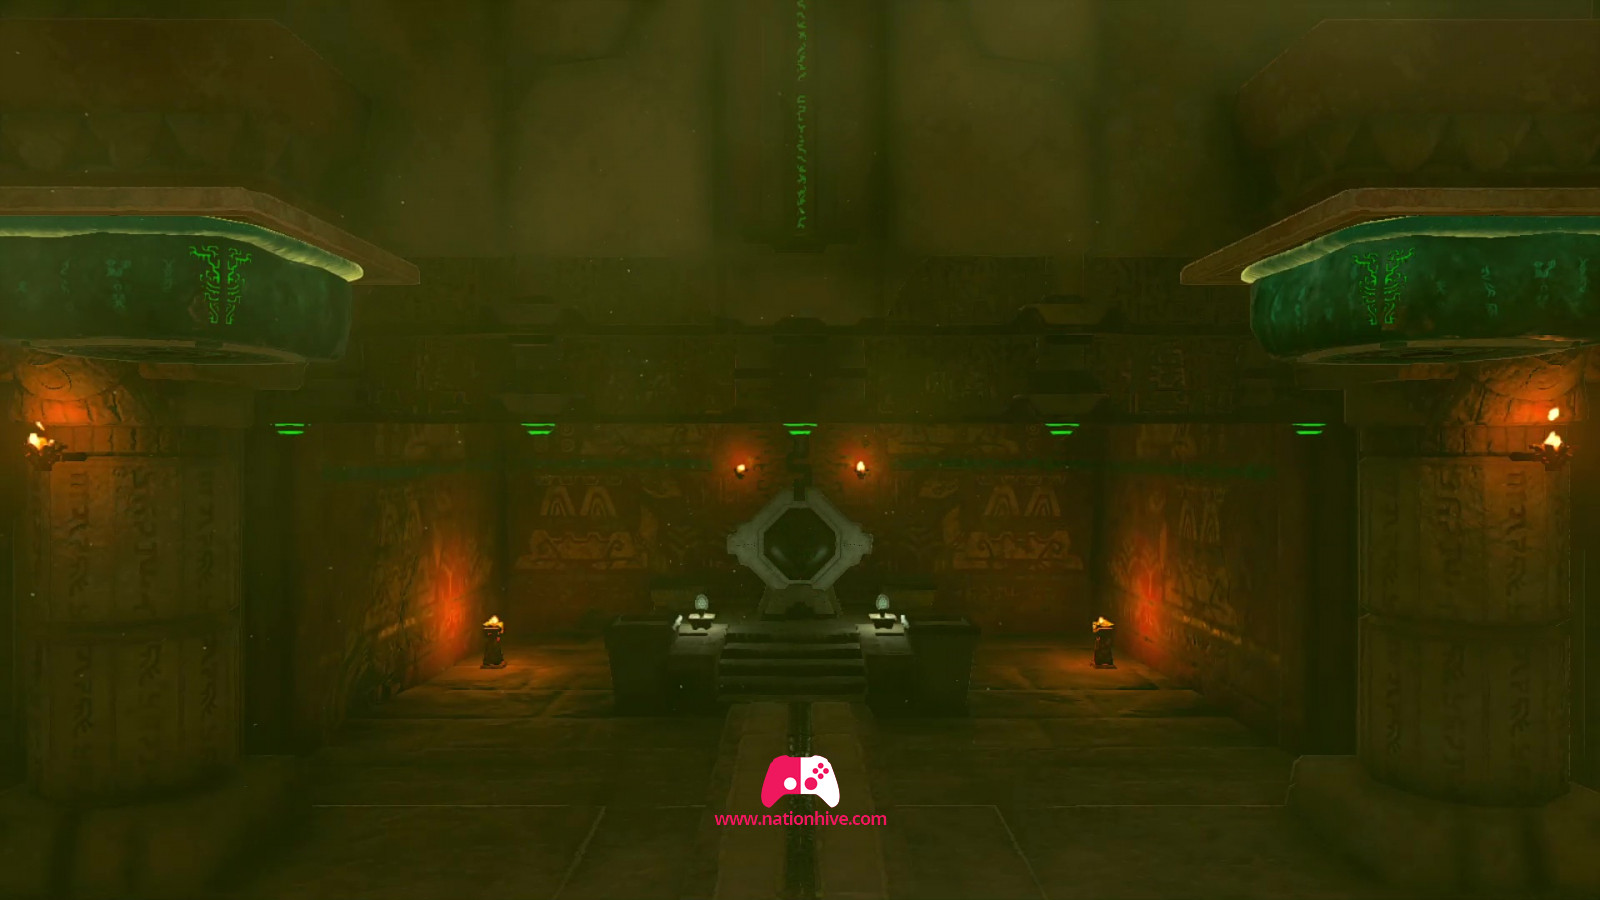
The Lighting Temple
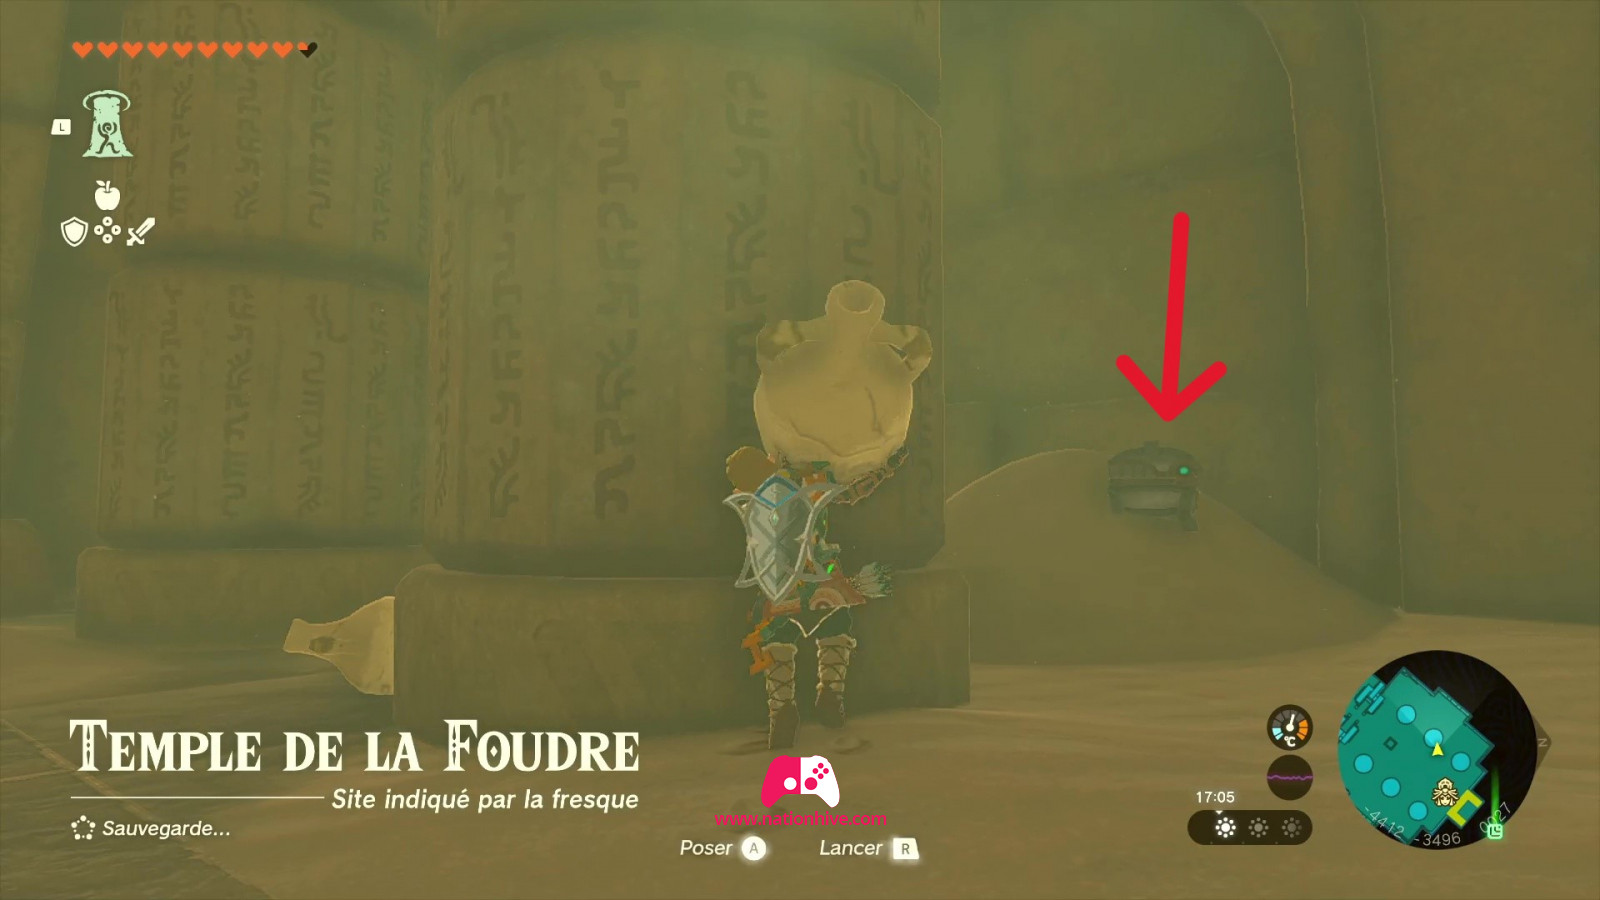
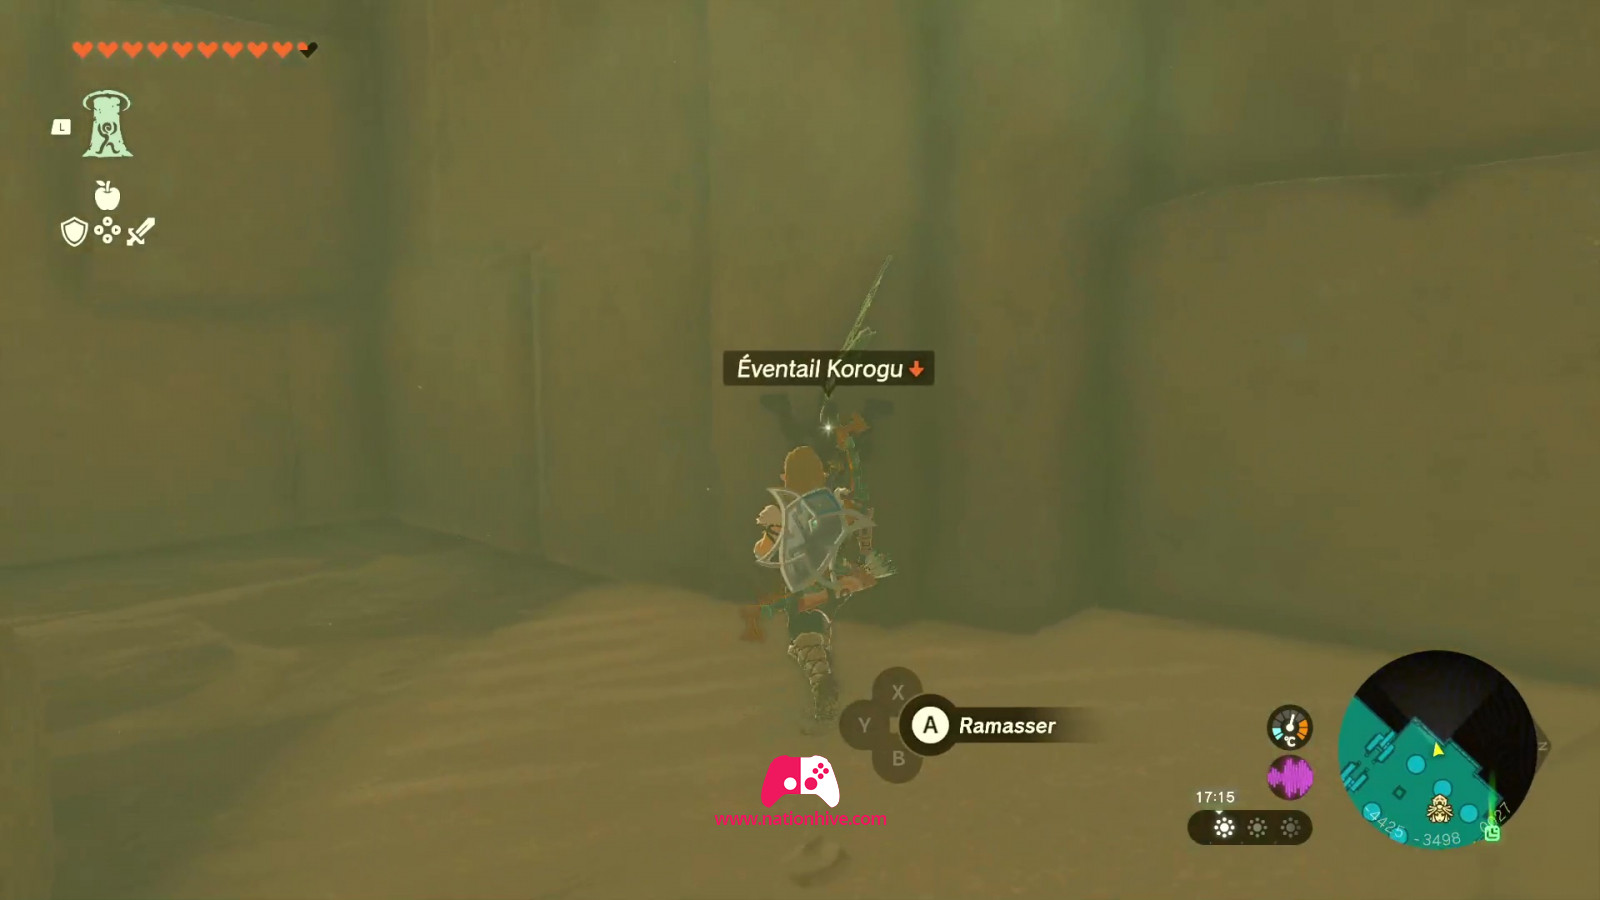
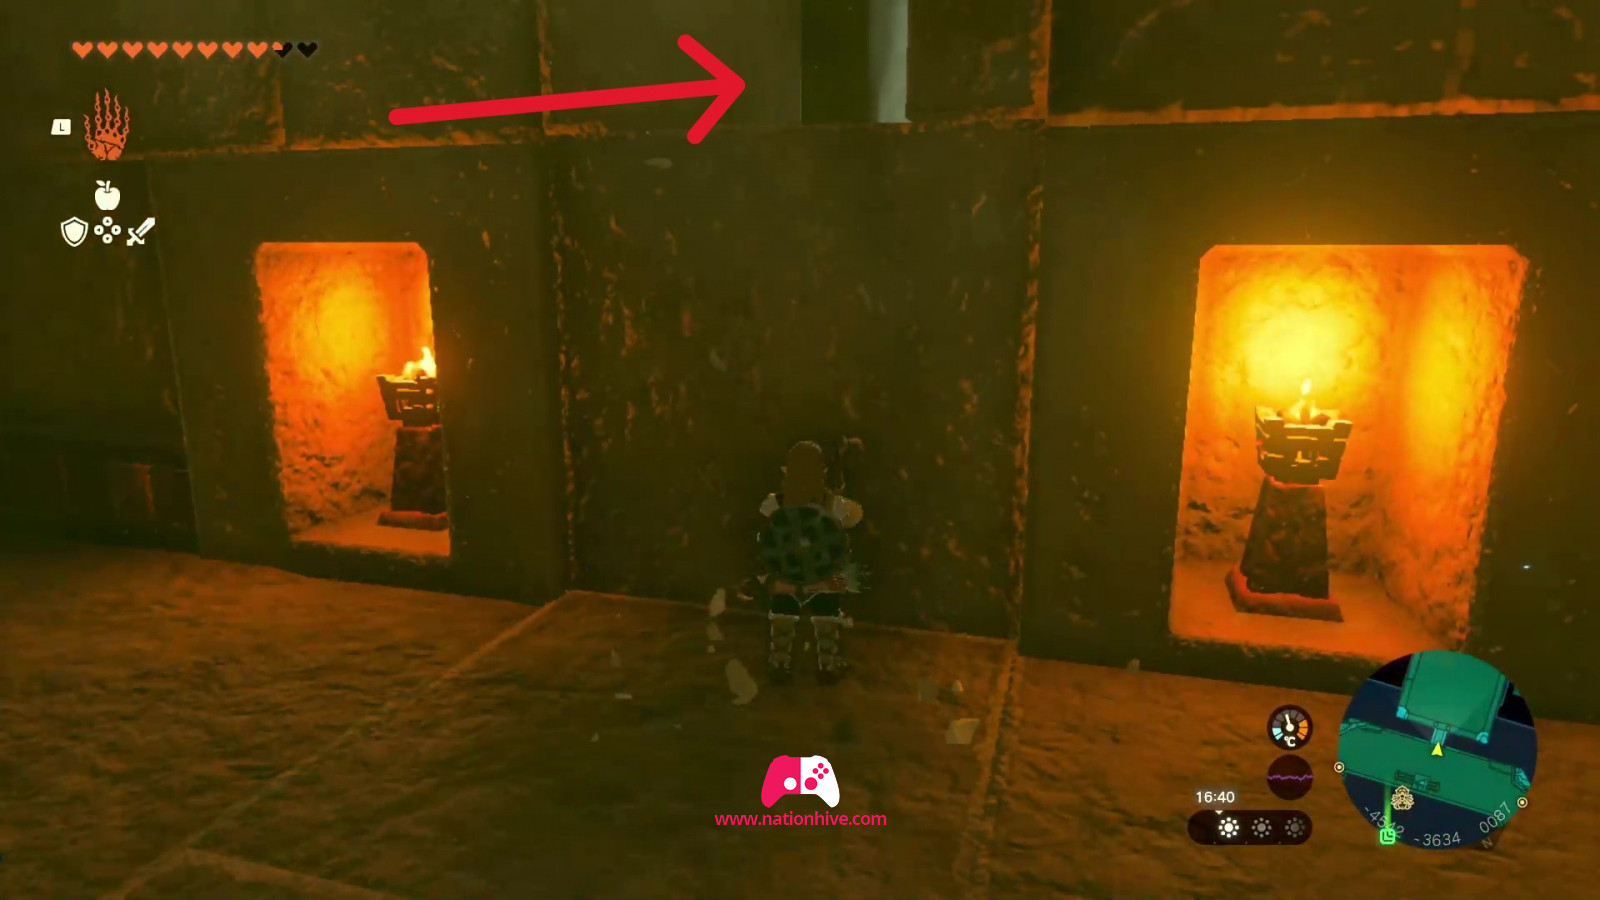
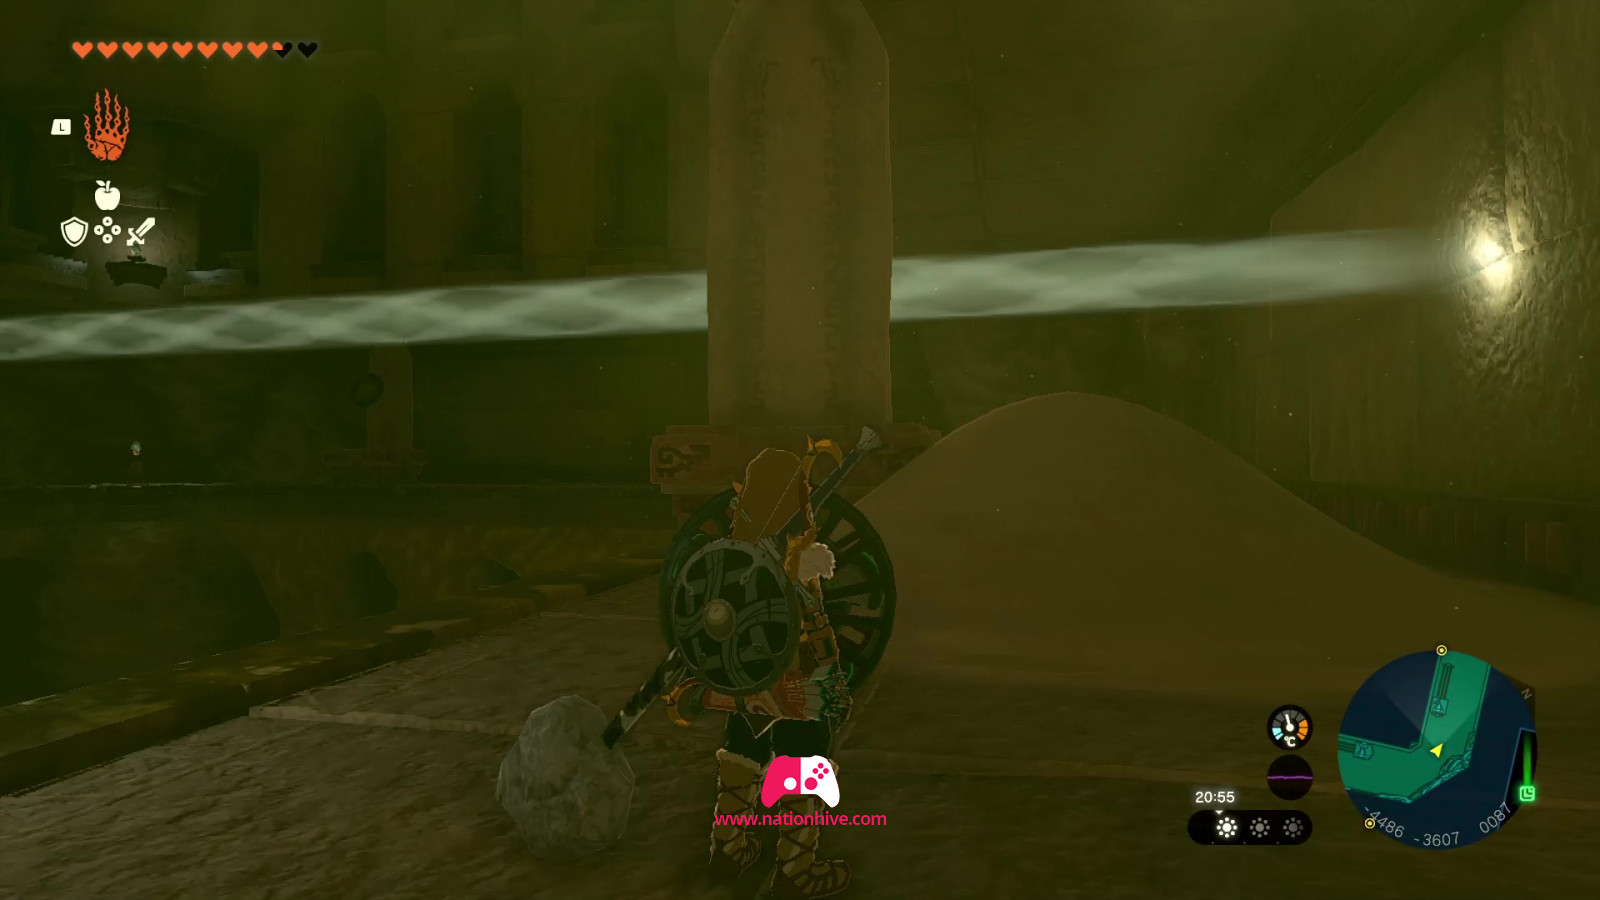
Once inside, turn right and you'll find a chest buried under sand. Use your Ultrahand ability to lift the chest and open it to receive a Flame Emitters. Nearby, you'll find a Korok-Frond Duster, which you can use to clear away the surrounding sand.
Use the Korok-Frond Duster to remove the pile of sand in front of a door. This will reveal a button you can press to open the door.
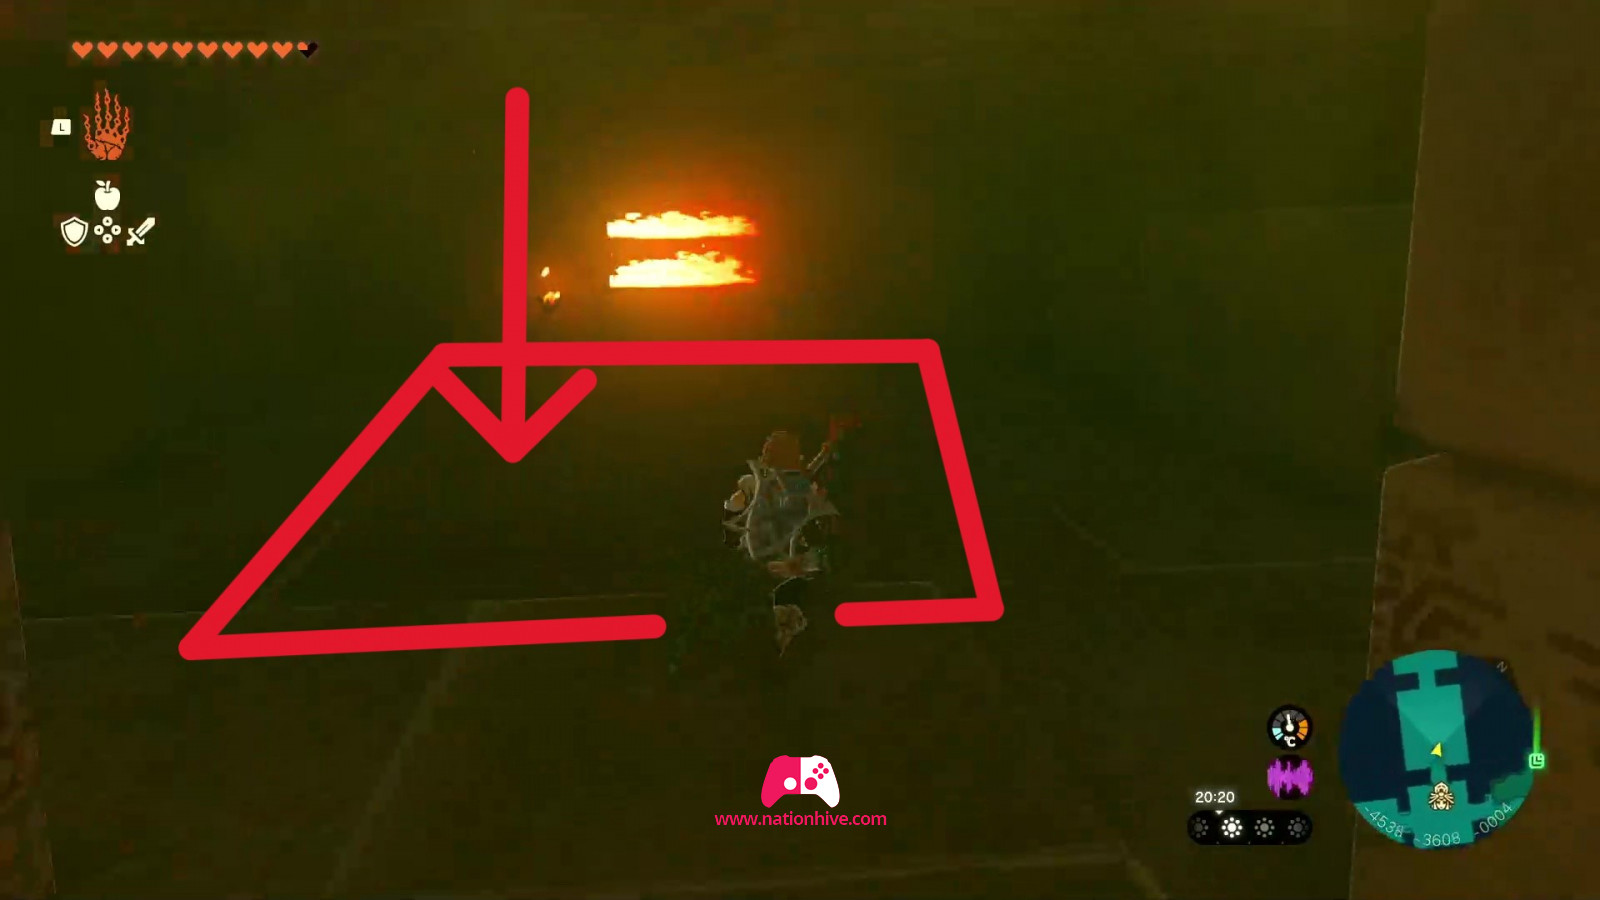
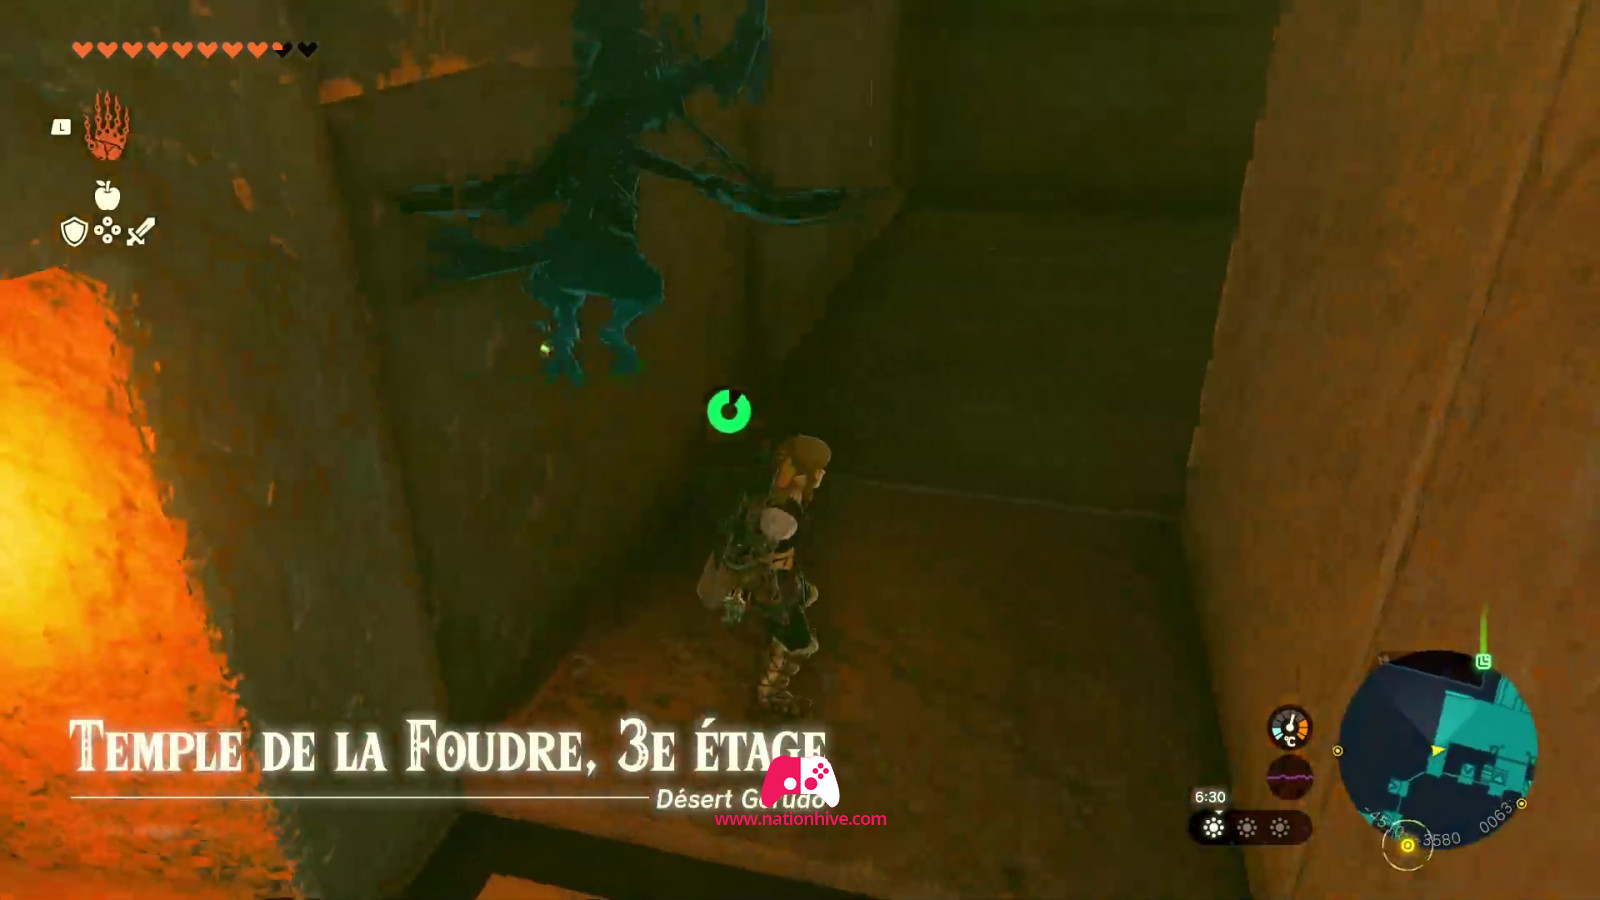
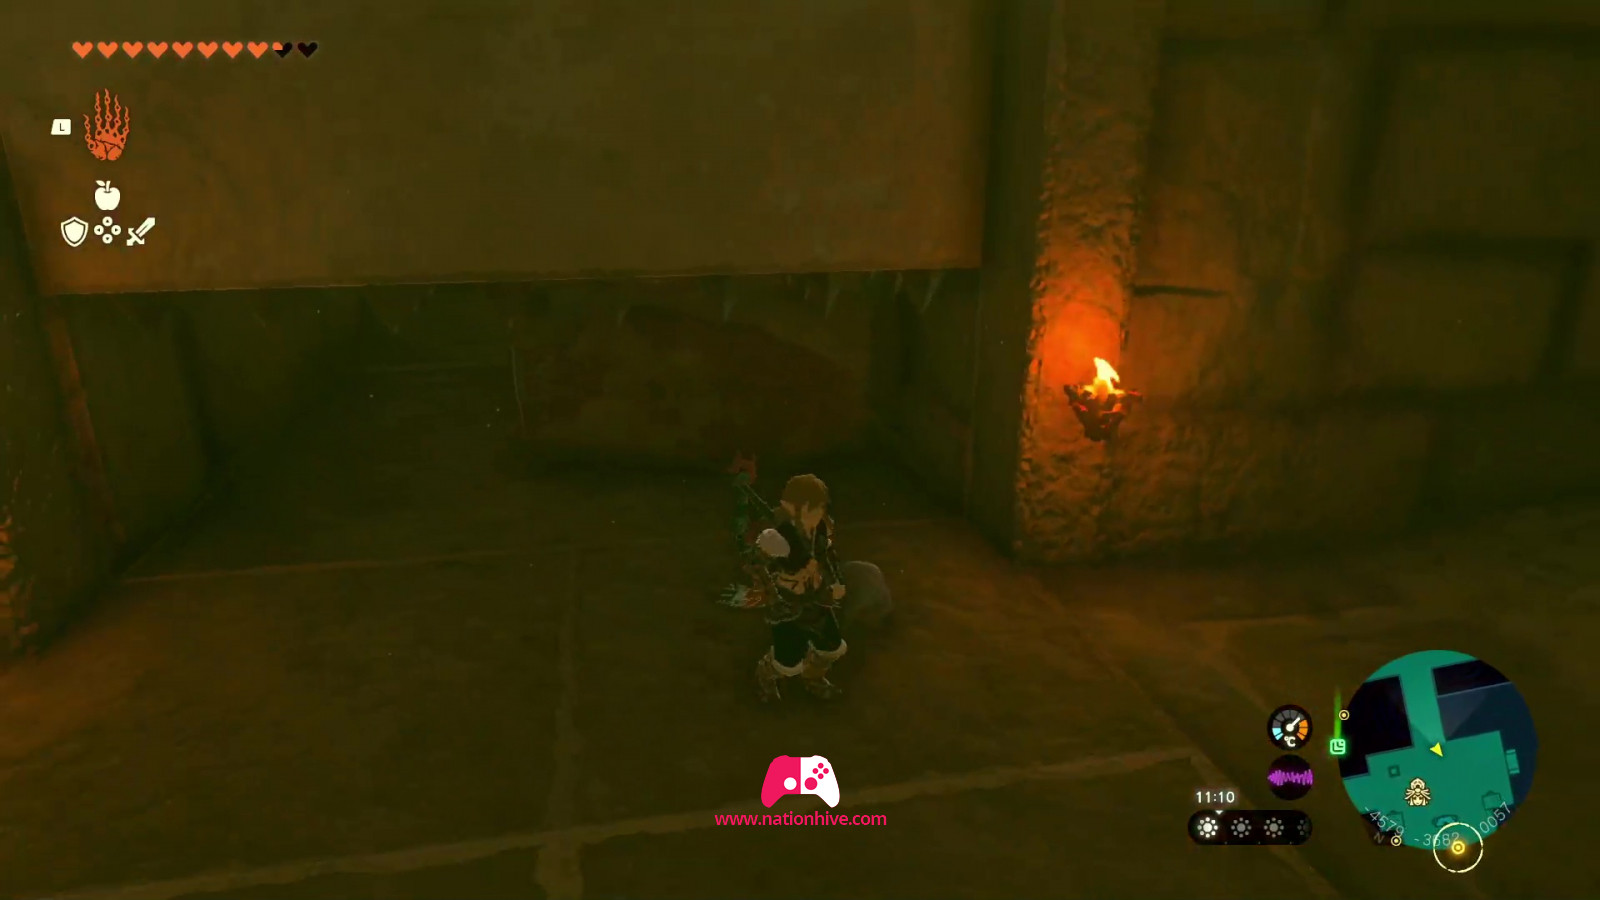
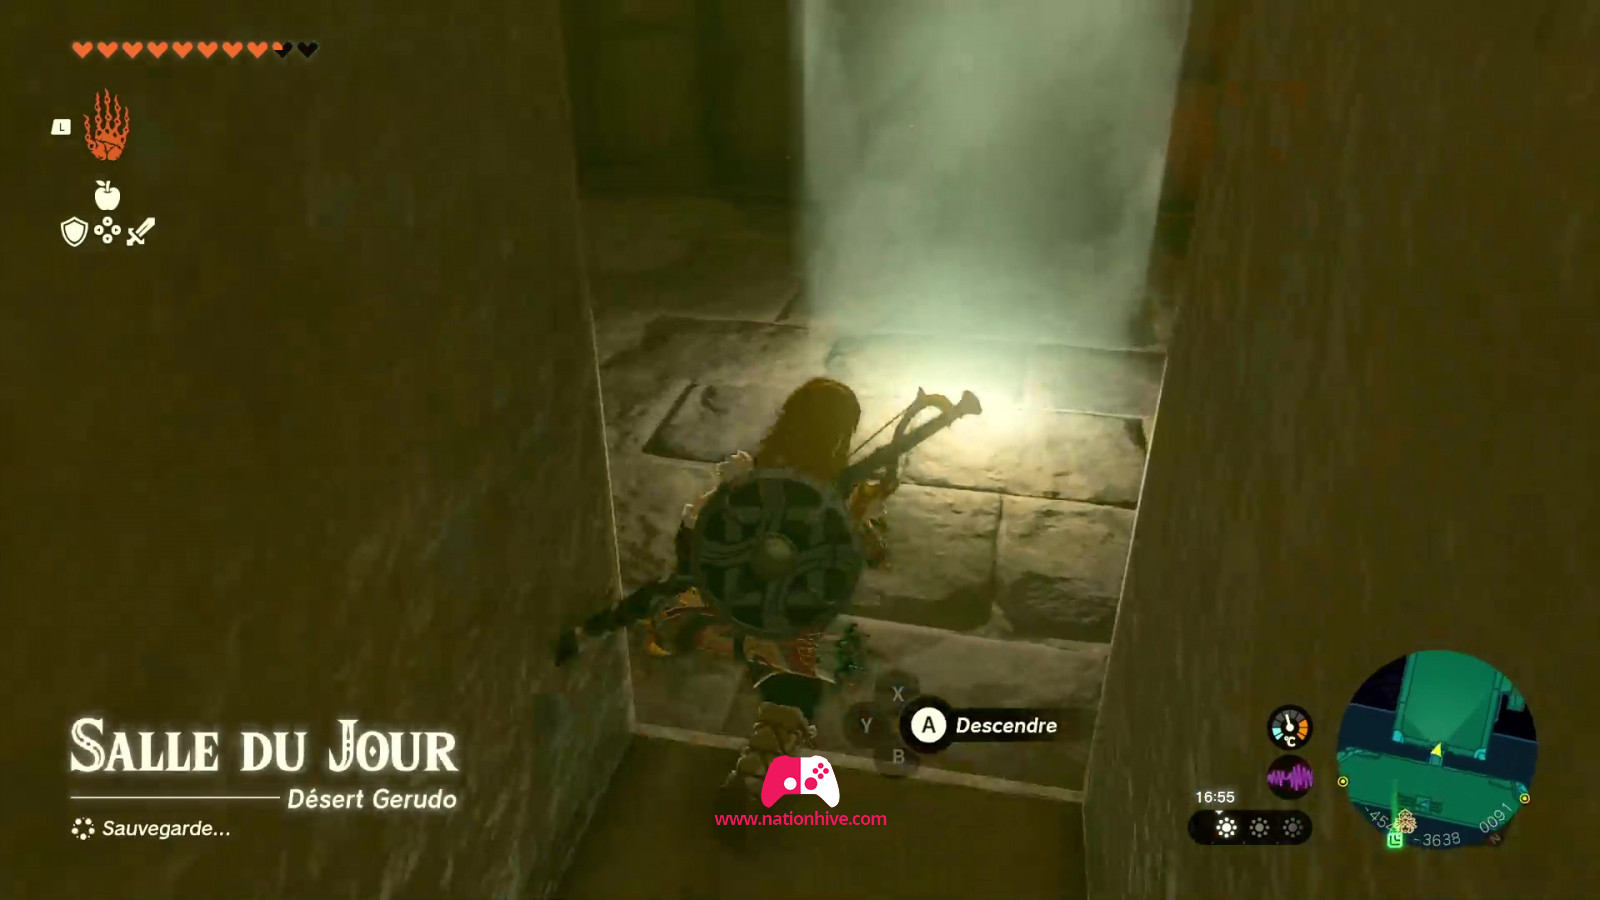
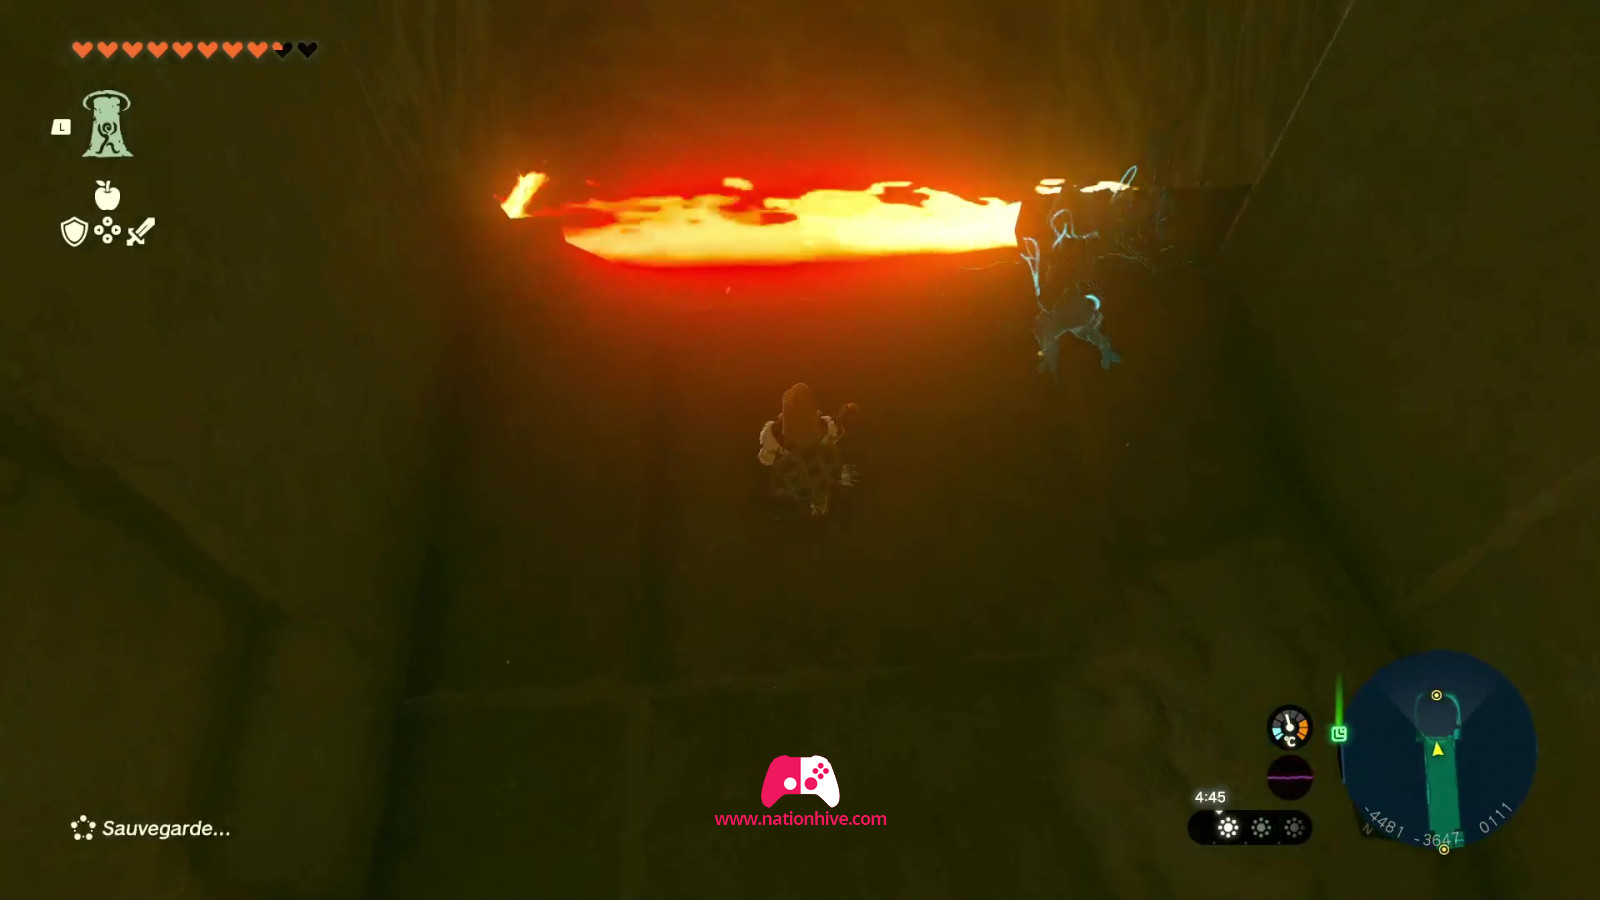
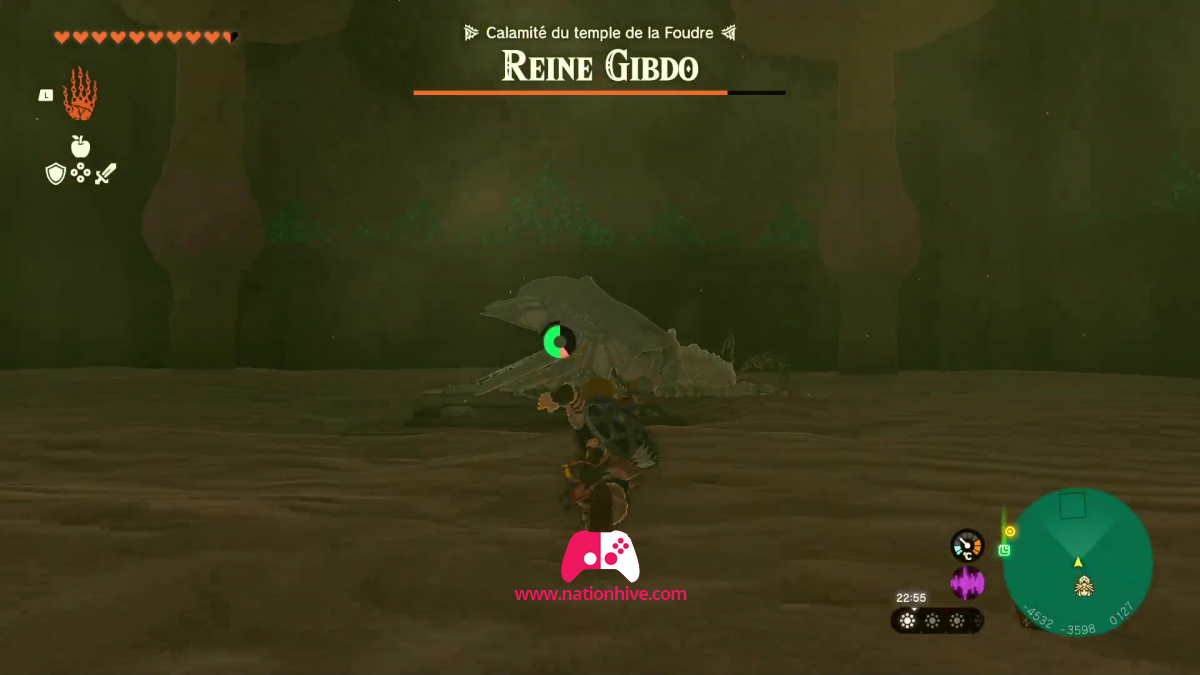
Go inside and you'll find yourself on the 1st basement level. Go forward until you're blocked by a wall. Then turn right to face a corridor with Flame Emitters (to get through, all you have to do is wait and run at the right moment! It's all a question of timing!), head towards them, watching out for the platform in the center, which will drop when you step on it. If you fall to the bottom, simply eliminate the enemy and climb back up using Ascend's ability.

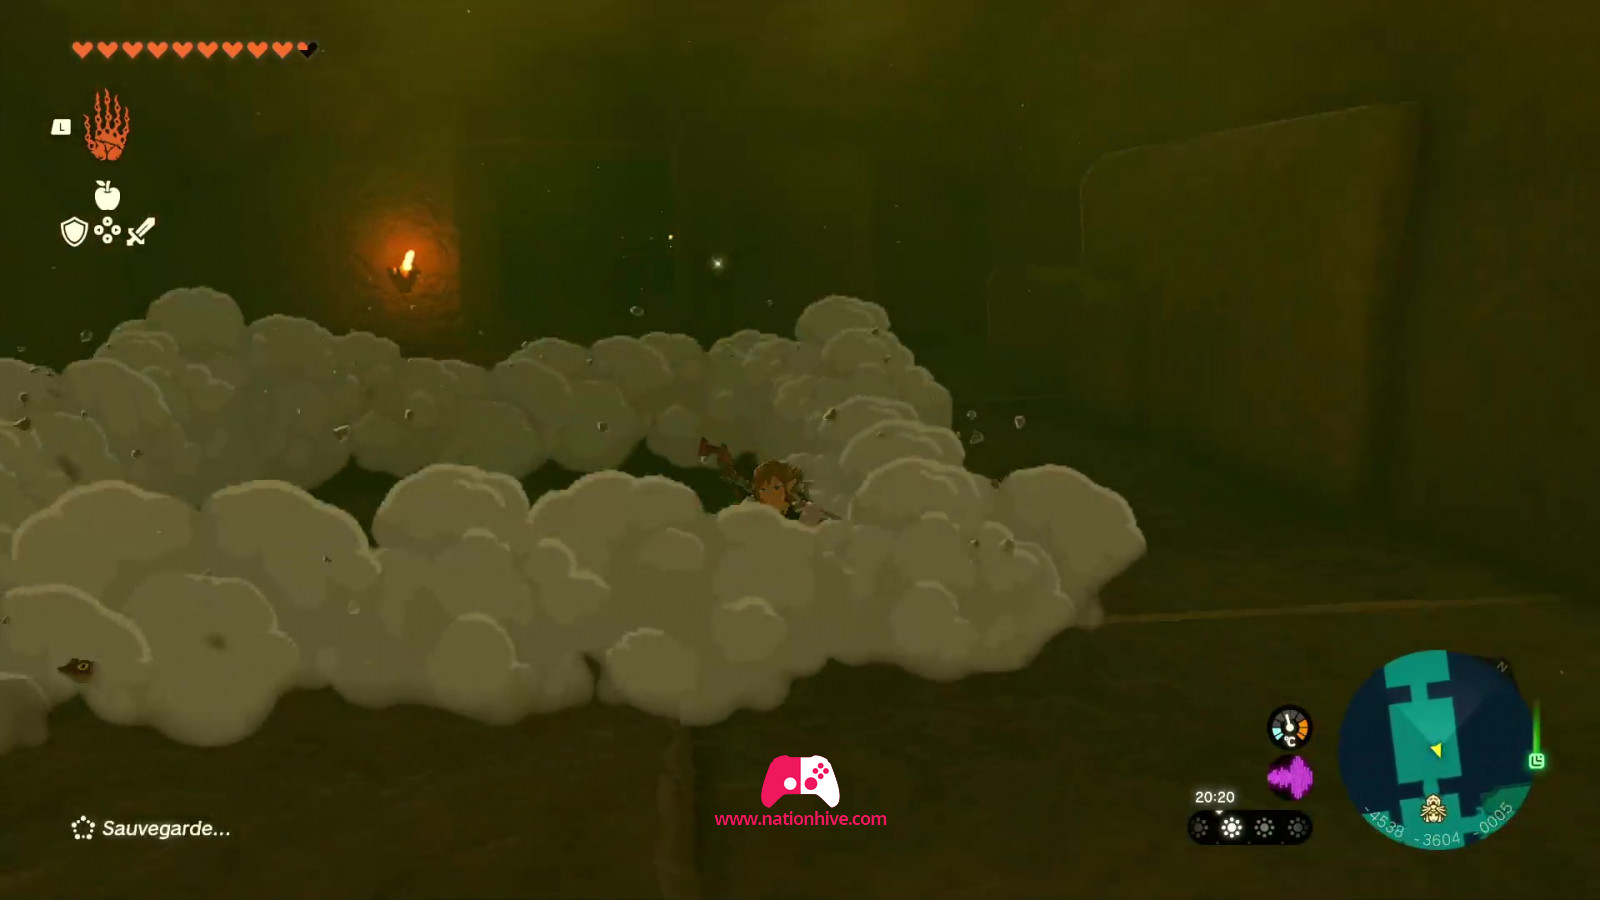
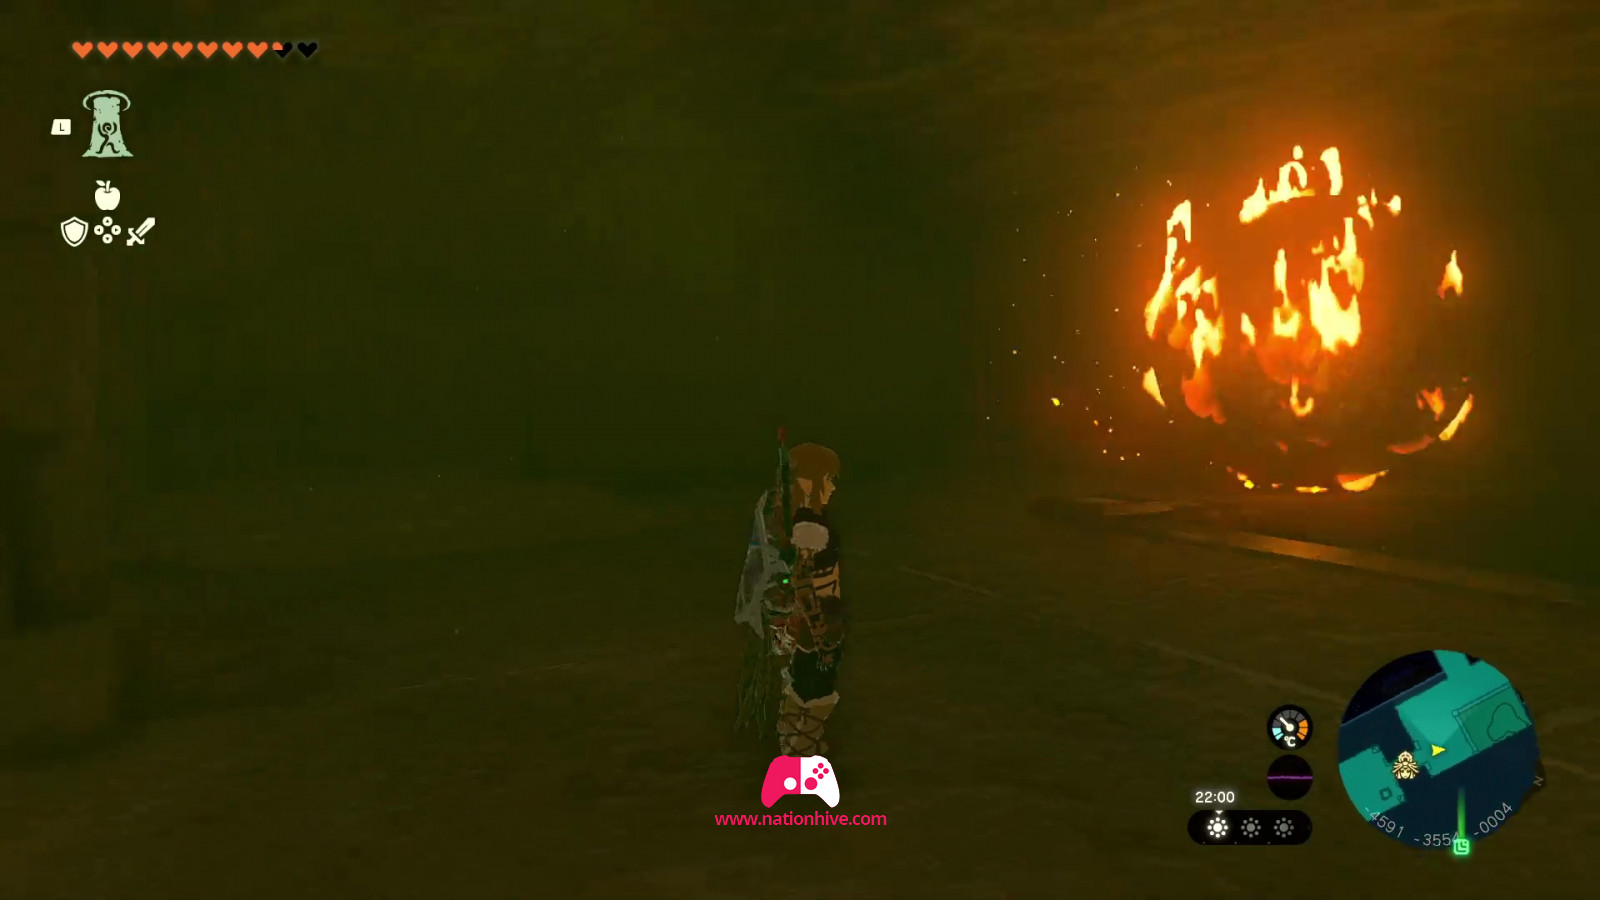
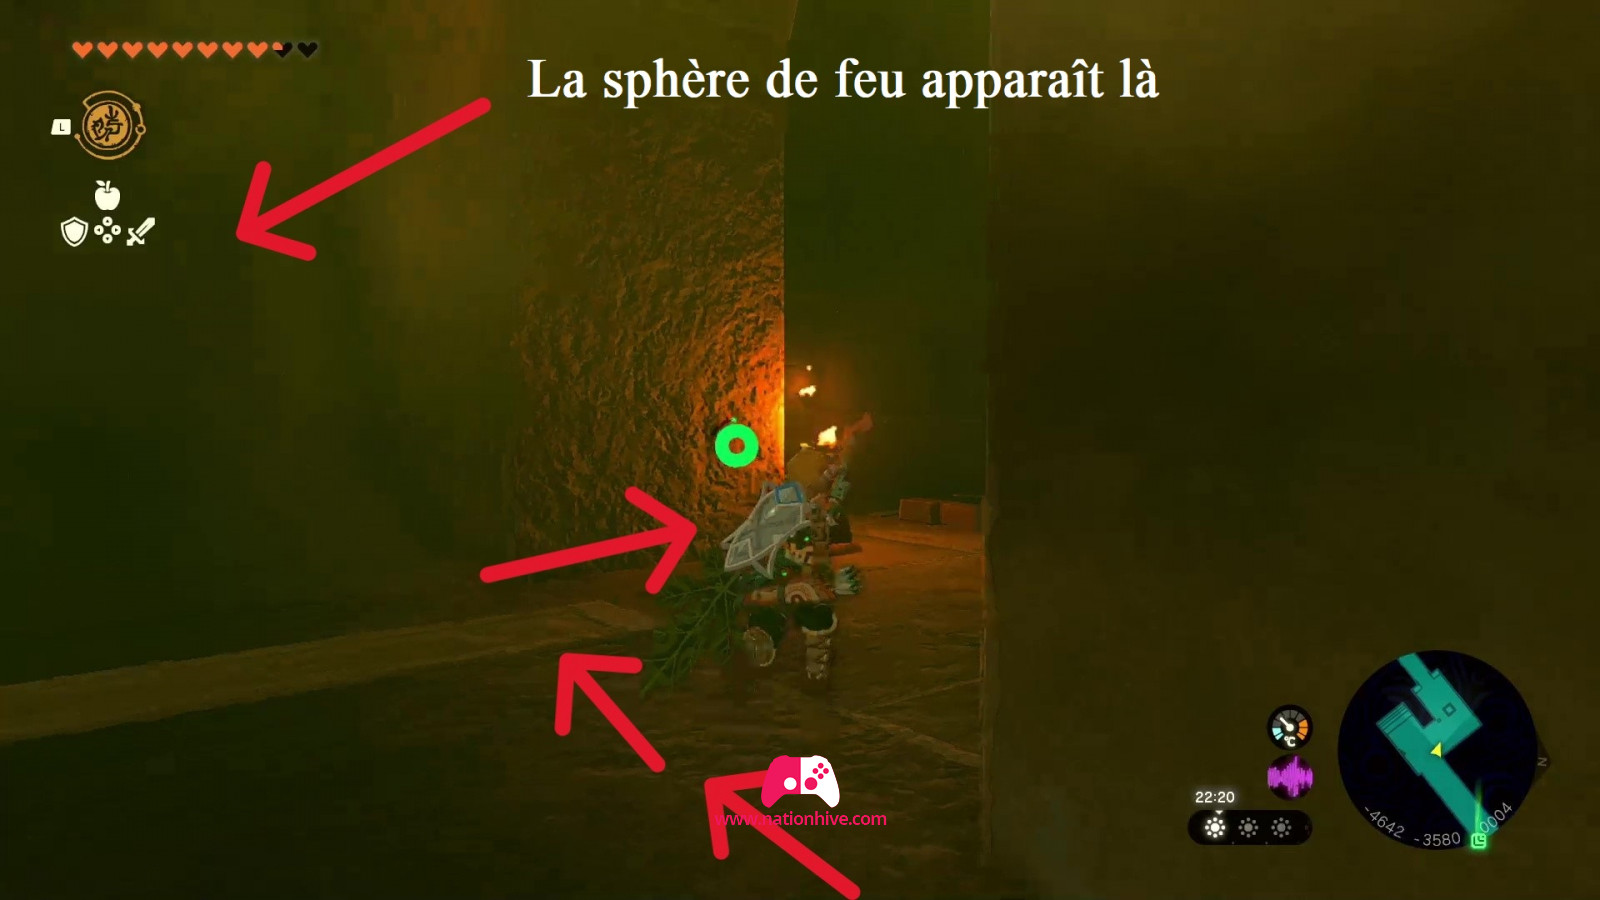
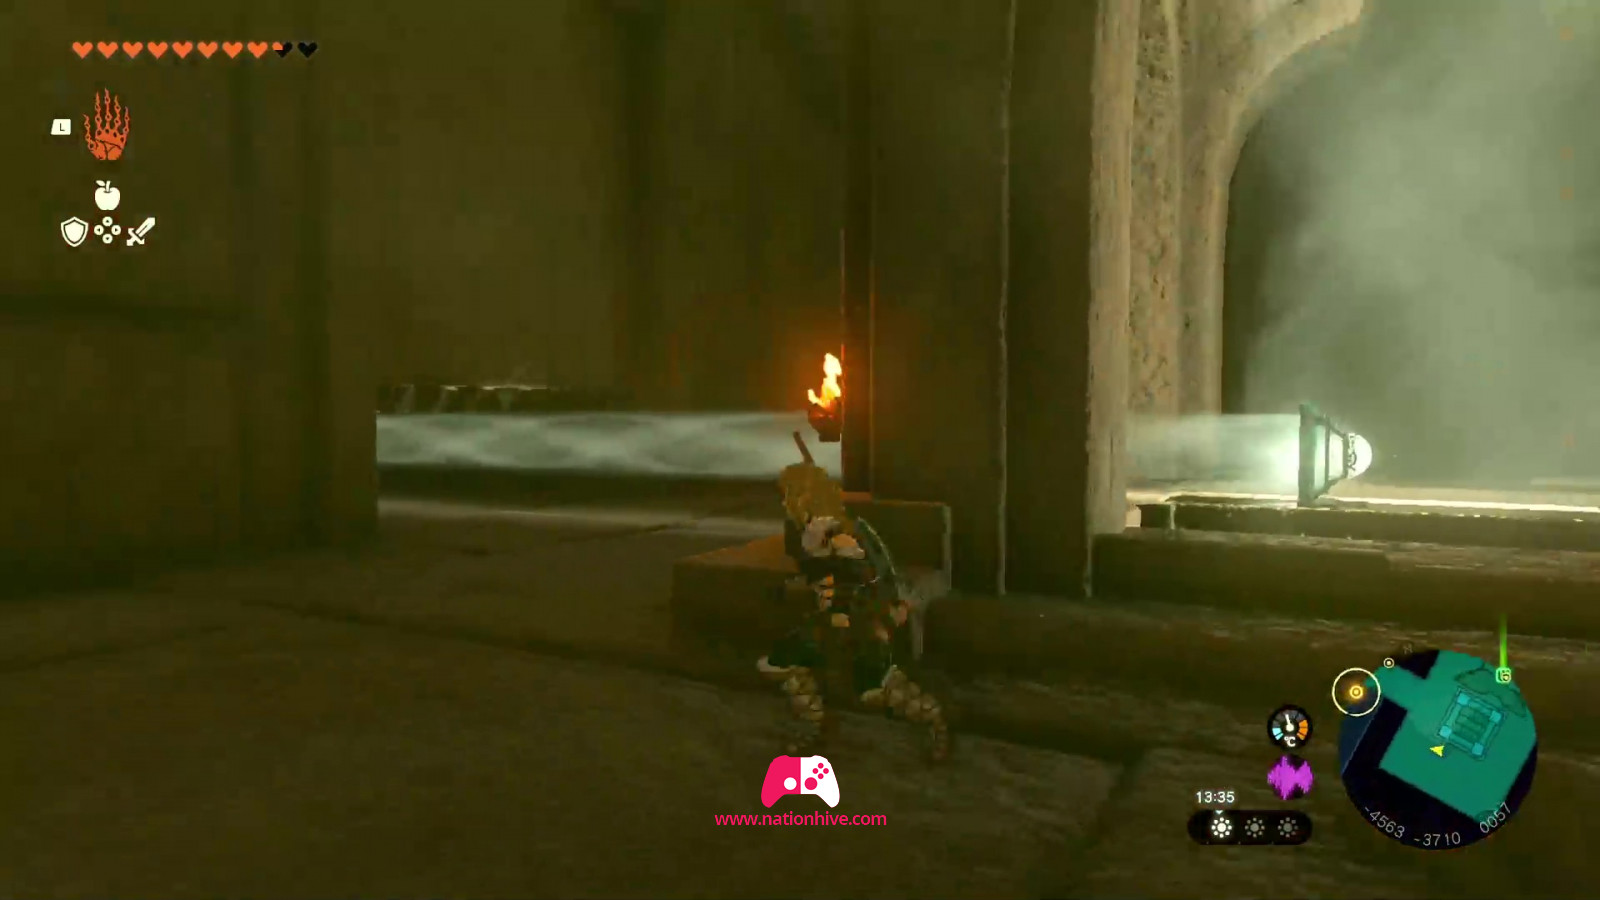
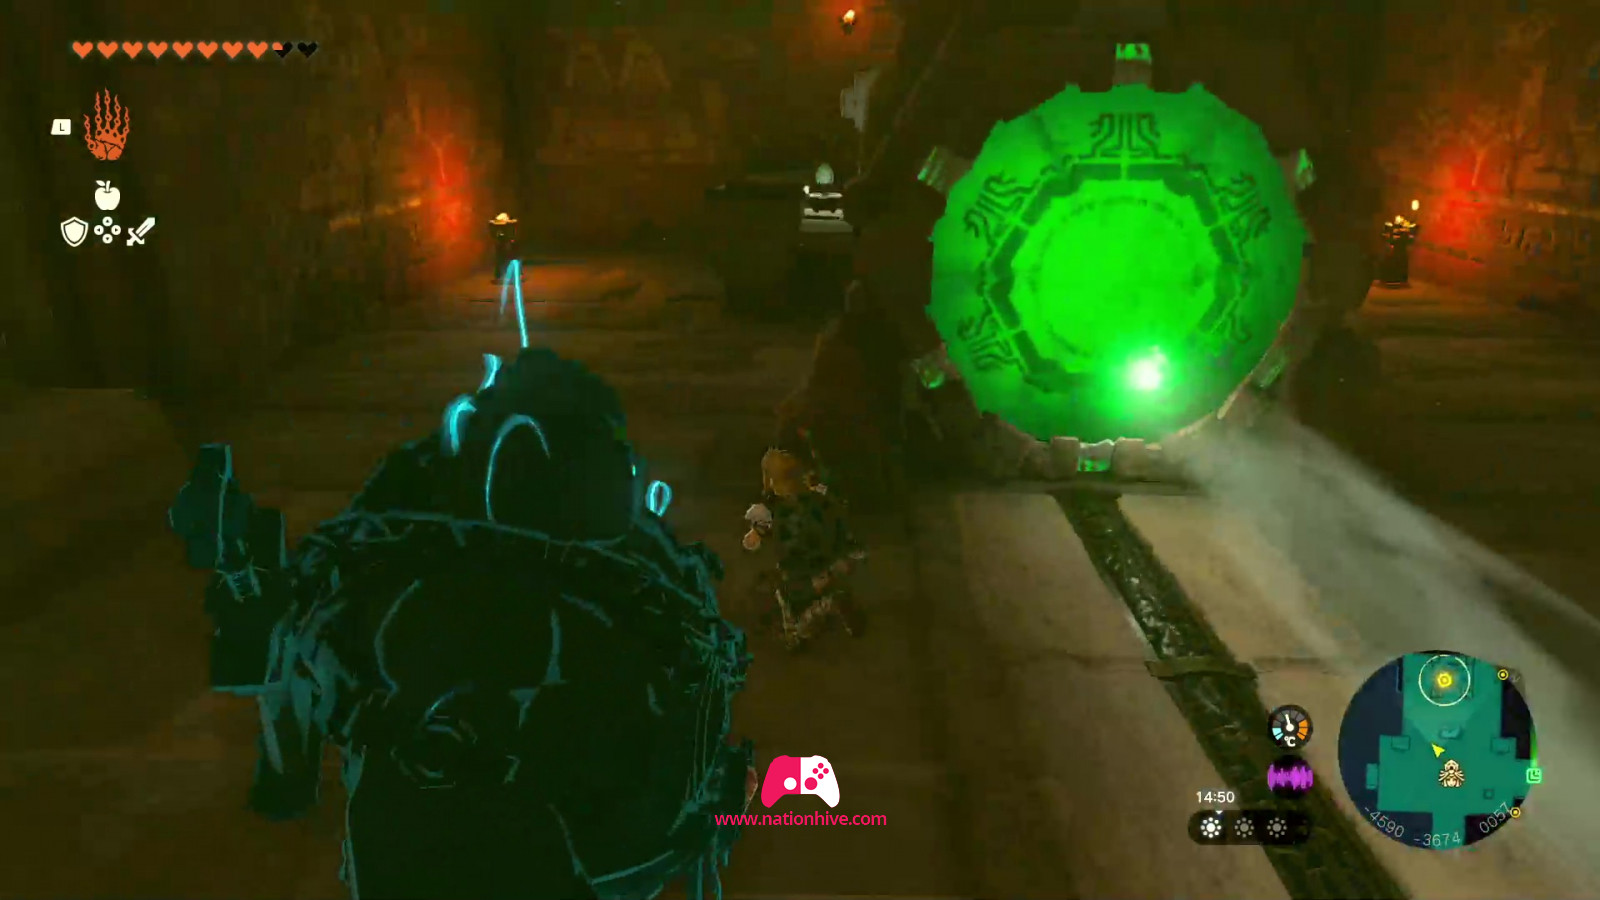
Stand on the button to the right of the room to unlock the gate and stop the Flame Emitters. Continue on to the next room. You'll find yourself in front of a flaming sphere that keeps rolling. Wait until the coast is clear before heading down the corridor. The moment you see the burning sphere, use Recall's ability to clear the corridor. Run quickly to the next room on the right before the sphere reappears and crushes you.
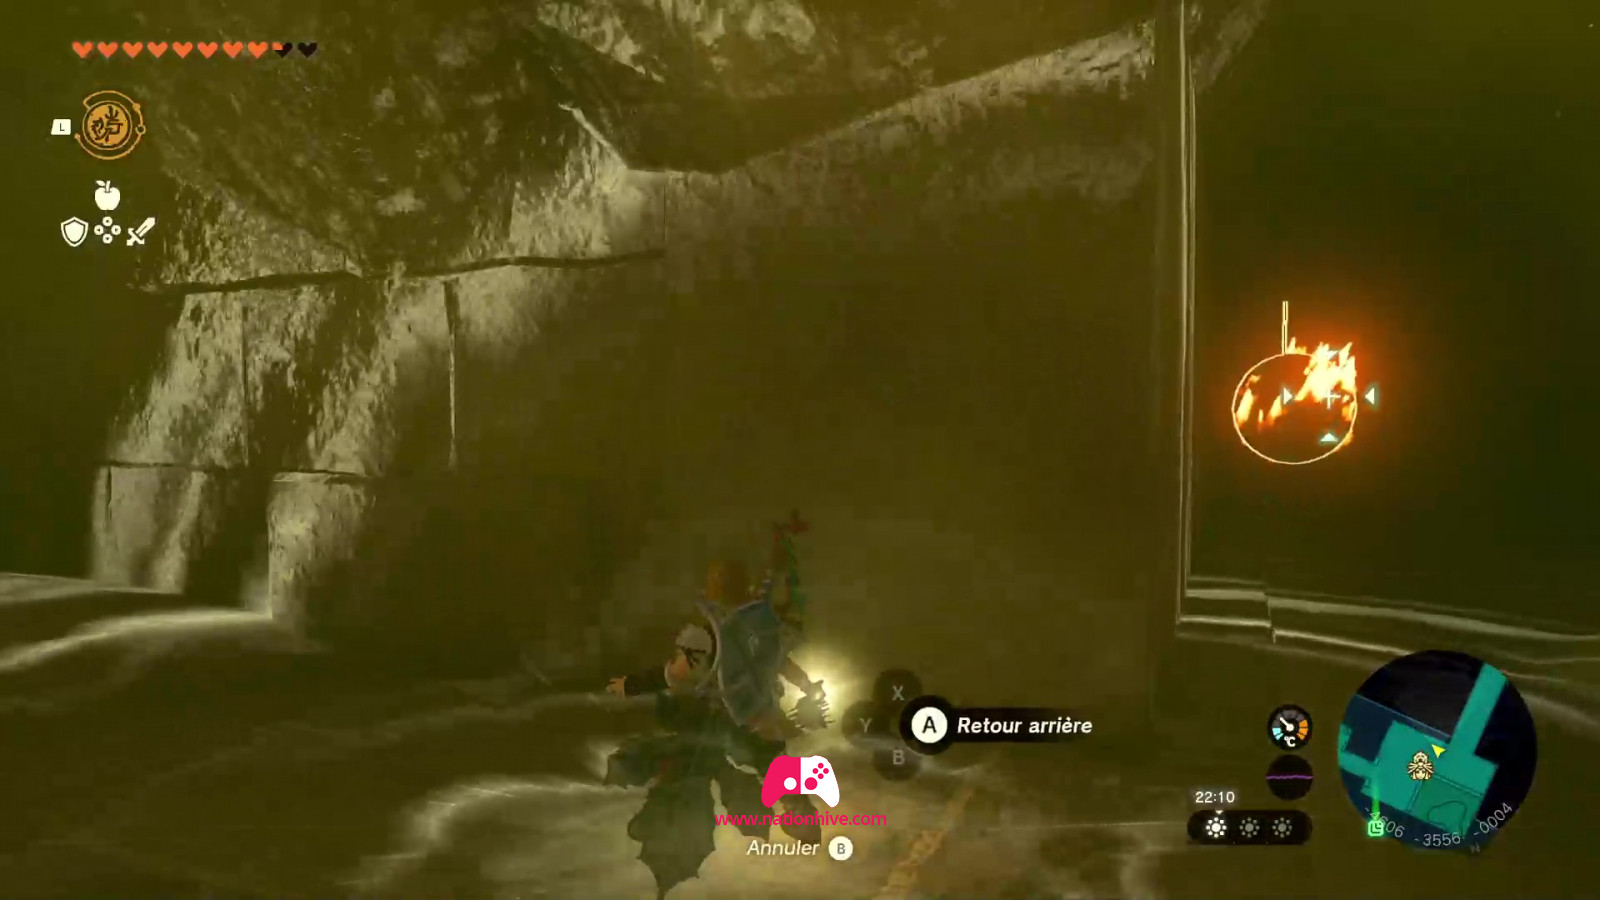
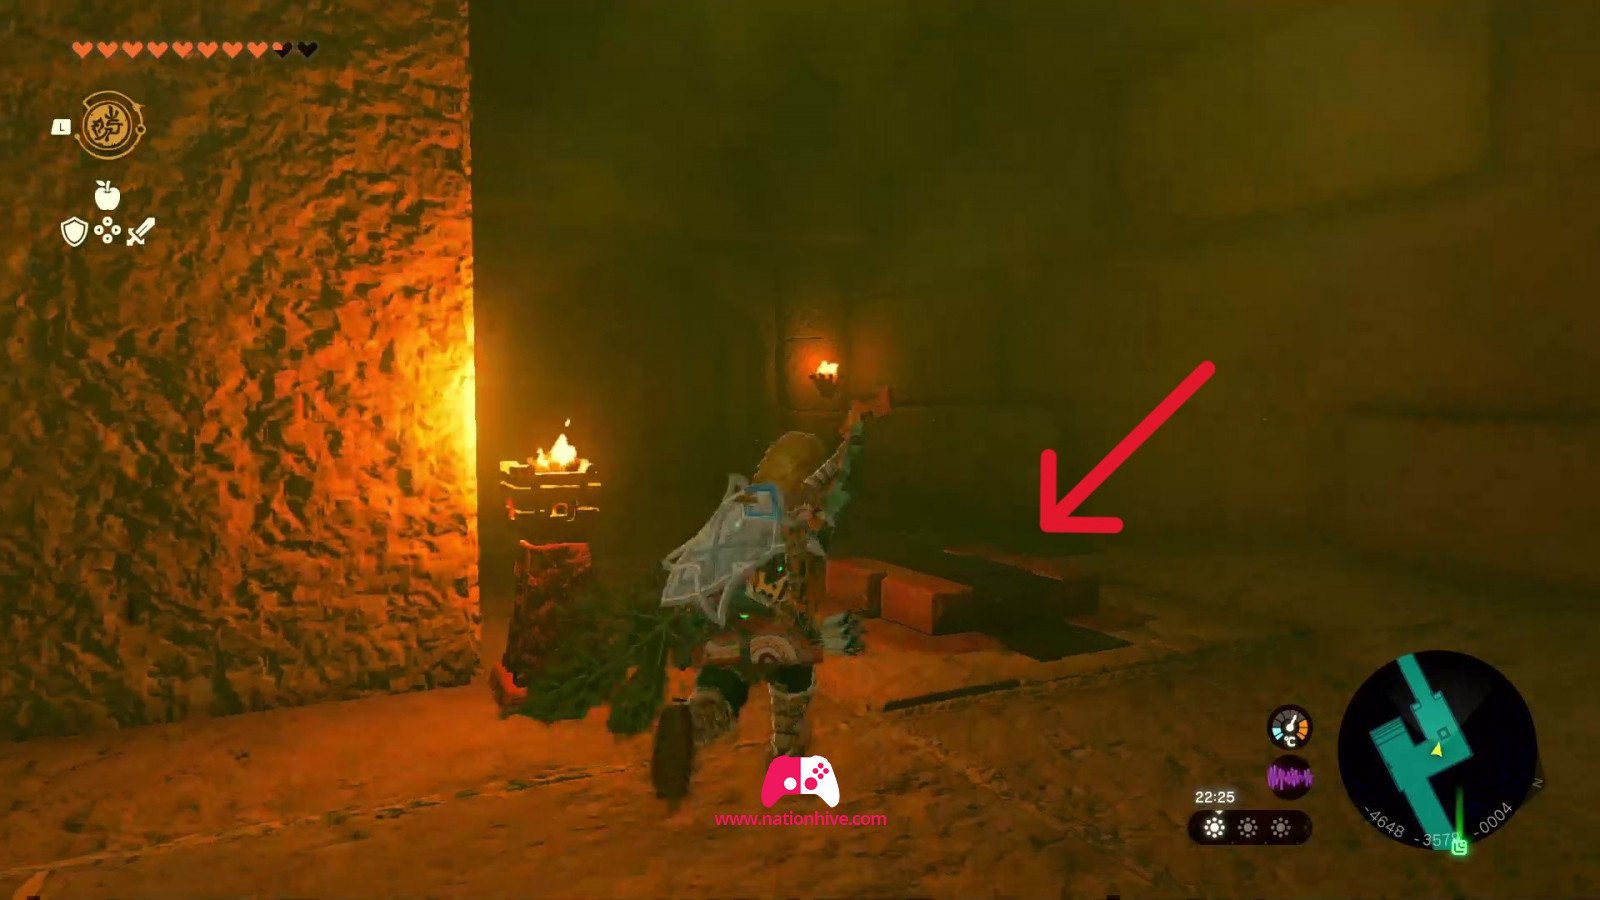
Once you've reached the room on the right, hold on to the button to activate the grid which prevents the sphere from rolling and unlocks the next room. Go straight ahead and attack the Gibdo in front of you. Continue along the path to the next room and enter the Room of Hopeful Light.

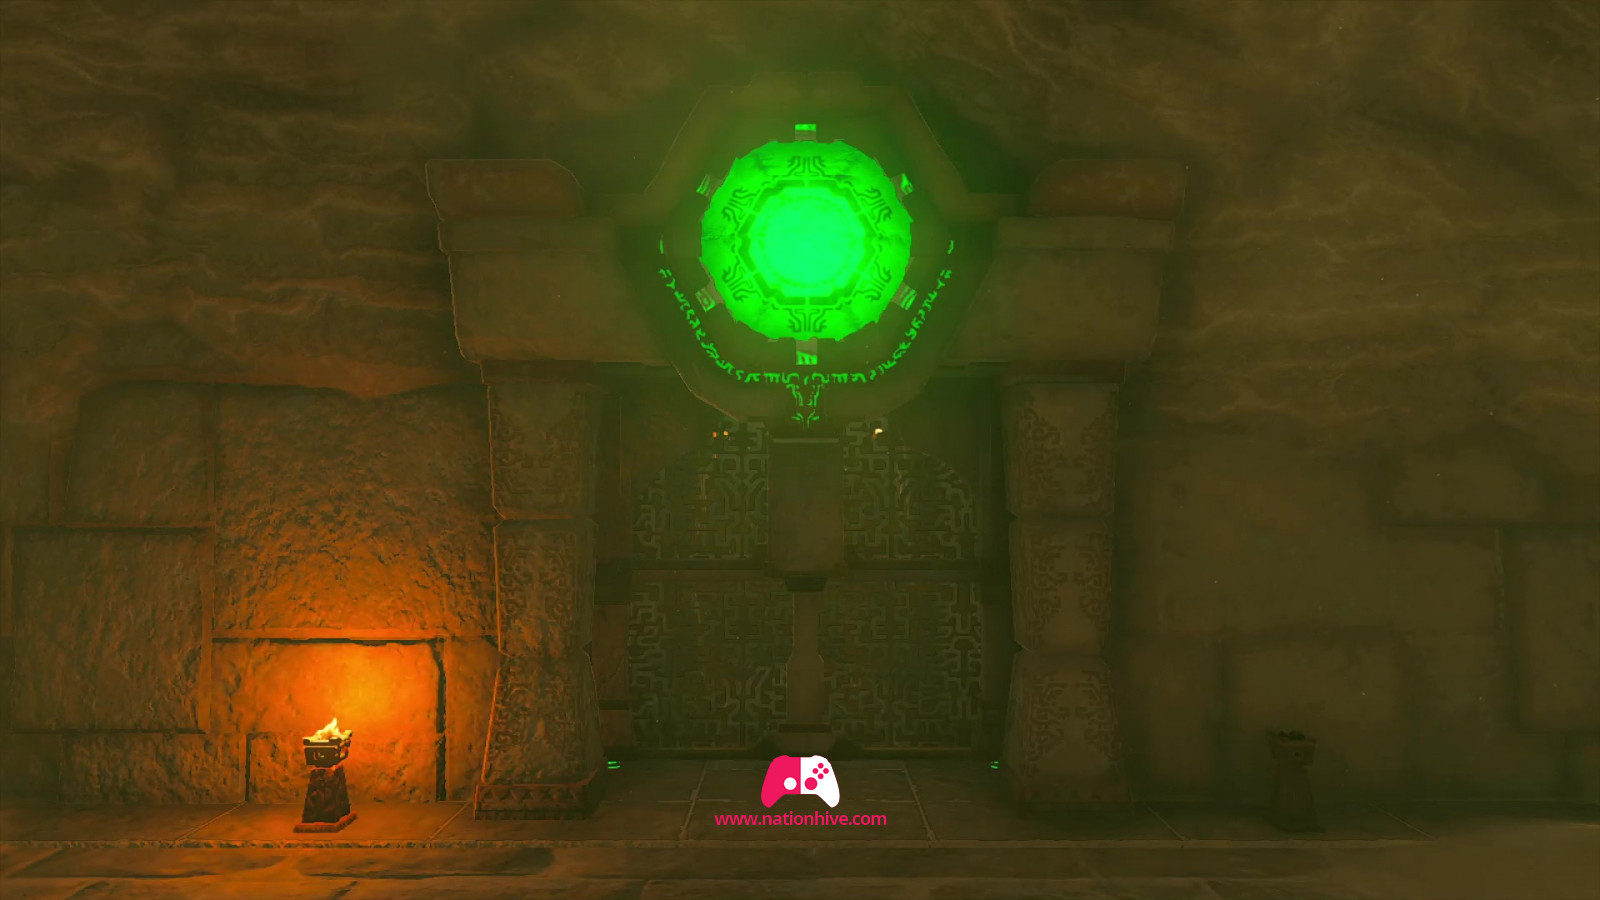
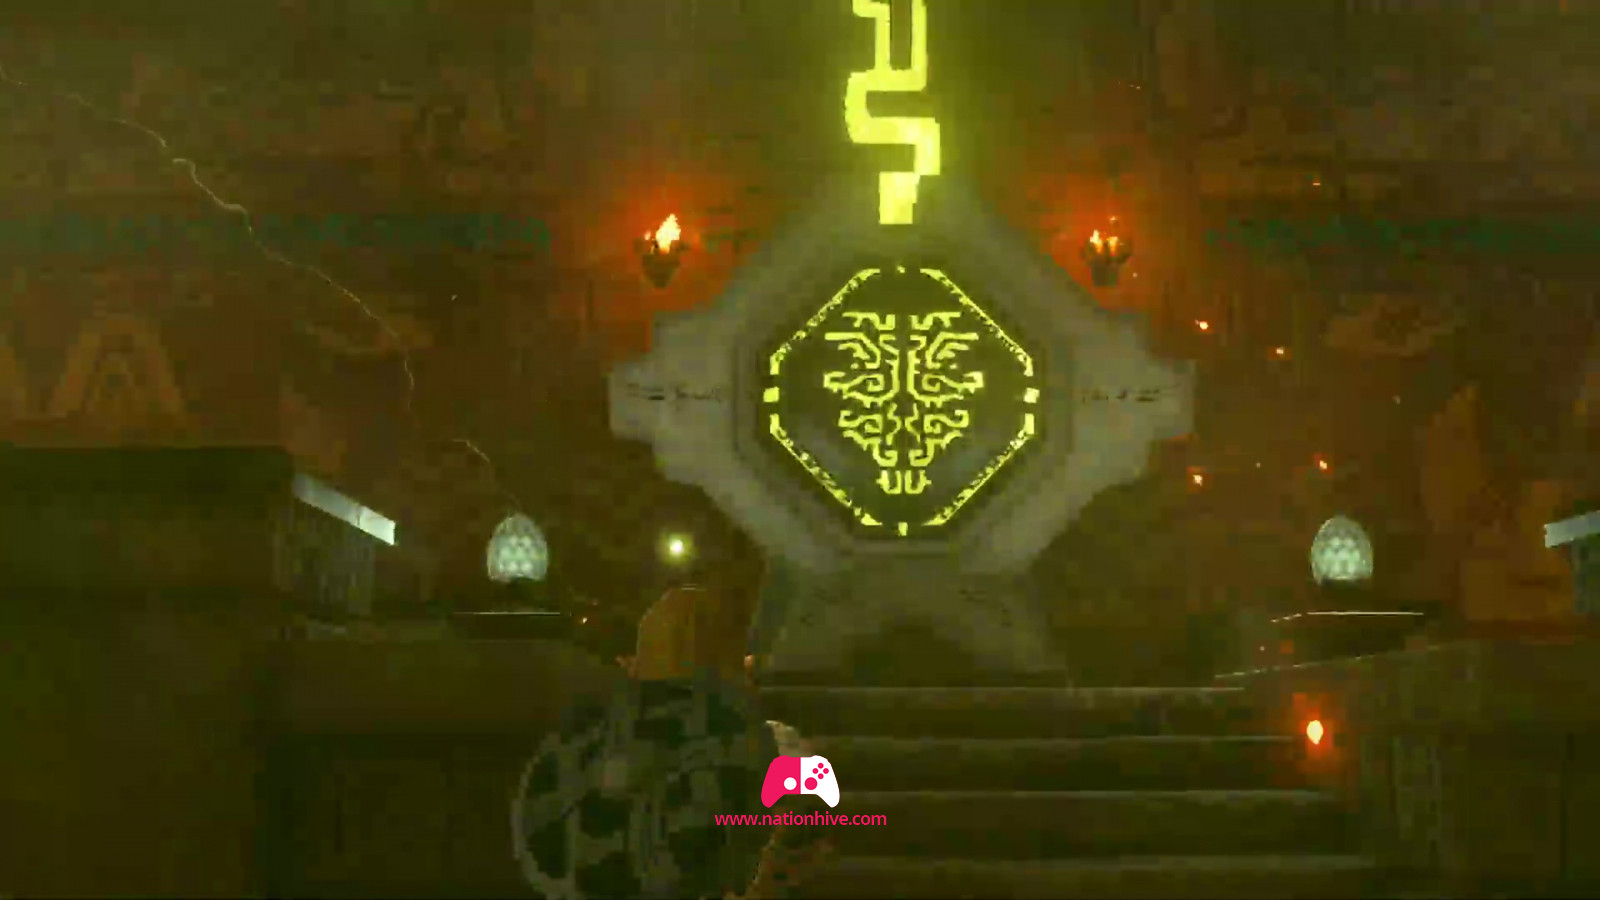
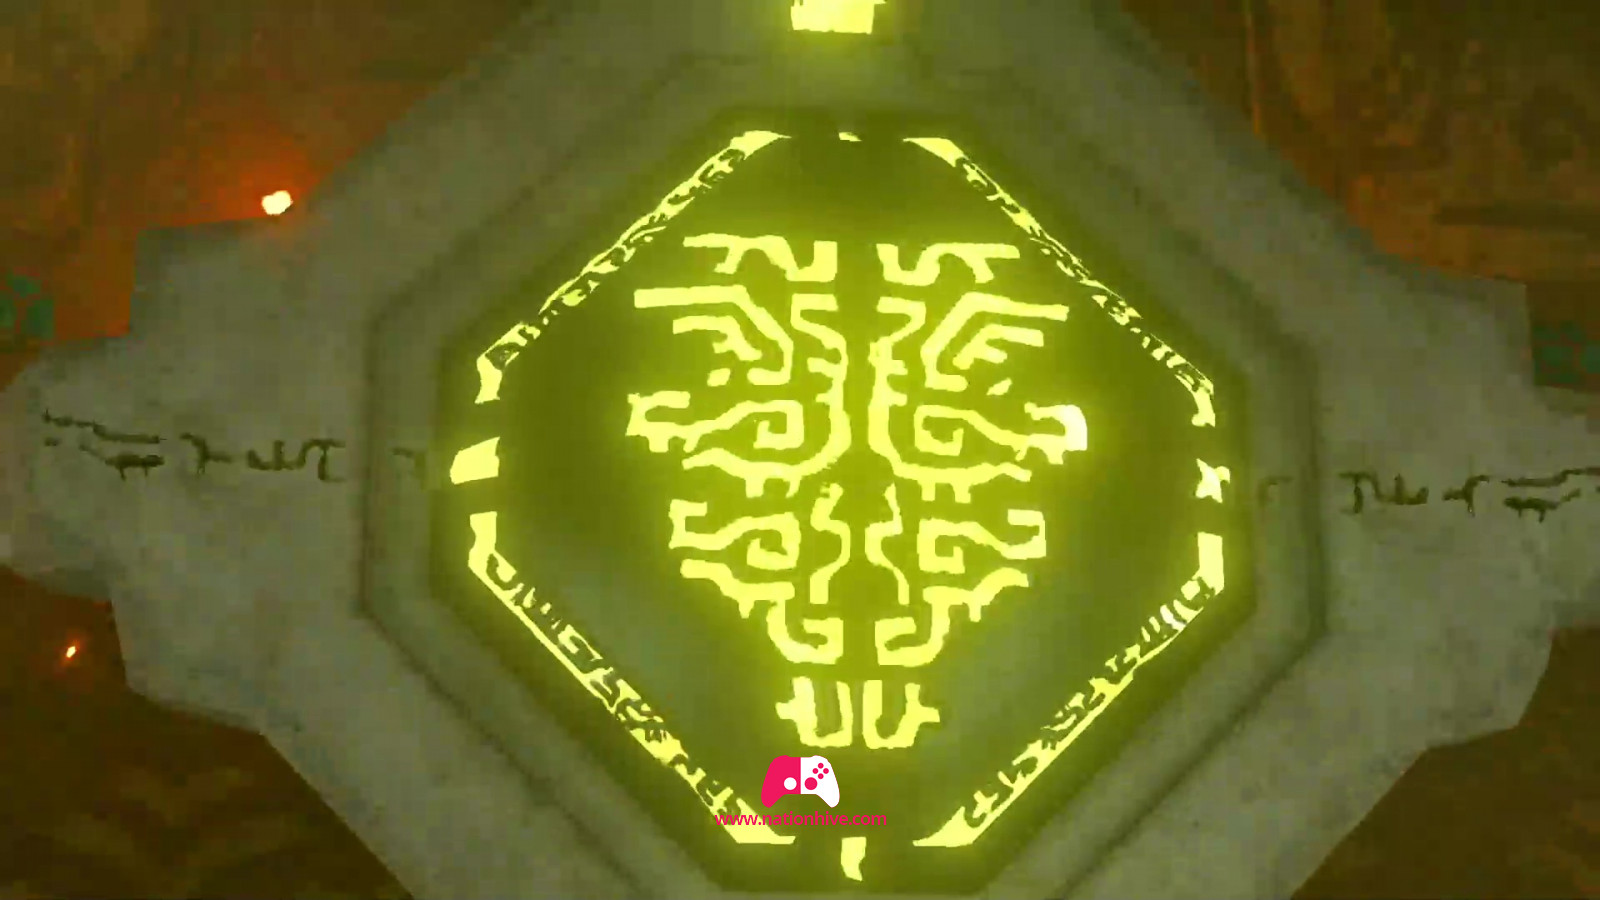
You'll see a beam of light in the center of the room. Attack the Soldier Constructs (watch out for the Military Construct hiding under the sand) and use Ultrahand to lift the Mirror and reflect the light onto the green circle at the top of the door to unlock it.
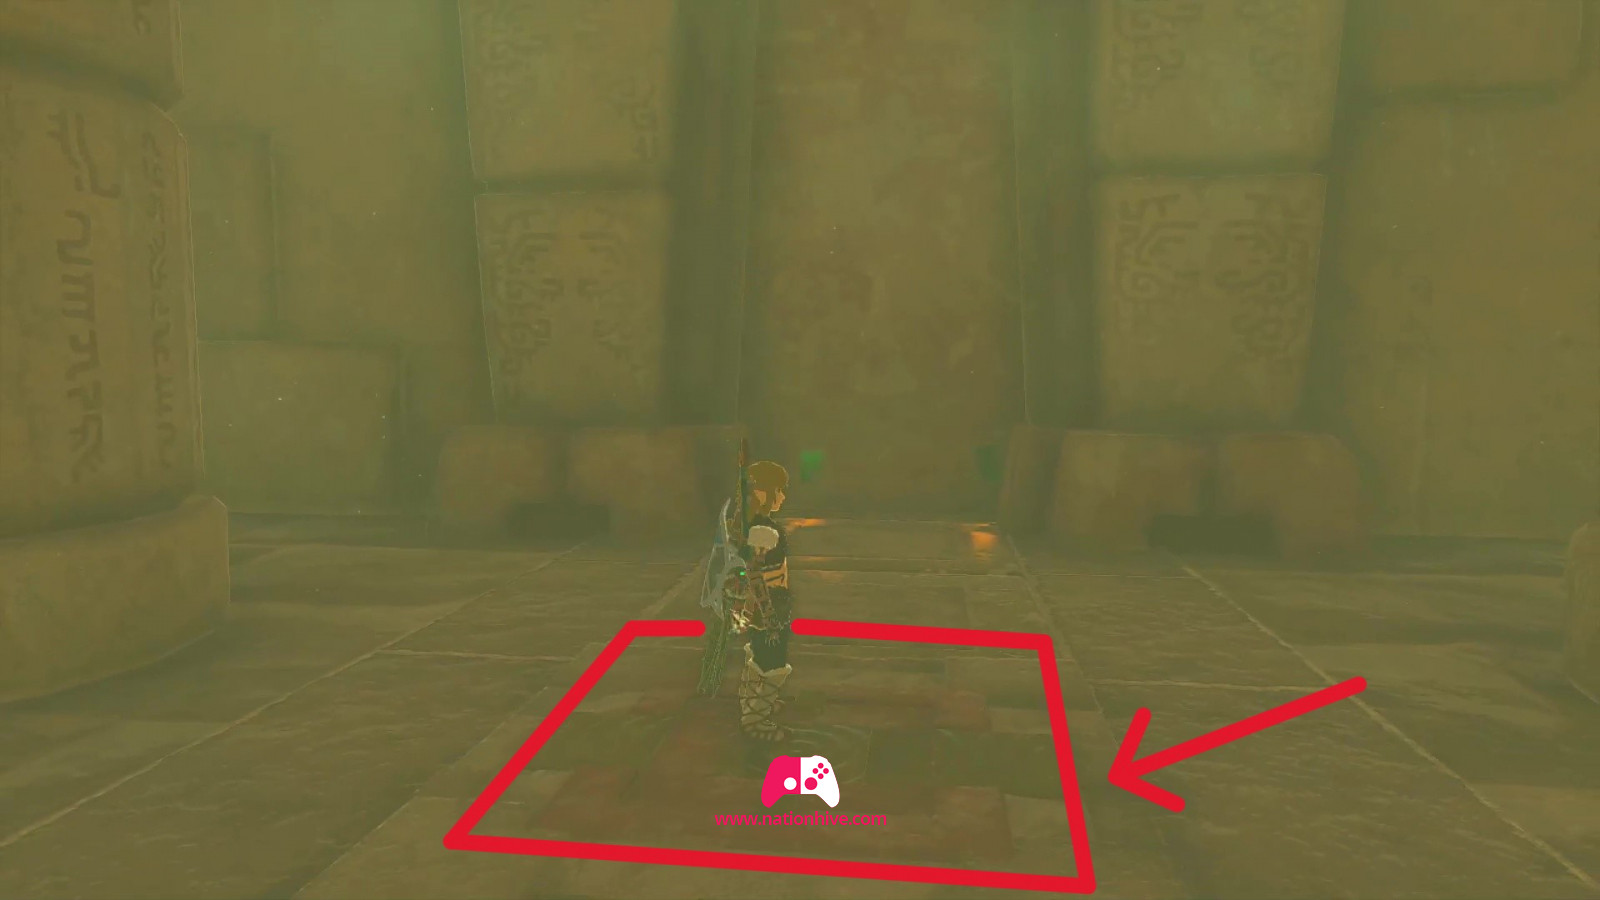
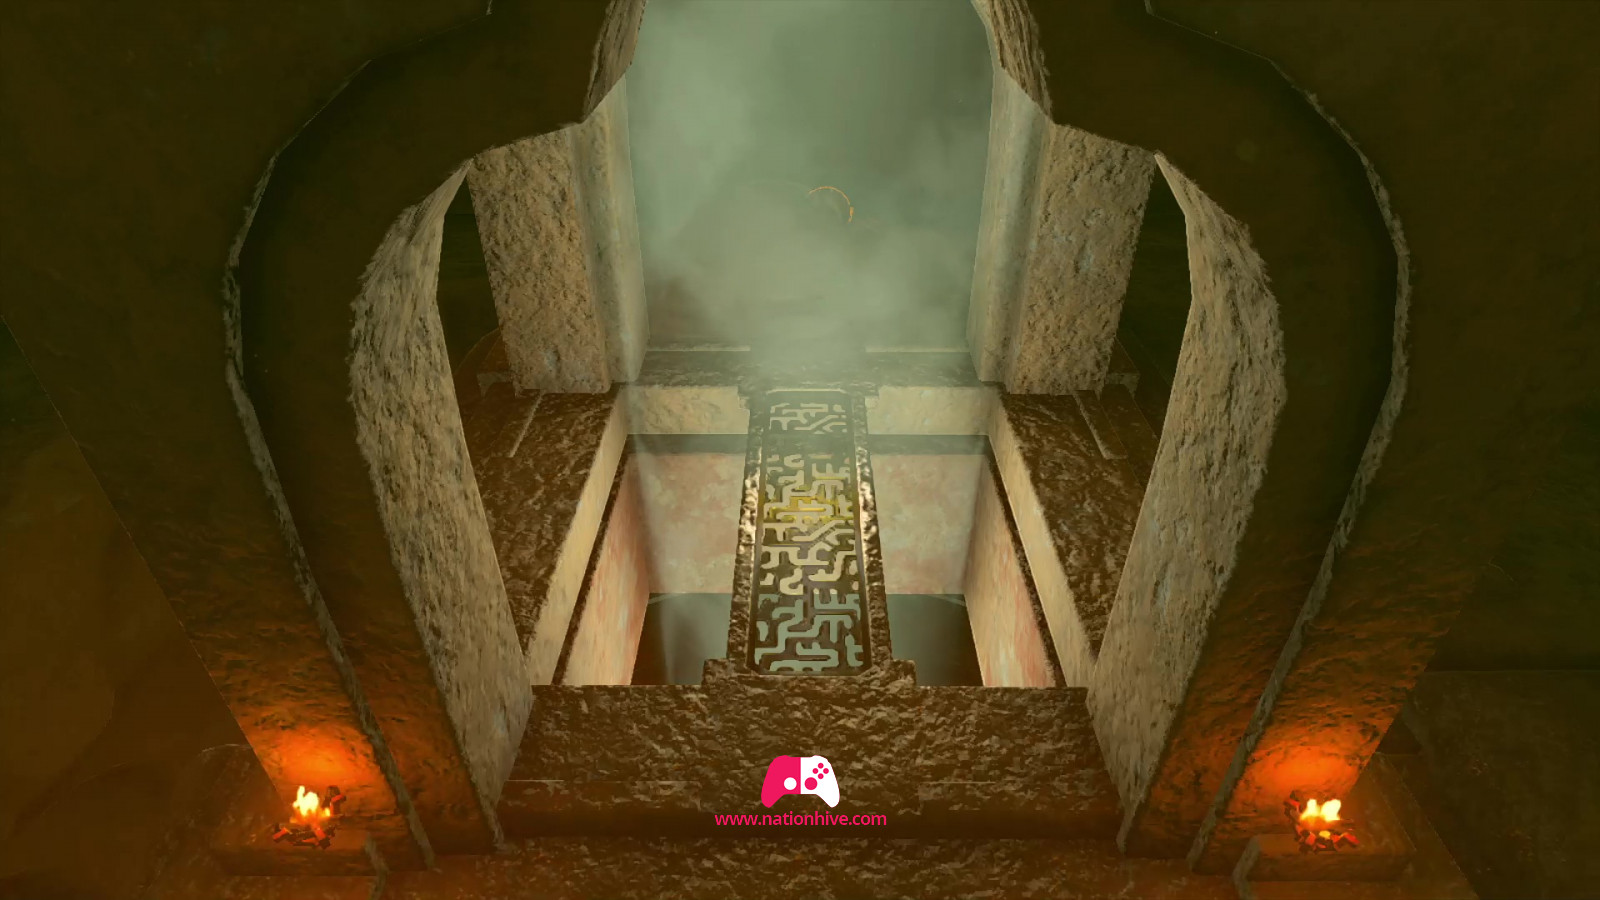
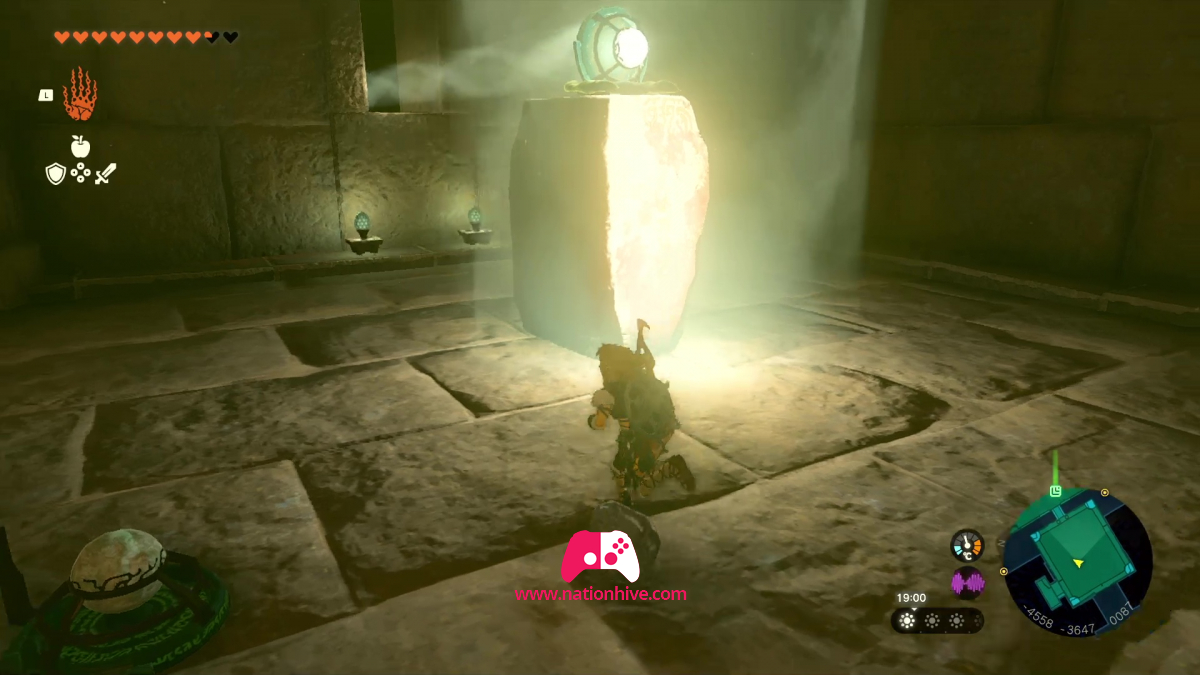
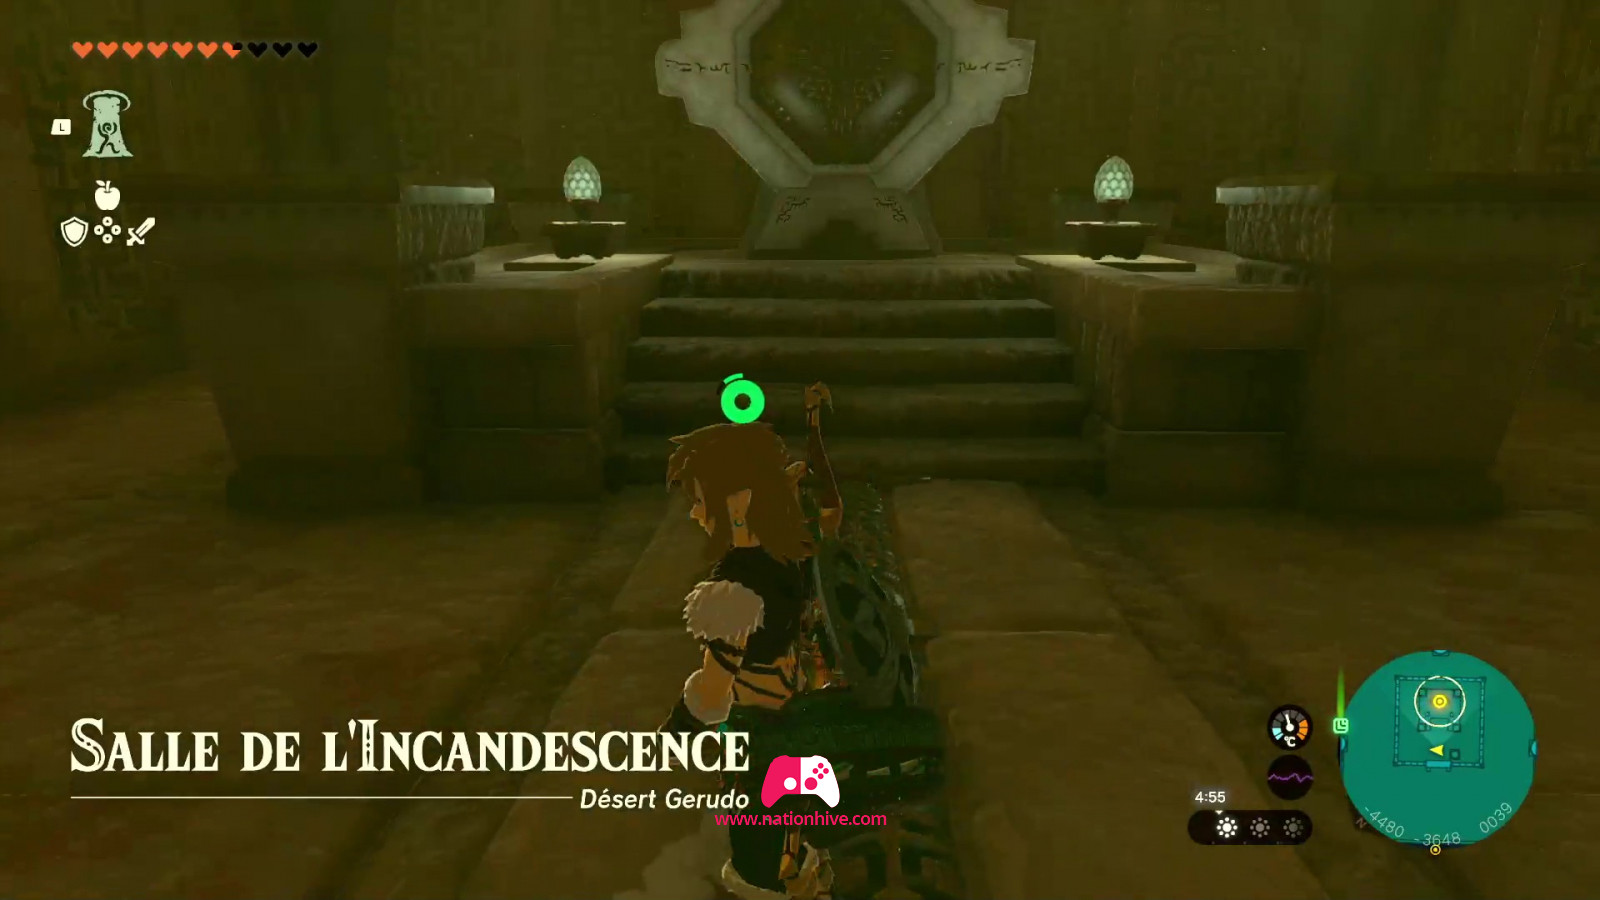
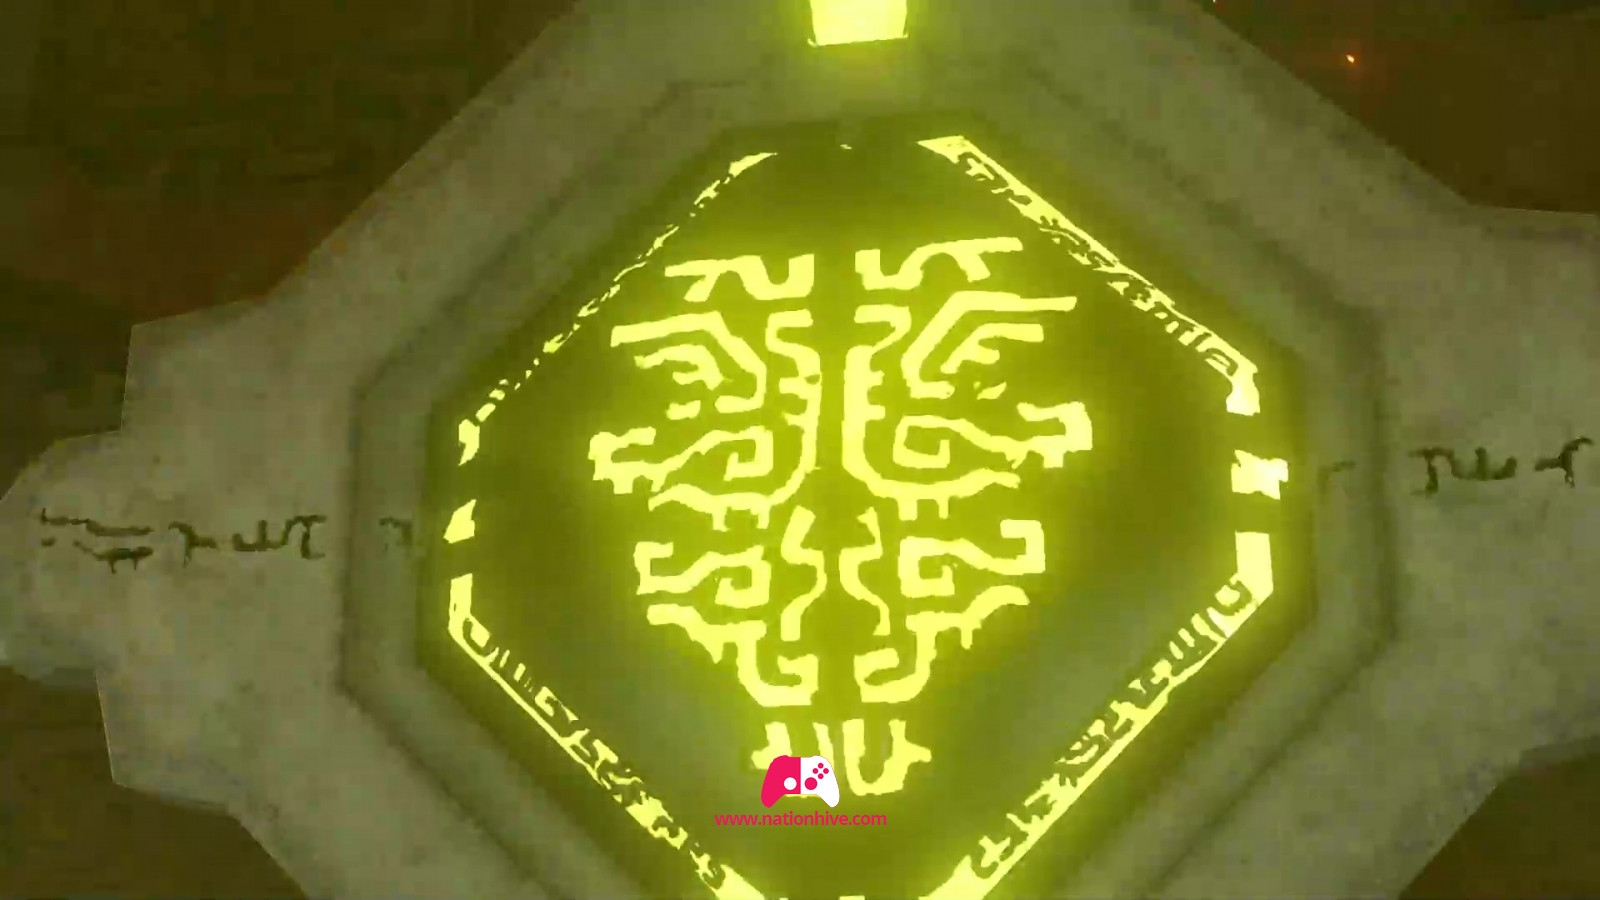
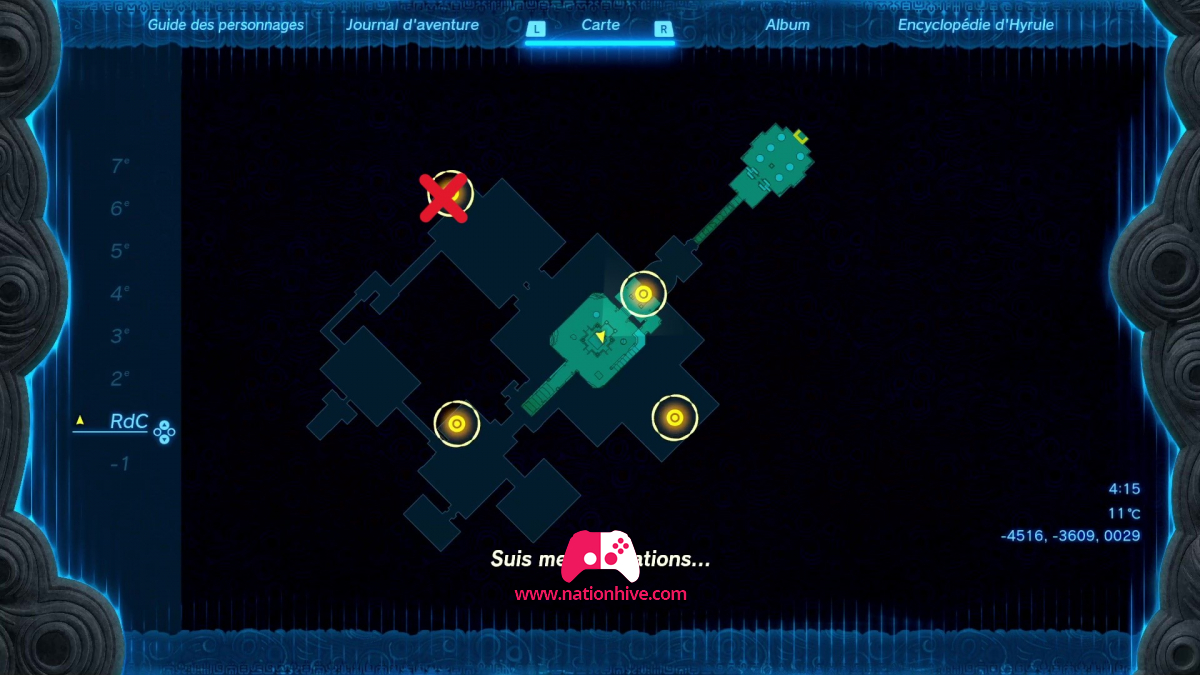
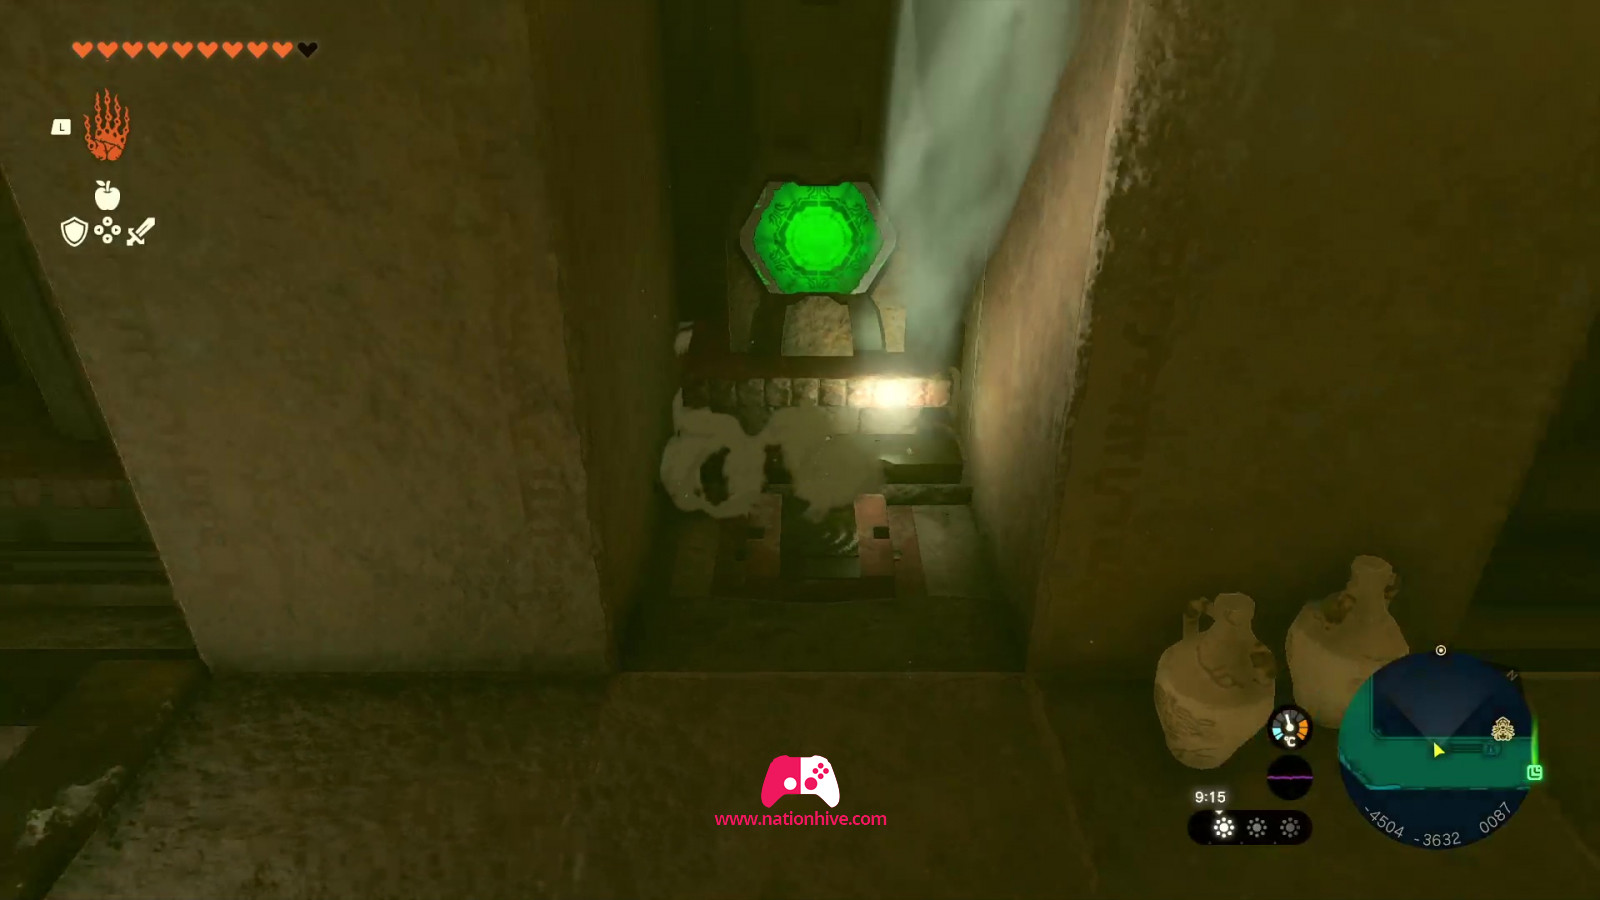
Go up to the next room and you'll find yourself on the first floor of the temple, in the Room of Ascension. A cinematic sequence will start. Then head for the magic green circle and activate it with A, a fast travel point will appear behind you, allowing you to teleport to this location.
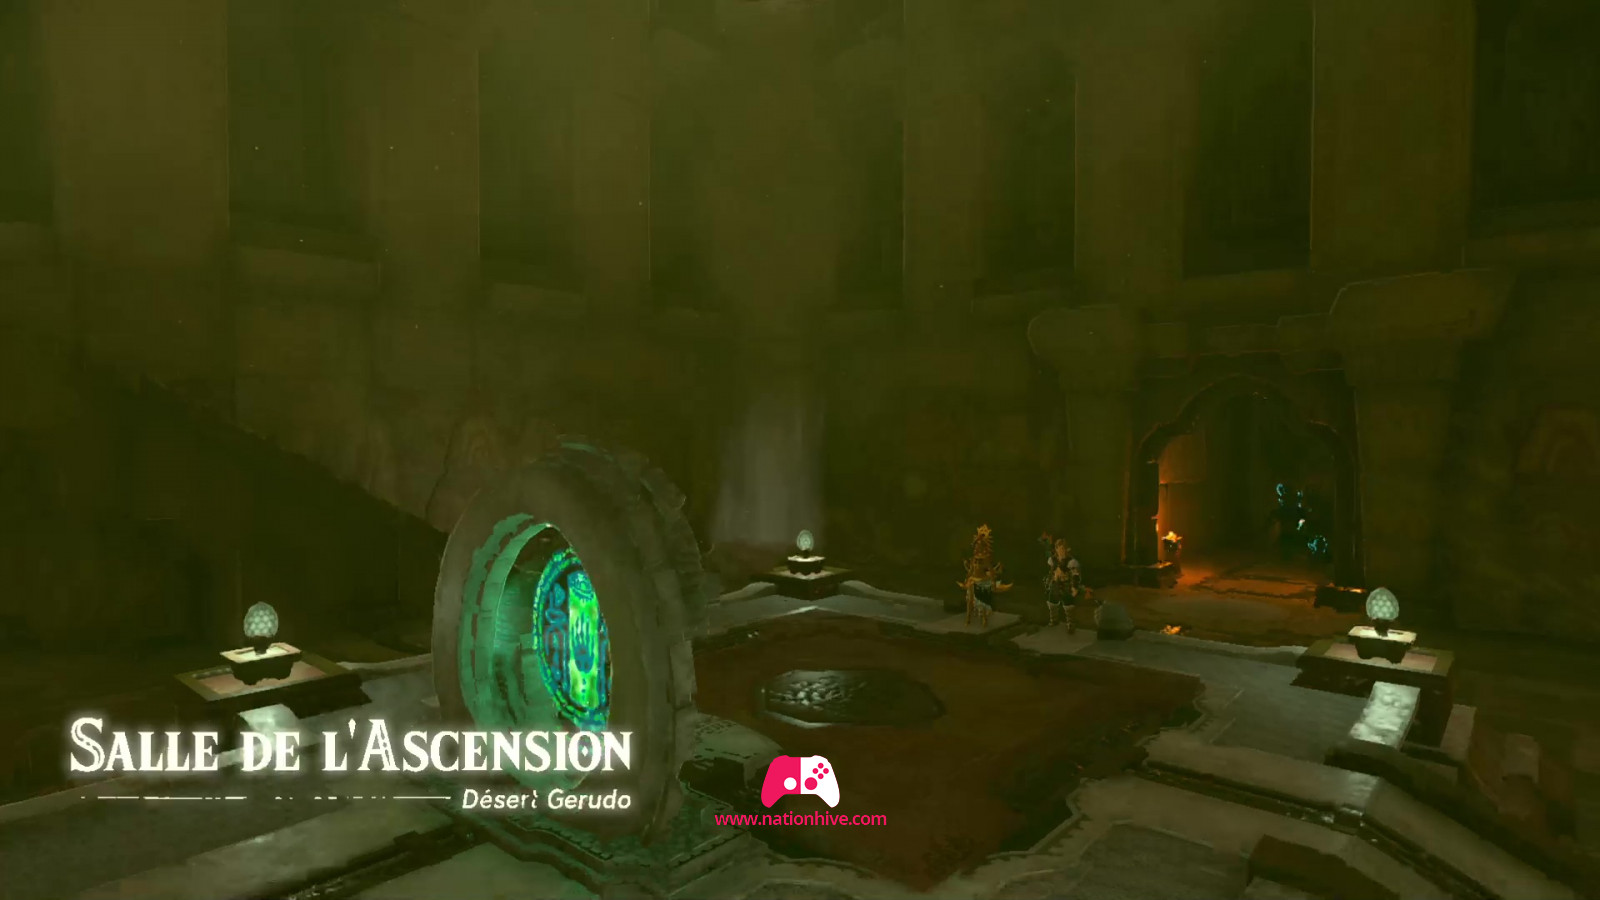
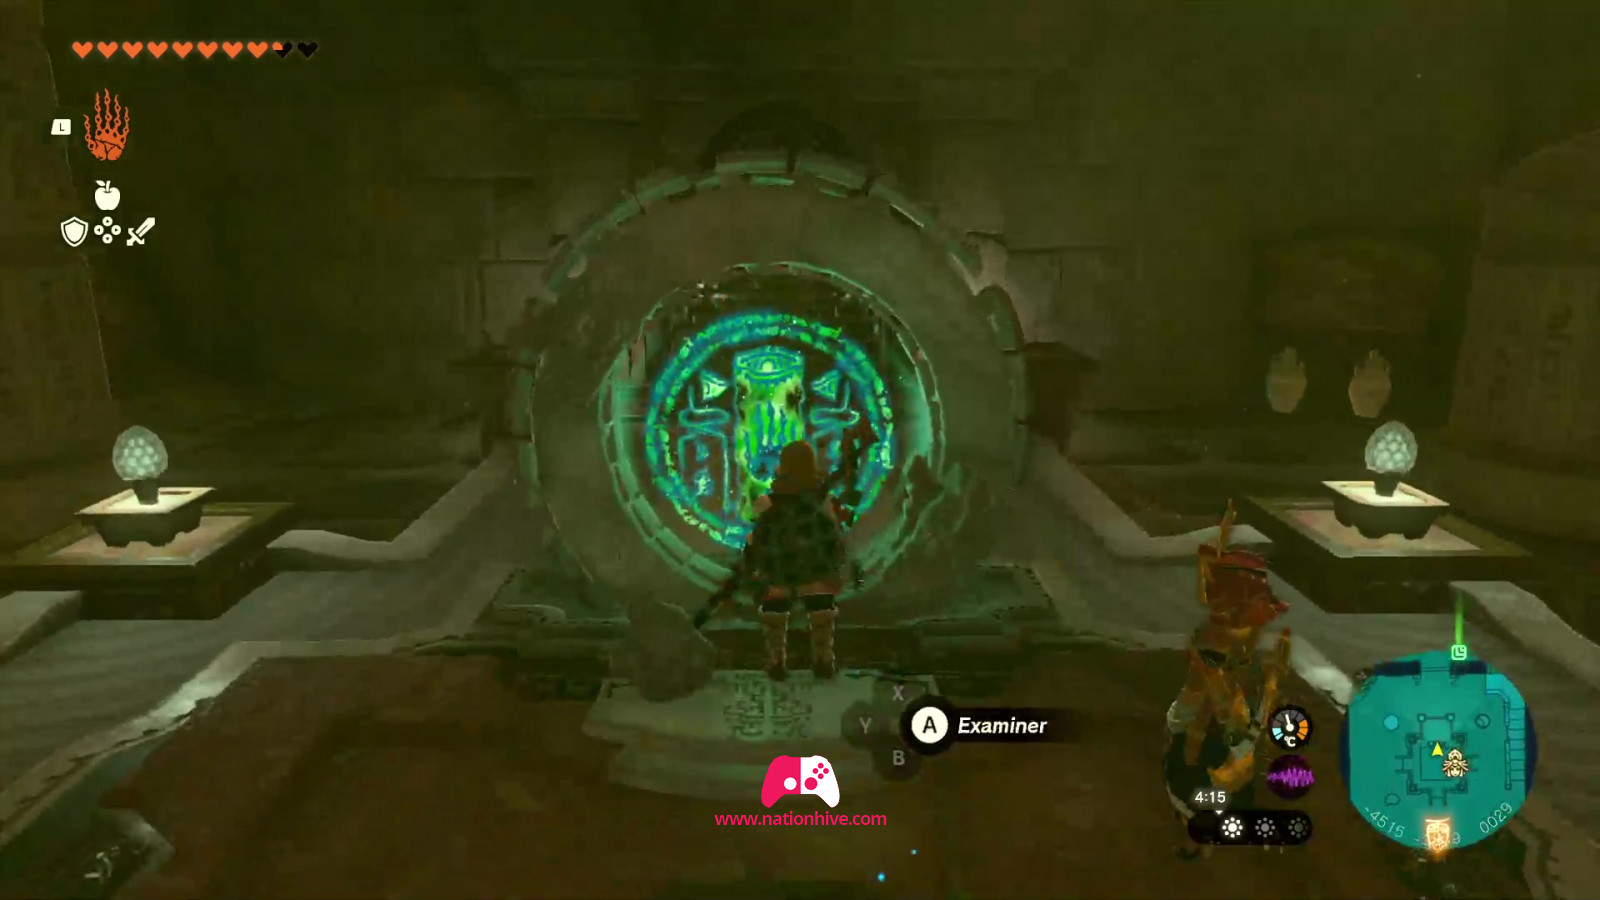
You'll soon realize that you'll need to charge 4 batteries by activating 4 mechanisms in order to reach the top of the temple and free Gerudo Town from the sandstorms. You'll need Riju's ability to activate all the mechanisms.
How to activate battery #1 (The Lighting Temple, 1st floor)
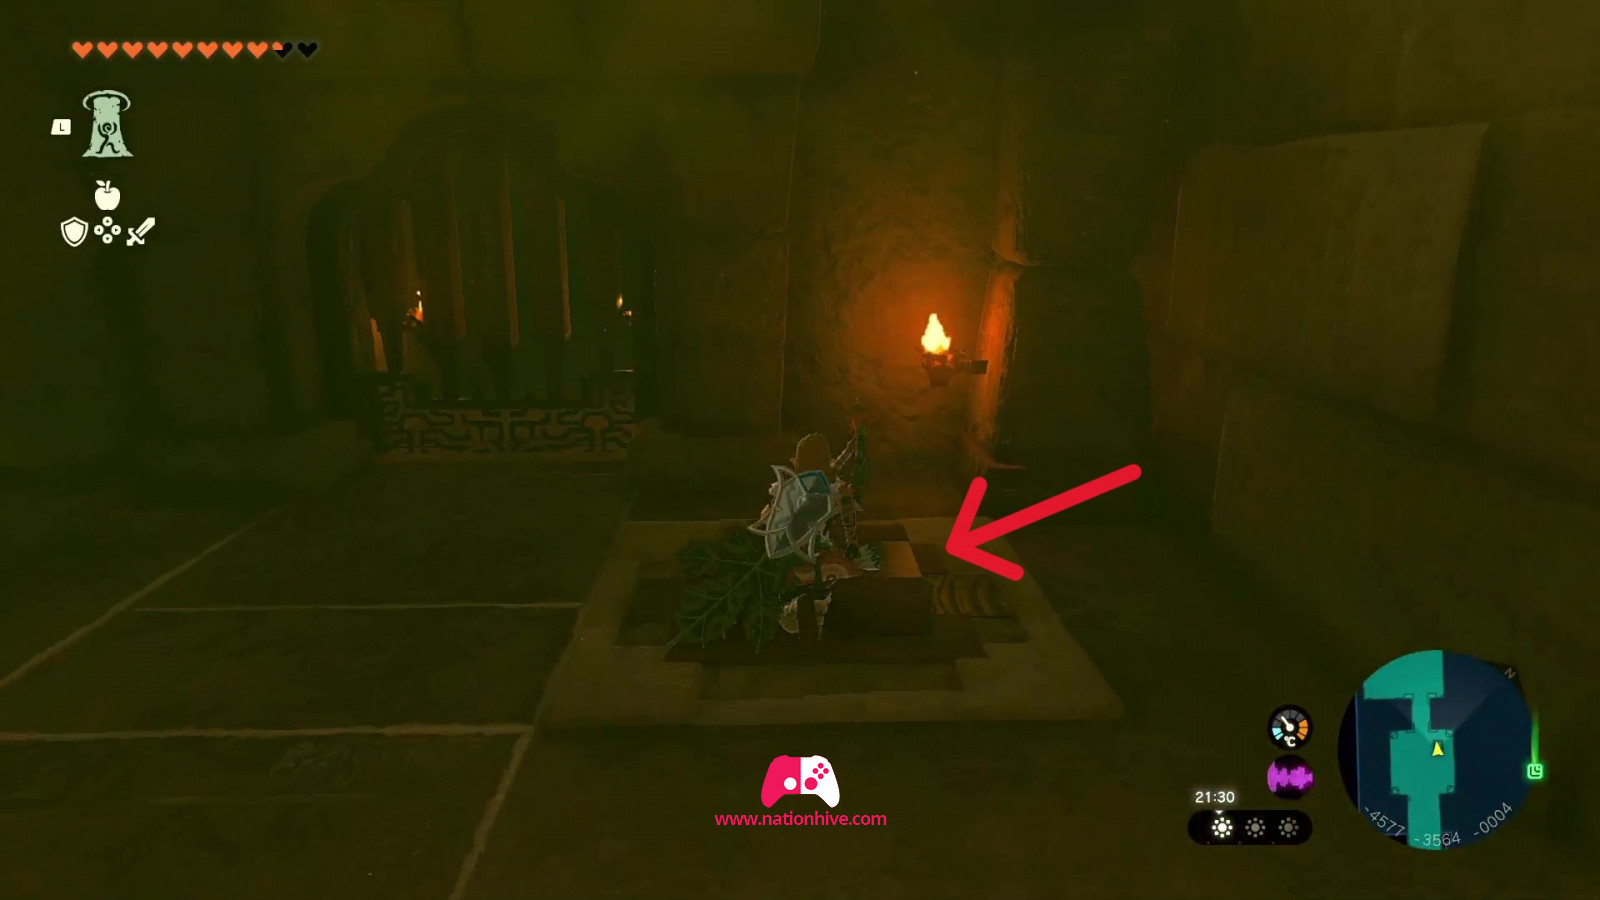
To access the first battery, head for the 2 red tiles and 2 pots on the floor behind the green magic circle on the right of the room.
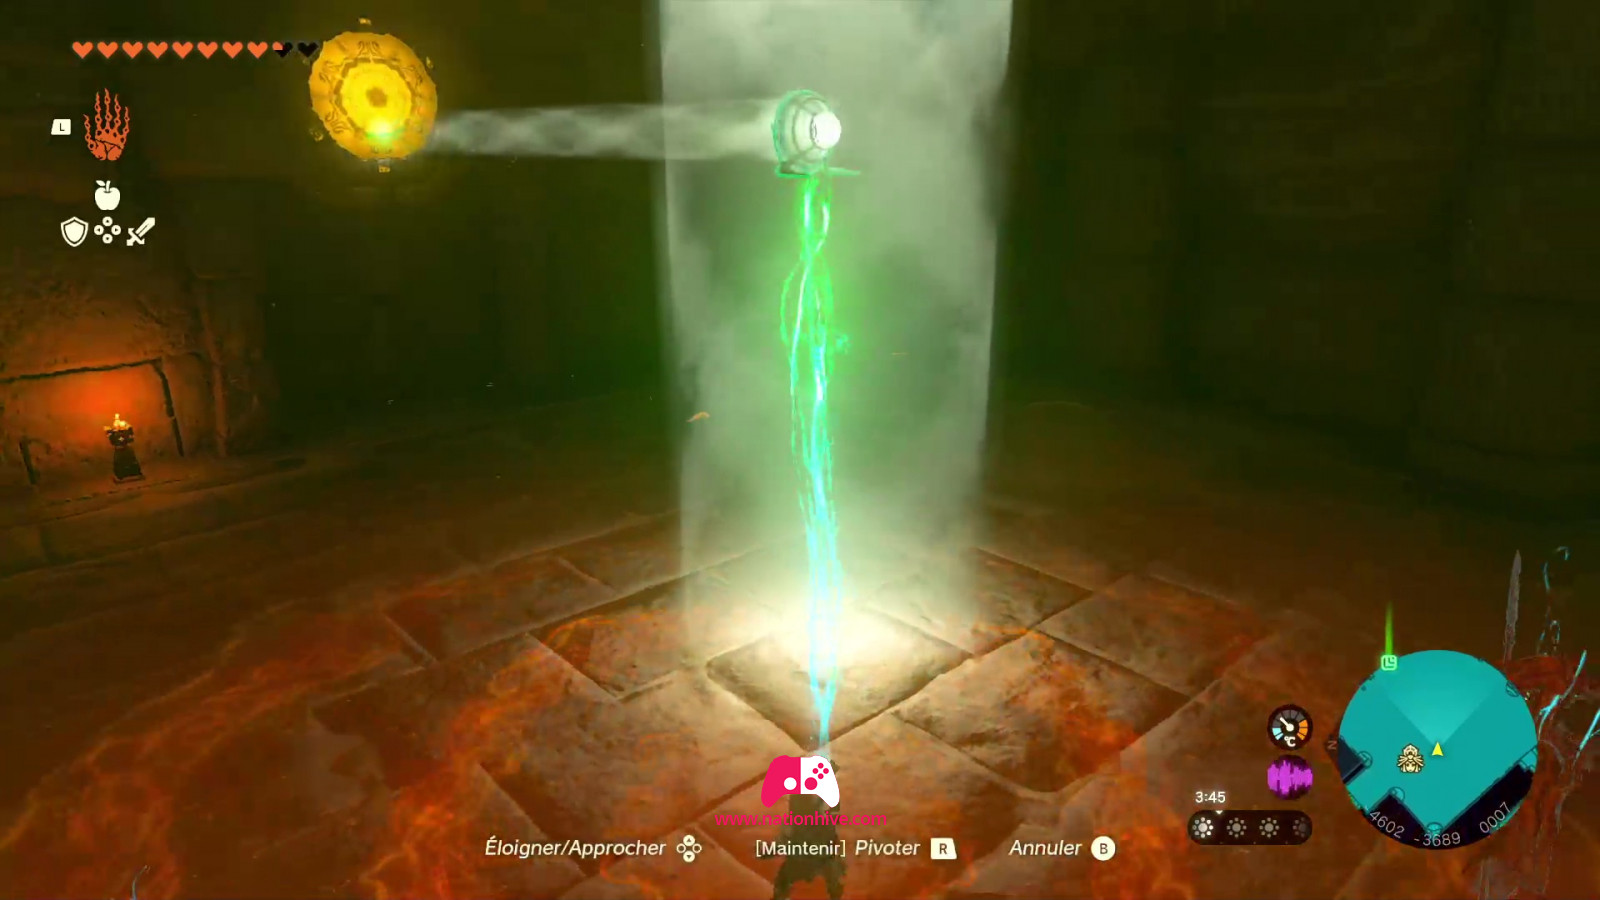
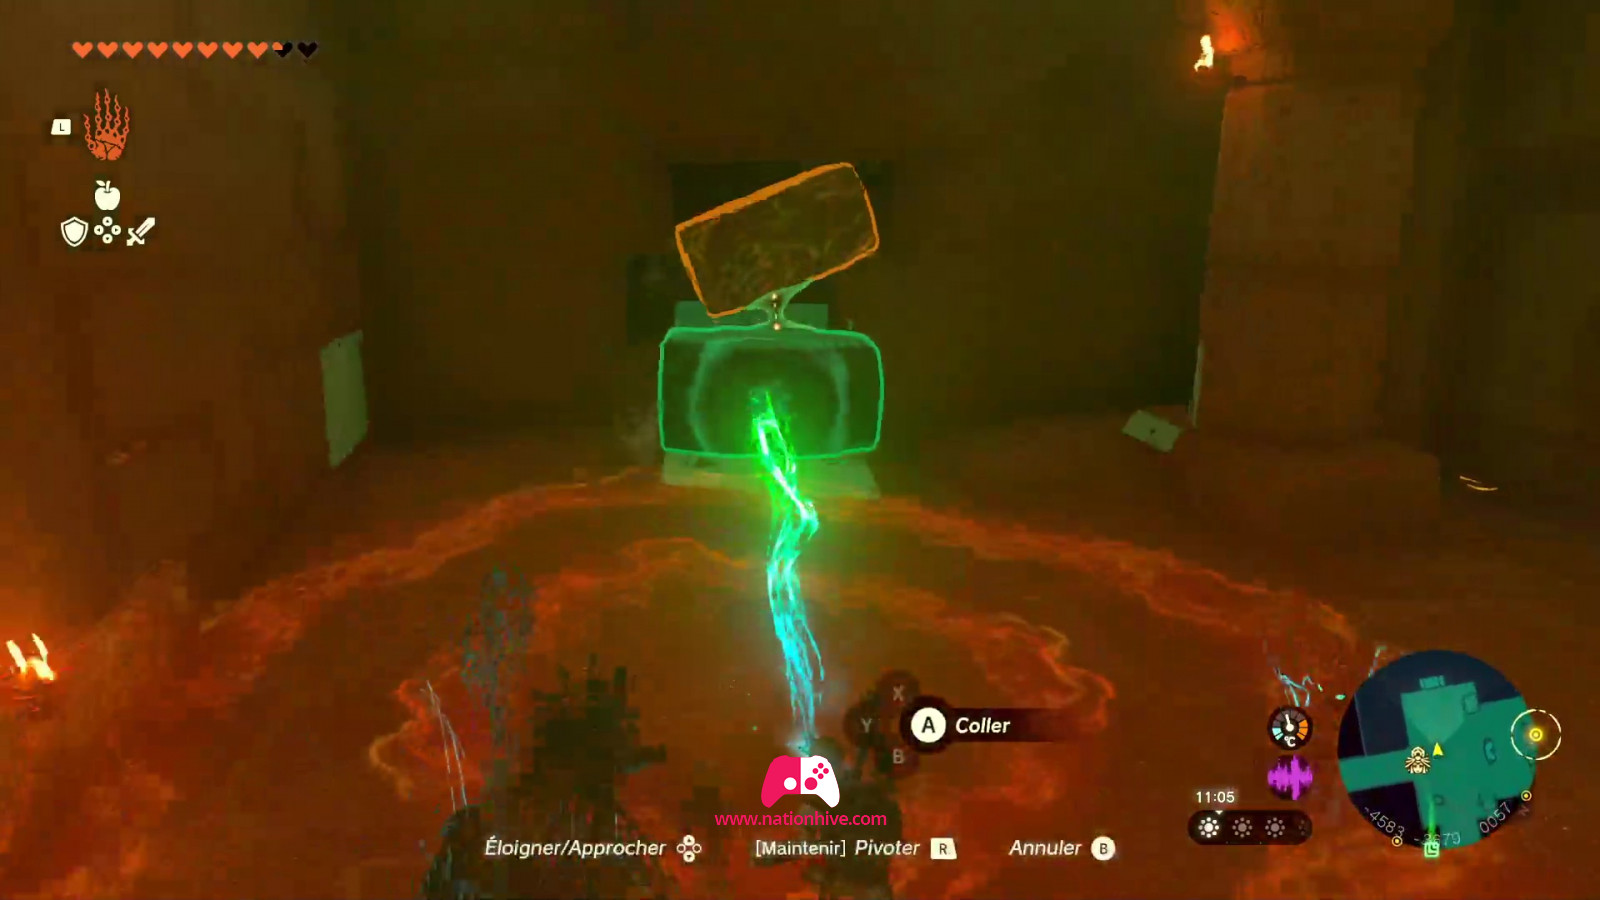
Move the red tiles using the Ultrahand ability and enter the small room. Activate Ruji's ability and wait for the electricity to spread over the battery before firing. This activates the first battery.
How to activate battery #2 (The Lighting Temple, 1st floor)

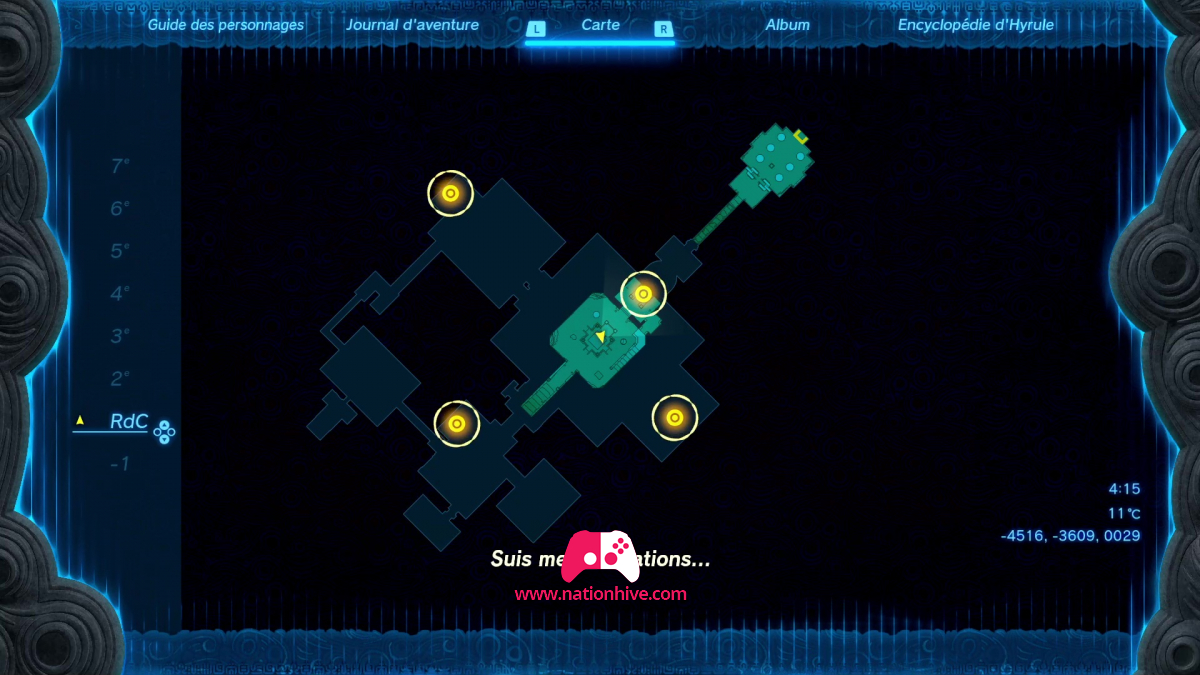
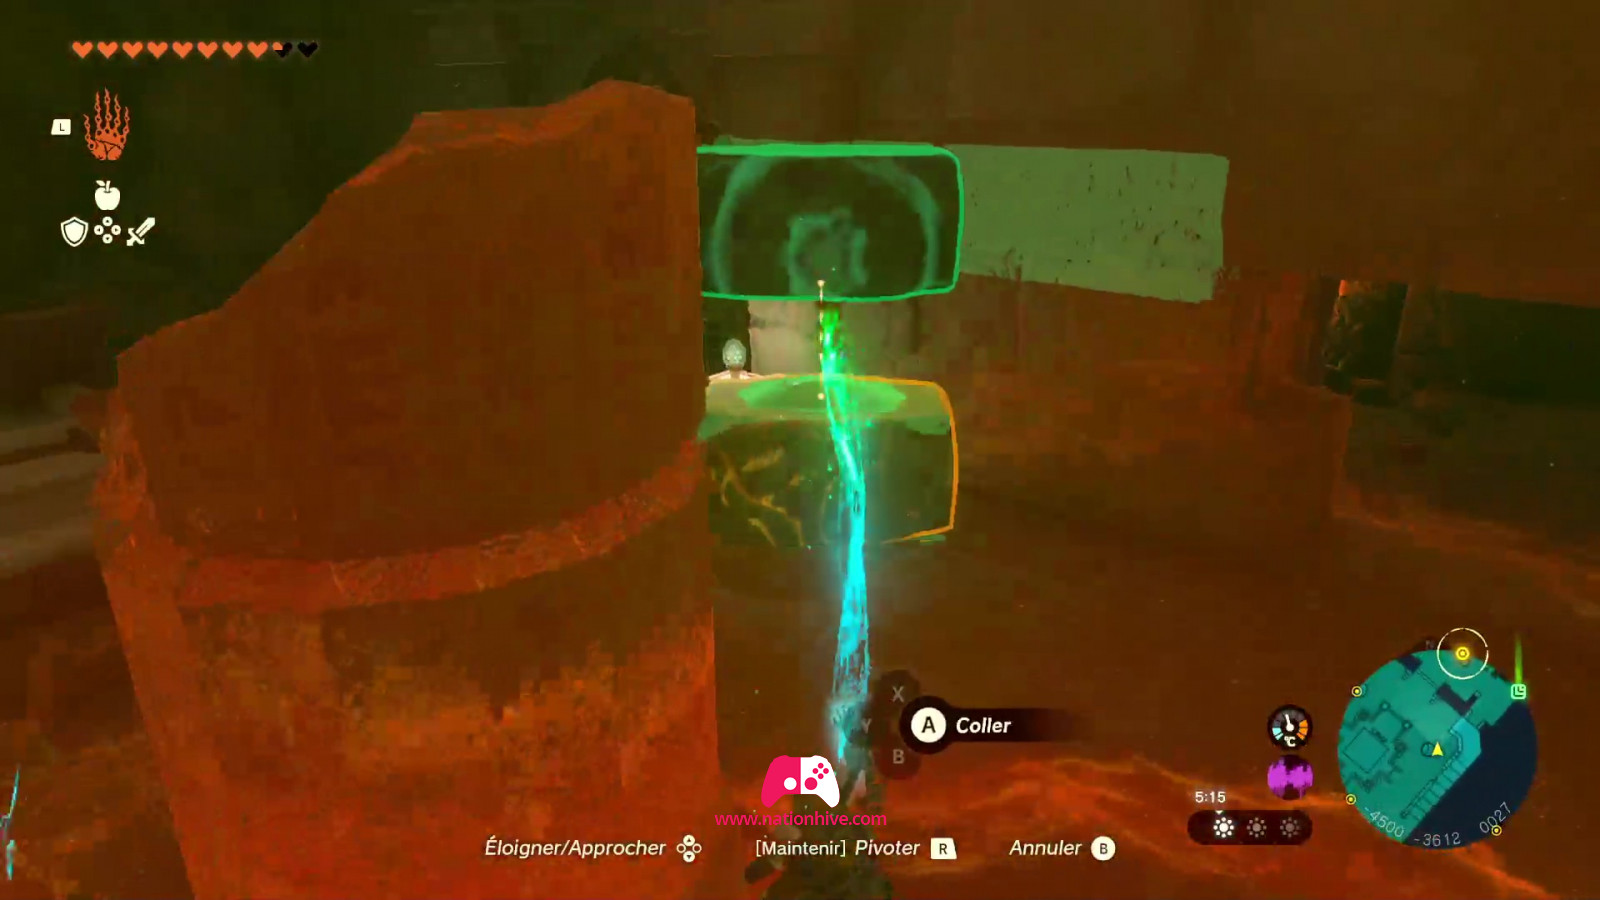
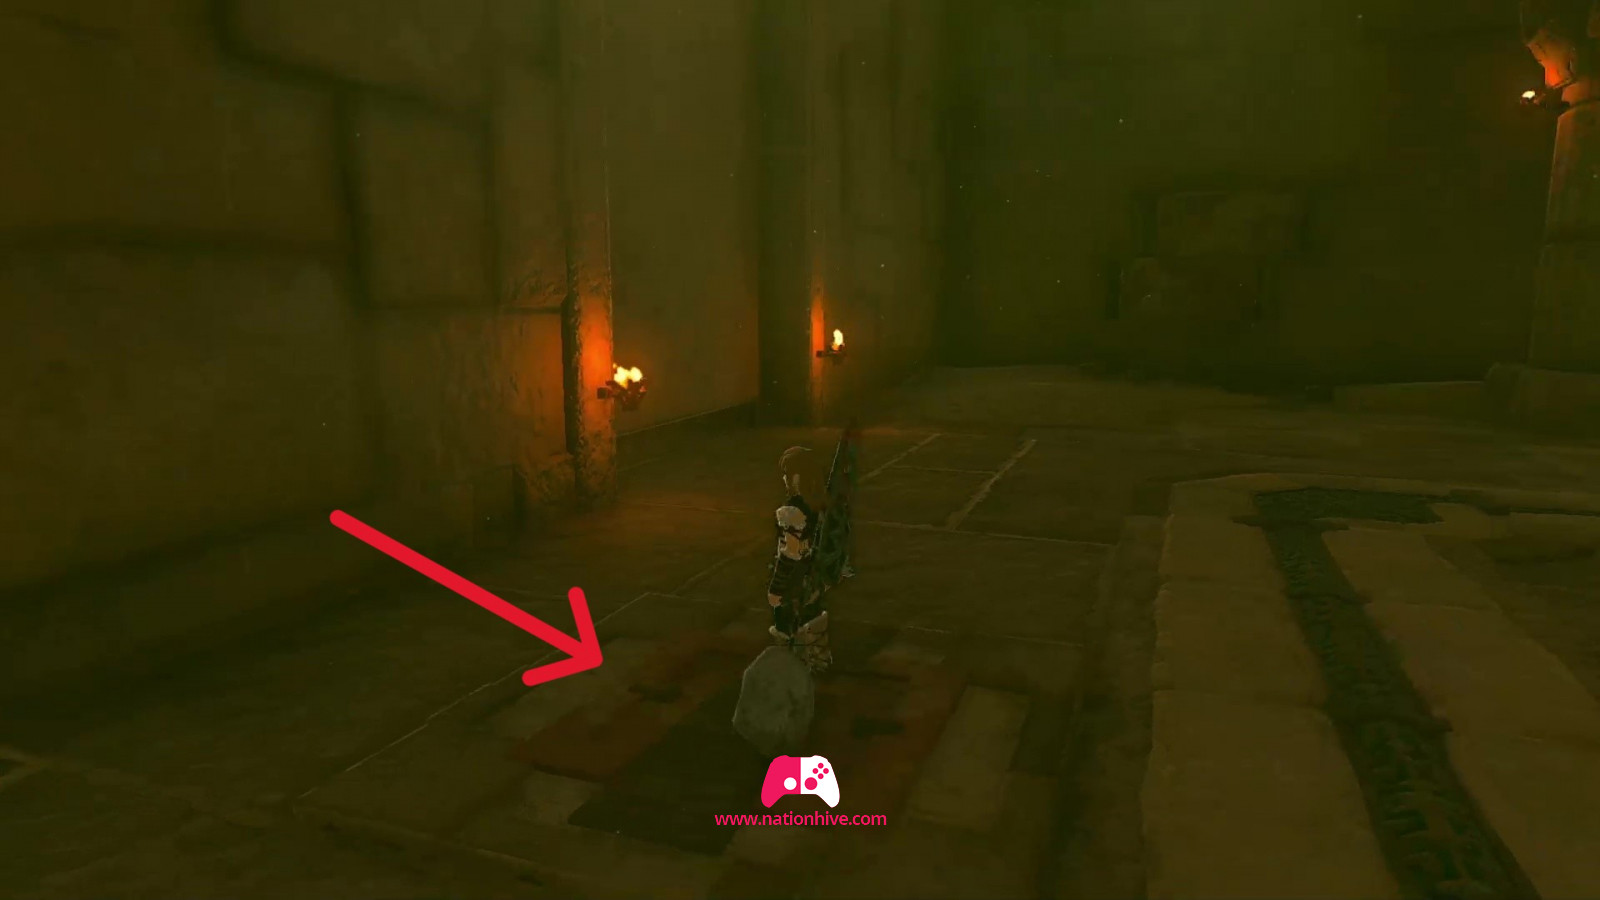
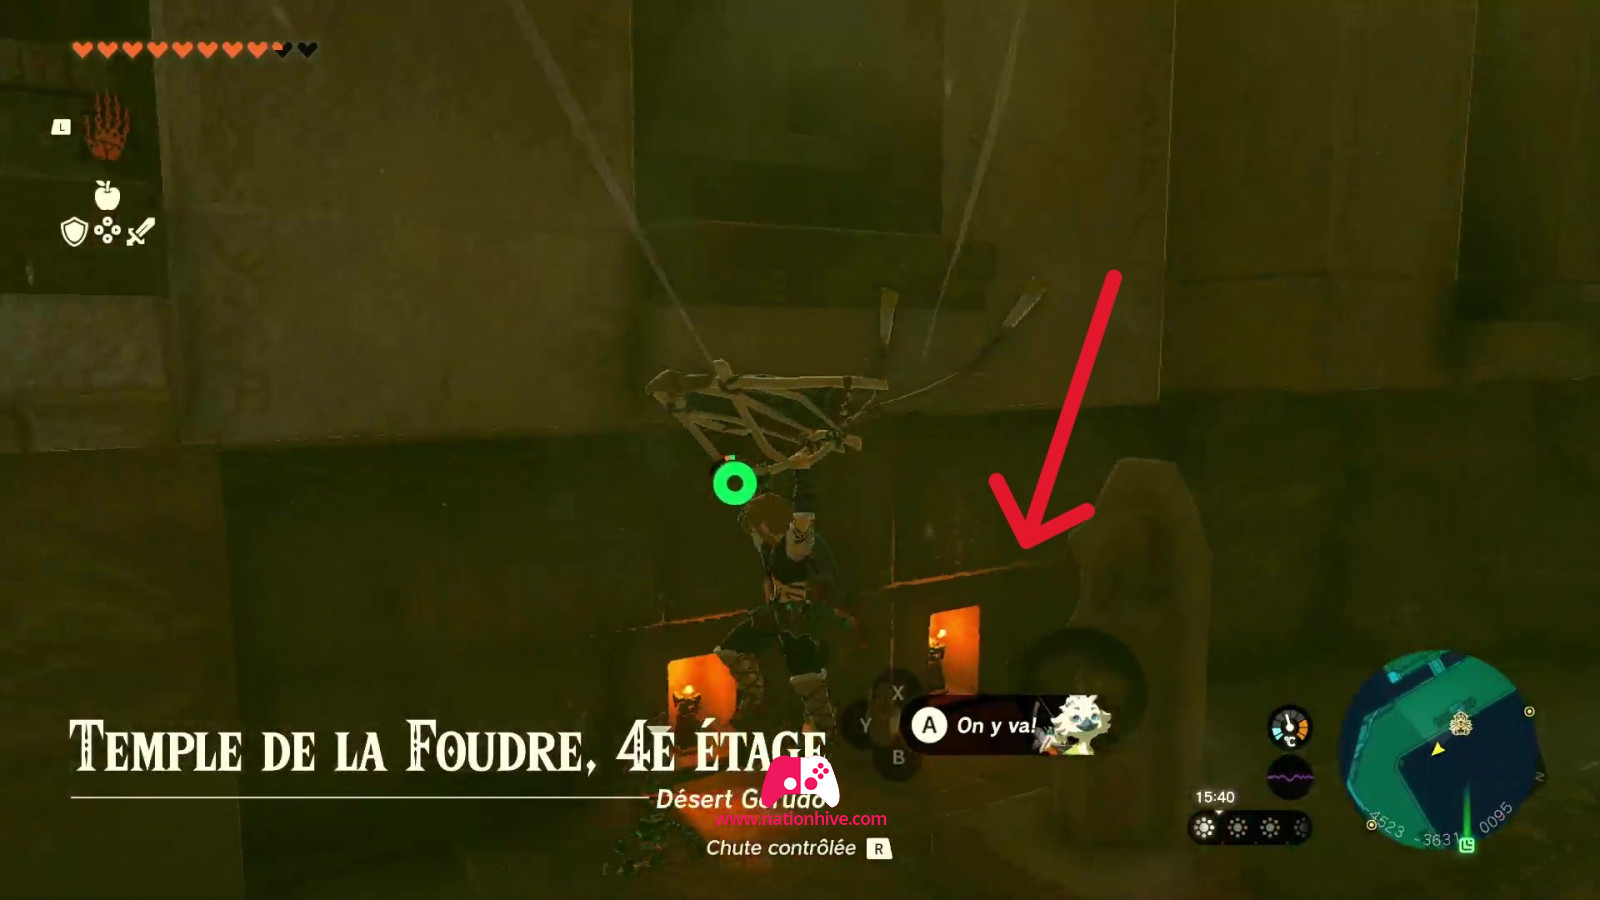
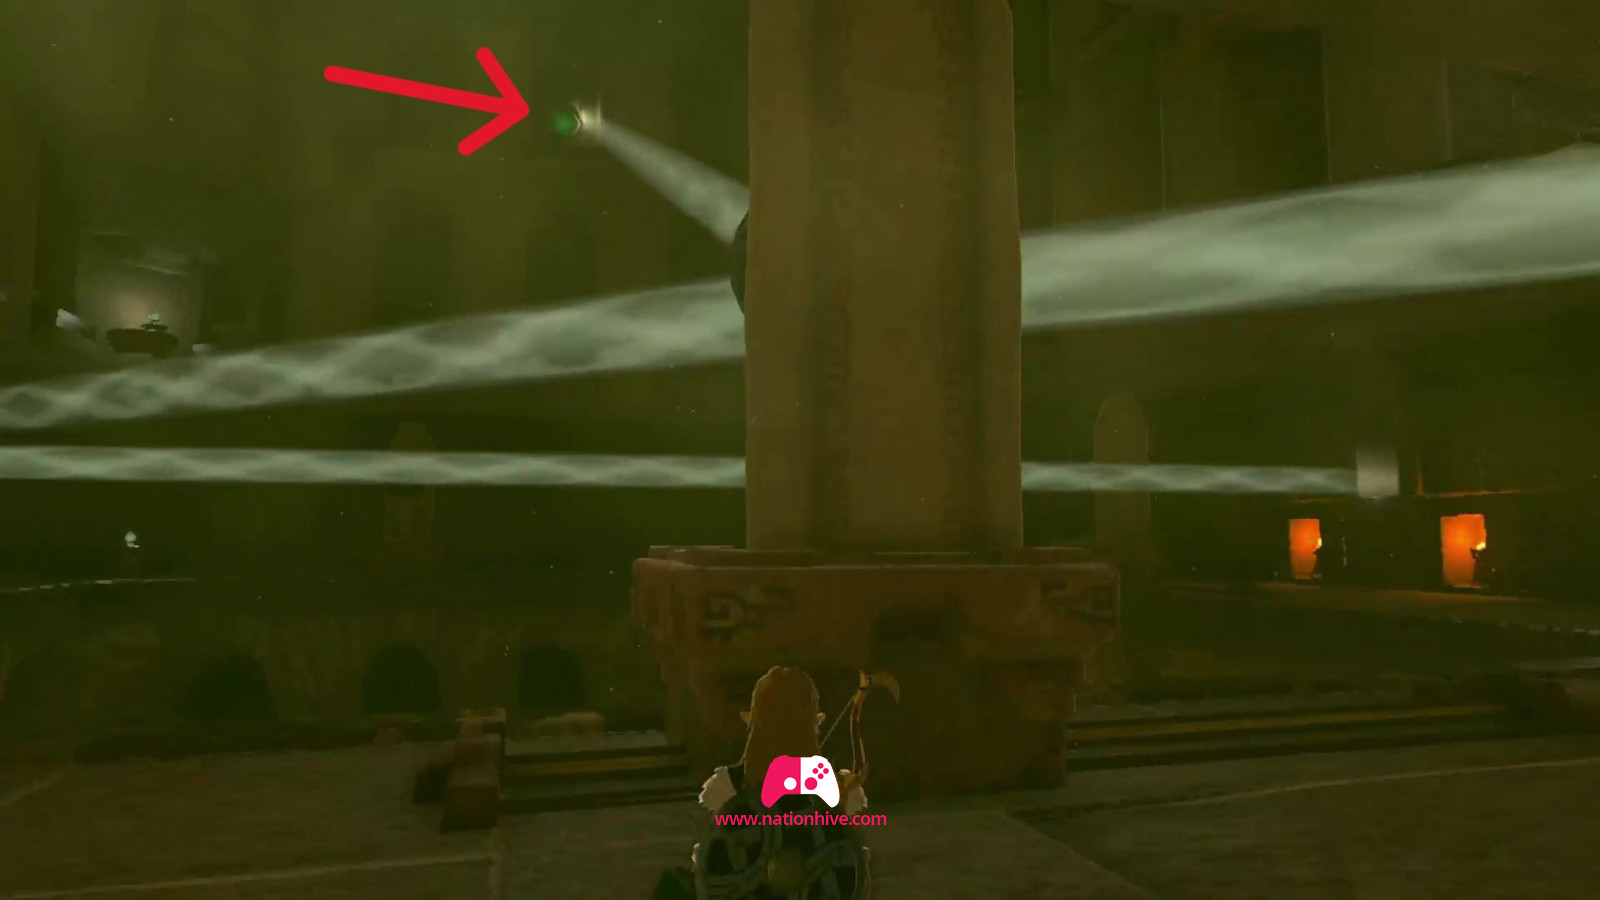
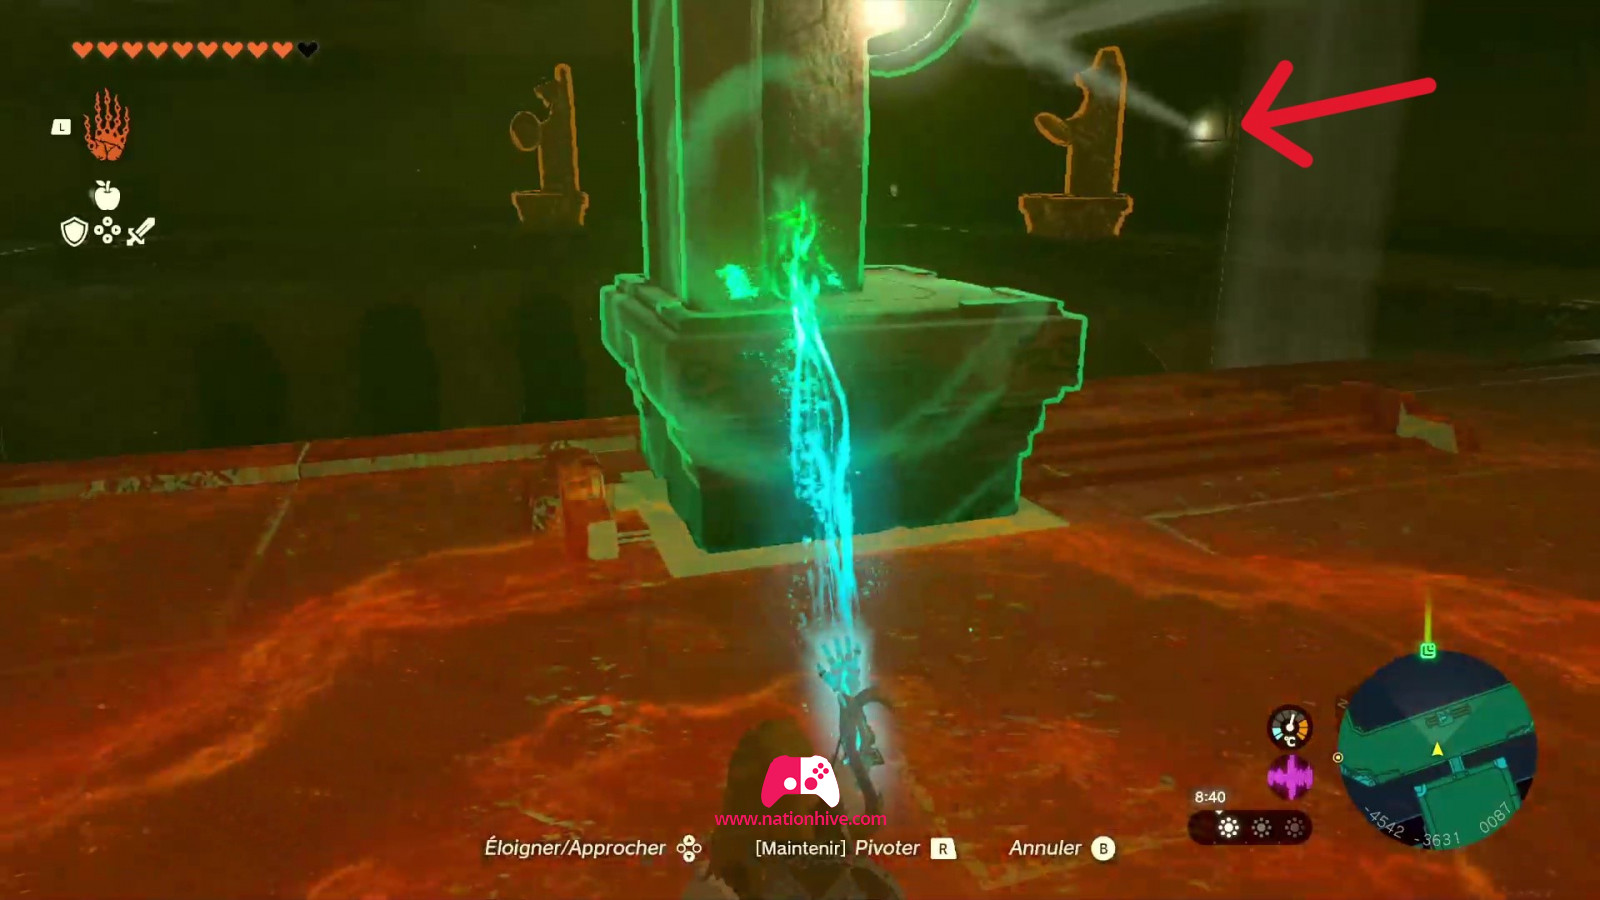
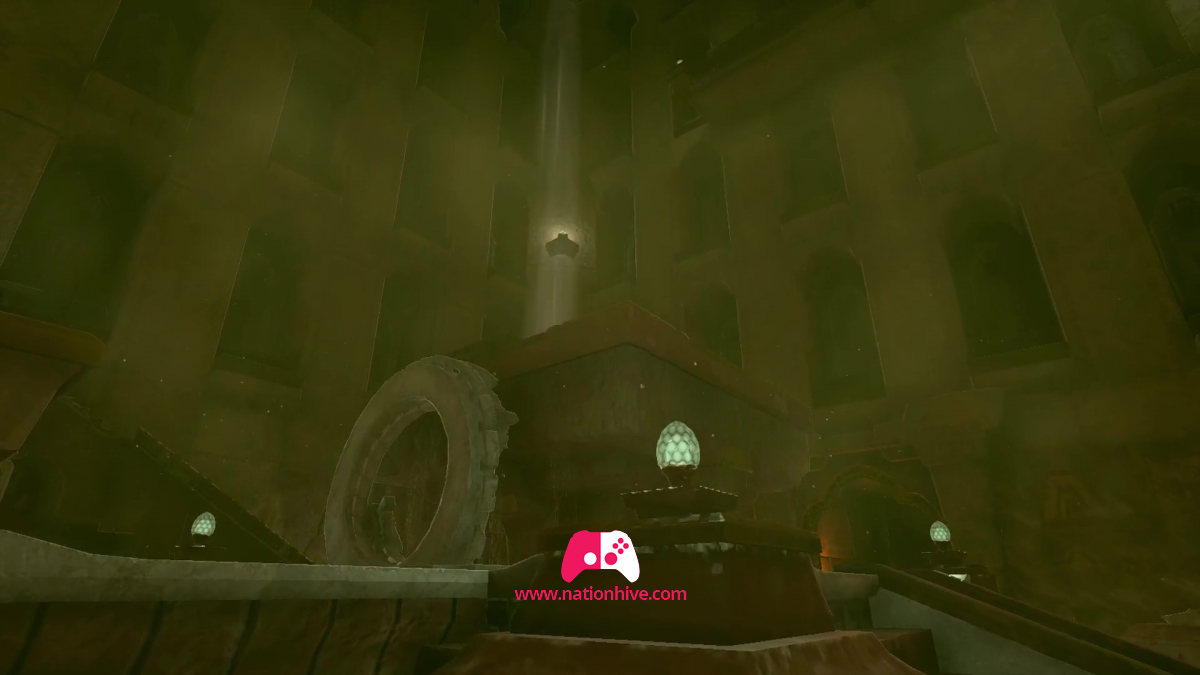
To get to the next battery, return to the room with the magic green circle and head for the area where the wind is rising upwards. Use Ultrahand to remove the slab blocking this wind current. Jump up and use the Paraglider to project yourself upwards to the 3rd floor (see image below).
Attack the Soldier Constructs and move into the room, where you'll find two turntables. Use Recall's ability to create an entrance with the 2 plates and be able to run across to the other side. Wait for the right moment to cross to the other side.
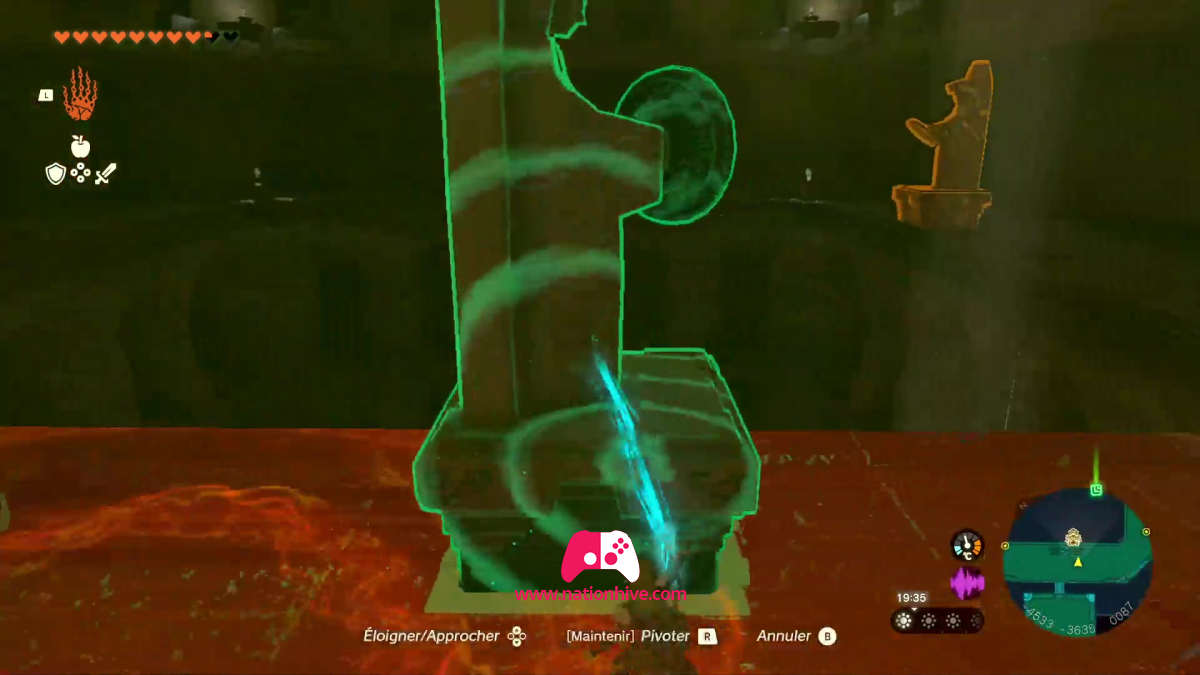
Once on the other side of the turntables, use the Ultrahand ability to move the red tiles from the wall, releasing a jet of light. Cross the turntables again. Releasing the jet of light will activate a statue that reveals a button on the other side of the temple. Head for this button.
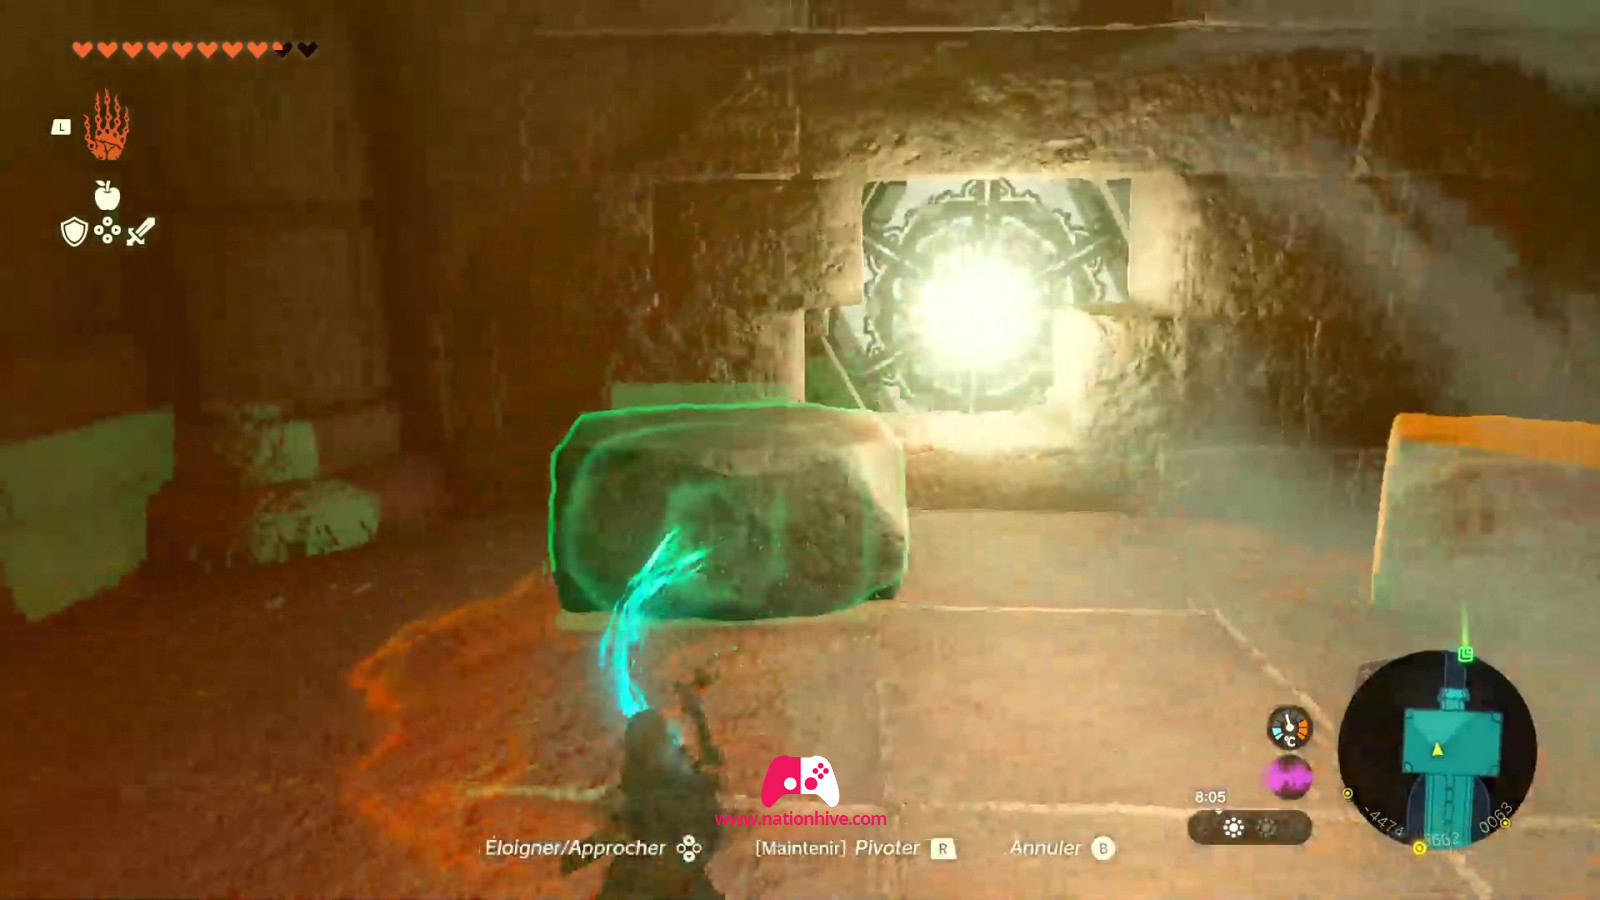
Hold on to the button to unlock stairs. You'll be faced with moving walls. Using Ultrahand, place a red tile between the walls when they open, so you can cross to the other side.
Once on the other side, hold on to the button on the left to immobilize the walls you've just crossed. Then repeat the steps with the other moving walls. Use Ultrahand to move a red slab on the wall and create another path between the moving walls. Crouch down and cross to the other side, arriving in the Room of Light and Shade.
Attack the enemies and jump into the void to land in the room below. Simply use Ultrahand on the Mirror and reflect the light onto the hexagonal target to unlock a platform and send the light upwards.

Then use your Ascend ability to climb back up and move another Mirror from the ground using Ultrahand to reflect light down the path you've just crossed to reach the room you're in now.
Return to the front room and make sure the jet of light is reflected on the green platform. Activate Ruji's ability and wait for the electricity to spread over the battery before firing. This activates the second battery.
How to activate battery #3 (The Lighting Temple)

To reach the next battery, return to the main room (where the magic green circle is located) and jump into the airstream to climb up. Head for the 4th floor (see image below for orientation).
Attack the enemies and climb the wall to reach the space where the light is projected. You'll arrive in the Room of Naturel Light.
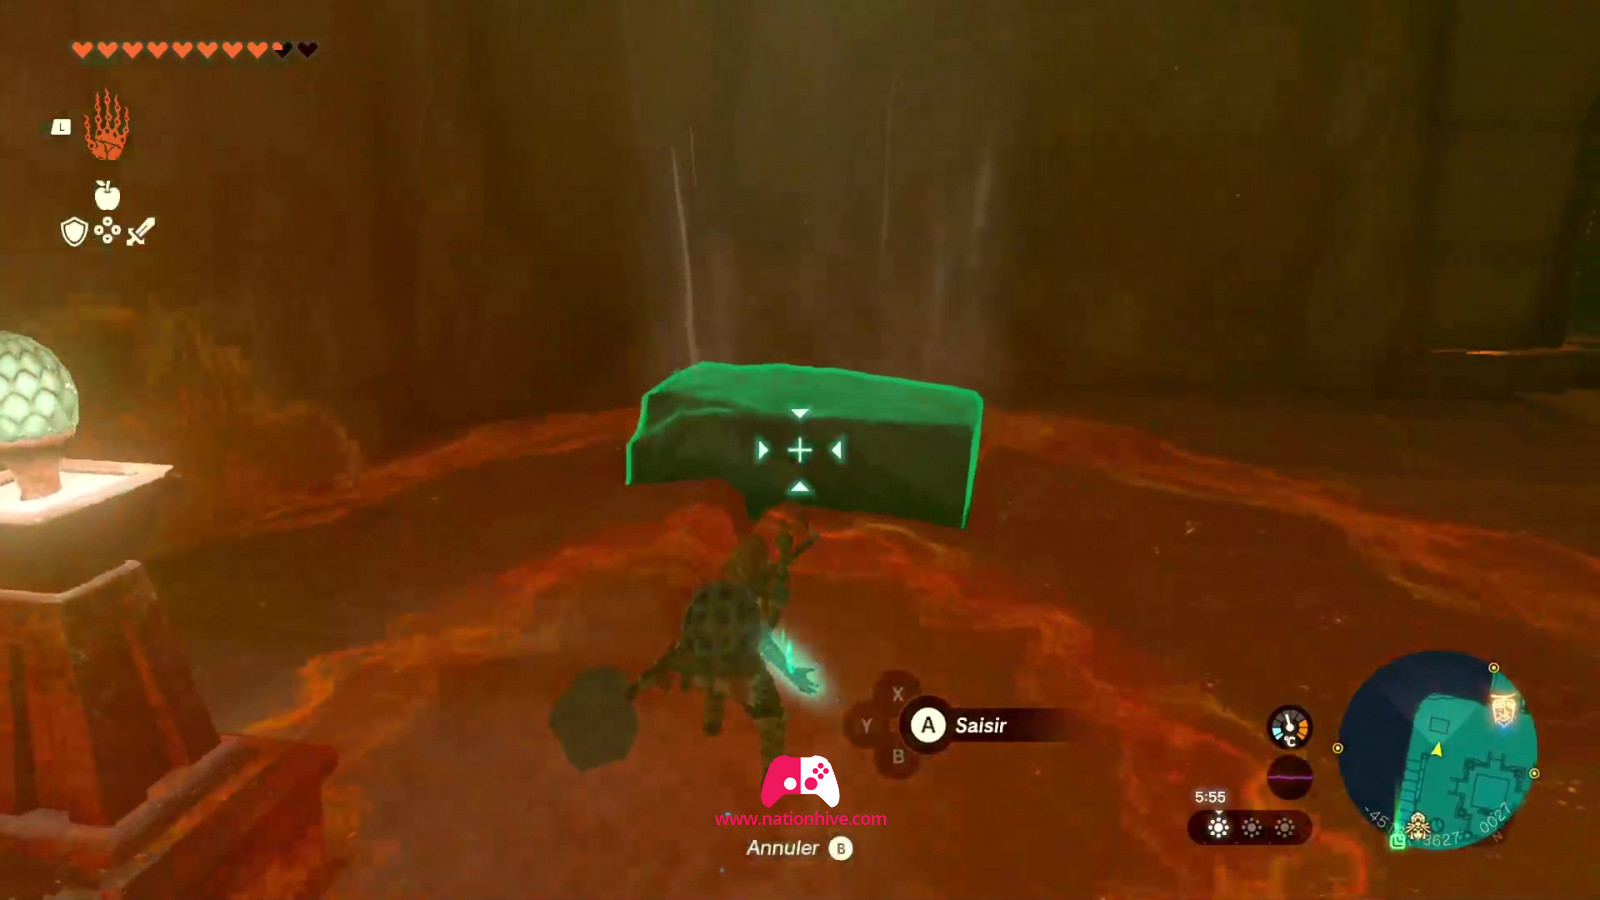
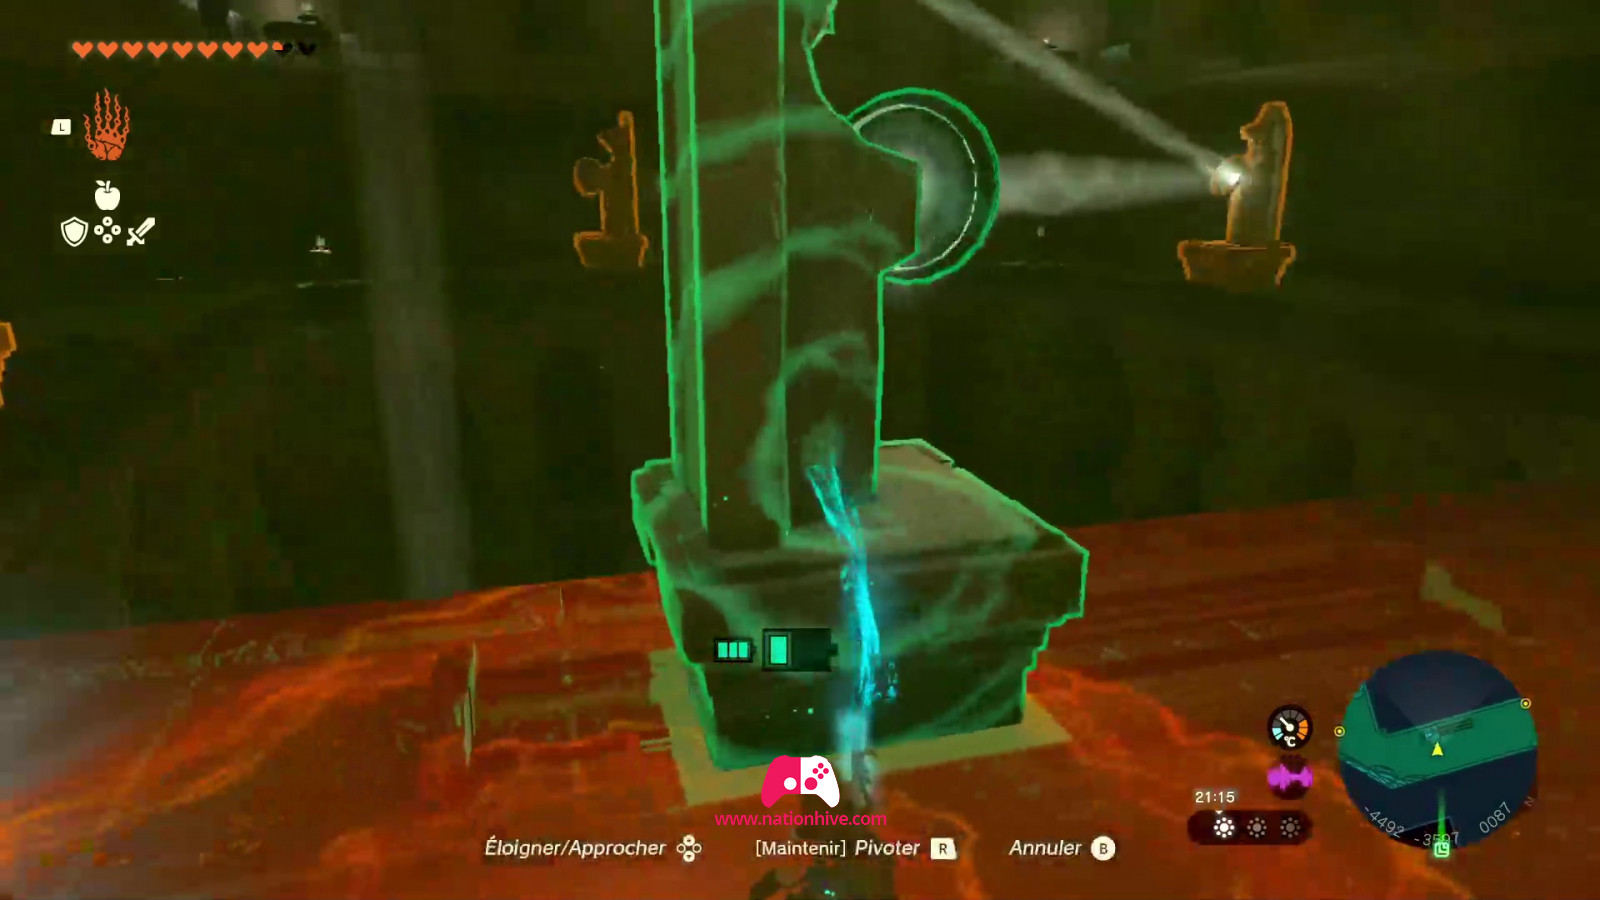
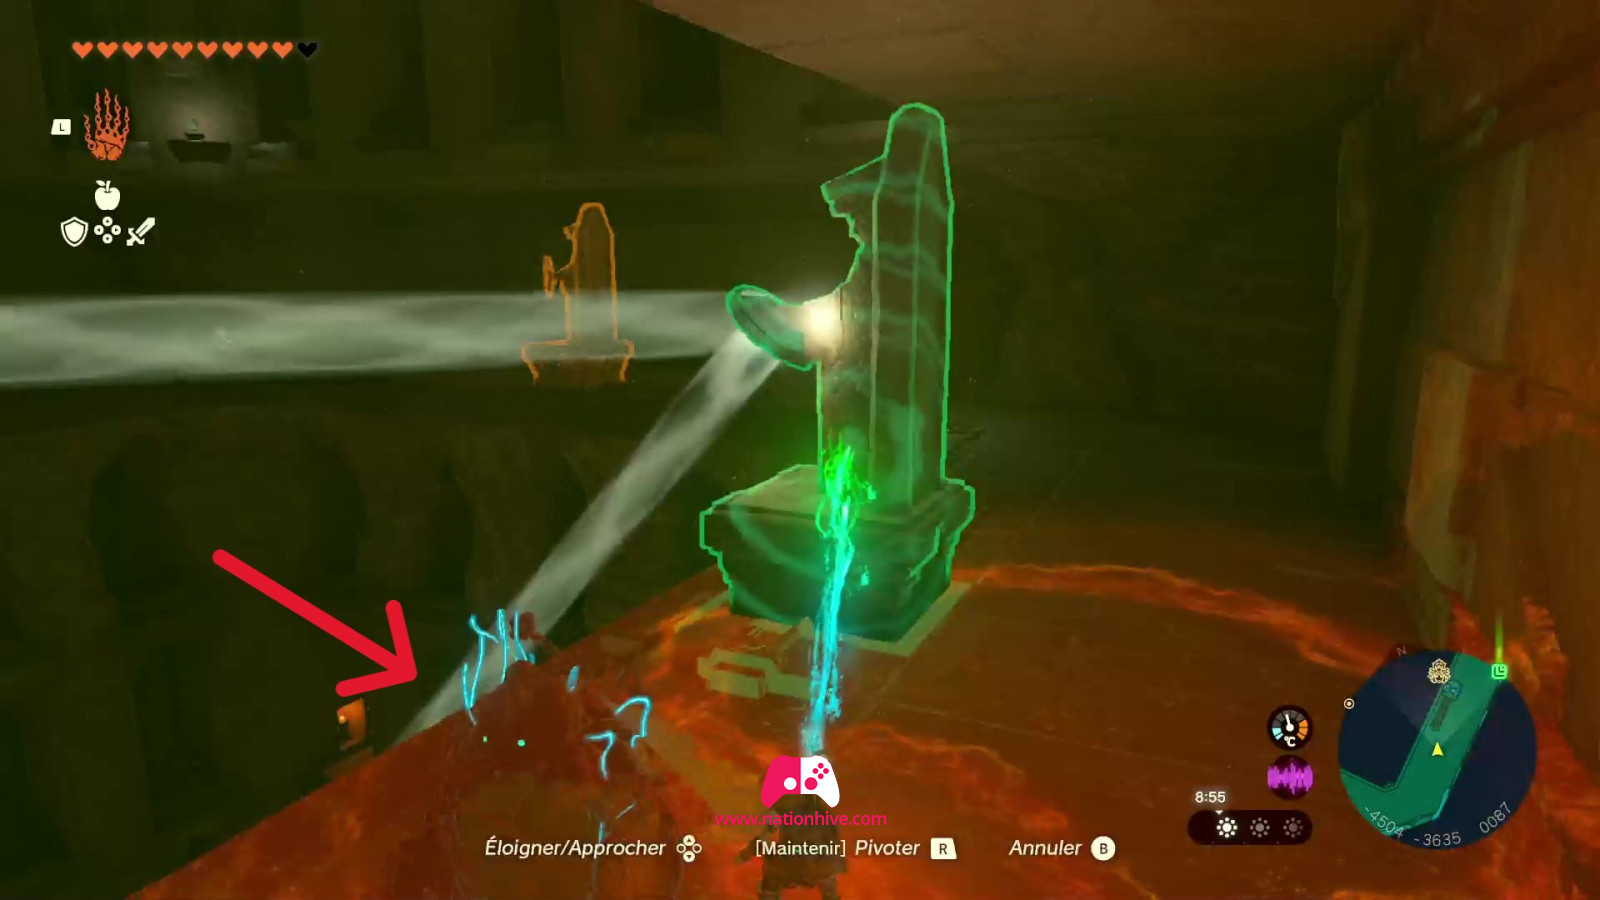
In the room, you'll find a hole in the right-hand wall containing 2 Reflectors. Use Ultrahand to pick up a red slab and place it vertically to hold a mirror which will reflect the light on the other side (see image below).
Leave the room and head for the 4 moving platforms holding a mirror. You'll notice that they're each located on the northeast, southeast, southwest and northwest sides of the room.
Move the south-western one first (closest to where the gap in the wall is). Use your Ultrahand ability to slide it all the way to the right. This will cause the jet of light to pass through to the other moving platforms in the room.
Then head in the direction of the moving platform where the light is projected. To be able to move the 2nd moving platform, you'll need to remove the sand on the ground. Once this has been done, move the platform until the jet of light is projected onto the moving platform on the right-hand side, and then head towards it. Move the 3rd platform so that it reflects the light onto the green platform at the top. This will activate a statue which will reveal a button. Move towards this button and stand on it.
Step forward and leap into the void ahead of you, watching out for the flames. You'll notice that Riju isn't by your side to activate the battery. You'll have to stand on a button to unlock the door and let her into the room you're in. First, however, you'll have to get rid of the Soldier Constructs. Avoid the Construct's electrical attacks, which can do a lot of damage. Once the enemies have been defeated, activate Riju's ability and wait for the electricity to spread over the battery before firing. This activates the third battery.
How to activate battery #4 (The Lighting Temple)
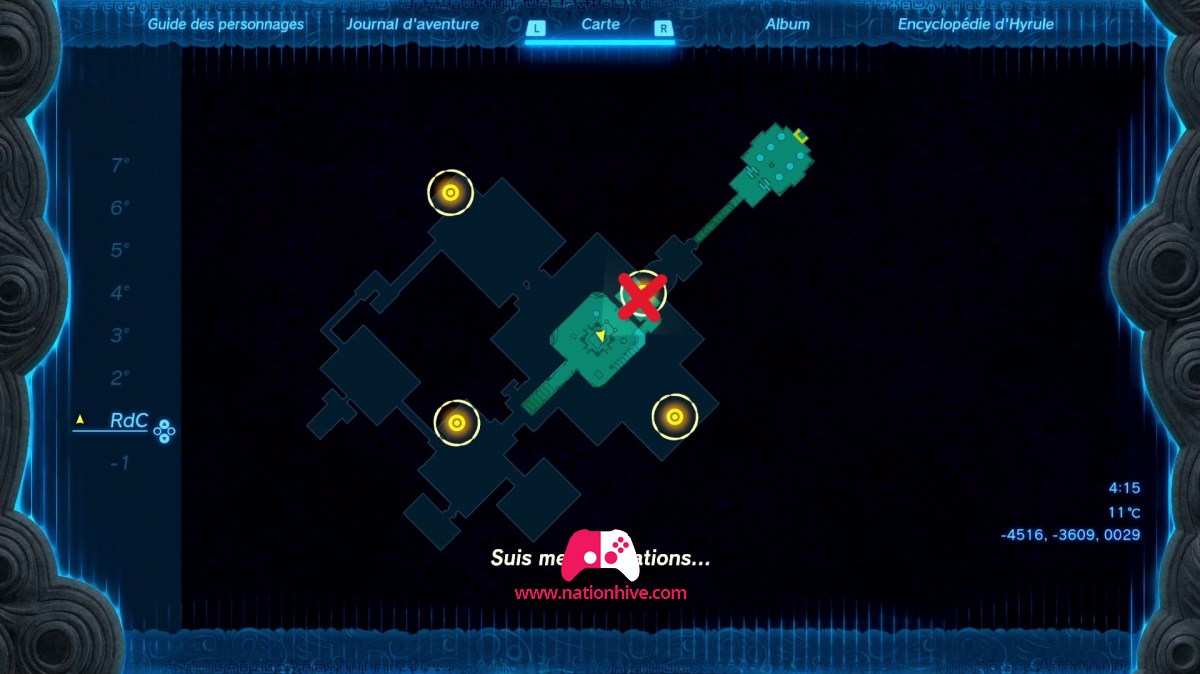
To get to the last battery, return to the main room (where the magic green circle is located) and jump into the airstream to climb up. Once again, head for the 4th floor (see image below for orientation). This time, your aim is to make the light reflect not upwards, but downwards.
This time, you'll need to move the moving platform in front of the small space where the light is projected to reflect the light towards the moving platform on the right (see image below).
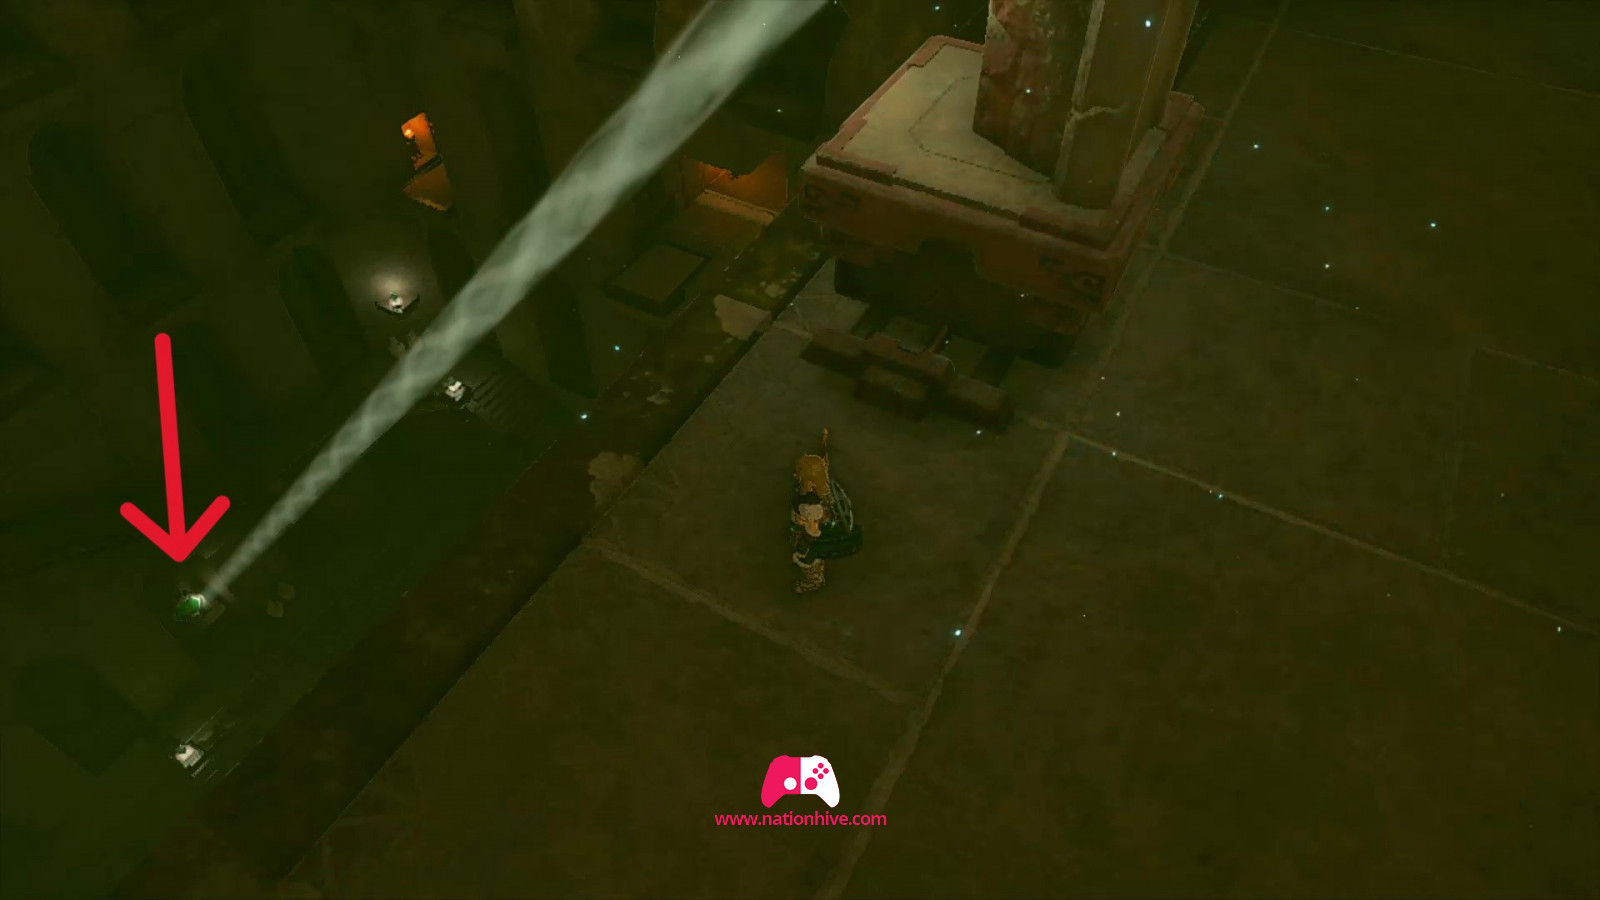
Go to the moving platform where the light is projected and move the platform so that it projects the light downwards. This will activate a statue that reveals a button. Move towards this button and stand on it.
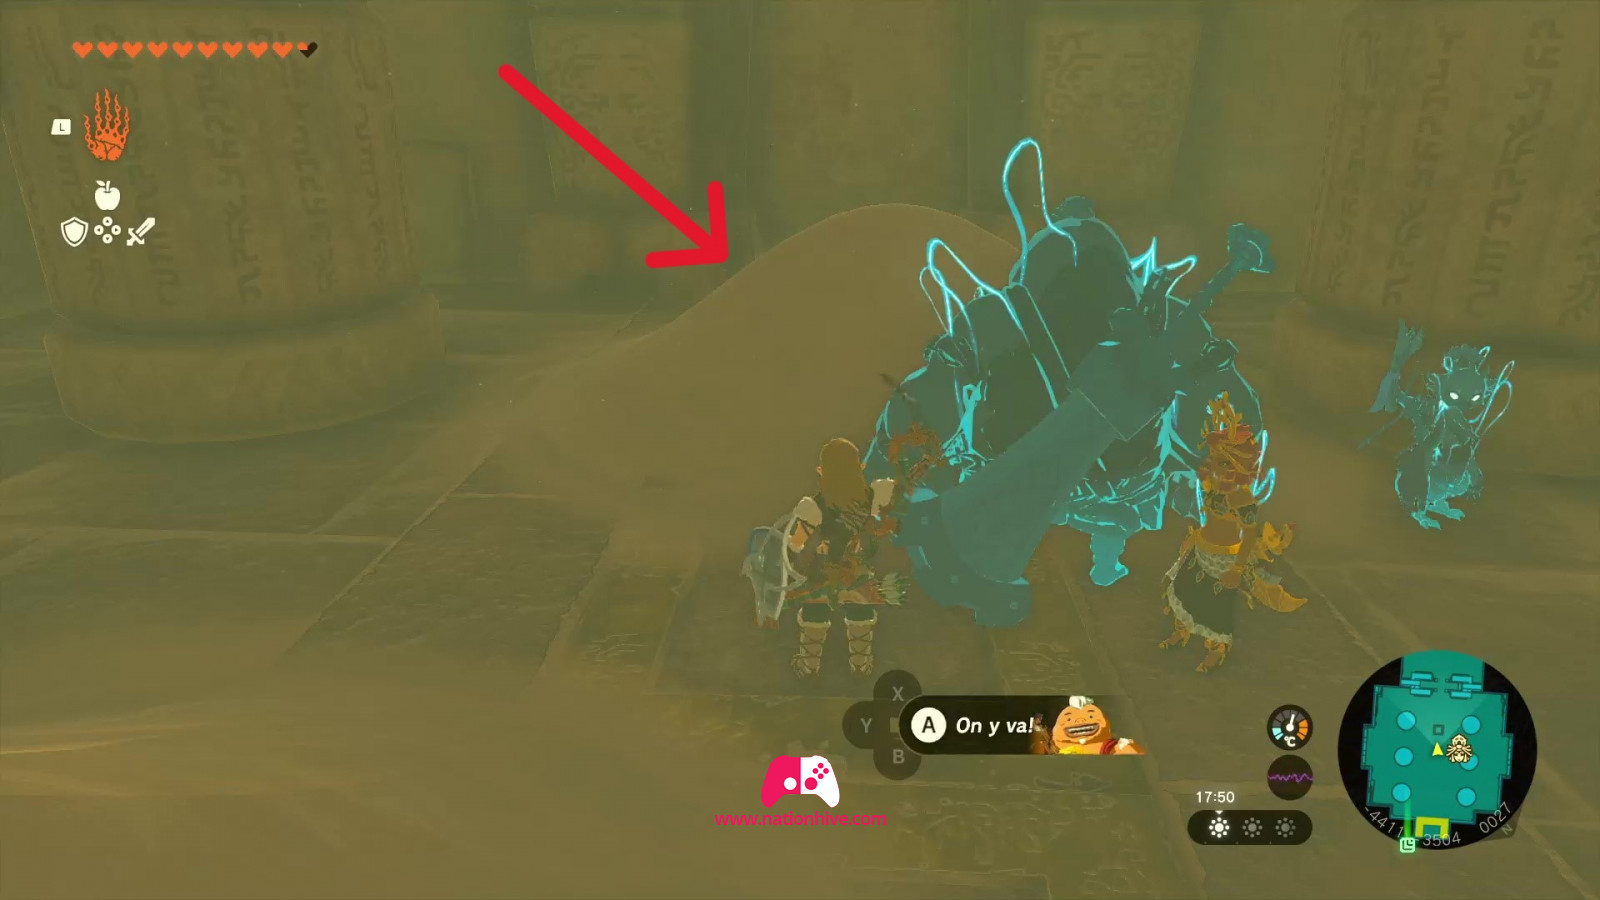
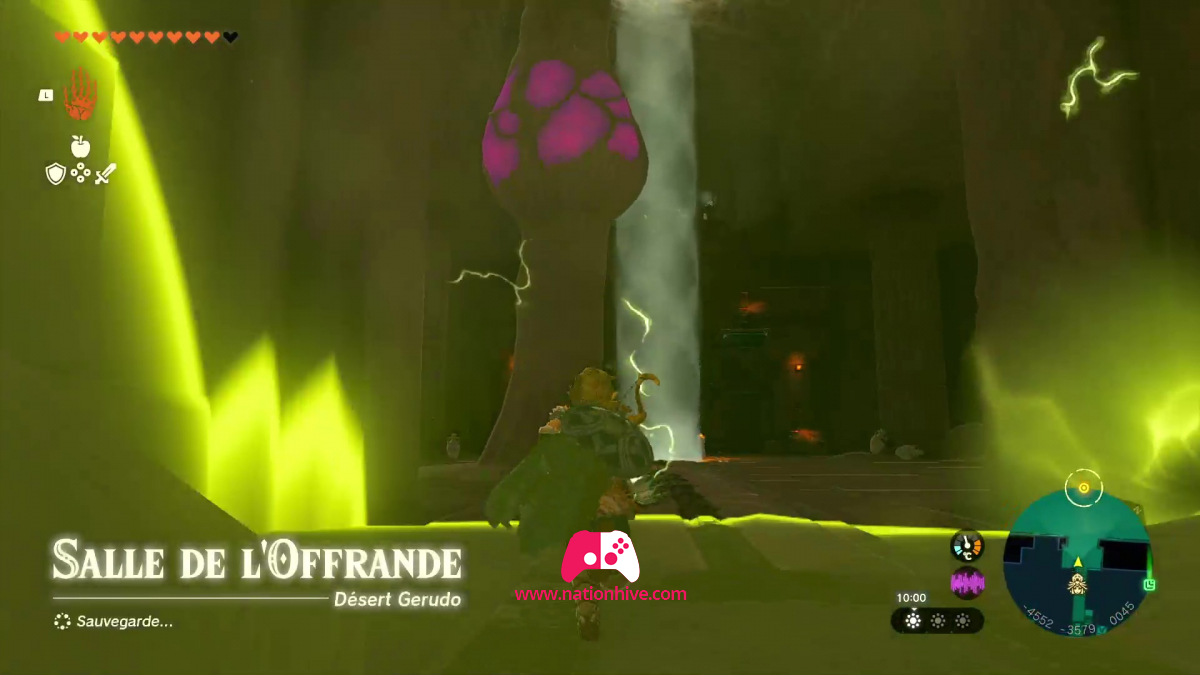
You'll arrive in the Room of Offered Light. As you move forward, the Gibdo nests activate and you'll face several enemies. Attack them all to be able to progress. We recommend you try to eliminate the Gibdo nests as quickly as possible to limit the number of enemies that appear. Use Riju's ability and shoot an arrow at the nests when they are bright pink to destroy them.
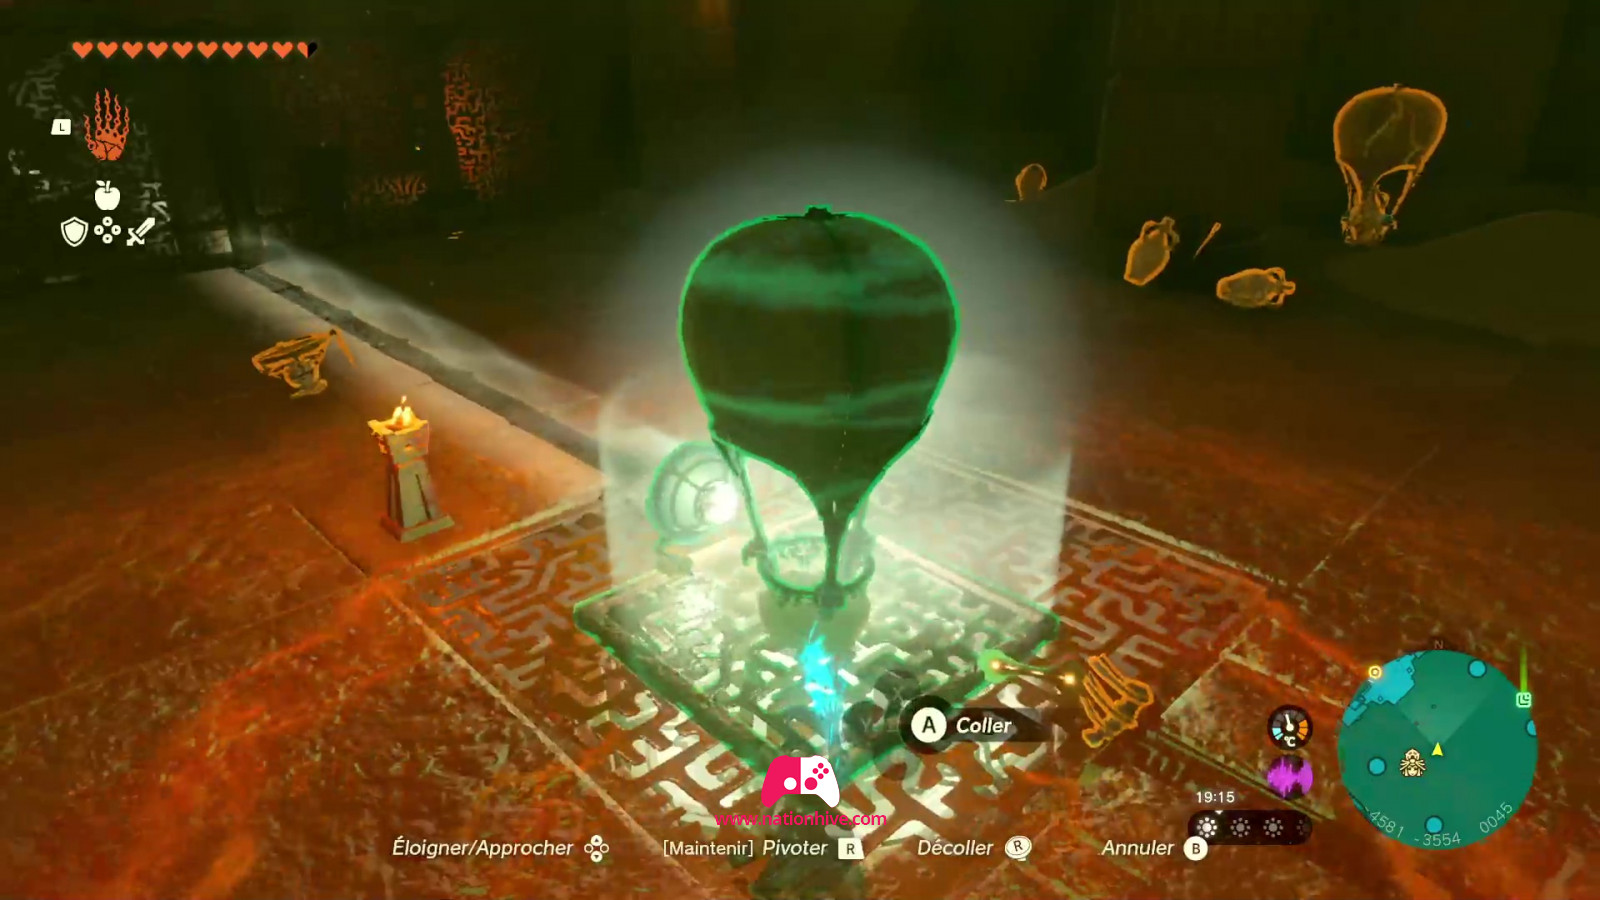
Once you've defeated all the enemies, use your Ultrahand ability to build a hot-air balloon and stick a mirror on it, as your aim is to reflect light from the ground to the green circle at the top. Then stand on the balloon platform and place the lit torch in the balloon to lift it into the air.
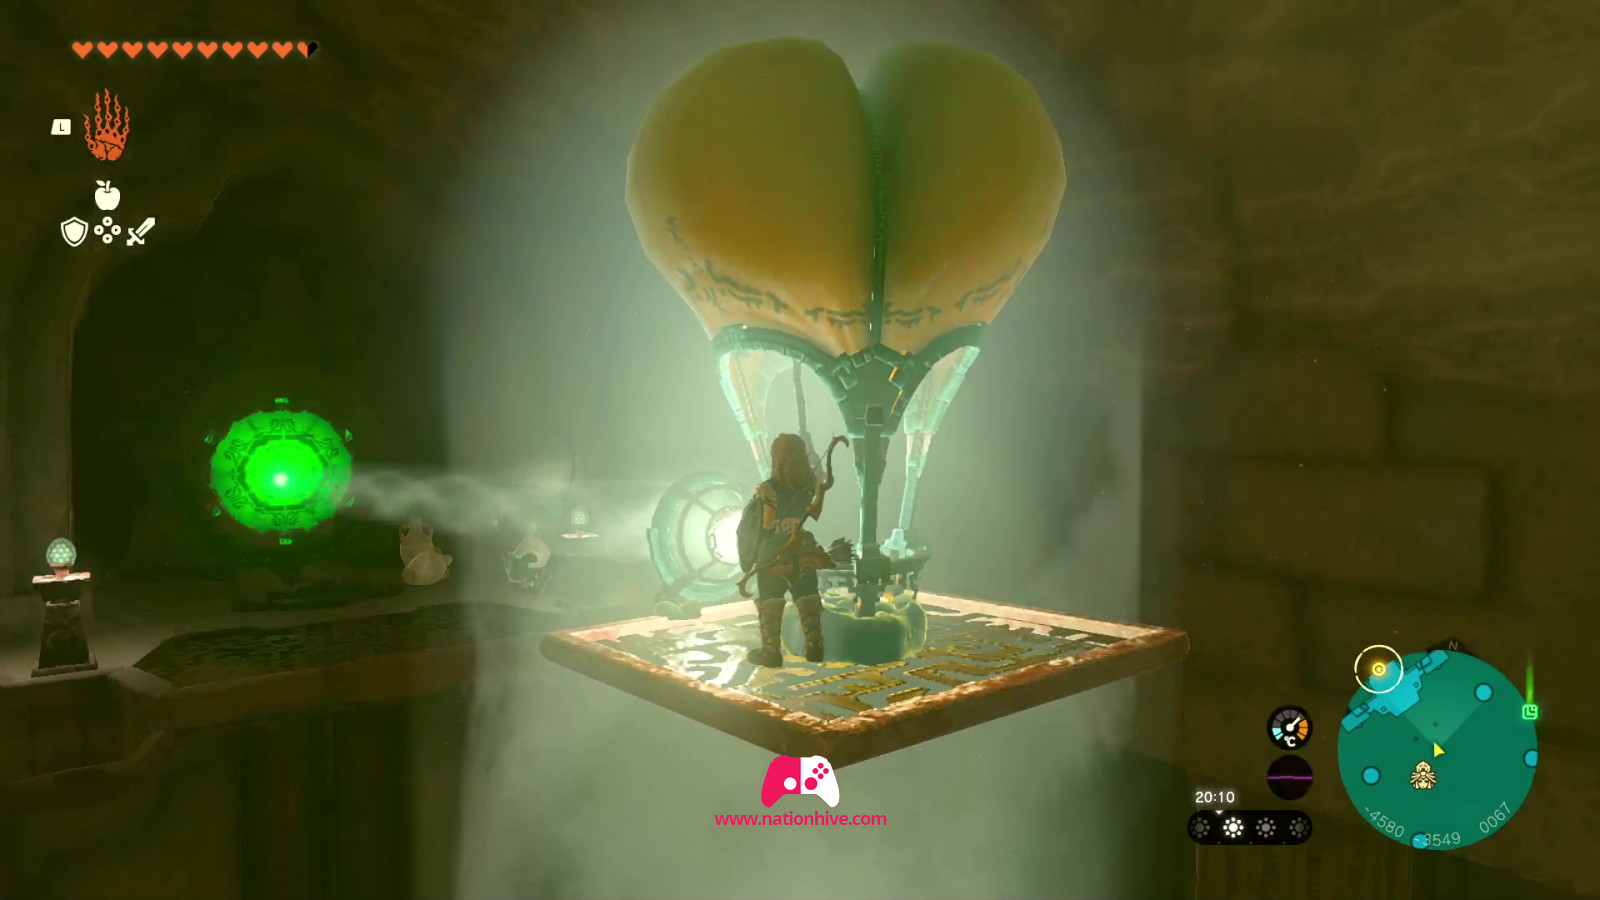
You will then have access to the last battery. Activate Riju's ability and wait for the electricity to spread over the battery before firing. This activates the last battery.
Once all the batteries are charged, go to the magic green circle you examined at the beginning and examine it again with A. A cinematics sequence is triggered, in which the platform suddenly rises to the top. You'll arrive on the 6th floor of the temple, in the Room of Glorious Light.
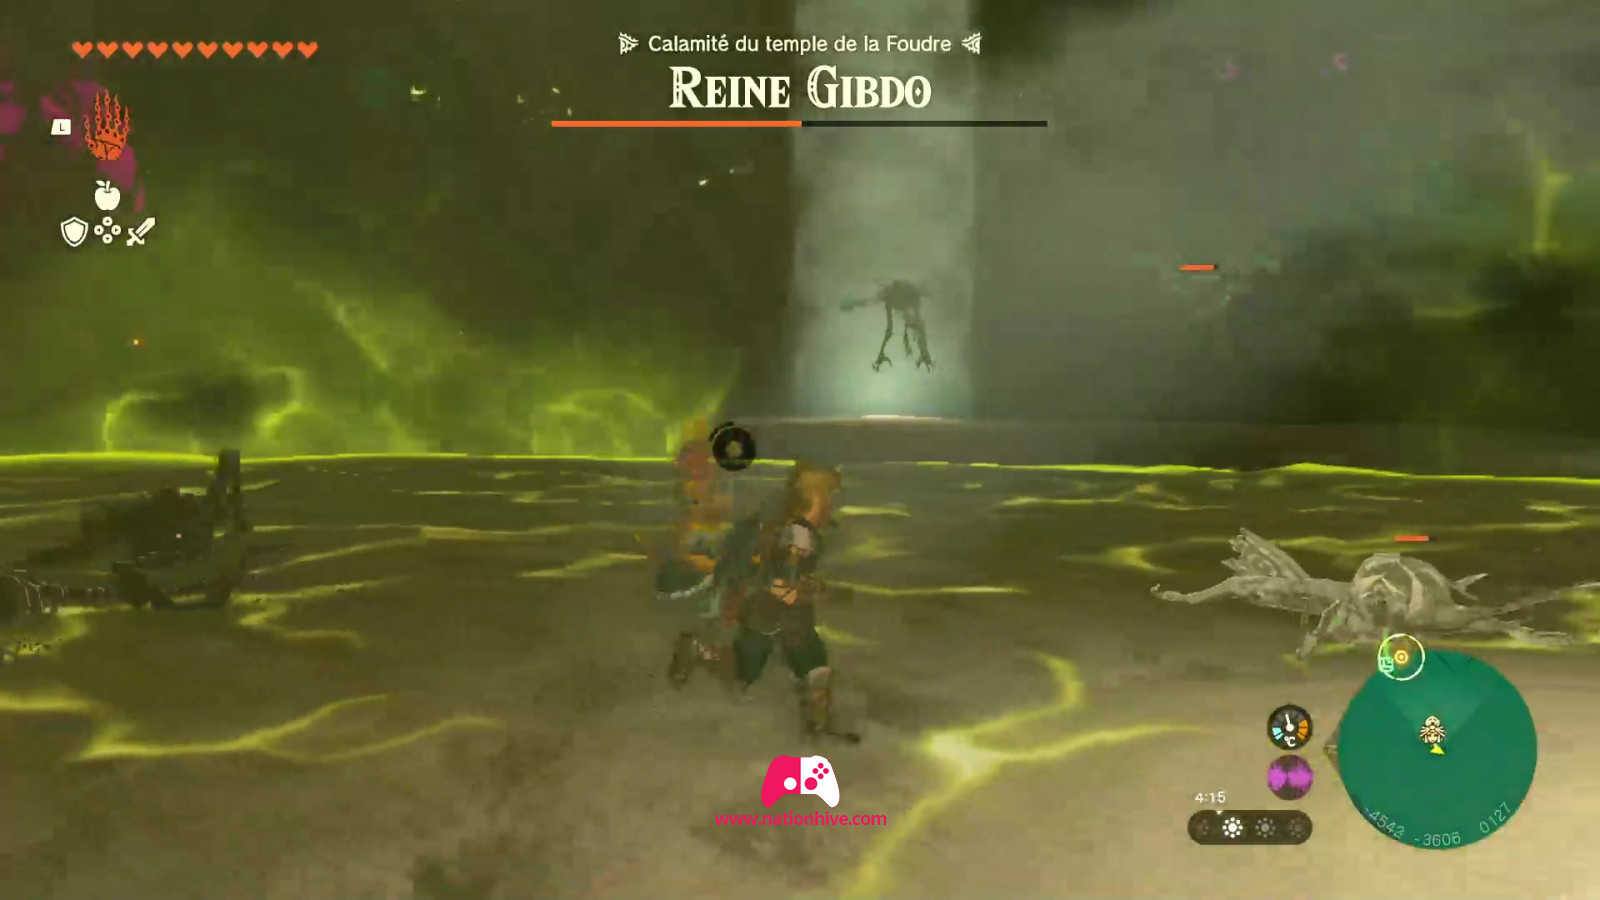
Move forward and using Riju's ability, shoot the bright pink nest in the middle in front of you. This will awaken the Scourge of The Lighting Temple: Queen Gibdo. Defeat Reine Gibdo to restore peace to Gerudo Town and progress in the main story.
Defeating Queen Gibdo

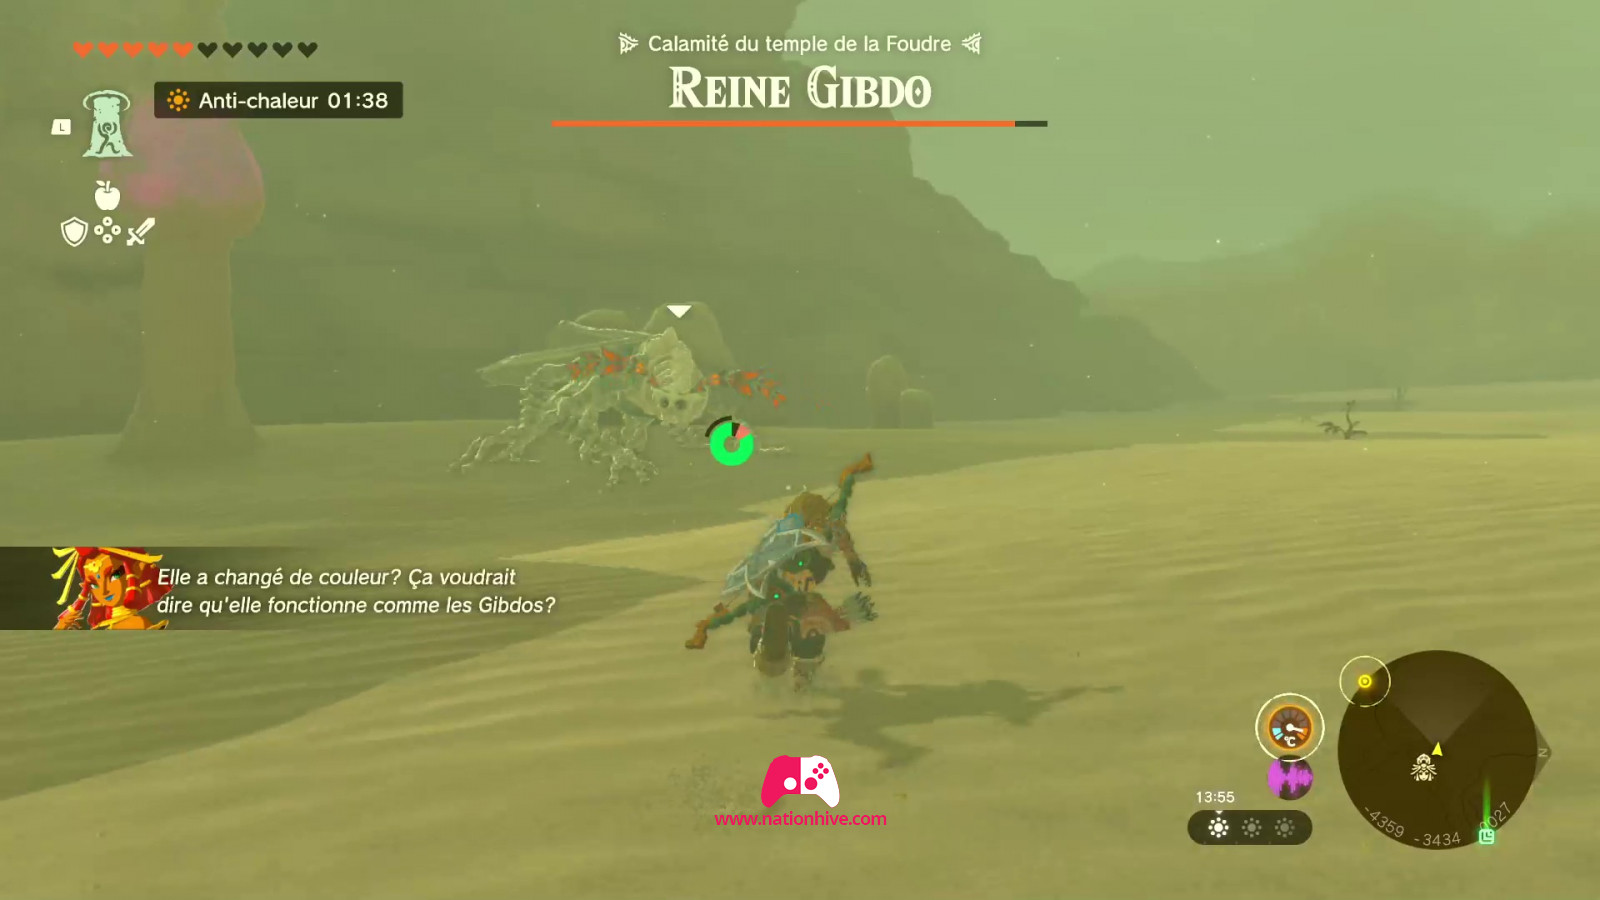
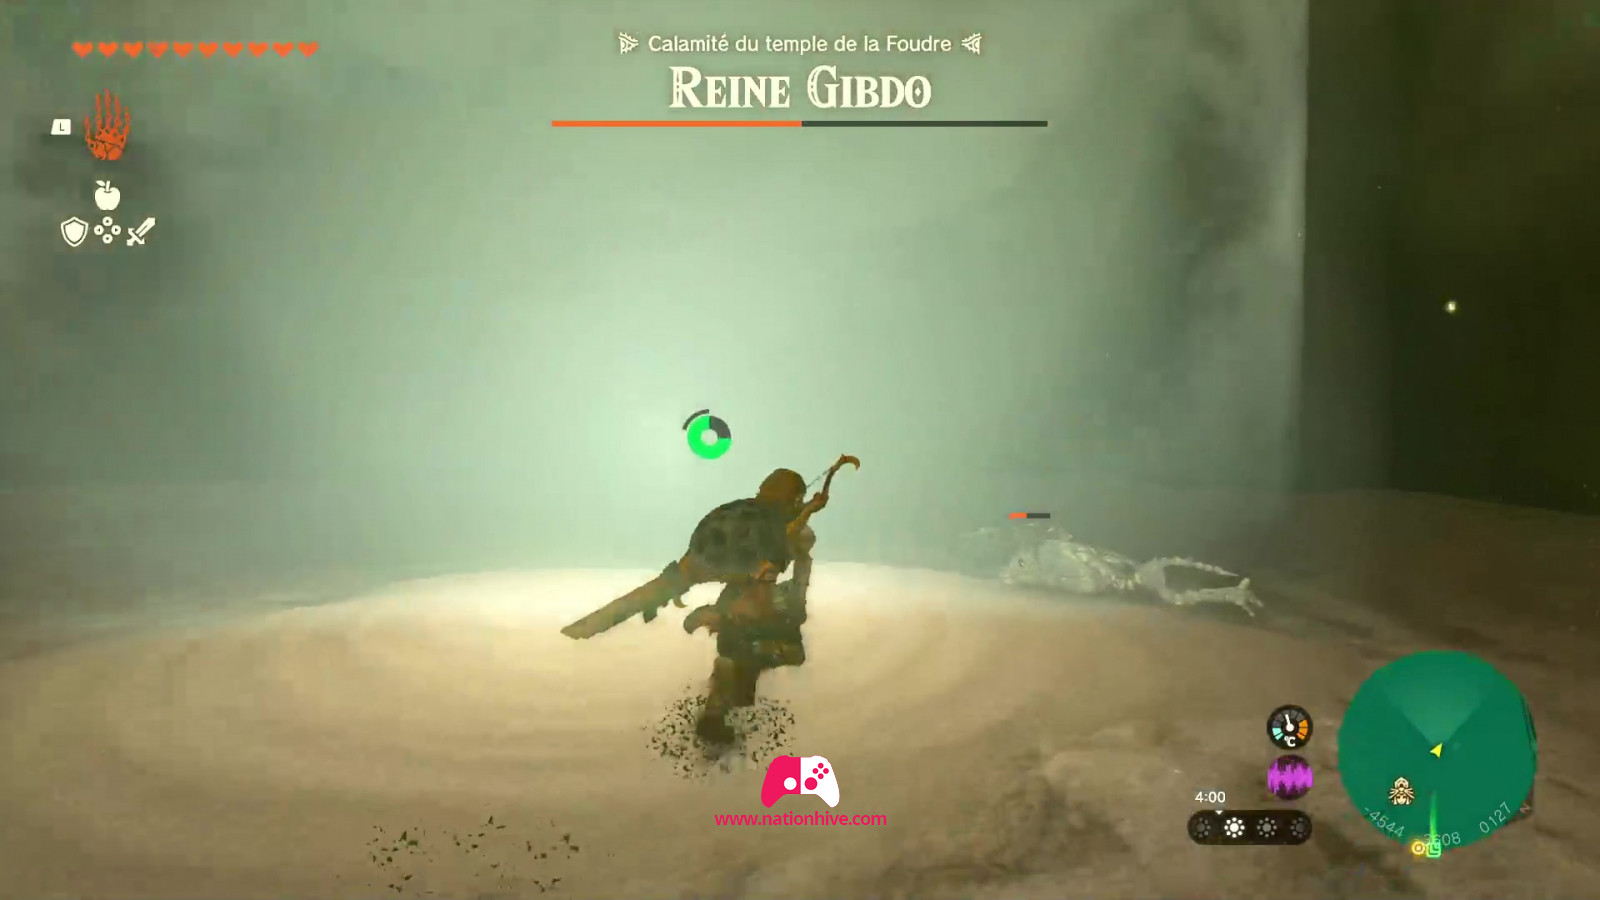
To defeat the Scourge of The Lighting Temple: Queen Gibdo, simply activate Riju's ability and shoot an arrow at her. This will turn Queen Gibdo white. As she turns white, she will be weaker against attacks.
* Watch out for her sand tornadoes, which you'll need to avoid, and you'll also want to keep Riju away from them so she isn't thrown off balance when she sets up her ability. It's also important to avoid the projectiles and dodge Queen Gibdo's frontal attacks.
On your second arrow shot with Riju's ability, Queen Gibdo collapses to the ground and you can attack her as you wish for a limited time. When she stands up, she'll quickly rush at you. Try to dodge as quickly as possible to avoid damage. Repeat the same process until her life bar is half empty.
Once Queen Gibdo's life bar drops to half, the creature becomes a little more threatening. This time, Gibdo's bright pink nests are activated to spawn more enemies. The nests will generate a variety of Gibdo throughout the fight. Interestingly, Riju's ability seems to charge faster during this phase, so try to activate Riju's ability as soon as possible.
We recommend destroying nests as quickly as possible to limit the number of enemy appearances. In the same way, activate Riju's ability and shoot an arrow at each nest. Then attack all the enemies present. Keep an eye on your life bar and see where Queen Gibdo is, as she'll be trying to attack you throughout the fight.
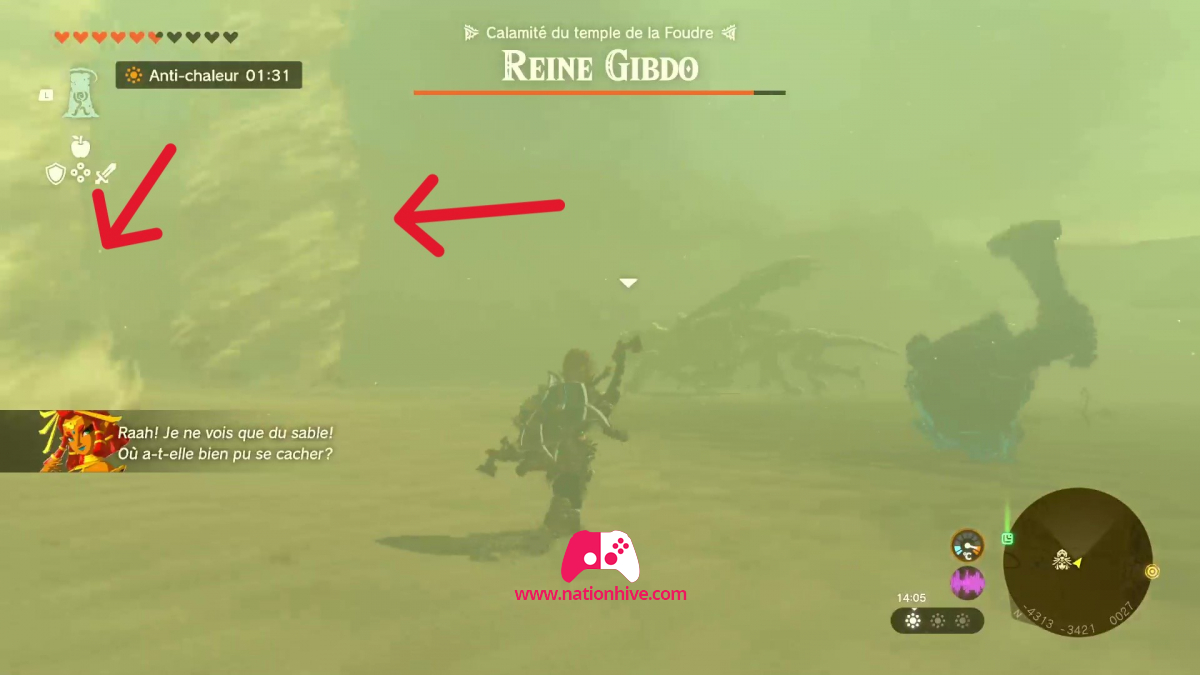
It's possible to predict when she'll attack you. Just listen to the screams she lets out when she's about to attack you. Try to dodge her many attacks by running.
It's important to know that as you destroy the nests, jets of light will be released. Use these jets of light to protect yourself, as they seem to make the enemies a little weaker, enabling you to eliminate them more easily.
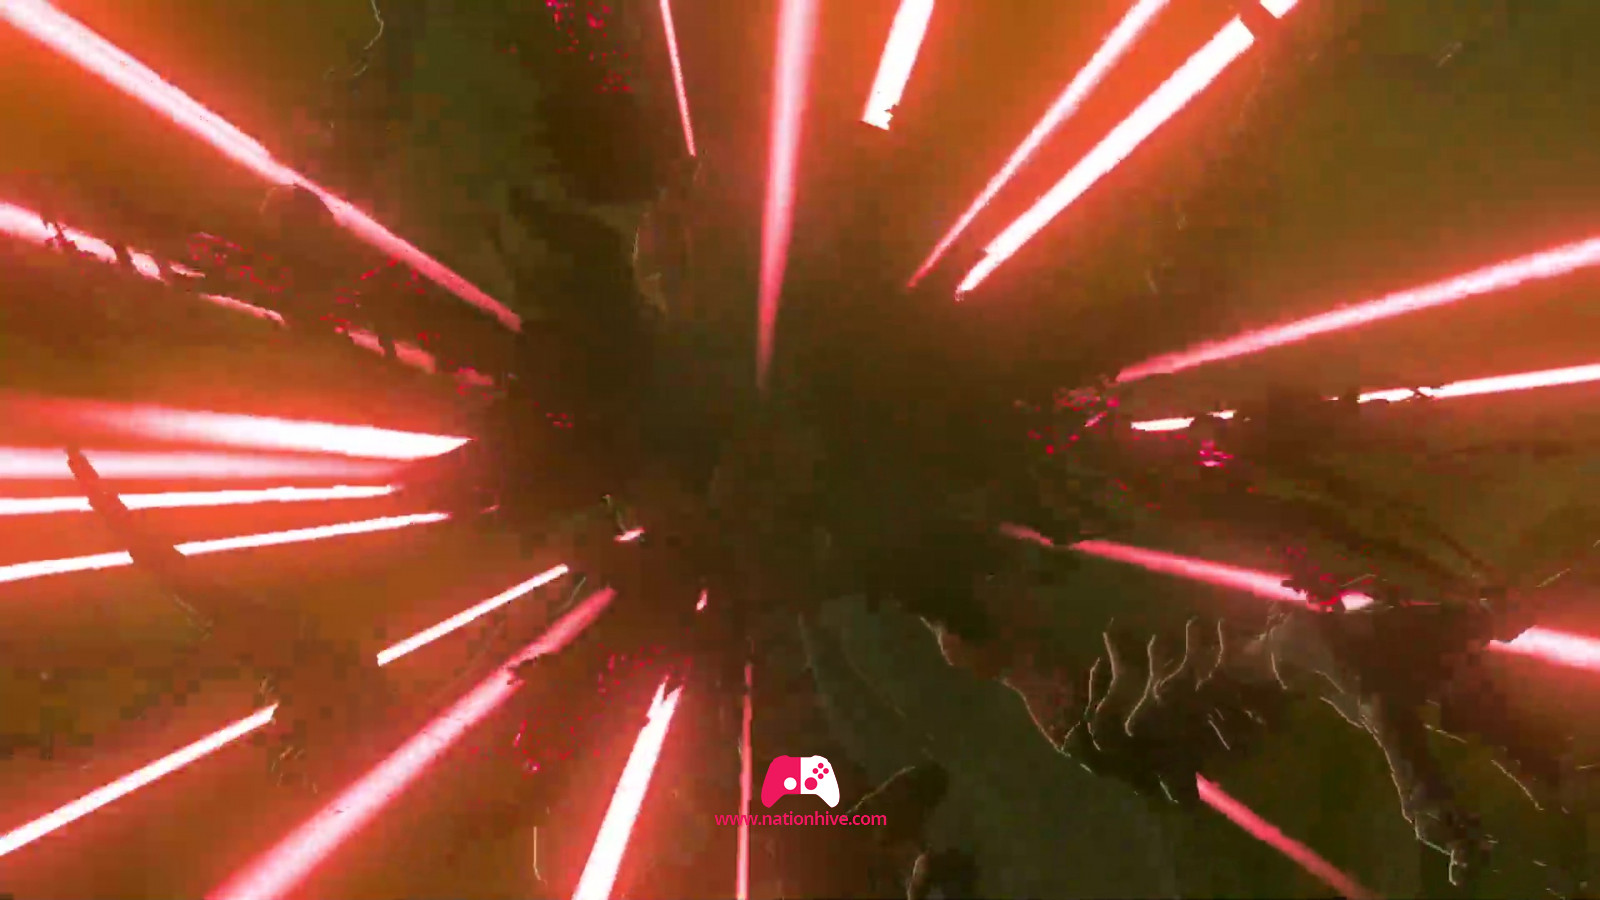
You can stand in the beams of light while blocking the attack with a mirror stuck to your shield using the Fuse ability, simultaneously killing the Gibdo and preventing Queen Gibdo from reaching you. Also use Riju's ability and shoot your arrows to inflict the most damage. Repeat the same process until her life bar is completely depleted to defeat Queen Gibdo.
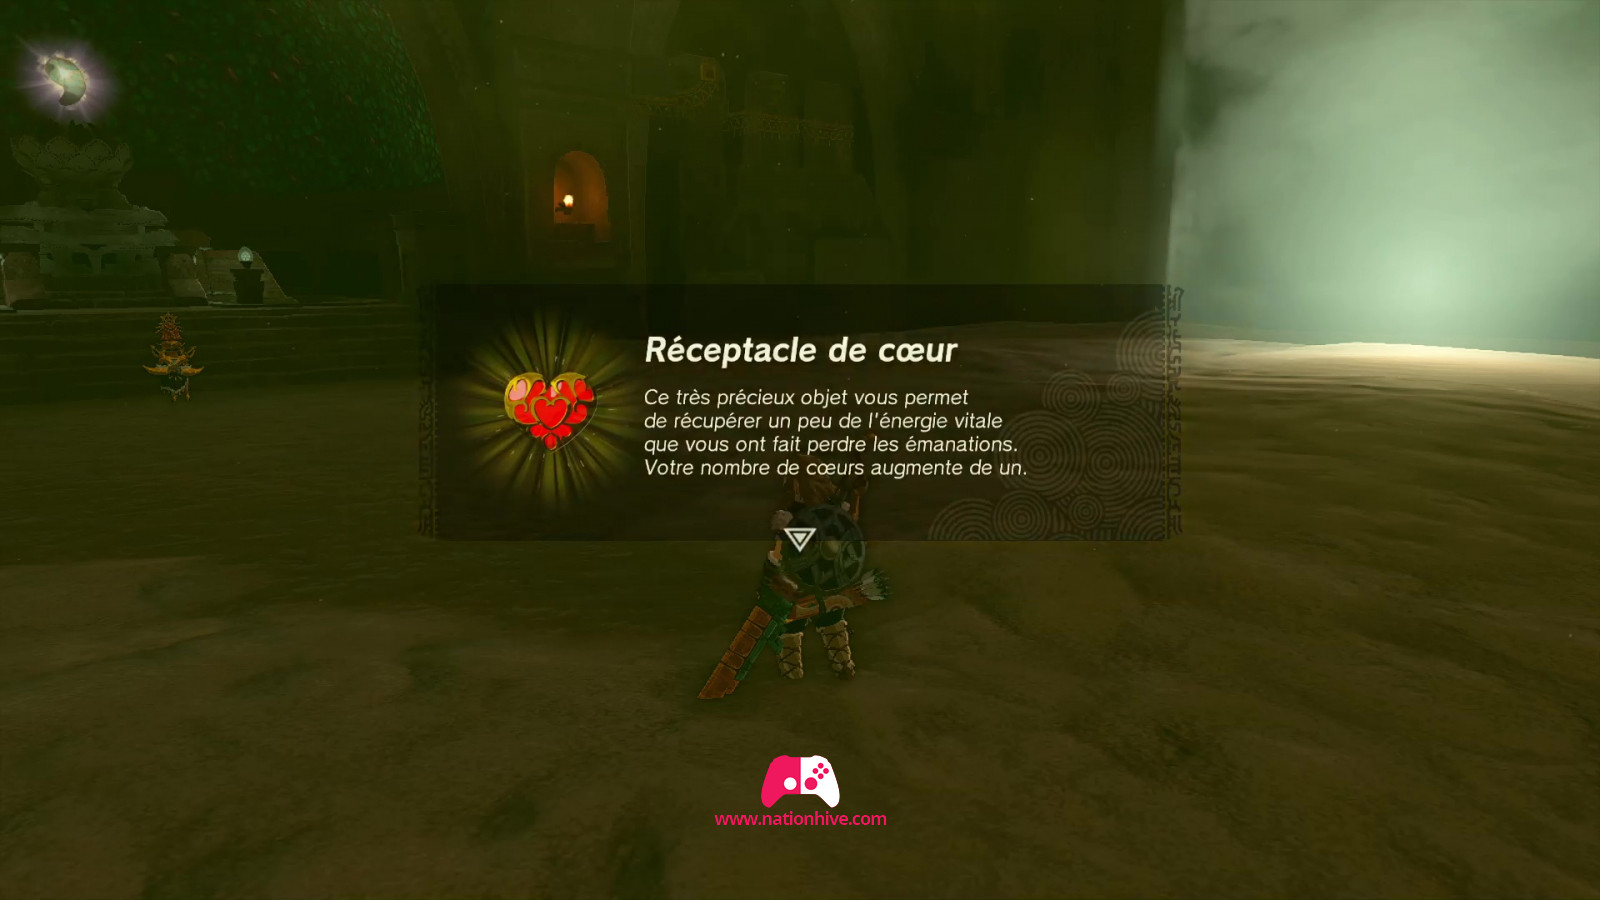
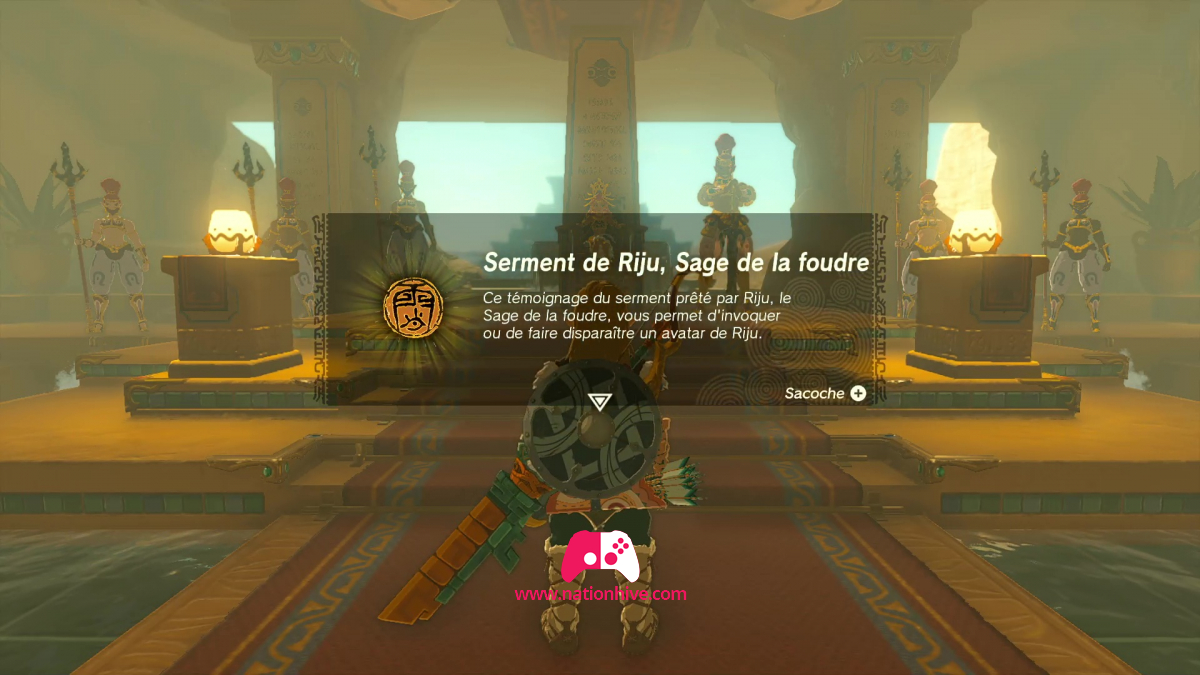
Once Queen Gibdo has been defeated, you'll receive a heart receptacle. Move towards Riju to see what's in front of you. A cinematic appears in which Ruji receives the occult stone from her ancestor. Riju accepts the stone and vows to fight by your side.
You will now be able to use Ruji's ability wherever you are, which will come in very handy. Peace has now returned to Gerudo Town.
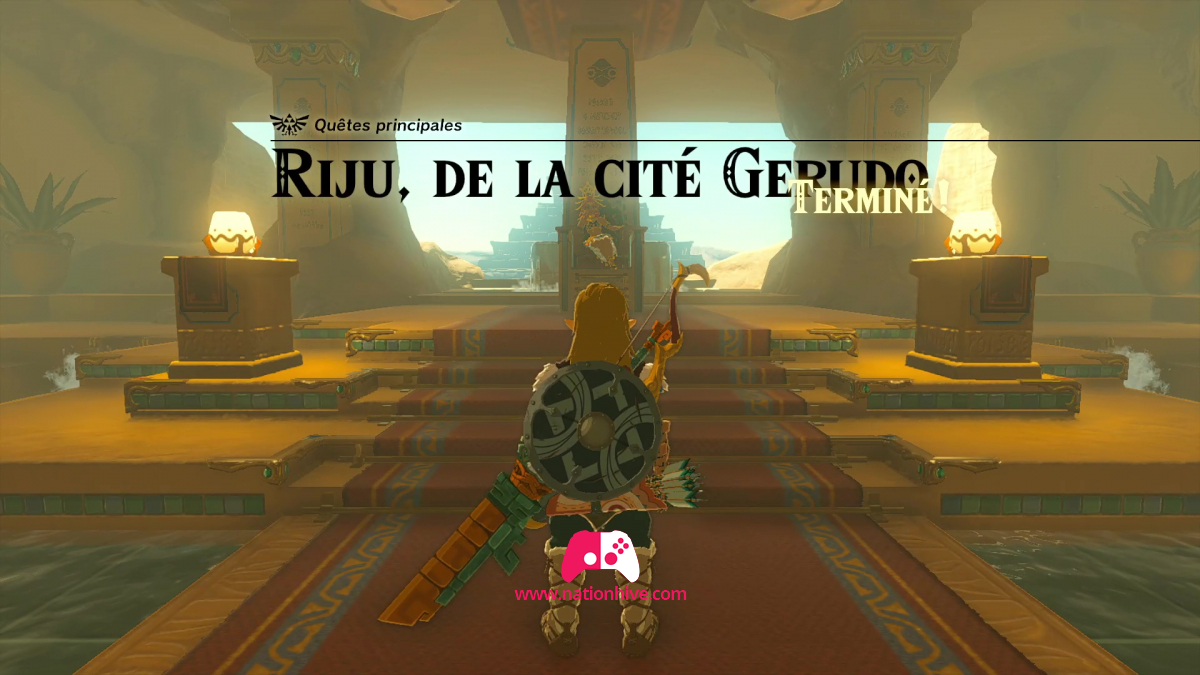
And so the main quest: The Lighting Temple (Riju of Gerudo Town) comes to an end, making way for your next main quest in Zelda: Tears of the Kingdom: Strange Phenomenon in the Castle - Part 2.