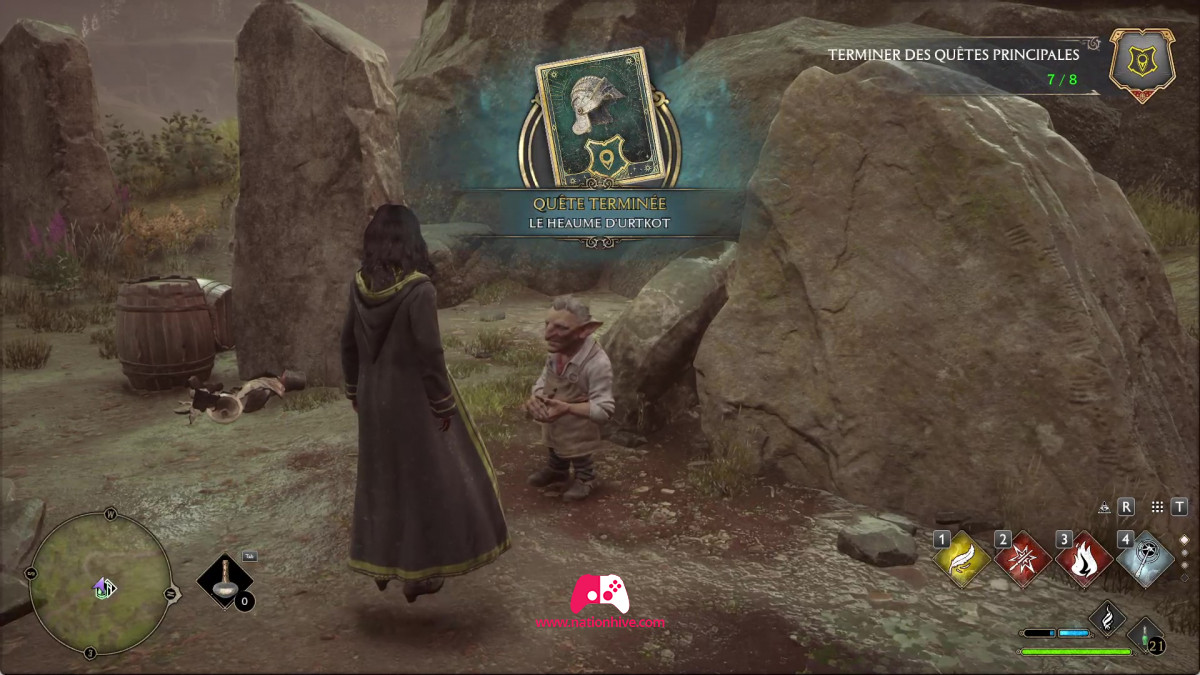
The Helm of Urtkot

In this walkthrough for Hogwarts Legacy, we'll give you the complete tutorial for the main quest: The Helm of Urtkot.
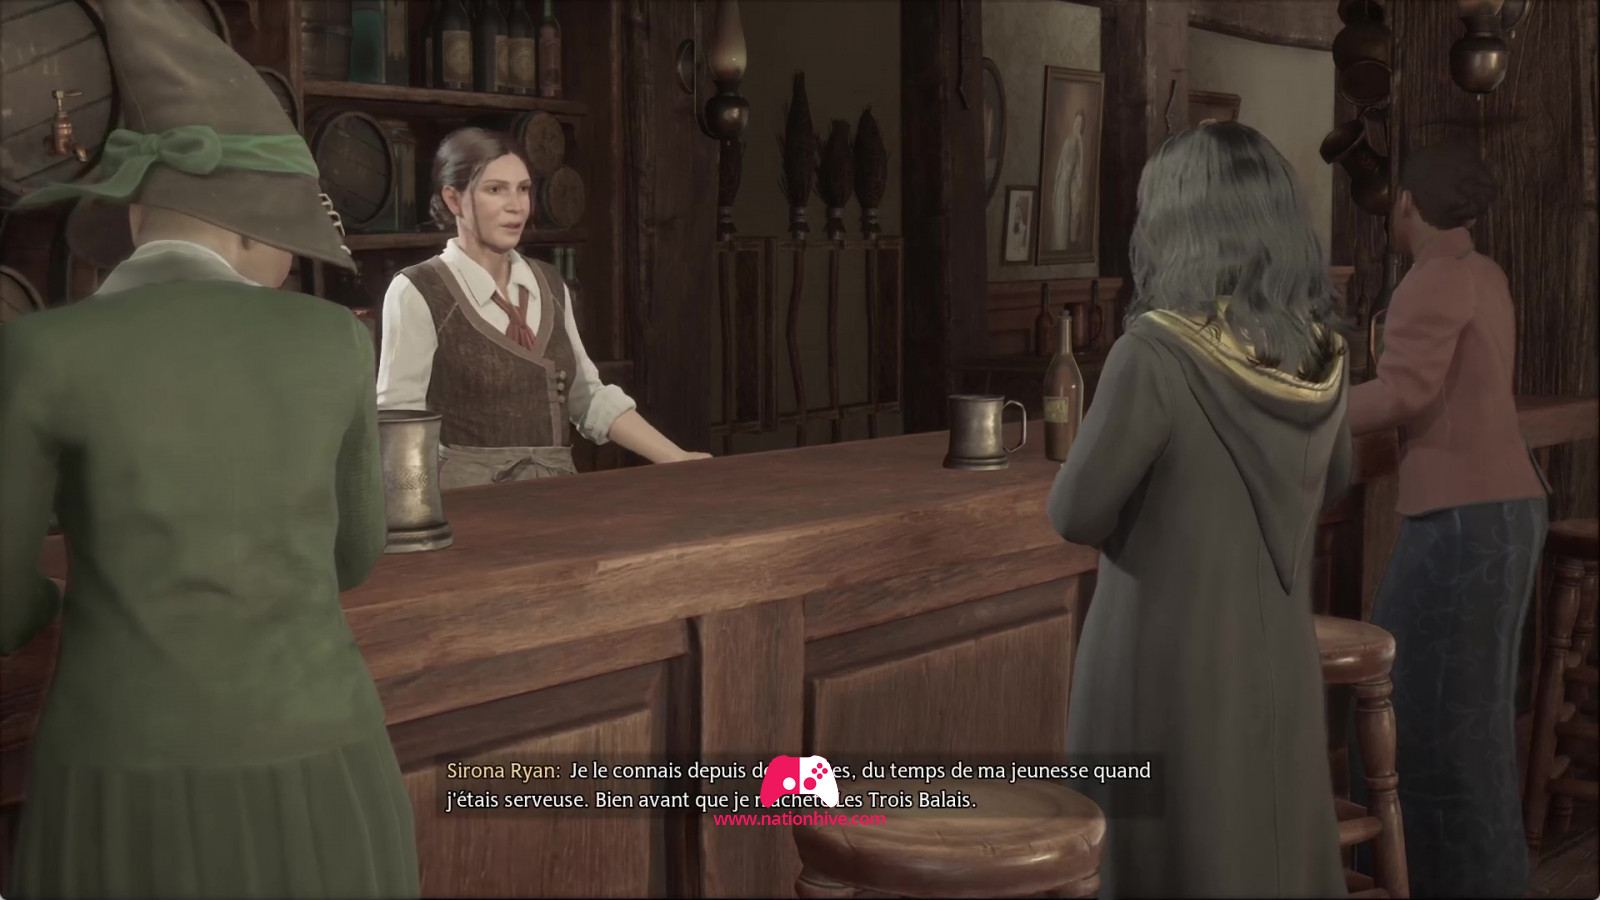
Head to Hogsmeade to speak to Sirona at the Three Broomsticks. Mention to her that you'd like to speak to Lodgok to find out more about Rookwood and Ranrok, the enemies who seem to be after you. Sirona will tell you that he is at the Hogs Head tavern and to inform him that it was Sirona who sent you to gain his trust.
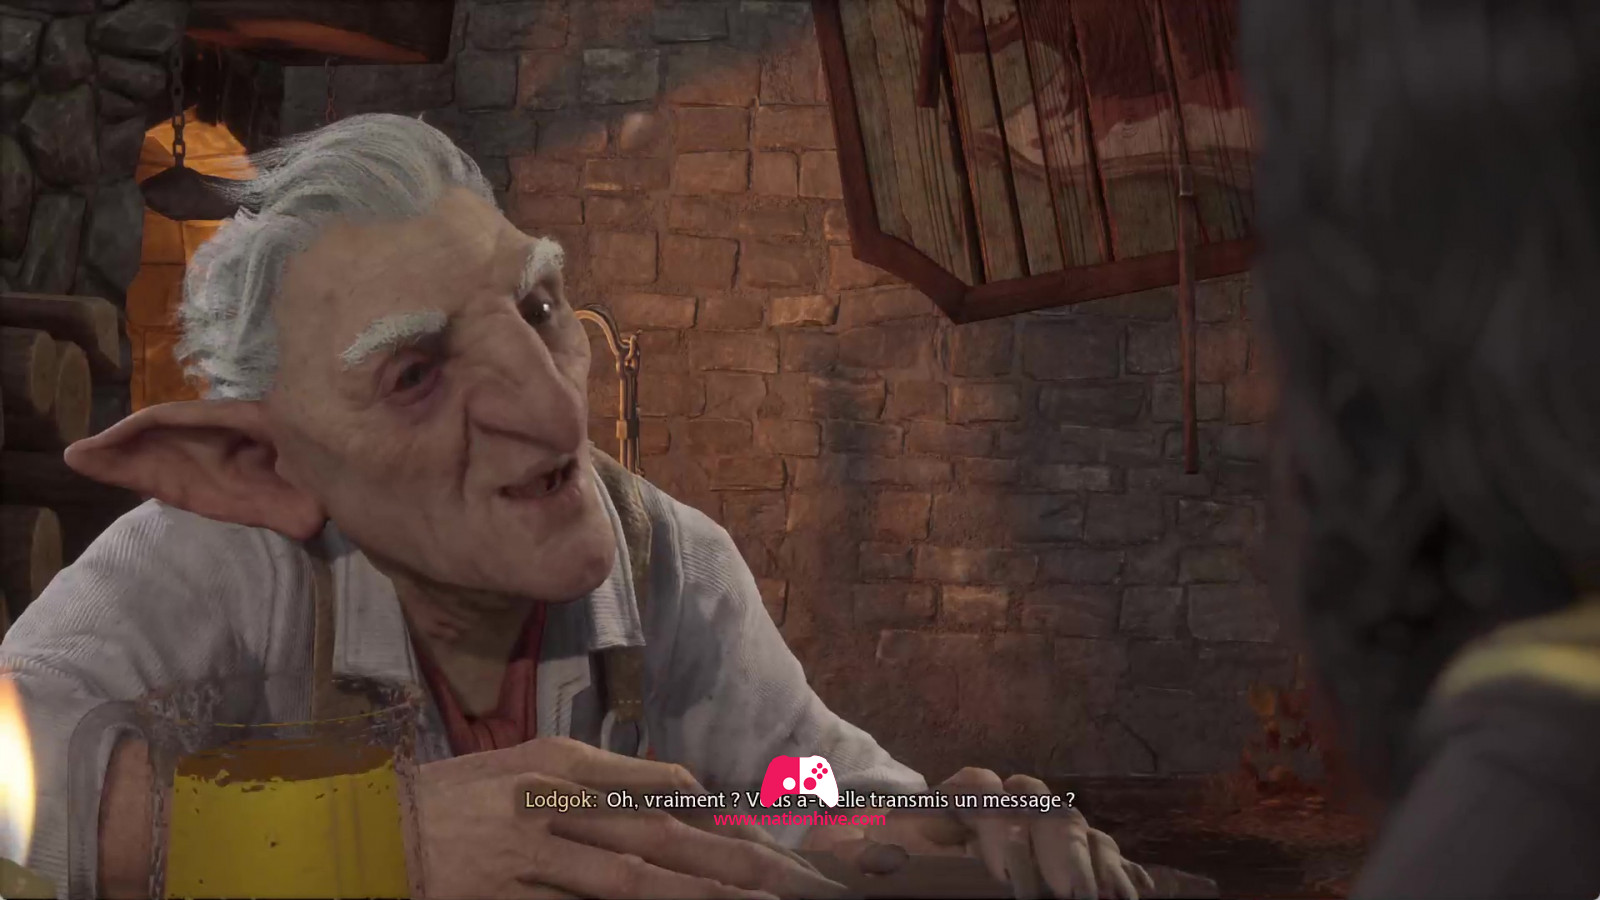
Look for Lodgok at Hogs Head tavern. Inform him that Sirona has sent you and trusts you. Then ask him about Ranrok and his followers, to find out what they're up to. On the other hand, in exchange for information, Lodgok will ask you to bring him a goblin relic, stolen long ago for a sorceress who now rests in her sarcophagus, which only a sorcerer can open. You'll need to retrieve this relic to give Lodgok a chance to get close to Ranrok and extract information from you.
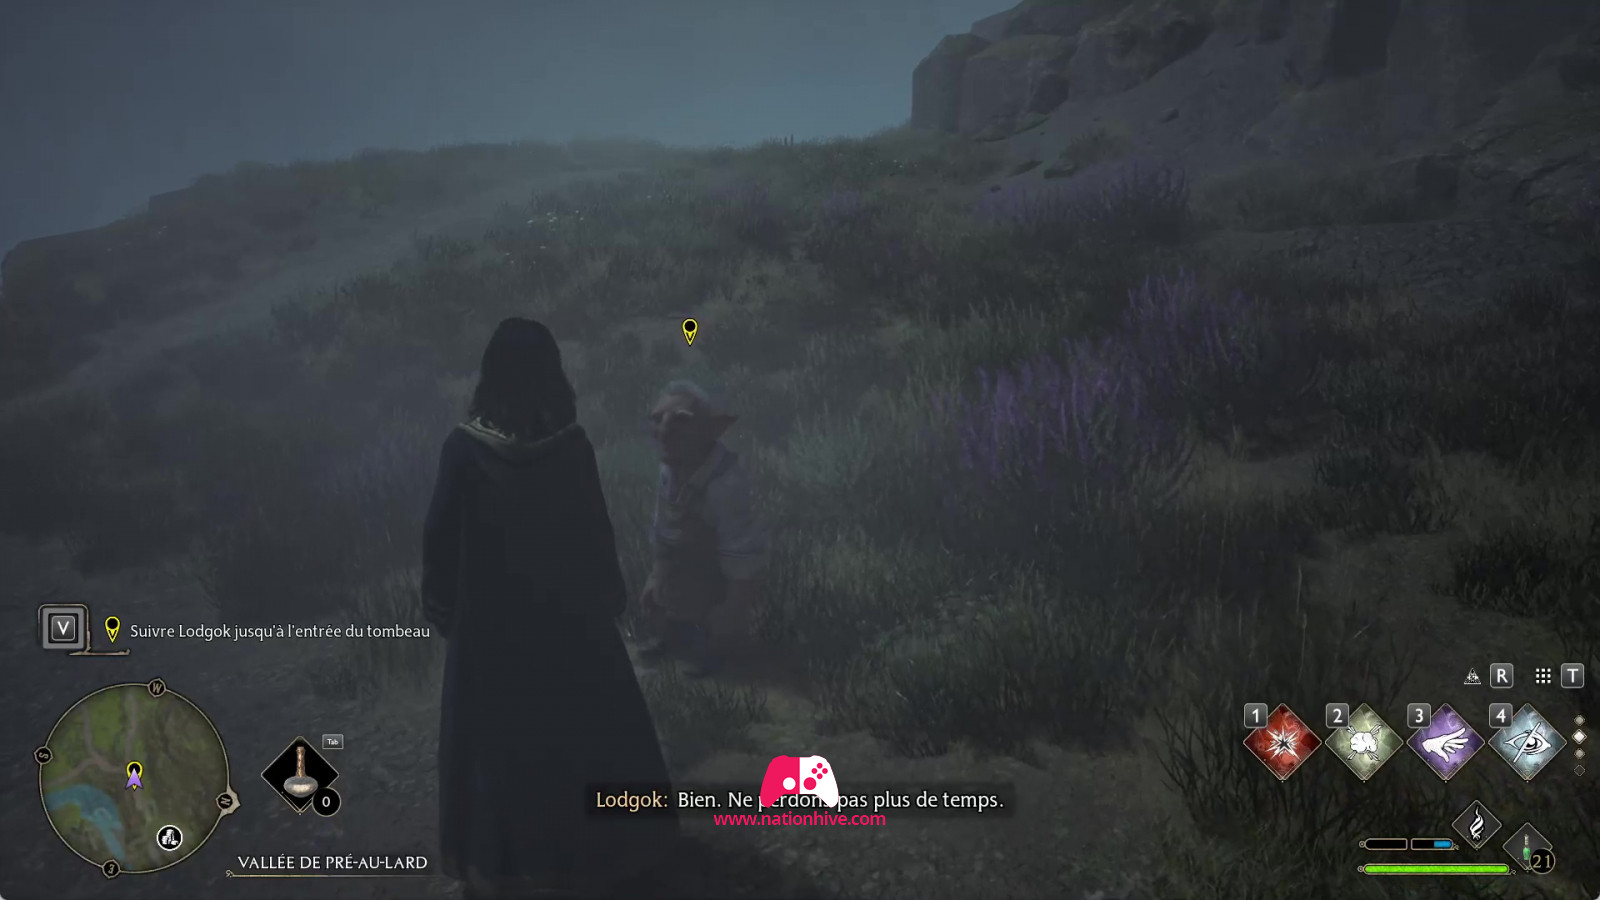
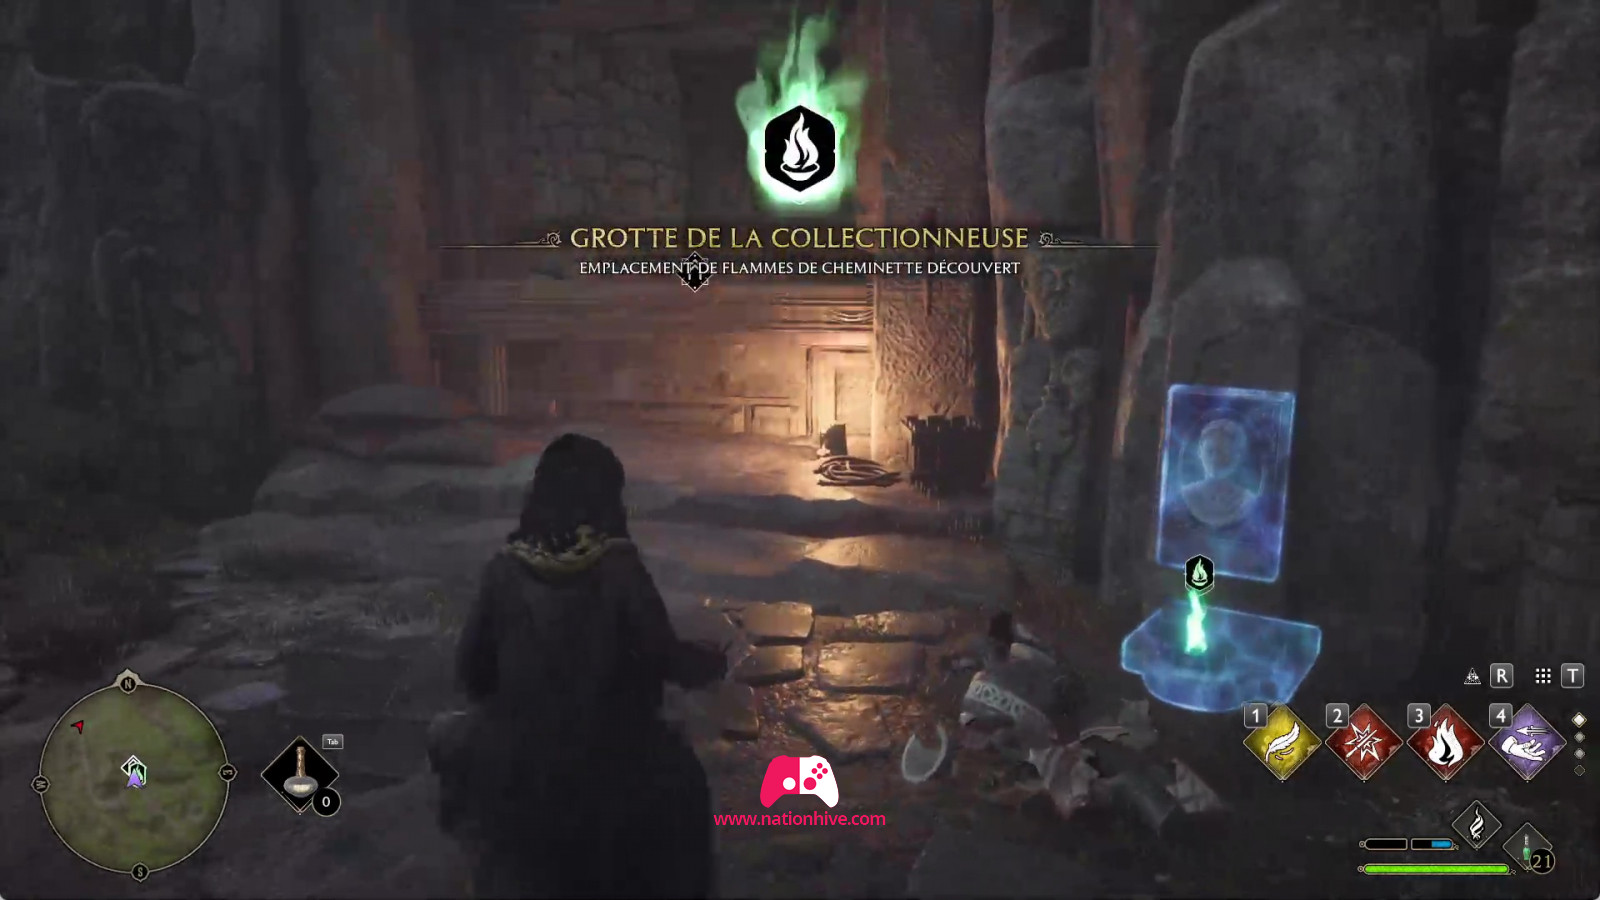
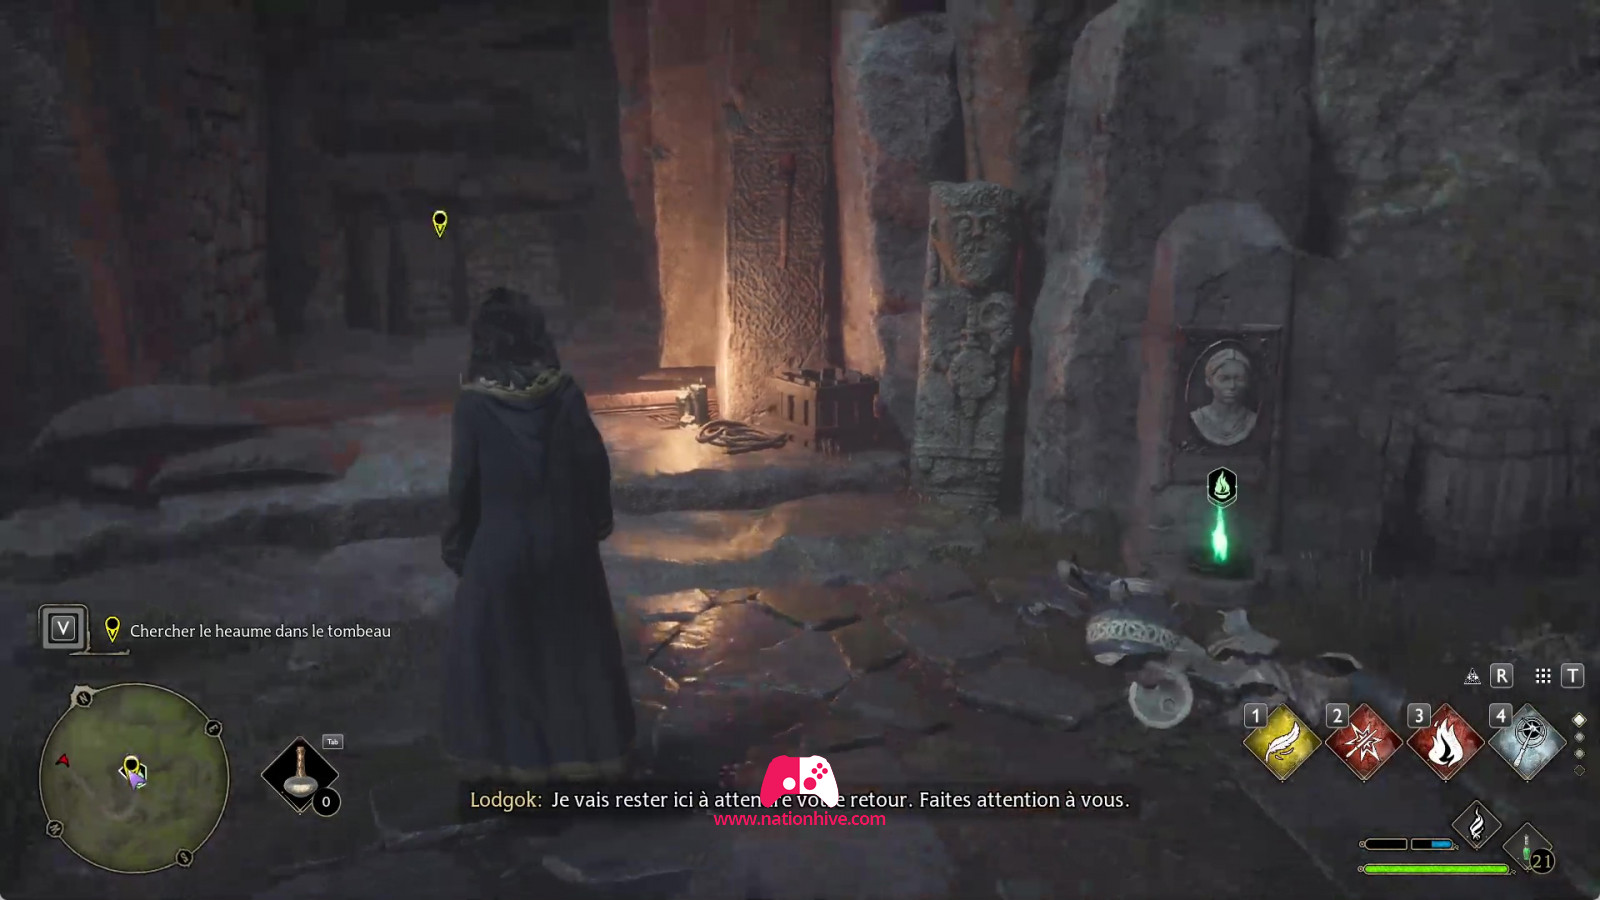
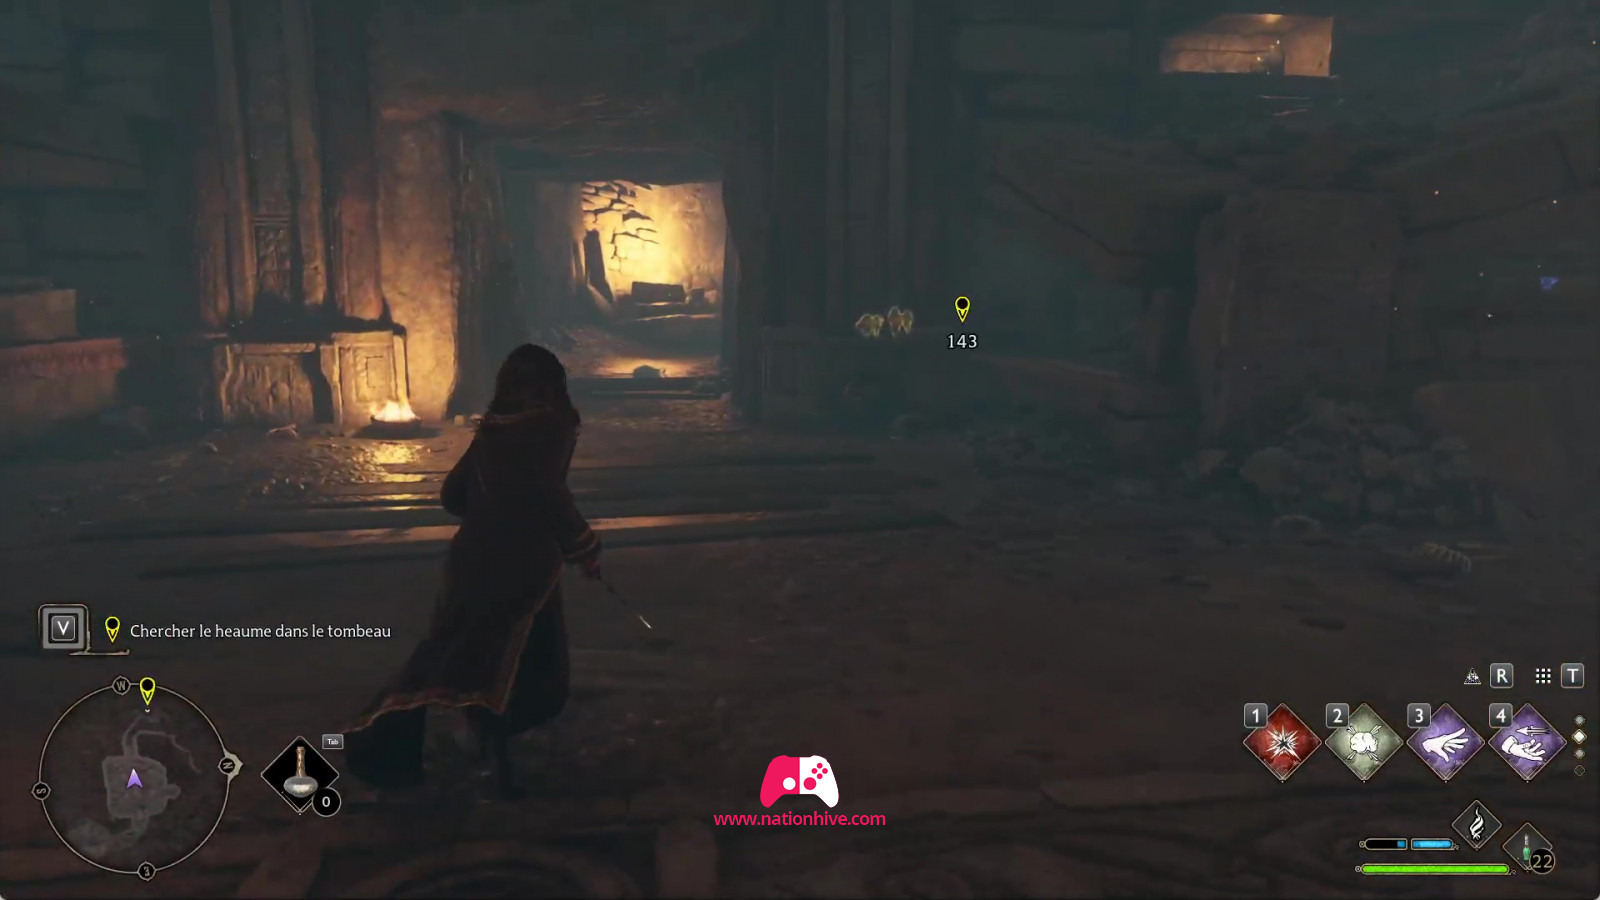
Once the conversation is over, meet Rodgok at the entrance to the witch's tomb. Follow him to the tomb entrance and enter.
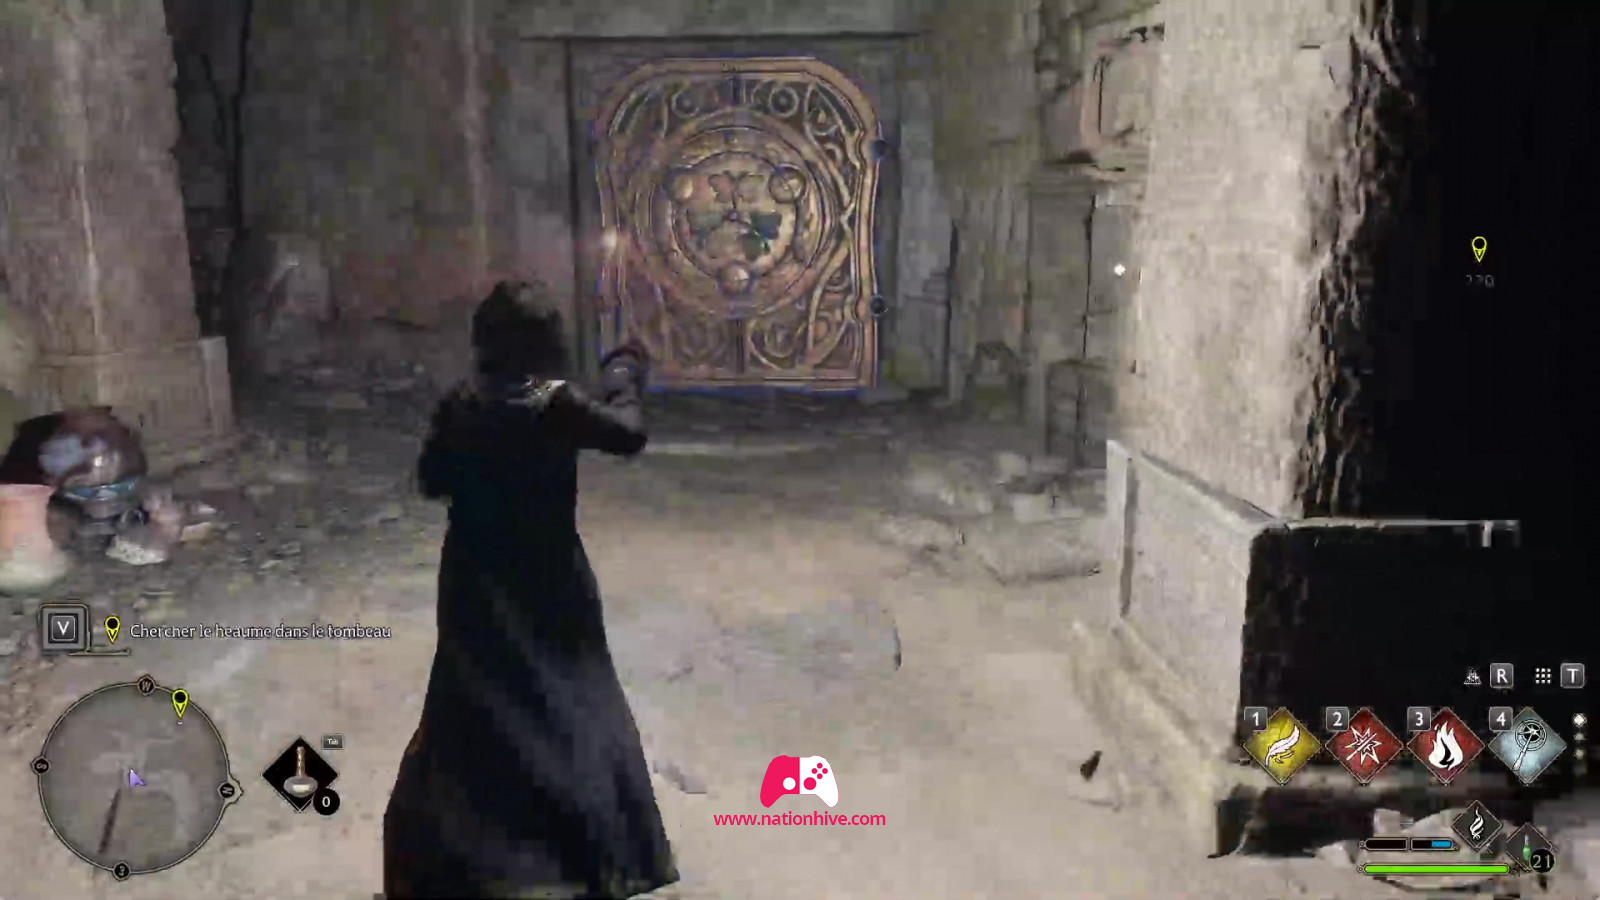
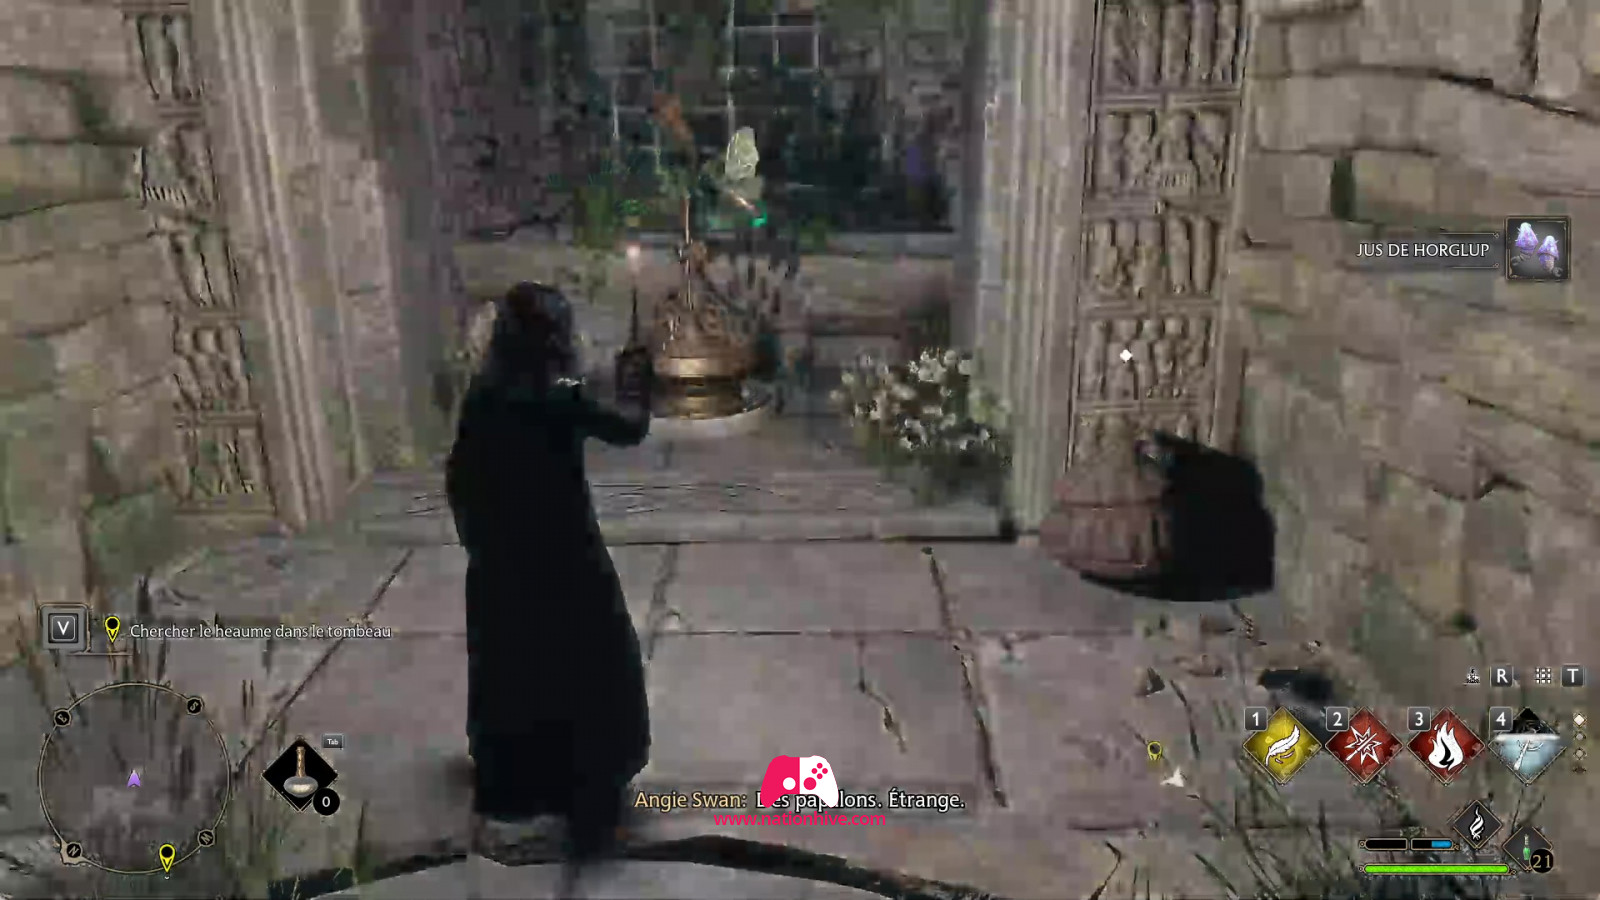
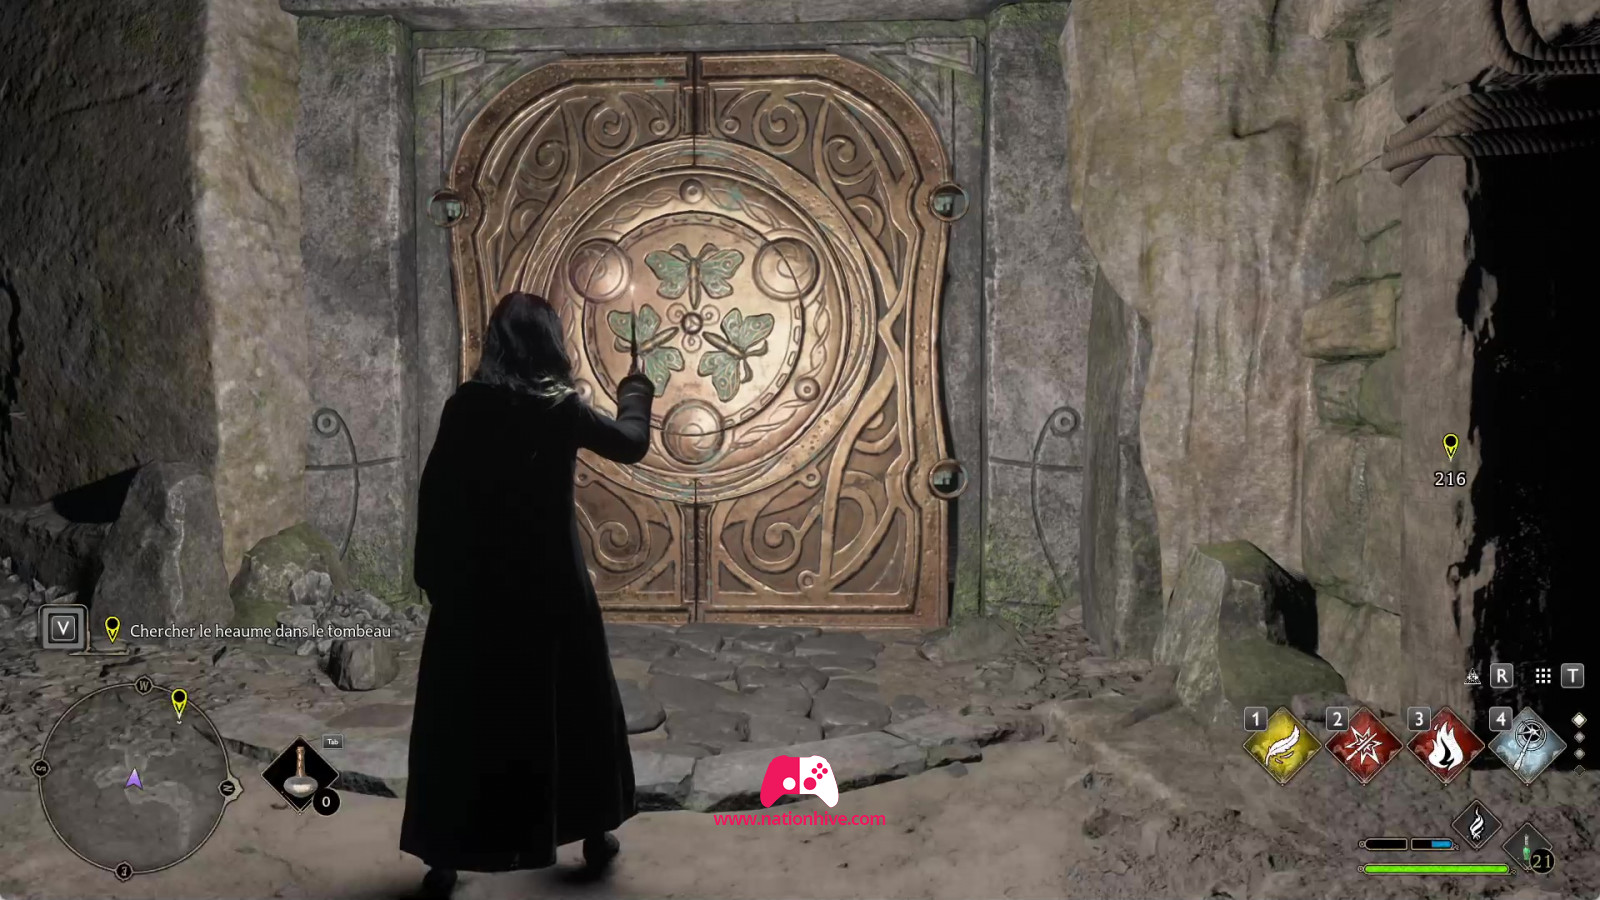
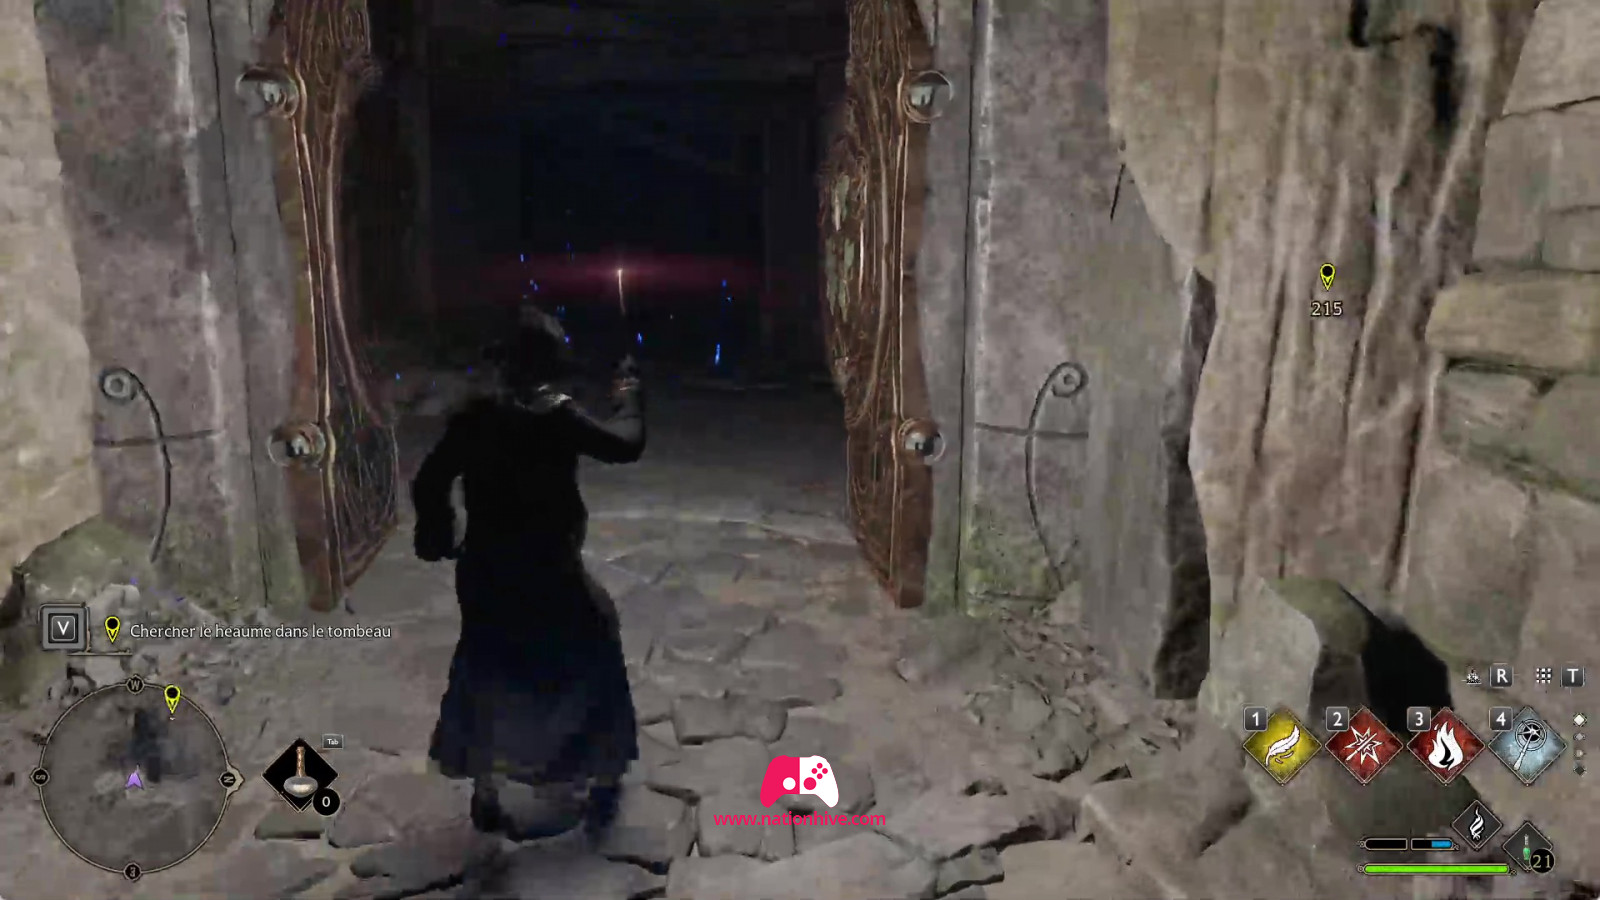
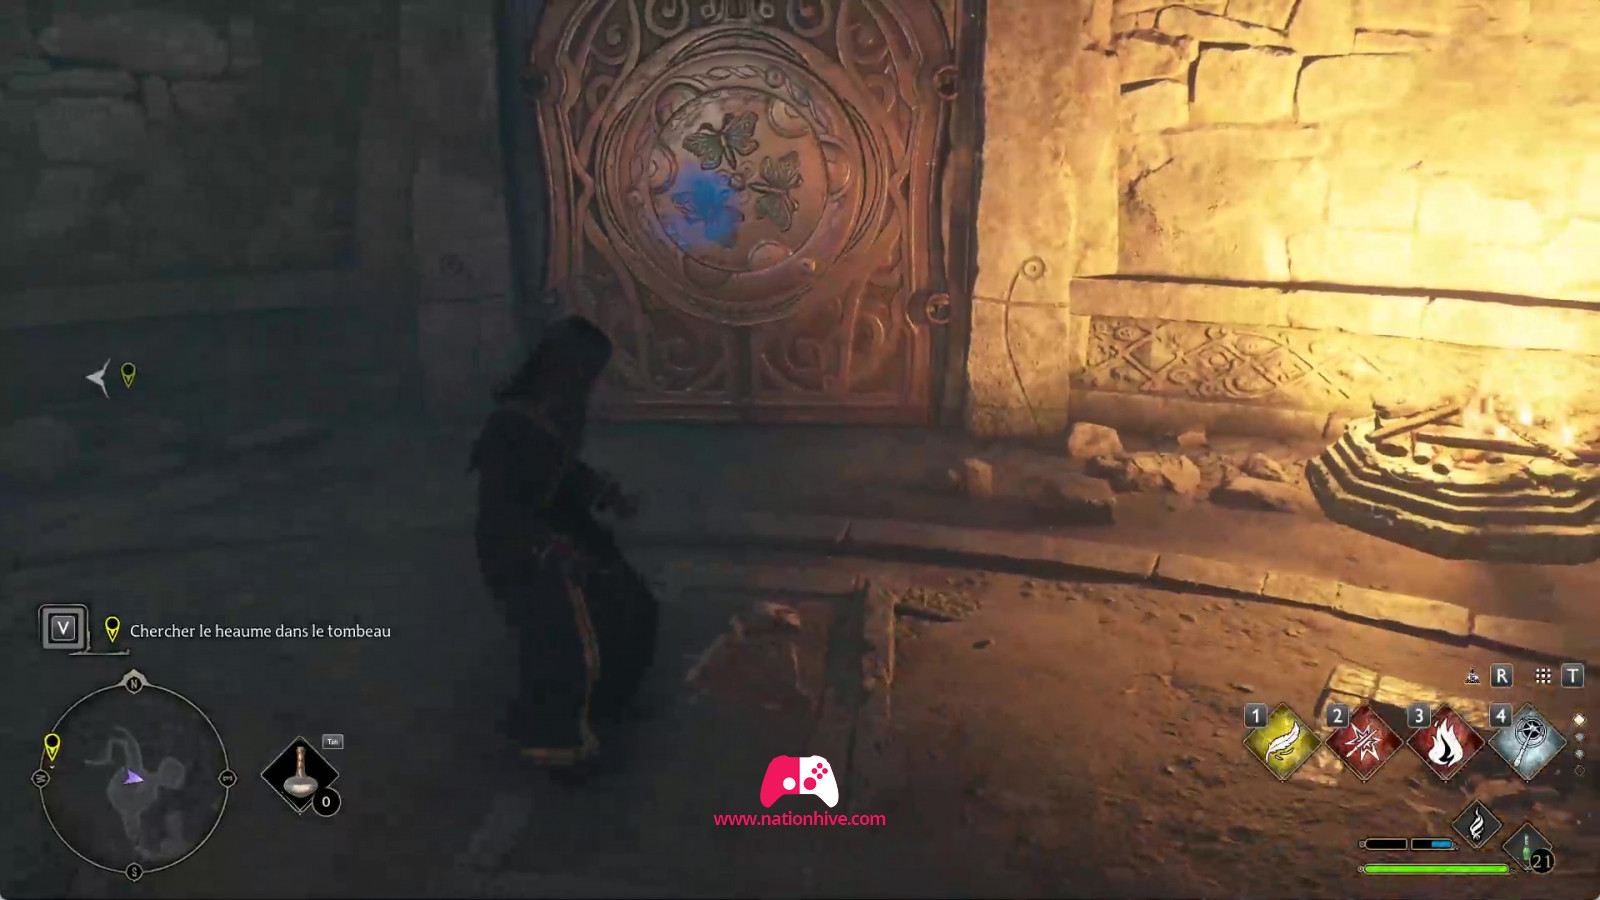
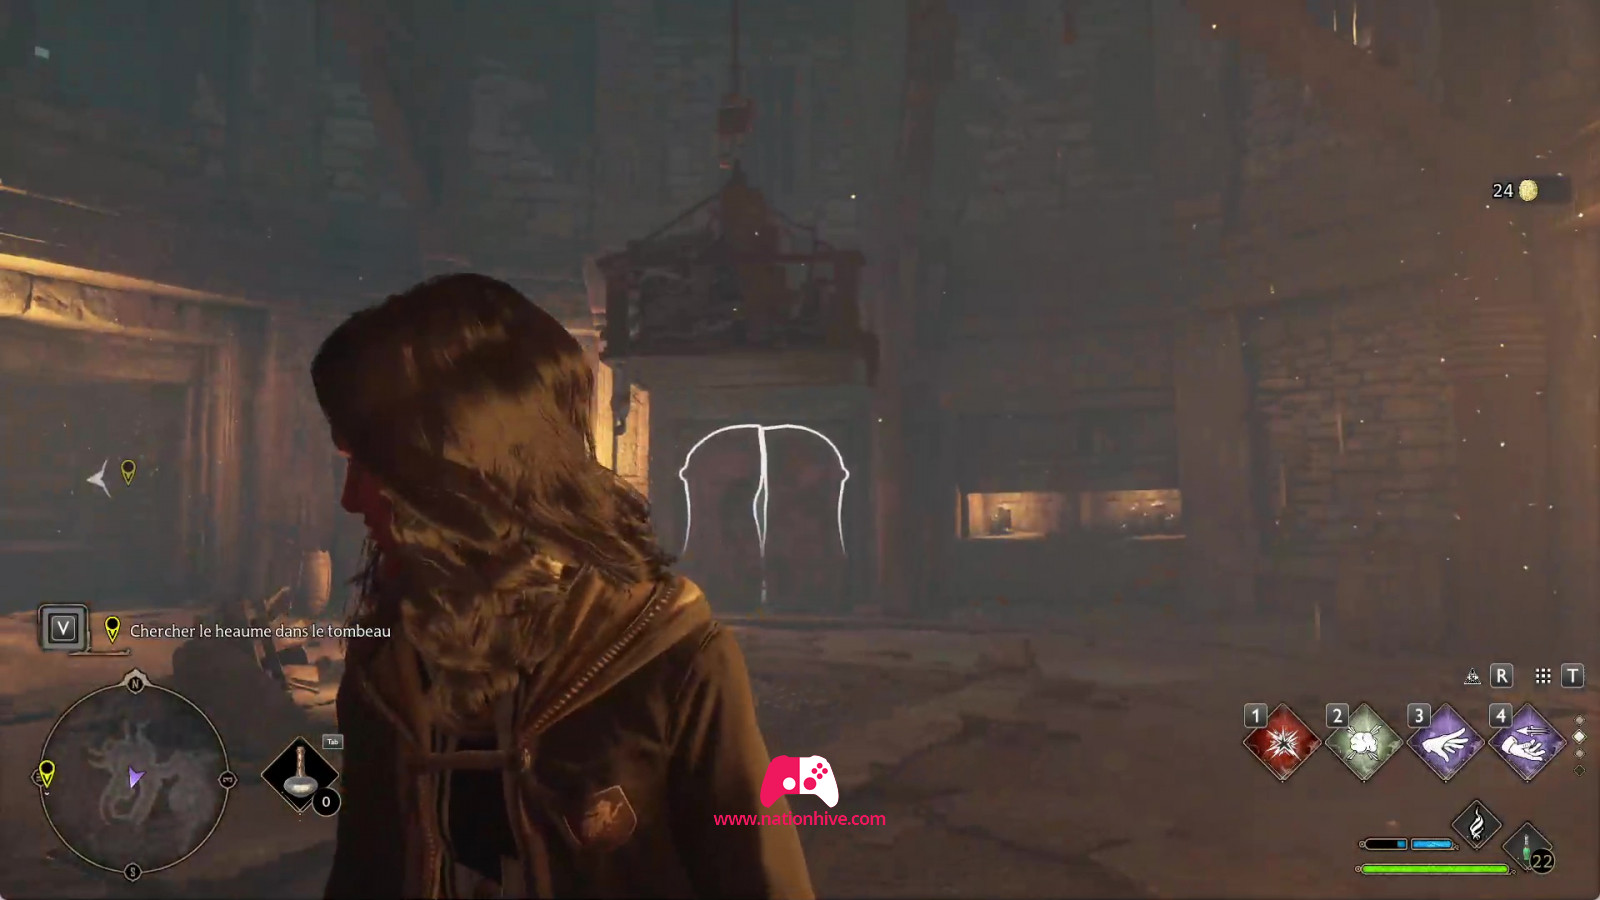
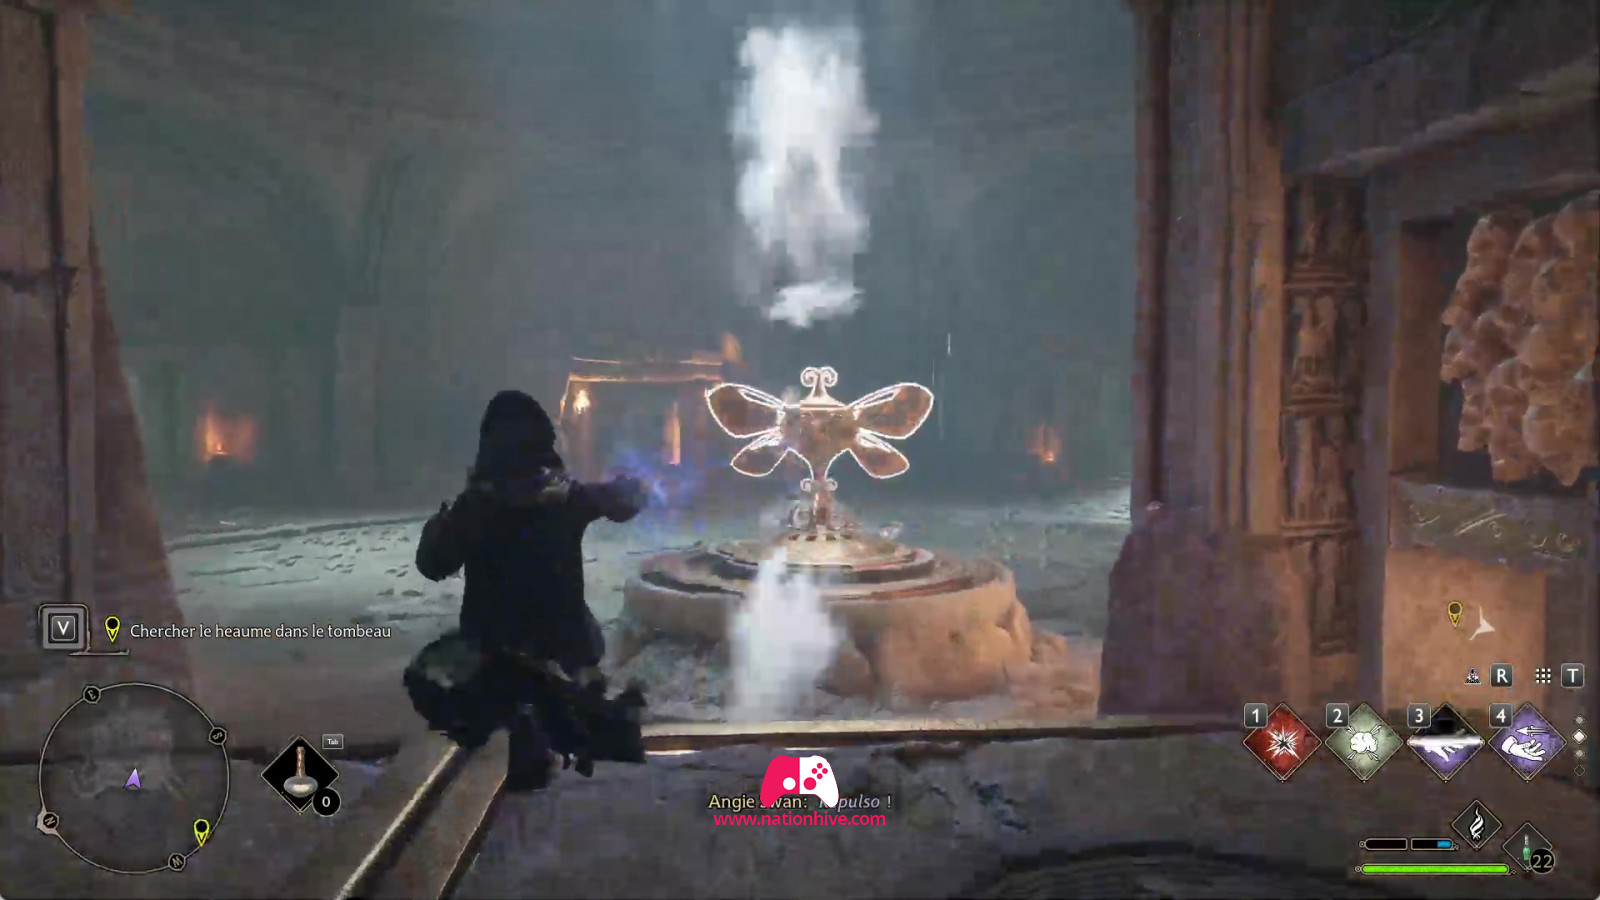
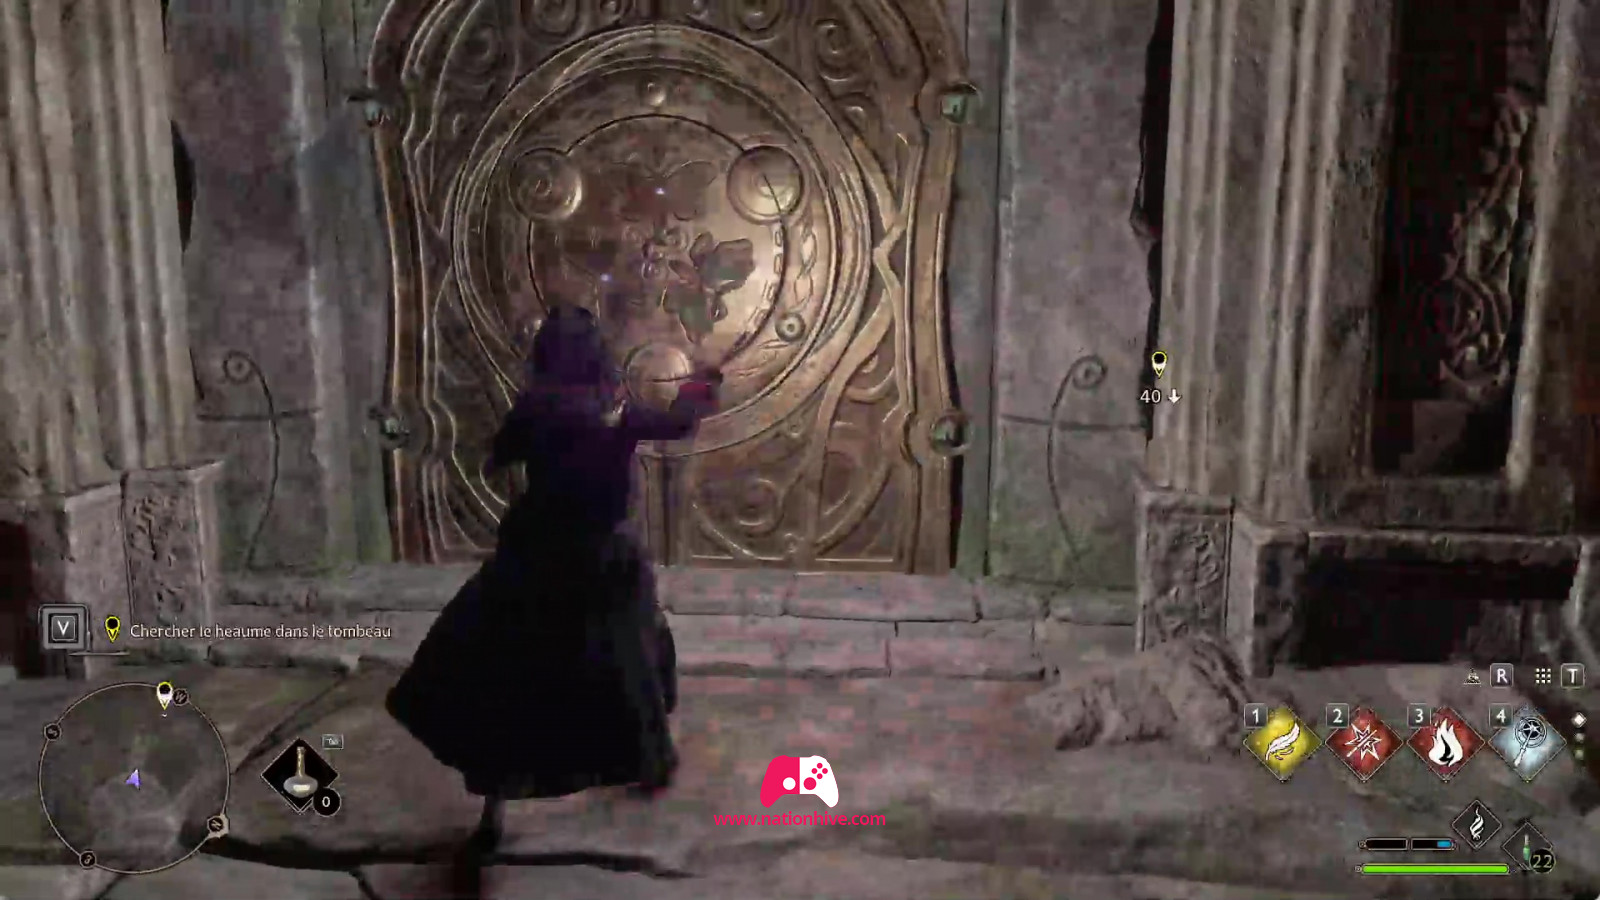
Go forward until you come across a large door with 3 butterfly symbols. However, the door seems to be missing one. The last butterfly is in the corridor on the left. You'll need to use the Lumos spell to attract the butterfly to the large door. Deactivate Lumos to let the butterfly fly over the big door. This will unlock the door for you.
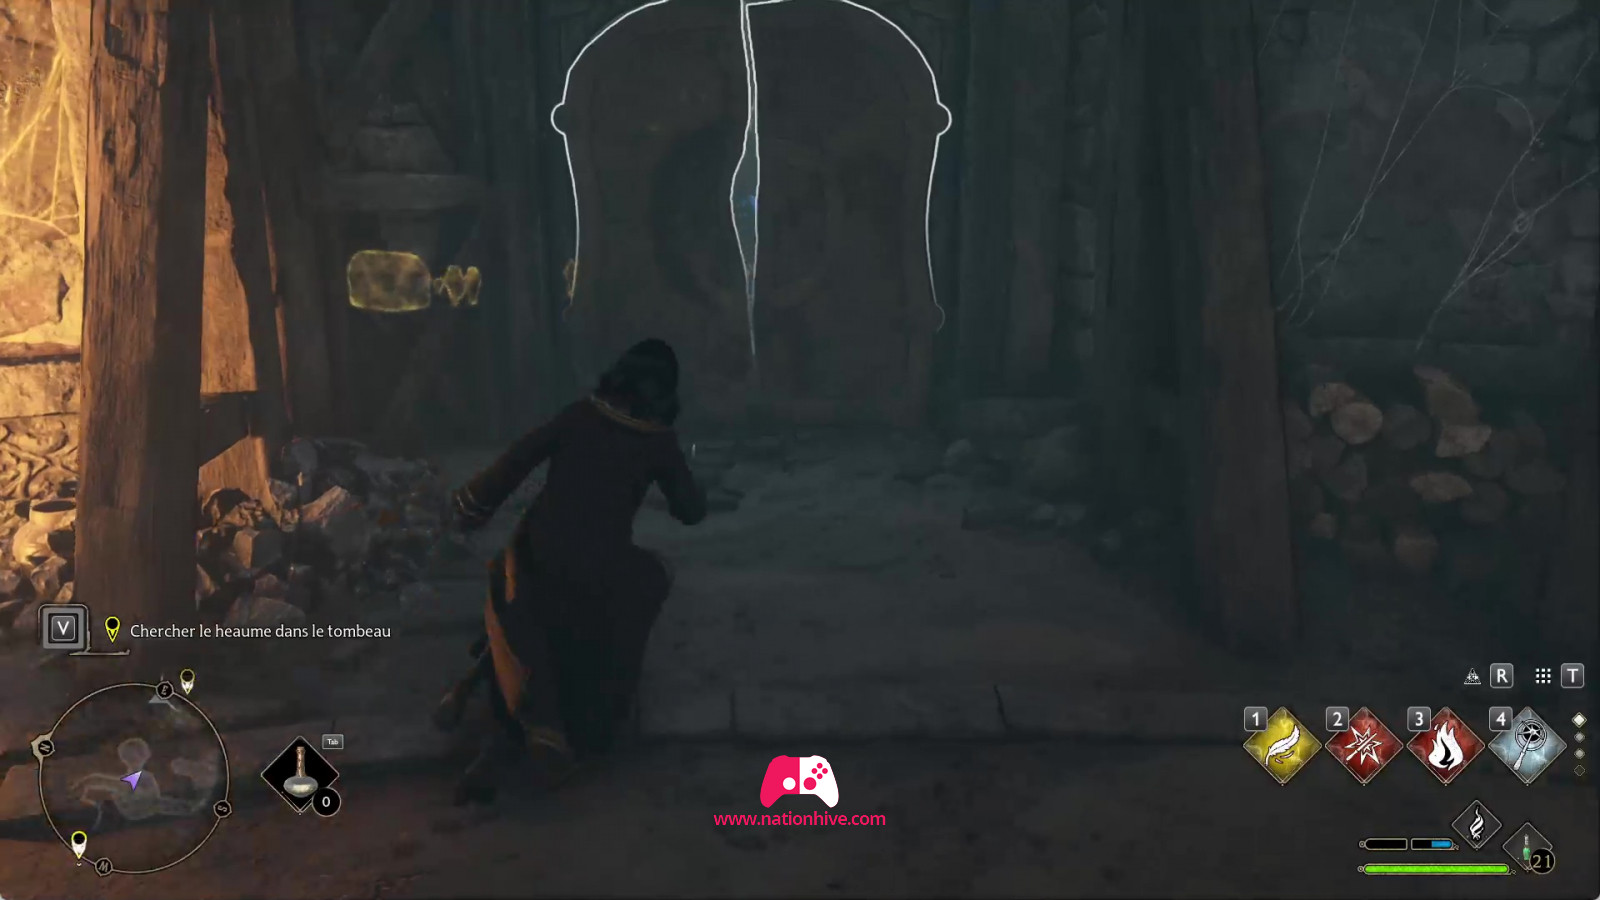
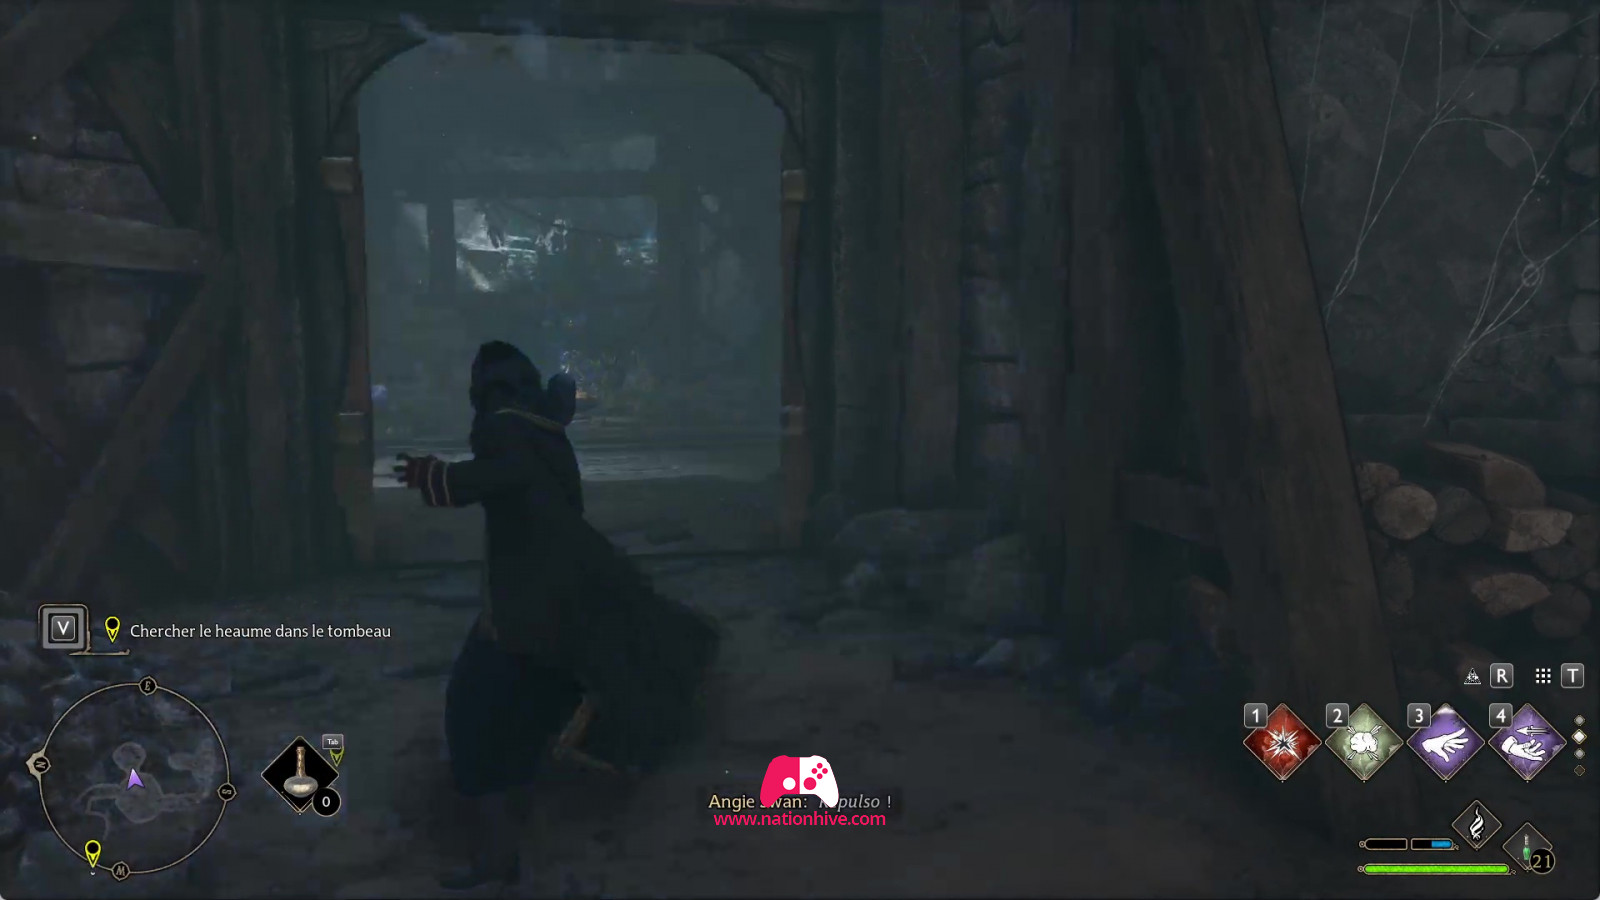
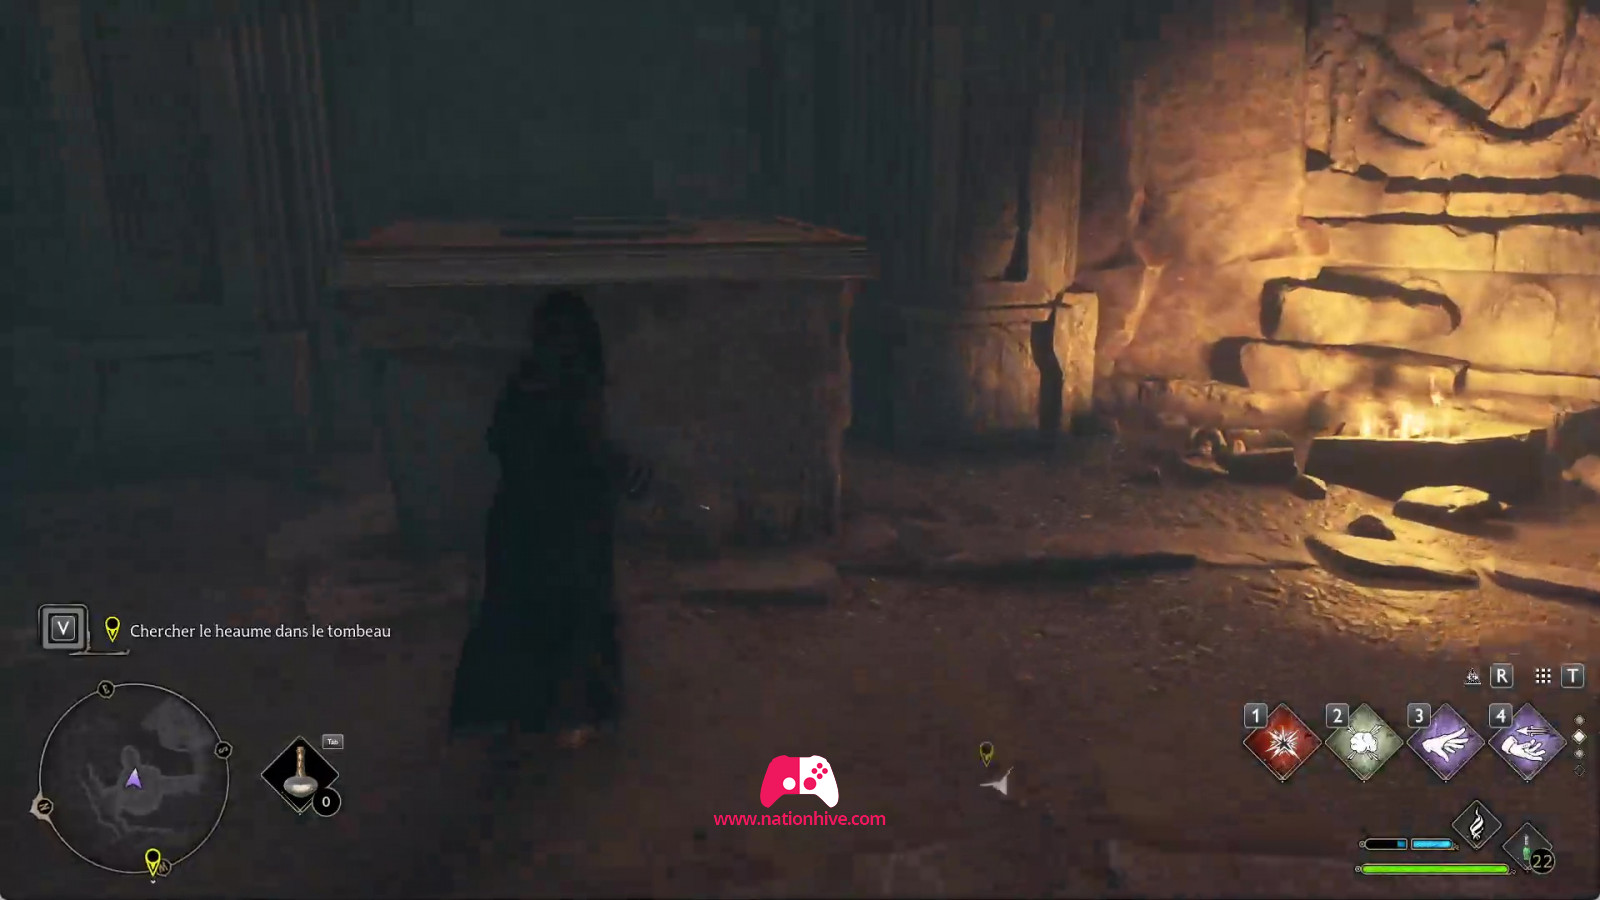
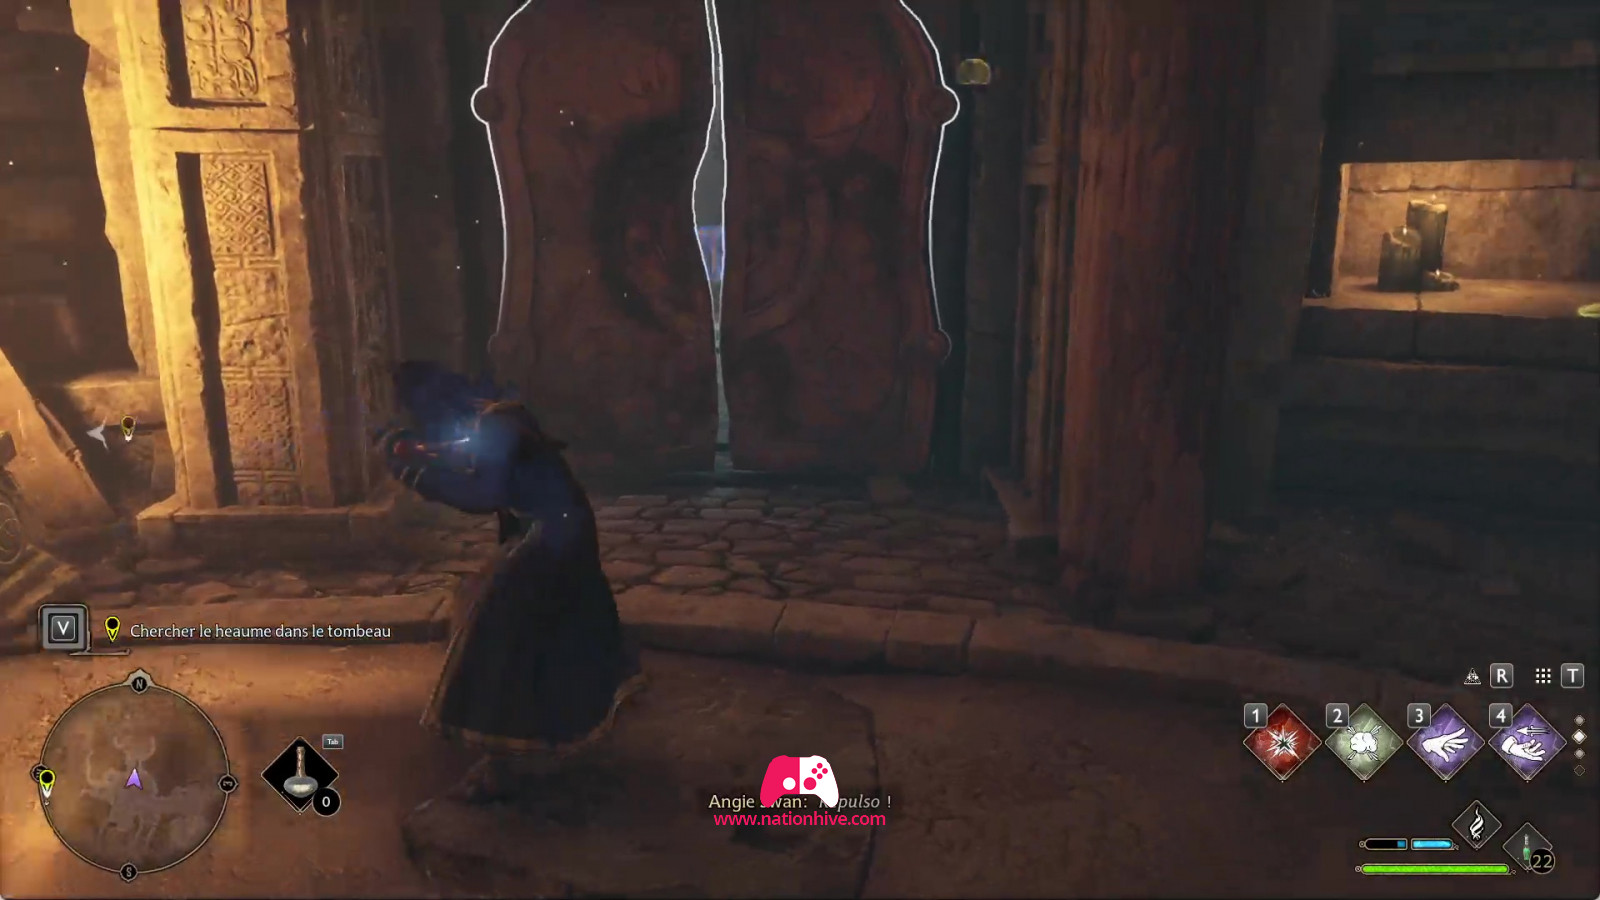
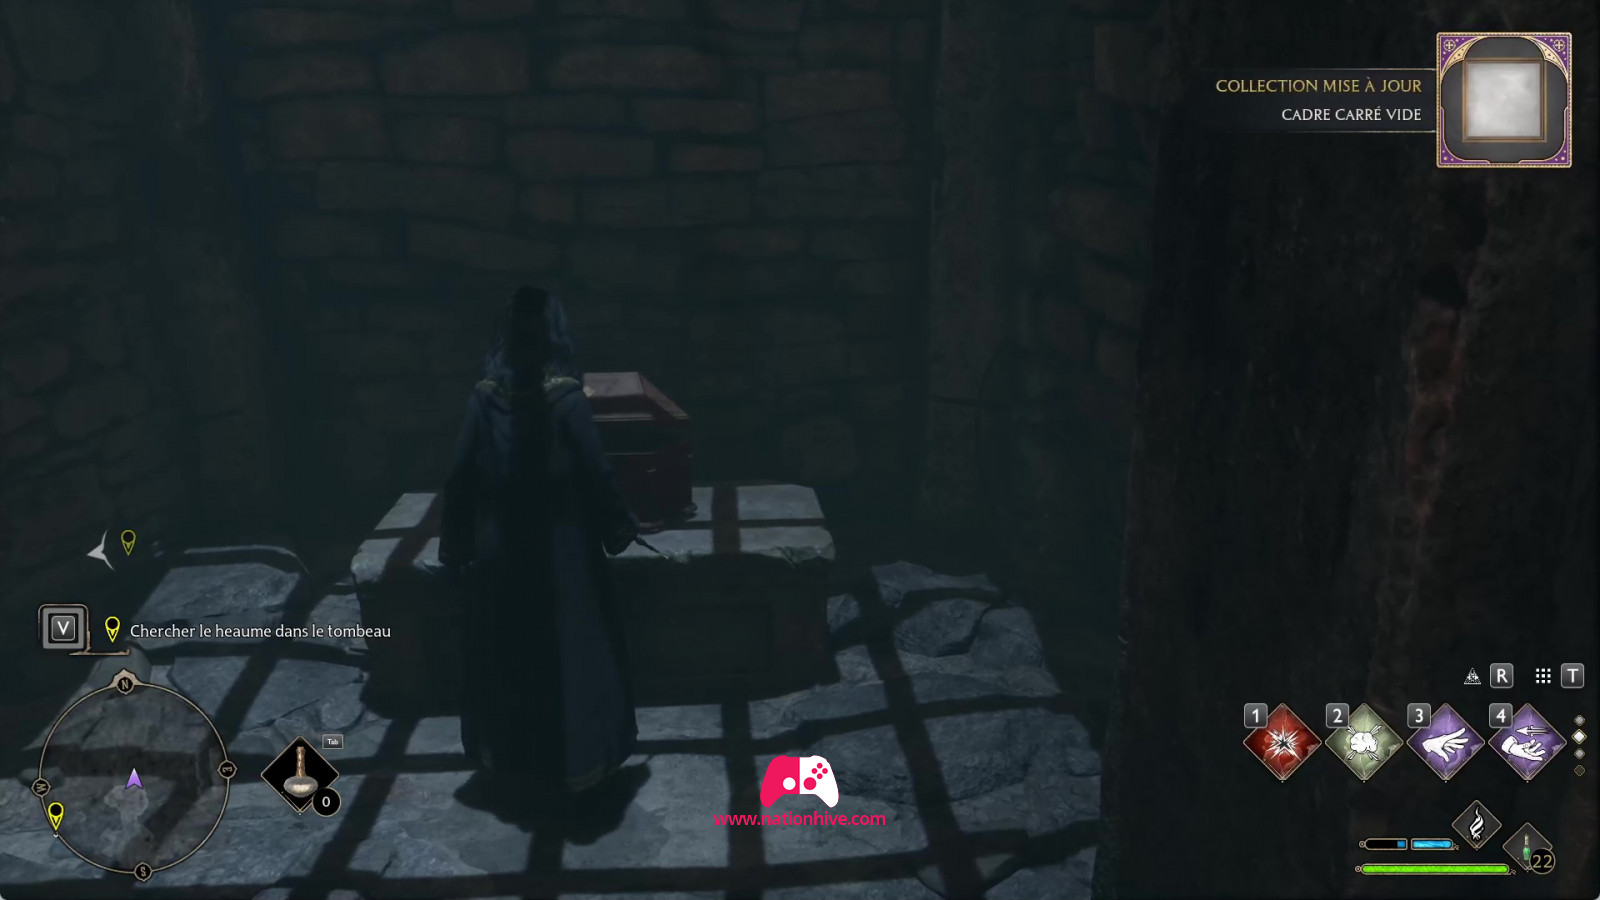
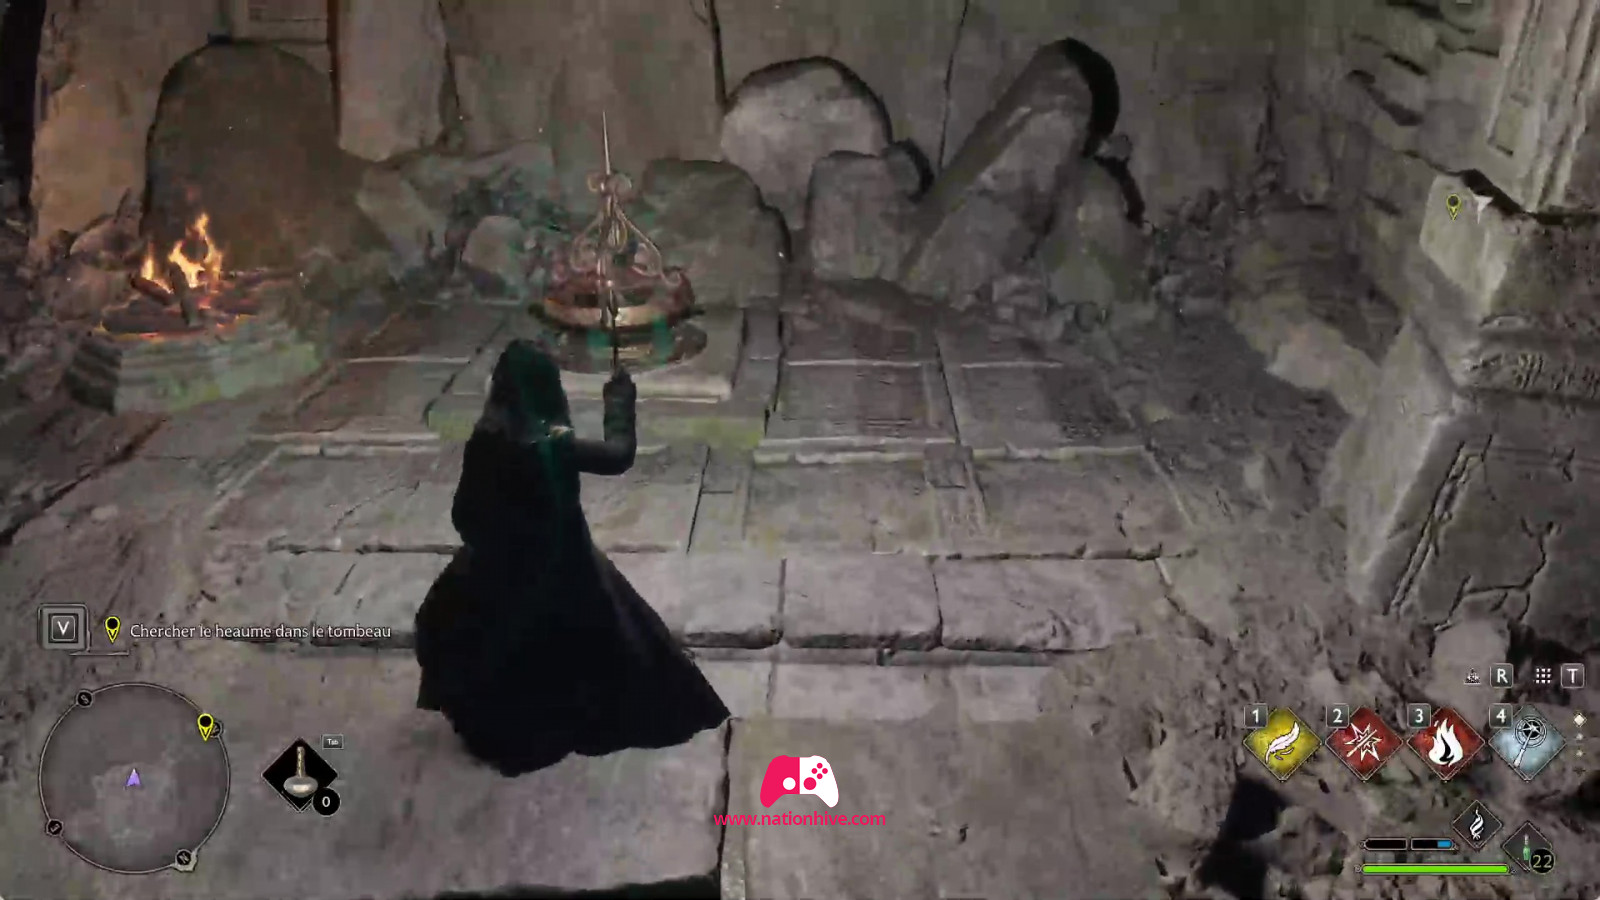
Once in the next room, collect the gold coins and open the chest on either side of the room. Go straight ahead and you'll find a large room with a tomb in the middle. However, this is not the sarcophagus you're looking for. Repeat the steps with the Lumos spell and the butterflies. Place the 3 butterflies on the large door. To find the last missing butterfly, simply open the door with a crack using the Repulso spell.

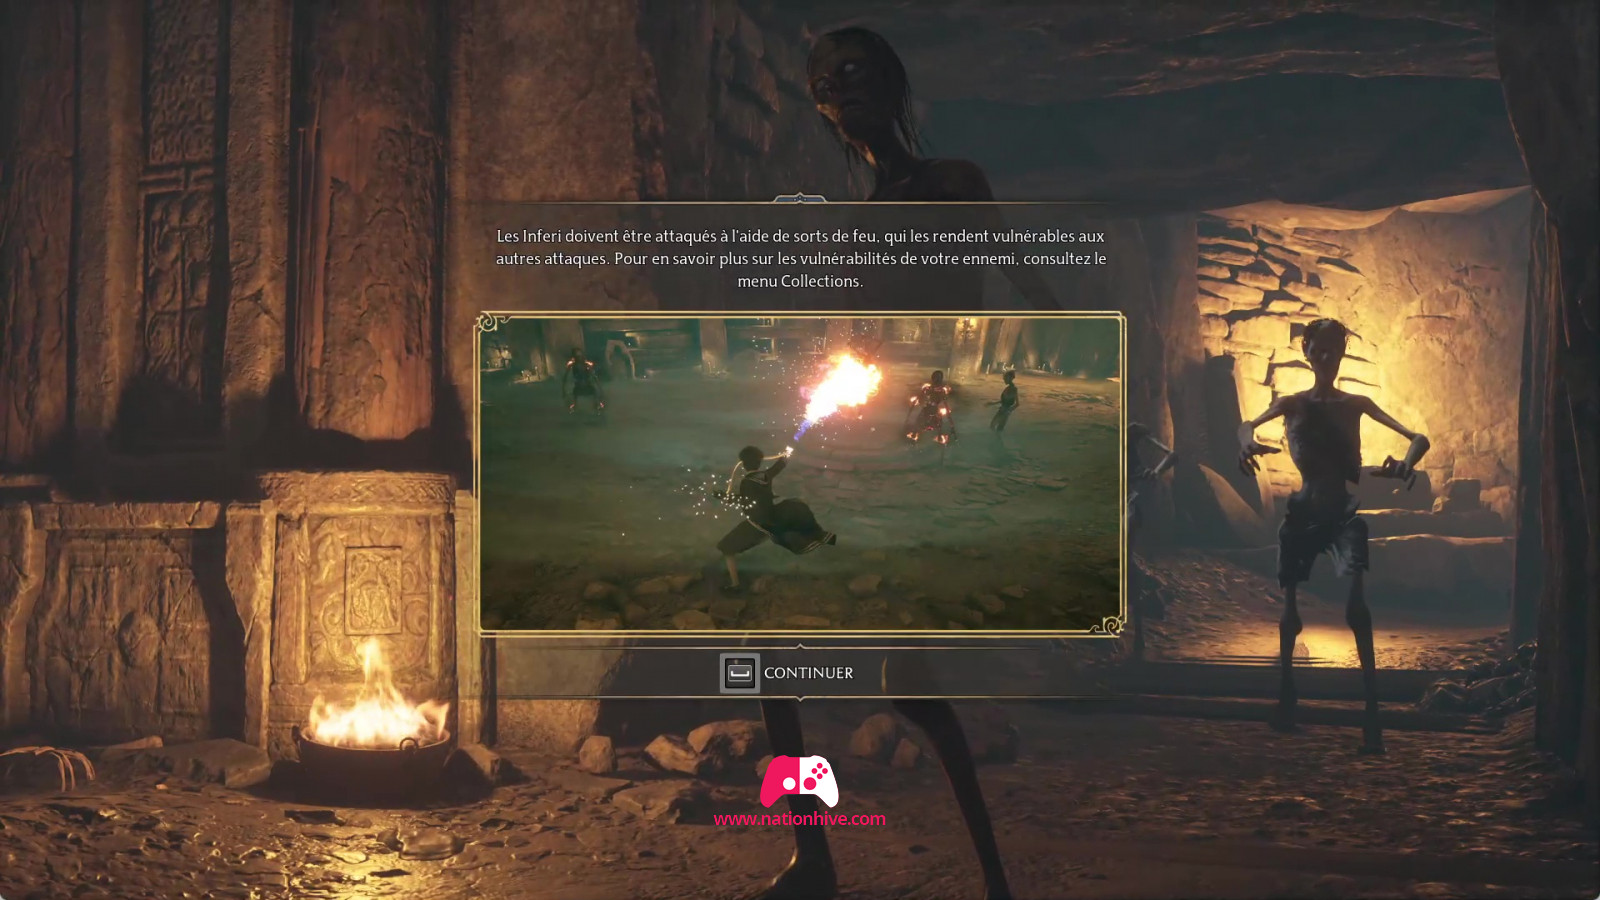
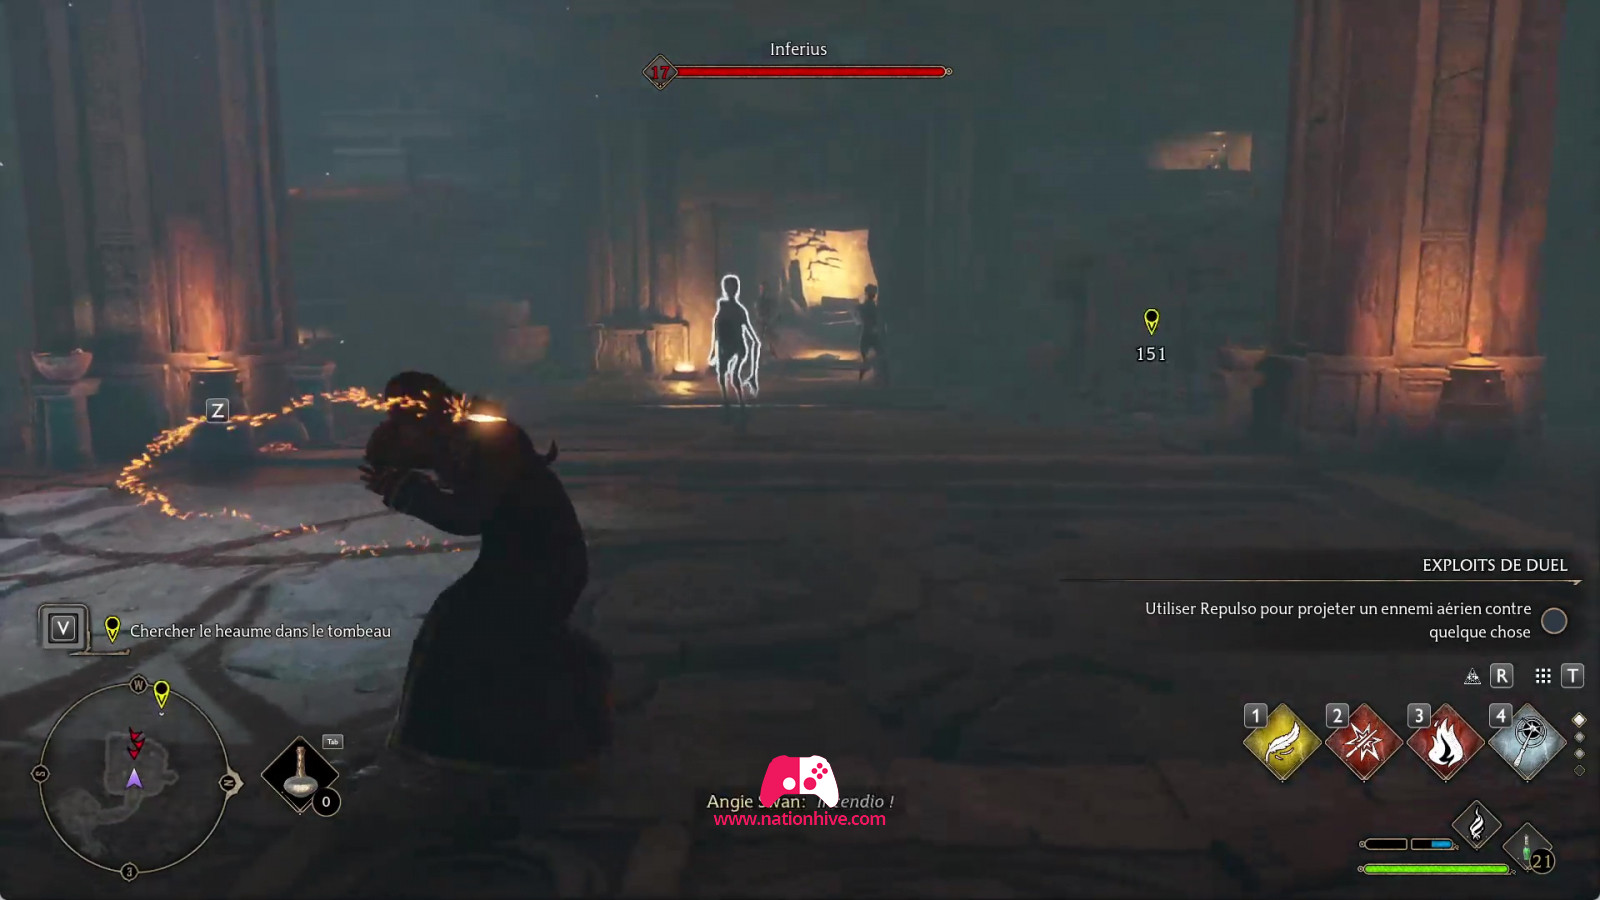
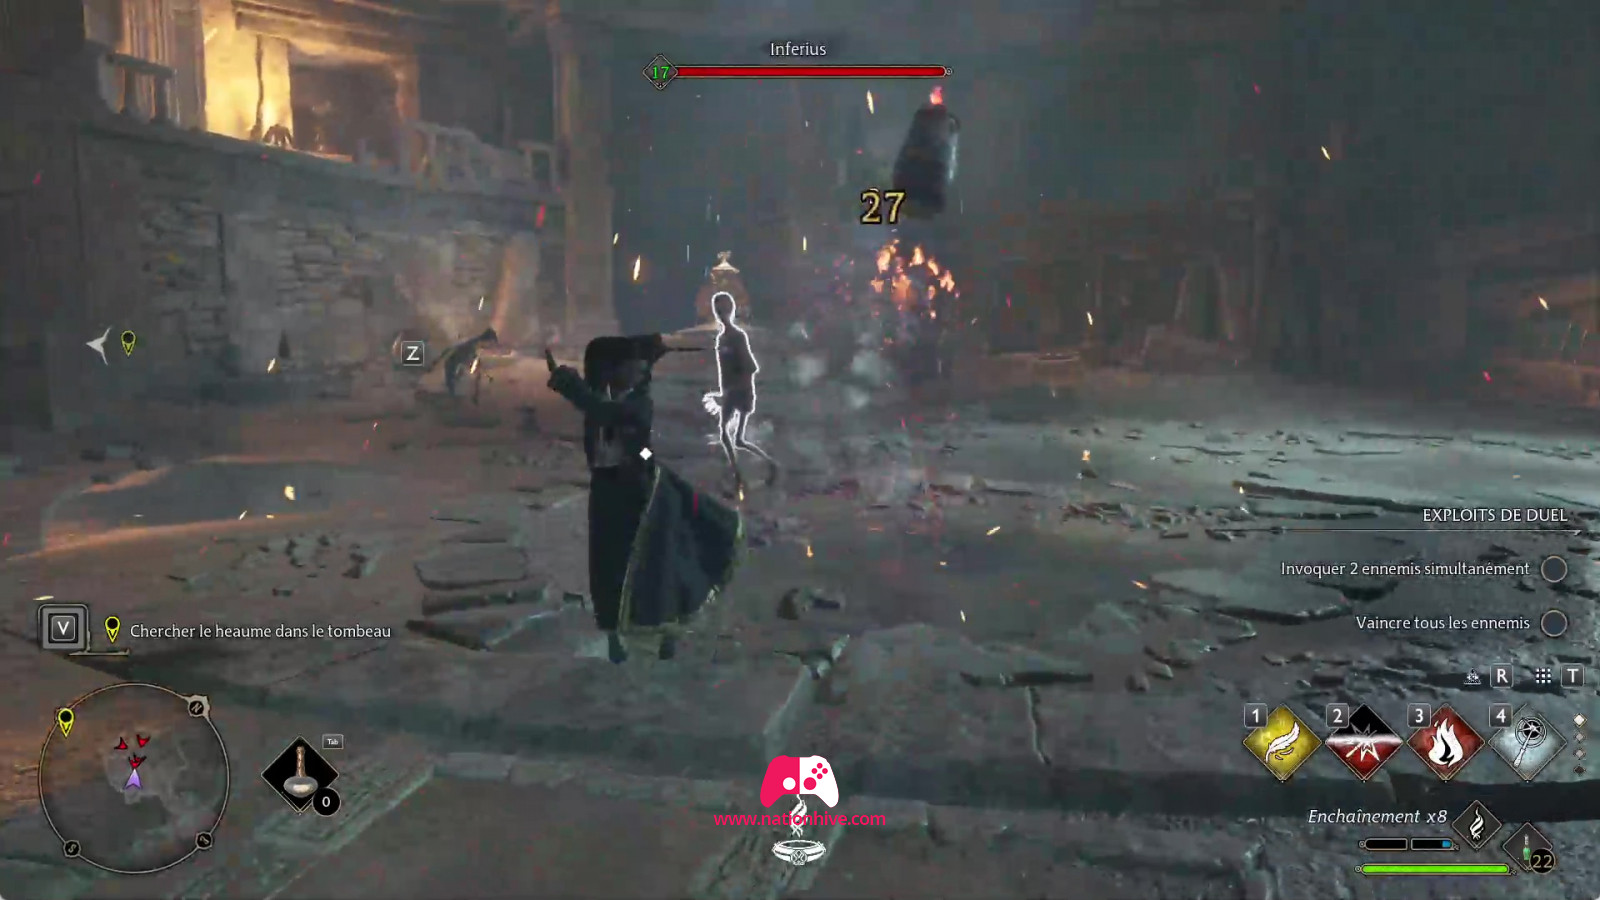
Once you've opened the 2nd door, head into the next room. You'll be confronted by Inferi, who must be attacked with fire spells. Once you've defeated all the enemies, collect the resources on the floor.
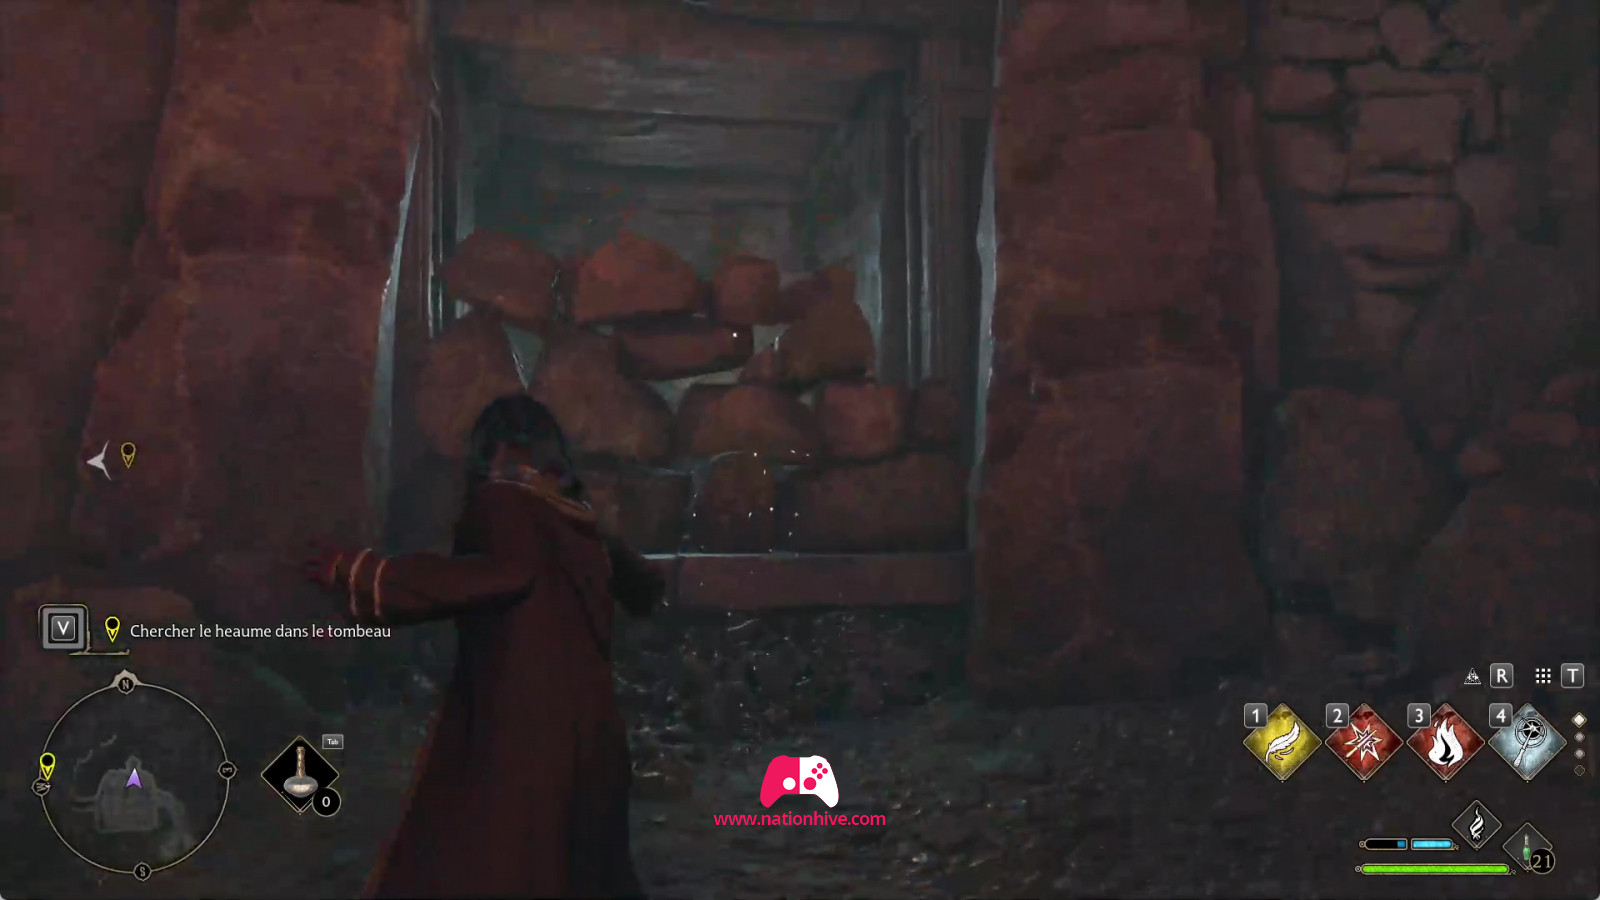
Use the Repulso spell to remove the small stones blocking the path. You may also find some gold coins.

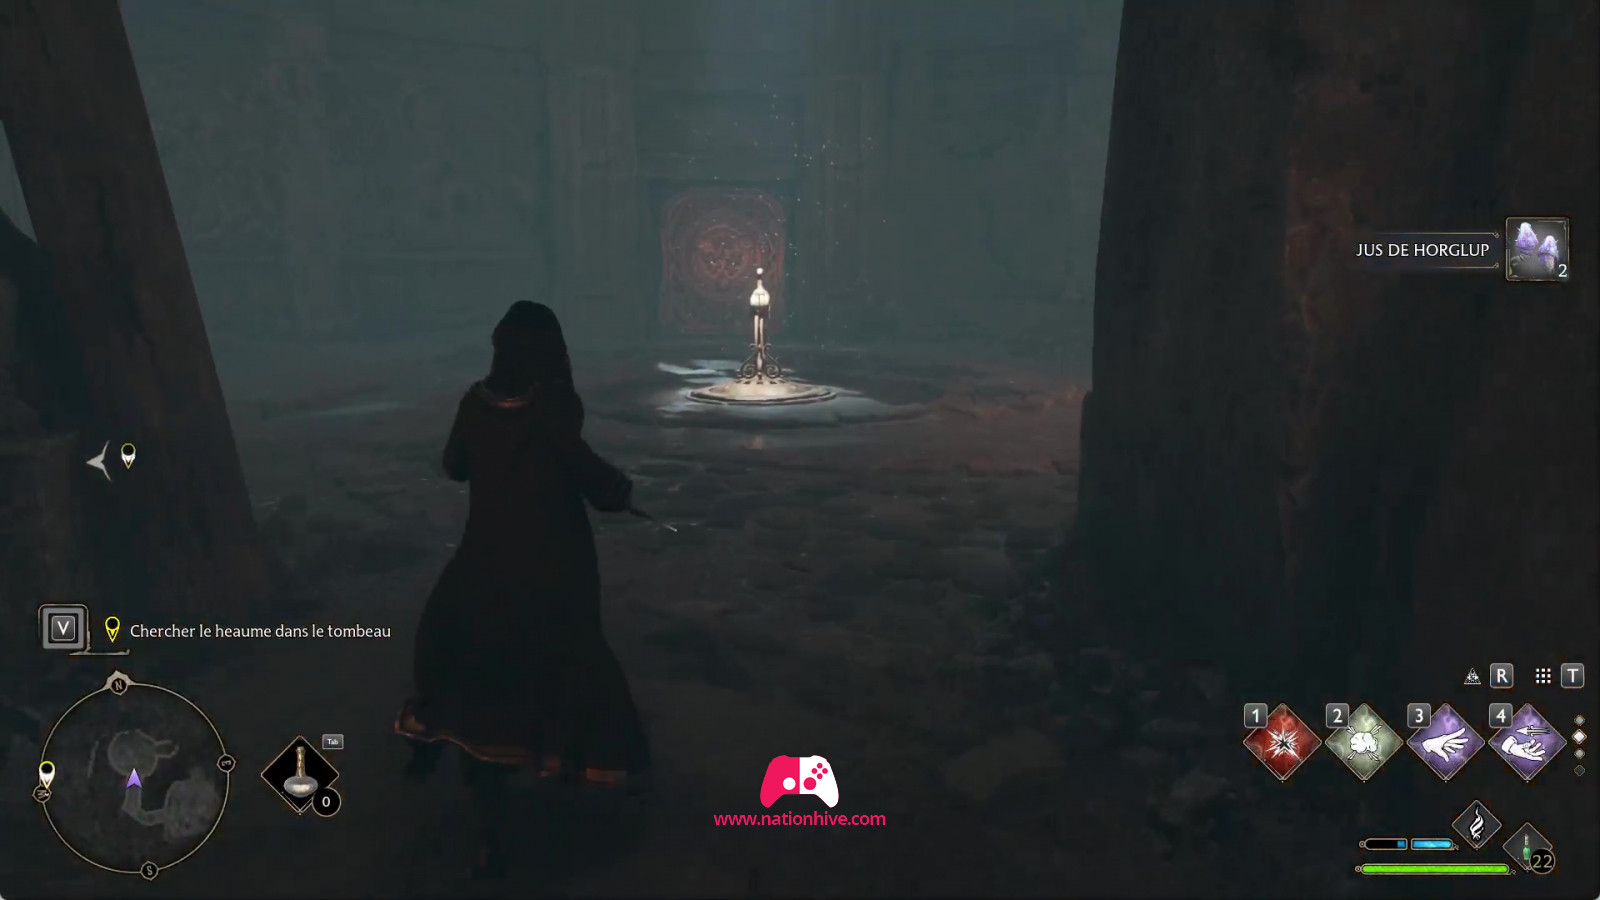
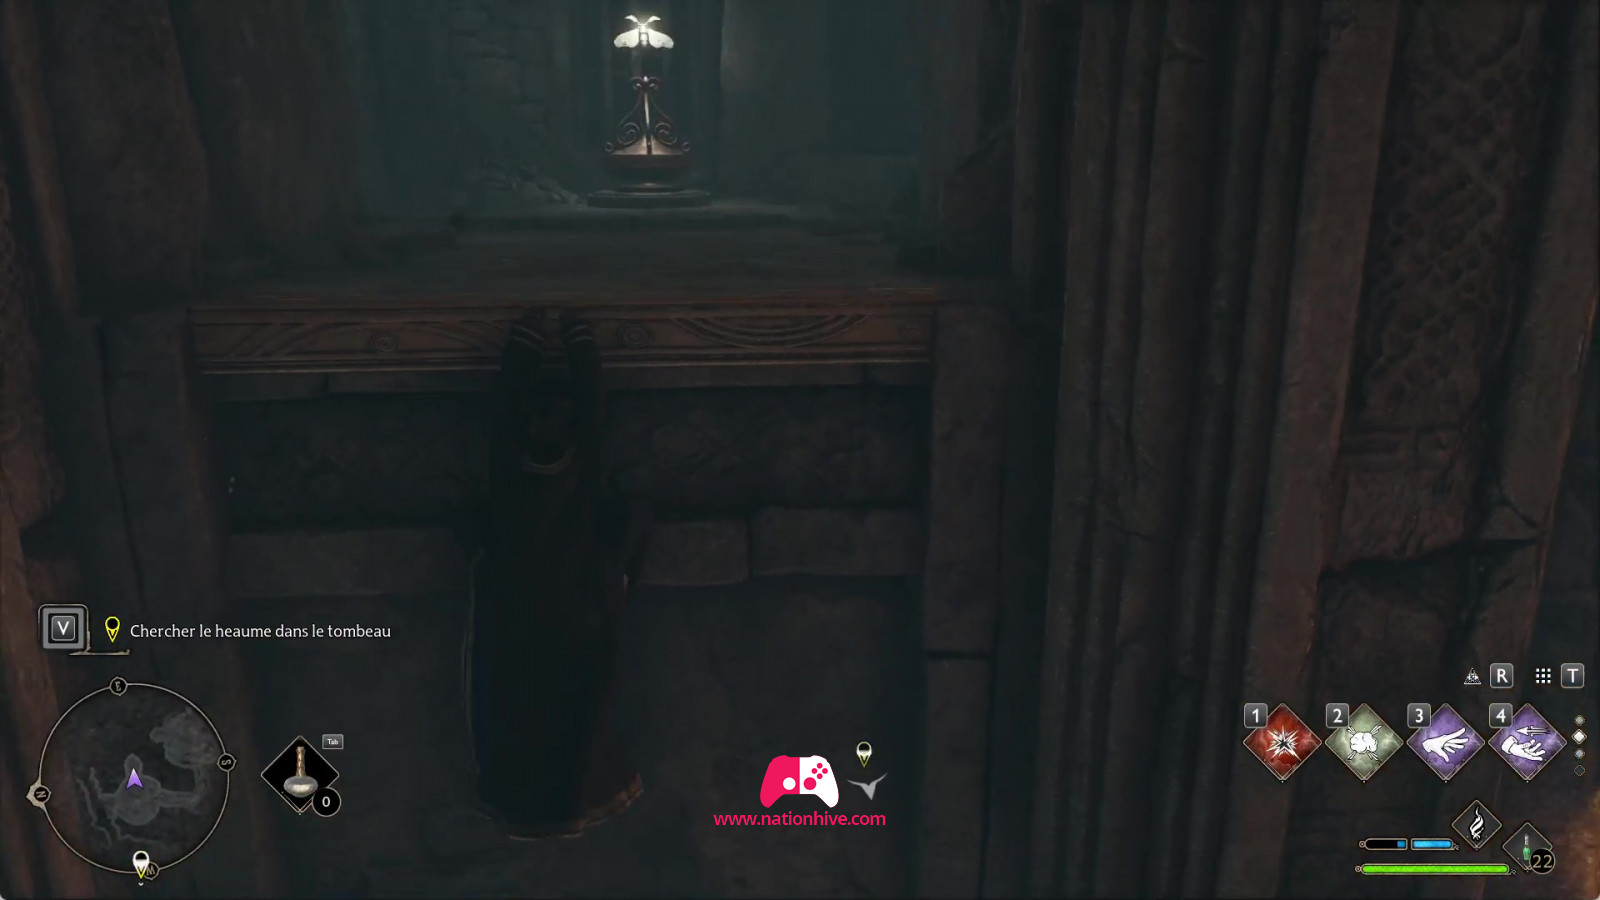
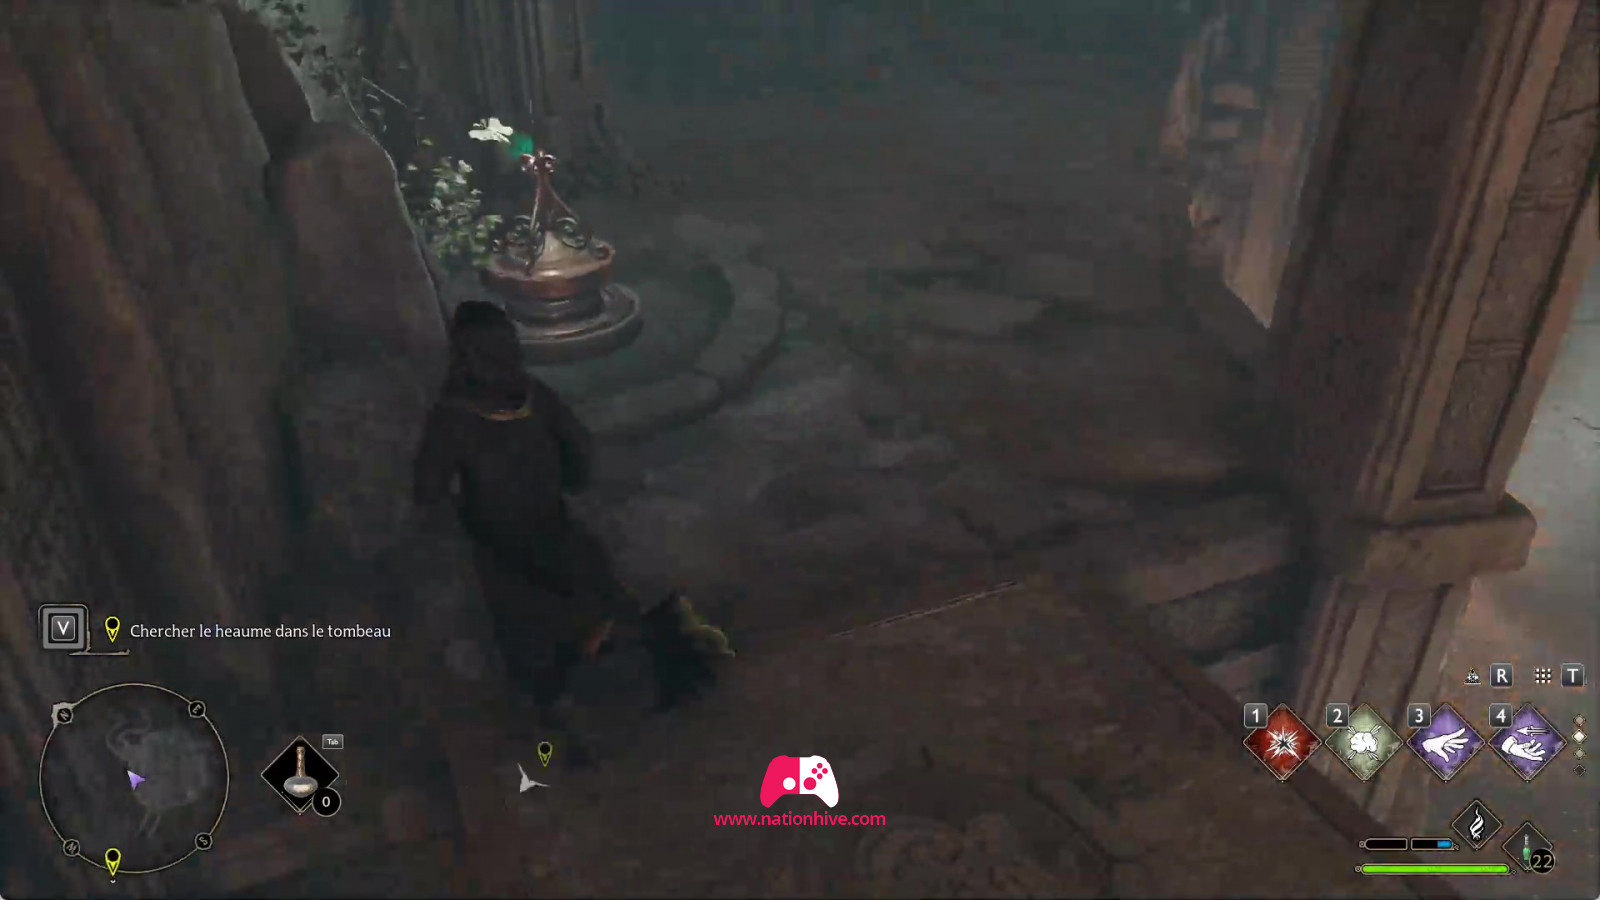
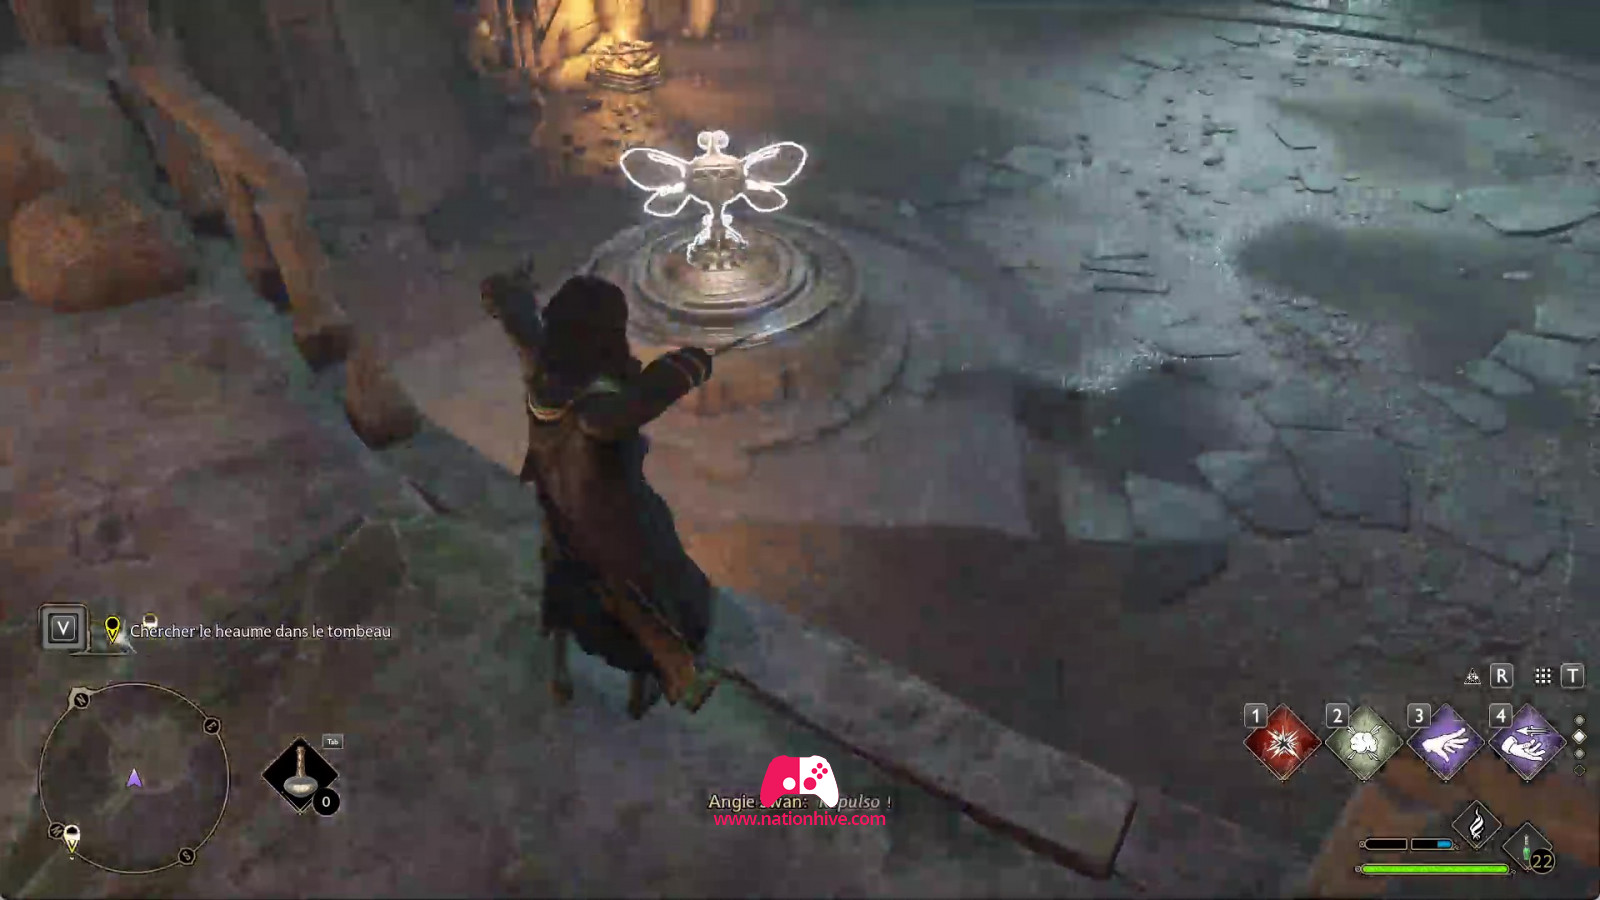
Continue on into the next room, placing the first butterfly in the room over the door. You'll see a mechanism on which you need to place a butterfly, which you attract using the Lumos spell. When you cast the Repulso spell on the mechanism, it raises a platform. Climb the platform that has just been raised to retrieve the 3rd butterfly. Take the butterfly from the mechanism and place it on the door to unlock it.
Before moving on to the next room, it's possible to find a chest in a hidden area. Simply climb up and you'll find a gap between you and the chest. Use the Repulso spell to open the drawer and the Accio spell to collect the bones and build a bridge to unlock the chest. Once this is done, retrace your steps and continue on your way.
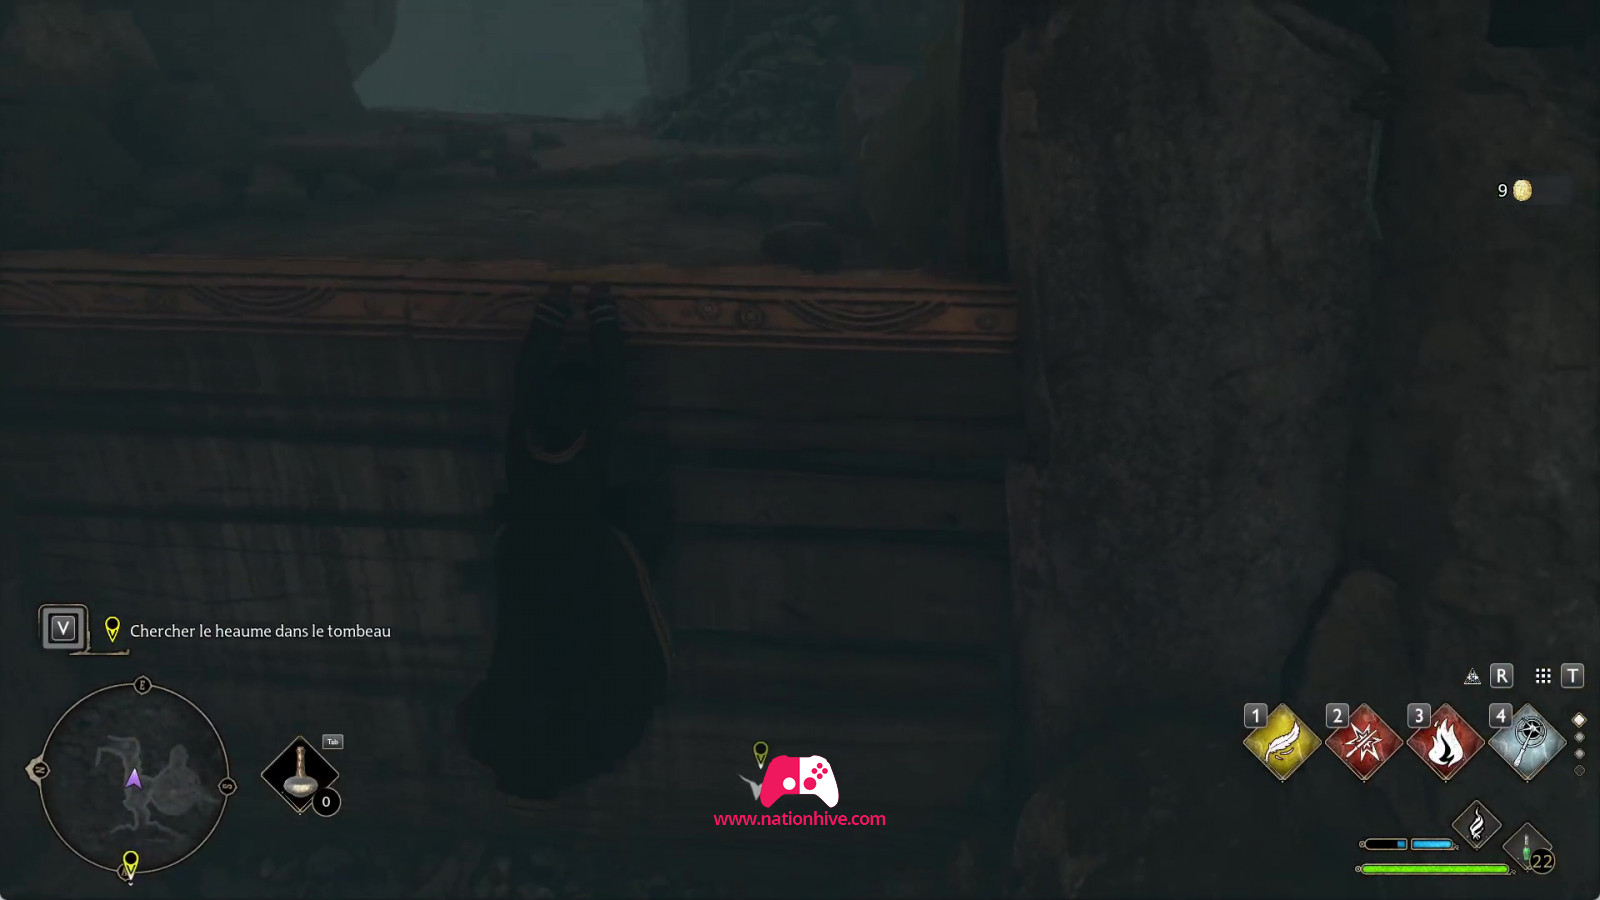
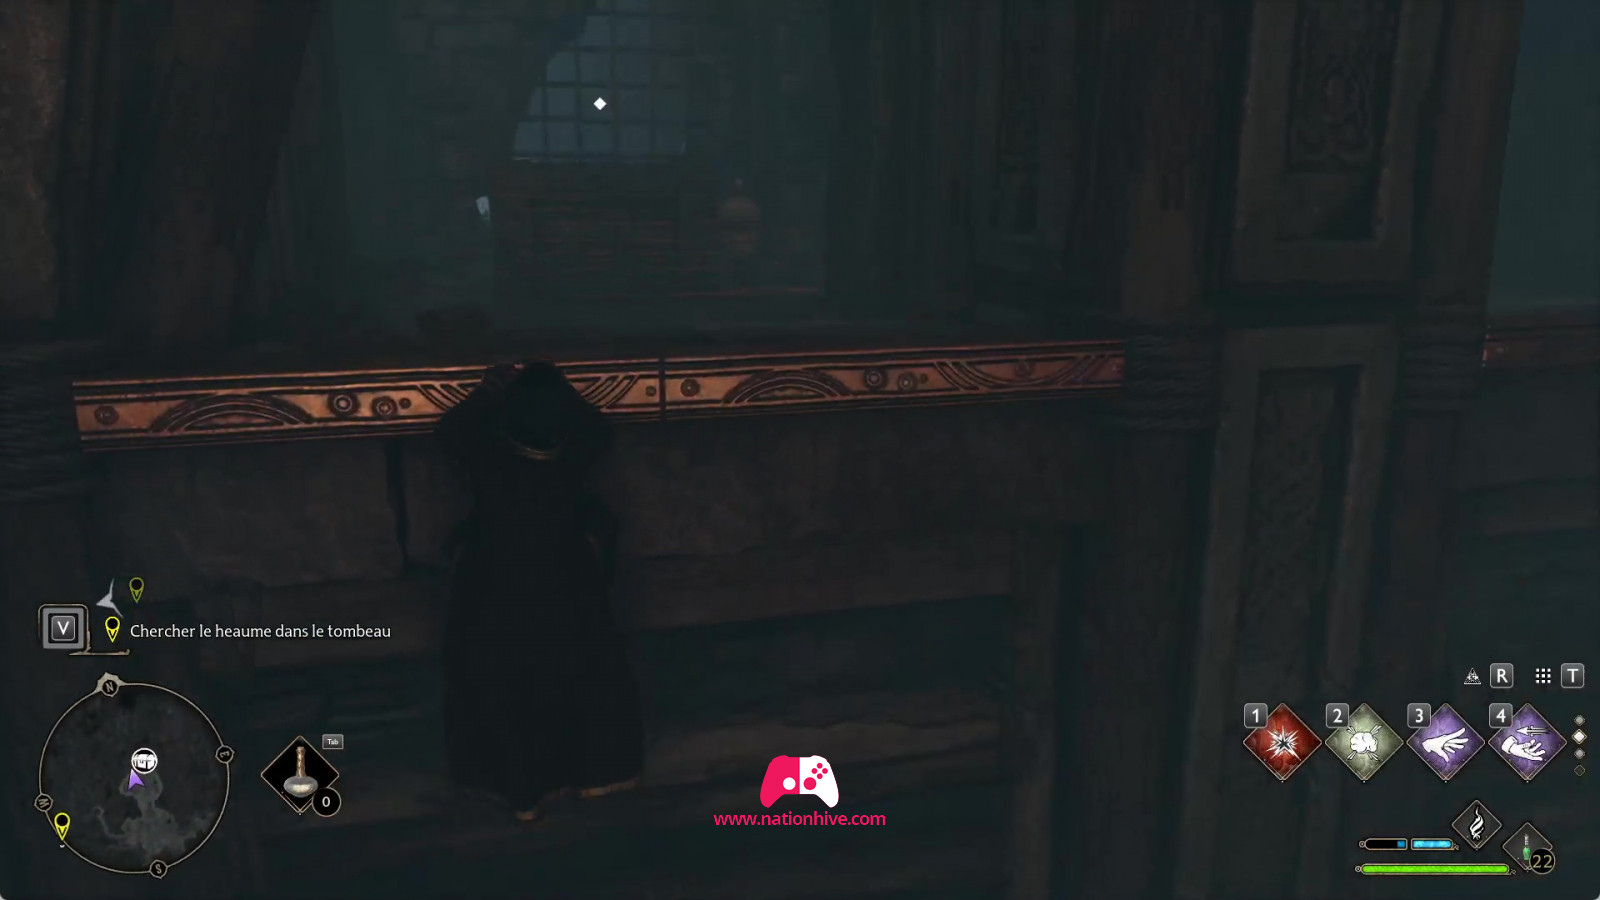
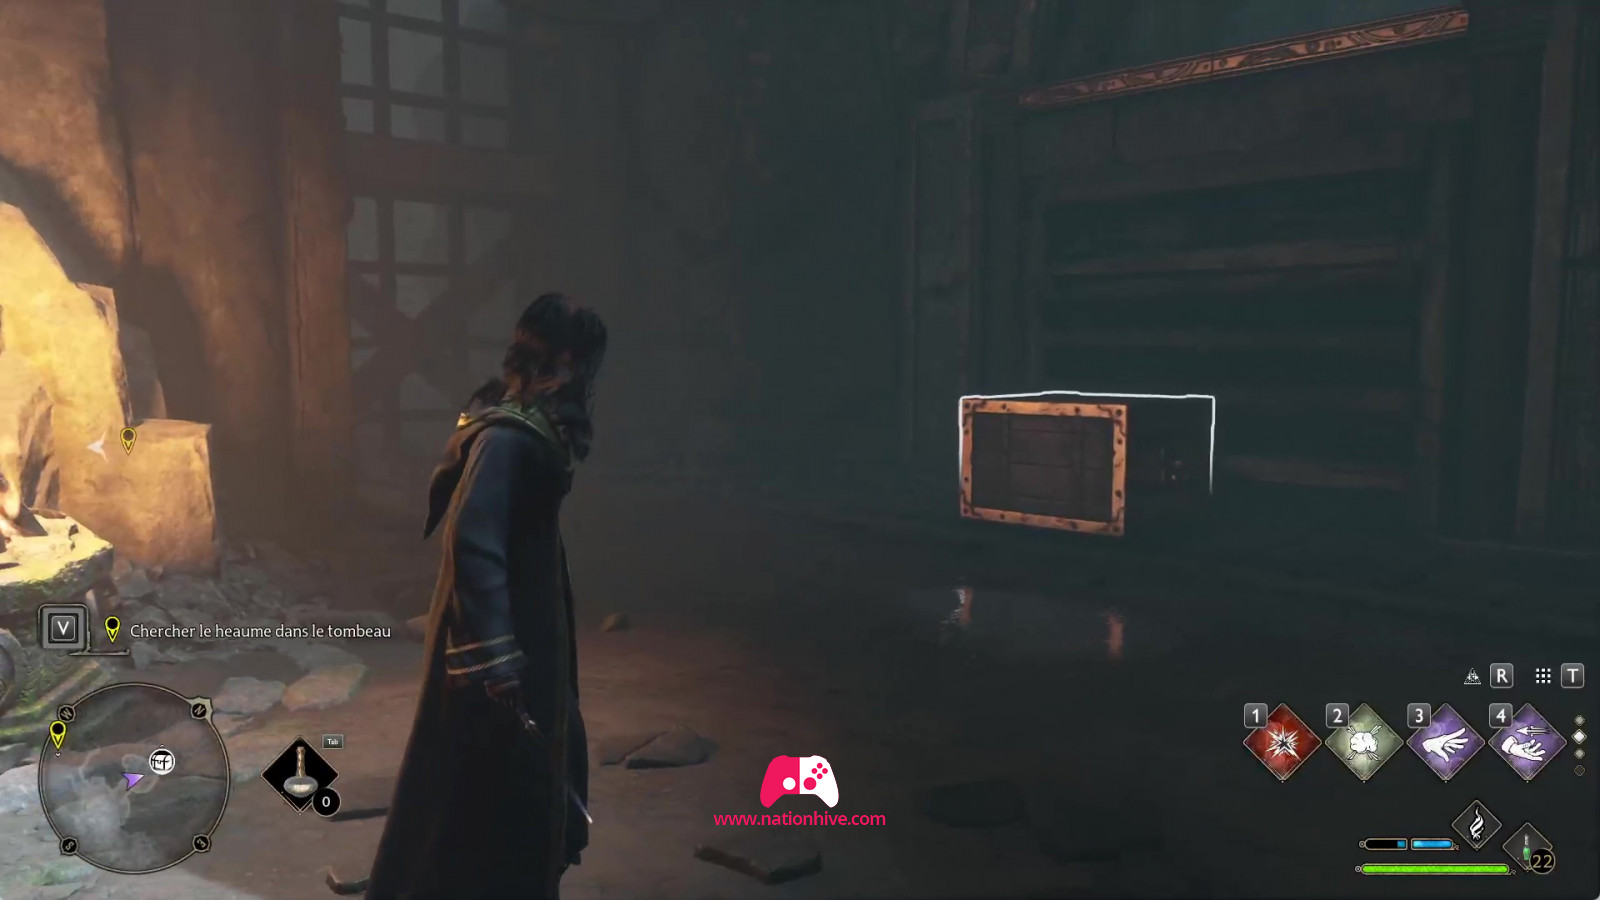
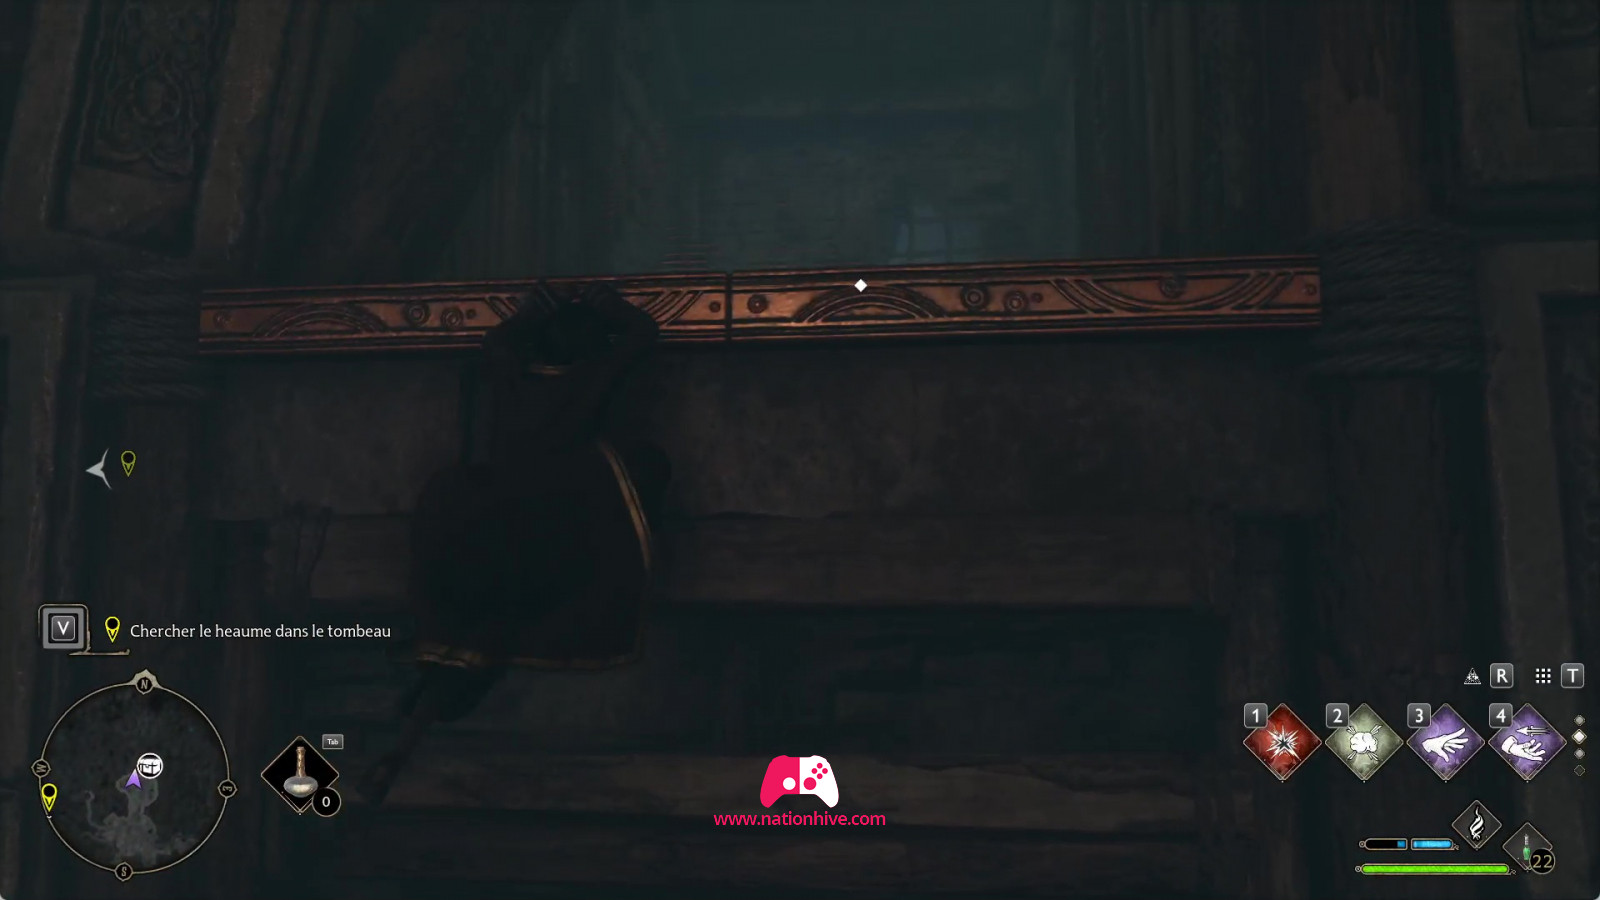
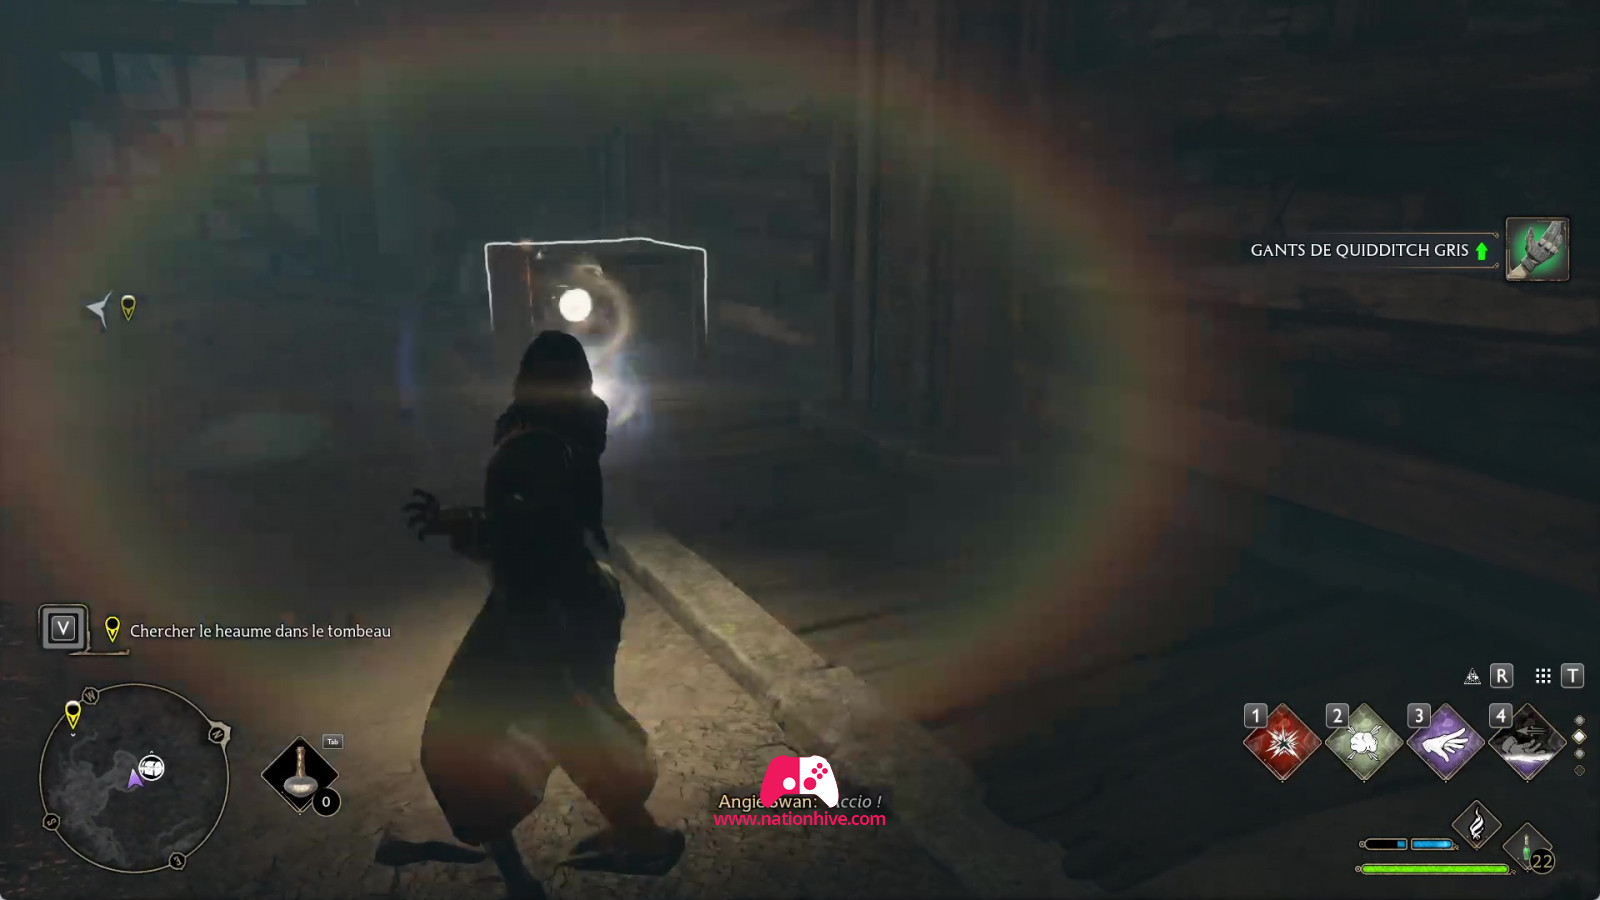
When you reach the next room, you'll see a structure hanging in the middle of the room. Use the Accio spell to bring the structure down.
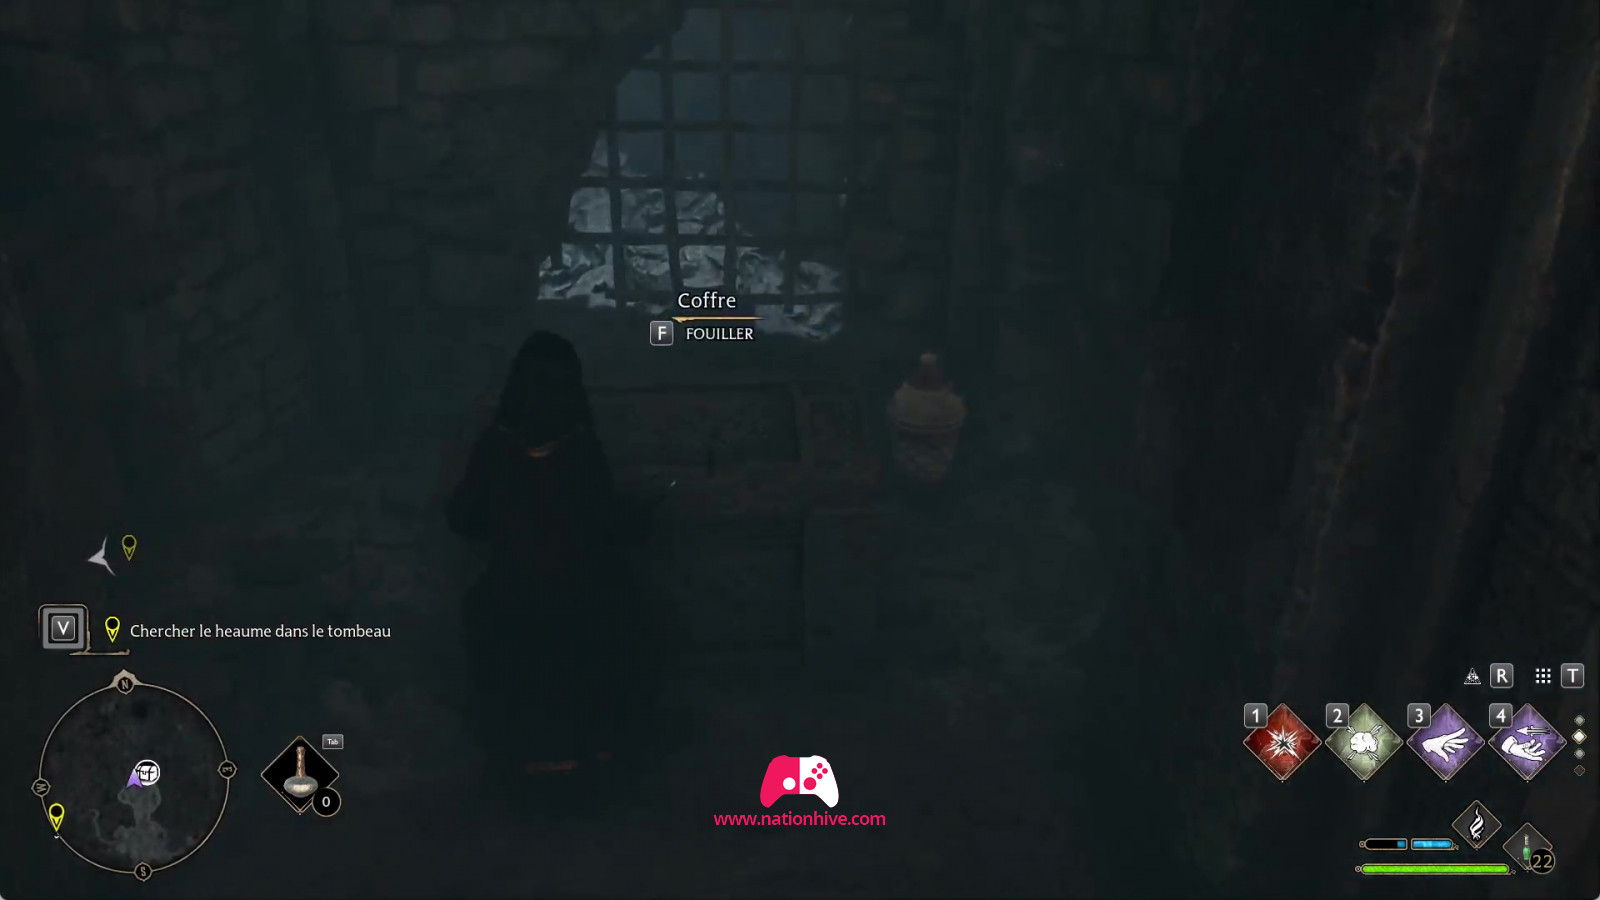
Before jumping down, it's possible to find another chest there, by opening the door with a crack in the middle using Repulso. Use the block on the floor to climb to the top and retrieve the chest. Then use the Accio spell to move the block to the right and climb up to retrieve the 2nd chest.
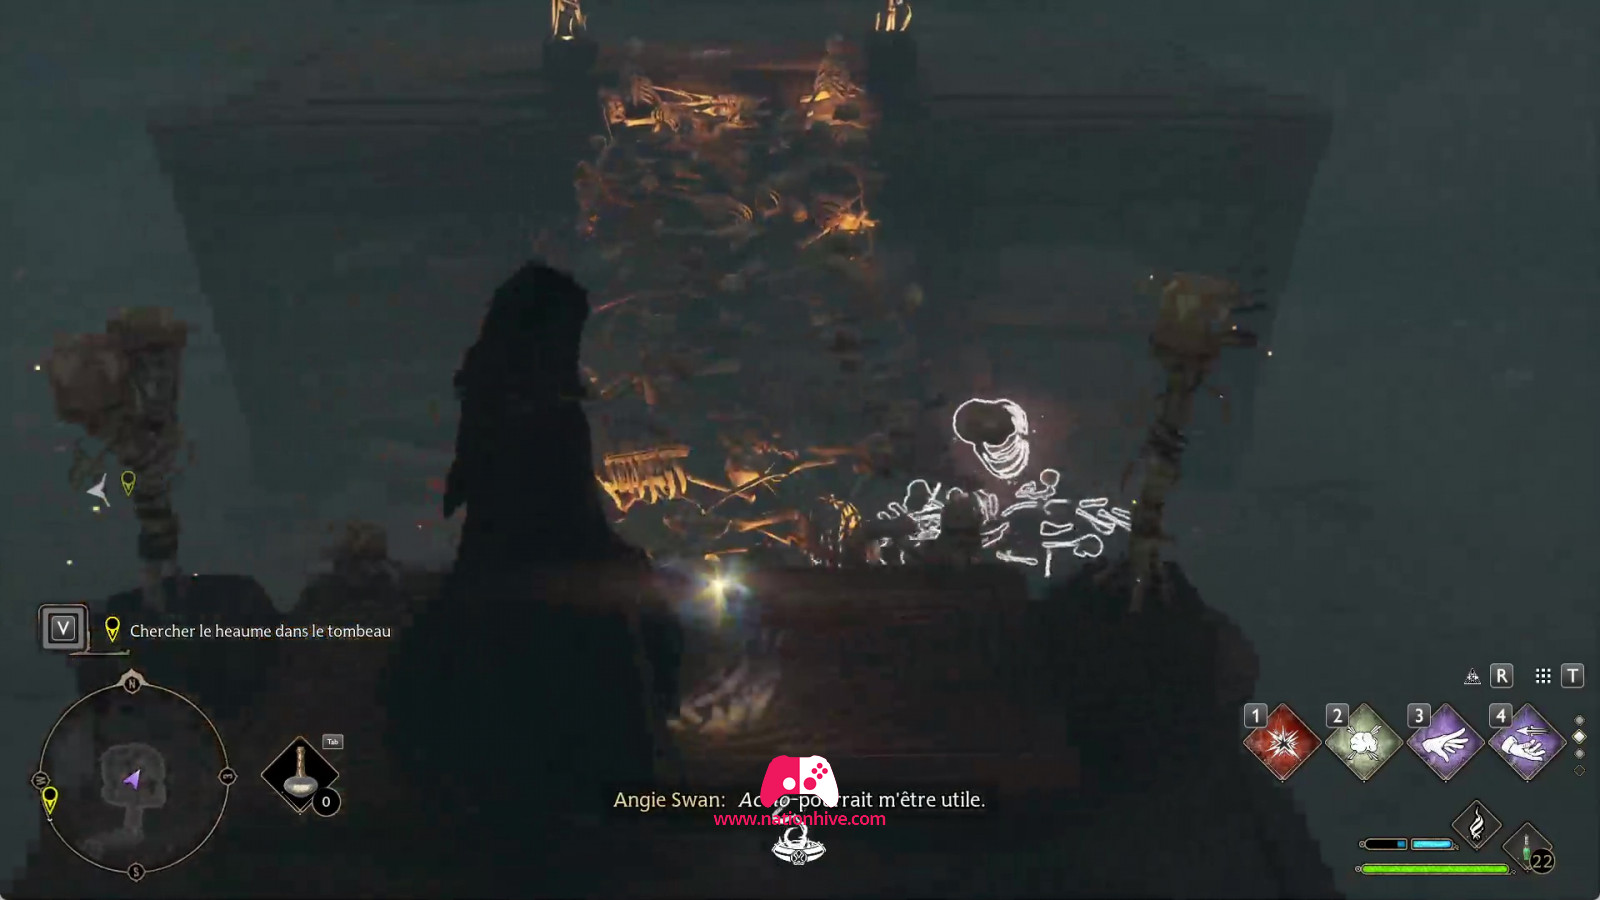
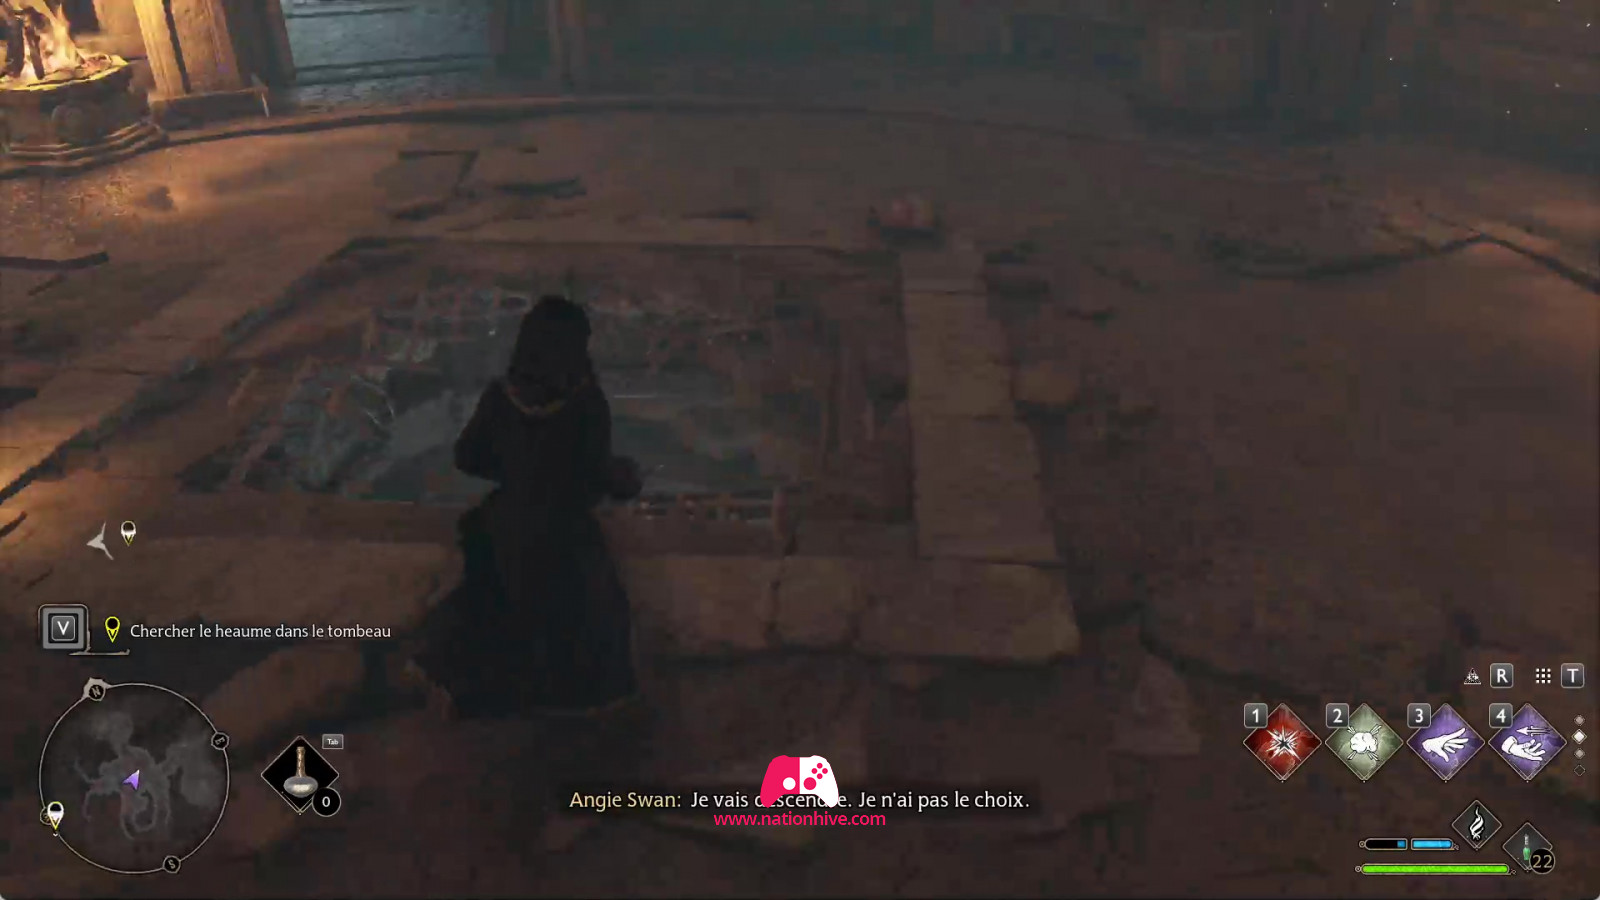
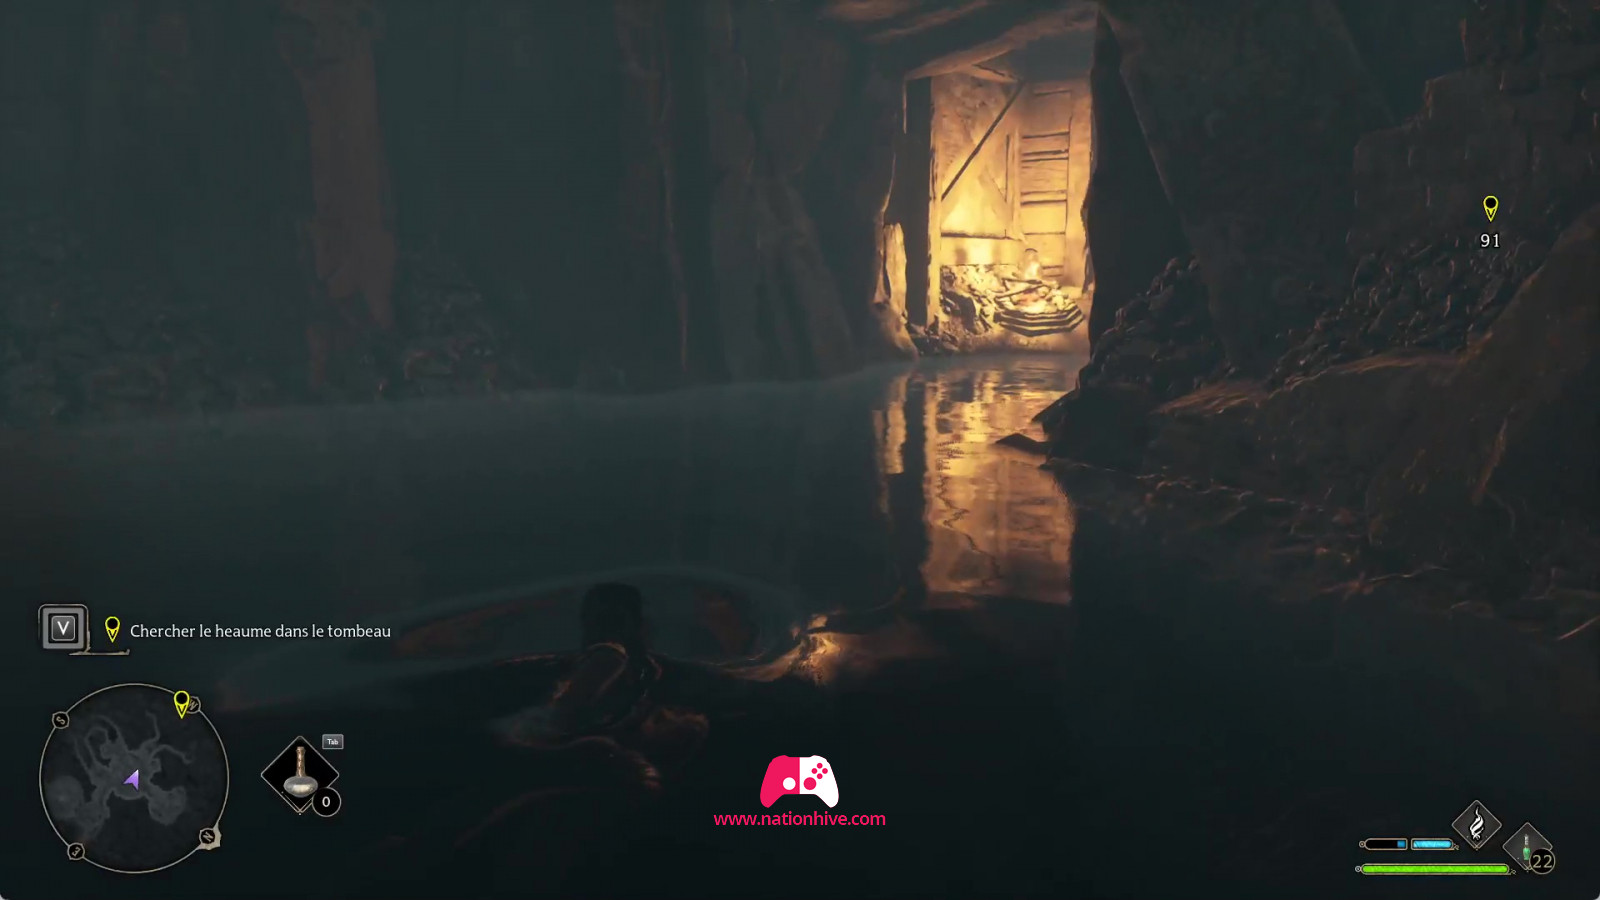
Jump down to continue on your way, and you'll fall into the water. Move on and you'll find yourself in a circular room. Once again, you'll be confronted by Inferi, who must be attacked with fire spells. Once you've defeated all the enemies, collect the resources on the ground.
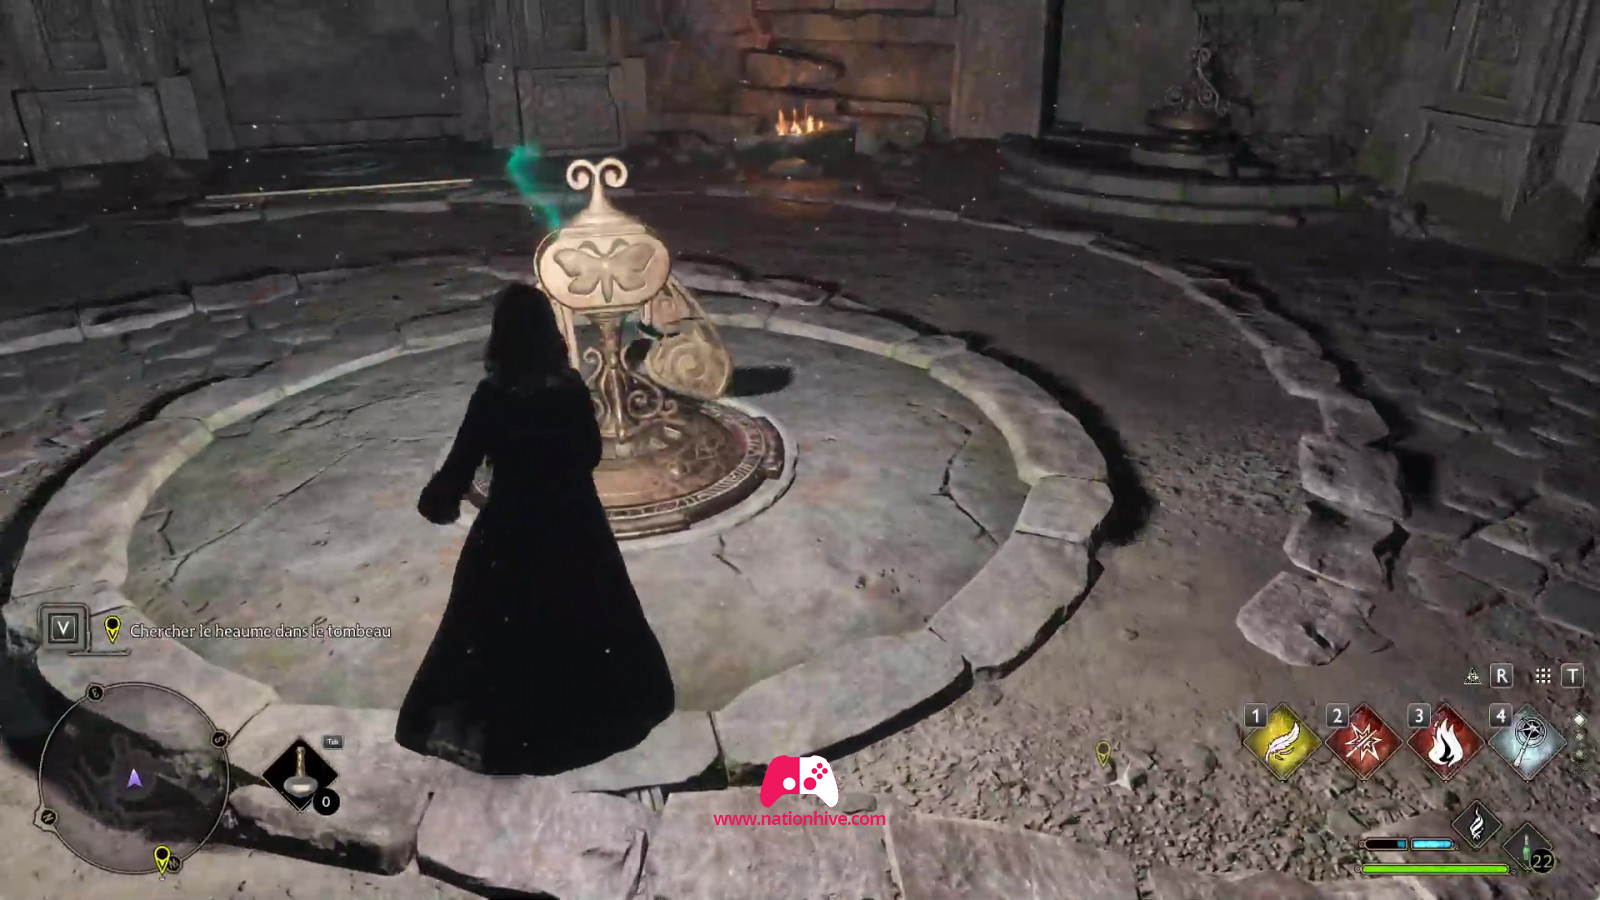
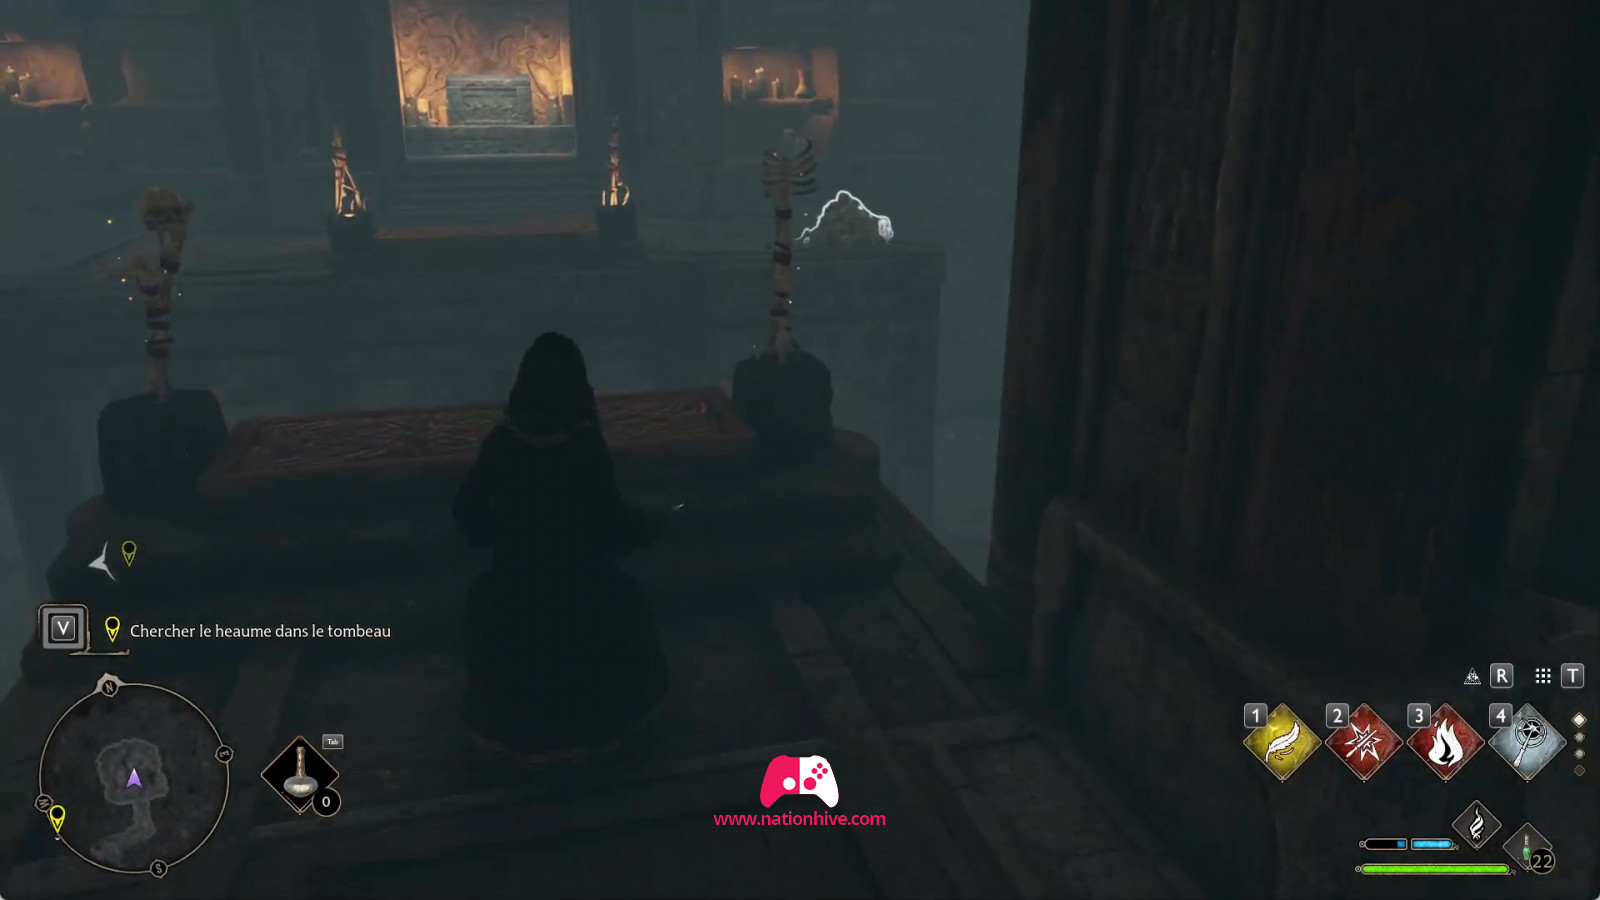
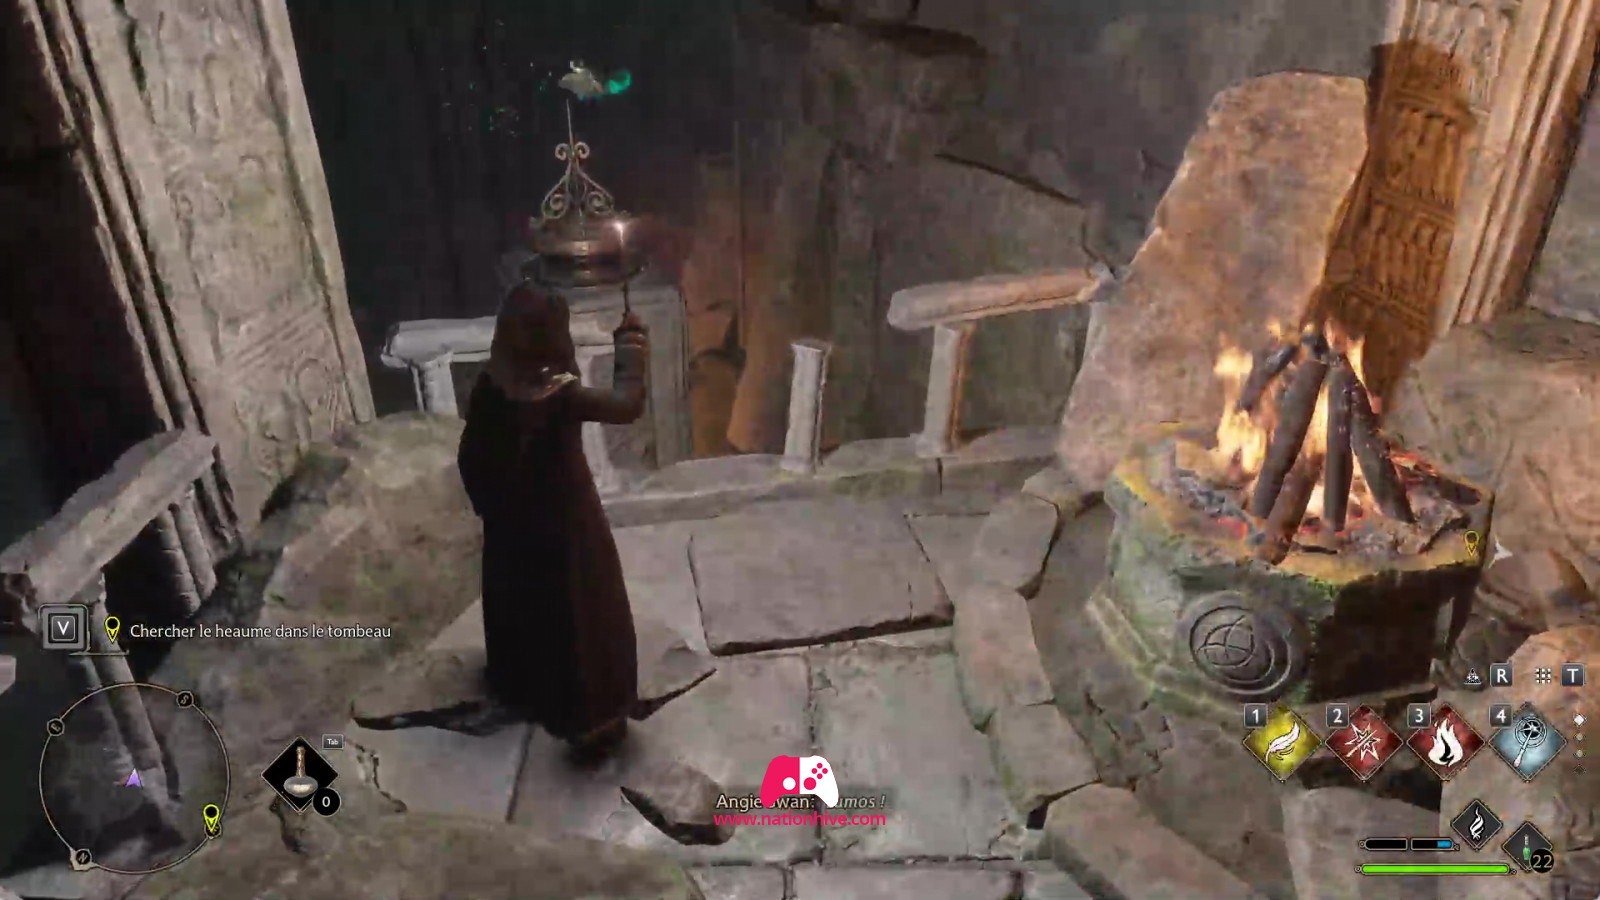
This time, you'll once again see a mechanism on which you'll have to place a butterfly, which you attract using the Lumos spell. When you cast the Repulso spell 3 times on the mechanism, it raises a platform to the top. This time, however, the platform only remains at the top for a few seconds. To retrieve the butterfly at the top, you'll need to be quick. Raise the platform by casting Repulso 3 times on the mechanism and hurry up to climb the platform and jump to the top floor where the butterfly is. Then use Repulso again to raise the platform for a few seconds. Have Lumos ready to lure the butterfly to you and cross the platform to bring the butterfly to the door. The other butterfly is to the right of the door.
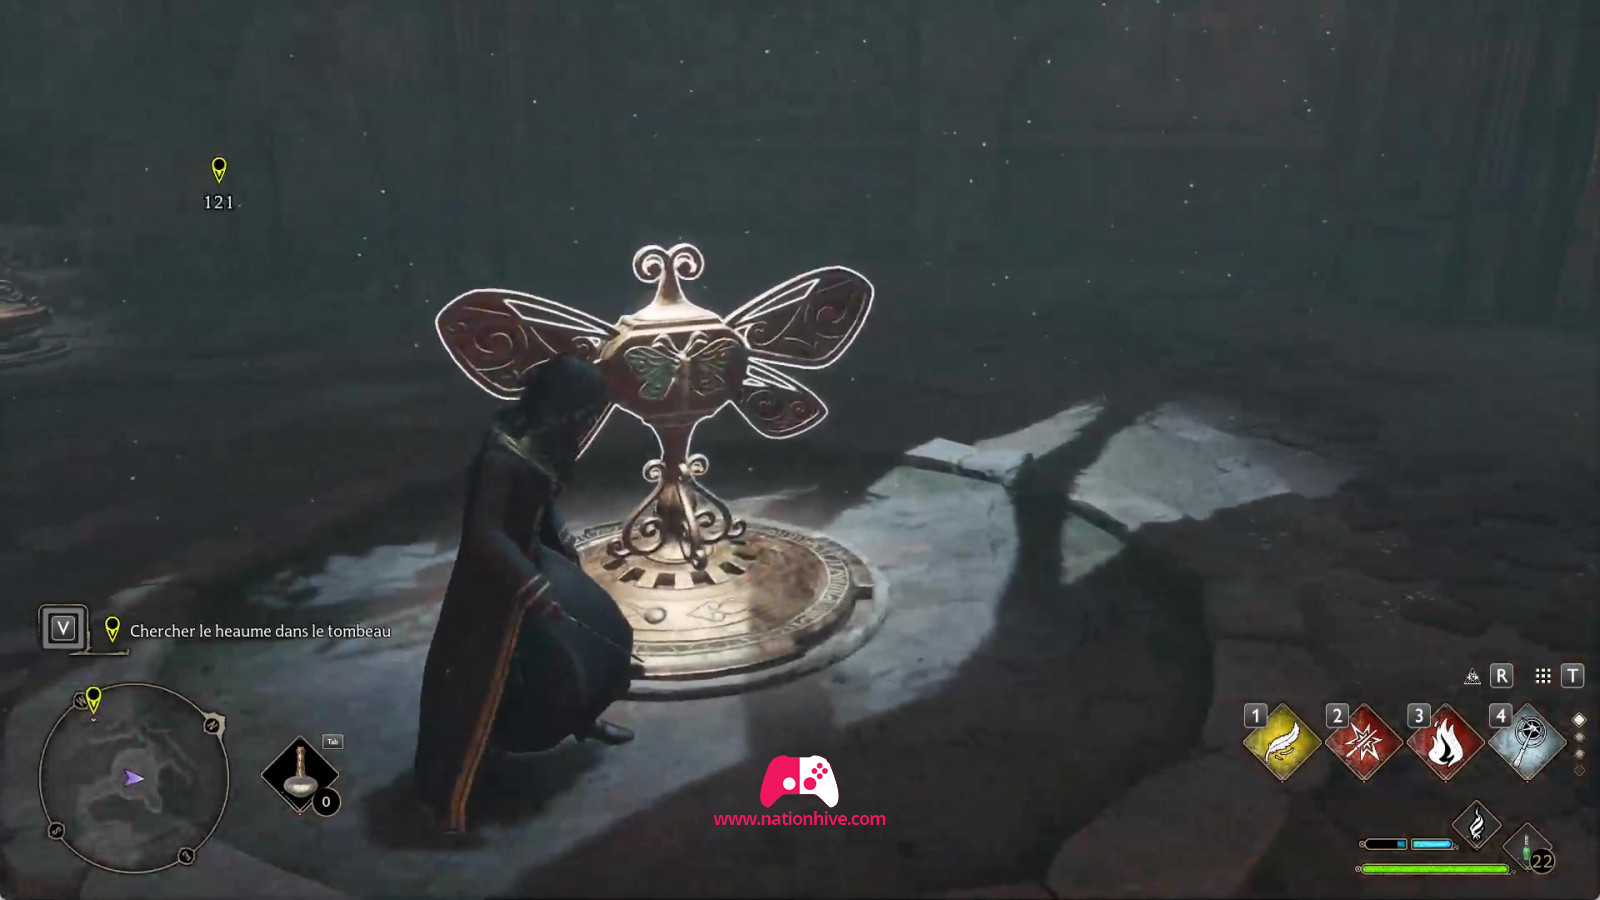
For the last butterfly to be placed, it's important to know that there are 4 butterflies in the room. You'll need to leave one butterfly in the mechanism, as the 3rd butterfly to be placed on the door needs this mechanism. Use Lumos on the 3rd butterfly and place it on the triangular structure at the bottom left of the door. Use the mechanism to mount in front of the door. Use Repulso to raise the platform and the triangular structure to the bottom left of the door on which you placed the 3rd butterfly. Use the Lumos spell to draw the butterfly to you and place it on the door.

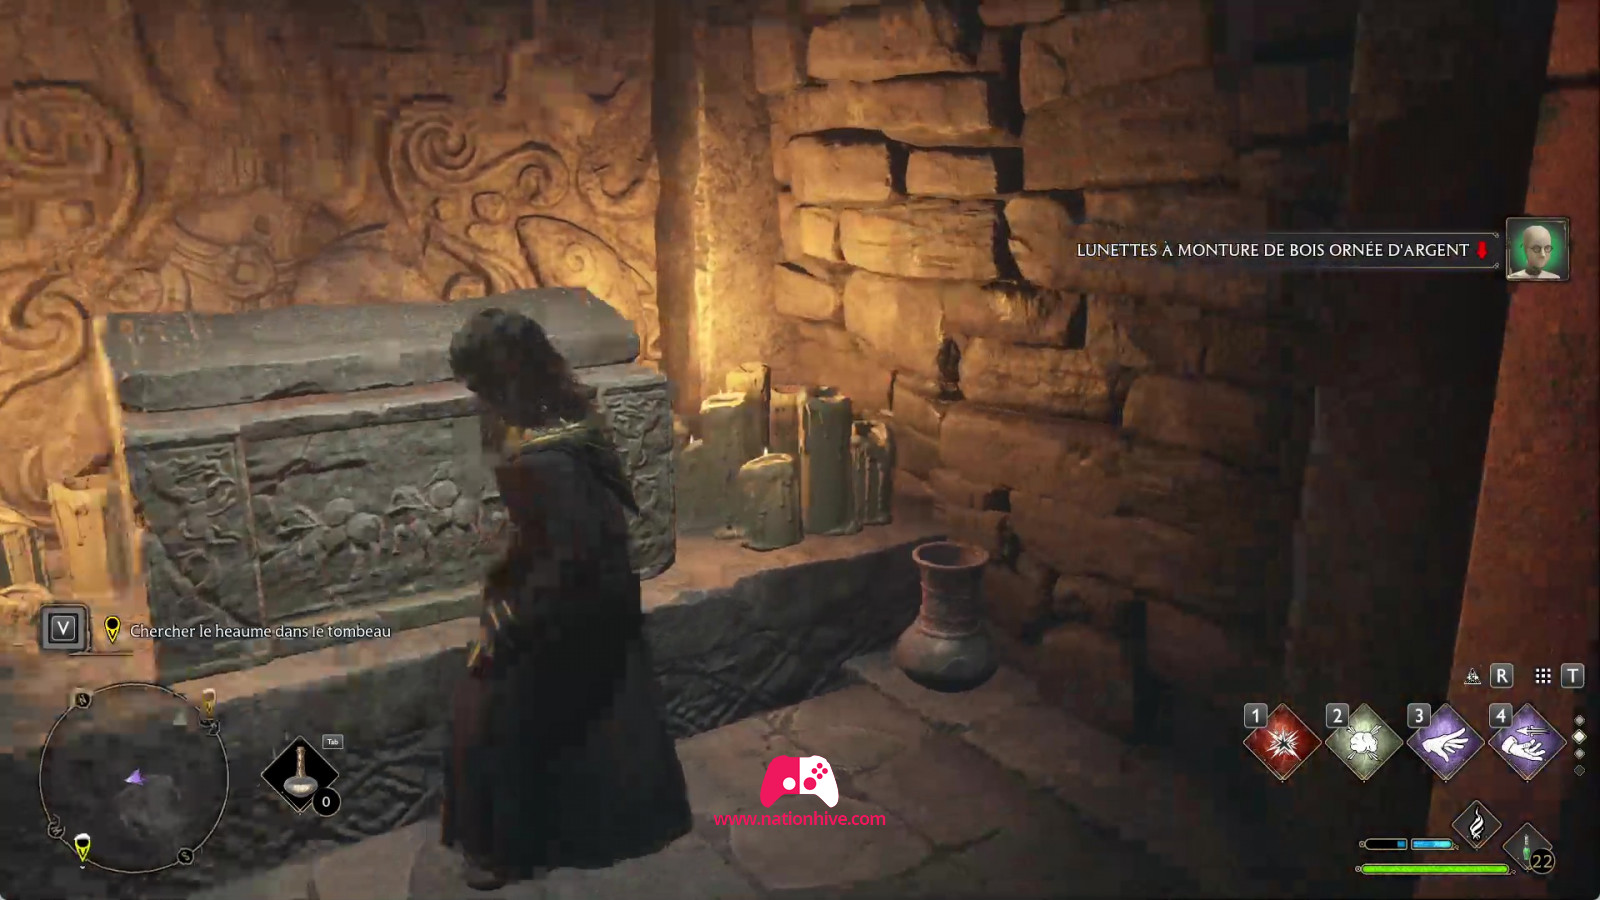
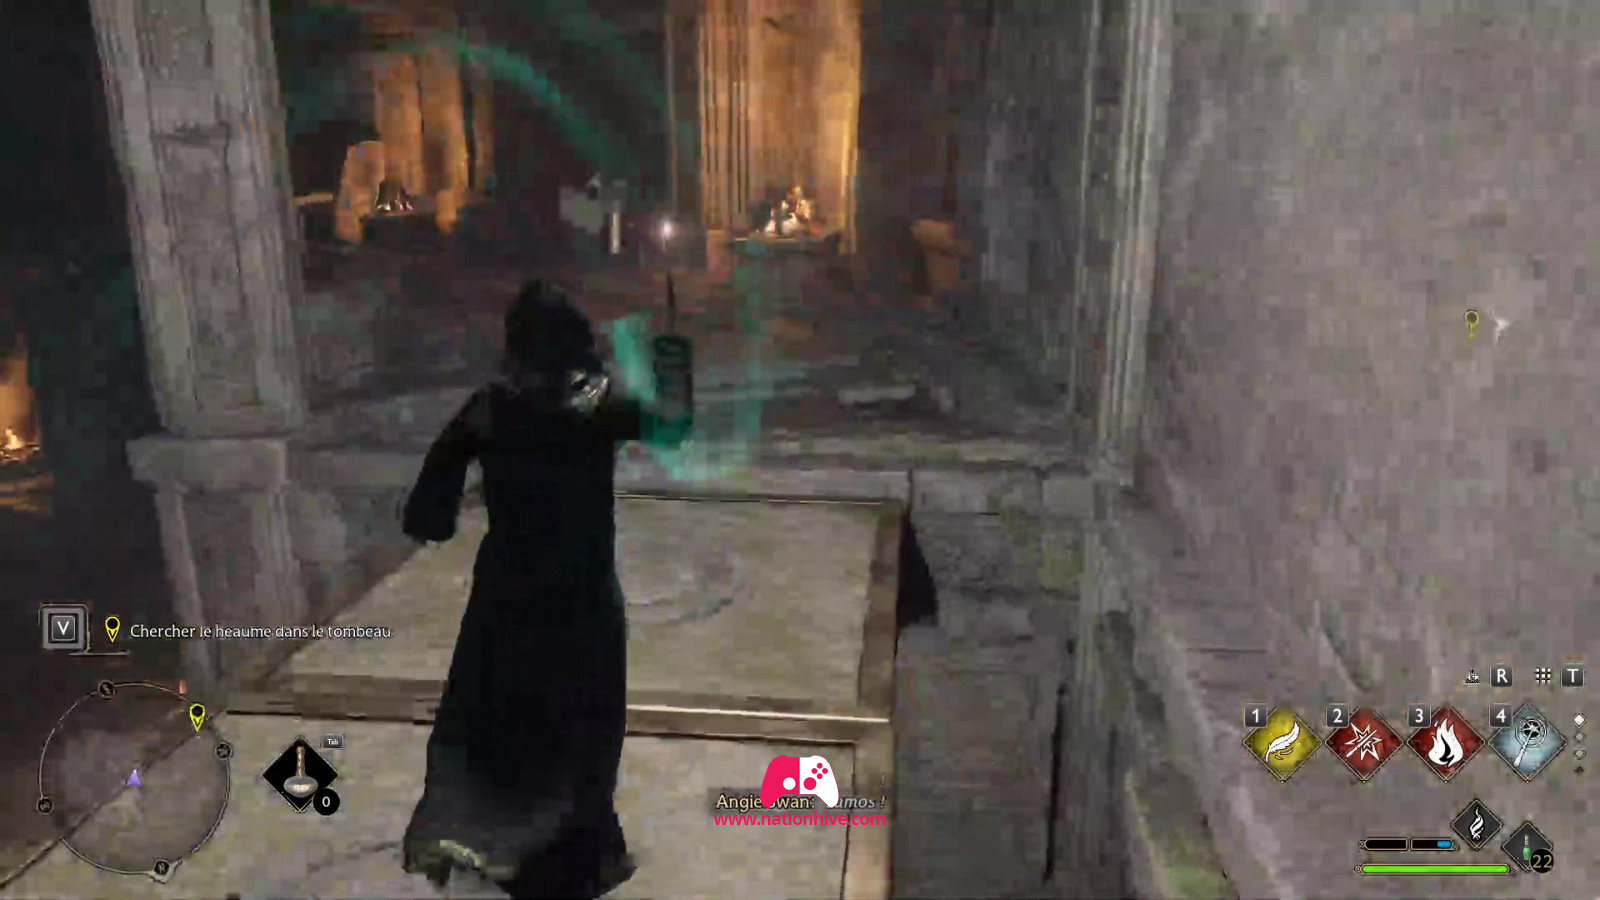
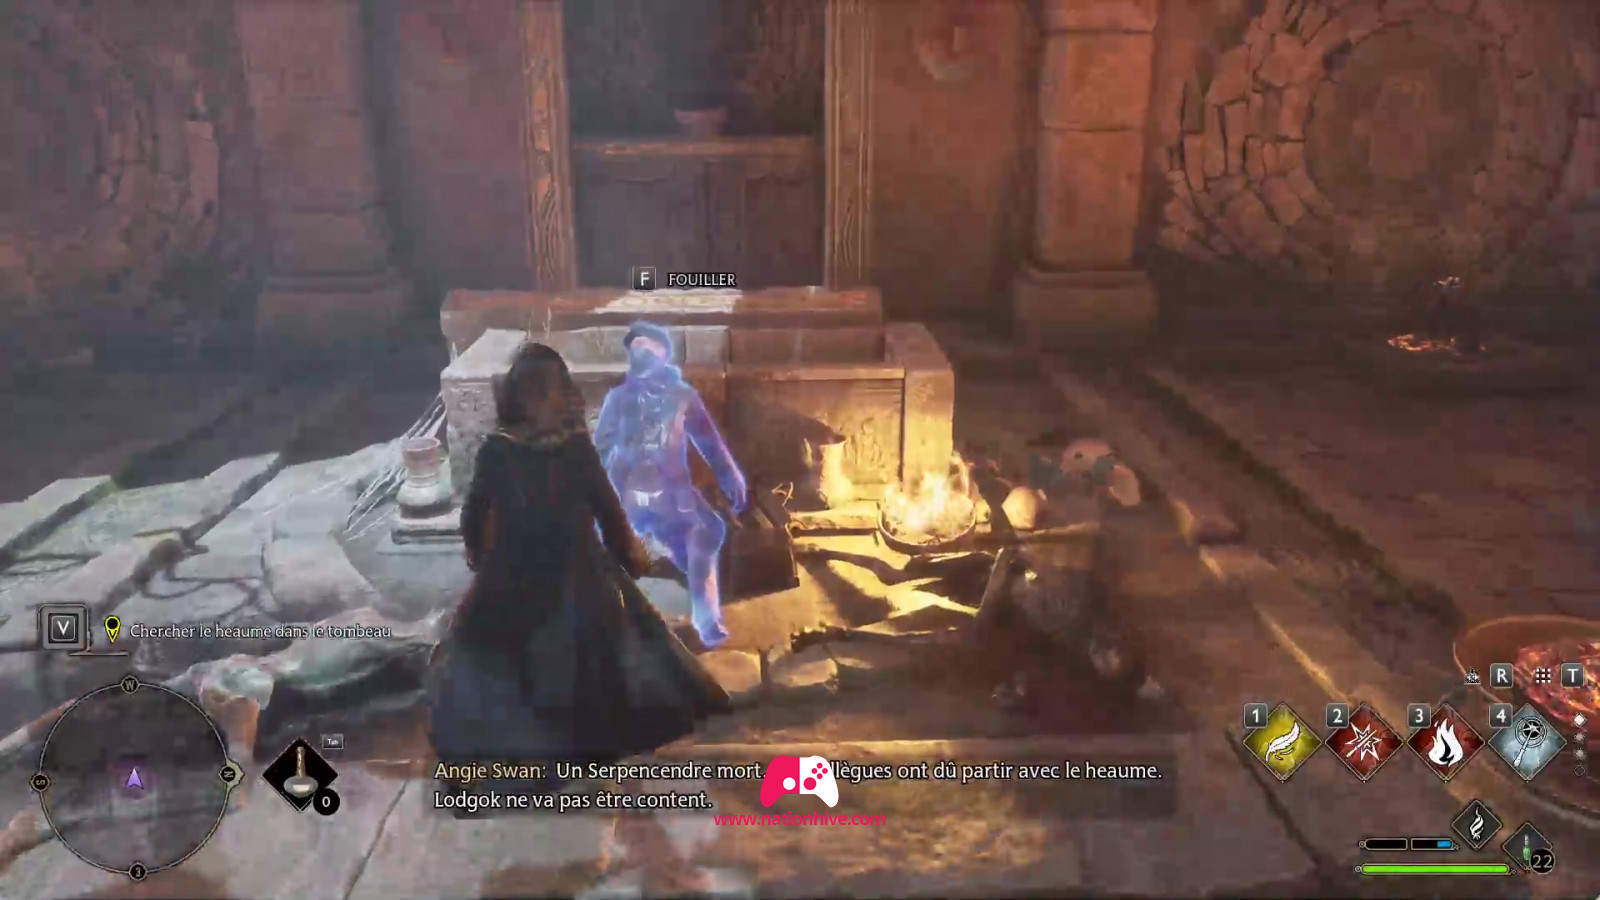
This action will unlock the door, leading you to the last room, where a dead Ashwinder lies on the ground. Search it for a Signet Ring. However, you can't find the Heaume d'Urtkot. This means it has already been stolen by the enemy! Return to Lodgok to share your findings.
Don't forget to explore to open chests as you go.

Lodgok vous demandera ensuite de vous diriger vers le camp des voleurs, situé dans la région nord de Poudlard pour y récupérer le Heaume d’Urtkot avant que Roodwood puisse le donner à Rannrok.
Lodgok will then ask you to head for the Thieves' Camp in the northern part of Hogwarts to retrieve the Helm of Urtkot before Roodwood can give it to Ranrok.
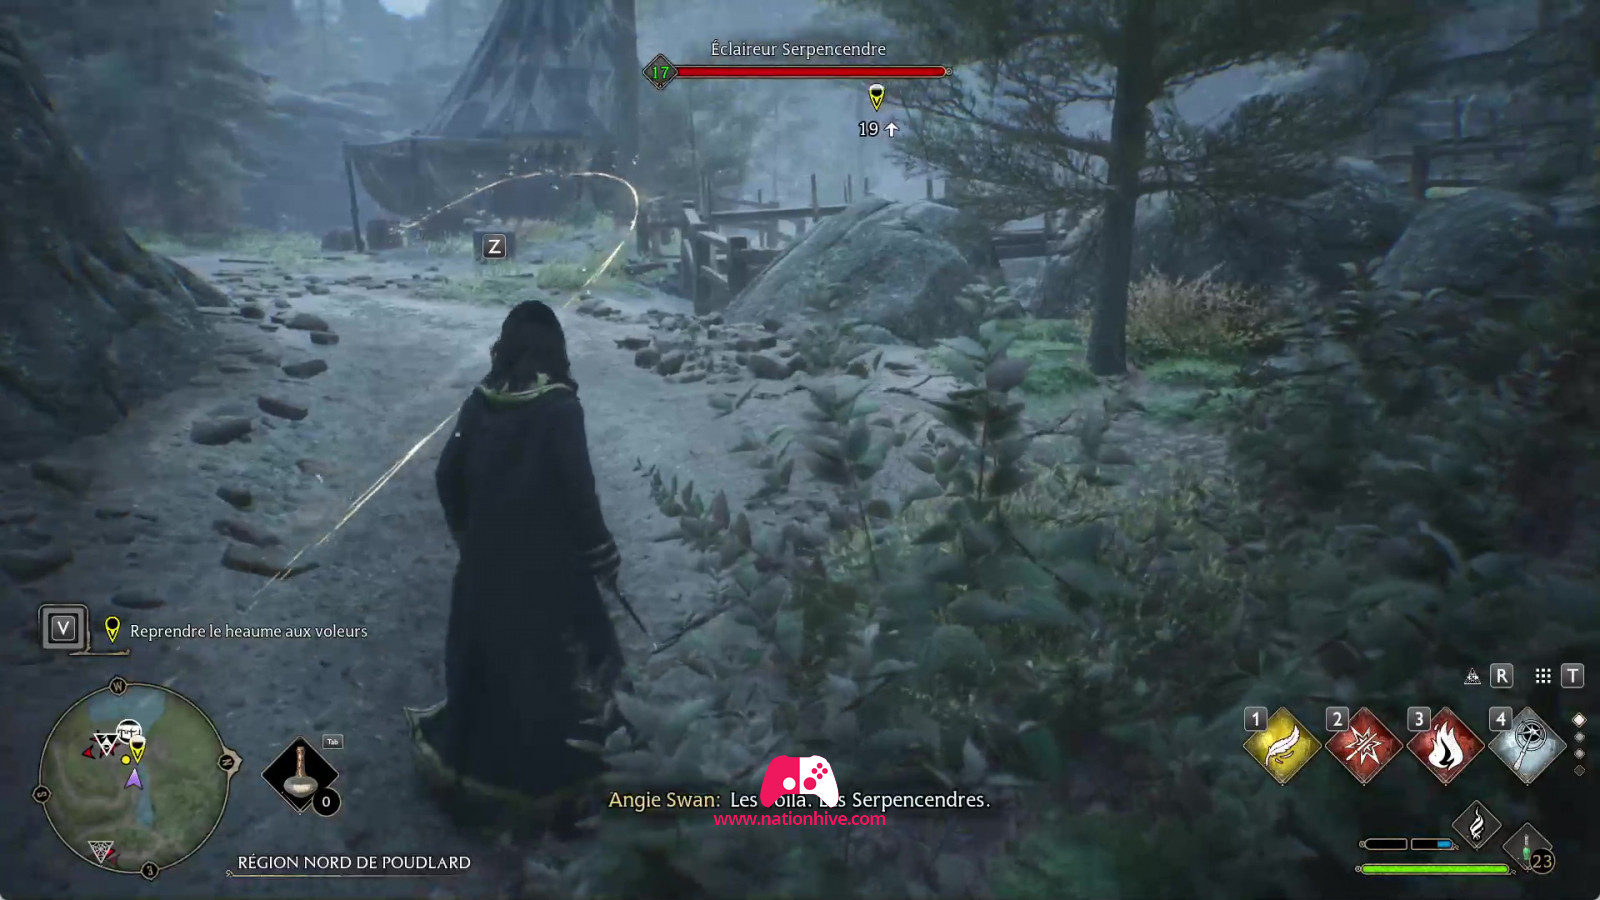
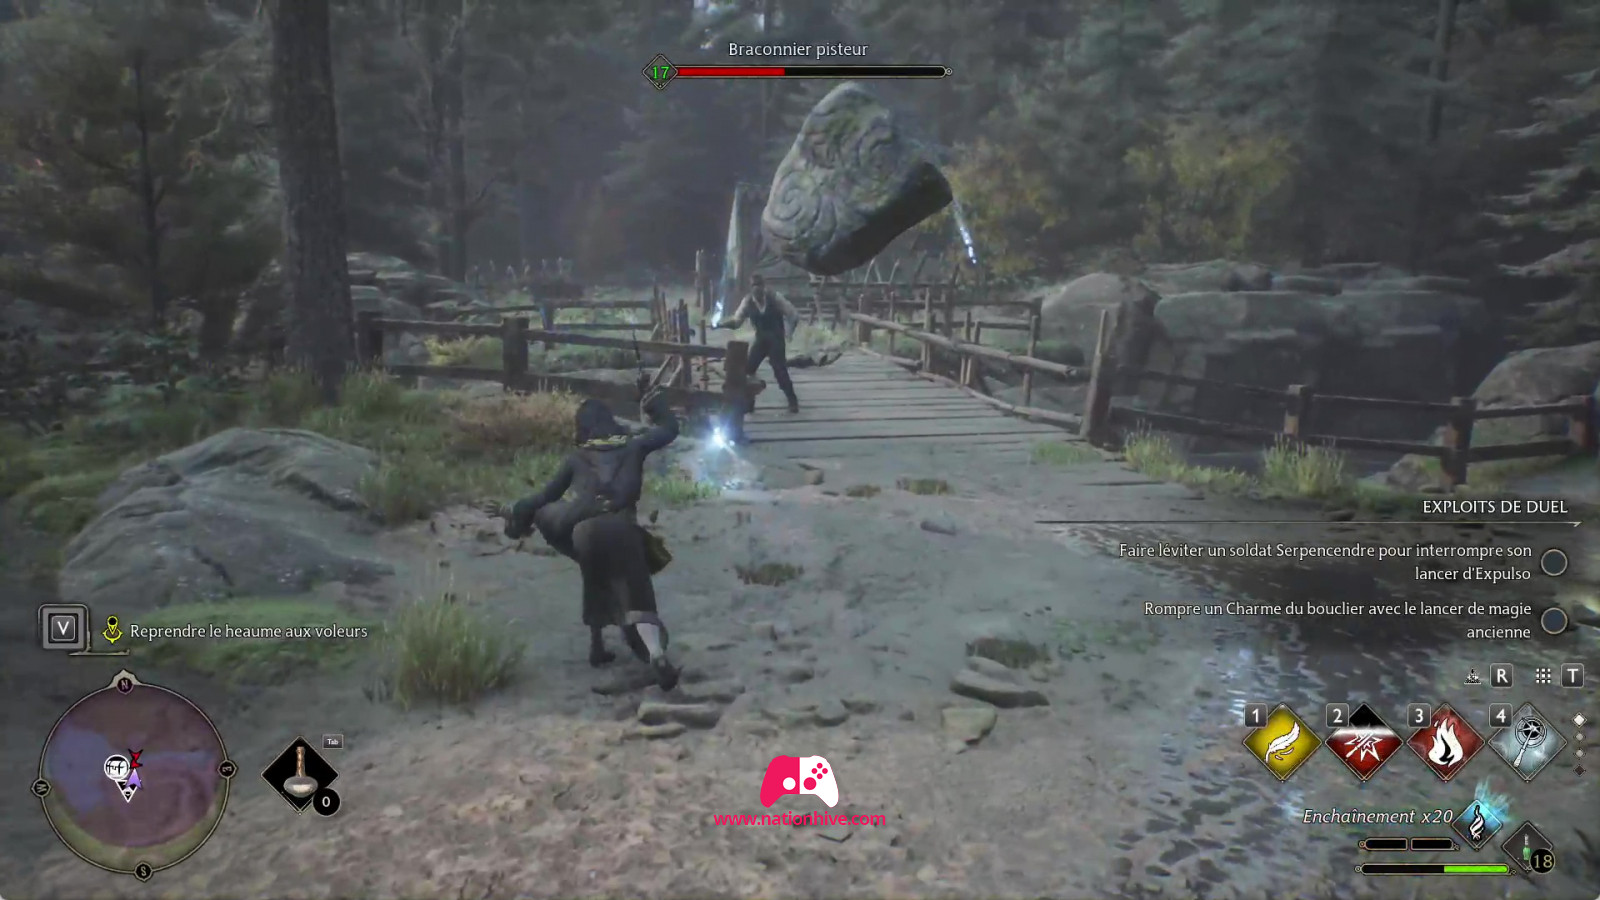


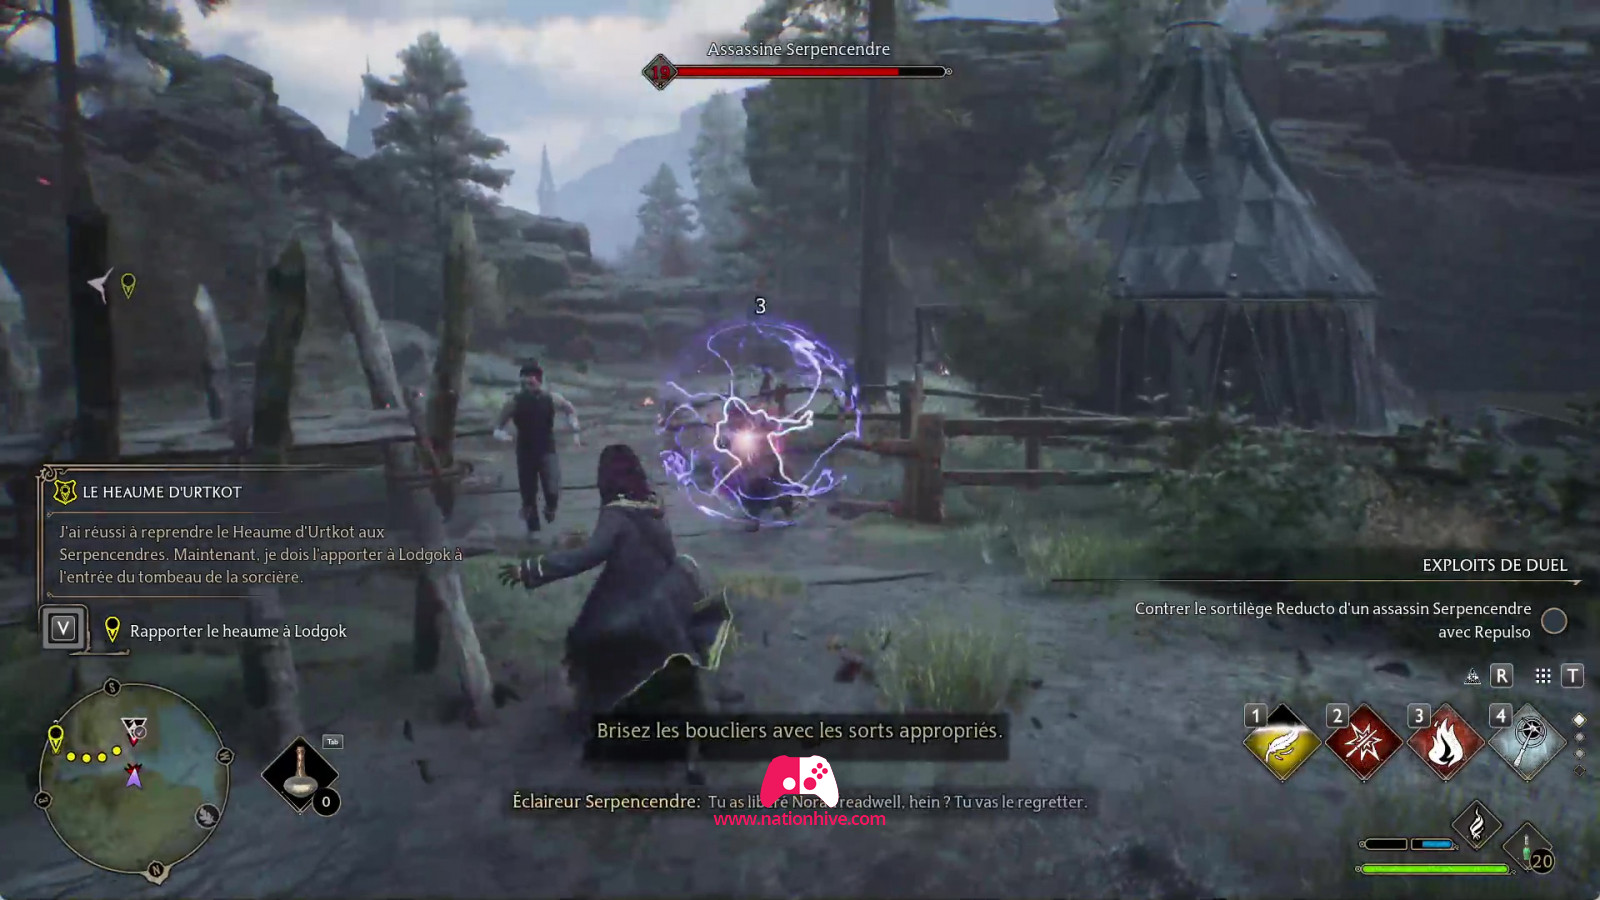
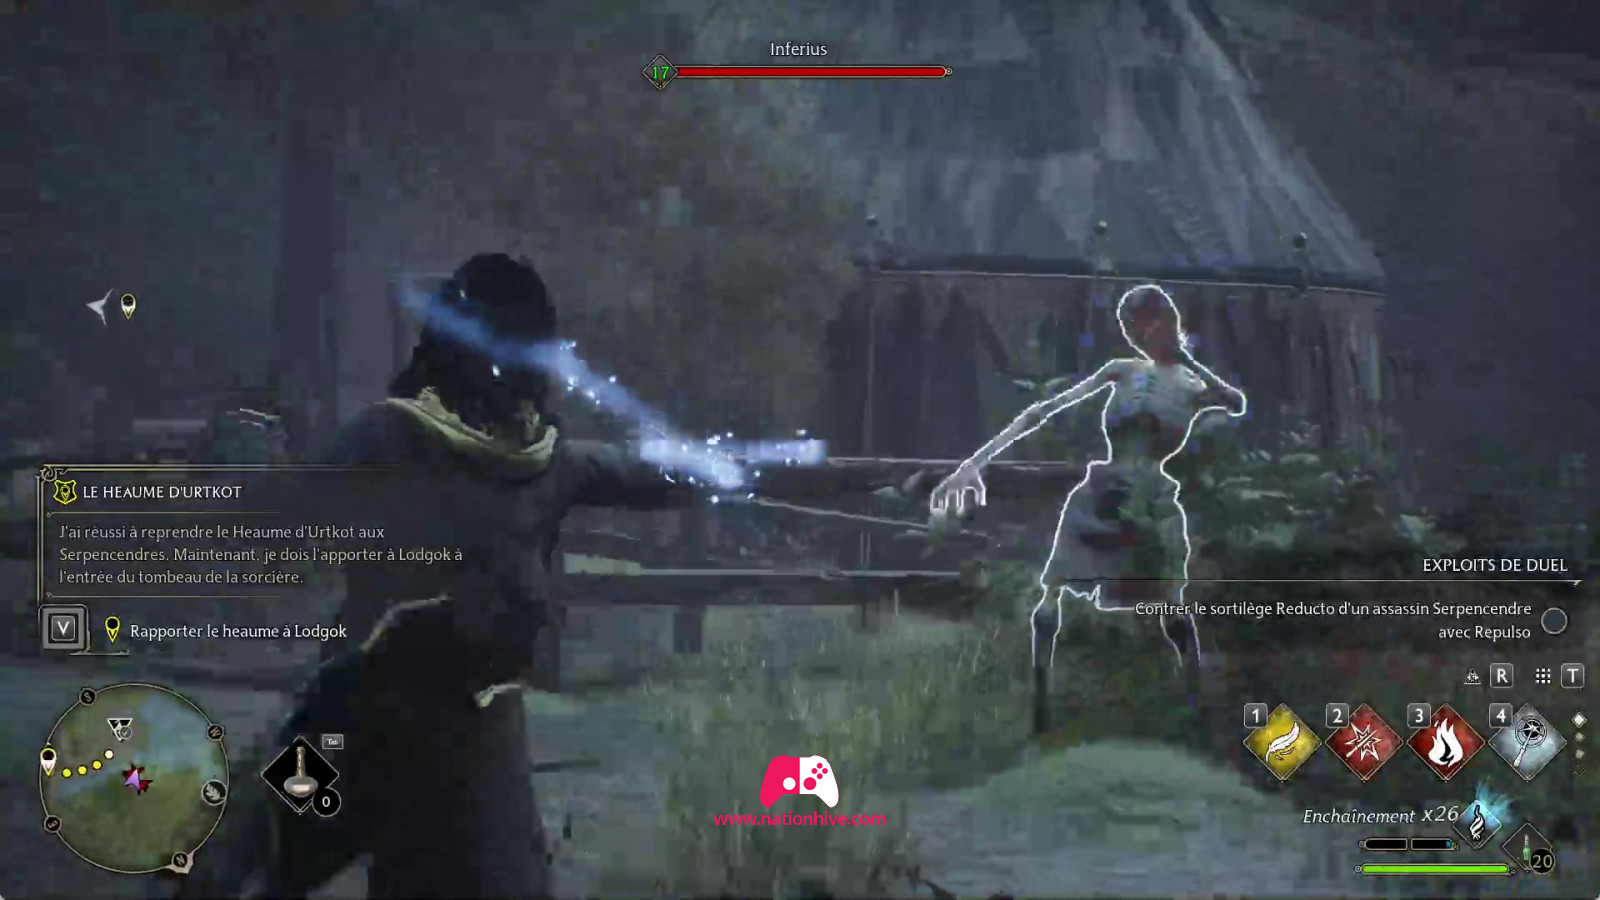
Once there, attack any enemies you see and then search the camp. You'll find the Helm of Urtkot in a large chest under a tent. You will then be attacked by enemies and Inferi. Defeat them and take the Helm of Urtkot back to Lodgok.
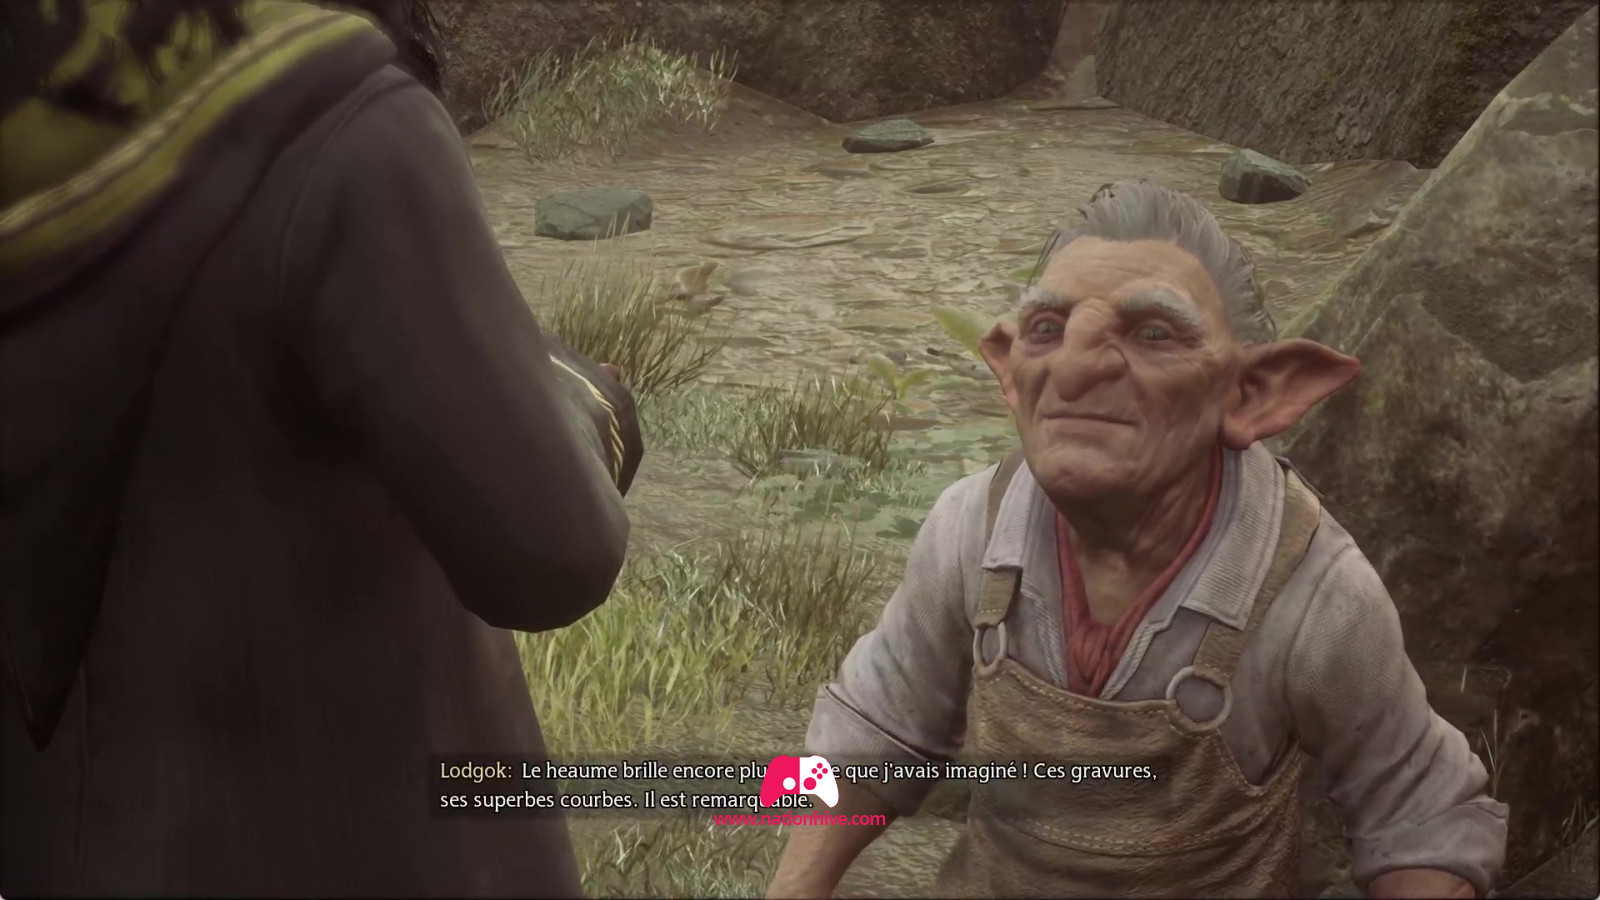

Lodgok will thank you and can use it to distract Ranrok and extract information for you. And so the quest: The Helm of Urtkot comes to an end, making way for your next main quest in Hogwarts Legacy: The Elf, The Nab-Sack, and the Loom.