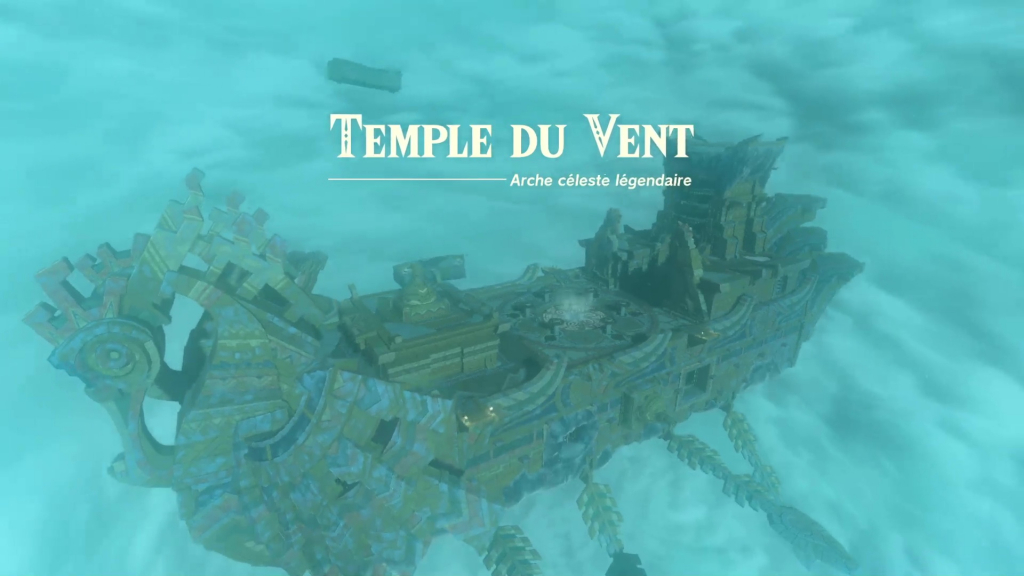
The Wind Temple
In this walkthrough for The Legend of Zelda: Tears of the Kingdom, we'll give you the complete tutorial for the main quest: The Wind Temple.
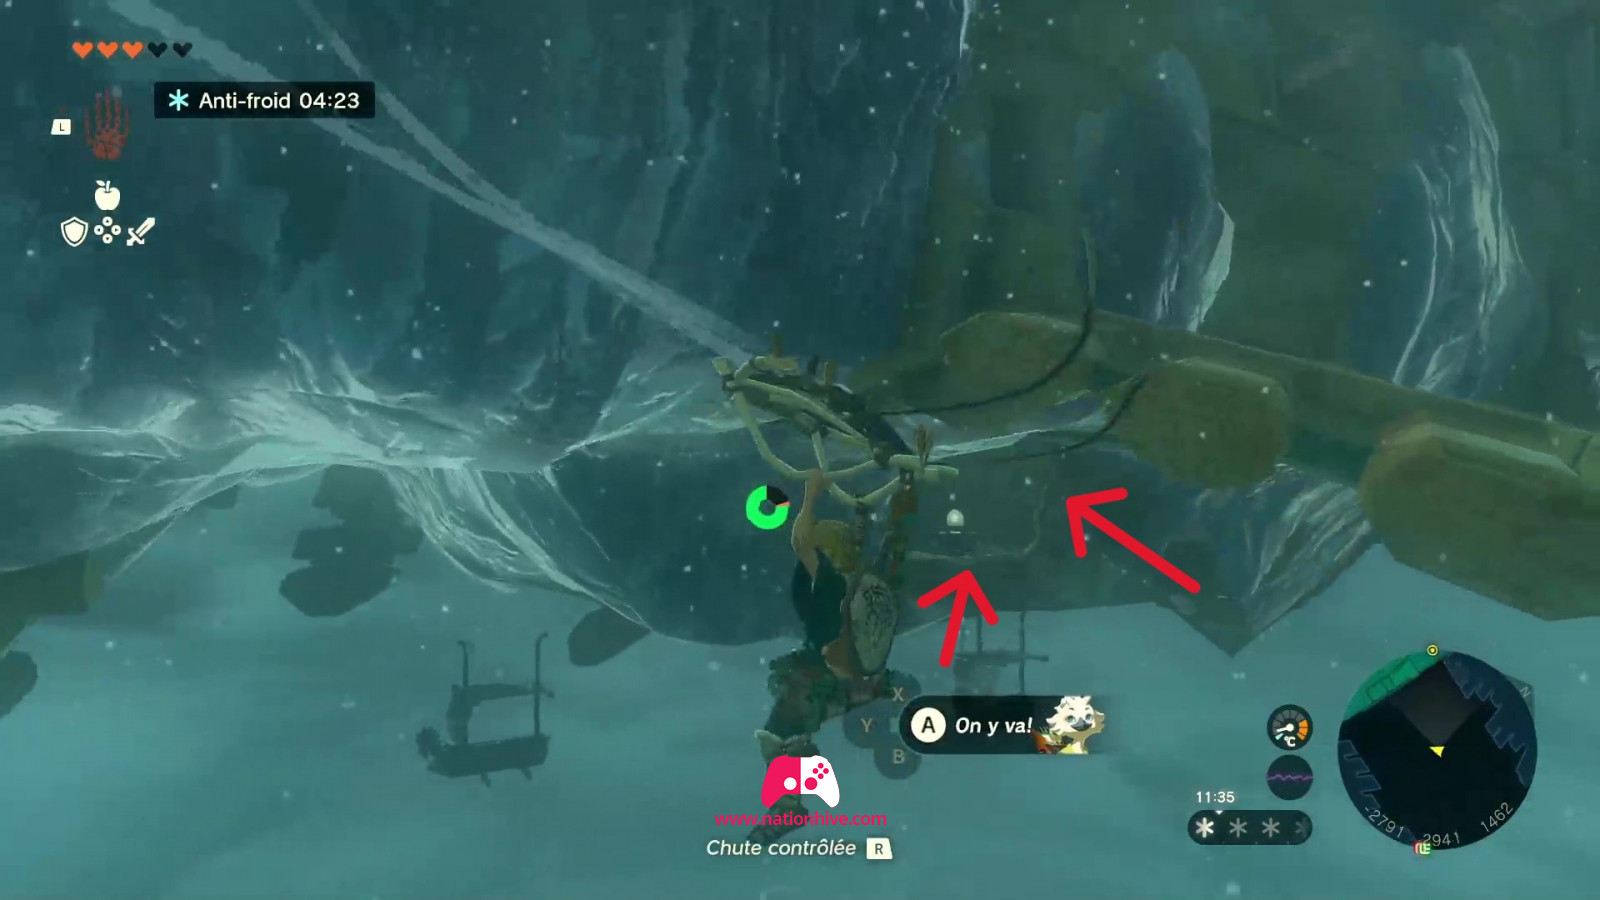
WARNING: it's important to bring Hot Peppers to help you withstand the cold, as temperatures are higher in this zone. Also, stock up on food and dishes to keep your life bar full when facing the Scourge of The Wind Temple: Colgera.
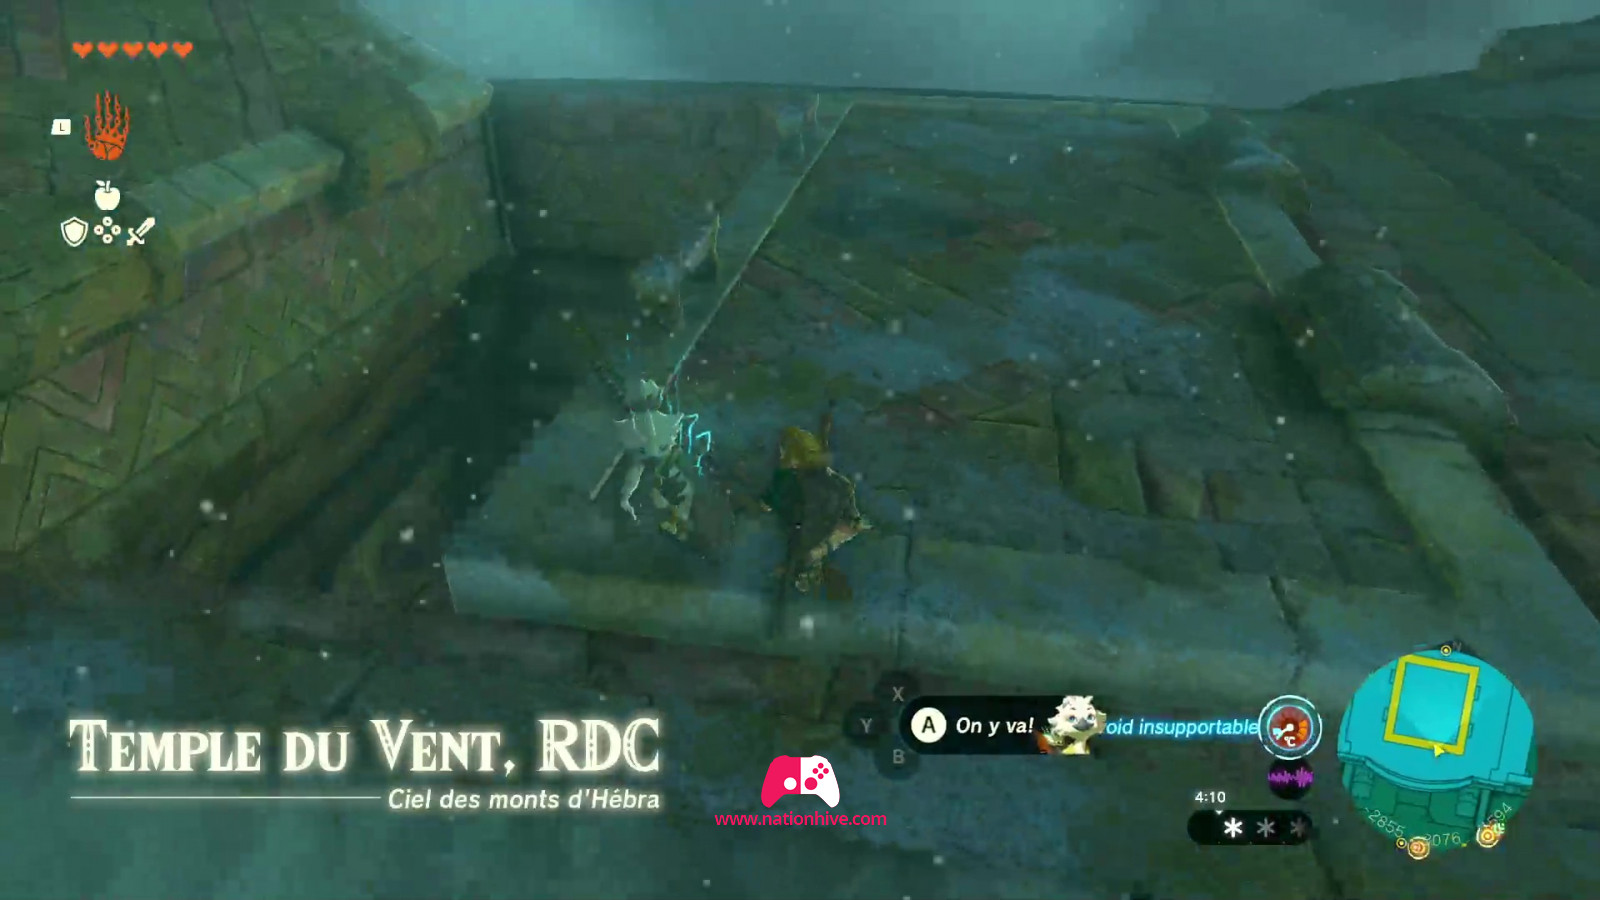
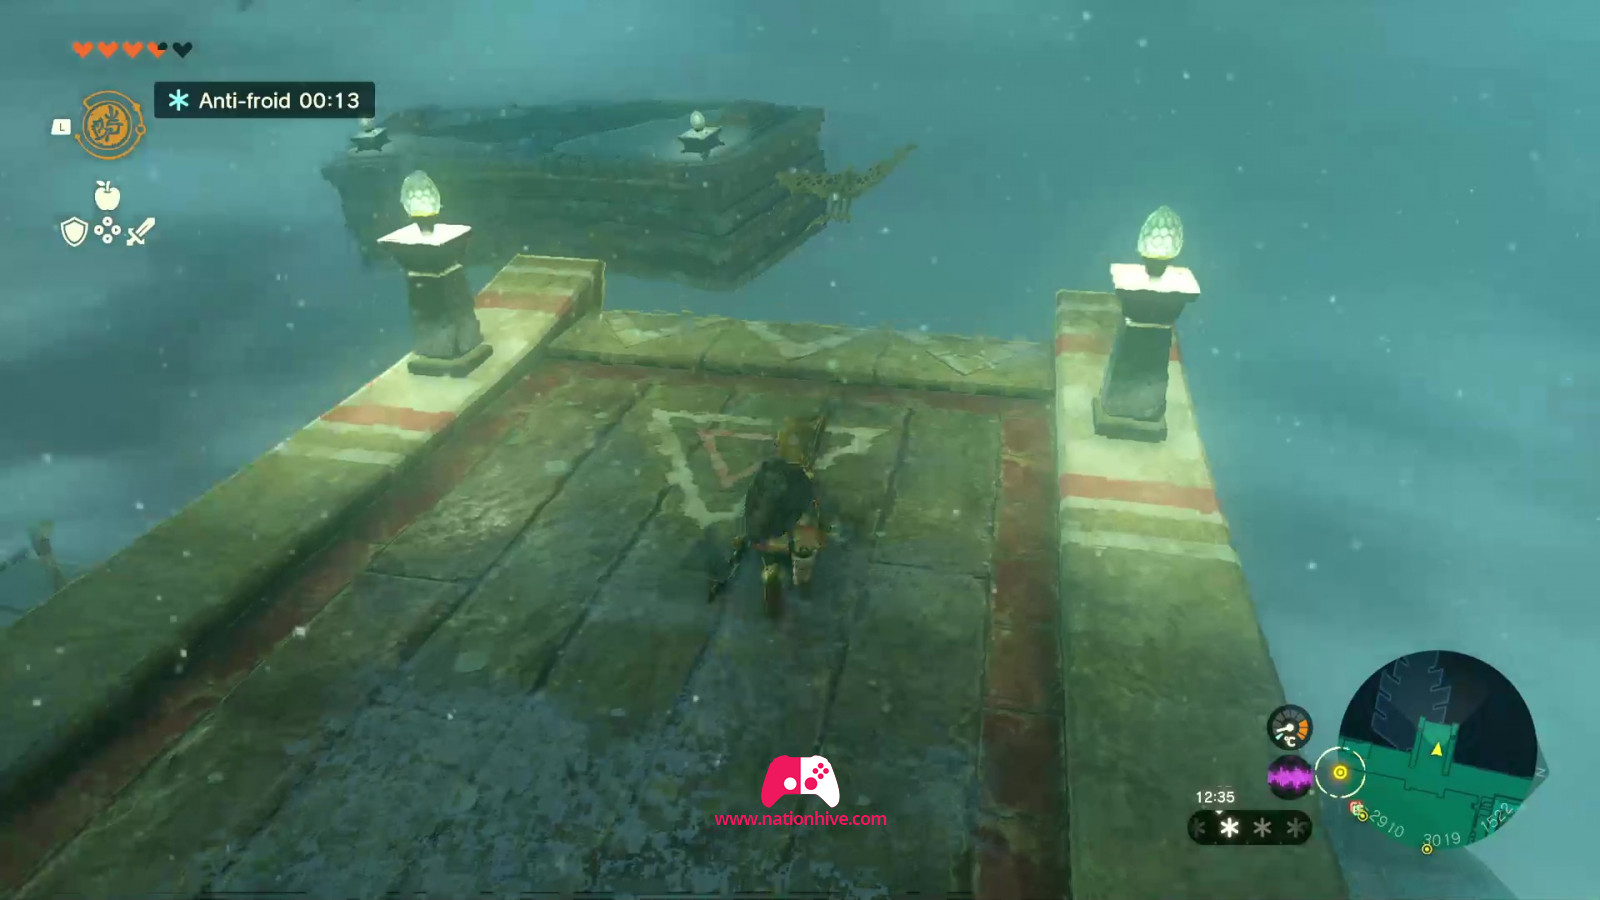
Once inside the cloud, you land in The Wind Temple, which is located on a flying boat. A cinematic sequence appears, in which you seem to catch a glimpse of Princess Zelda in the distance. Then head for the magic green circle and activate it with A, a fast travel point will appear behind you, enabling you to teleport there.
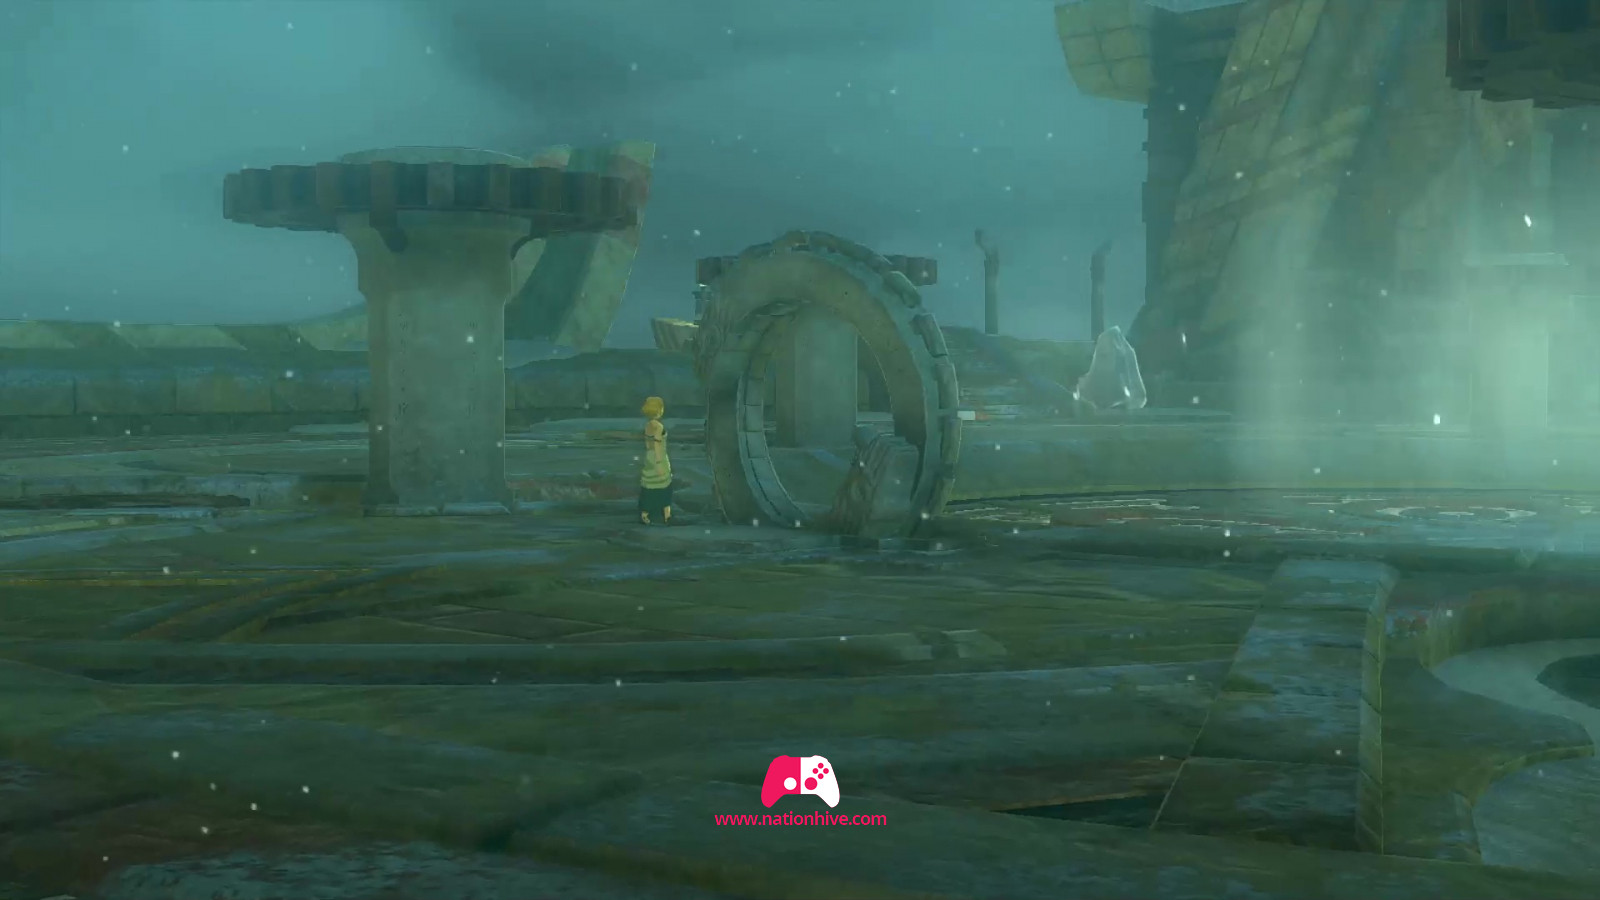
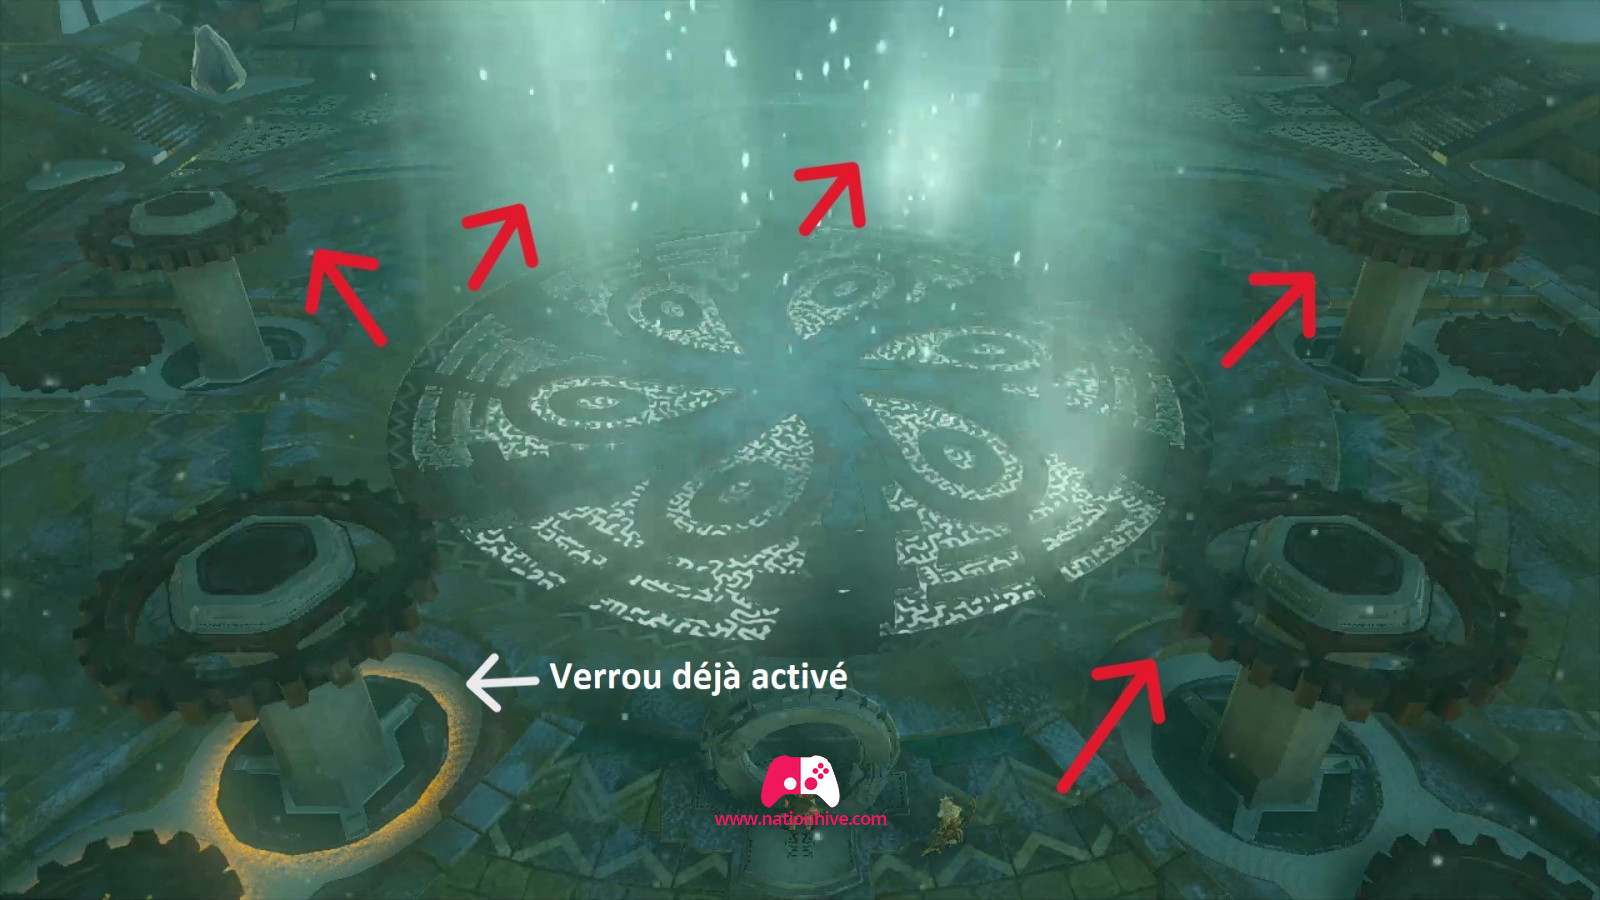
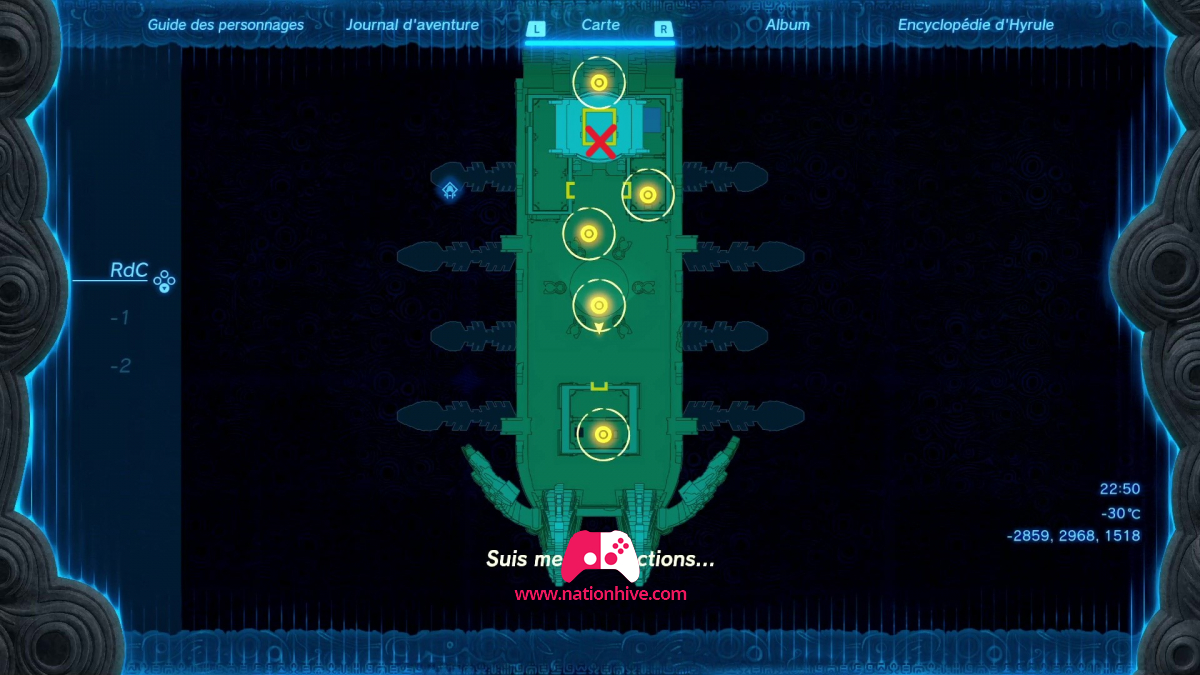
You'll soon realize that what's causing the snowstorm is inside the hatch. You'll need to unlock the 5 remaining locks by activating 5 mechanisms in order to open the hatch. You'll need Tulin's ability to activate all the mechanisms.
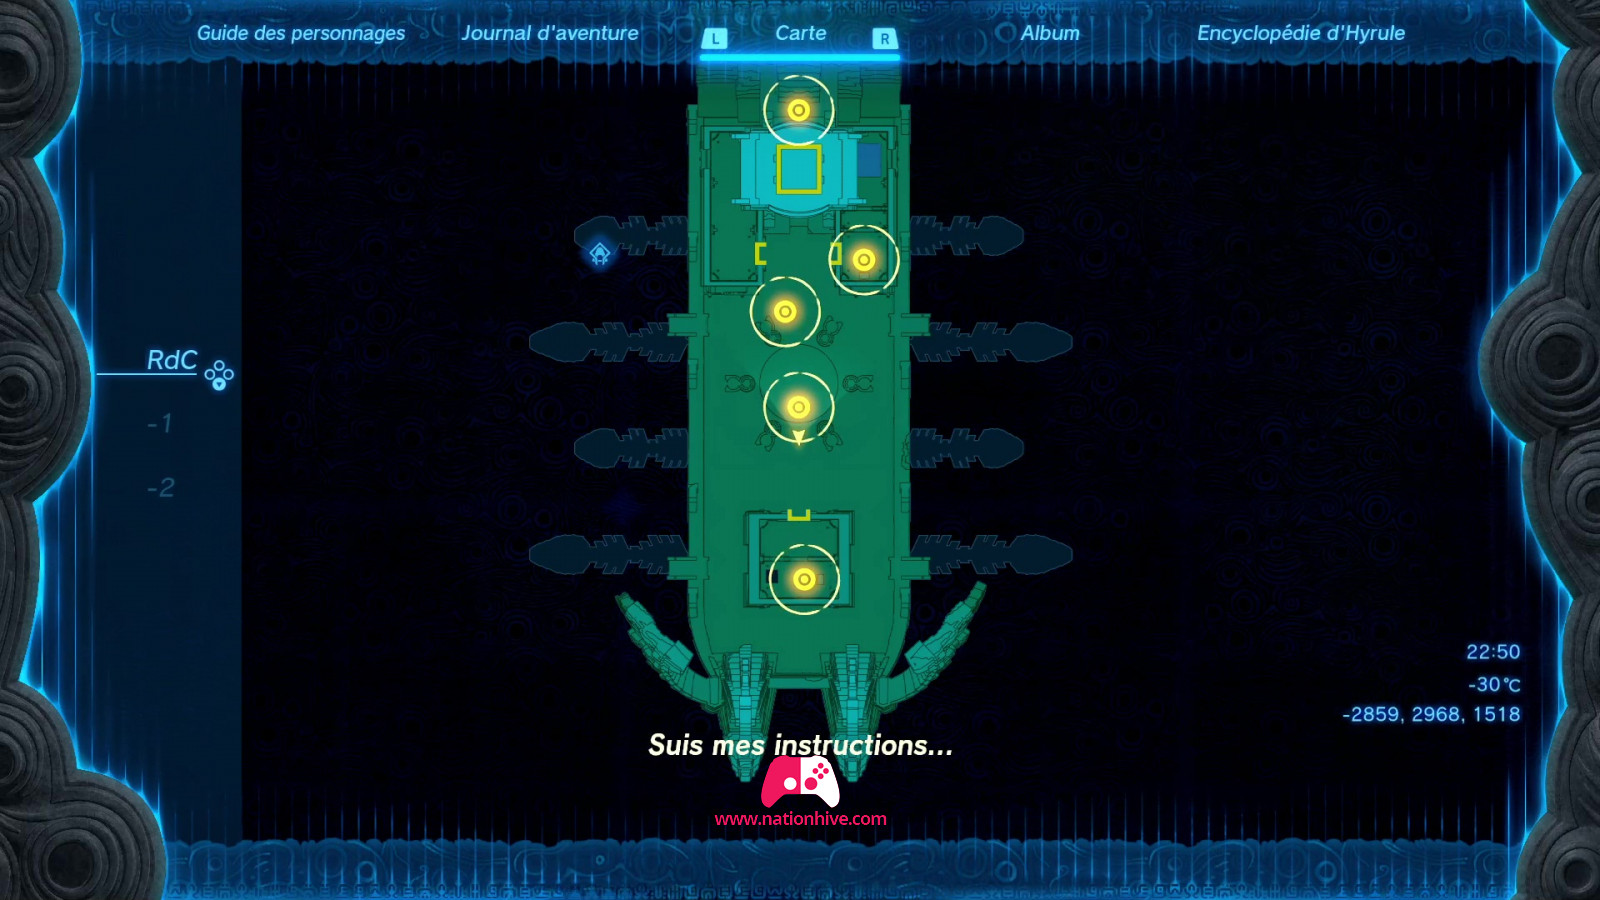
How to activate lock #1 (Wind Temple, 1st basement)
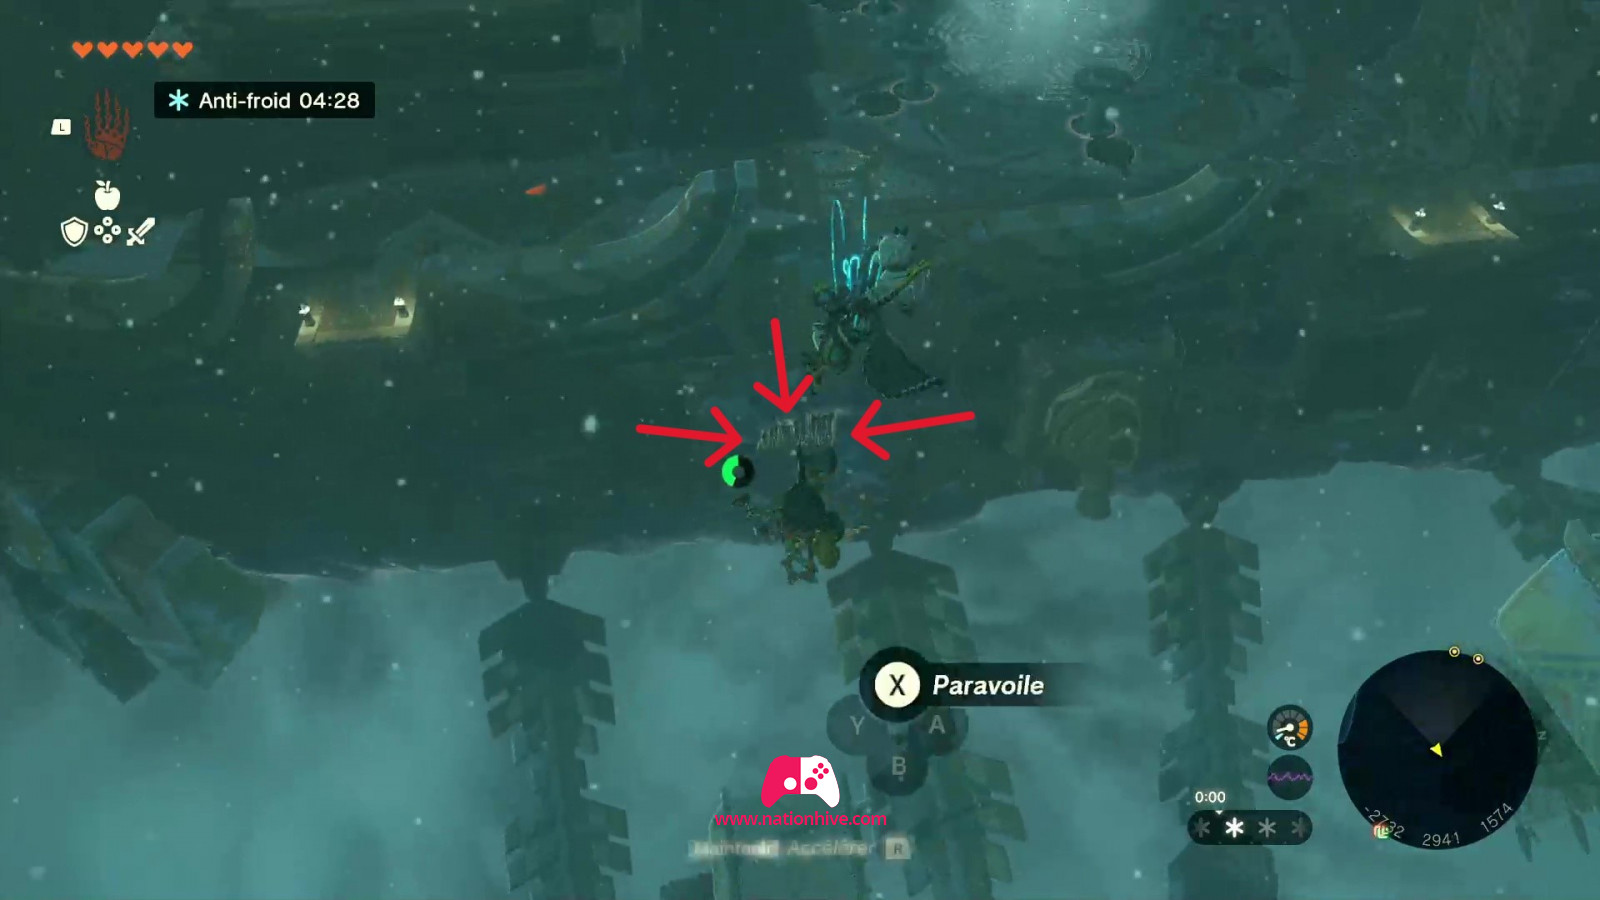
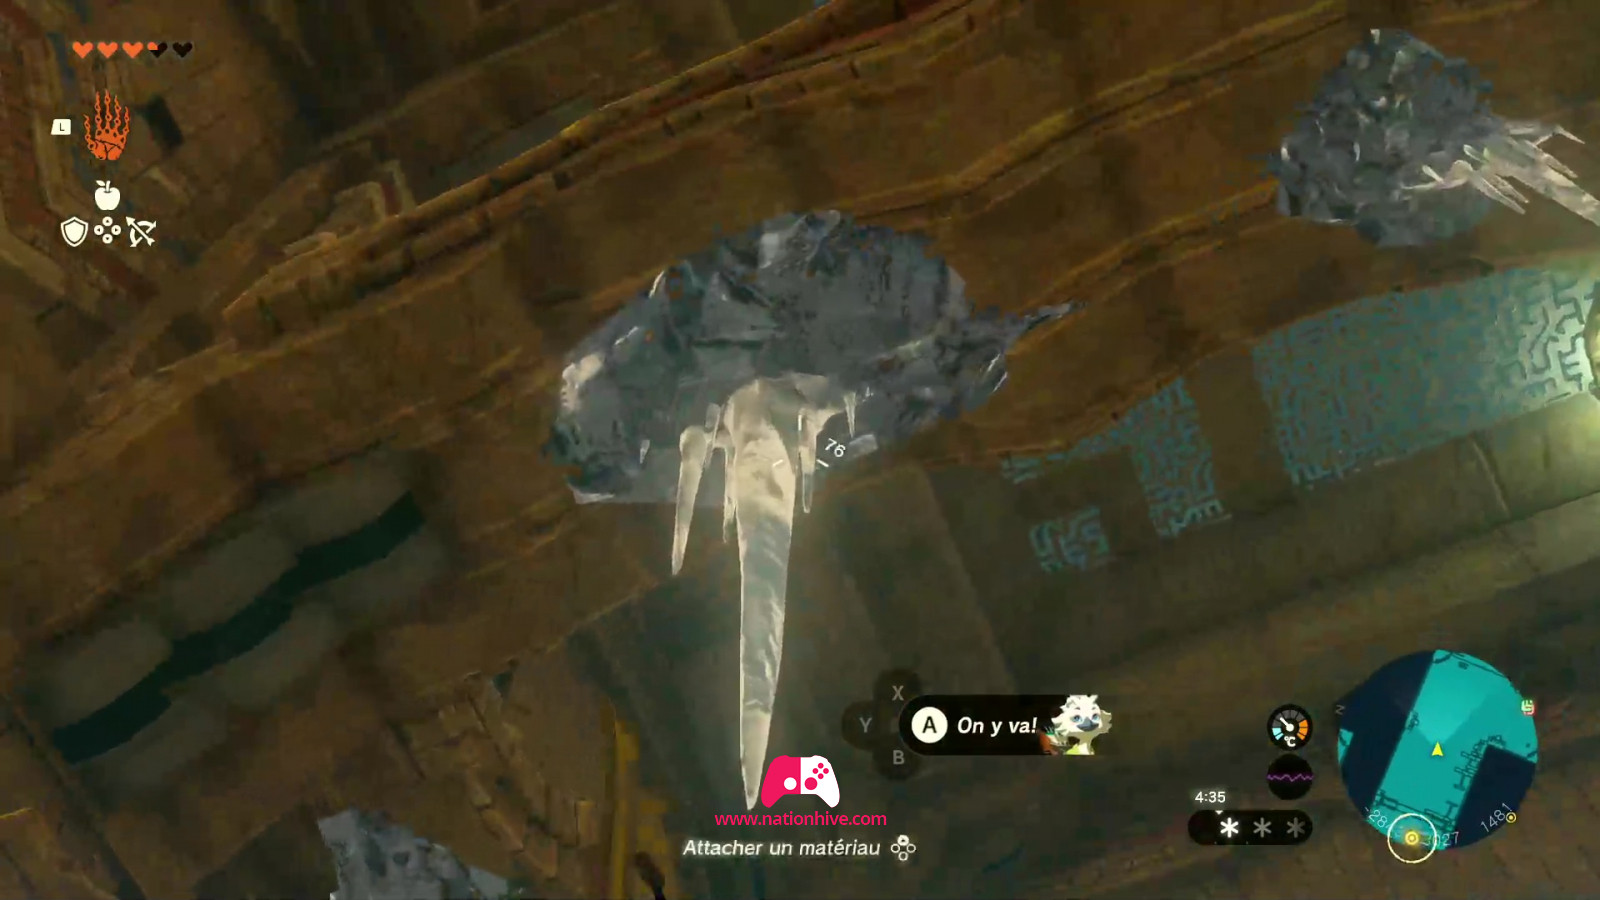
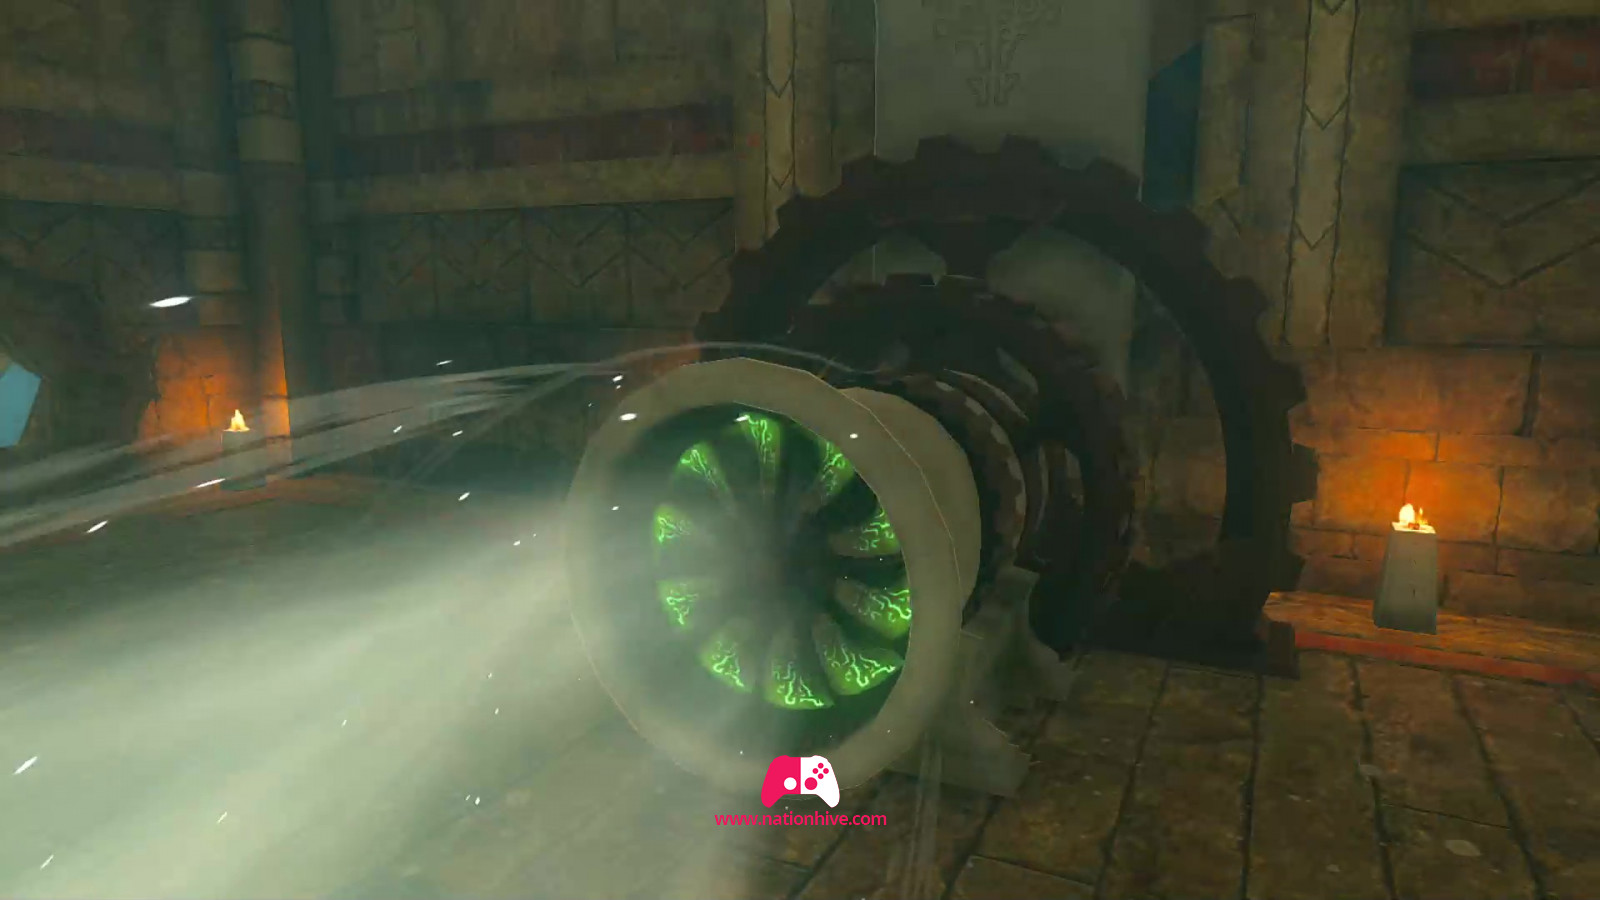
Using the gust of wind in the center of the boat, fly high into the air and use your Paraglider to head for the boat's highest platform. Then use your Ultrahand ability to open the 2 large doors.
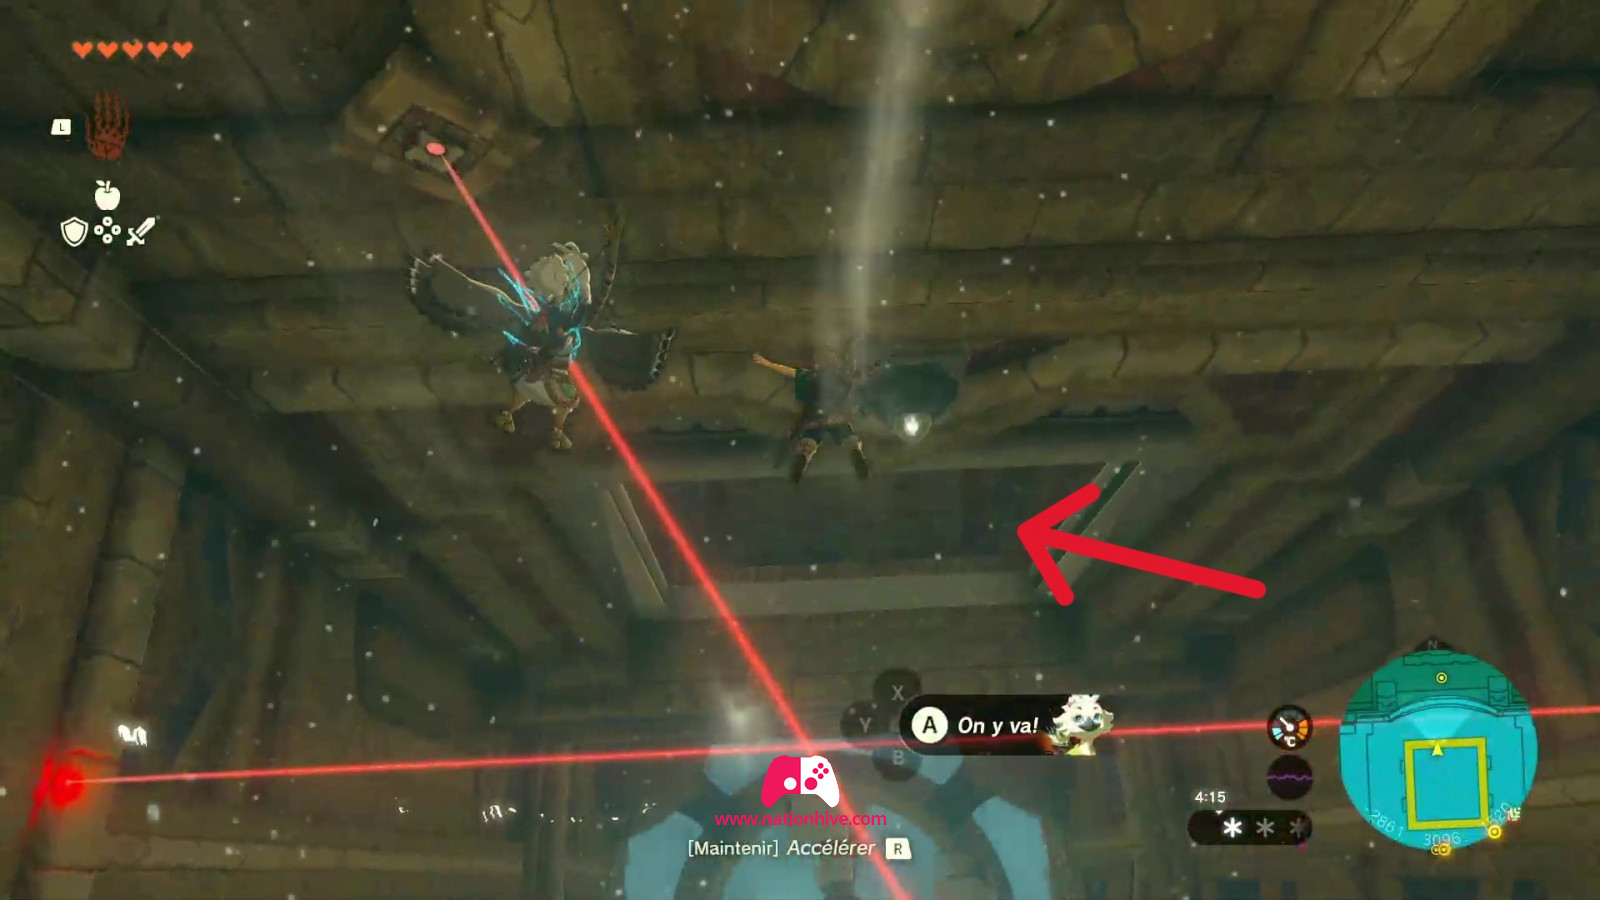
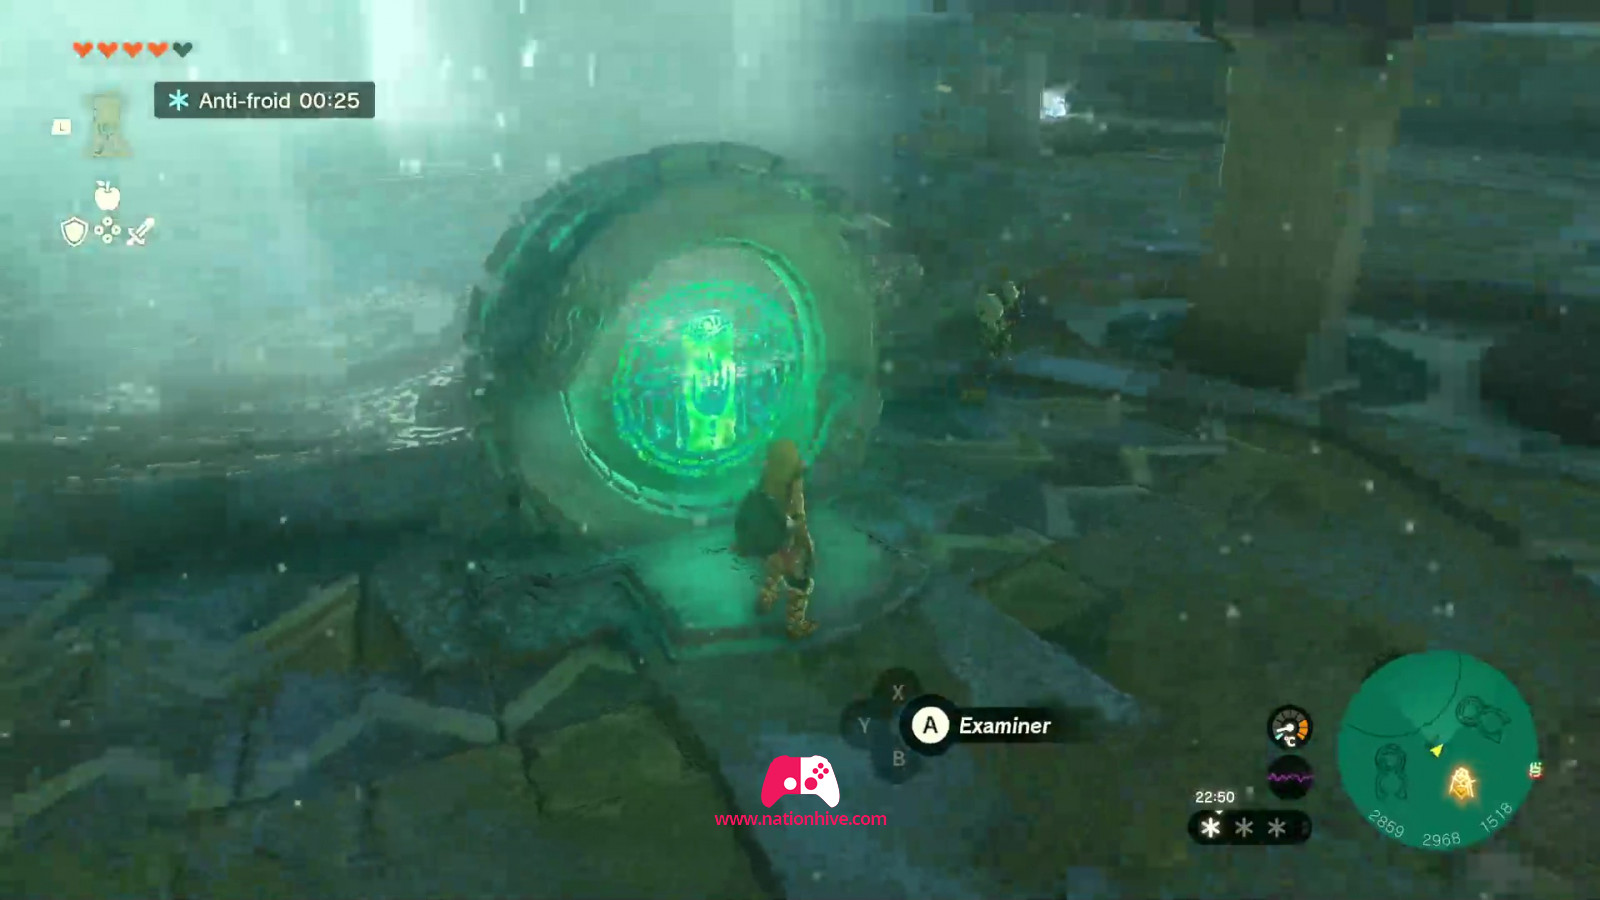
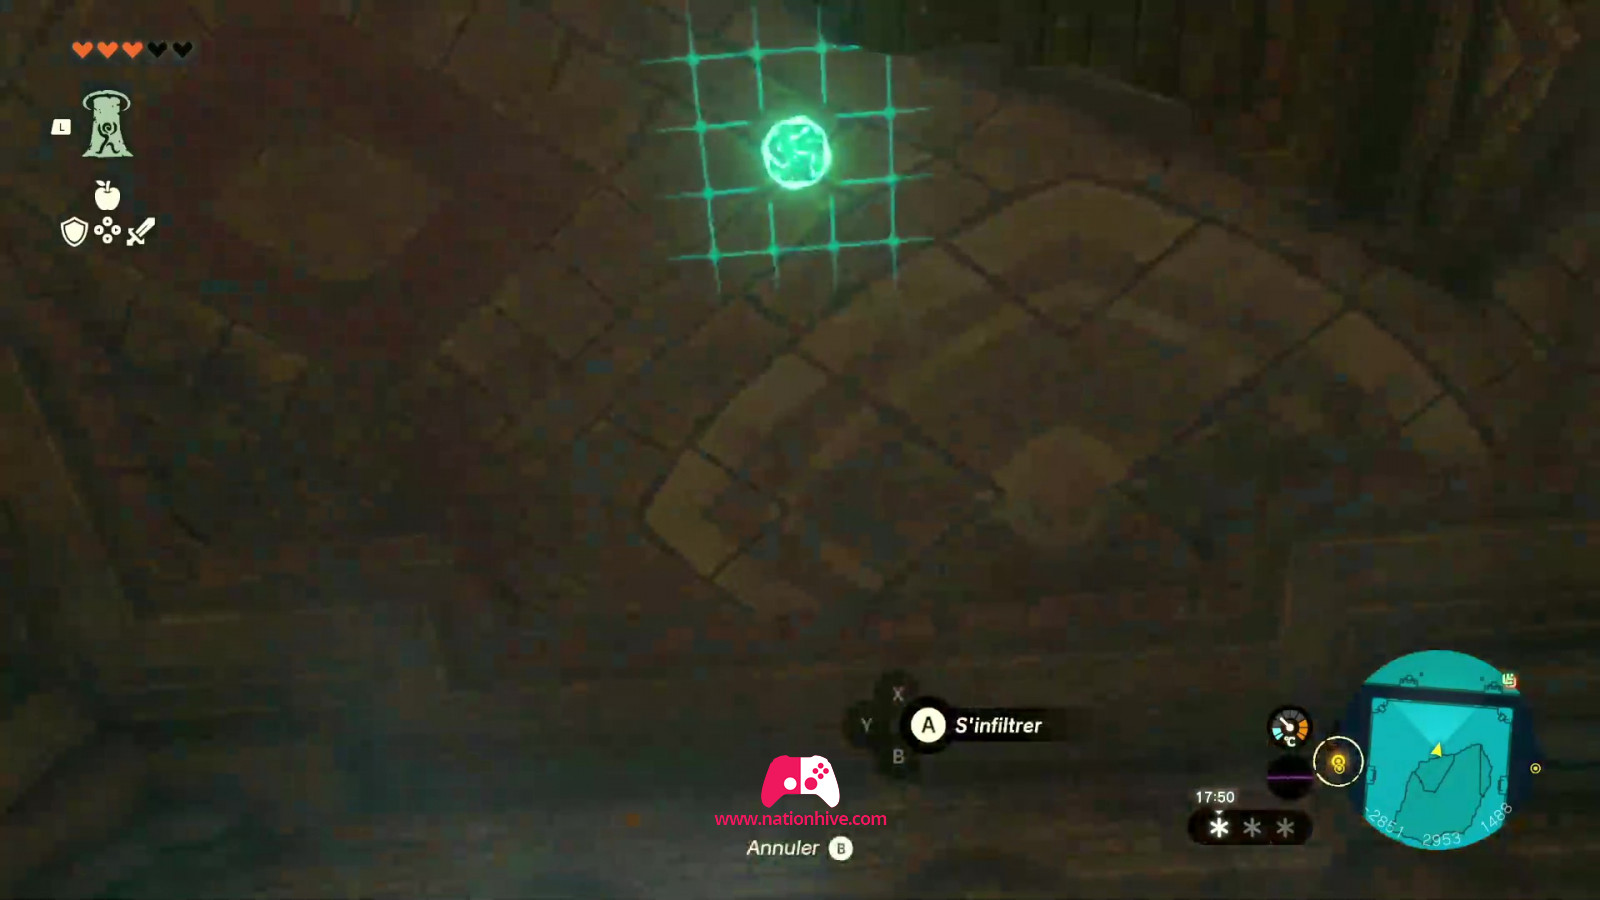
Jump inside and avoid the laser beams. You'll see the entrance to a room as you fall. Head towards it. To activate the mechanism, simply use Tulin's ability and face the mechanism before activating it.
How to activate lock #2

To access lock #2, simply take an ice spike and use your Ultrahand ability to stick it to the small lever on the floor. Again, use your Ultrahand ability to turn the lever, which will raise the gate. To activate the mechanism, simply use Tulin's ability and face the mechanism before activating it.
How to activate lock #3
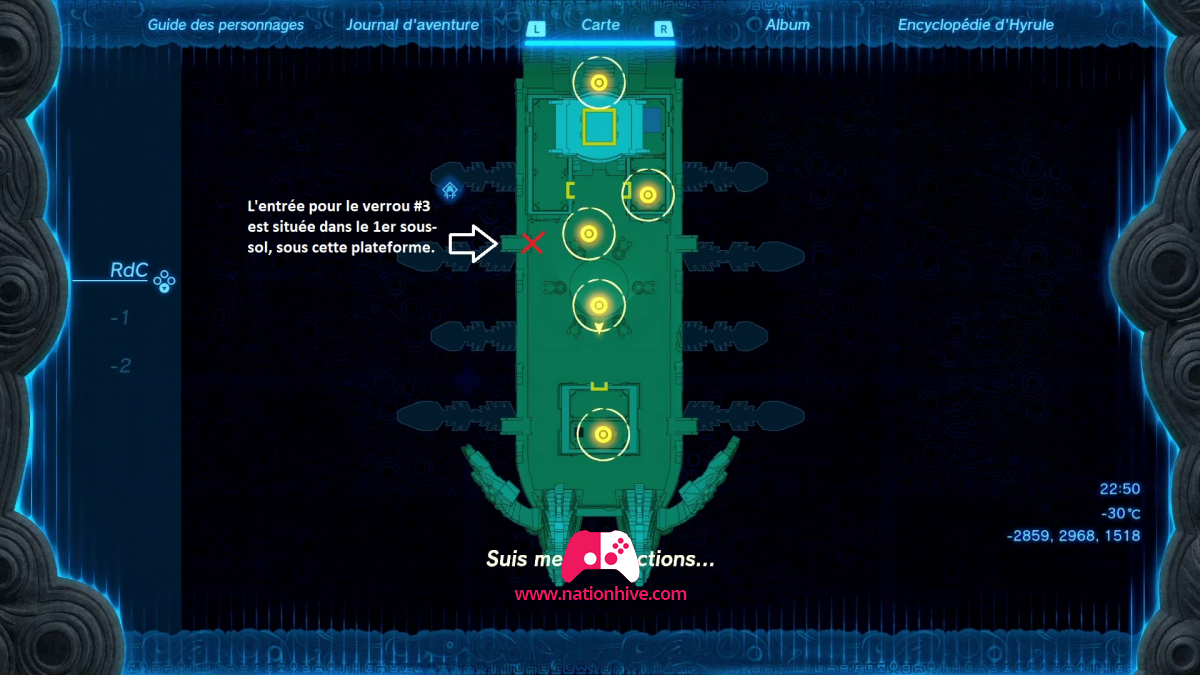
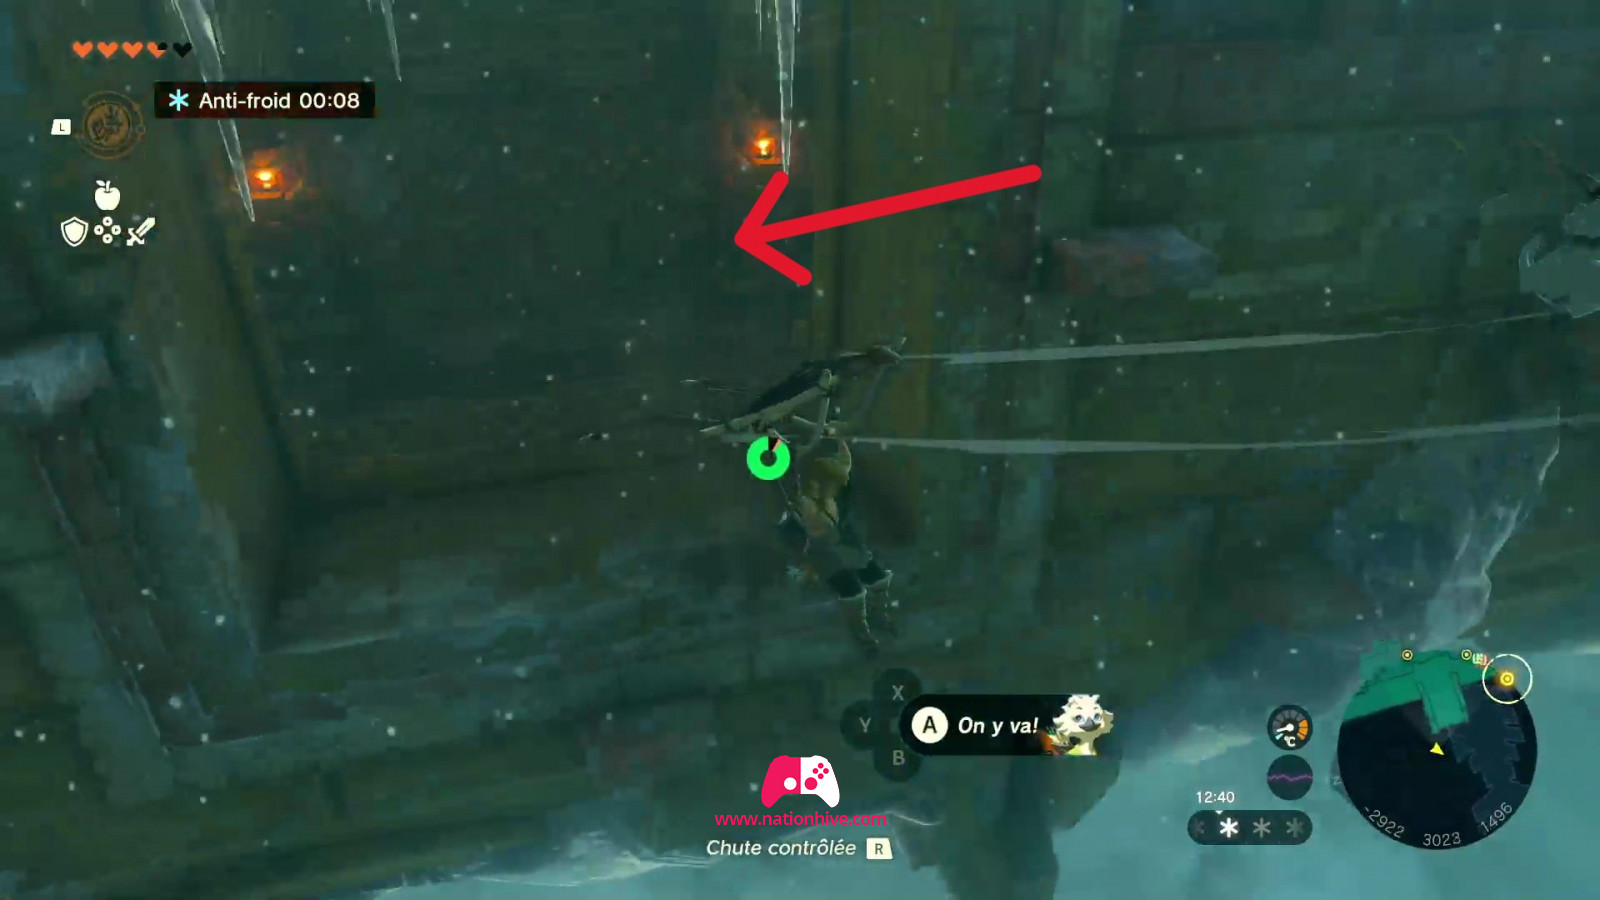
To access lock #3, you'll have to jump off the platform (see image above), as the entrance to lock #3 is just below. Indeed, the 3rd mechanism is located on the 1st basement level.
Head to the right, and you'll see an empty space with ice walls on either side. To cross, simply use Tulin's ability and propel yourself to the other side with your Paraglider.
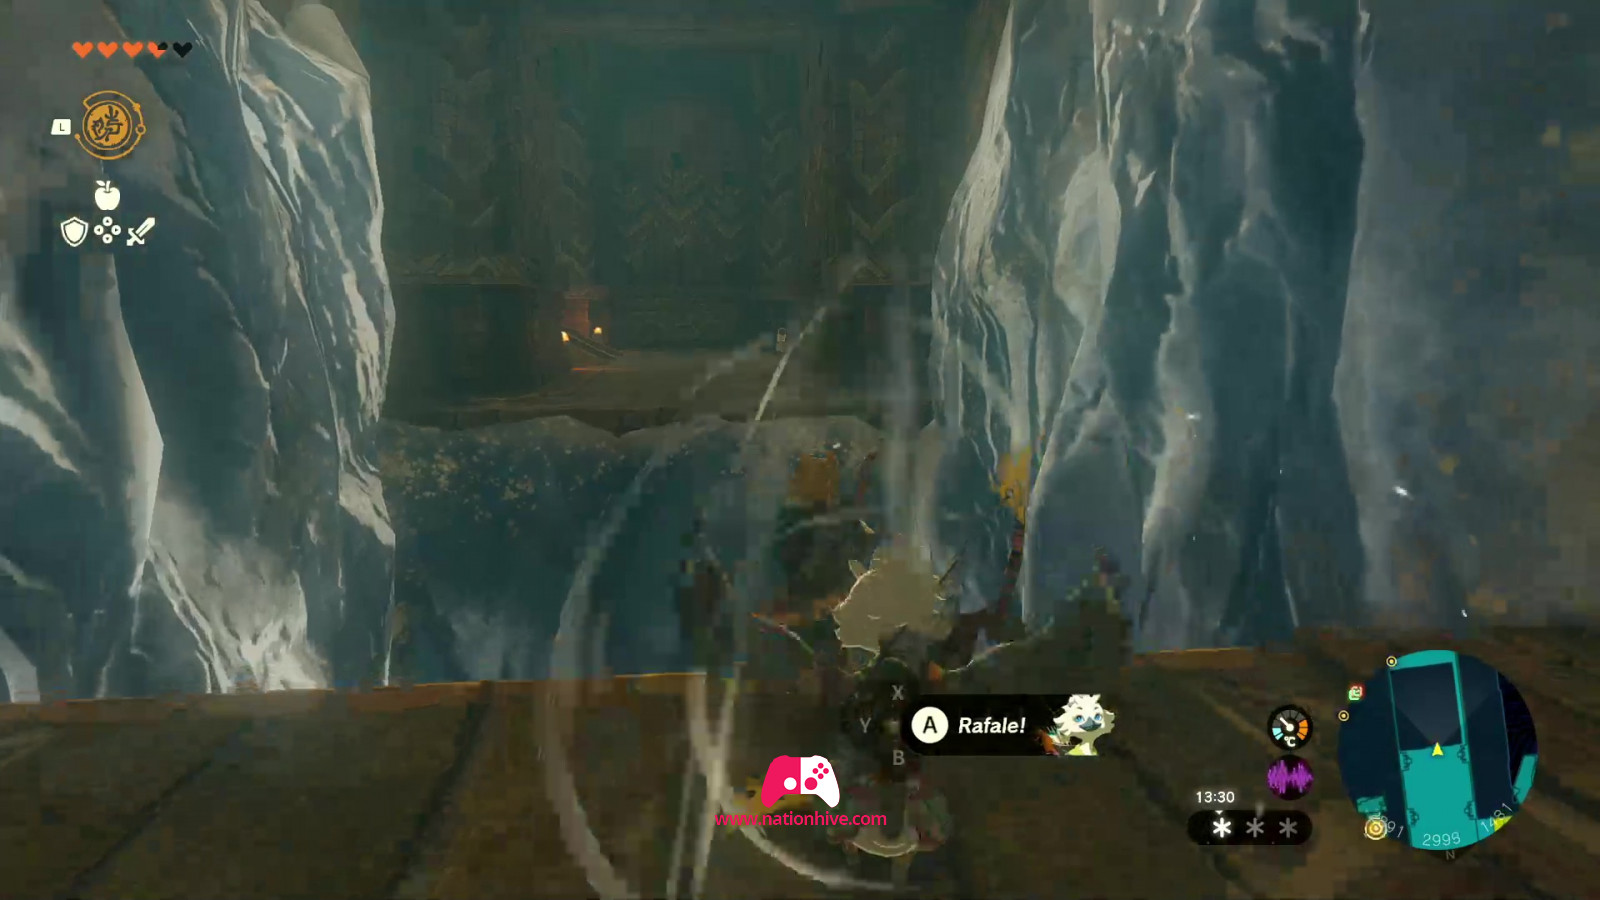
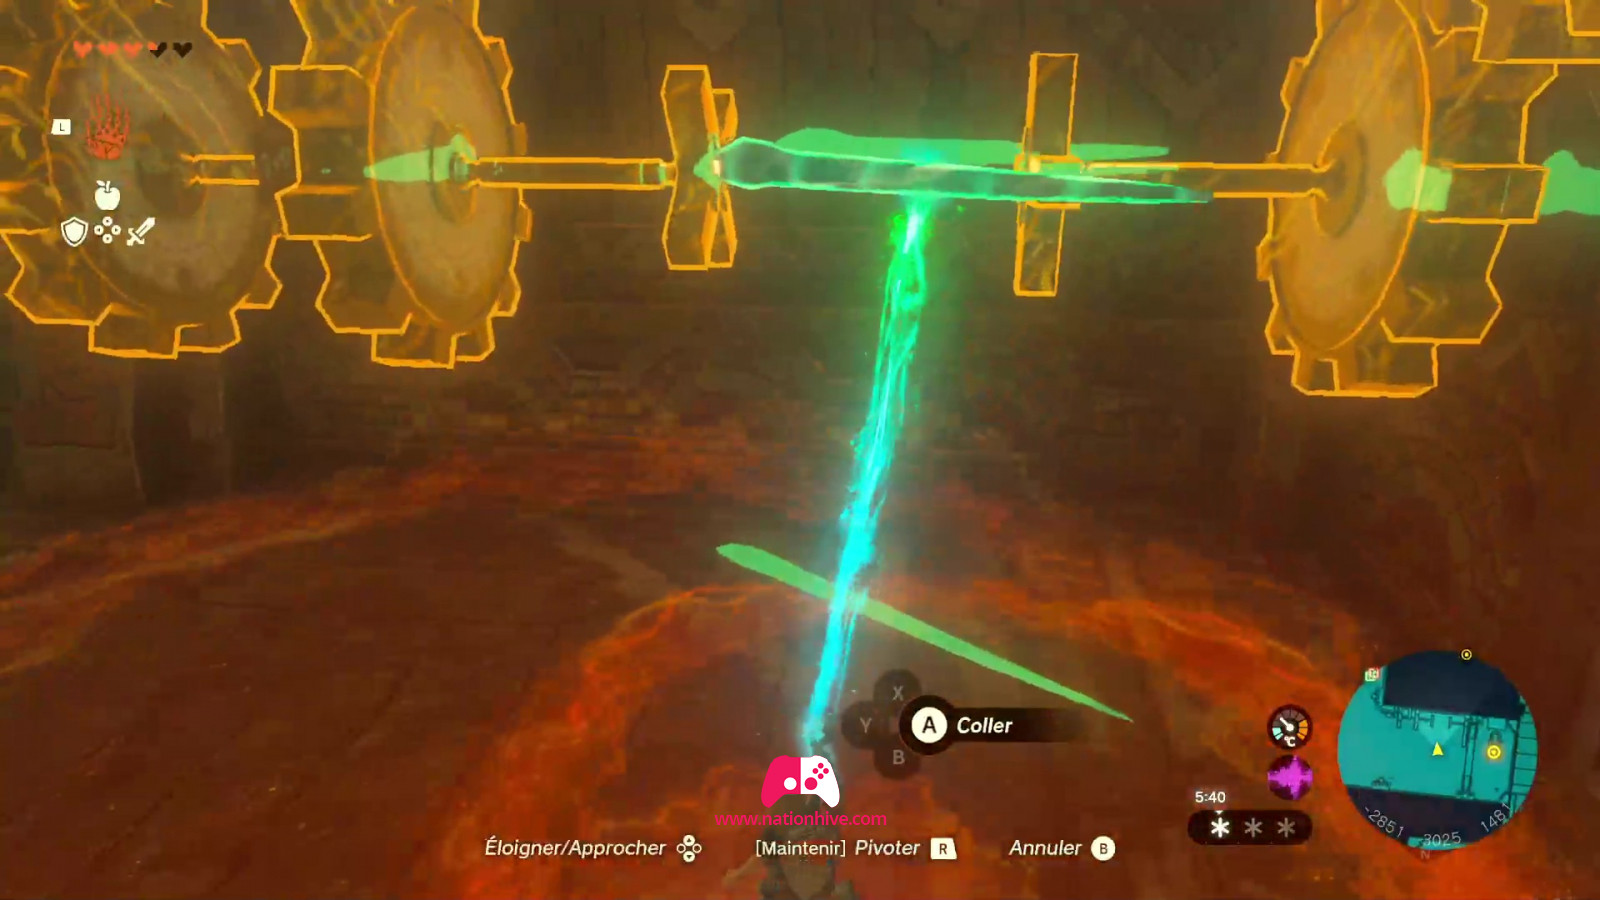
Once on the other side, attack the enemy, lift the lever on the floor to raise the grate and then use your Ascend ability to climb to the top floor.
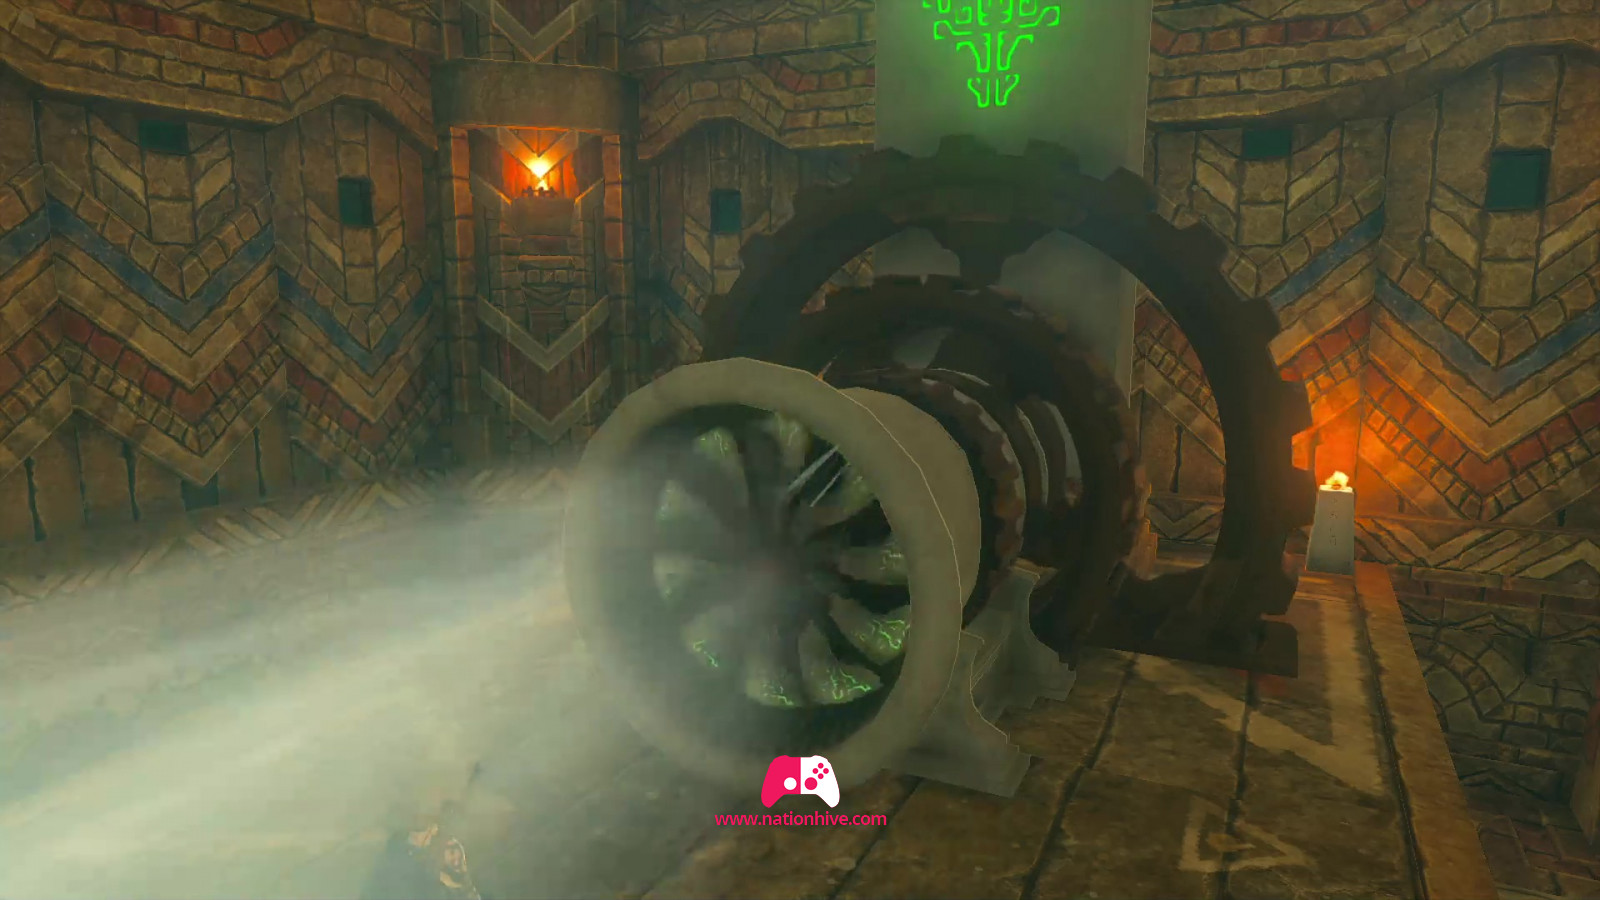
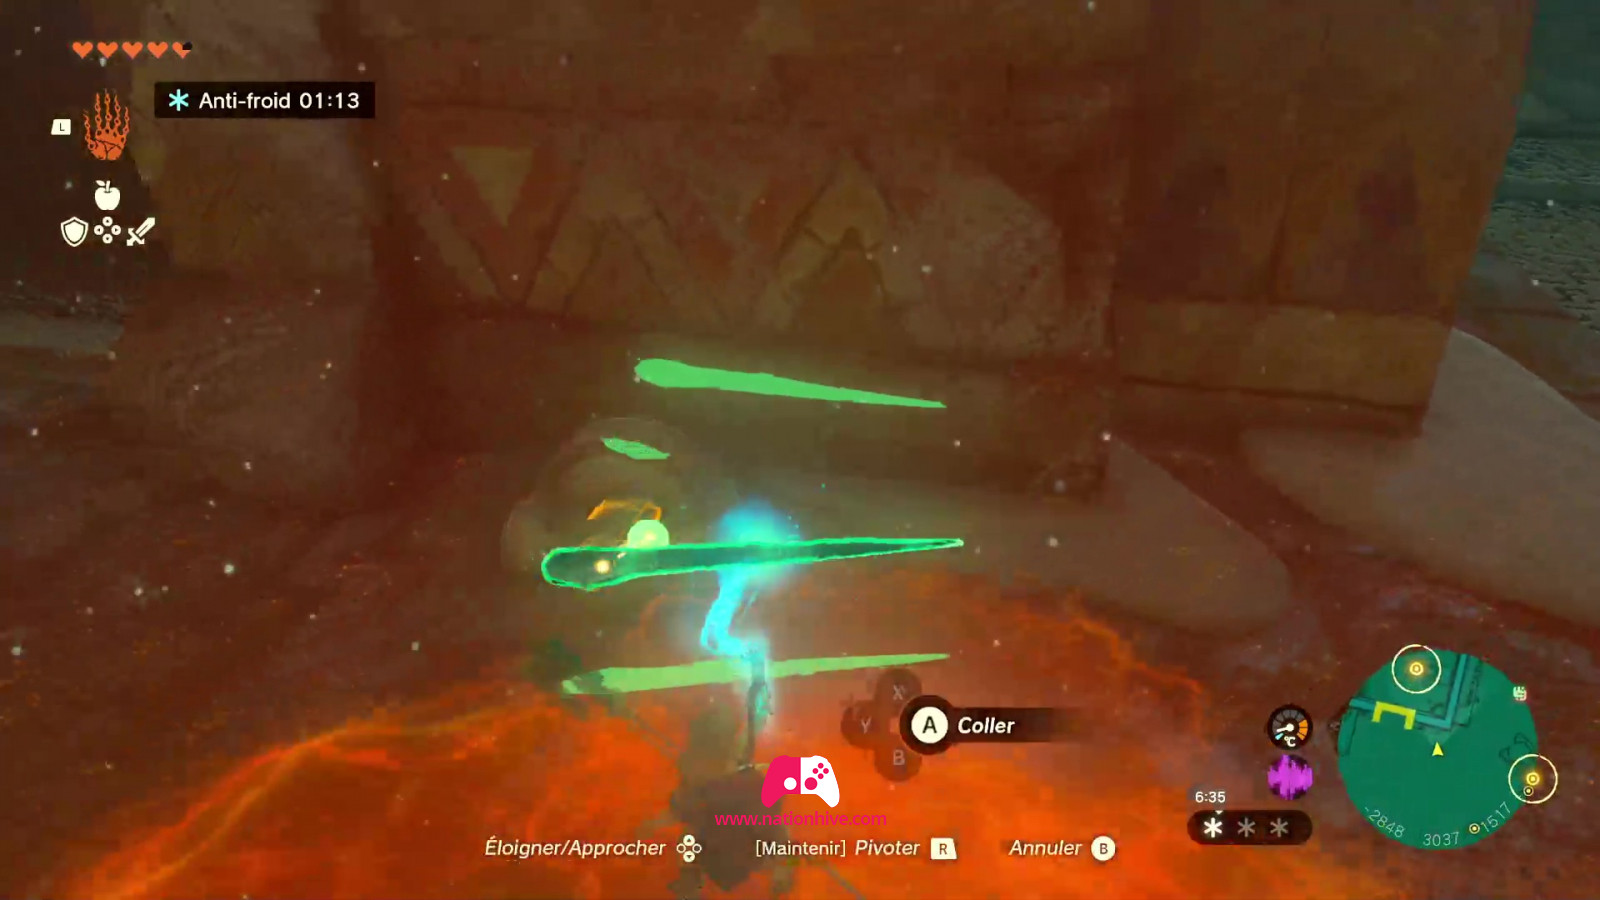
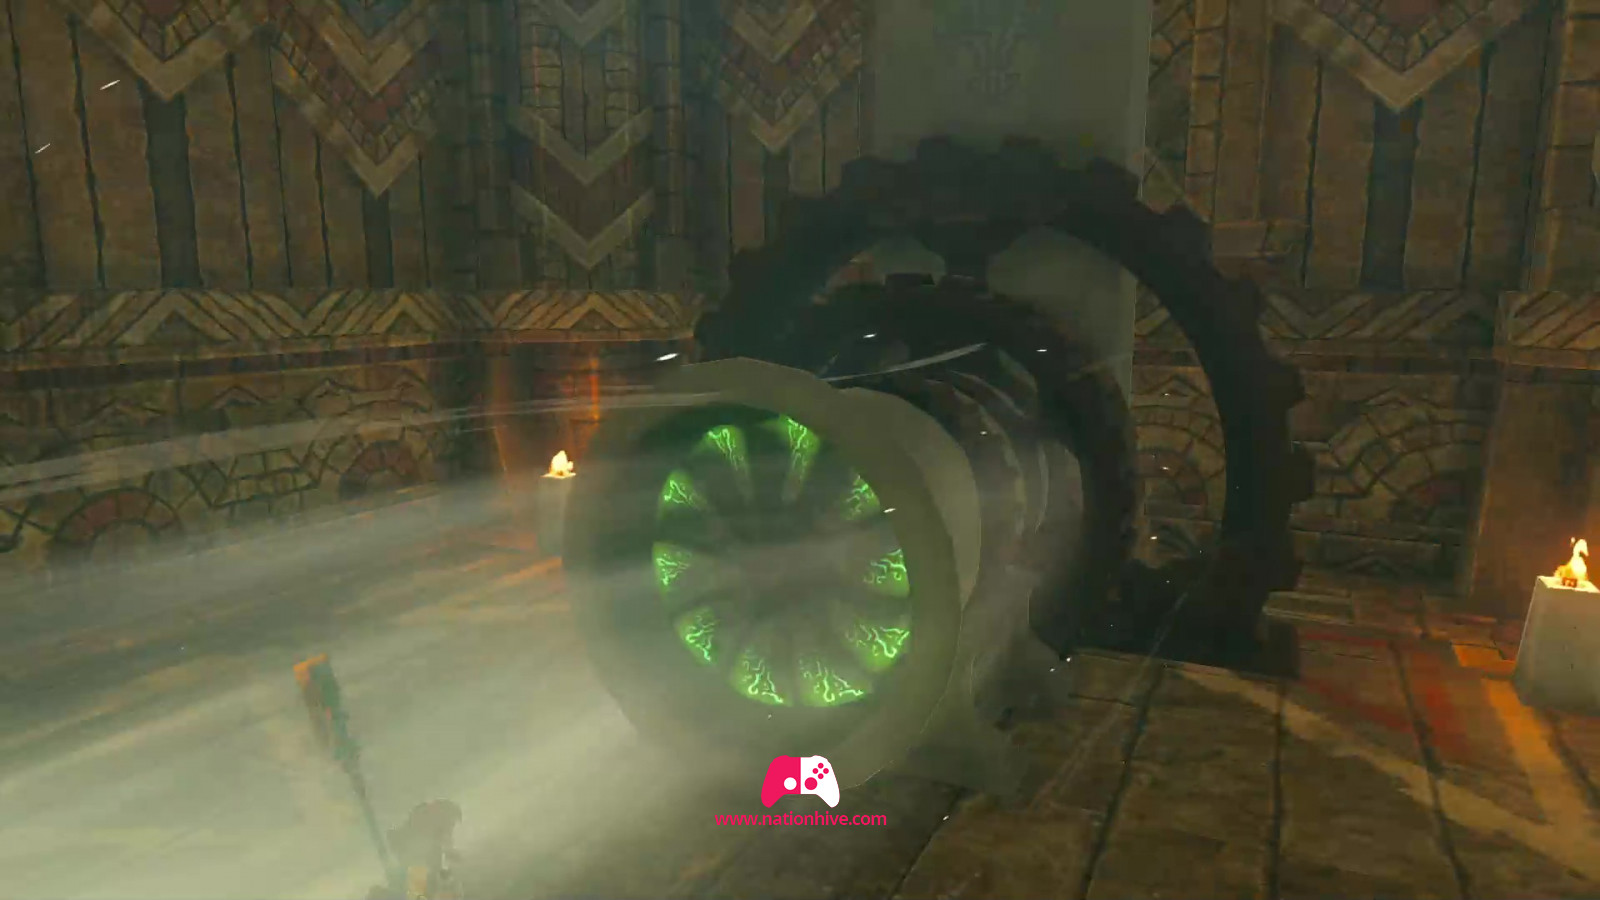
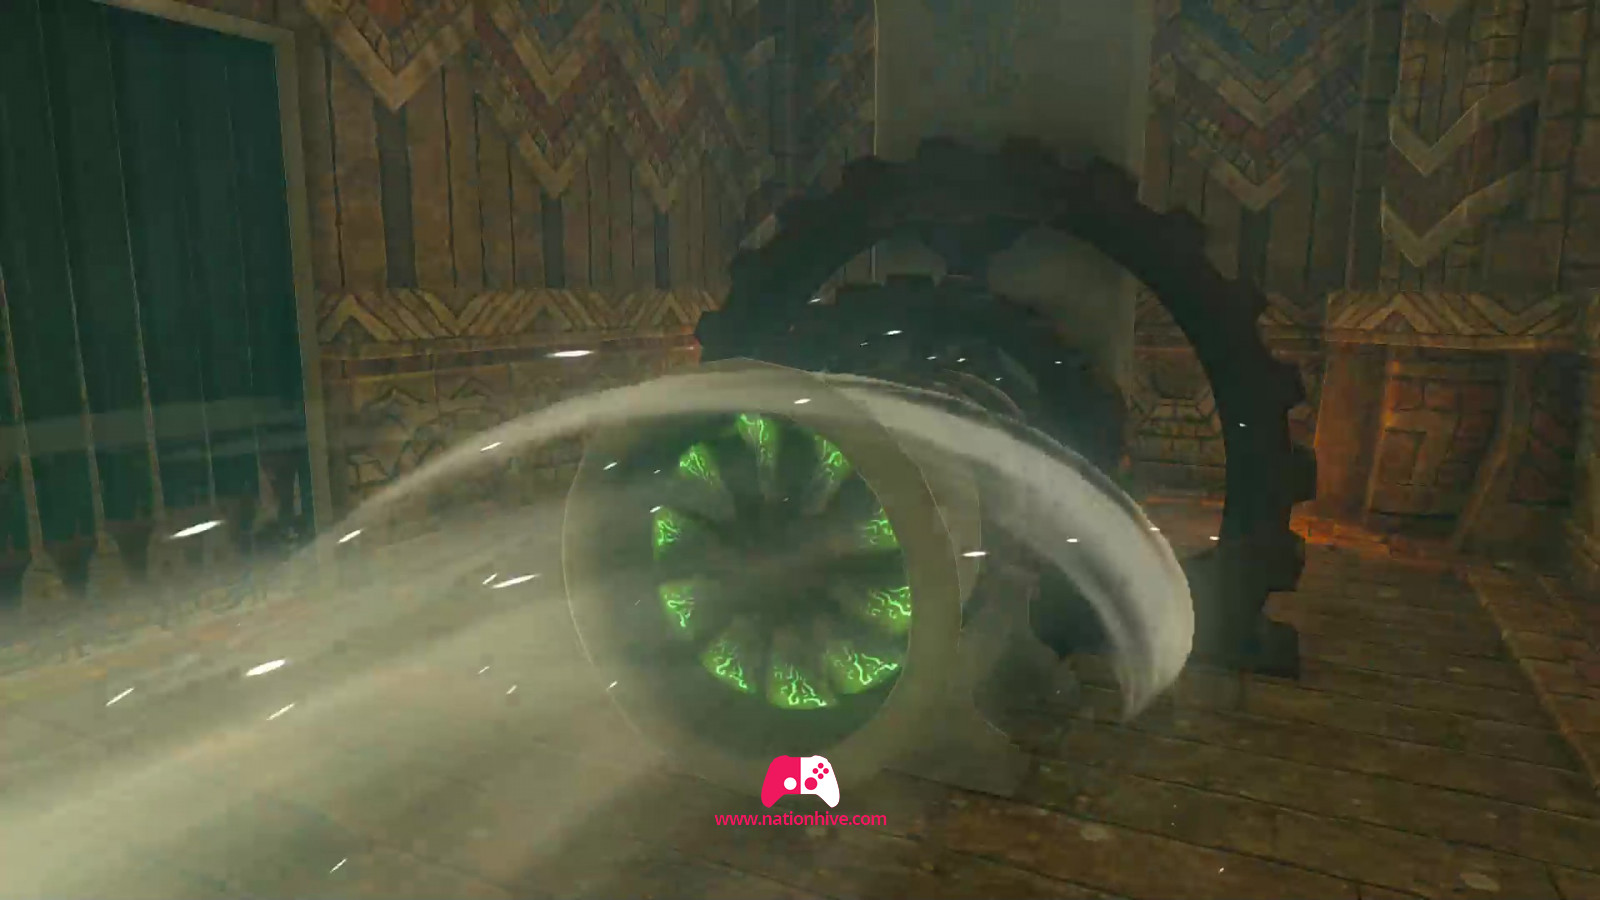
When you reach the top floor, you'll see some oval pillars on the floor. You'll need to glue them to a windmill not far from the room. Glue the 4 pillars together and use Tulin's ability to turn the windmill. This action unlocks access to the next room, where lock #3 is located. *Watch out for the enemy there. To activate the mechanism, simply use Tulin's ability and face the mechanism before activating it.

How to activate lock #4
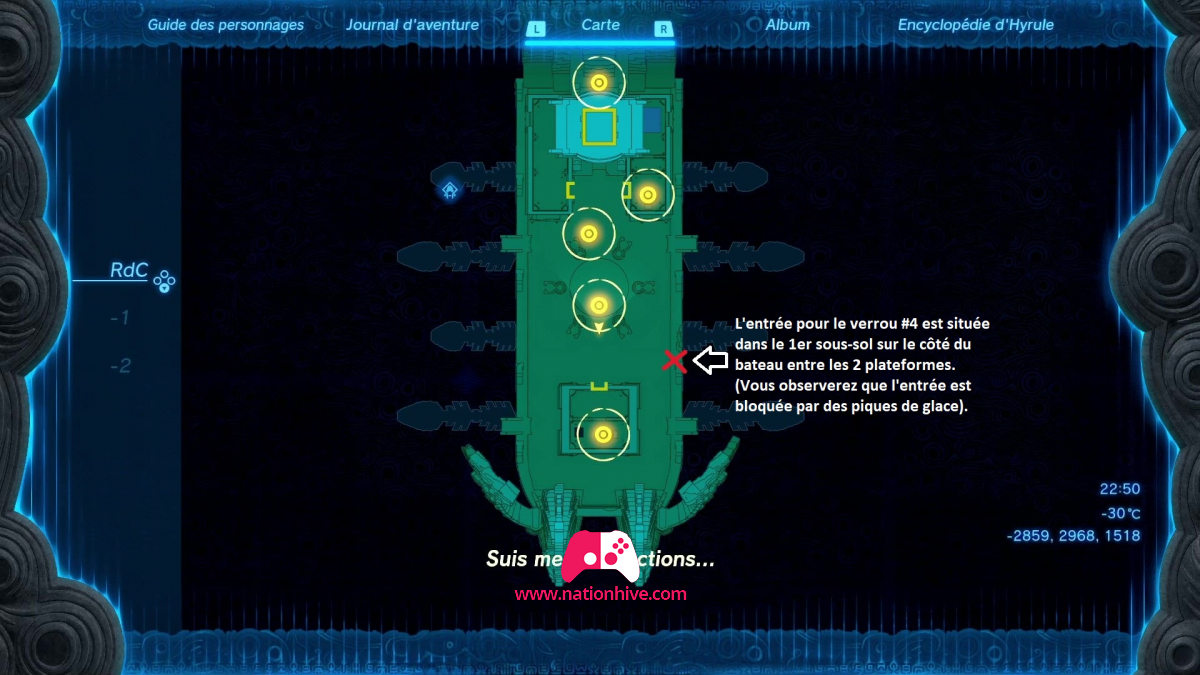
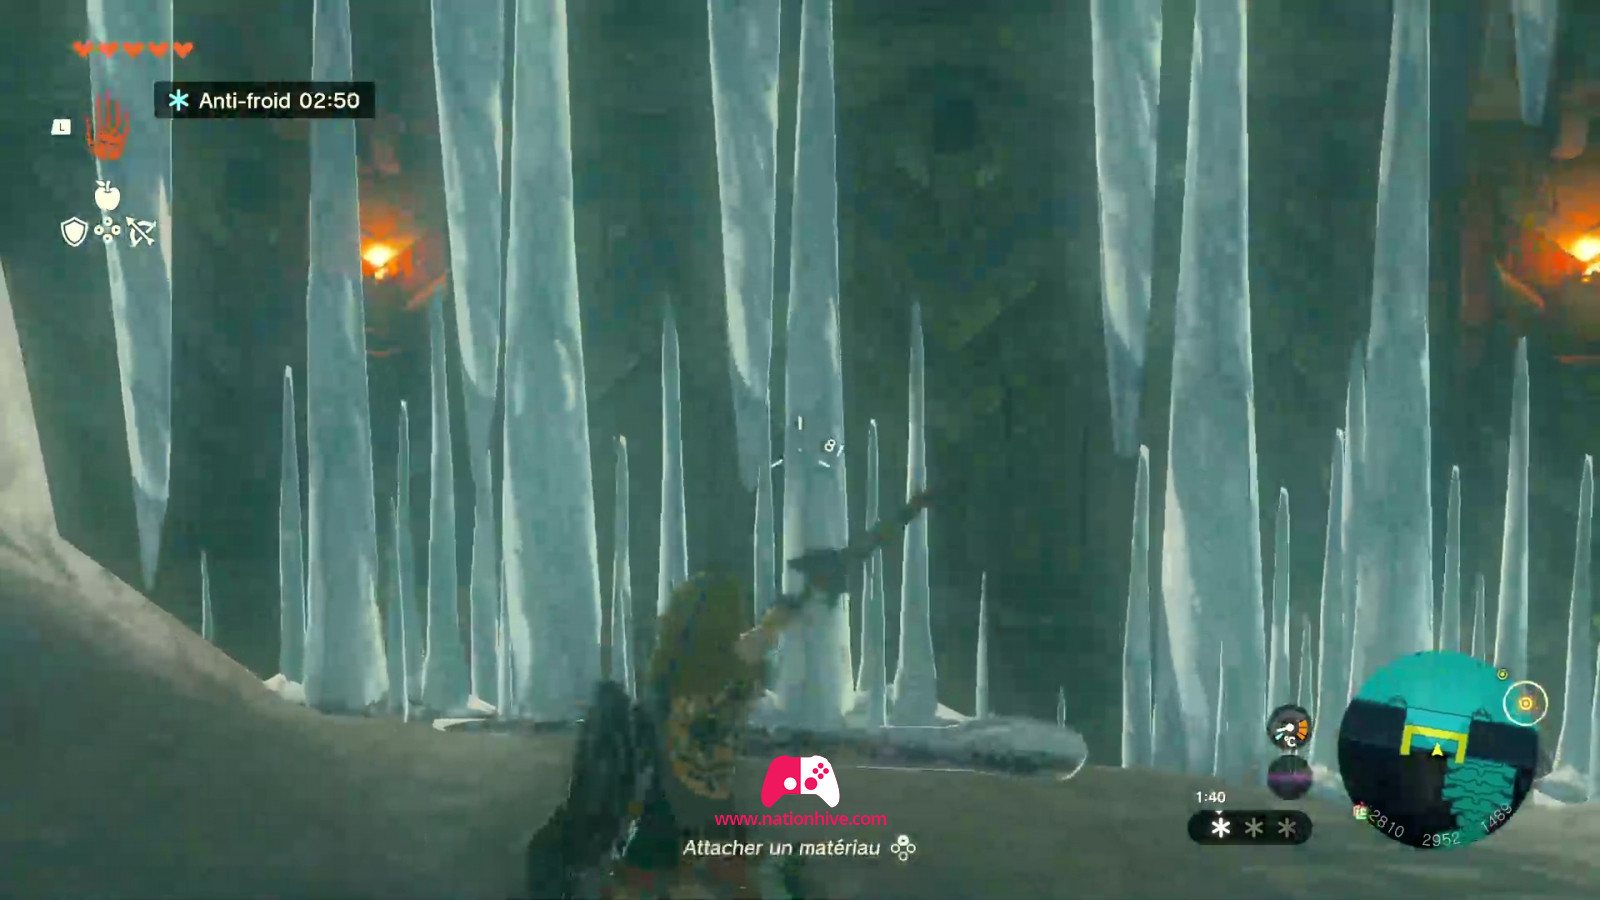
To access lock #4, you'll need to jump off the platform (see image above), as the entrance to lock #4 is on the side of the boat. You'll notice that the entrance is blocked by ice spikes. Indeed, the 4th mechanism is located in the 1st basement. Land in front of the entrance and pull on the ice spikes to remove them and be able to enter.
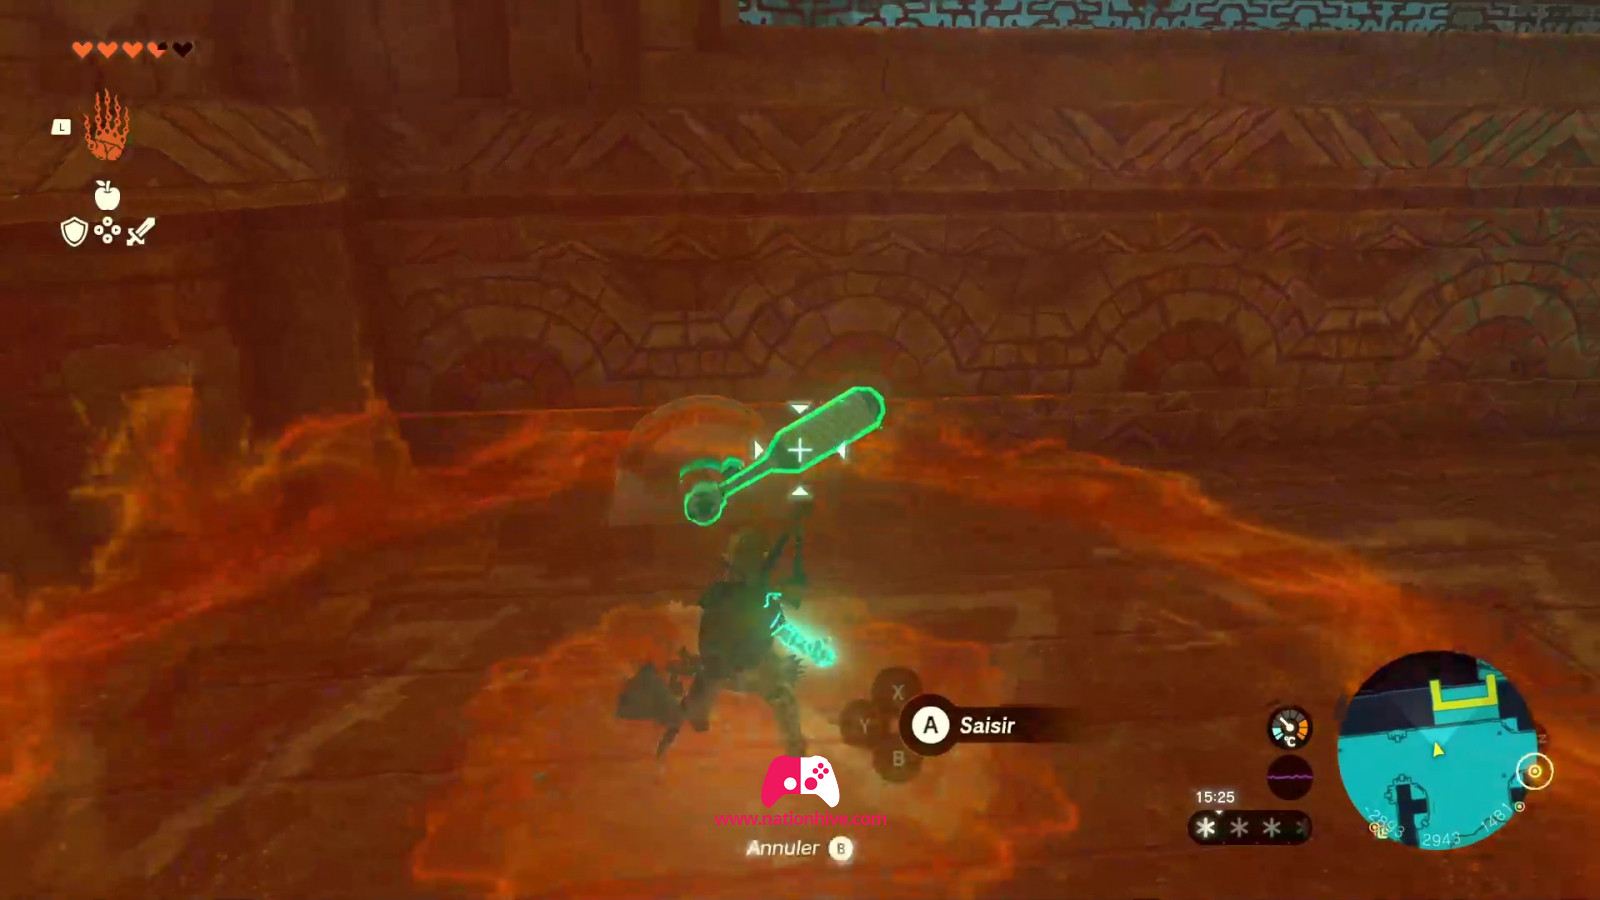
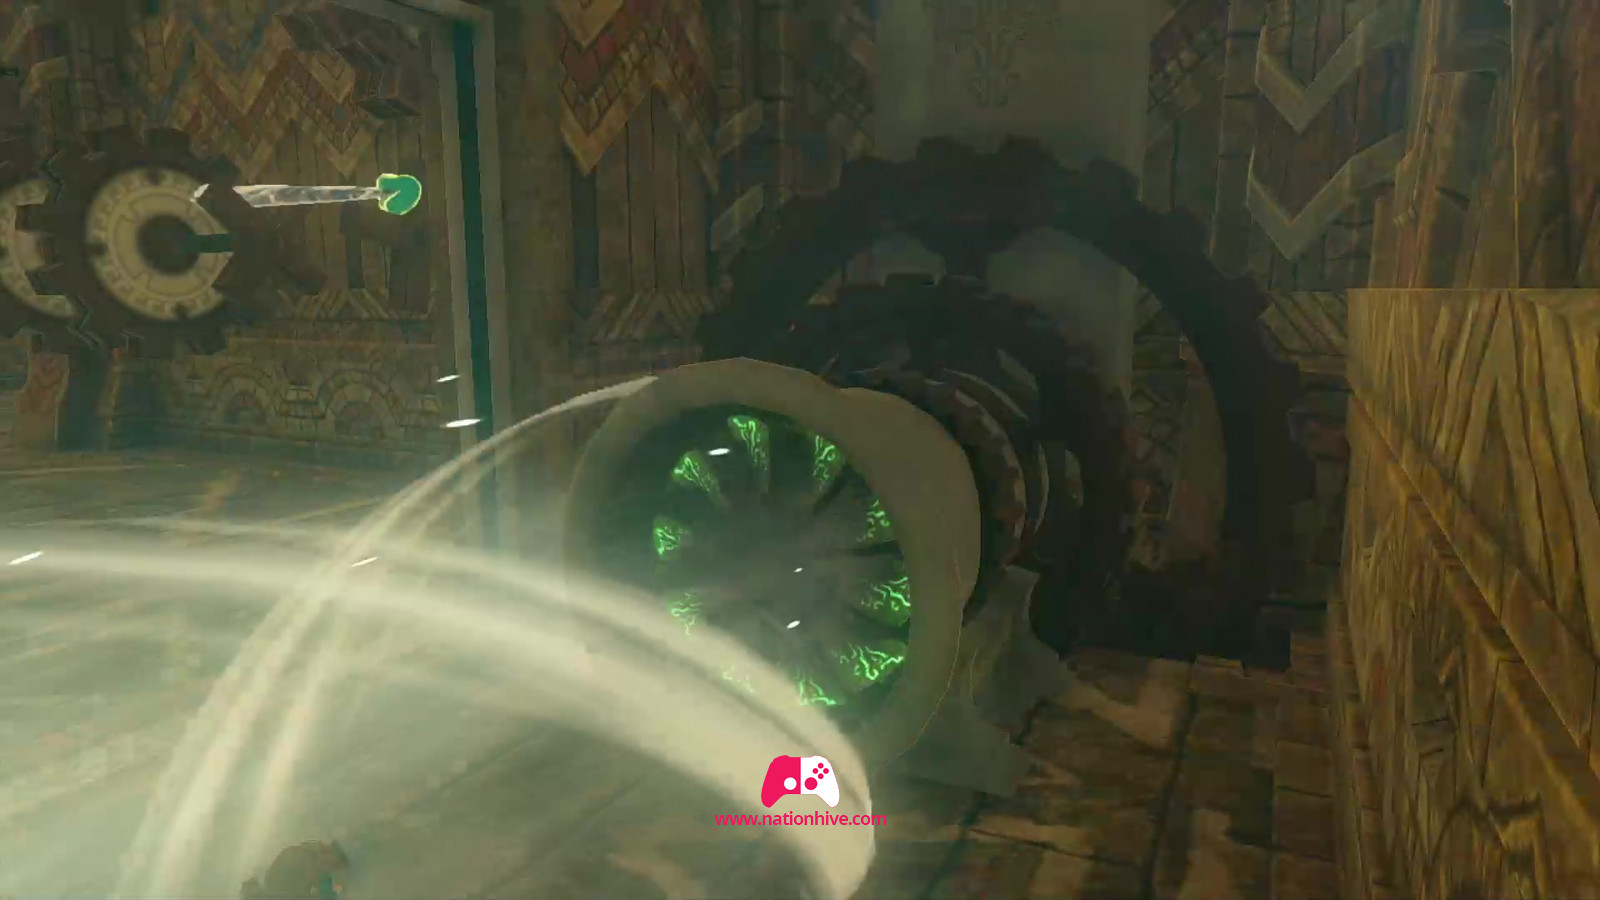
Once inside, head to the right and you'll see a rotating platform. Use your Recall ability to rotate the platform to the other side, allowing you to pass to the other side for a limited time.
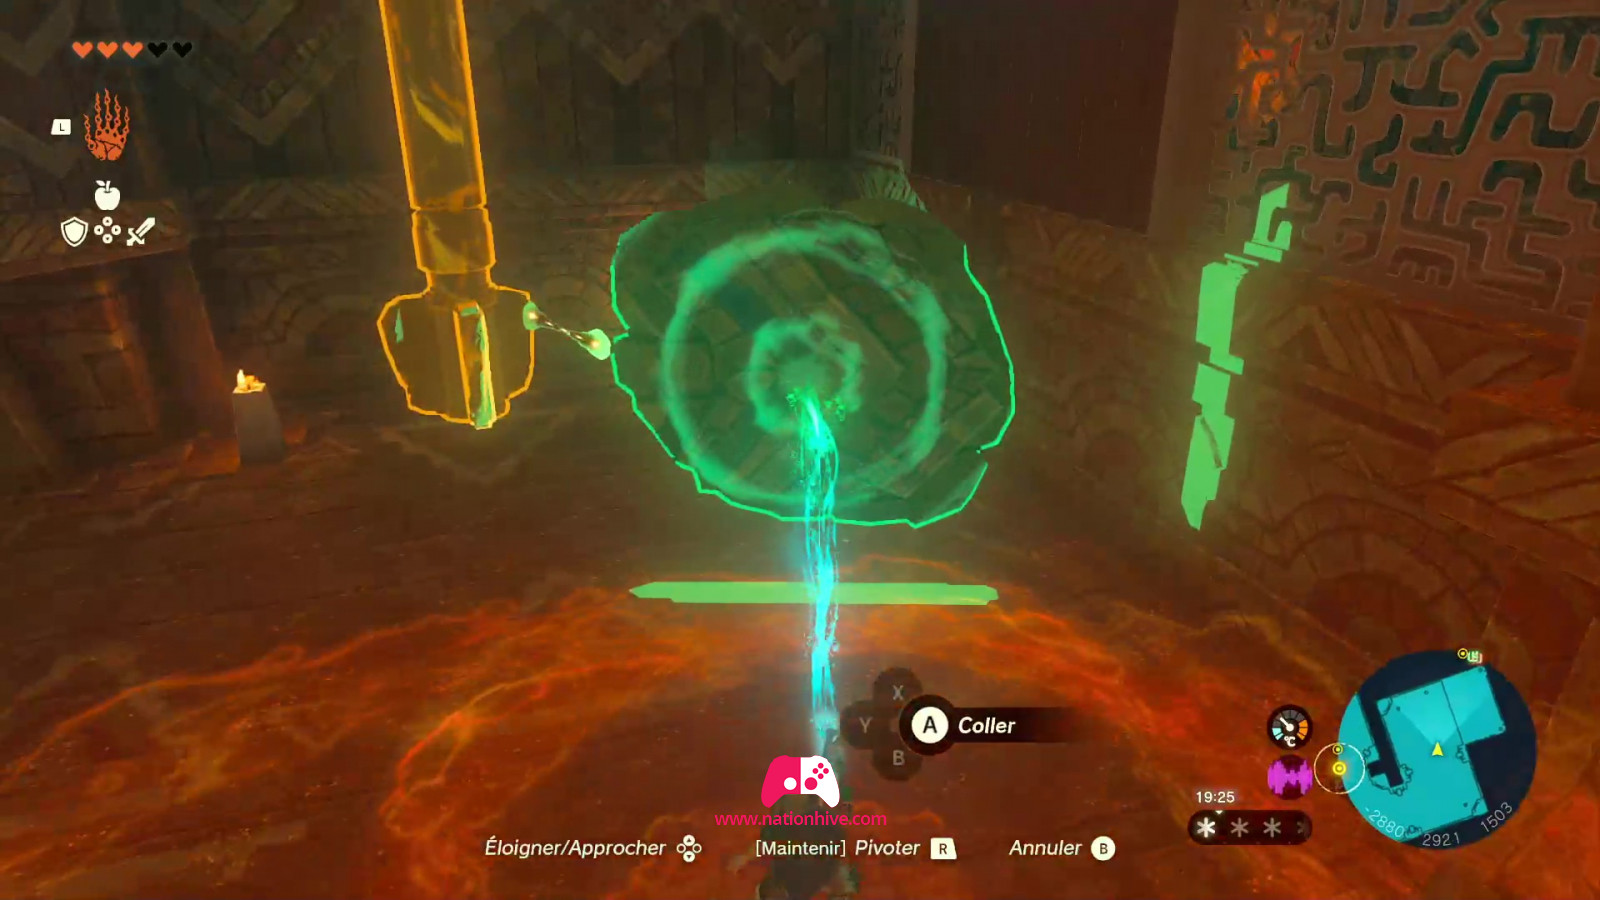
Once on the other side, attack the enemy and lift the lever on the floor to raise the grid. Then shoot at the ceiling to drop an ice spike, and use your Ultrahand ability to glue this piece of ice to the moving pillar. This action unlocks access to the next room on the right, where lock #4 is located. To activate the mechanism, simply use Tulin's ability and face the mechanism before activating it.
How to activate lock #5
The entrance to lock #5 is located under the flying boat. The 5th mechanism is located in the 2nd basement. Attack the enemy and simply use Tulin's ability to activate the last mechanism.
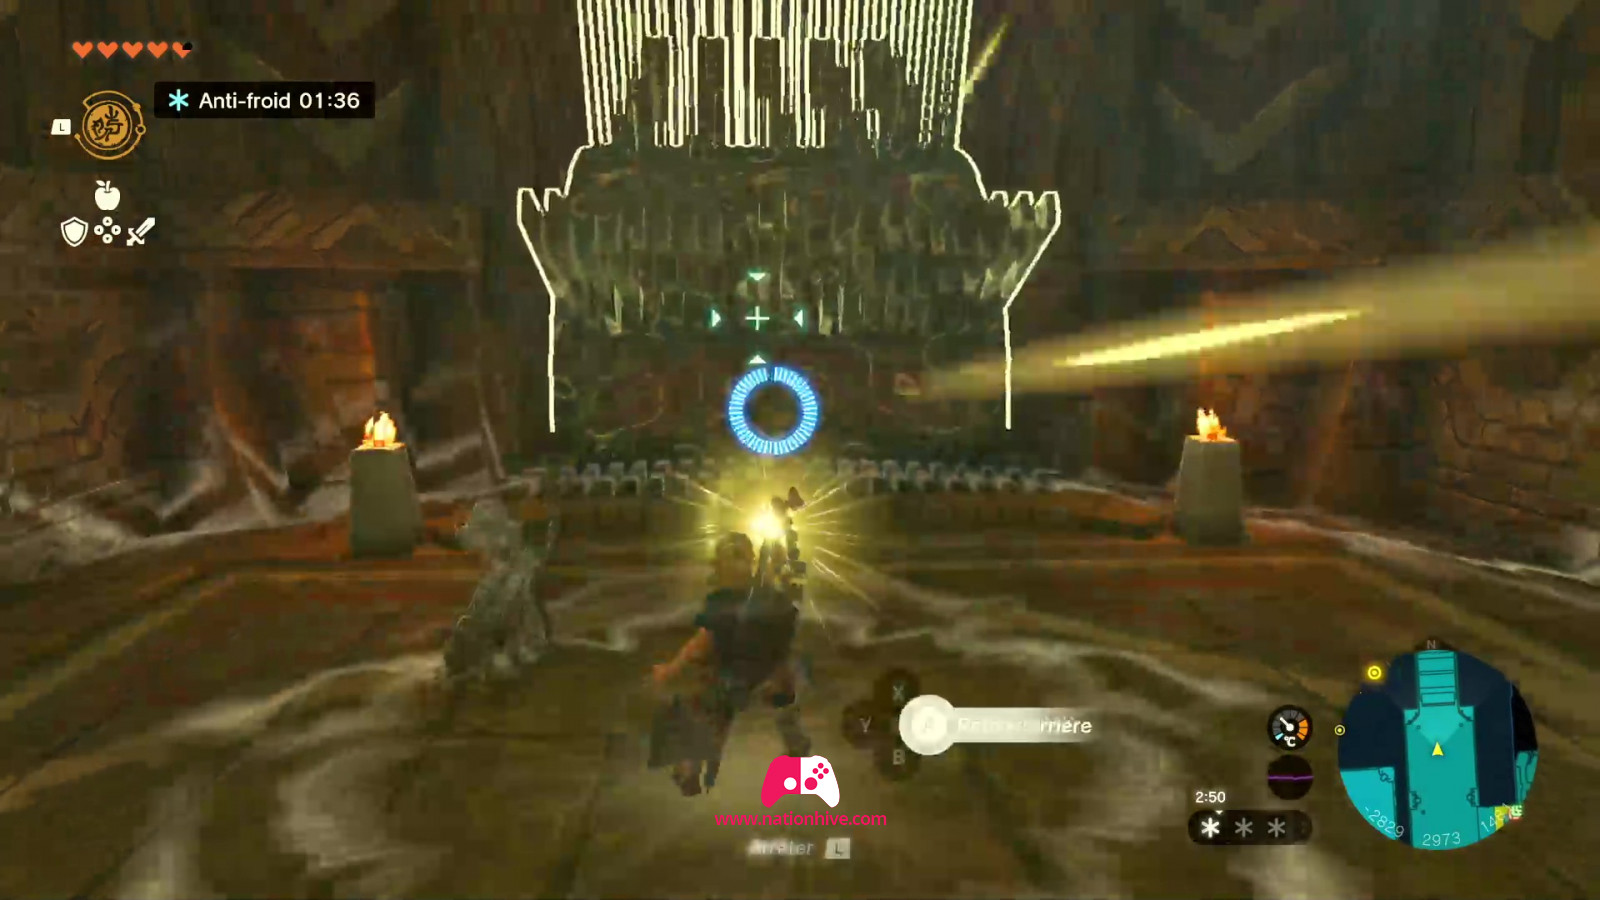
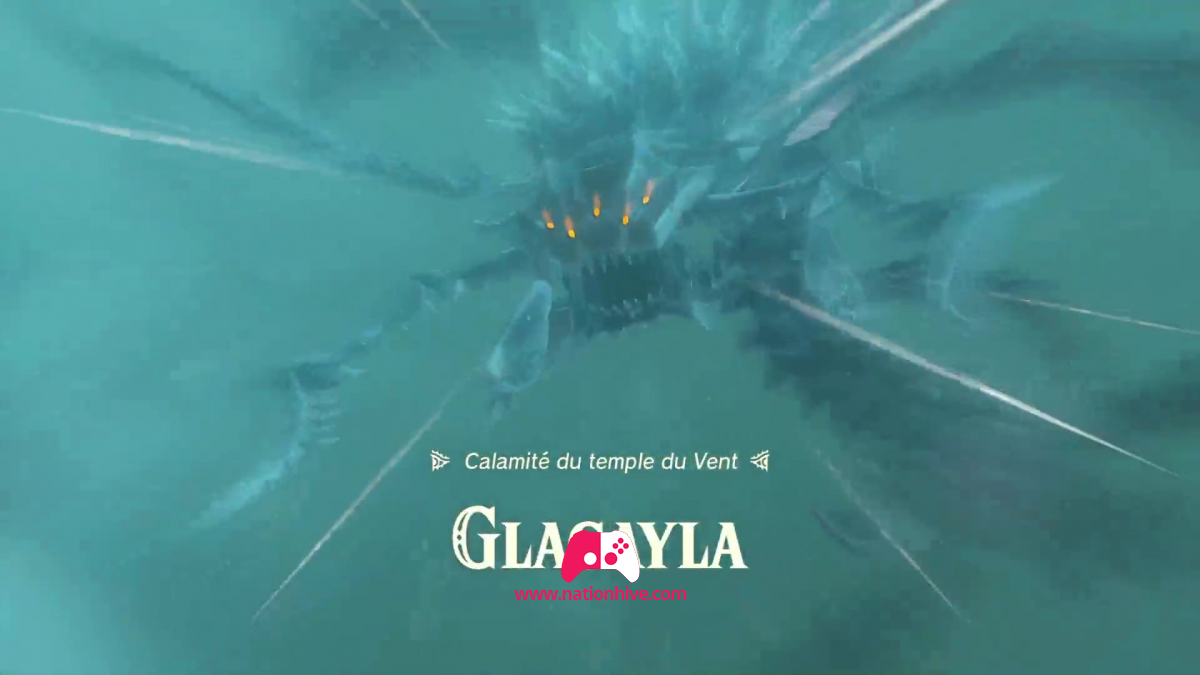
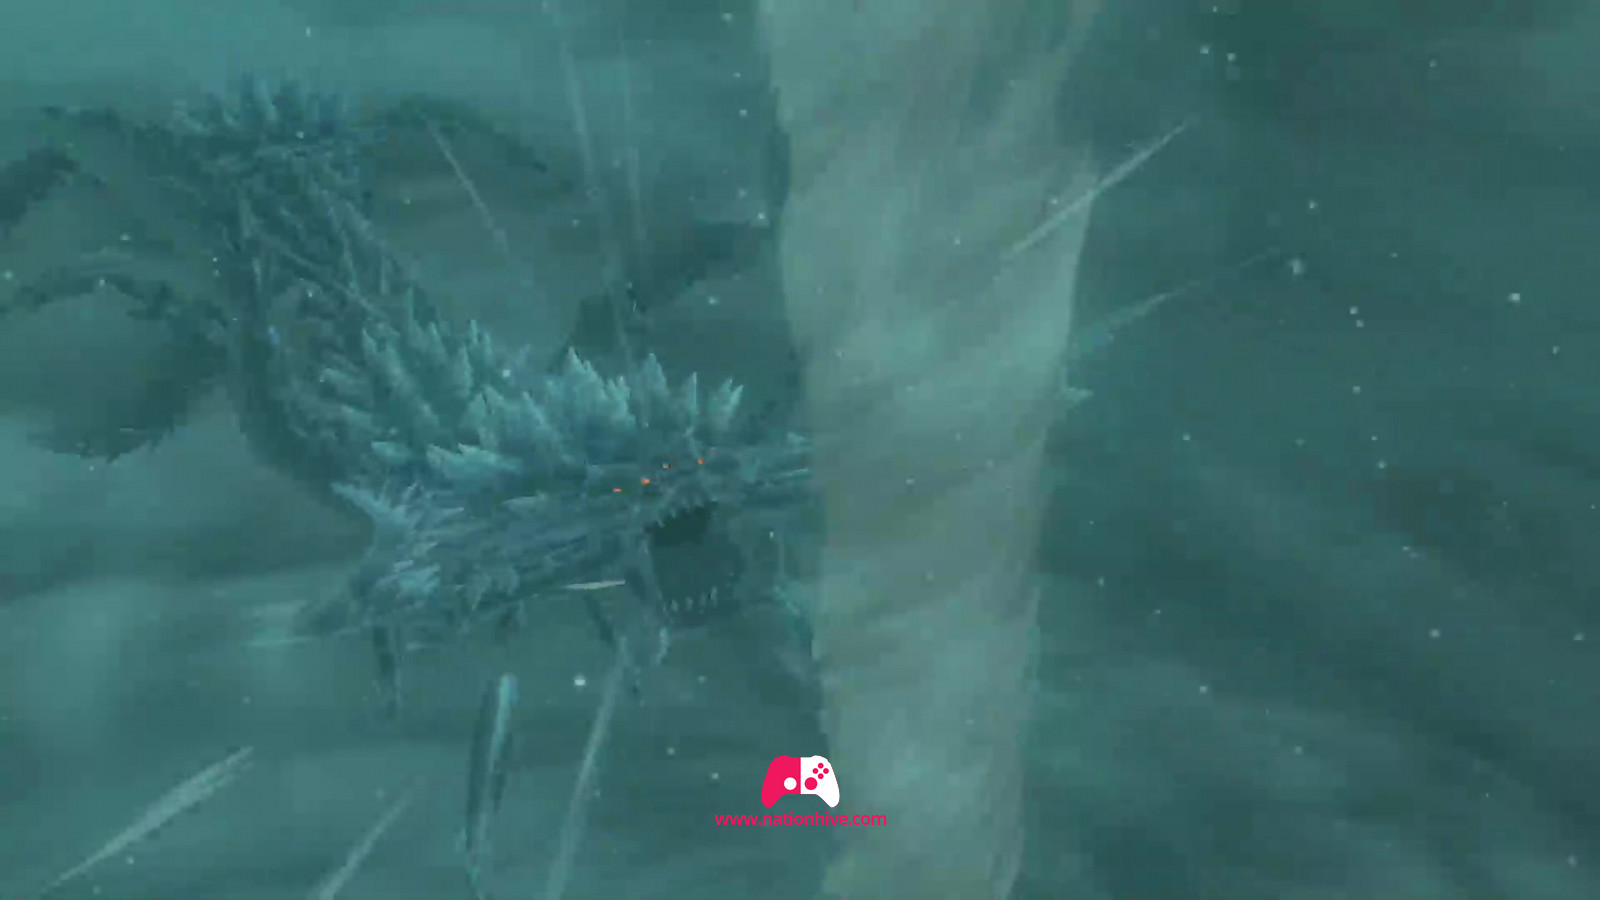
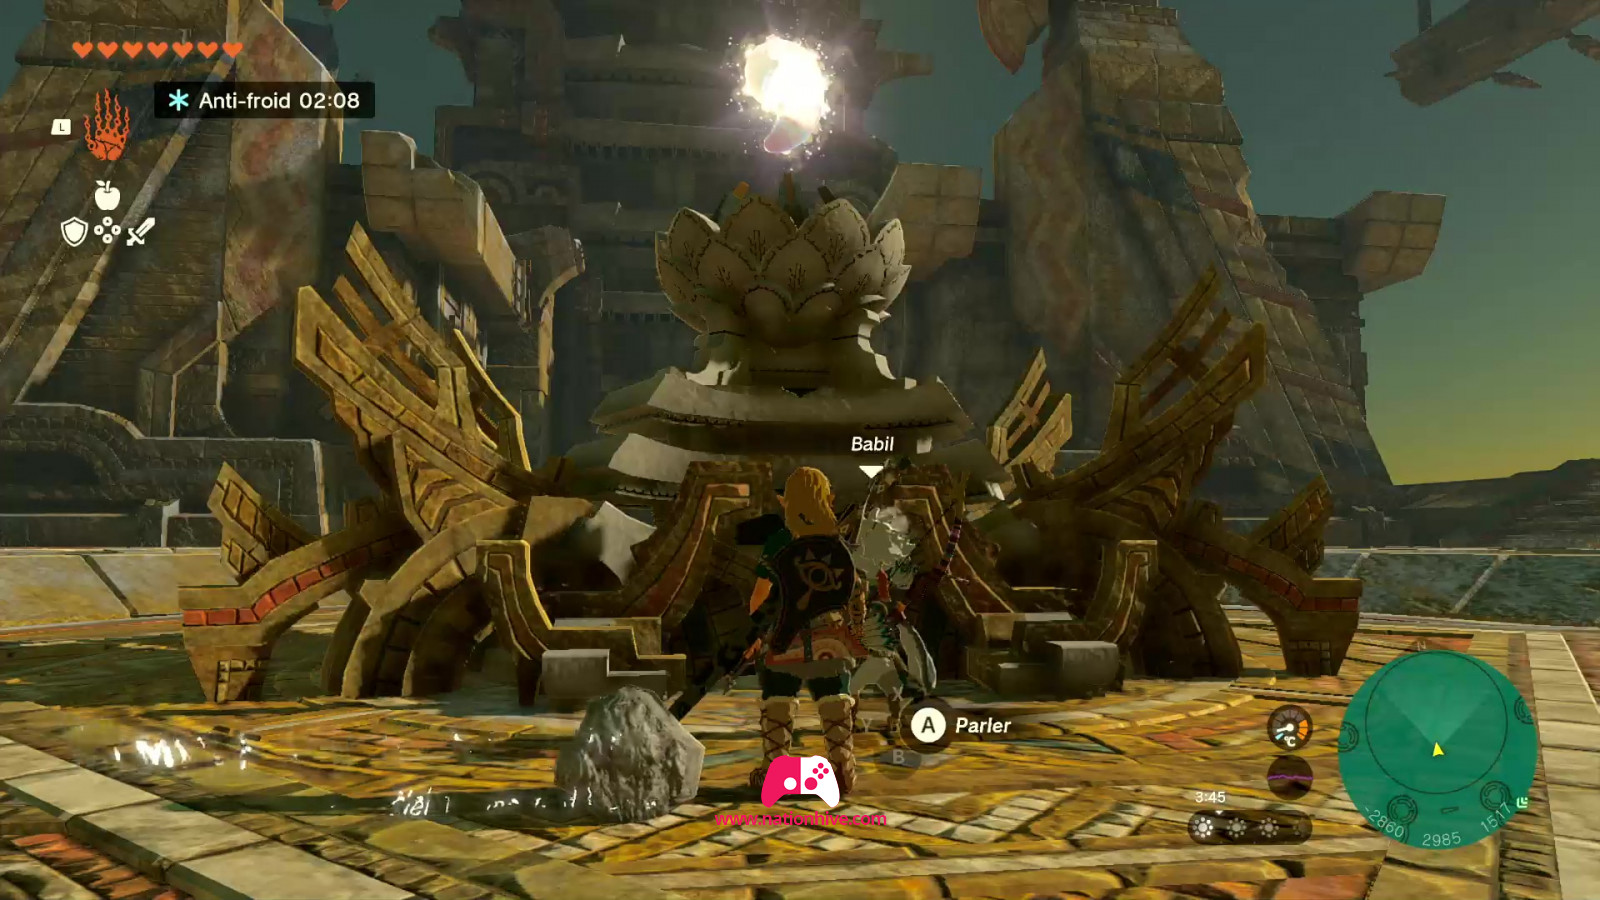
Once all the mechanisms have been activated, head for the magic green circle near the hatch on the bridge and investigate with A. This will unlock the locks and release the Scourge of The Wind Temple: Colgera. Colgera must be defeated to stop the storm and bring peace to Rito Village, and thus progress in the main story.
Defeating Colgera
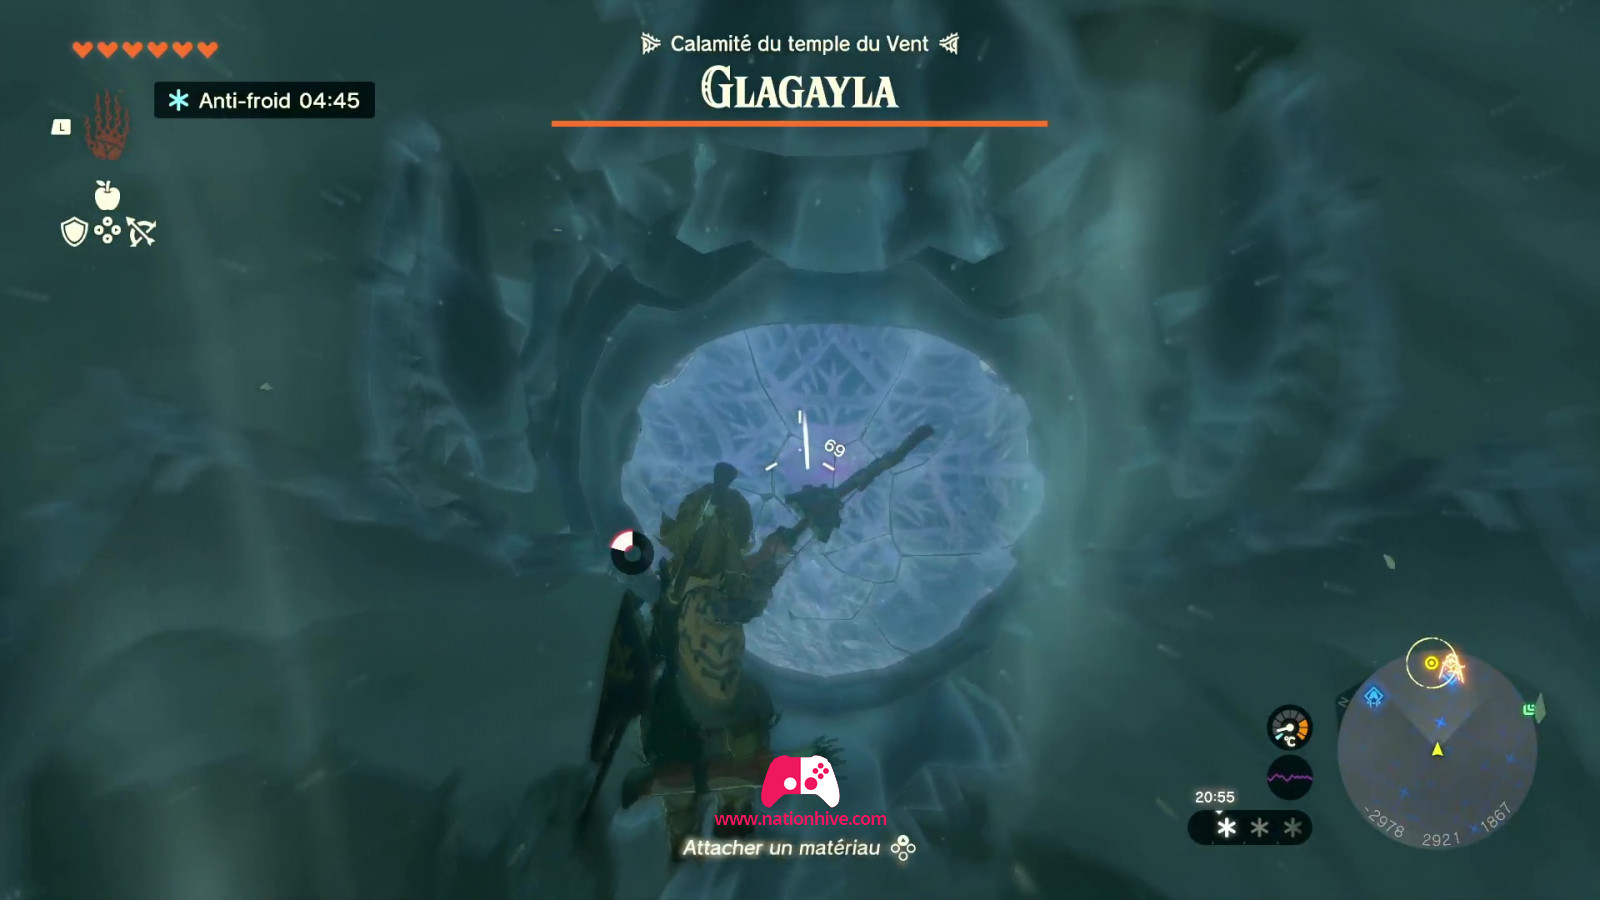
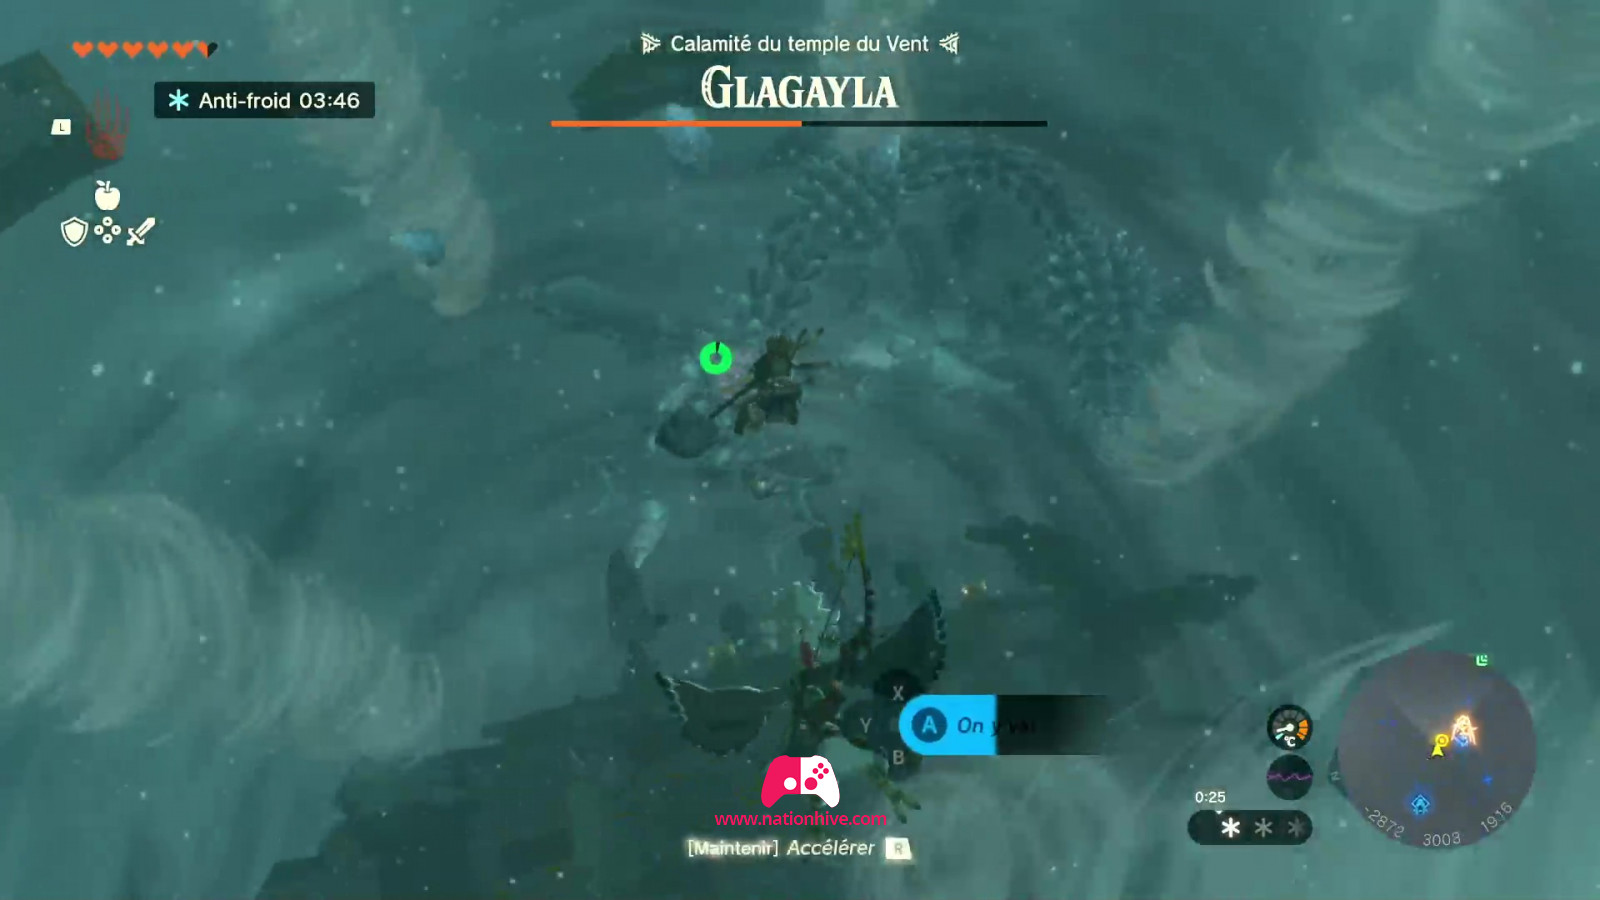
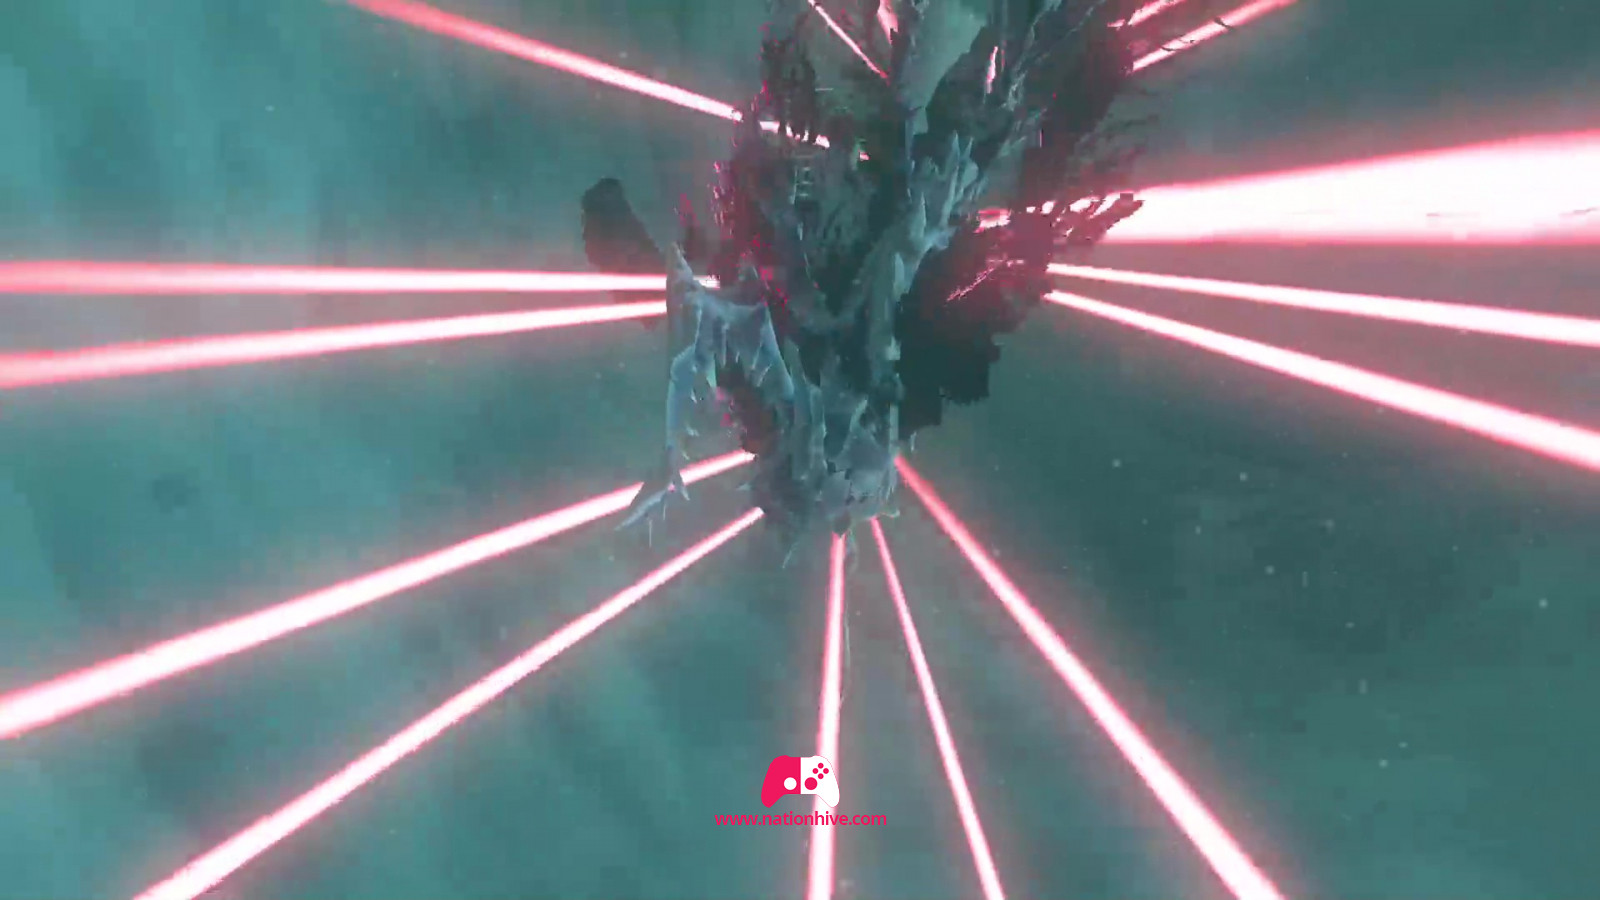
To defeat the Scourge of The Wind Temple: Colgera, you'll need to attack its 3 segments, identified by pink ice circles. You can shoot arrows to do damage. Indeed, when you're in the air and firing, everything seems to slow down, giving you plenty of time to aim. Another way of destroying Colgera's segments is to simply do a controlled fall on the pink circles to break them.
* Watch out for stone projectiles thrown by the segments. Avoid them and then attack! Colgera is also able to teleport, so you can tell where he'll appear by observing his wind tunnels below you. Be quick to use Tulin's ability to avoid hitting Colgera as it rises towards you, as it can cause damage.
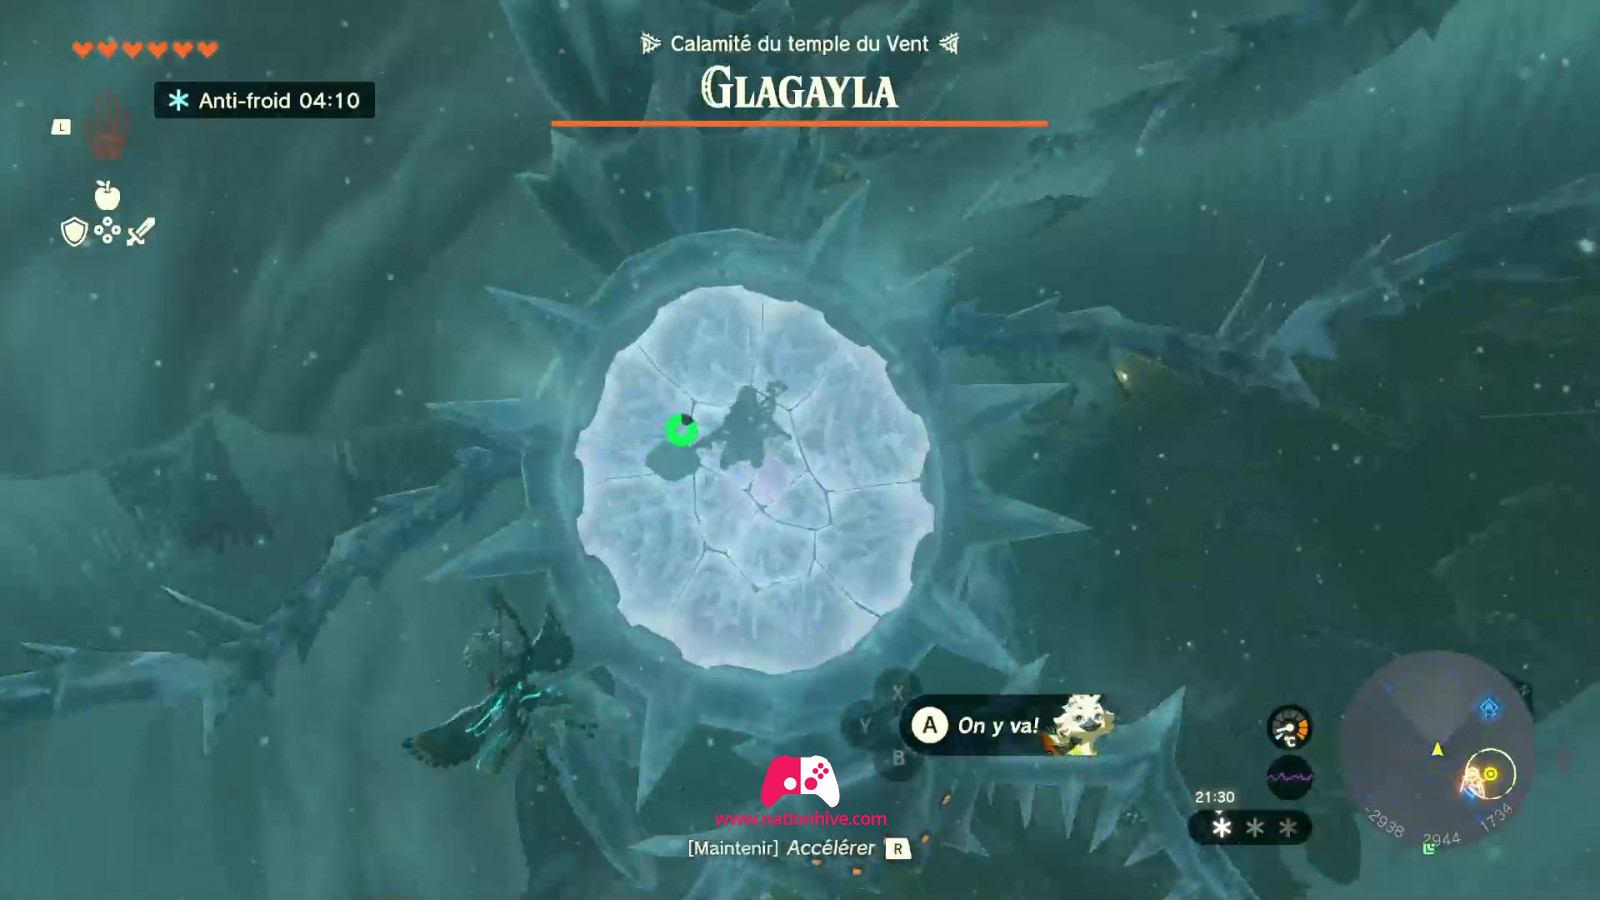
Once the first 3 segments have been destroyed, Colgera becomes even more menacing, as it can now create wind tornadoes. Avoid tornadoes with Tulin's ability. Keep aiming for the pink ice circles by shooting arrows or doing a controlled fall on the pink circles to break them. Once the first 3 segments have been destroyed for the 2nd time, Colgera will be defeated.
Tips and tricks:
- It's possible to attack from below. Free-fall to find yourself under Colgera and shoot arrows that hit the pink ice circles.
- Simply fire 3 arrows to destroy a circle of pink ice.
- Make sure your life bar is full and that there's still time for the cold resistance (obtained from the Hot Peppers dish) during your fight. Eat as needed!
- You can pause the fight by pressing bouton plus.
- Don't be afraid to move around, doing free falls and alternating with the use of the Paraglider to climb higher. Being on the move is important in this fight. To avoid being hit by stone projectiles, but also to avoid Colgera.
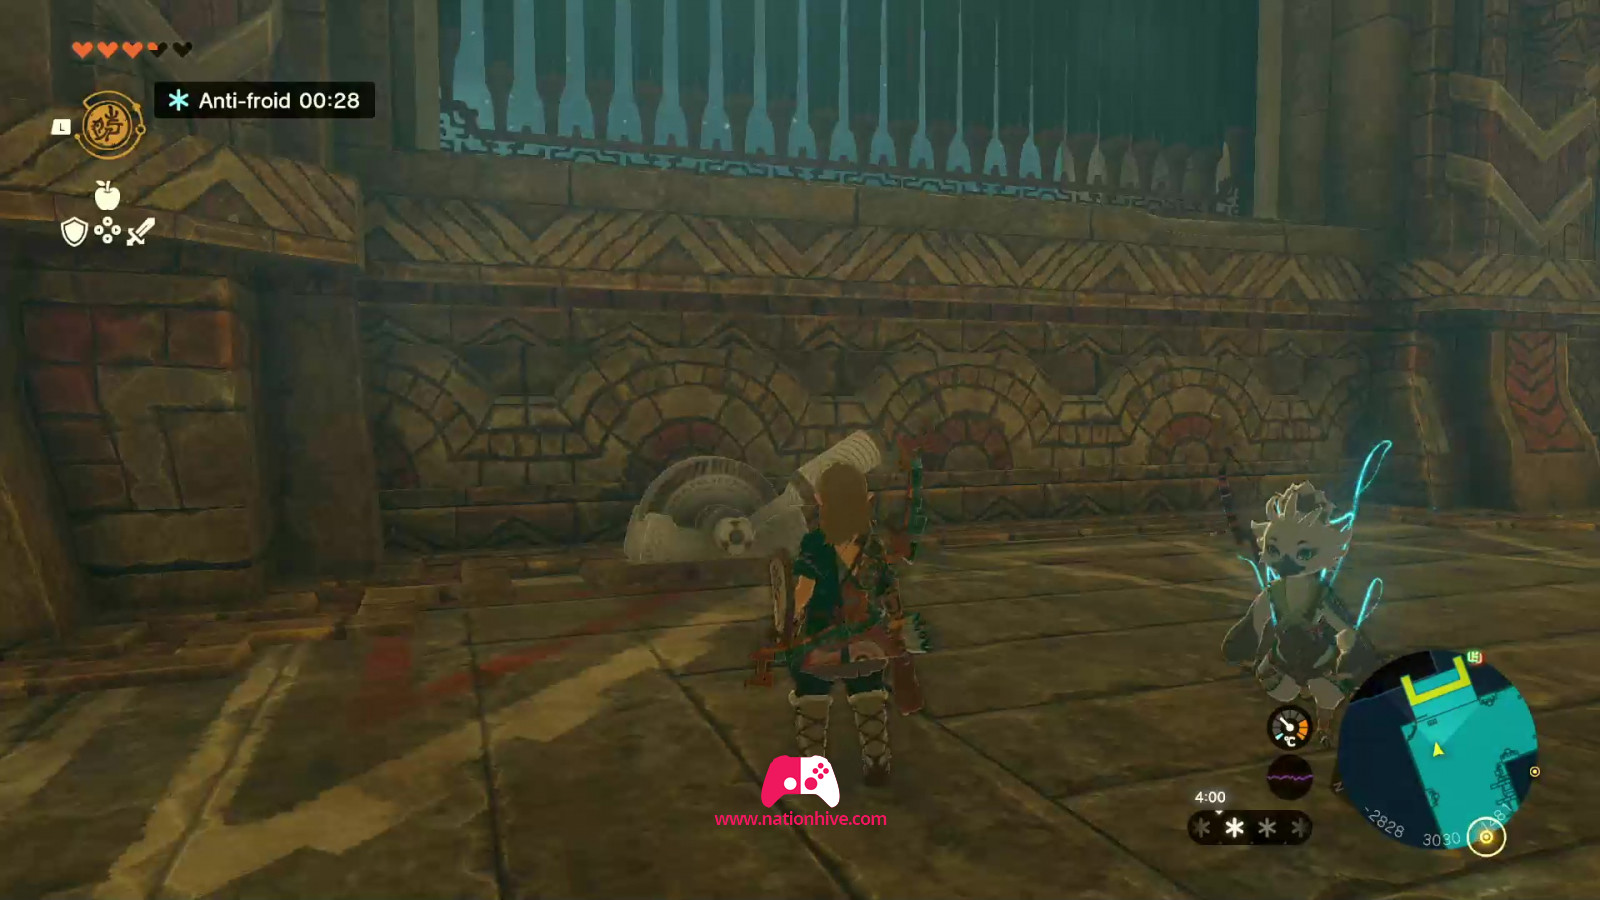
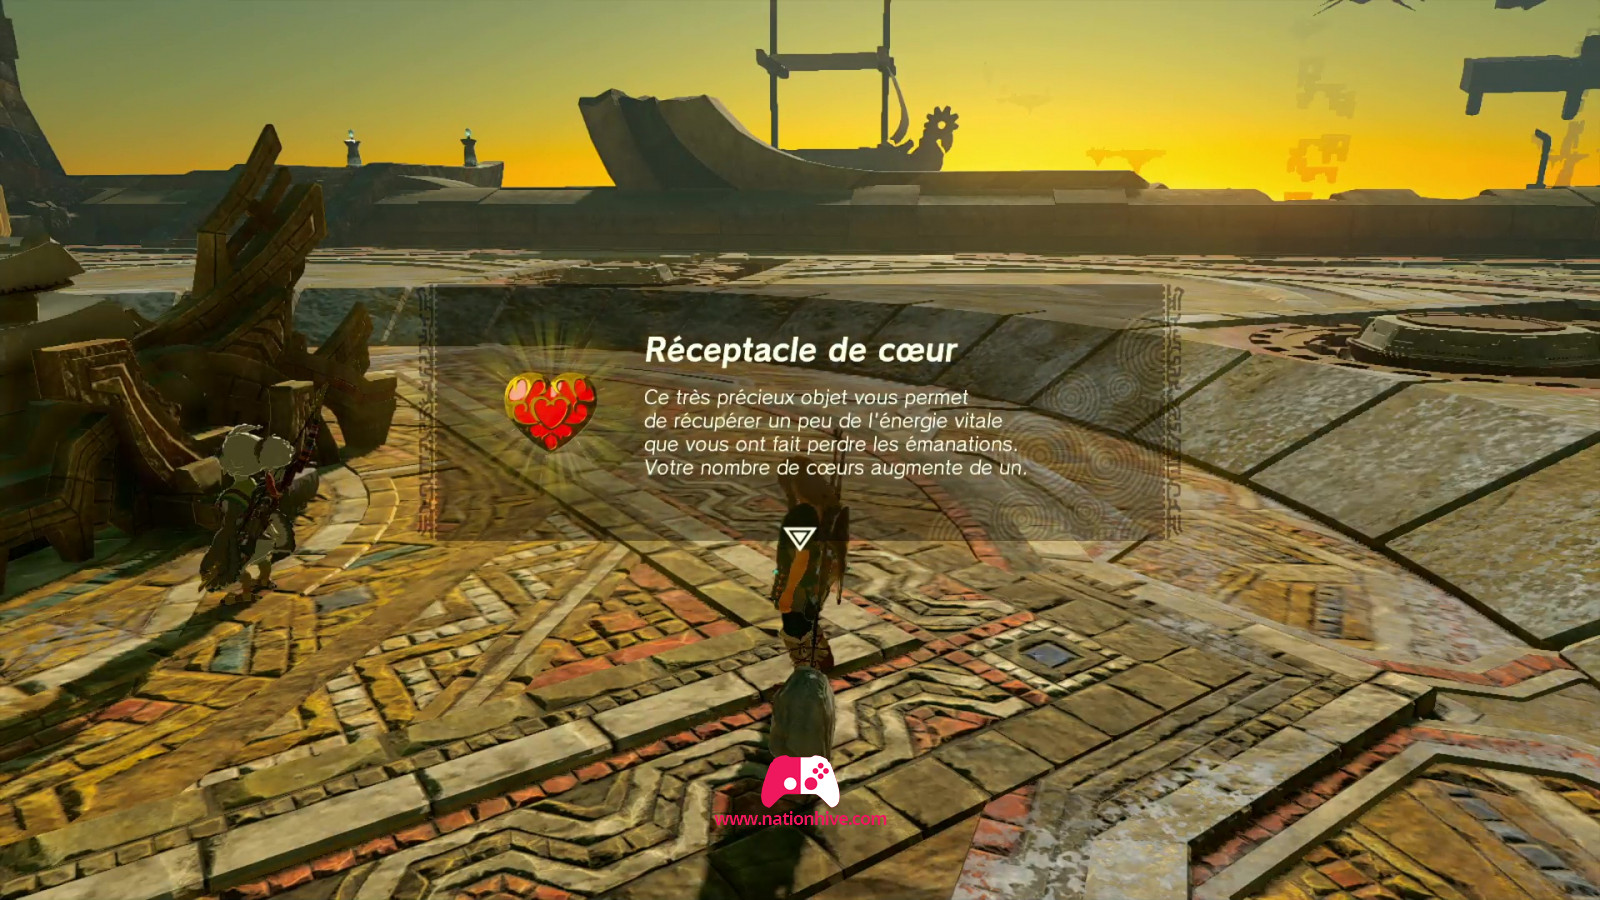
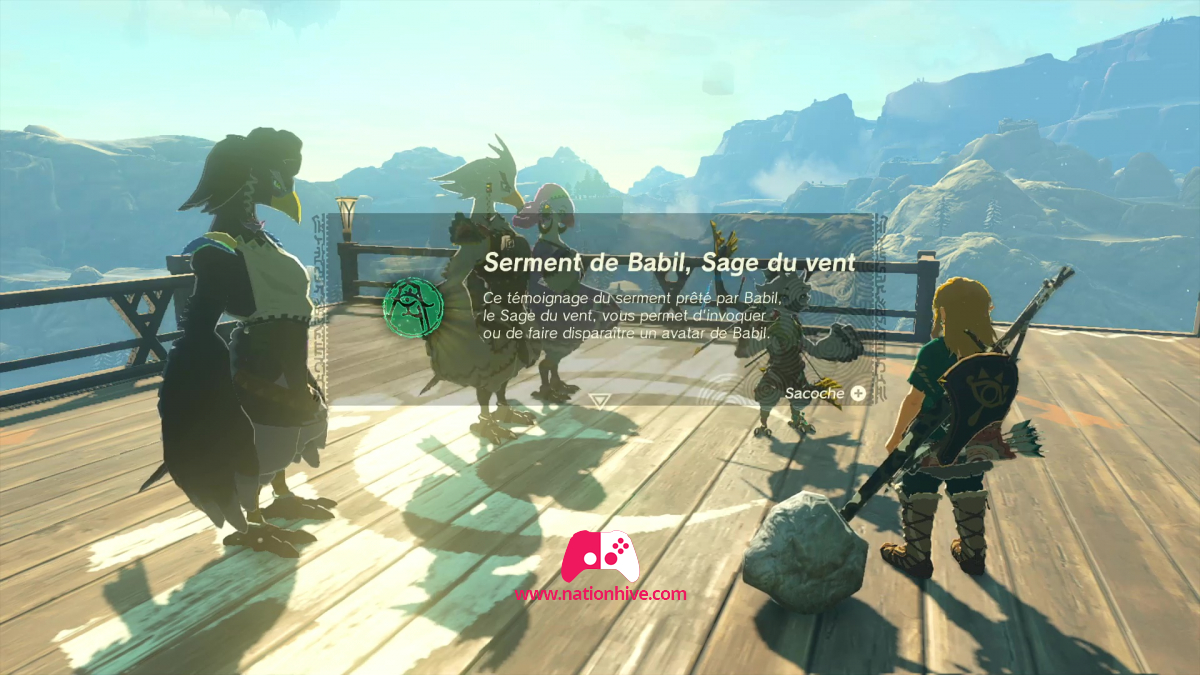
Once Colgera has been defeated, you will receive a heart receptacle. Move on to Tulin to see what's in front of you. A cinematic sequence appears in which Tulin receives a stone from his ancestor, the Sage of the Wind. Tulin will accept the stone and vow to fight by your side.
You will now be able to use Tulin's ability wherever you are, which will be very useful when you want to fly long distances. The snowstorm that hit the Hebra mountains has also disappeared. You can now freely explore this area without having to consume food to gain resistance to the cold.
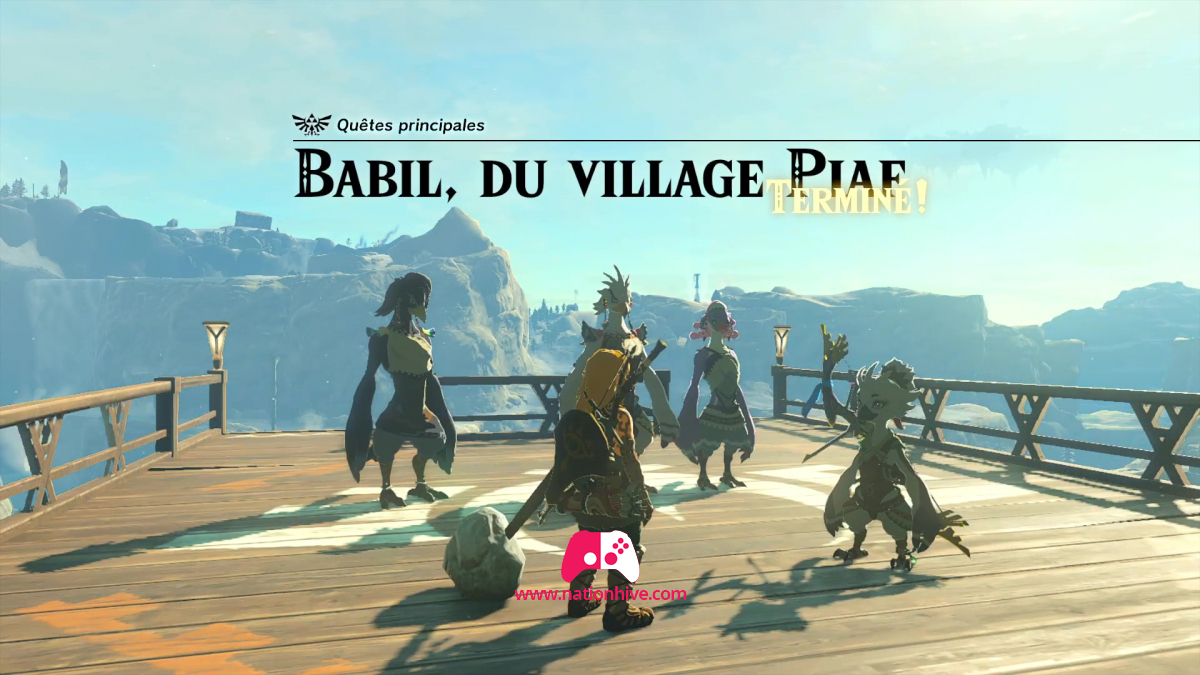
And so the main quest: The Wind Temple (Tulin of Rito Village) comes to an end, making way for your next main quest in Zelda: Tears of the Kingdom: The Deep Temple.
The items you are able to receive by opening the chests:
- Corporal's spear (melt the ice block with fire to find the chest).
- Reinforced Construct Bow and 5 wooden Arrows (melt ice block with fire).
- Large soldier's blade (located opposite lock room #1, in the 1st basement).
- Opal (use Ultrahand to lift the lever on the left of the grid).
- Time Bomb and Portable Pots (near the entrance to Lock #3, melt the ice block just in front of the empty space with ice walls on either side).
- Ruby (At the entrance to lock #3, you'll see red laser beams to your left - avoid them to find the chest).
- Lieutenant's blade (hidden under the oval pillars near the windmill in the steps to activate lock #3).
- Sapphire (at the entrance blocked by ice spikes where lock #4 is located, the safe is on the left, behind a barrier. You won't be able to get there physically. Use Ultrahand to glue pieces of ice together and aim the long stick at the small square in the middle of the gate to glue the stick to the chest and bring it back to you).