The Fire Temple
In this walkthrough for The Legend of Zelda: Tears of the Kingdom, we'll give you the complete tutorial for the main quest: The Fire Temple.
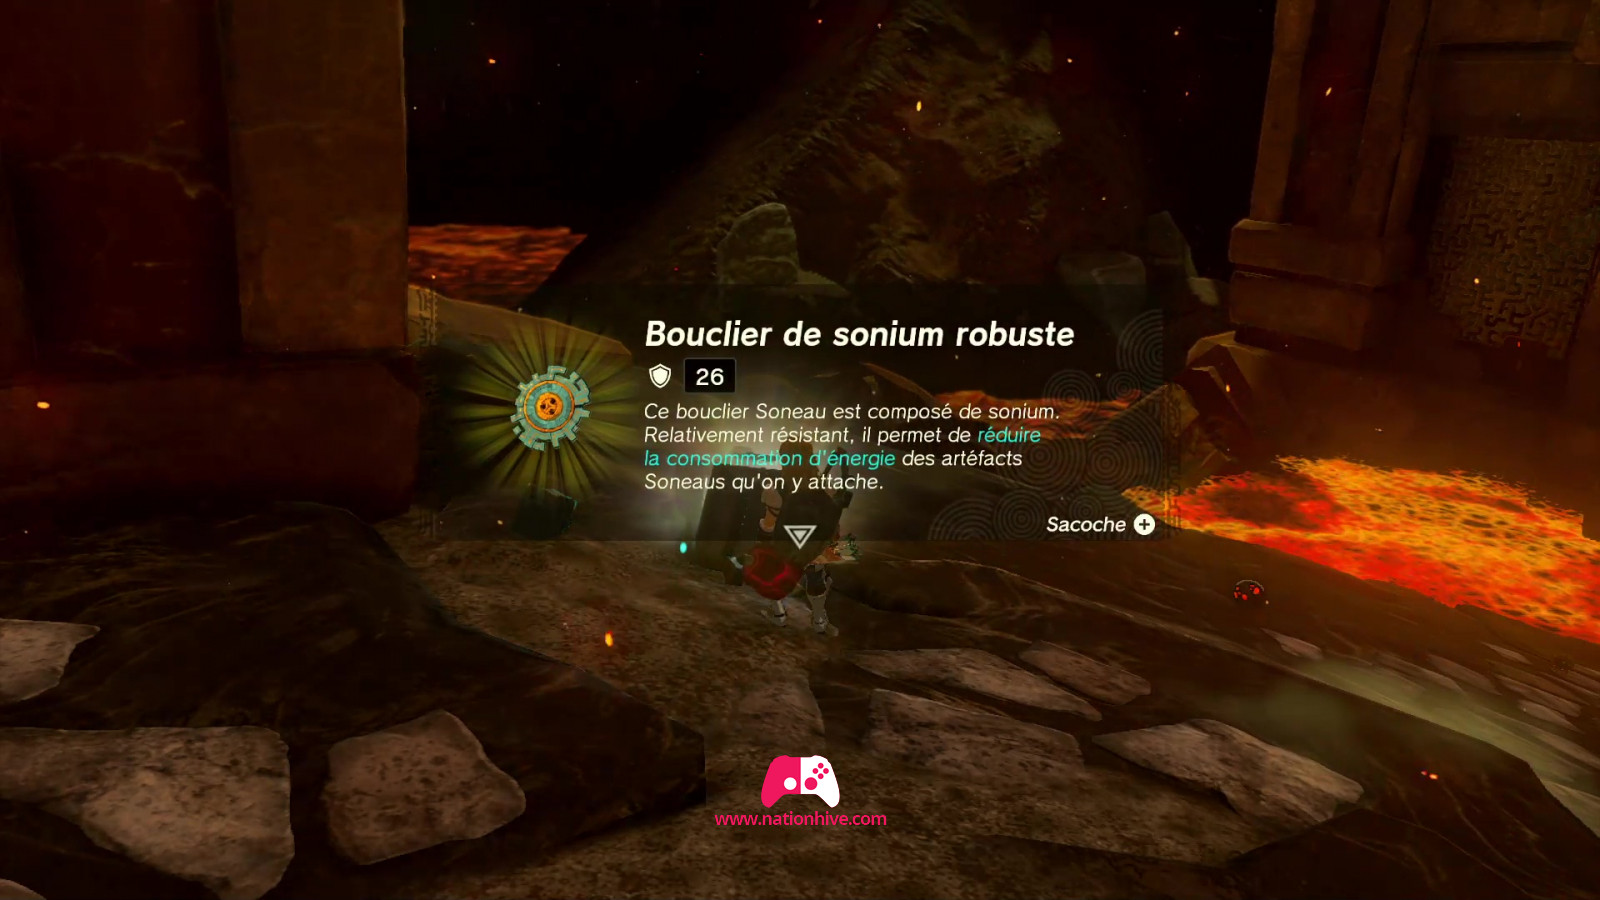
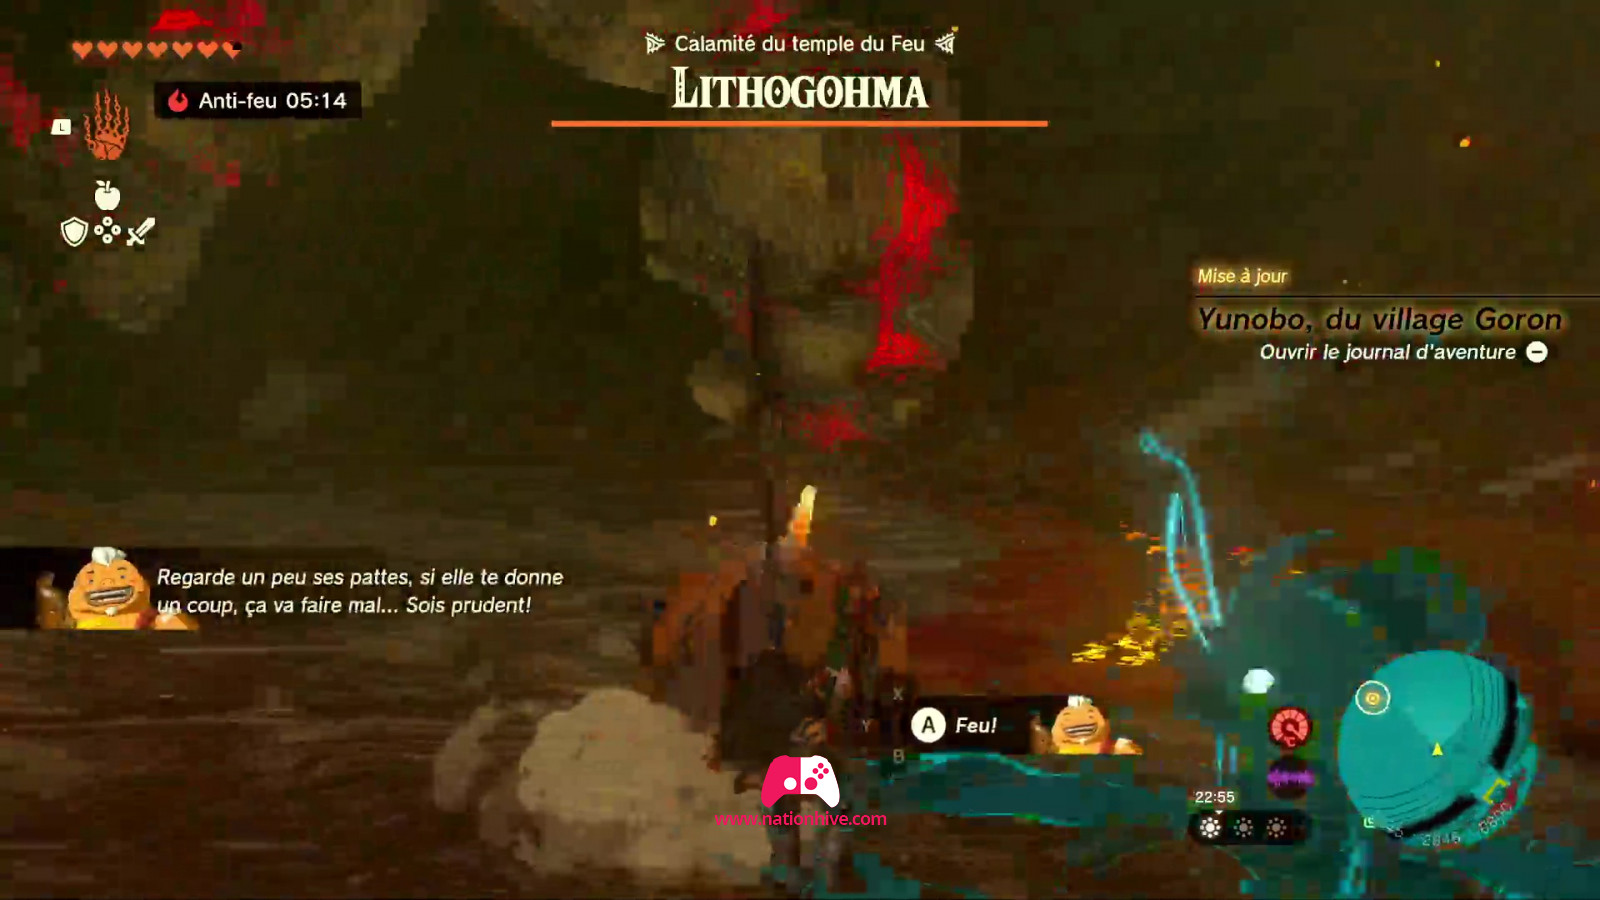
WARNING: It's important to be well-equipped with Fire Remedy, or to be well-equipped to resist fire, as the temperature in this zone is scorching hot. Also, stock up on food and dishes to keep your life bar full when facing the Marbled Gohma.
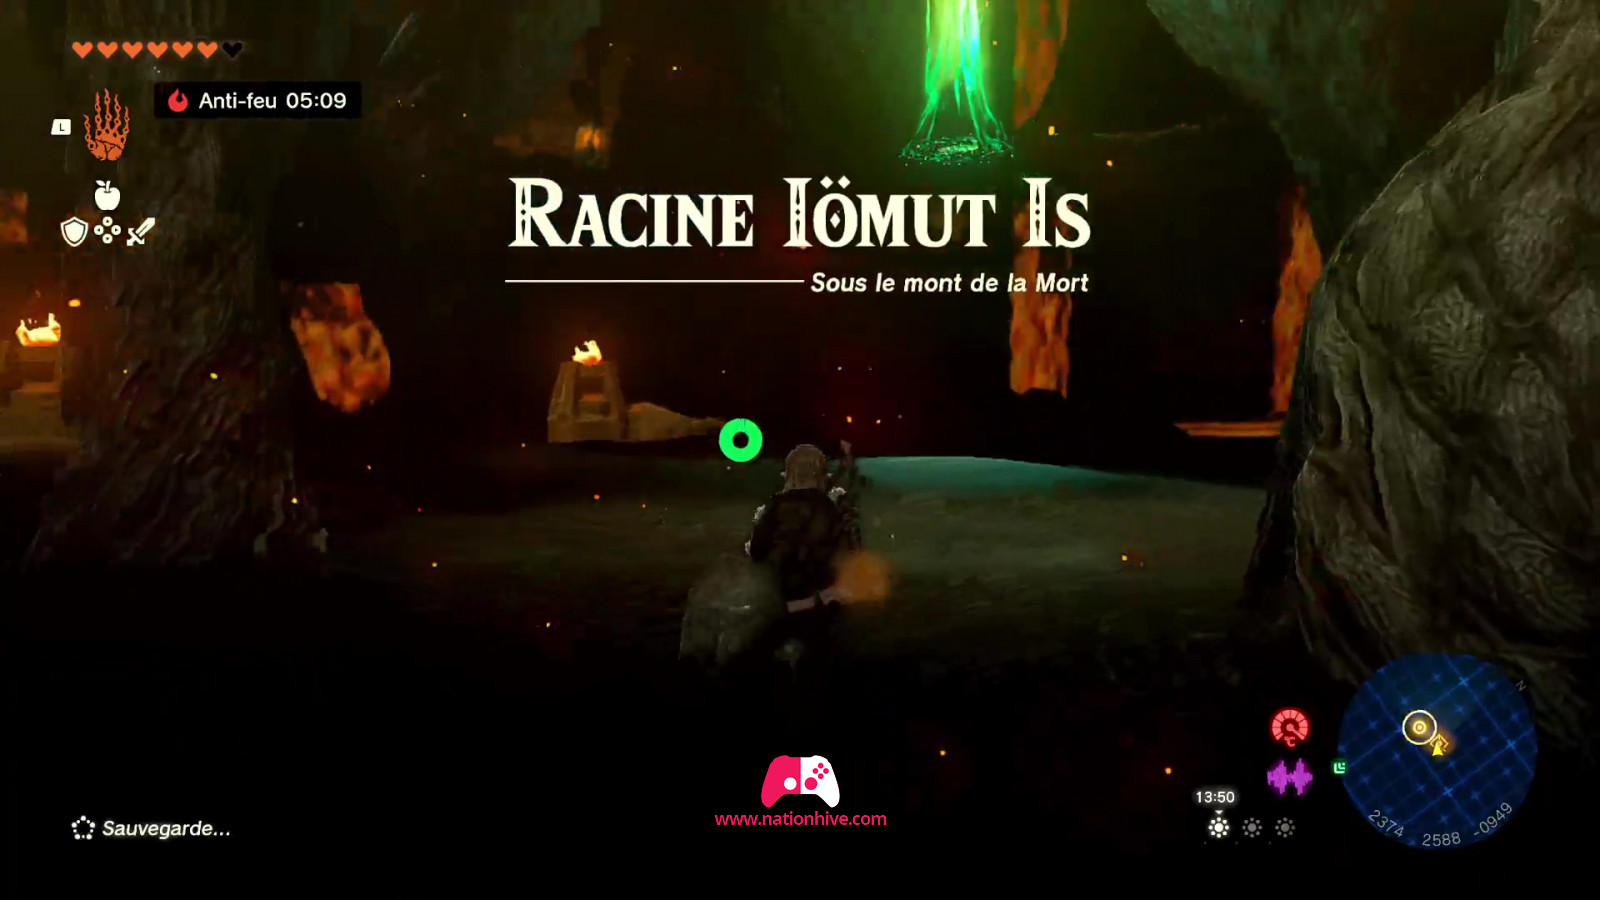
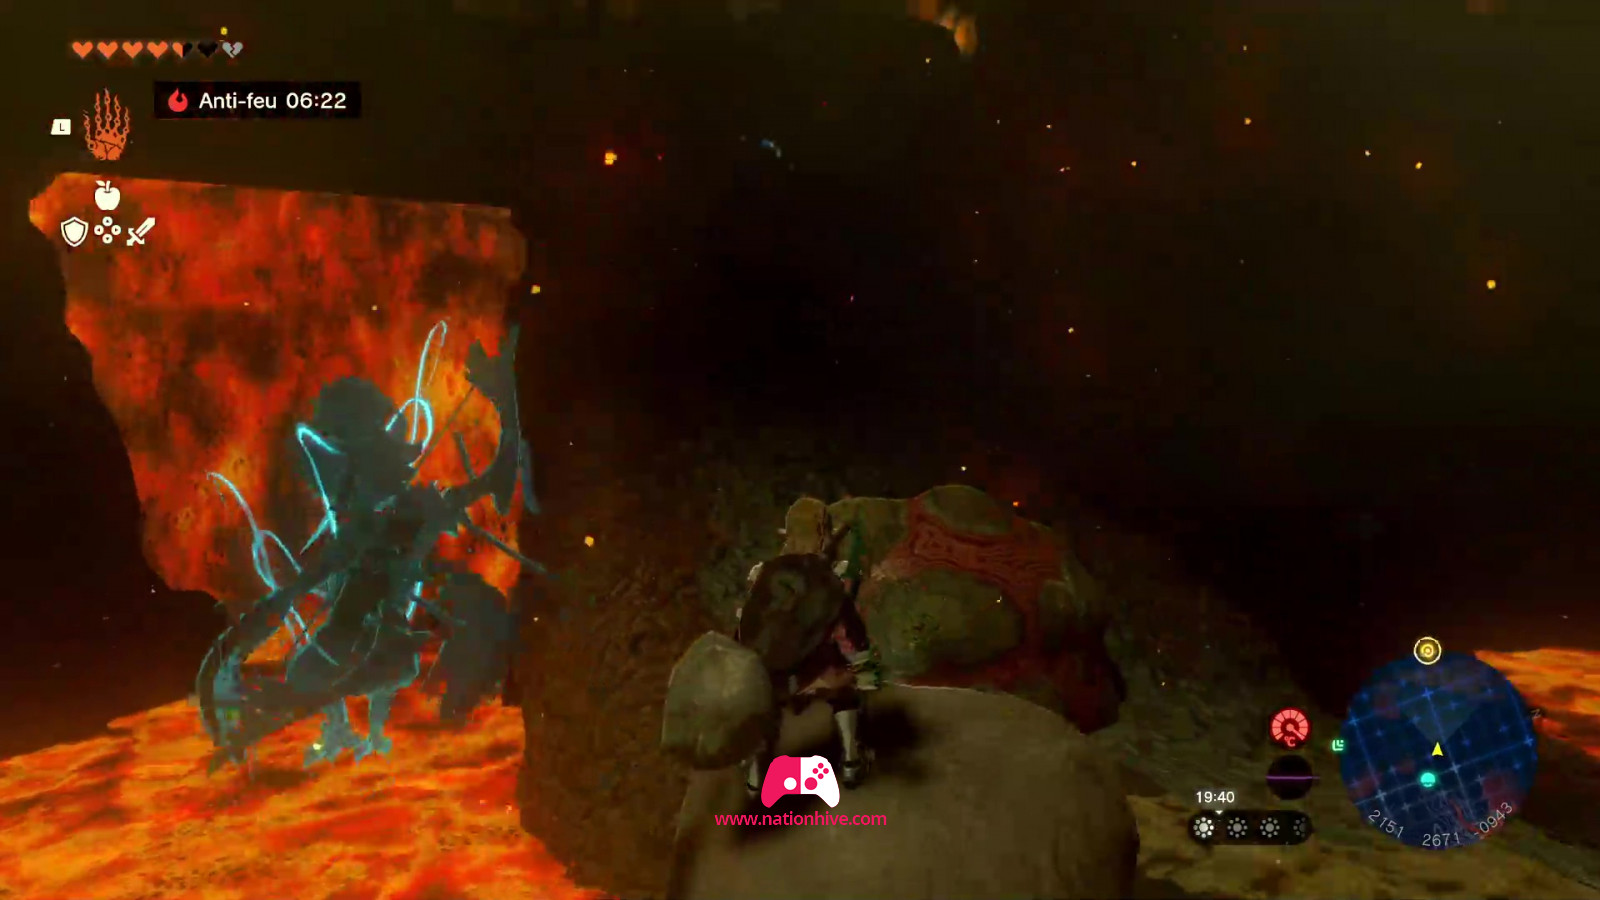
Jump into the Abyss of Death Mountain. You've landed in the depths. Start by activating the Iömut Is Root to light up the surrounding area, enabling you to teleport there next time. You can see the root as you descend from the abyss.
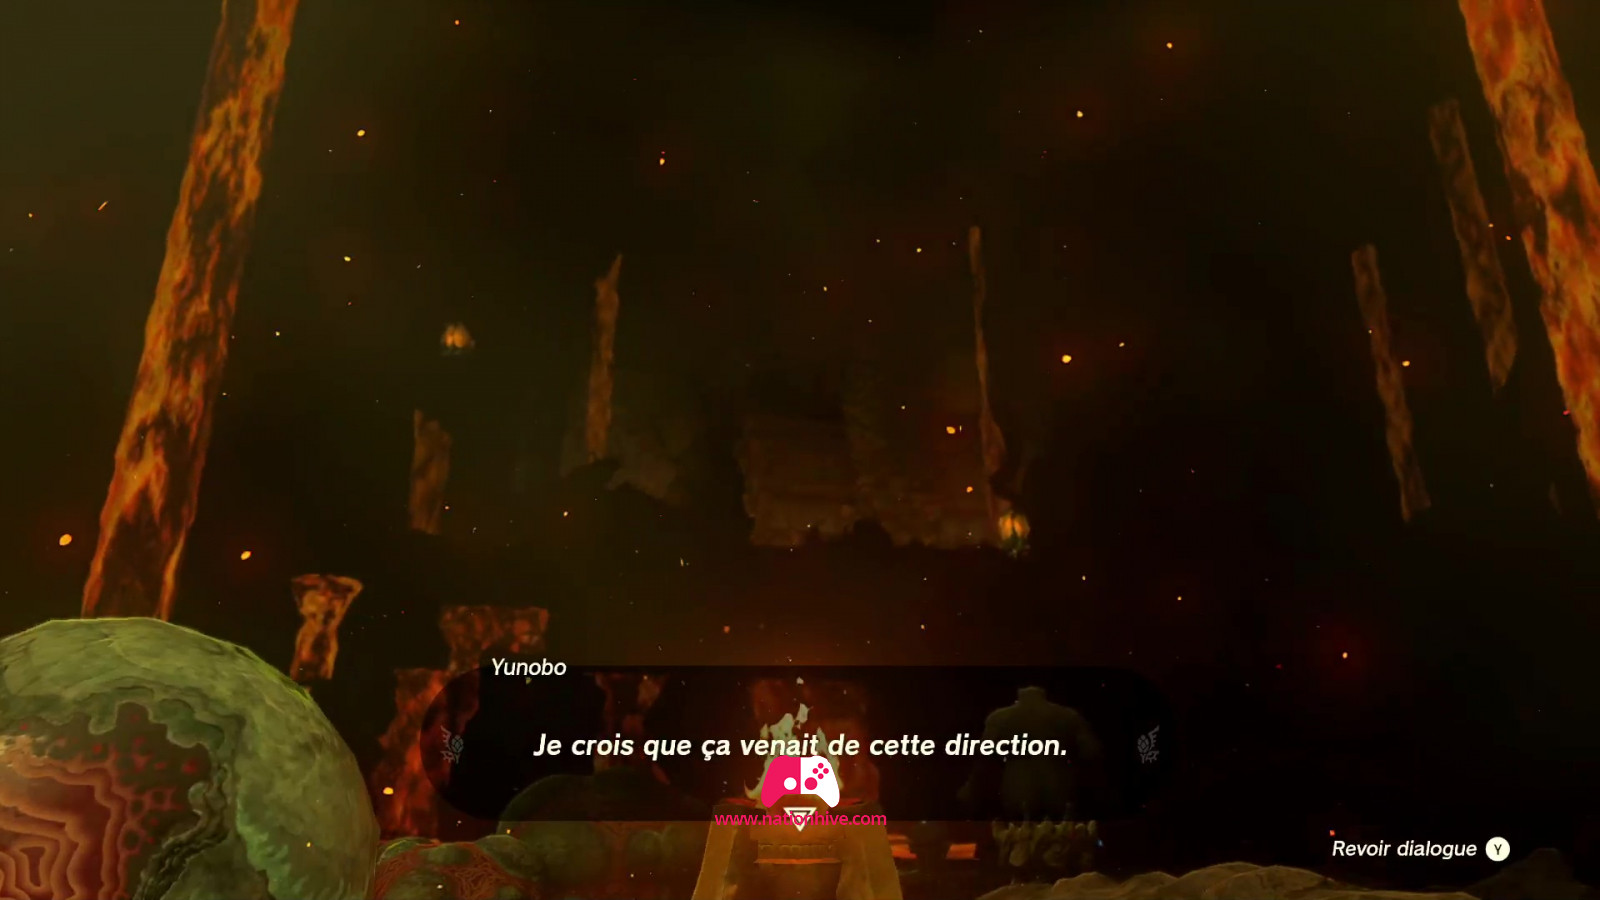
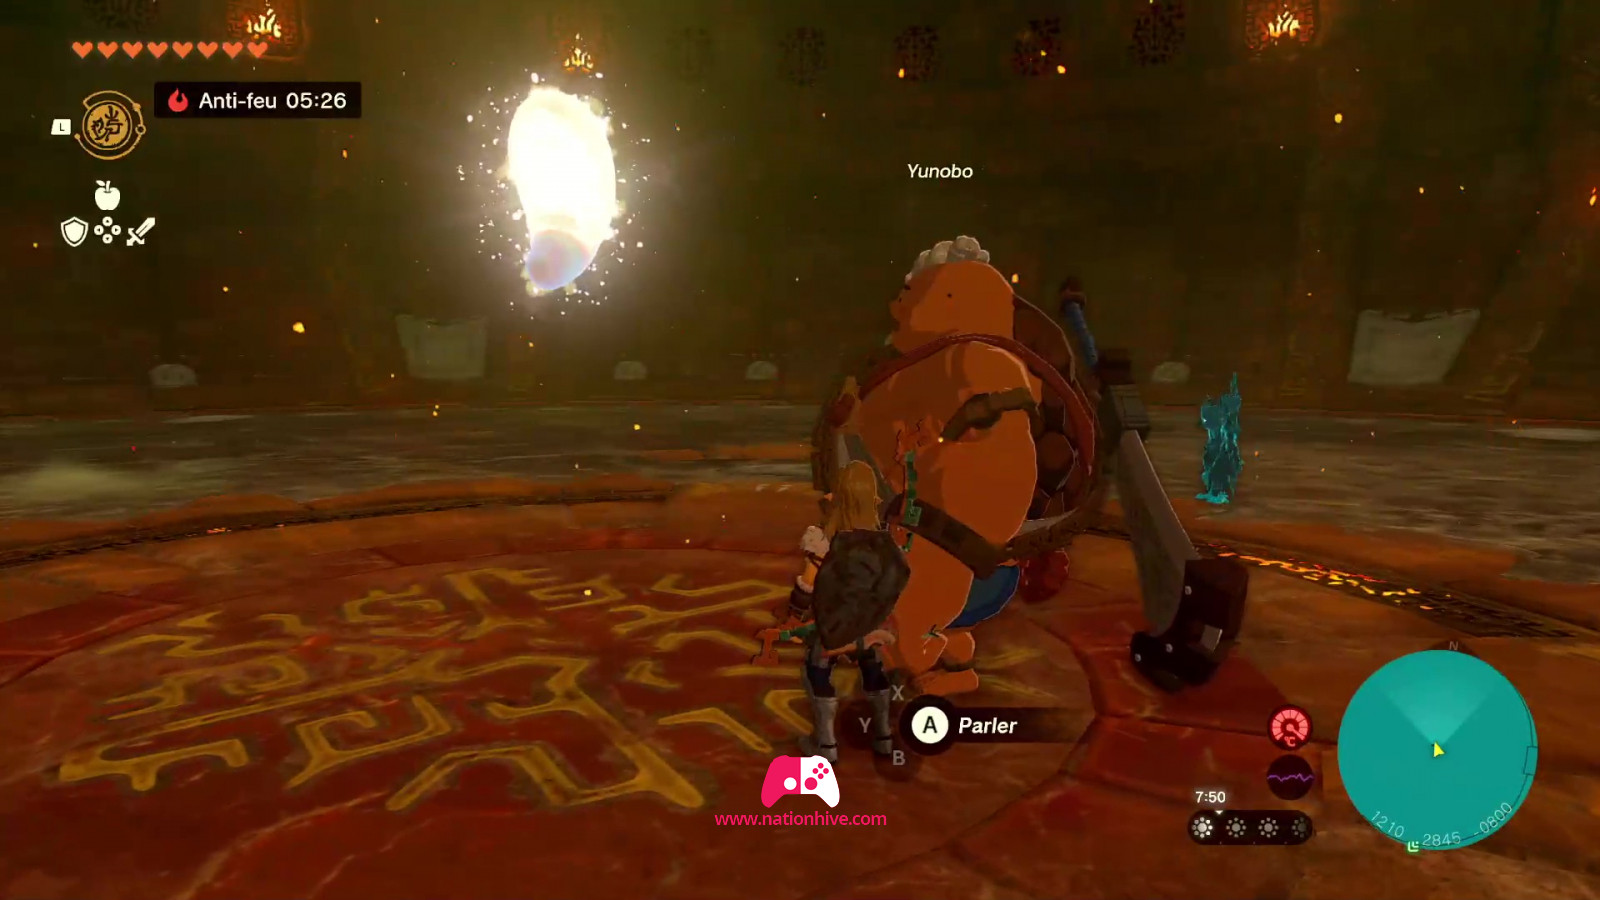
Then talk to Yunobo, who tells you he's spotted Princess Zelda in a certain direction. Follow the indicated direction and use Yunobo's ability to break the rocks to unlock the path. Head for the giant statues and collect resources along the way.
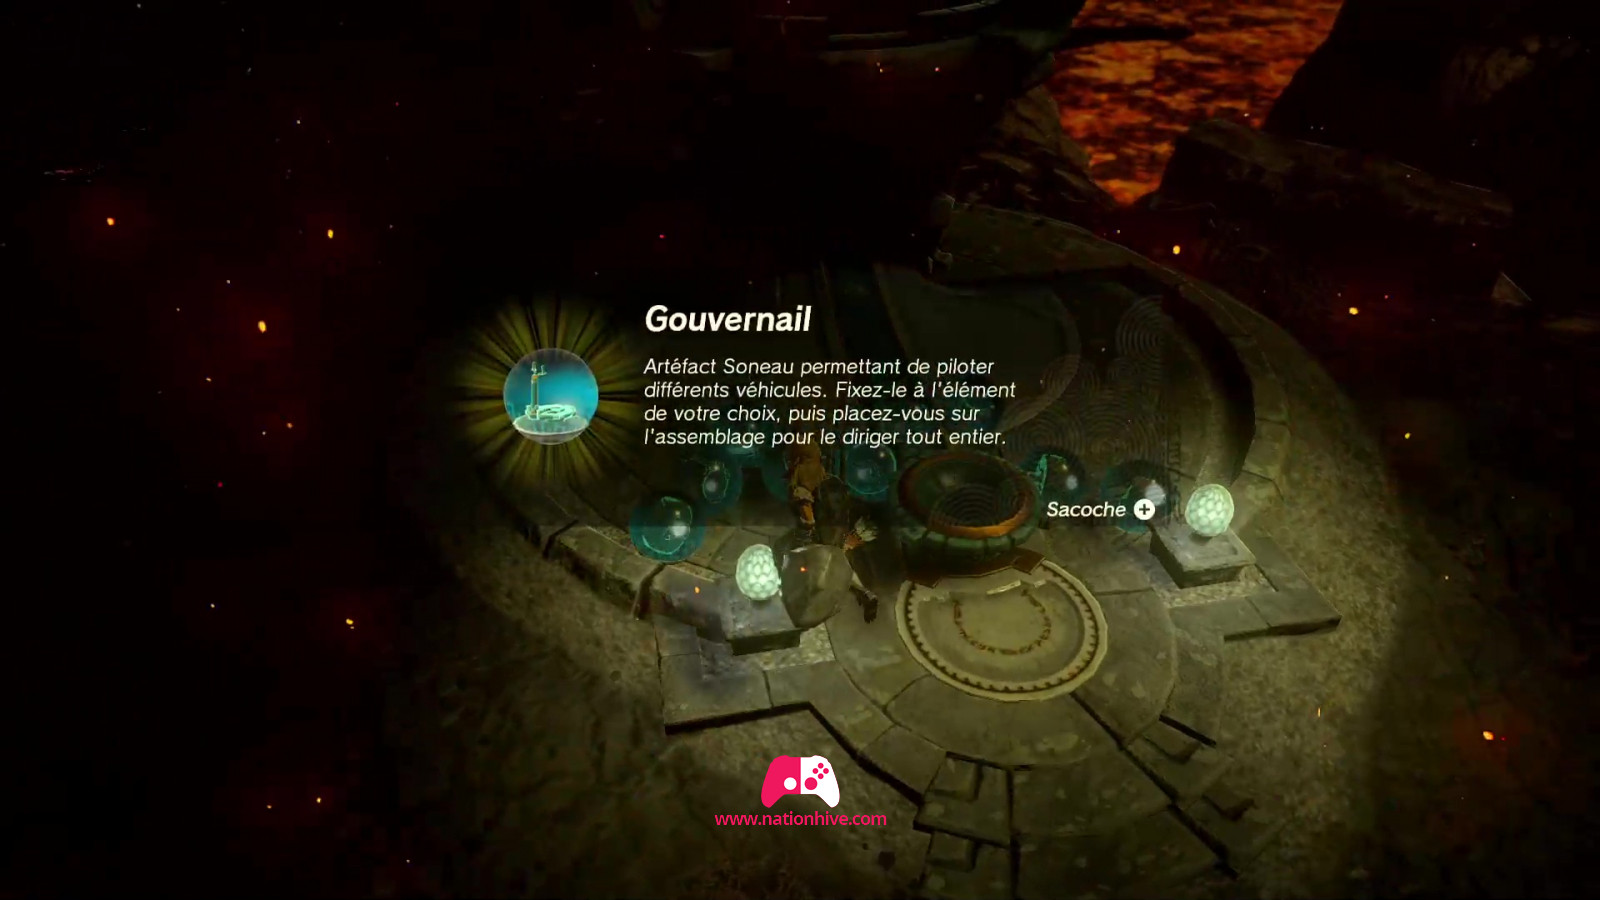
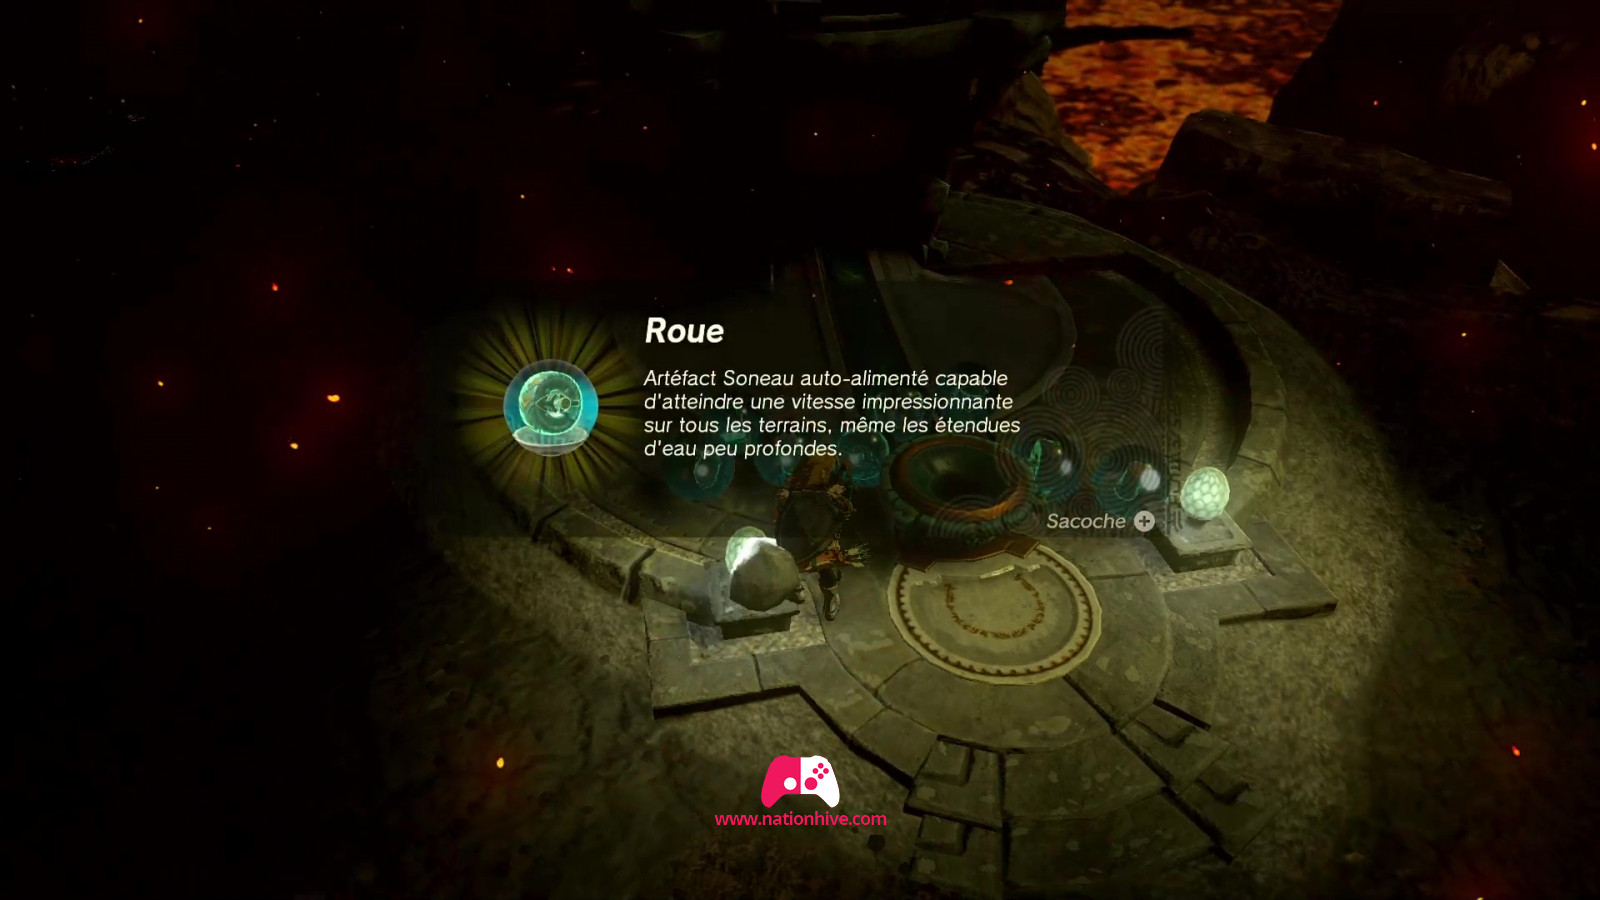
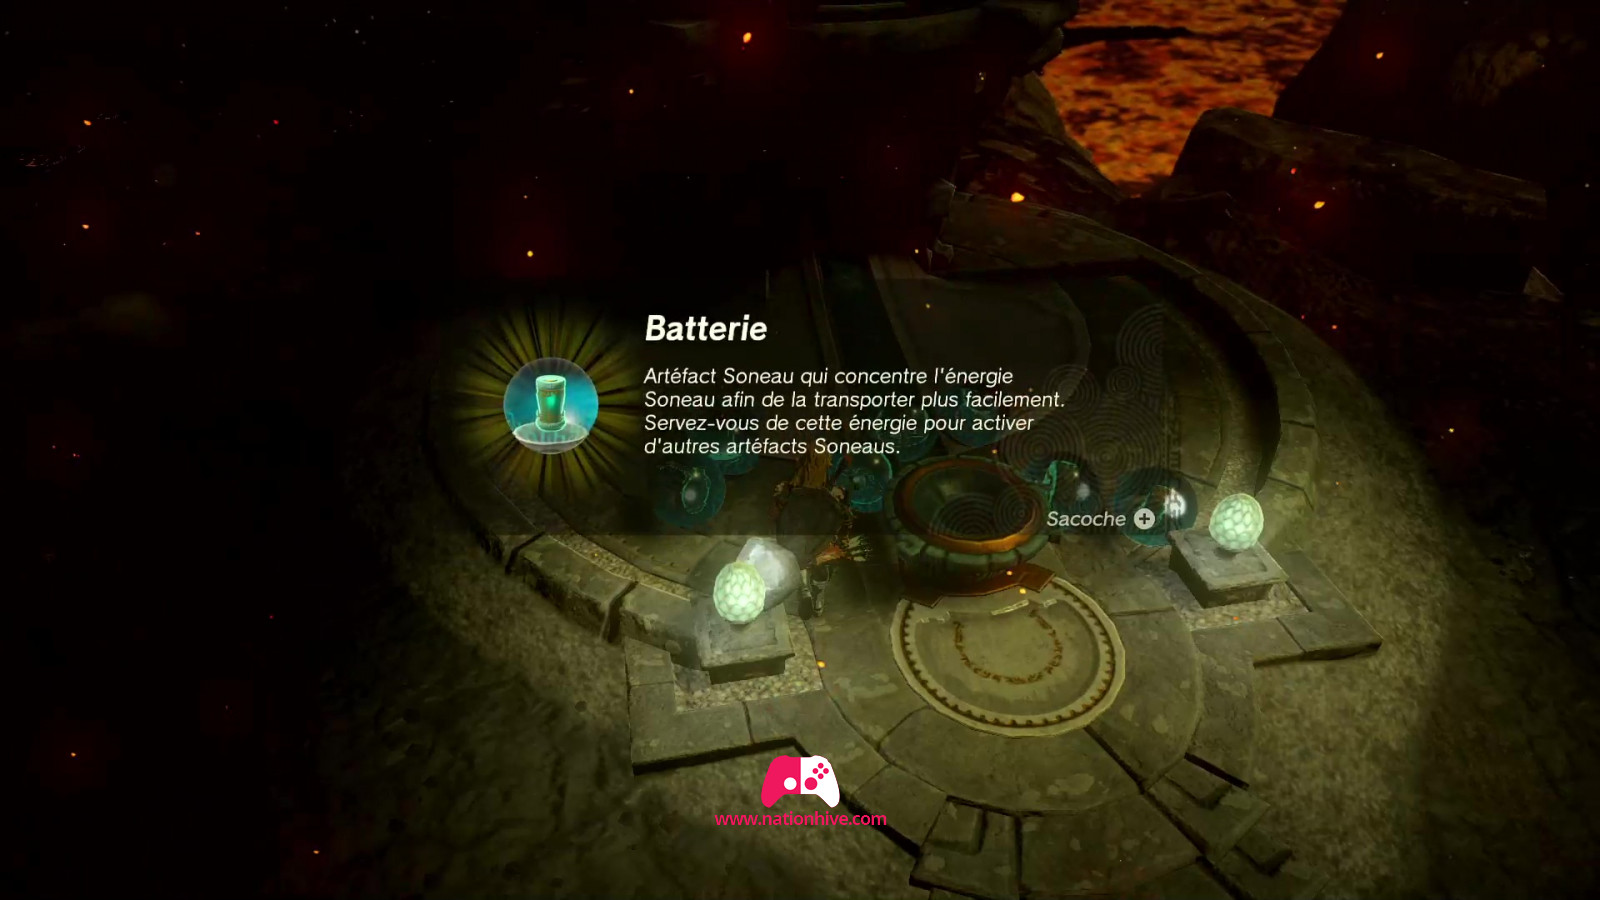
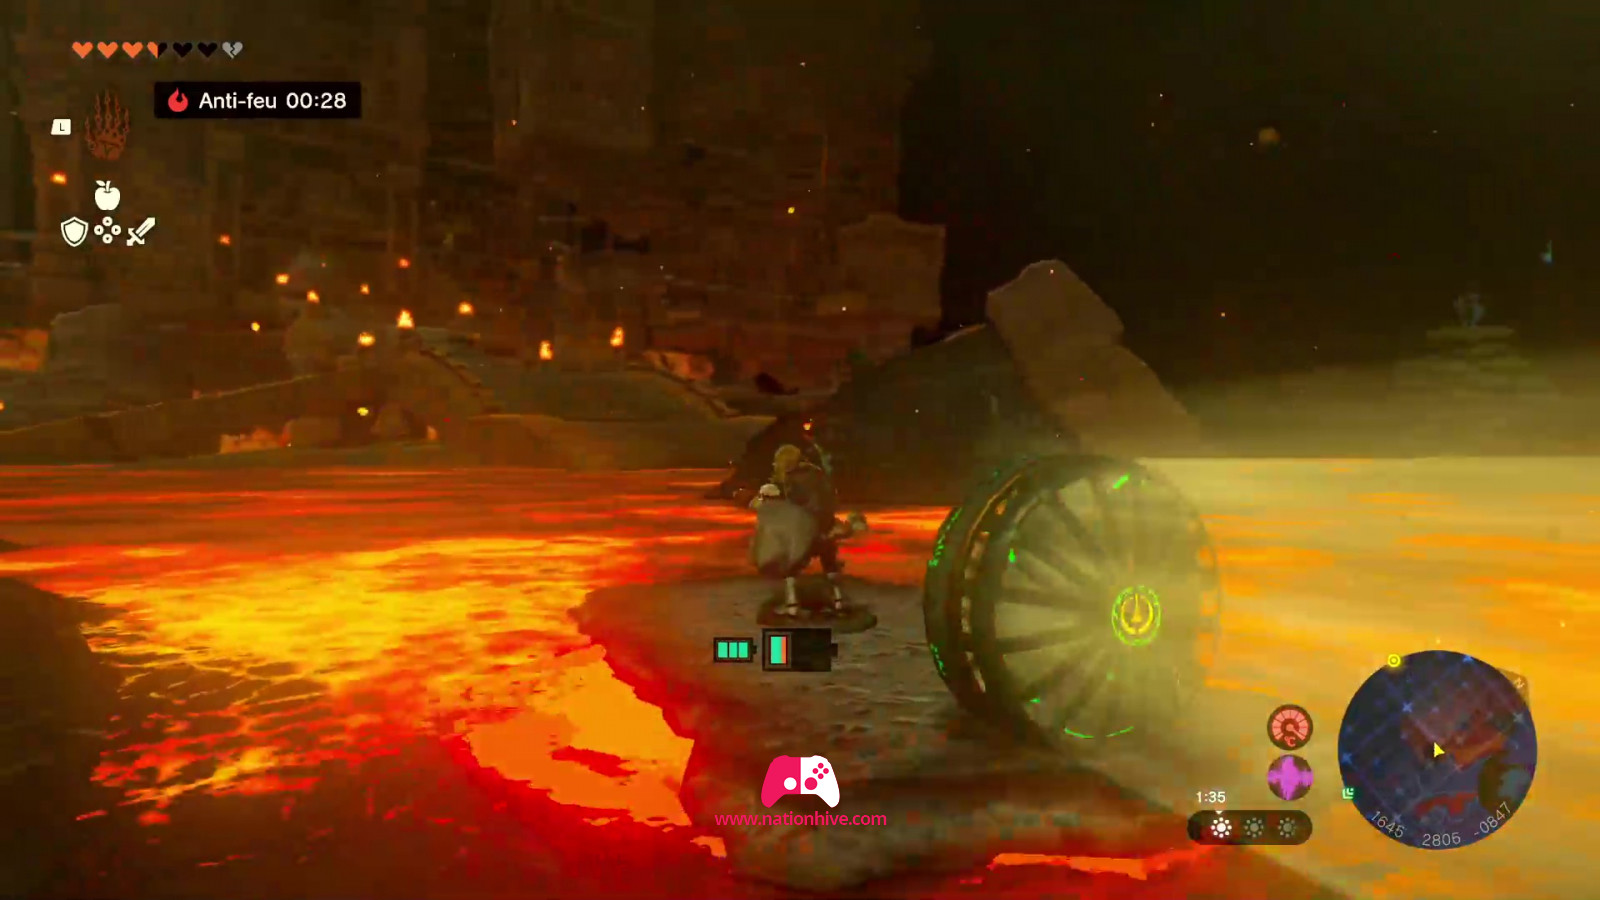
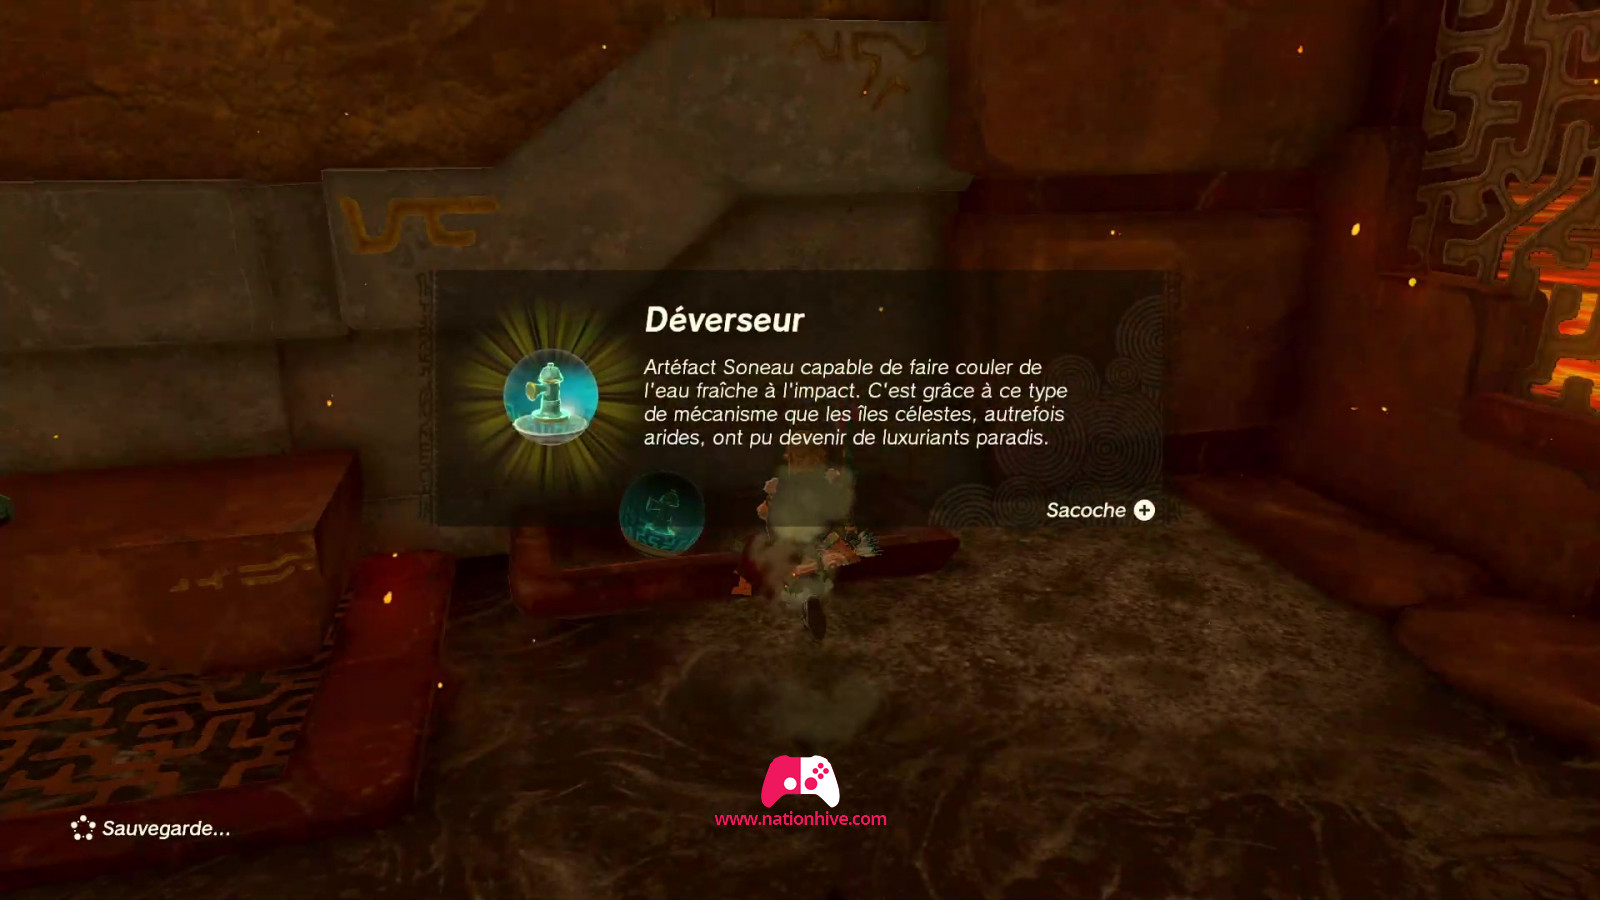
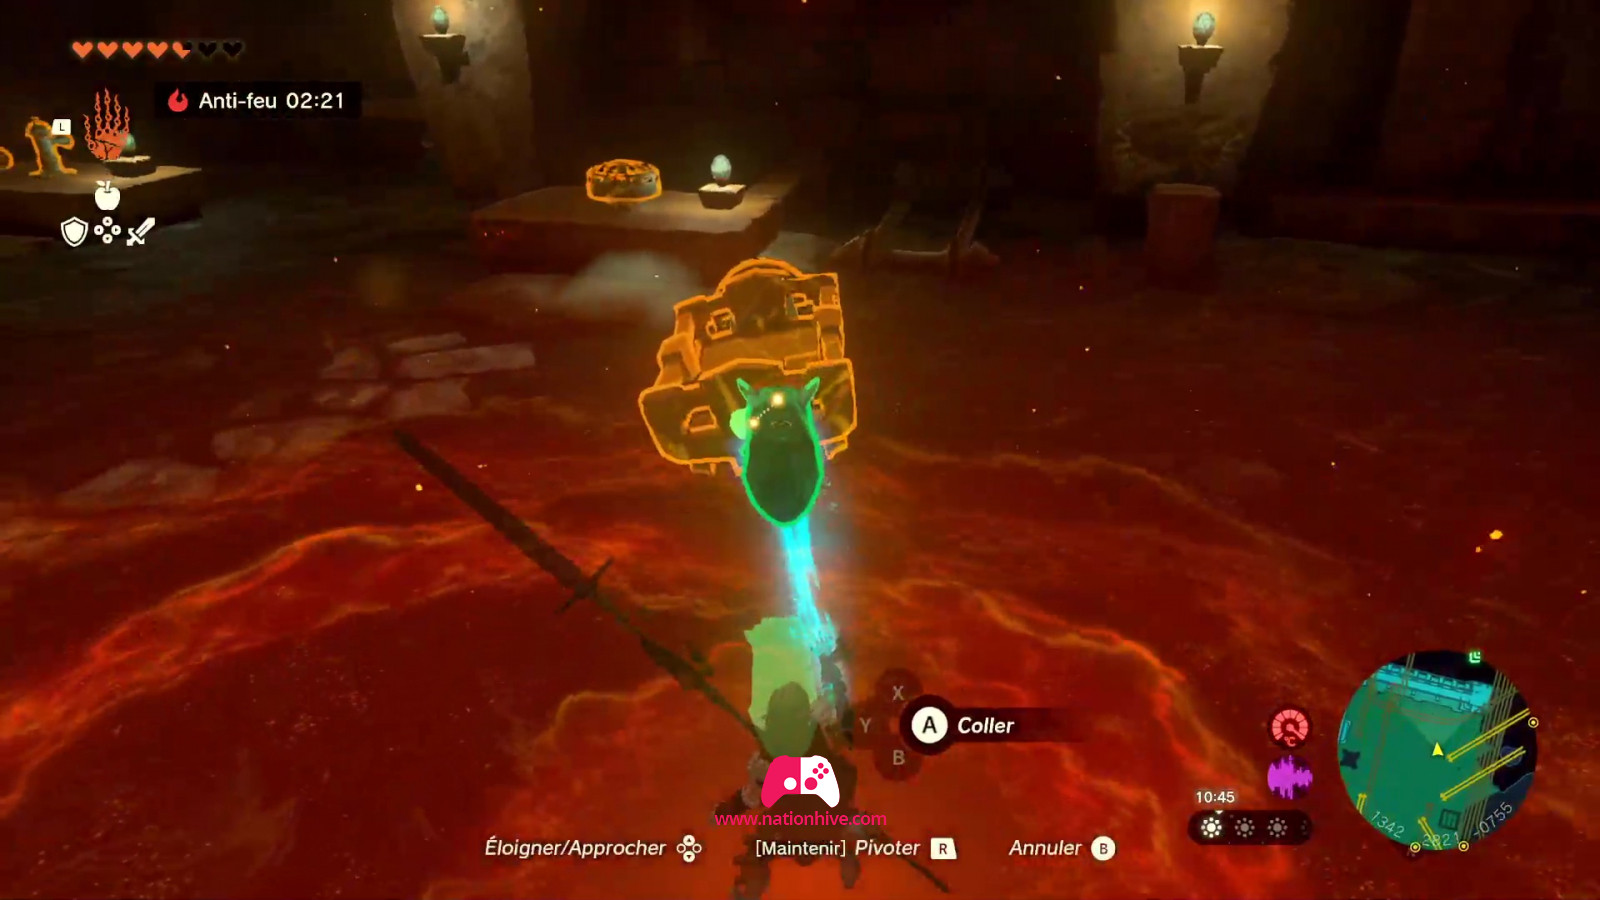
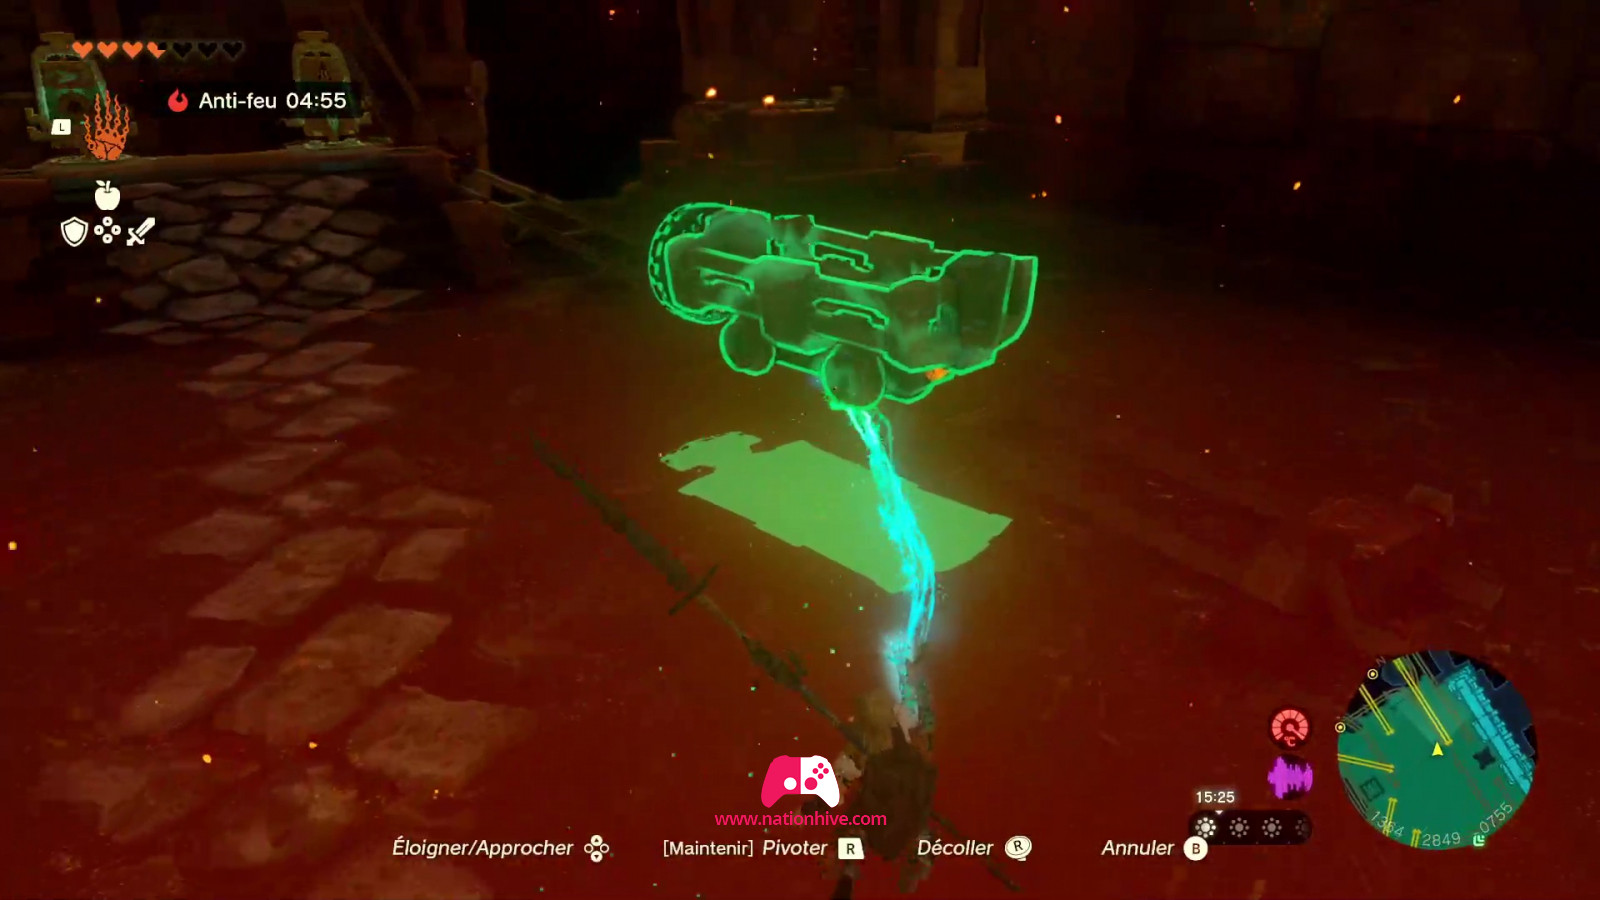
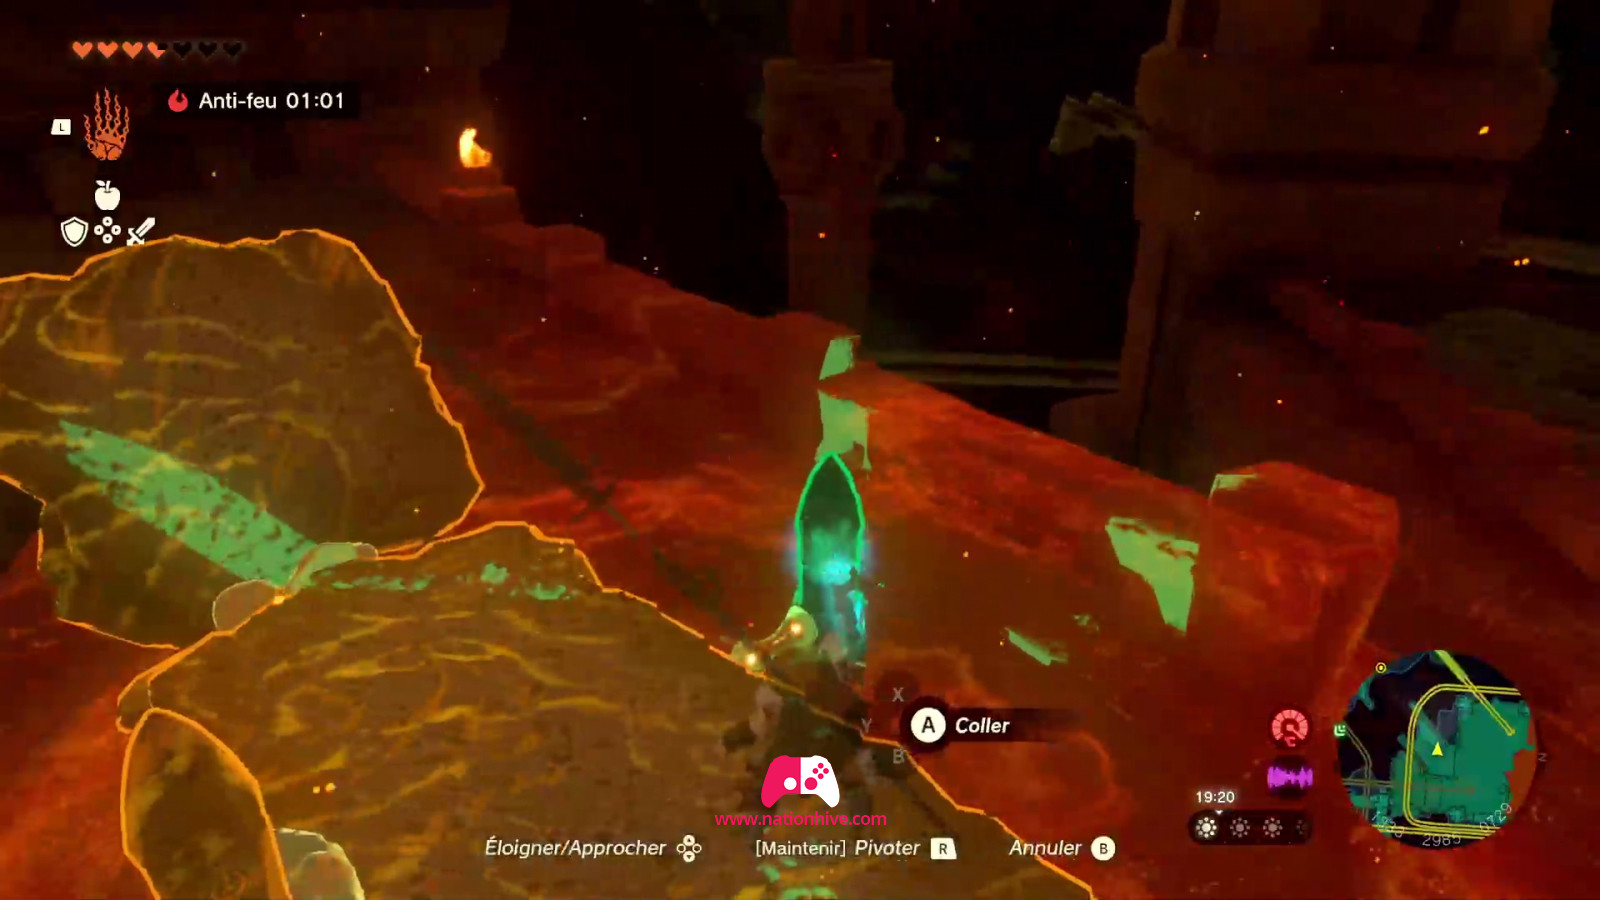
You'll also find a vehicle and Soneau artifacts. Use Ultrahand to glue a wheel onto the vehicle, which you can use as needed.


There's also a dispenser nearby. Drop Zonai charge Energy Orbs to receive different types of artifacts, including Guiding Sticks, Wheels, Energy Cells and more.
Head for the next statue to the north-west of the dispenser and break a boulder using Yunobo's ability, to be able to climb the small slope where lava falls.
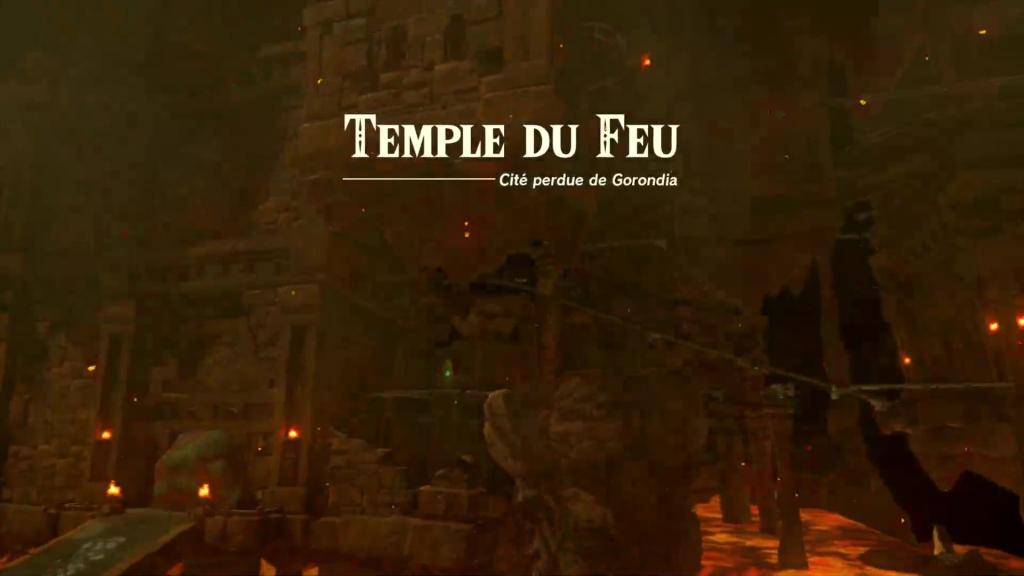
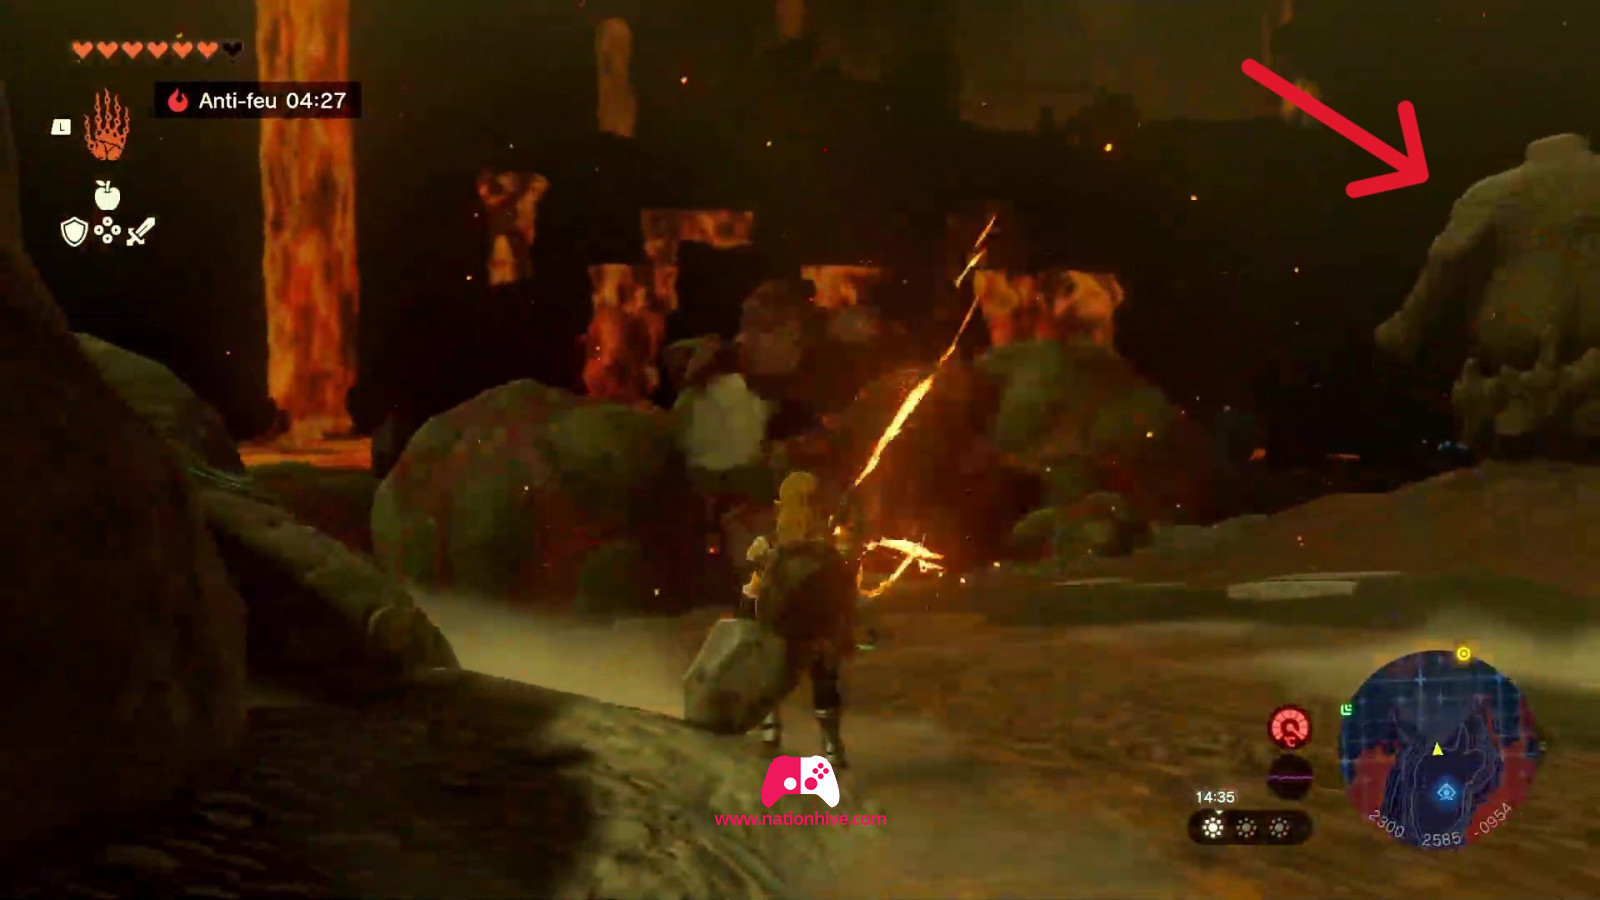
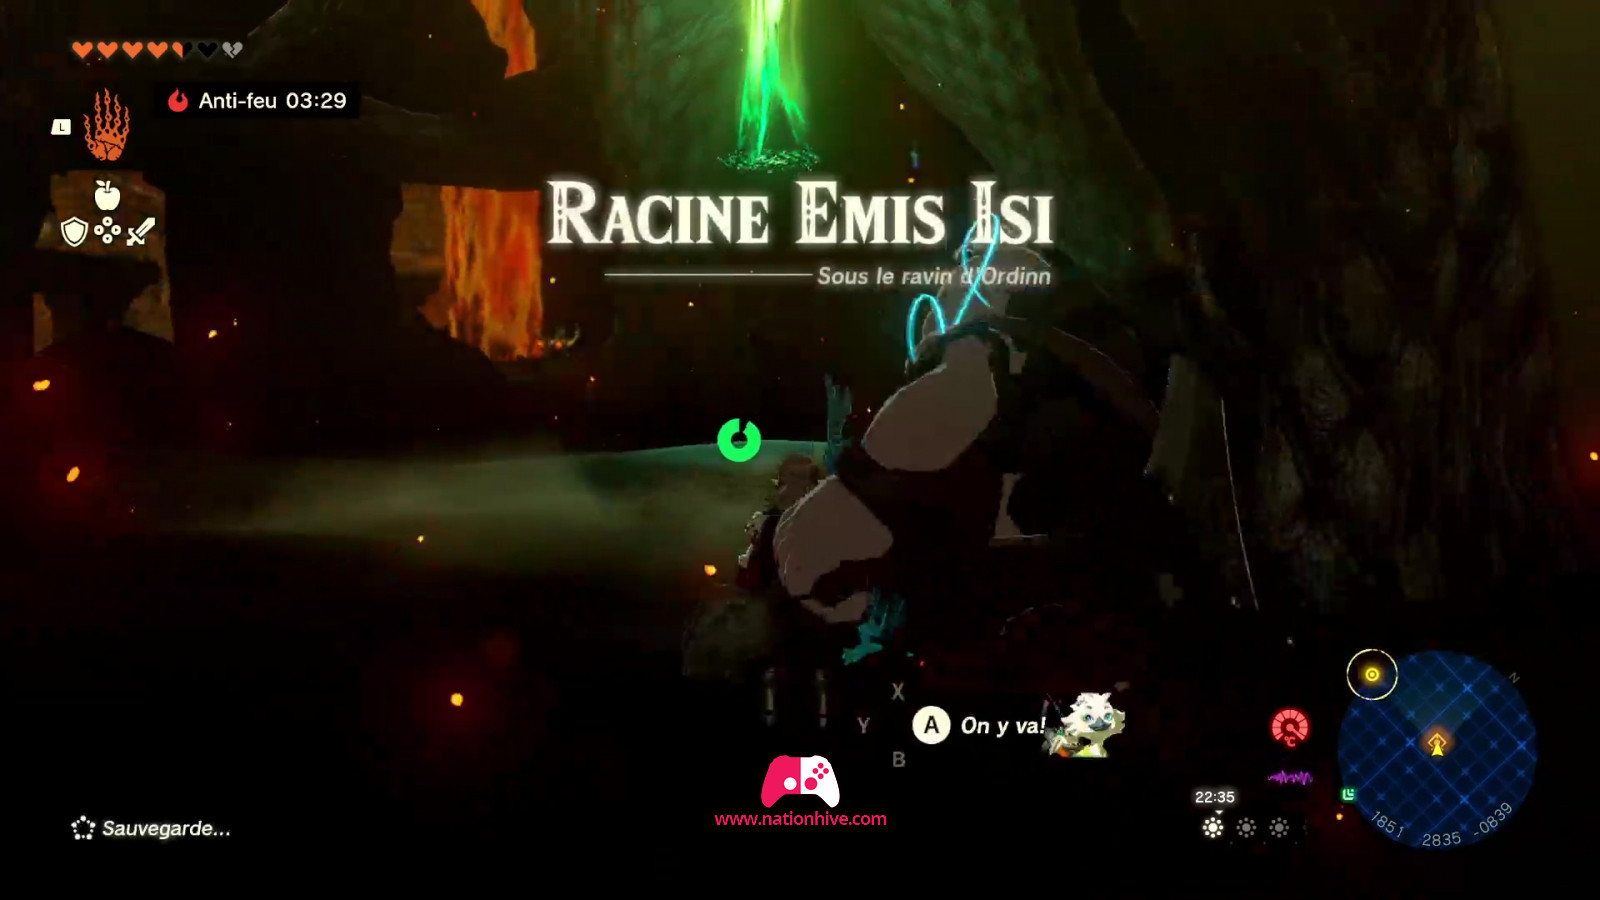
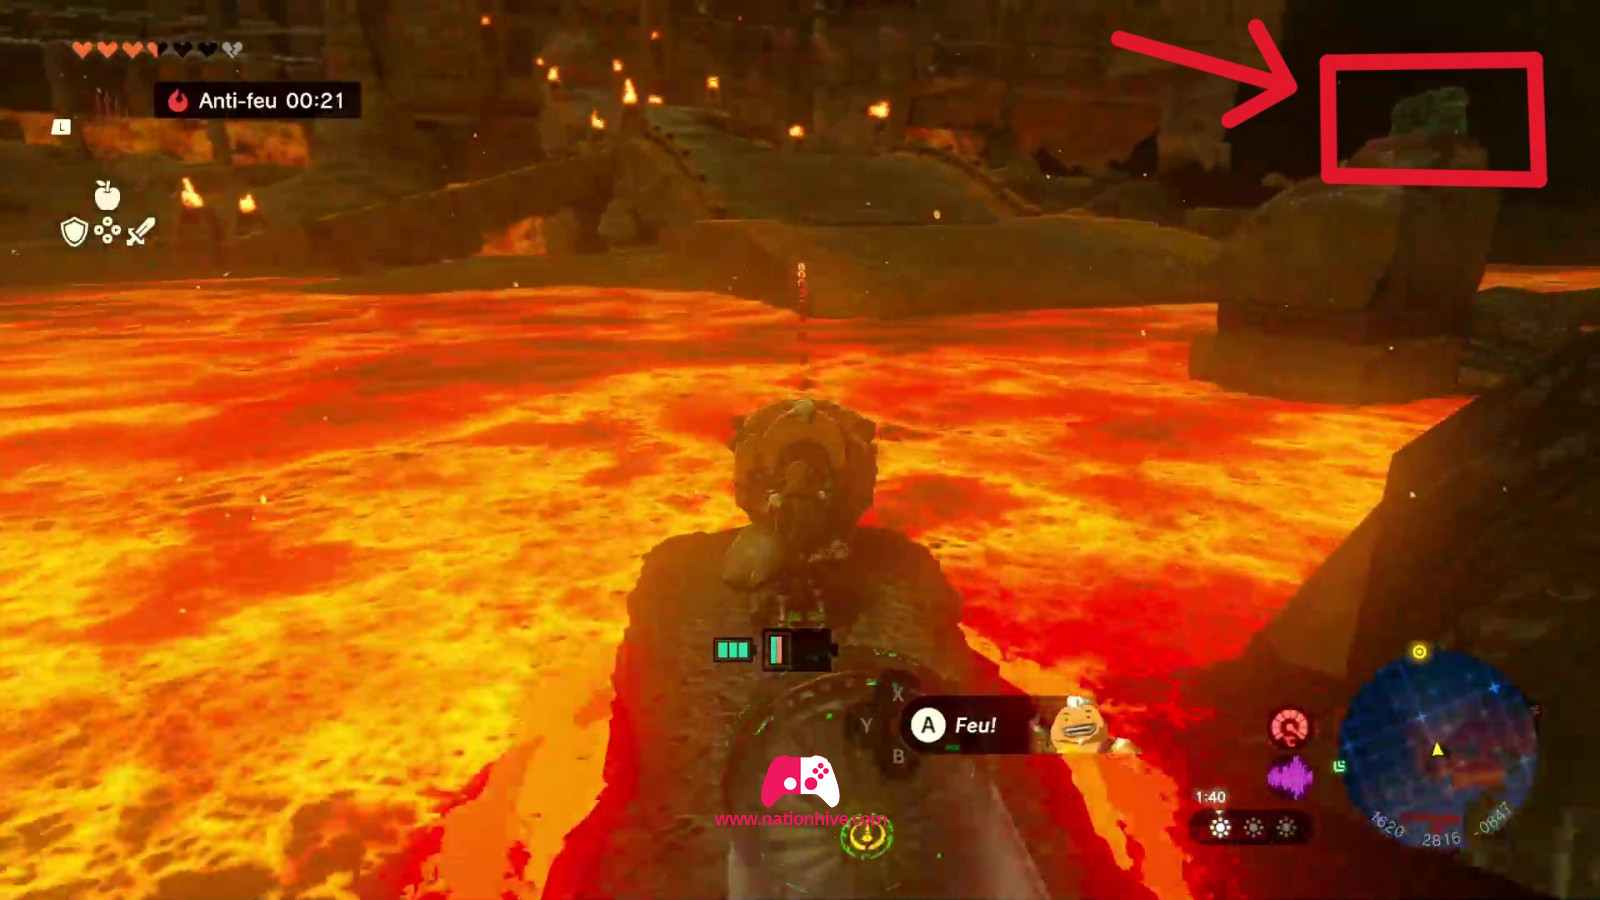
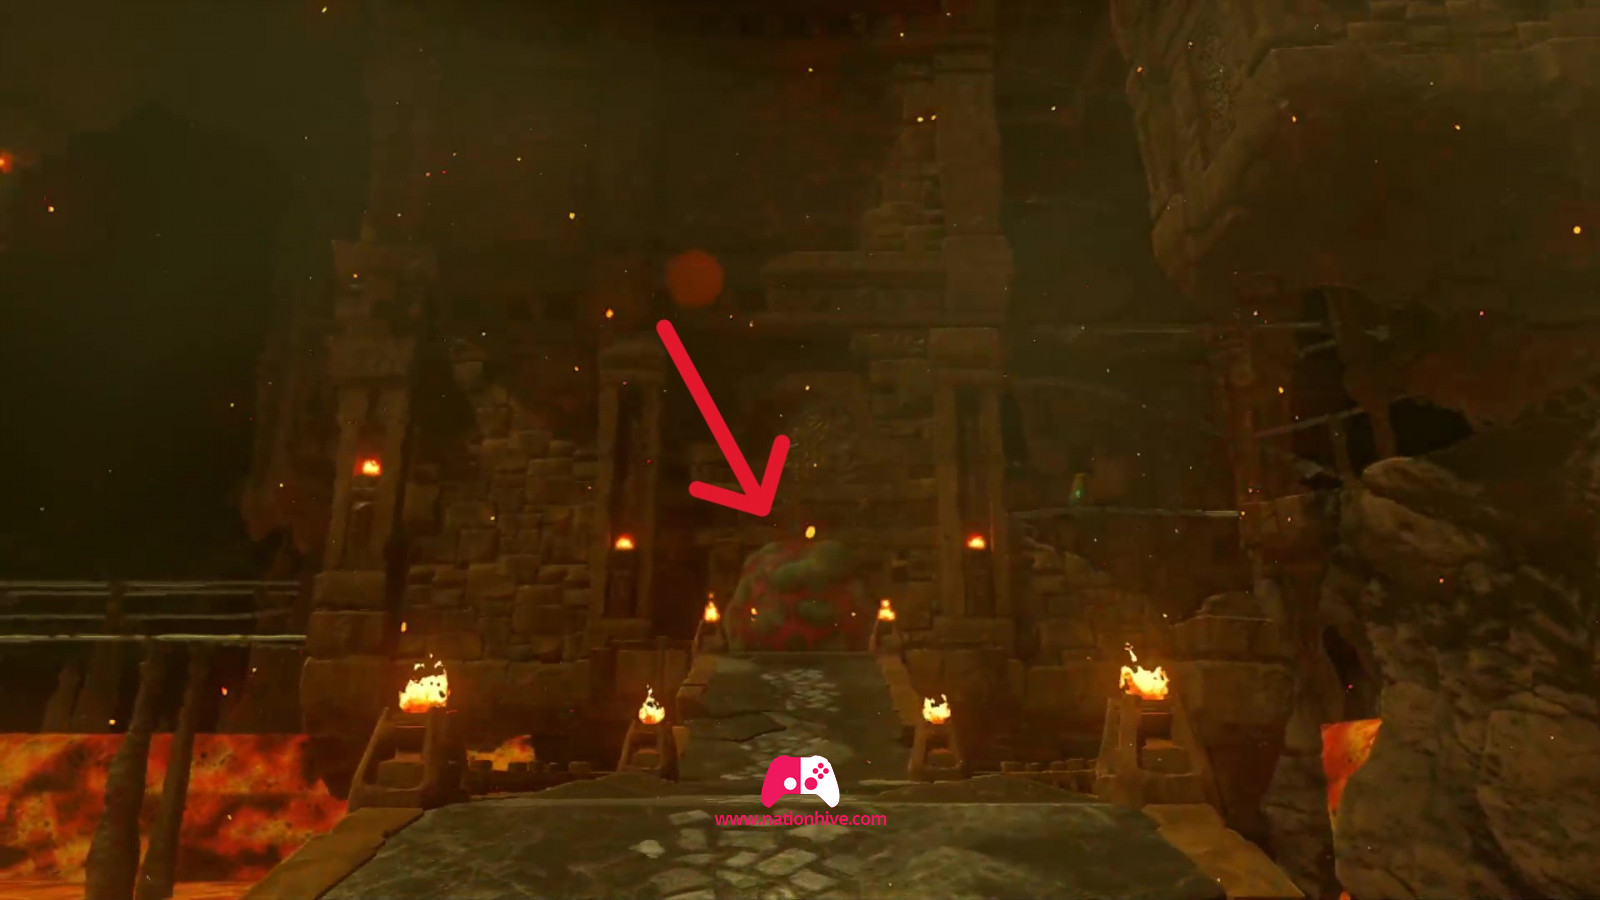
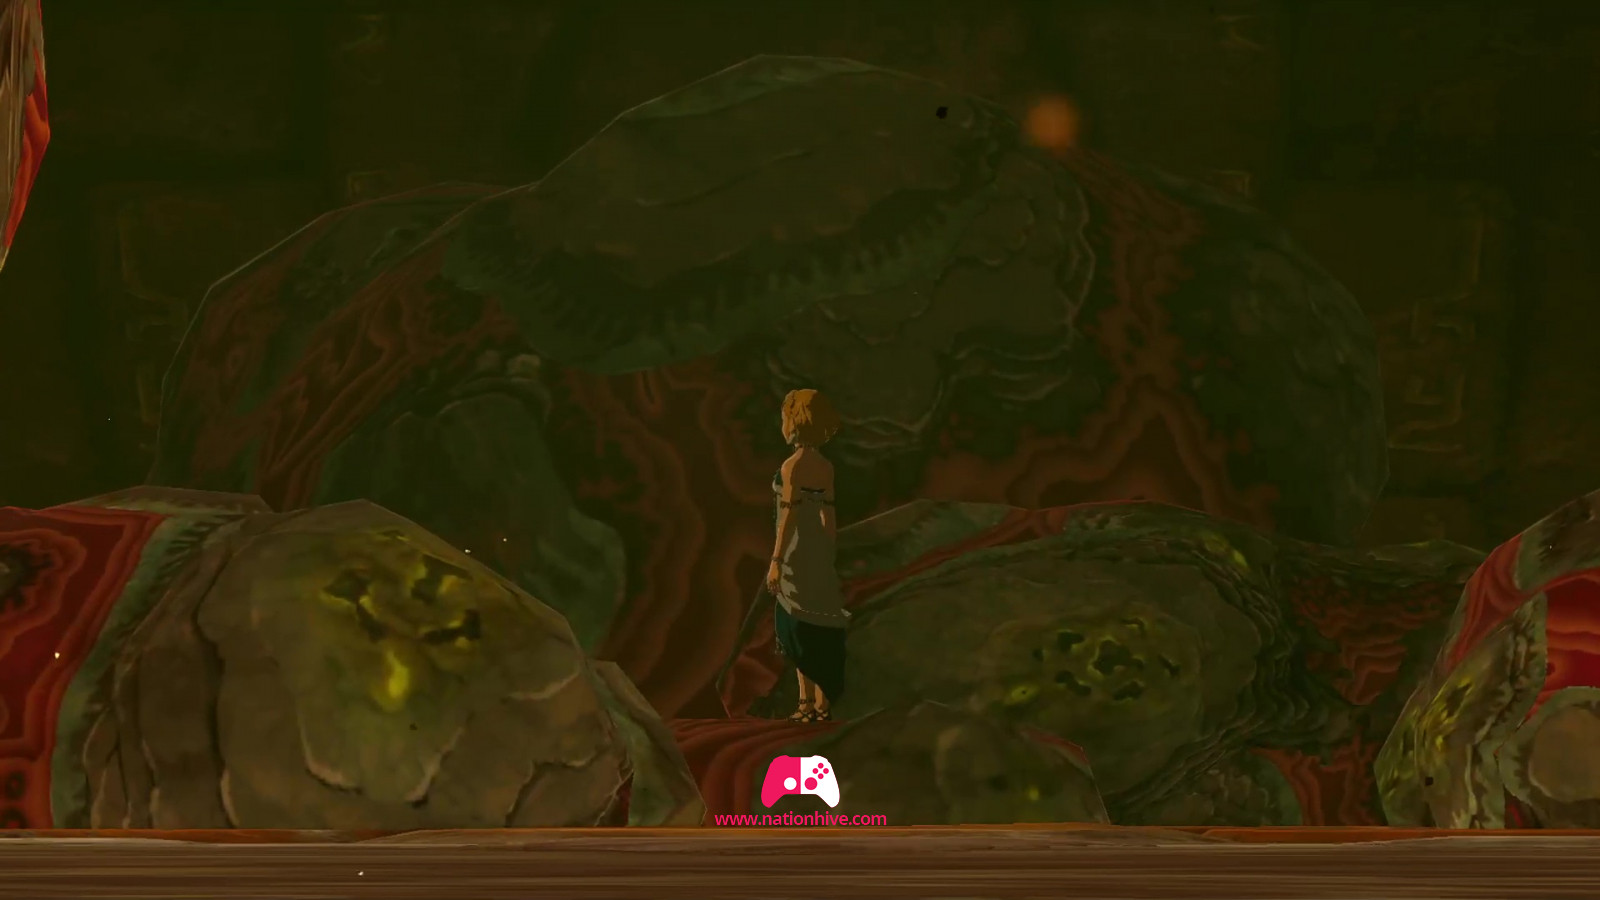
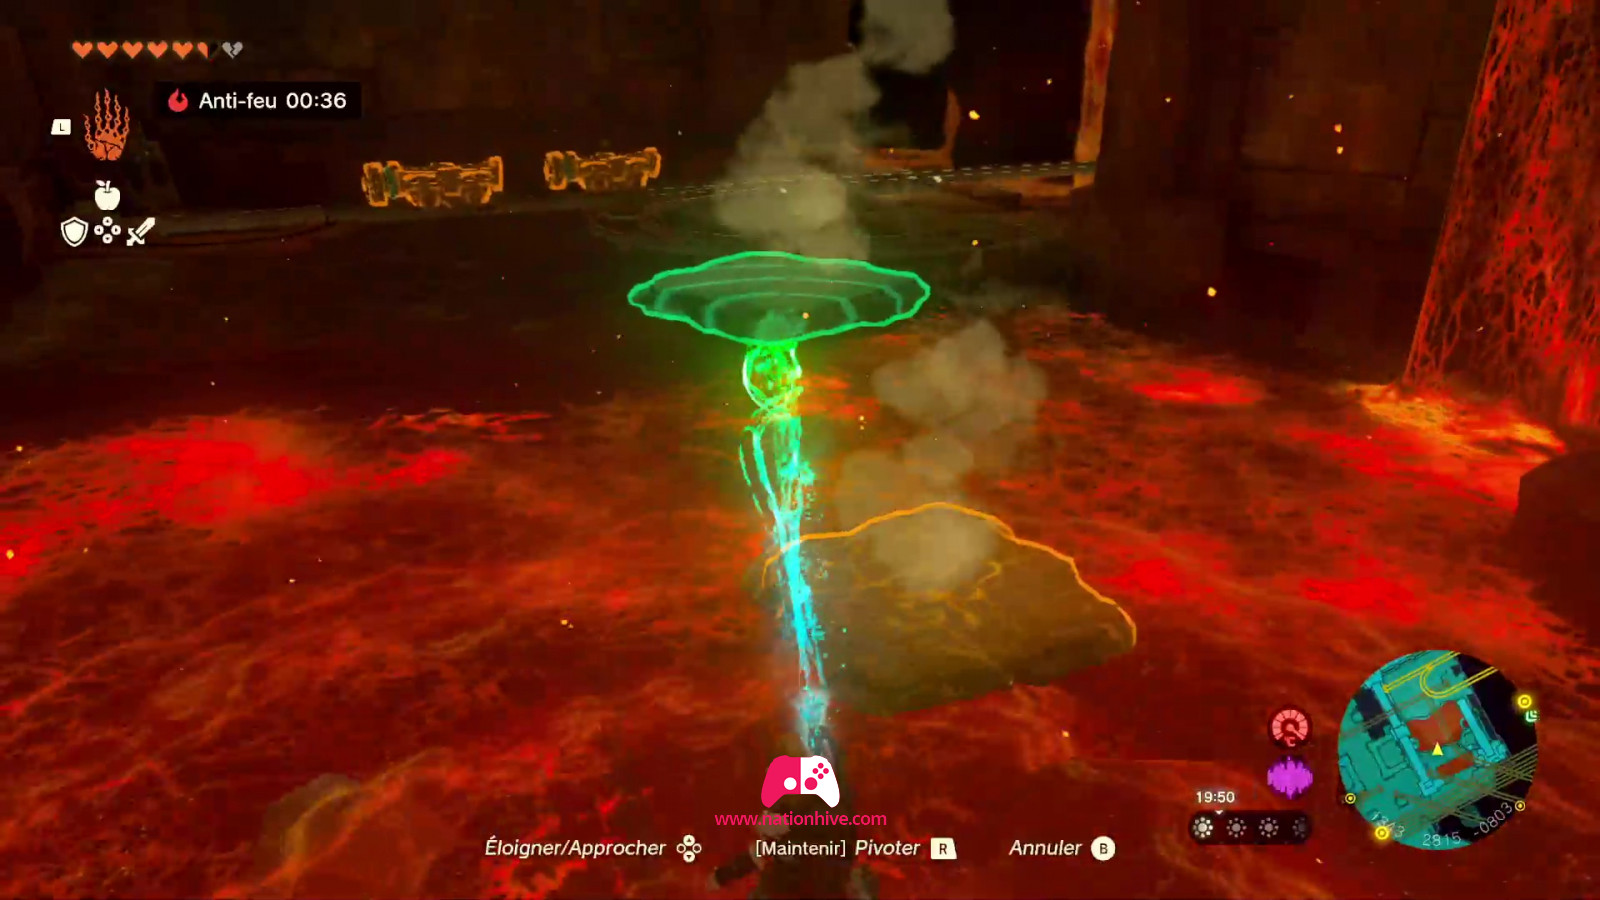
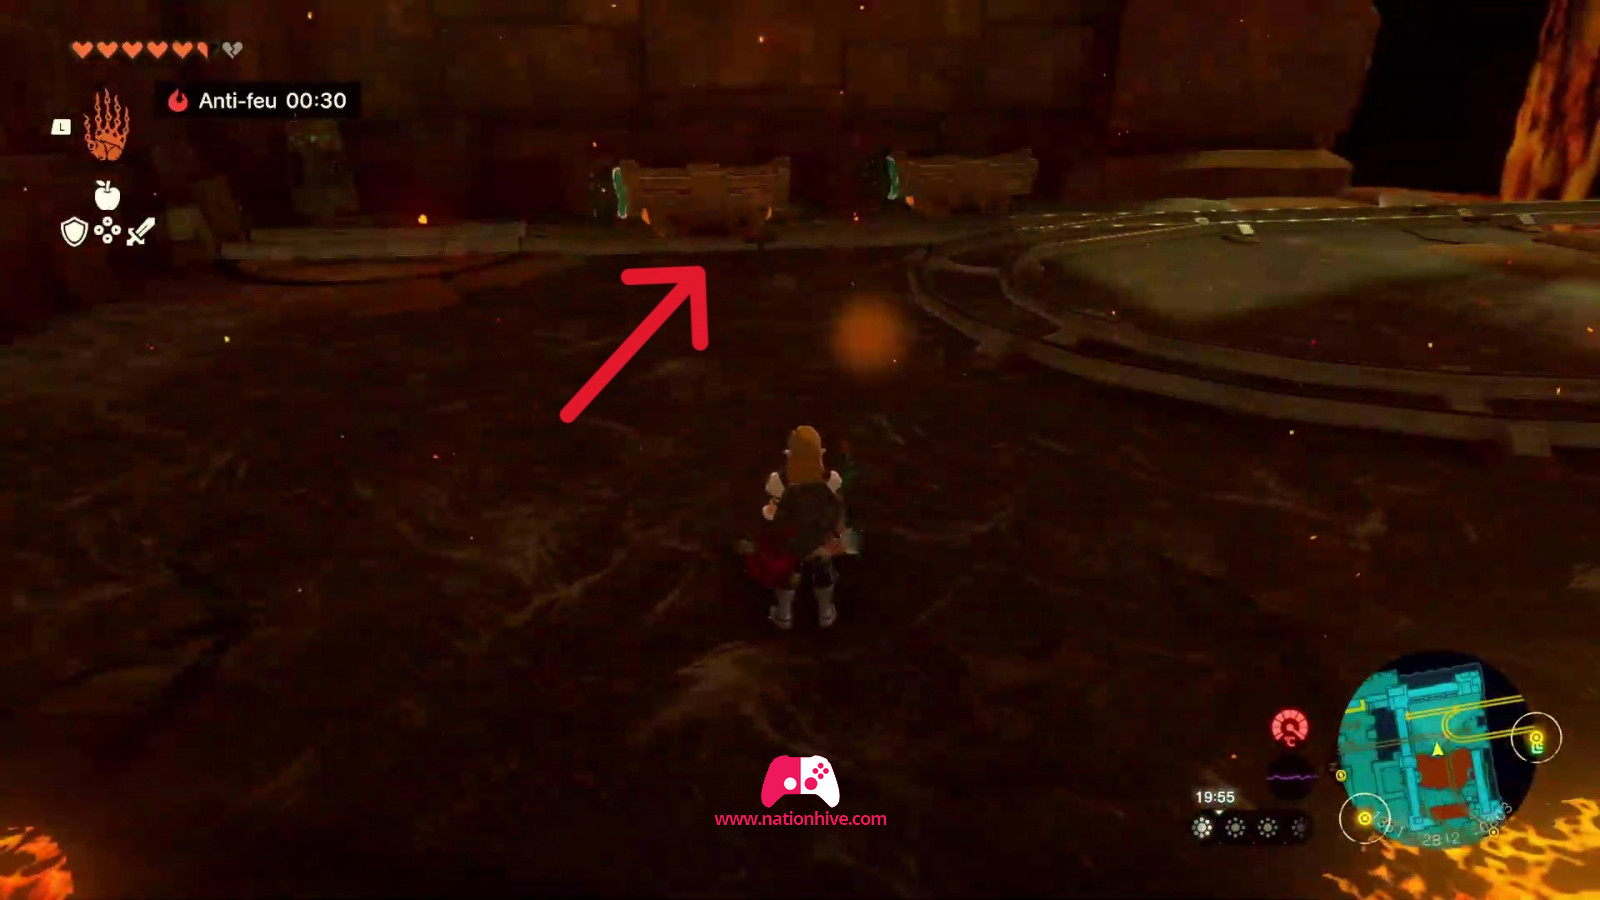
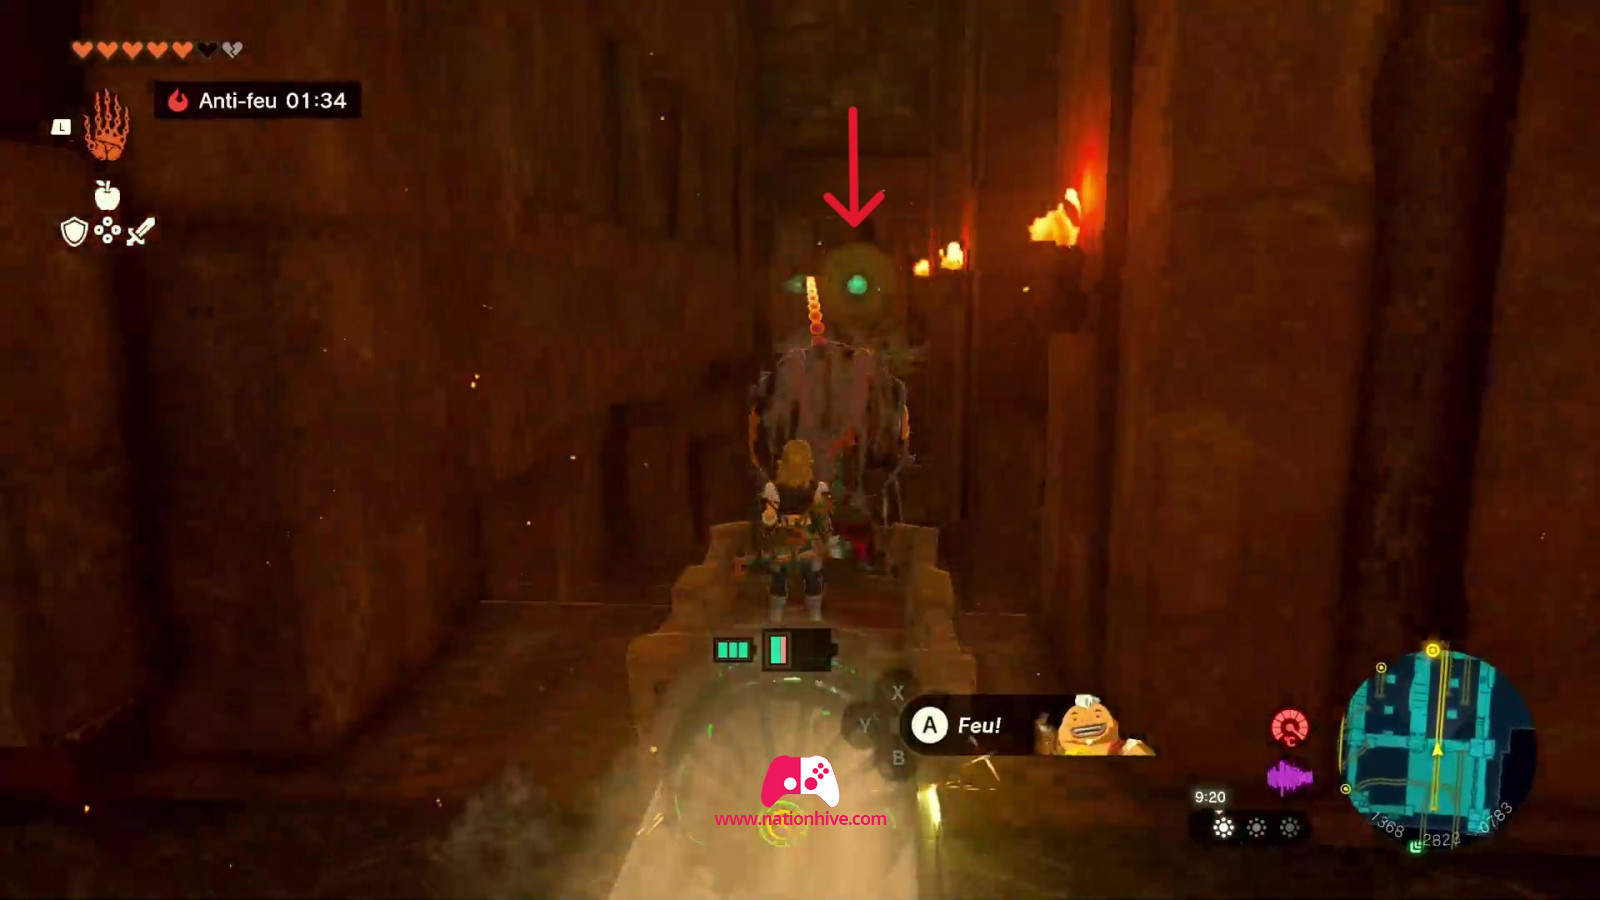
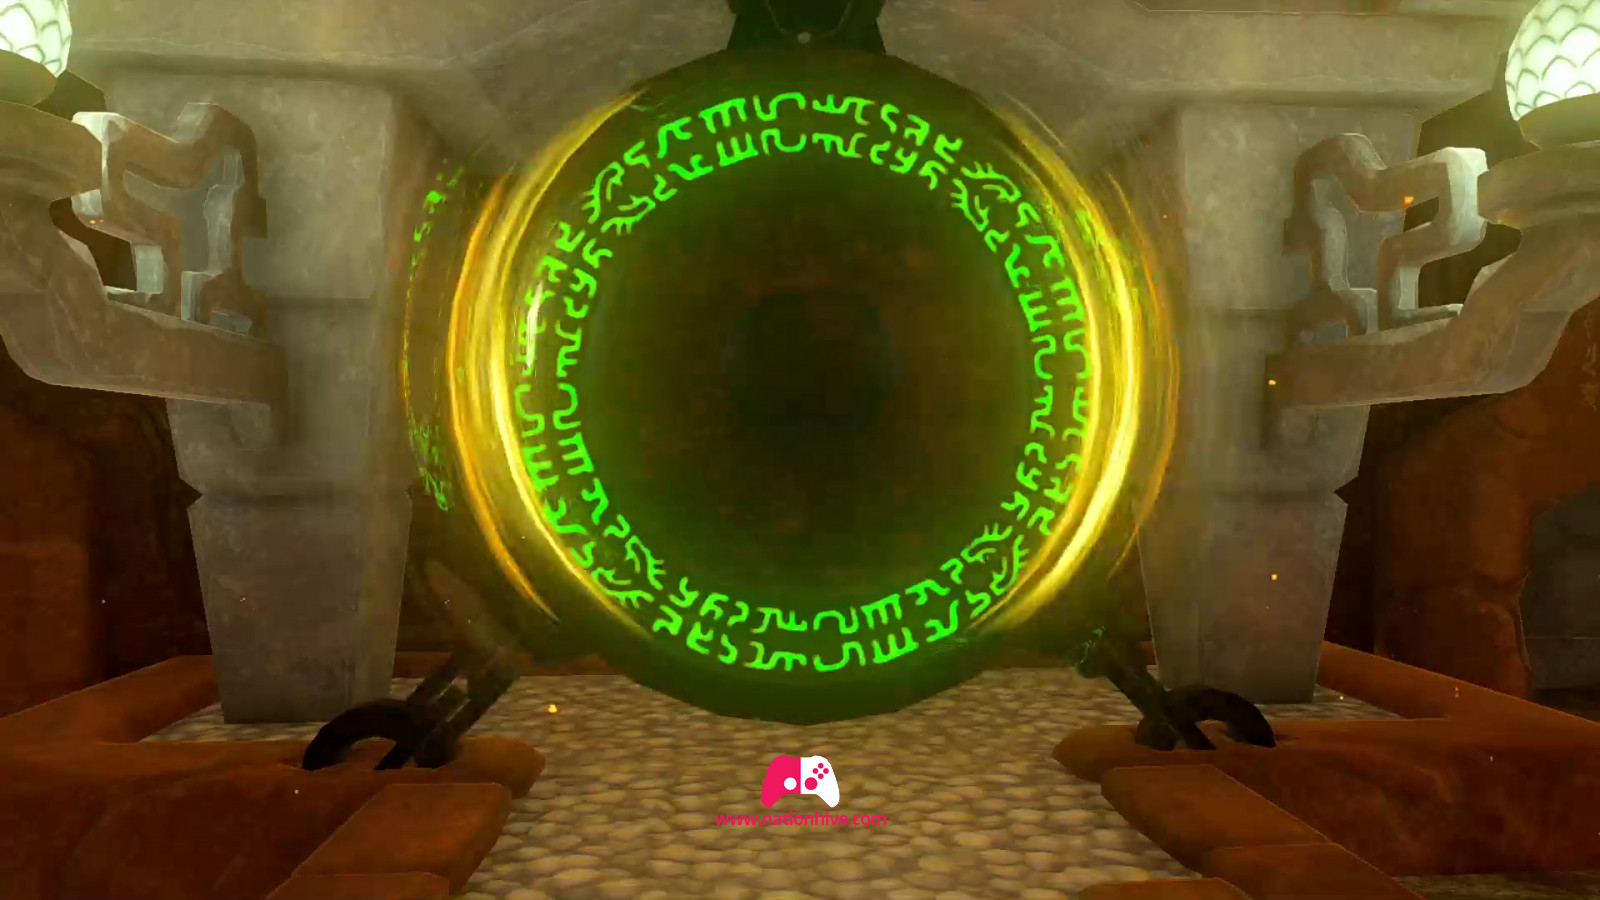
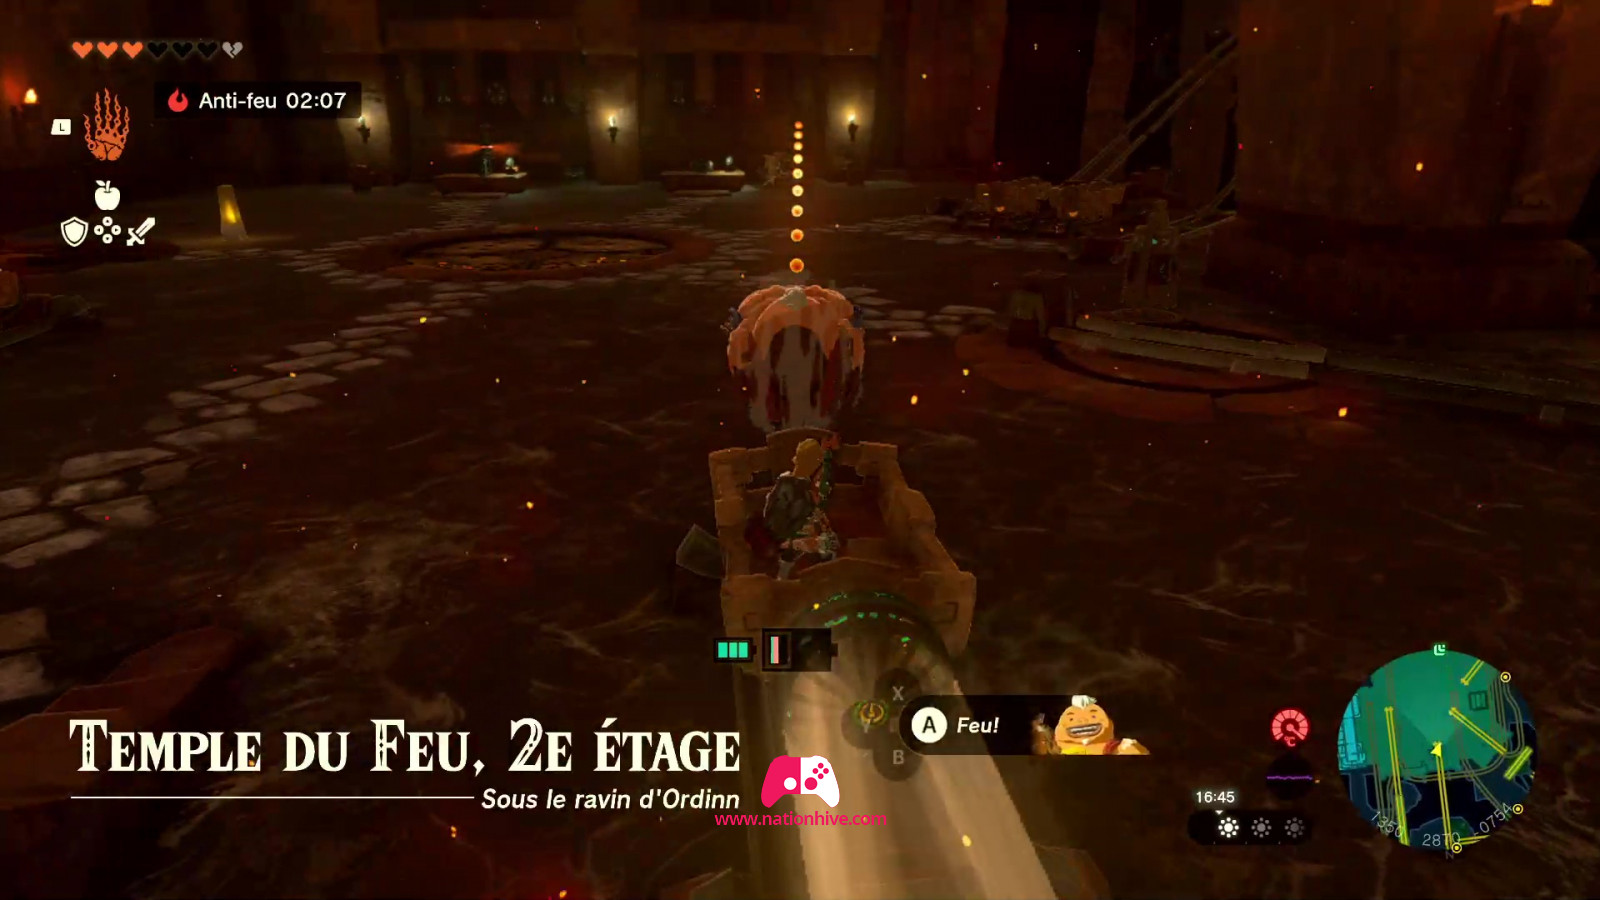
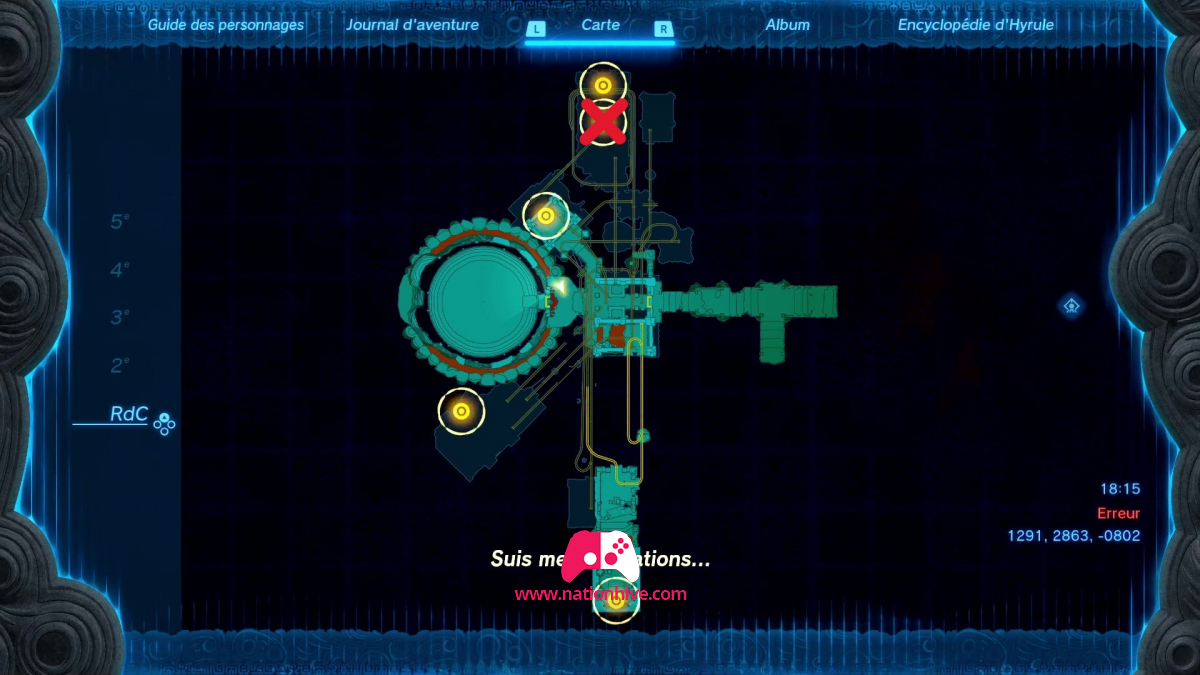
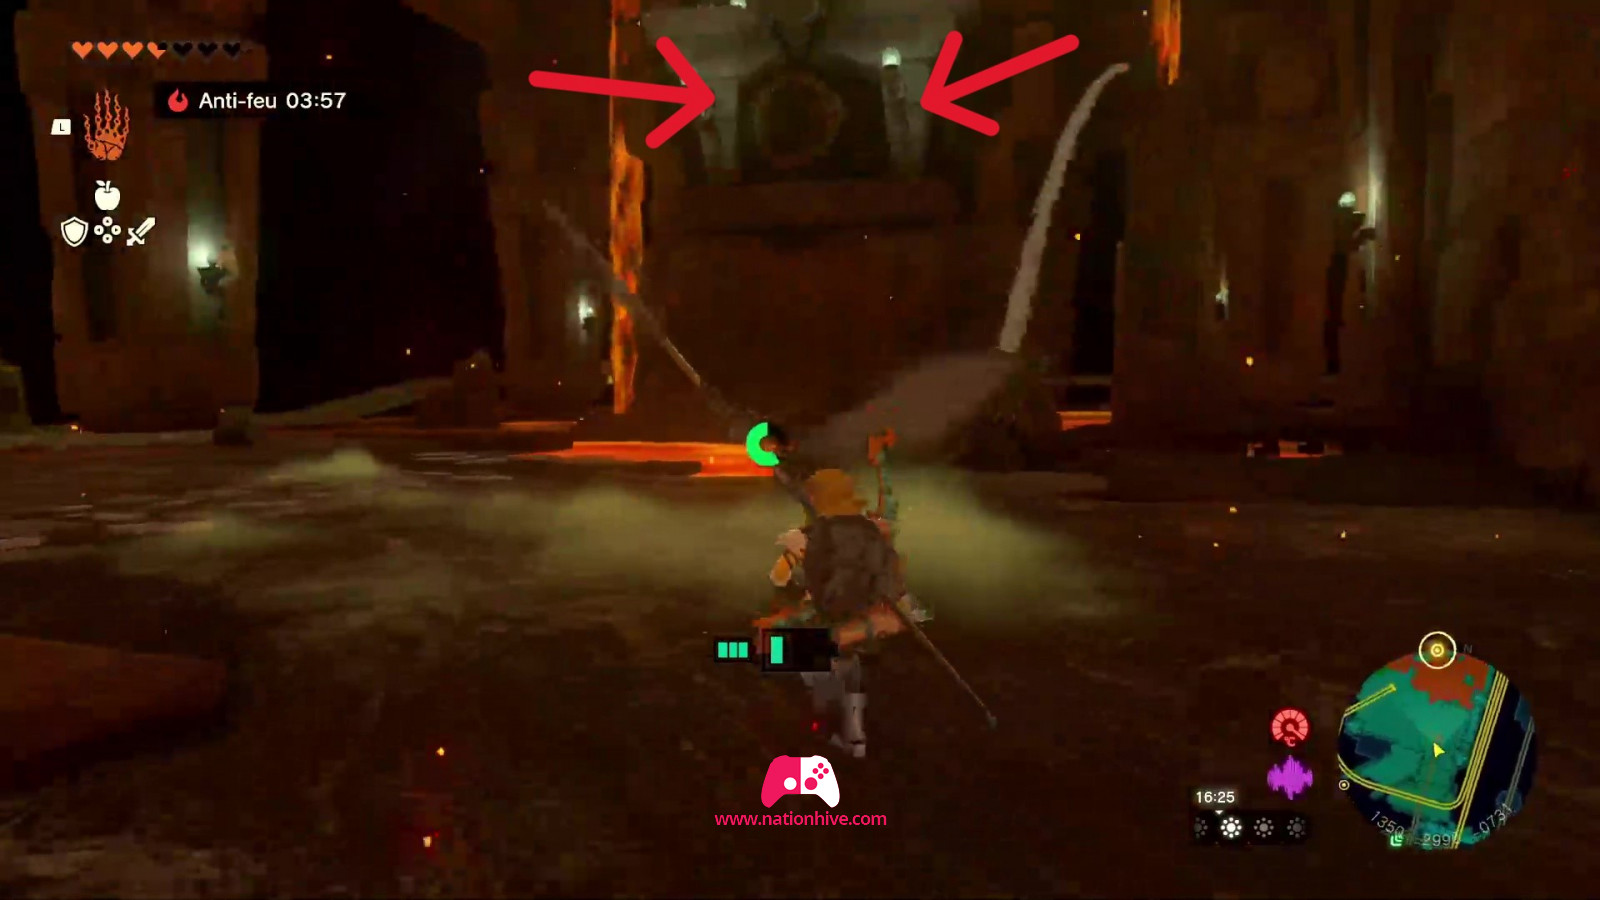
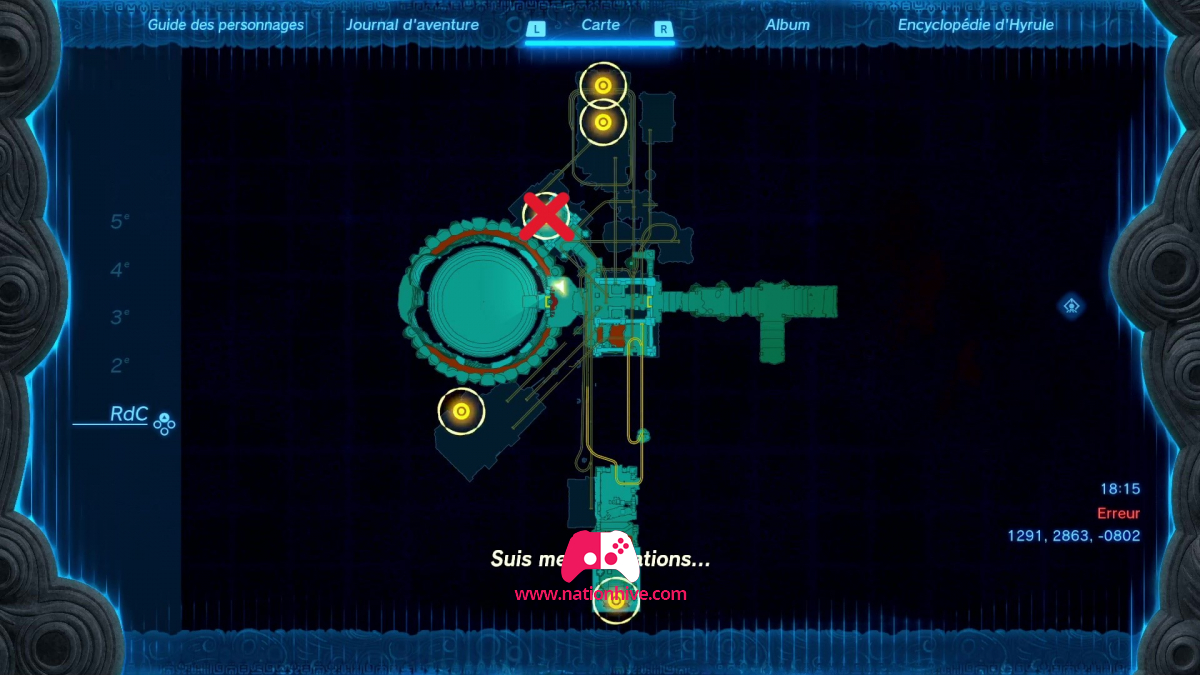
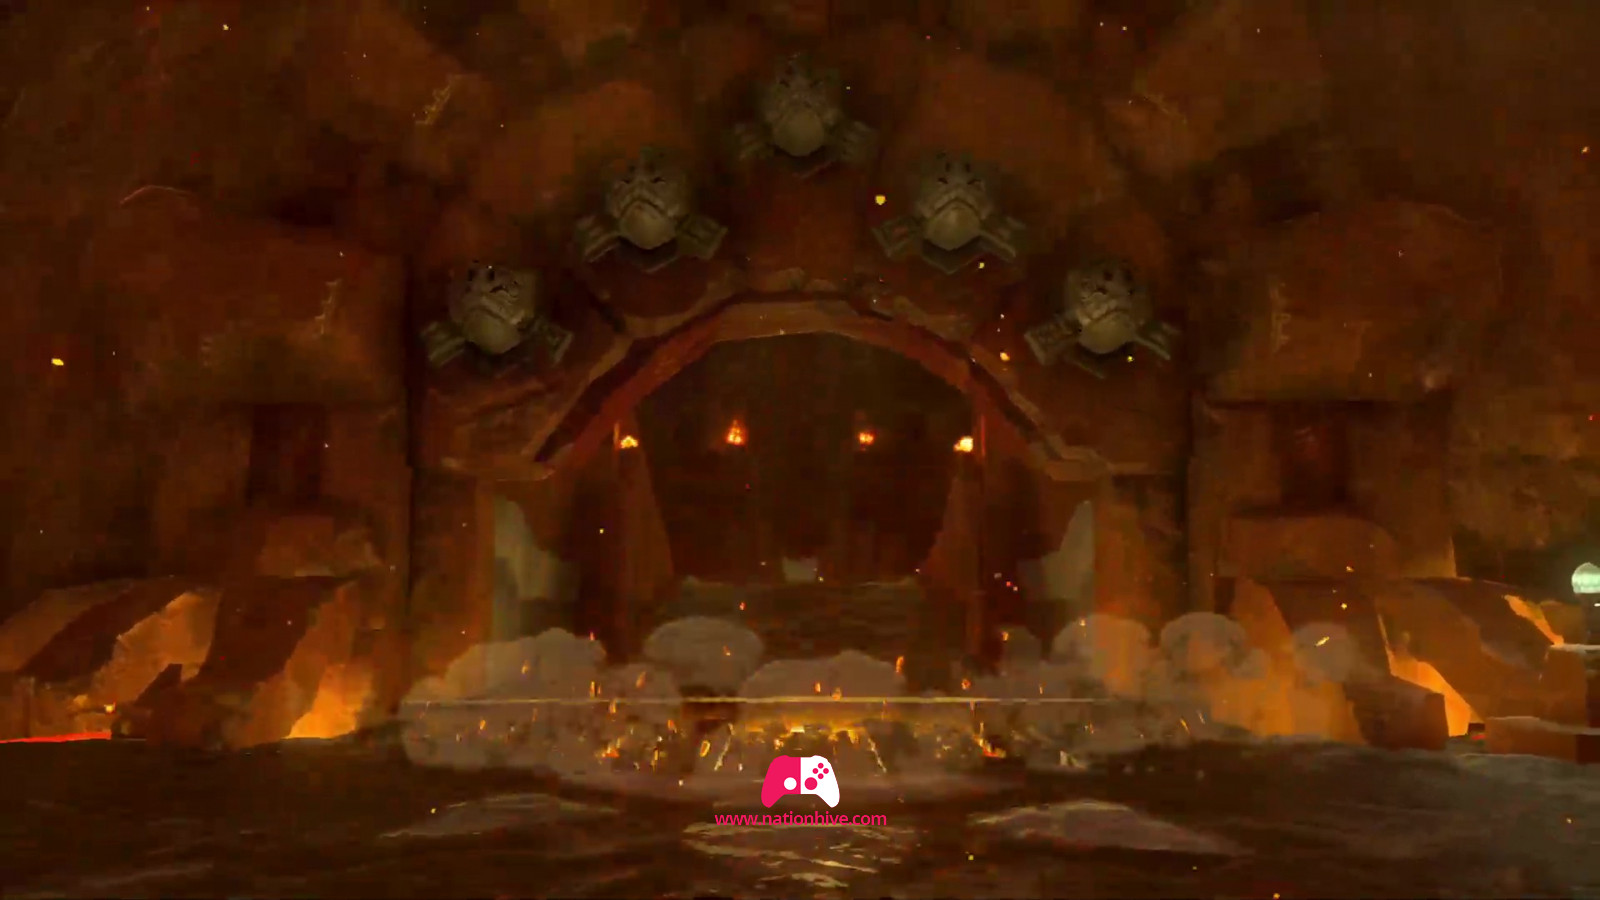
Once at the top of the slope, you'll be able to perceive the Emis Isi Root. Activate the root to light up the surrounding area and be able to teleport there next time. You'll see The Fire Temple nearby. Head for the entrance to The Fire Temple (see image below).
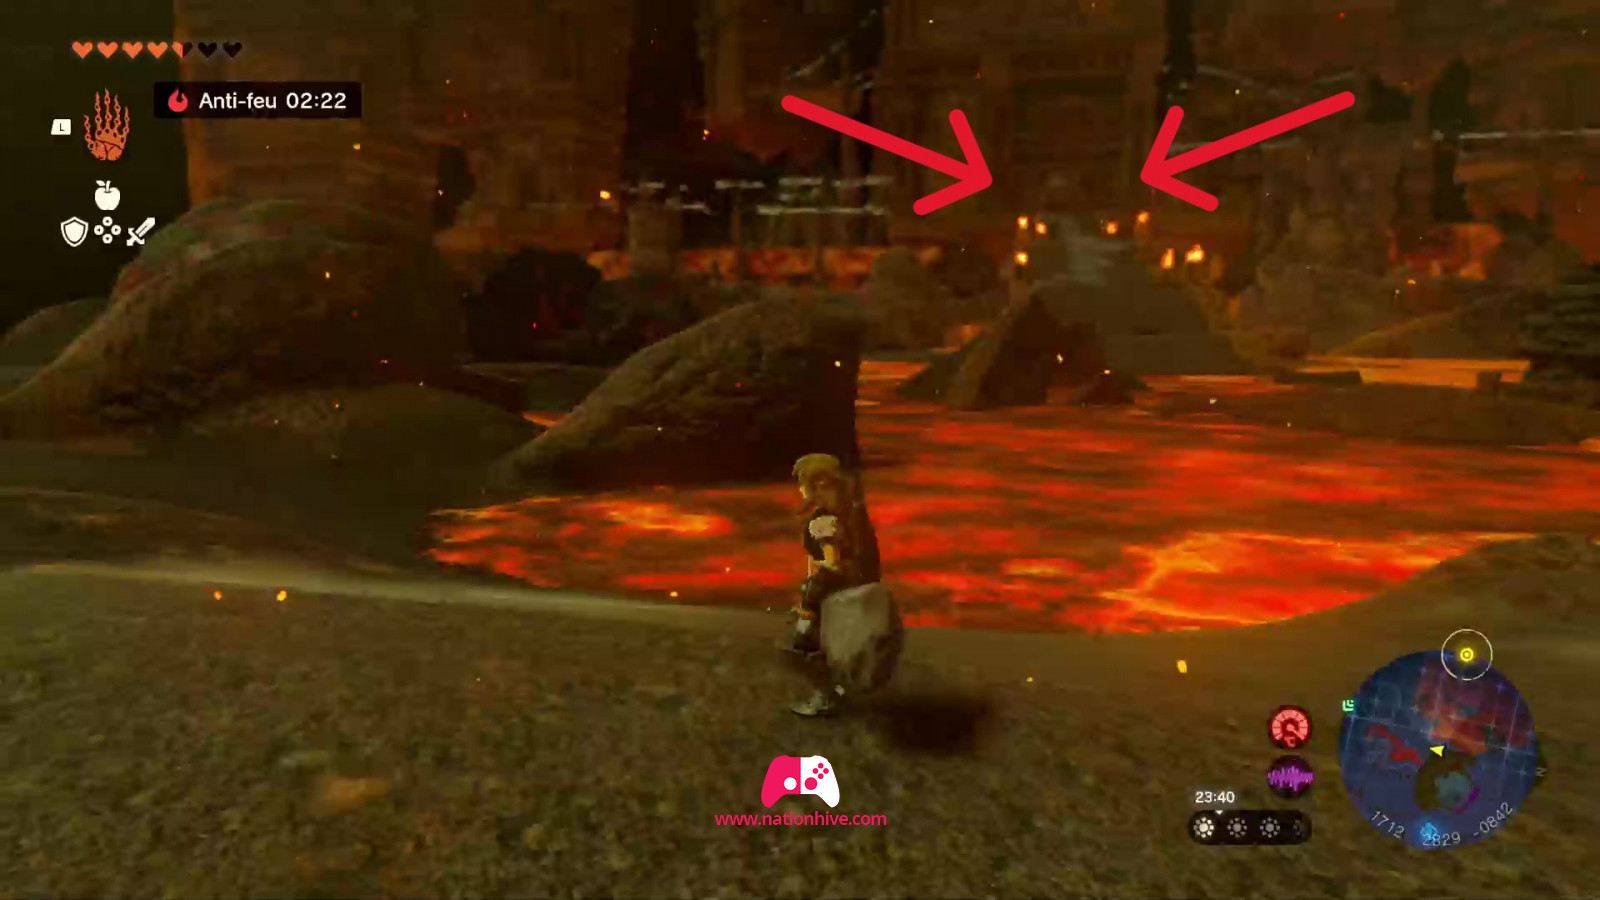
Vehicles can be seen nearby. Use them to cross the lava and head for the entrance to The Fire Temple. It's possible to open a chest on a small stone column (just outside the temple entrance).
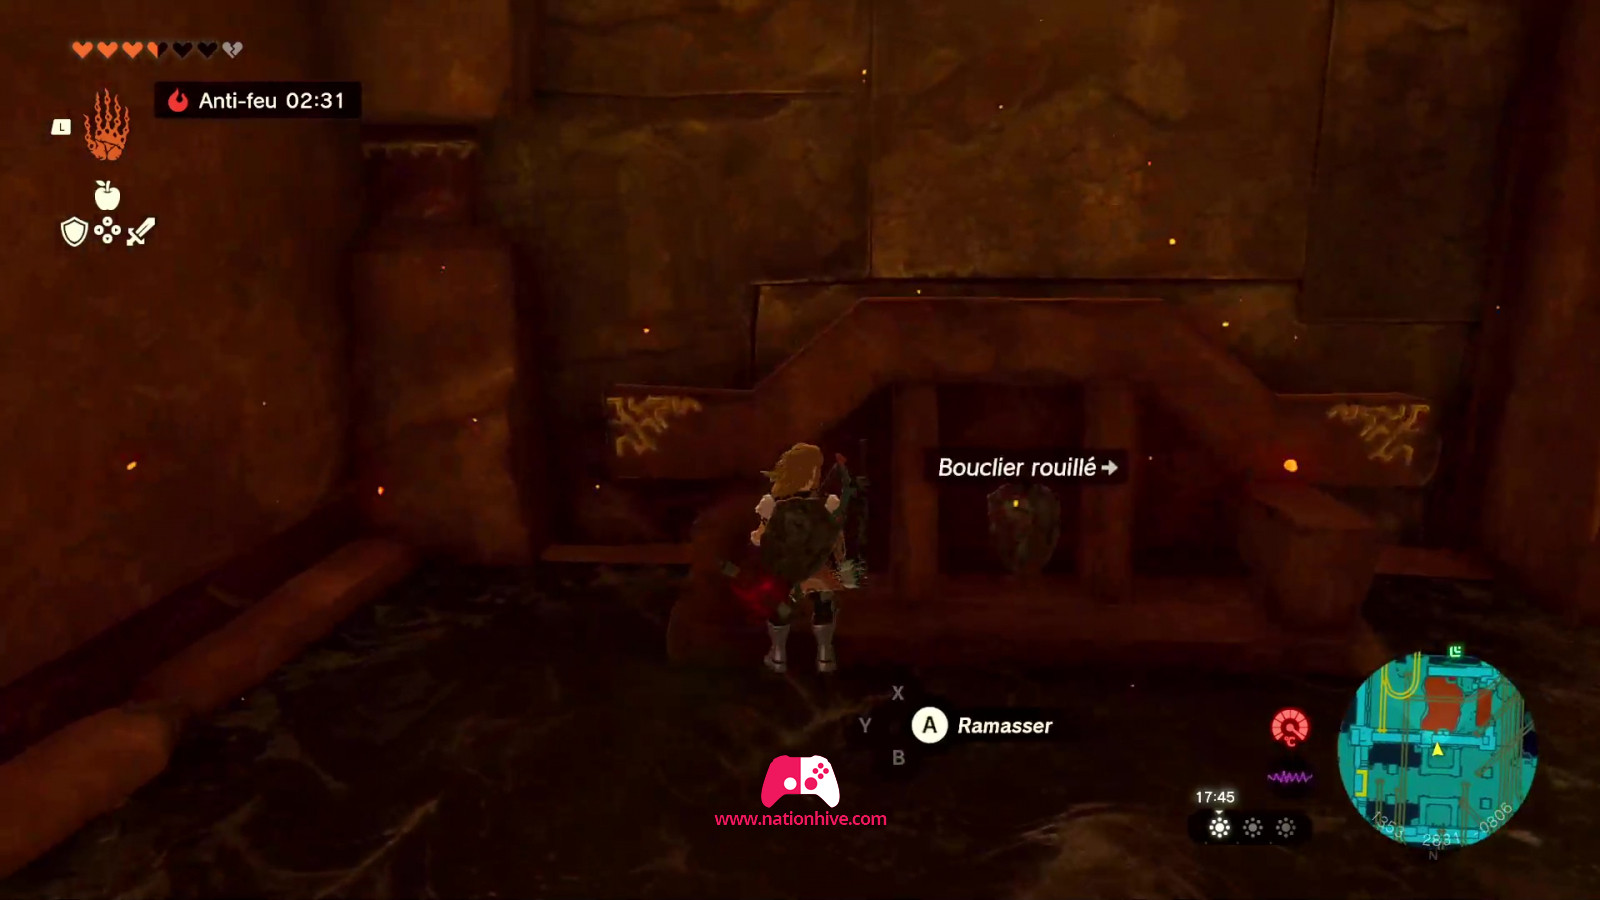
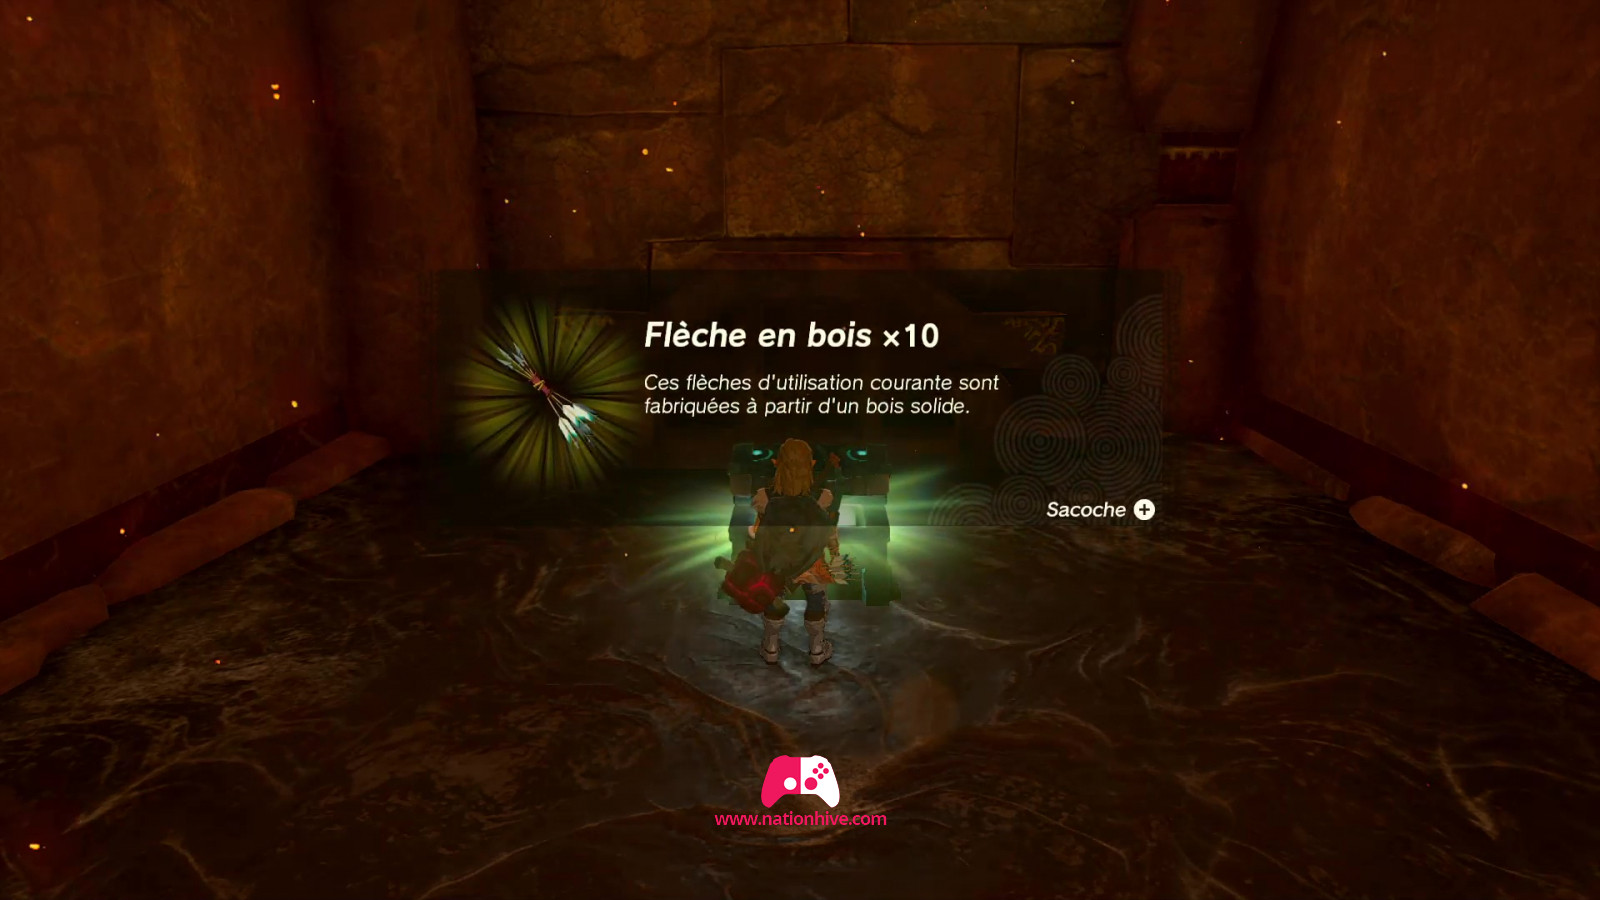
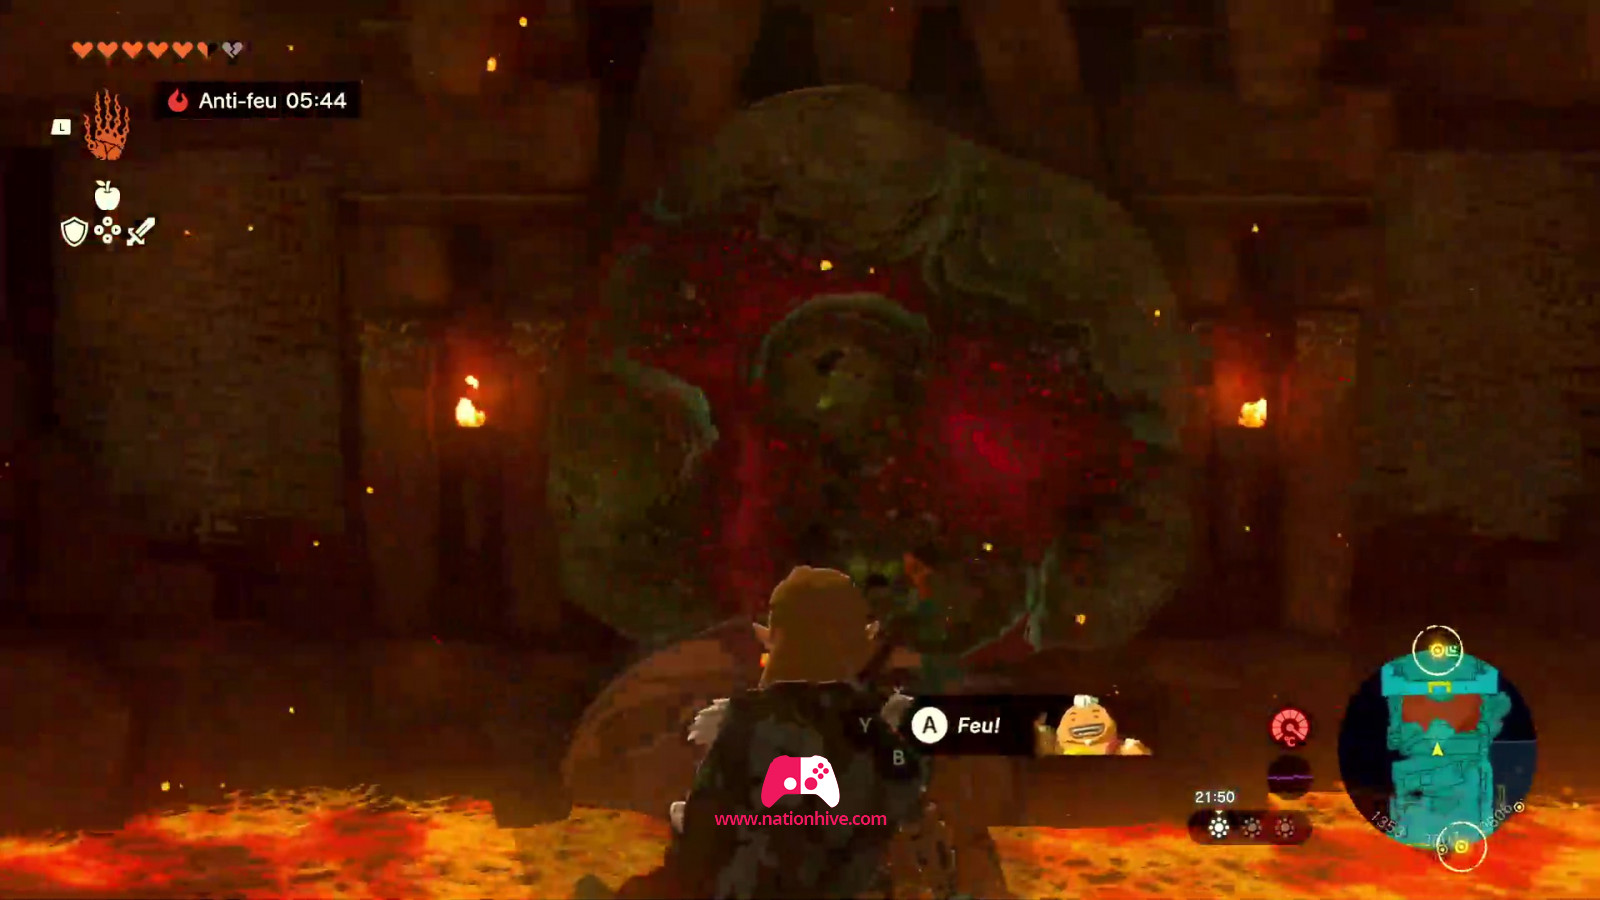
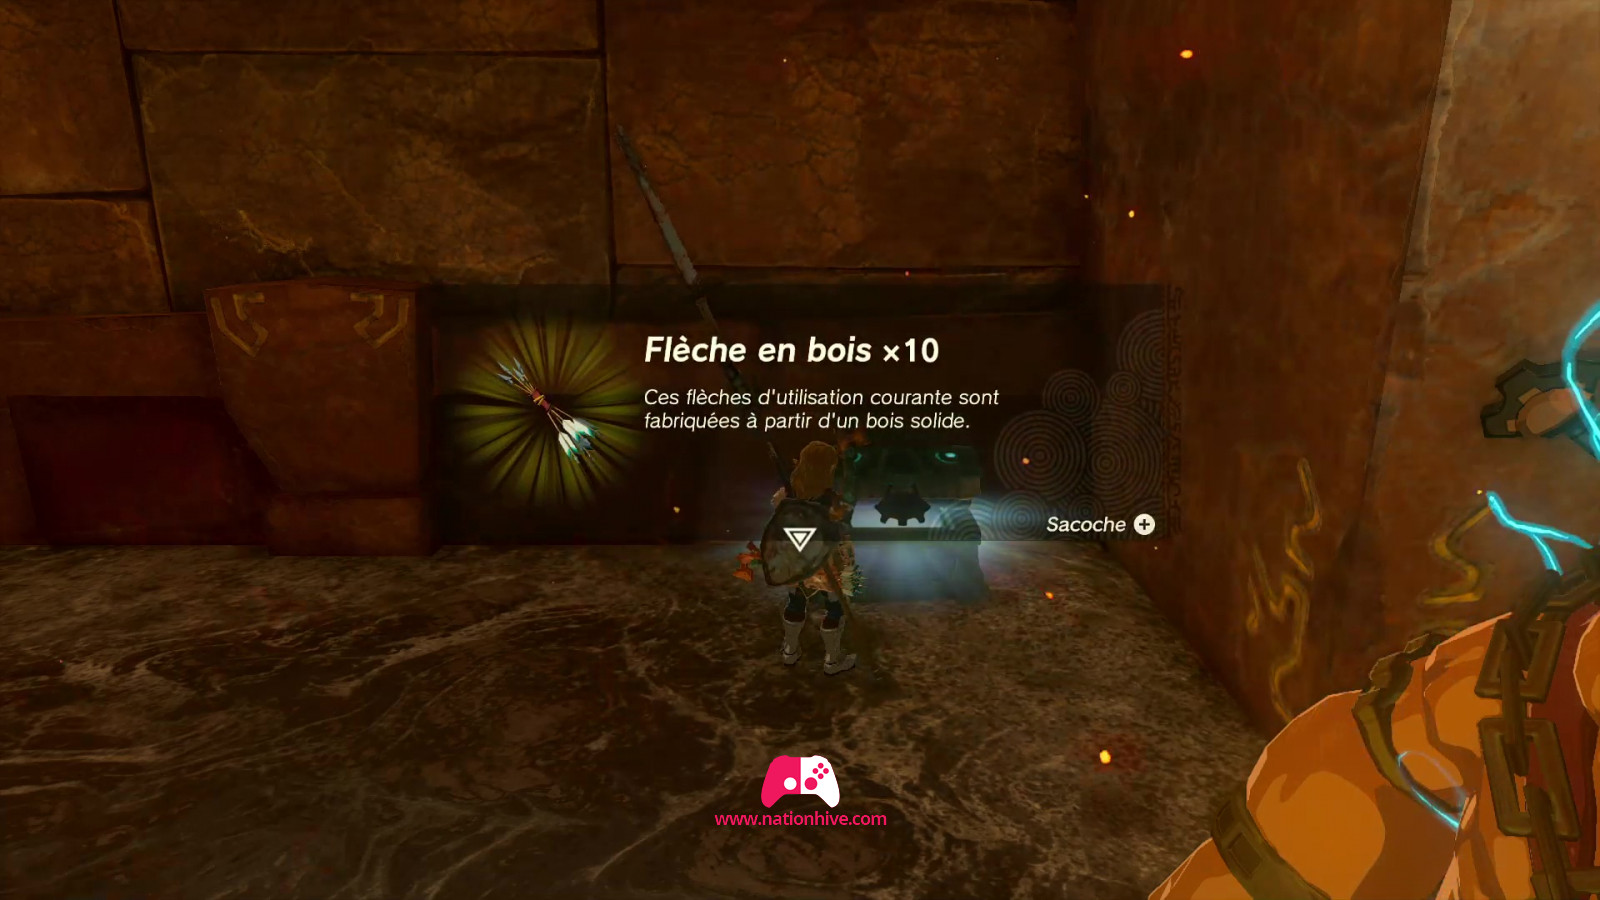
Use Yunobo's ability to unlock the entrance to the Temple. Go inside and on the way to the entrance, collect equipment and open a chest to receive 10 Arrows.
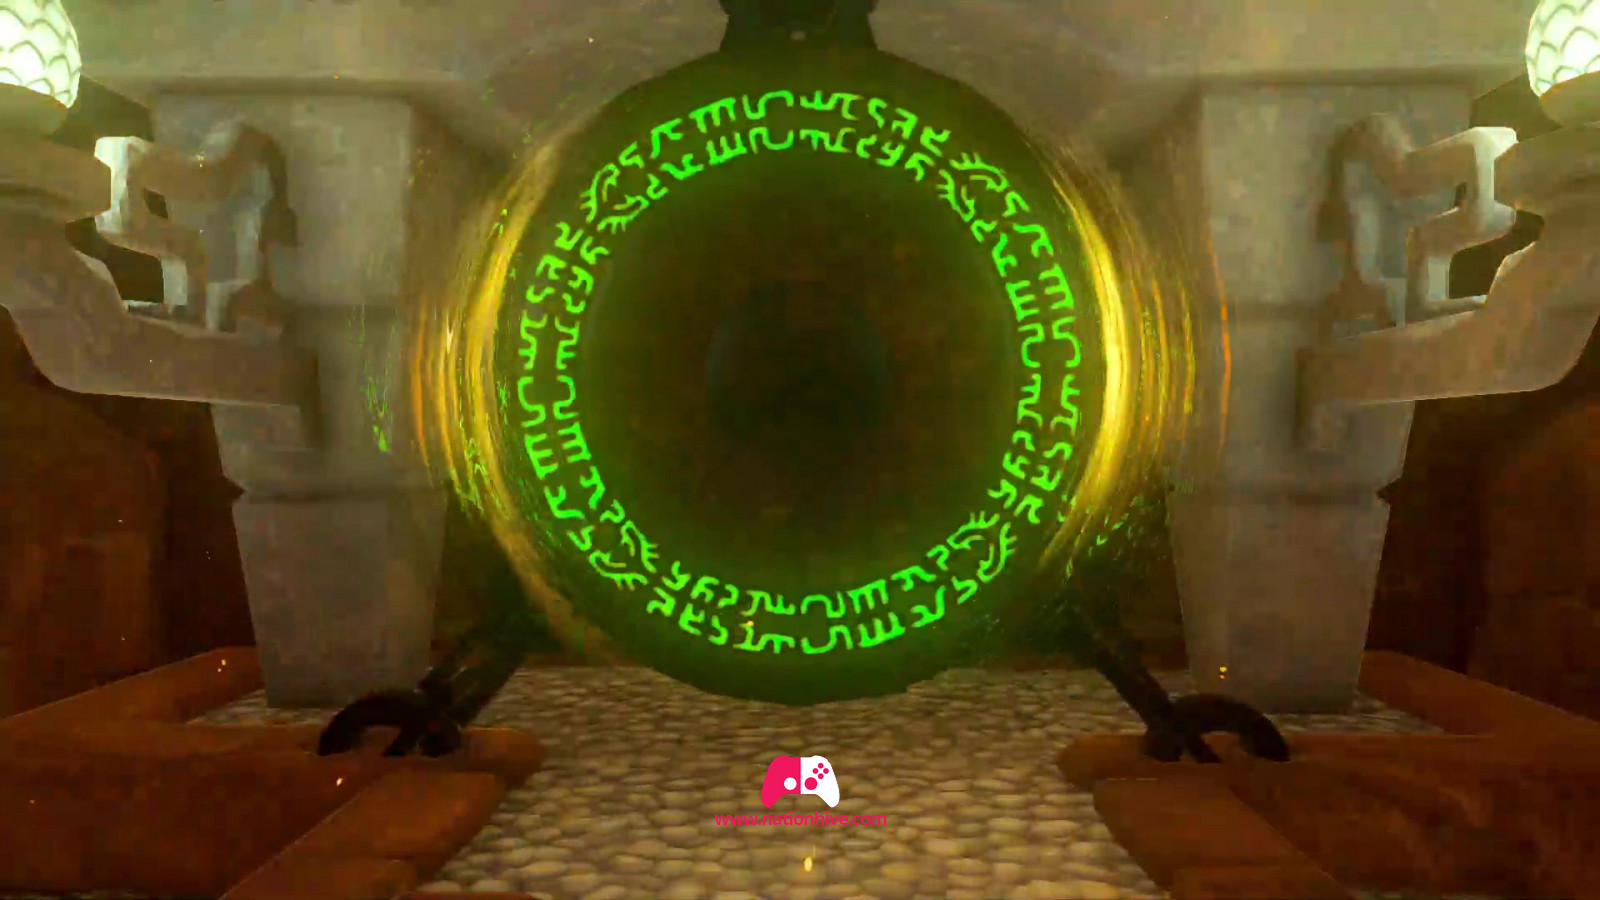
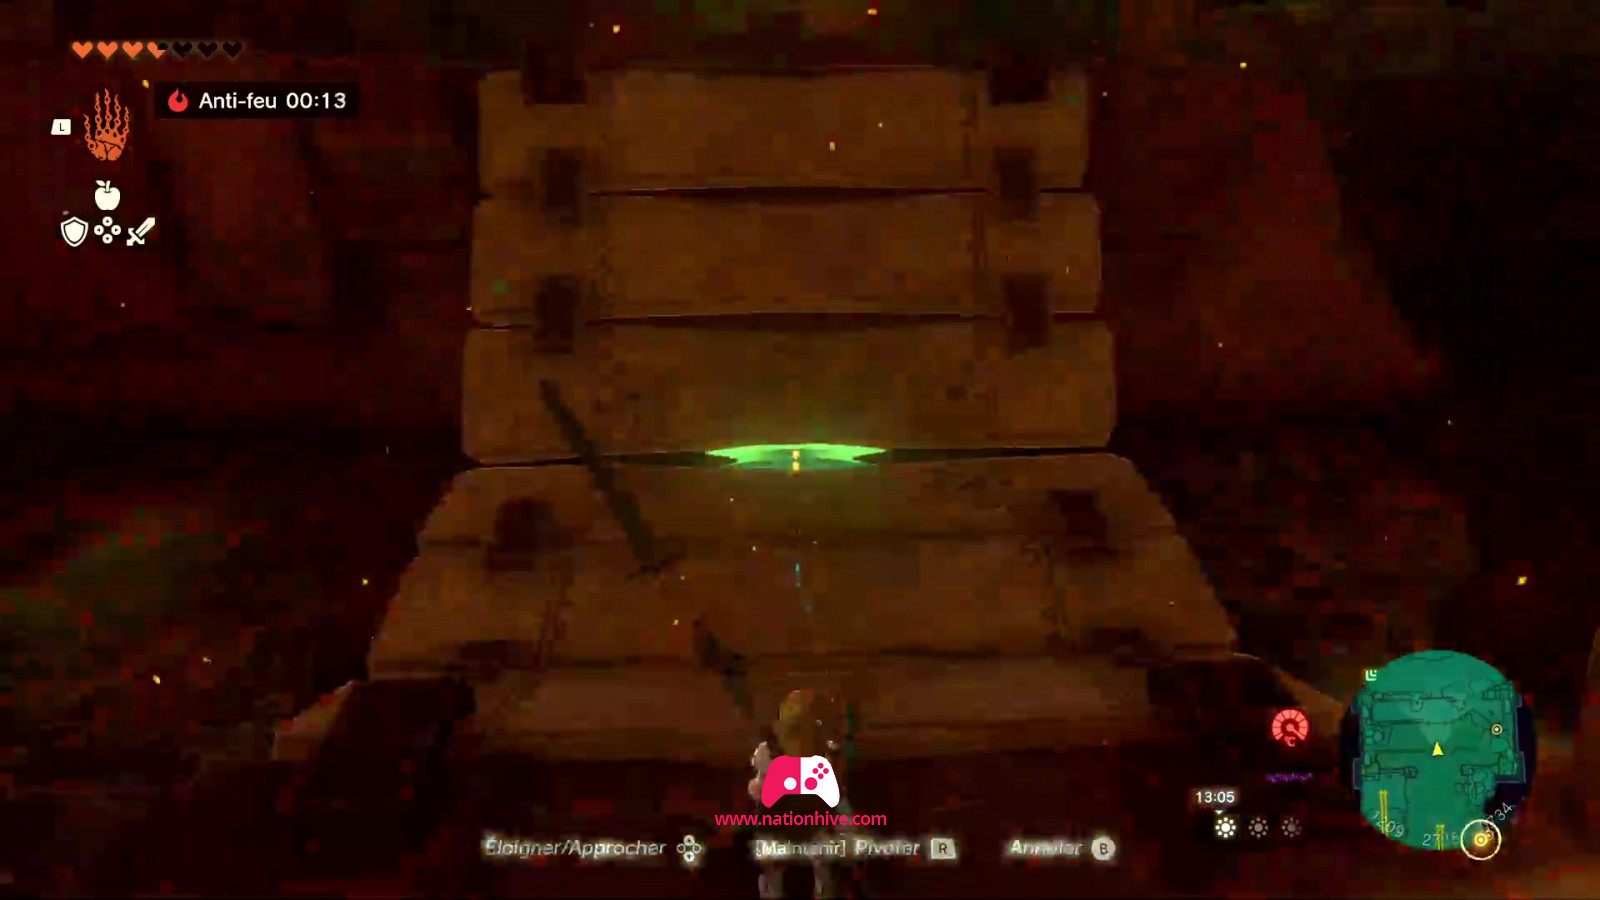
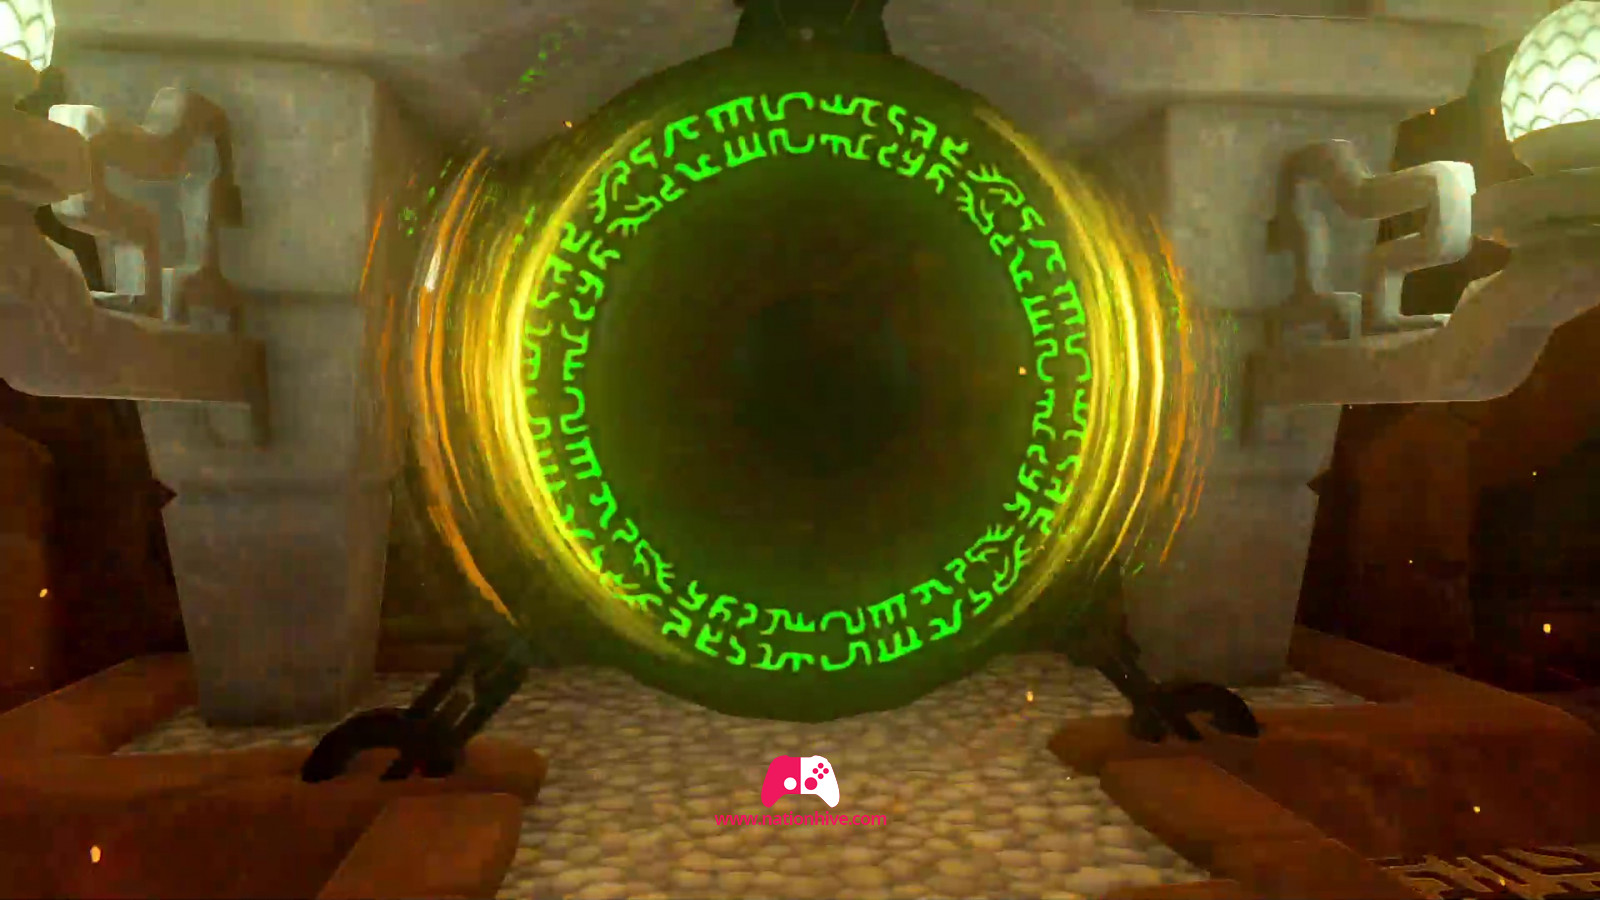
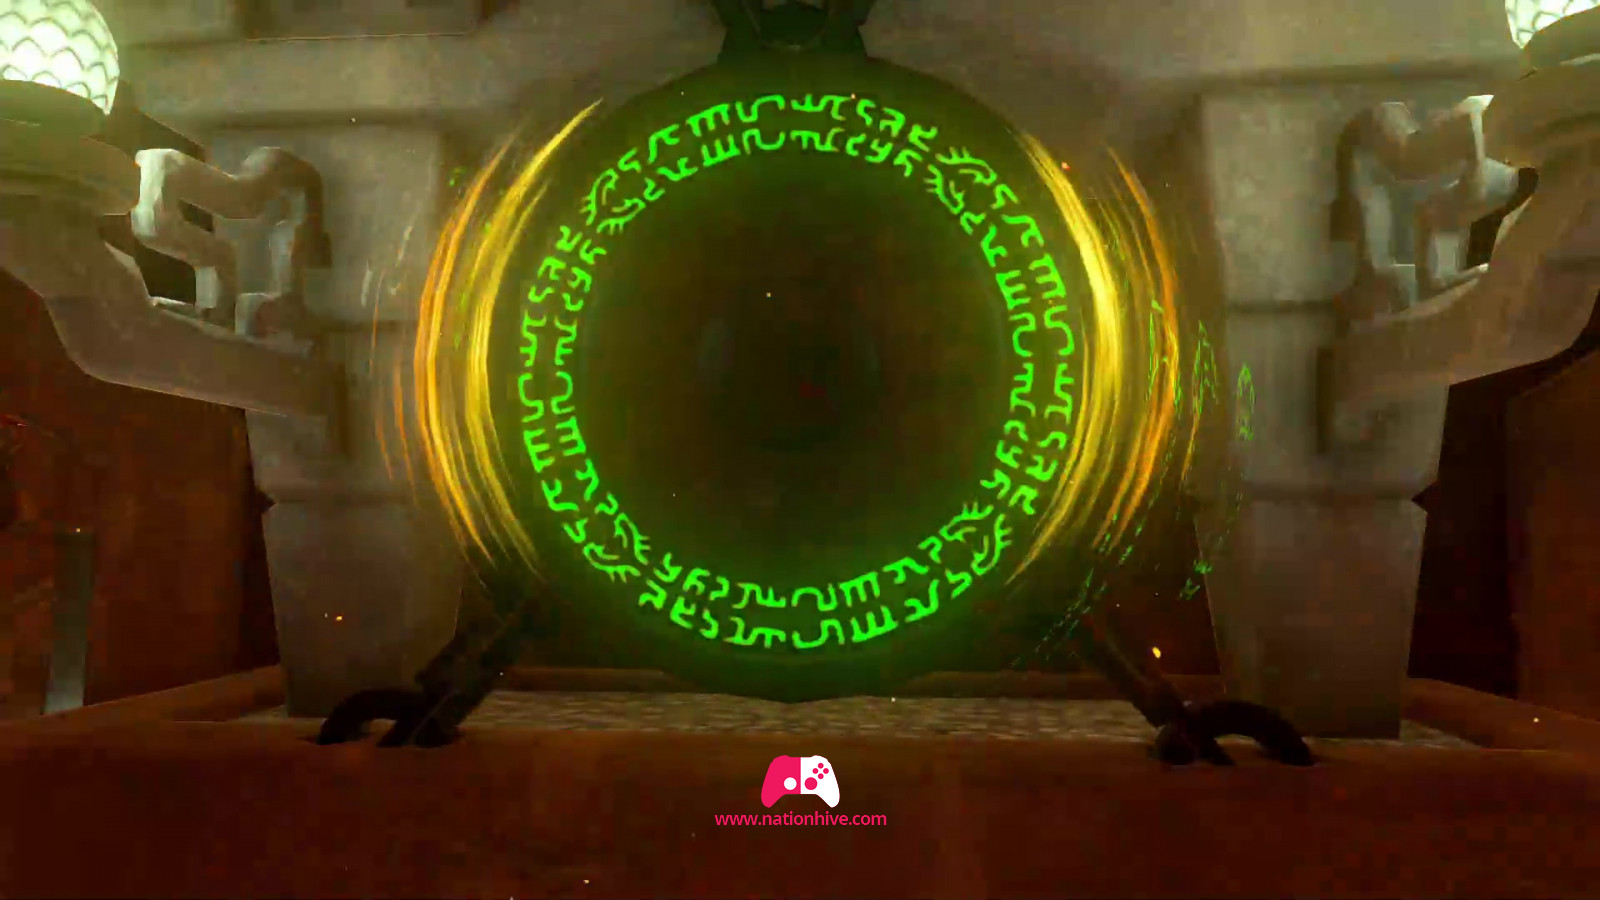
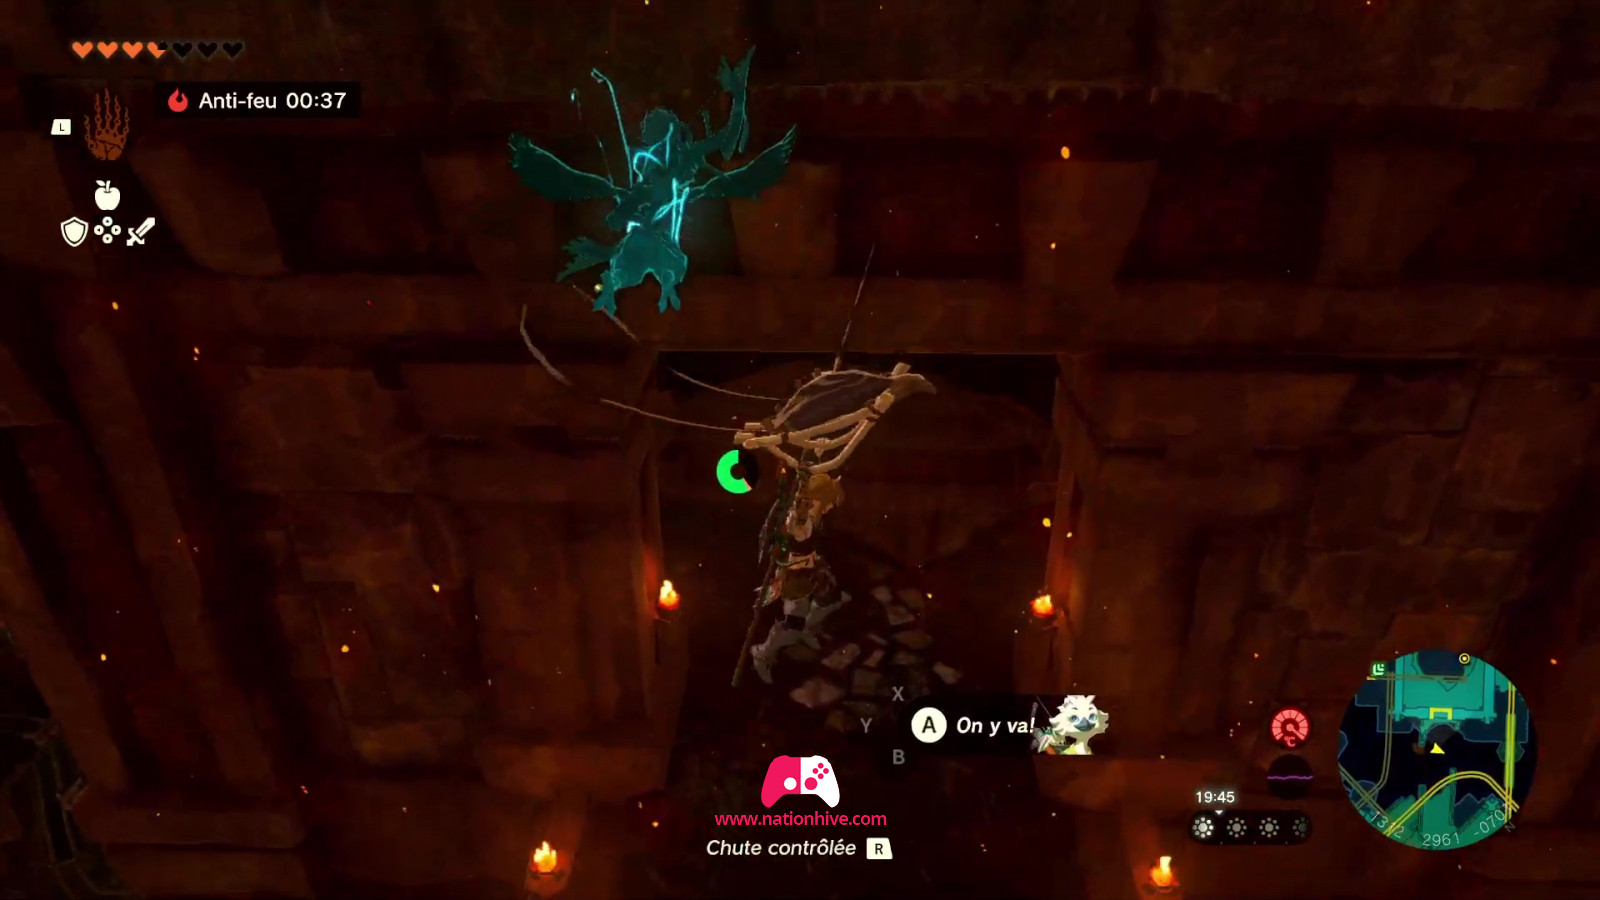
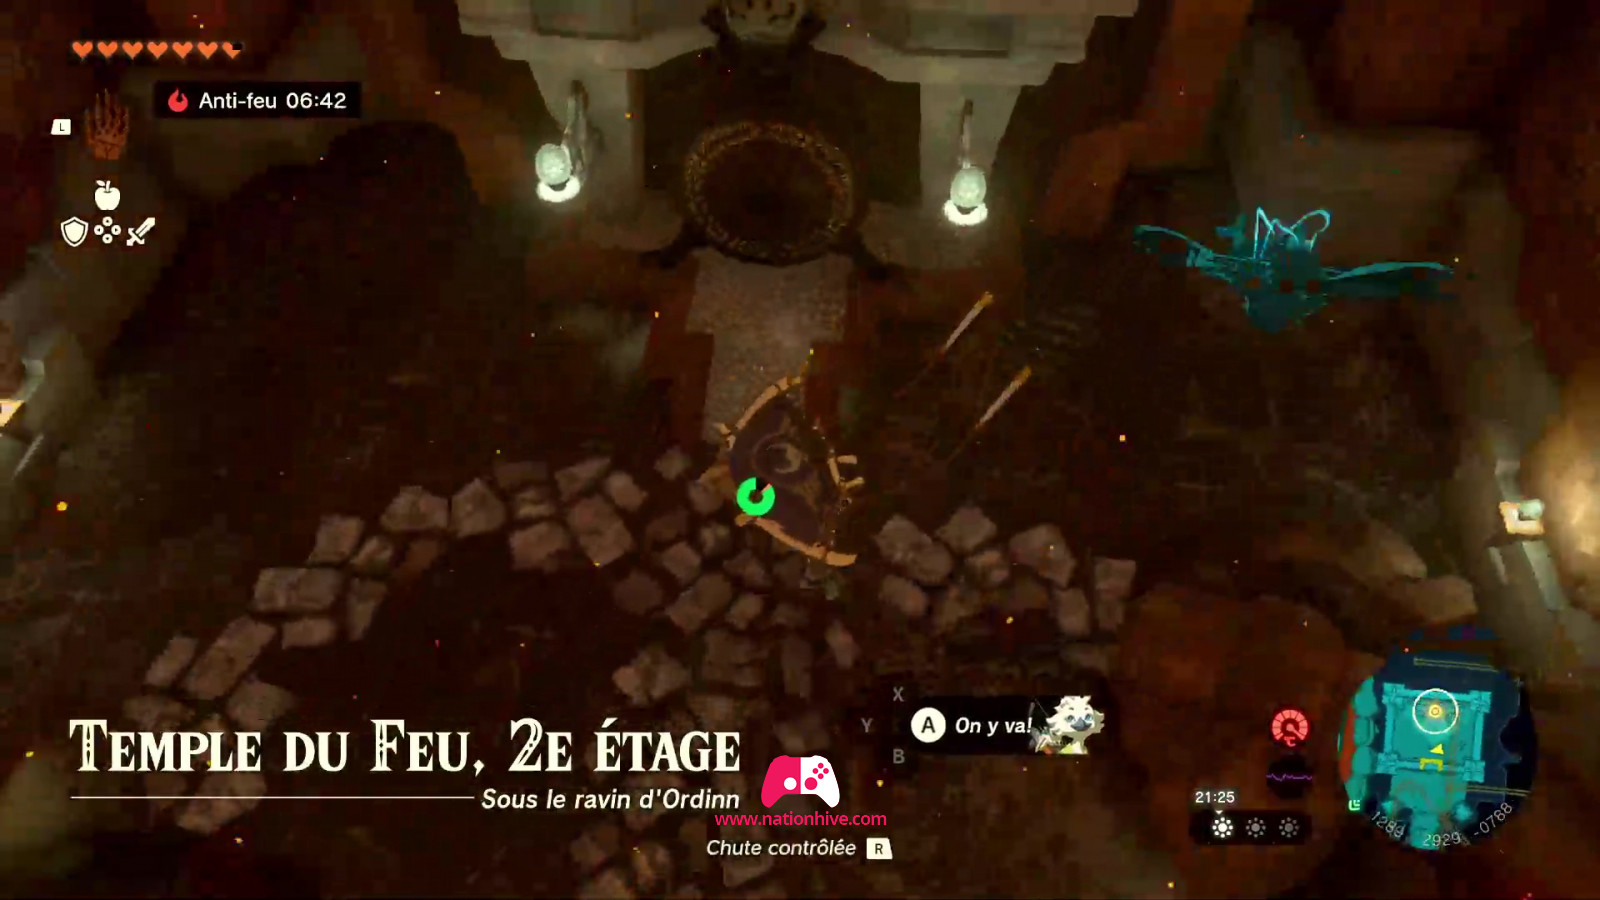
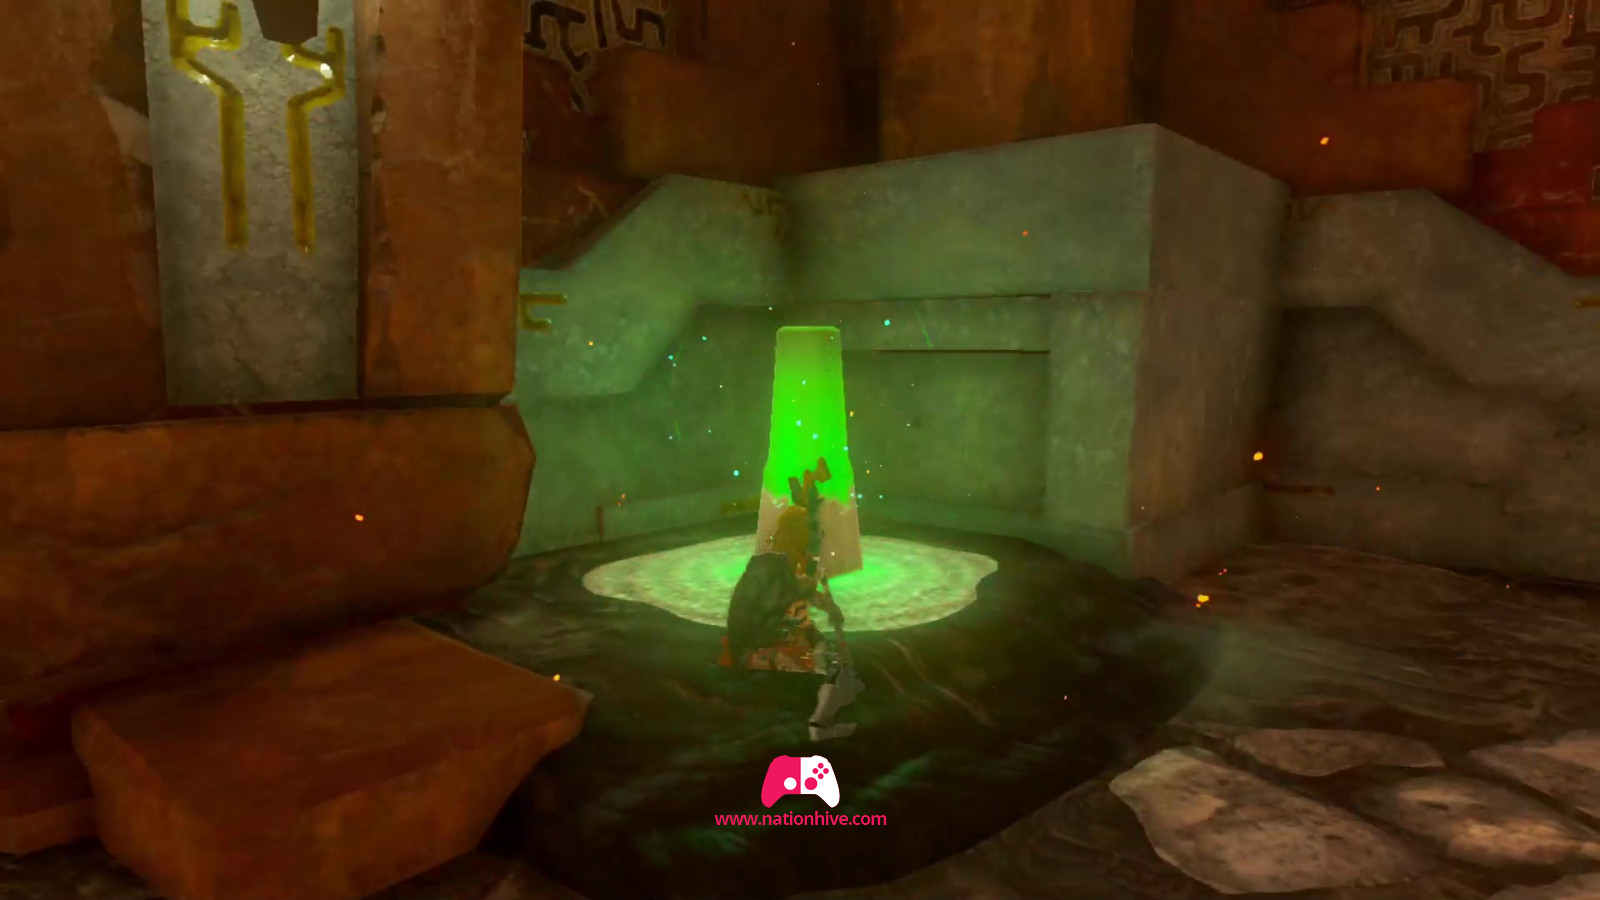
Then head for Yunobo. A cinematic appears, in which you seem to catch a glimpse of Princess Zelda in the distance. Then head for the magic green circle and activate it with A, a fast travel point will appear behind you, enabling you to teleport there.
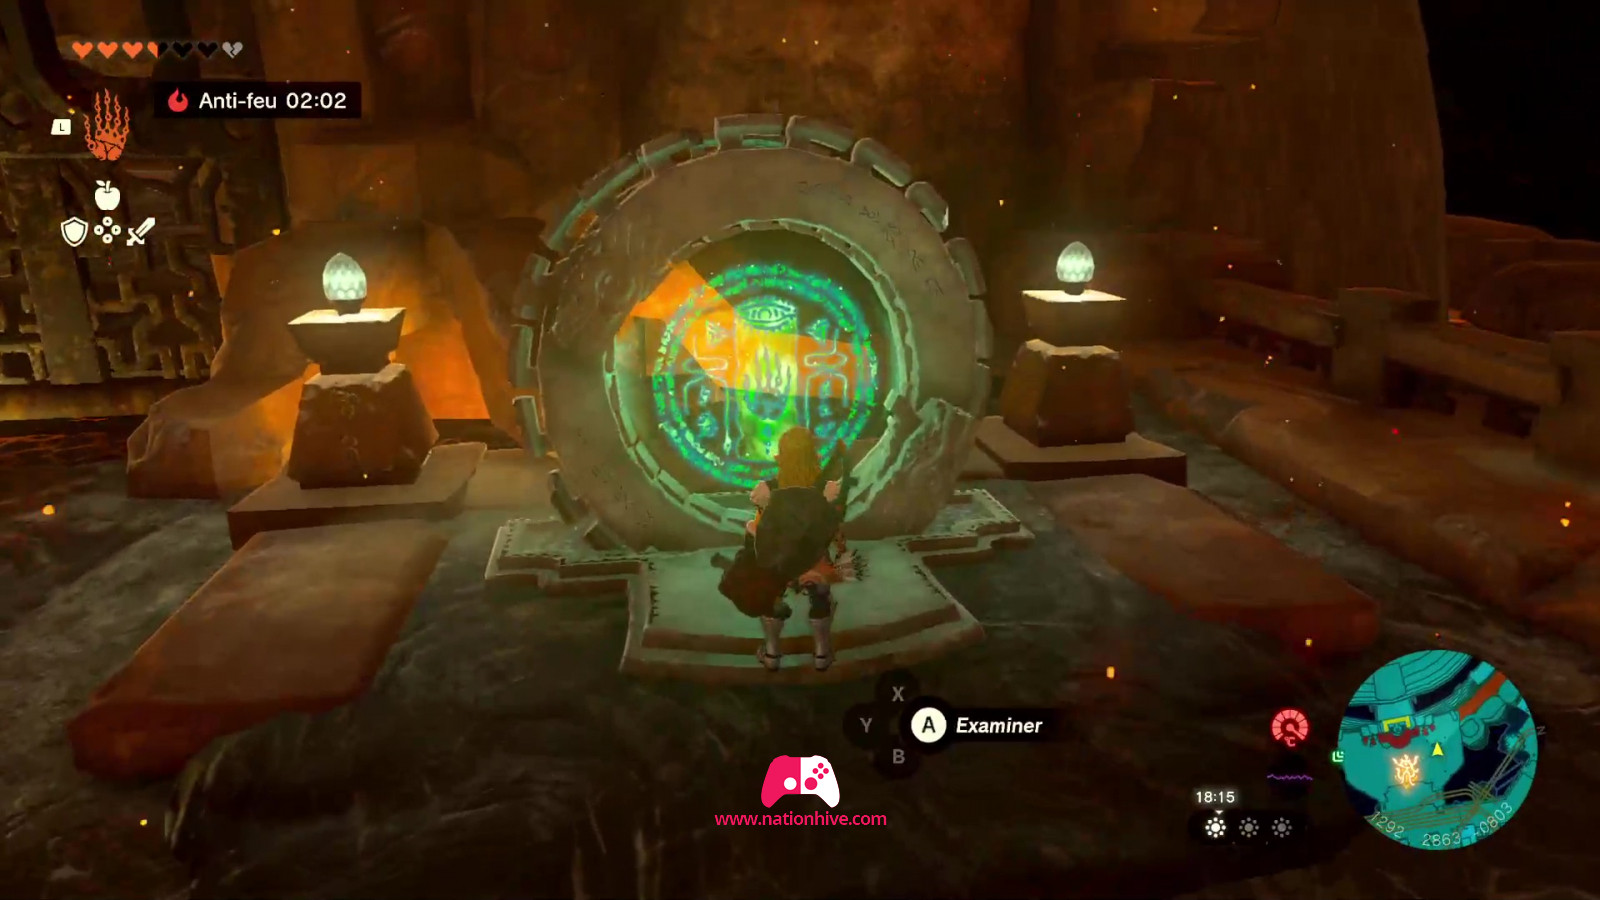
You'll quickly realize that you'll need to unlock the 5 padlocks by activating 5 mechanisms in order to open the door leading to The Fire Temple. You'll need Yunobo's ability to activate all the mechanisms.


How to activate padlock #1 (The Fire Temple, Ground Floor)

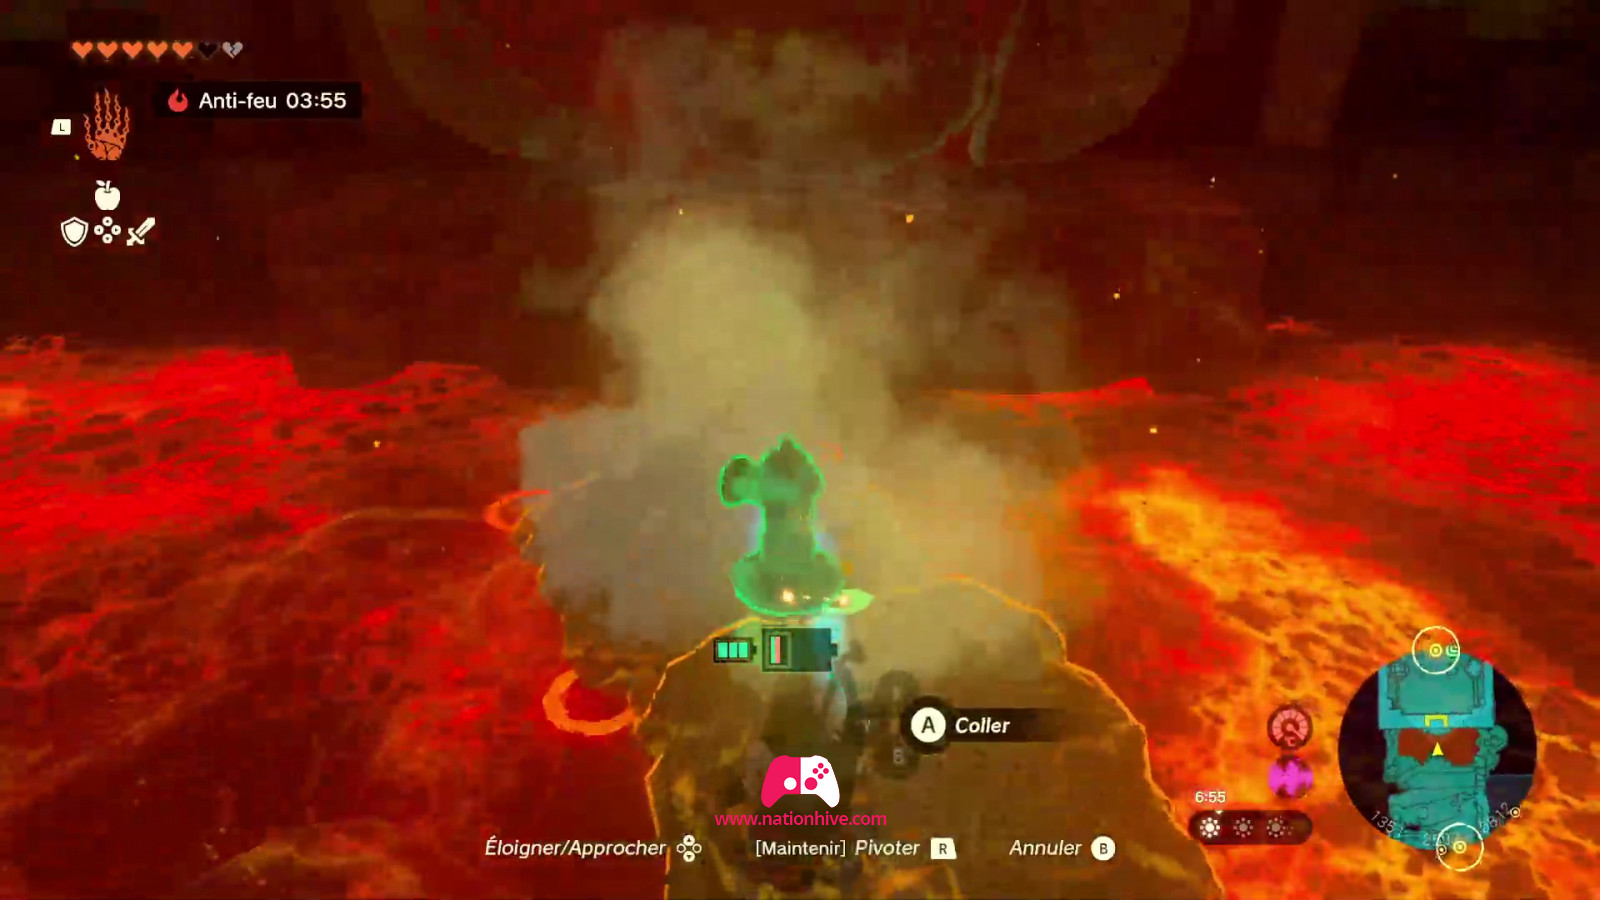
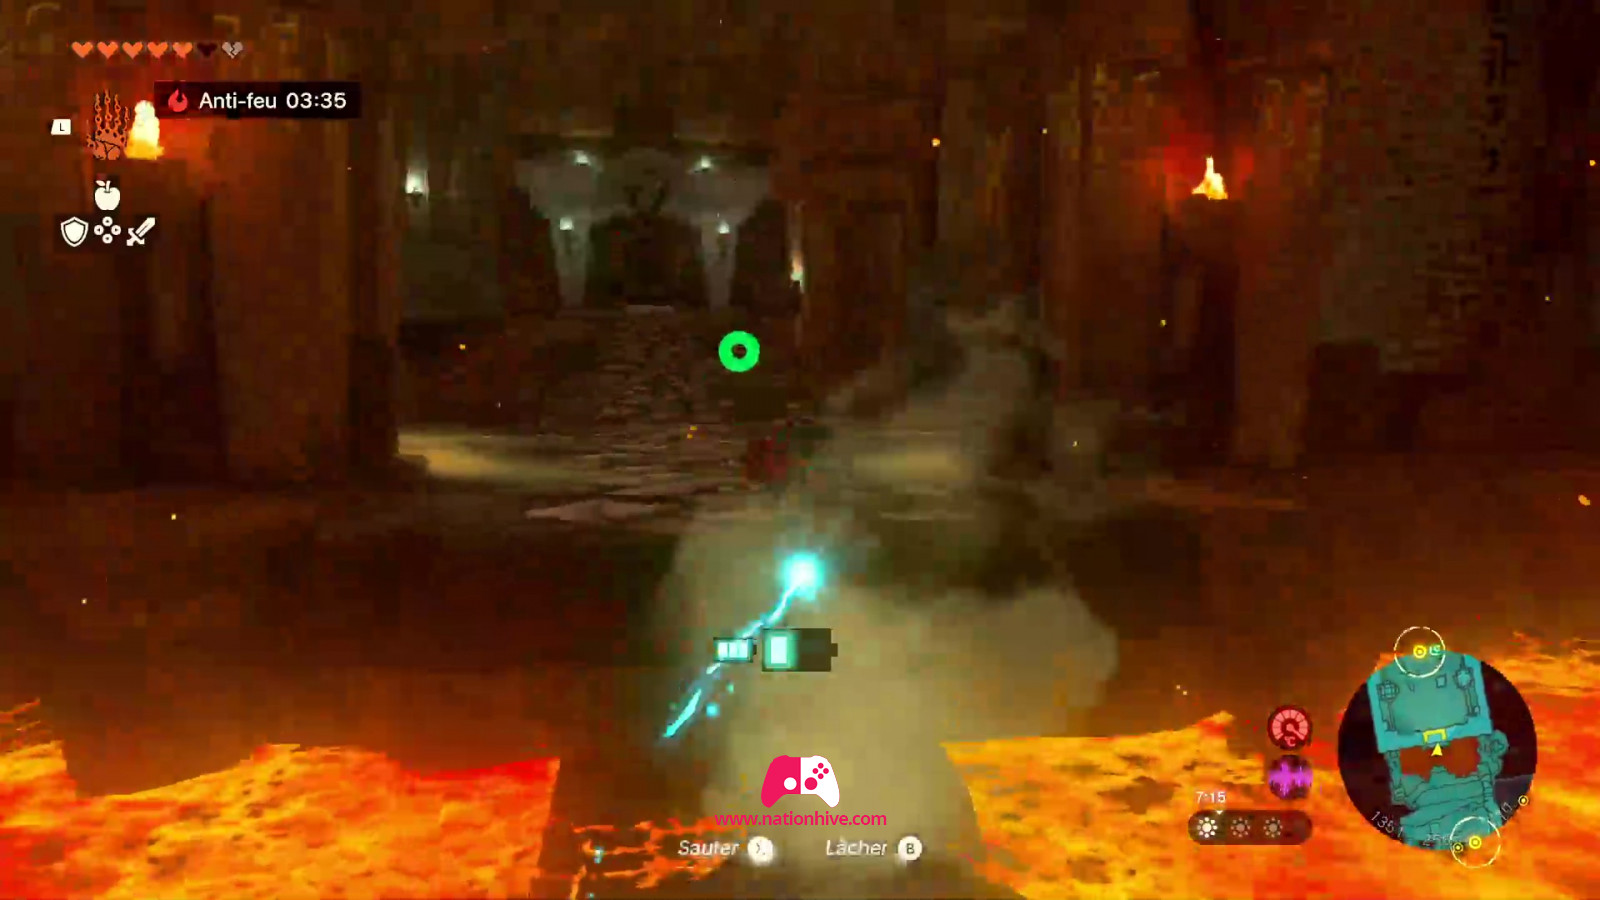
Once you've tried to activate the magic circle without success, go back down the stairs and to the right (south). Attack the enemy guarding the area and head for the lava. You'll find that Soneau artifacts called Hydrants create platforms that allow you to safely cross the first part of this river of lava. For the second part of this river of lava, use a Hydrant to form other platforms that allow you to cross safely. Alternatively, take the platforms created on the other side and place them on the 2nd lava river to cross.
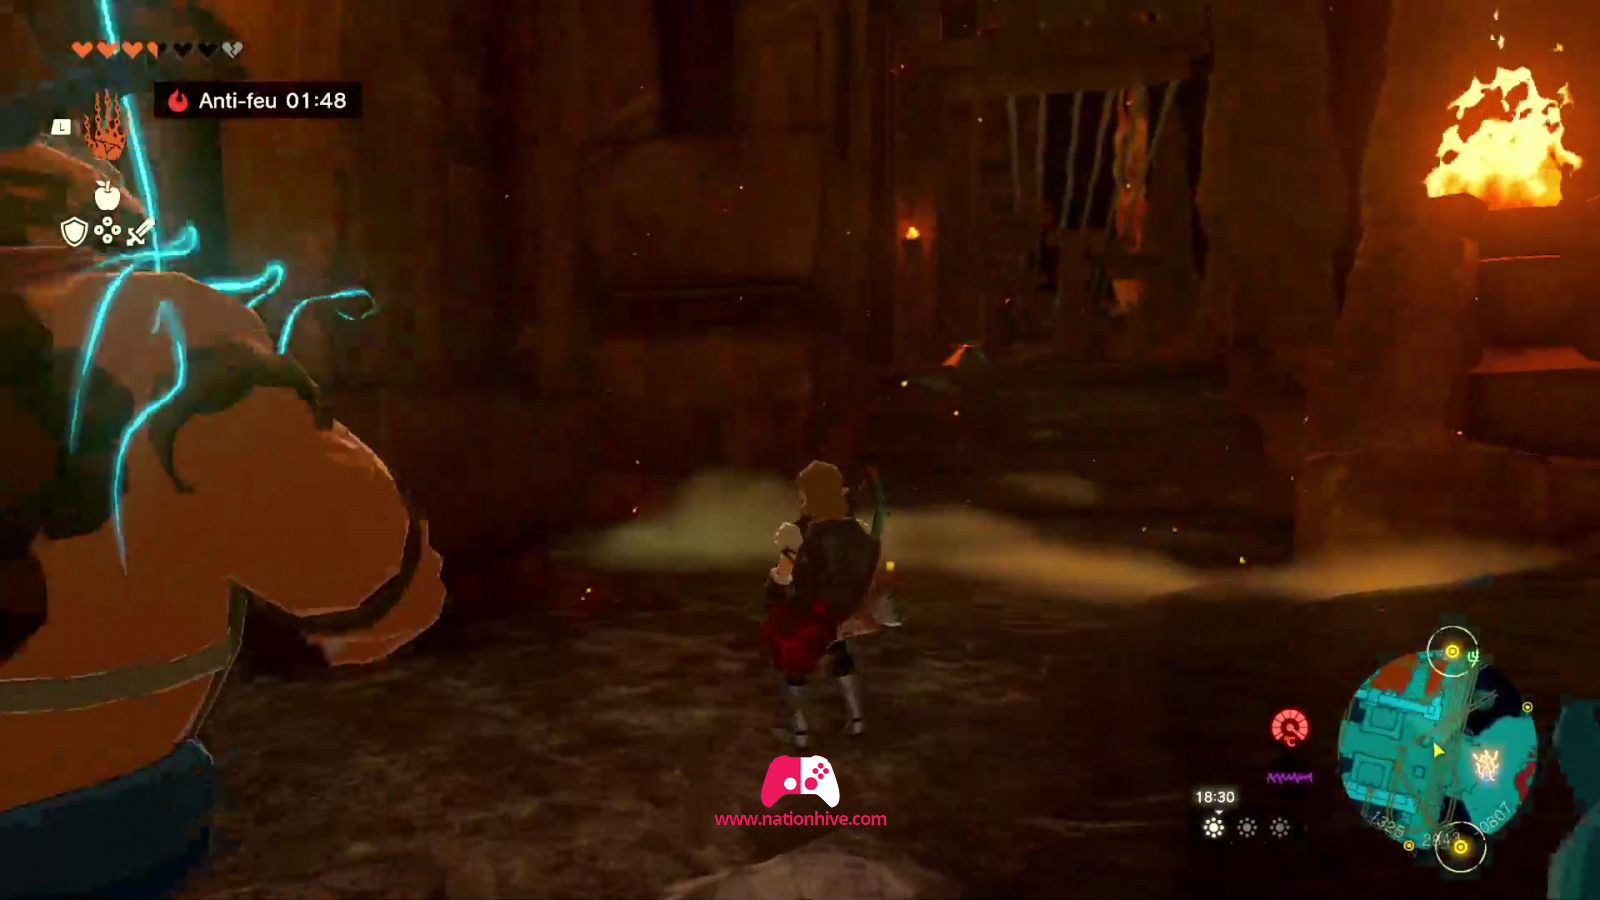
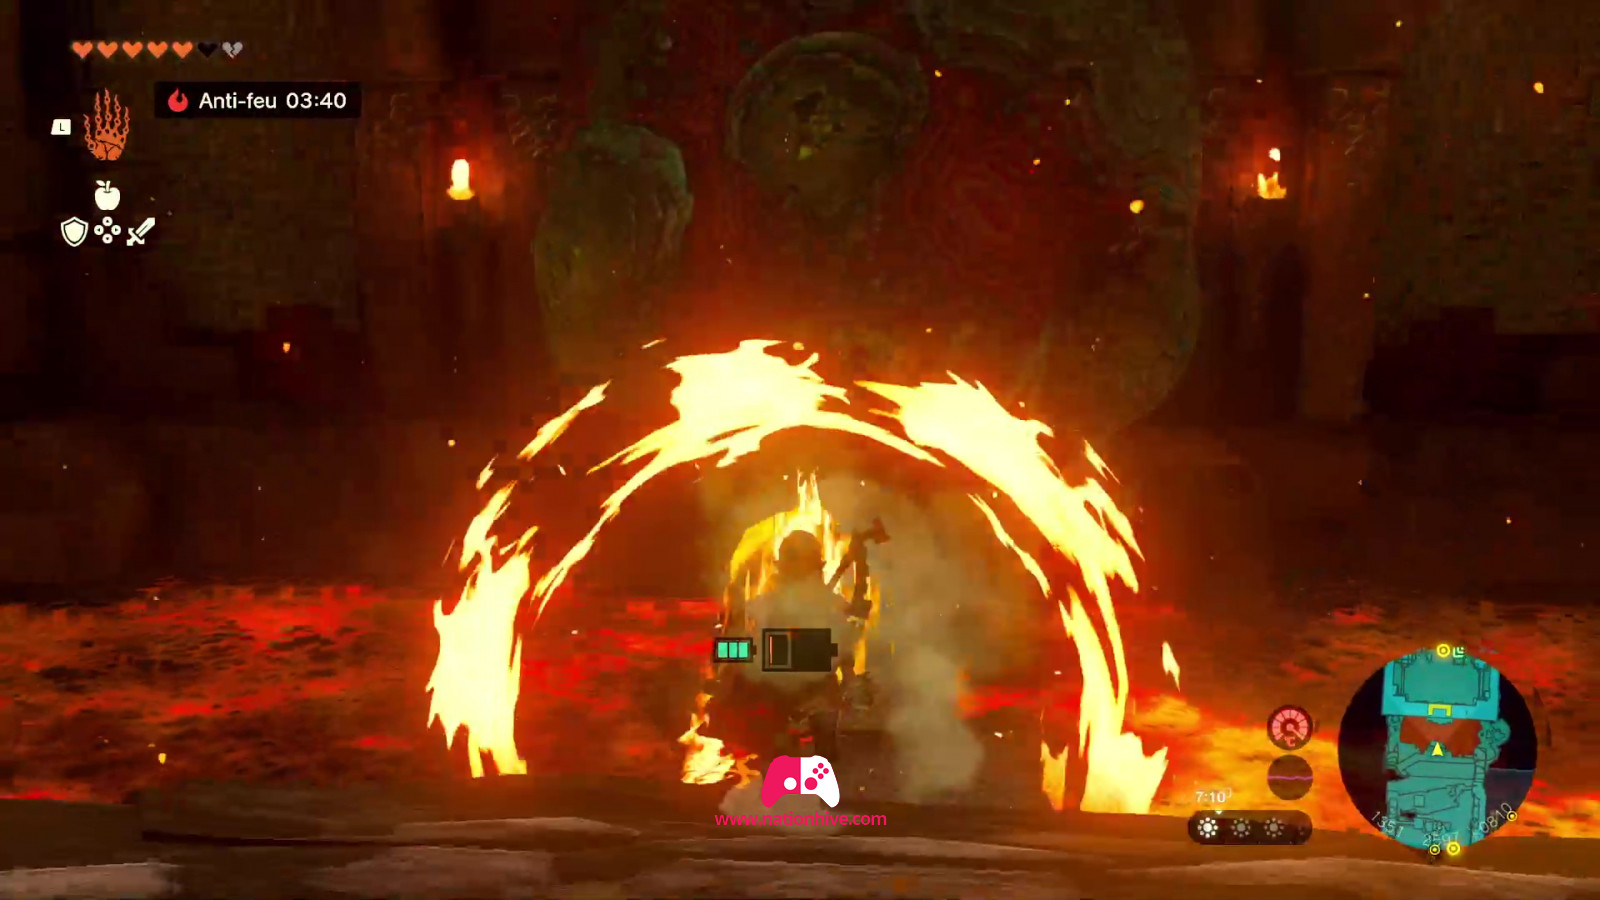
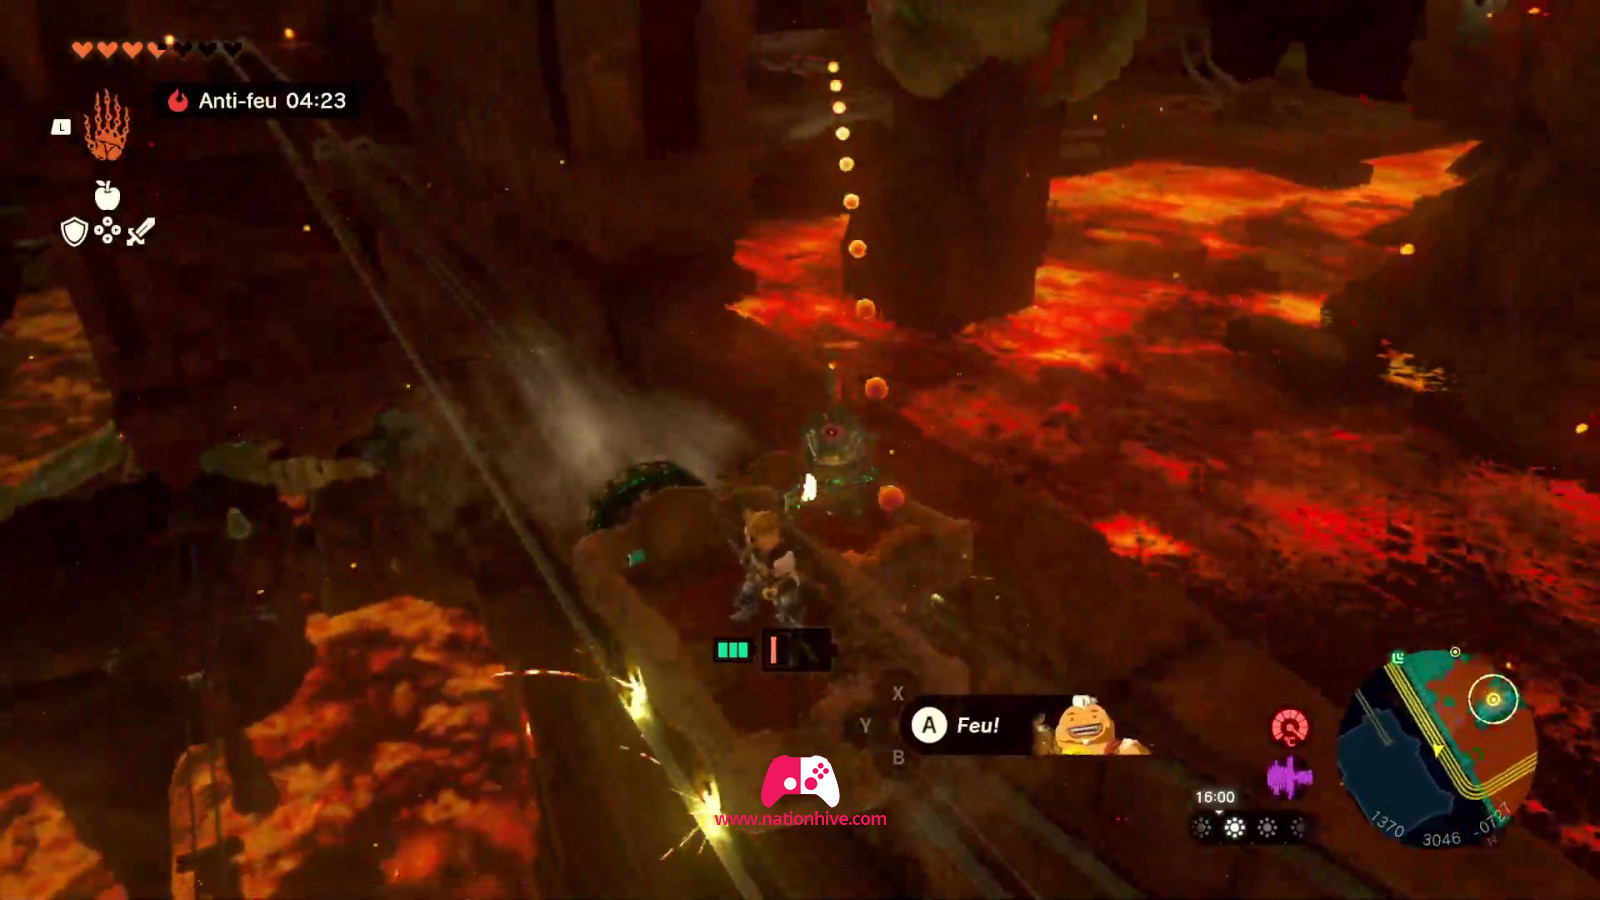
Once on the other side, use the cart provided and activate the fan to move forward. It's important to use Yunobo's ability to hit the target in front of you to change the direction of the tracks to go straight ahead, otherwise you'll be going in circles for a long time. The carriage will stop at a certain point because of a barrier. Deactivate the fan and get off the cart to attack the fire Like Like. Once the creature has been defeated, you'll receive a chest containing a mighty Zonaite shield.
To the right of the fire Like Like, you'll see stones blocking the path. It won't be possible to use Yunobo's ability as there's lava in front of the stone. You'll need to find a platform to put over the lava so that Yunobo can use his ability. Go back to where you saw the carts and Hydrants (before you saw the fire Like Like) and bring the lit Hydrant to make platforms appear right in front of the stones.
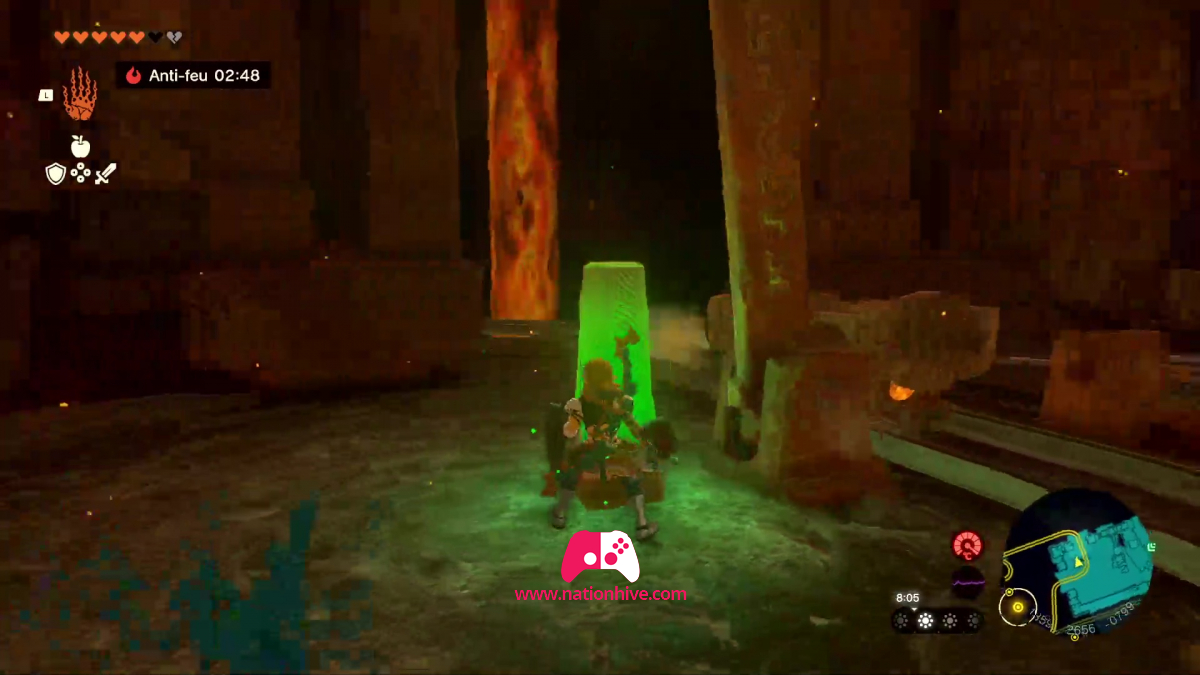
Then use Yunobo's ability to destroy the stones and you'll find the first mechanism. To activate the mechanism, simply use Yunobo's ability and face the mechanism before activating it. This action will unlock the first padlock. Don't forget to collect the artifacts (in a ball) in the room.
How to activate padlock #2 (The Fire Temple, 1st floor)

To access padlock #2, simply go back to the other side (where you defeated the fire Like Like) and return to your cart. Then activate the orange cone to raise the barrier and board your cart to continue the railroad.
Use Yunobo's ability to destroy the rocks blocking your path. When you reach the next room, hit the small pillar to change the direction of the cart and continue on your way, using Yunobo's ability to hit the target and go right. The cart will stop at a certain point. Get off the cart and attack the enemies. Then head left across the small bridge. On the other side of the bridge, hit the small pillar to lower the rail and continue on the railroad you've just unlocked.

Arriving at the next room, you'll be faced with a lava waterfall and stones blocking the way. Once again, it won't be possible to use Yunobo's ability as there's lava in front of the stone. You'll need to find a platform to put over the lava so that Yunobo can use his ability. To your right is a Hydrant, which you can use to create platforms for Yunobo to use his ability to break the stones blocking the path. Once the path is clear of stones, use the platforms you've created to get to the other side of the lava river. This is where you'll find the 2nd mechanism. To activate the mechanism, simply use Yunobo's ability and face the mechanism before activating it. This action will unlock the second padlock.

How to activate padlock #3 (The Fire Temple, 4th floor)
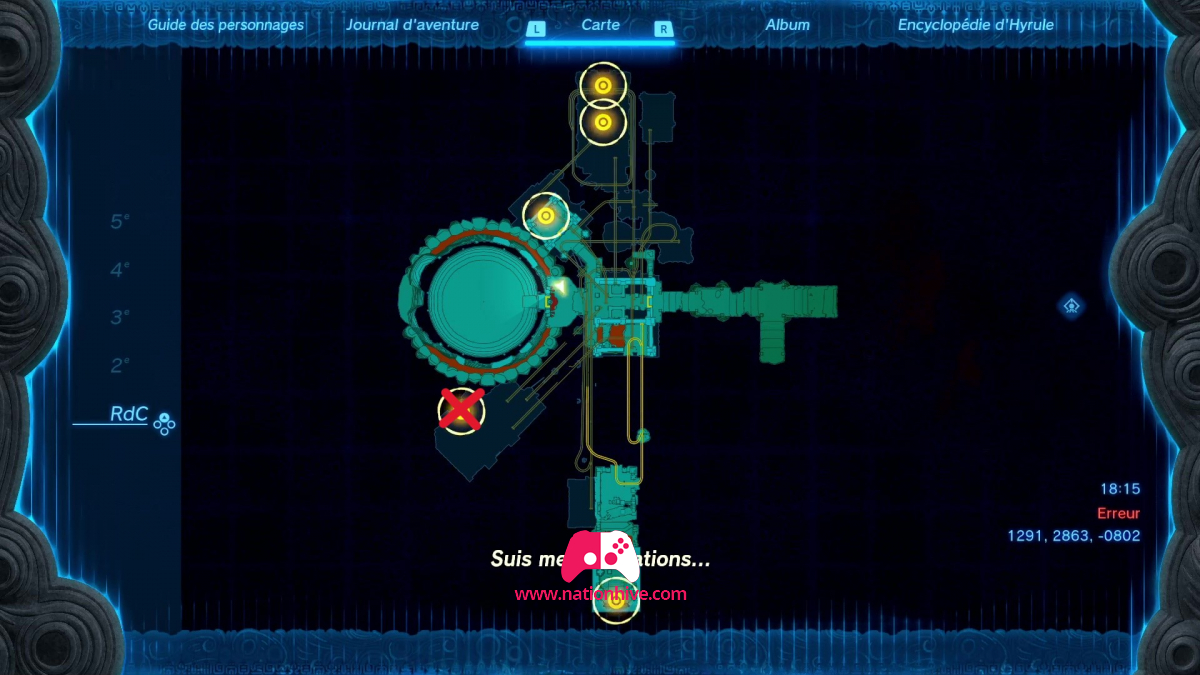
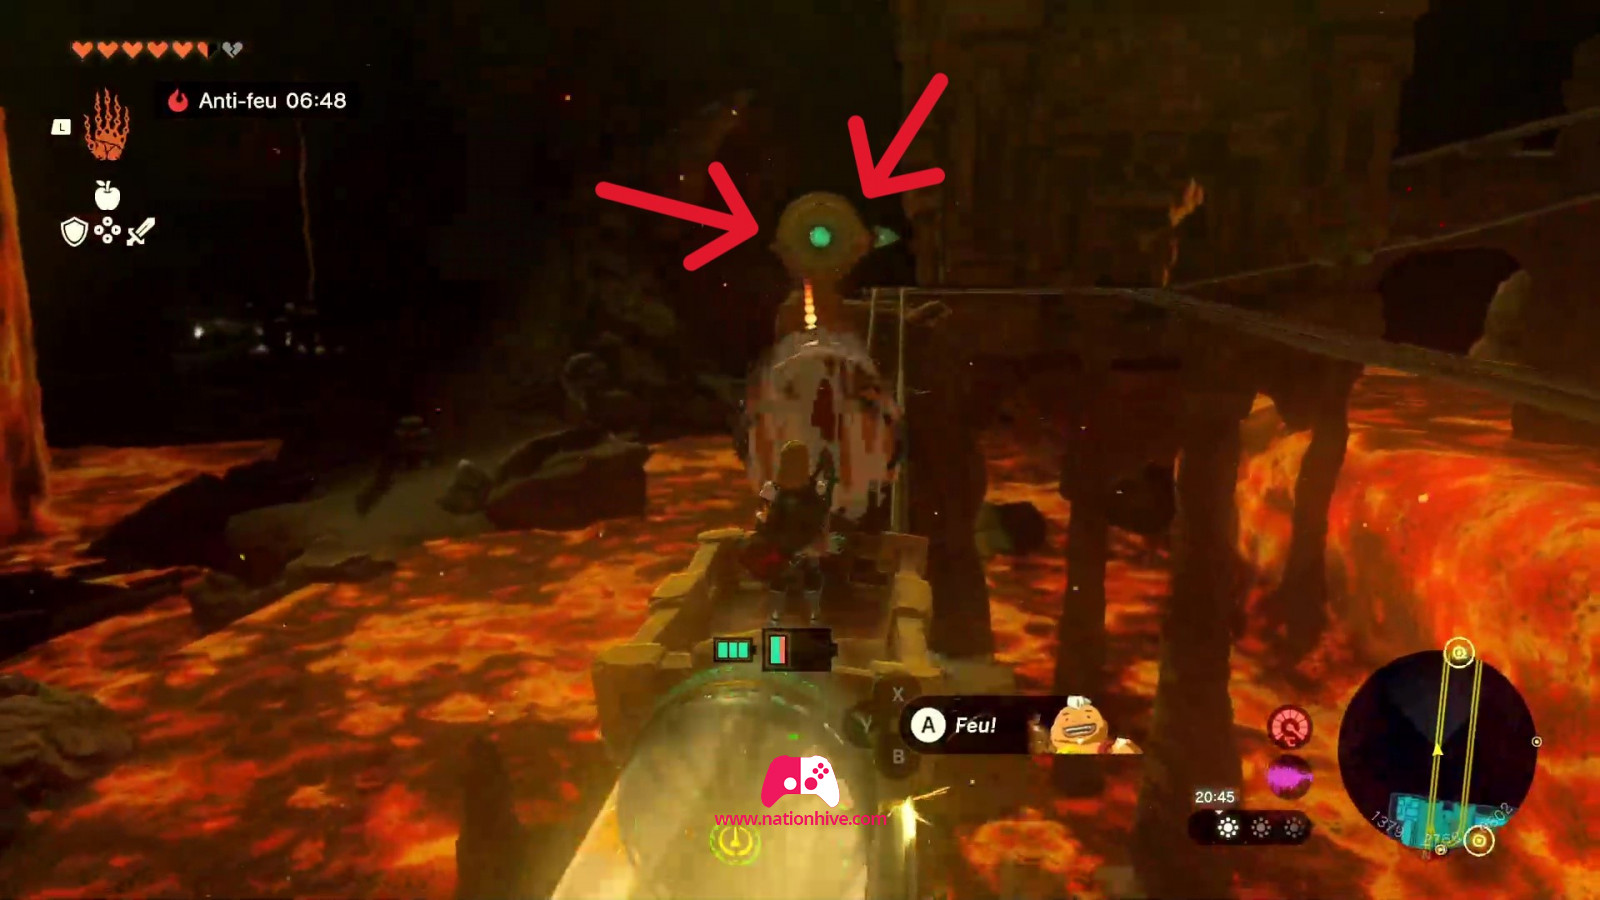
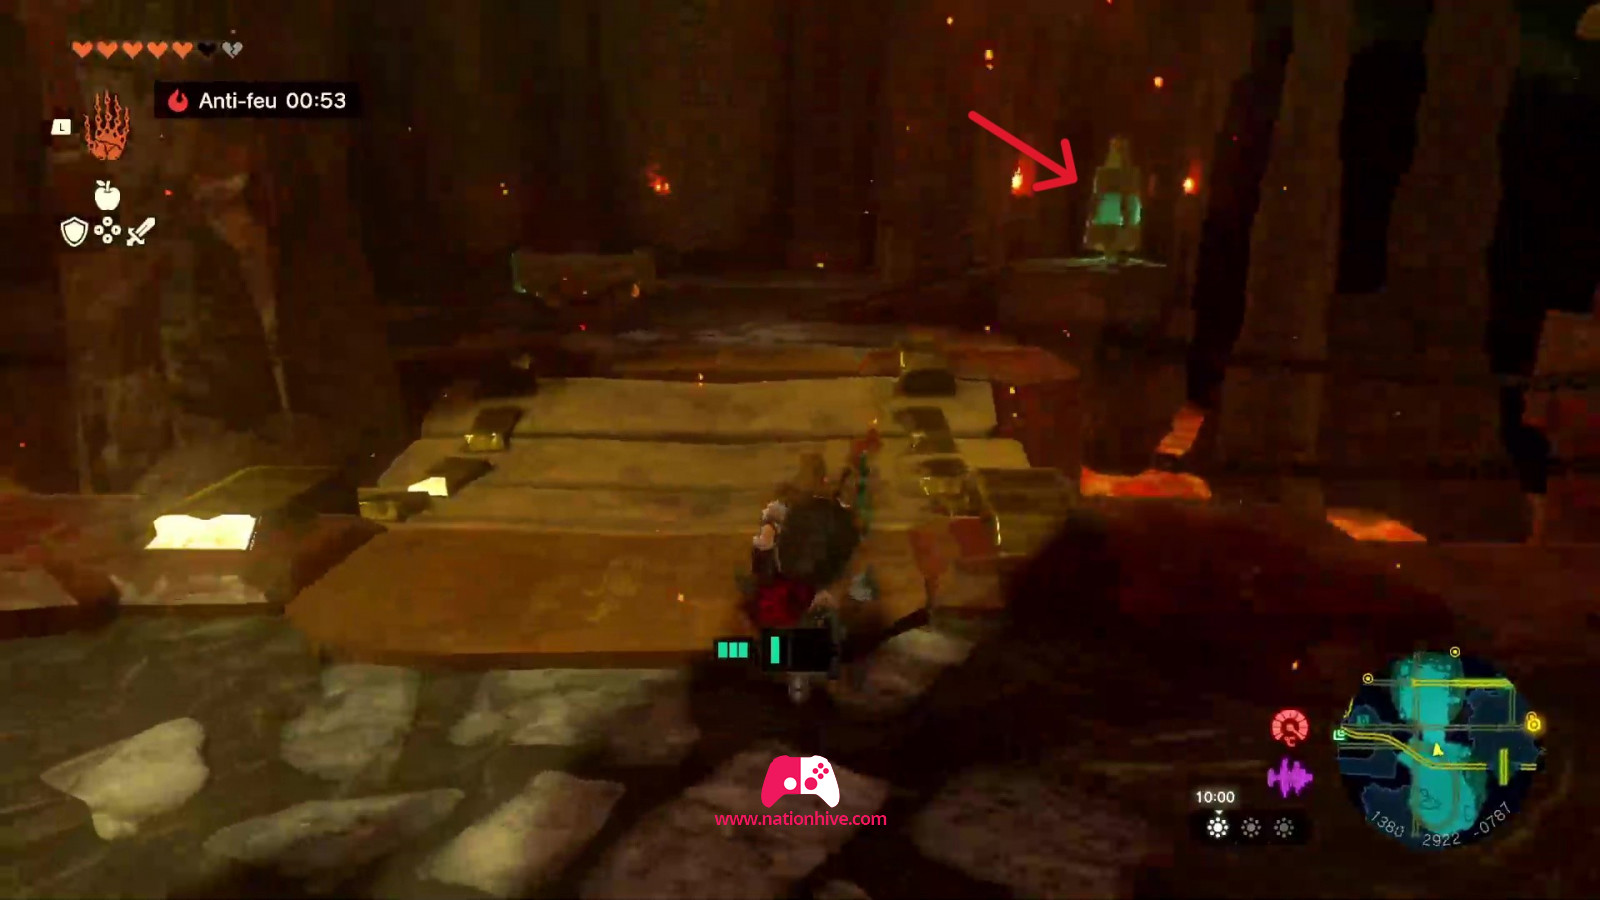
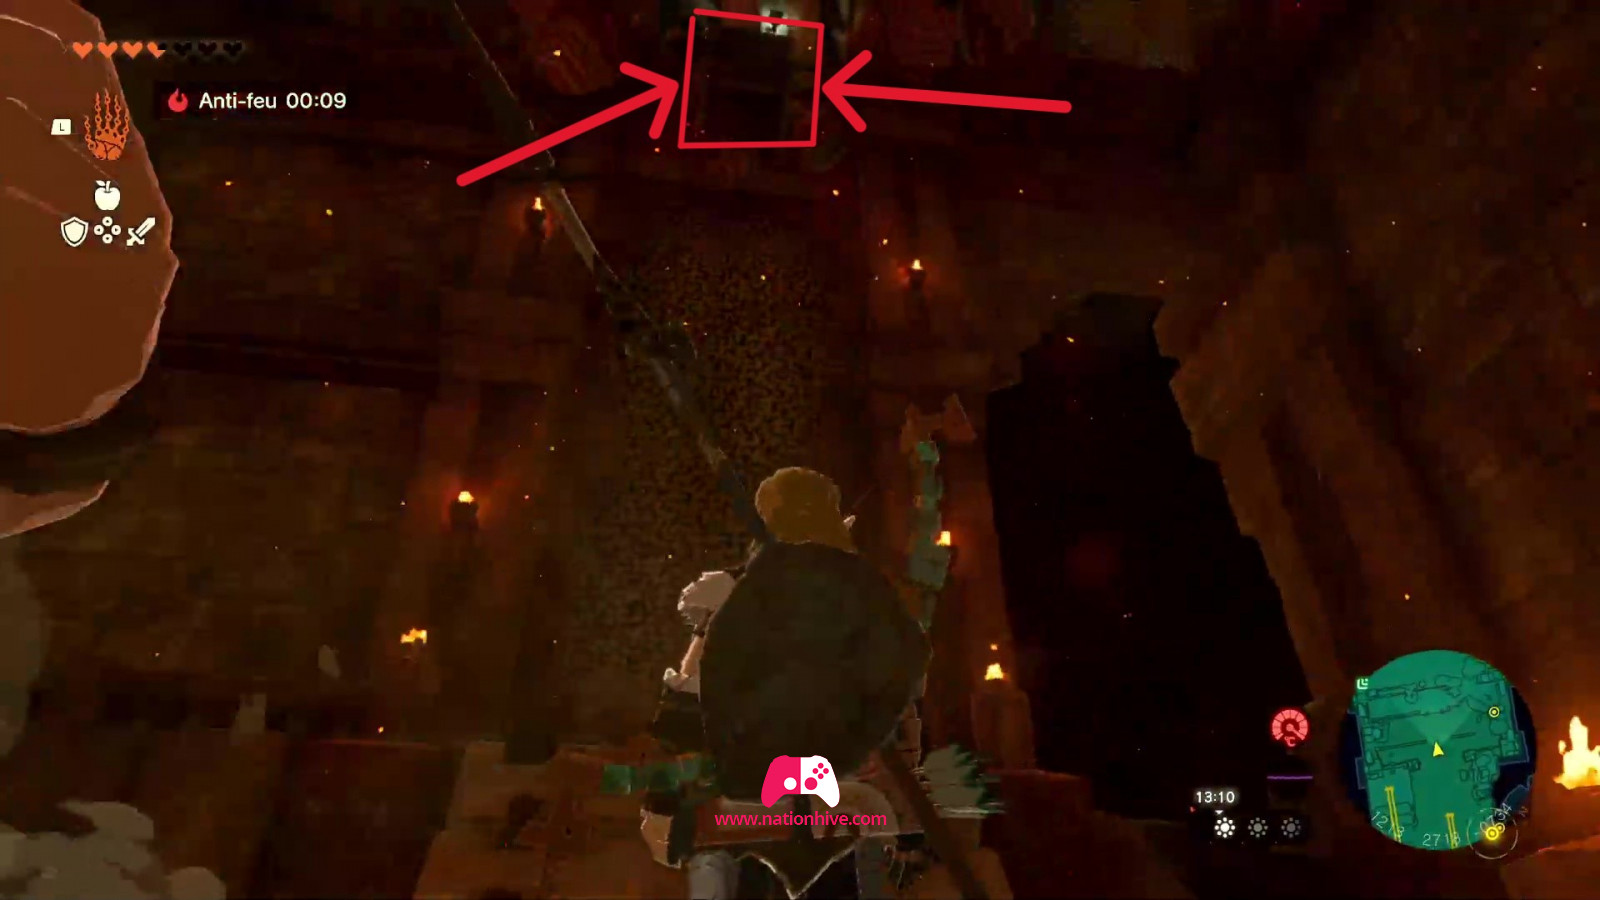
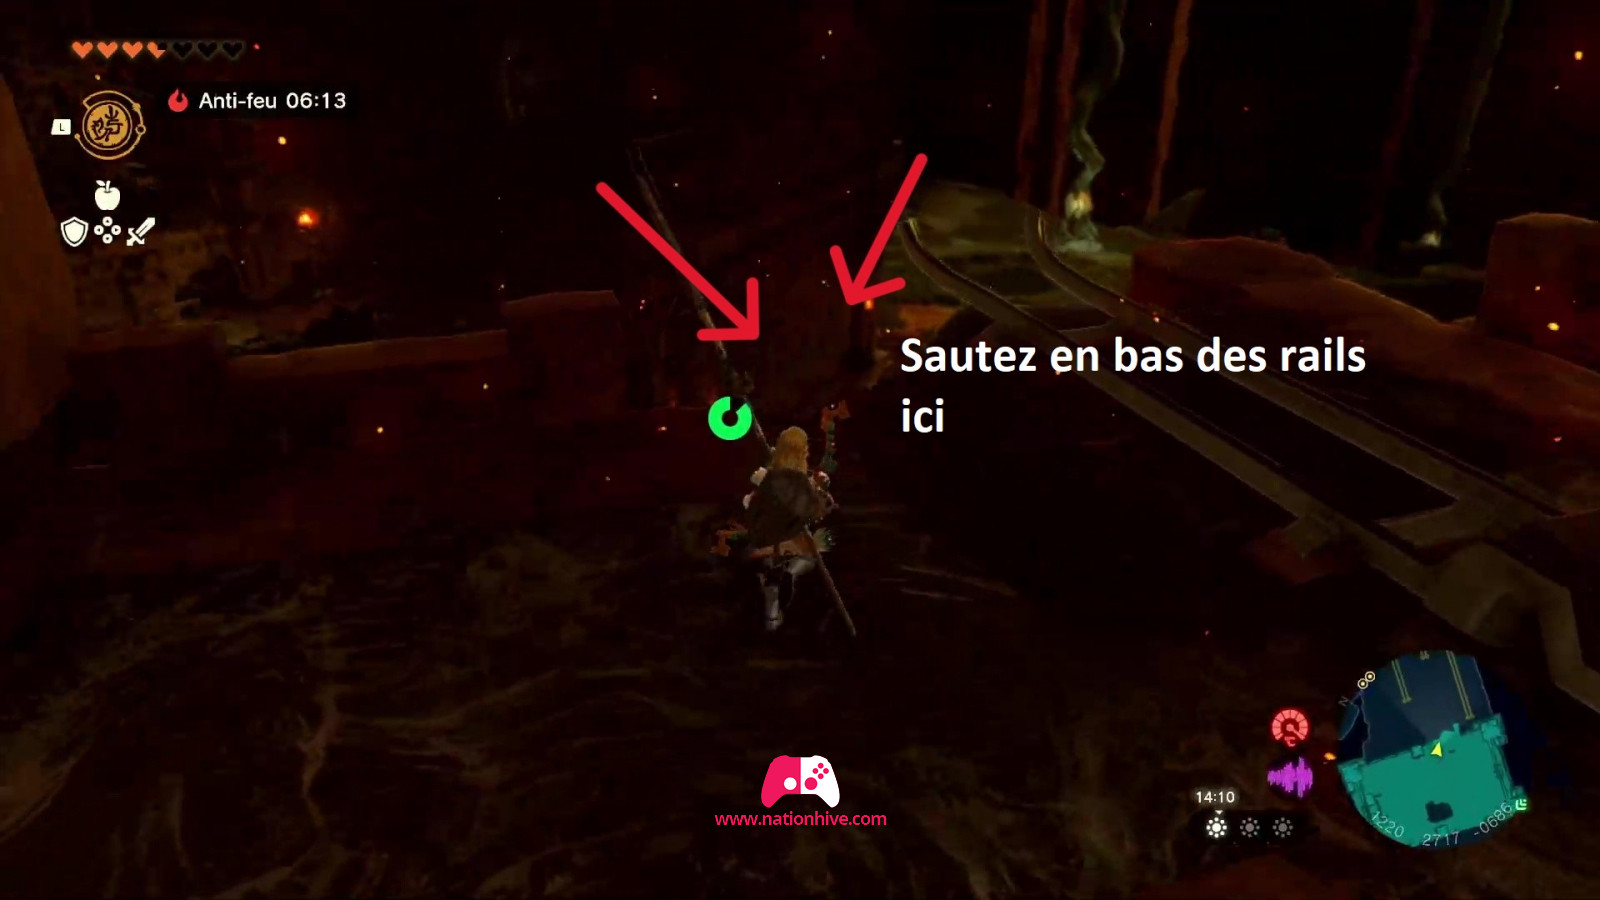
To get to the next padlock, return to the railway, place a cart and hit the small pillar to change the direction of the cart, and shoot an arrow at the small pillar on the left (see image below) to change the direction of the rails. This will raise the rails, taking you to the 2nd floor. Once up there, attack the enemy and open the chest in the room to receive 10 wooden Arrows.
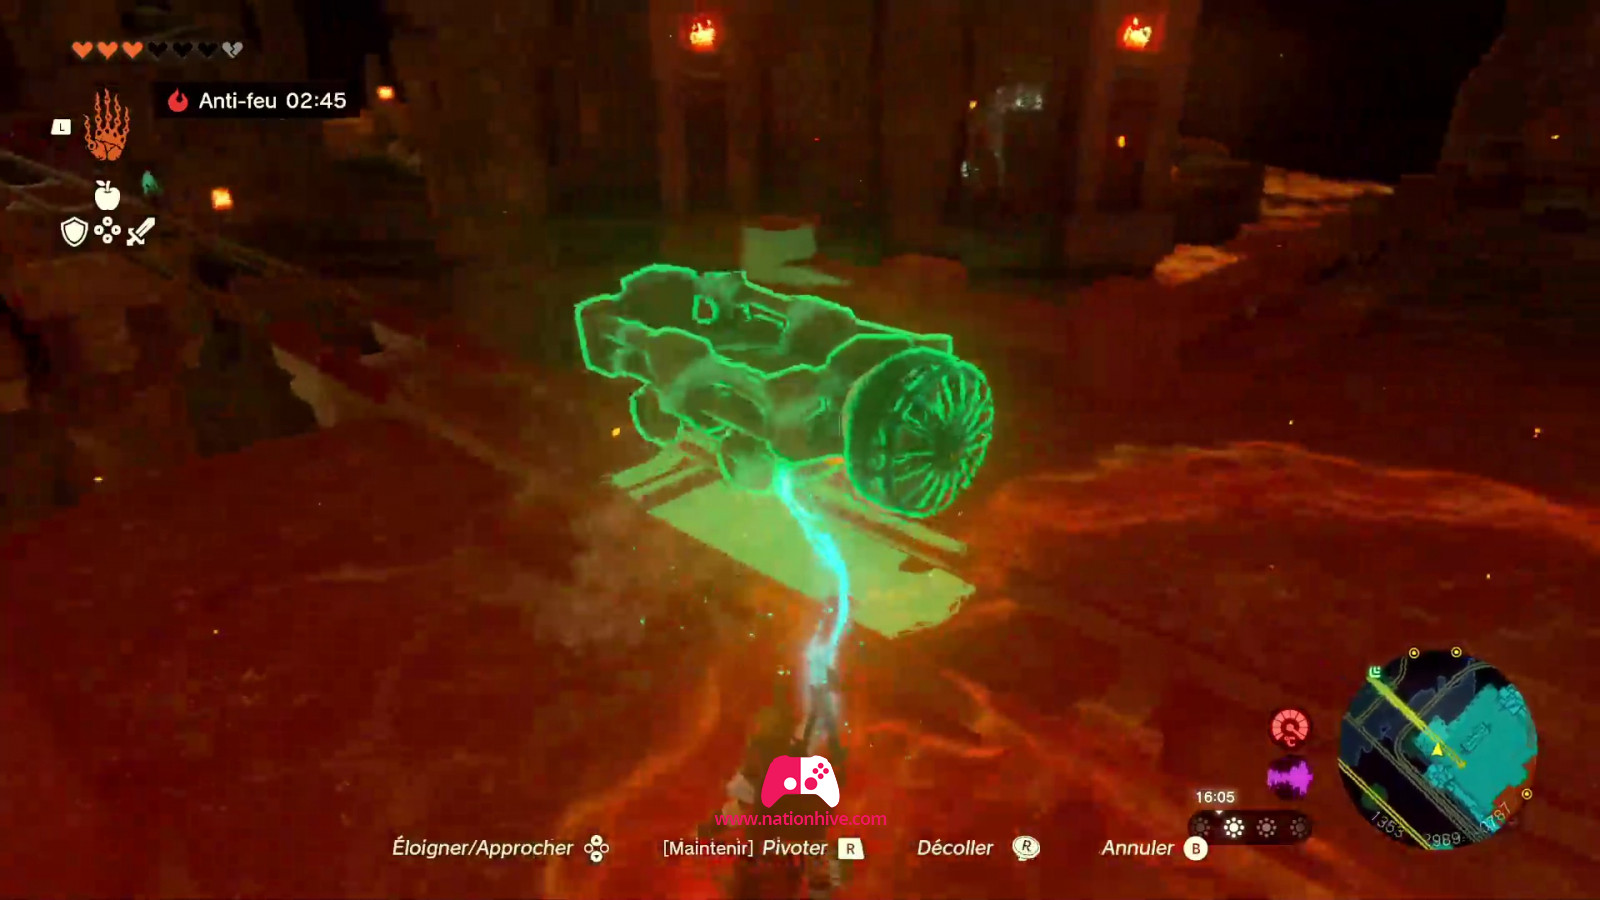
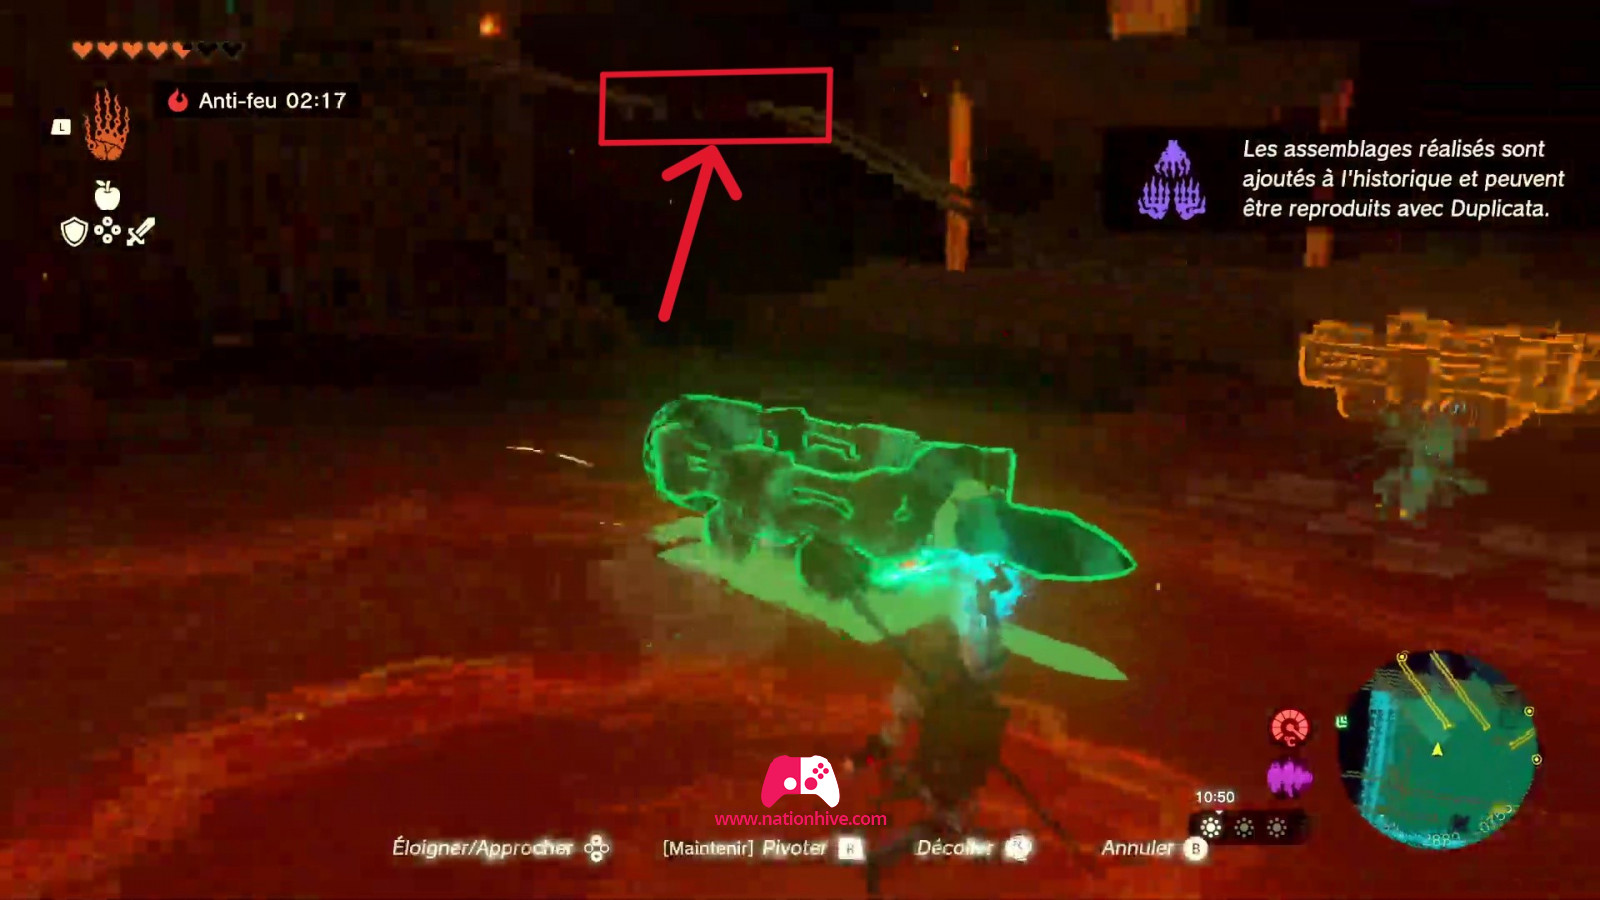
To progress, stick a Rocket Soneau artifact on a cart to be able to cross the next railroad, but the rocket will be very useful as the railroad is broken. So the rocket will allow you to be projected and continue on your way despite the broken railroad.
When you reach the next room, attack the enemy and use the Ultrahand ability to glue pieces of wood together to create a bridge. This bridge will allow Yunobo to project himself to break the platform at the top to drop a cube. Climb this cube and use the Recall ability to climb to the top. At the top is the padlock. To activate the mechanism, simply use Yunobo's ability and face the mechanism before activating it. This action will unlock the third padlock.
How to activate padlock #4 (The Fire Temple, 3rd floor)
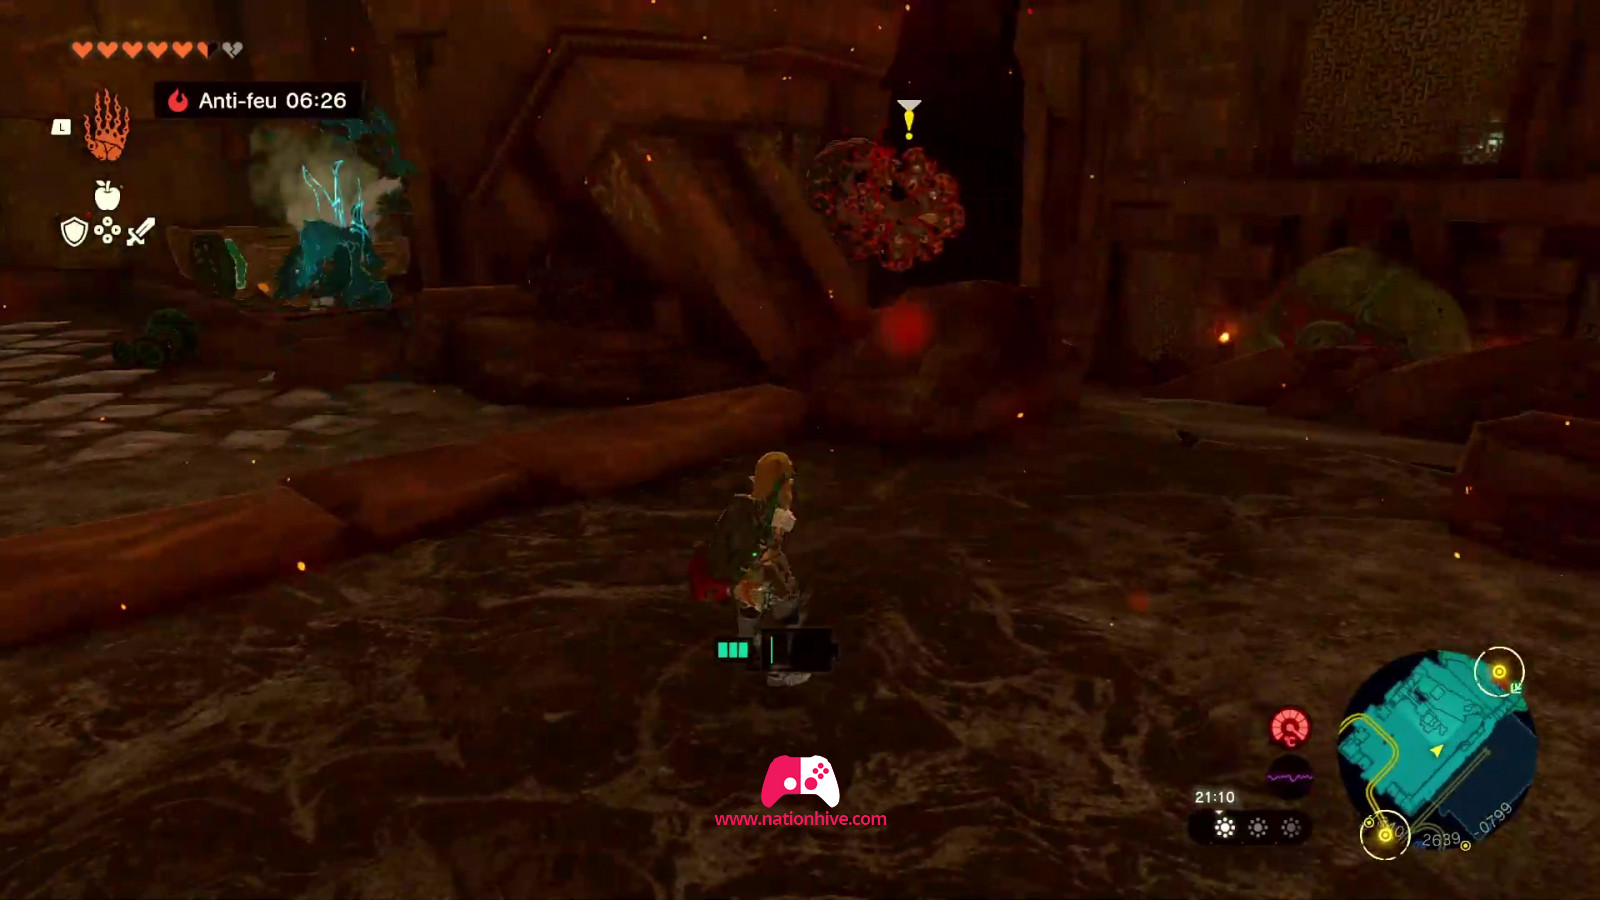
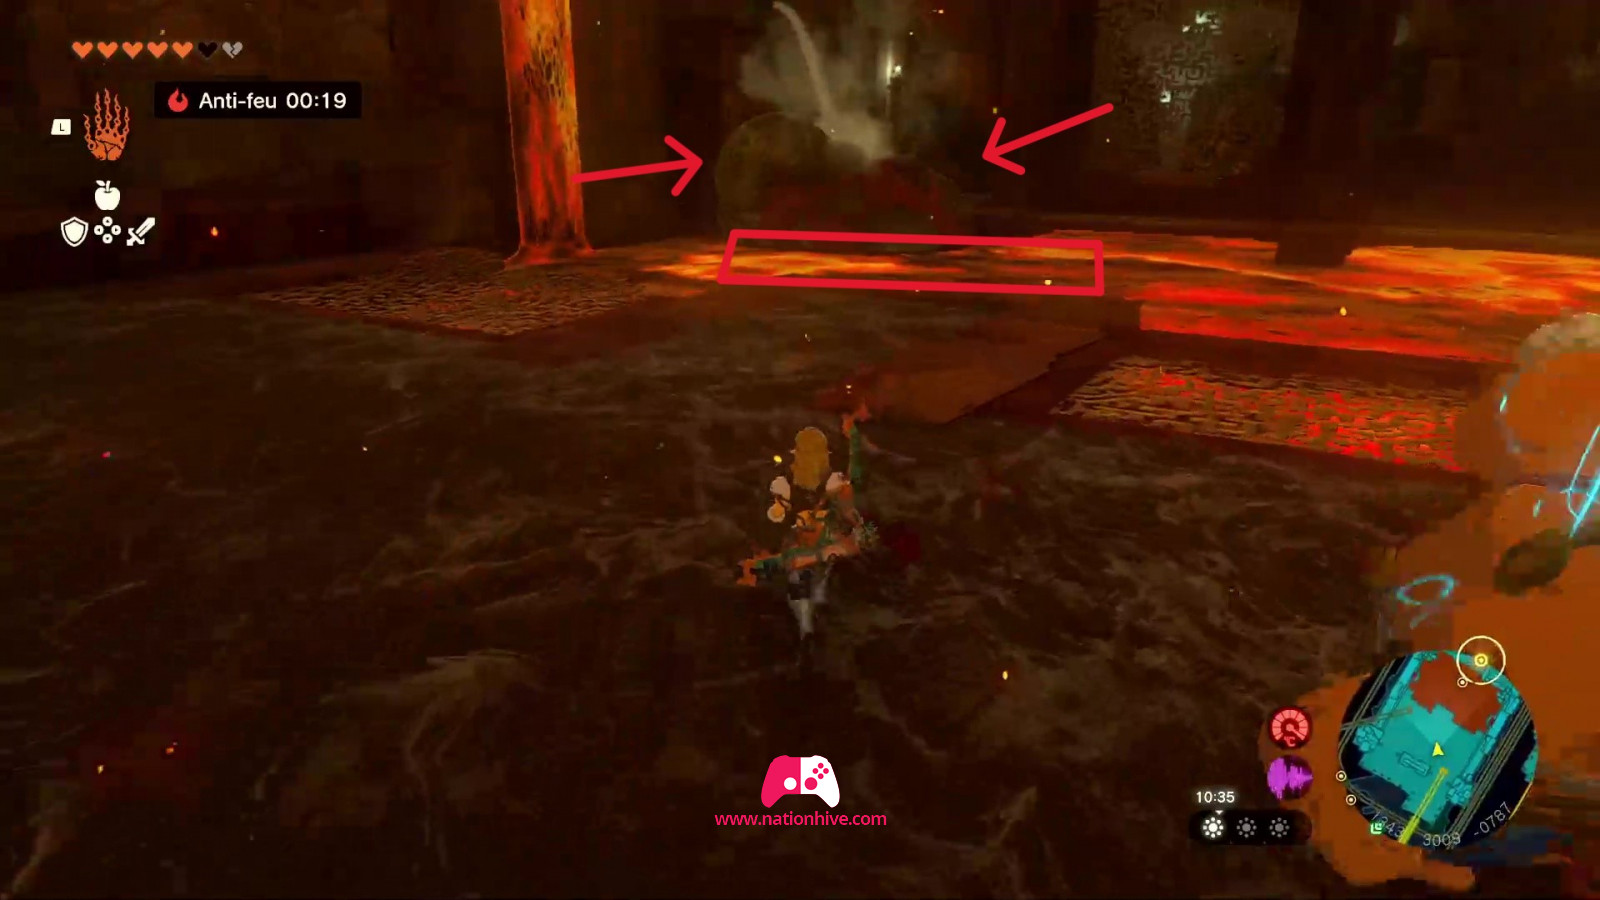
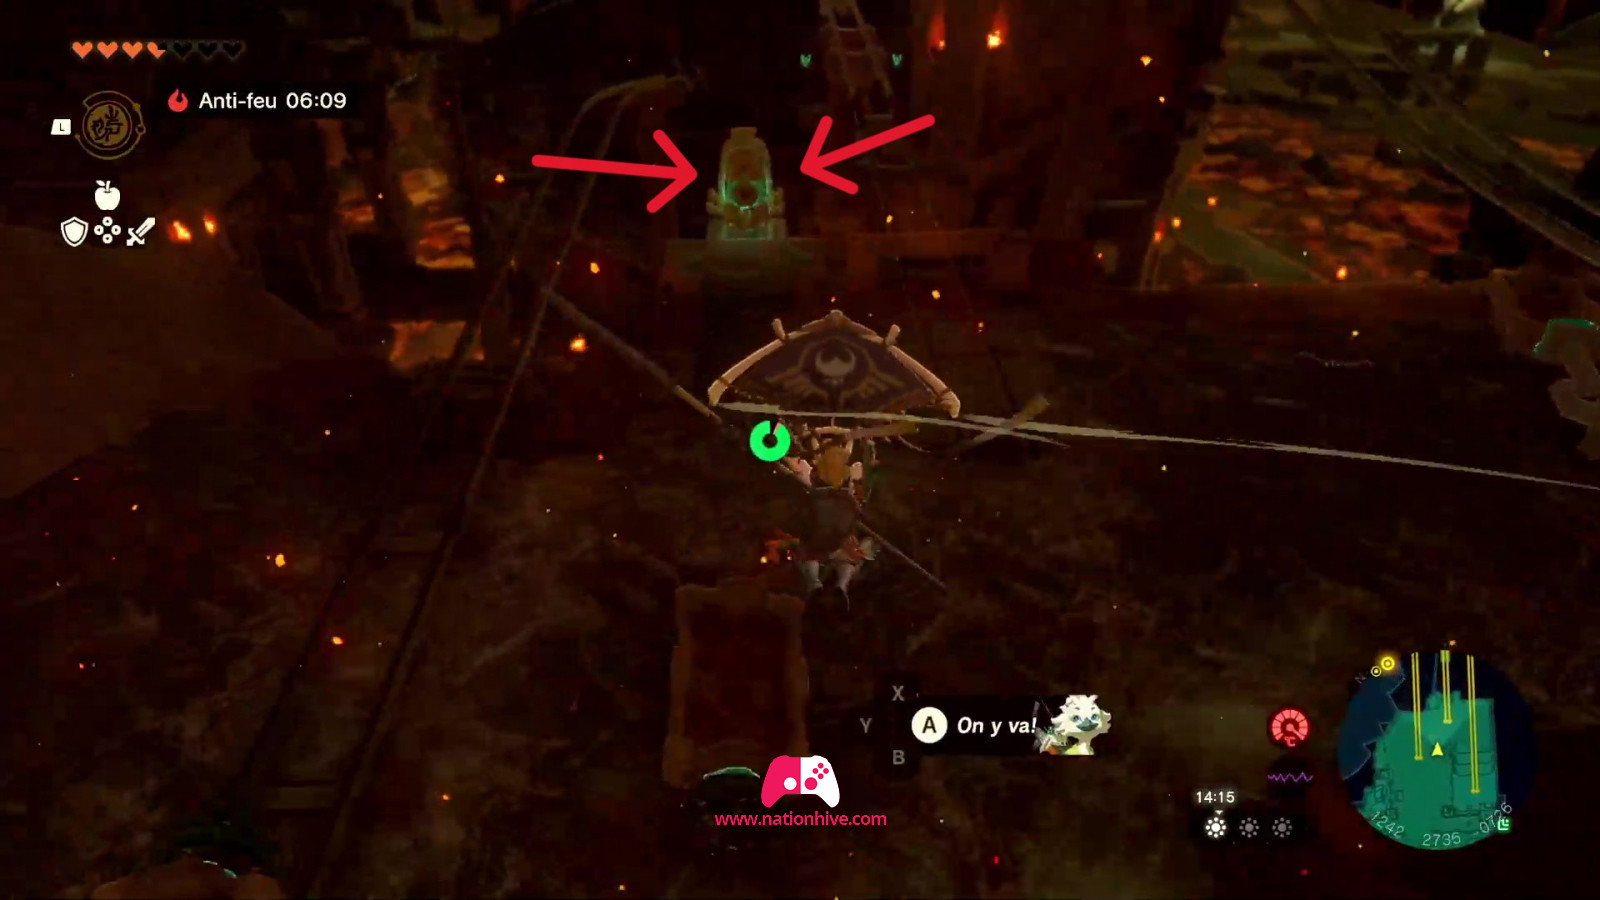
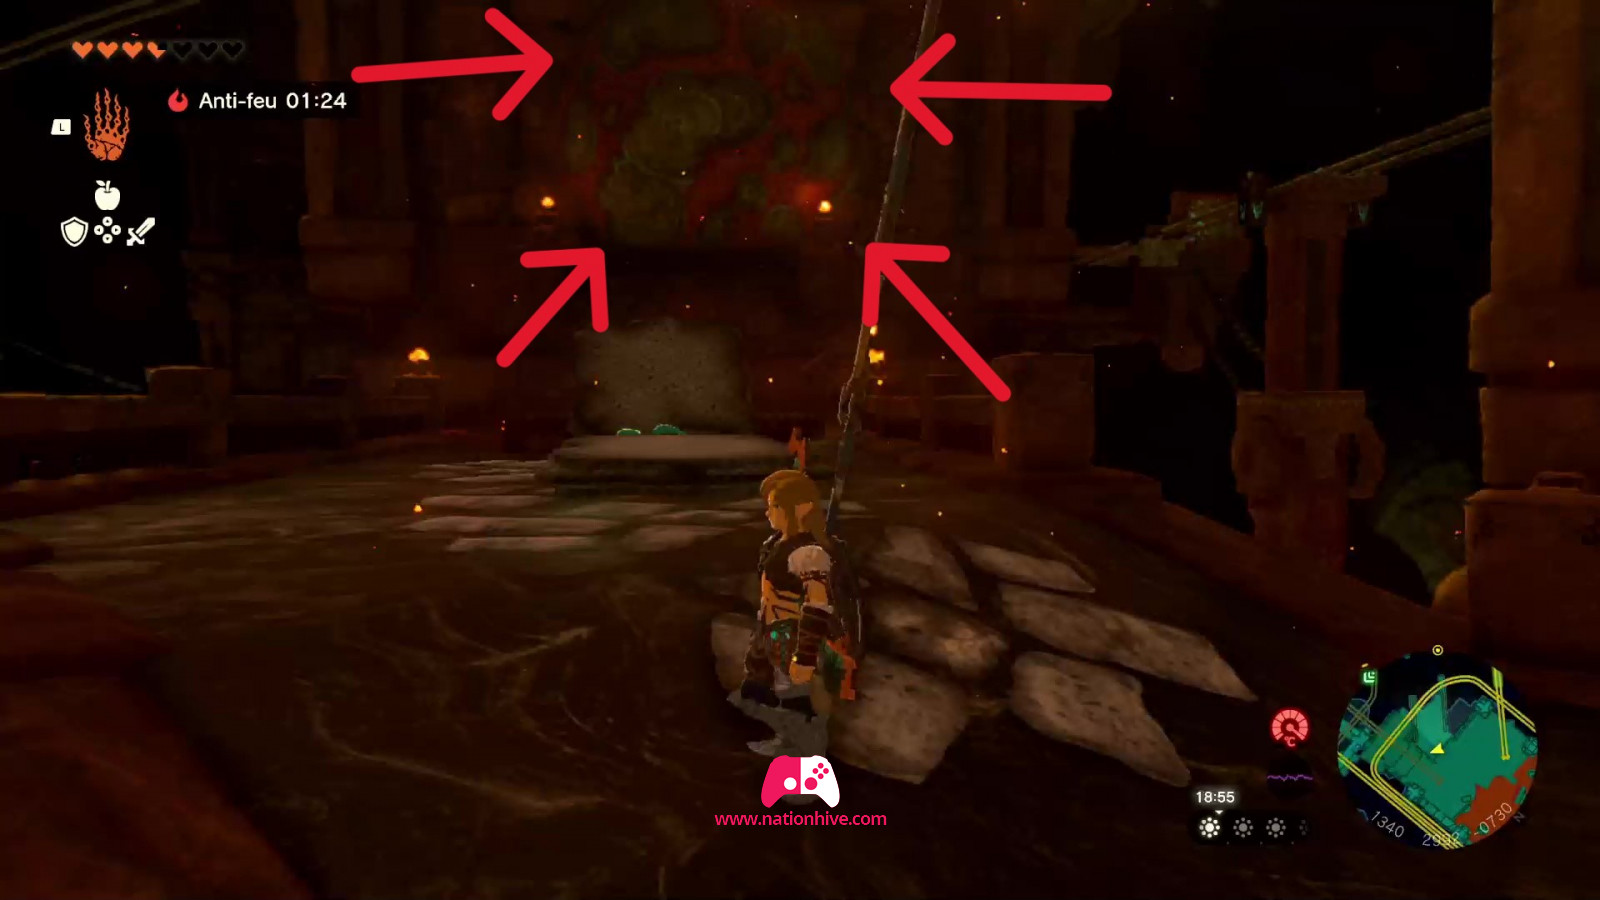
From the room where padlock #3 is located, jump down to the bottom of the tracks (see picture below). At the bottom, hit the small pillar to change the direction of the rail to go down. Then install a cart and activate the fan to descend. You'll find yourself back in the room where you opened a chest just before.
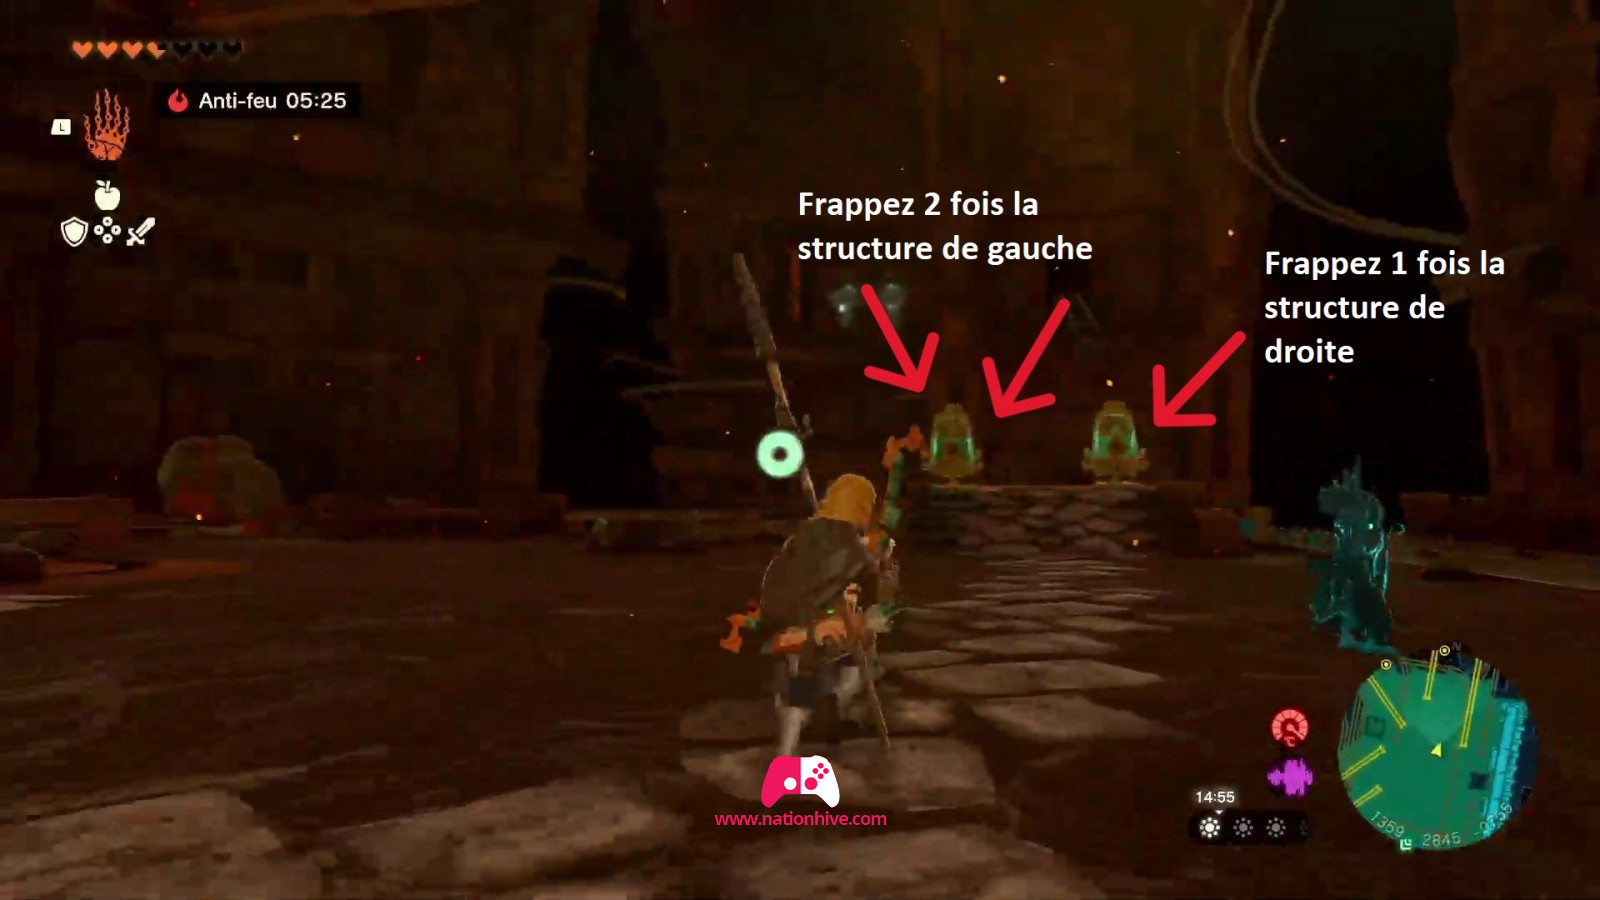
Then head for the small structure on the left and hit it twice to change the direction of the rails, and hit the structure on the right once to raise the rails. Once ready, place a cart on the rails you've just changed direction and activate the fan to climb upwards. Watch out for the Soldier Constructs on your left. Attack it with Yunobo's ability.
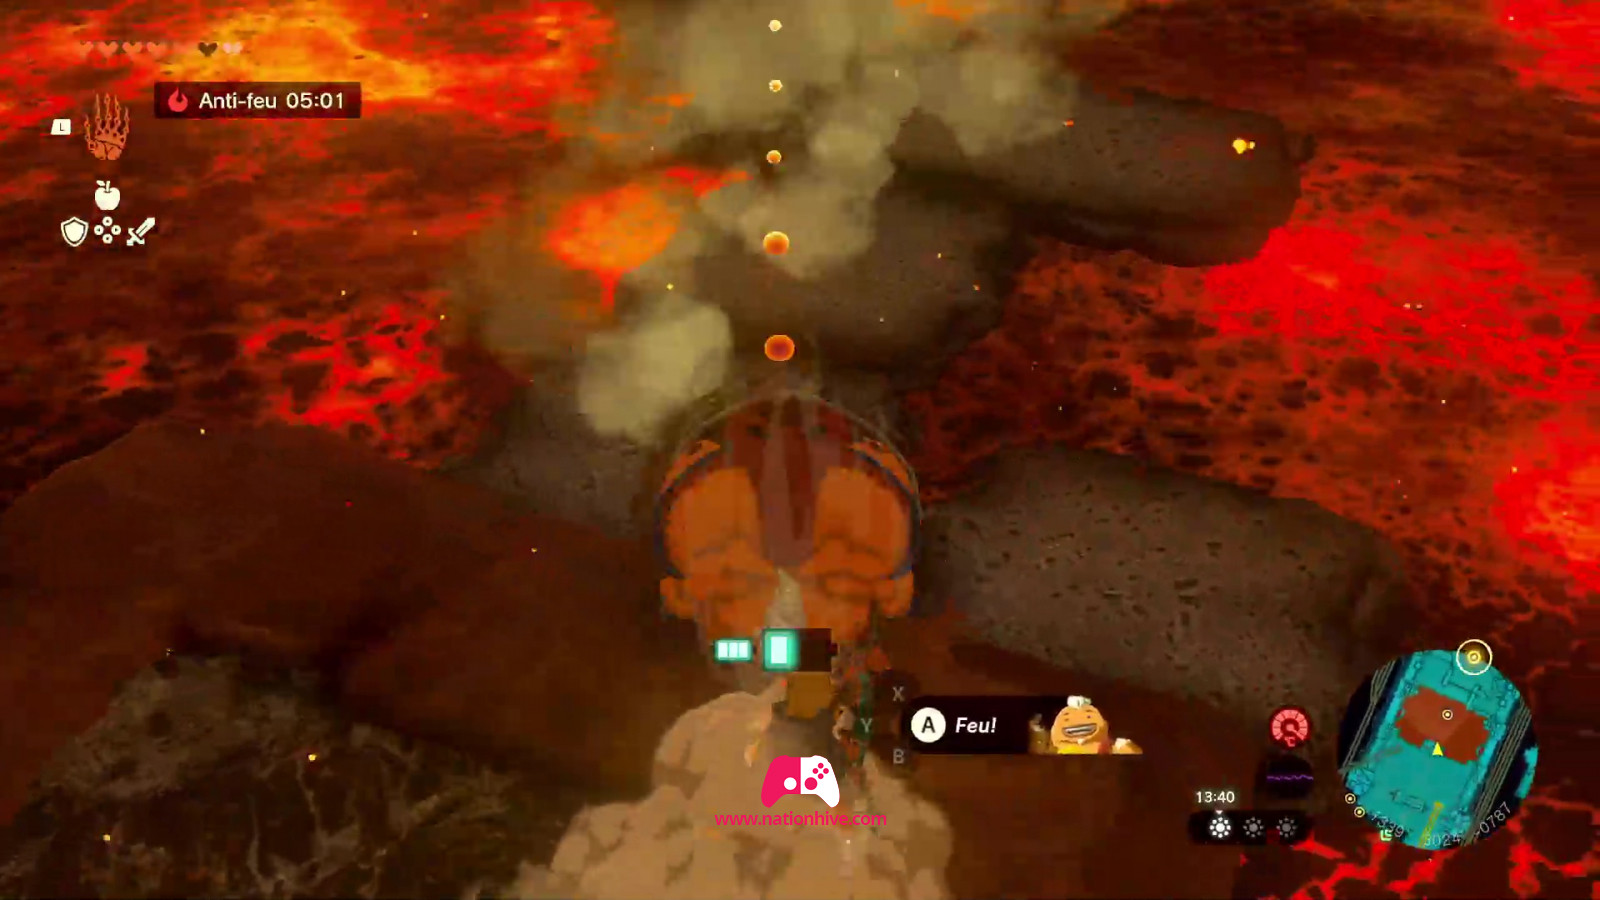
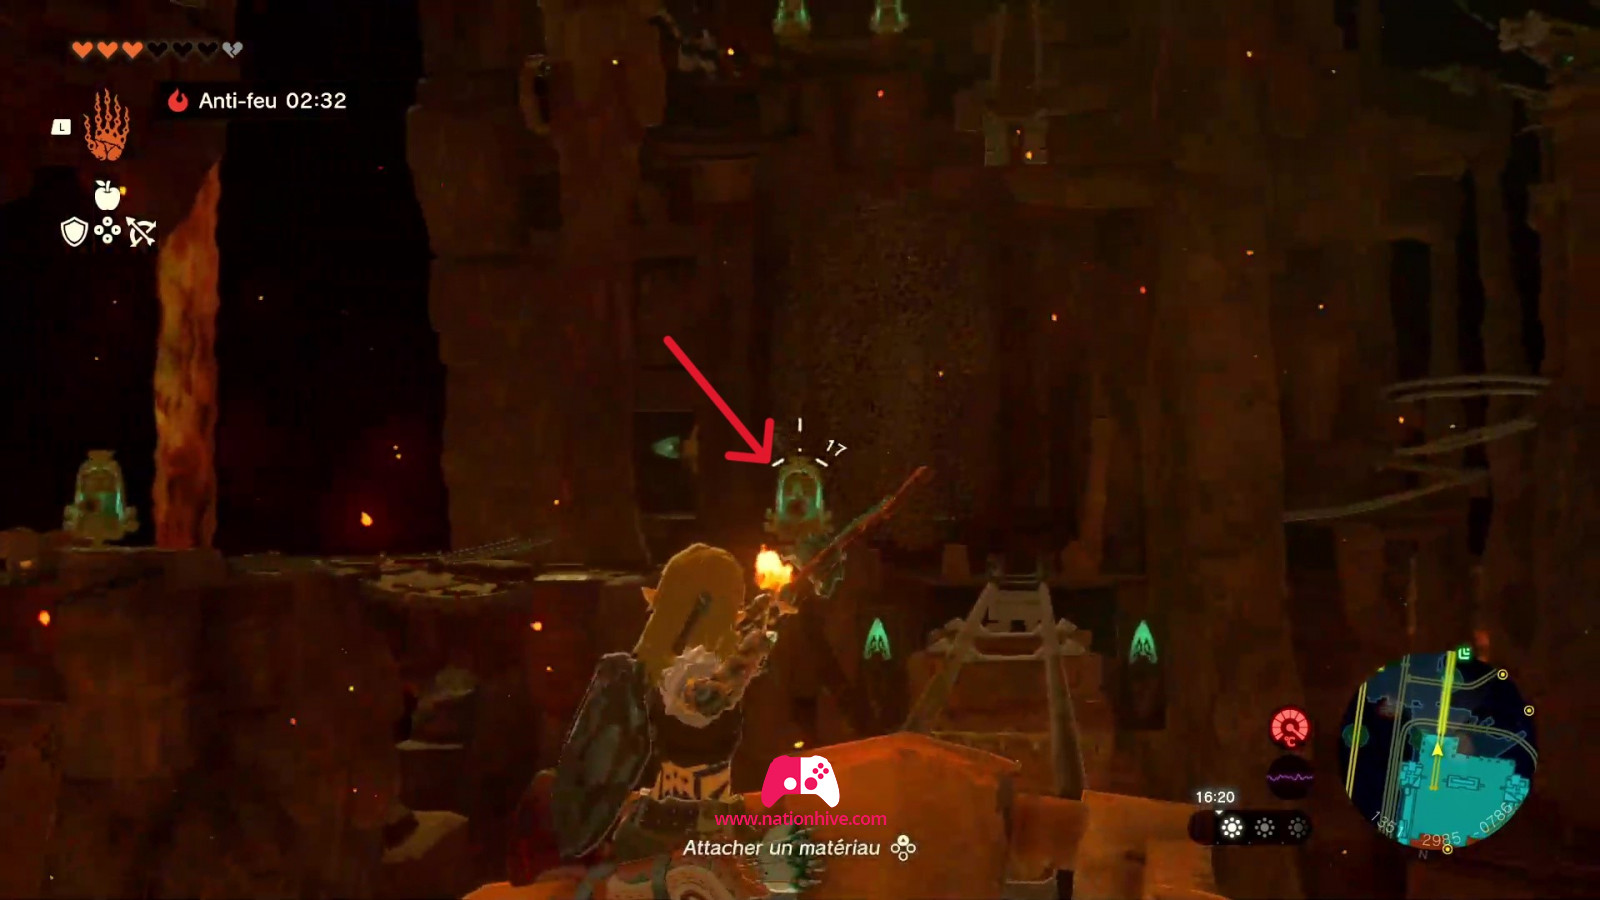
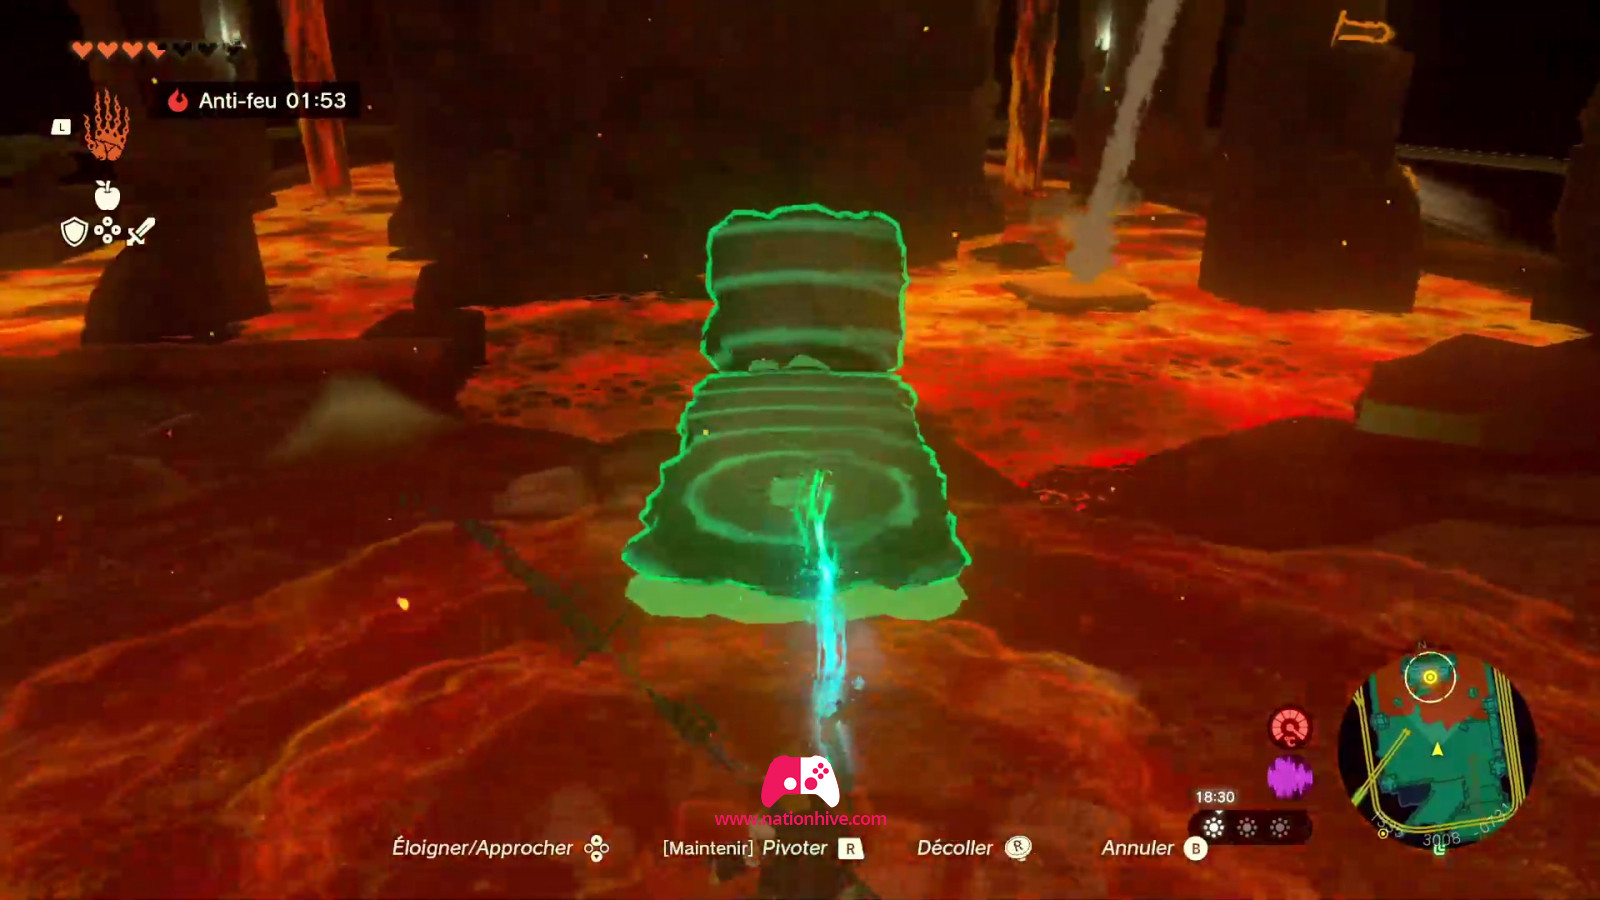
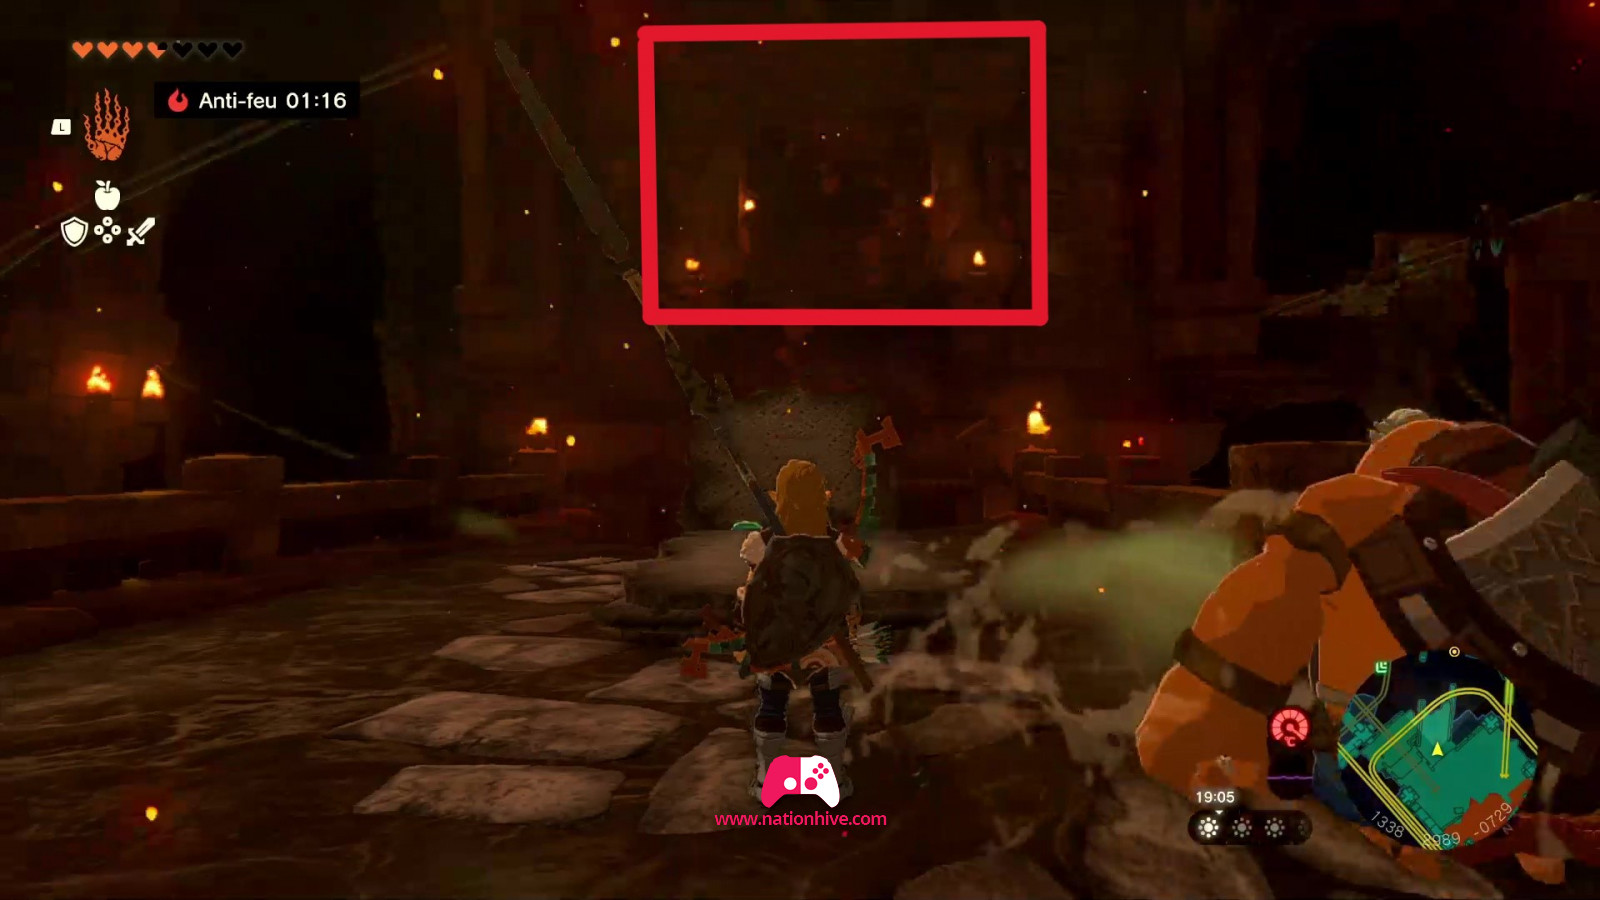
You'll arrive in the next room, where padlock #4 is located. Since the mechanism is high up, you'll need to create a curved platform that will allow Yunobo to project himself into the air (see image below). To activate the mechanism, simply use Yunobo's ability and face the platform that projects Yunobo to the mechanism to activate it. This action will unlock the fourth padlock.
How to activate padlock #5 (The Fire Temple, RDC)
Then use the platform you've just created and place it behind you in front of the rocks blocking the path. Once again, use Yunobo's ability to break the rocks. This action unlocks an entrance. You'll need to go to this entrance to reach the last padlock.
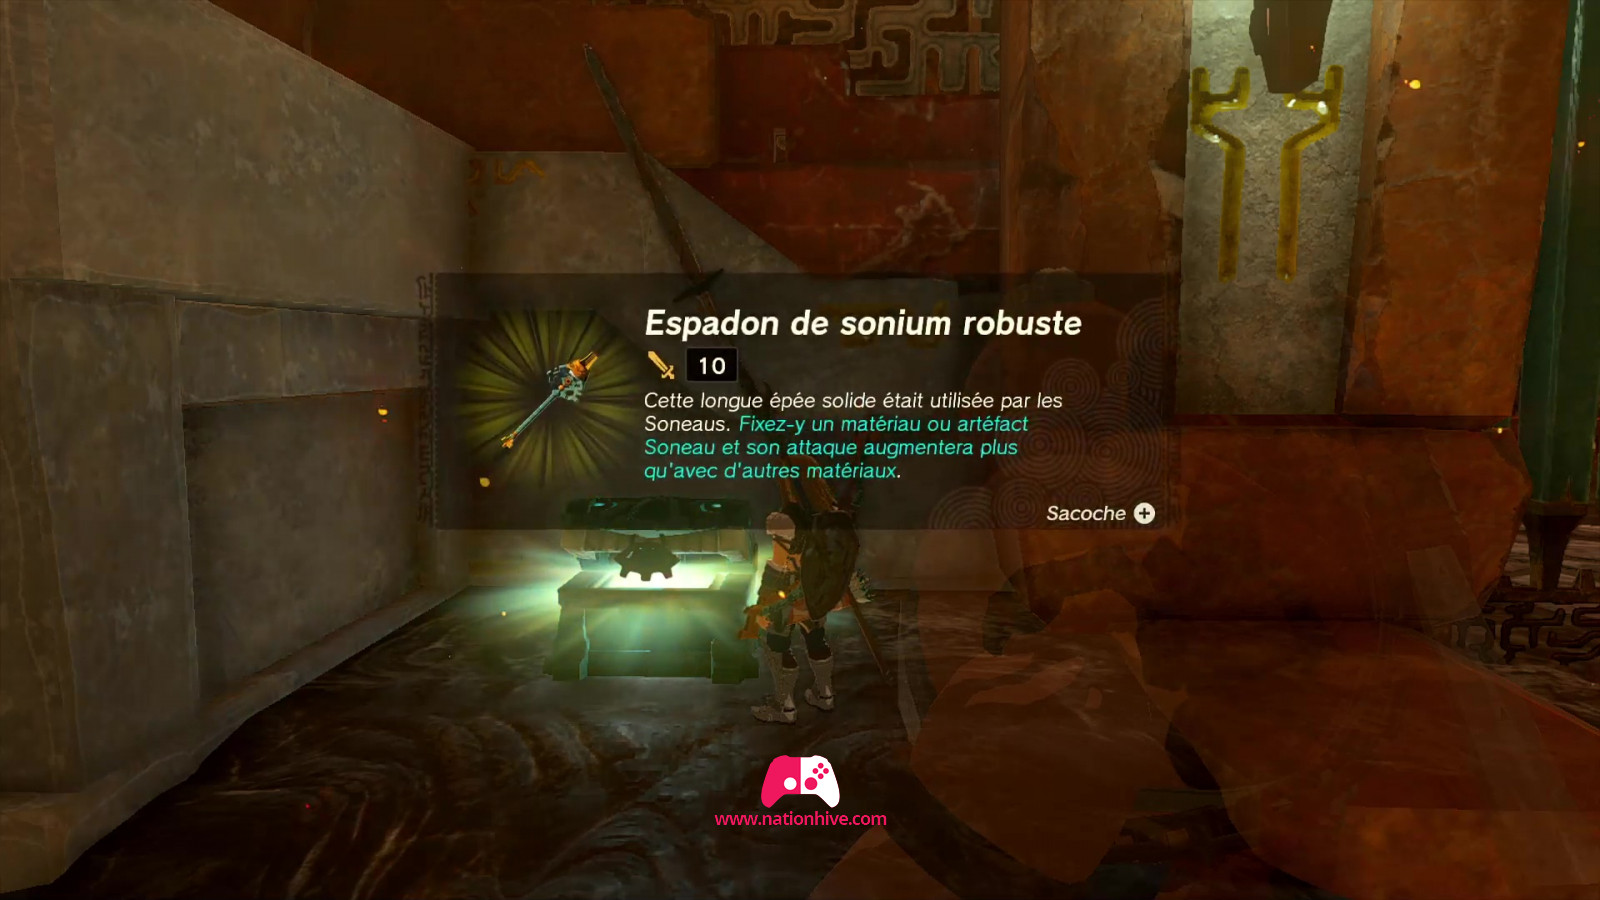
To get there, we stuck 2 Rocket Soneau artifacts on either side of the platform created to get up in the air, and then used the Paraglider to head for the newly unlocked entrance. Then jump through the hole to land on the first floor, where the final padlock is located. To activate the mechanism, simply use Yunobo's ability and face the mechanism before activating it. This will unlock the fifth padlock. Also open the chest on the left of the room behind you to receive a Strong Zonaite Longsword.
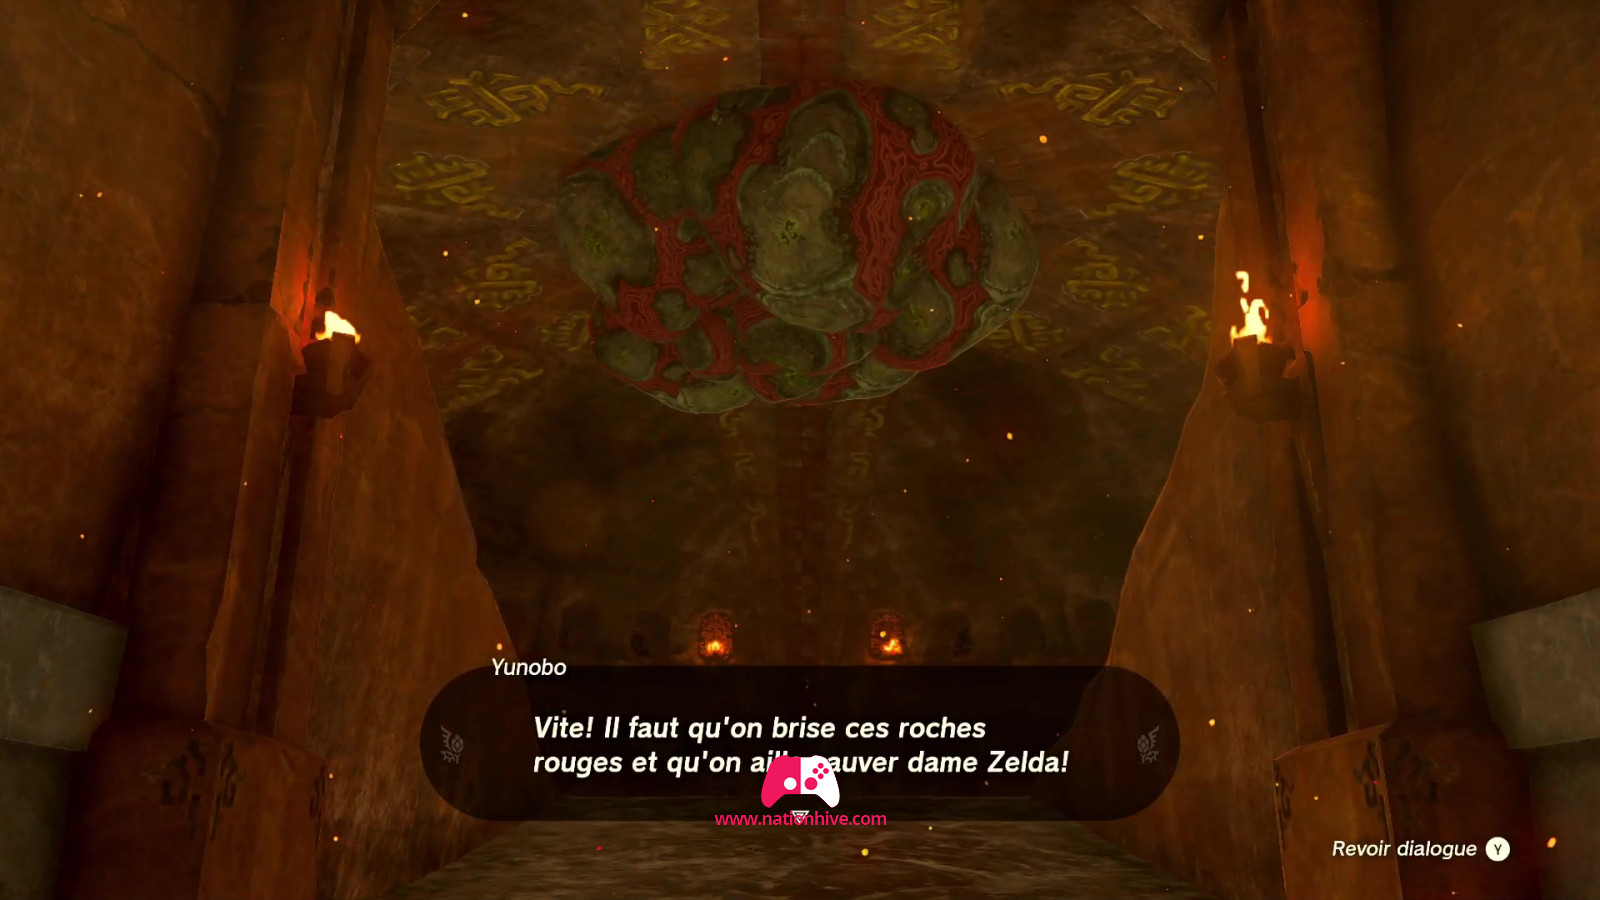
It is now possible to open the door. Return to the main door by teleporting or activating the orange cone to exit the room. Go to the magic green circle near the door and investigate with A. This will open the door. Go inside and use Yunobo's ability to hit the rocks on the ceiling. This action will awaken the Scourge of the Fire Temple: Marbled Gohma. Defeat Gohma to restore peace to Goron City and progress in the main story.
Defeating Gohma
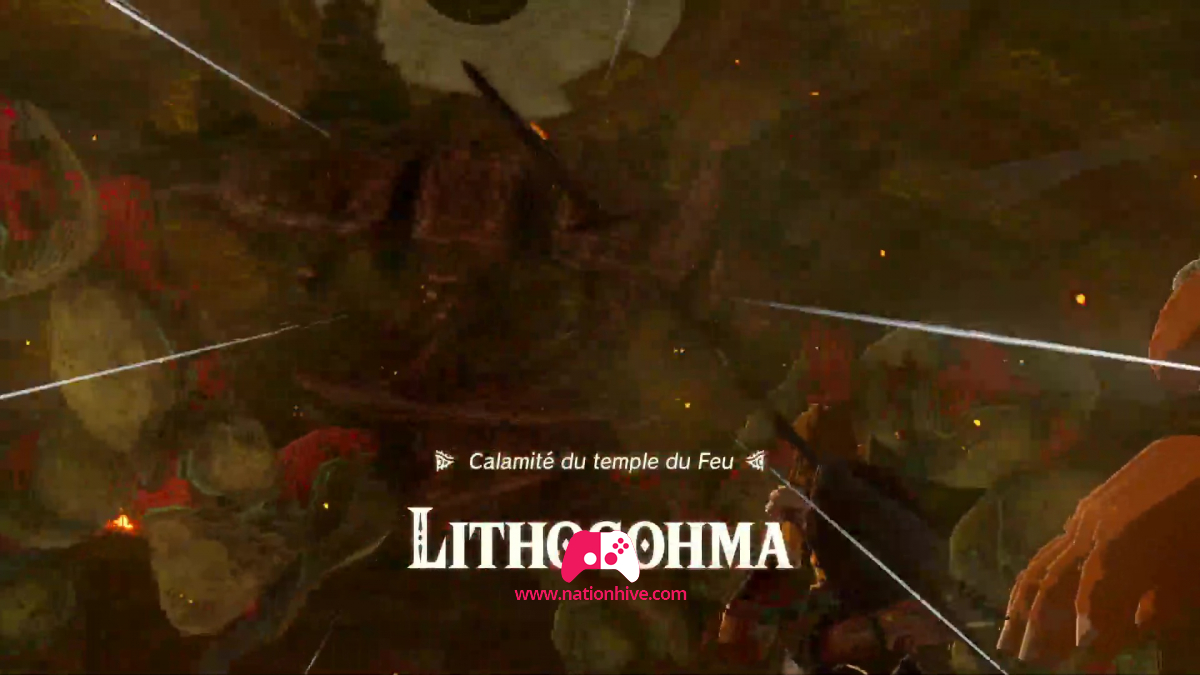
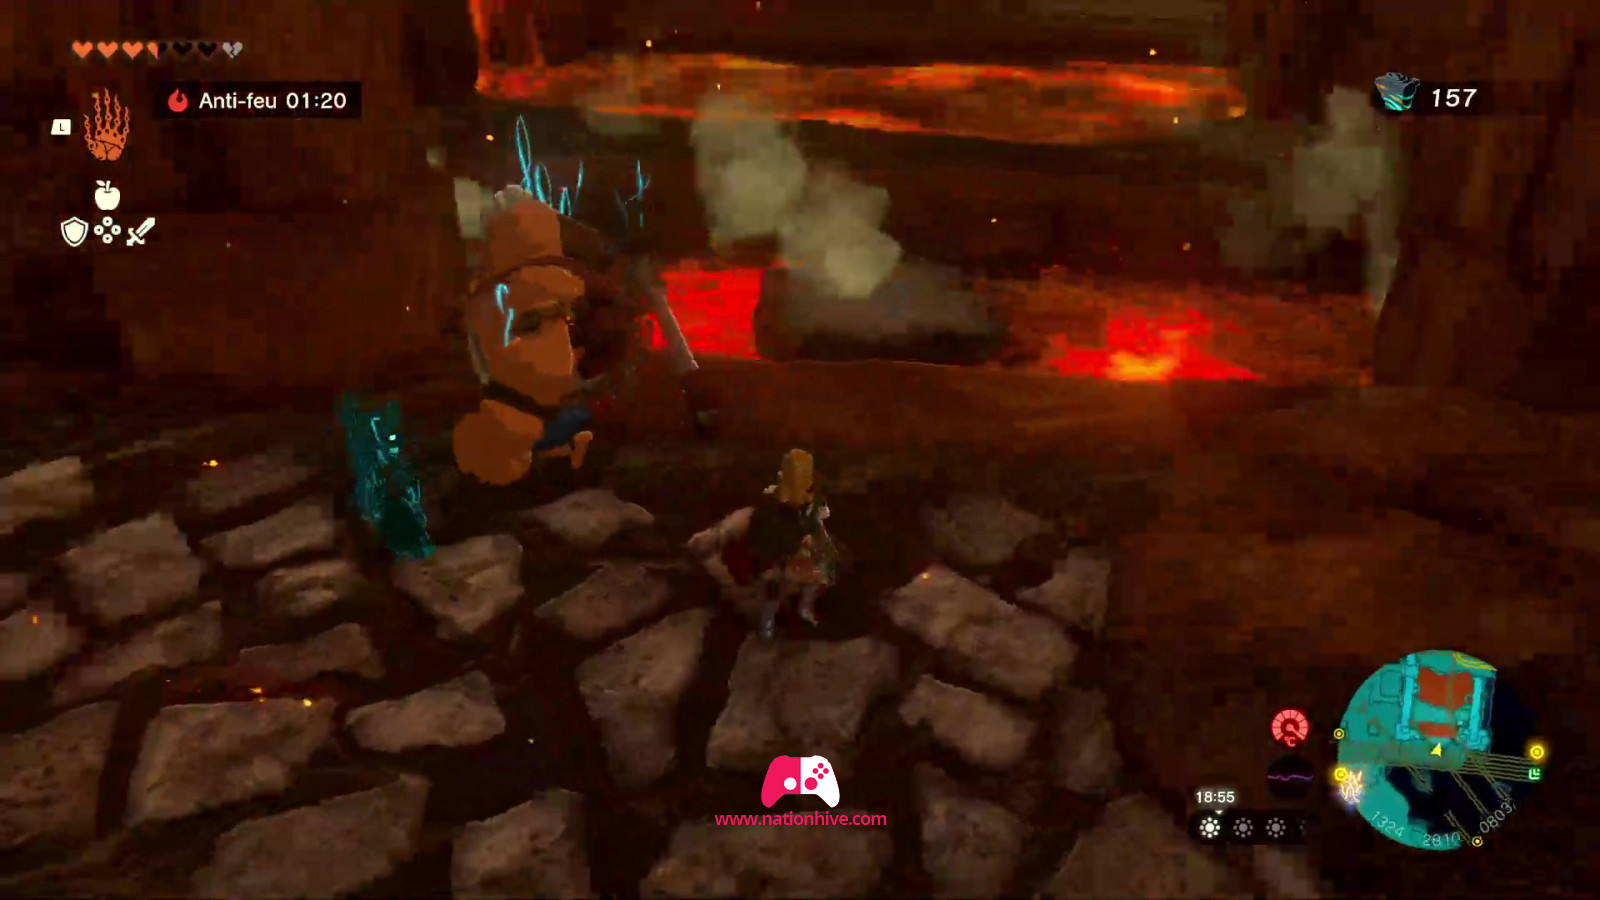
To defeat the Scourge of the Fire Temple: Marbled Gohma, you'll need to use Yunobo's ability to destroy Lithogohma's legs. When you destroy 2 legs, Lithogohma falls to the ground. Take advantage of this moment of vulnerability to attack his eye. Strike about 10 times with a fast-hitting weapon and jump before Lithogohma hurts you by throwing you to the ground. Repeat the same process until his life bar is half empty.
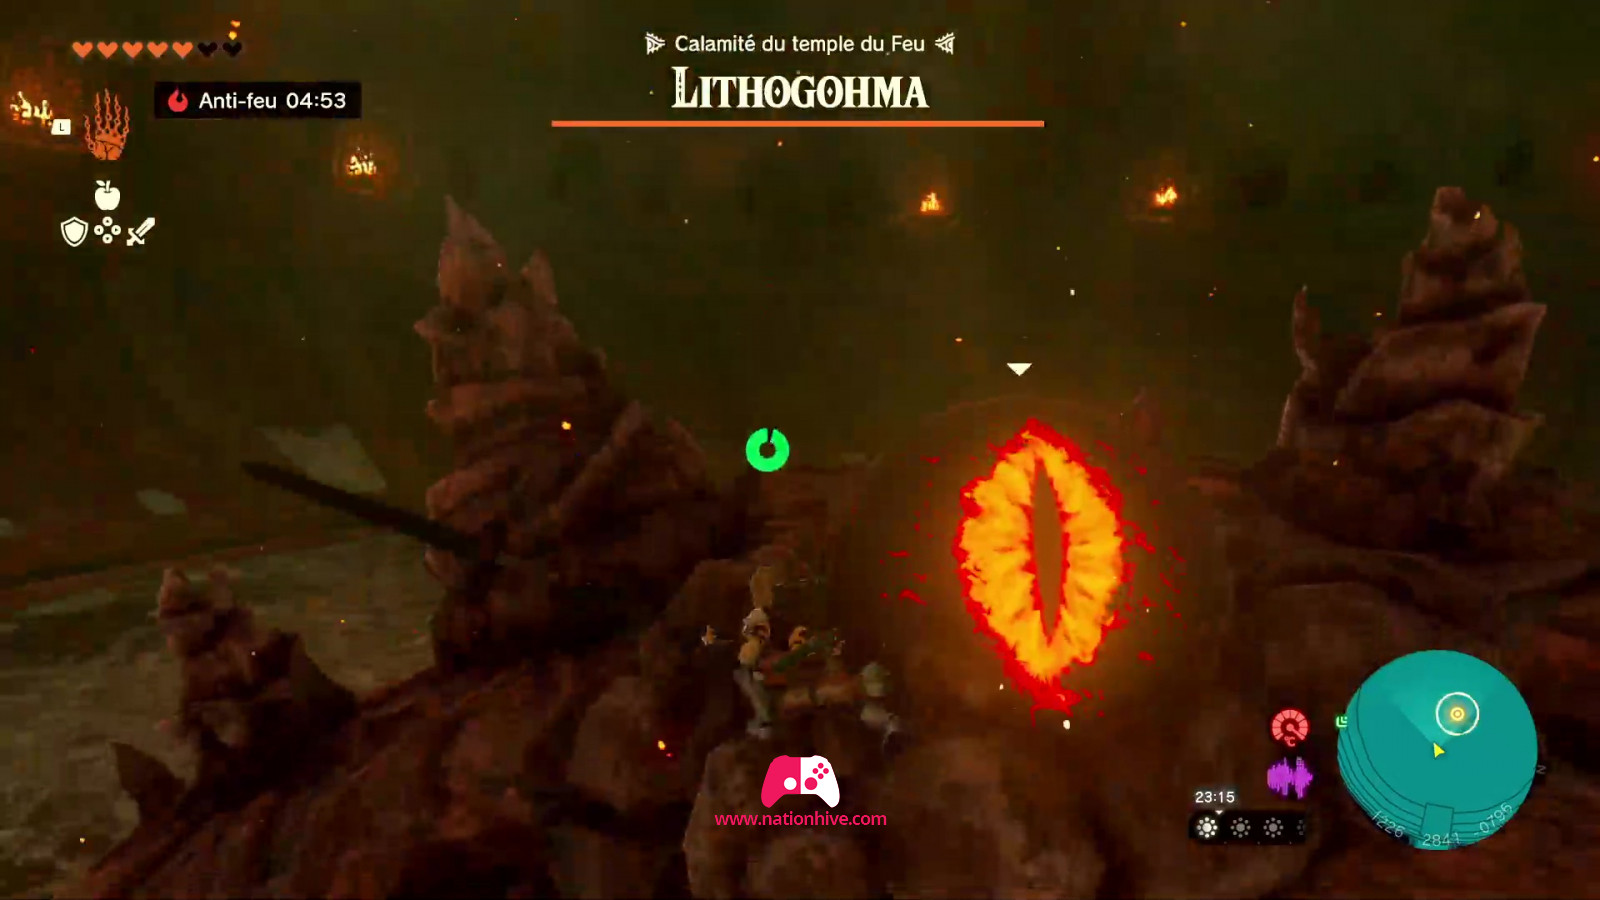
- Watch out for the red stones that will be thrown at you. Move away from them quickly, as they explode after a few seconds and can cause a lot of damage.
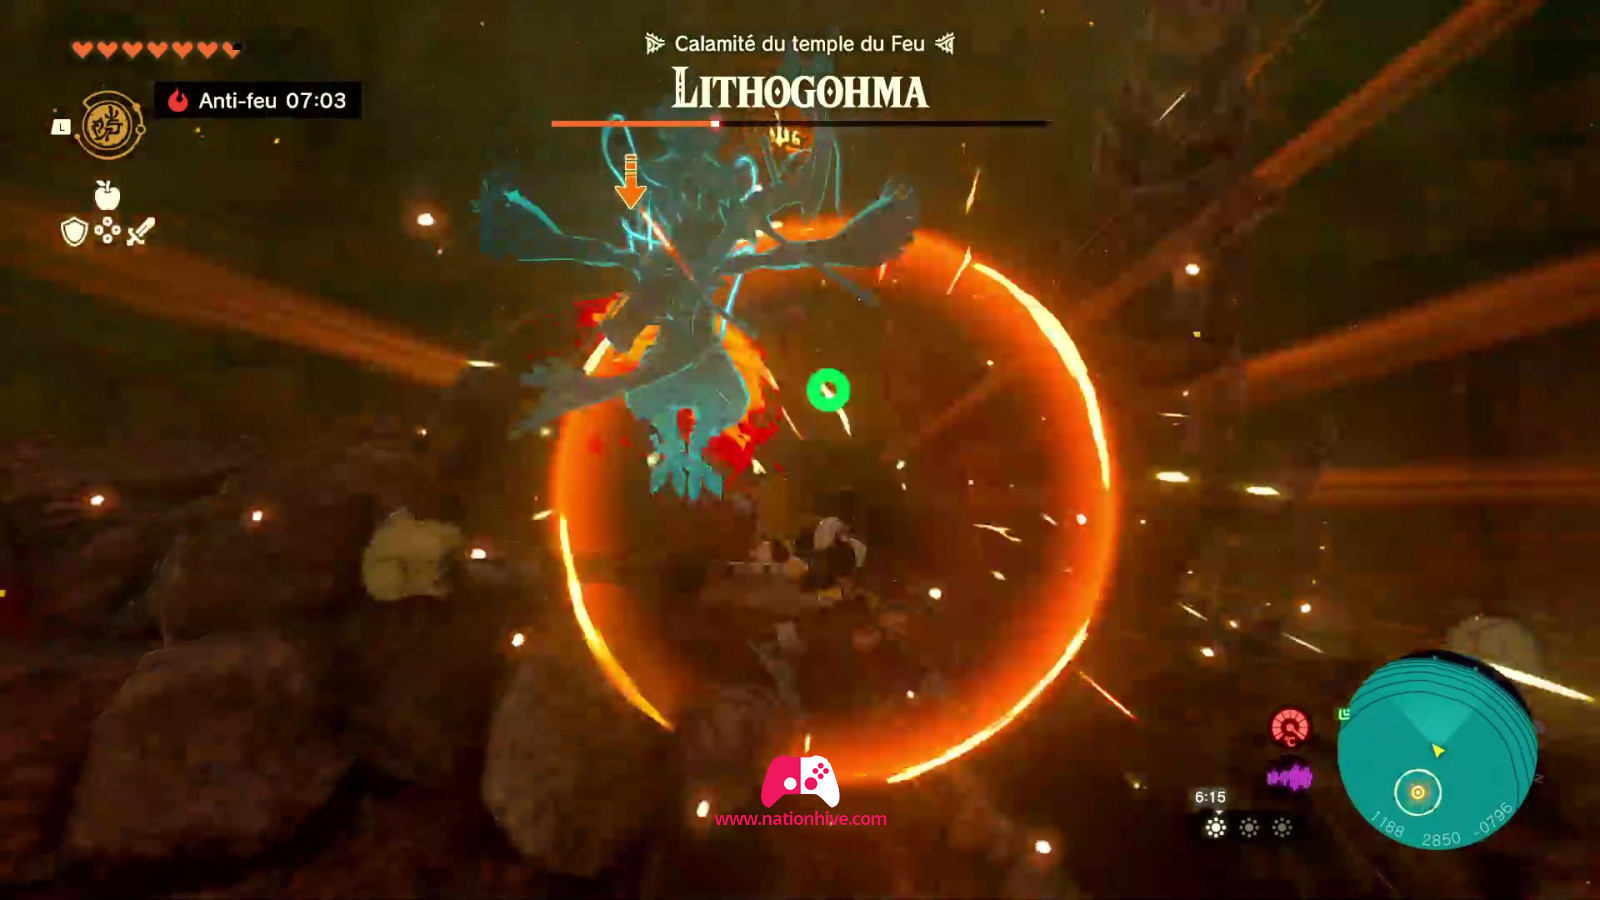
Once Lithogohma's life bar drops to half, the creature becomes a little more menacing. This time, the creature will stand on the ceiling and throw not just 3 explosive red stones, but this time, Lithogohma will throw an entire ring of explosive rocks that will trap you.
To get out of the ring, which is very important since the stones explode after a few seconds and can kill you if you stay inside, we recommend you use the Recall ability on the rock in front of you. This action will allow you to get out of the ring of rocks and away from the explosions. You can also use Yunobo's ability to get out of the ring.
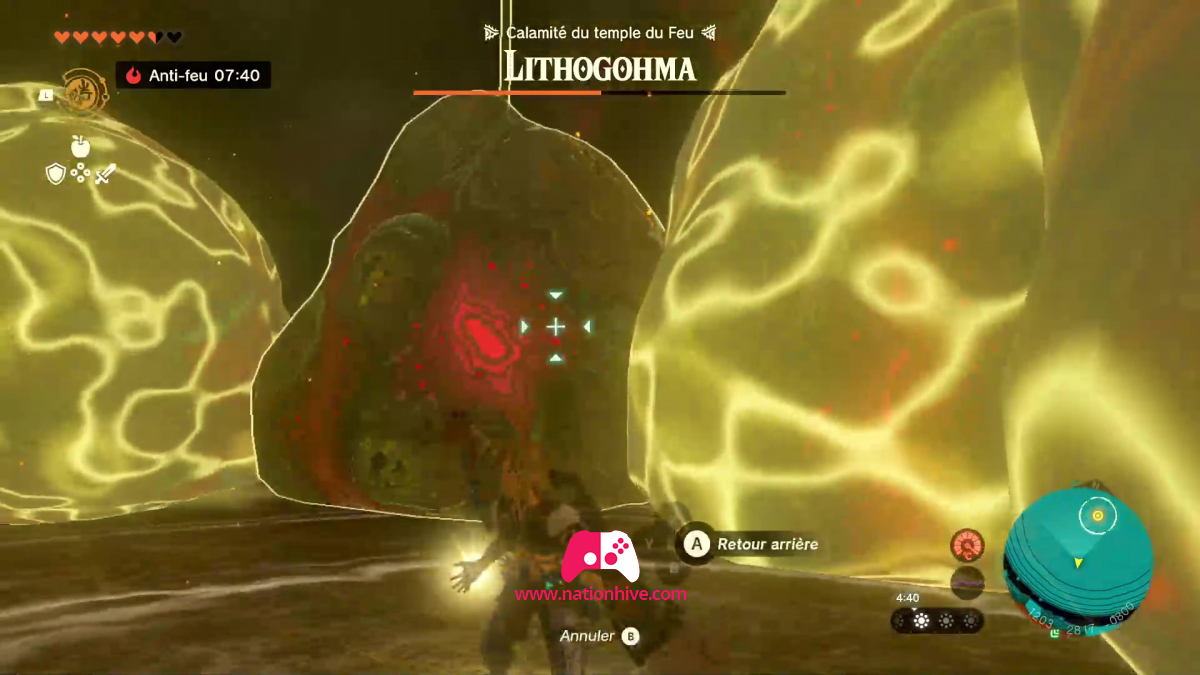
This time, since the creature will be standing on the ceiling, you'll need to use the room's curved walls. Use Yunobo's ability towards the walls, as he'll be able to reach the creature on the ceiling. We advise you to face Lithogohma on the ceiling and aim Yunobo's ability at the part of the wall that aligns with the creature's leg.
When the leg is hit, Lithogohma falls to the ground. Take advantage of this moment of vulnerability to attack his eye. Strike about 10 times with a fast-hitting weapon and jump before Lithogohma hurts you by throwing you to the ground. Repeat the same process until his life bar is completely depleted to defeat him.

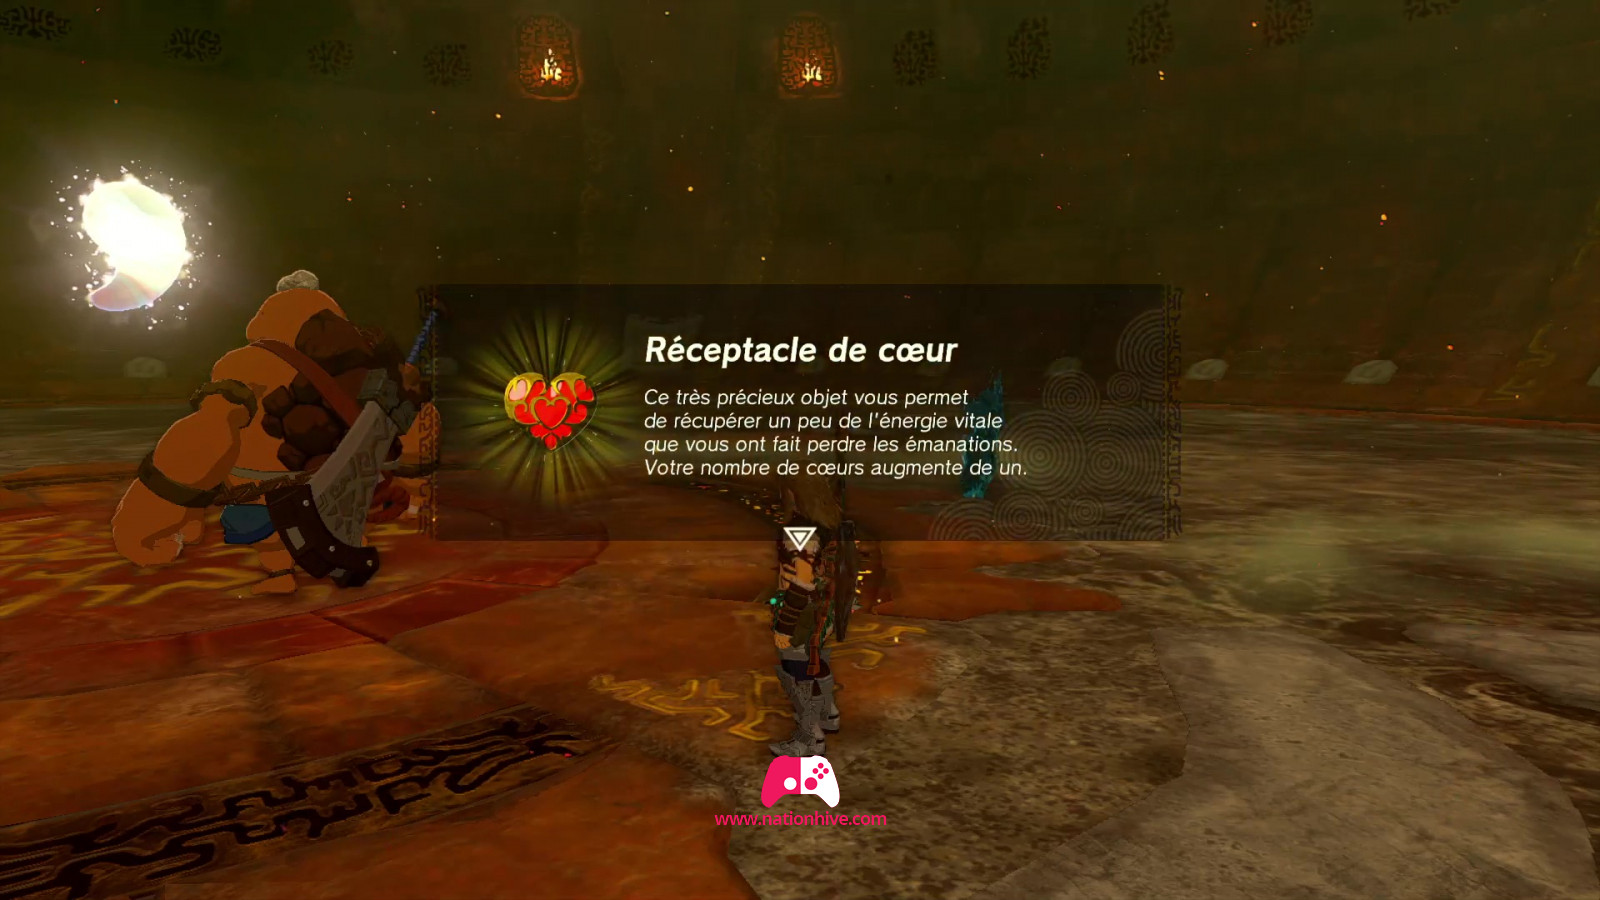
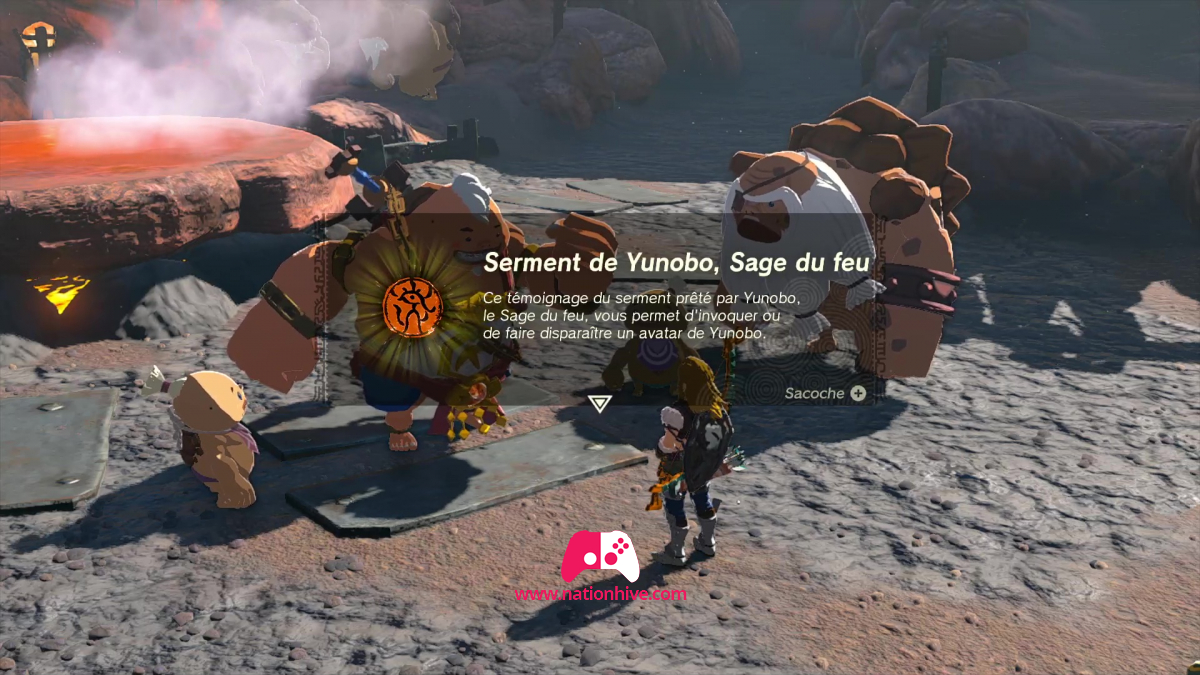
Once you've defeated Gohma, you'll receive a heart receptacle. Move towards Yunobo to see what's in front of you. A cinematic appears in which Yunobo receives the occult stone from his ancestor, the Sage of Fire. Yunobo will accept the occult stone and vow to fight by your side.
You will now be able to use Yunobo's ability wherever you are, which will be very useful when you want to project a missile over a long distance. Peace has now returned to Goron City.
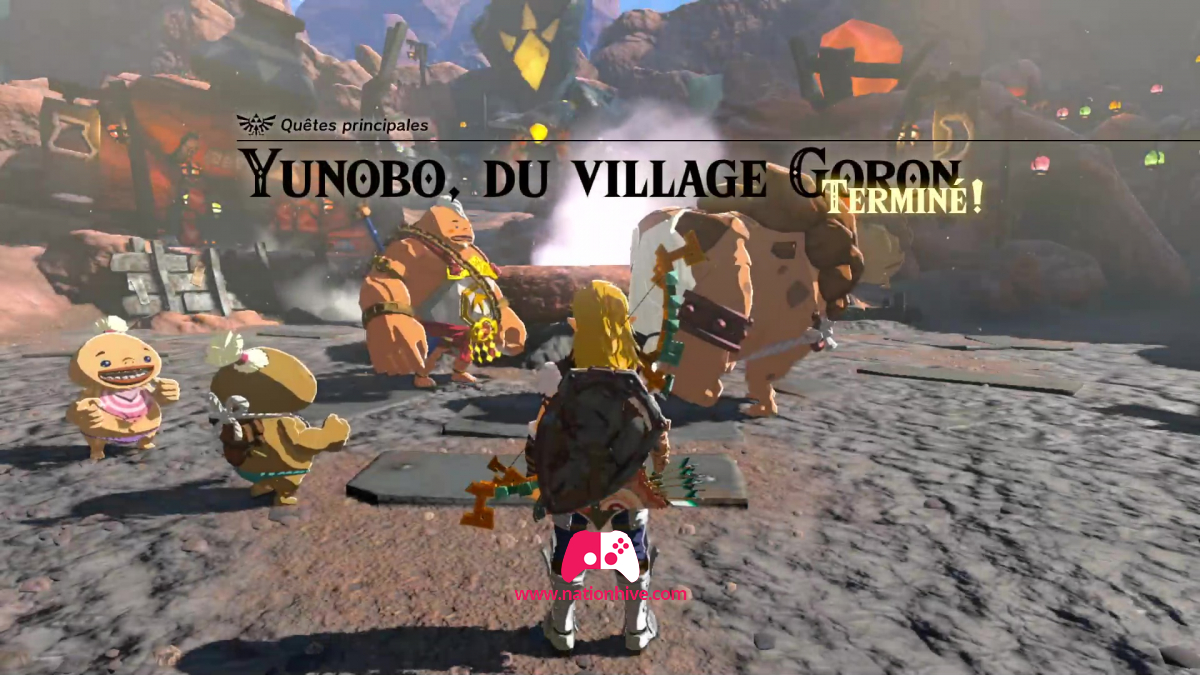
C’est ainsi que la quête principale : Le Temple du feu (Yunobo, du village Goron) se termine, laissant place à votre prochaine quête principale dans Zelda: Tears of the Kingdom : Enquêtes régionales - Partie 4: Aller au domaine Lanelle.
And so the main quest: The Fire Temple (Yunobo of Goron City) comes to an end, making way for your next main quest in Zelda: Tears of the Kingdom: Regional Phenomena - Part 4: To Zora's Domain.