The Closed Door

In this walkthrough for The Legend of Zelda: Tears of the Kingdom, we'll give you the complete solution to the main quest: The Closed Door.
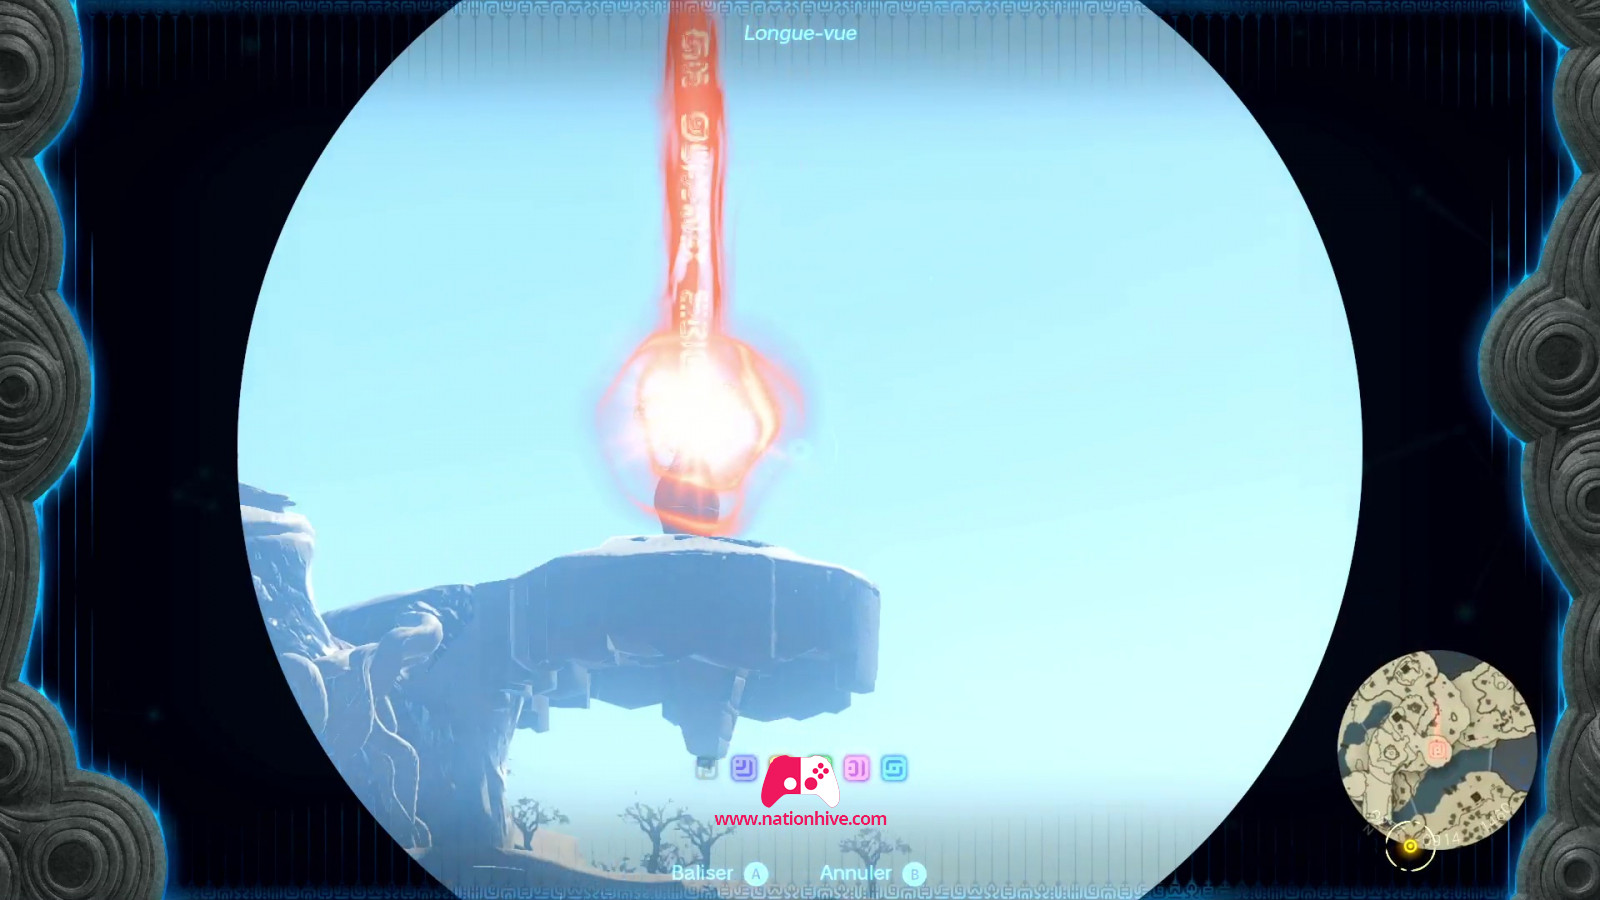
To open the door to the temple, Rauru will explain that you must regain the power of your right arm by completing the Shrines. The ribbons of green light spiraling up to the sky indicate the Shrines essential to the awakening of these powers.
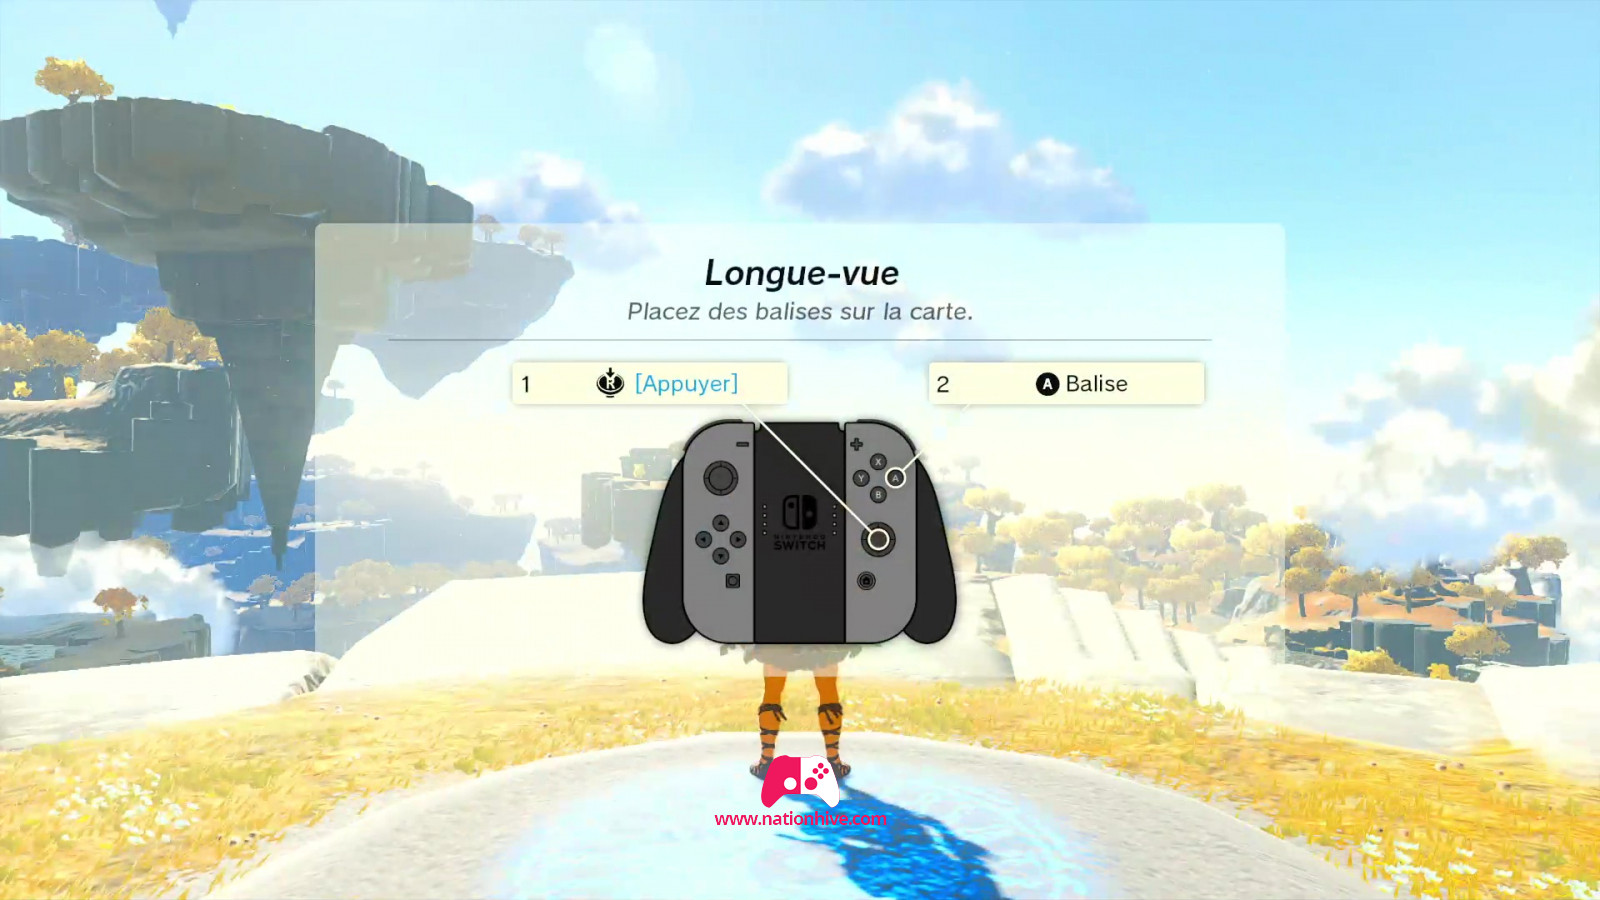
Complete the challenges at the 3 Shrines on the island to obtain 3 abilities that will allow you to open the door. You can mark the location of the 3 Shrines on your map using the corresponding command.
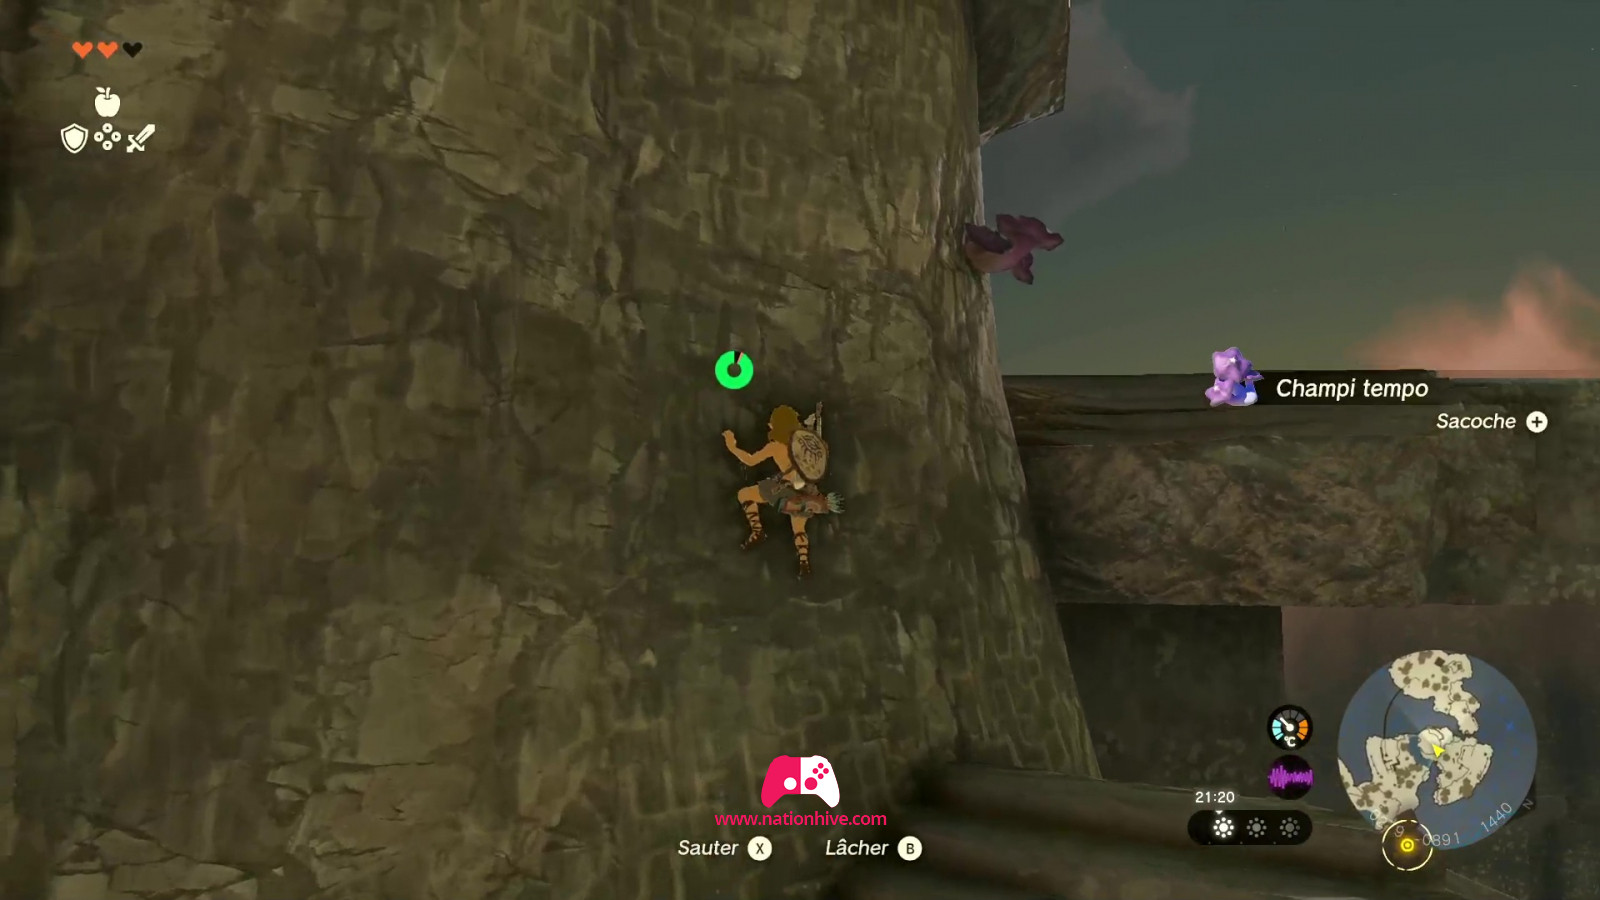
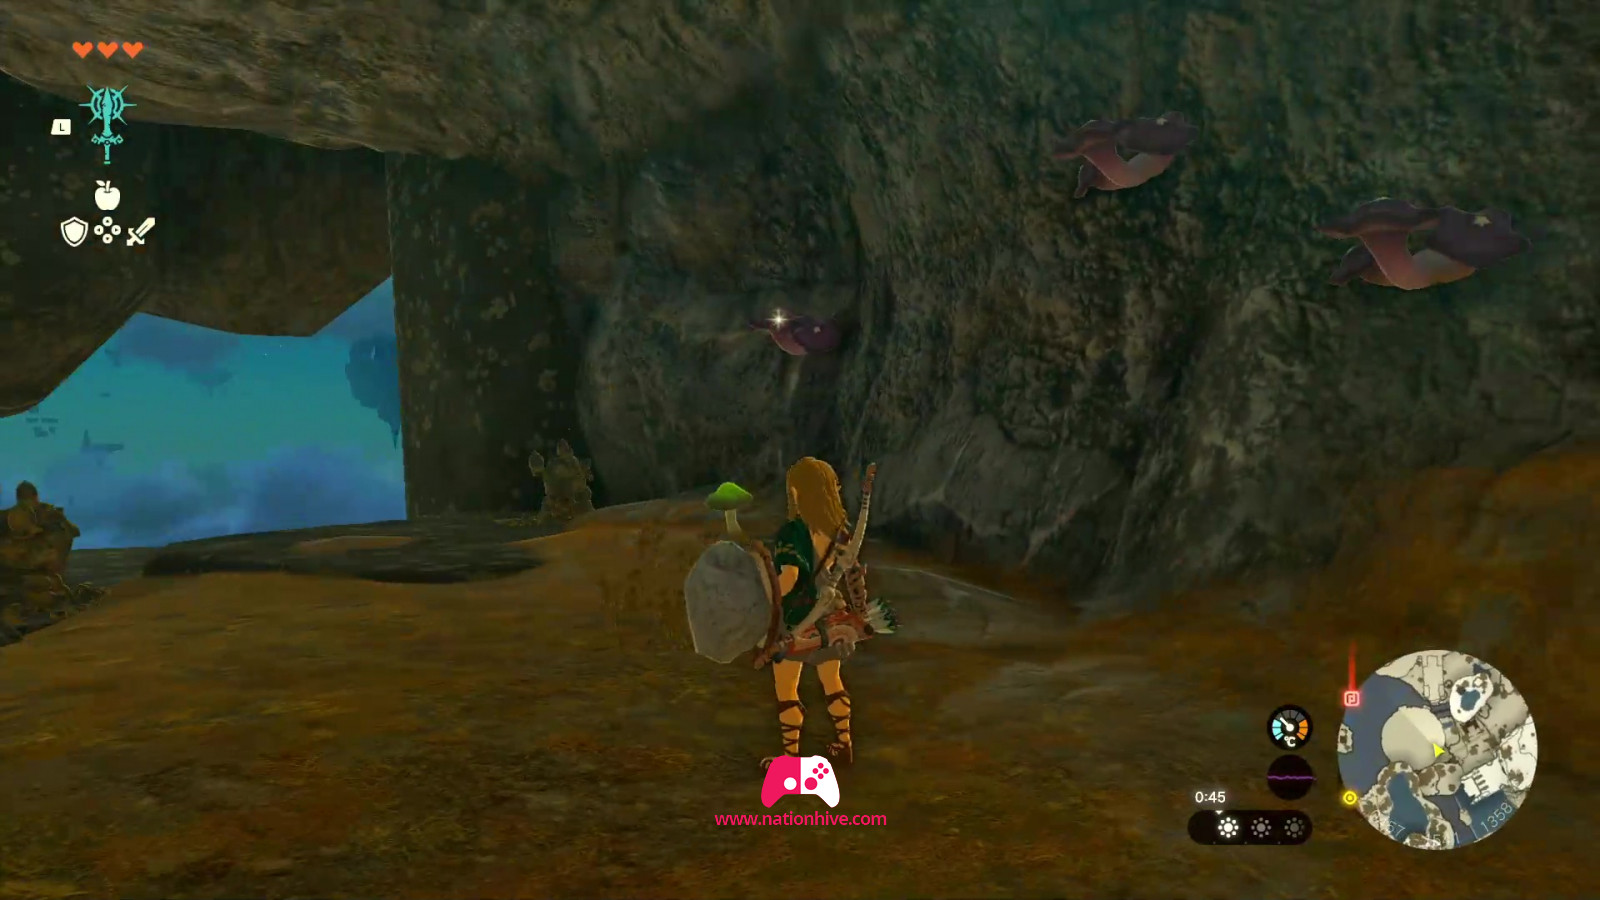
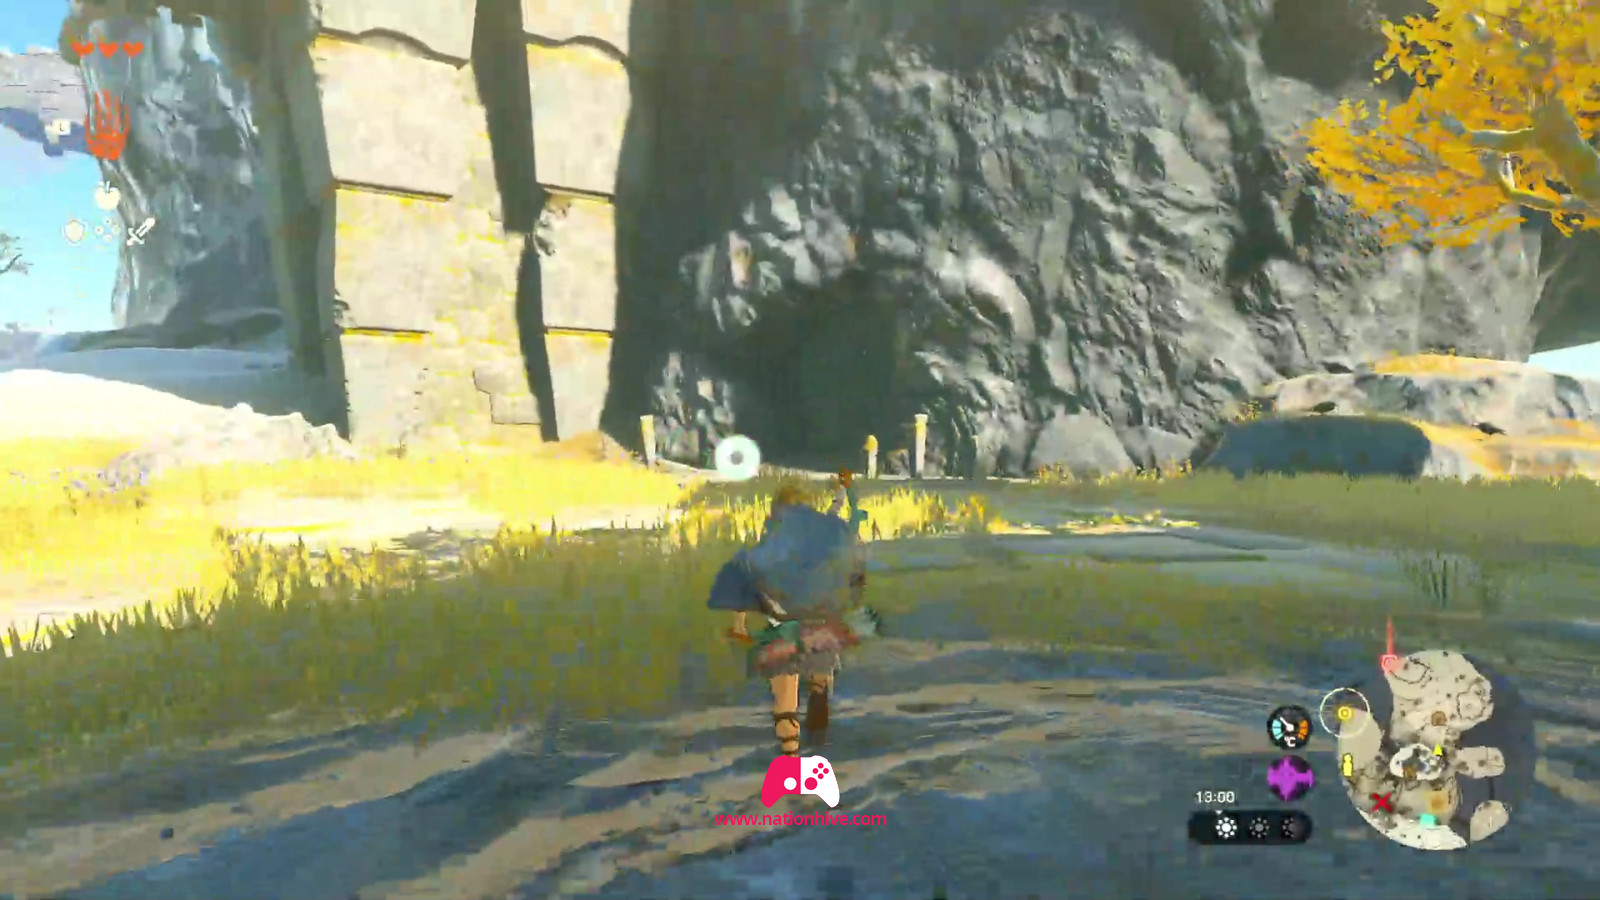
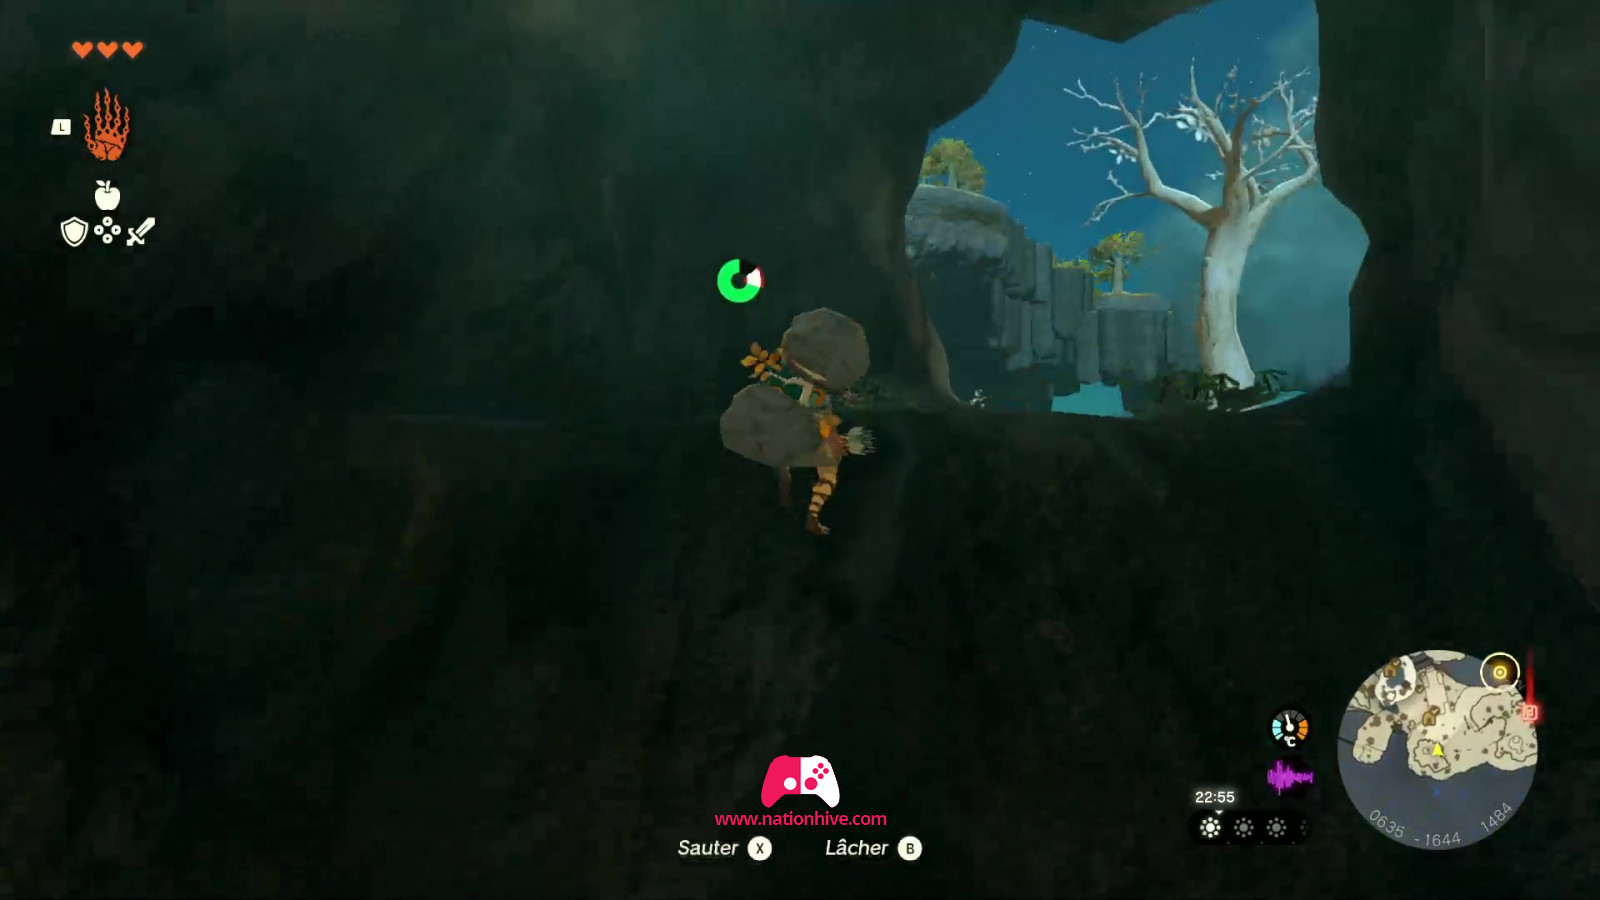
To begin with, you can see the first Shrine, called Ukouh, in the distance on your right. Head towards it and climb up, where you'll notice several broken staircases. In this case, hold on to the wall to reach the next set of steps and continue upwards. Don't hesitate to pick up the resources on the wall.
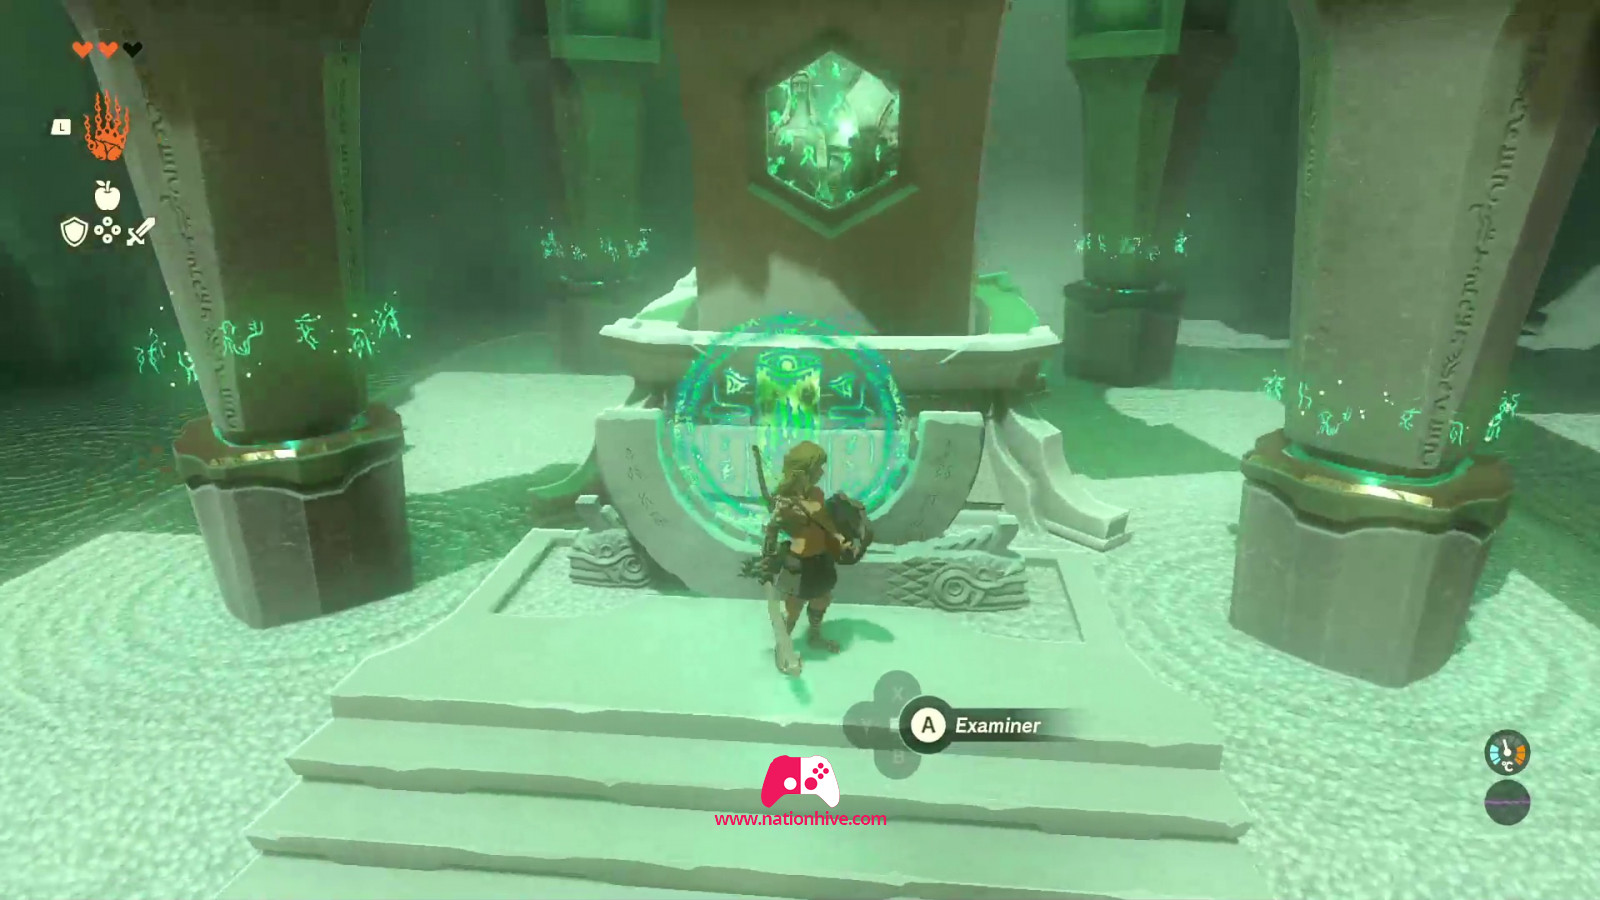
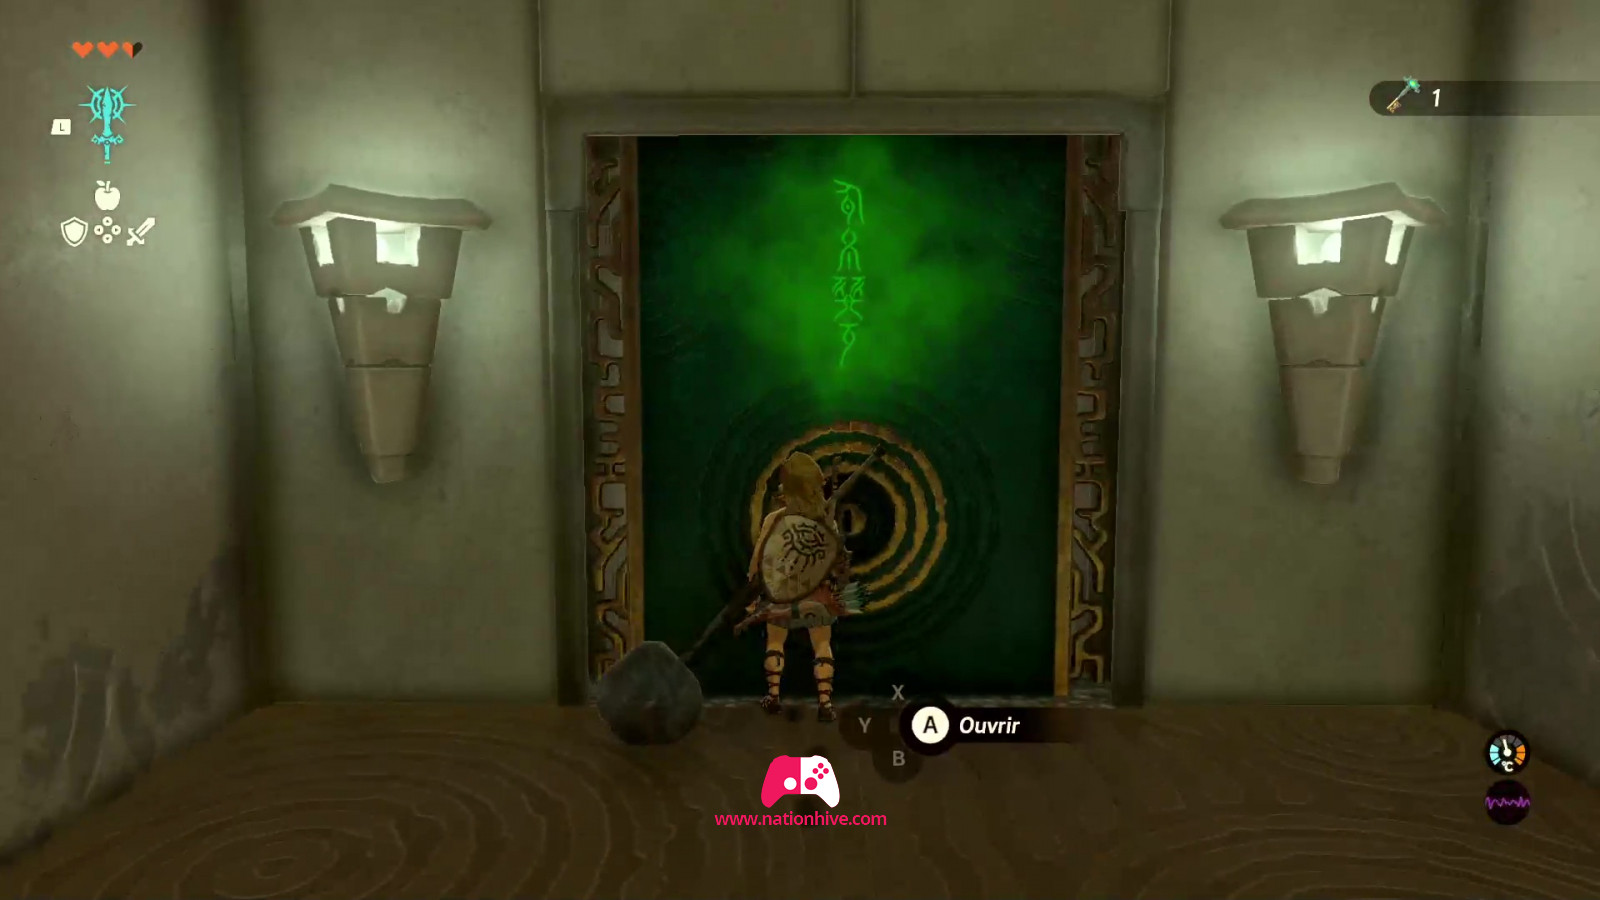
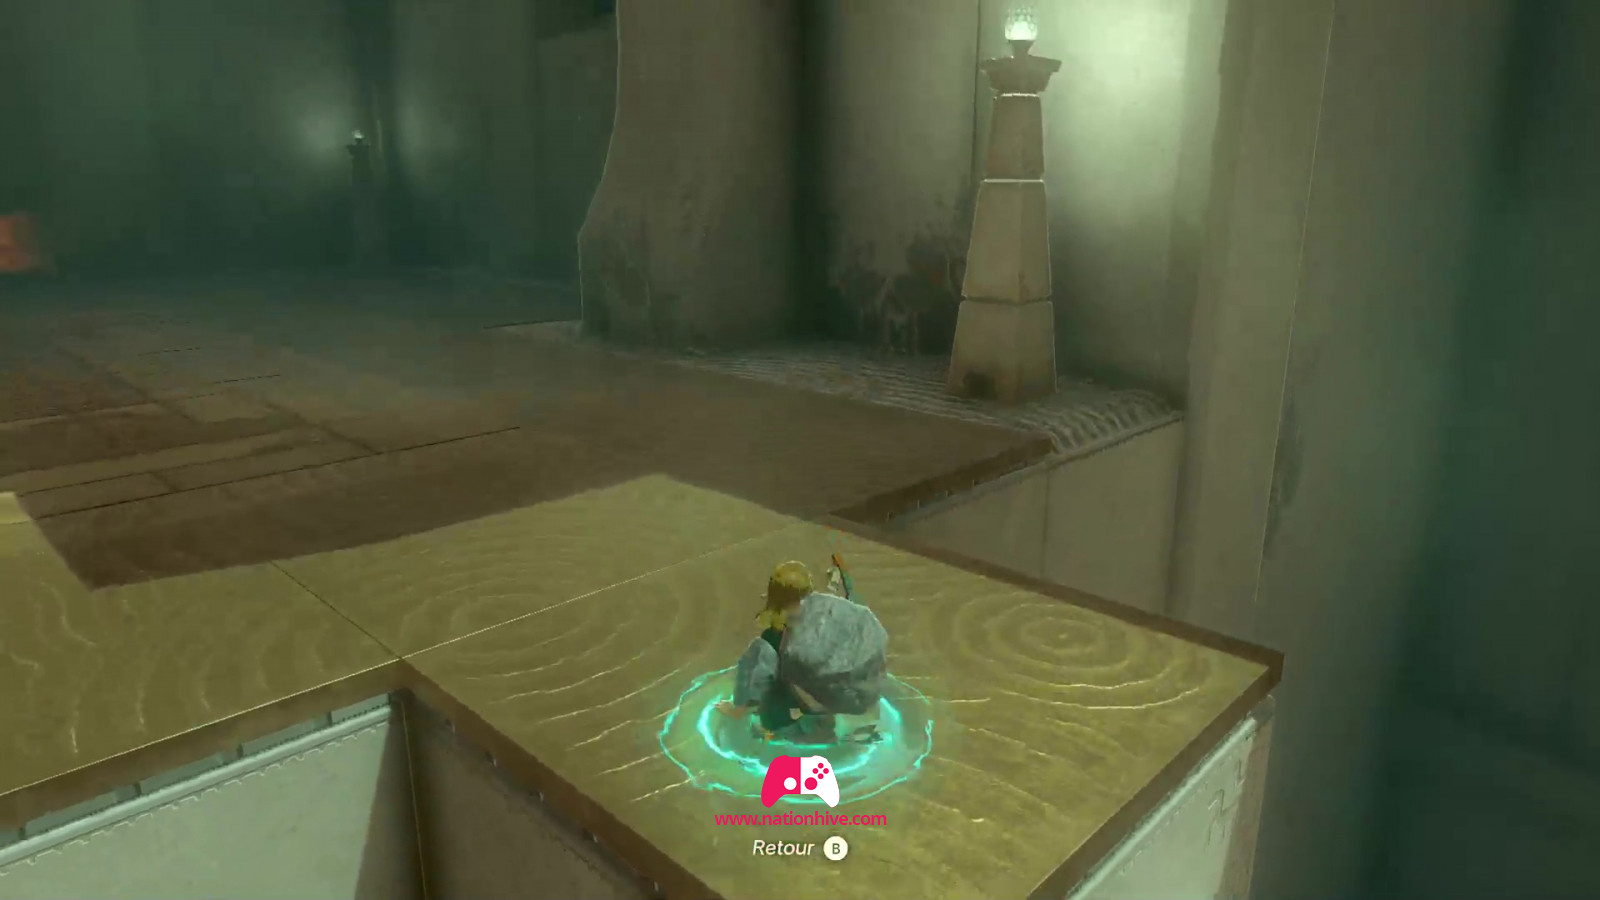
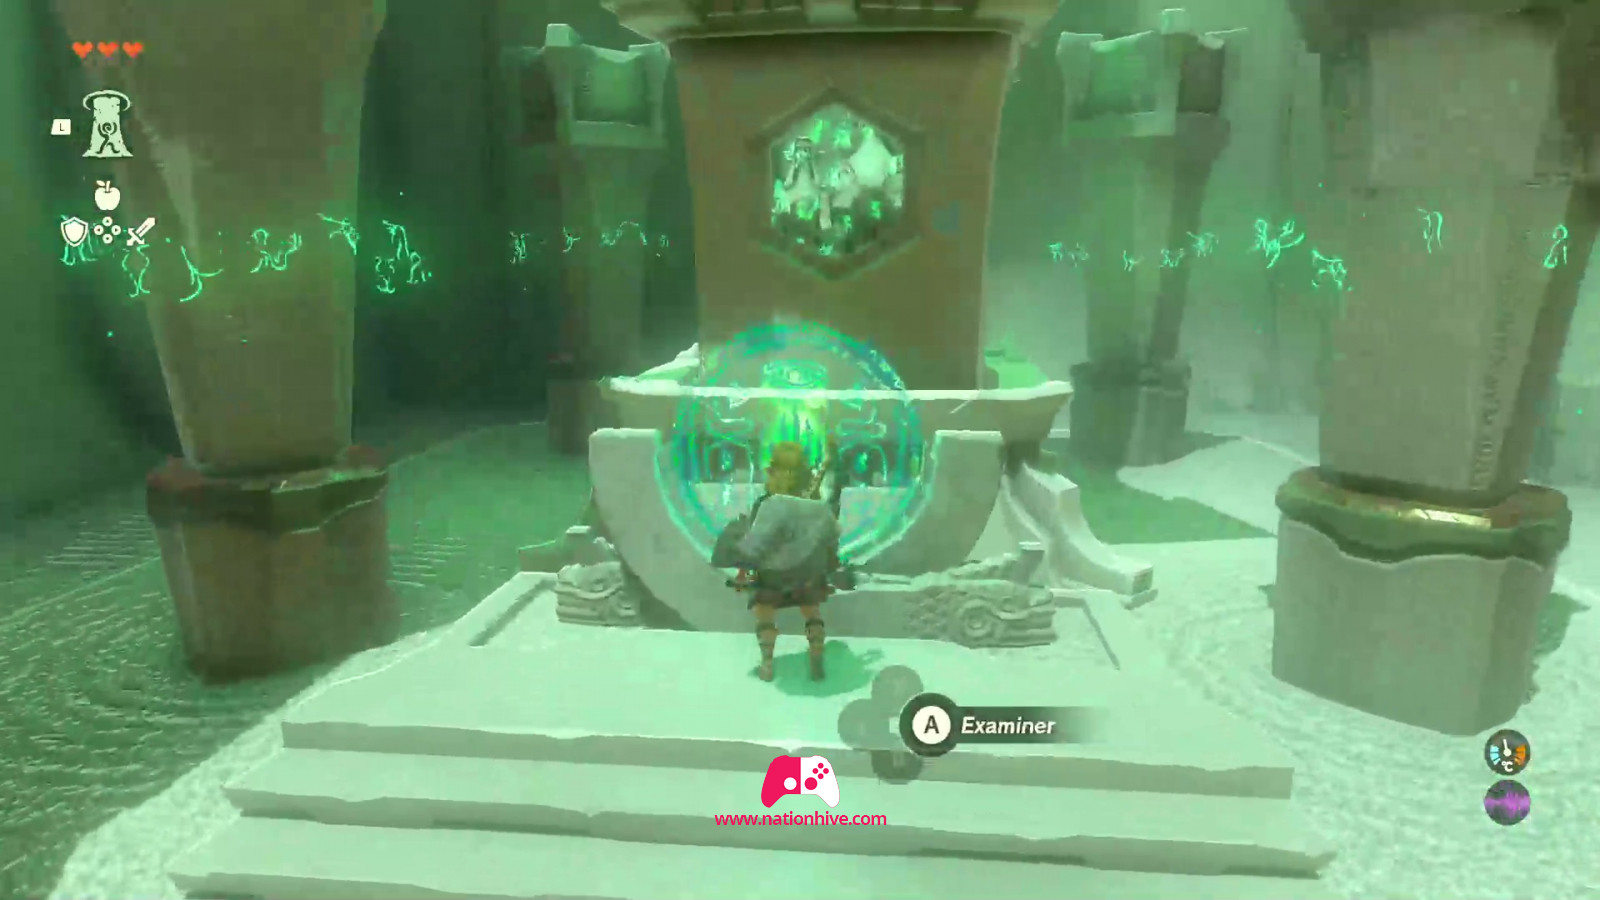
Once you've reached the top, in front of the Ukouh Shrine, use A to examine the green circle in front of you.

Ukouh Shrine
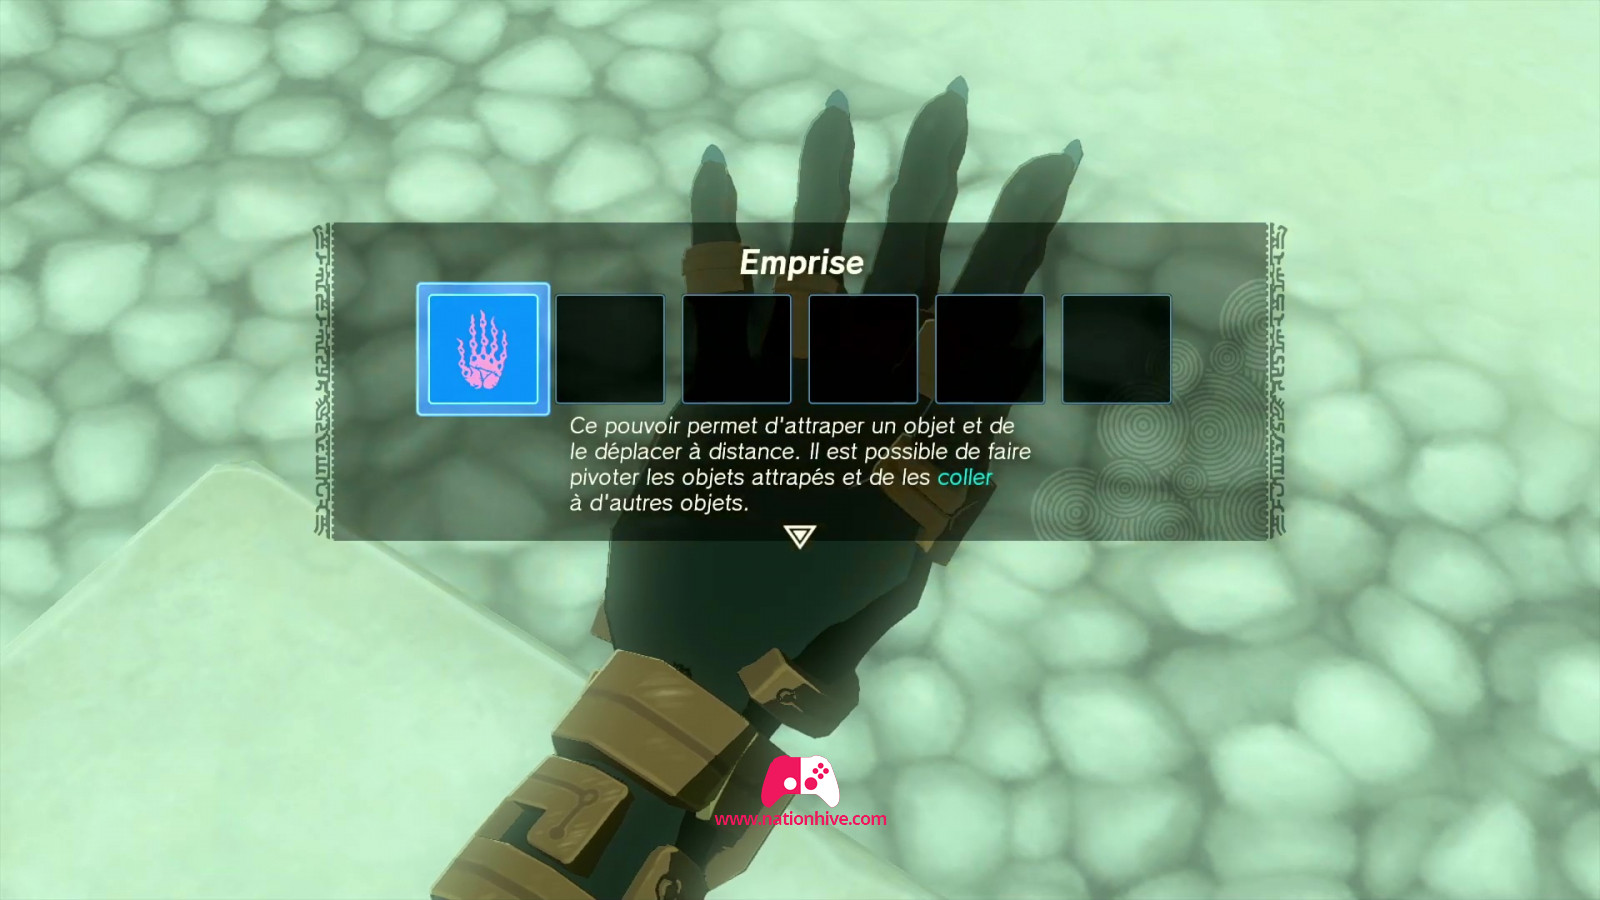
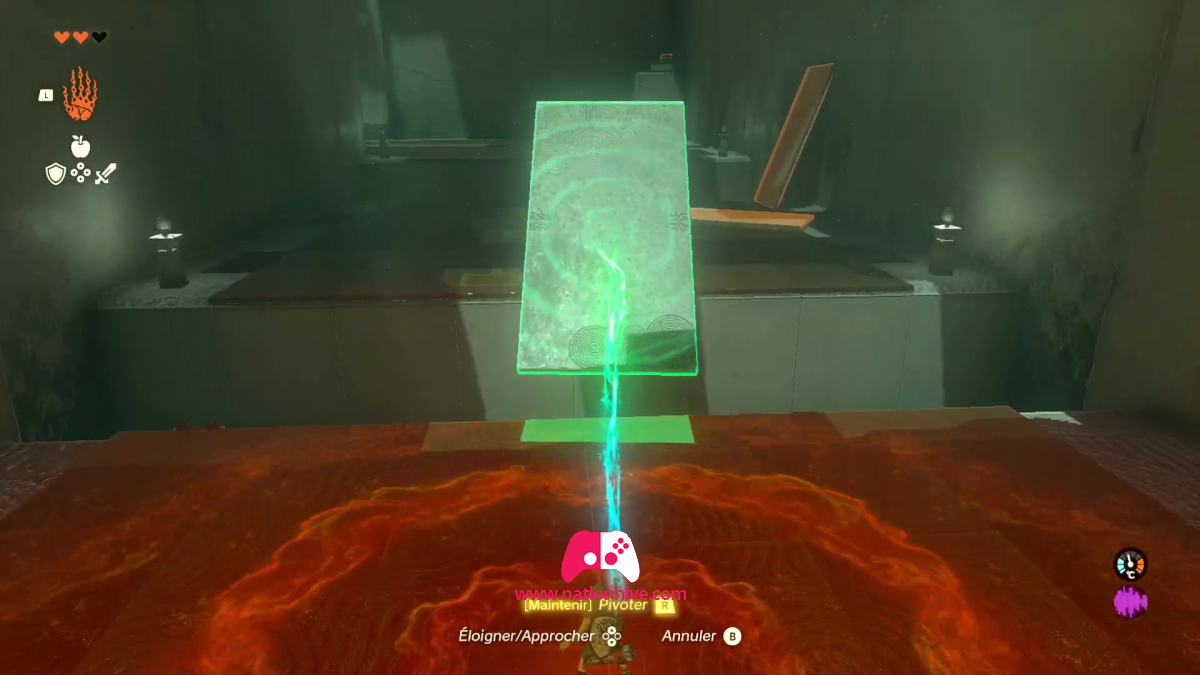
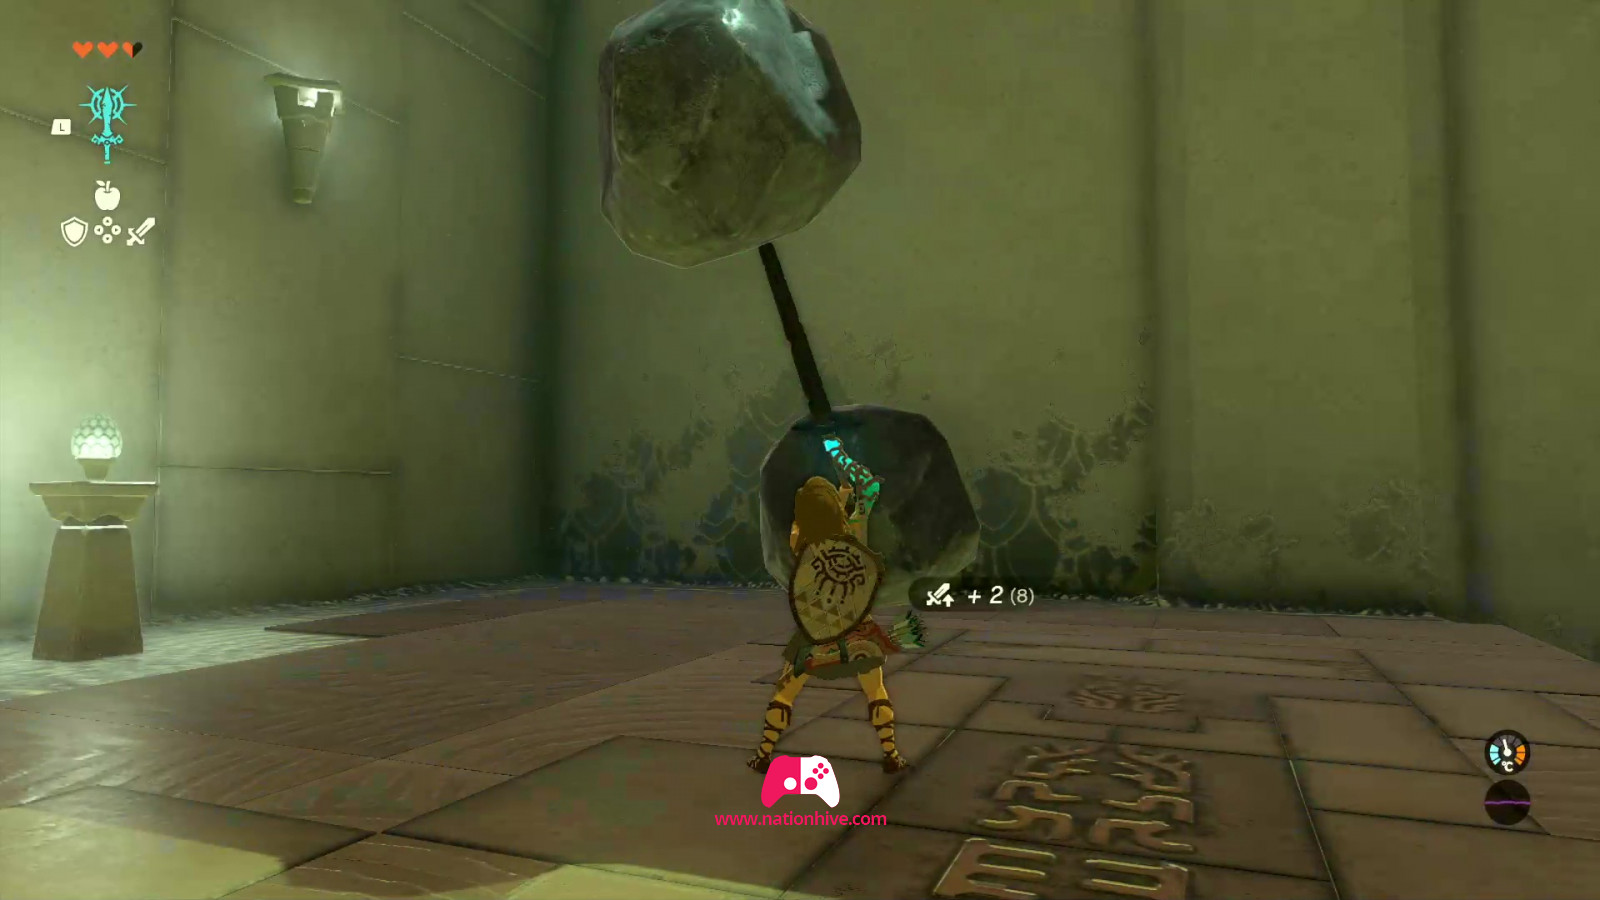
Once inside, Rauru will give you your first skill, Ultrahand. This ability allows you to grab an object and move it from a distance. Caught objects can be rotated and glued to other objects.
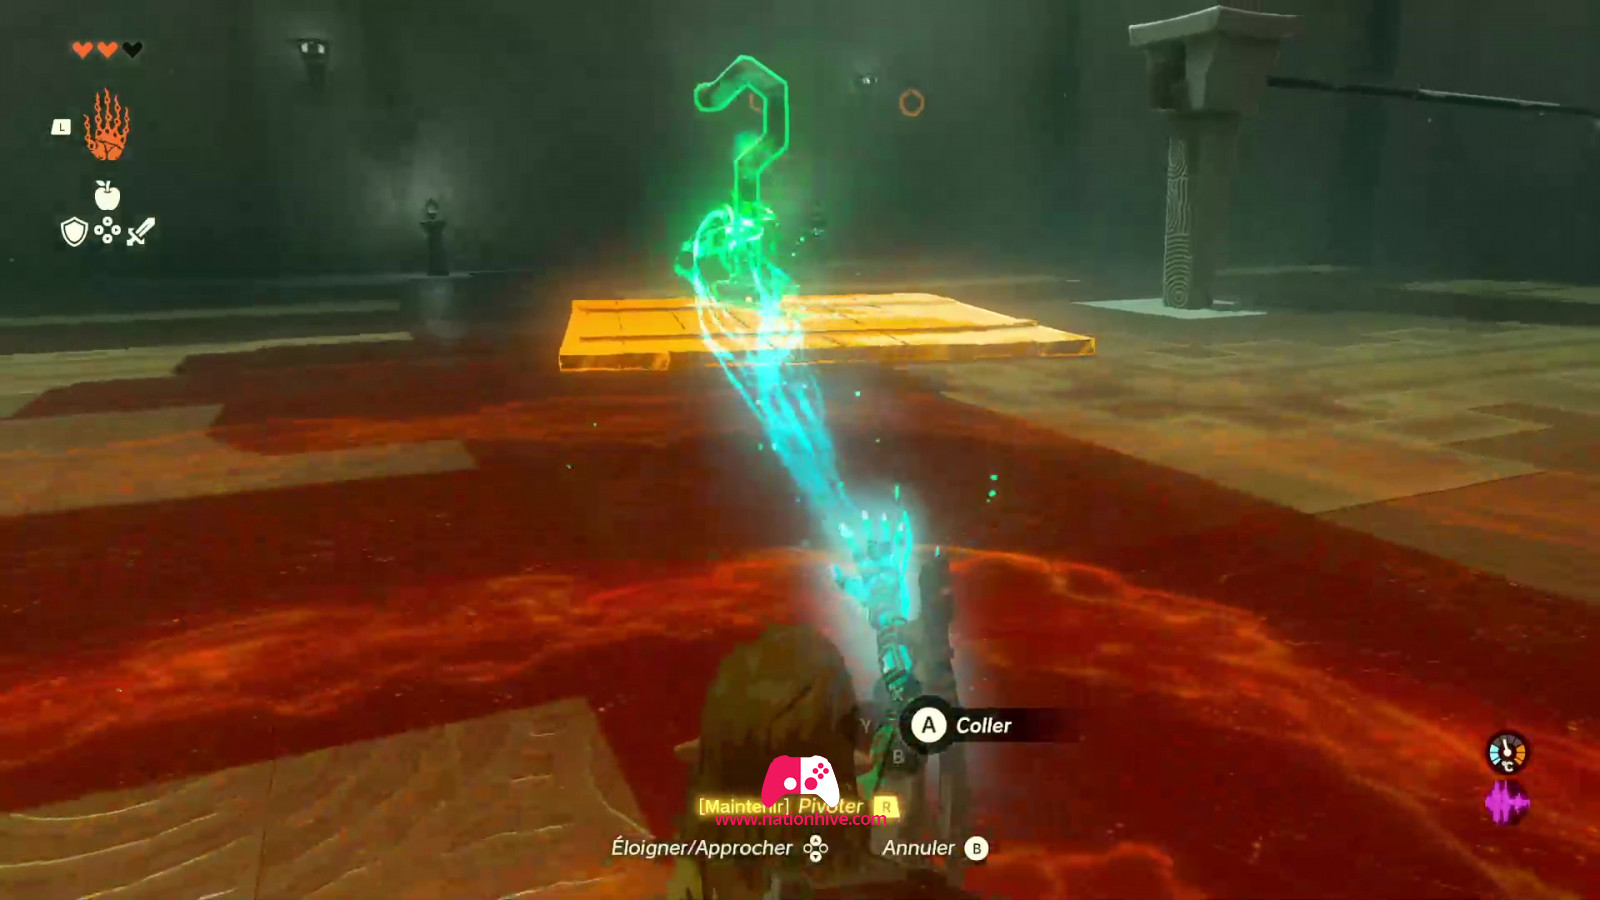
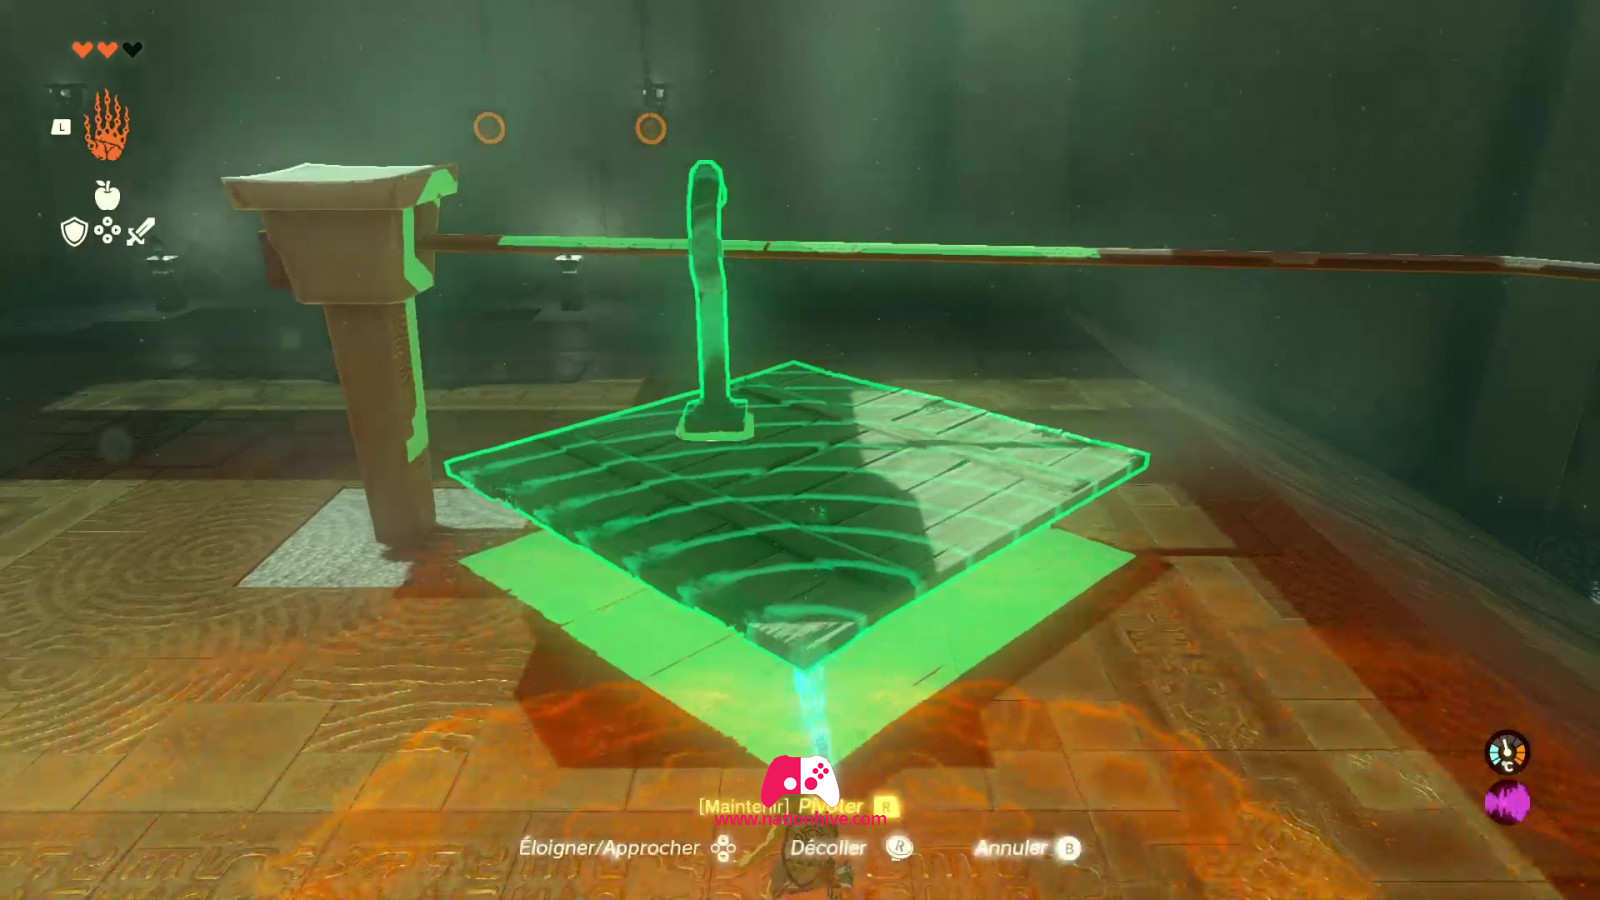
Step into the room and use your new ability to lift the stone slabs to your right. Swivel the slab to create a path to the other side of the platform.
For the second part, you'll need to glue 2 stone slabs together to create a larger bridge. Glue the 2 slabs together and repeat the process to create a path on the other side of the platform.
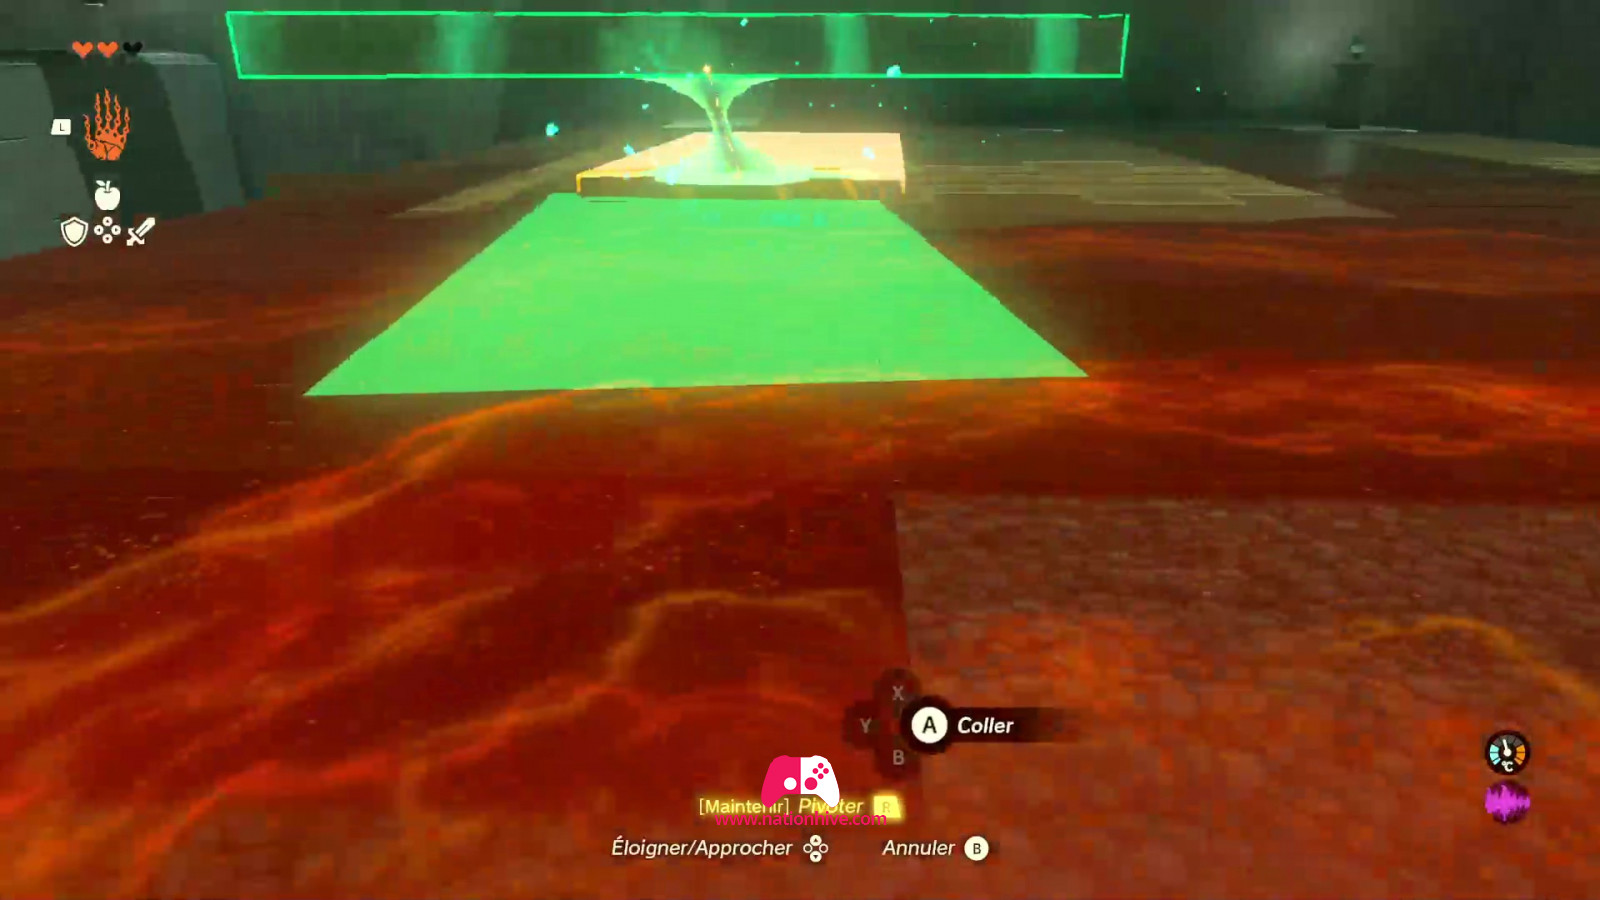
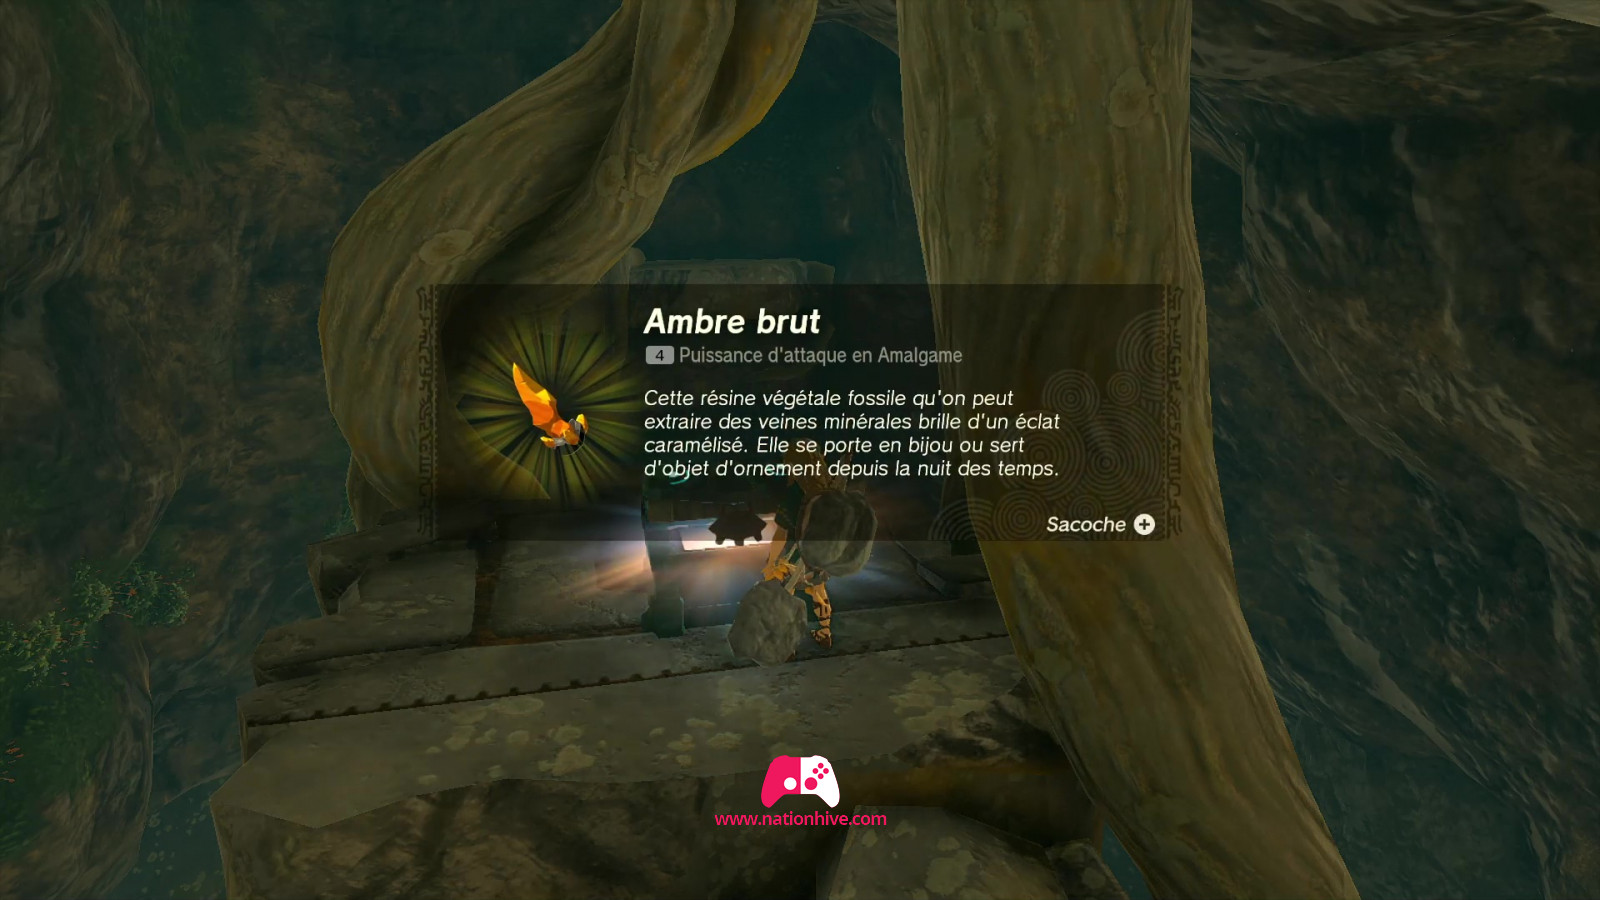
Cross and move again the large bridge you've created to reach the chest at top right. You'll get an Amber.
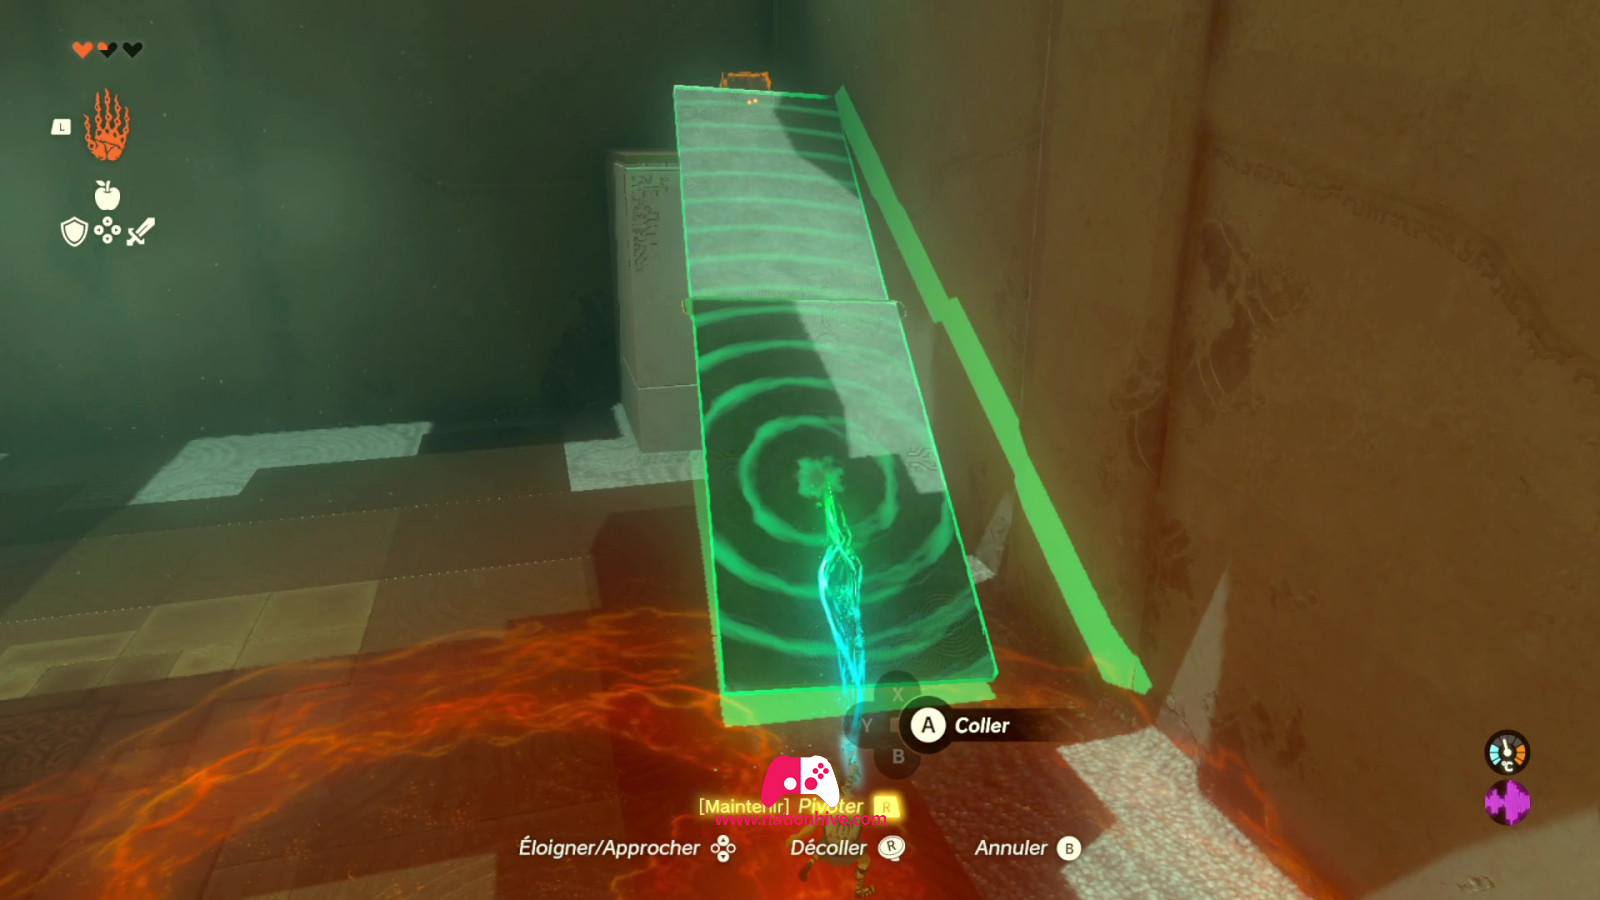
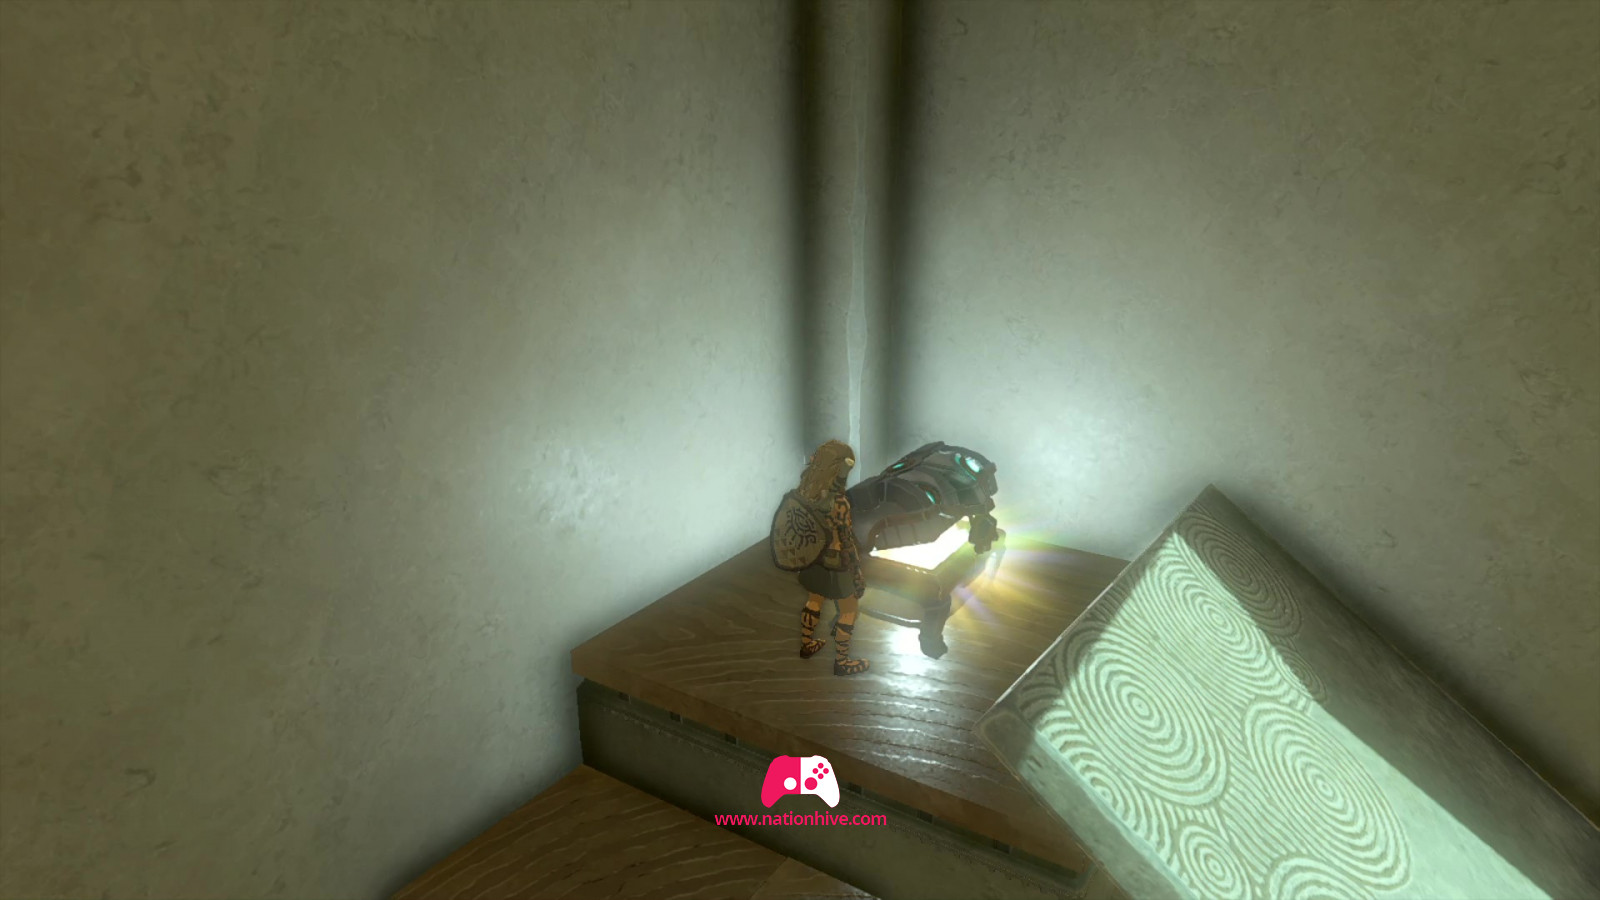
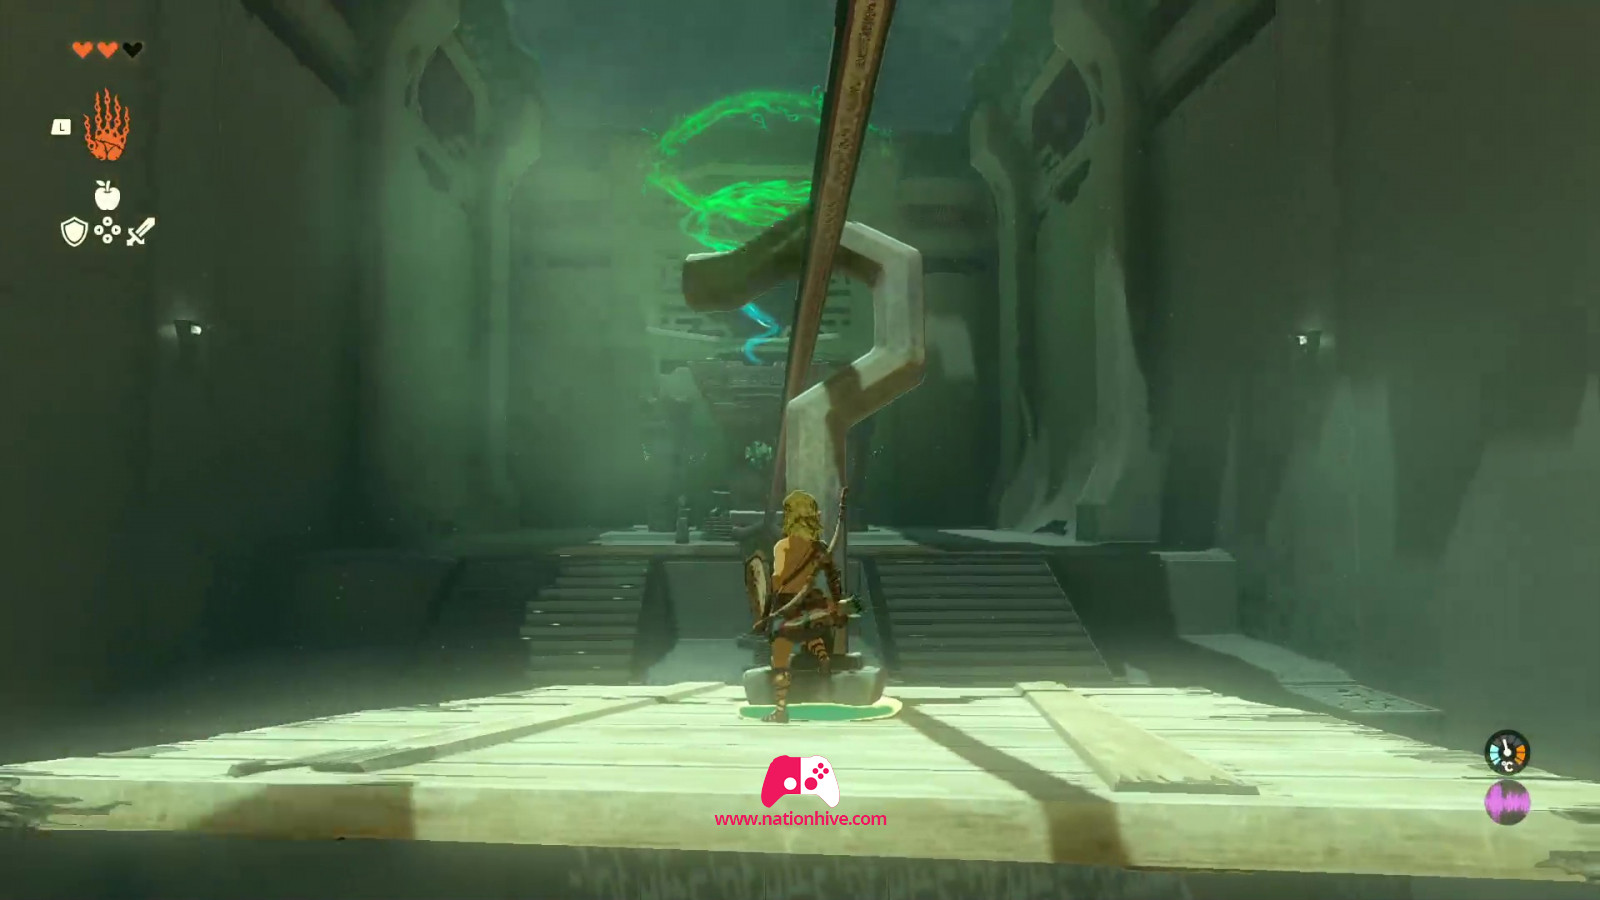
Then head for the next room on the left. To cross the room and get to the bottom, you'll need to create a wooden platform with a hook to hook onto the rail and cross the room. Using your Ultrahand ability, glue the hook to the wooden platform and quickly jump onto it.
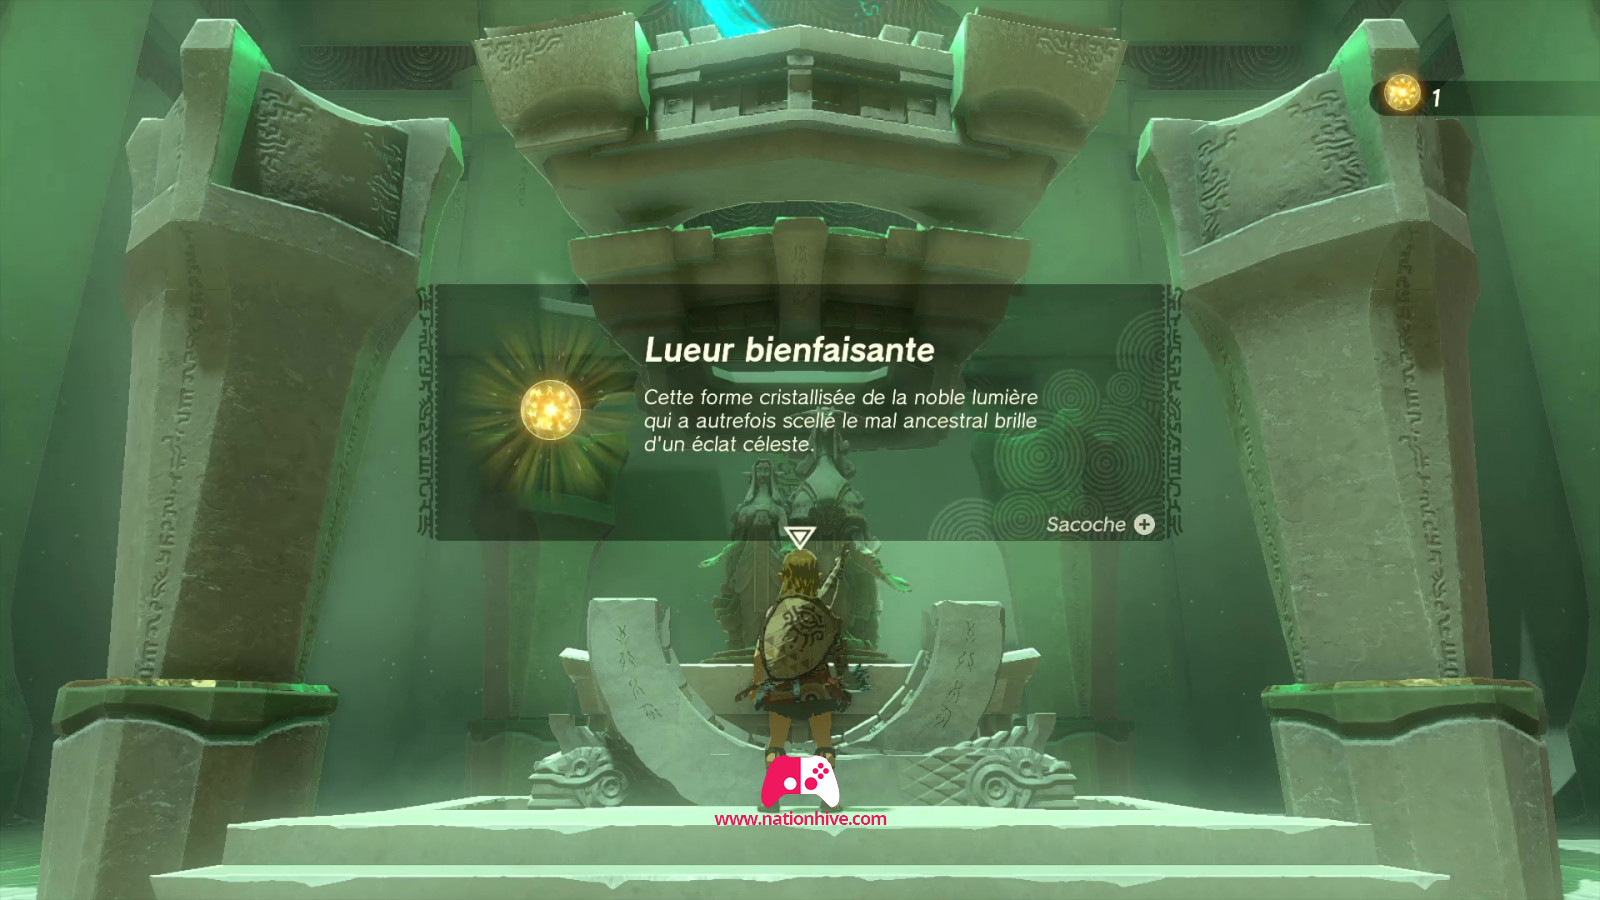
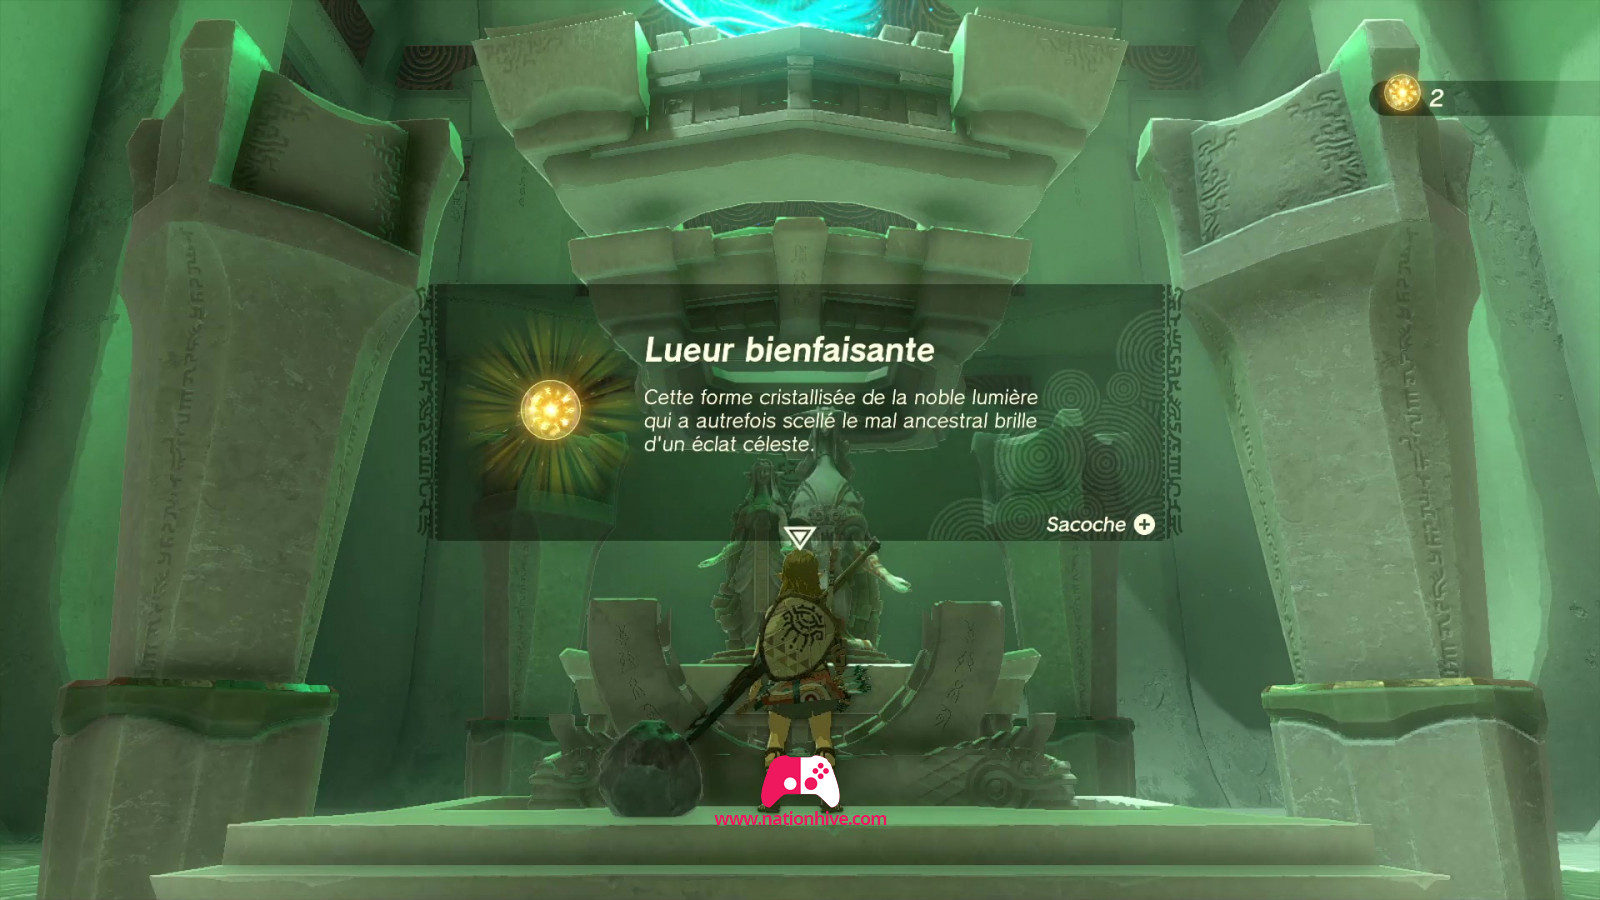
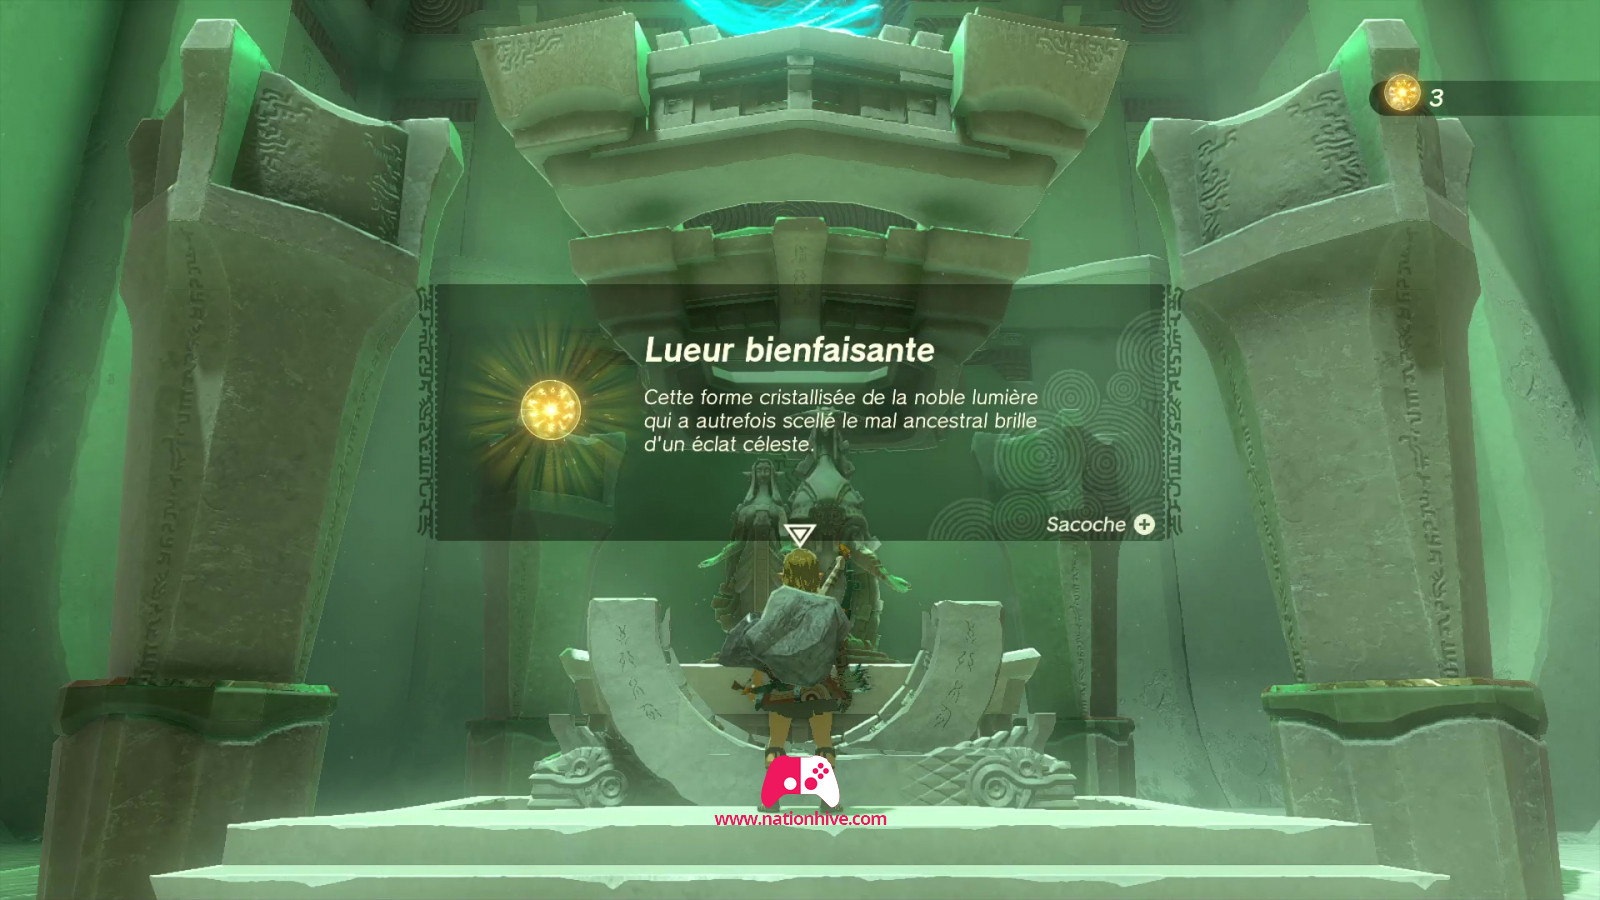
Once on the other side, use A to examine the green circle in front of you. A statue of Rauru will offer you a Light of Blessing and your life bar will fill up.
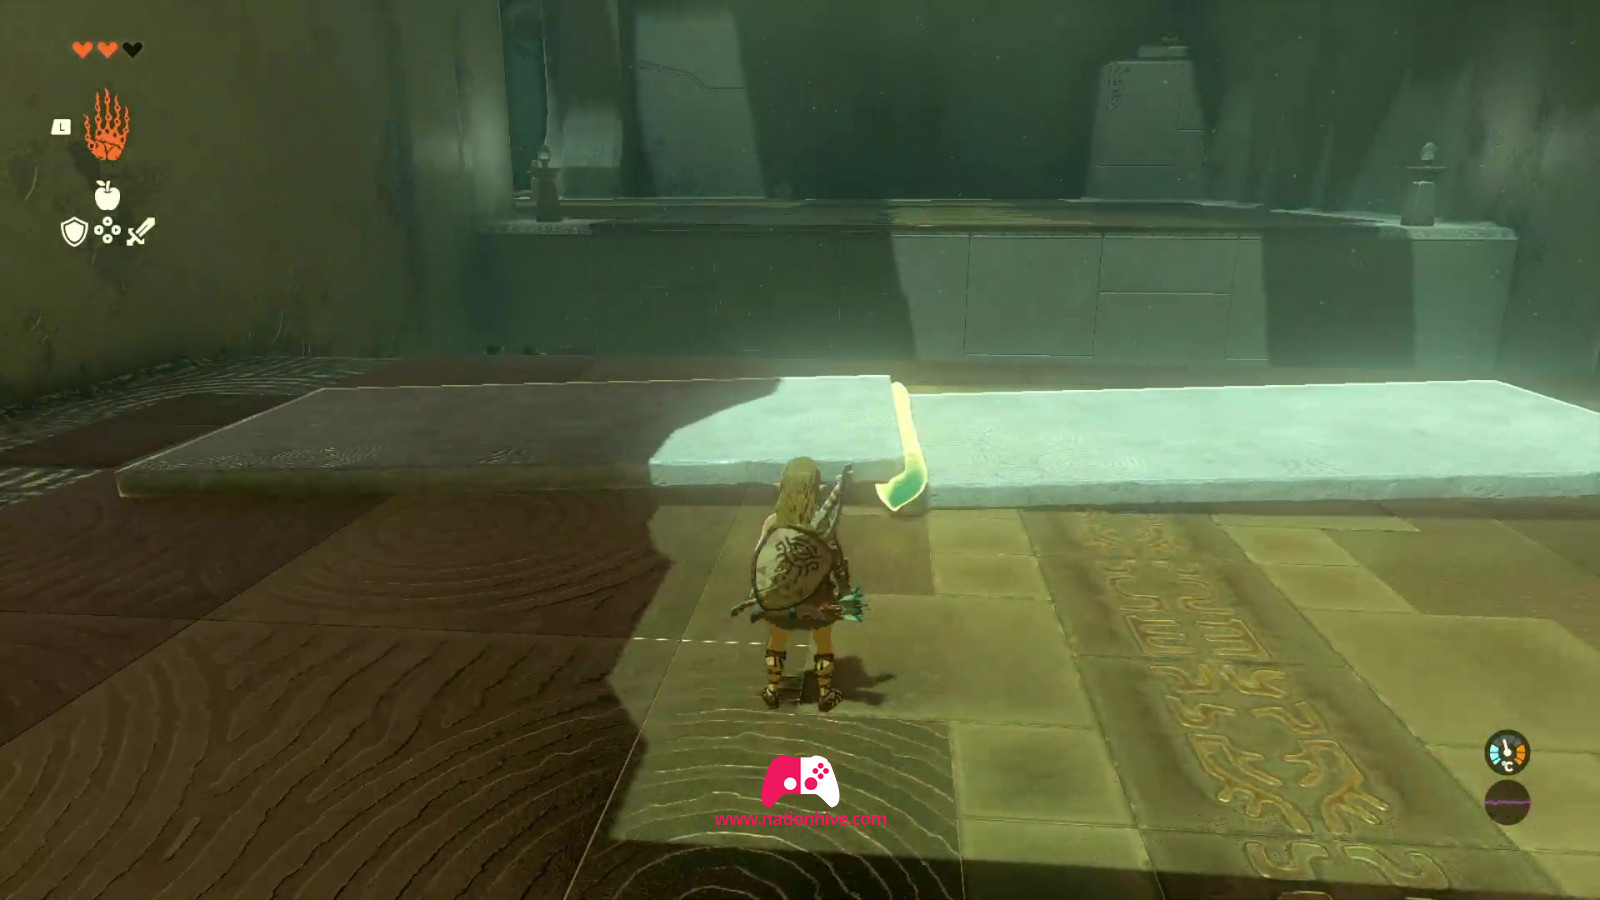
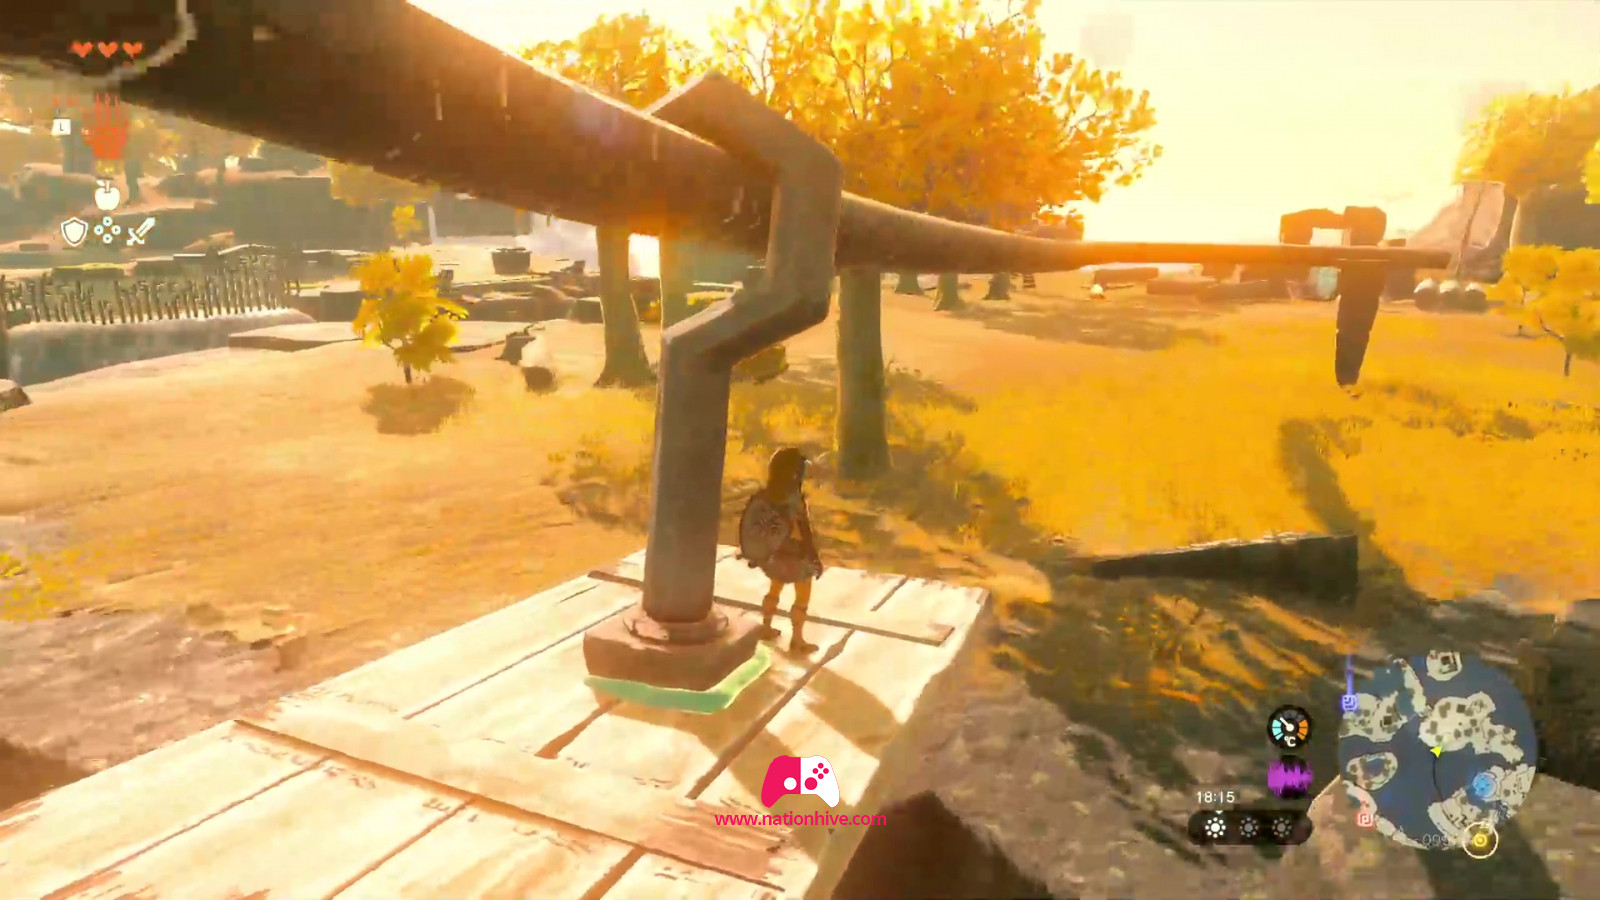
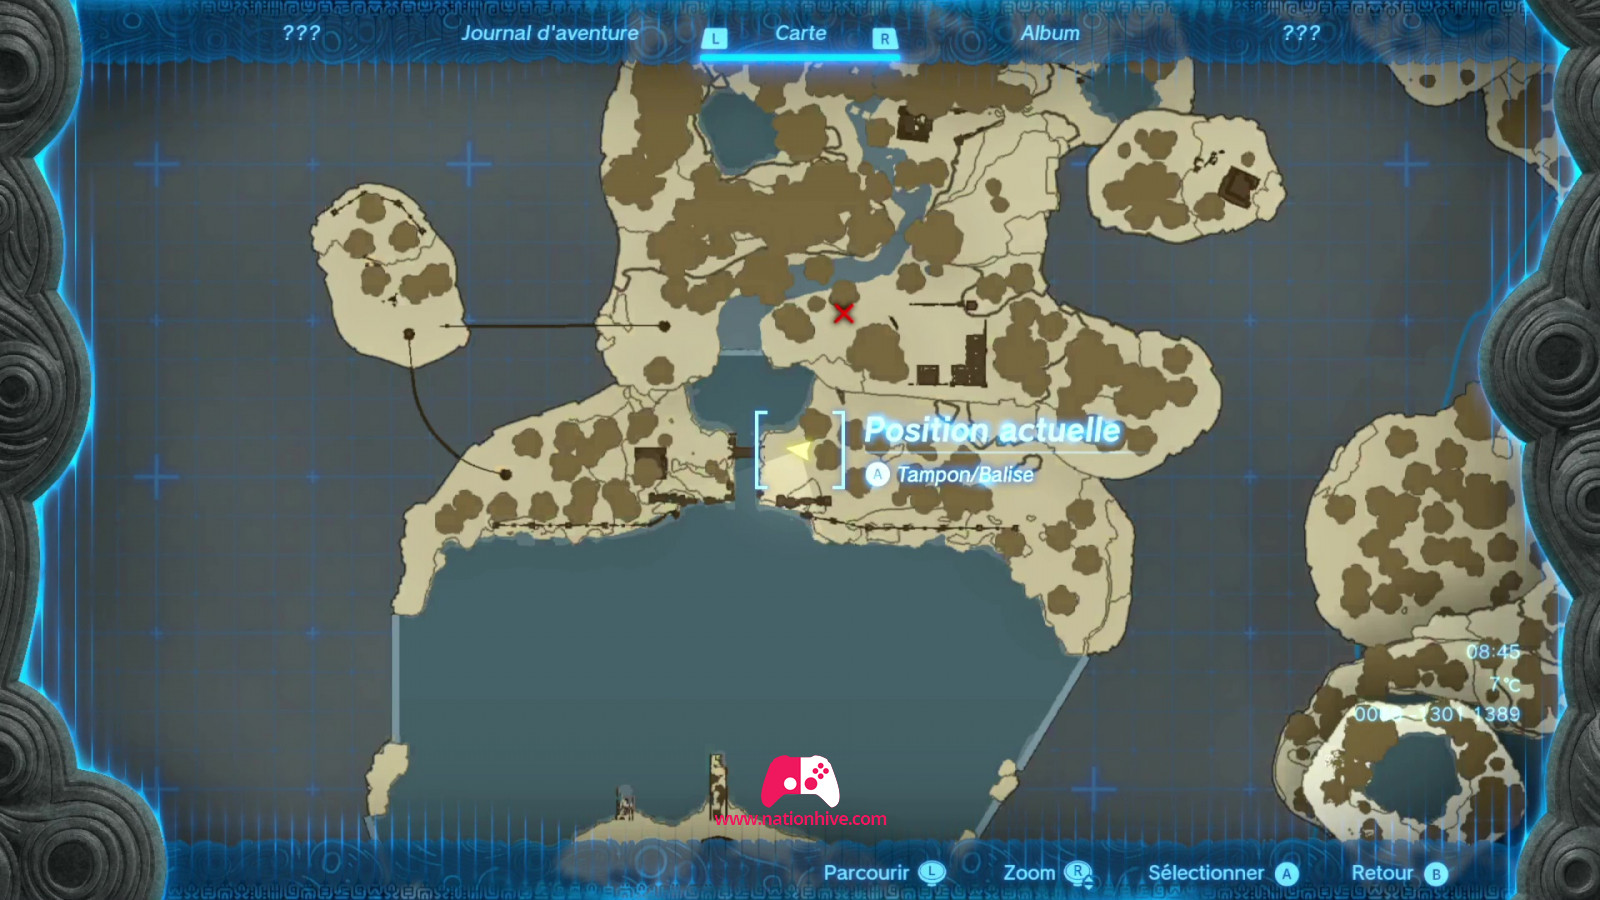
Once you've completed the first Shrine, use the tablet to mark the position of the next Shrine. To get there, head for the stone platform. Directly opposite, you'll see a rail system. This is where you want to go. Jump down and land in the water. Once you're in front of the rail system, repeat what you did in the temple, sticking the metal hook to the wooden plank and quickly jumping over it to get to the next stage.
Once on the other side, talk to Rauru's spirit and the Construct to find out how to cut down trees and obtain tree trunks. They'll be particularly useful for the next step, as you'll need to build a fairly long bridge with these tree trunks to get to the other side. Alternatively, you can simply climb the wall to reach the other side of the bridge.

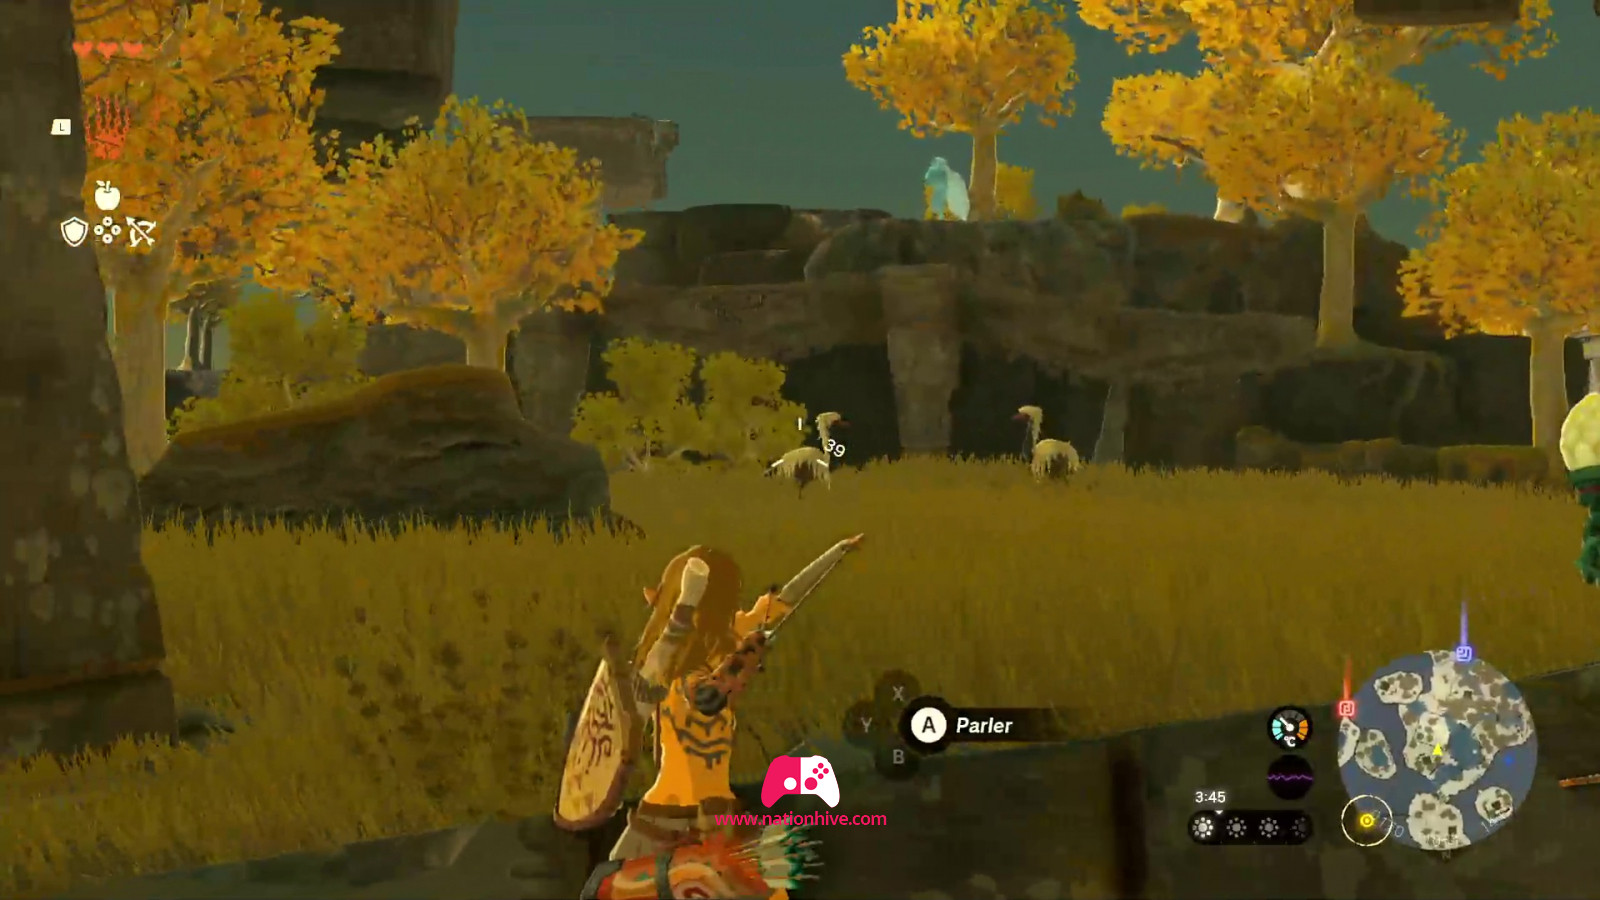
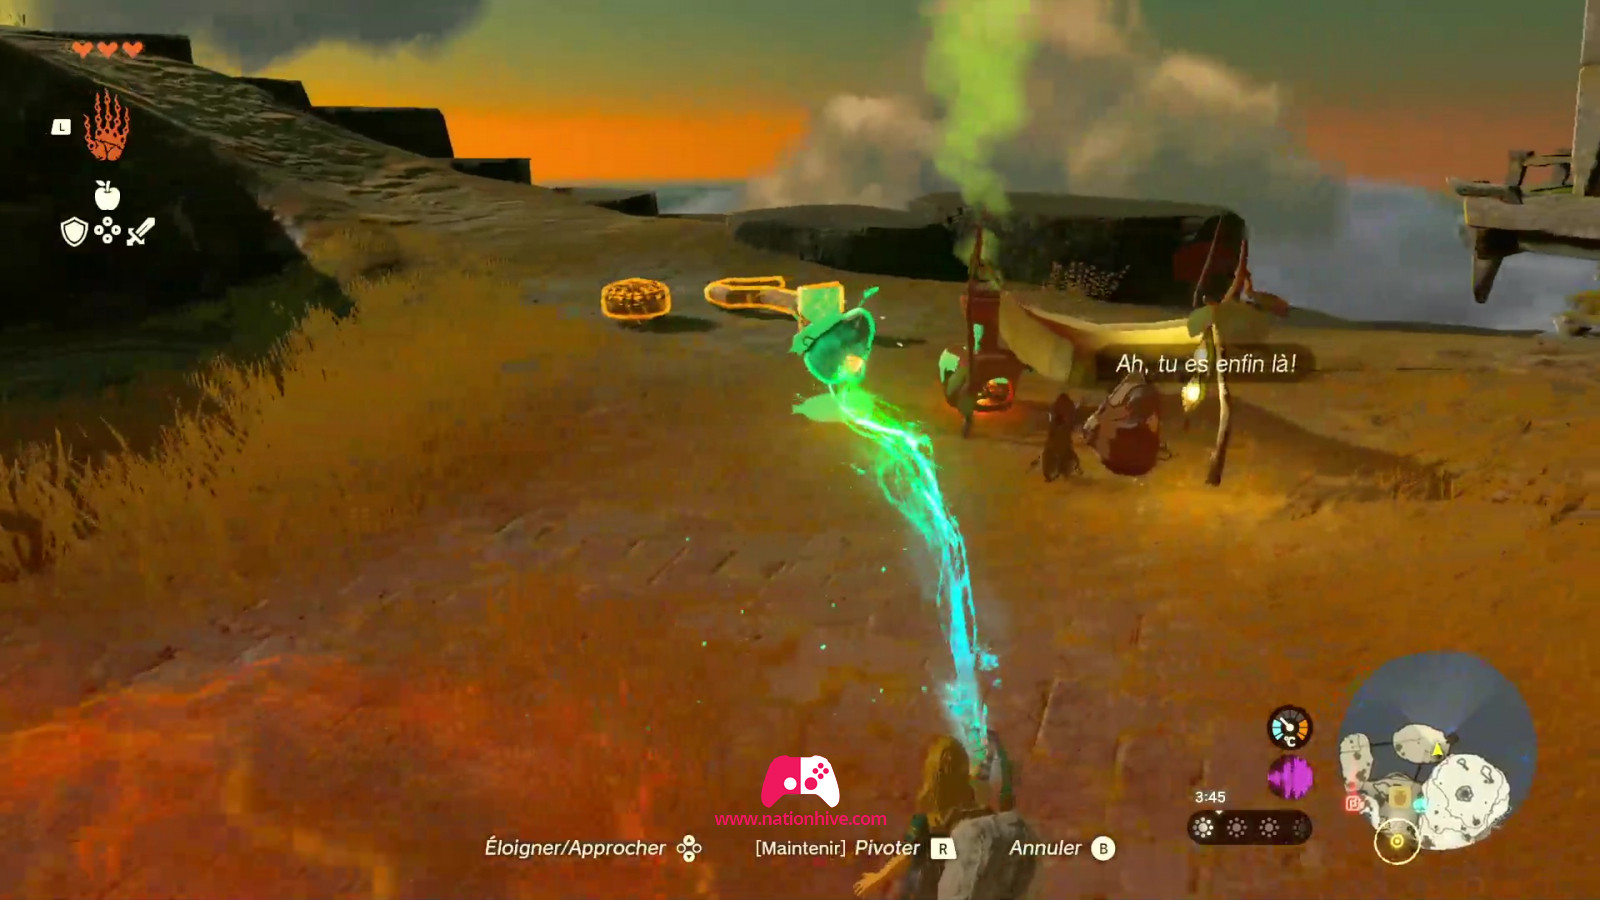
Once on the other side, talk to the Construct near the campfire to learn how to handle a bow and hunt. The birds you see in the wild are a good source of meat, even more nourishing if grilled over a campfire. Take the opportunity to stock up on grilled foods.

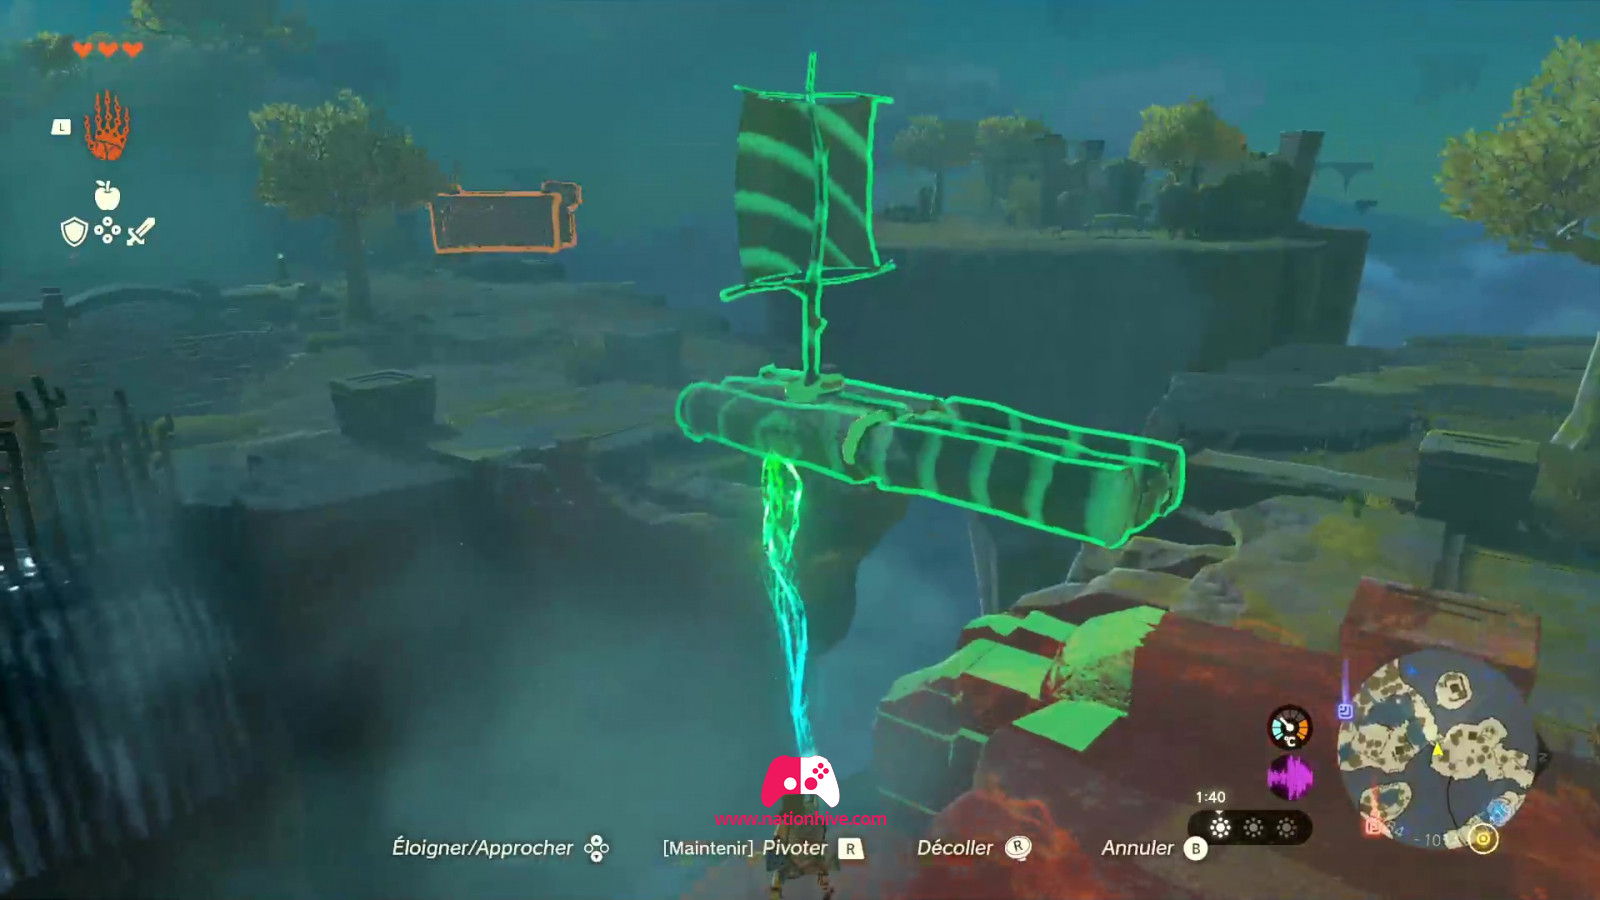
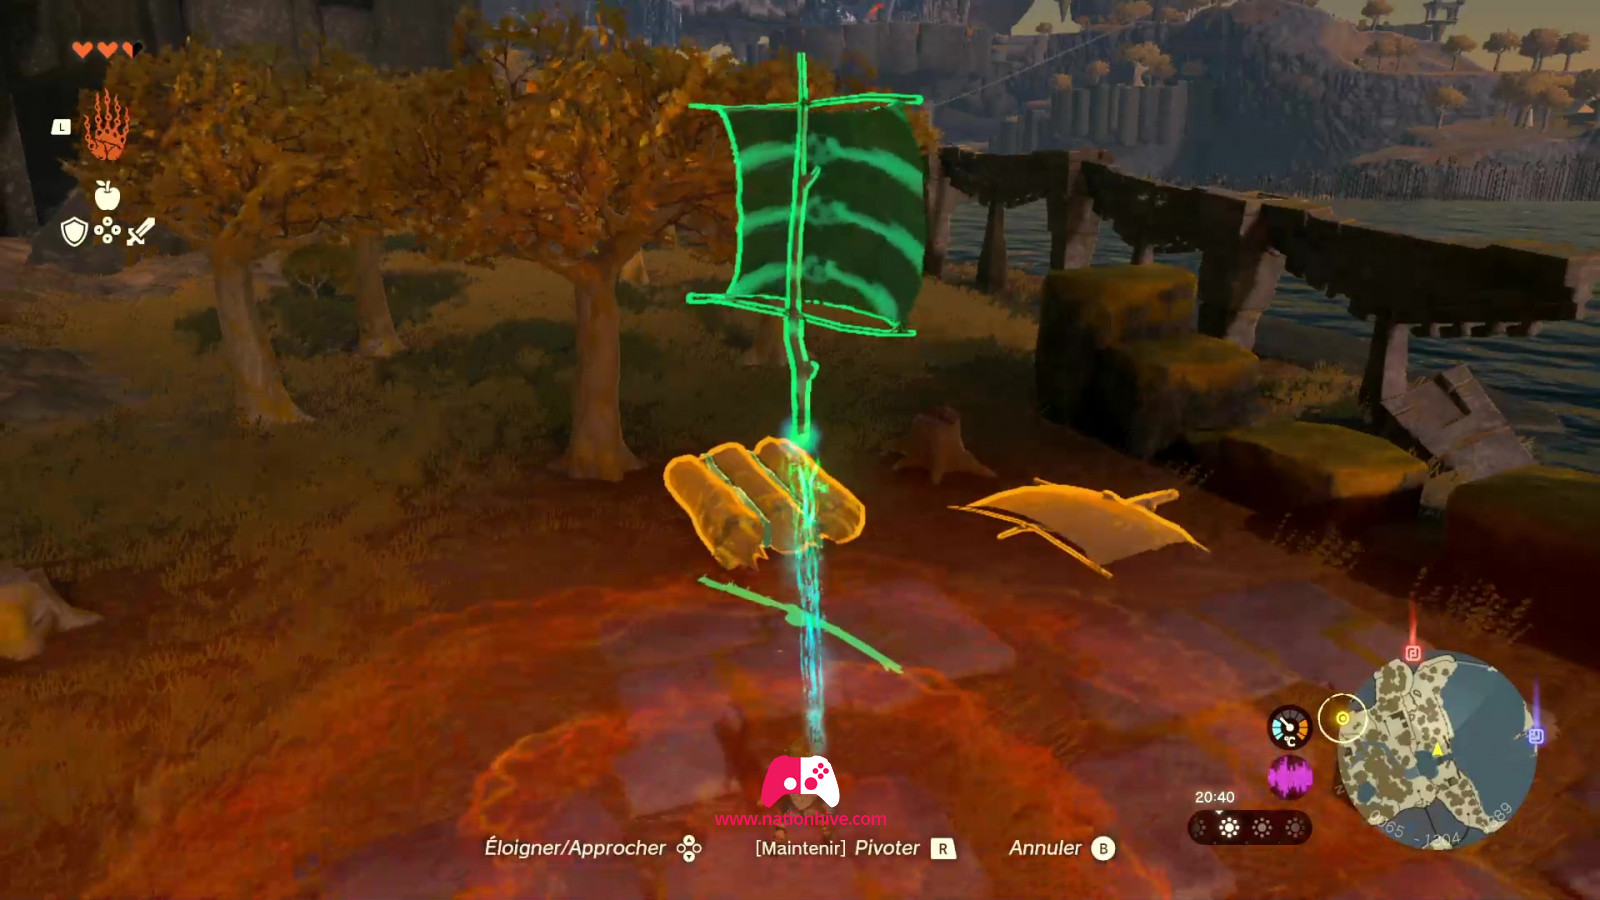
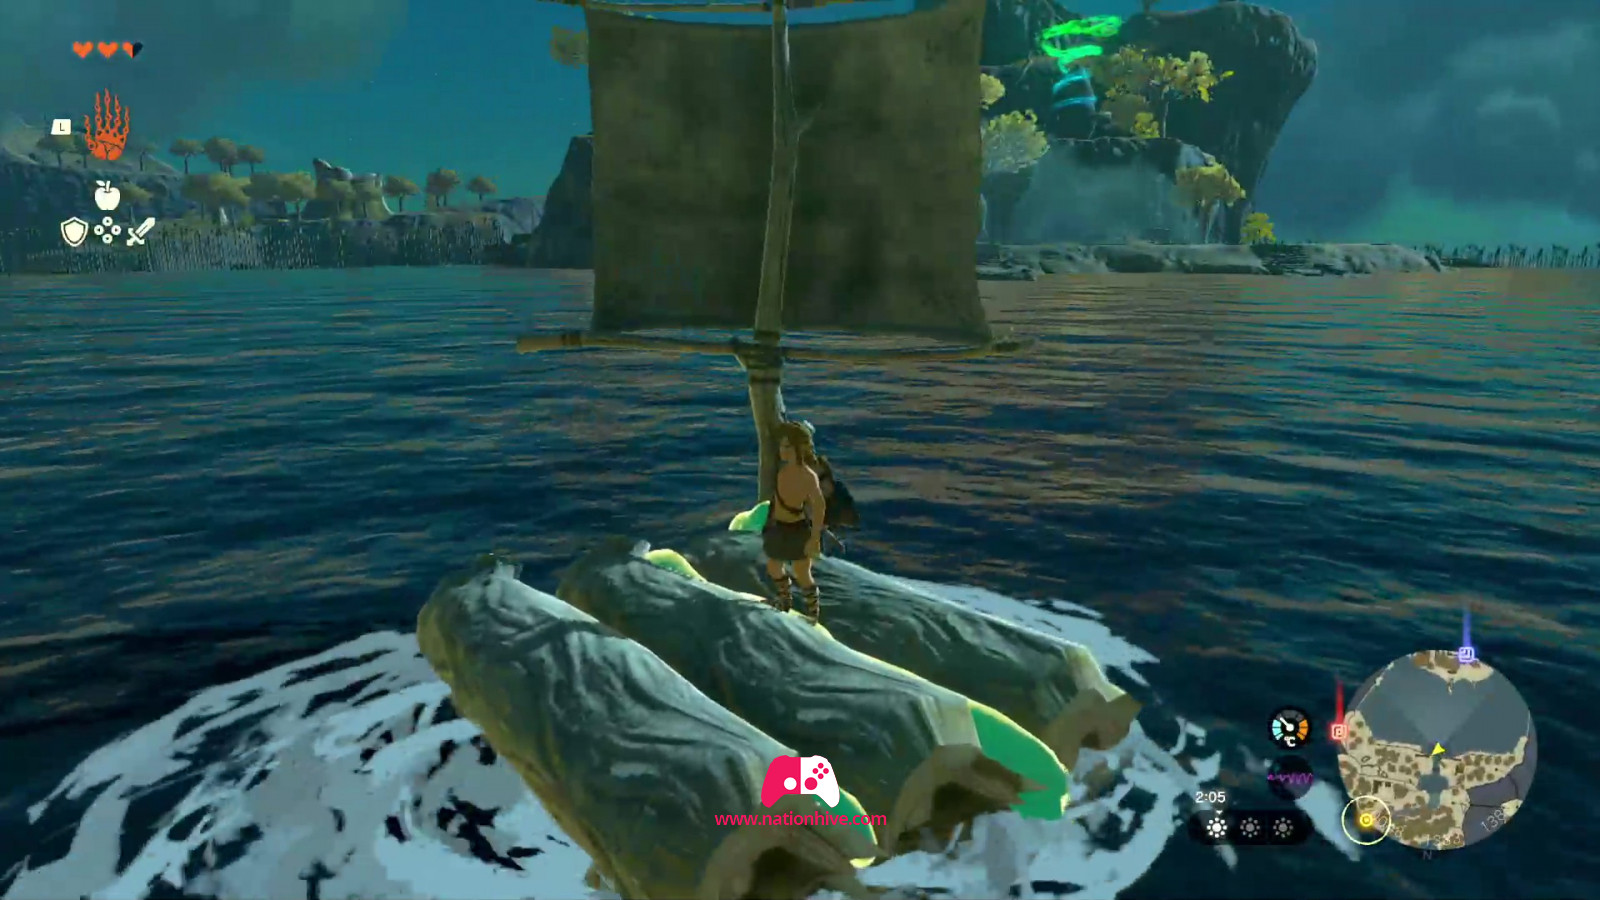
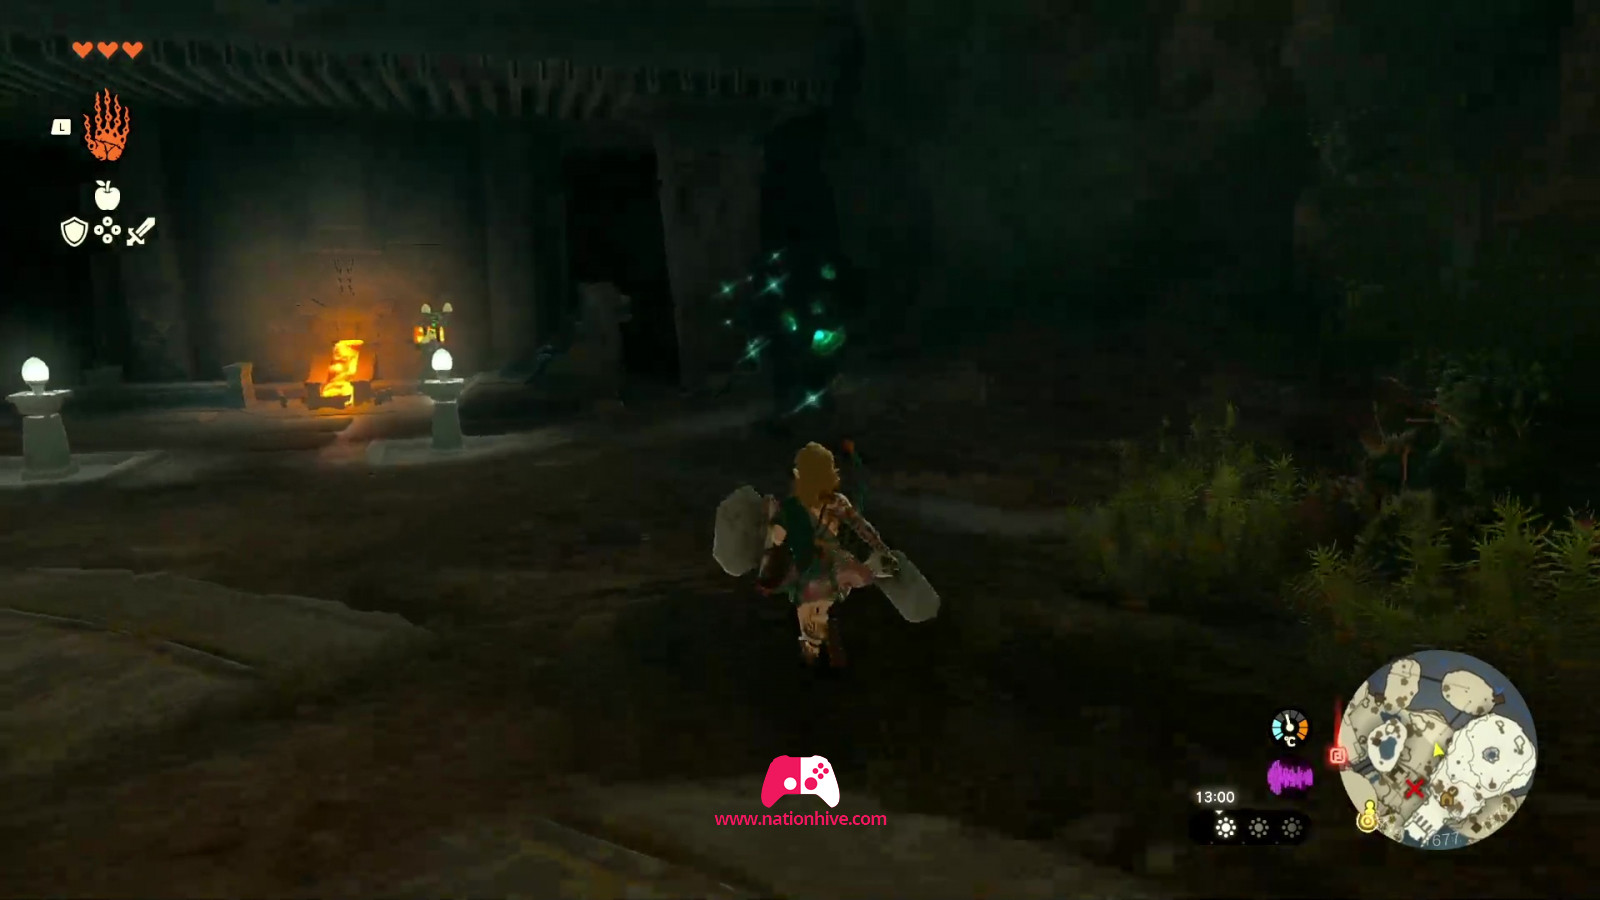
Head south to reach the large lake. You'll need to build a Zonai raft from tree trunks and a sail to get across. Use your new ability to glue the logs and sail together. Then drop the Zonai raft into the water and jump in quickly.
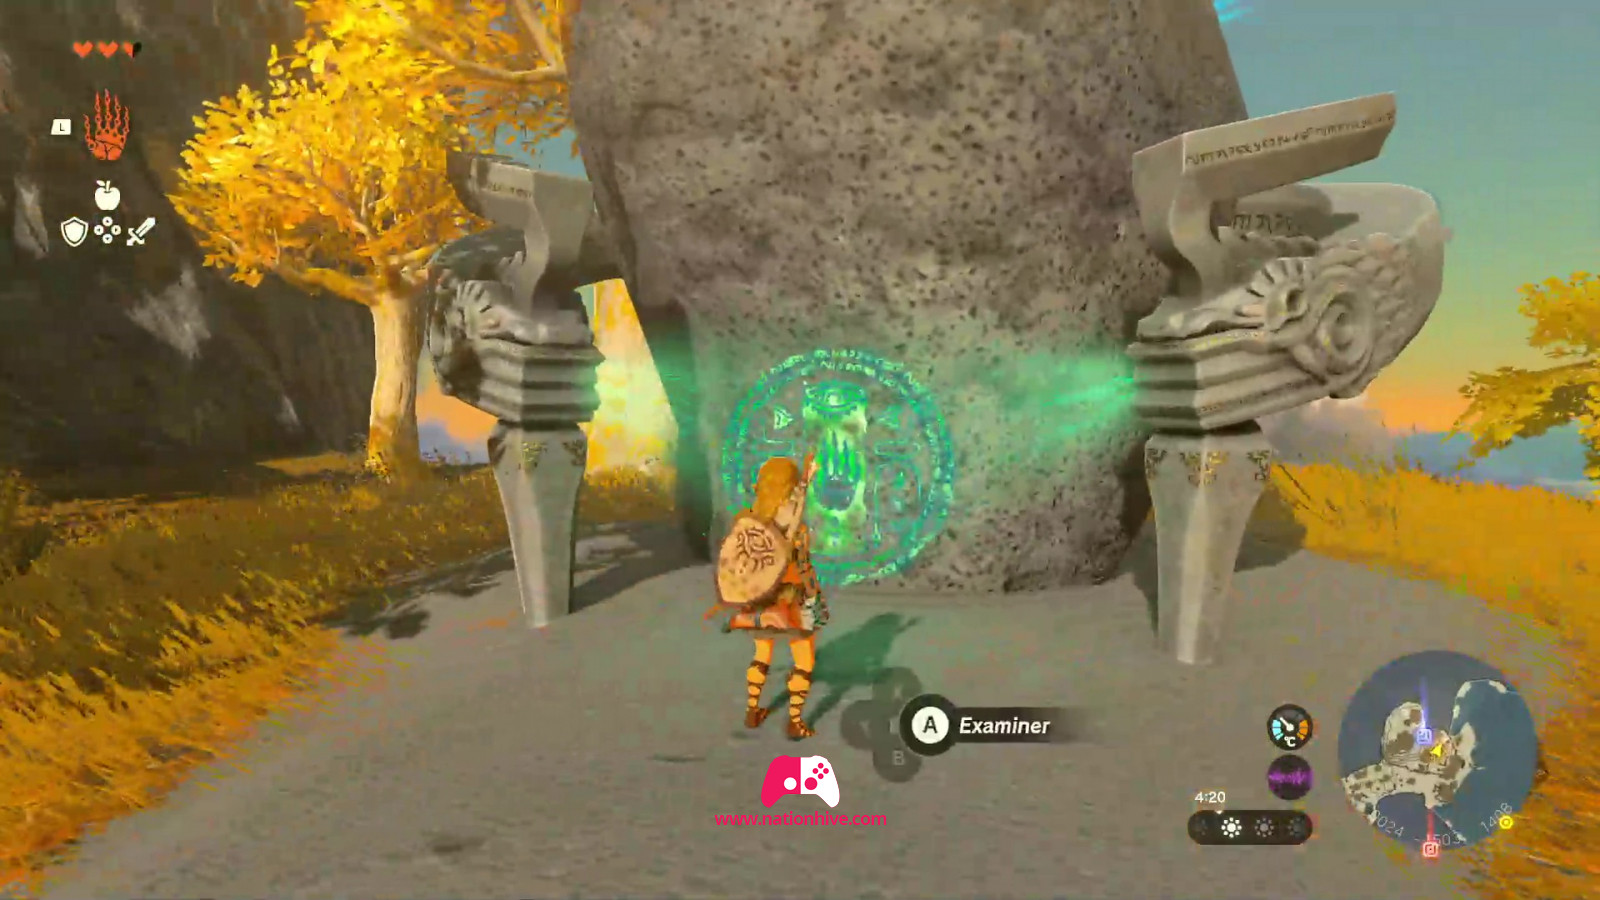
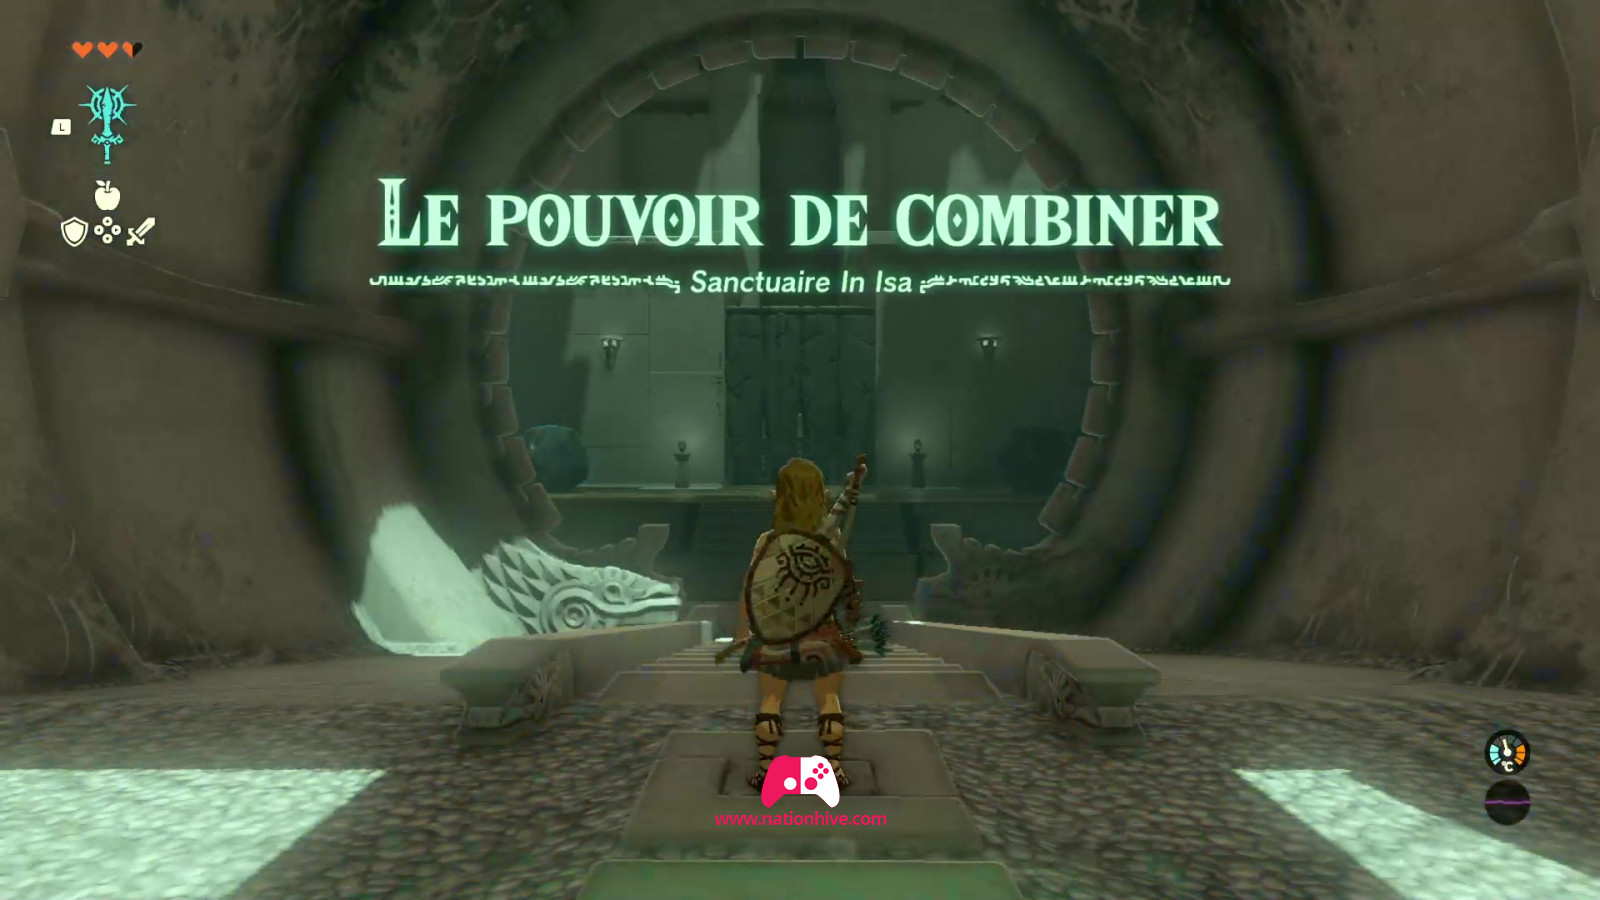
Once across the river, attack the enemies in your path and climb up to the temple. Once you've reached the top in front of the In-Isa Shrine, examine the green circle in front of you with A.
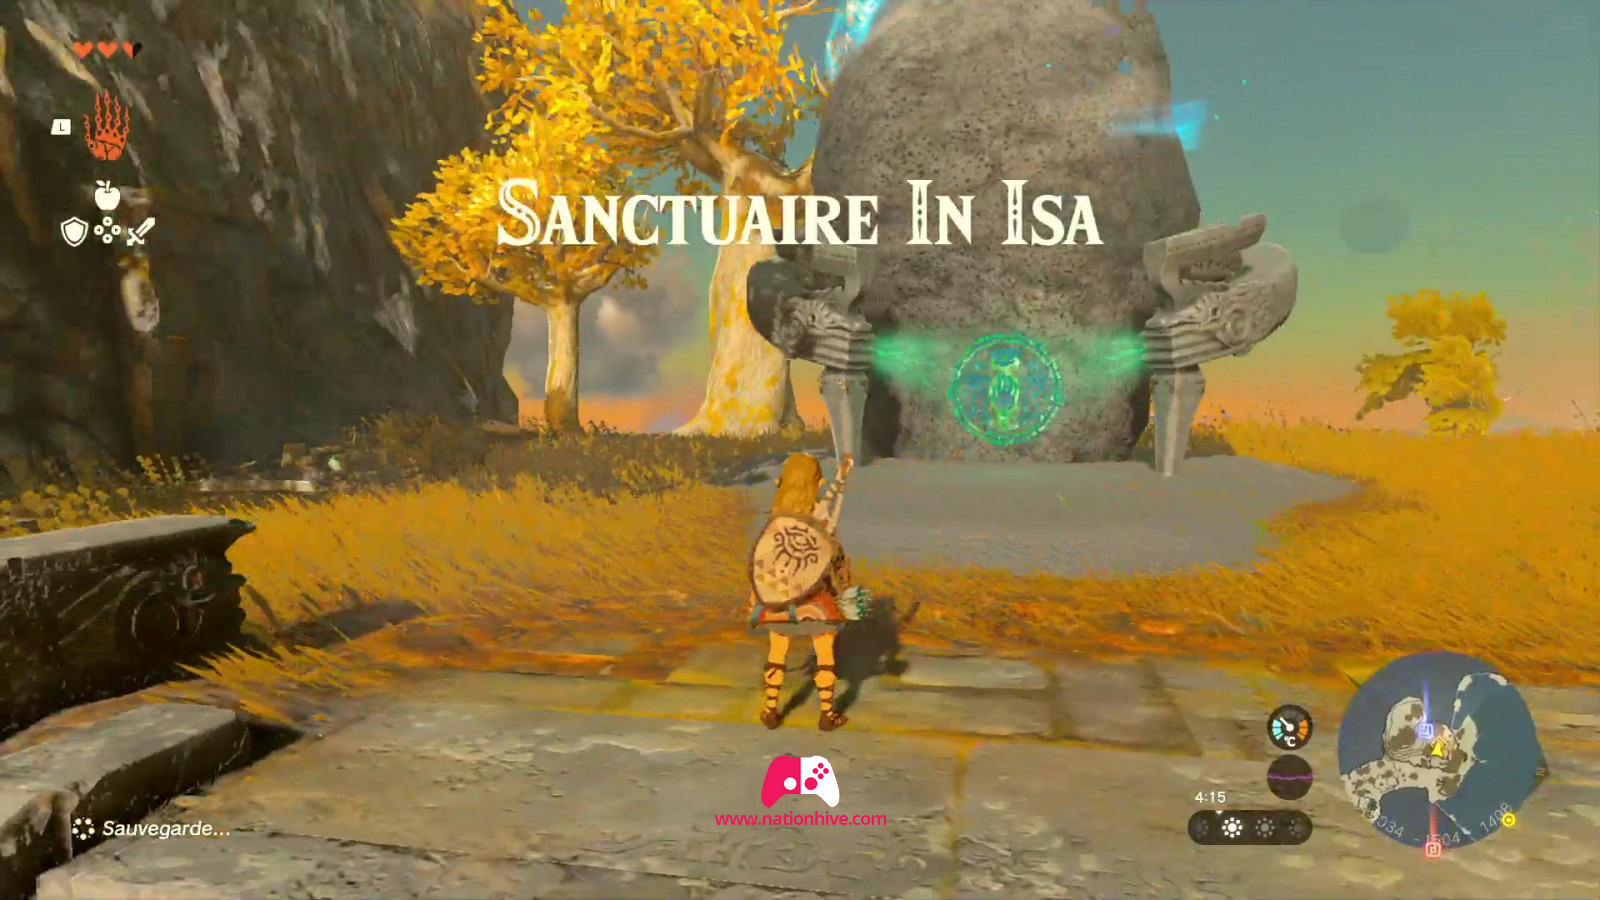
In-Isa Shrine
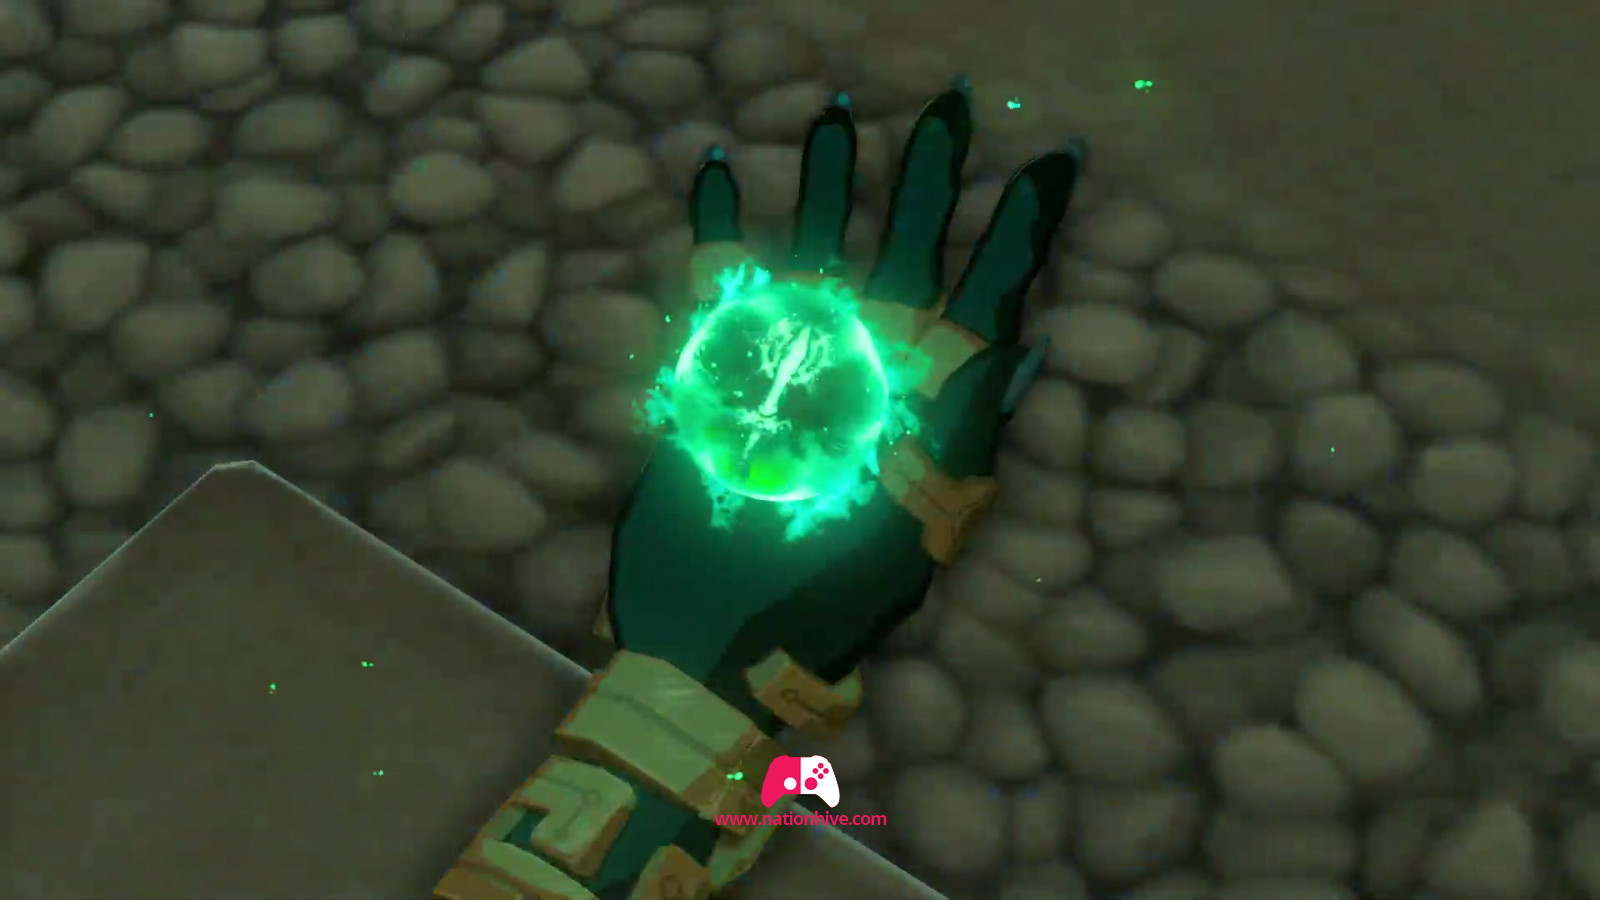
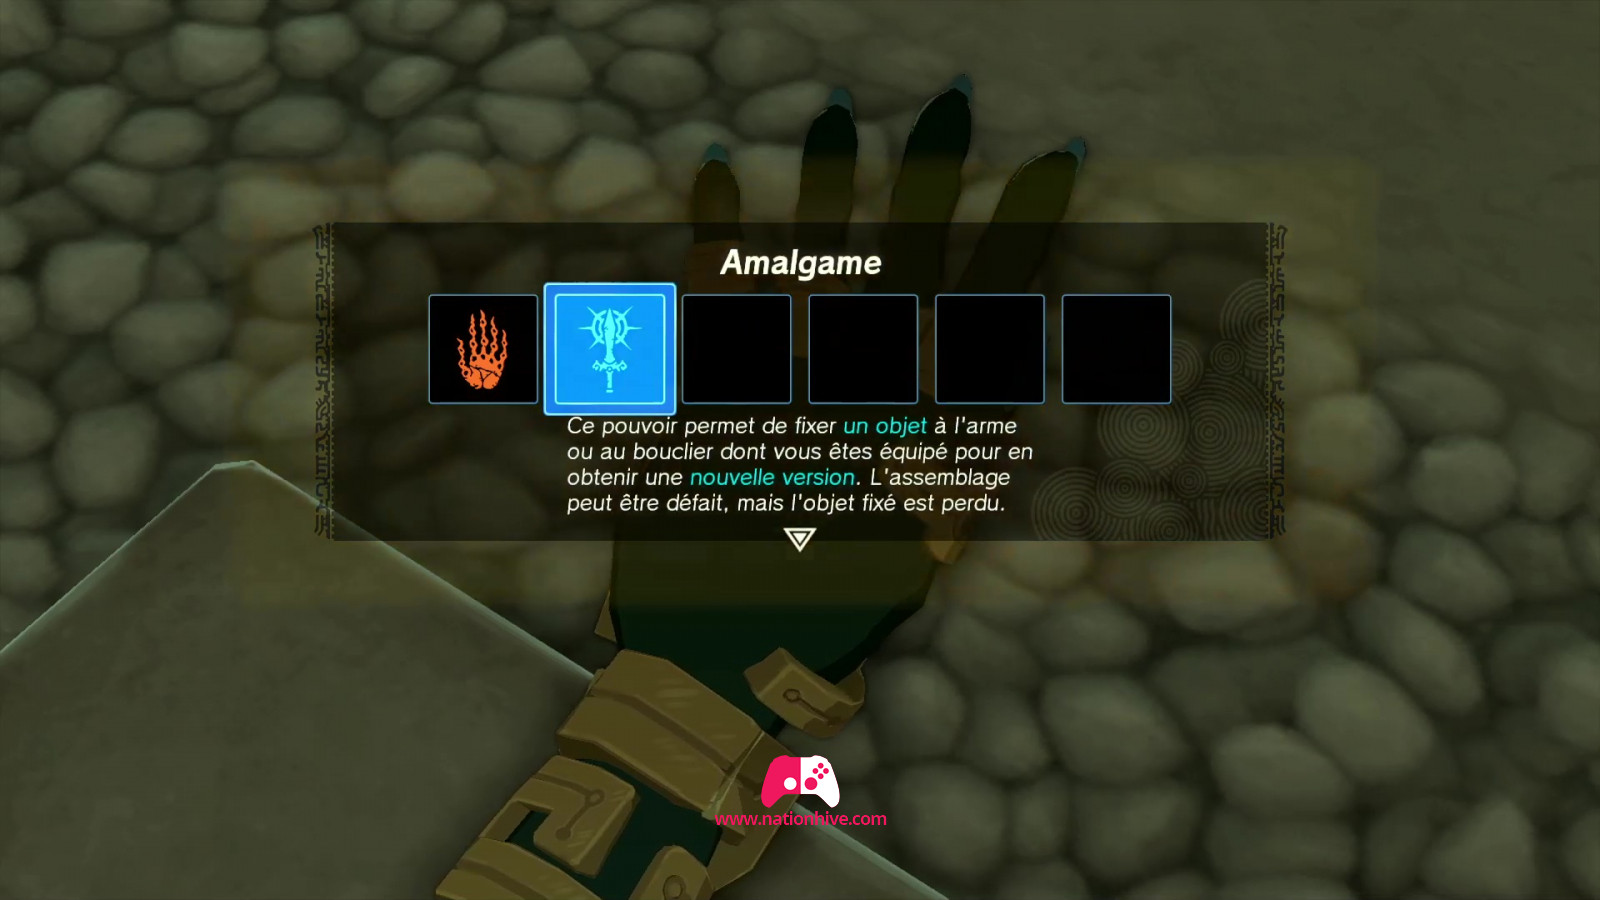
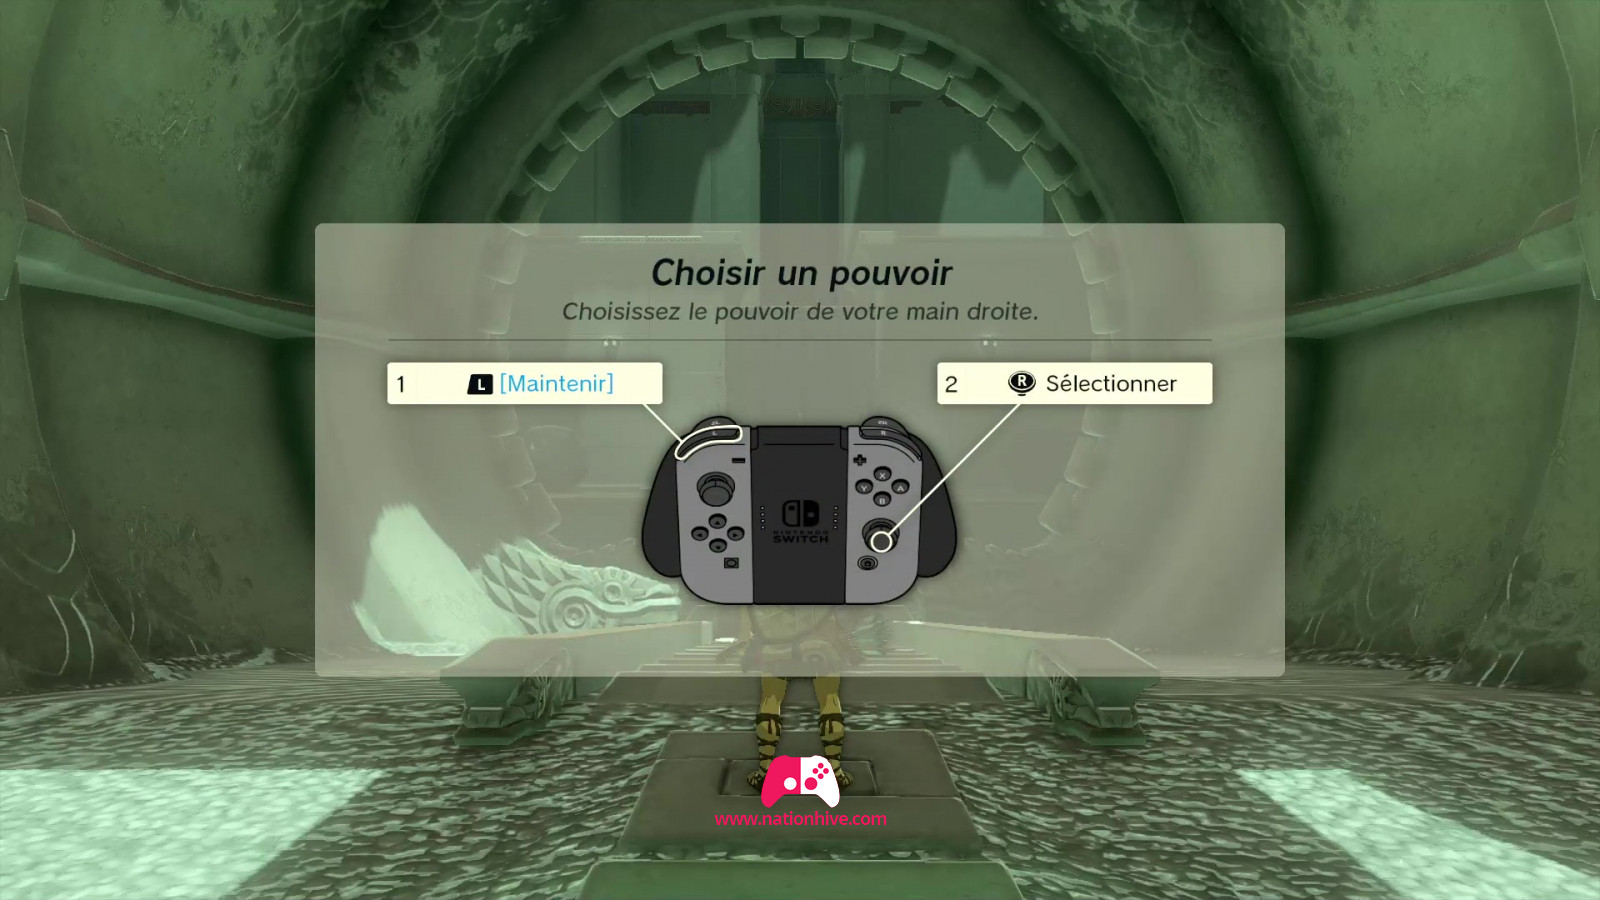
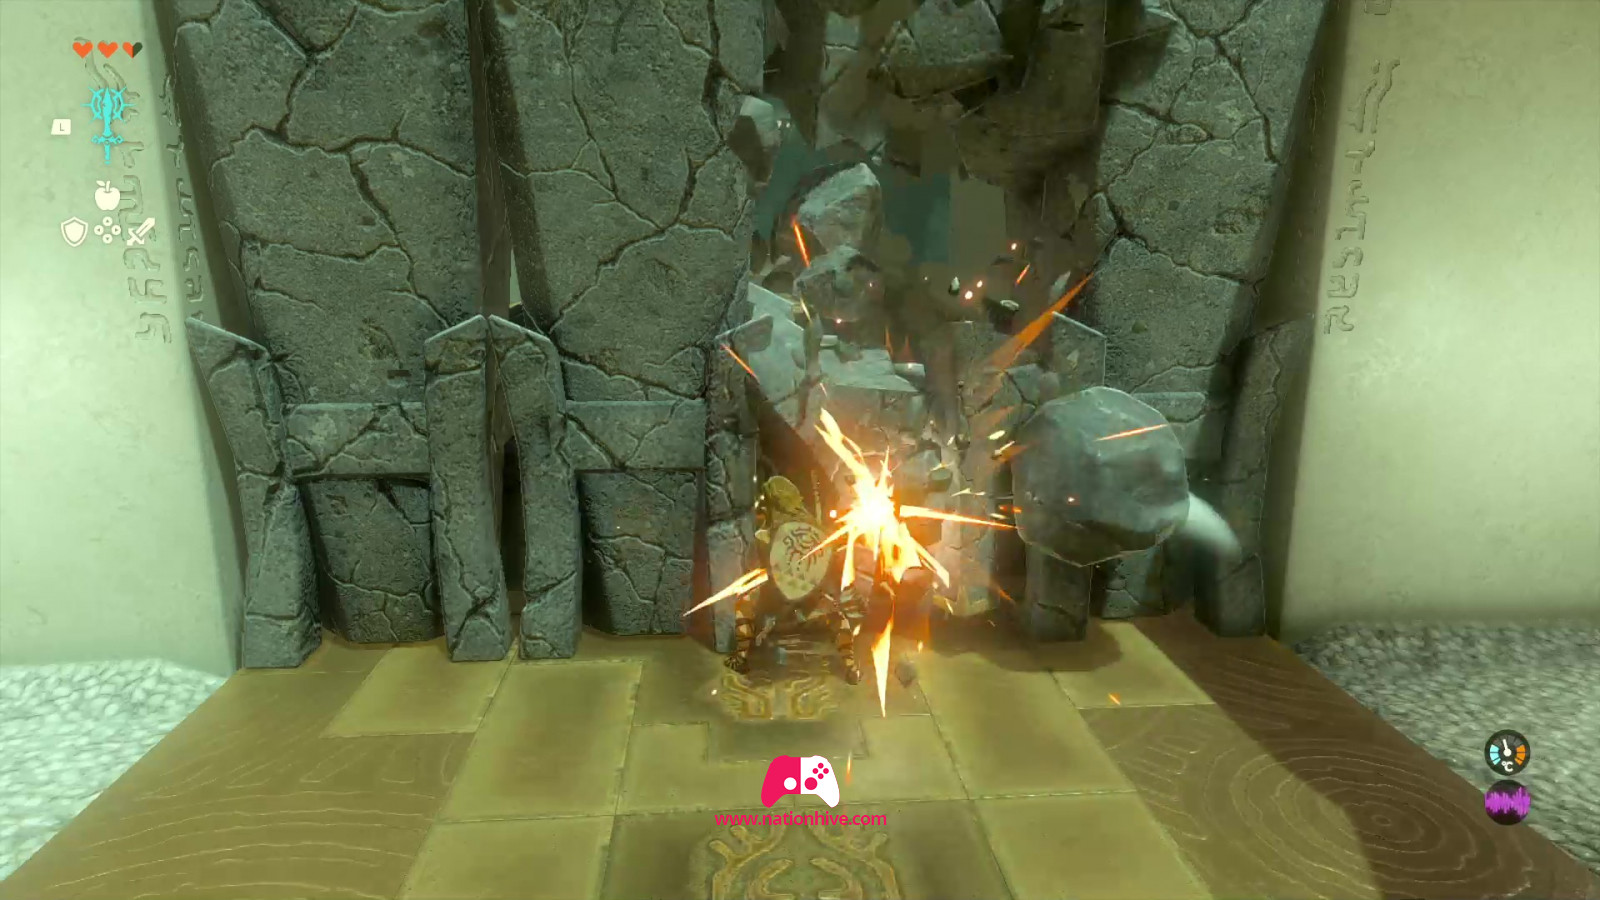
Once inside, Rauru will give you your second ability, which is Fuse. This ability allows you to attach an object to your existing weapon or shield to create a new weapon. The assembly can be undone, but the attached object will be lost.
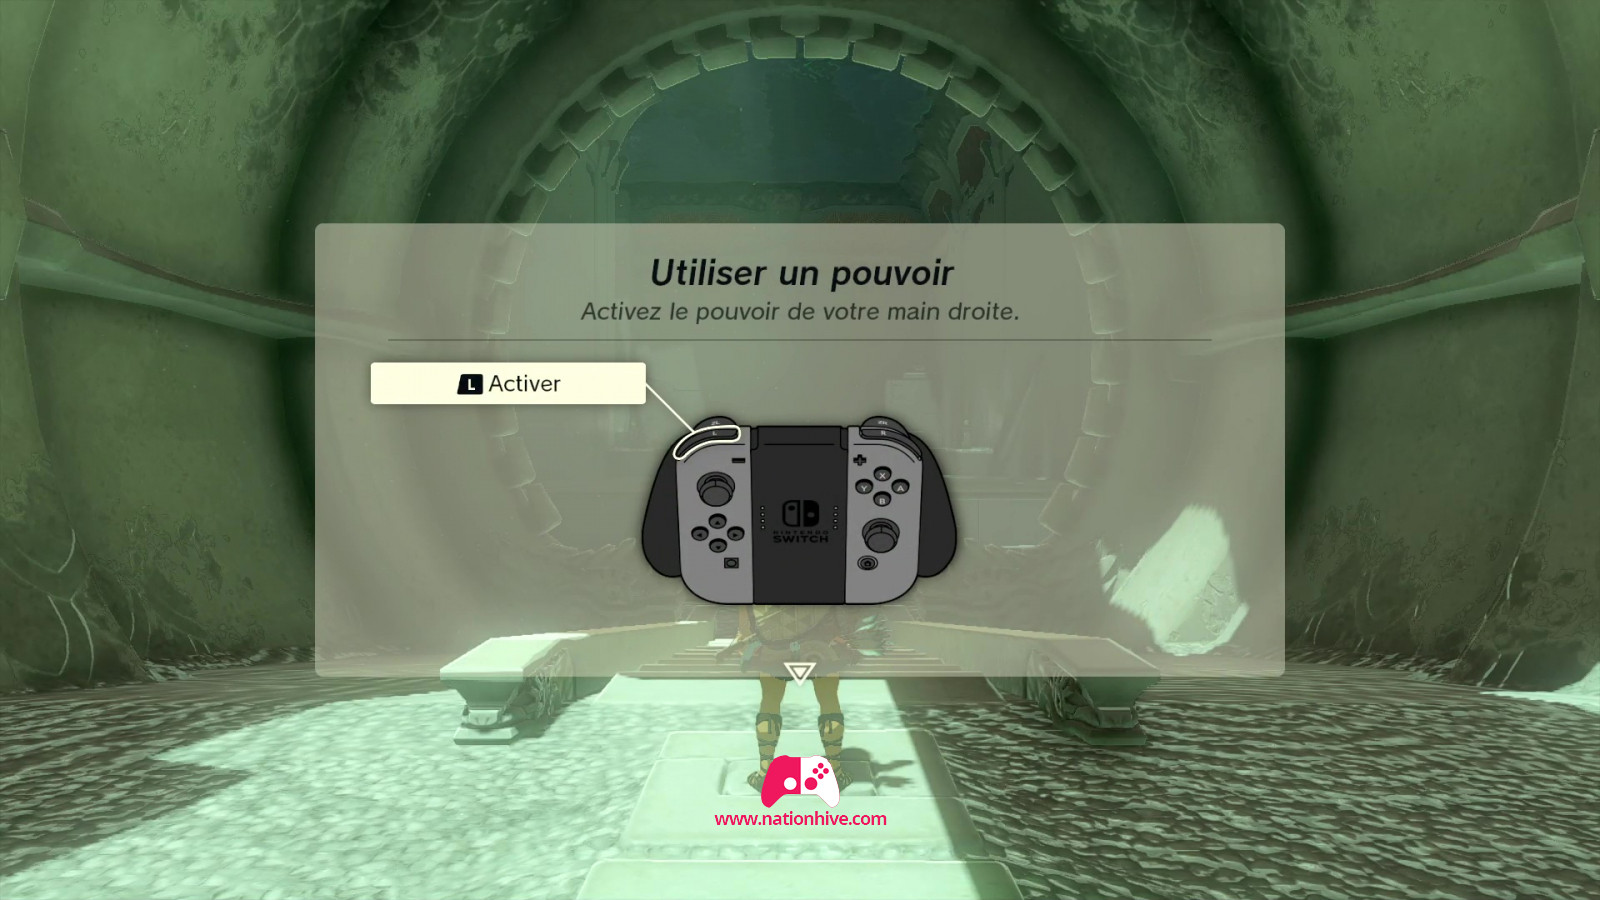
- To choose among your abilities, simply hold down L and select the ability with Stick de droite.
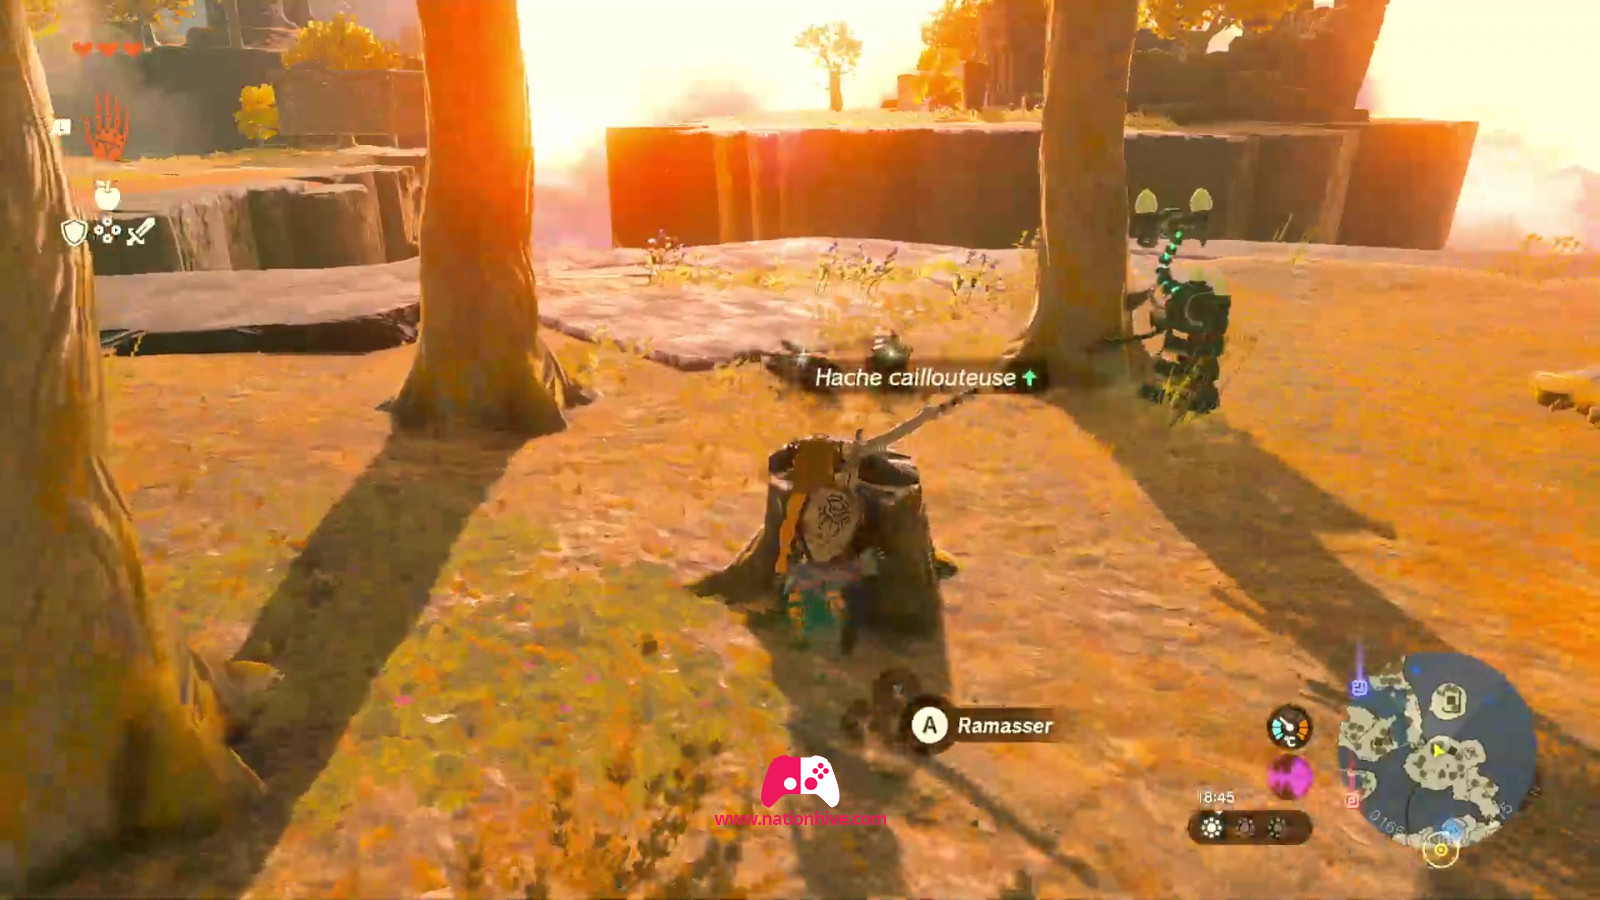
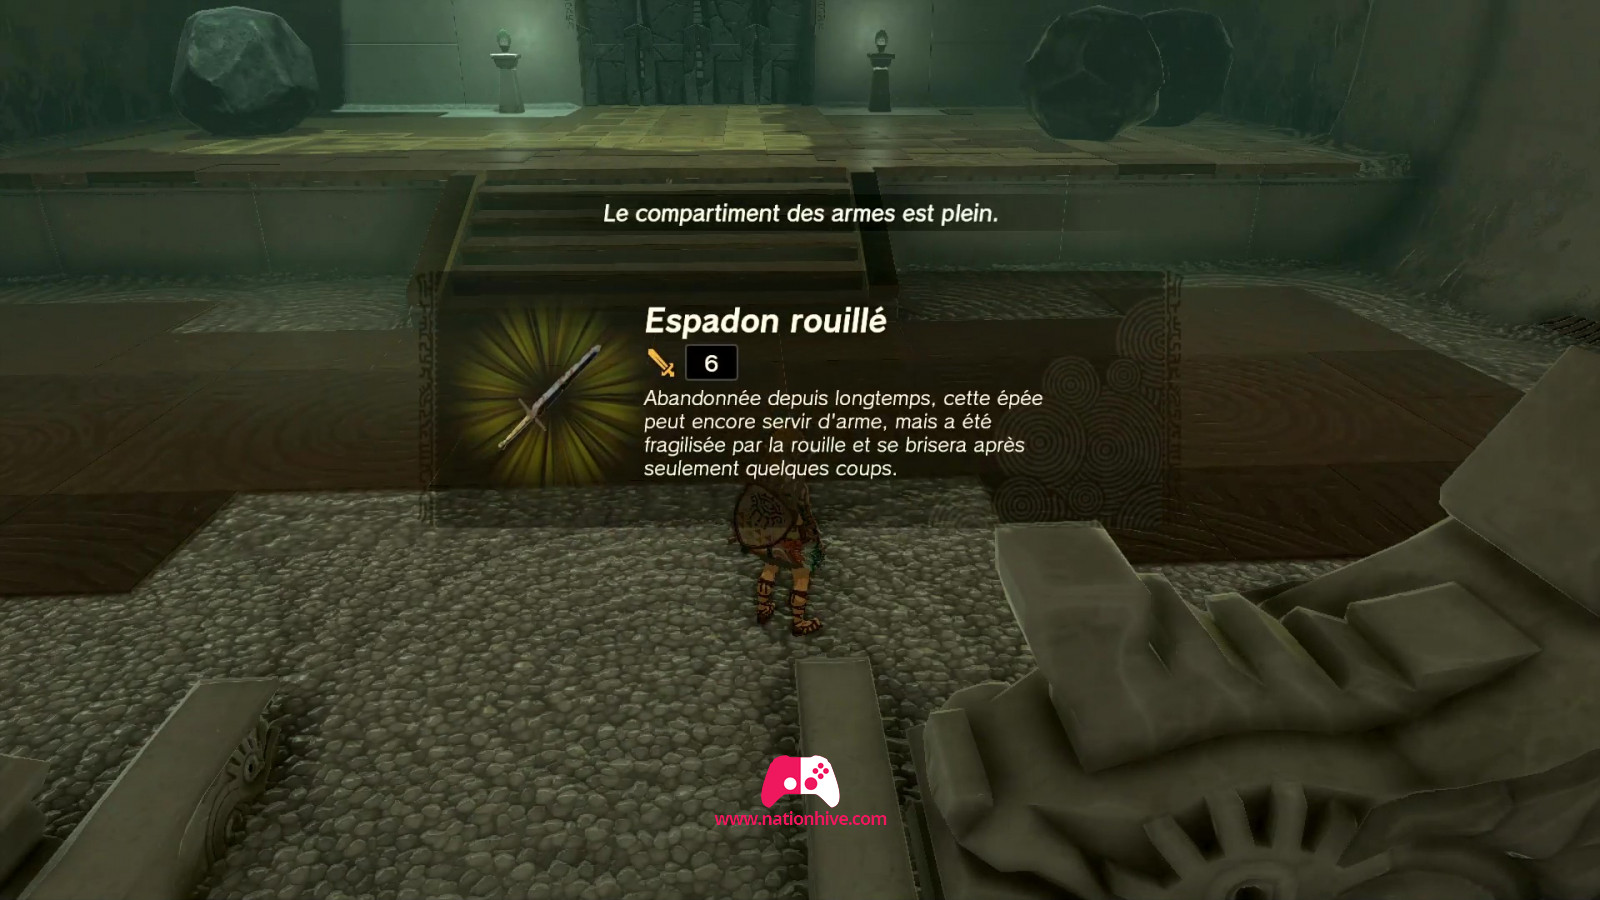
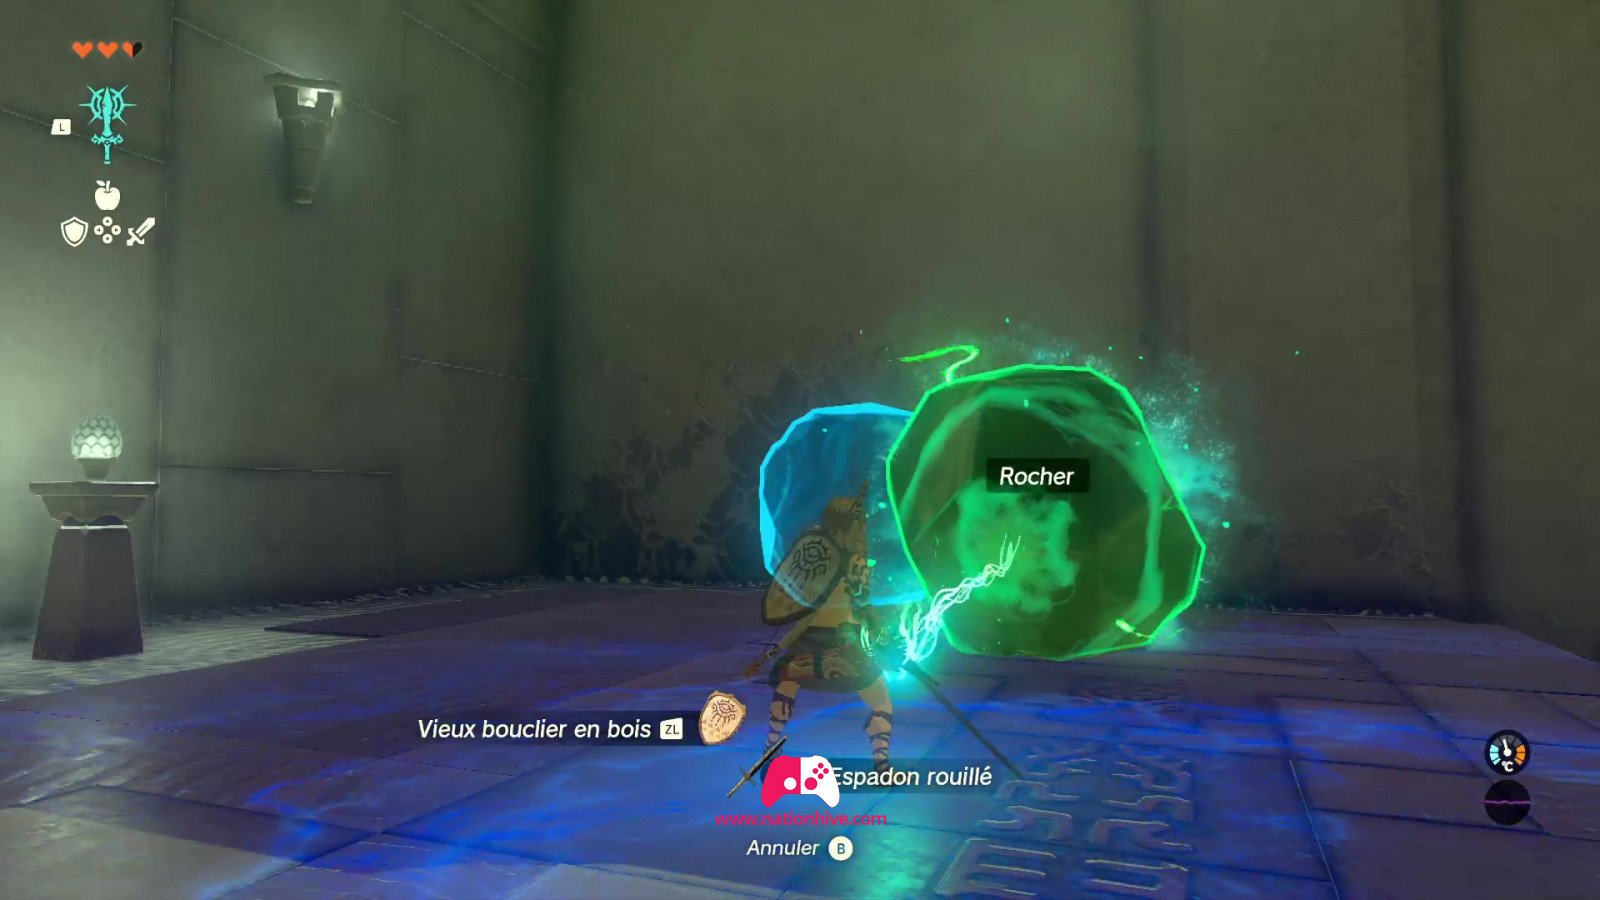
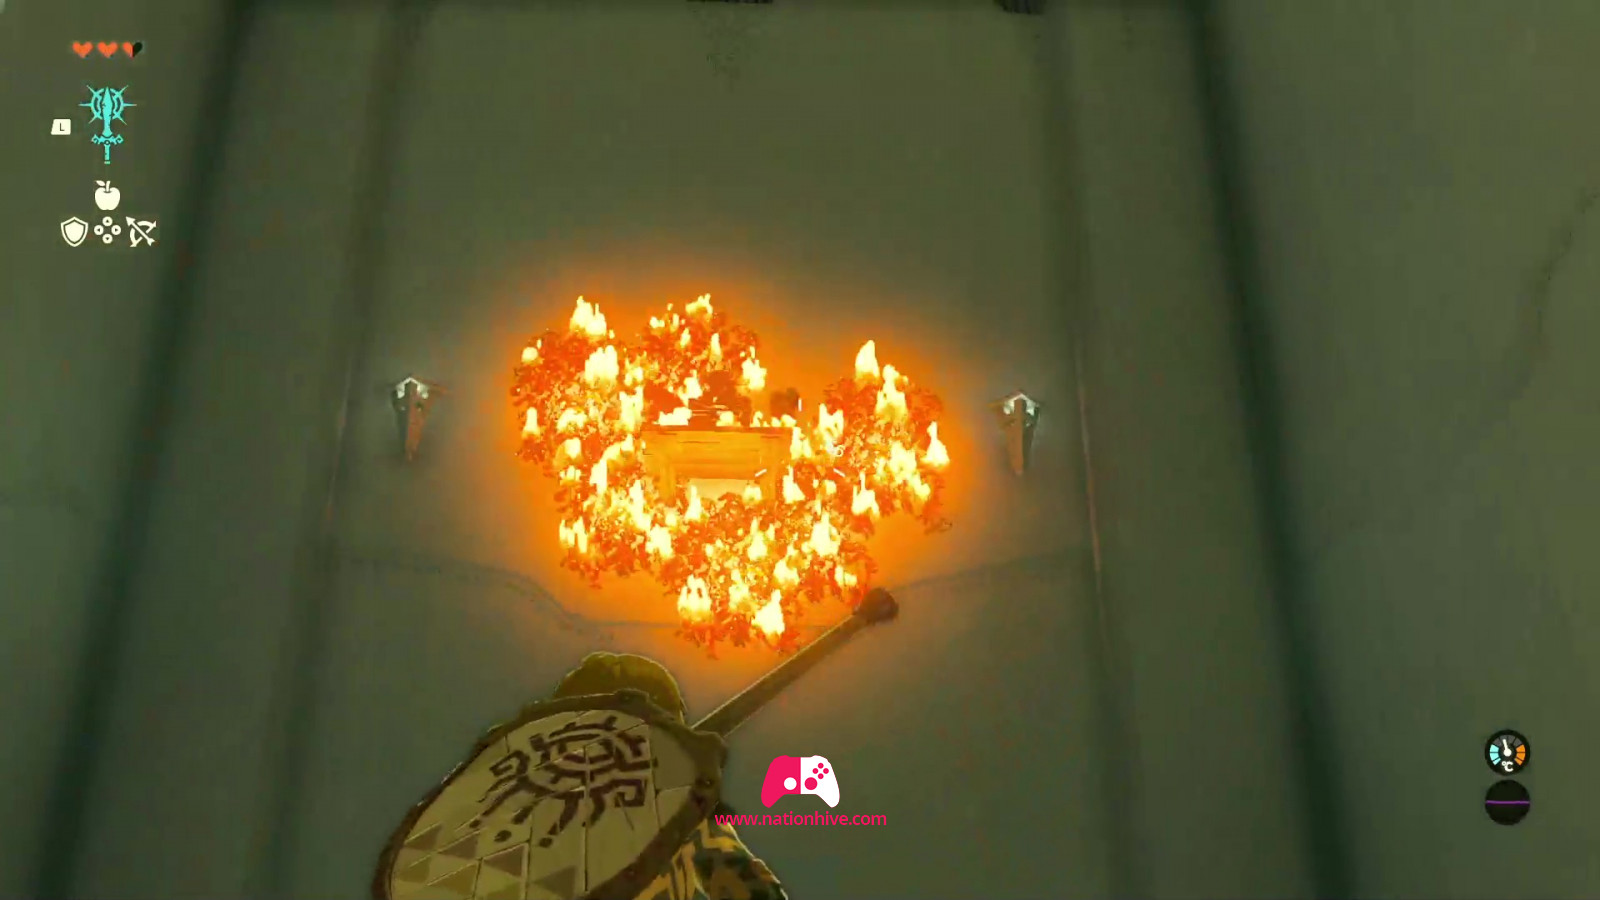
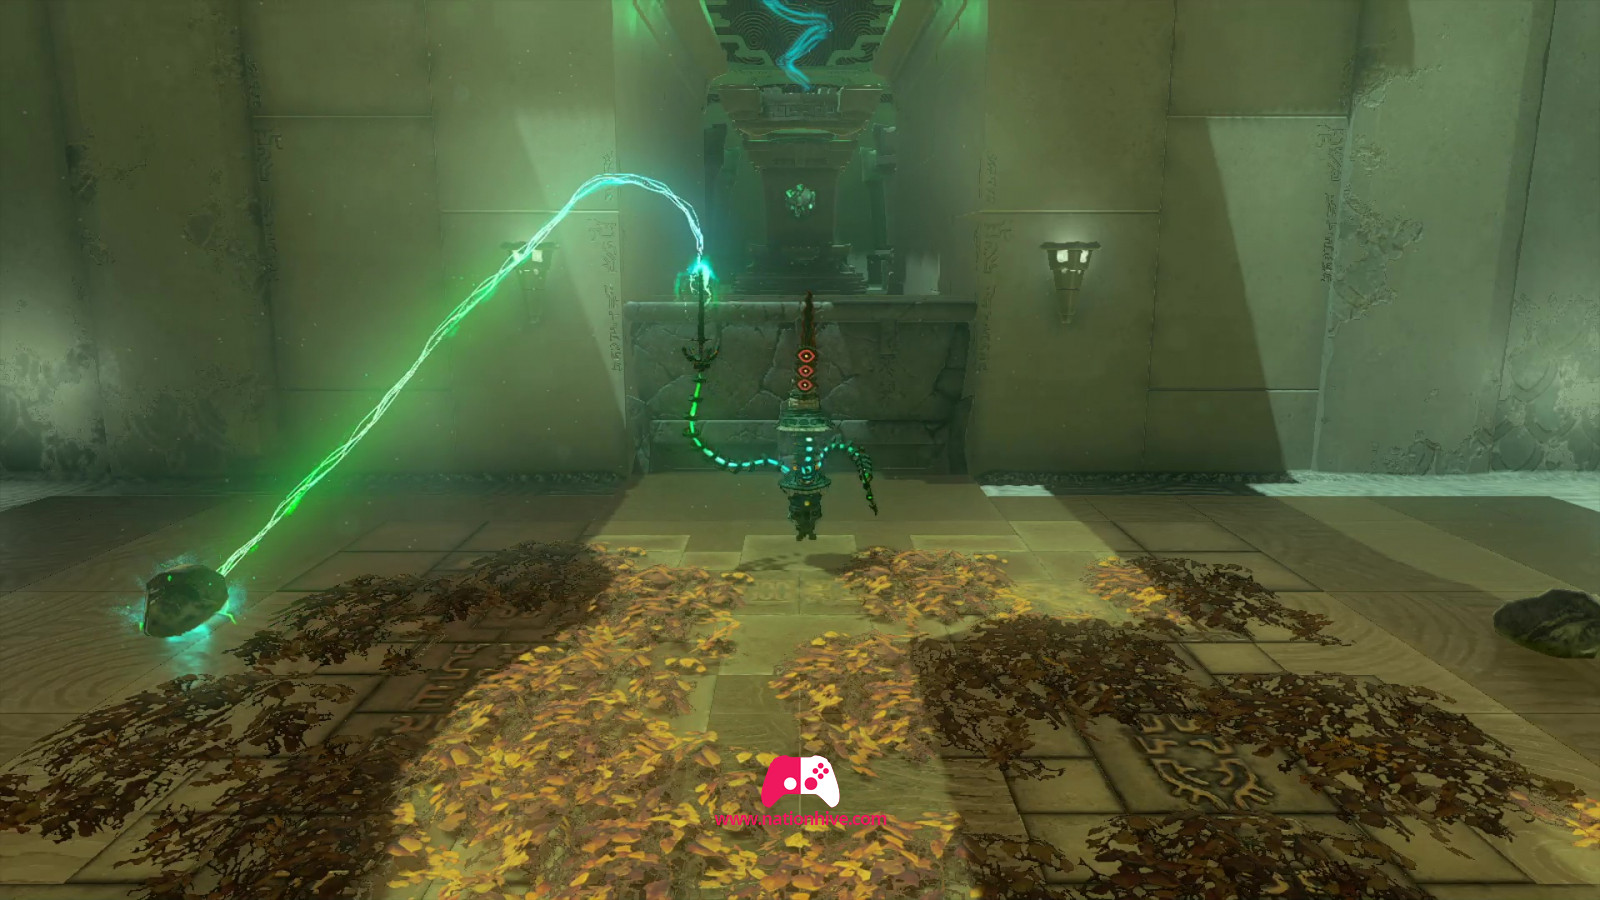
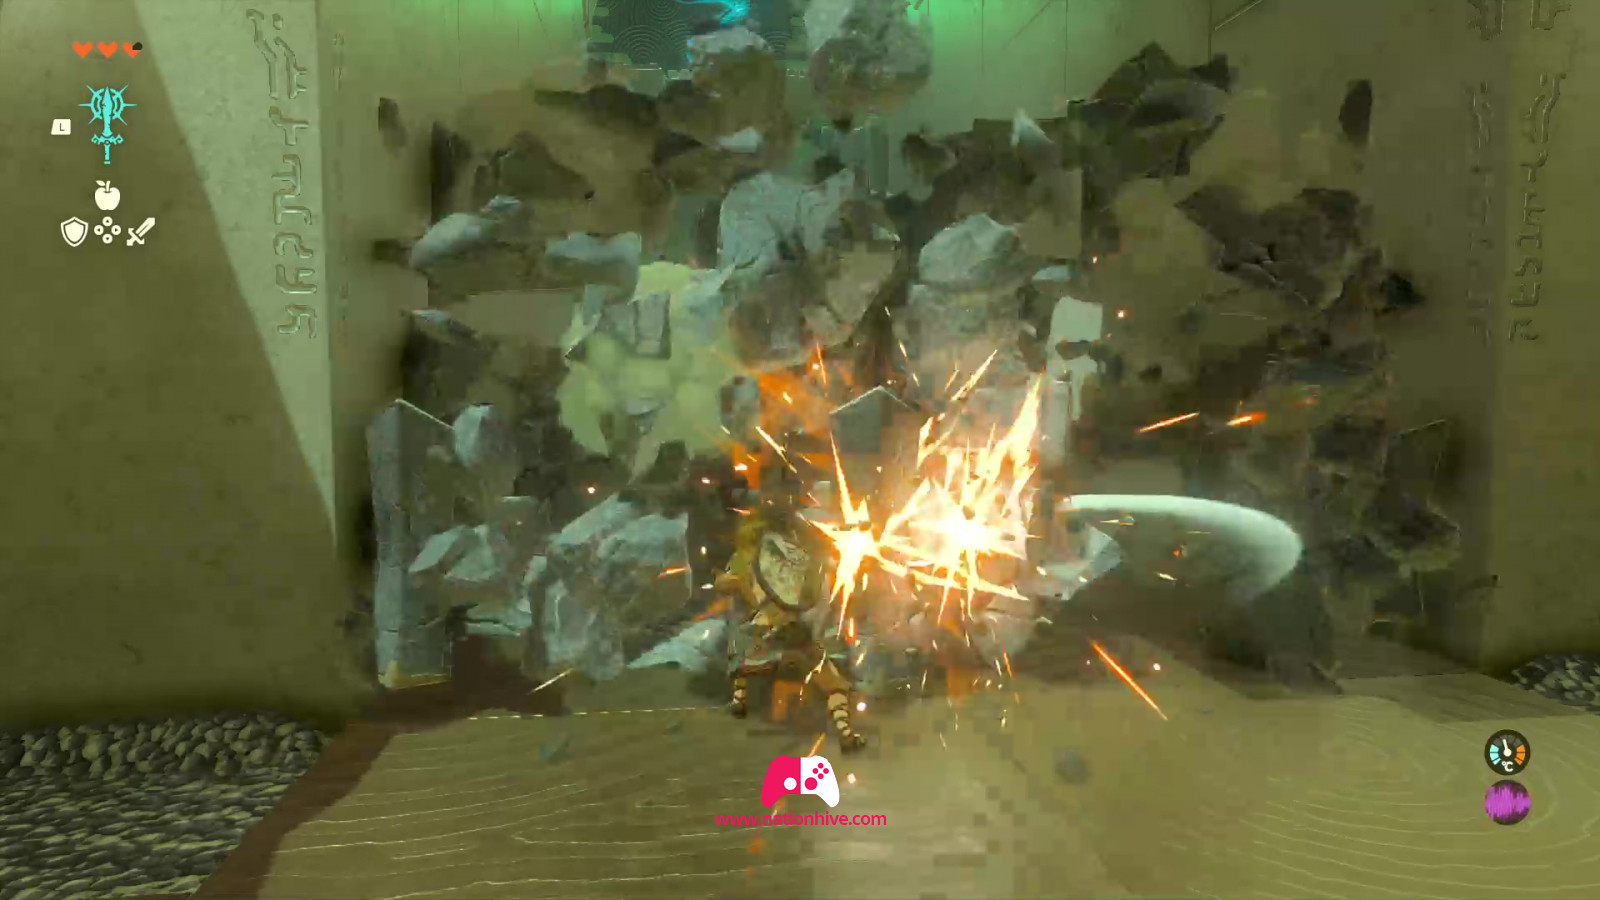
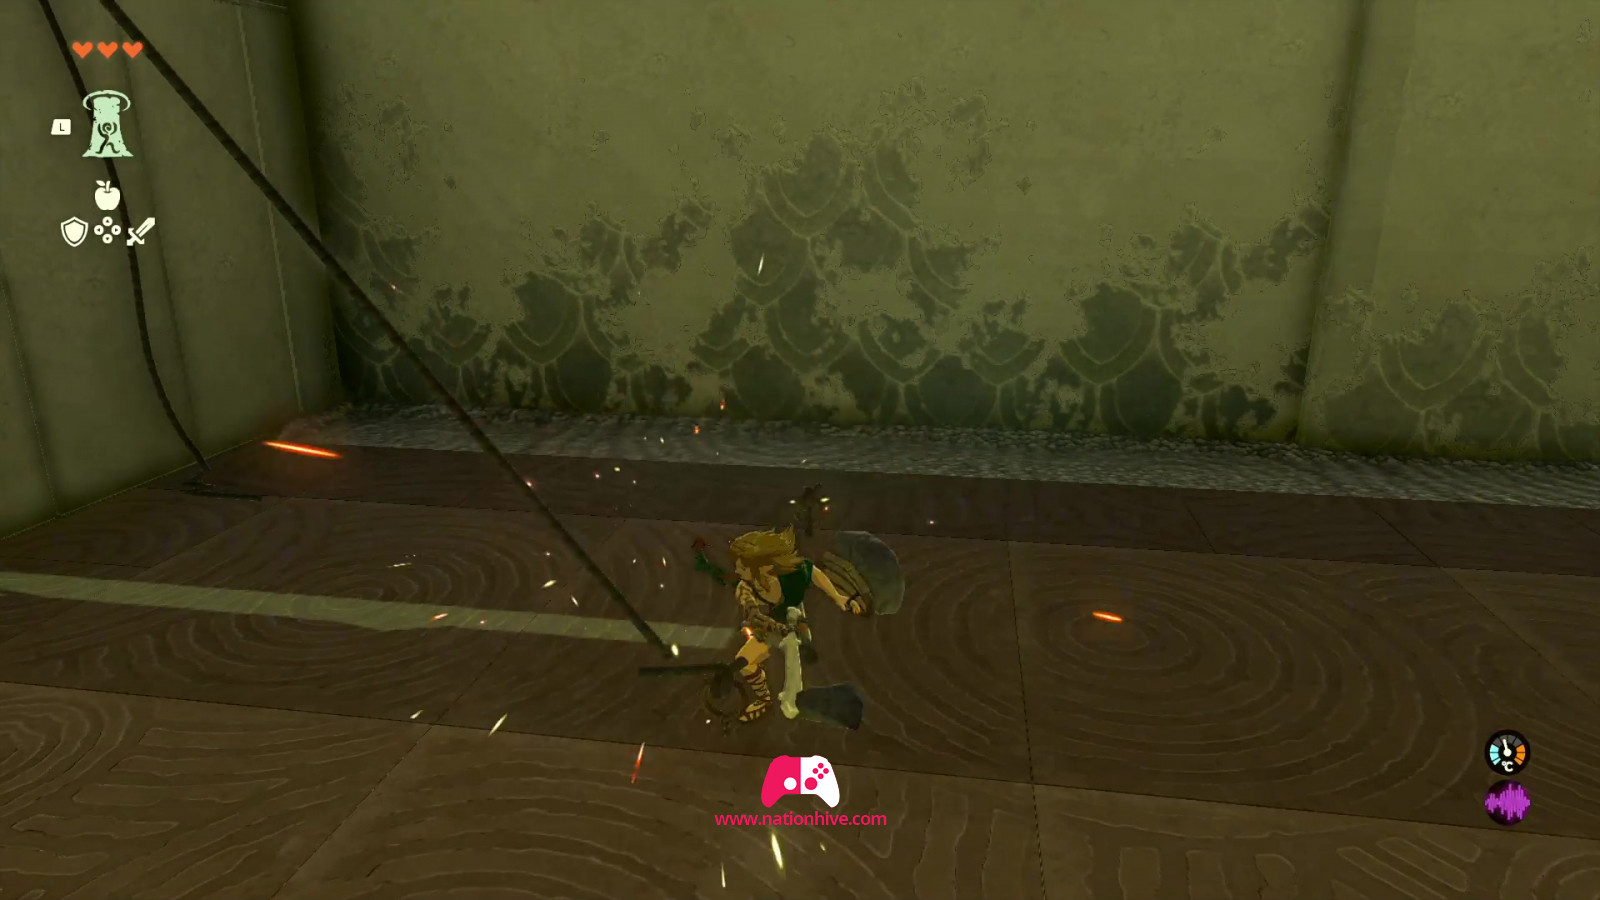
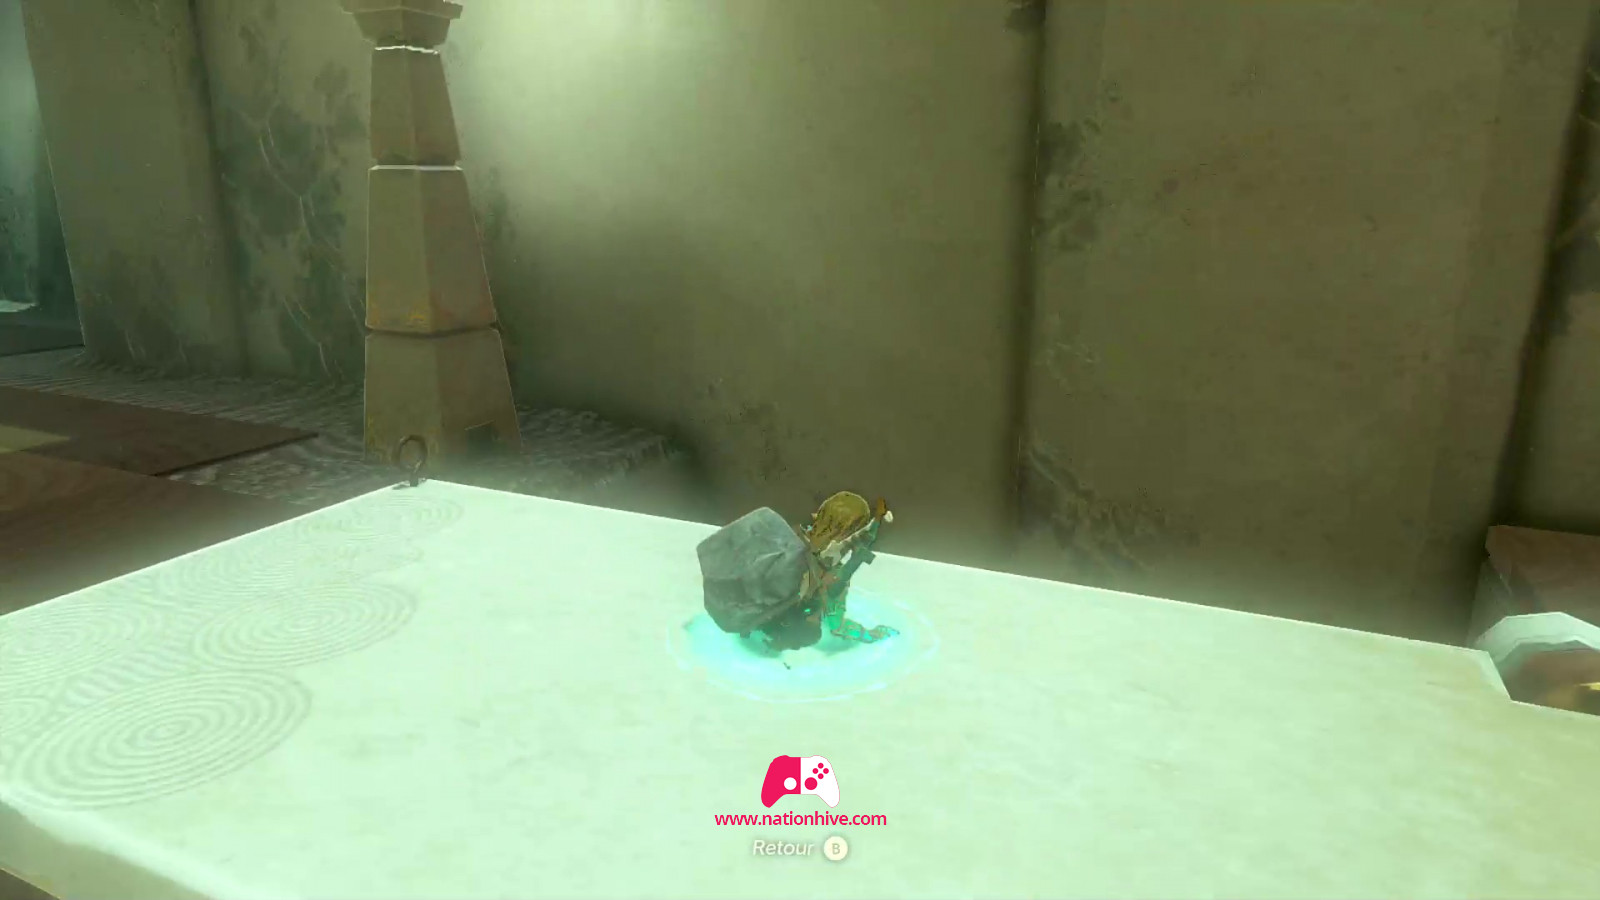
As you move around the room, pick up the Rusty Claymore on your way. Use your brand-new ability with the corresponding controls to fuse a rock and your Rusty Claymore, this action will create a kind of Broadsword Hammer to destroy the stone wall right in front of you!
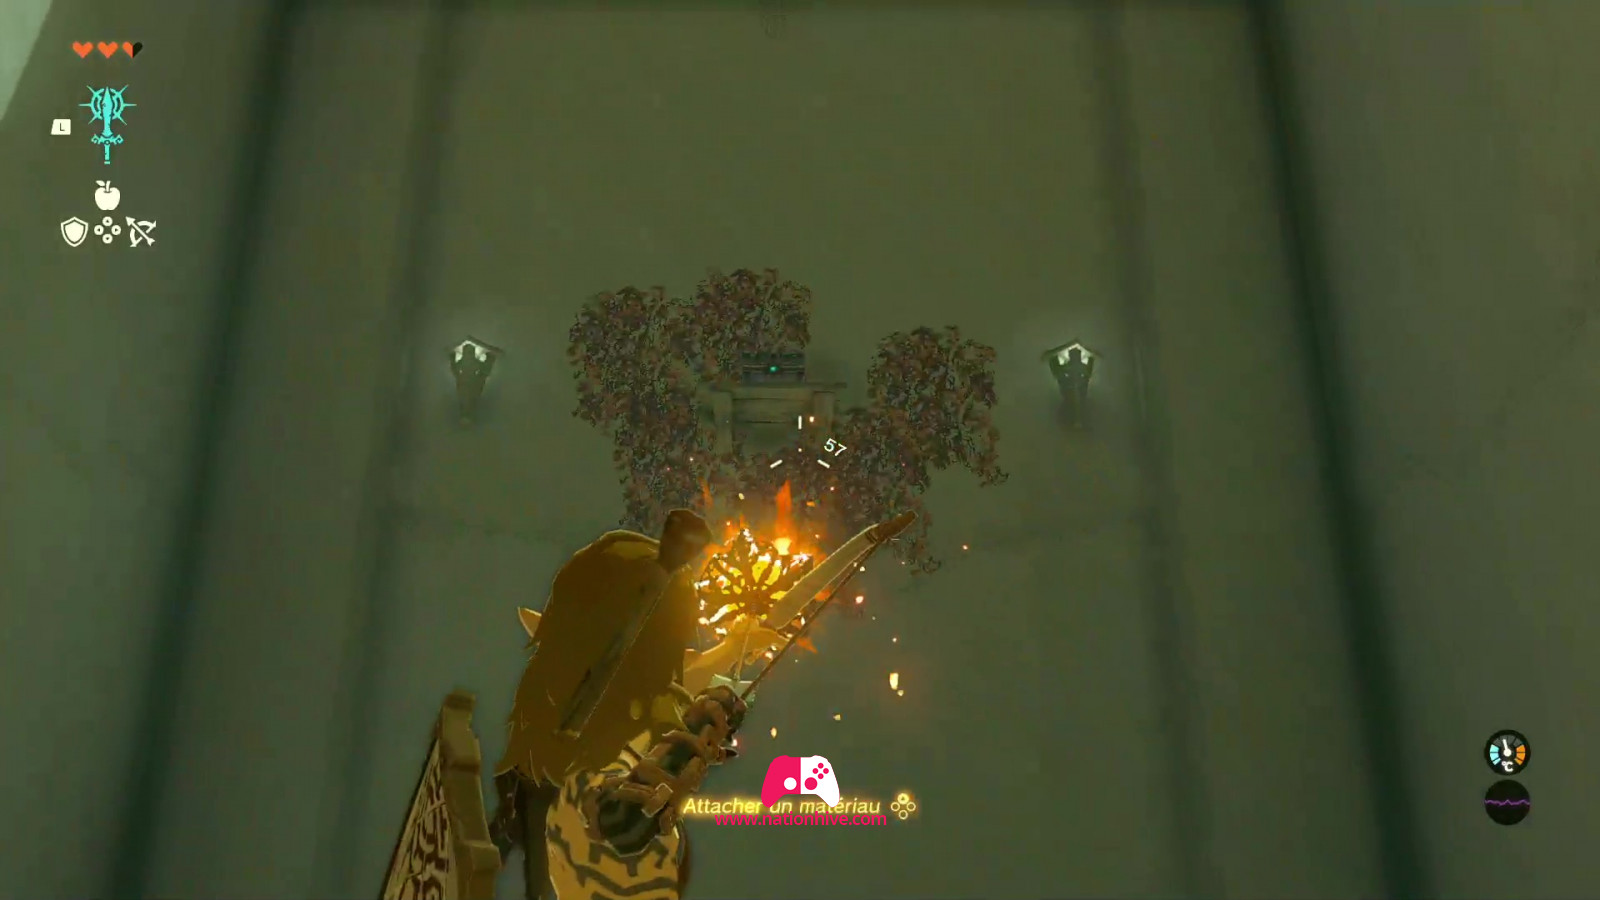
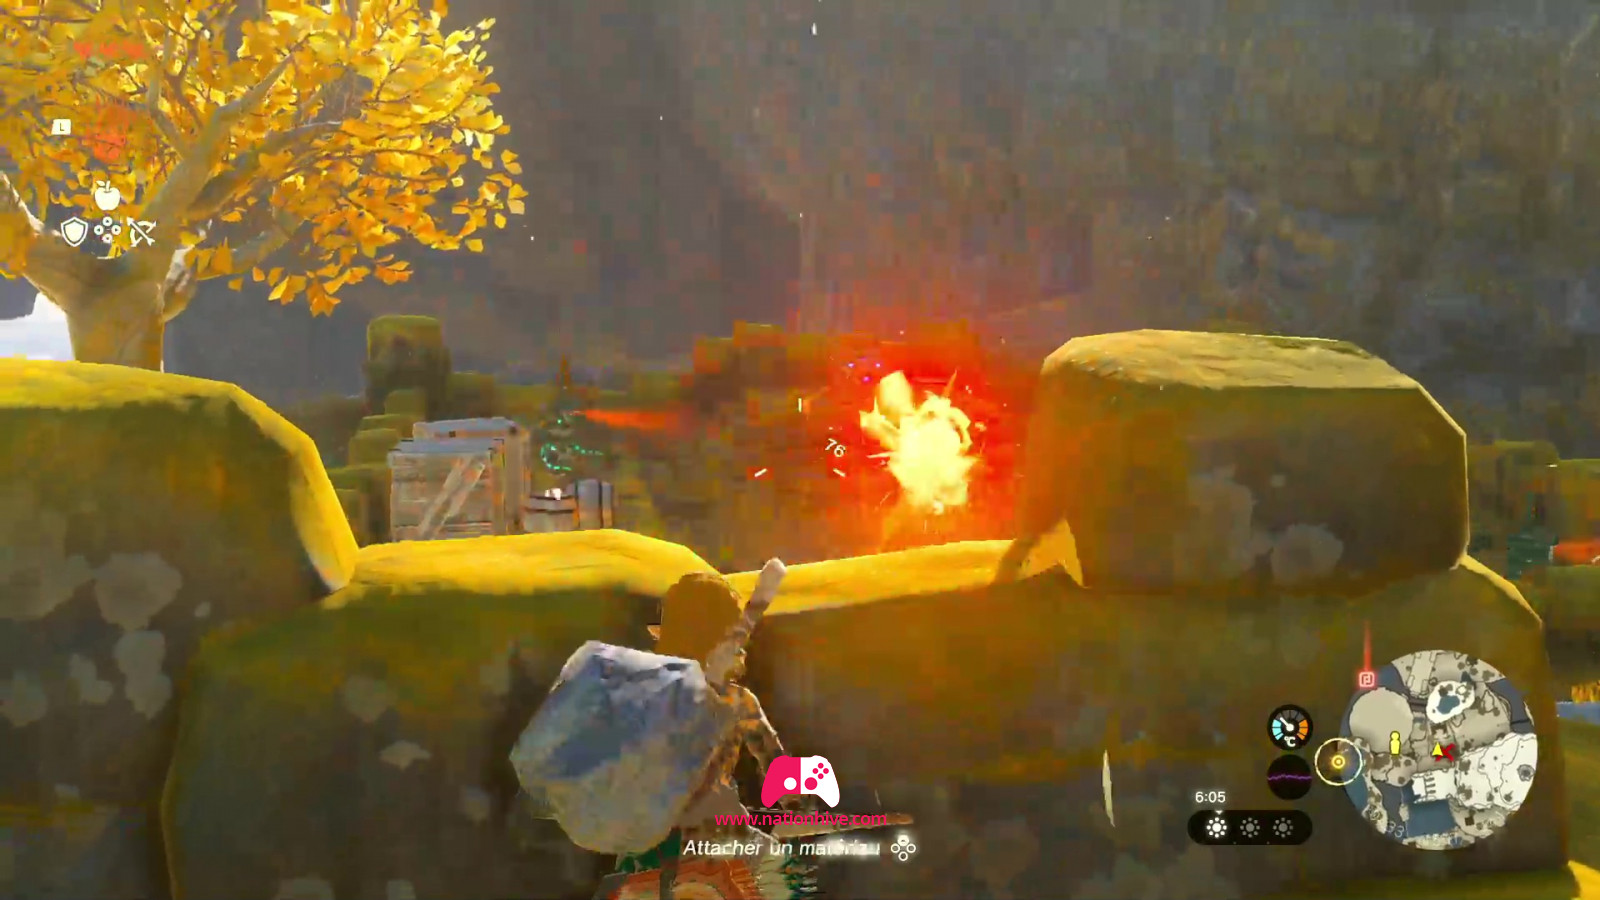
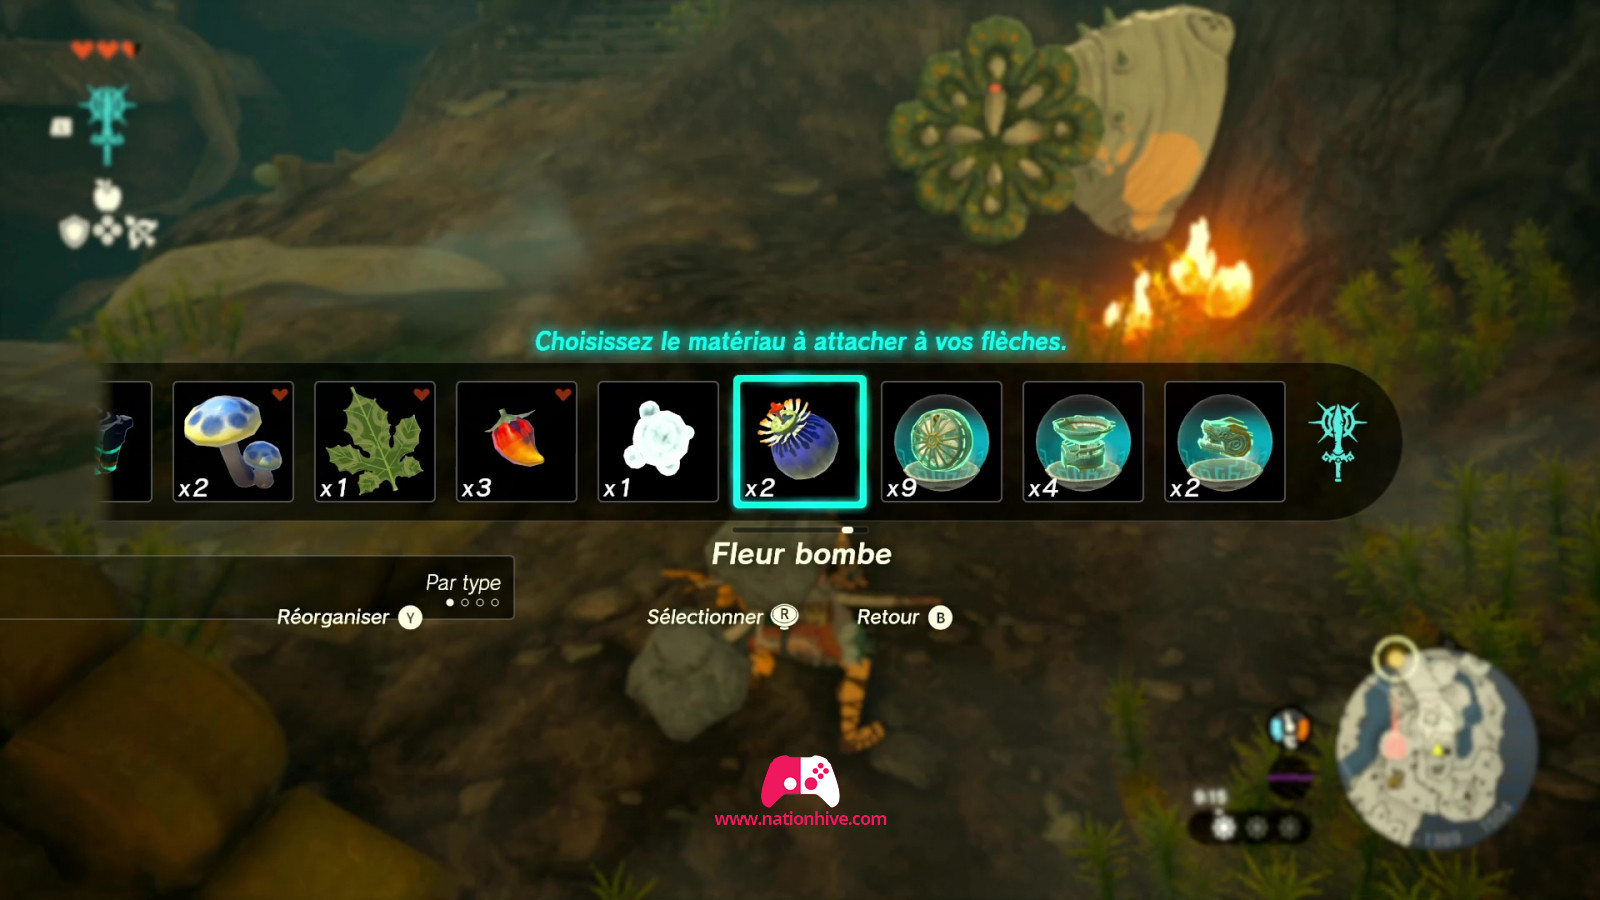
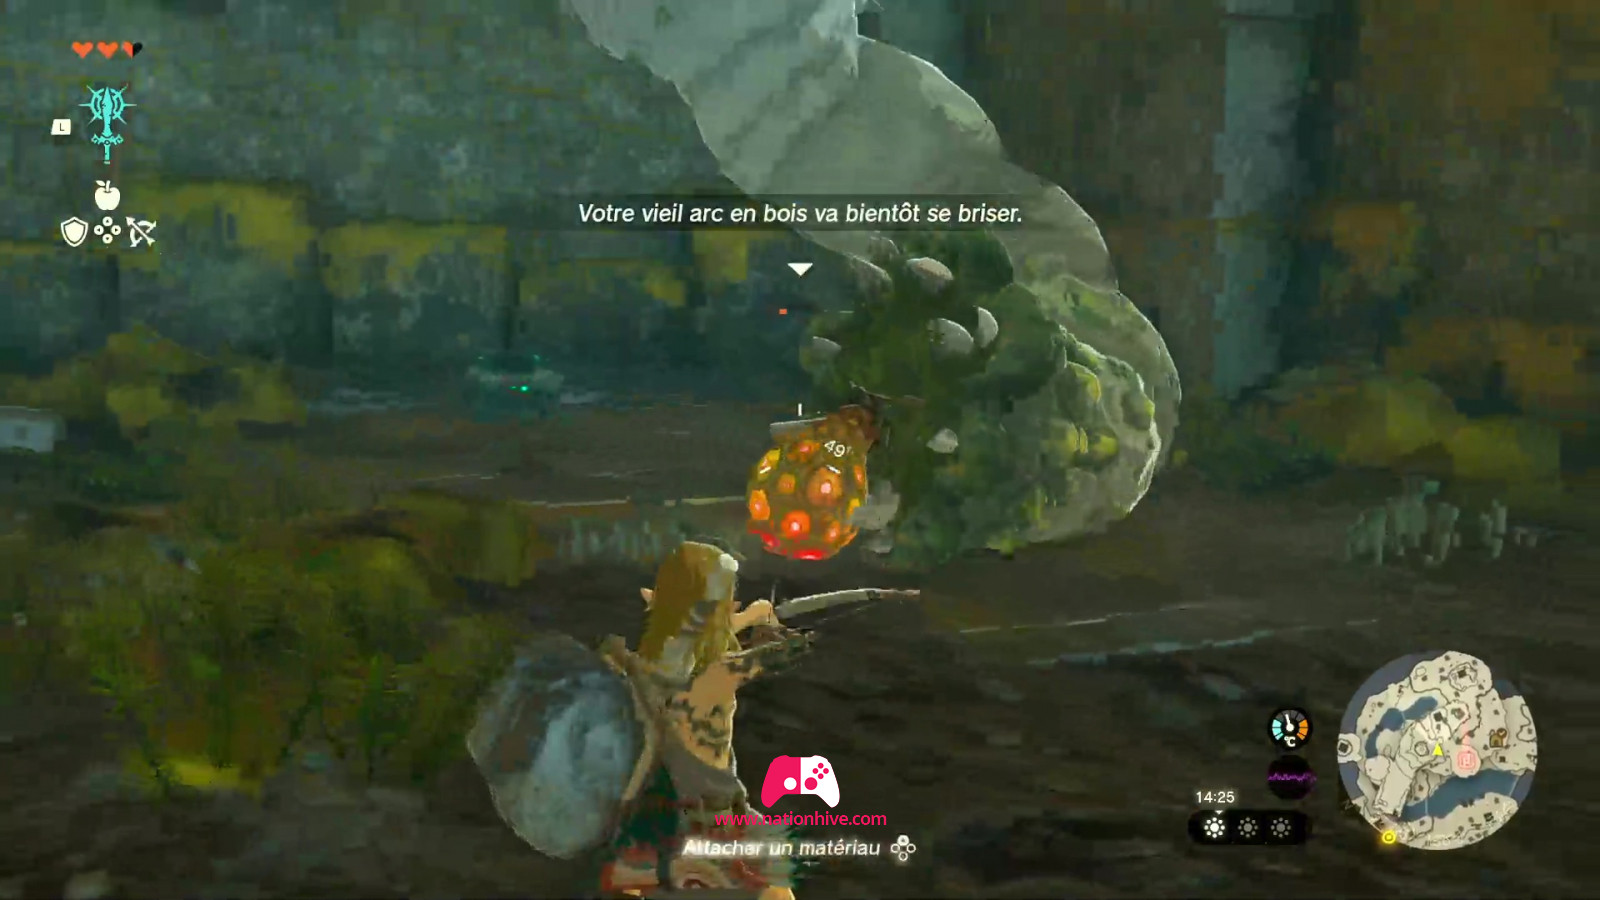
In the next room, head into the room on the right. You'll see trees with Fire Fruits. Collect them all. You'll also learn how to use Fire Fruits to fill your arrows with fire.

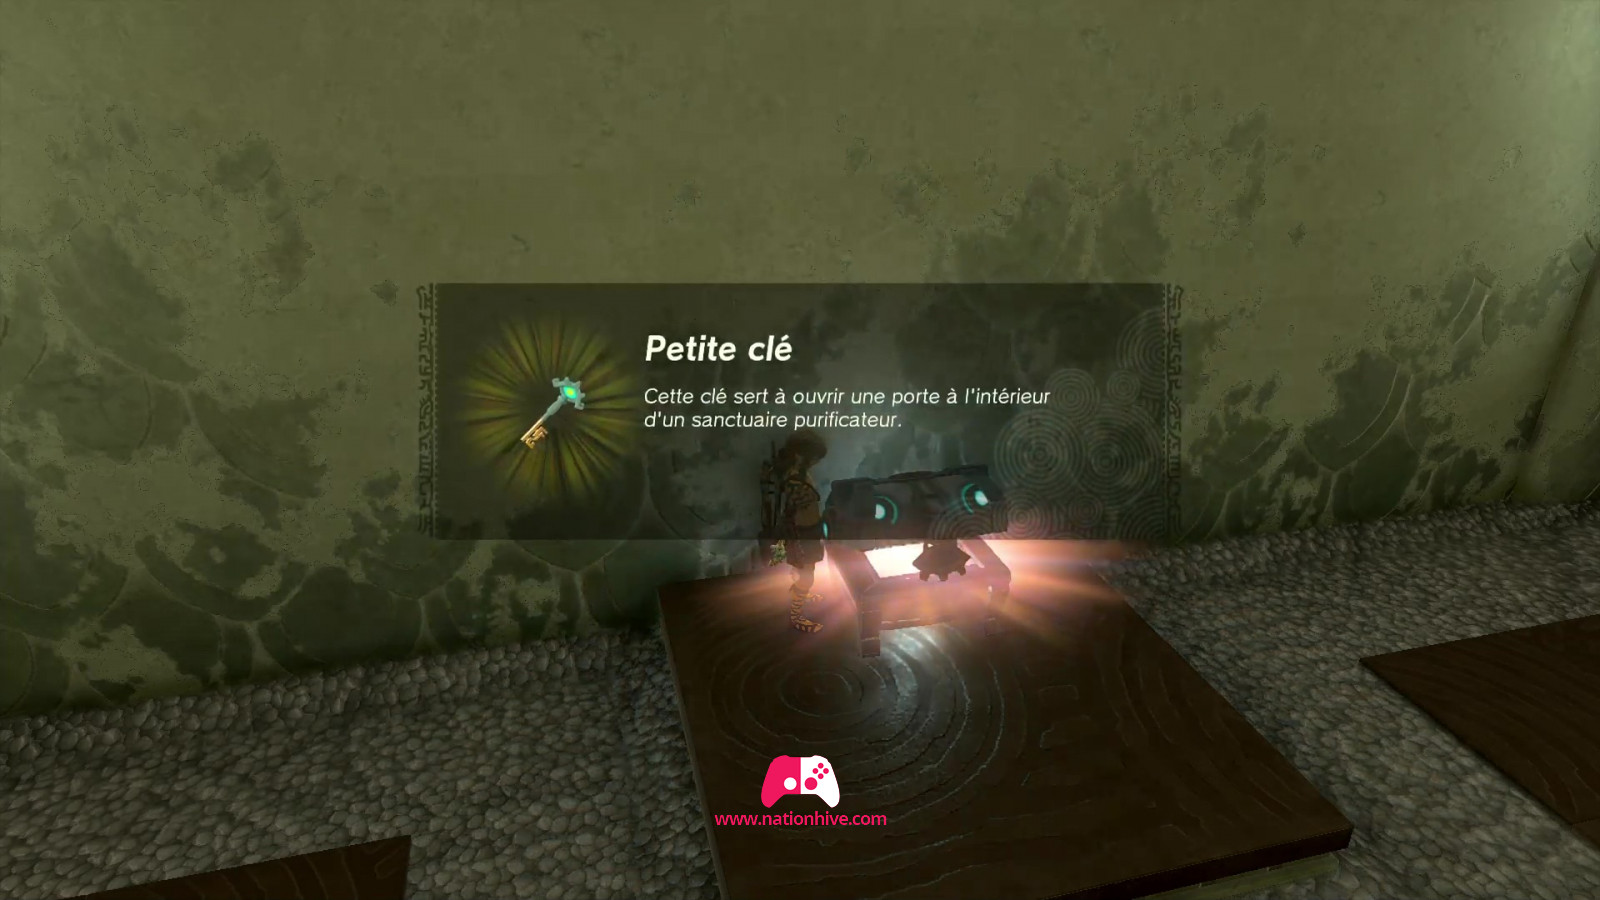
Shoot your Fire Fruit bow from above to burn the leaves at the top of the wall and drop the chest. Open it to obtain a Small Key, useful for opening the door to the In-Isa Shrine.
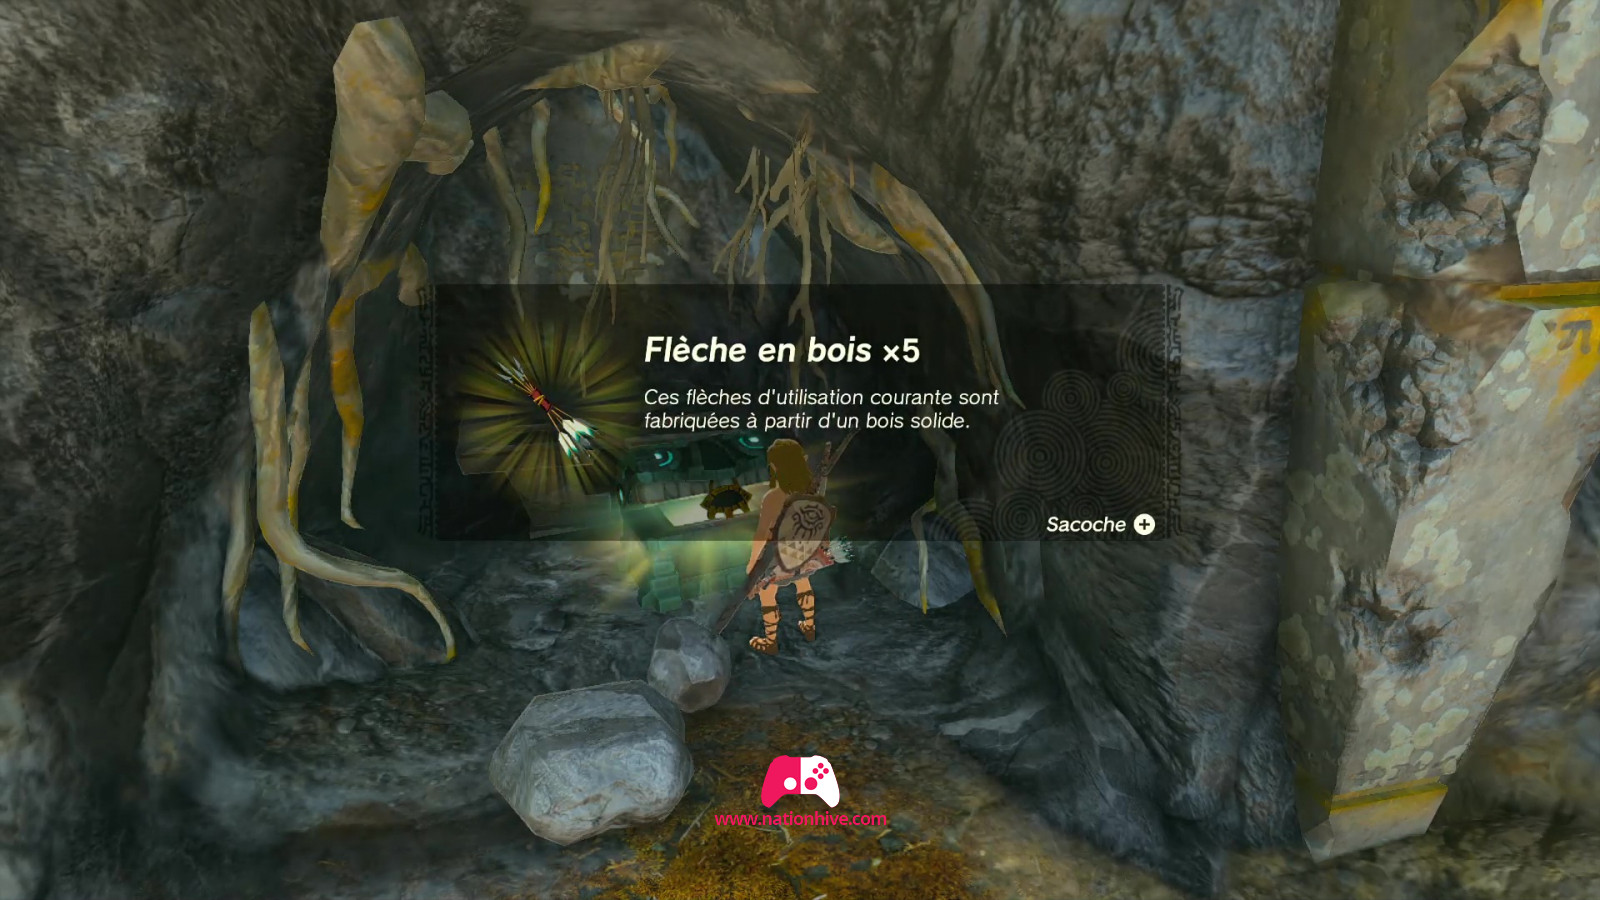
Then head into the room on the left (opposite the room with the small trees) to destroy the pillars. One of them contains a chest. Open it to obtain 5 arrows.
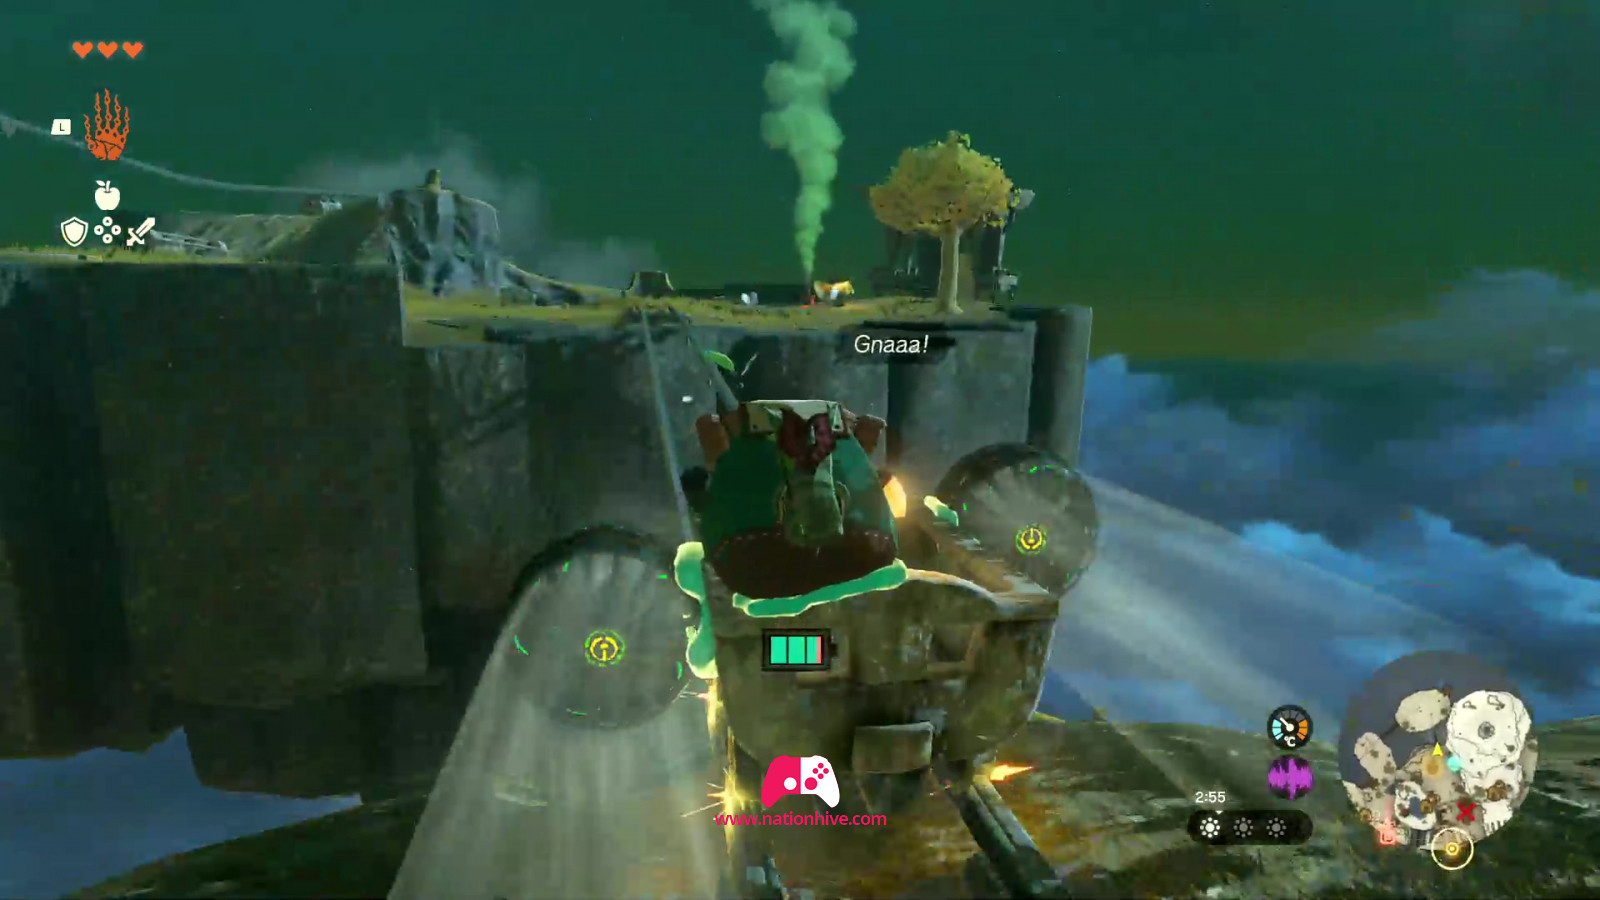
With a Small Key in hand, open the green door in front of you. You'll be faced with a Soldier Construct which also possesses Fuse ability. Use the objects in the room, and you can even climb the ladder to gain a height advantage. Once the enemy has been defeated, collect the resources and destroy the stone wall in front of you.
Use A to examine the green circle in front of you. A statue of Rauru will offer you a Light of Blessing and your life bar will fill up.
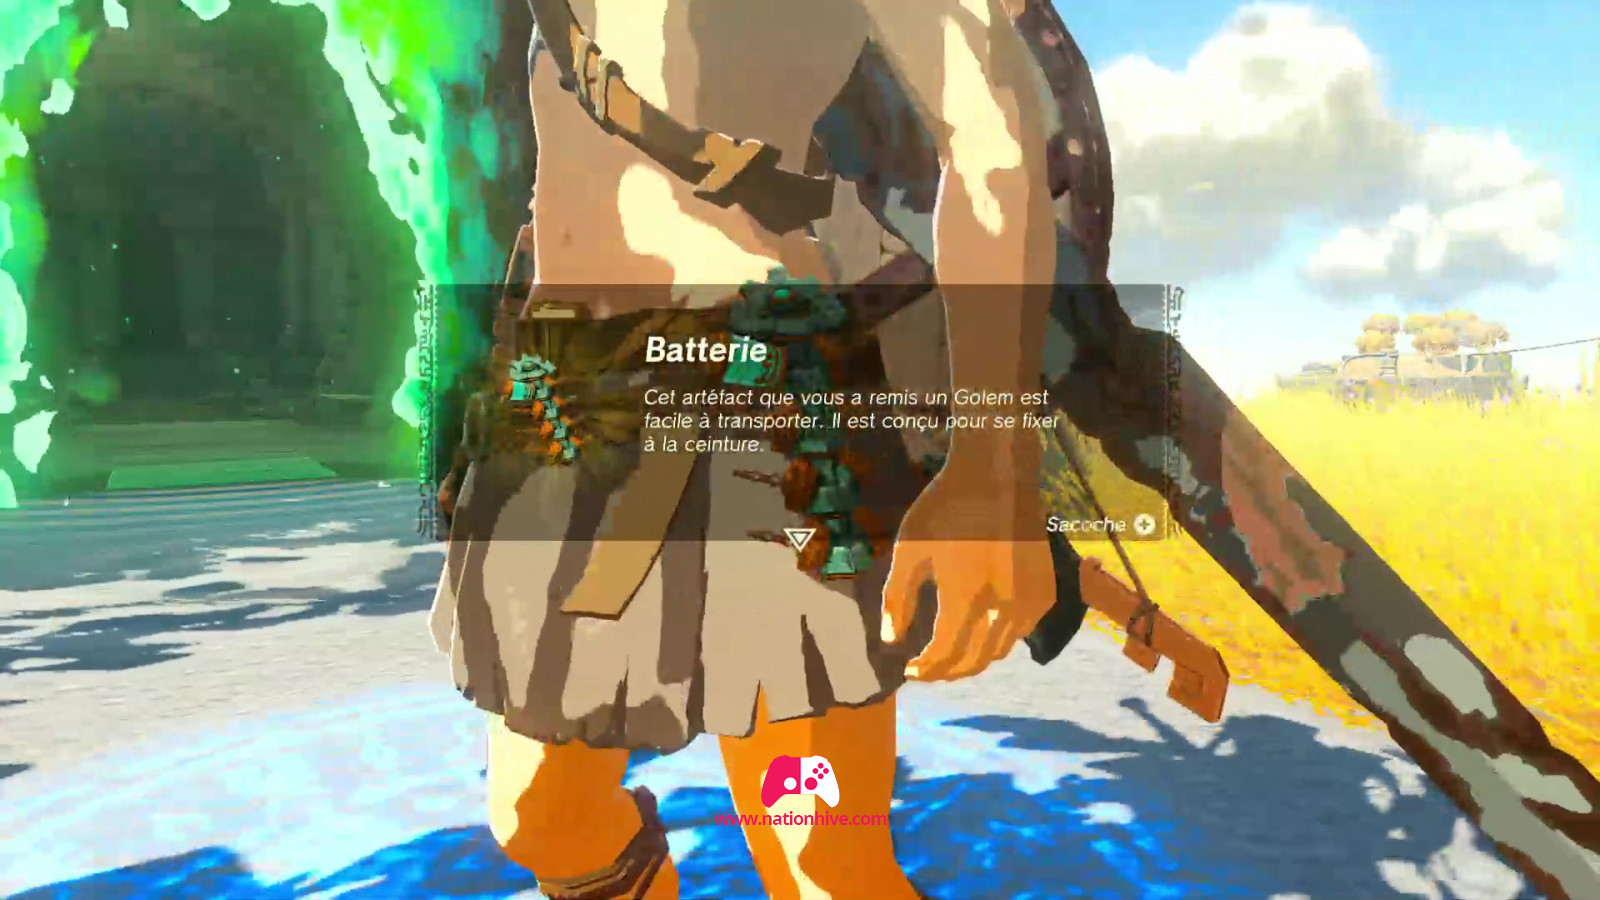
When you leave, a Construct will come and give you an Energy Cell that will enable you to use Zonai Devices. Before leaving, destroy the stone wall near the entrance to find a chest. Open it to receive 5 arrows.
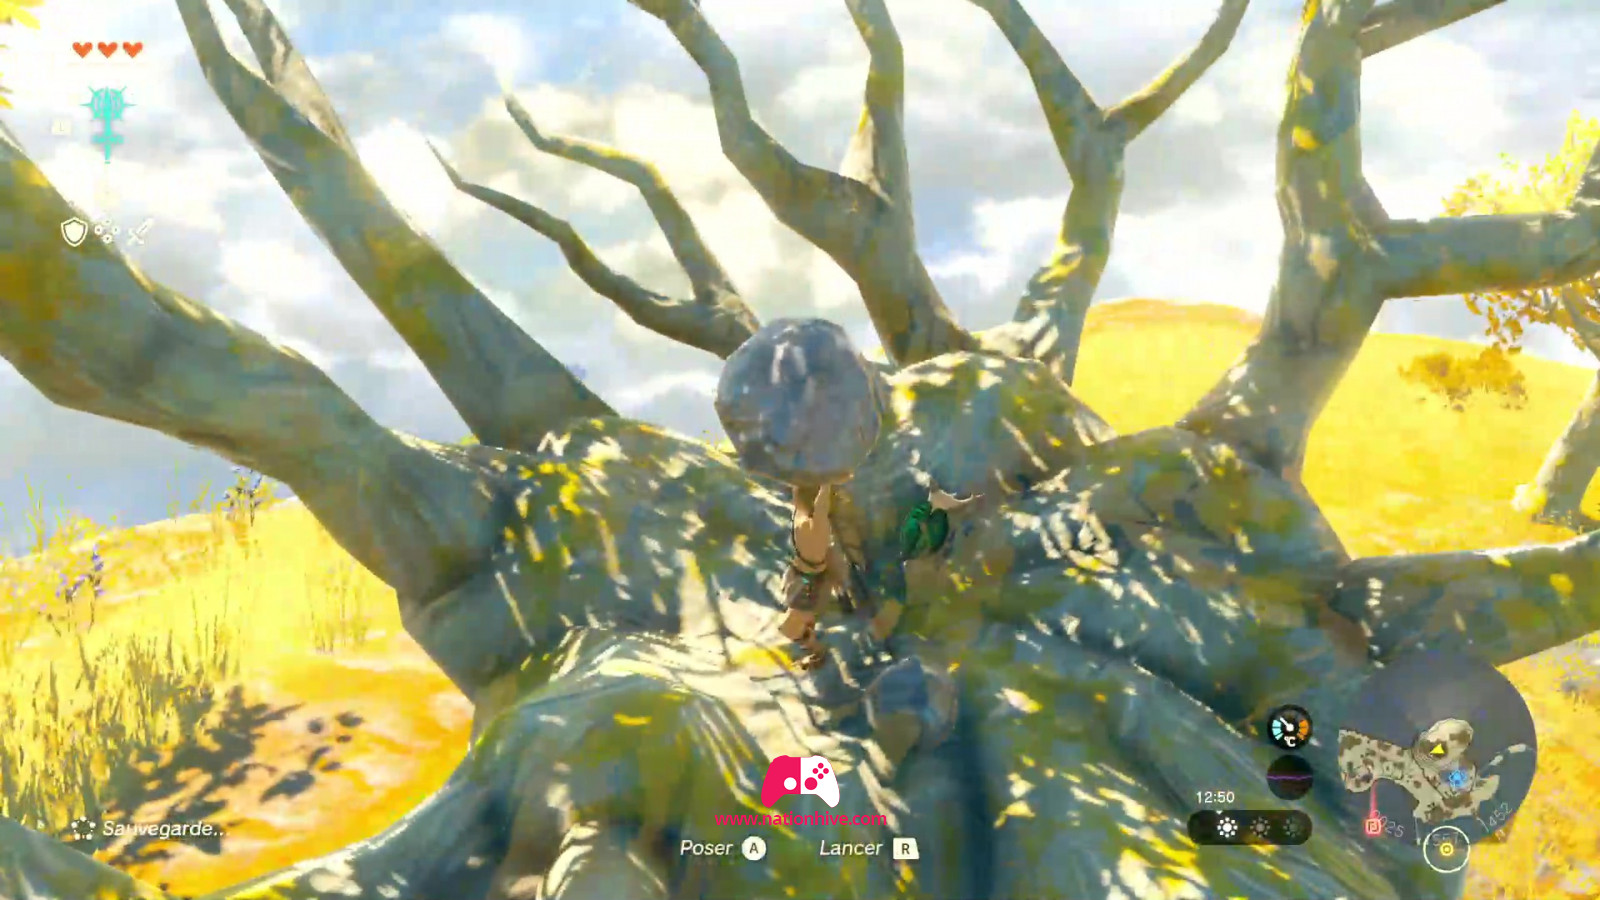
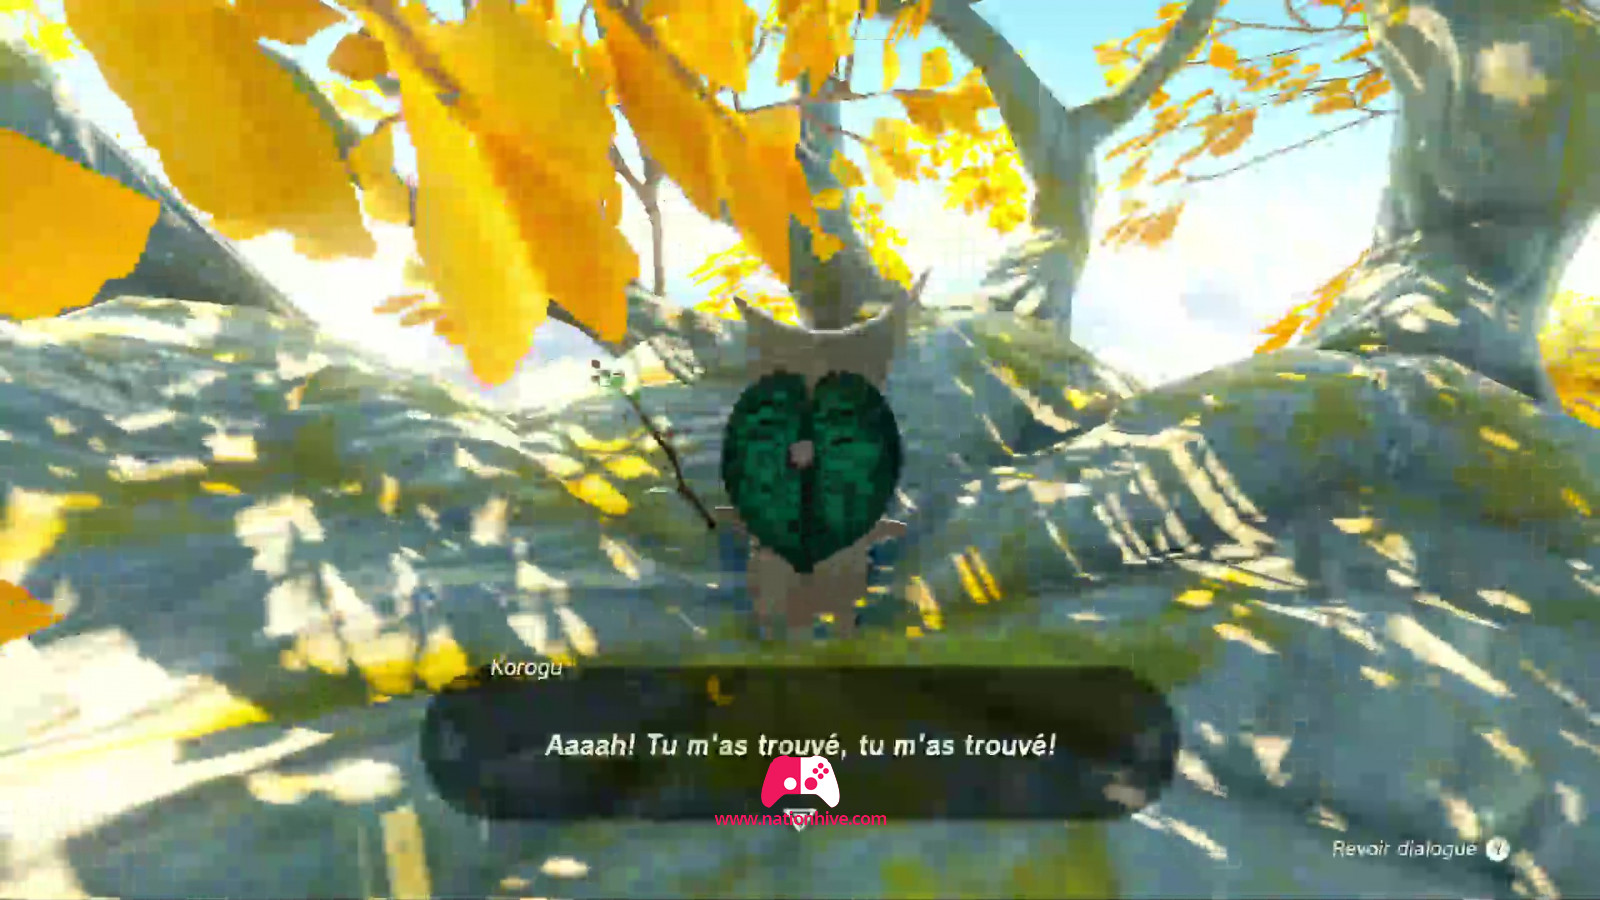
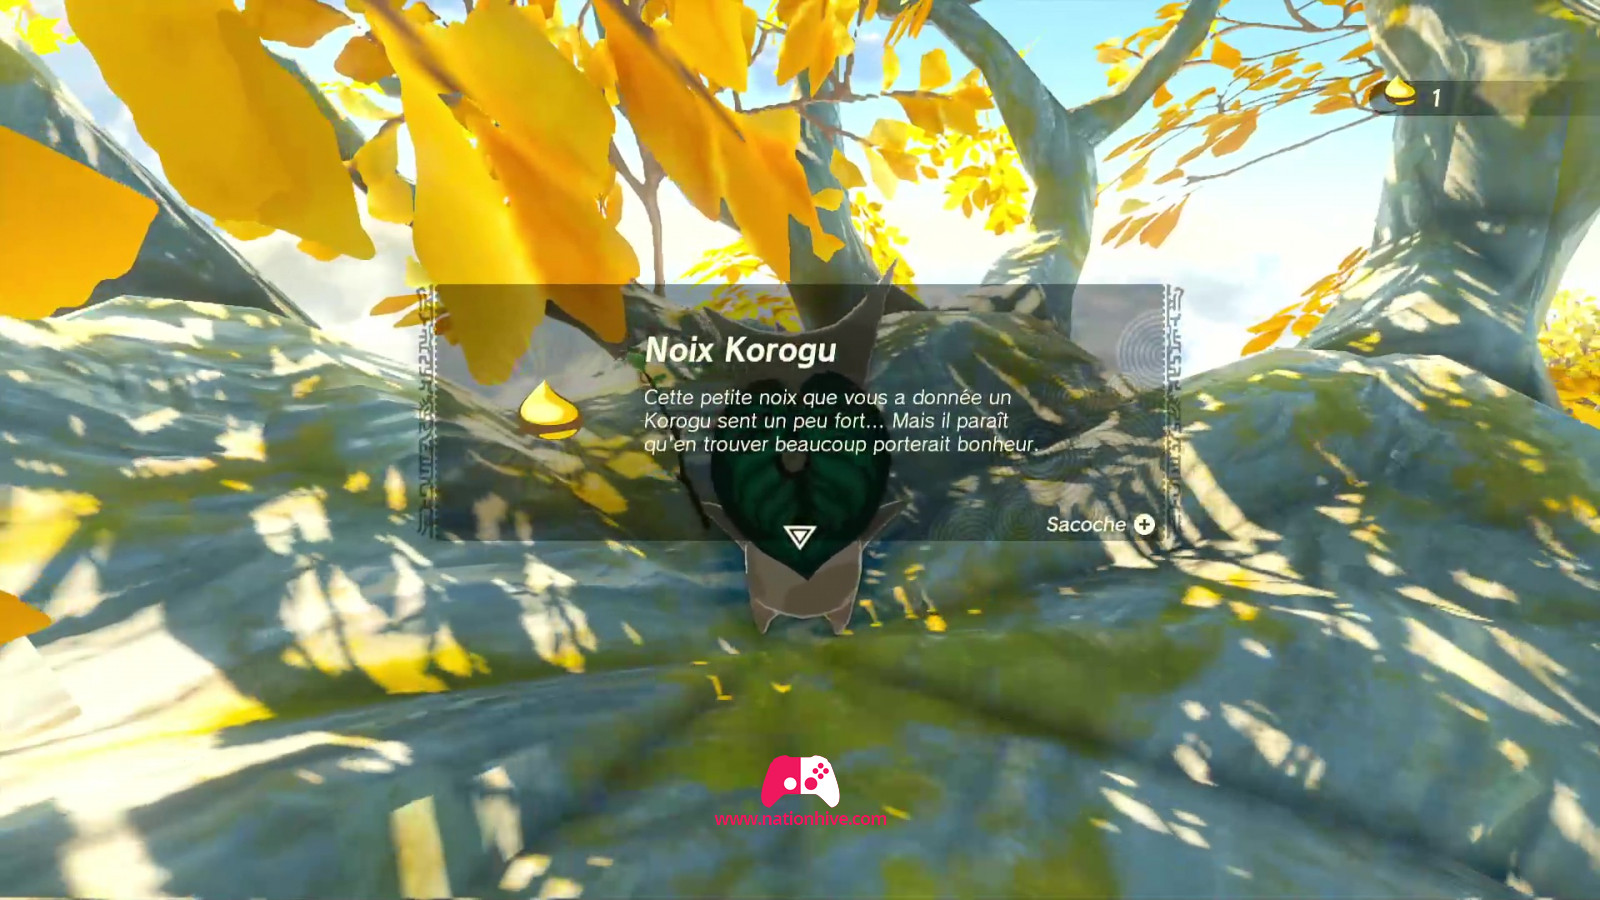
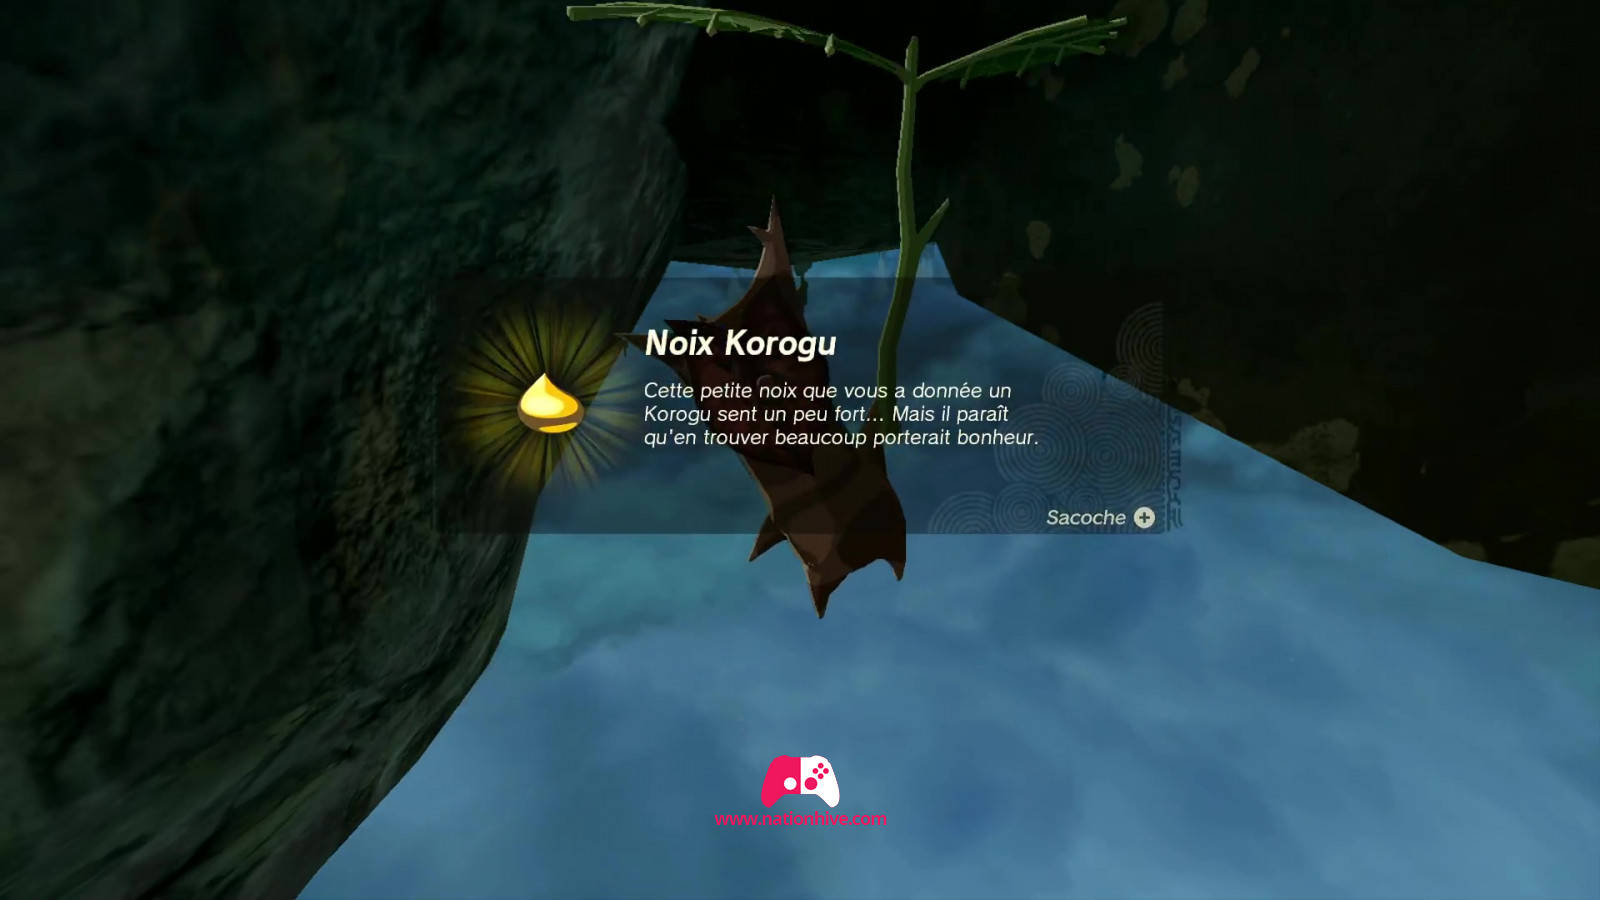
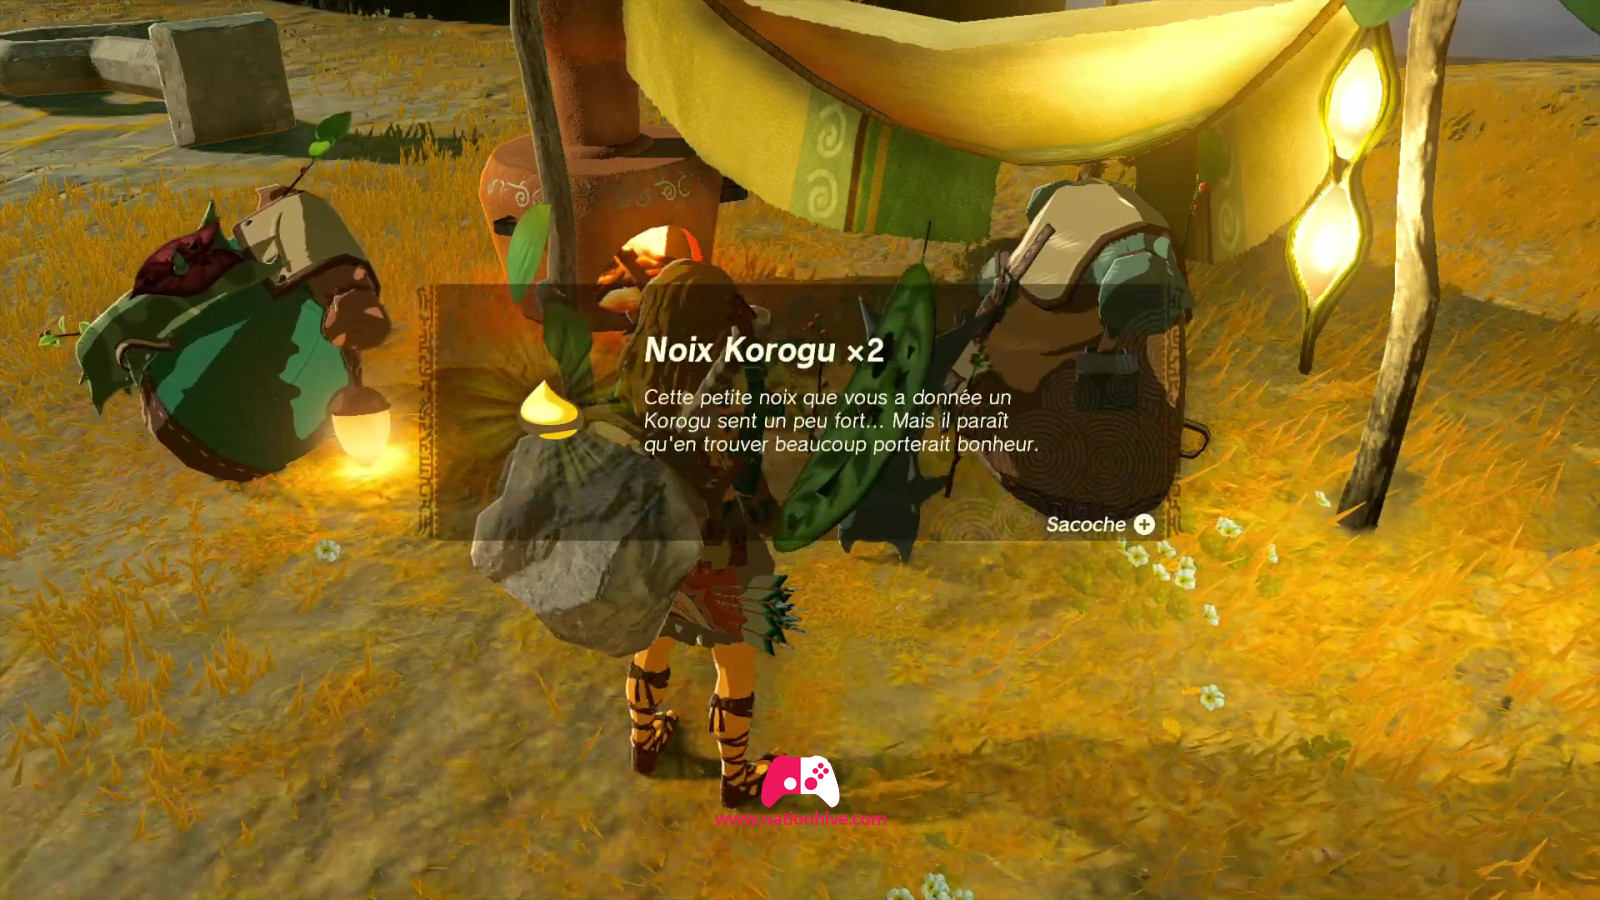
Climb to the top of the In-Isa Shrine to find a large tree. Climb to the top of the large tree to find a rock in the center. Lift the rock and meet a Korok. The Korok will ask you to give a Korok Seed to Hestu.
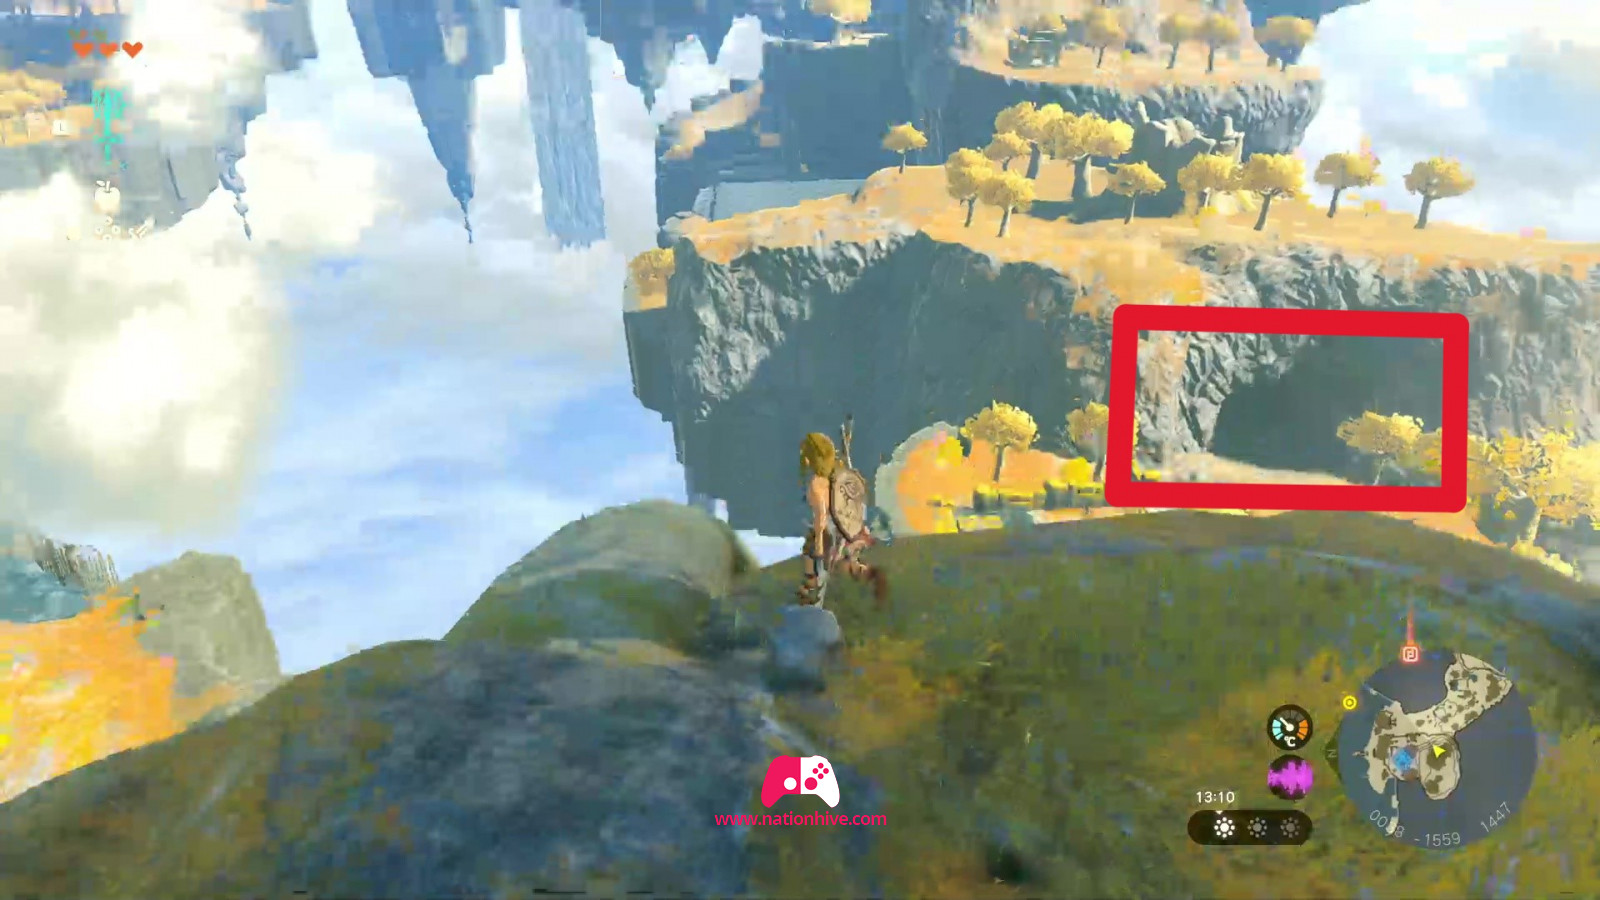
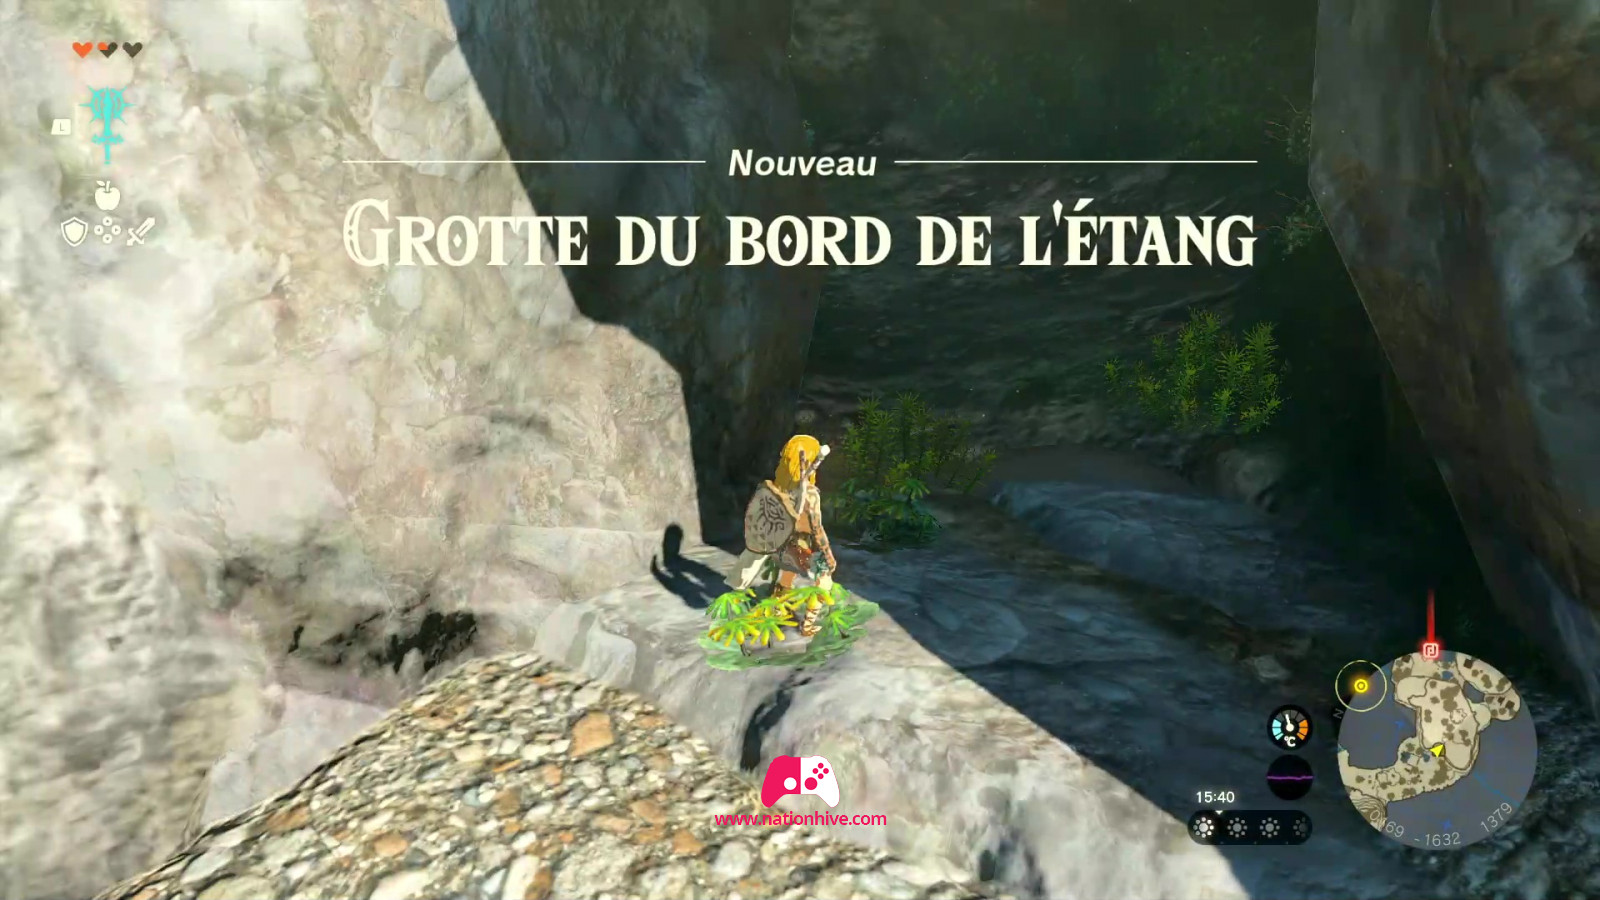
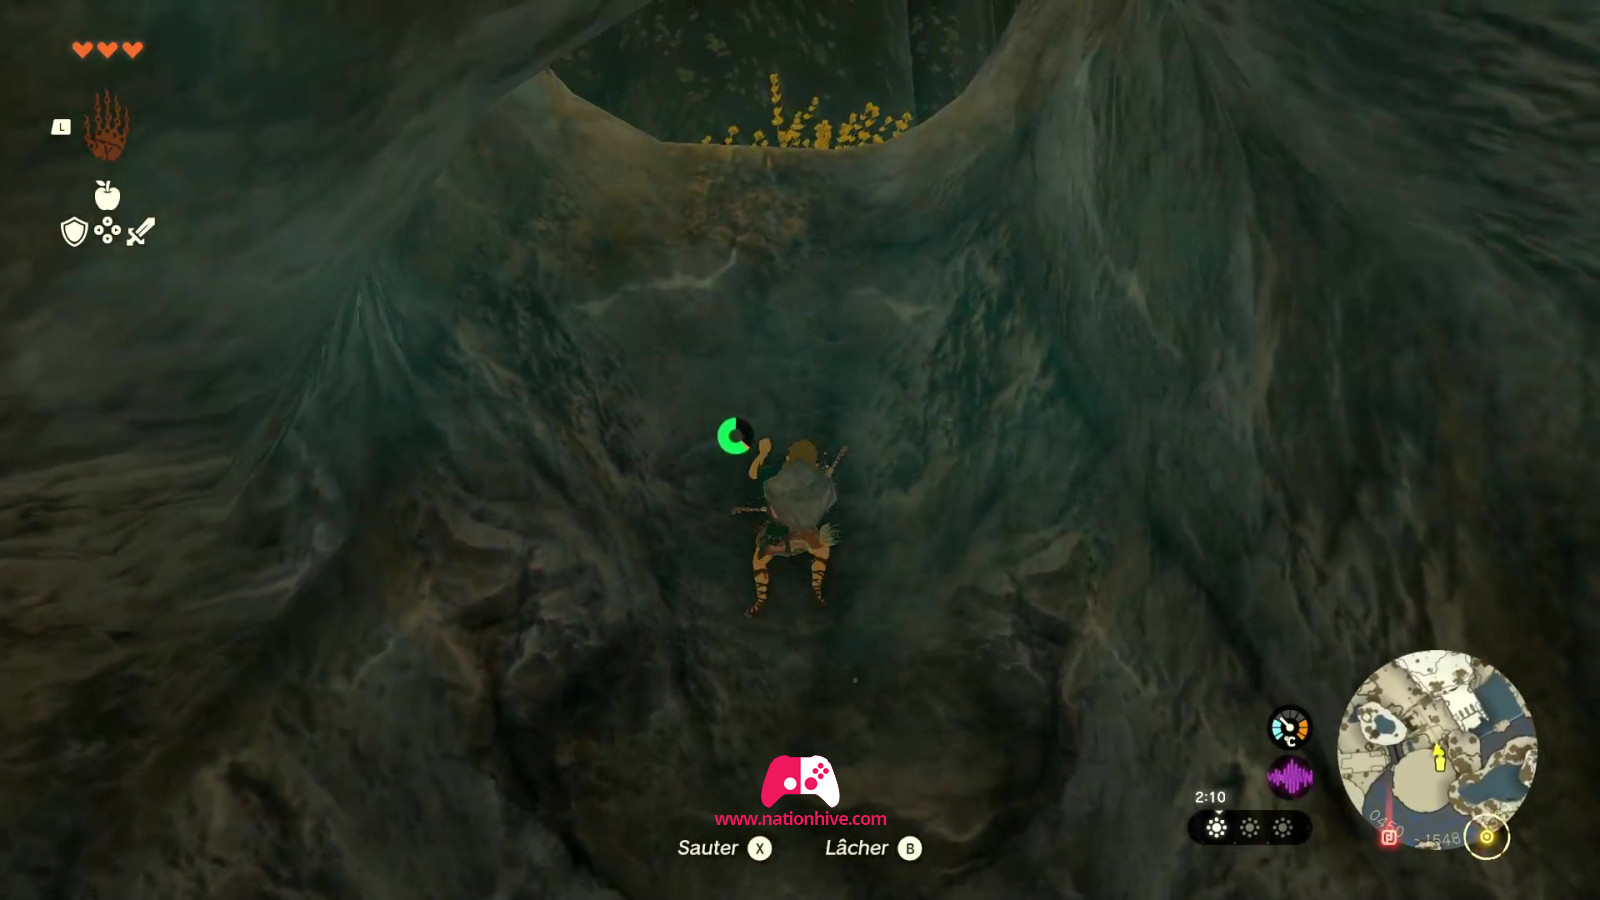
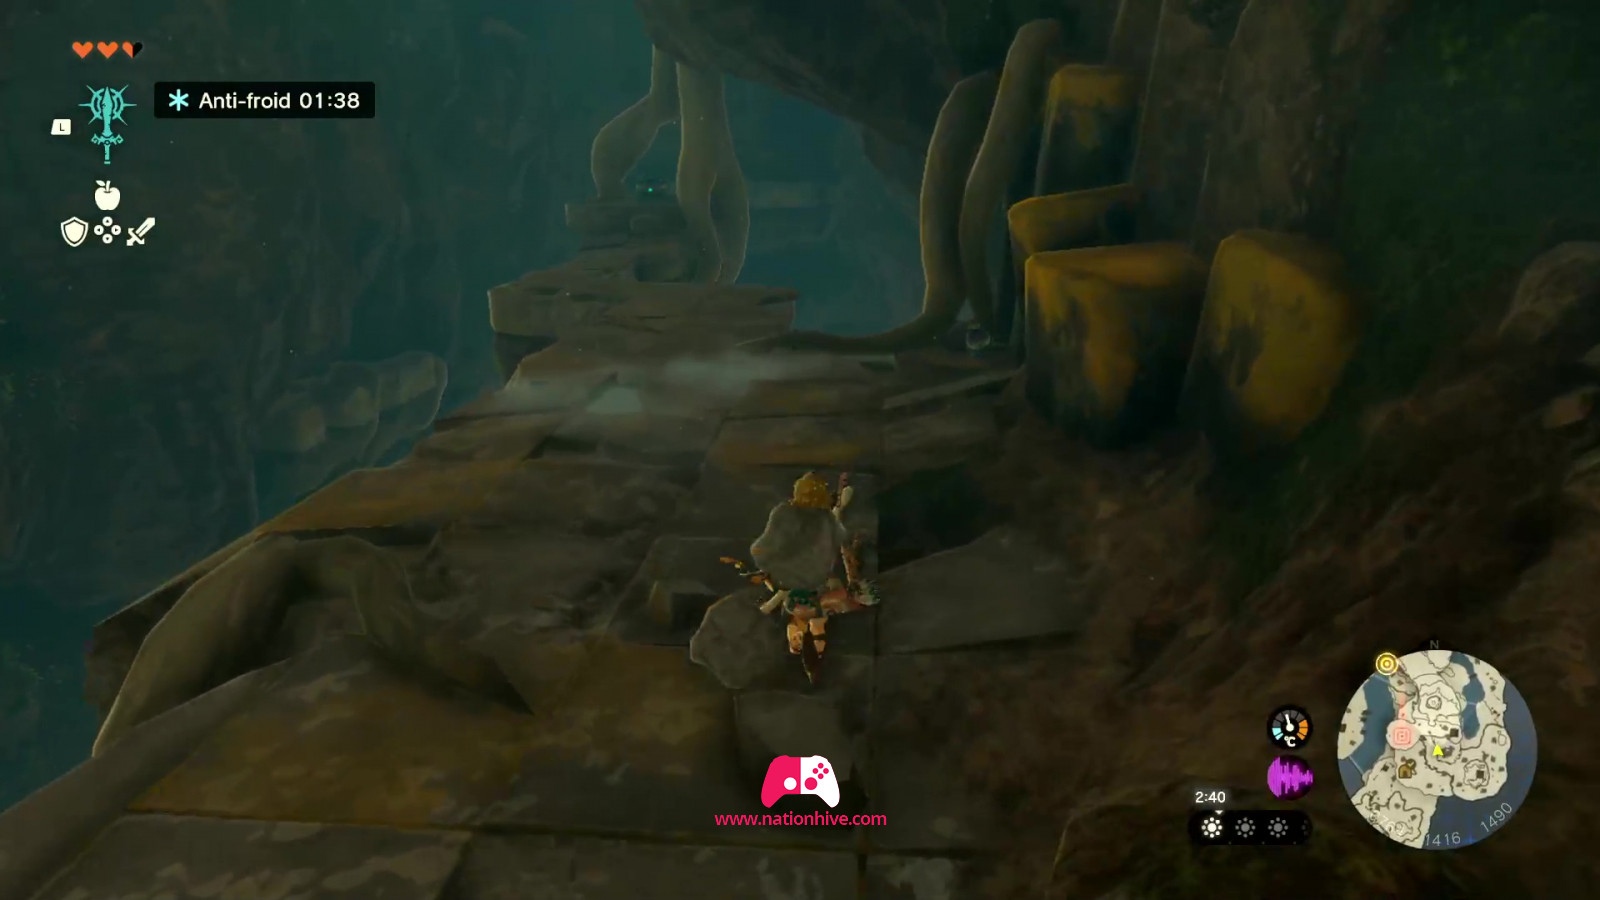
Then head for the next Shrine. To get there, descend to the bottom of the temple and head for the Pondside Cave (here's a view where you can see the Pondside Cave from the large tree above the In-Isa Shrine). Attack enemies on your way, collect resources and enter the Pondside Cave.
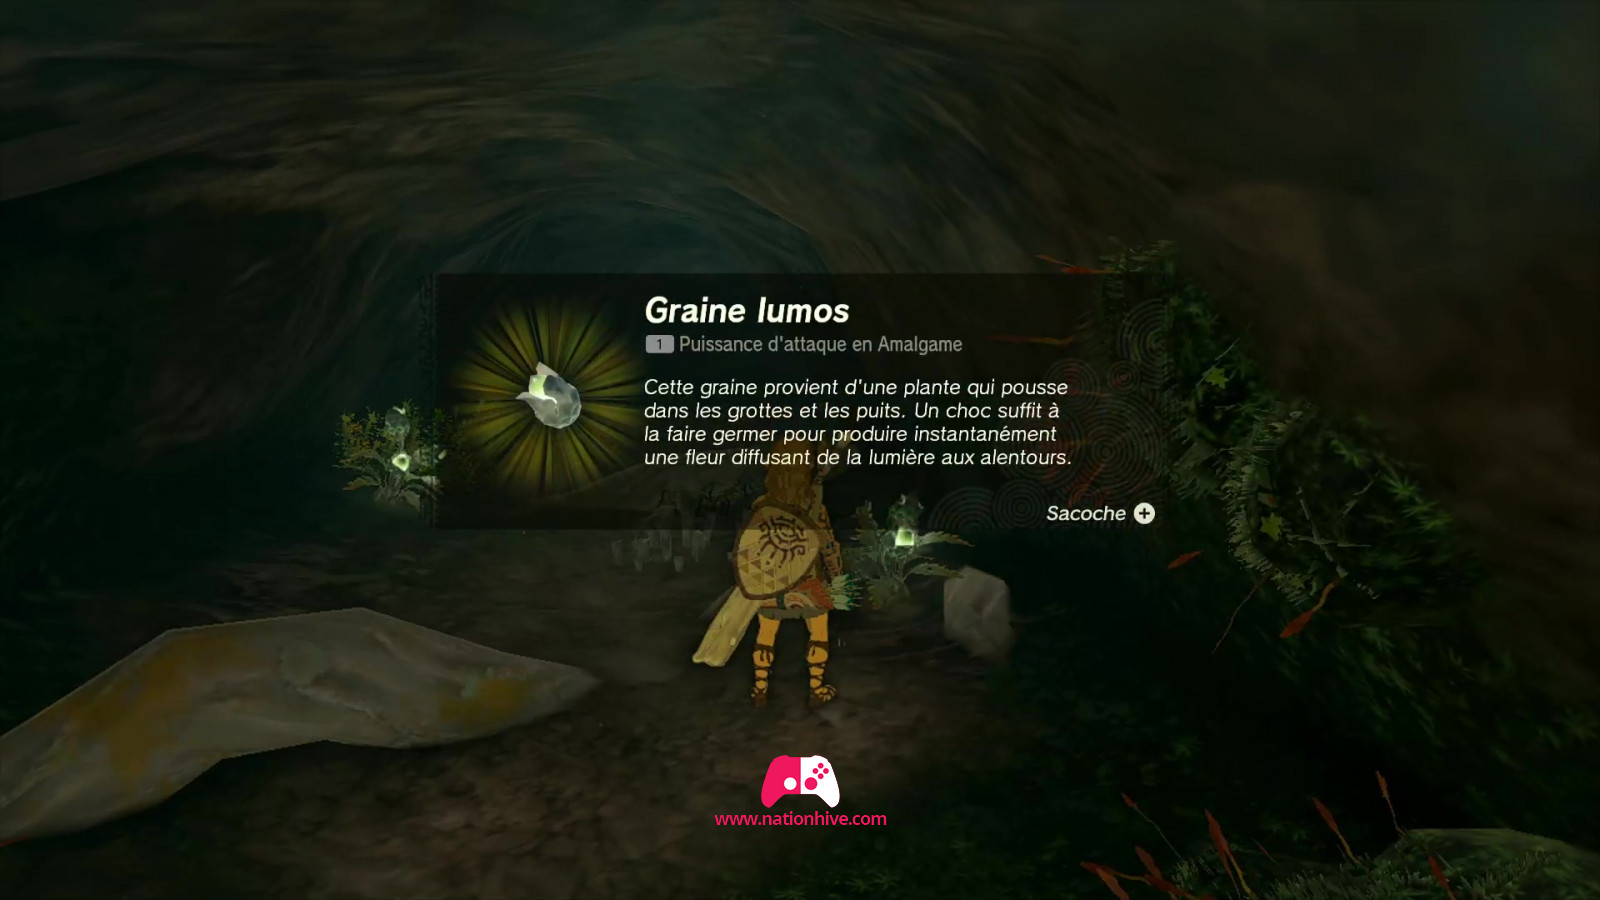
Inside the Pondside Cave, use your Broadsword Hammer to collect all the resources in front of you, as they may come in handy later on. Attack the enemies in your path.
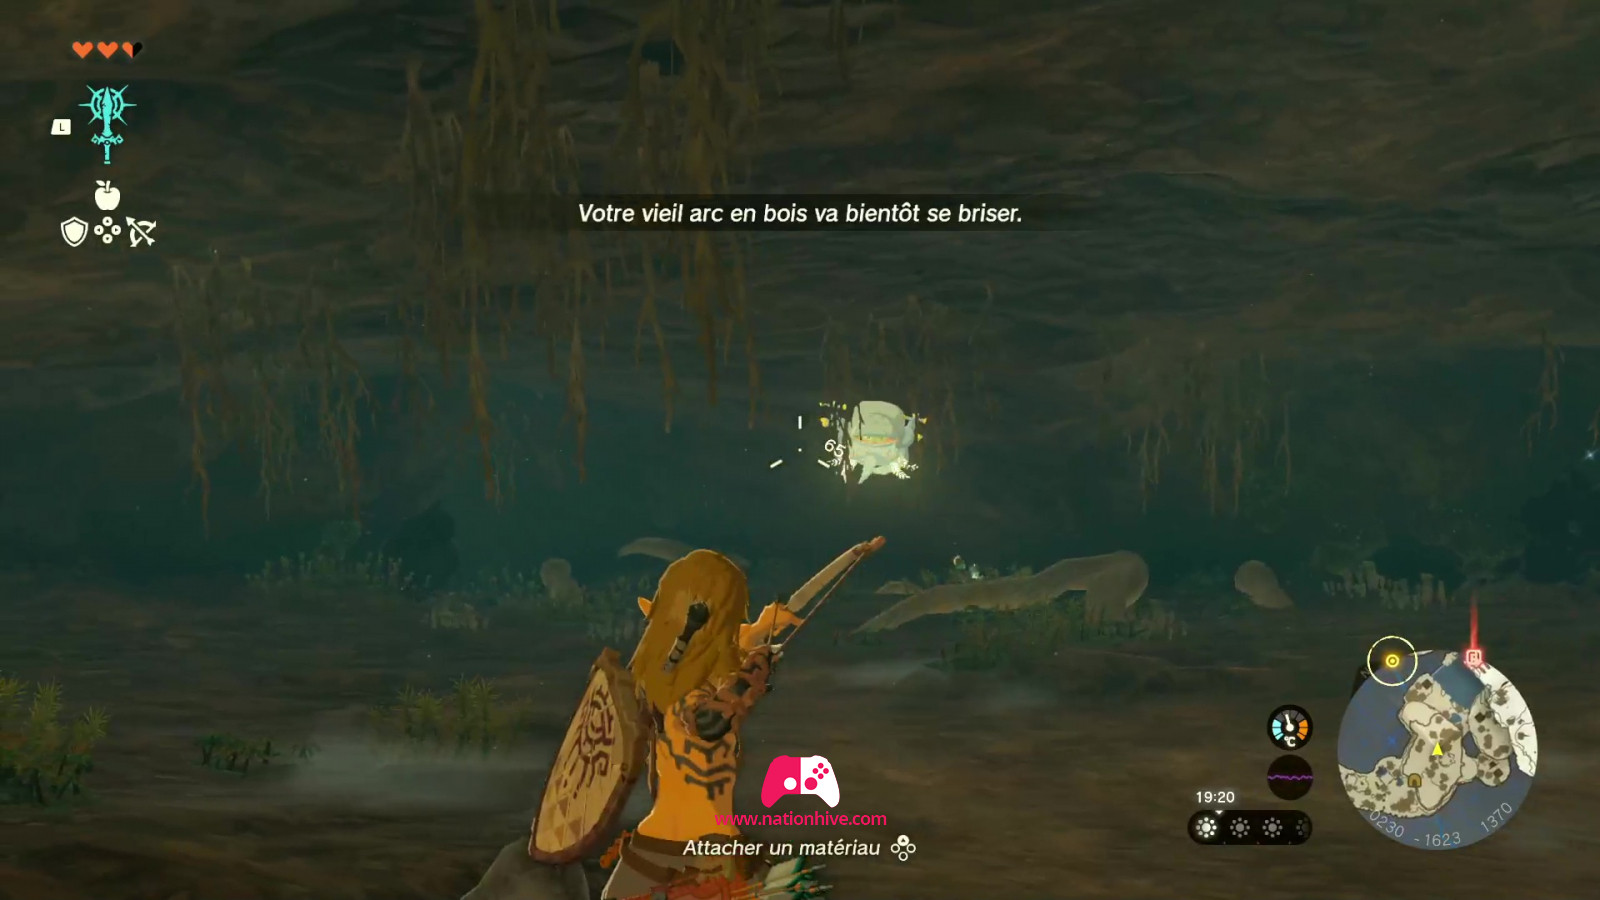
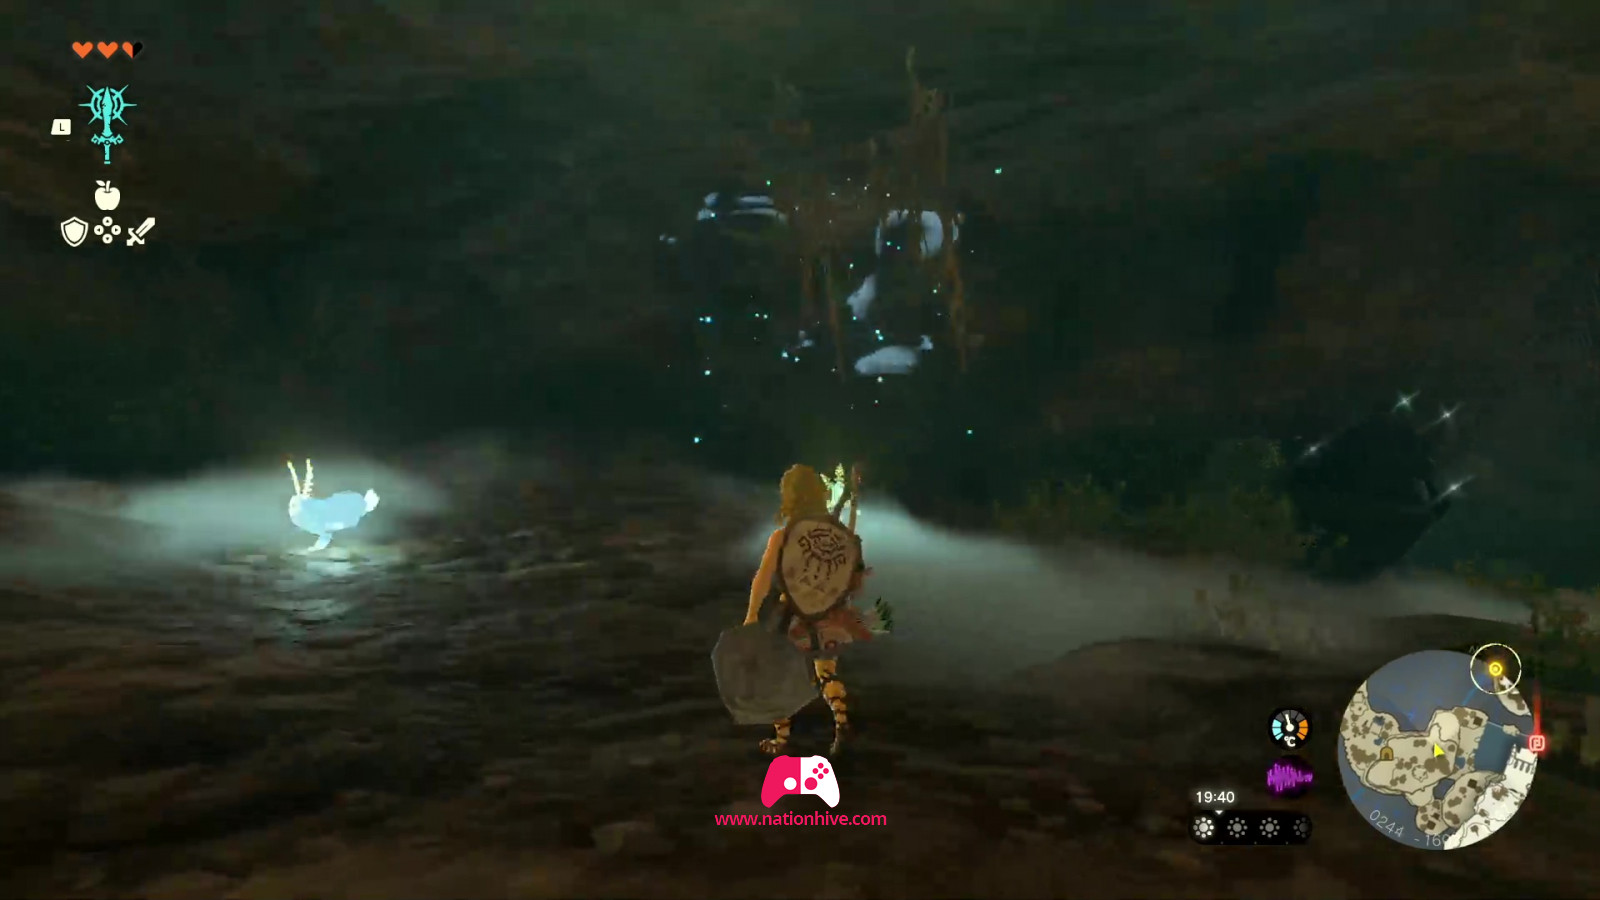
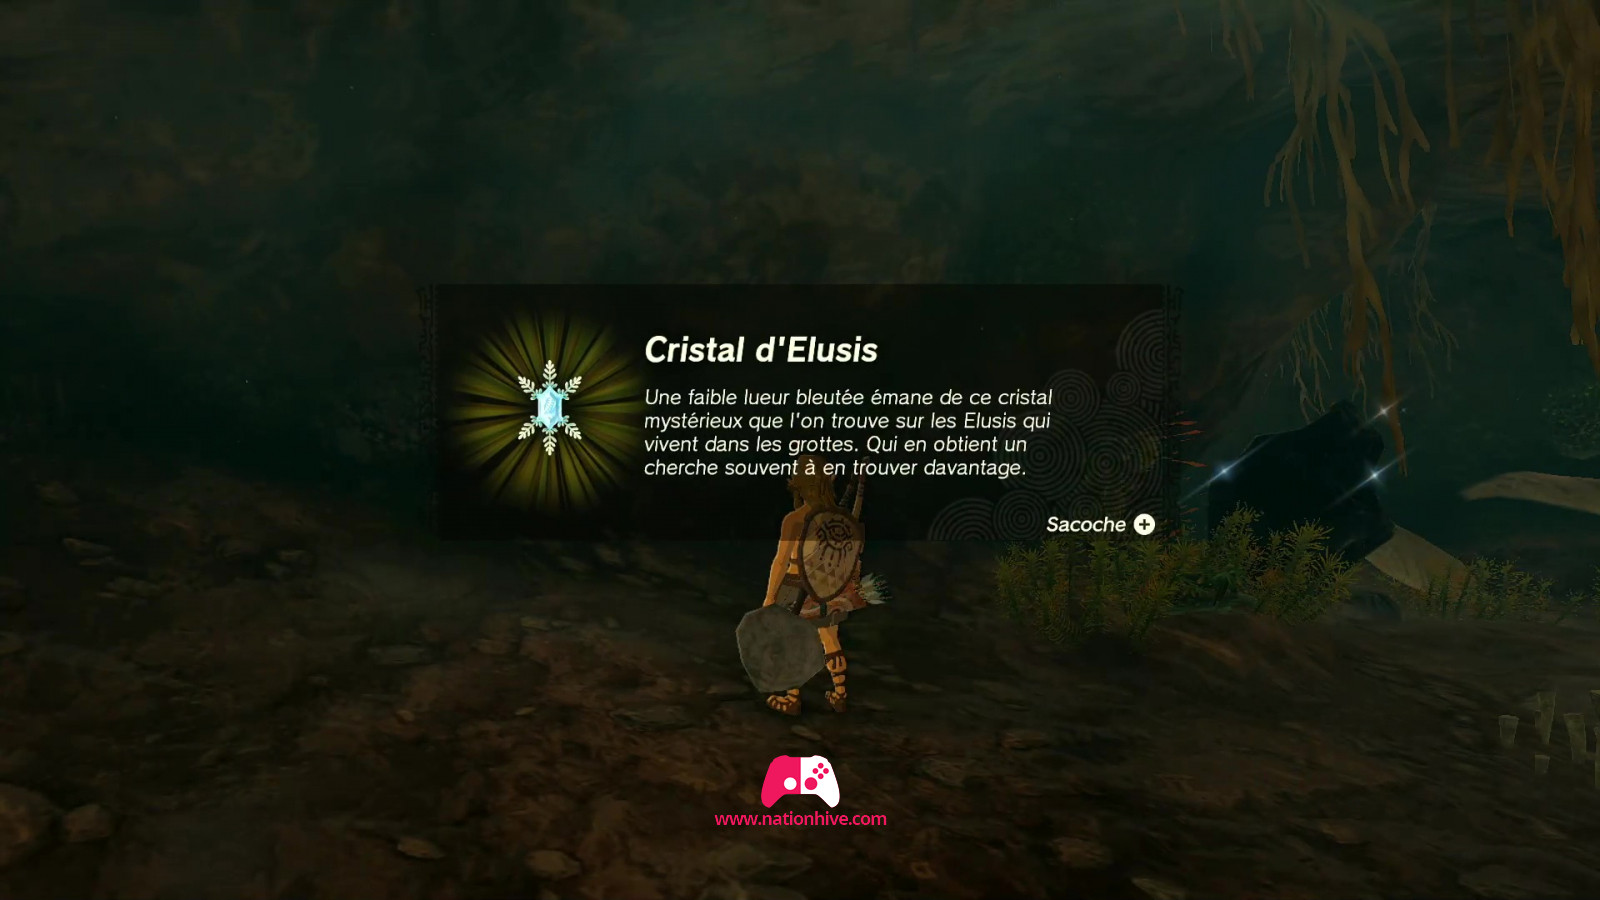
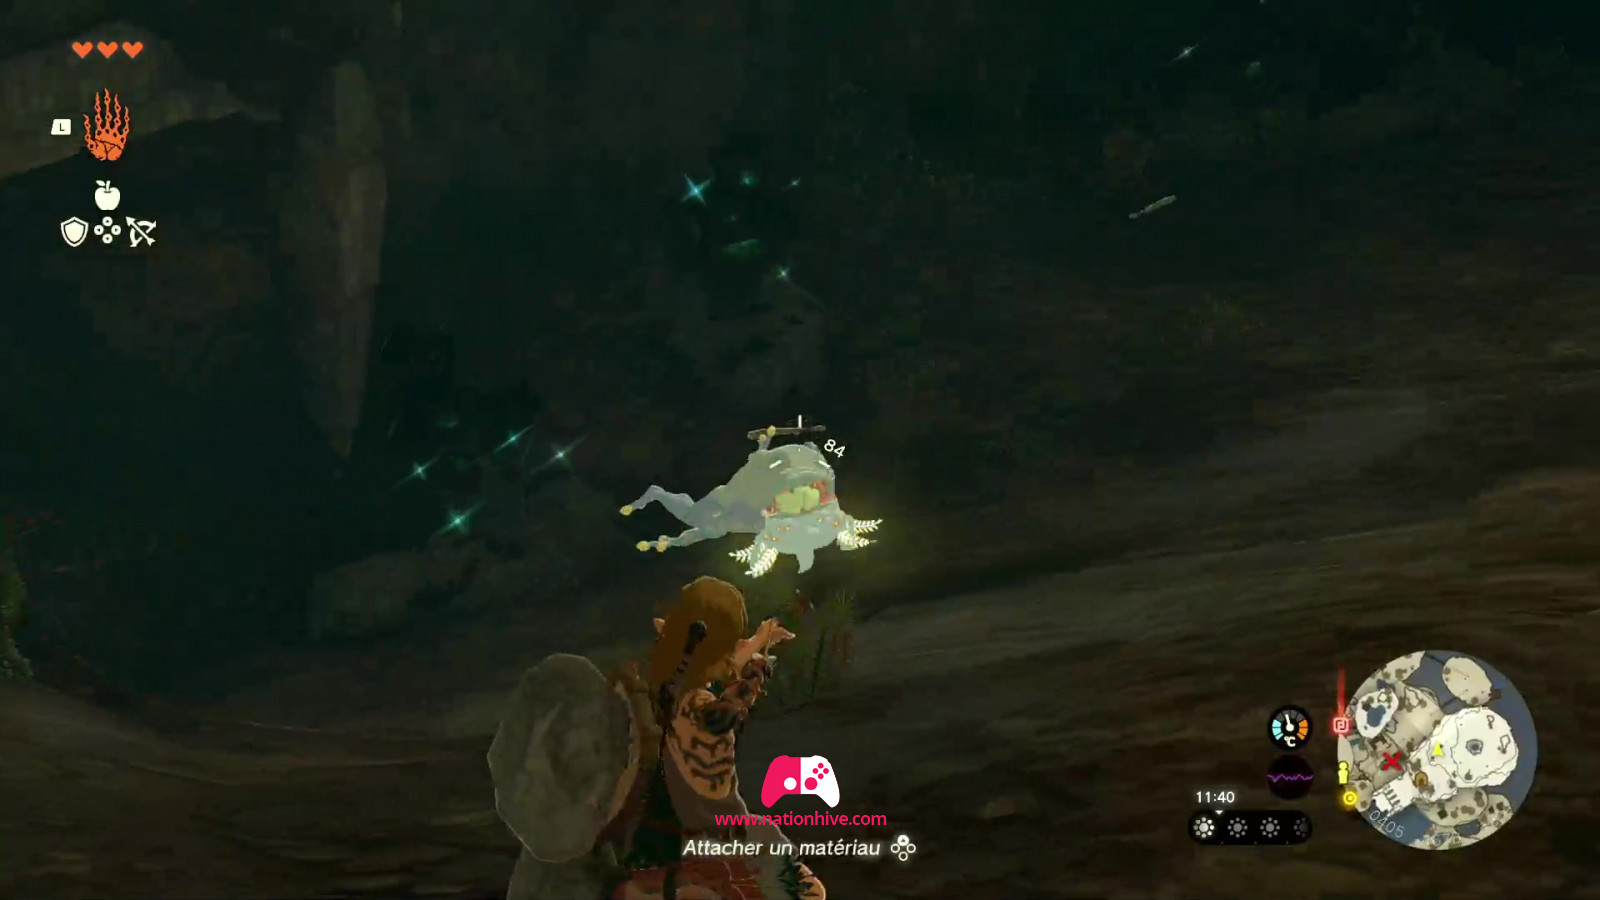
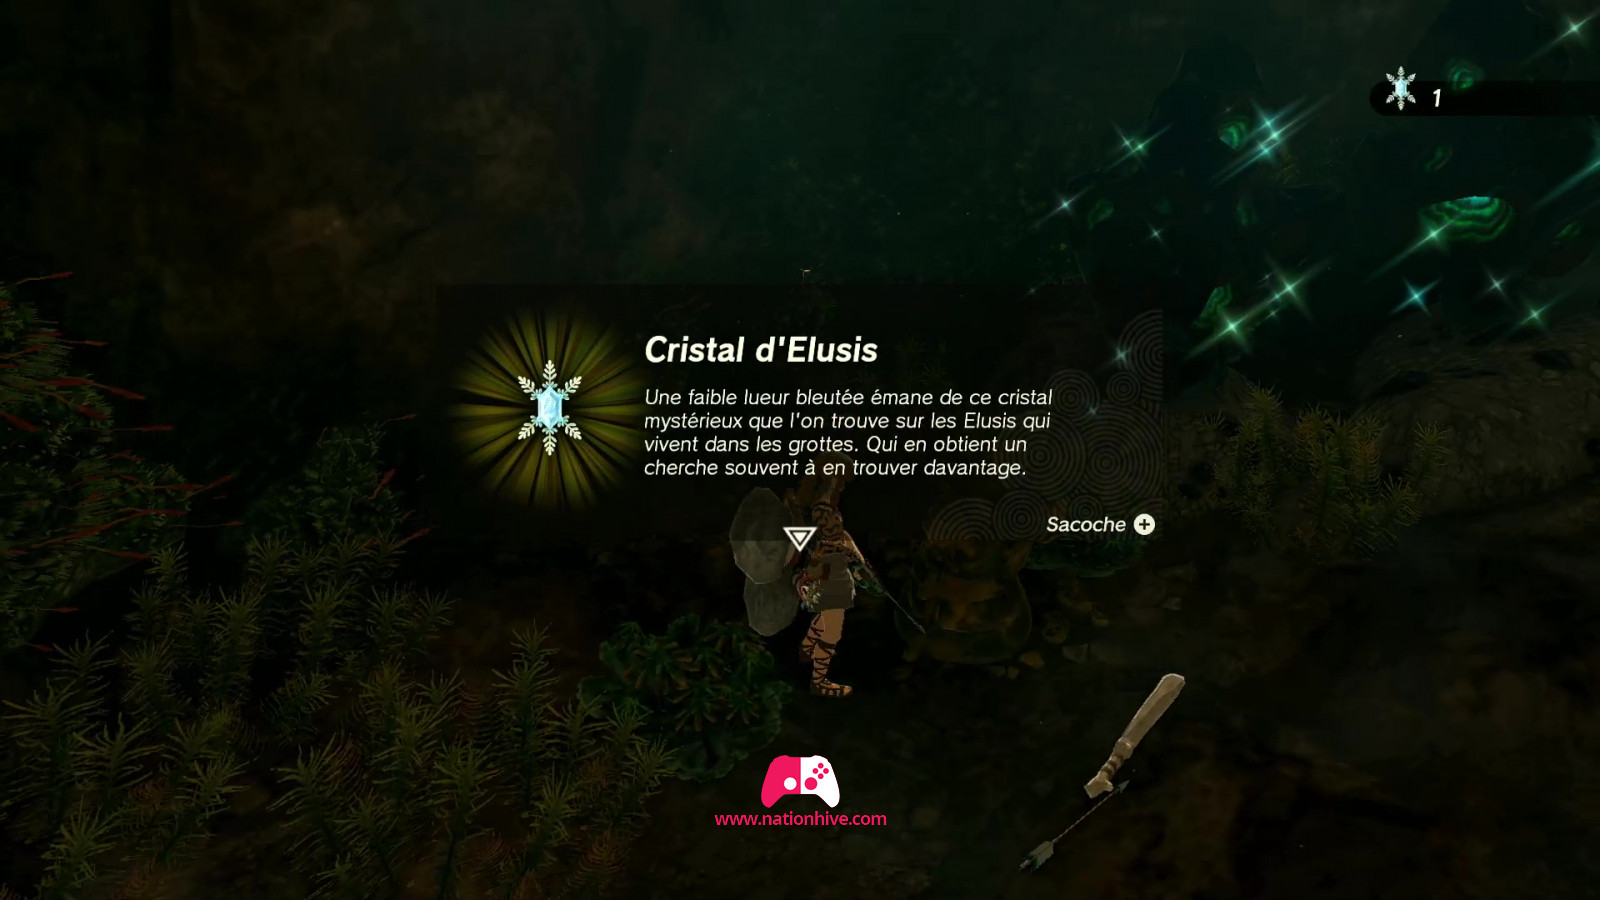
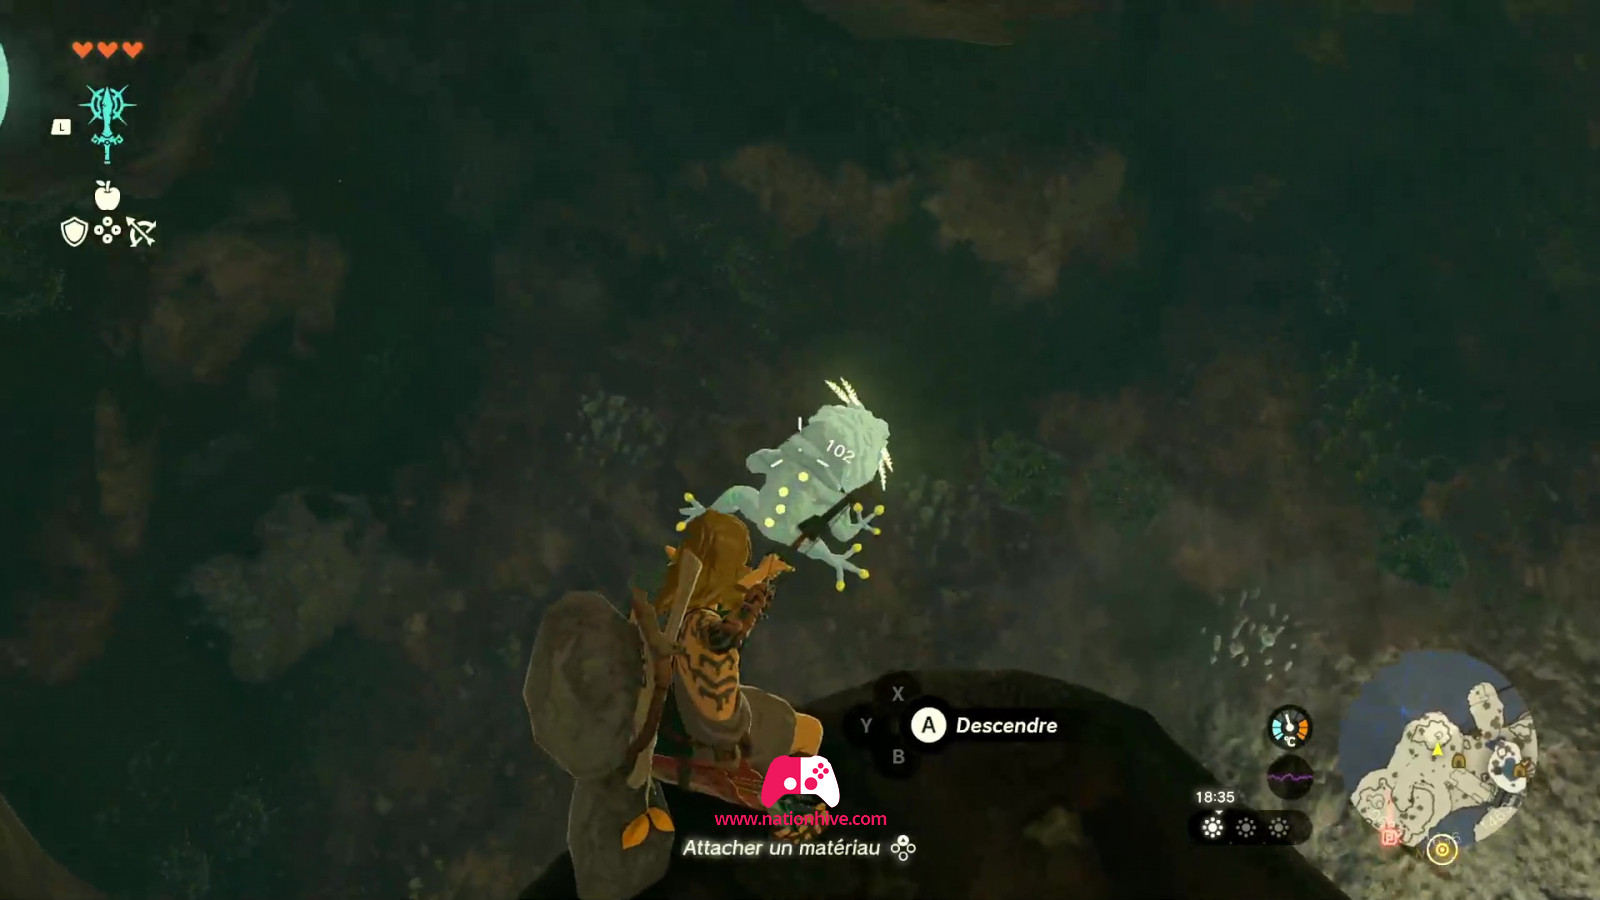
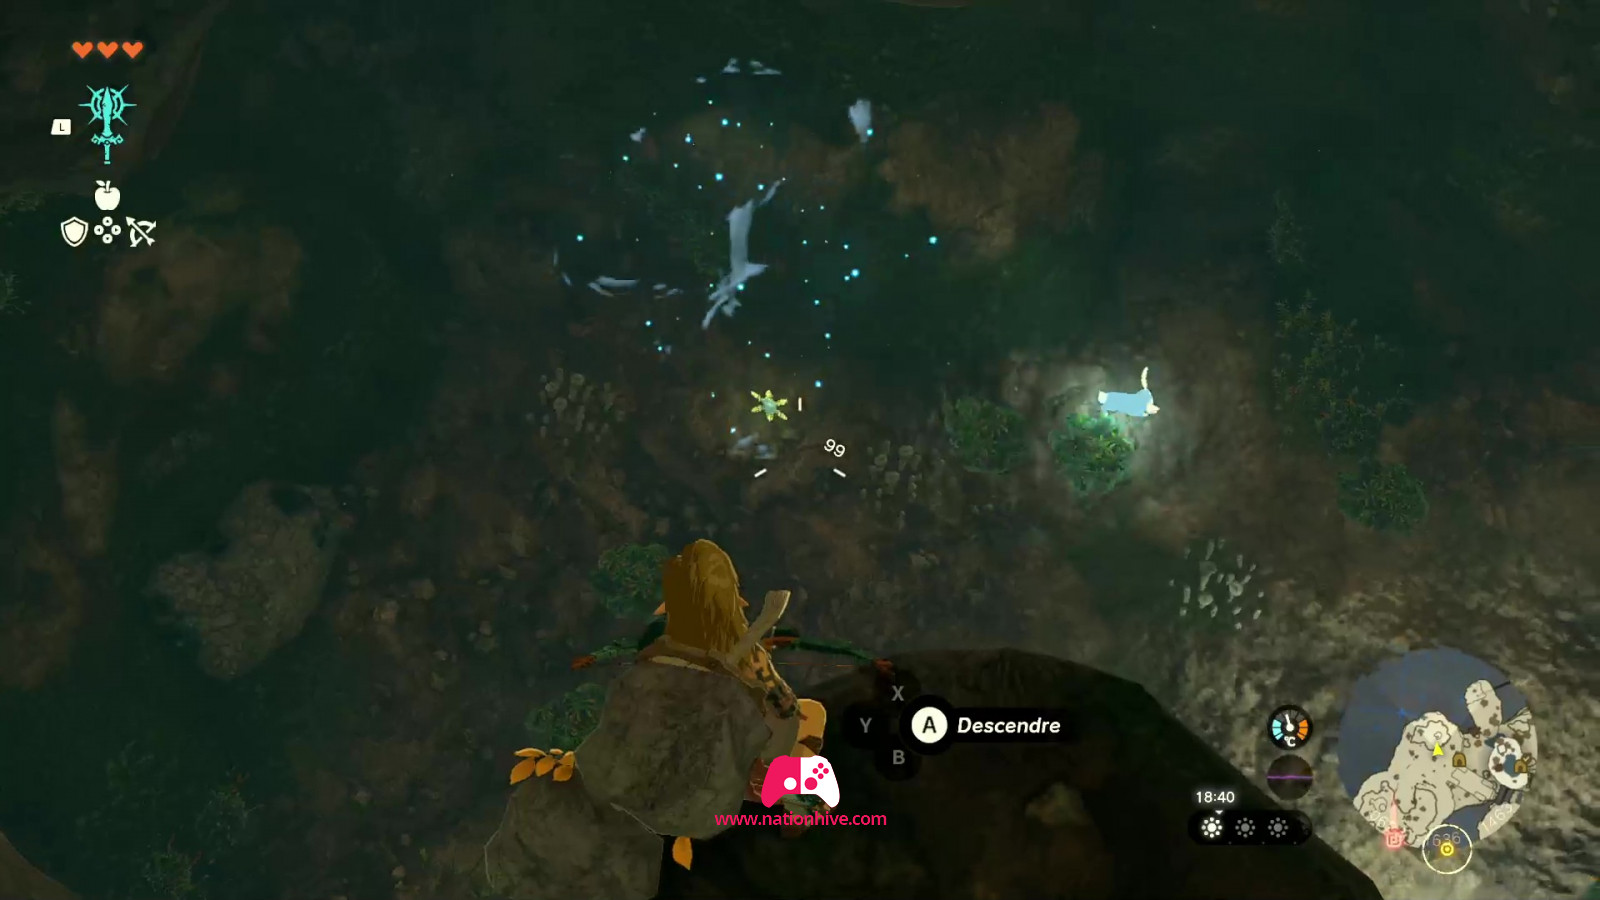
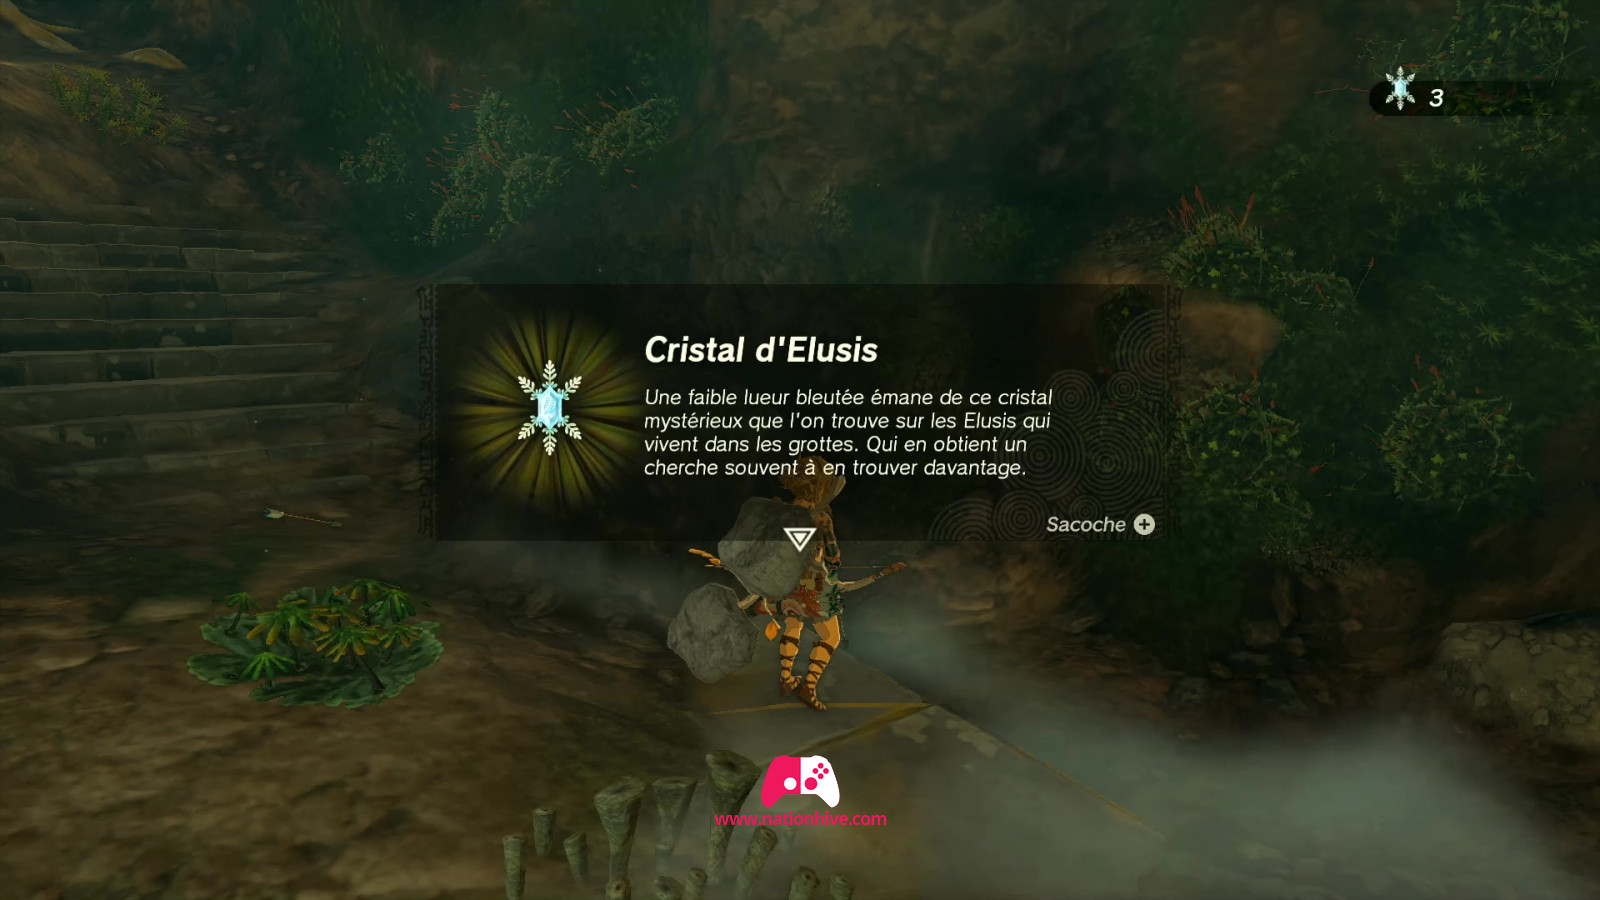
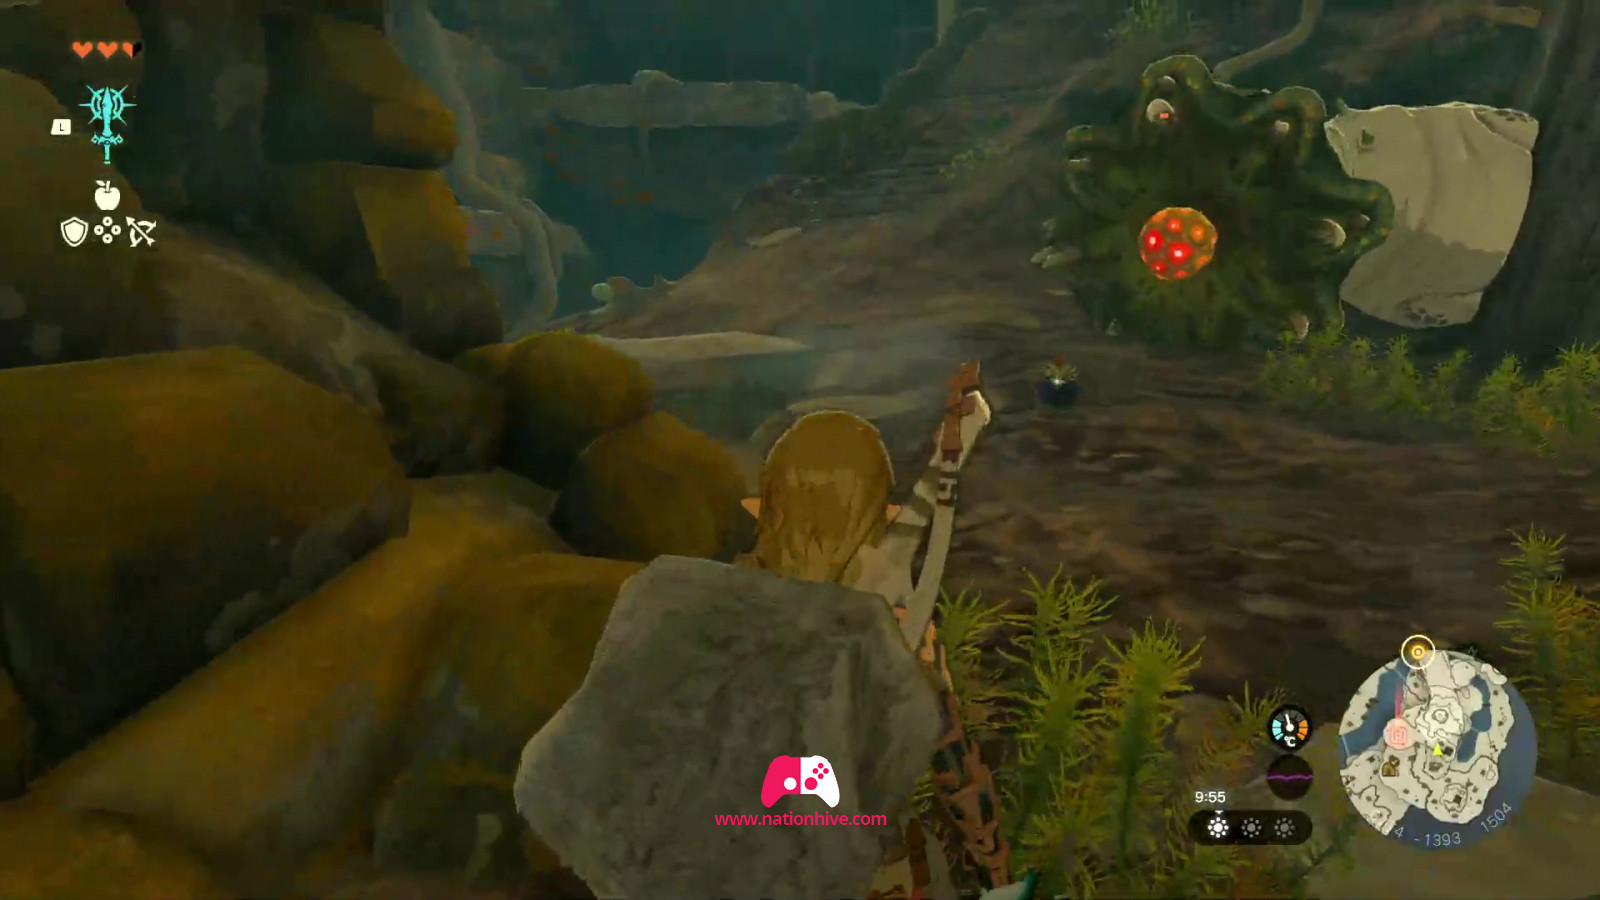
At a certain point, be on the lookout for a large glowing frog jumping from the ceiling of the cave. This special creature is called Bubbulfrog and will give up a Bubbul Gem if you can hit it enough times with arrows.
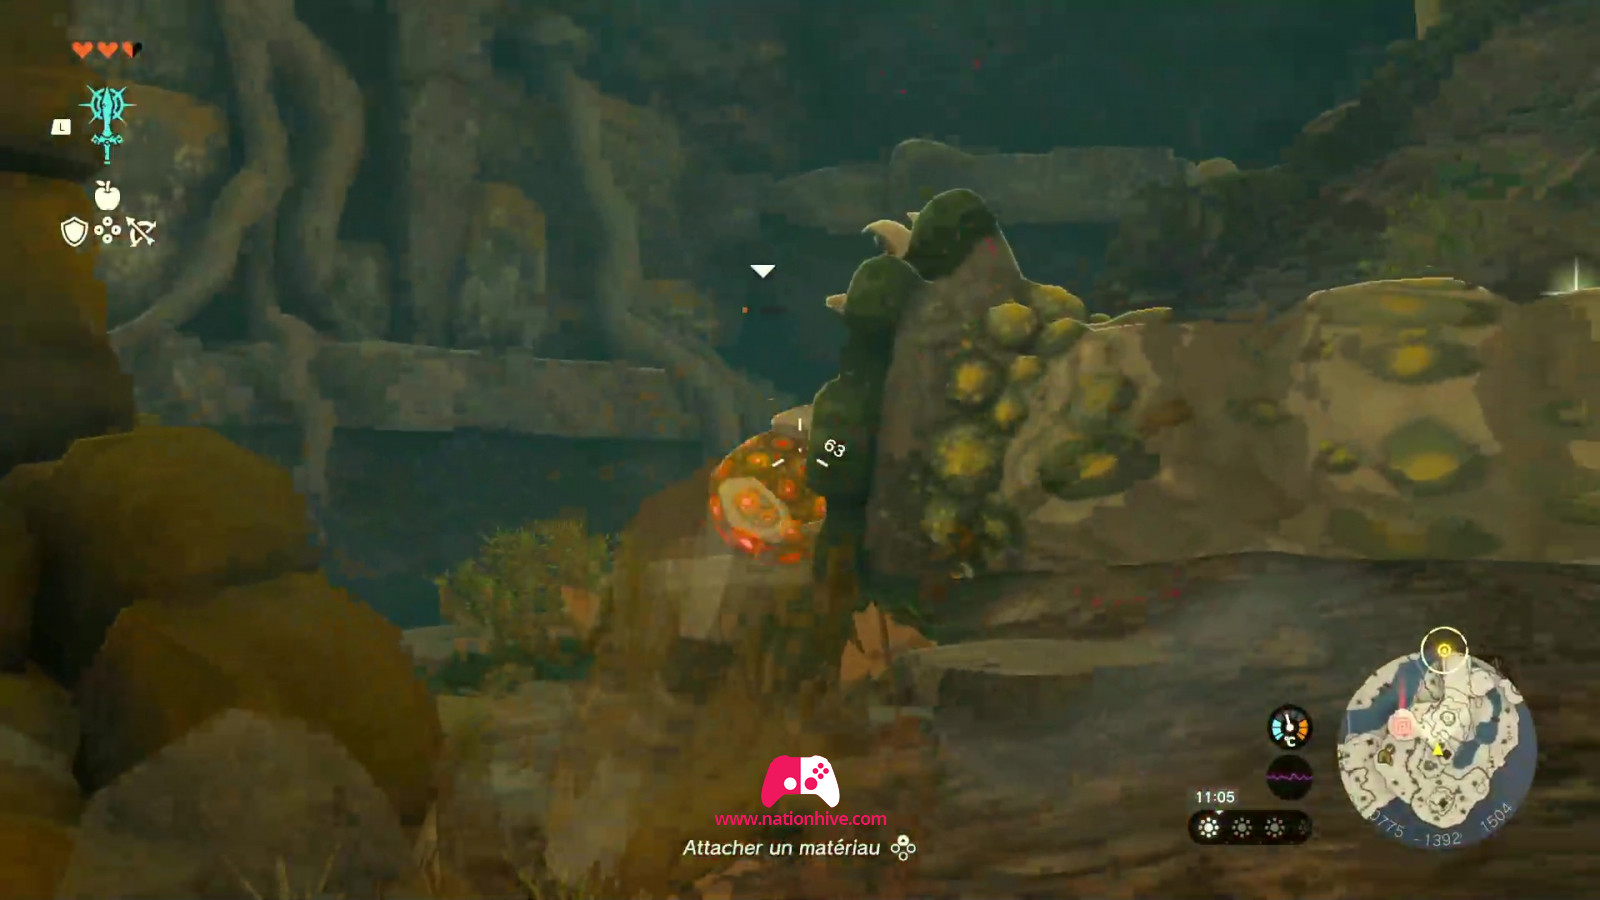
Destroy the large ore stones and collect all possible resources in the Pondside Cave. Destroy the stone walls for even more minerals.
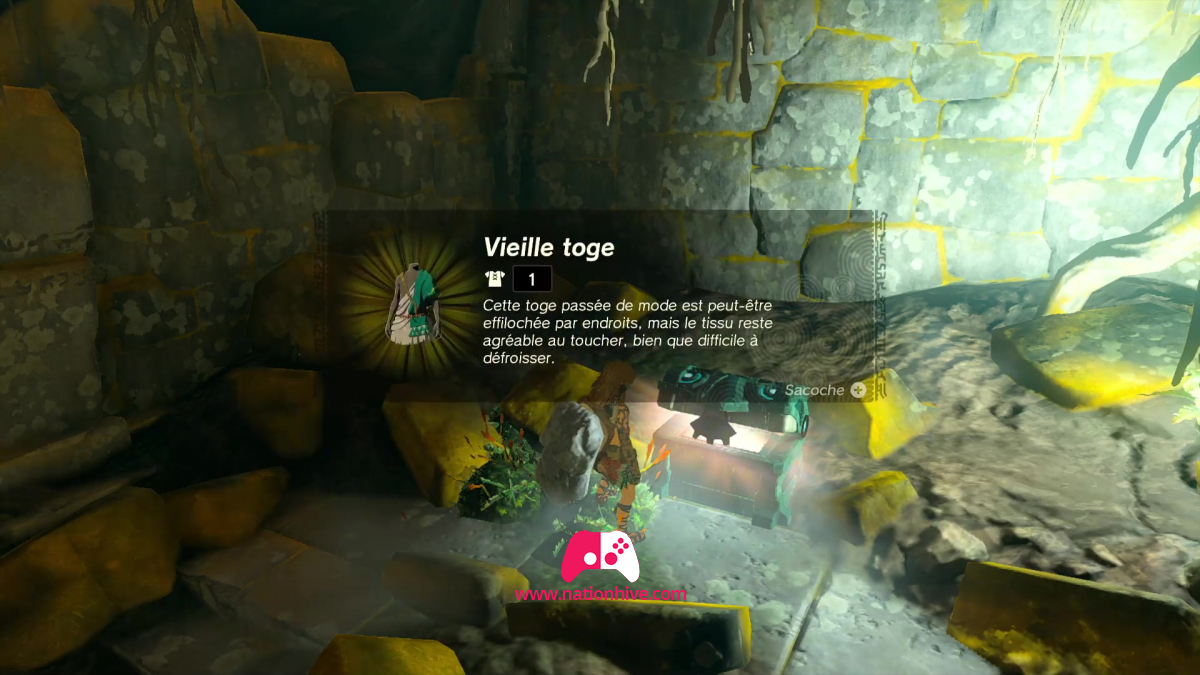
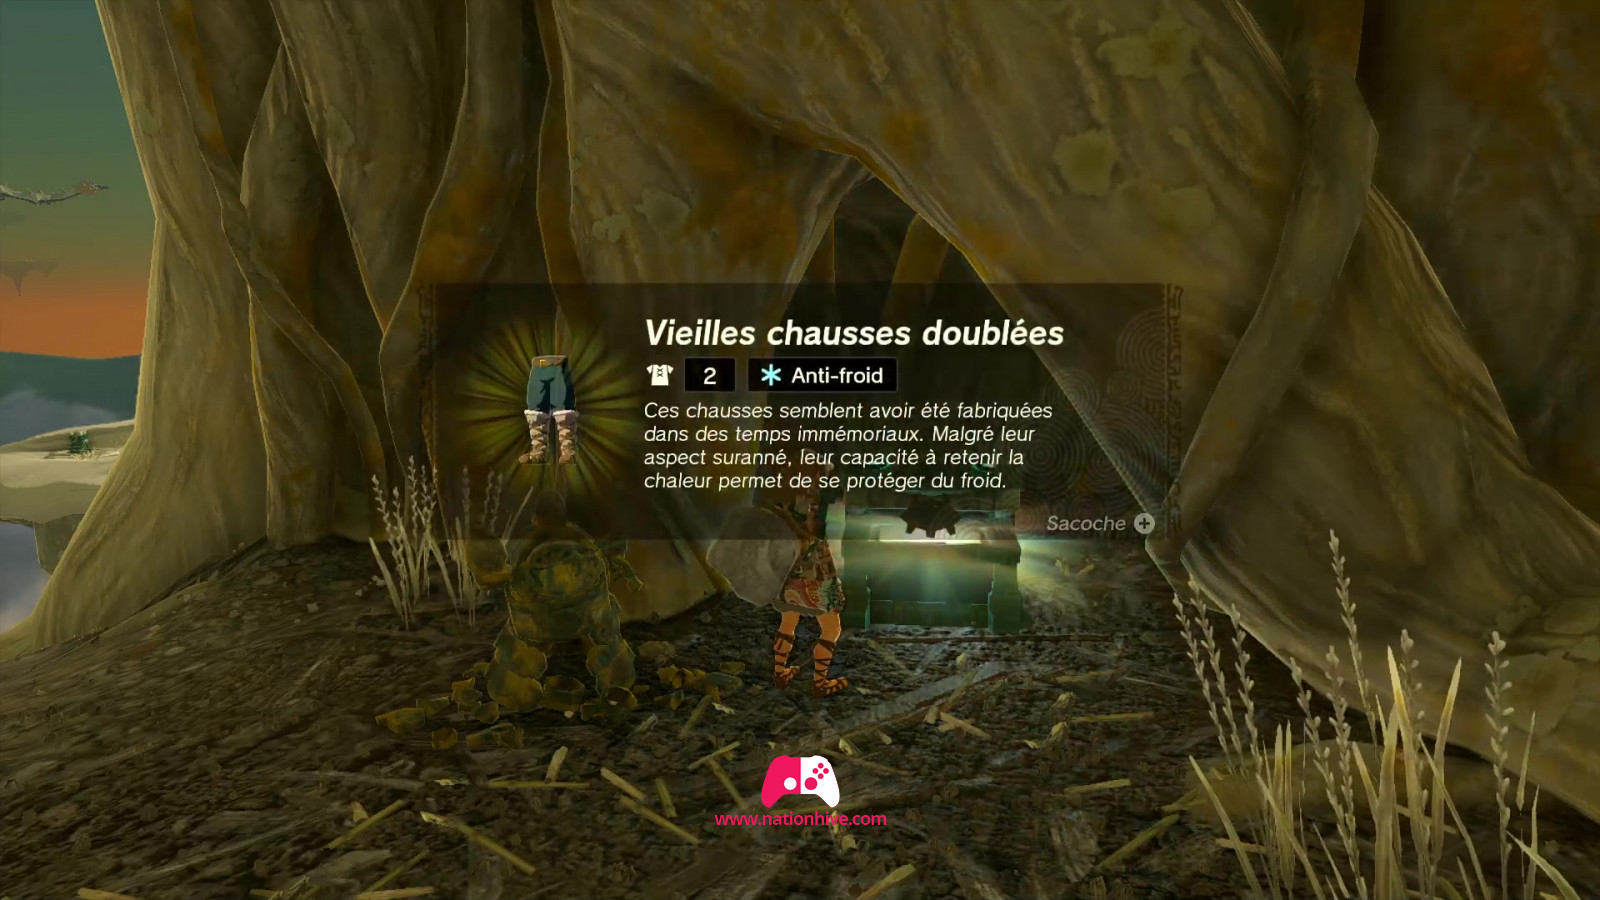
Near the cave exit, you'll find a chest on your left. Open it to obtain an Archaic Tunic and equip it. Now head for the cave exit.
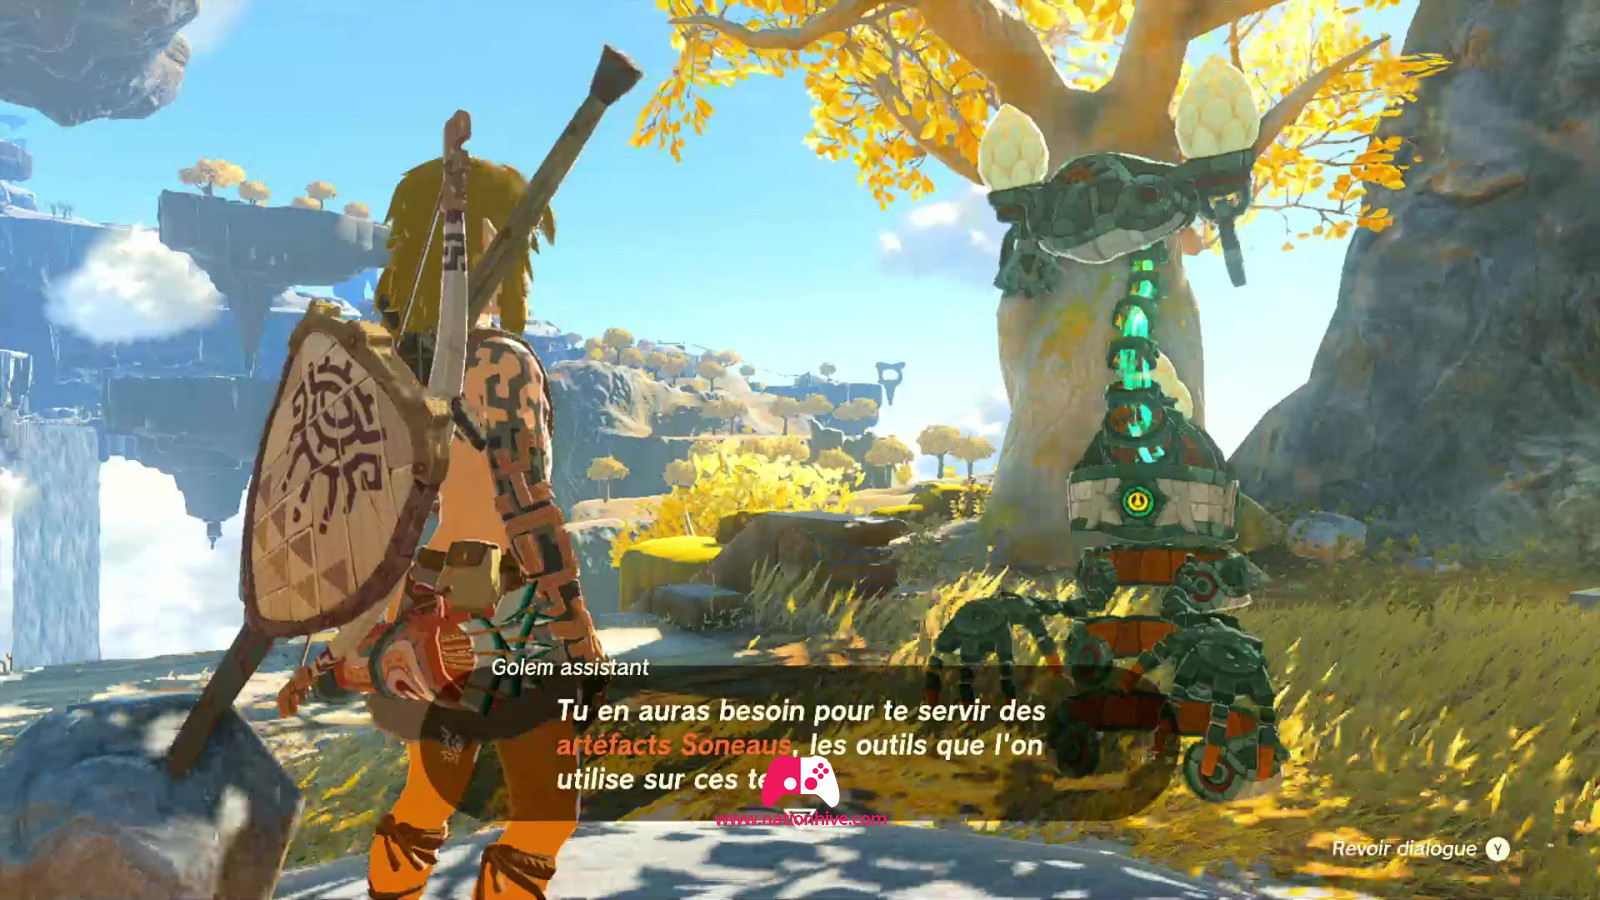
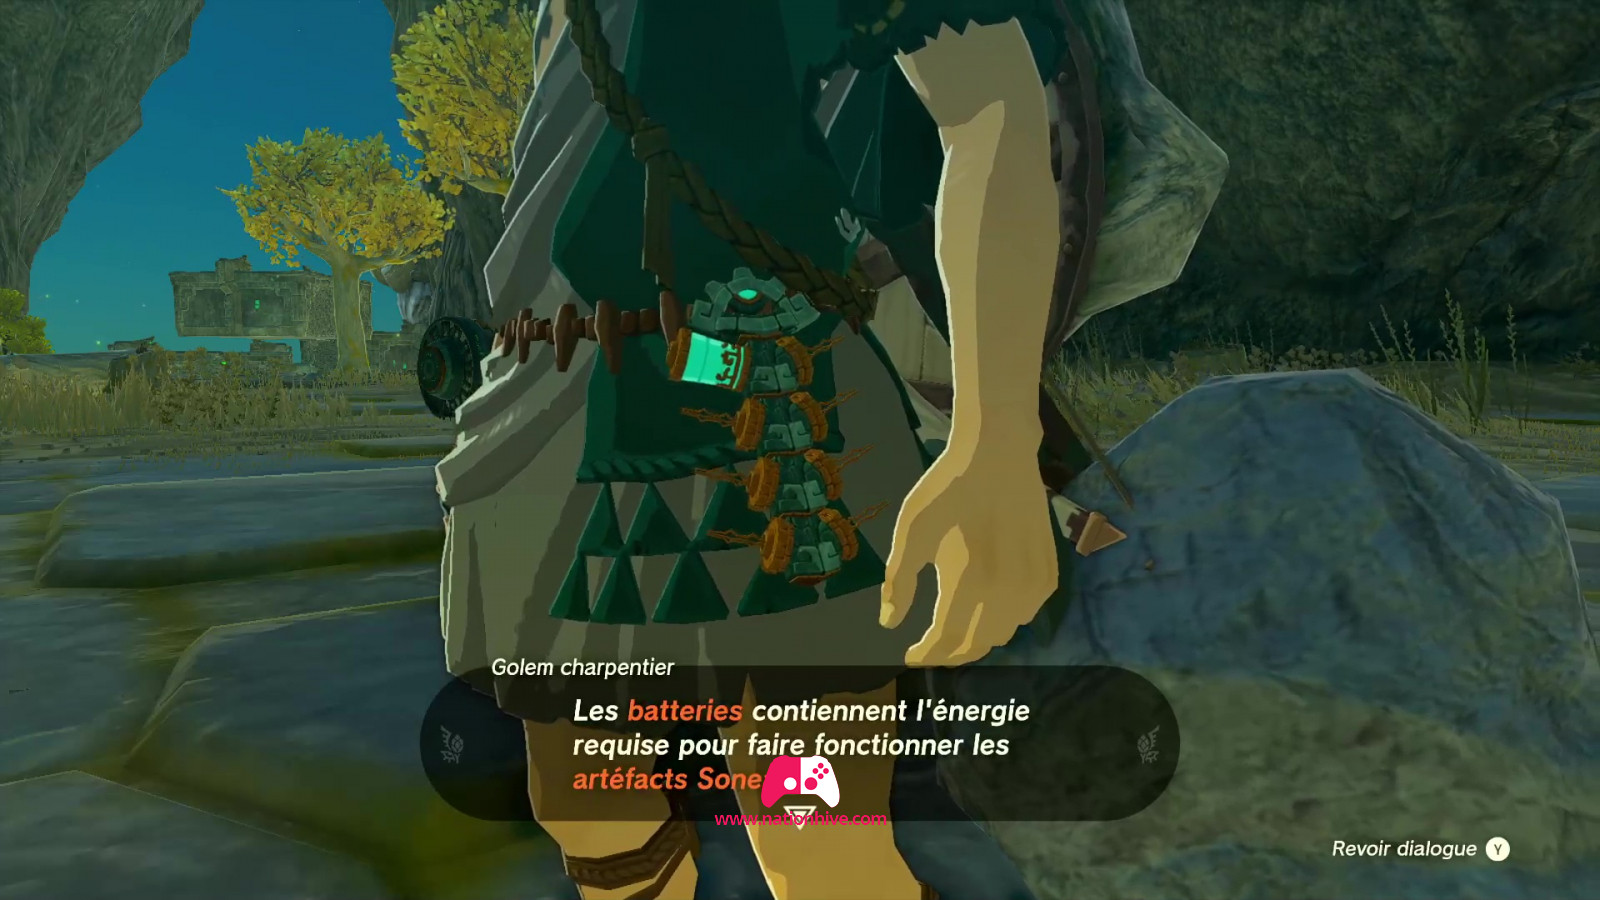
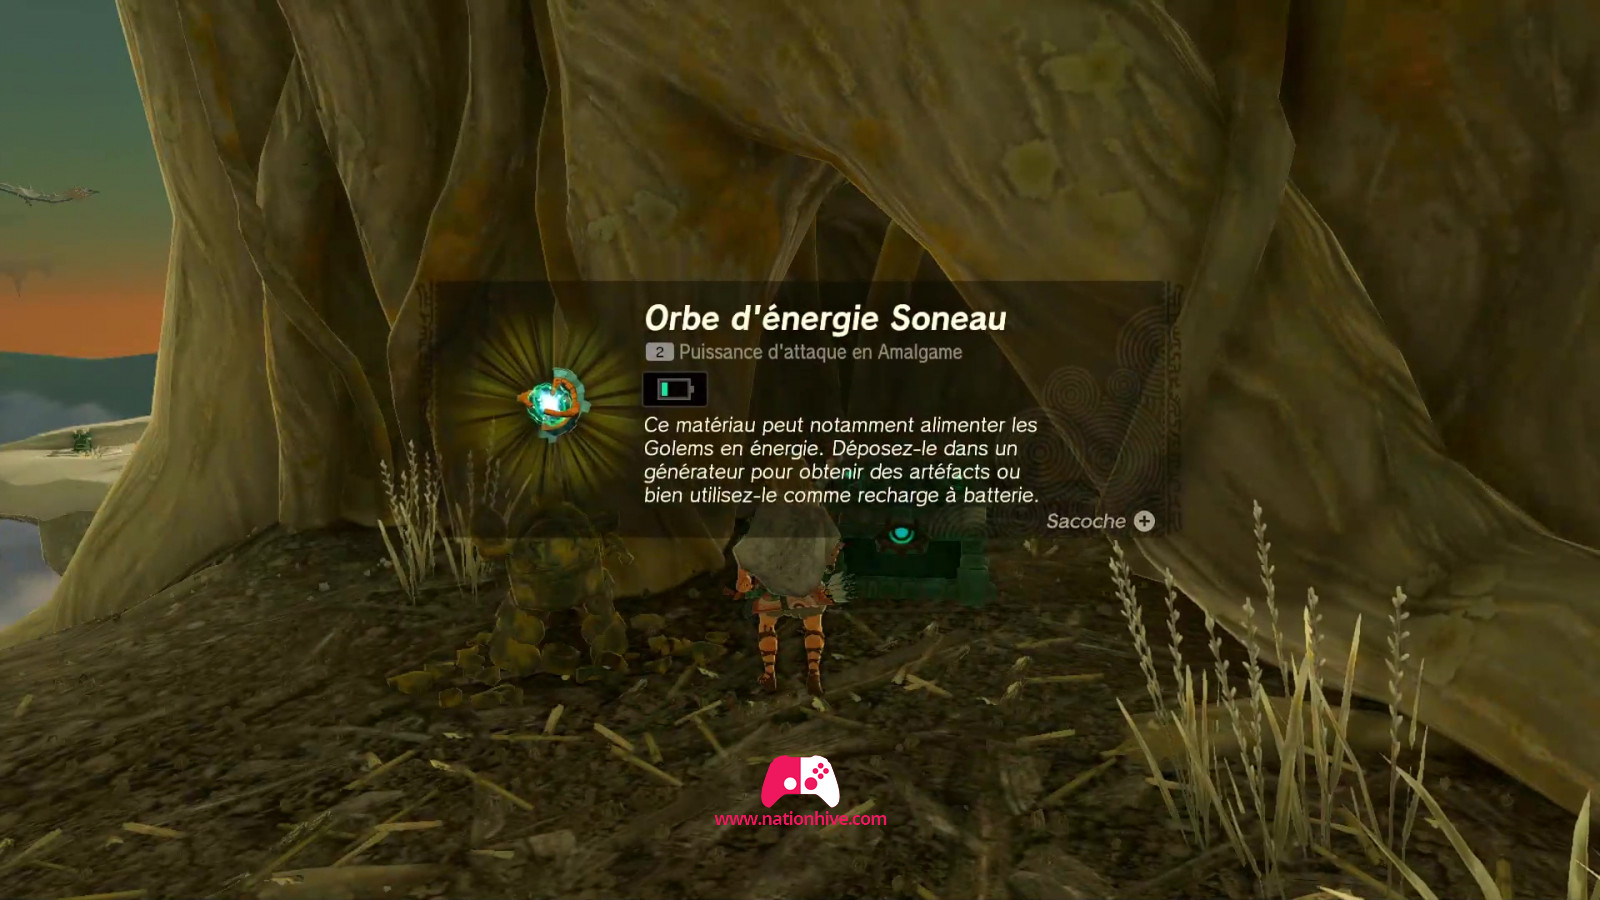
Talk to the Construct Golems to learn how to use a Soneau artifact. The Energy Cell you received will enable you to operate Zonai Devices artifacts.

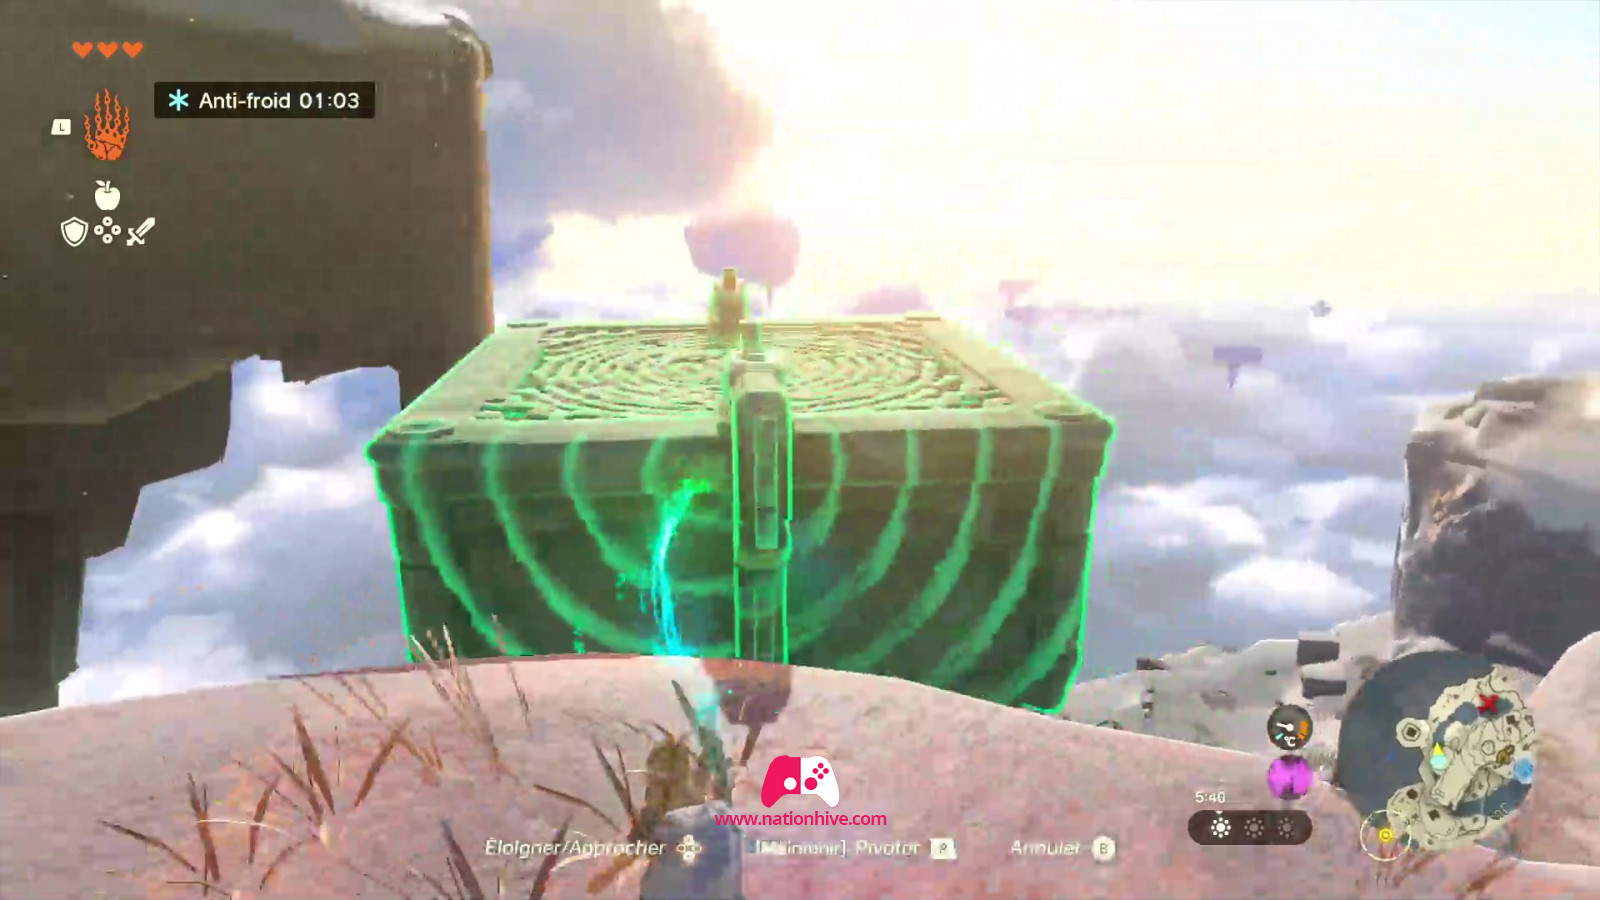
Once again, you'll need to build a Zonai raft to cross the river and move on to the next stage. This time, however, you'll be adding a Soneau artifact: Fans to your little makeshift boat, to make it go faster.
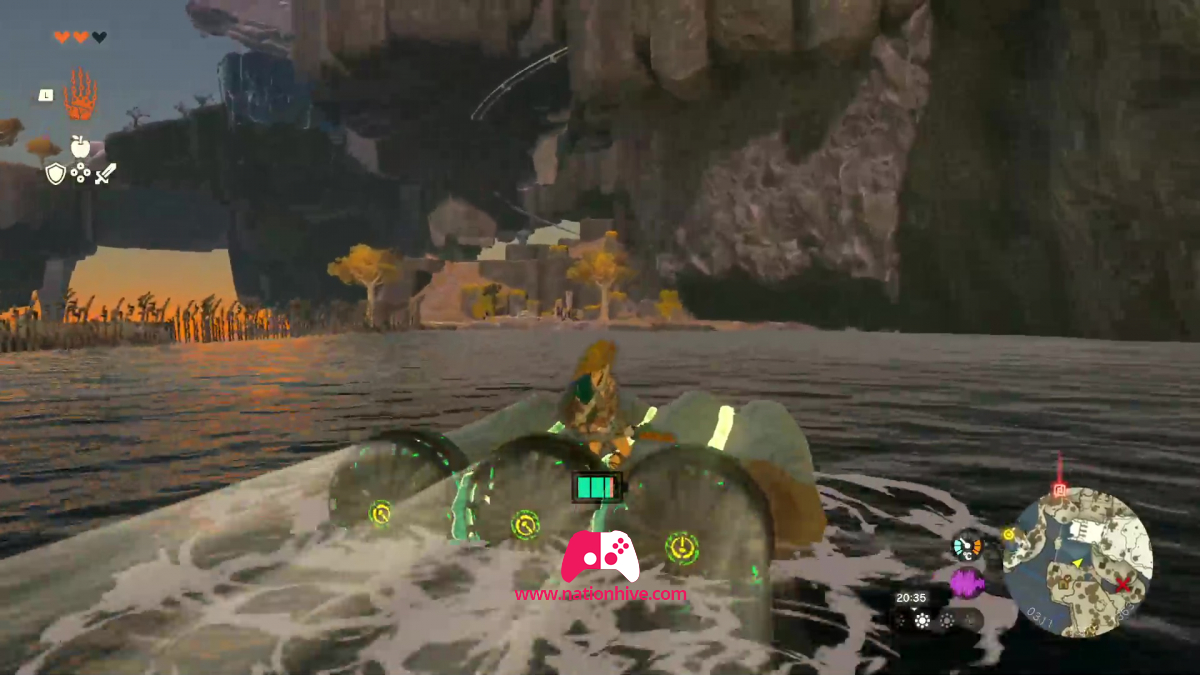
Use your Ultrahand ability to glue resources together to form a raft. Place fans at the ends of the raft. When you hit the fans, they activate and use your Energy Cell to run for a limited time. With the Energy Cell you have, you'll have more than enough energy to cross the river.
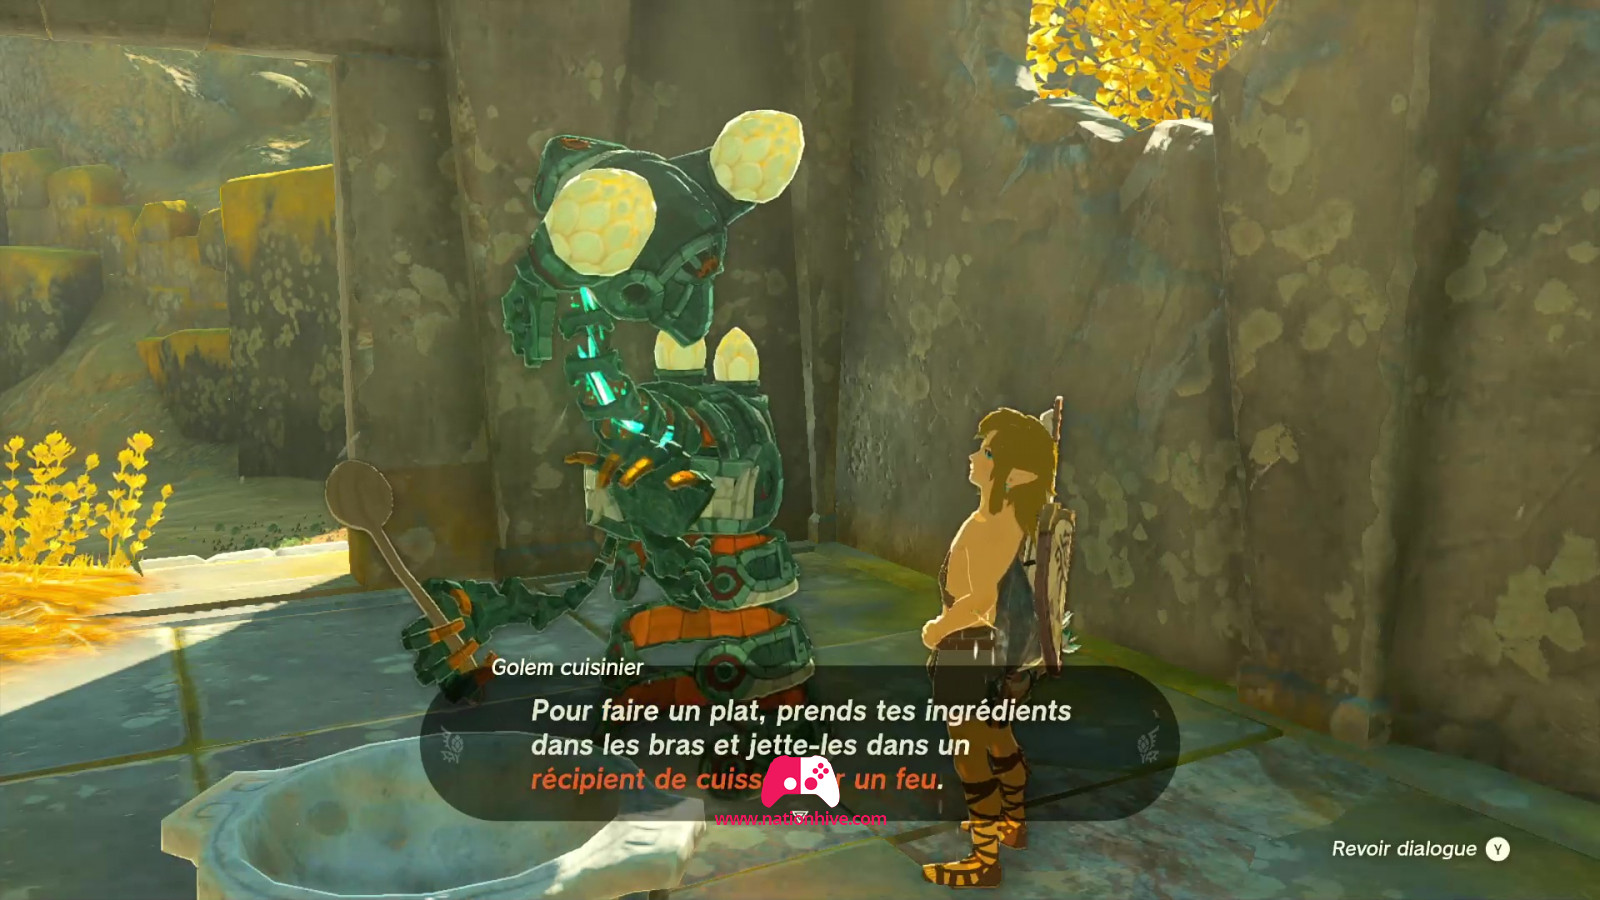
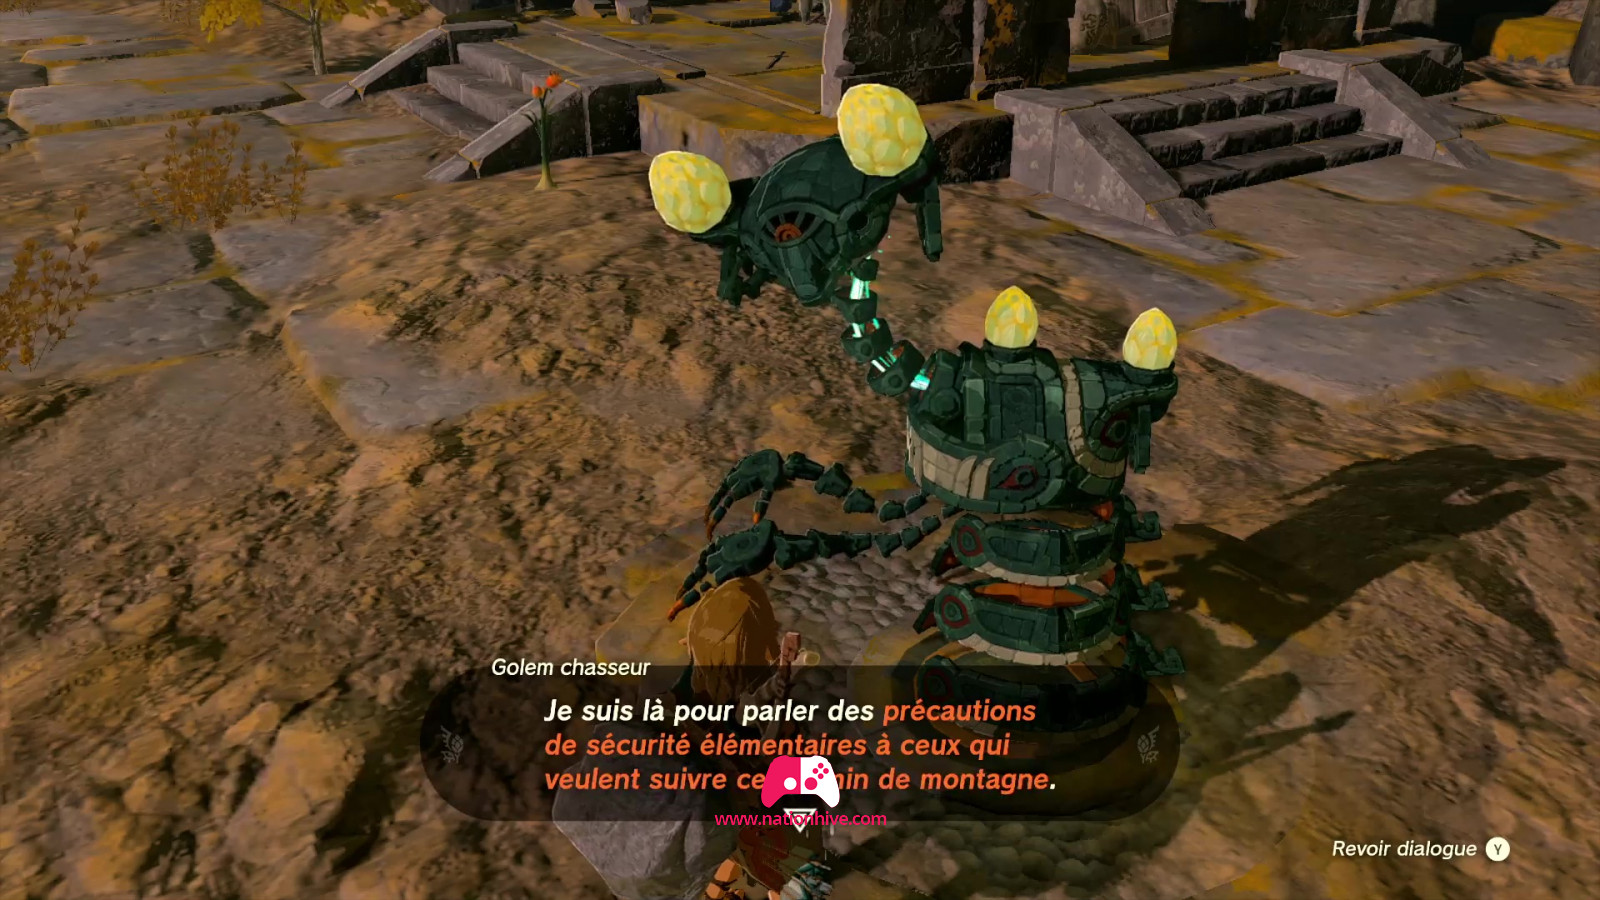
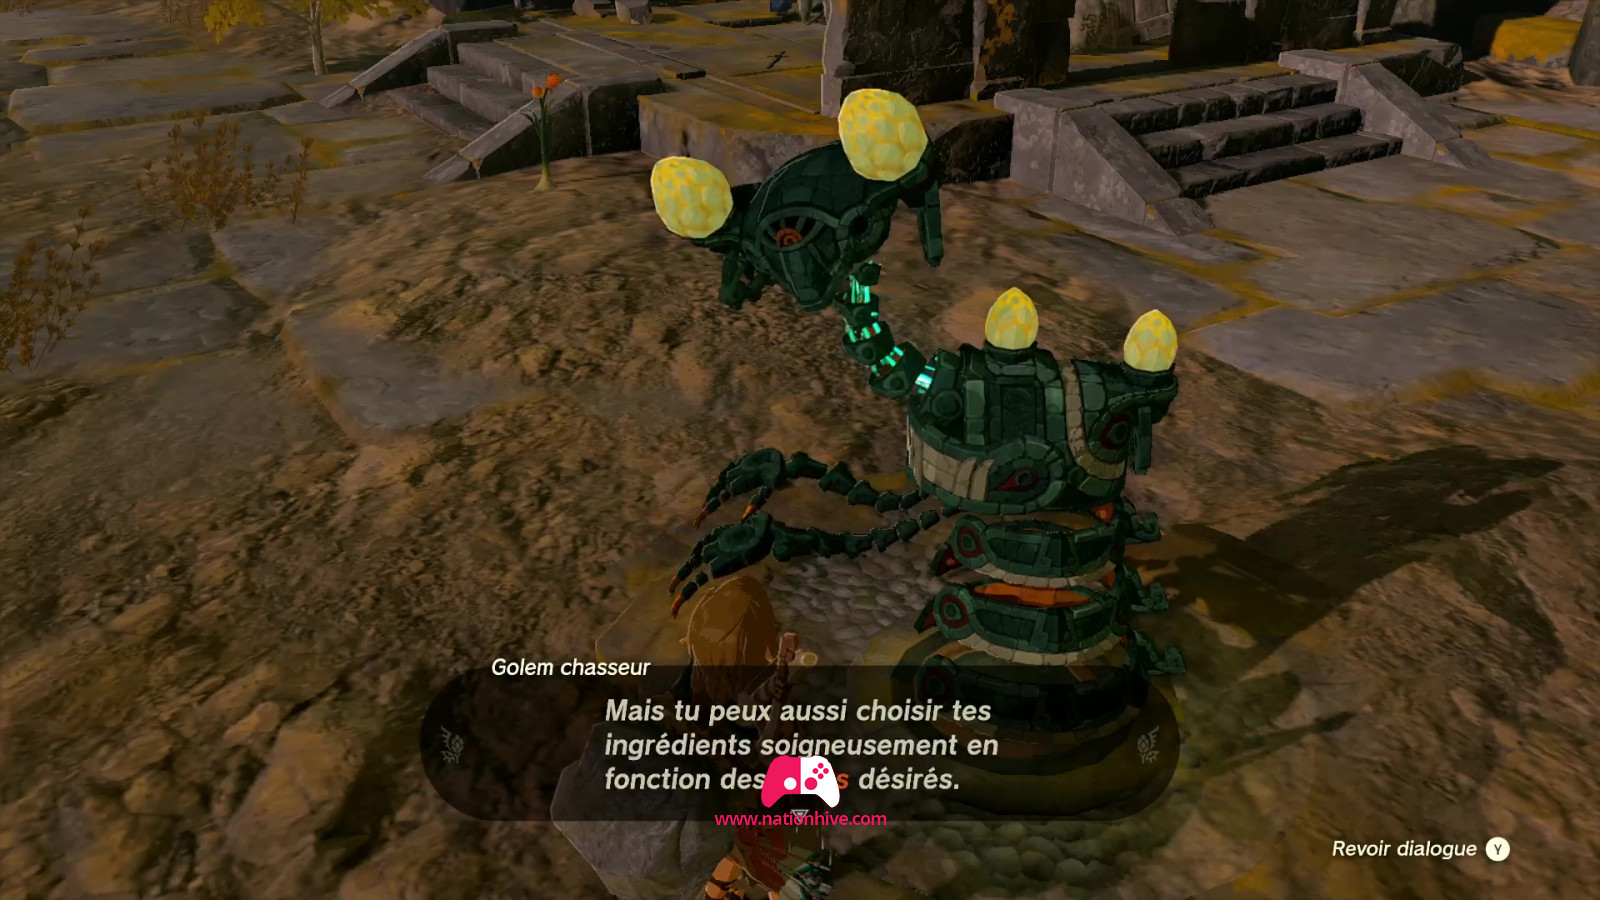
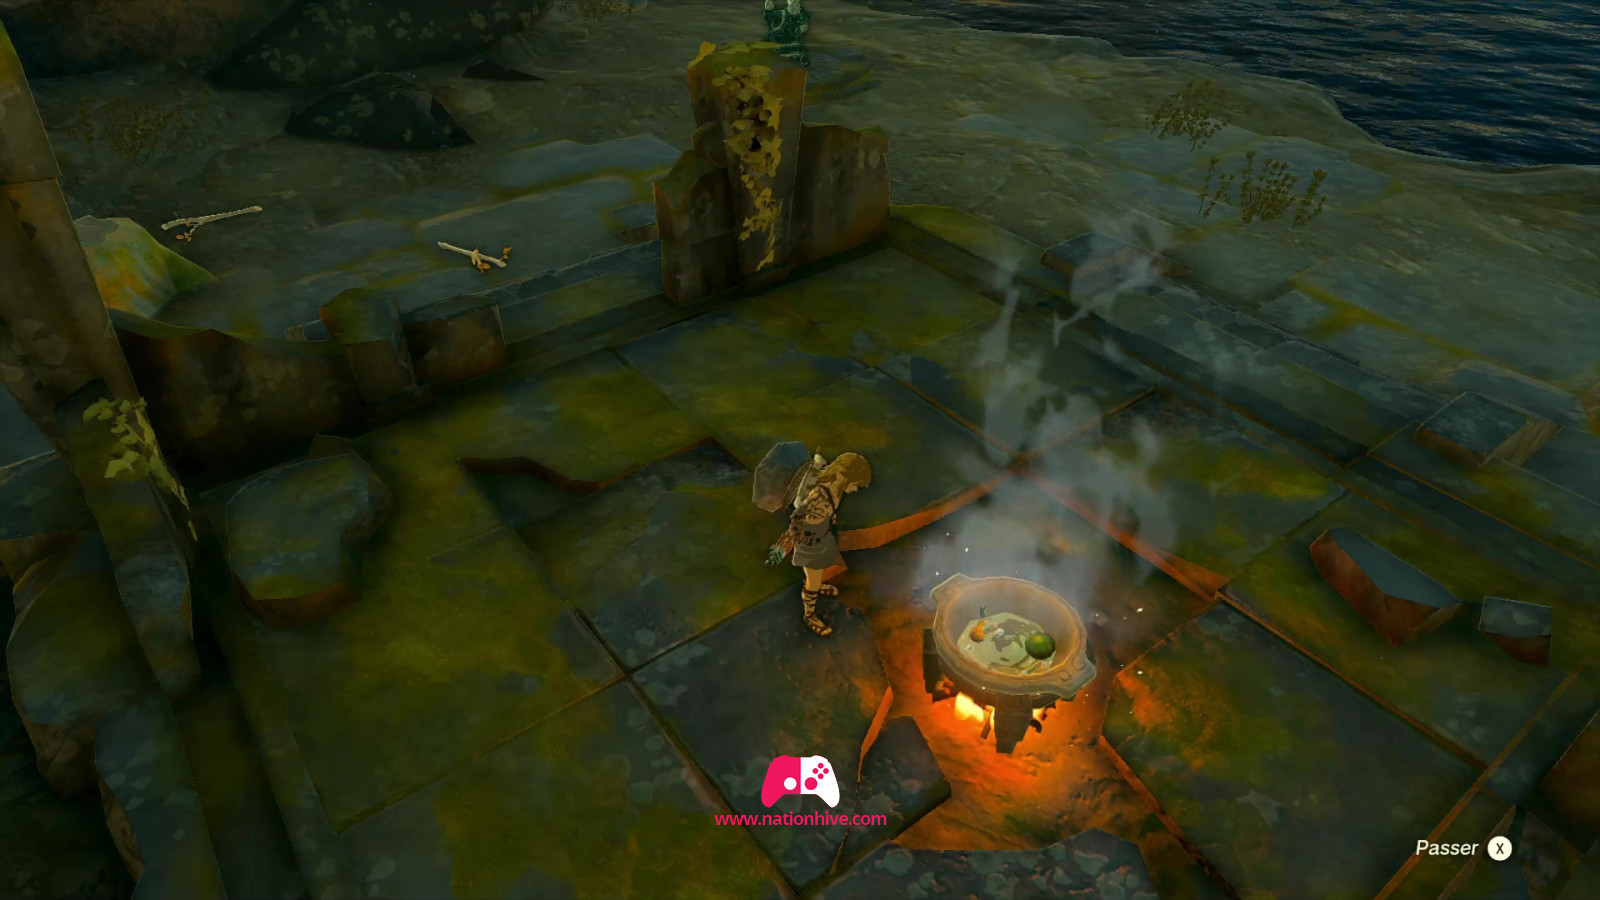
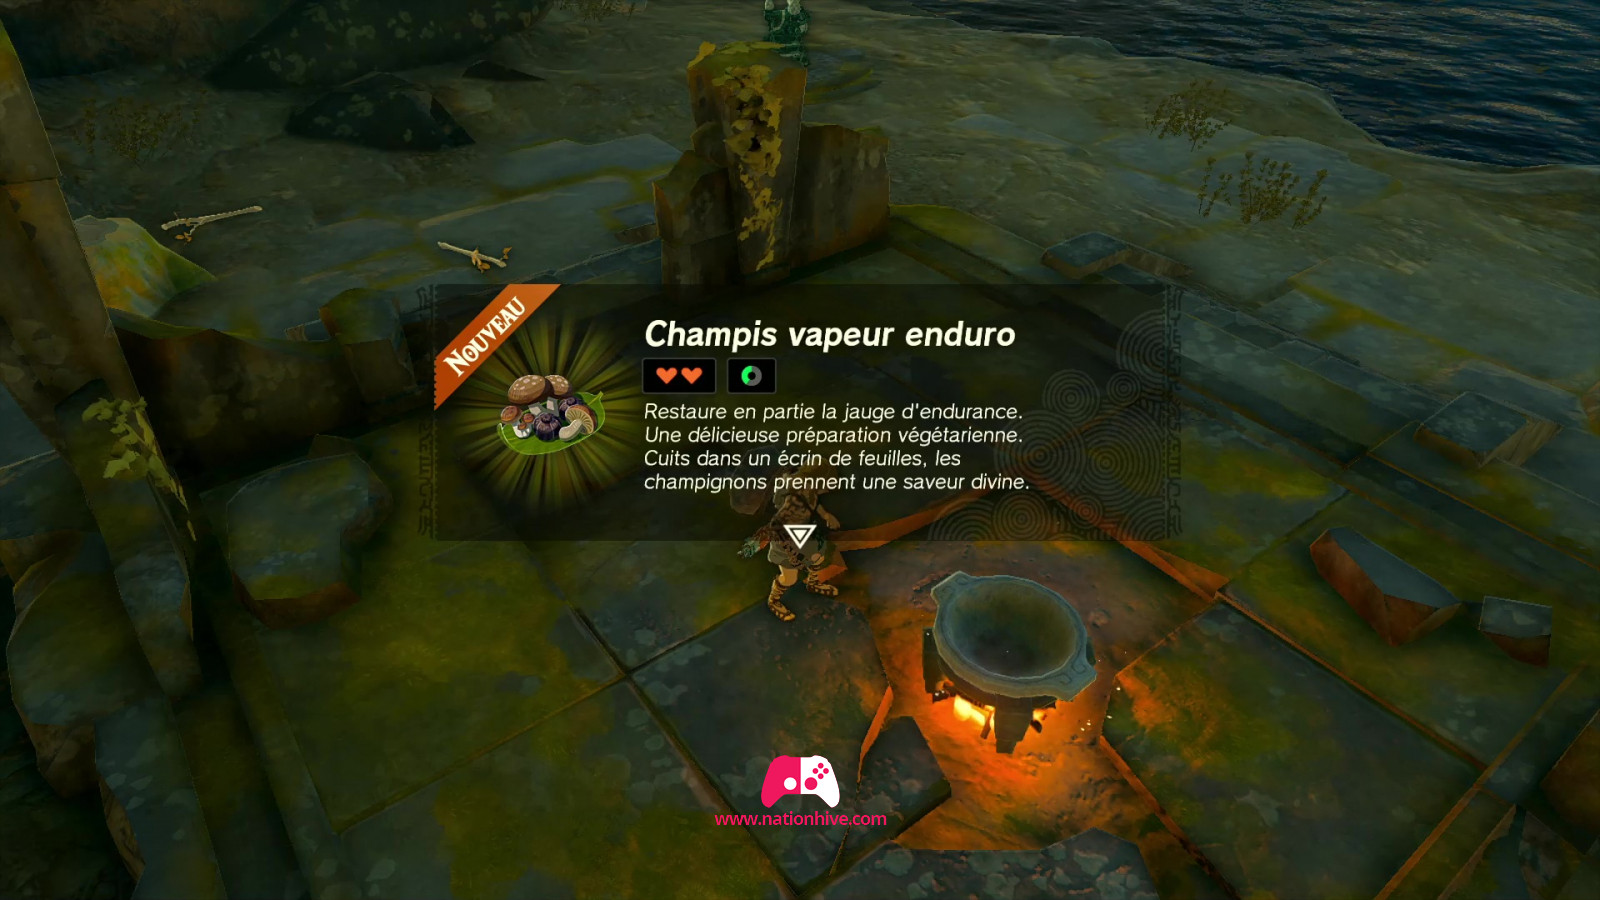
On the other side of the river, collect all the resources you can find. Then talk to the Construct, who will tell you about basic safety precautions for those who want to follow the mountain path (which you'll need to do to reach the 3rd Shrine). He'll teach you how to light a fire using a Flint. Simply place a Flint near a bundle of wood or a cooking vessel and strike the Flint with a stone or metal weapon. You can also cook by adding a variety of ingredients to the cooking vessel.
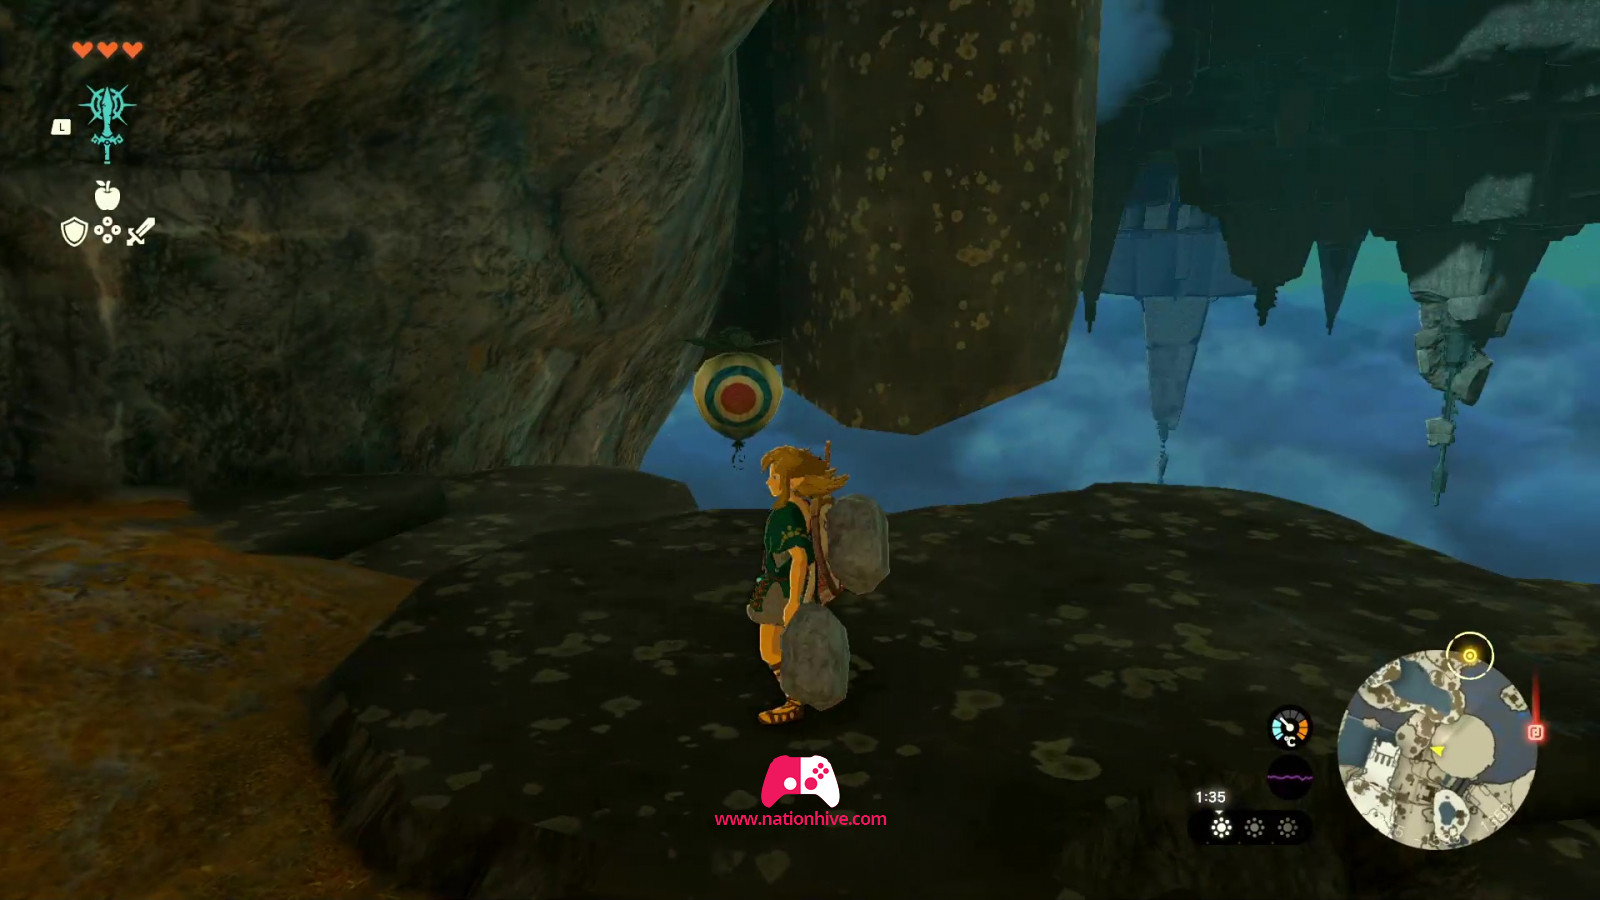
Once you've prepared enough dishes, head up the stairs to your left. At the top of the stairs, on your right, attack the enemies and head for a pile of stones on the ground, hitting them with the right weapon. You'll fall into a ditch containing several resources. Use your bow to shoot a balloon-shaped target. A Korok will appear and you'll receive a Korok Seed.
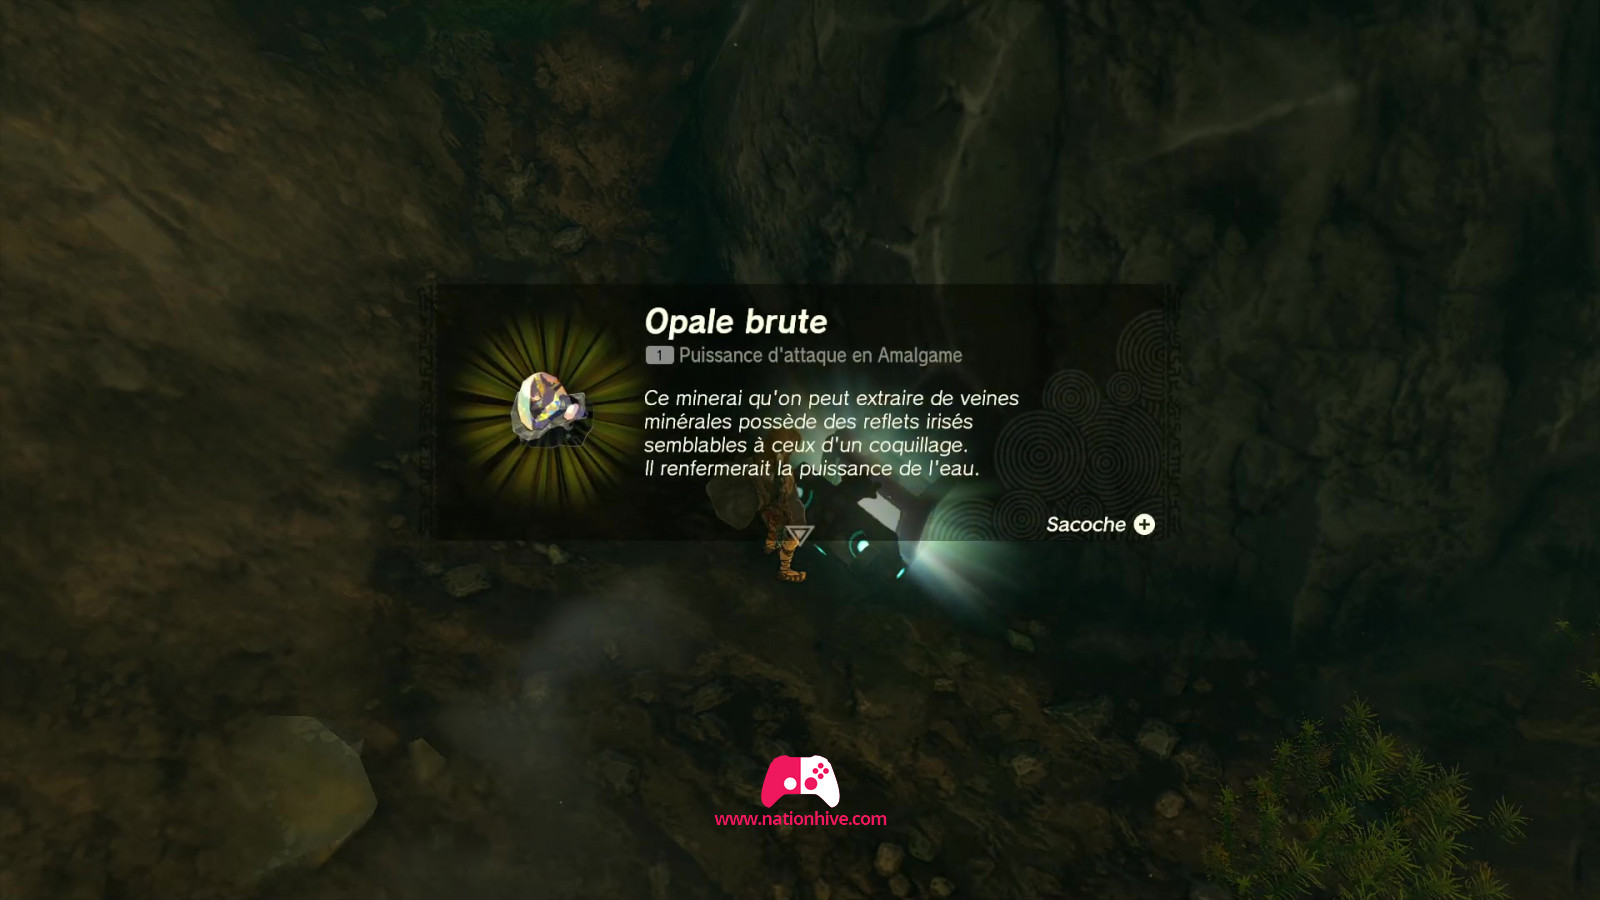
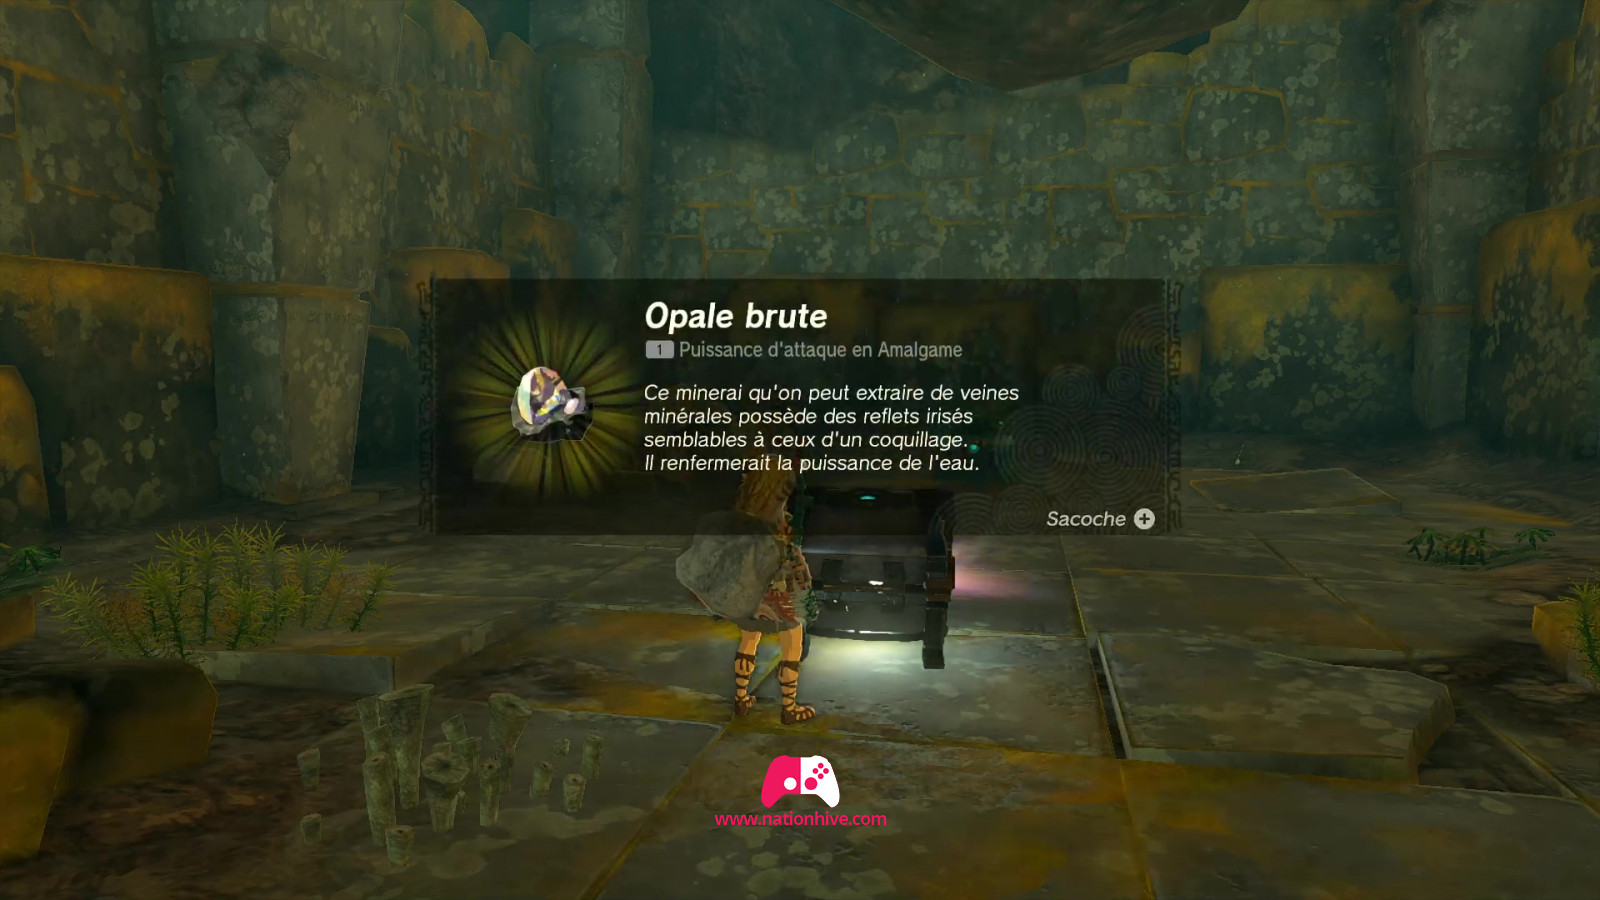
Then climb out of the ditch through the hole you entered by climbing the wall, and continue up the path. Attack the enemies in your path and head for a railroad. On your left, you'll see some Constructs. Attack them with an arrow bow equipped with a Fire Fruit to burn everything to the ground. Once the enemies have been defeated, open the chest to receive an Opal.


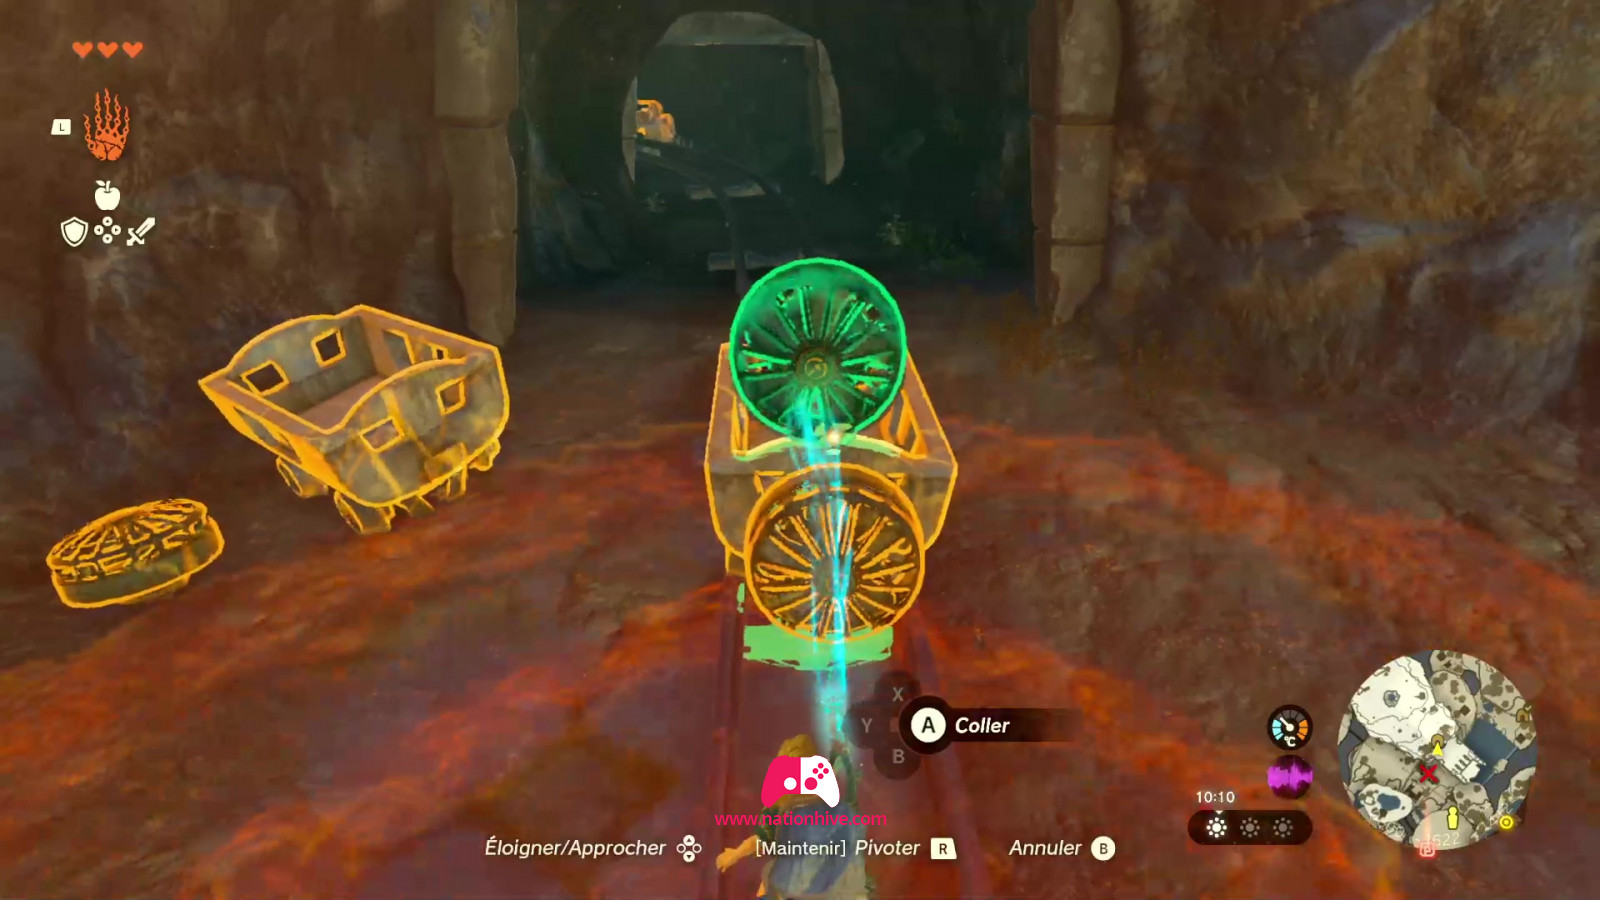
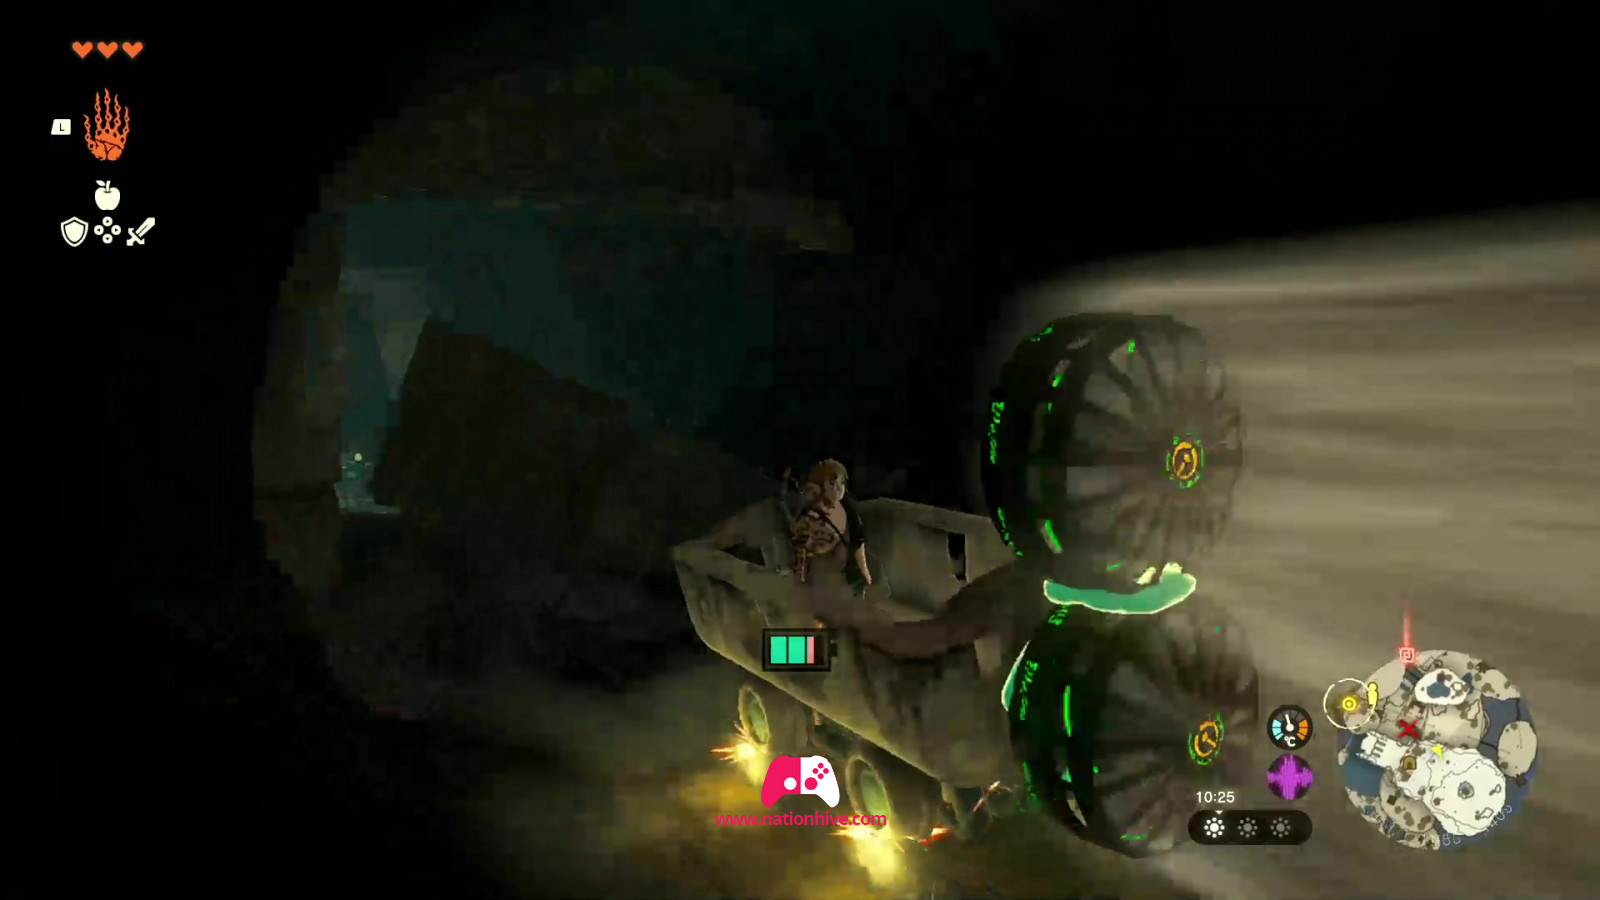
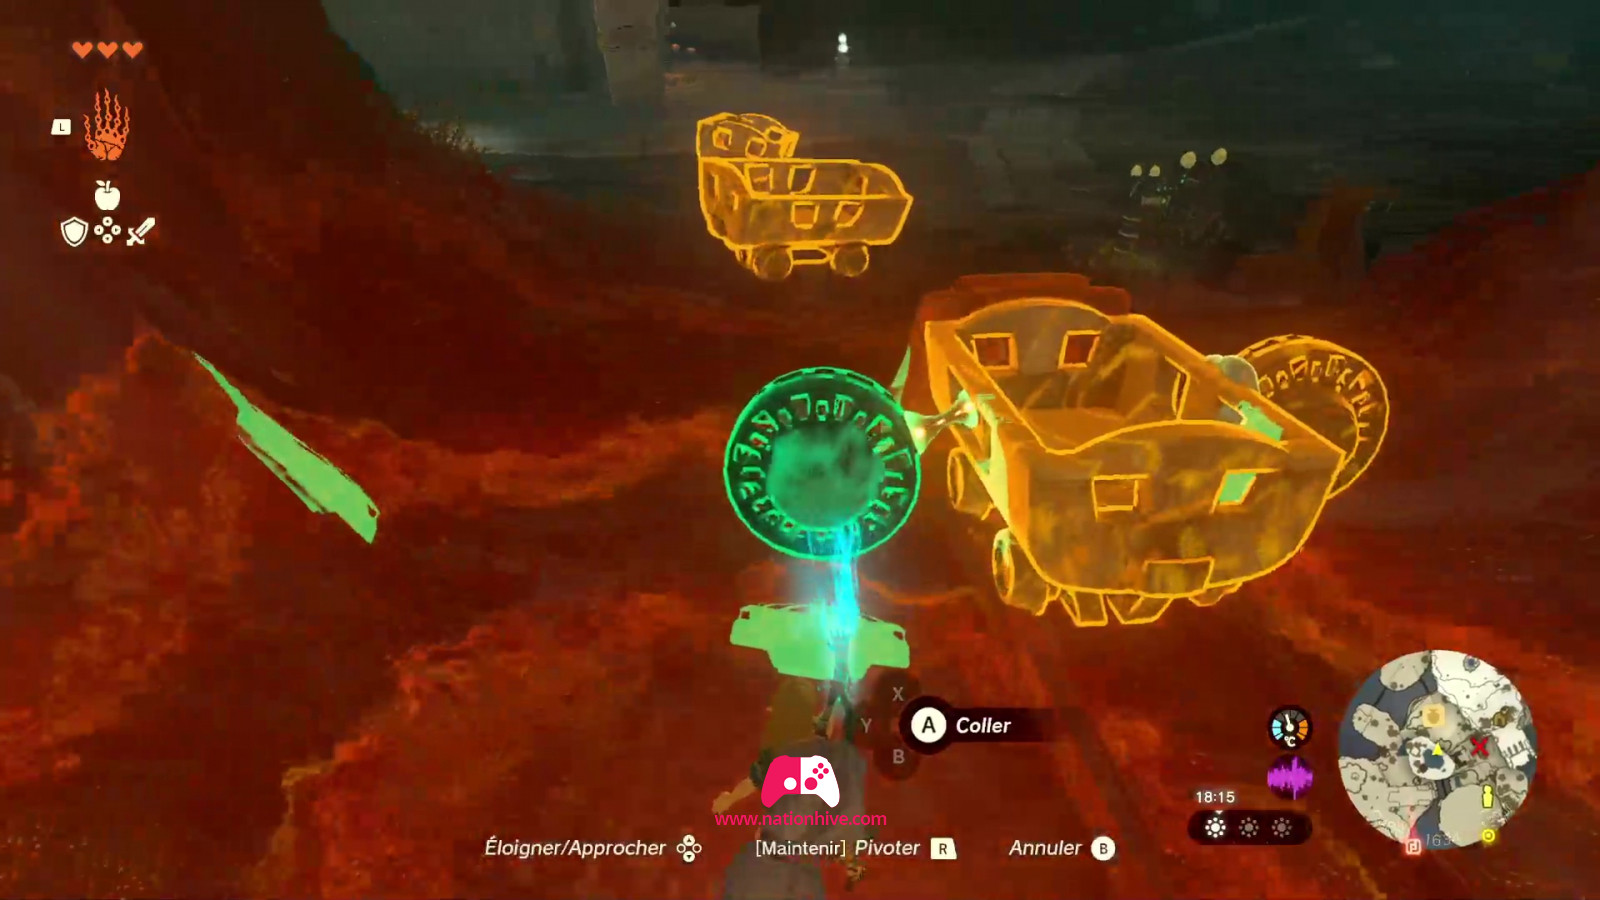
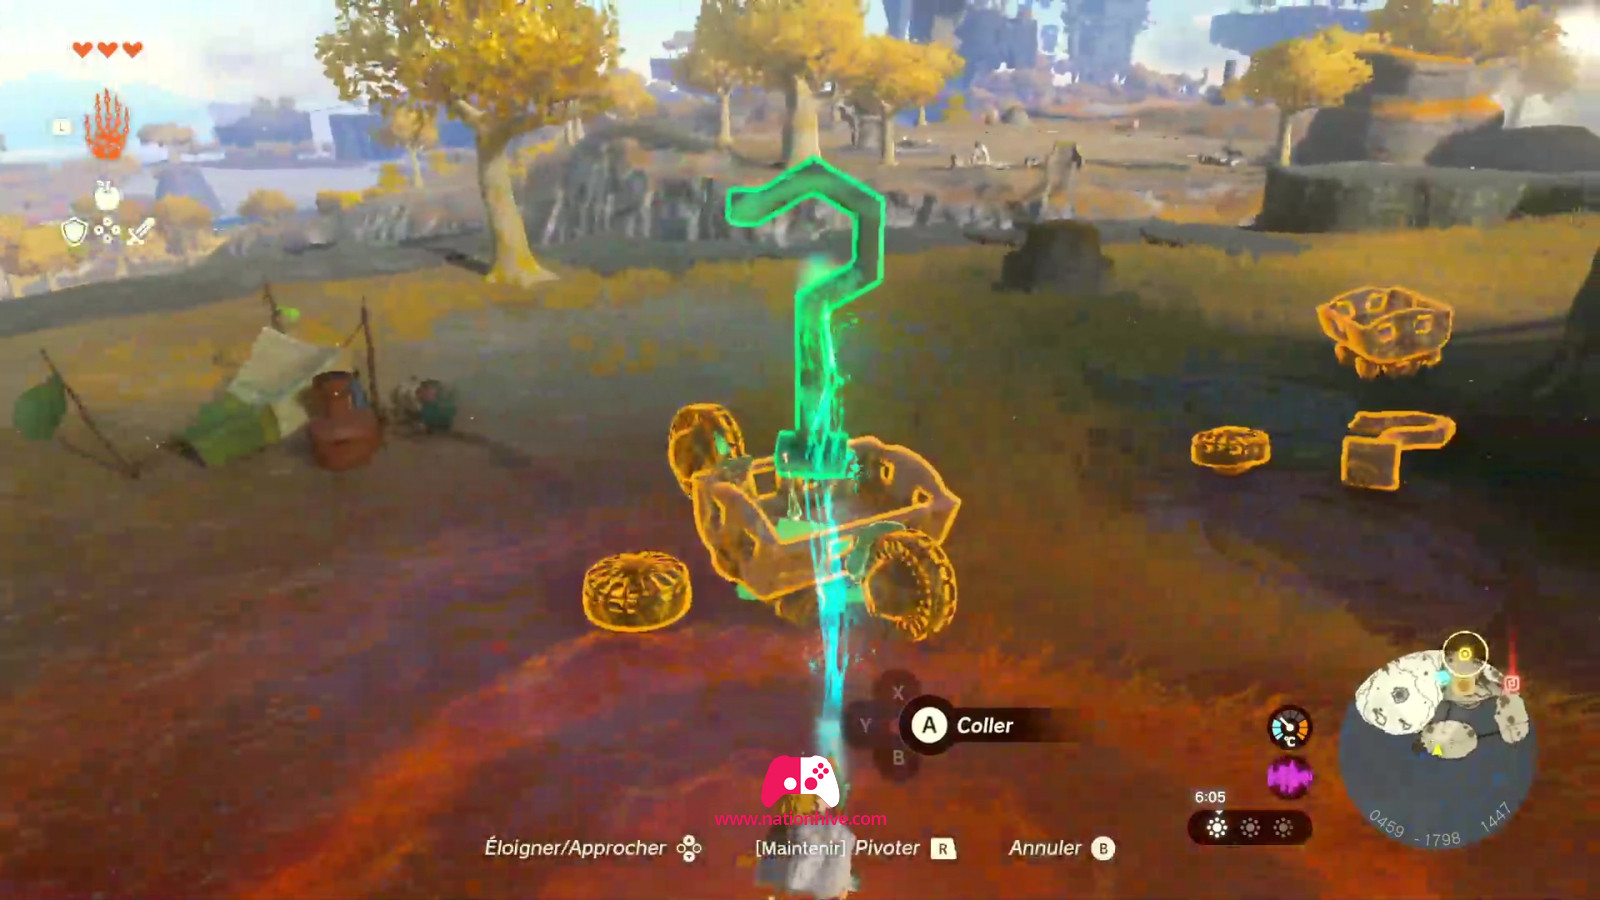
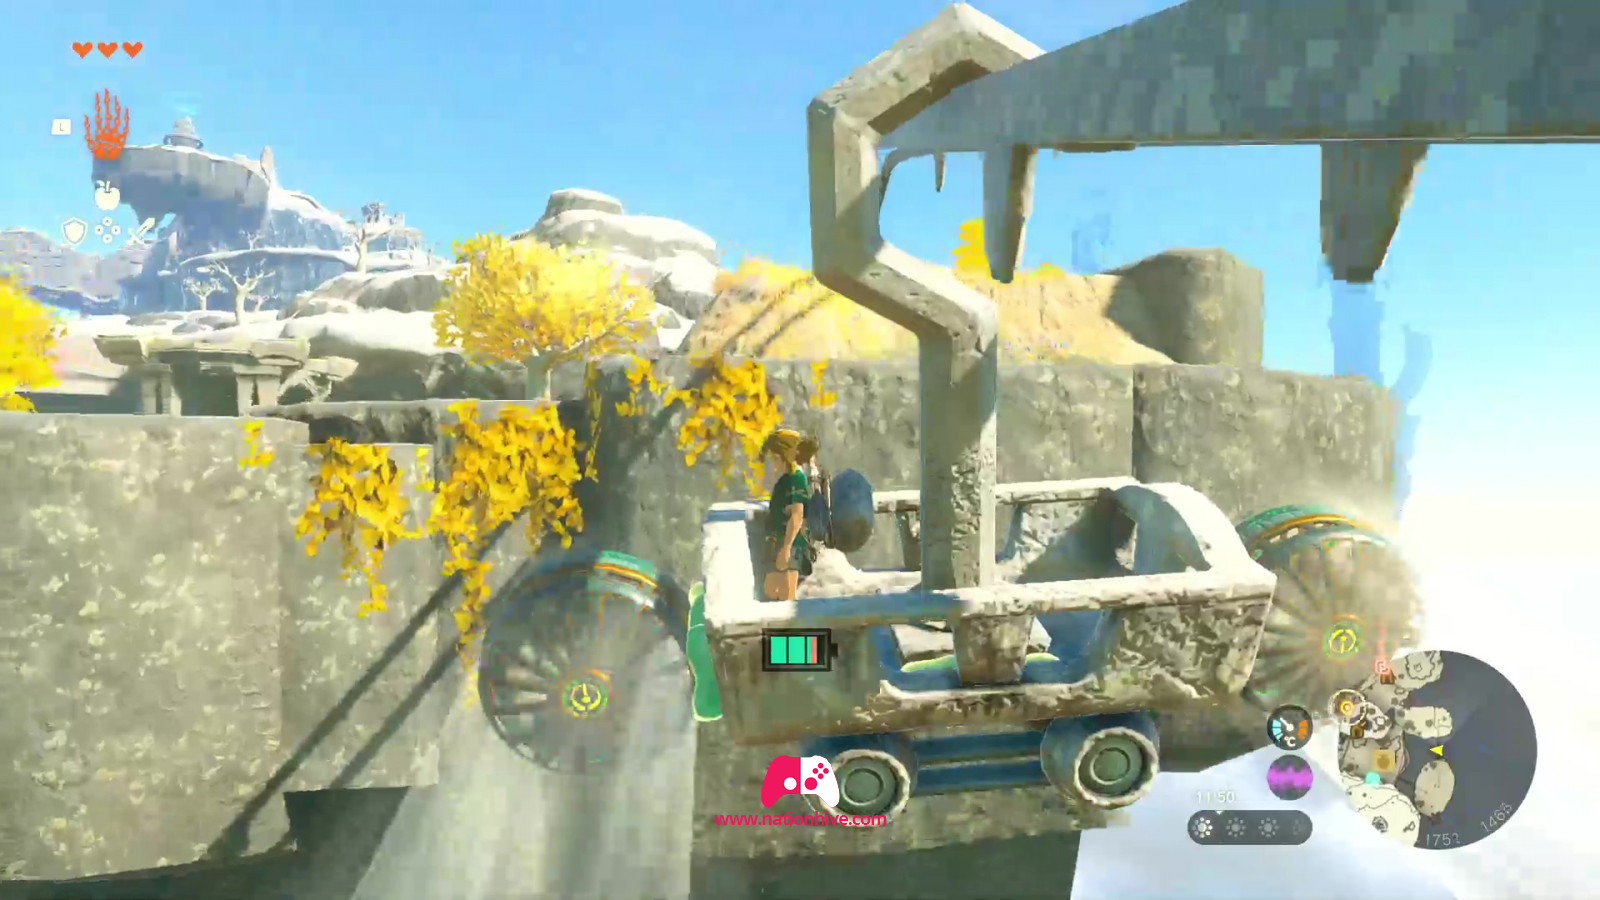
Return to the railway and use your Ultrahand ability to stick a fan behind a cart. The fan will drive the cart to the bottom of the Mining Cave.
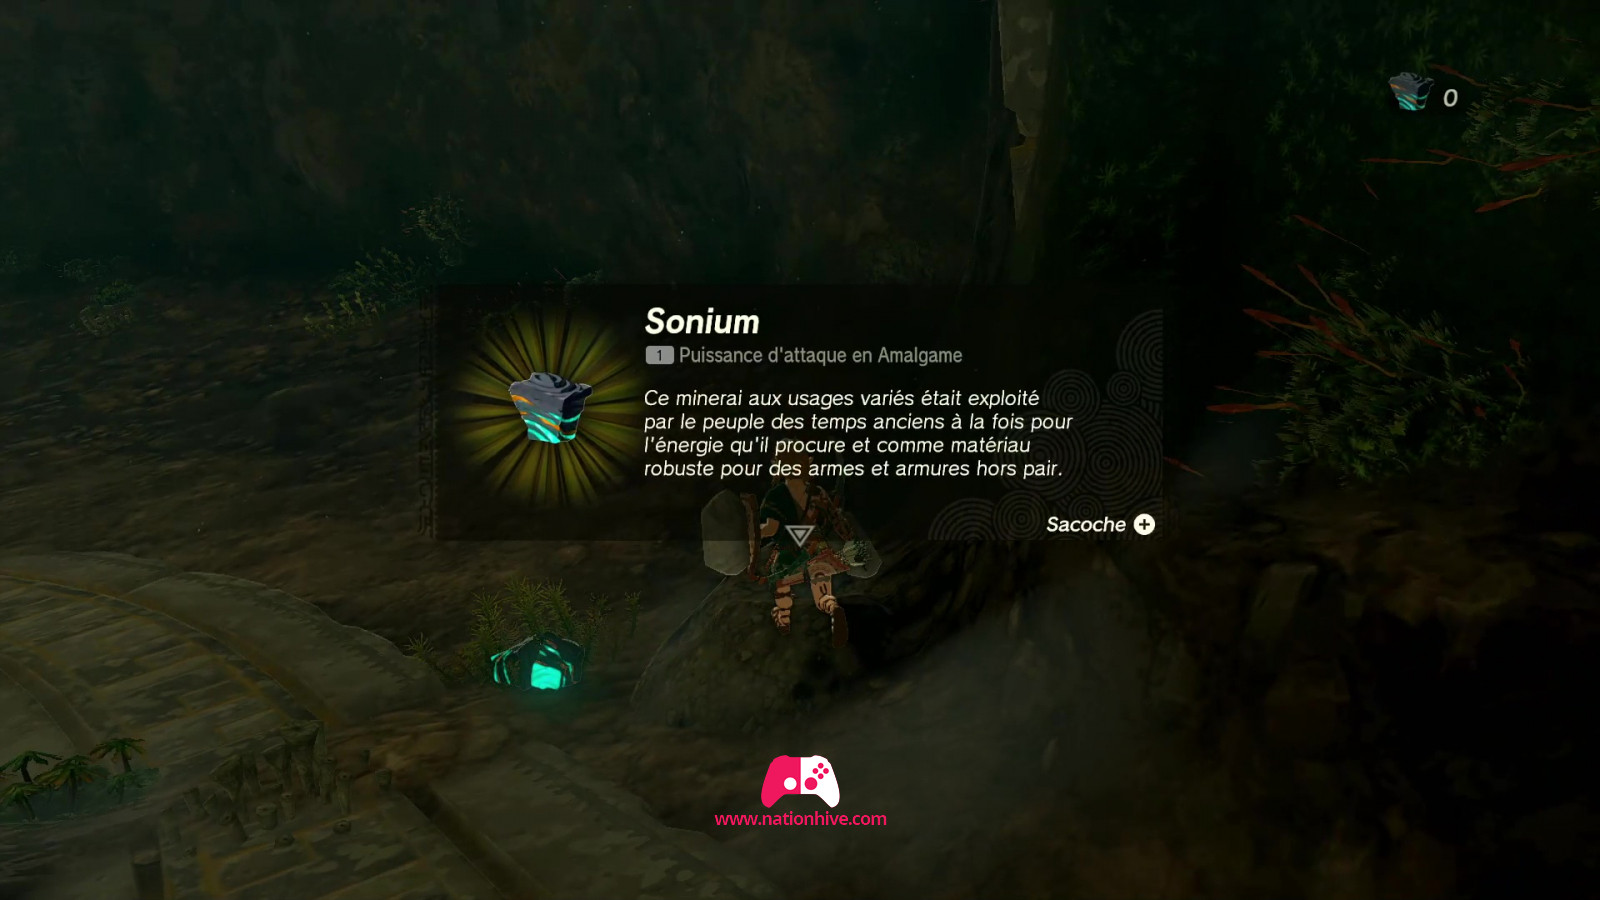
Collect all the resources you see in the mine, including Zonaite, Brightbloom Seeds, ores and more.
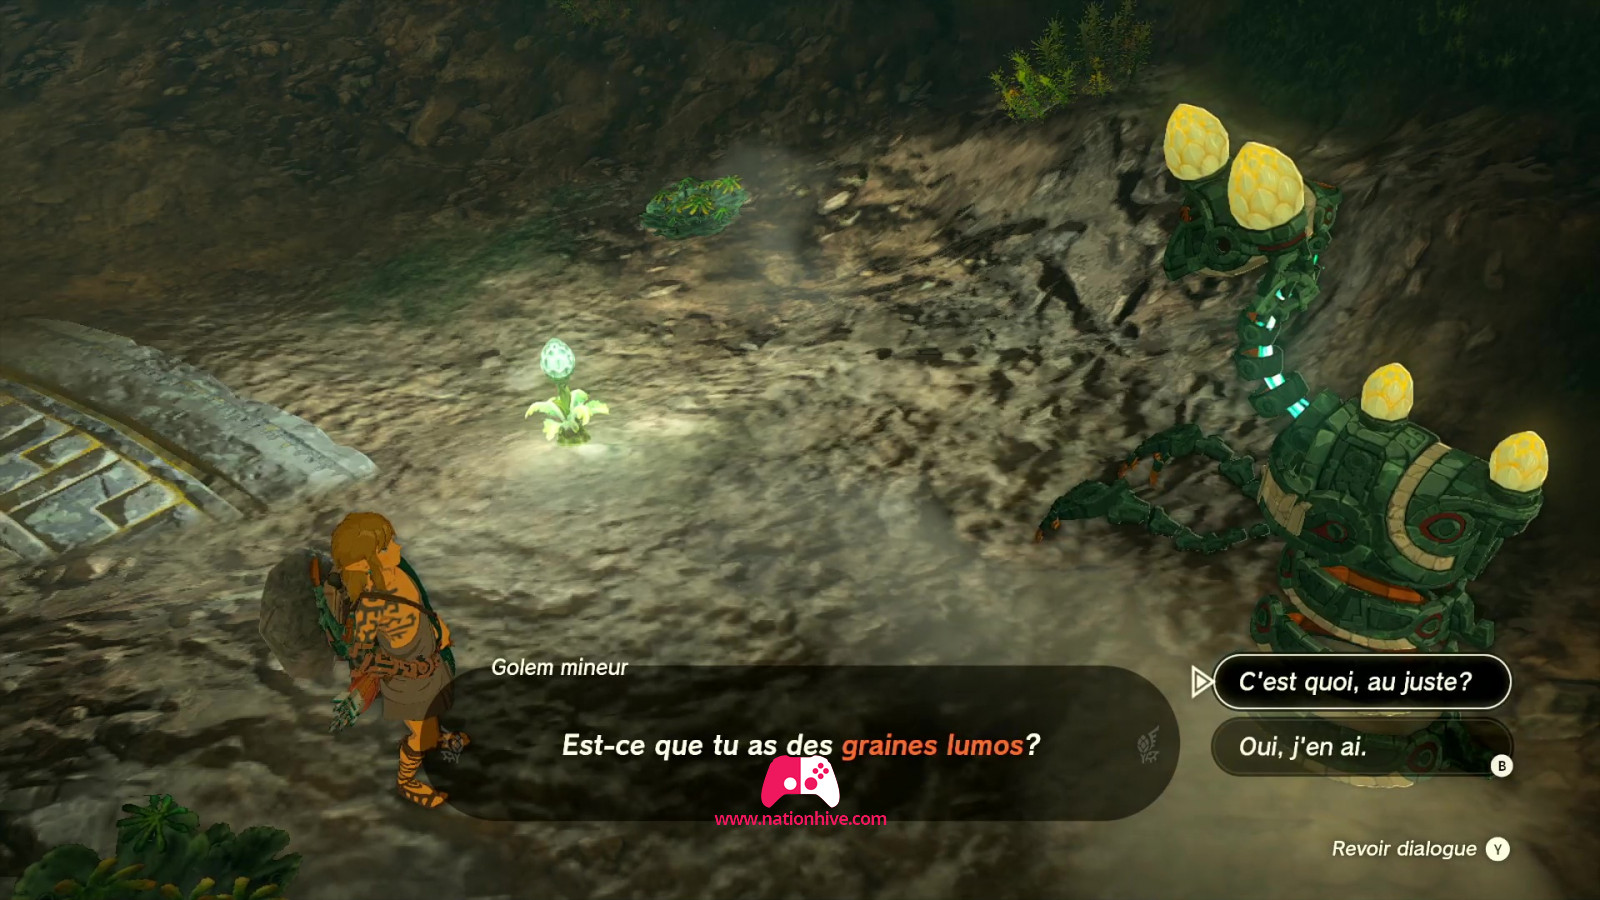
Once the cart has stopped, get out and head for the bottom of the Mining Cave, where a Construct will explain that you need to use Brightbloom Seeds to see in the dark. Simply strike them with a weapon and they will emit light.
At a certain point, be on the lookout for a large glowing frog jumping from the ceiling of the cave. This special creature will leave a Bubbul Gem if you can hit it enough times with arrows.
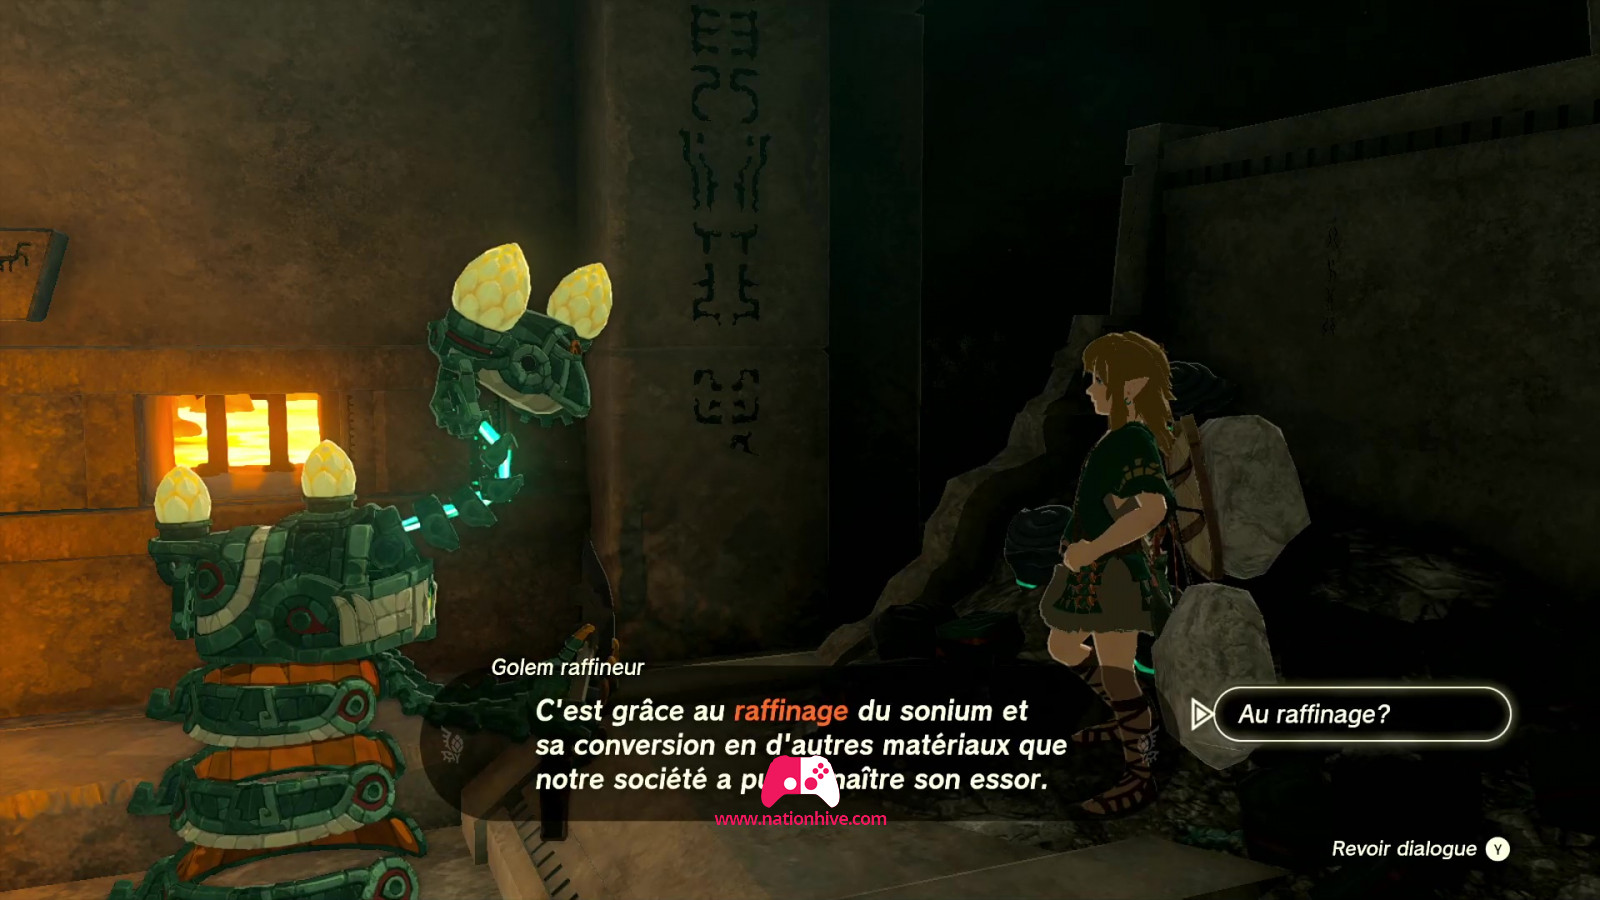
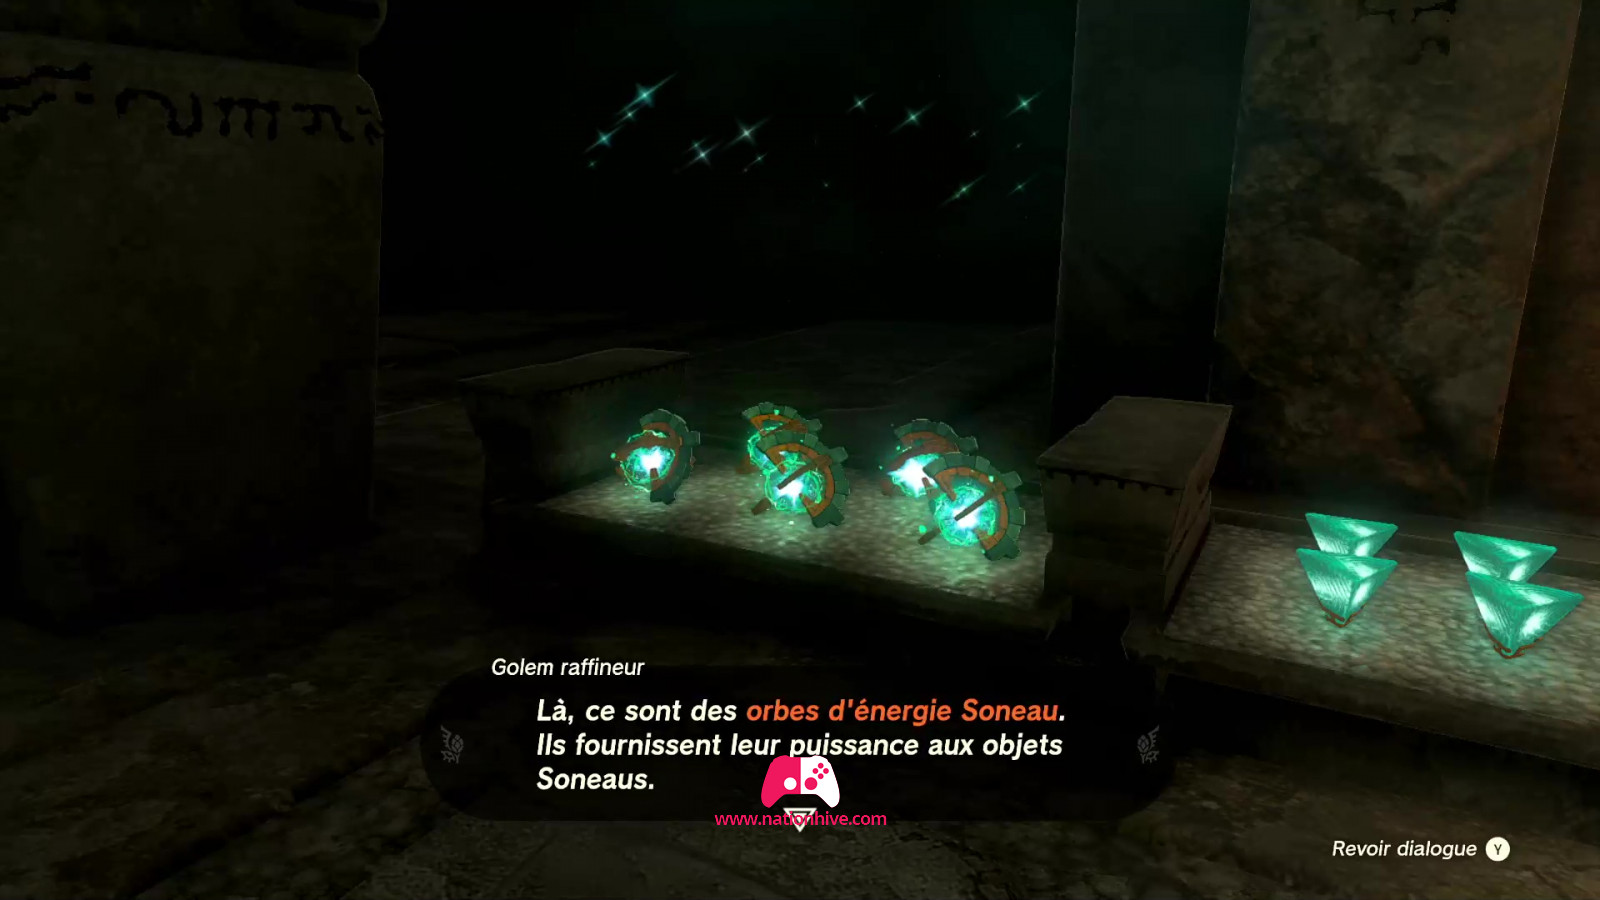
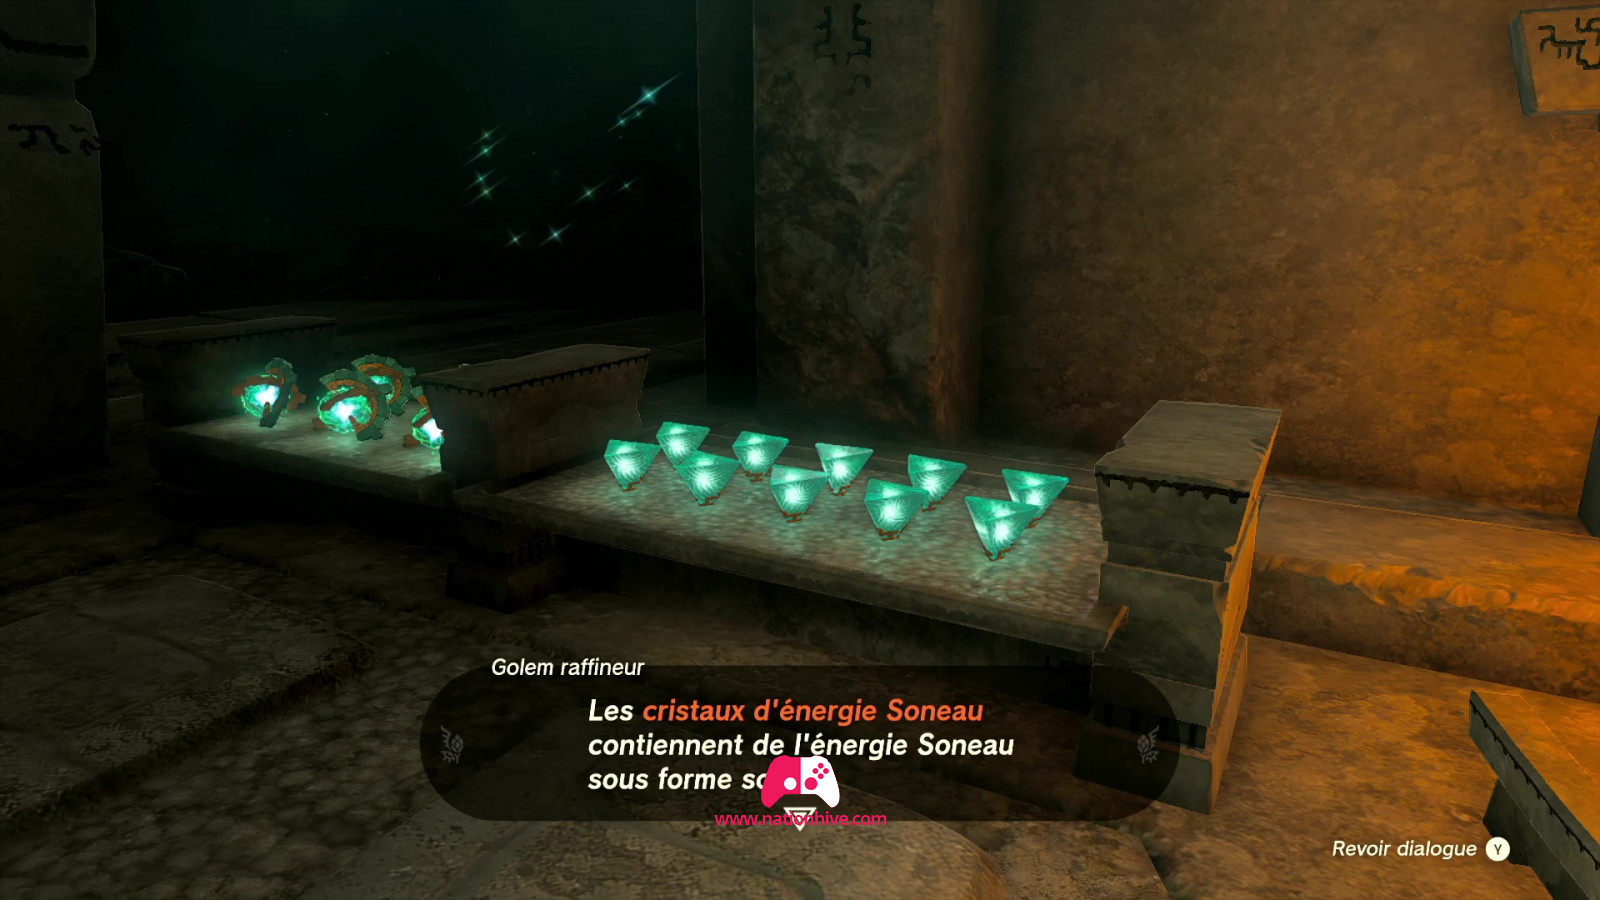
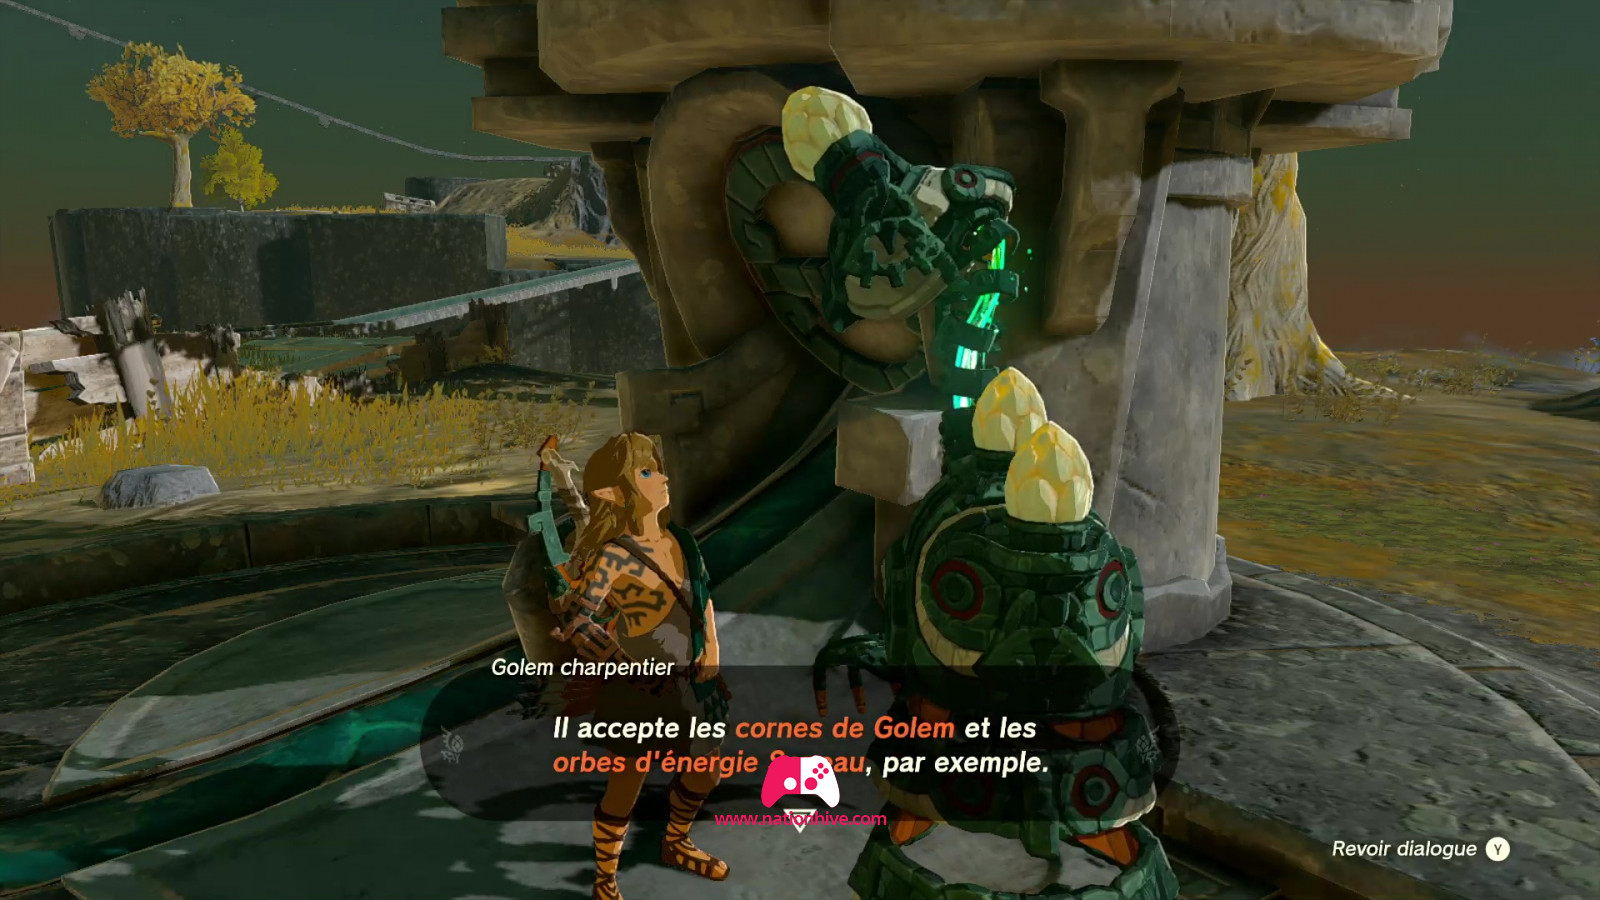
Go to the bottom of the Mining Cave to find the Zonaite Forge. The Refiner Construct will tell you how to refine Sonium to make various materials, including Zonaite Energy Orbs and Crystalized Charges (used mainly for Energy Cells). It is possible to exchange 2 Zonaites for 1 Zonai Charges energy orb and 3 Zonaites for 1 Crystalized Charges.
Destroy the large ore stones and collect all possible resources in the Mining Cave.
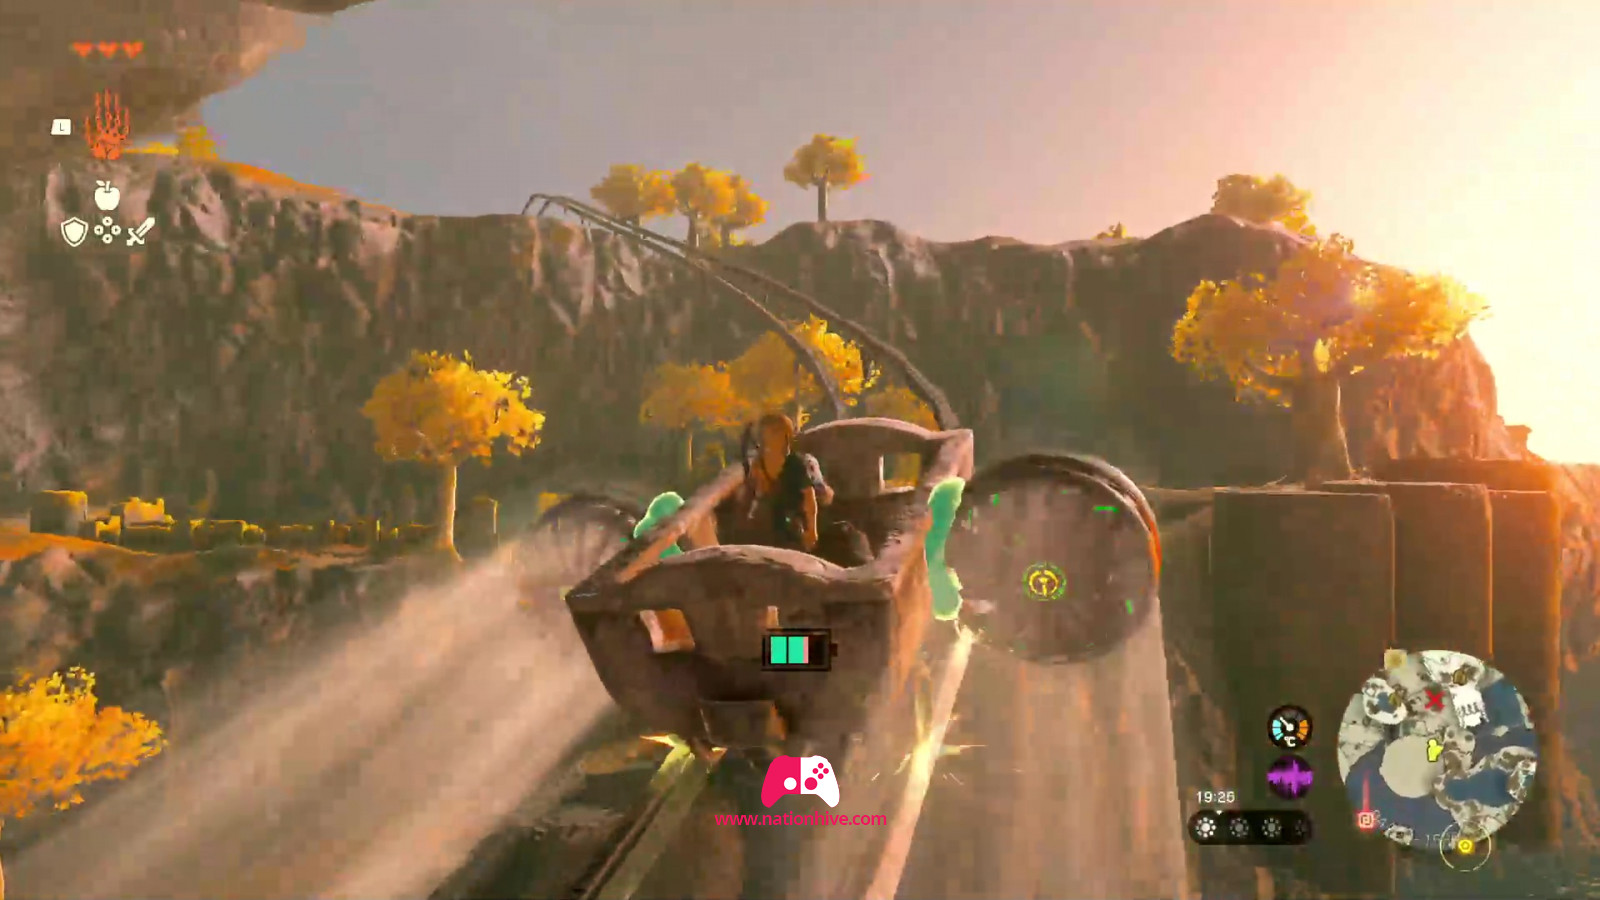
Then move on to the carts, once again using your Ultrahand ability to glue 2 Fans to each edge of the cart. Activate the fan to exit the Mining Cave.
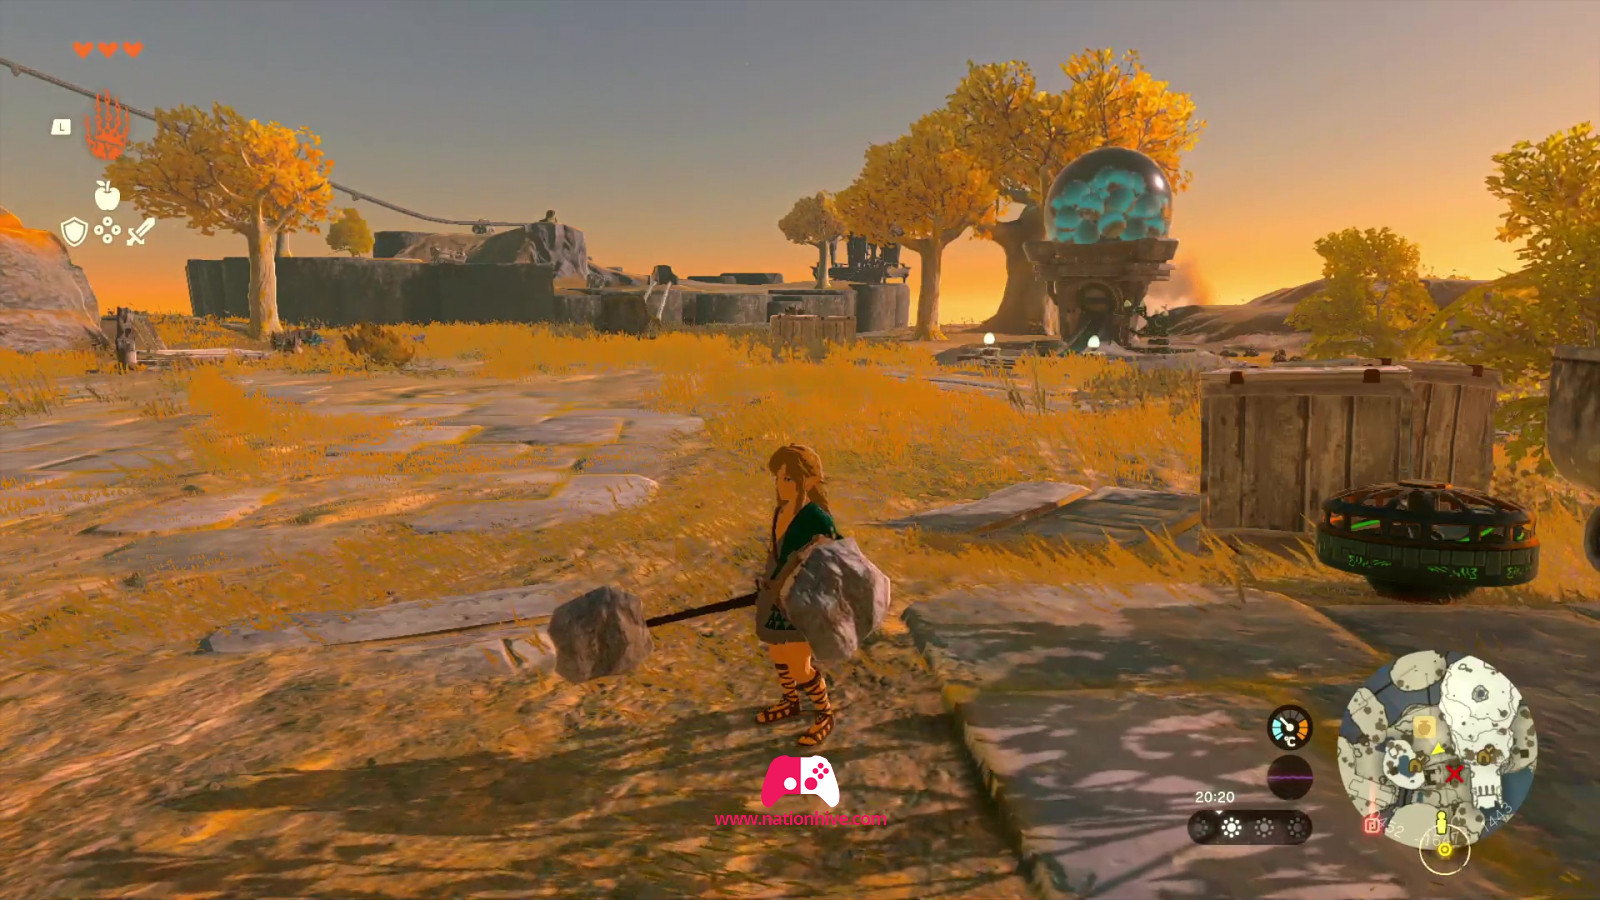
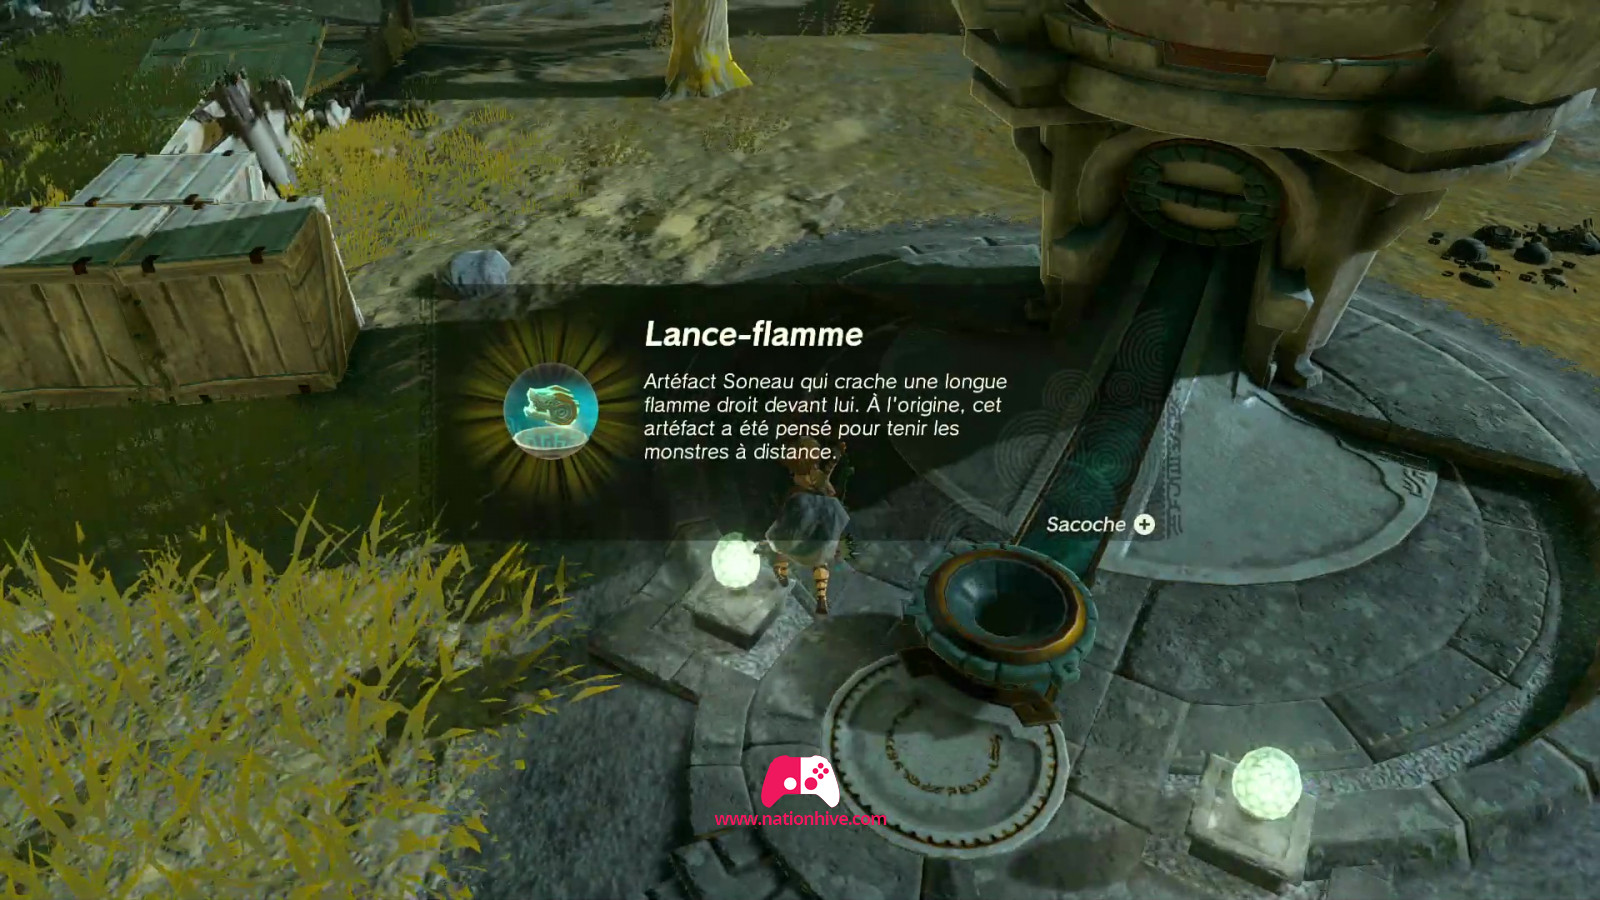
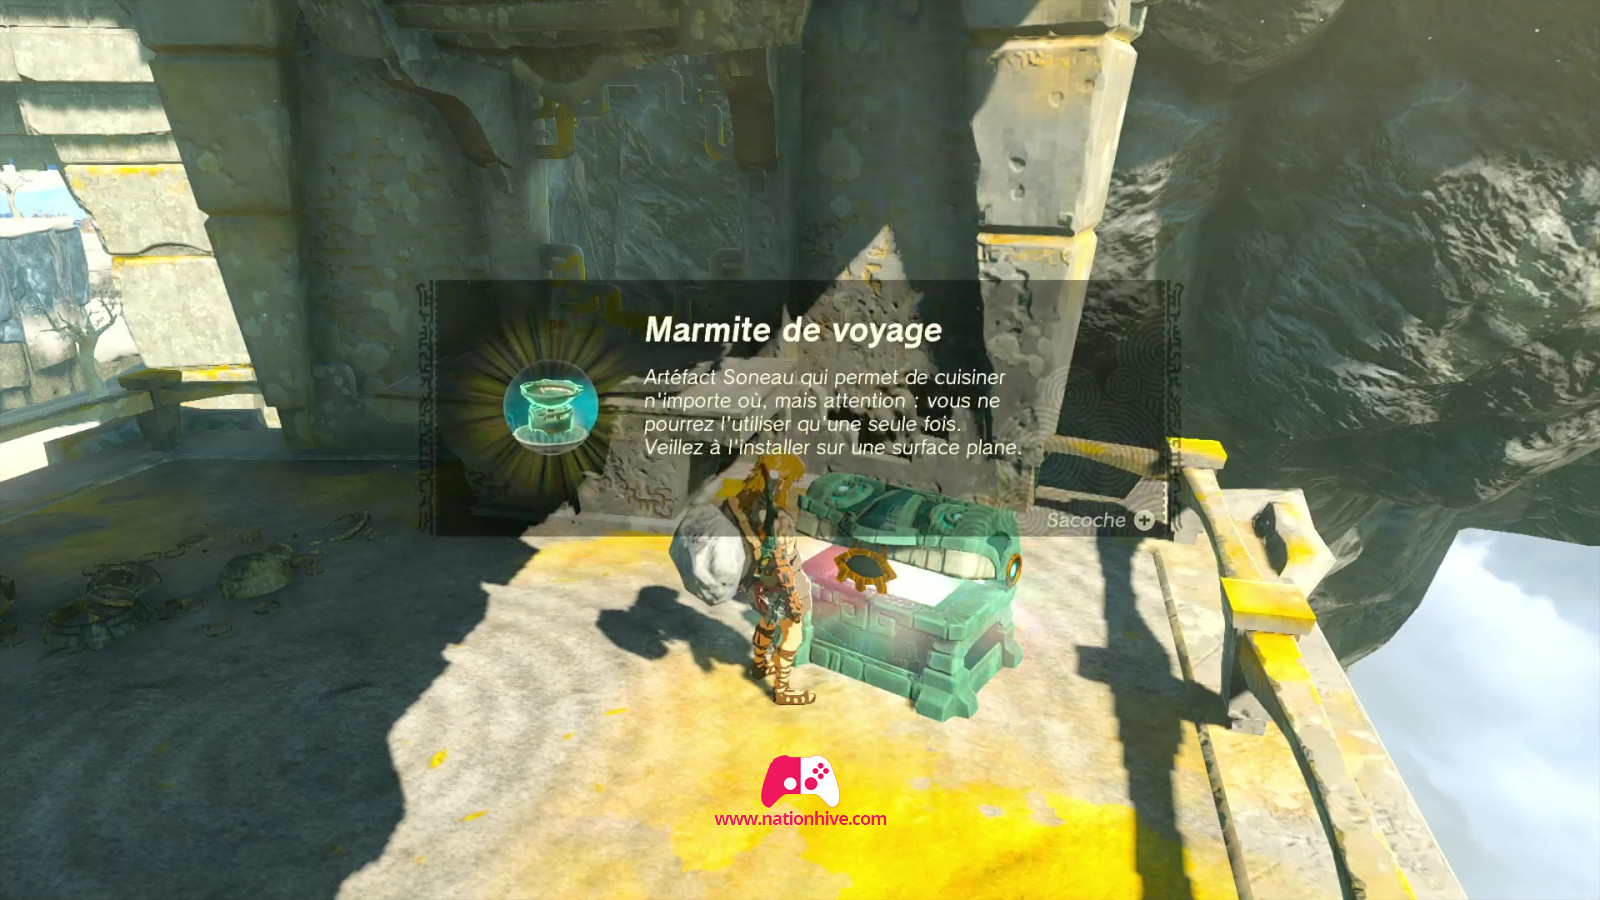
Once outside, speak with Rauru and proceed to the round structure behind. You'll learn that this structure is a dispenser that provides Zonai Devices in exchange for Monster resources or Zonai Charges energy orb. The more you throw away, the more you get in return. Drop them to receive several Portable Pots, Fans and Flame Emitters.
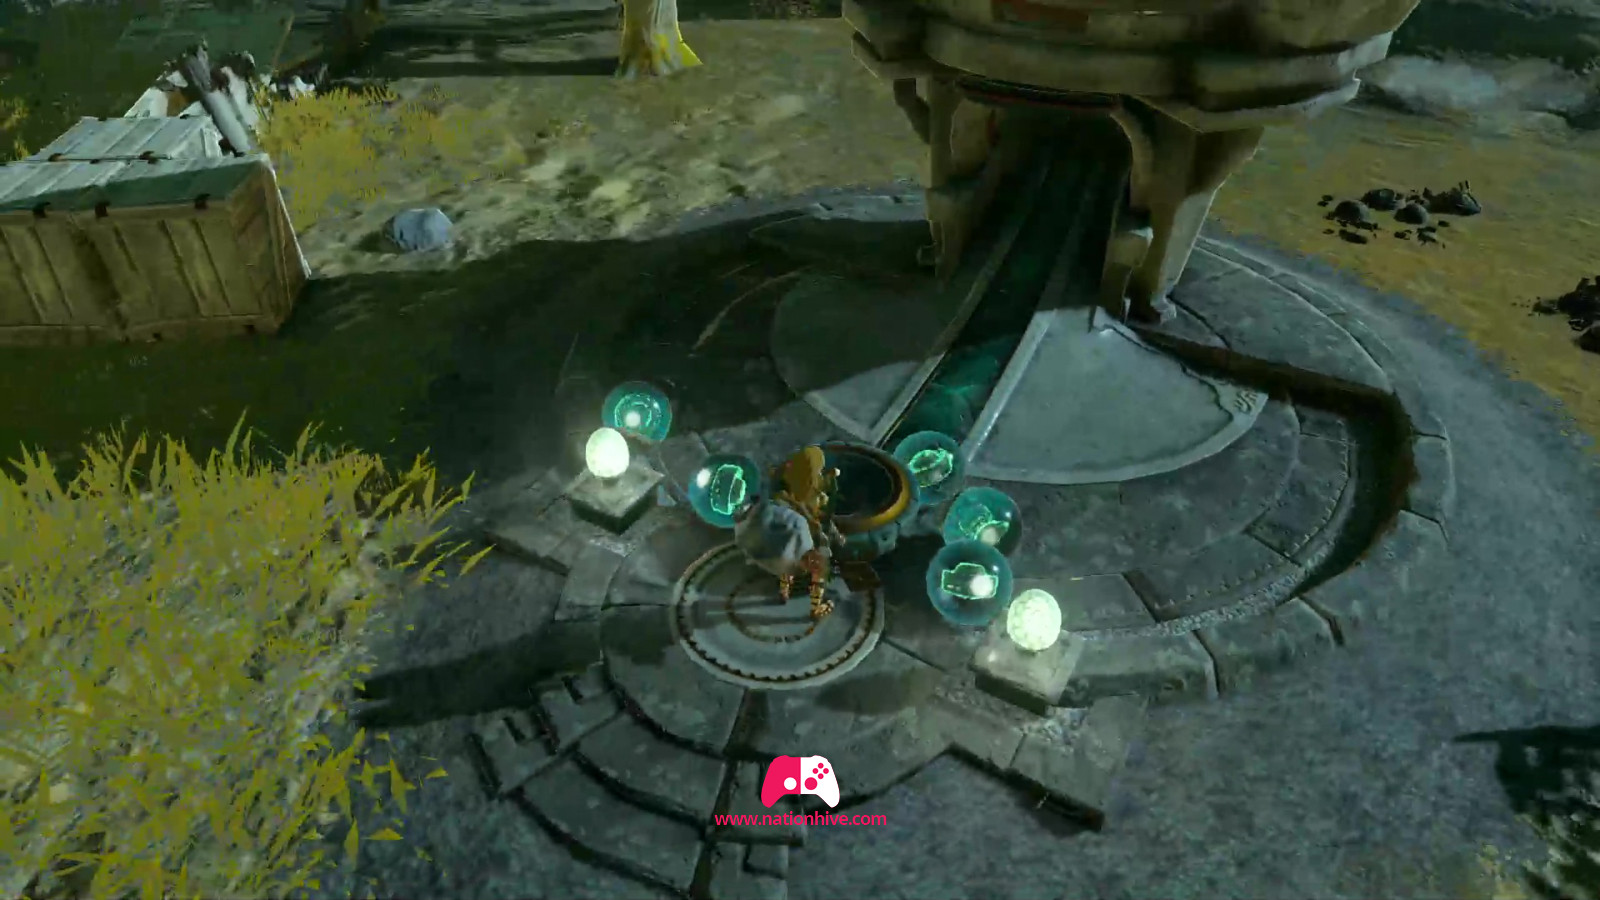
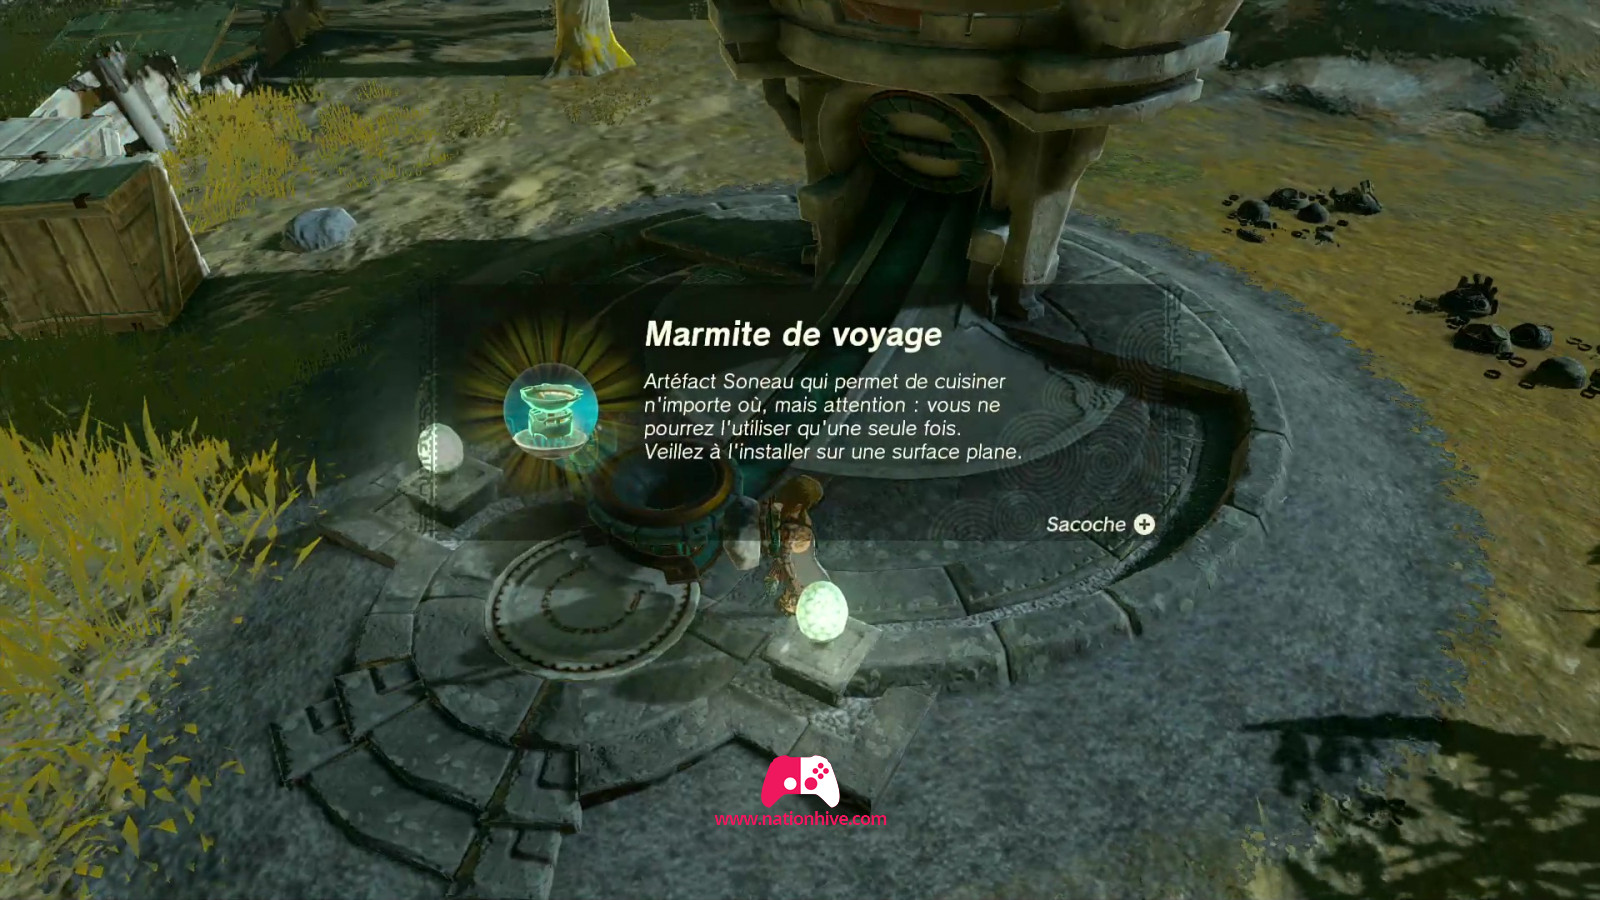

- Portable Pots are single-use cooking stations that will be pre-lit, and are extremely important when you need a specific meal in unknown or hostile territory.
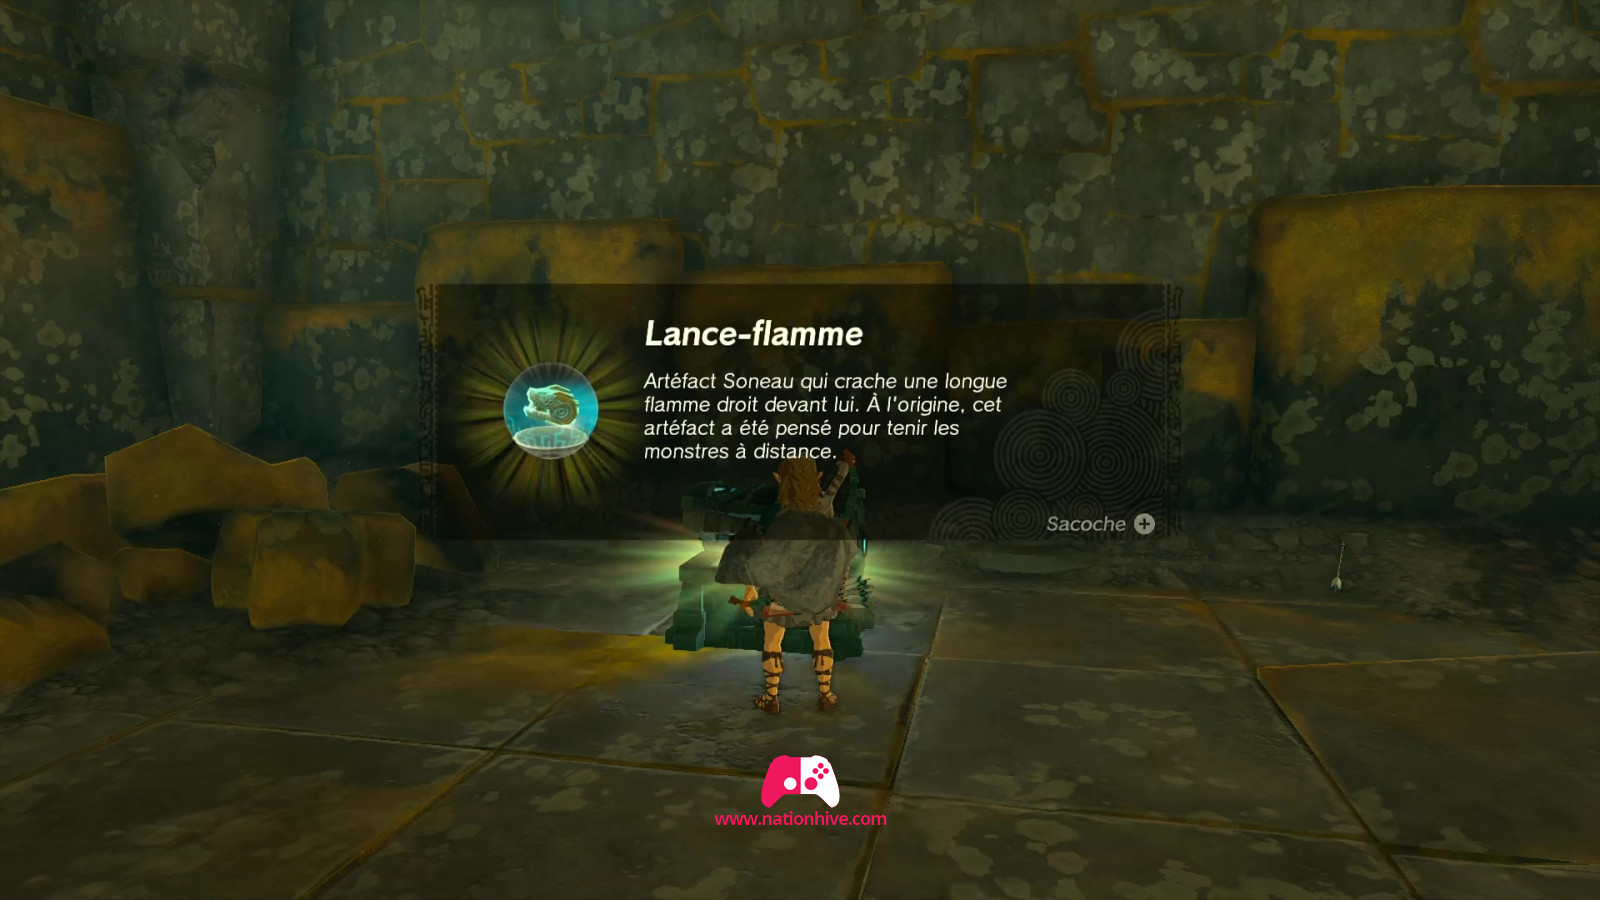
- Flame Emitters can be attached to weapons and shields to fire bursts of flame.
- Fans can be attached to objects to propel them in the right conditions, and are very useful for creating transport vehicles.
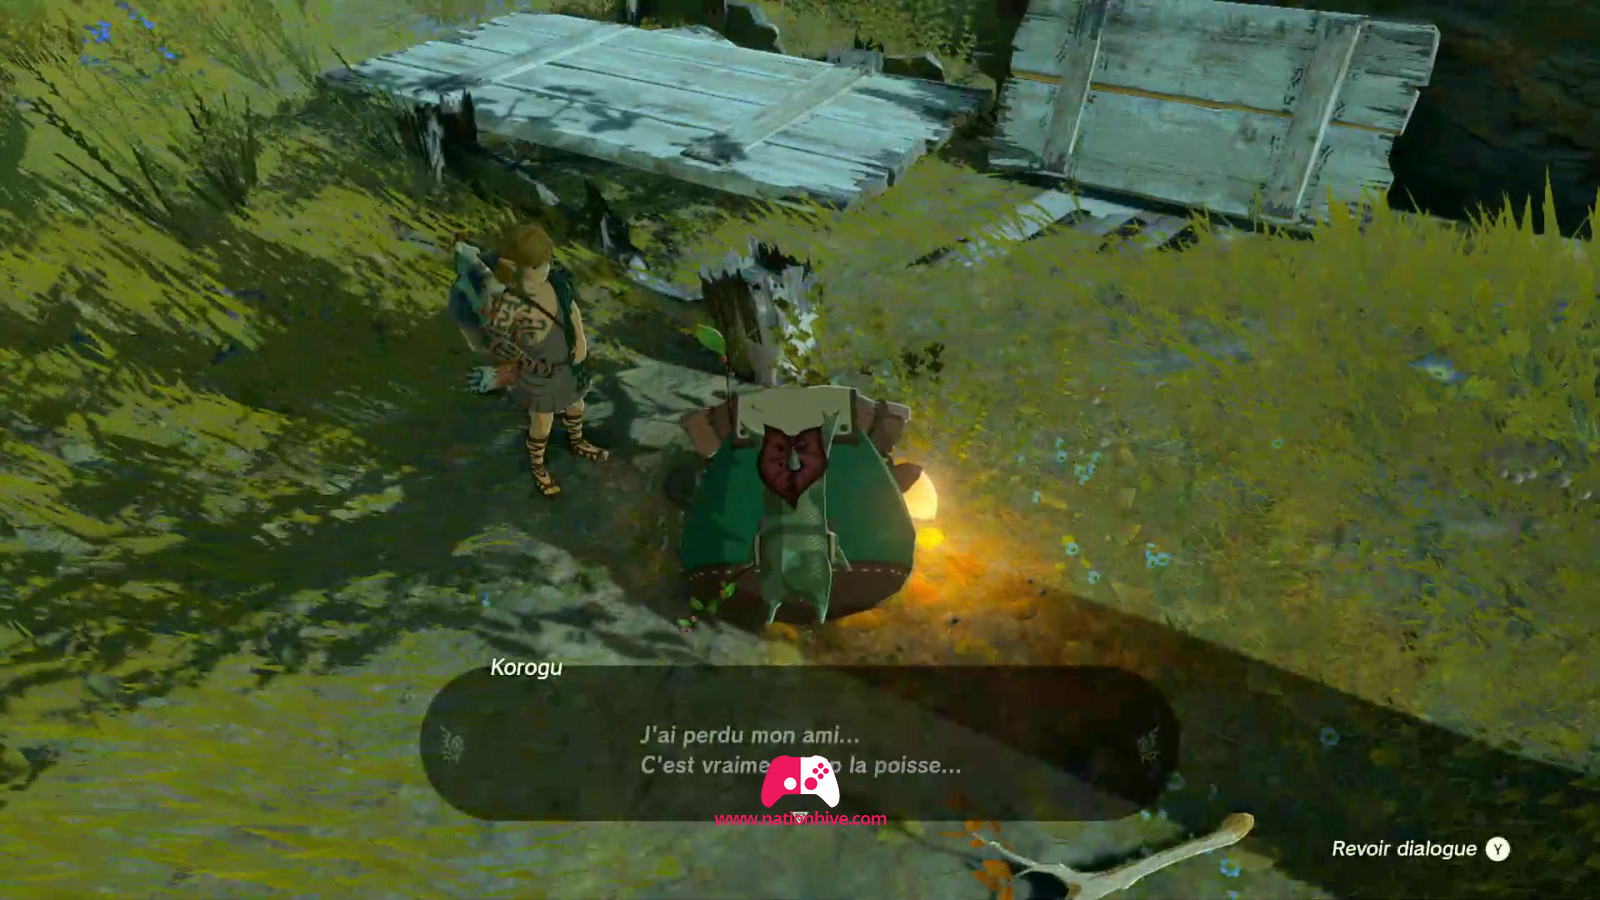
Near another railroad, you can find a Korok on the ground who has lost his friend on the other side. Again, use the carriage with the Fans on both sides and use the Ultrahand ability to take the Korok with you to the other side to join his friend. Then drop him near his friend to reunite them. You'll receive 2 Korok Seeds as a reward.
Explore the surrounding area, collect all the resources you can find and open the chests to obtain even more resources.
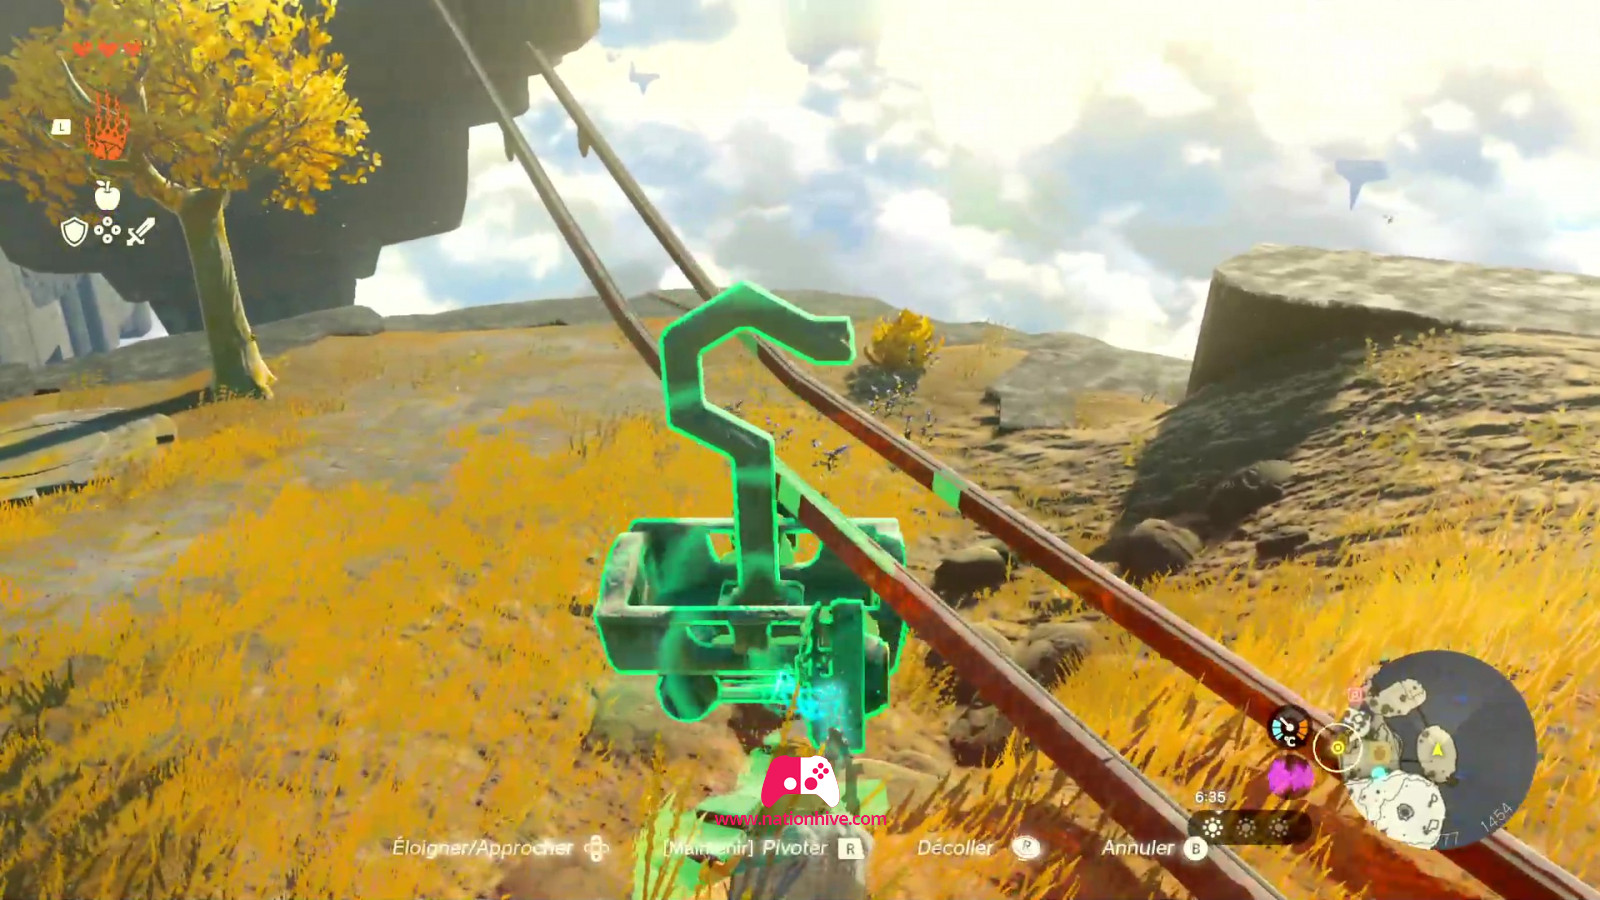
This time, to continue your journey upwards, you won't be able to use the broken railroad. You'll have to use a hook and stick it to the cart with the Fans on either side.
Explore the surrounding area, collecting all the resources you can find and opening chests to obtain even more resources.
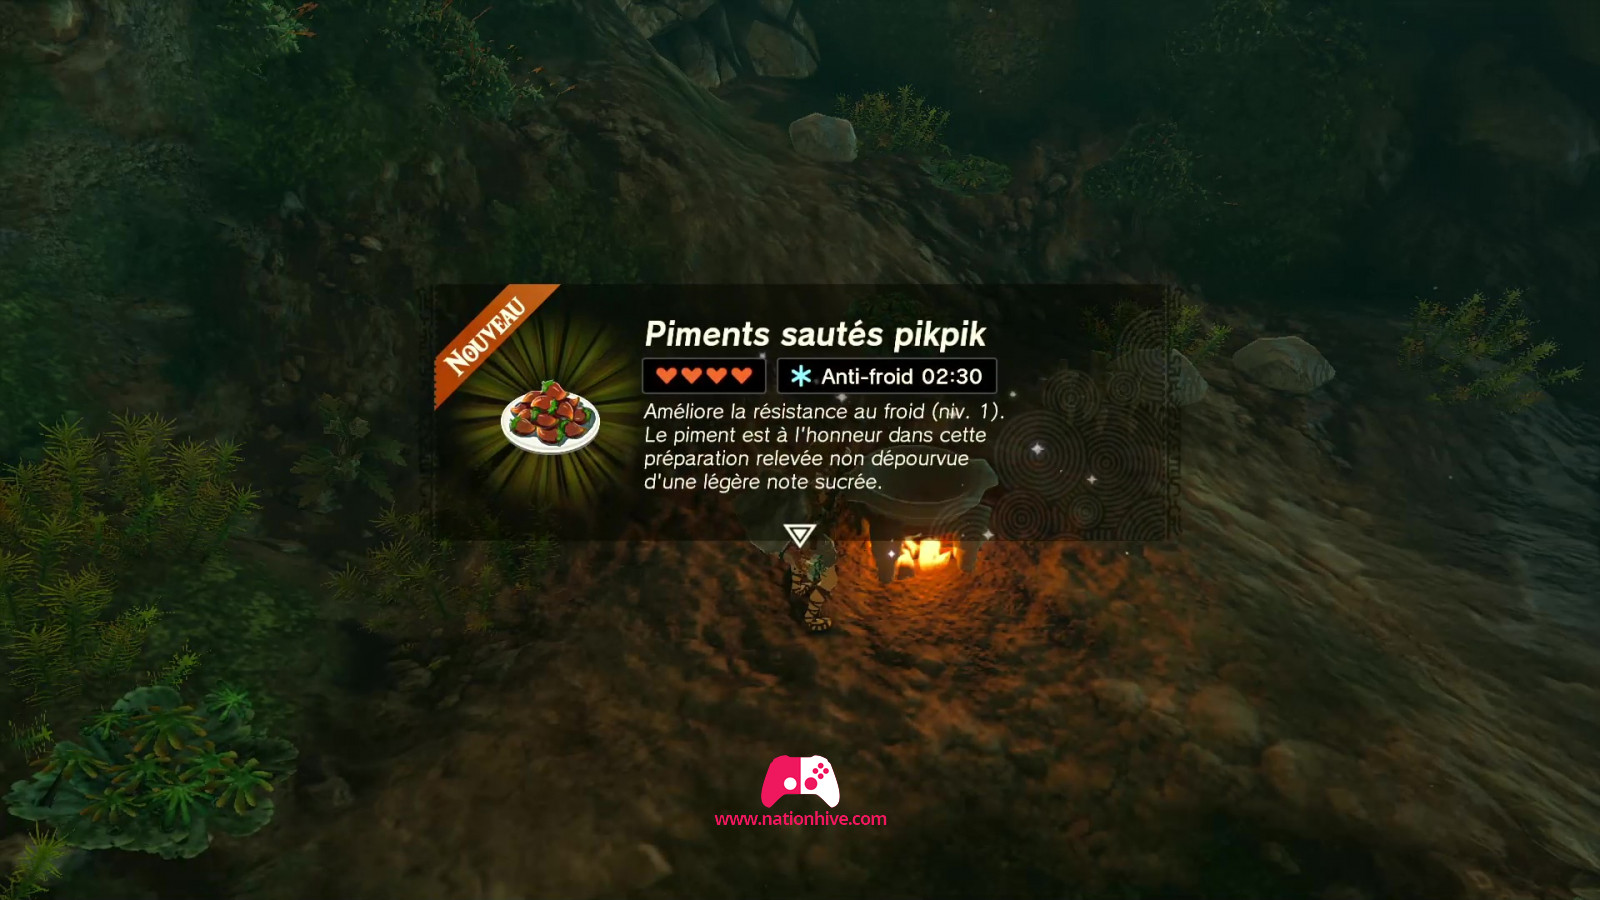
Then dive back down into the water to explore the Pit Cave. Enter the Pit Cave and chat with the Construct, who informs you that you'll need to cook Hot Peppers for cold resistance when you have to follow the mountain path. Take advantage of this moment to collect as many Hot Peppers as you can and cook dishes that give you cold resistance.

Then head to the bottom of the Pit Cave, at which point be on the lookout for a large glowing frog leaping from the ceiling of the cave. You'll receive a Bubbul Gem if you can hit it enough times with arrows.

Destroy the large ore stones and collect all the resources you can in the Pondside Cave. Destroy the stone walls to collect even more ore.
Continue on to the top of the Pit Cave, attack any enemies in your path and exit into the mountain.
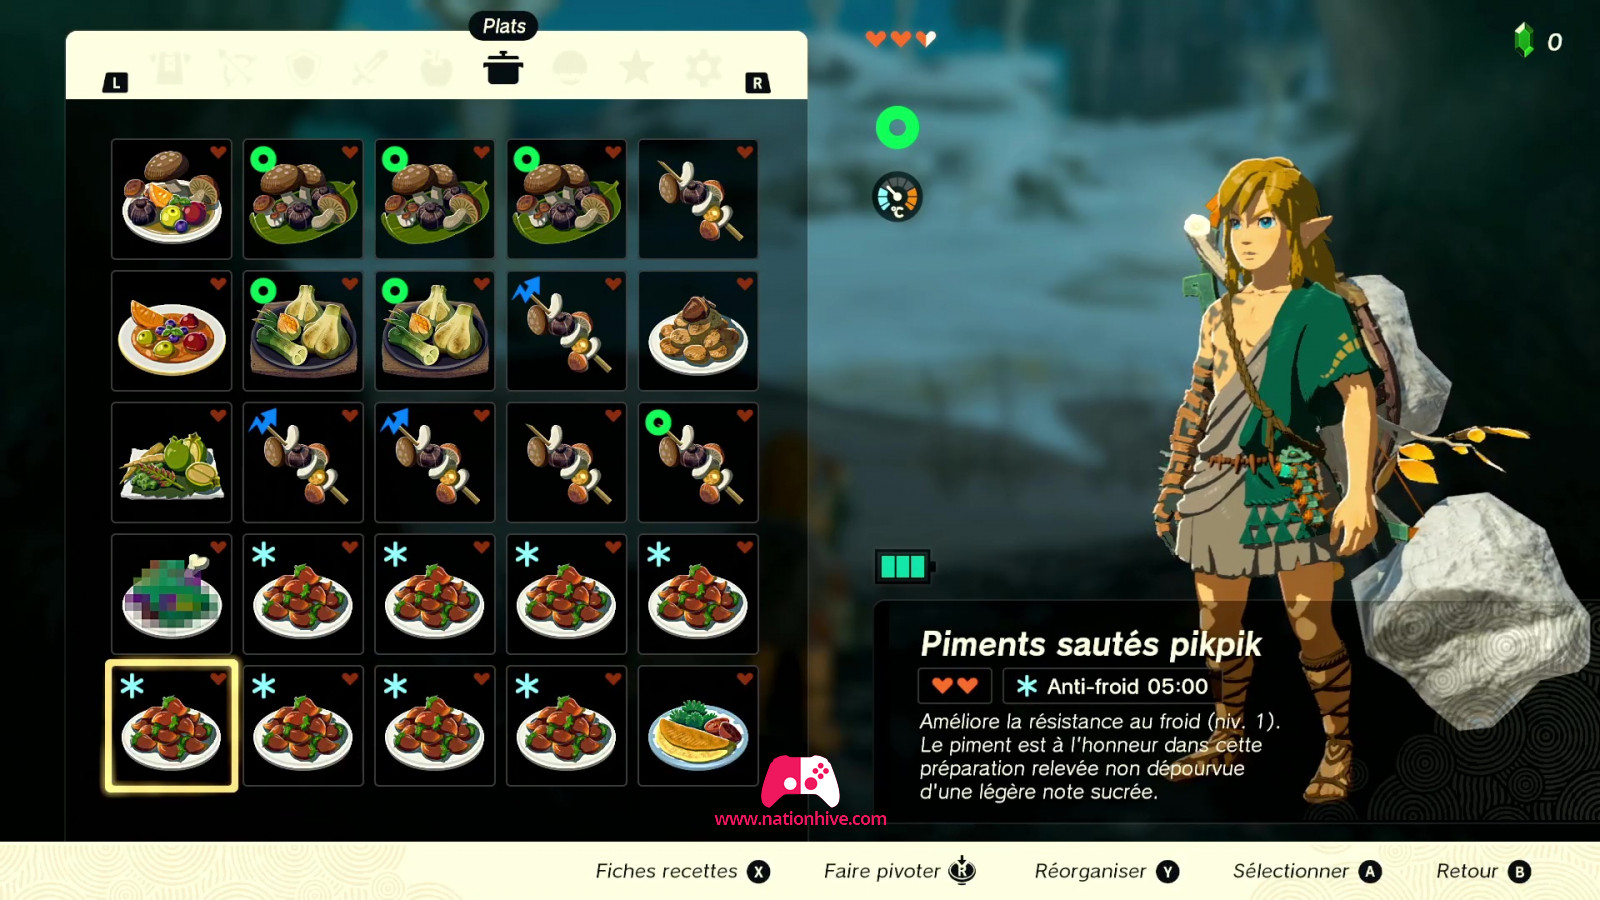
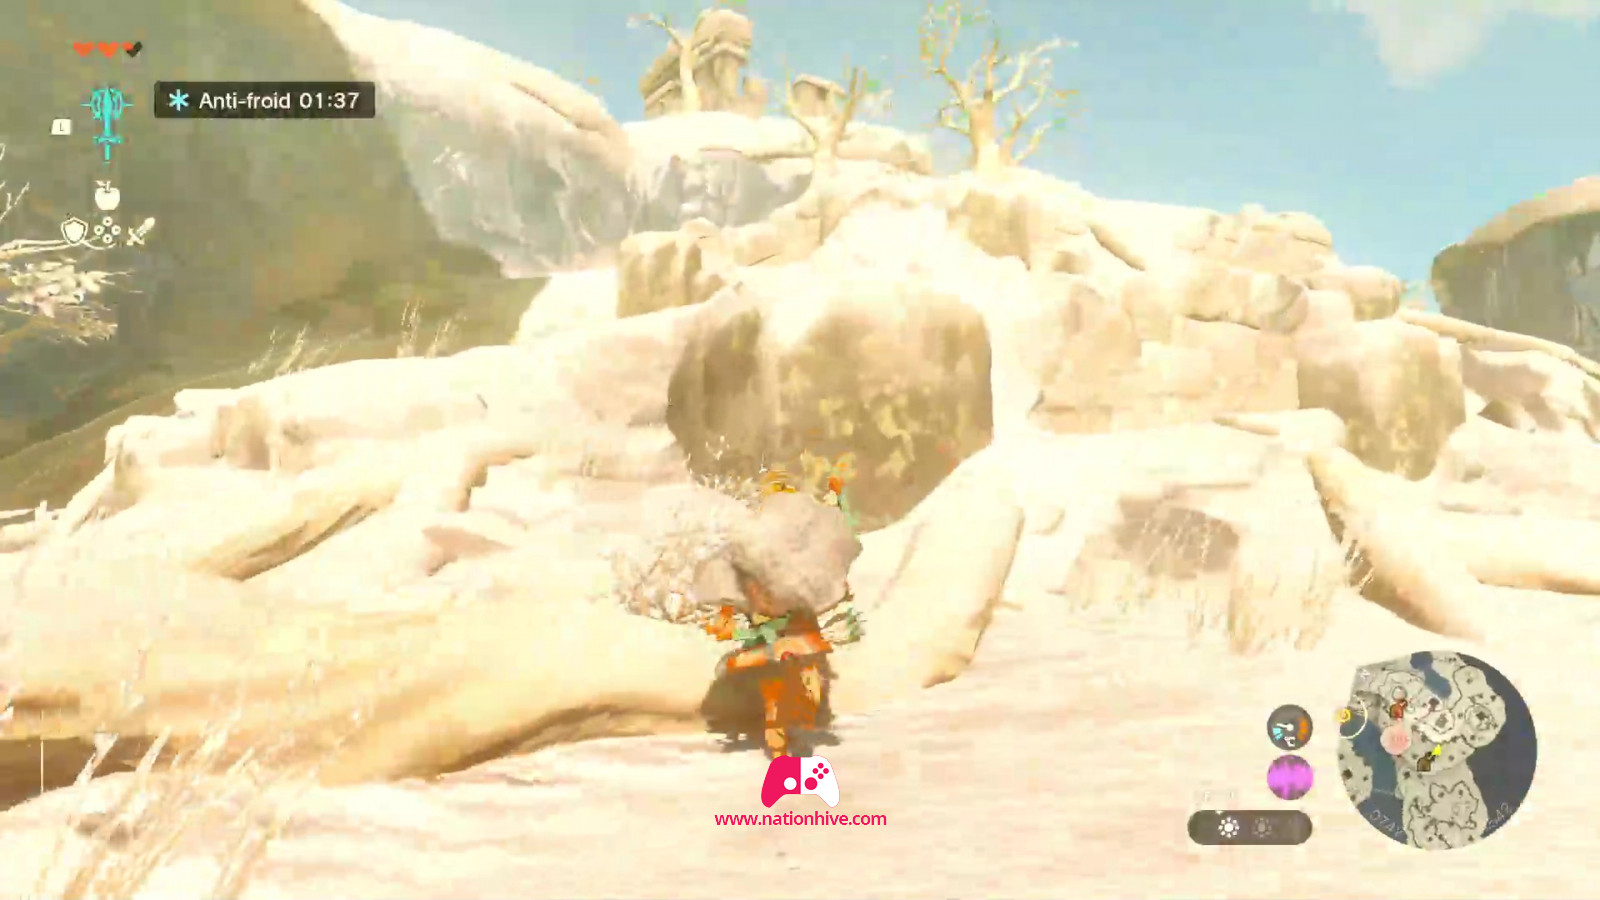
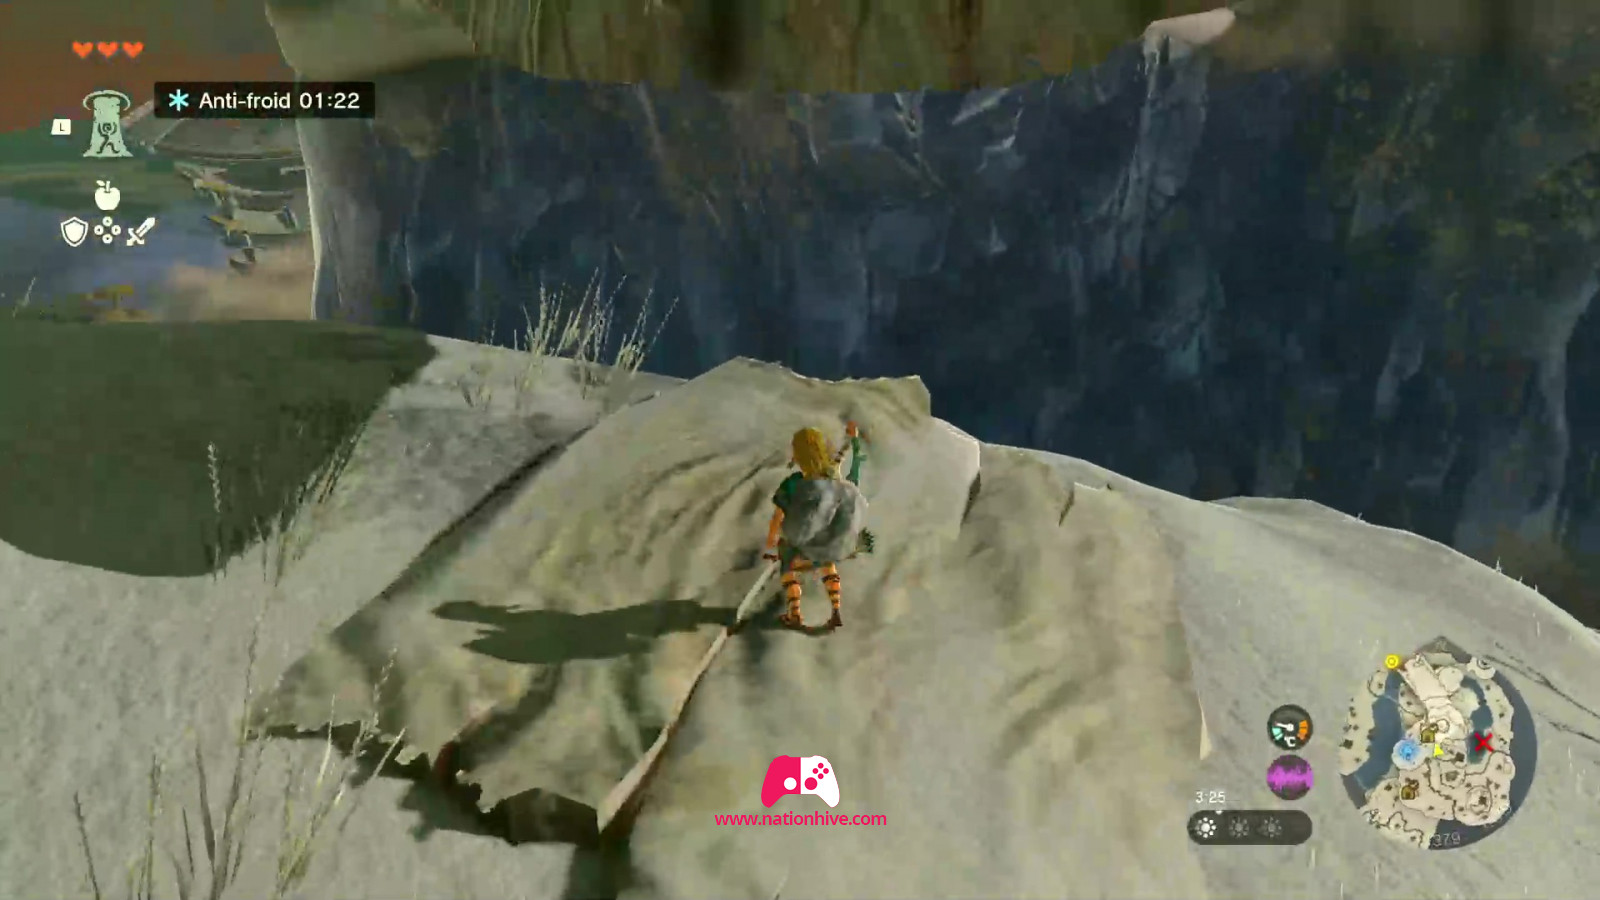
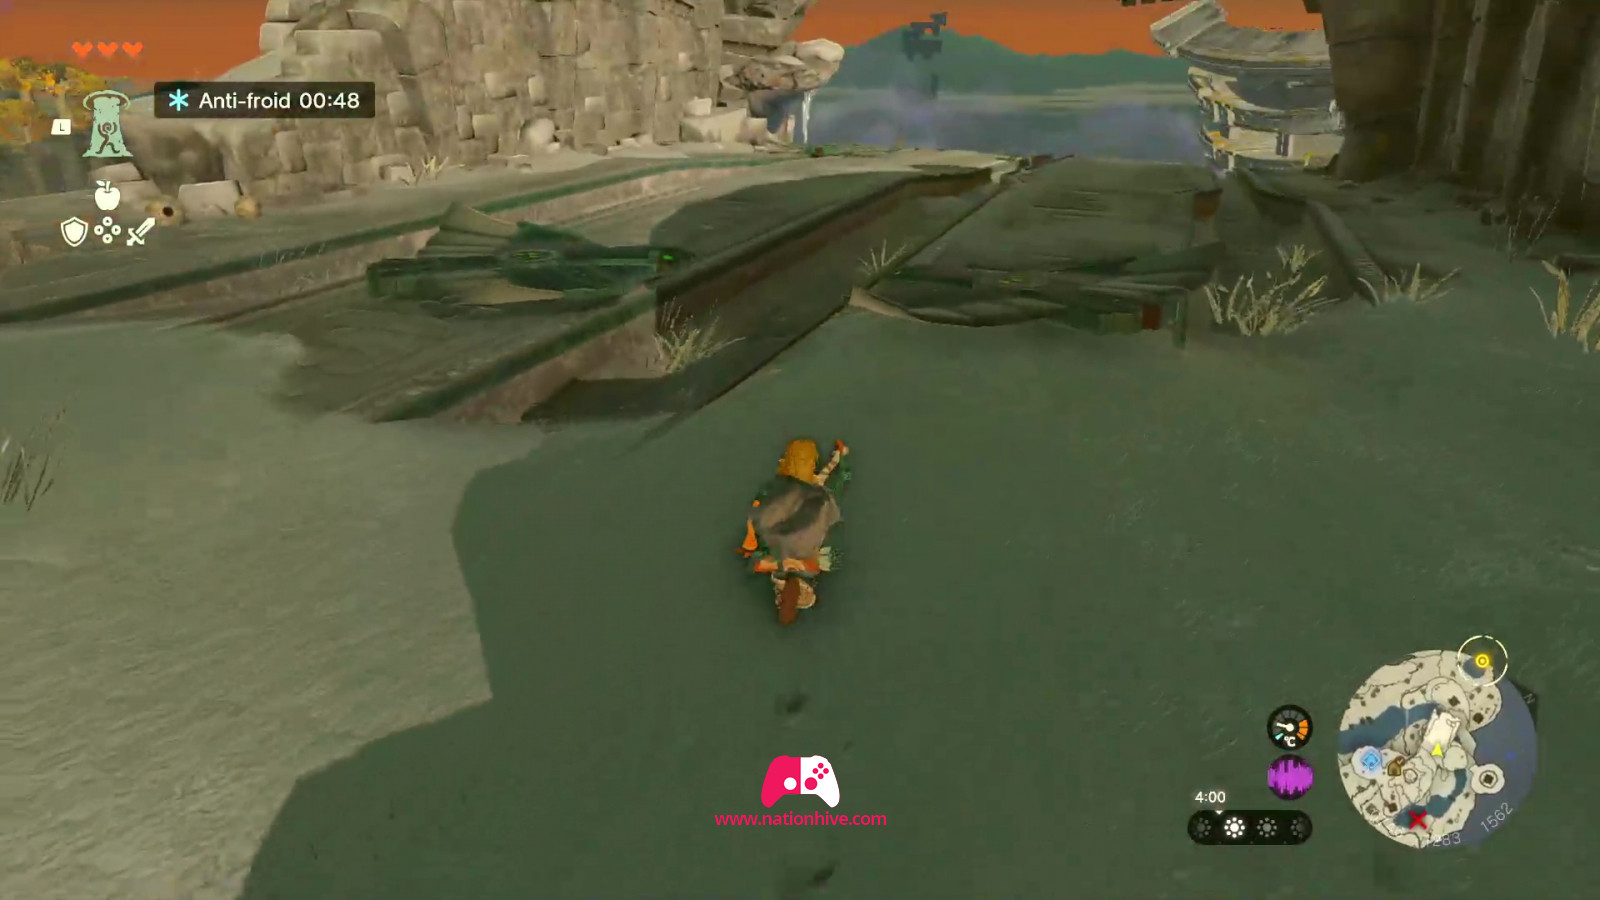
* WARNING: once you're inside the mountain, you'll need to eat a Hot Peppers dish in order to resist the cold. A countdown will start as soon as you eat the dish, and you need to make sure you still have time, otherwise your life bar will drop rapidly.
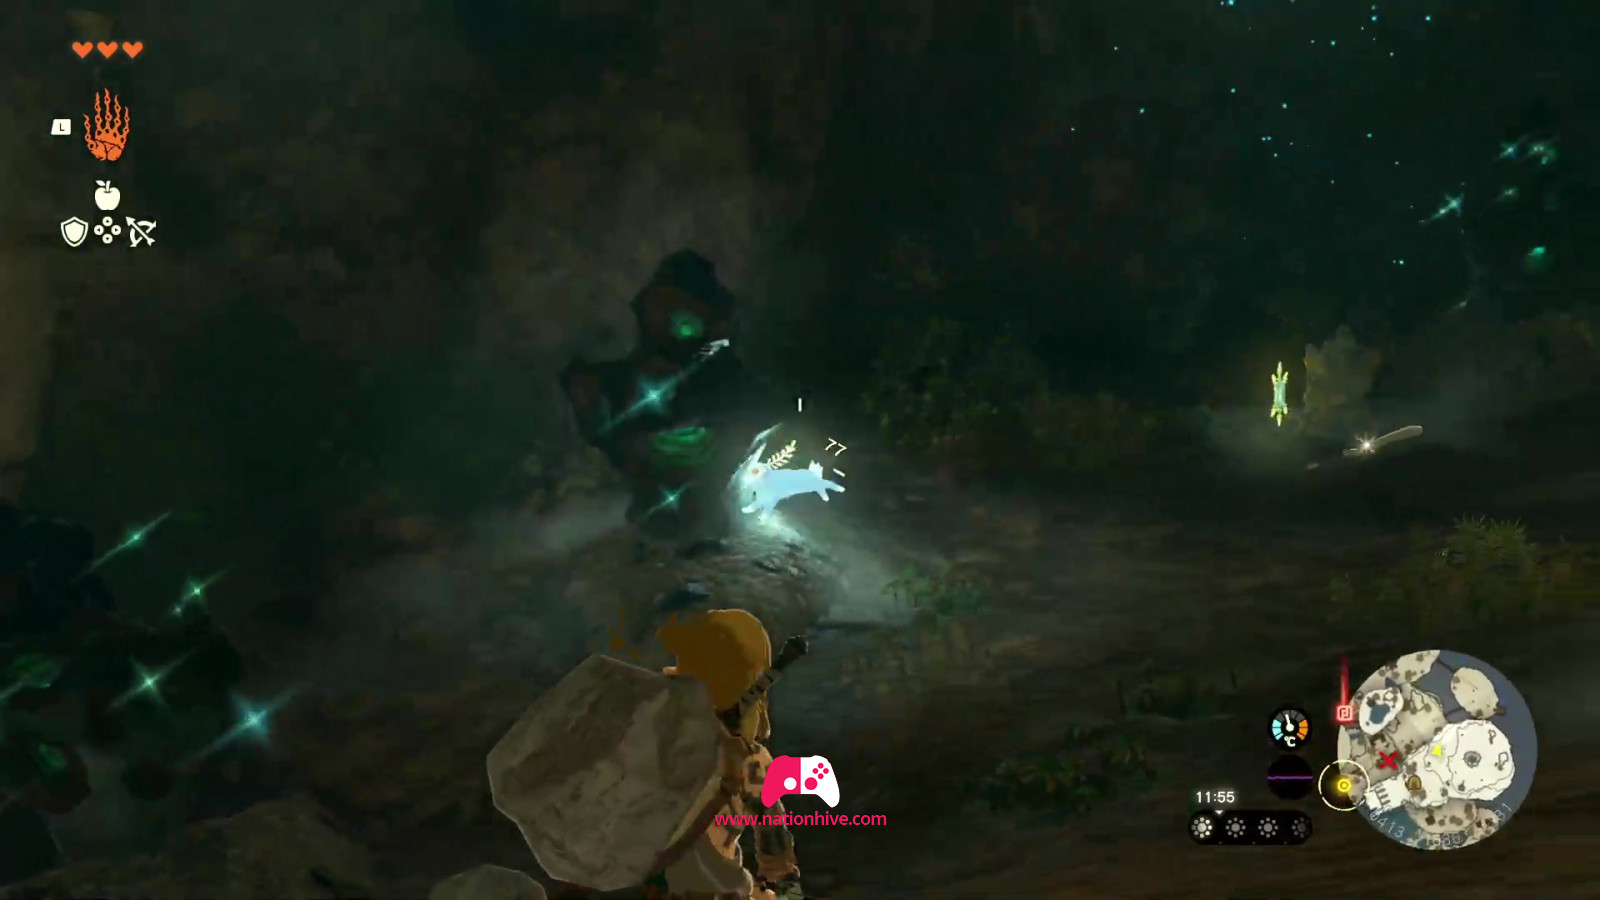
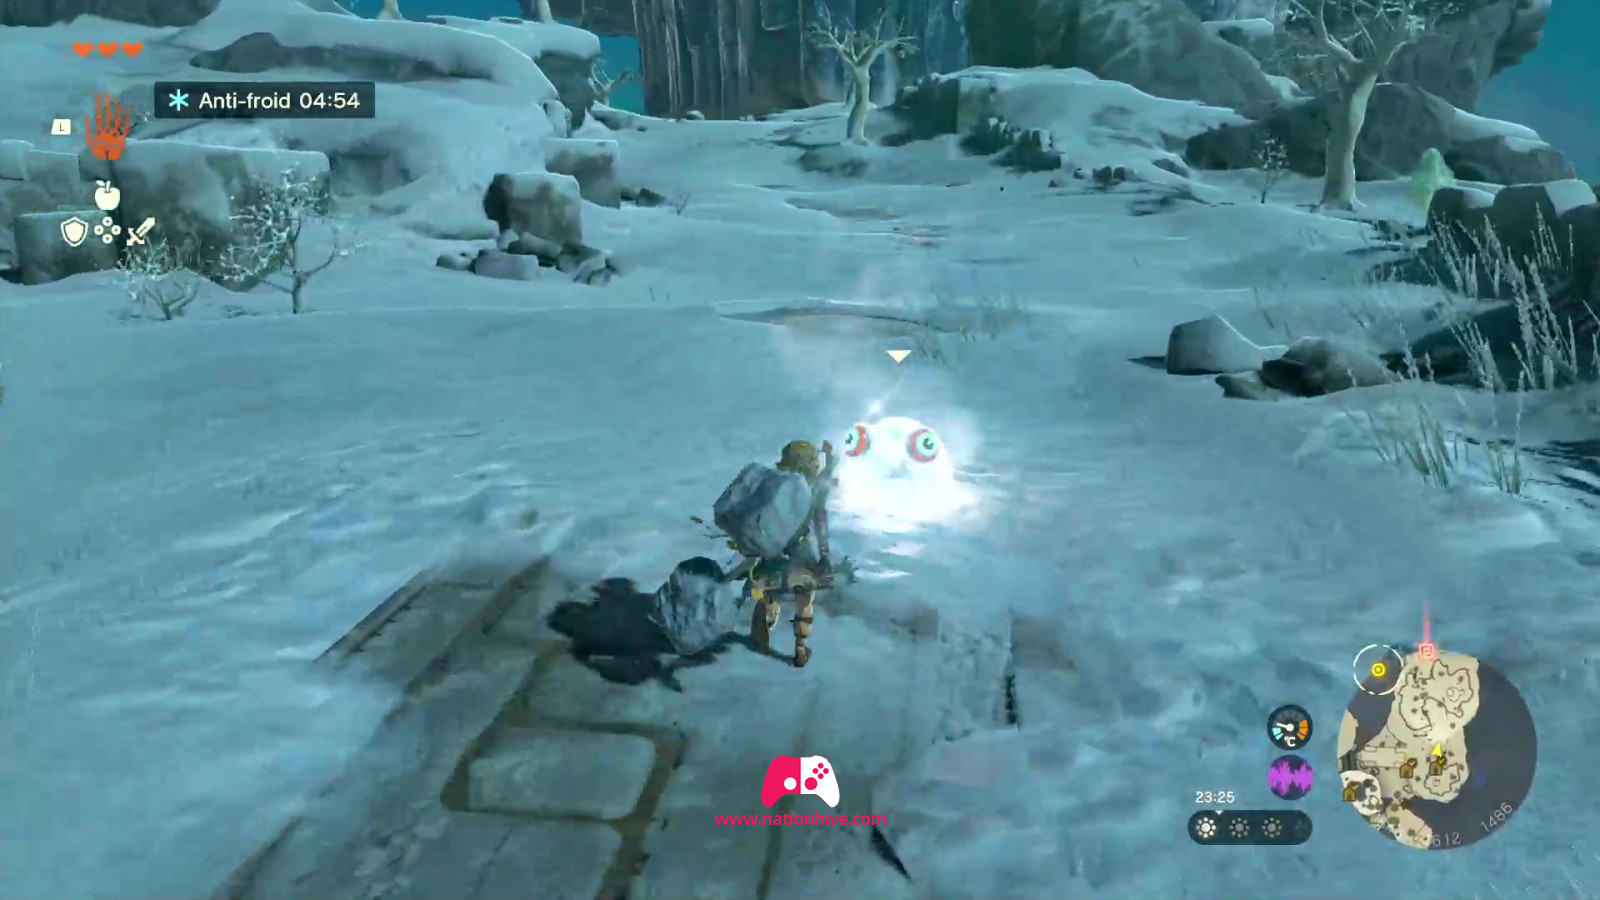
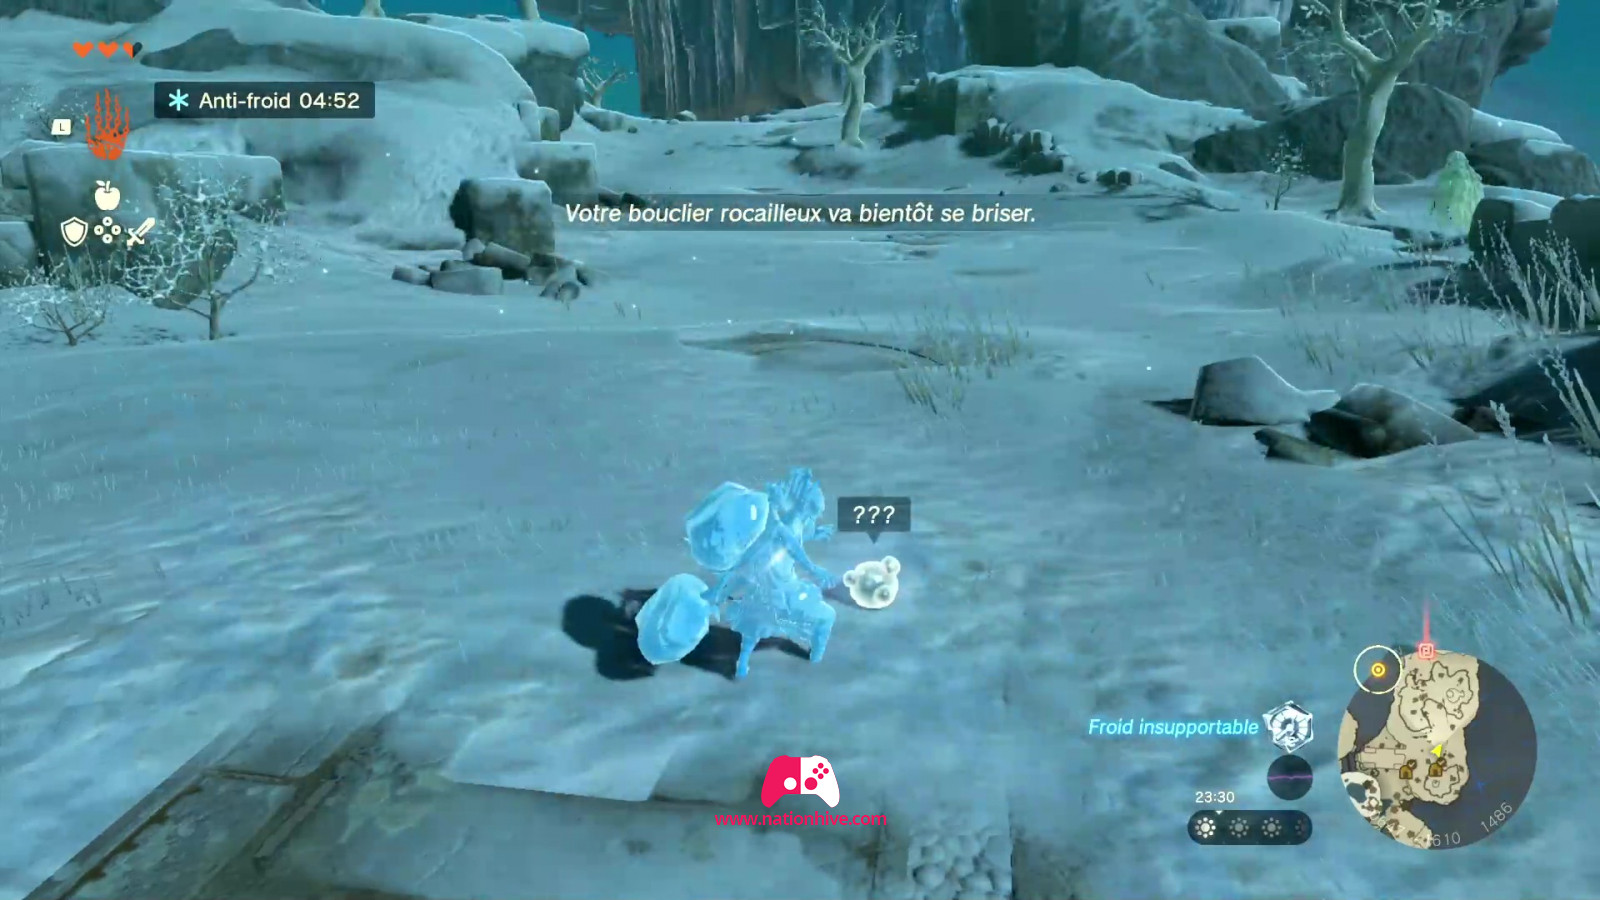
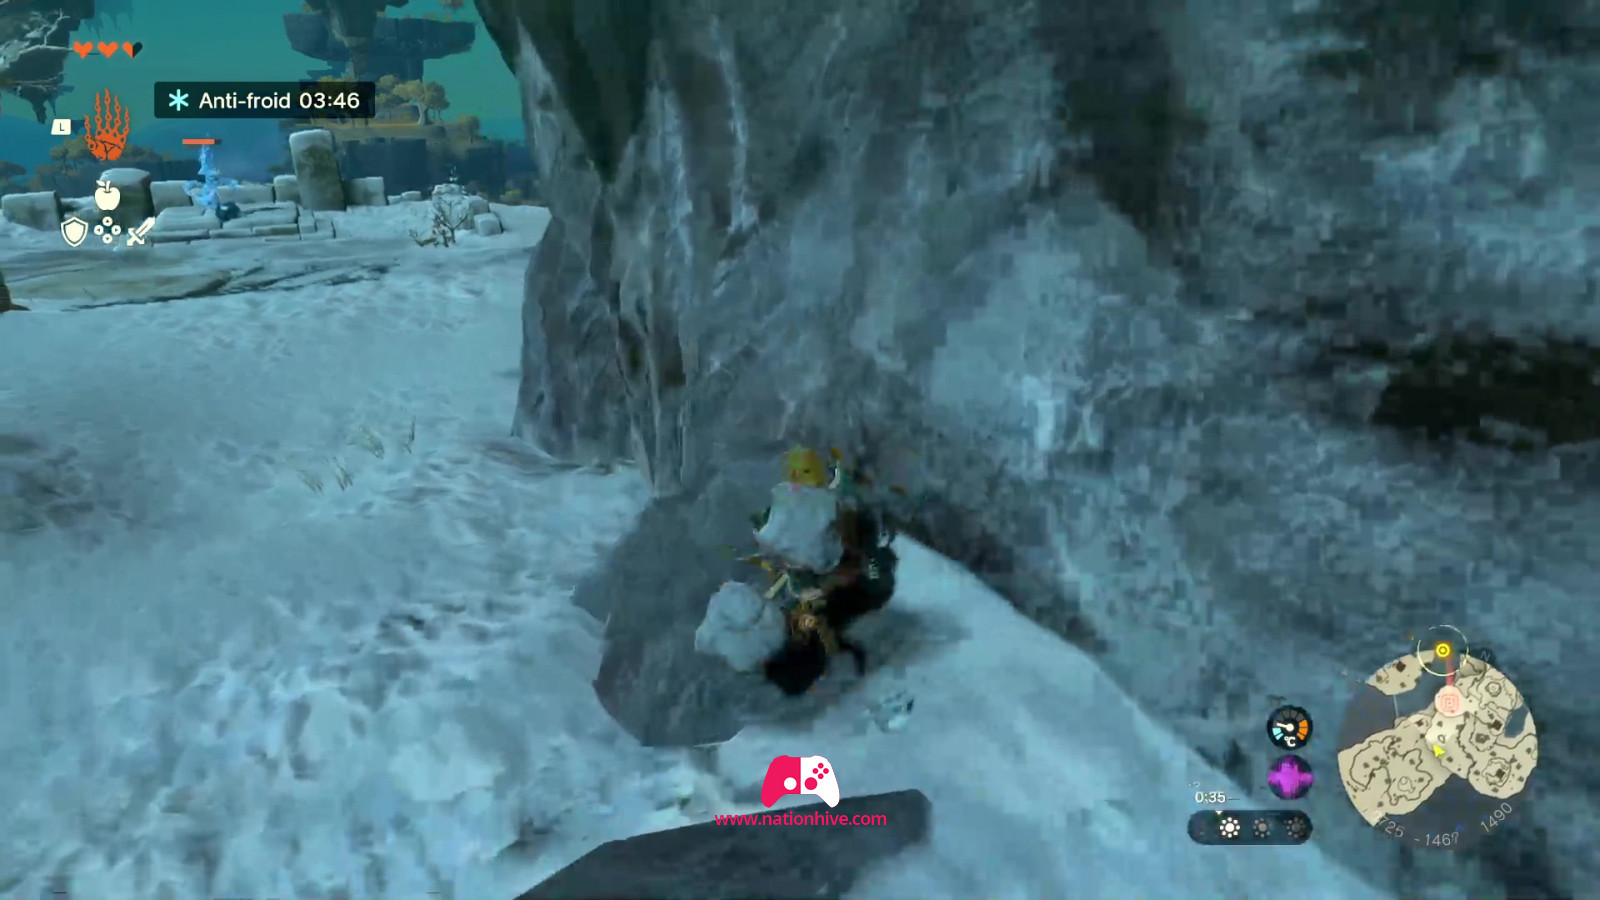
Exit the Pit Cave and head for the frozen mountain ahead. Beware of the white Ice Chuchu, which can freeze you in place when they explode once defeated, so we strongly recommend shooting them from a distance.
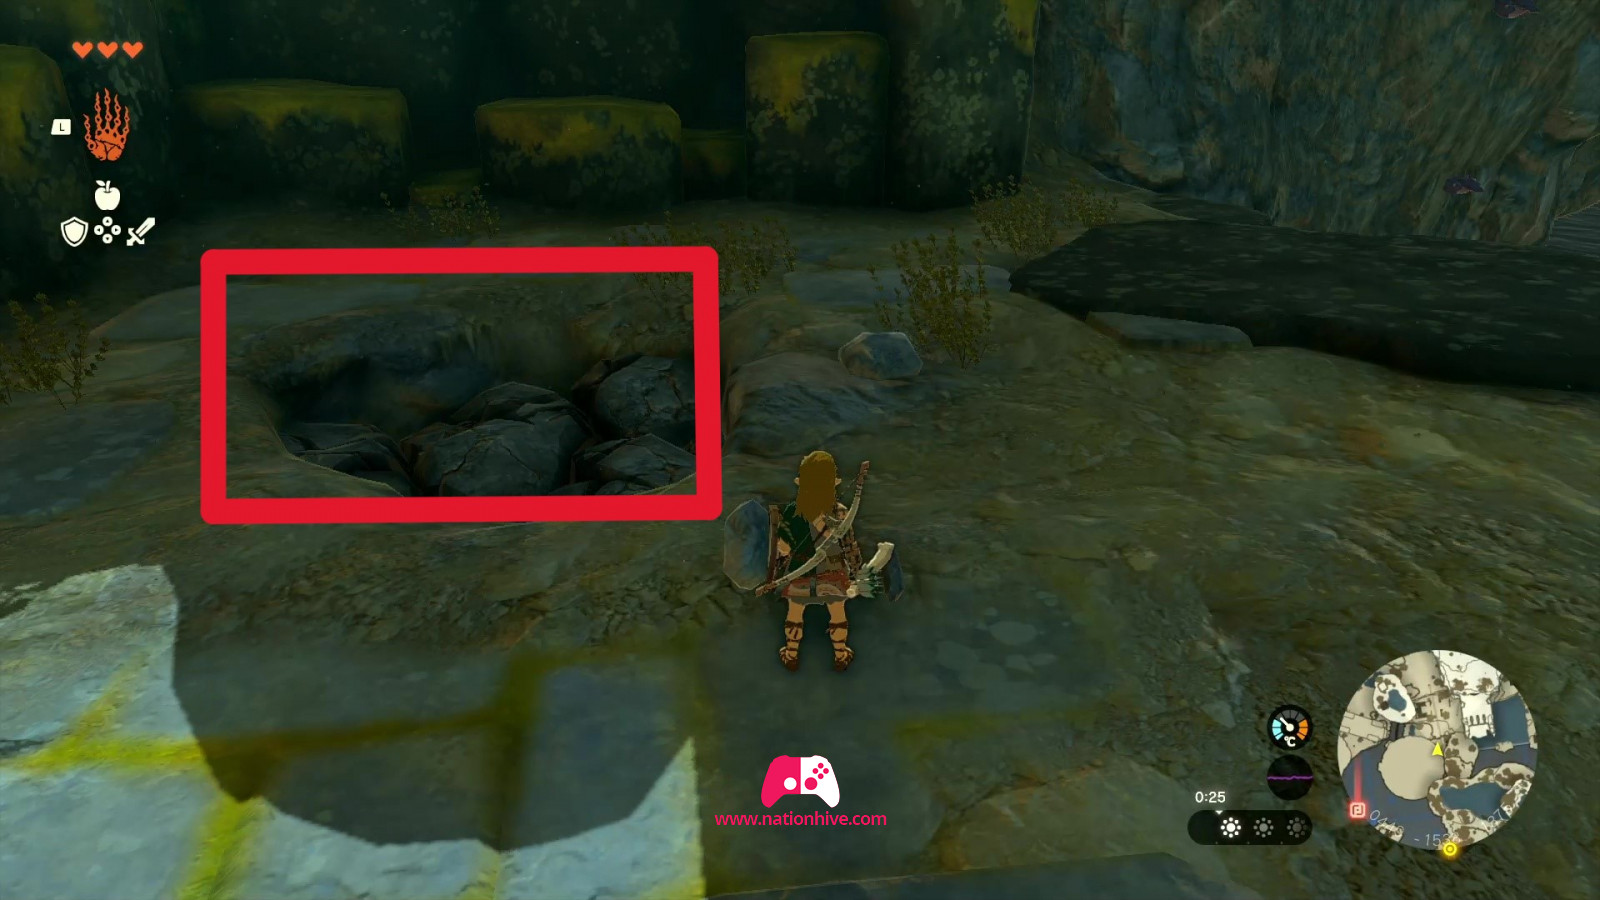
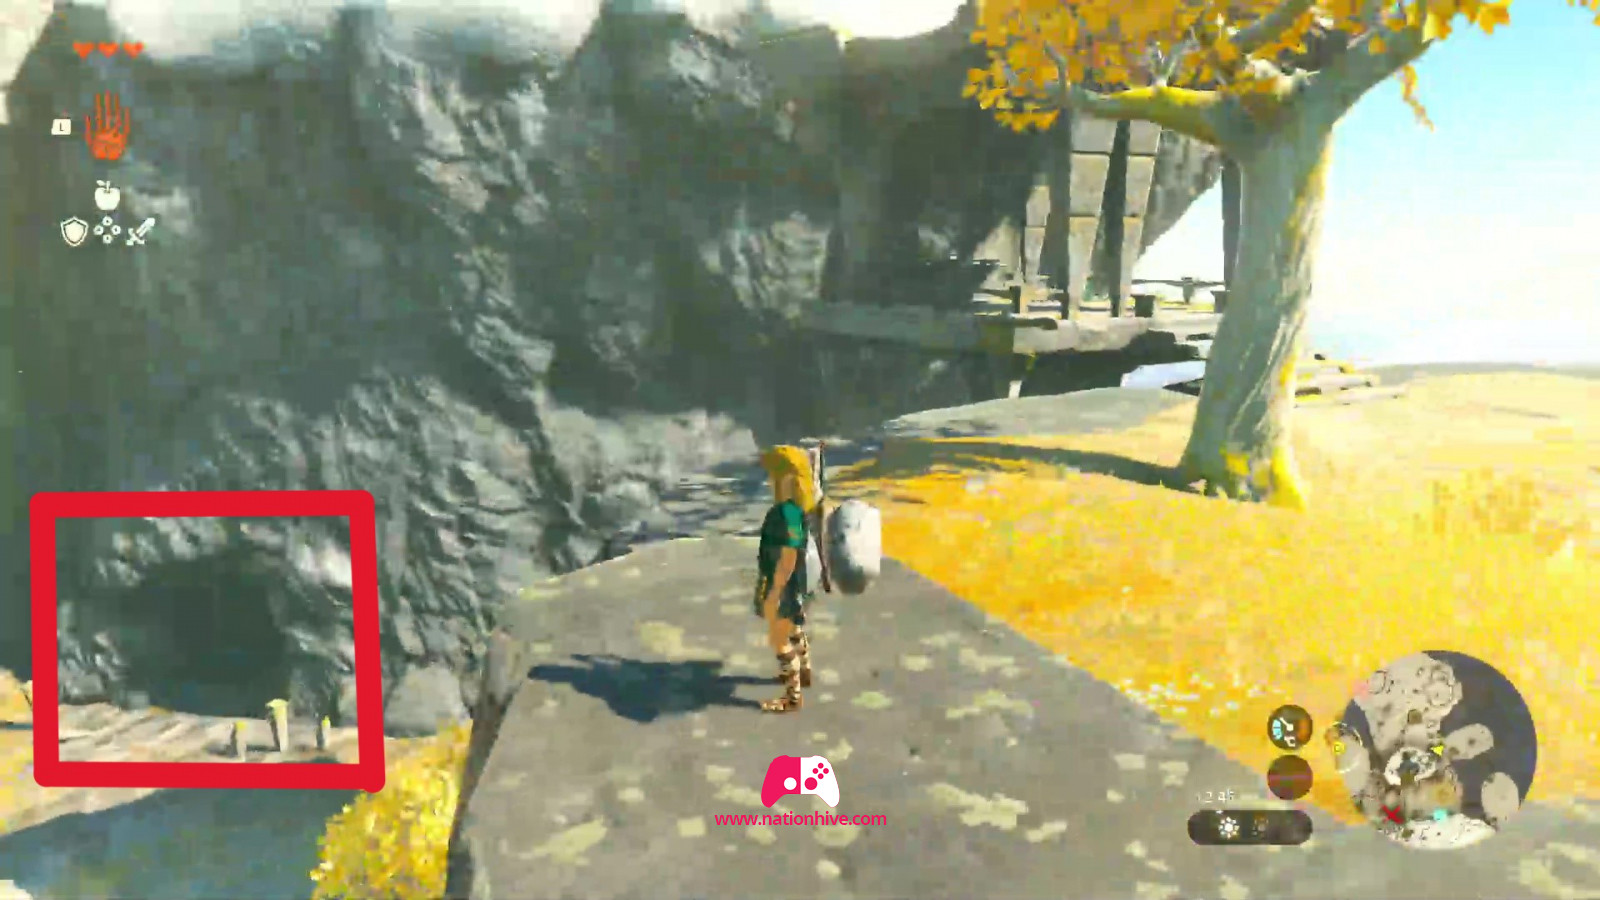
For the moment, since you have limited heat resistance, we recommend you hurry to the top of the mountain and avoid attacking the nearby Soldier Constructs. You can get around them by hiding behind the rocks. Head for the Bottomless Cave.
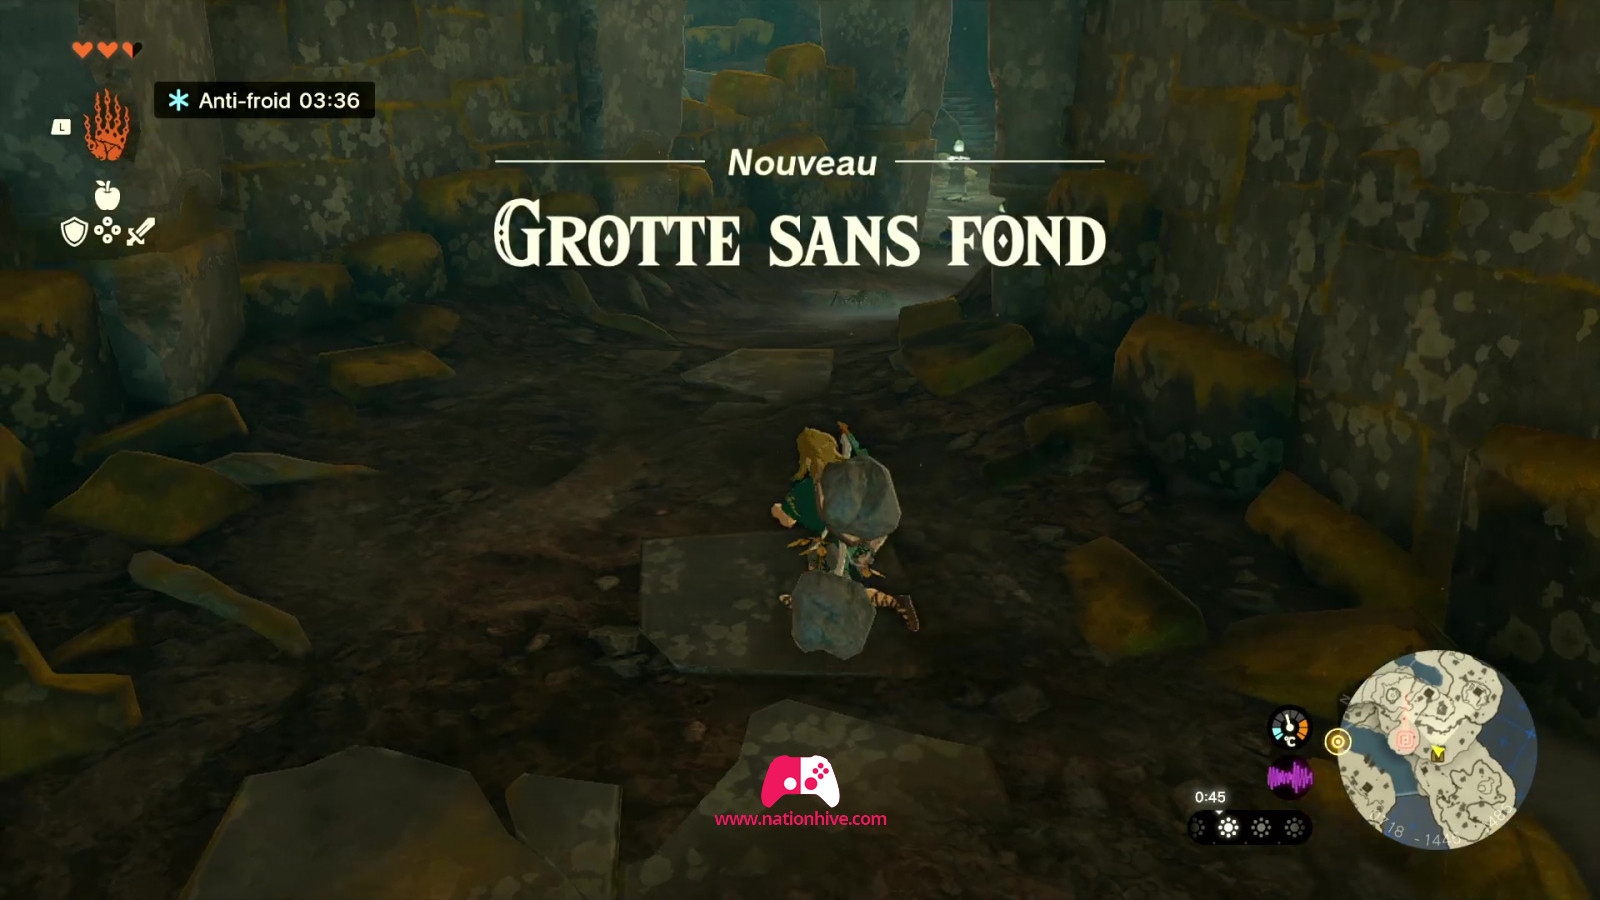
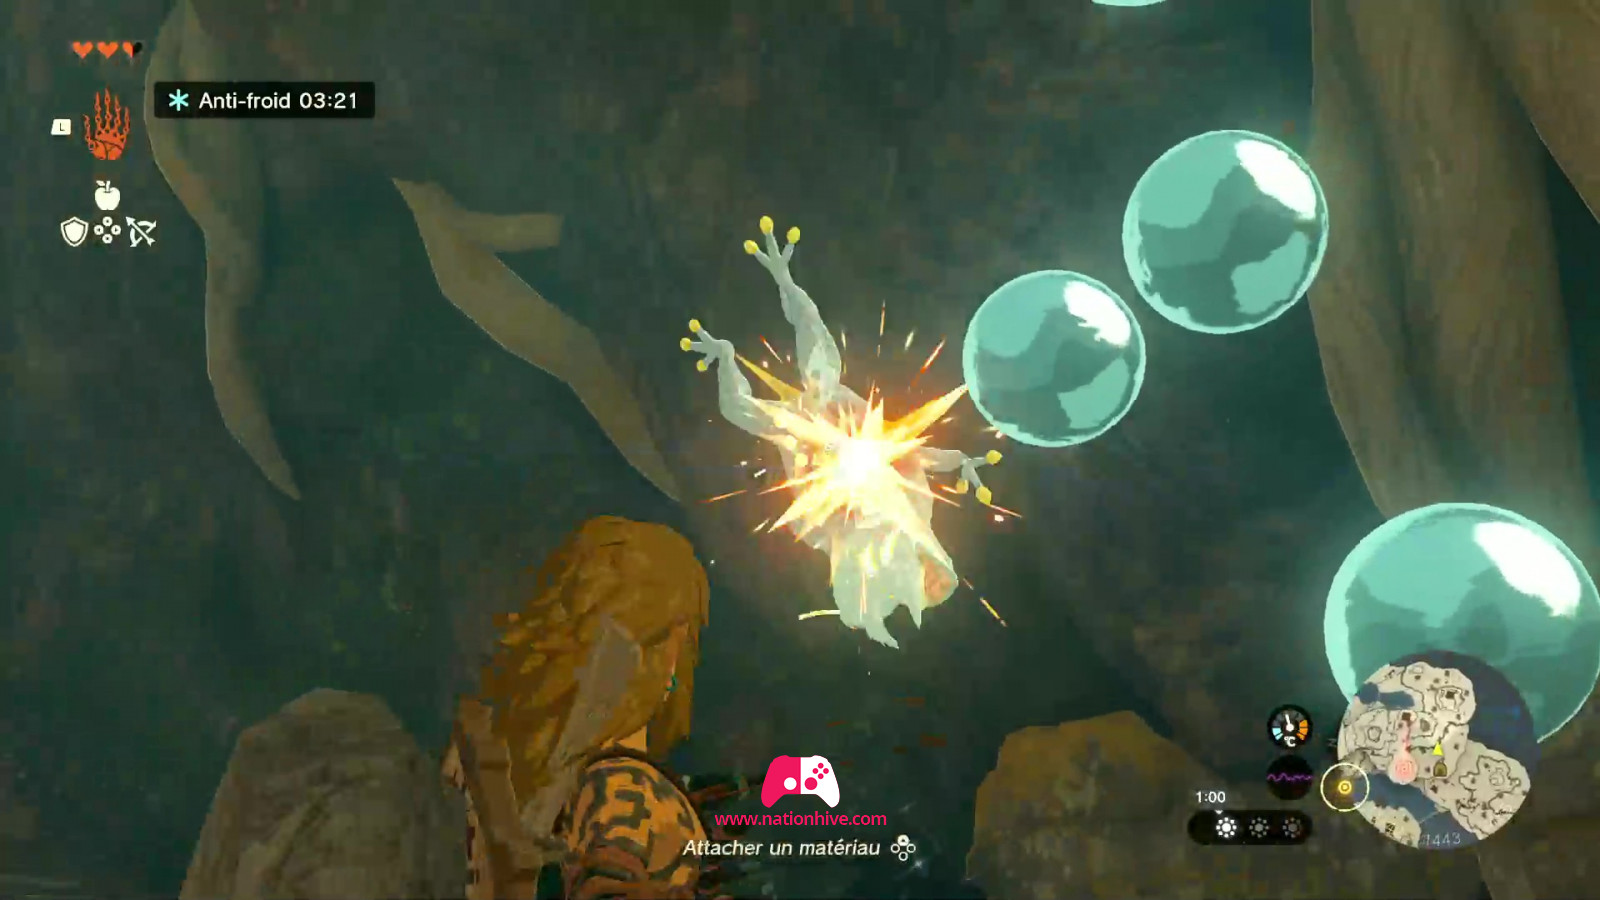
Be on the lookout for a large glowing frog jumping from the ceiling of the cave. You'll receive a Bubbul Gem if you can hit it enough times with your arrows.
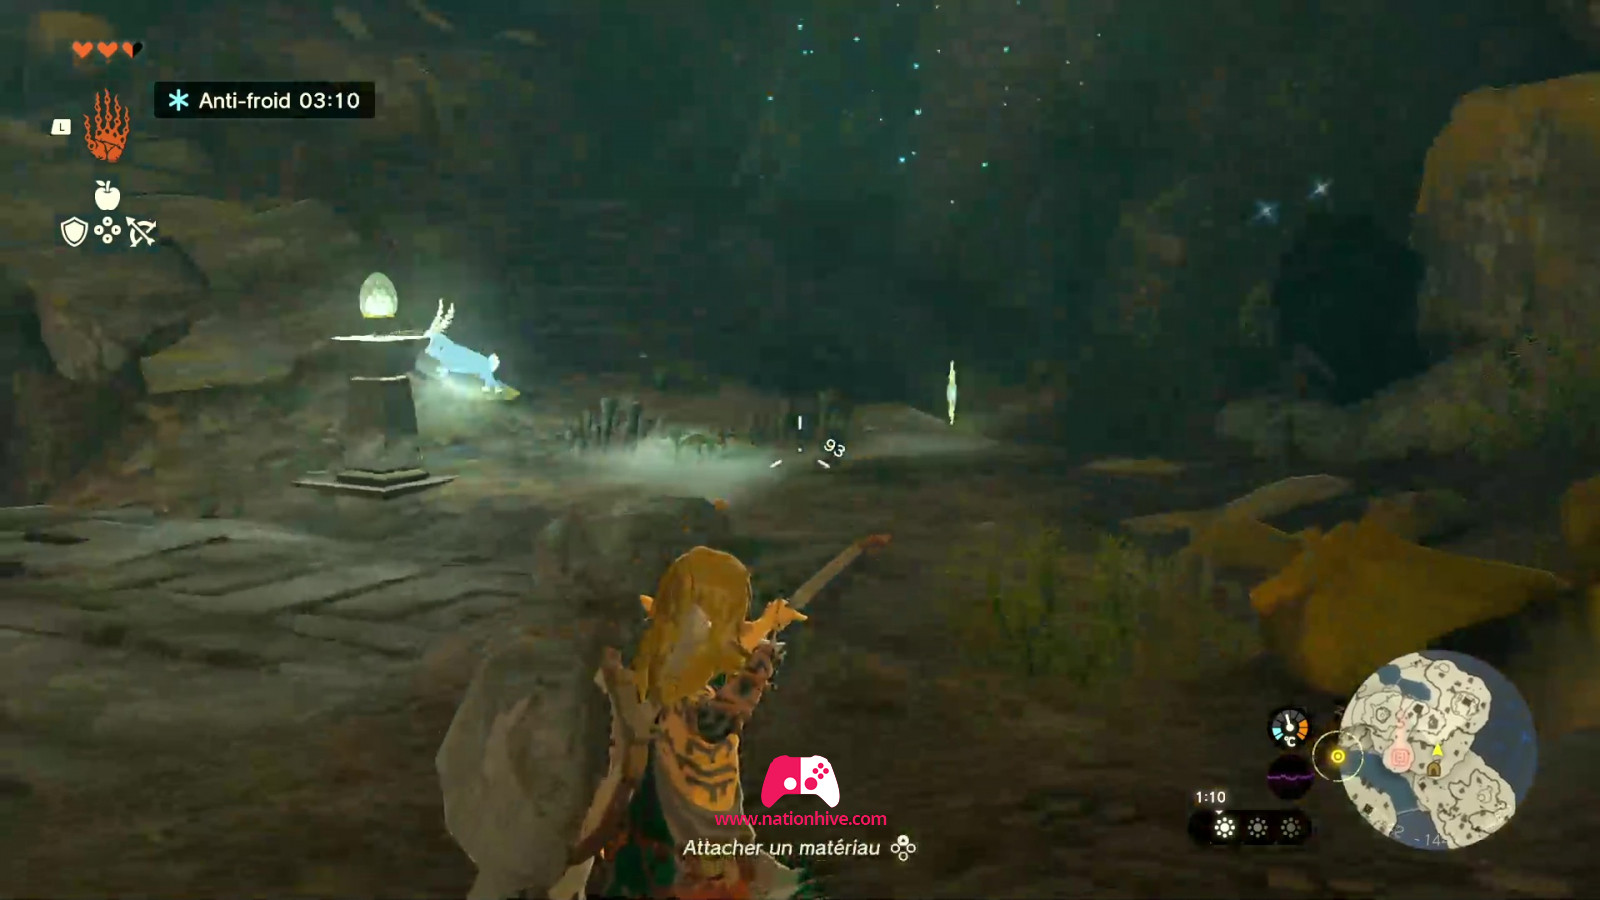
Explore the surrounding area, collect all the resources you can find and open chests to obtain even more resources.
As you climb the stairs, you'll come across a Like Like blocking the way. * It's important to stay away from it, as it can swallow you and steal your weapons and items. Fortunately, it's possible to retrieve them once the enemy has been defeated. To defeat him, all you have to do is make him swallow a Bomb Flower by dropping it on the ground in front of him. Once he takes damage from the flower, his eye will pop out of his mouth. Aim for the eye with a bow and arrow as quickly as possible and continue the same process until the Like Like dies. You'll receive a Like Like resource and a chest containing an Opal.
Explore the surrounding area, collect all the resources and continue upwards. When you reach the Bottomless Cave exit, you'll come across another Like Like blocking the way. Repeat the same process you did a moment ago. Once you've defeated the enemy, 2 chests will appear. Open them to receive an Opal and a Flame Emitters.
Before exiting the Bottomless Cave, don't forget to eat a plate of Hot Peppers for cold resistance. Head along the roots and climb to the top of the ridge. Look for a cliff leading down to a waterfall. The walls all around are icy and slippery, making climbing impossible. However, if you look carefully, there's an unglazed area just to the right of the waterfalls!
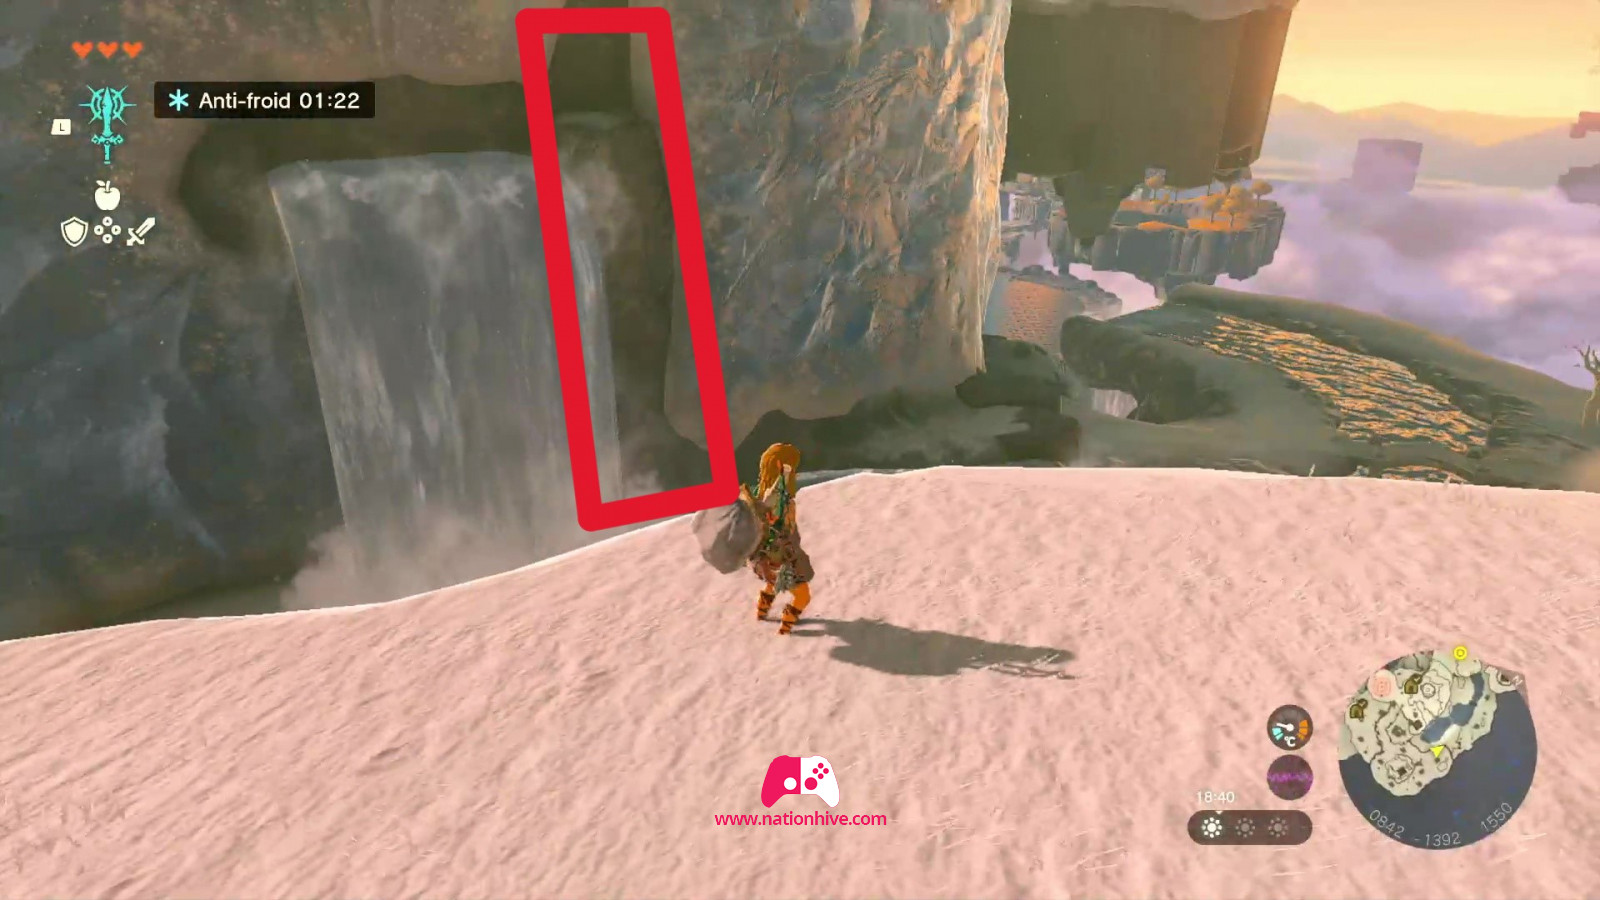
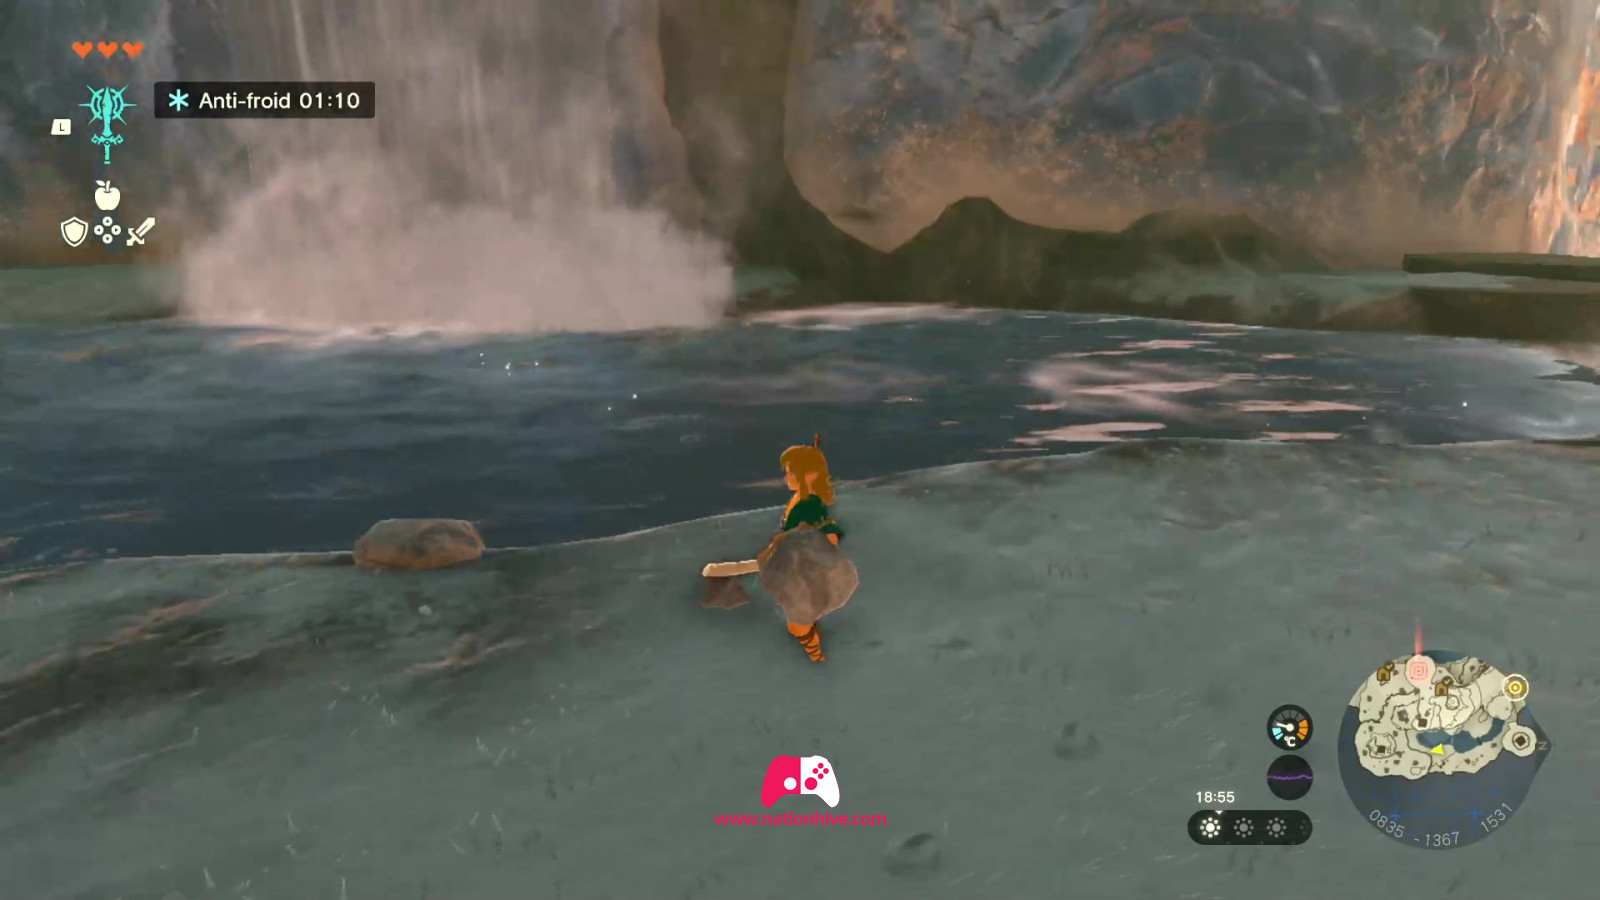
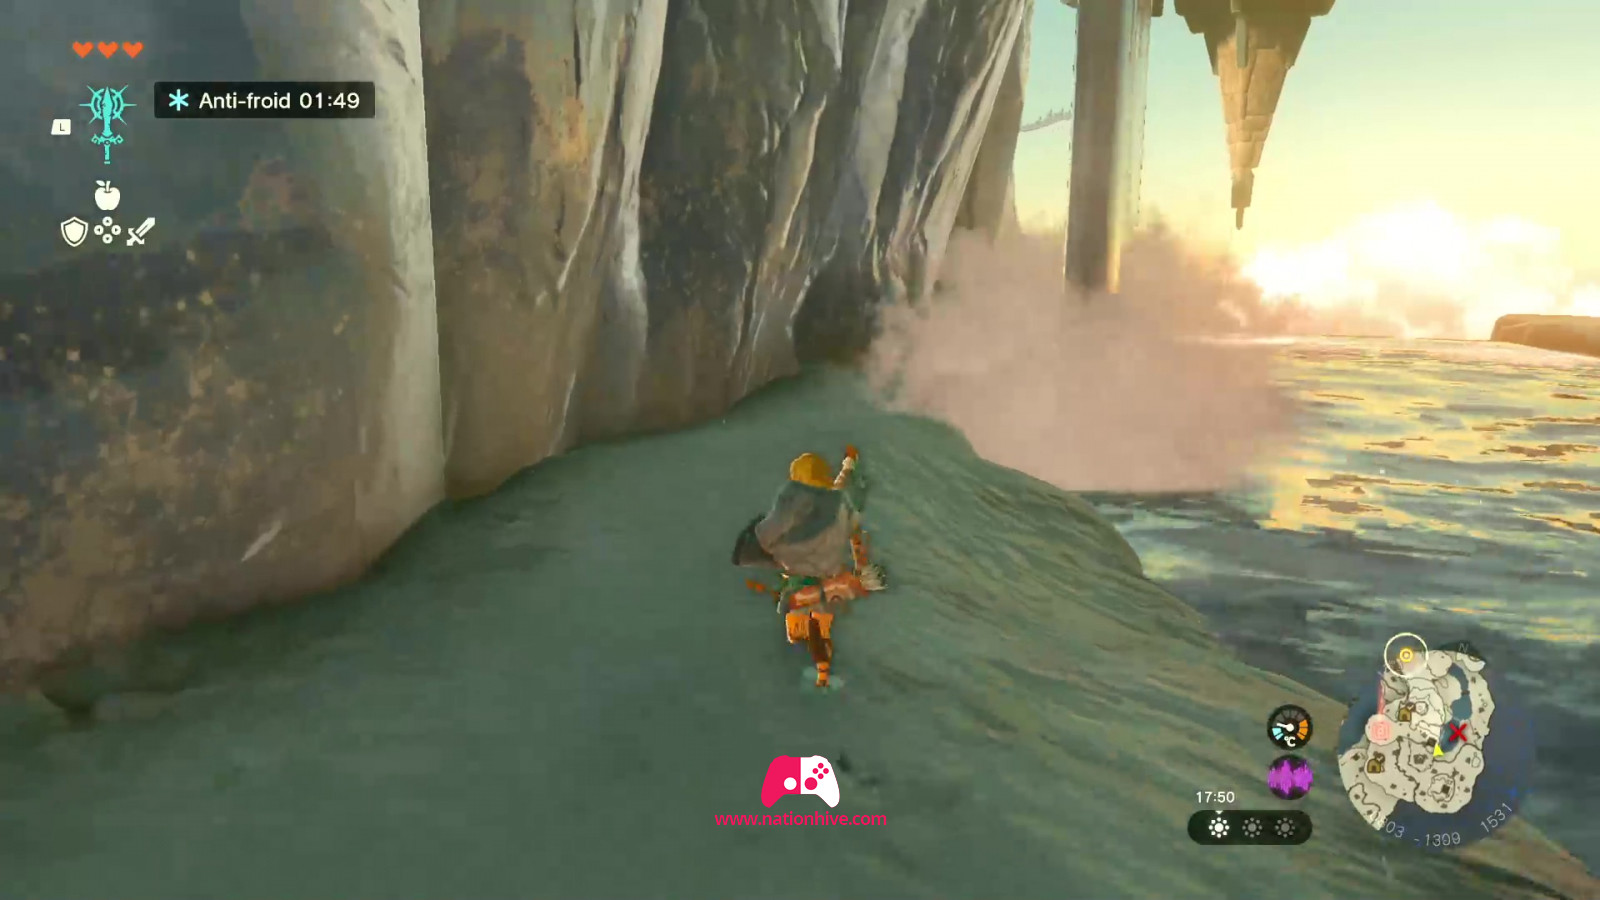
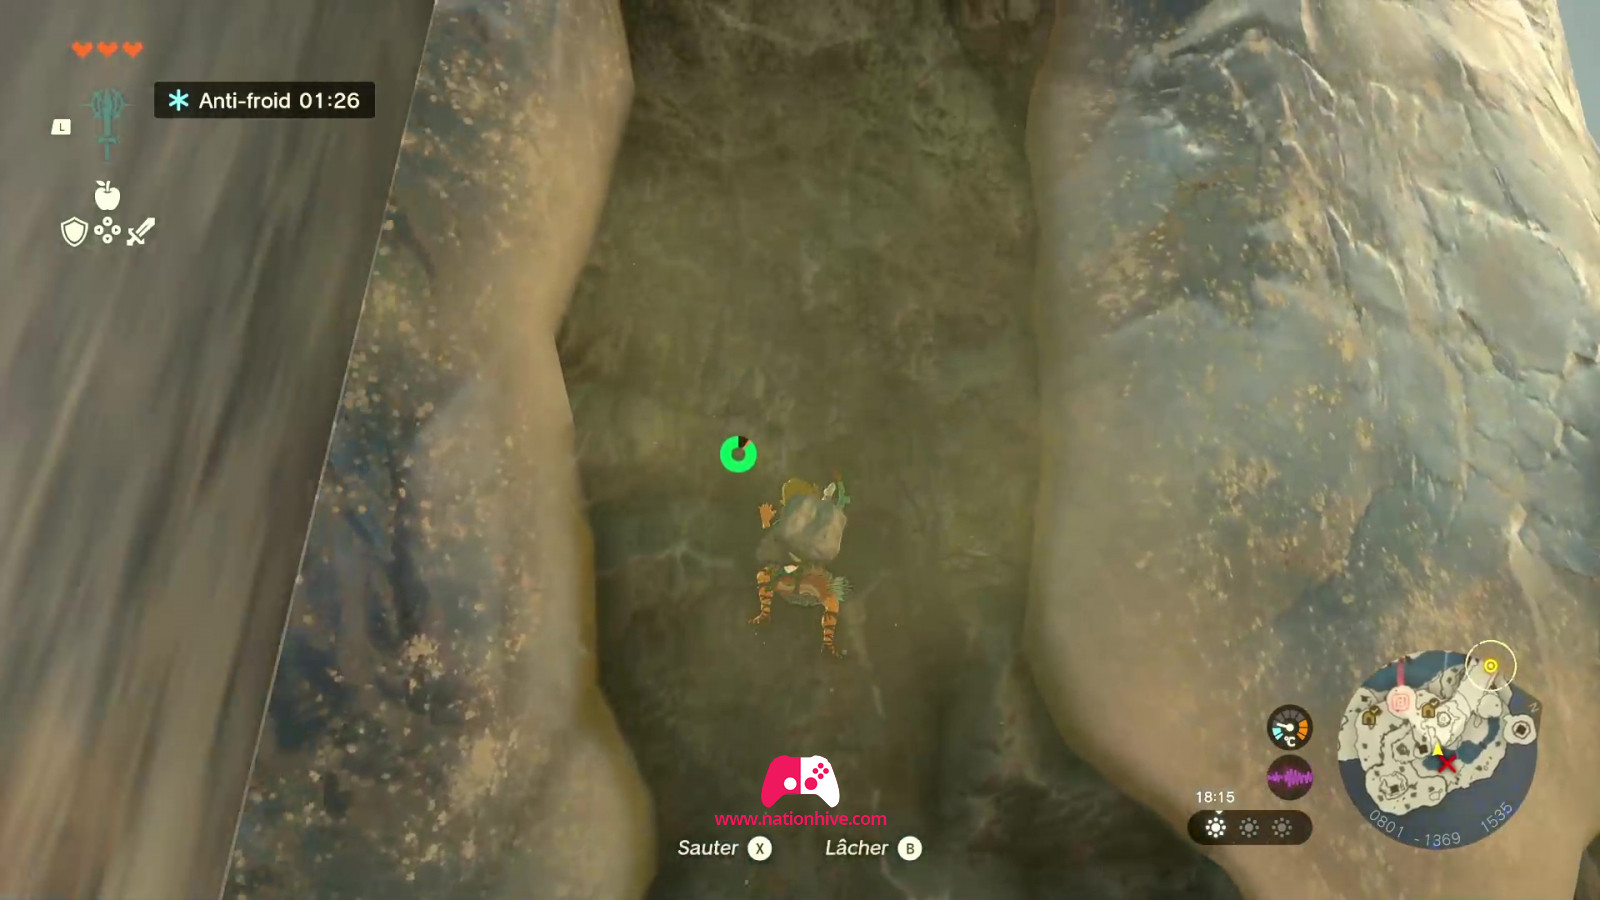
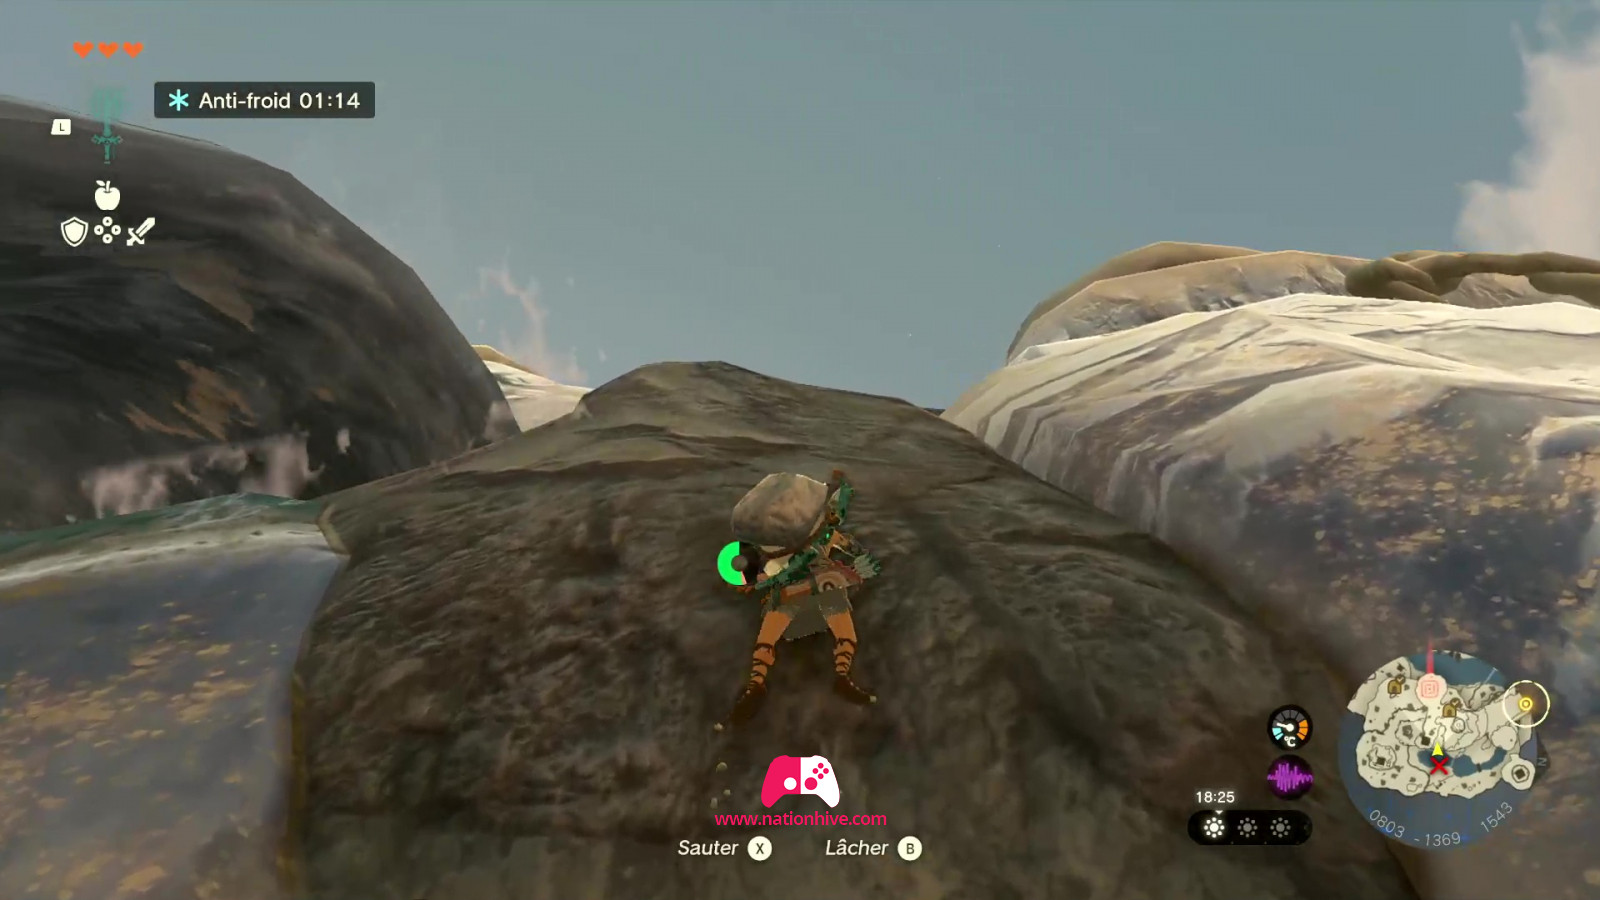
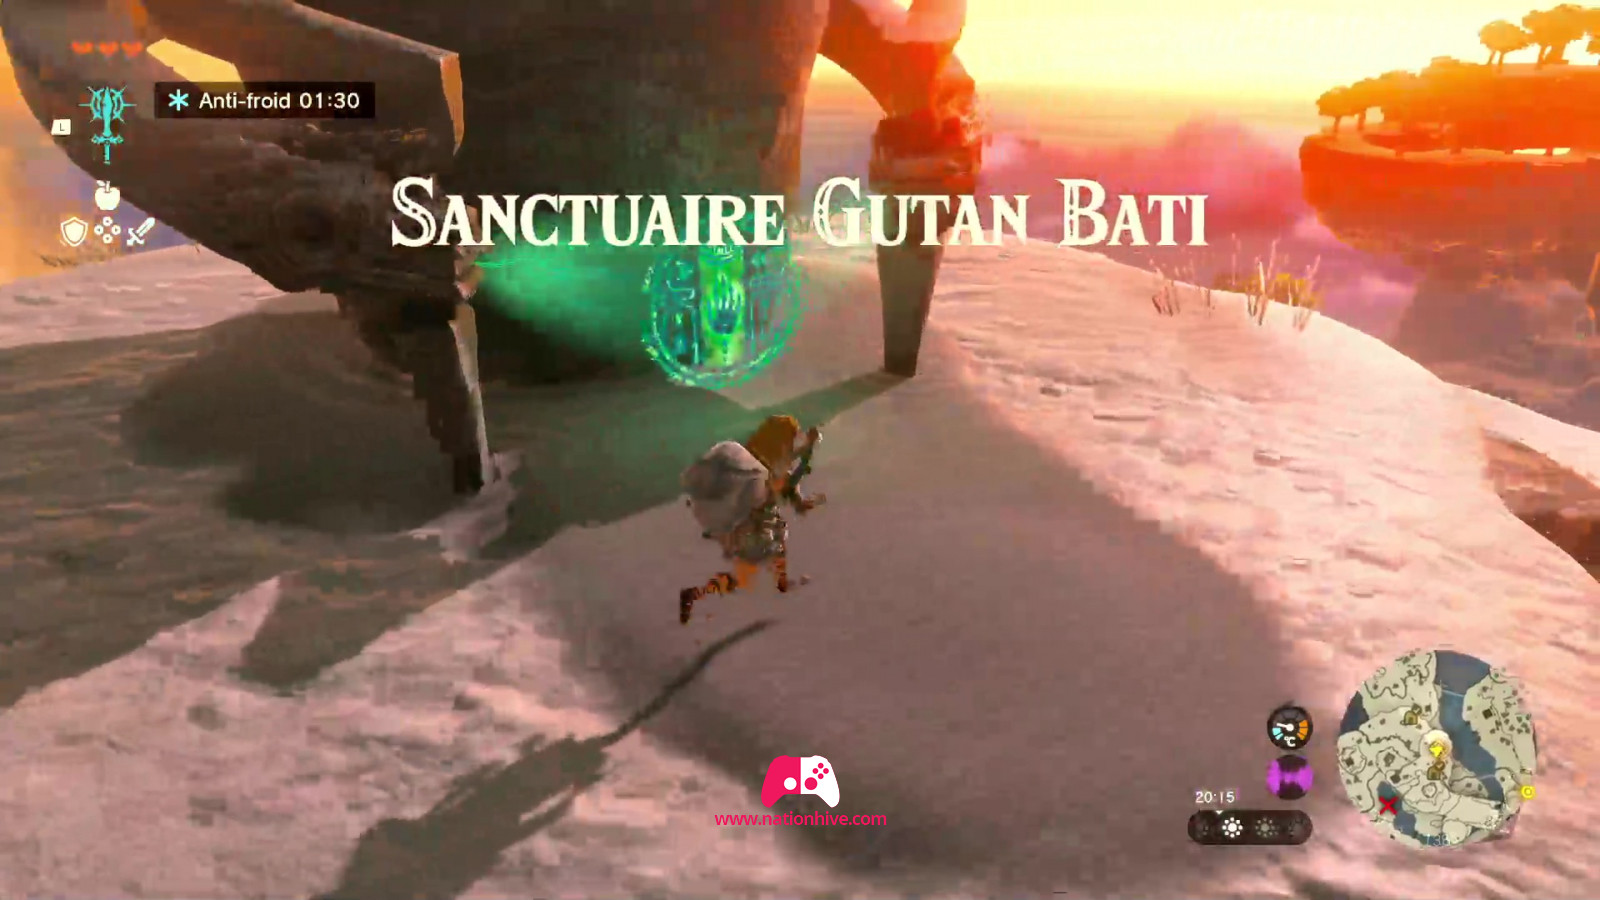
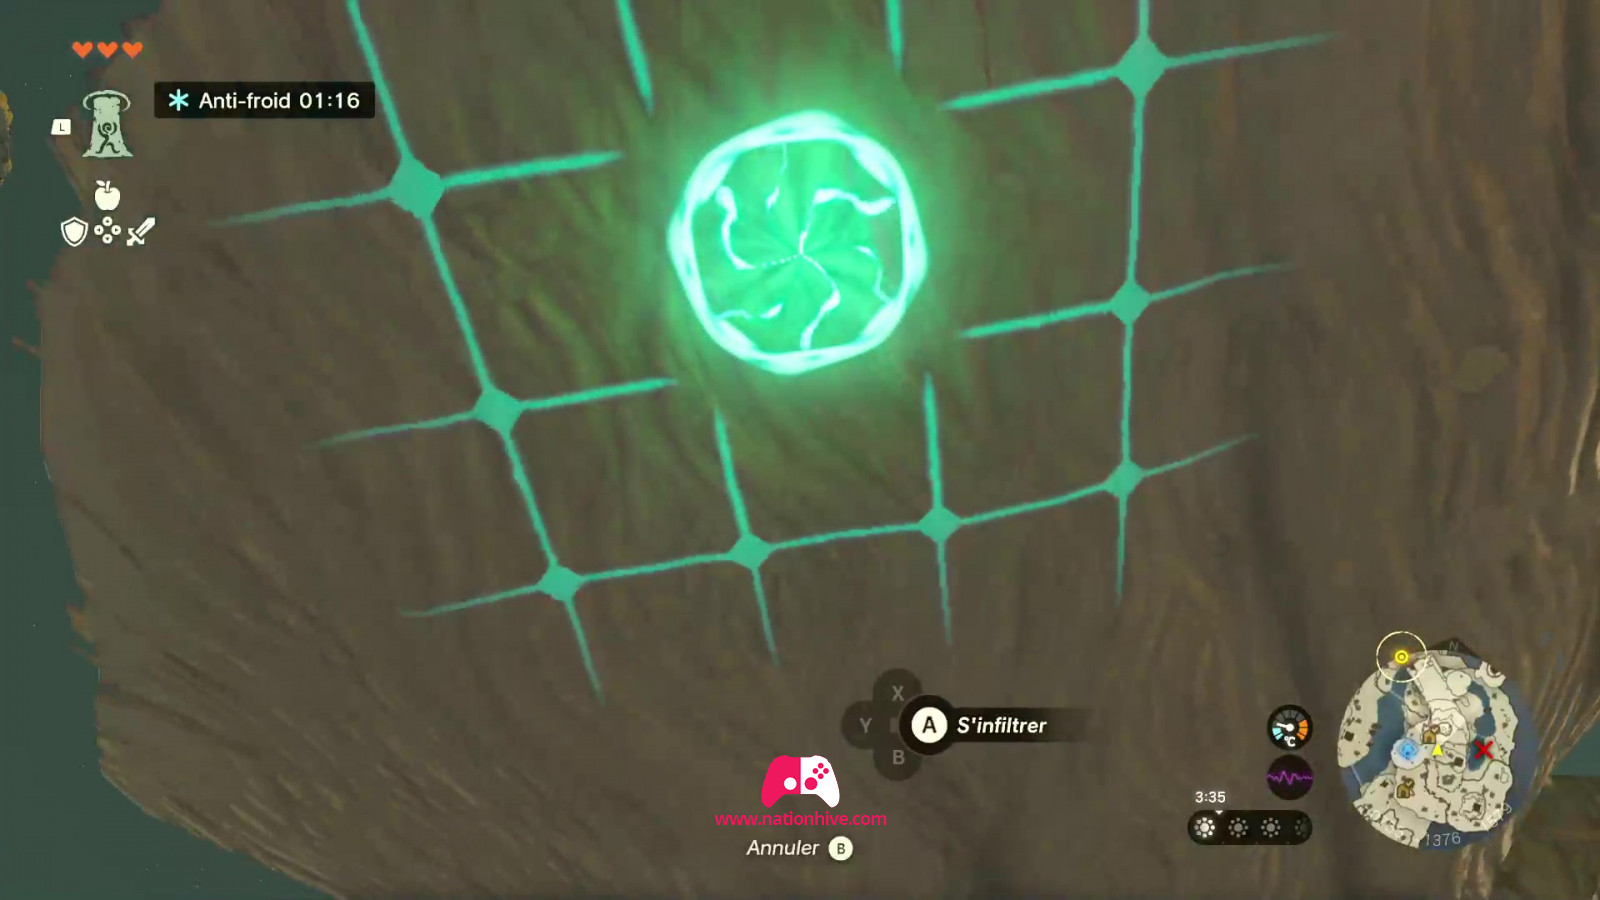
Get down and don't swim in the water! It's too cold for you! Go behind the waterfalls, there's a passageway that will allow you to climb over to the non-ice surface to the right of the falls. * Caution! Avoid jumping when climbing, as this requires too much energy. Climb normally without jumping, and you'll have enough stamina to make it to the top. Once you've reached the top in front of the Gutanbac Shrine, examine the green circle in front of you with A.
Gutanbac Shrine
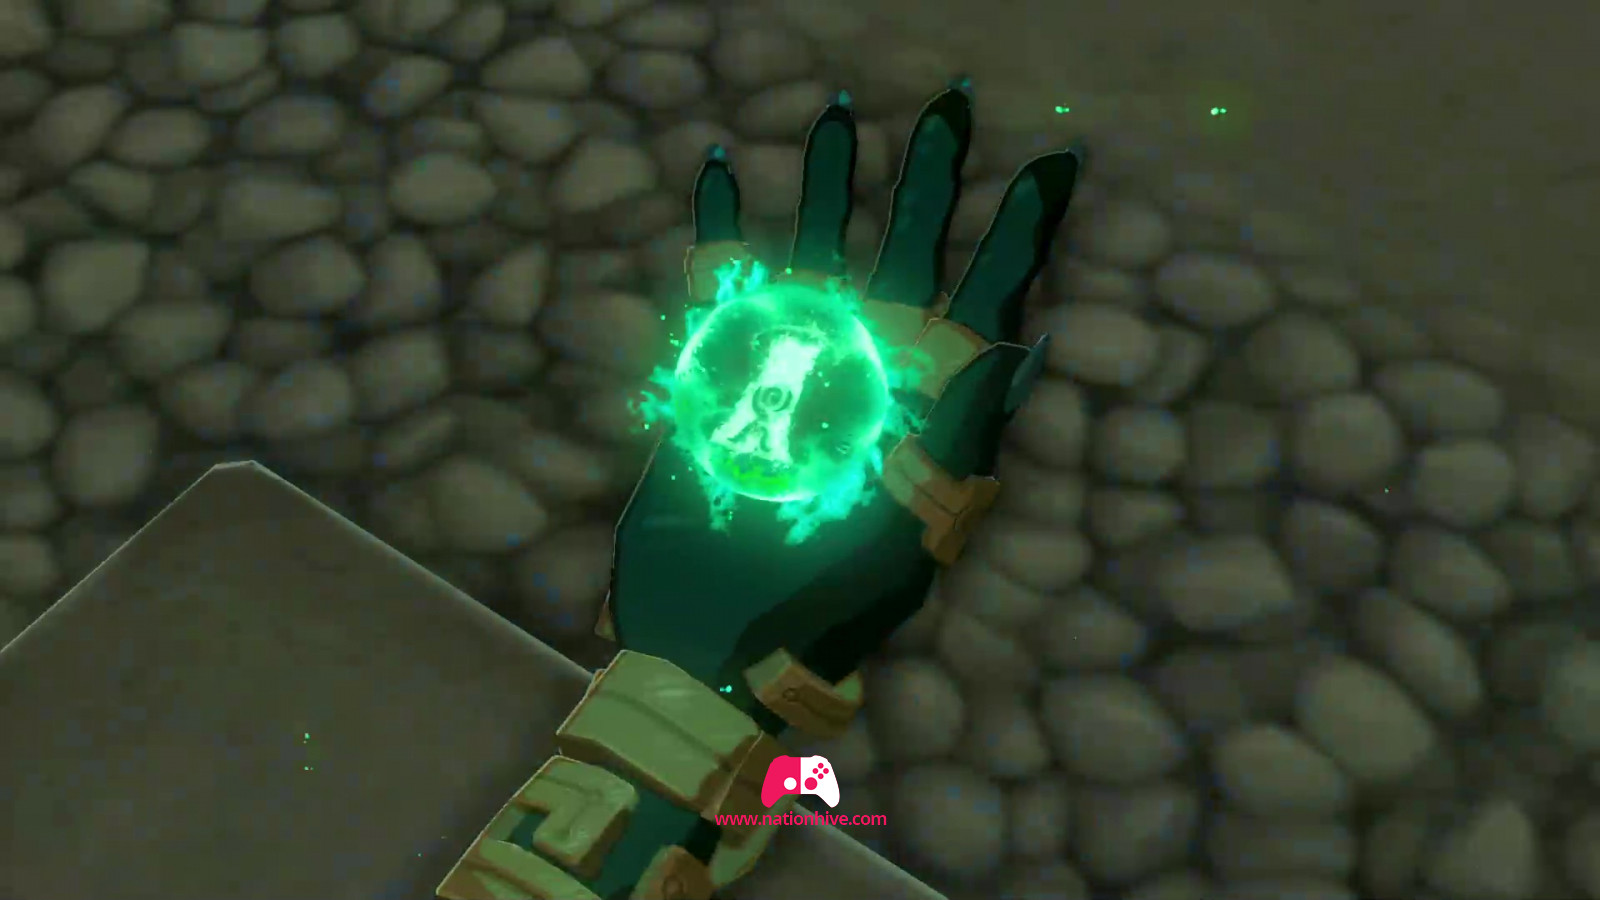

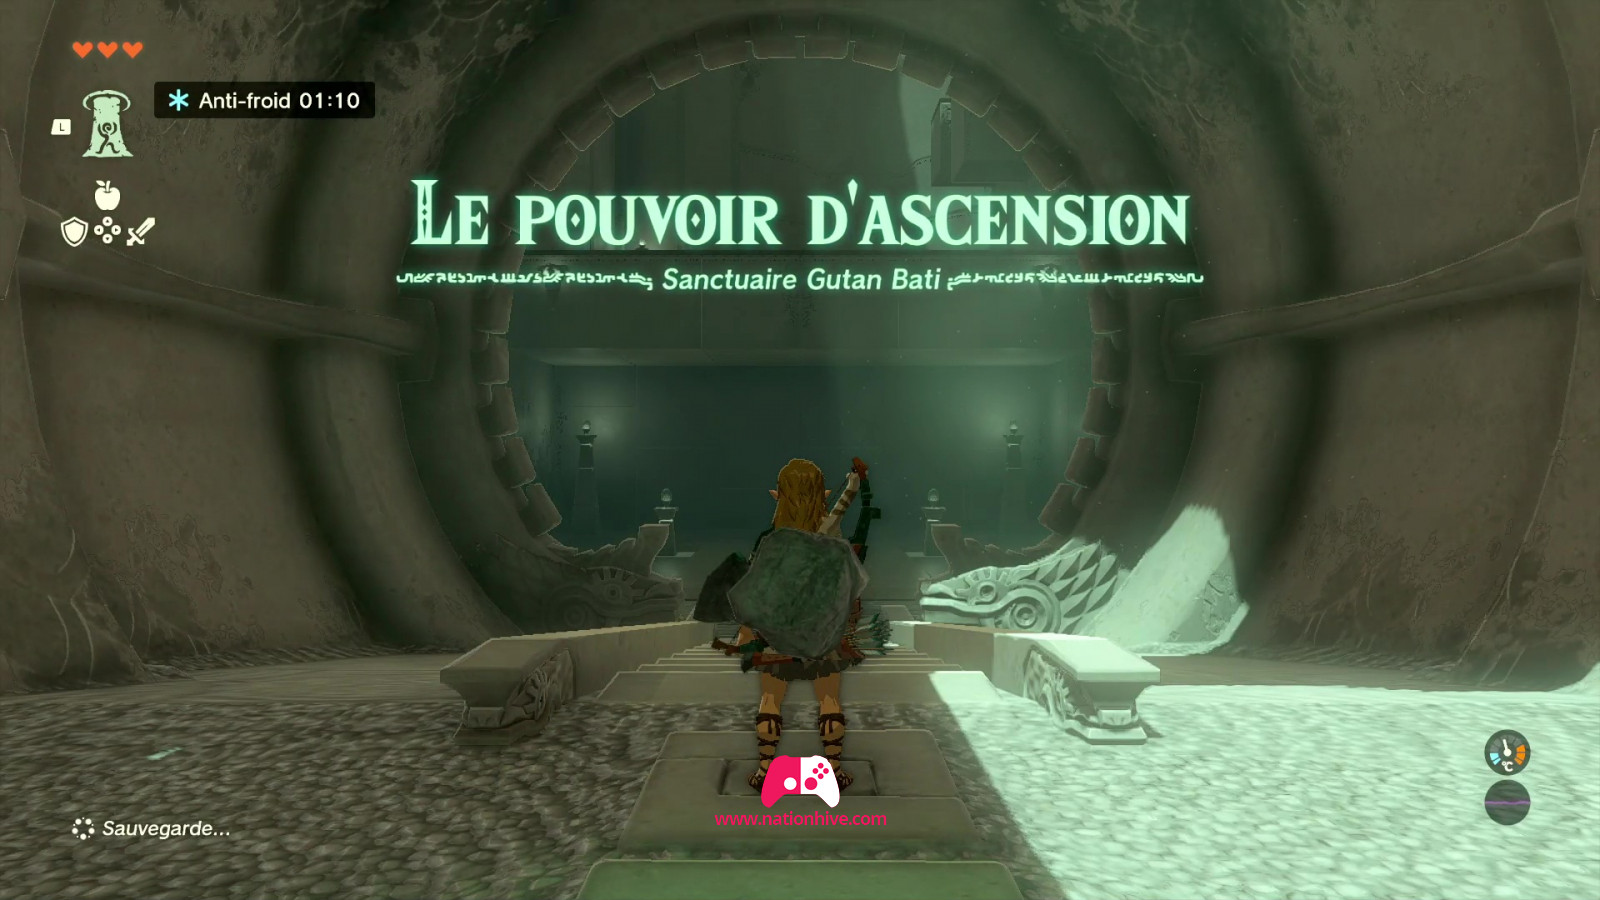
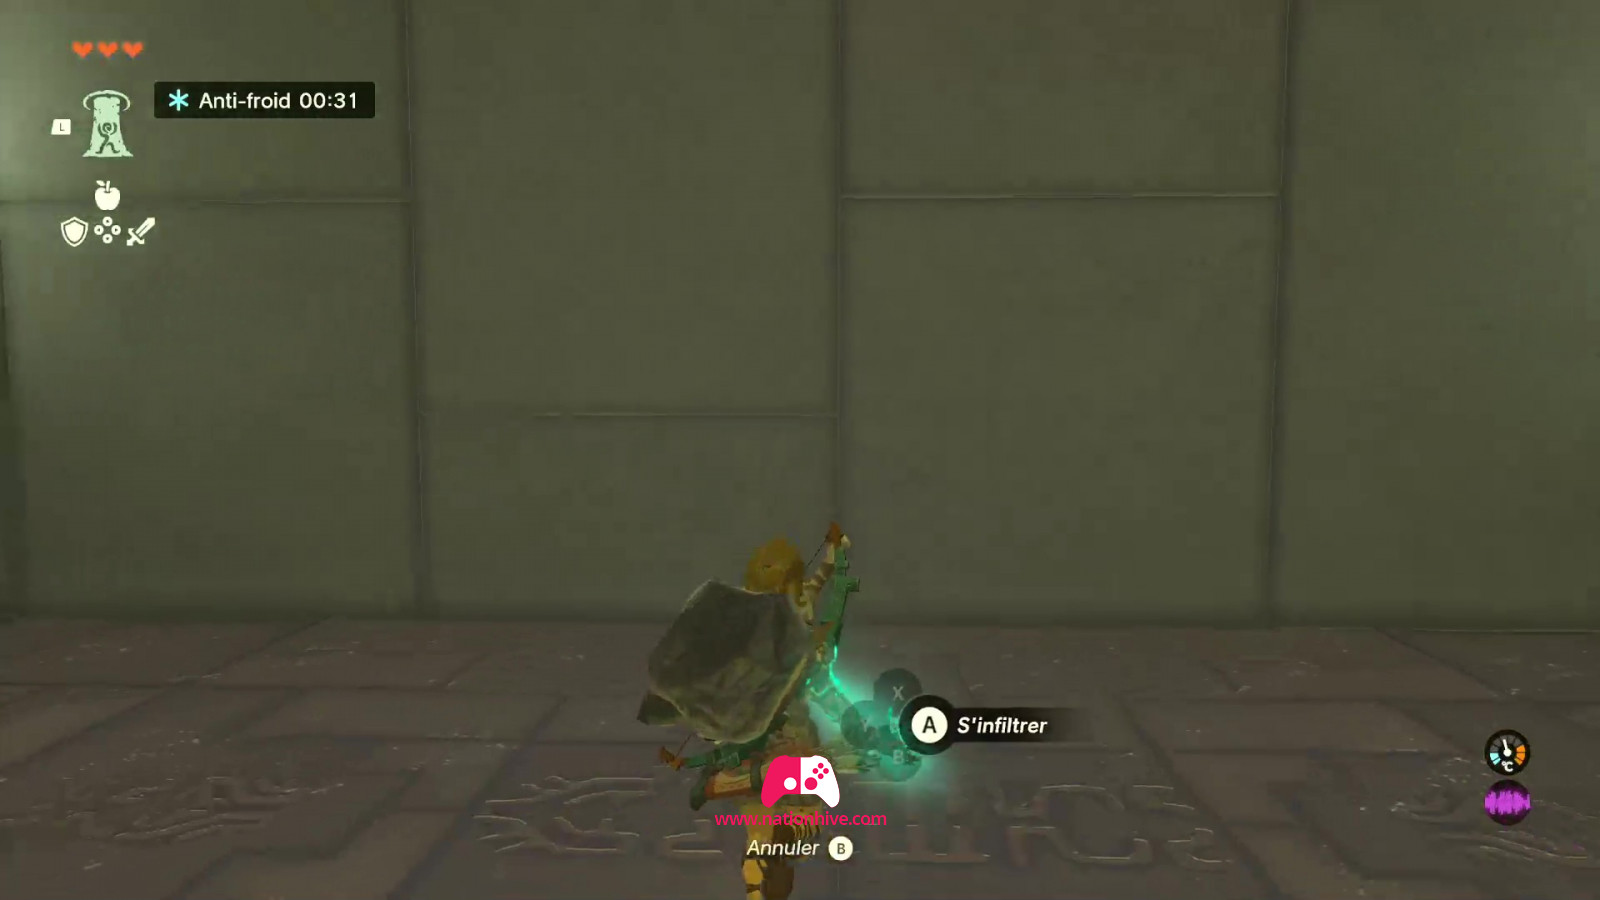
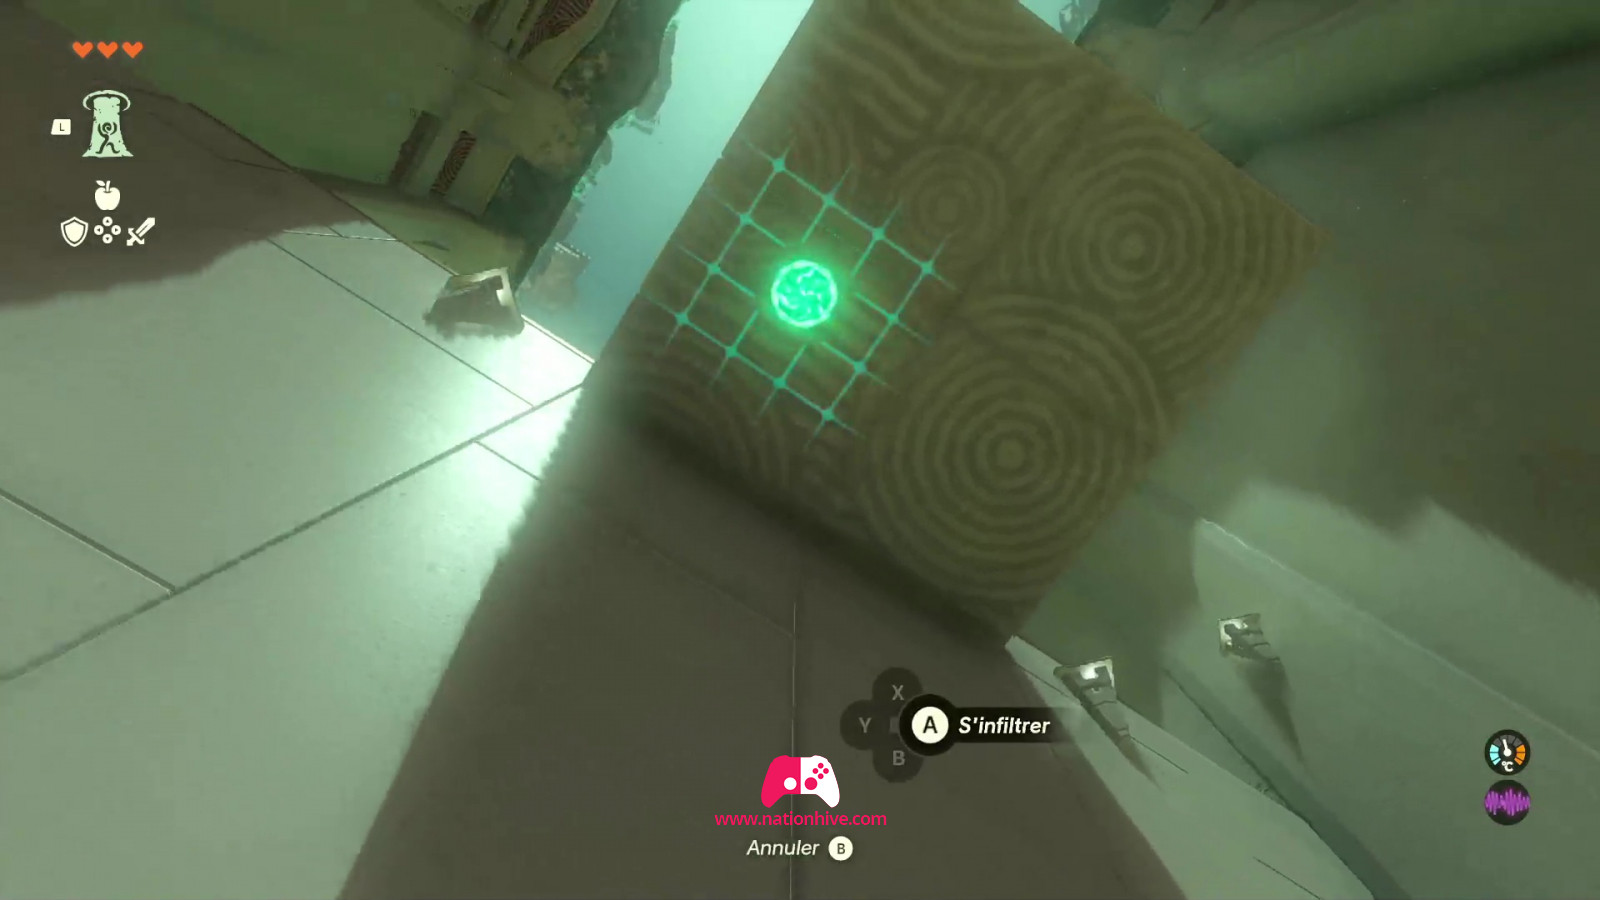
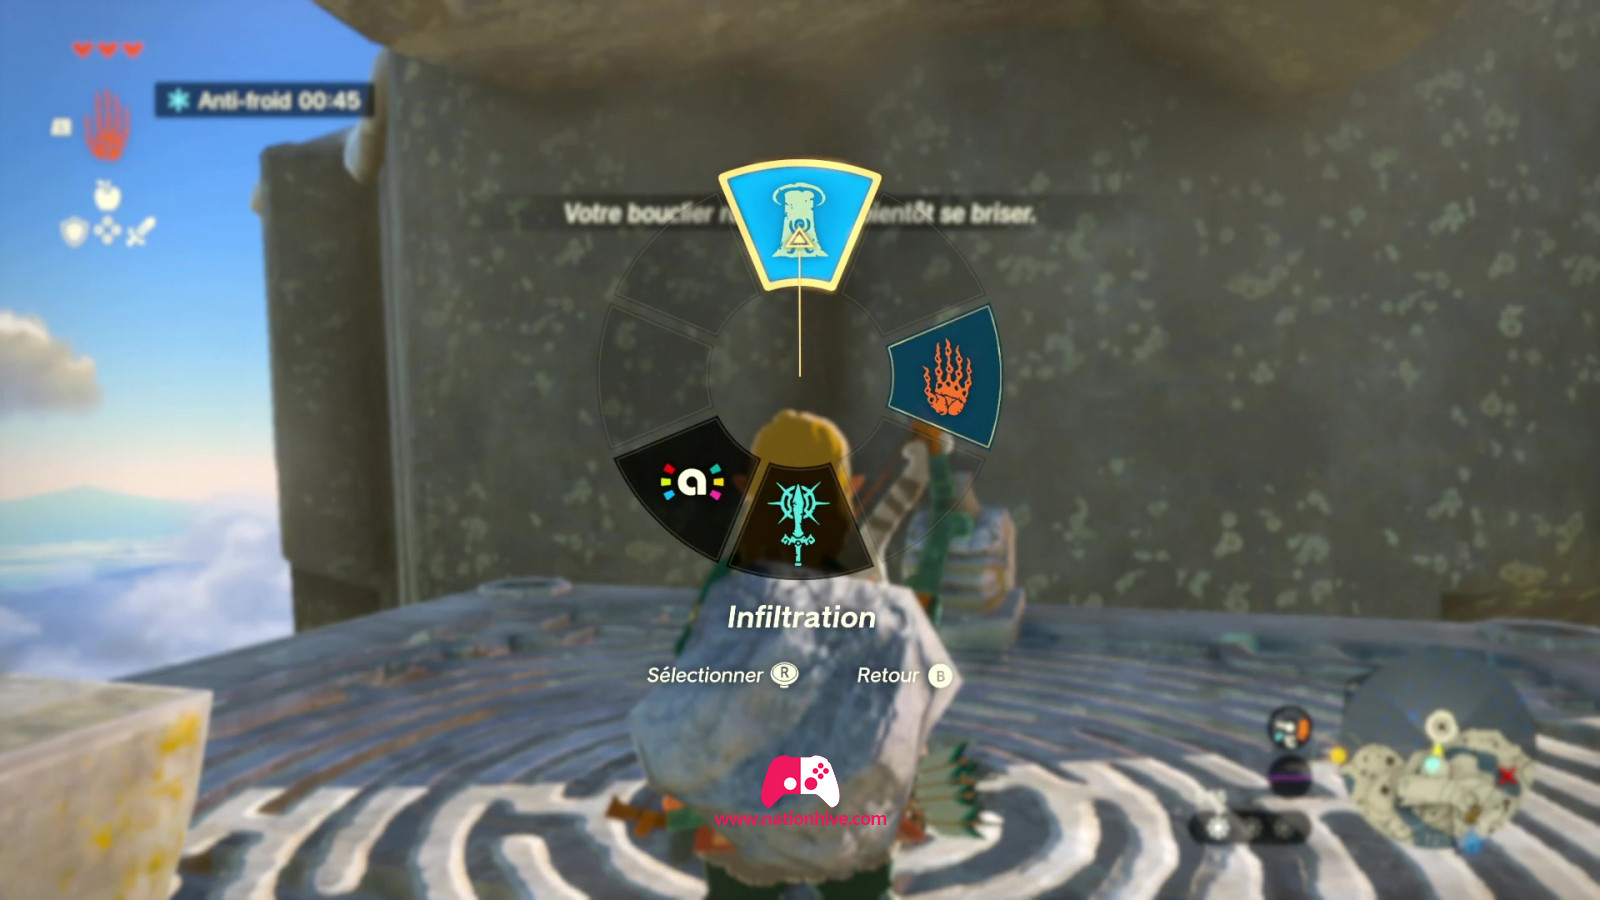
Once inside, Rauru will give you your third ability, which is Ascend. This ability allows you to jump vertically, pass through the solid structure above you and appear on the other side.
To choose among your abilities, simply hold down L and select the ability with Stick de droite.
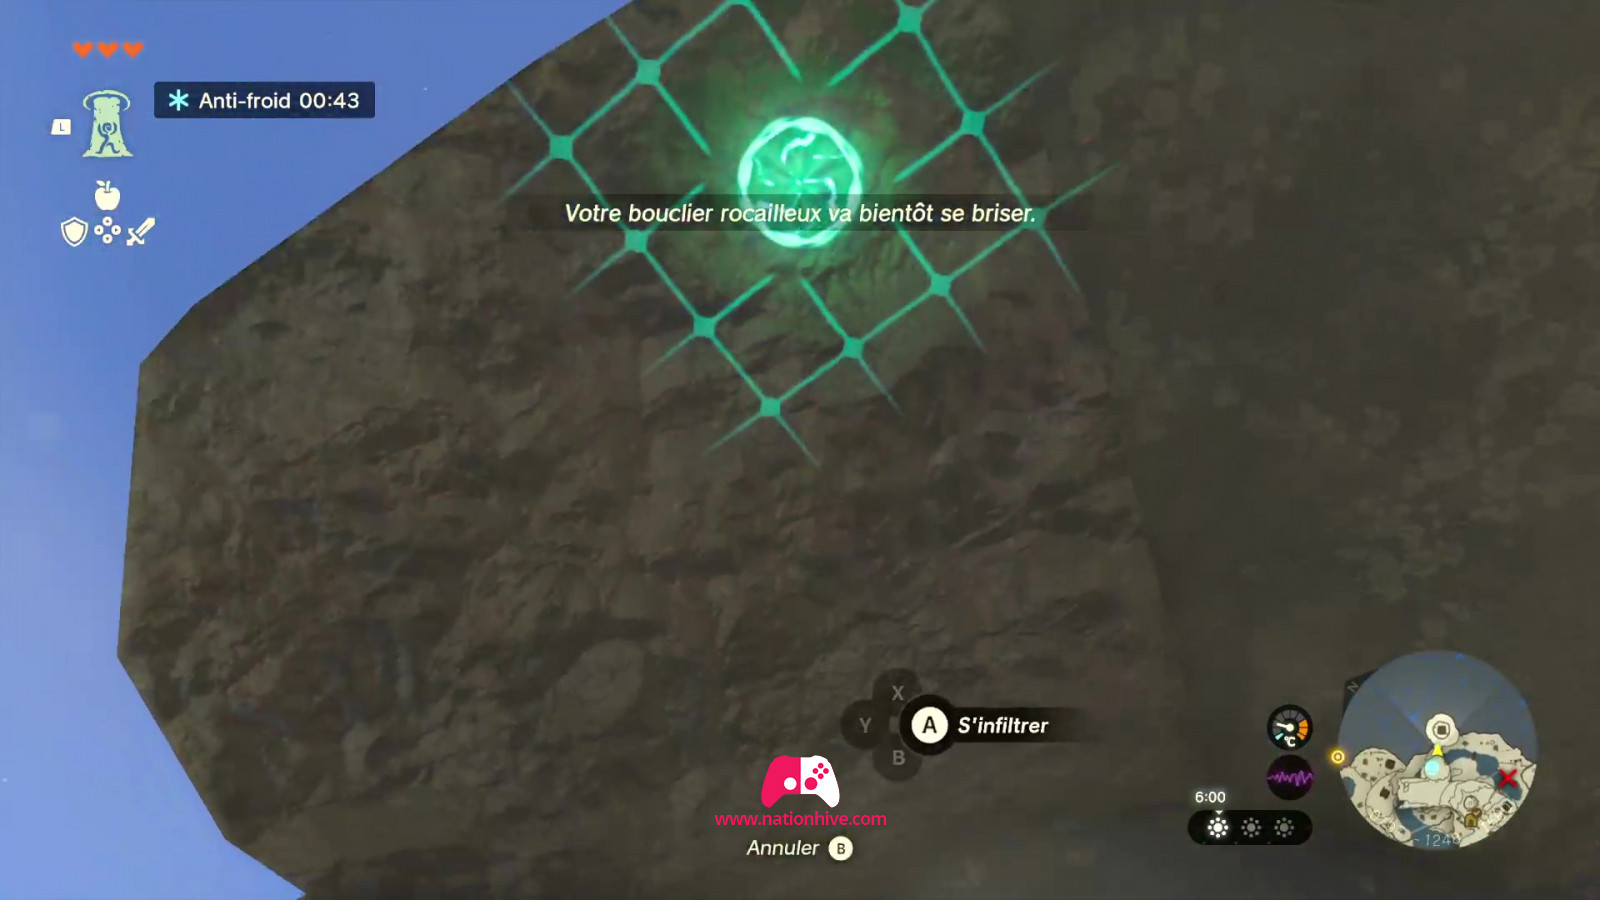
As you move forward in the room, use your brand-new ability with the corresponding controls to infiltrate the platform above you.
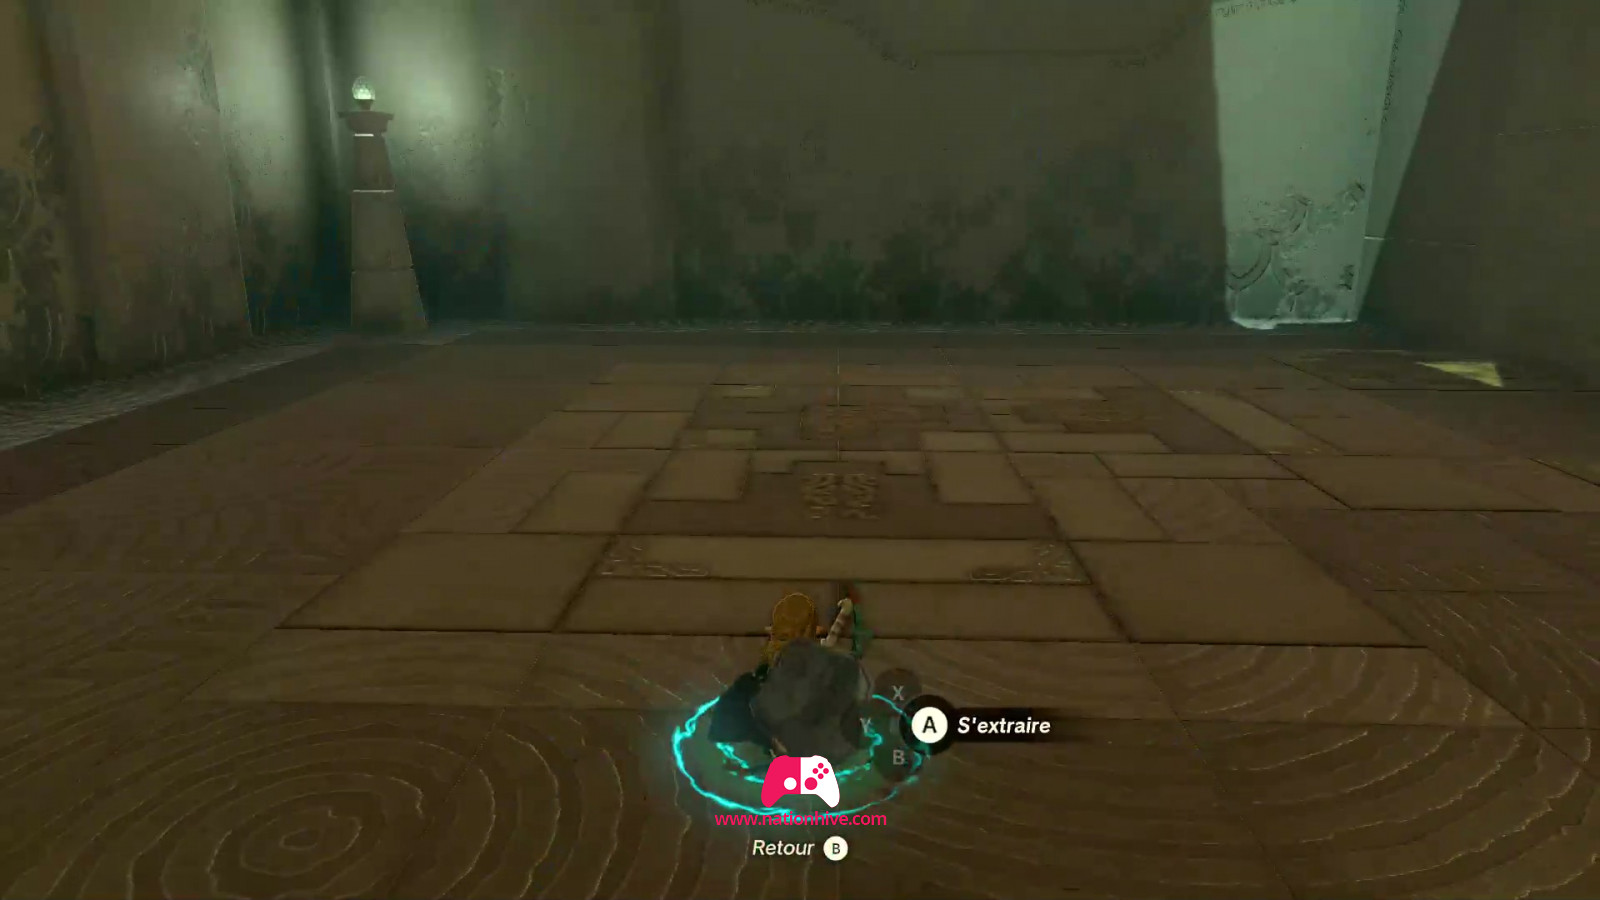
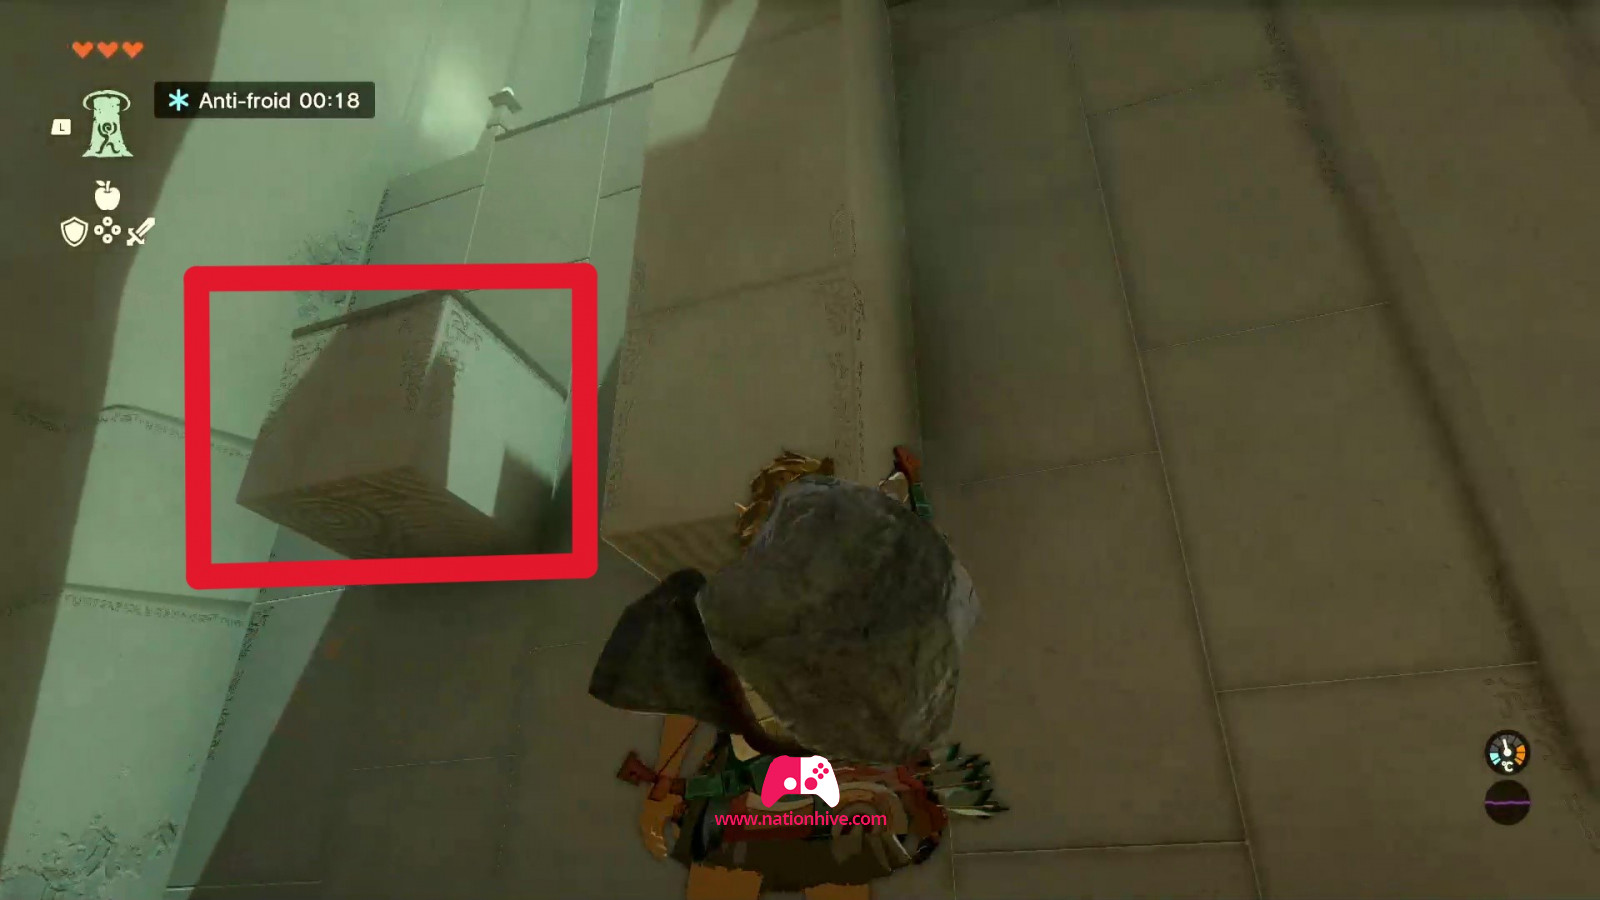
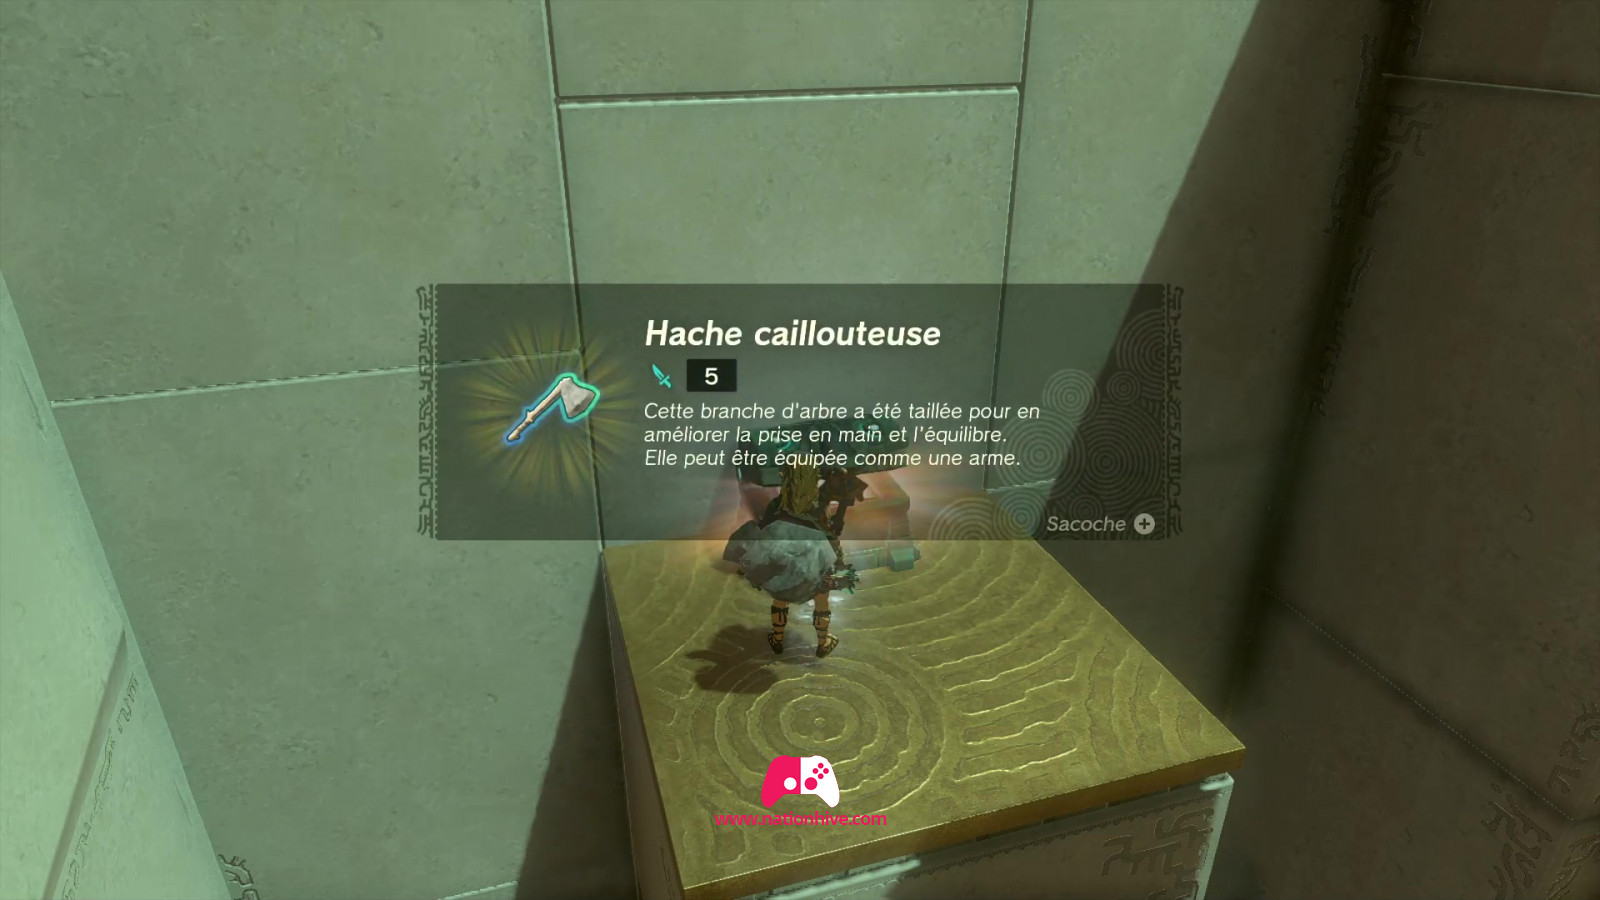
Once you've reached the top of the first platform, you'll see 2 smaller platforms, with a chest on the left one. Open the Chest to receive a
Stone Axe. Return to the bottom to infiltrate the other platform on the right and move on to the next stage.

You'll be facing a Soldier Constructs. To defeat it, use your arrow bow to attack it from a distance. Once the enemy has been defeated, collect the resources and use the weapon to destroy the wooden planks to your right. Ascend and open the chest to receive a Construct Bow.
Return to the bottom and use your weapon to break the ropes holding the platform in place. The platform will fall away, allowing you to infiltrate through it.

For the next stage, you'll be faced with moving platforms. All you have to do is sneak in at the right moment to reach the top.
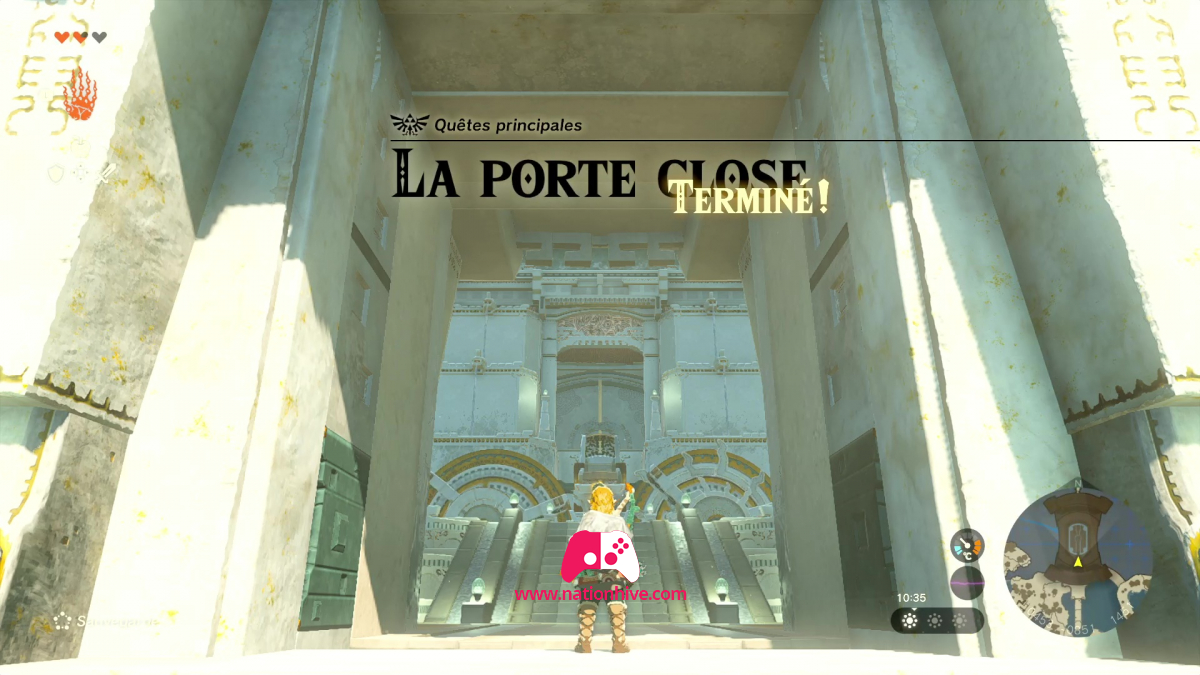
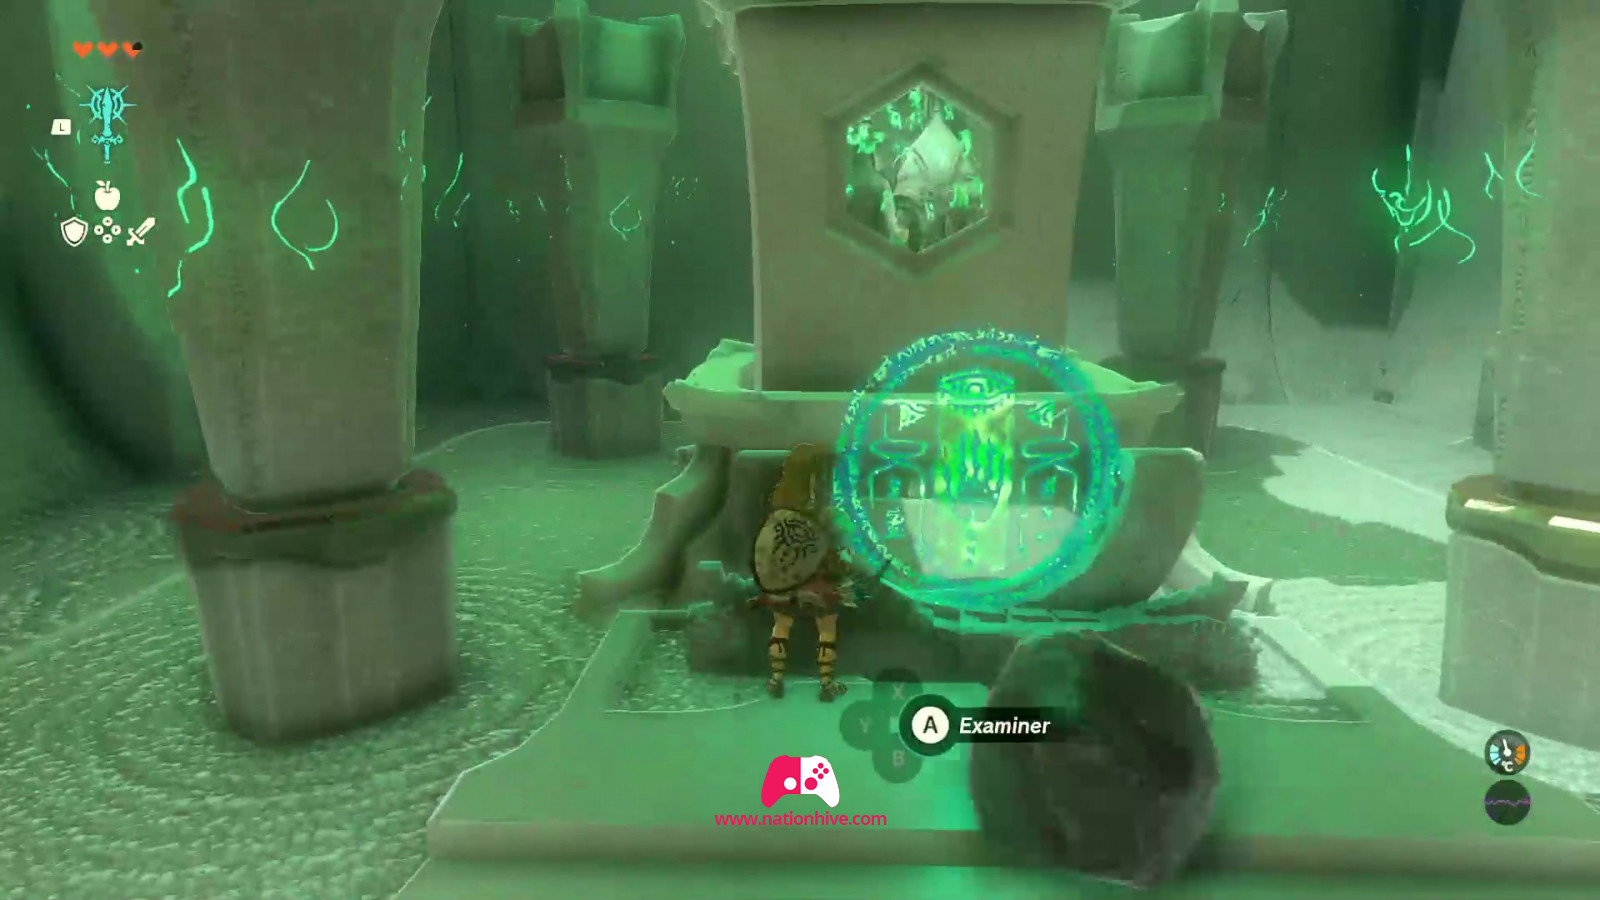
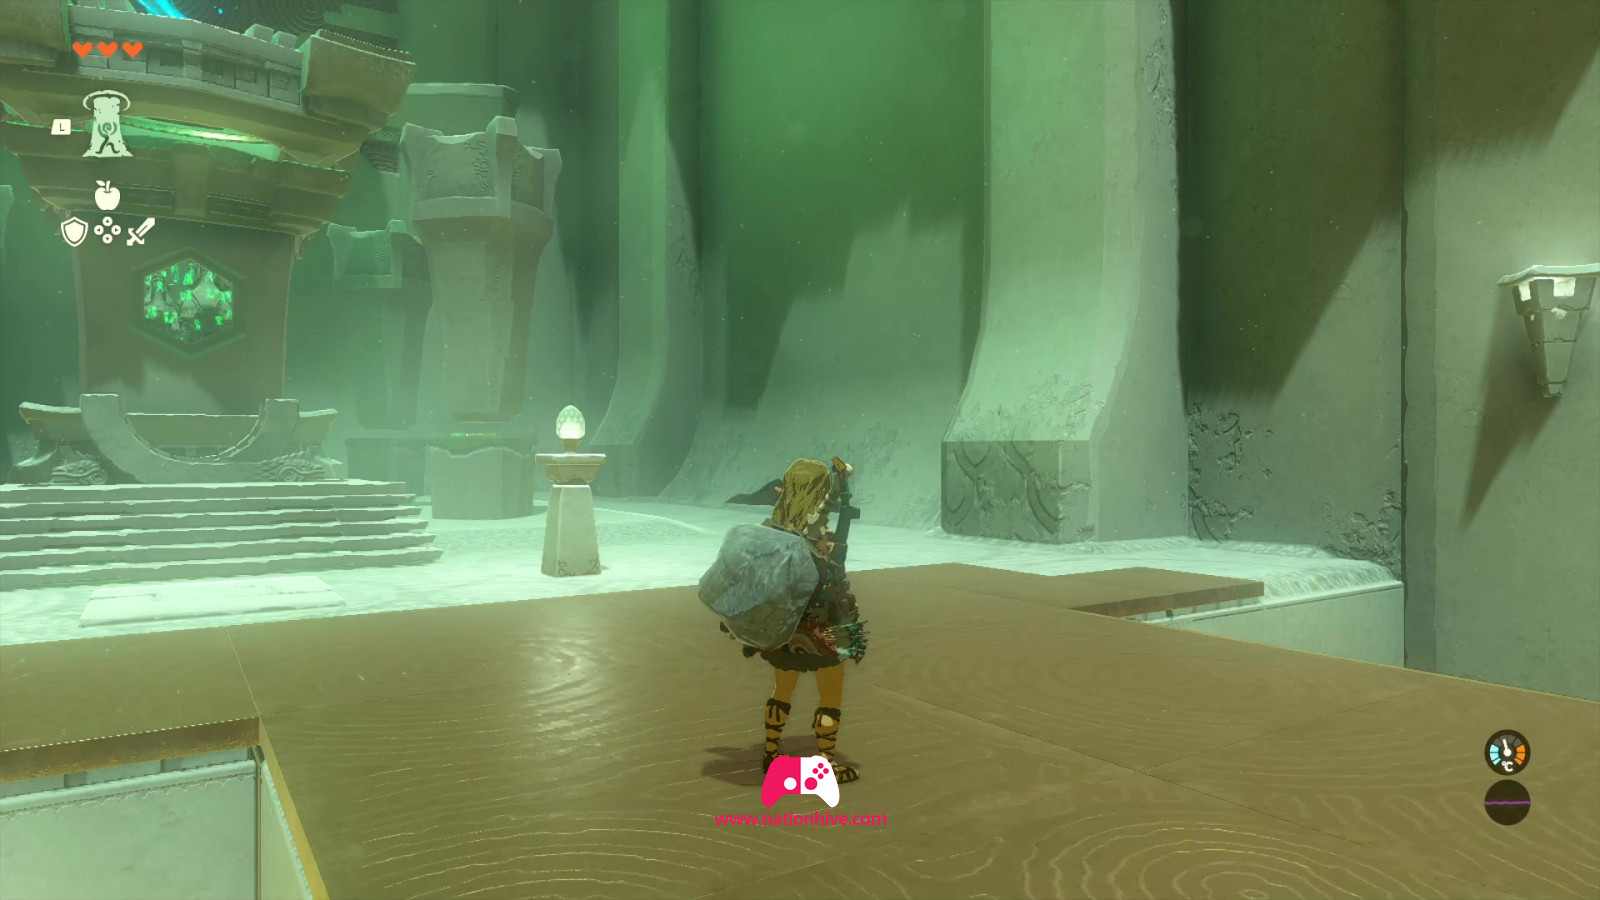
At the top, use A to examine the green circle in front of you. A statue of Rauru will offer you a Light of Blessing and your life bar will fill up. As you exit, Rauru will inform you that you can now open the door to the Temple of Time. Head for it, and don't forget to collect the resources along the way.
* BONUS. Just outside the Gutanbac Shrine, you can see a wooden platform. Use your new Ascend ability to climb up. You'll find a Zonai Charges and a chest. Open it to receive Archaic Warm Greaves and equip it to increase your resistance to the cold.
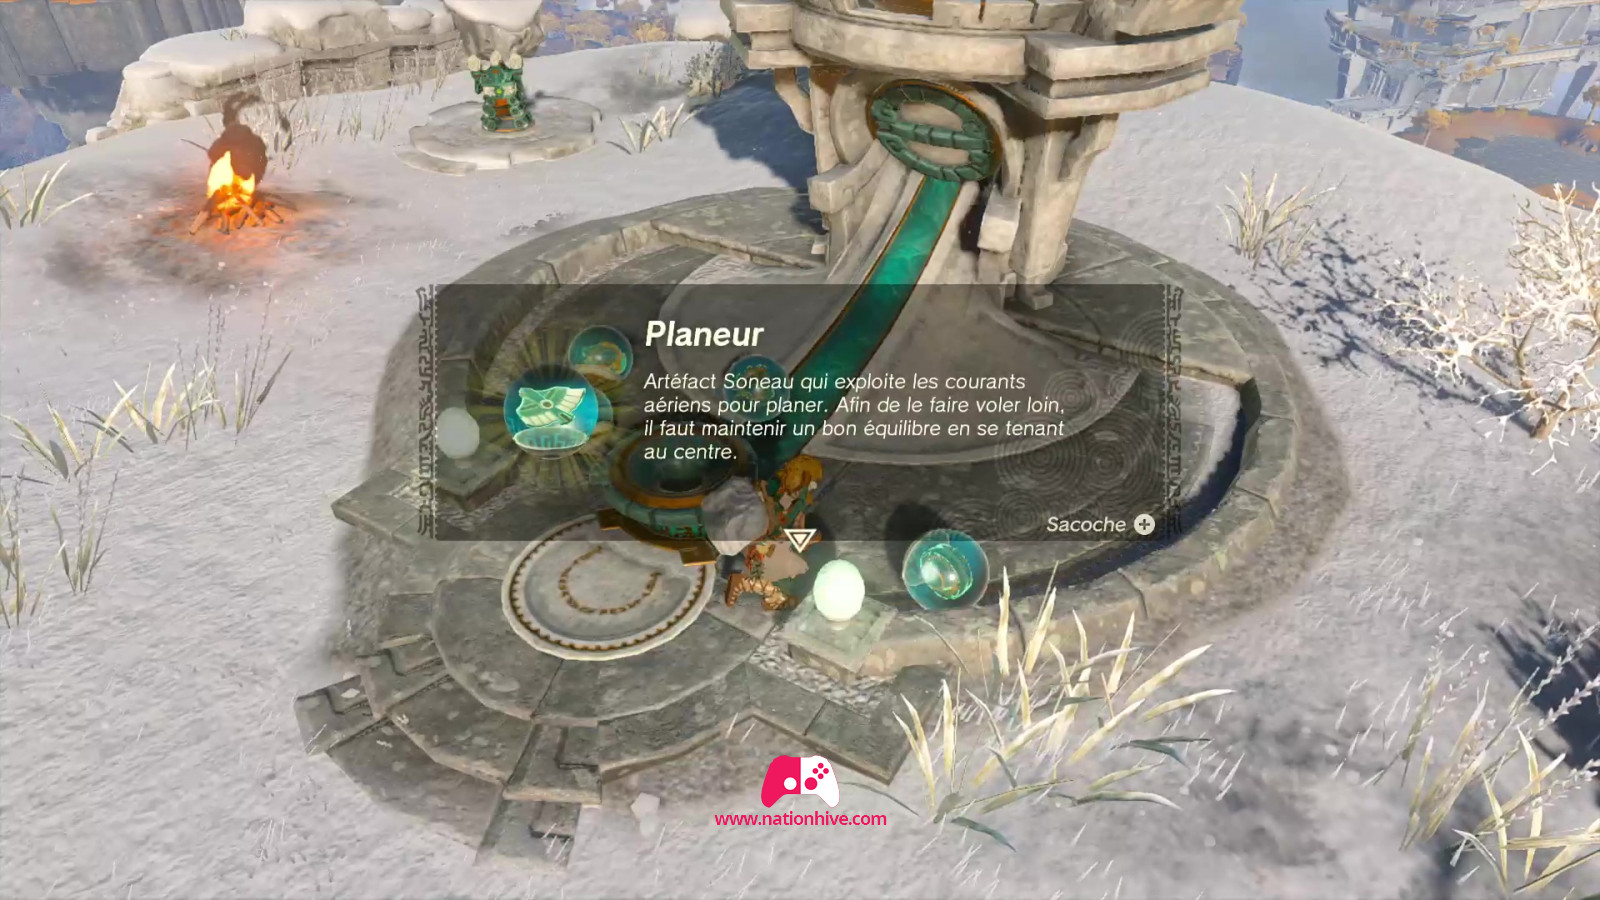
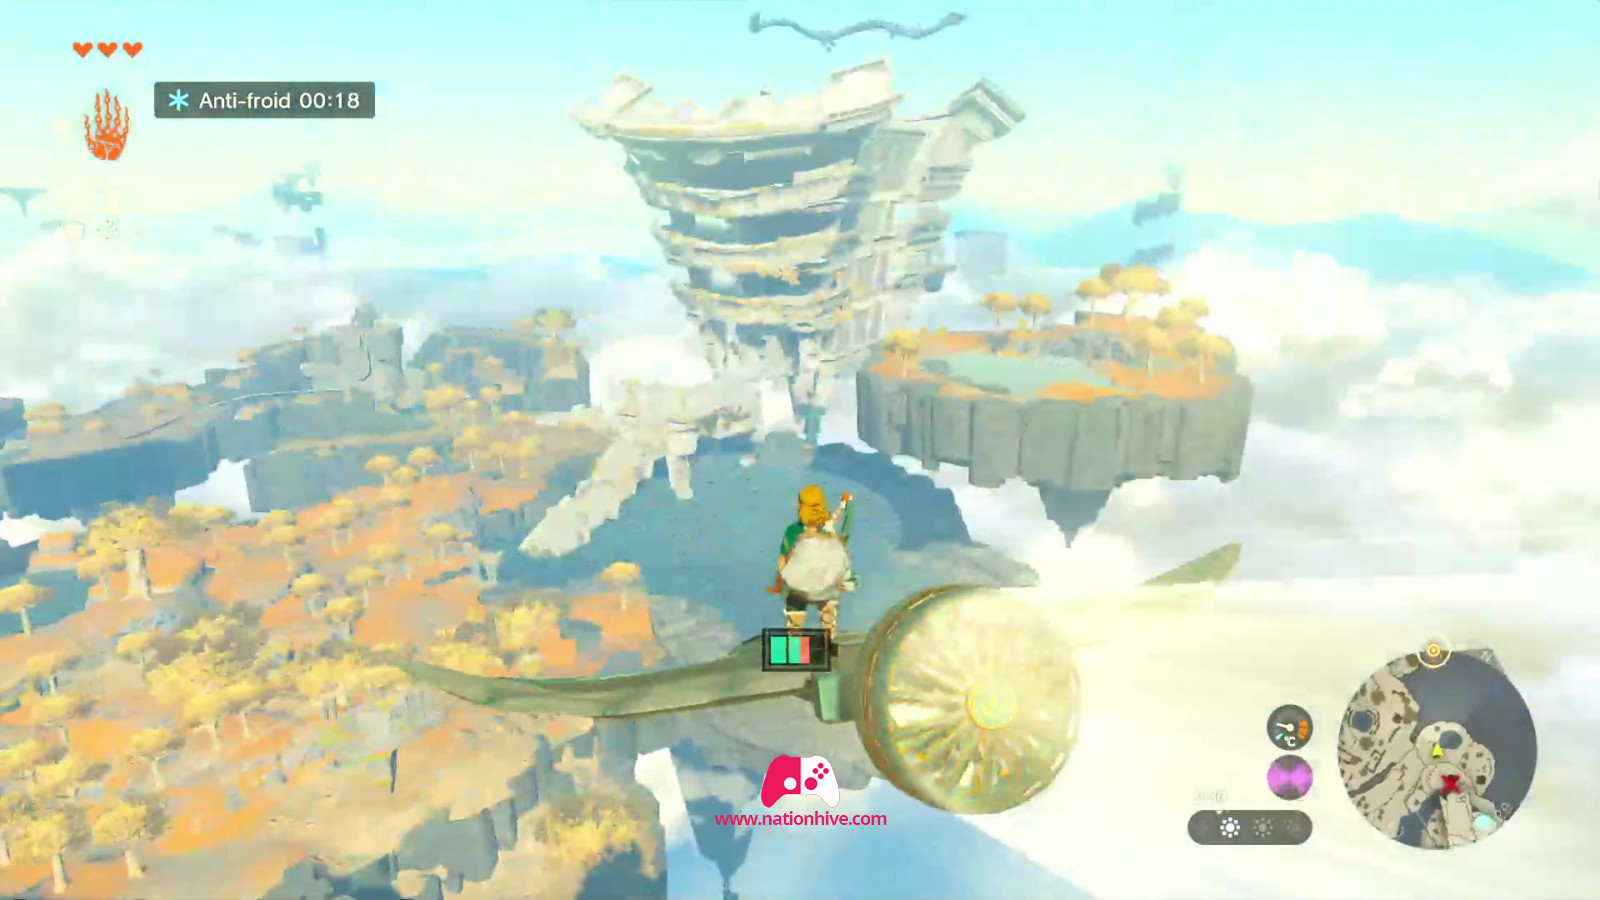
To get to the Temple of Time more quickly. Head for a large platform with several Wing gliders. Rauru is near the stairs leading to a dispenser that provides Zonai Devices, which you can use to store more Fans, Portable Pots and Wing gliders, which are an excellent way to move between islands, as they enable you to fly.
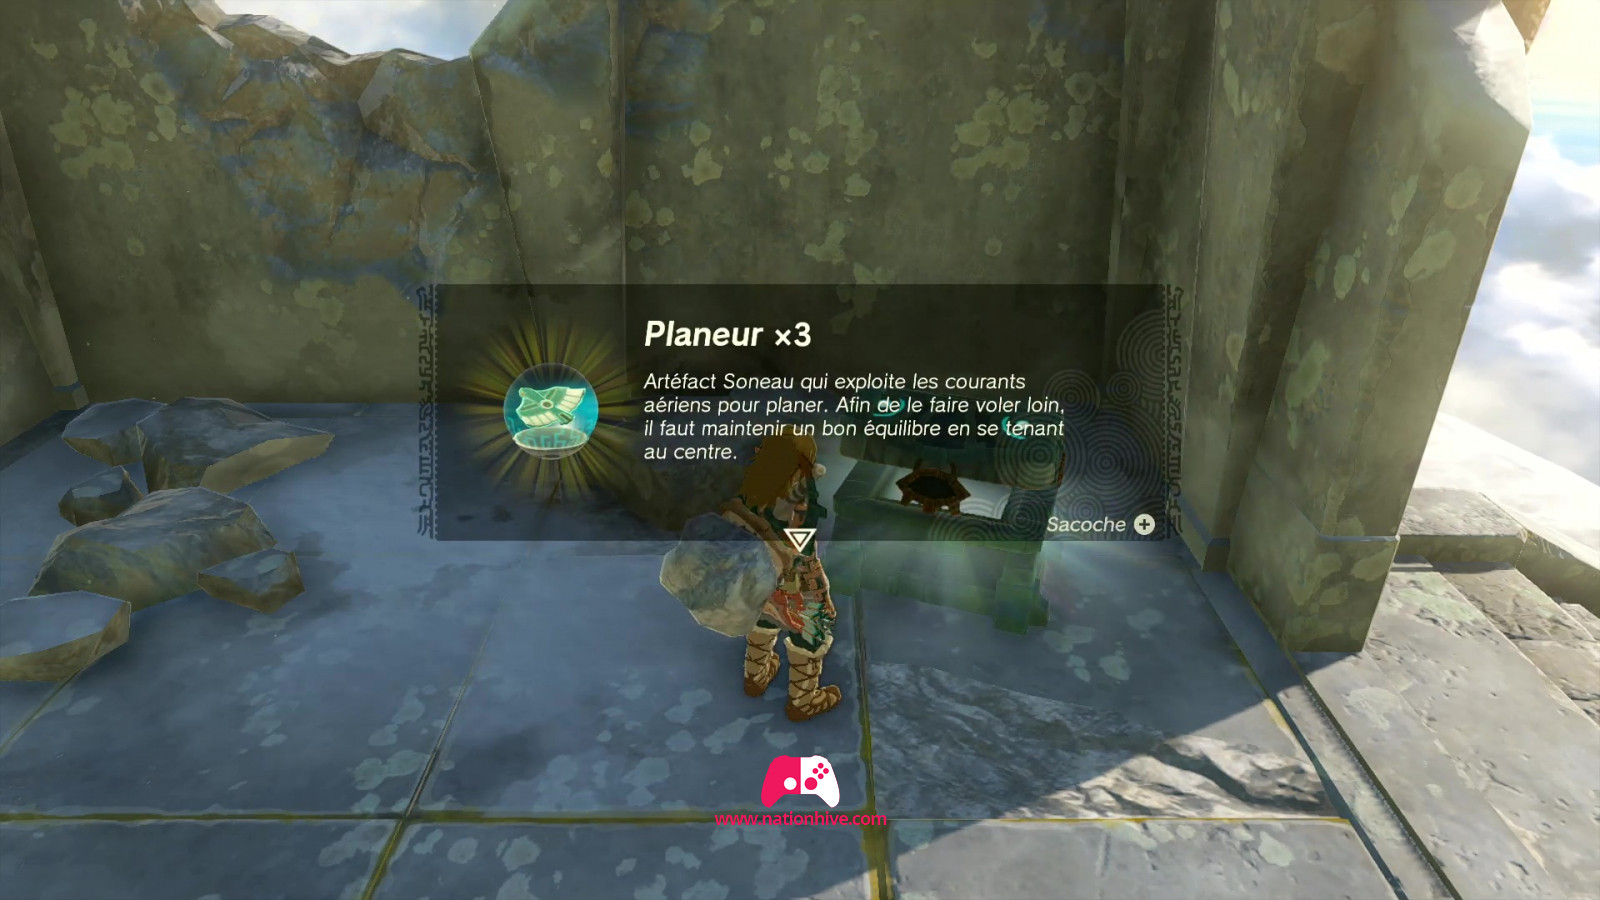
Before descending, you can retrieve a chest by moving a floating platform using Ultrahand and ascend using the Ascend ability. Collect the Zonai Devices and the chest containing 3 Wing gliders.
Return to the large platform with several Wing gliders. Use your Ultrahand ability to stick a fan behind a Wing glider. Quickly climb on and activate the fan. Once in the air, you'll find that Link's weight can be used as a counterweight to guide the direction of the Wing gliders. By standing in the center of the glider, you can even it out to glide straight down with minimal descent. Walking towards the nose will make it dive at a steep angle, and walking on either wing can turn it left or right.

The Closed Door main quest comes to an end, making way for your next main quest in Zelda: Tears of the Kingdom - Find Princess Zelda - Part 2.