The Path to Hogwarts
In this walkthrough for Hogwarts Legacy, we'll give you the complete tutorial for the main quest: The Path to Hogwarts.
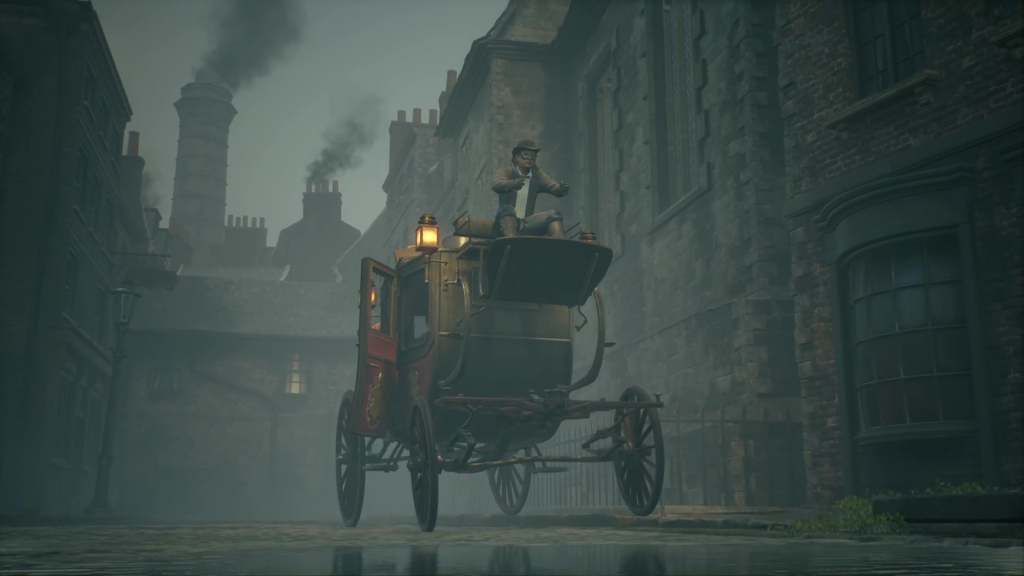
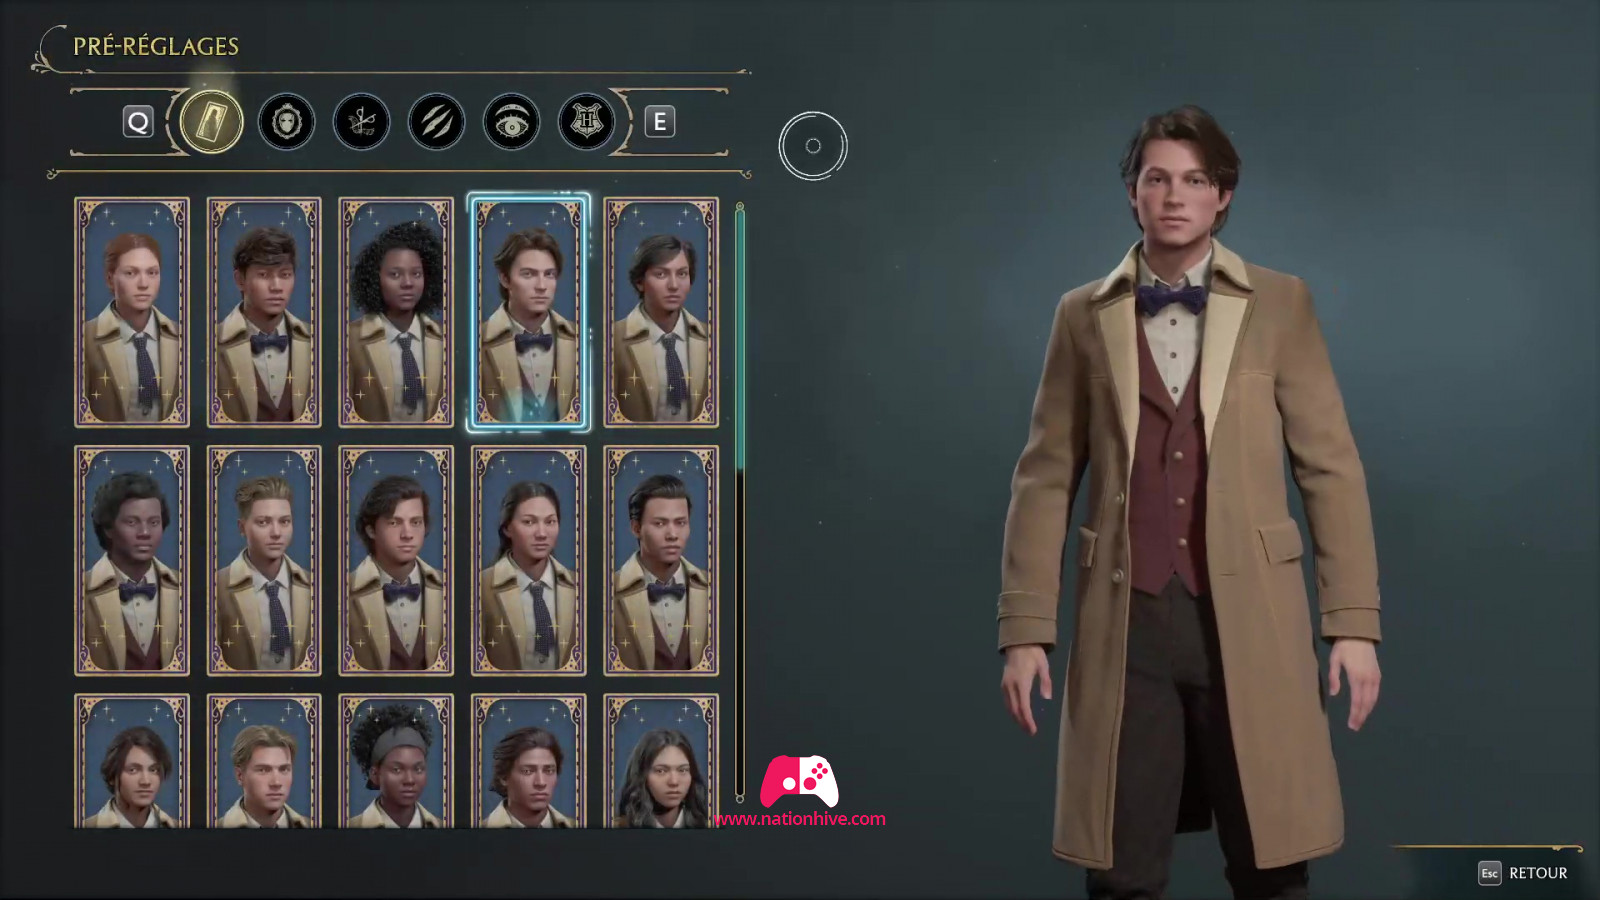
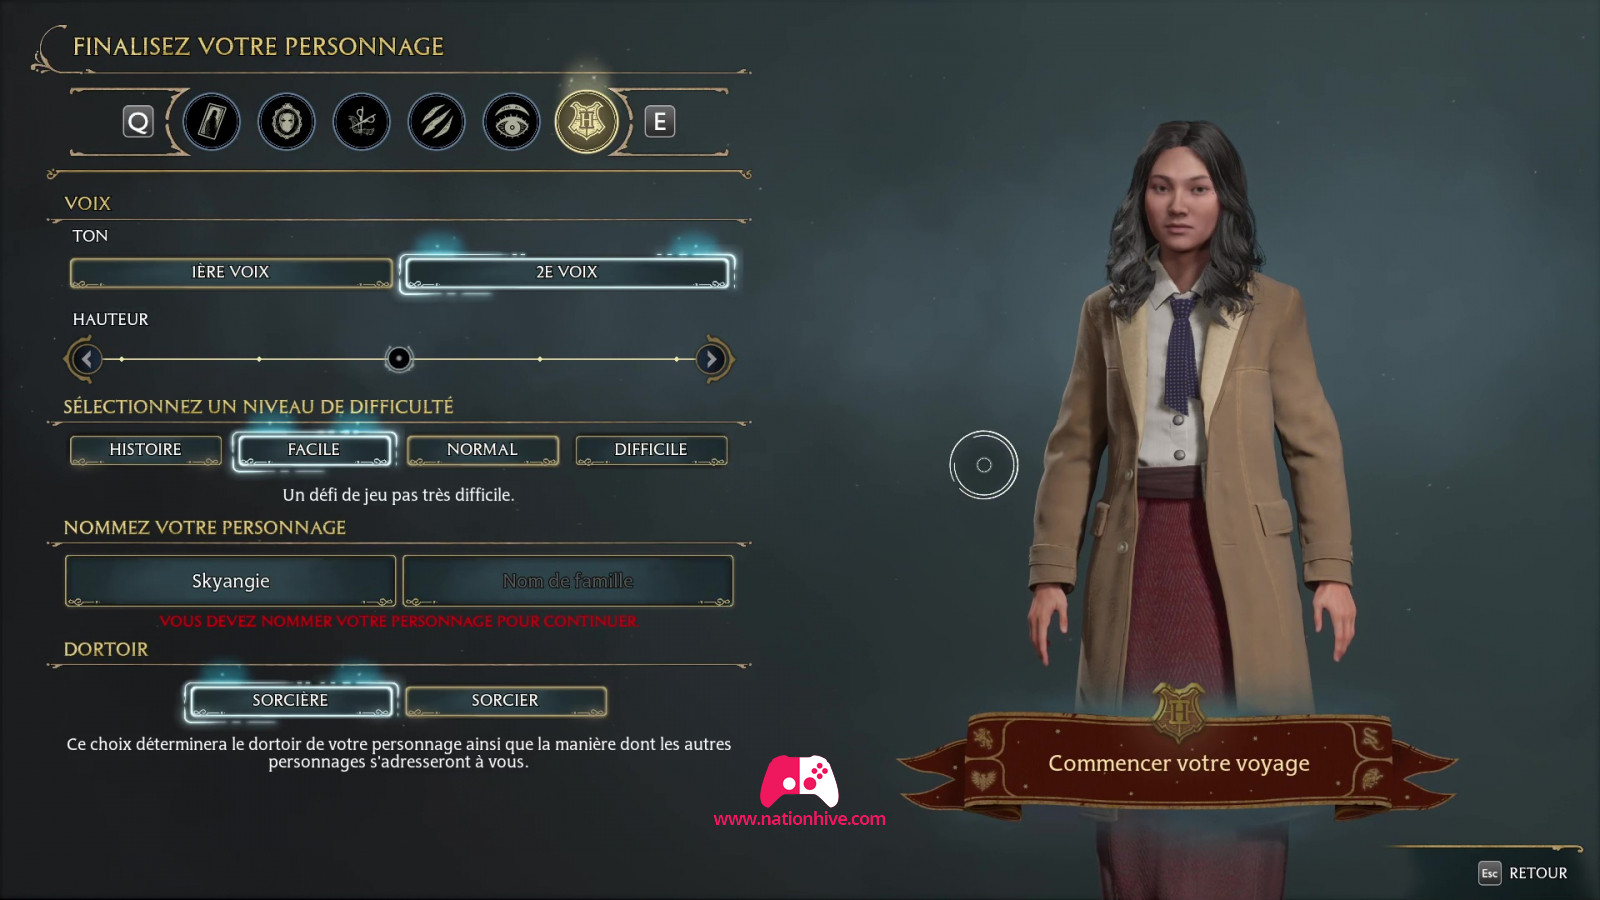
Once you've created your character and chosen your settings, the moment you press: Start your journey. You're about to set off for Hogwarts to take part in your Sorting Ceremony, accompanied by Professor Fig and George Osric from the Ministry of Magic.
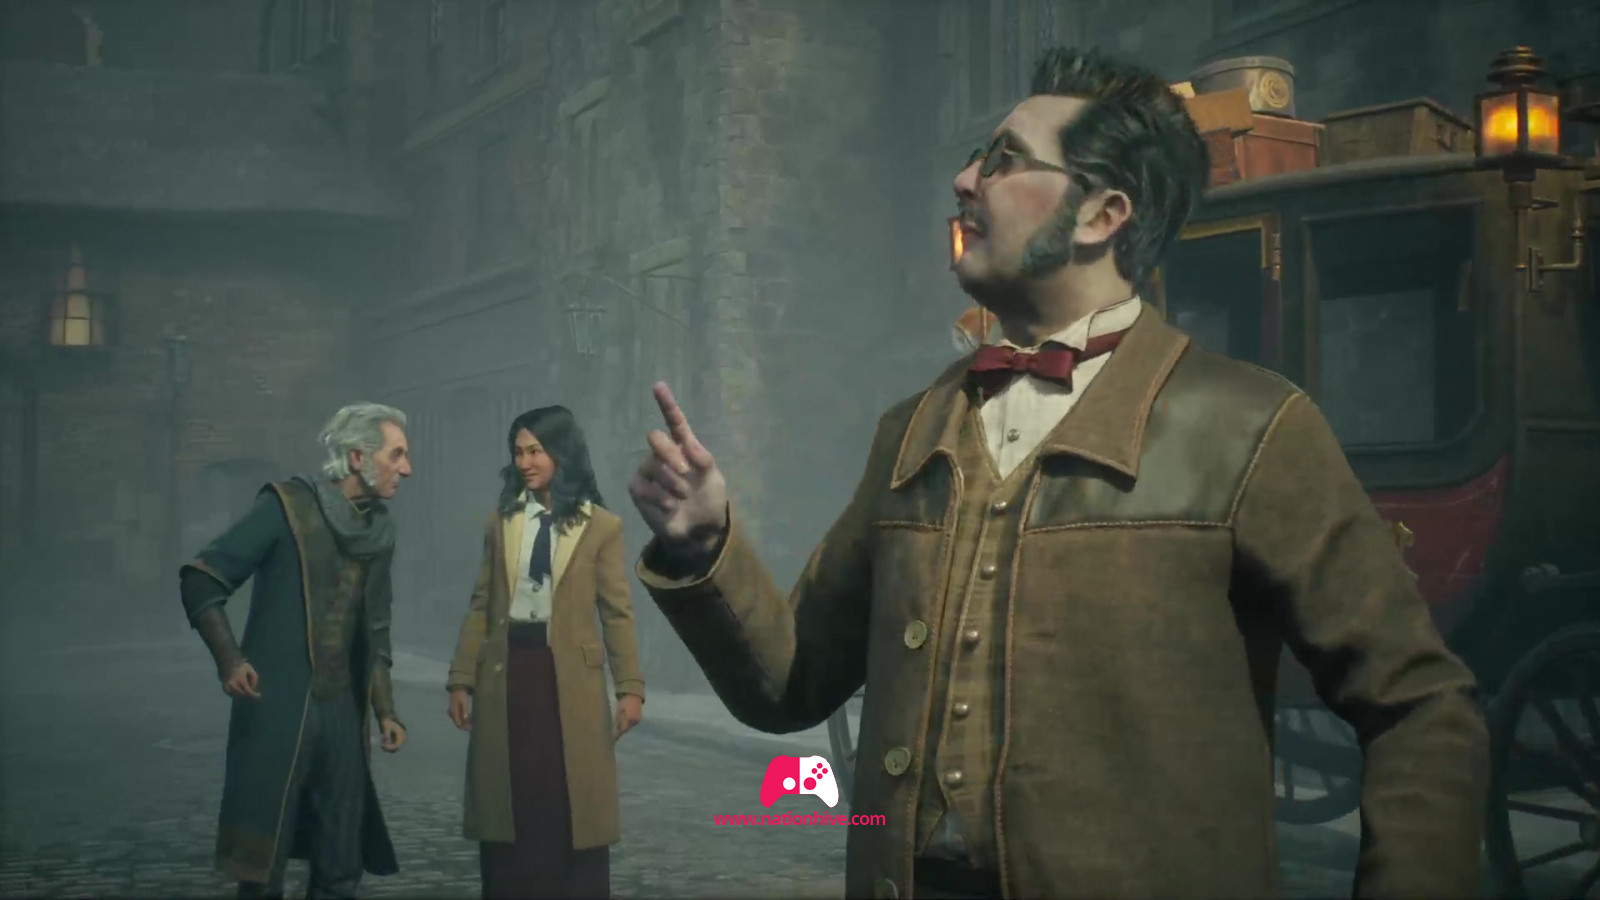
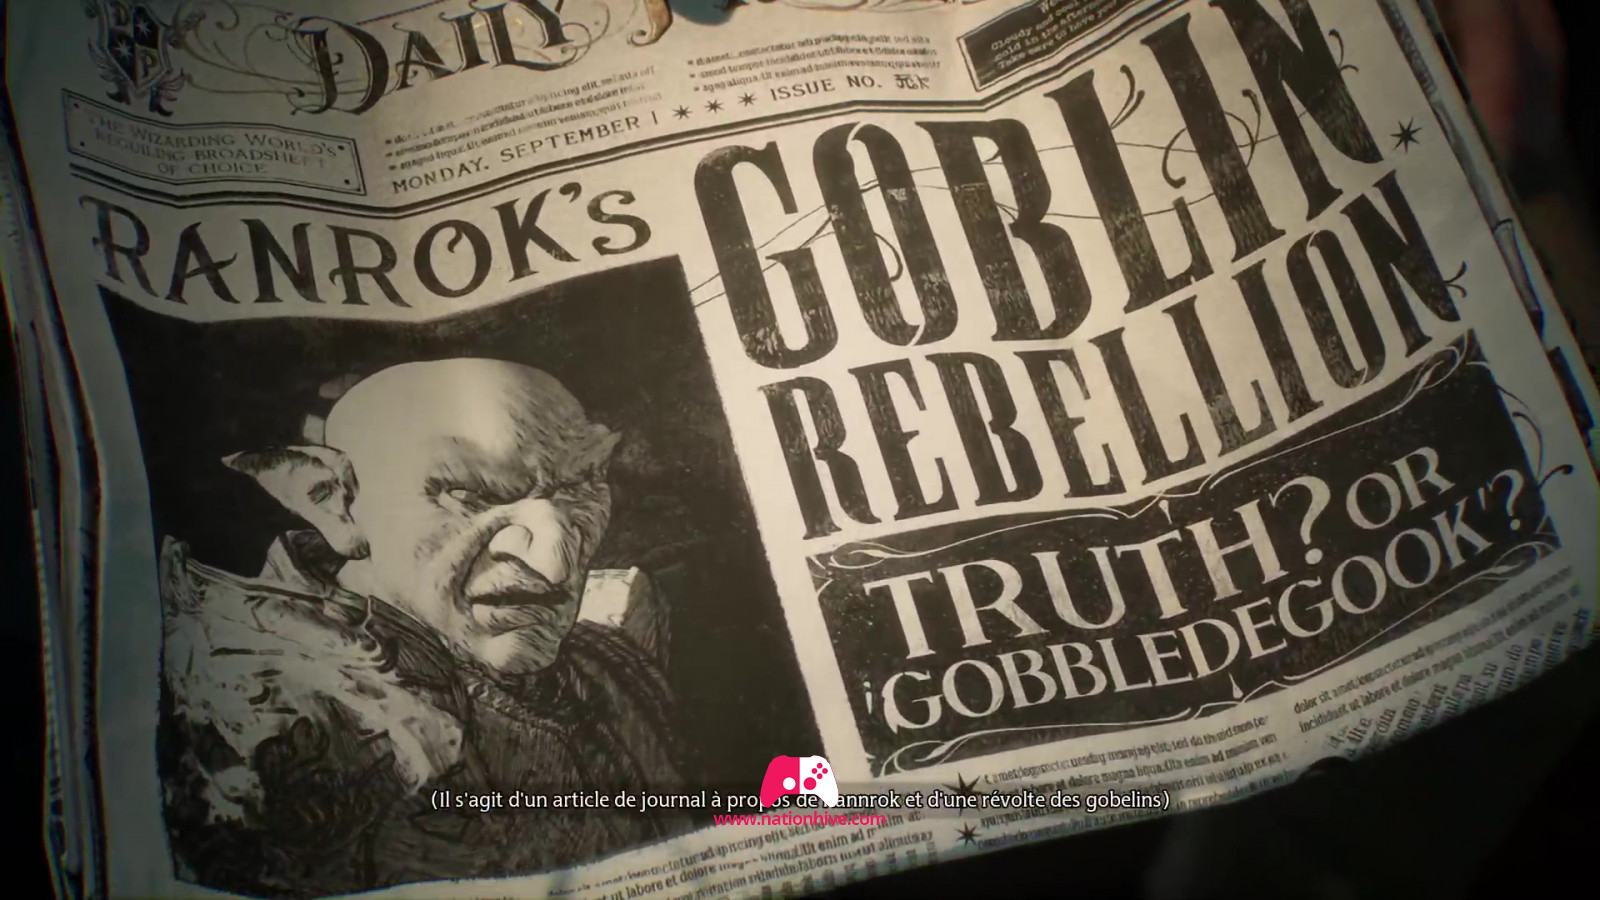
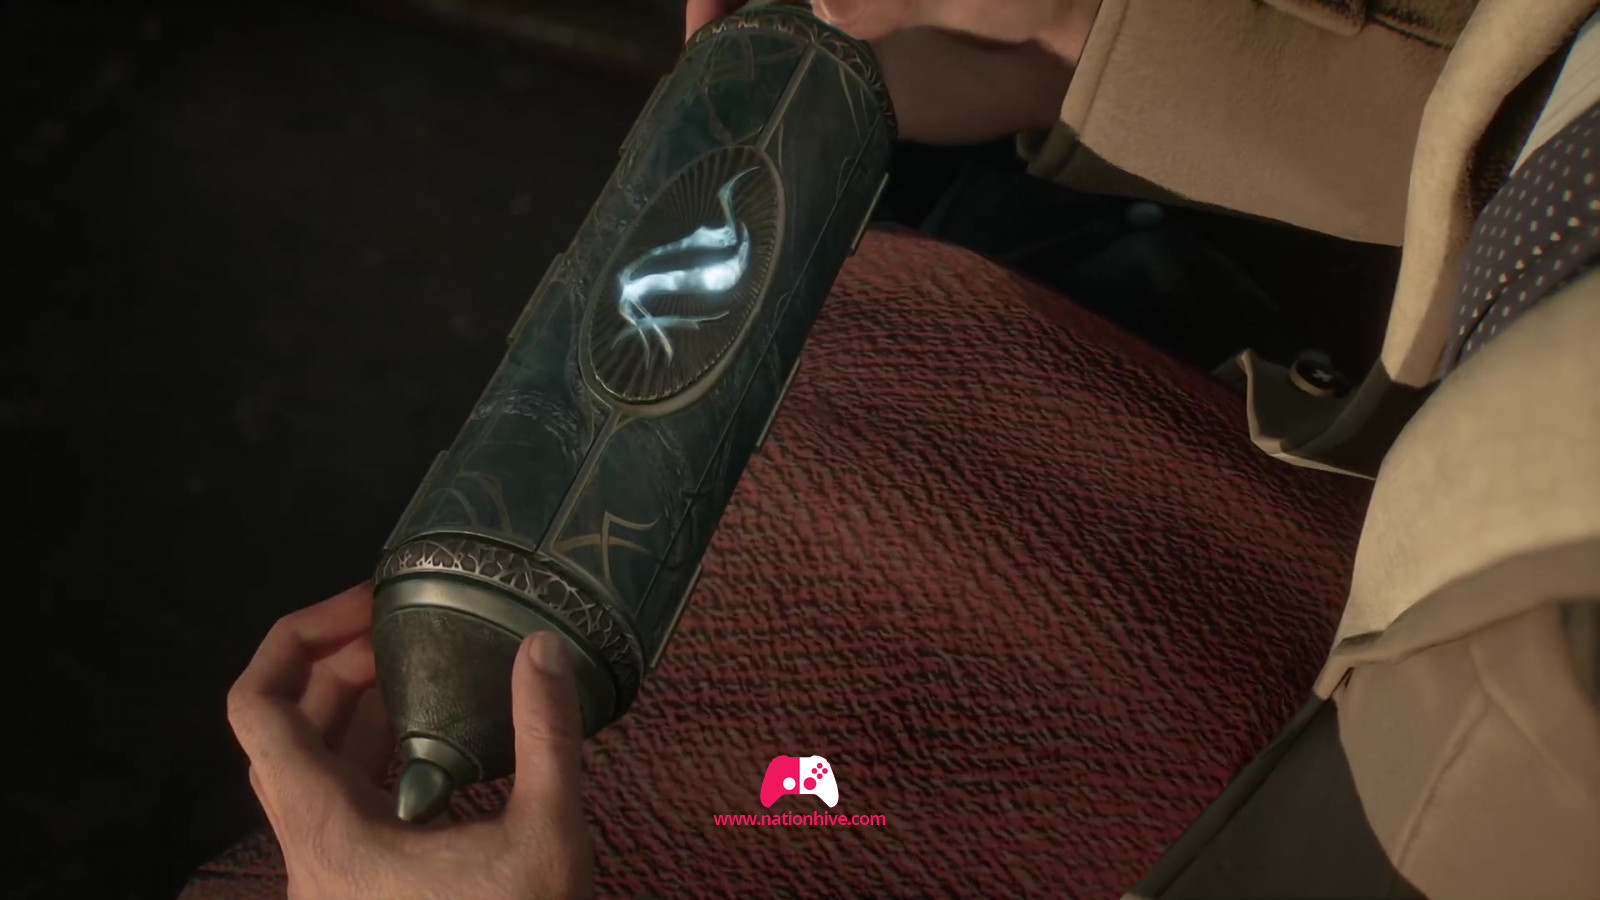
During the drive, George mentions a newspaper article about Ranrok and mentions his concern about it since Professor Fig's wife: Miriam, warned him how dangerous Ranrok is before his death. Miriam has also entrusted George with a strange object.
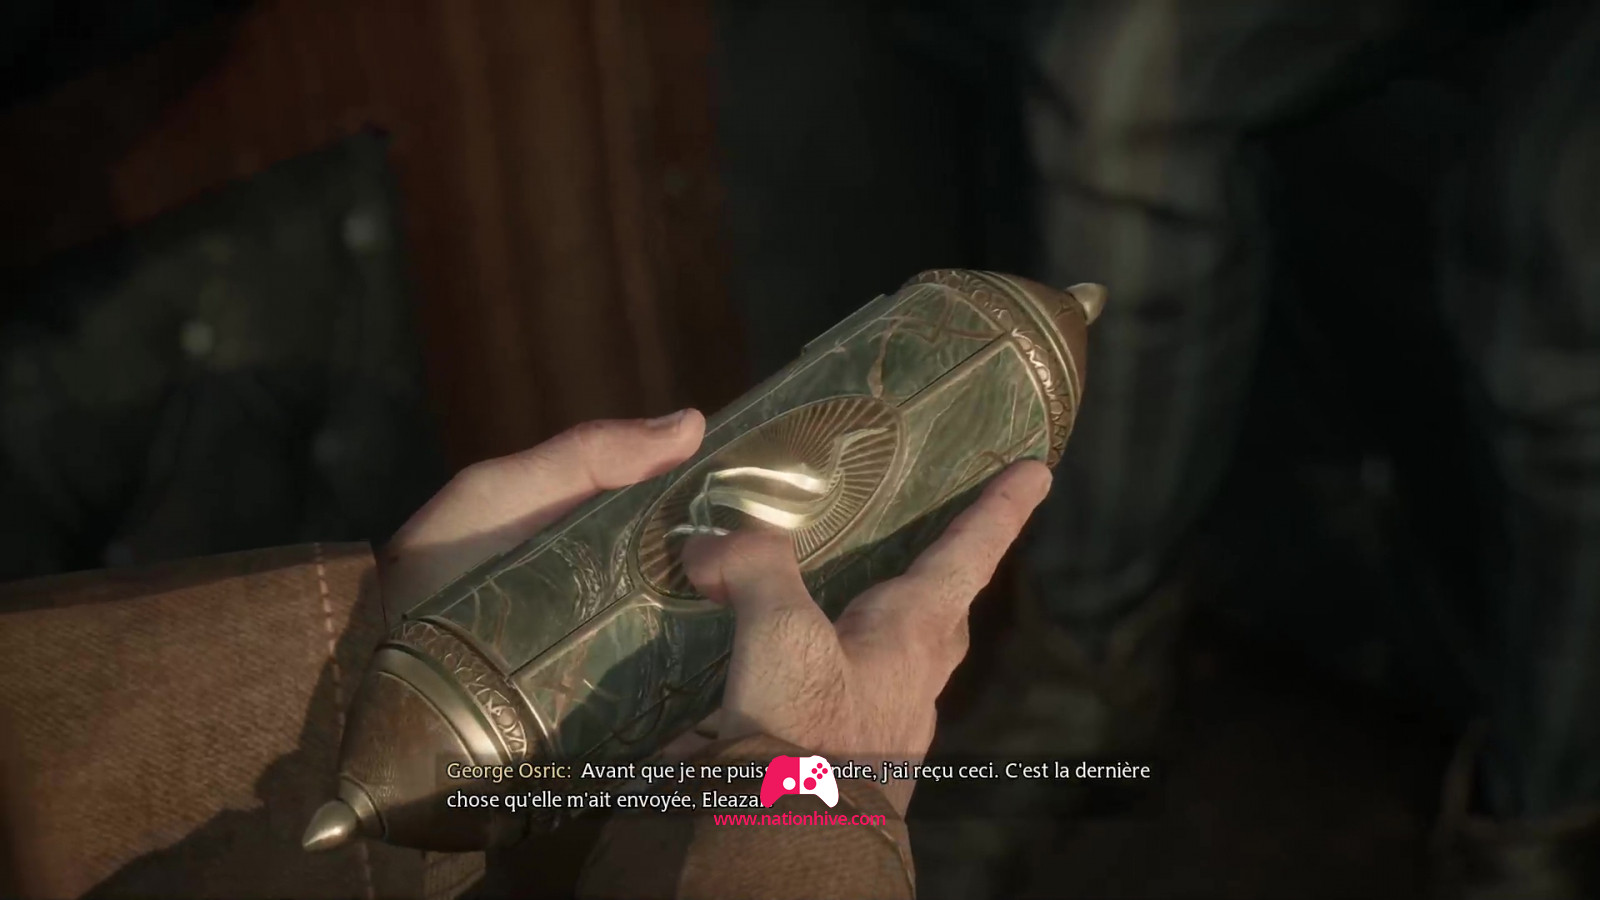
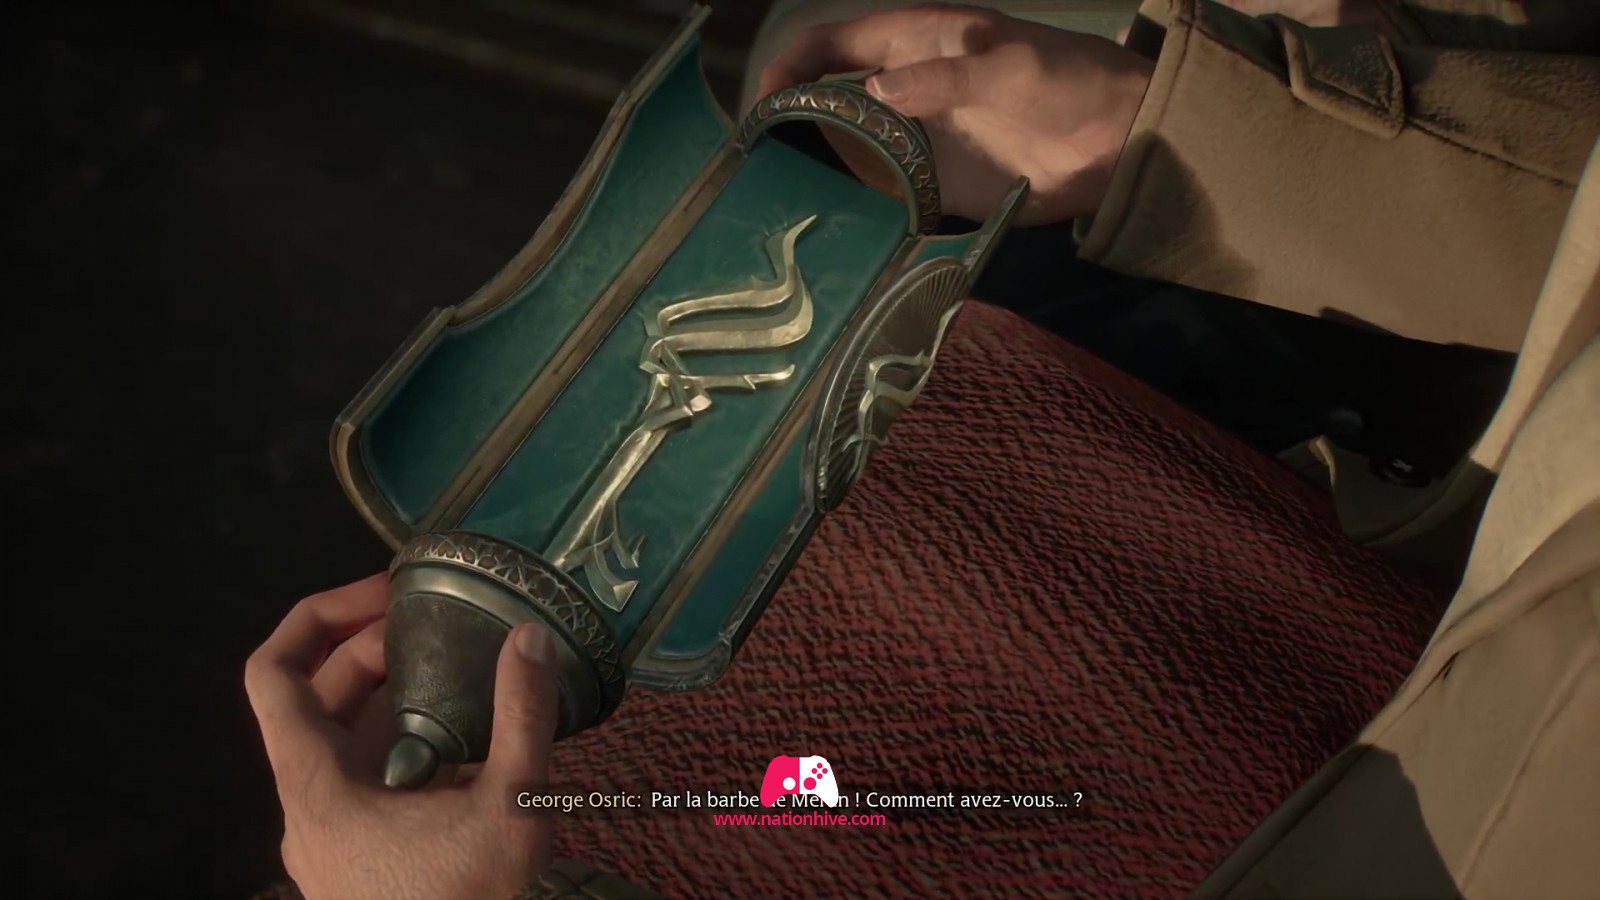
Your character seems to perceive a glow that seems invisible to everyone else. The object opens automatically on contact with your character and you discover a key. Before you can analyze anything, you're suddenly attacked by a dragon, killing George in the process.

To escape, you jump off the cart alongside Professor Fig. Professor Fig barely catches the key in the air and you suddenly find yourself in another place.
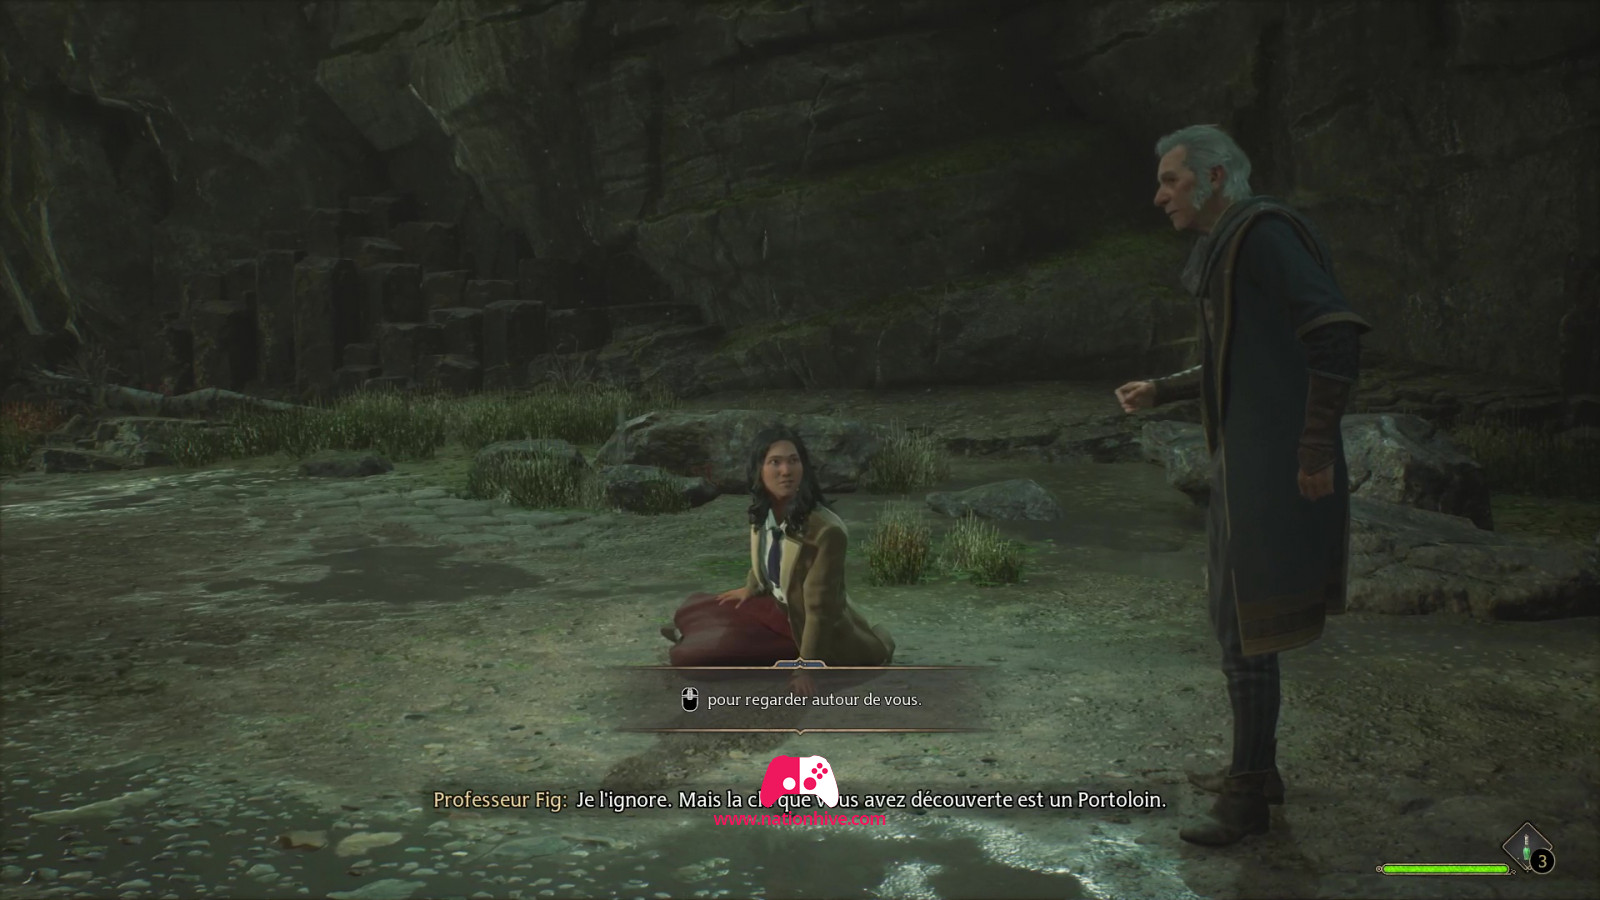
After landing in a cave, Professor Fig gives you a healing potion and informs you that the key you've just found is a portkey. A bewitched object that takes those who touch it to a specific location. You're currently in the Scottish Highlands.
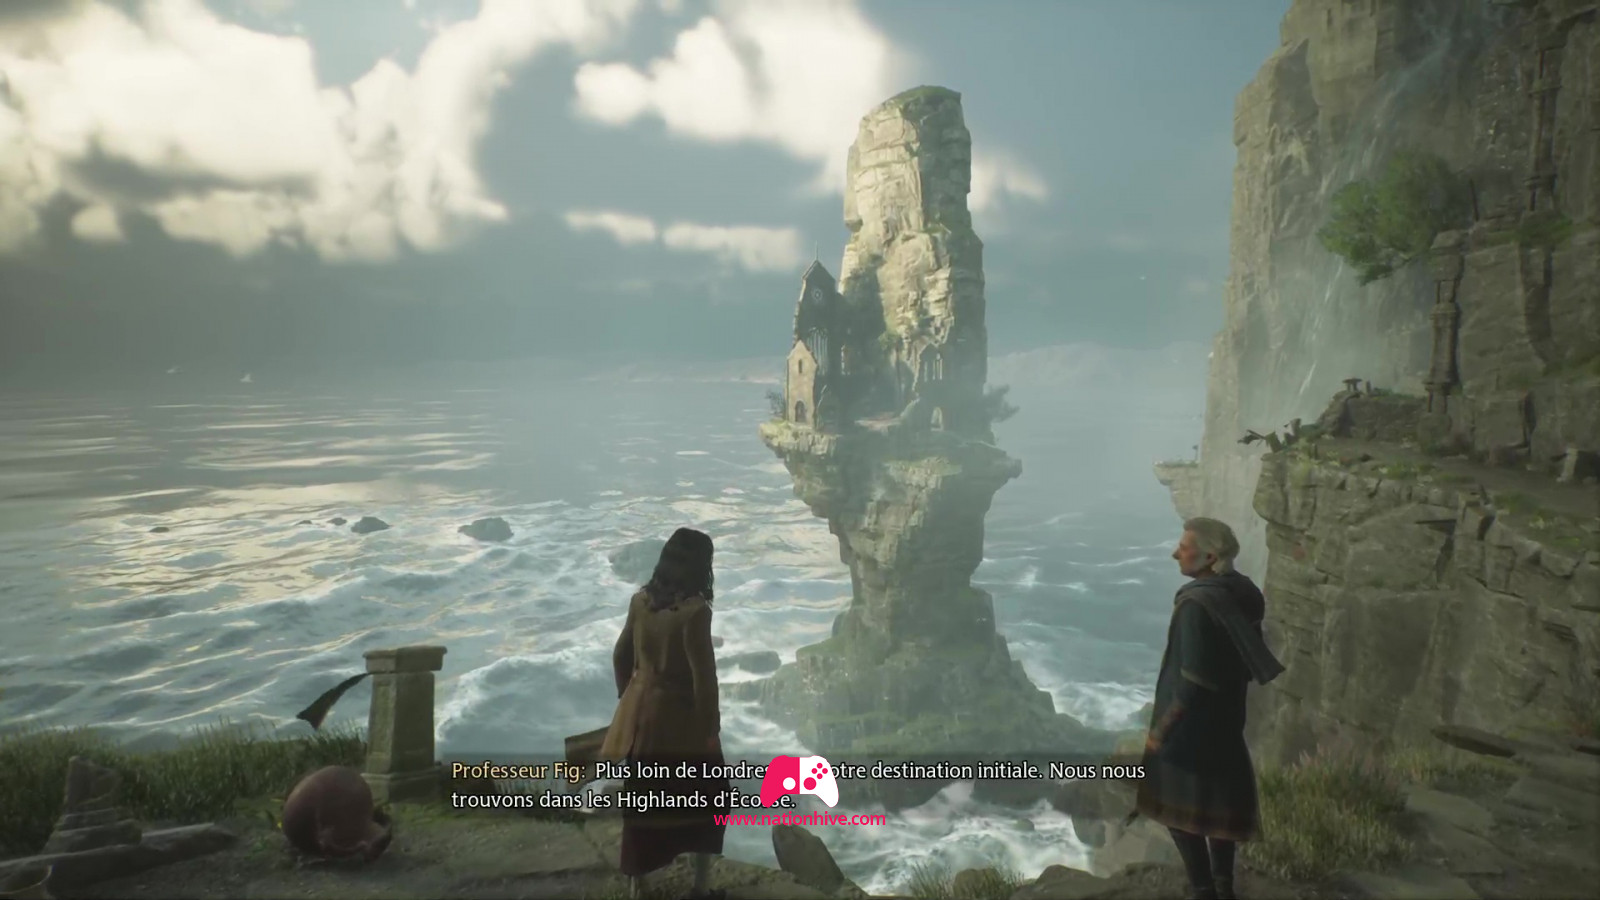
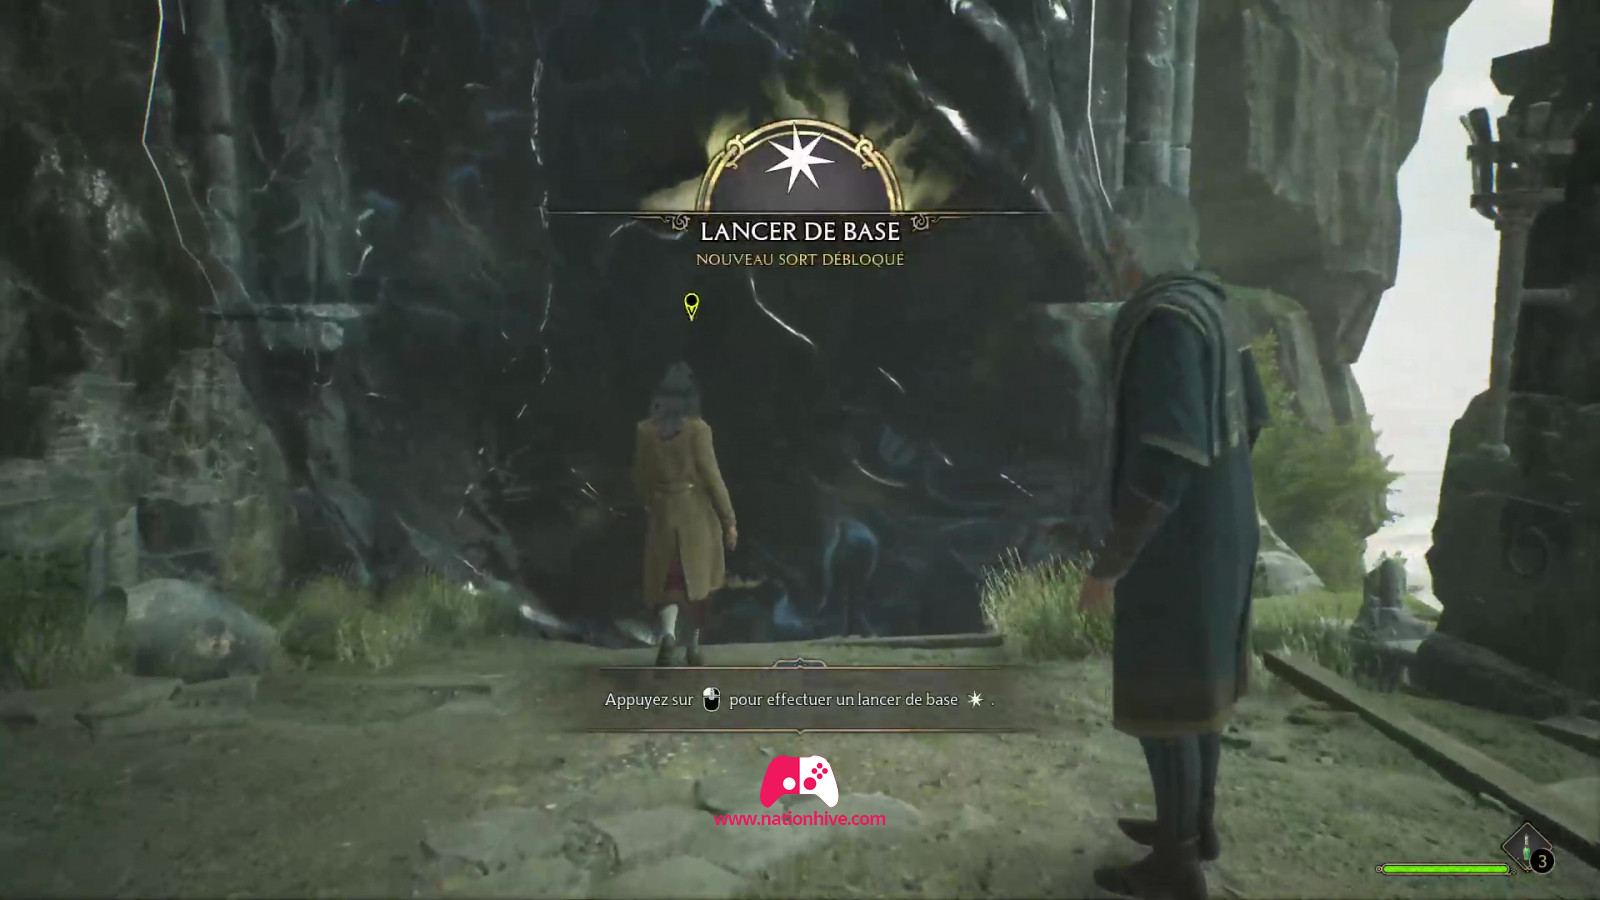
Follow Professor Fig and explore the area. This is the time to familiarize yourself with some of the game's mechanics. Next, you'll come across a wall of enchantment. You'll need to use your basic throw several times to break the surface and progress.

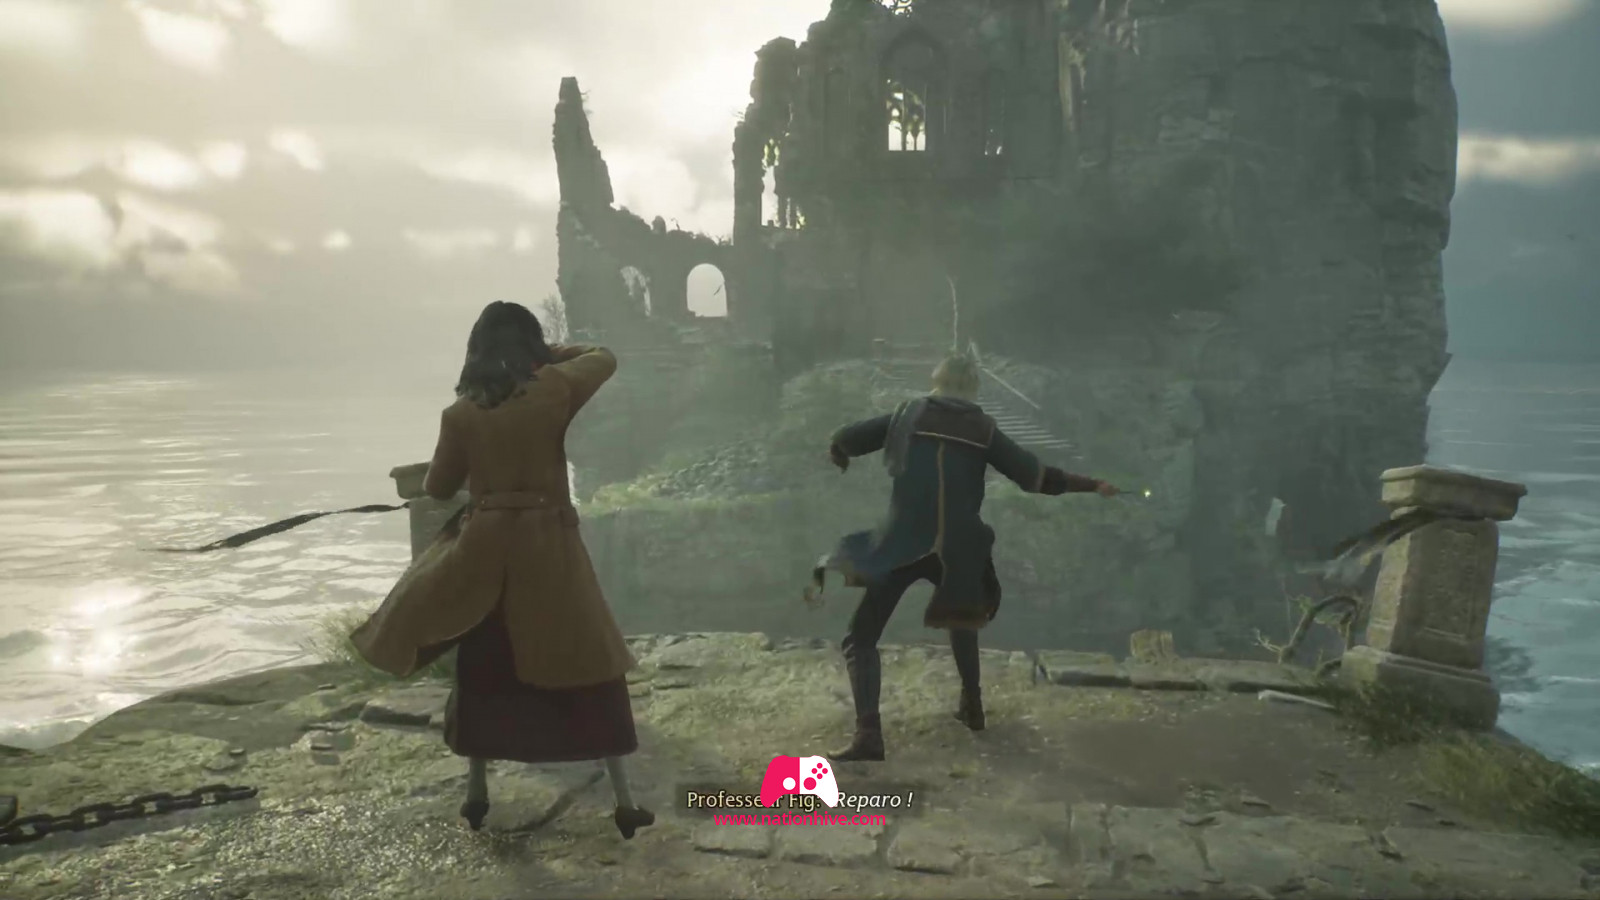
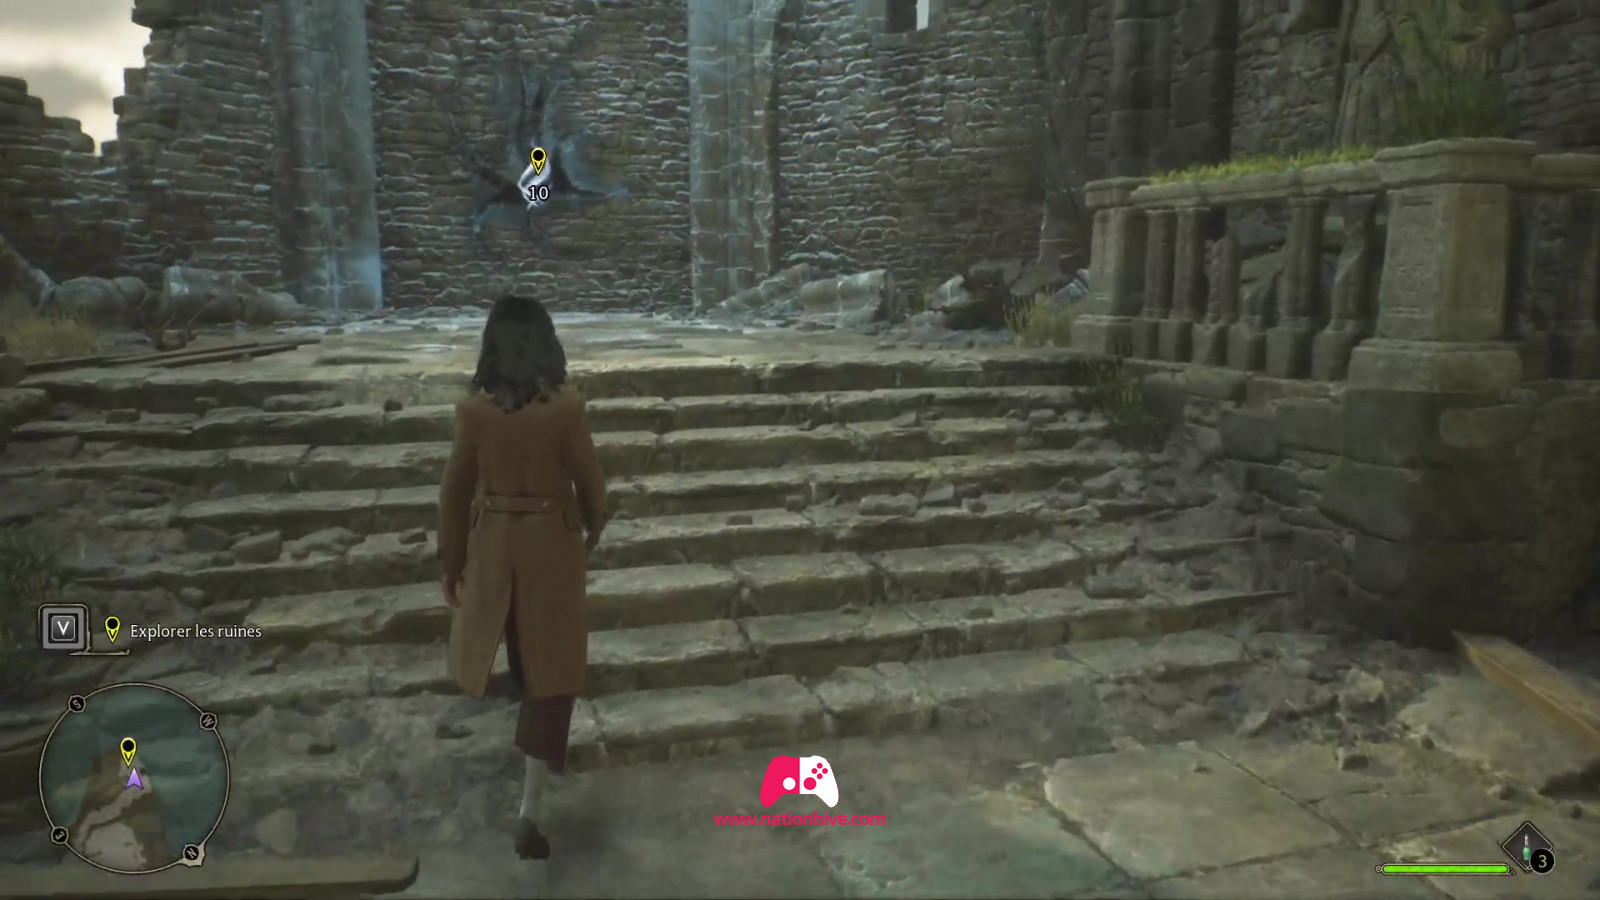
Continue to follow Professor Fig until you reach the edge of the cliff. Professor Fig will use the Reparo spell to make a bridge and stairs appear. Once you've reached the other side, continue exploring the area and follow the arrow on the mini-map, which will show you where to find the enchanted crystallized stone on a wall. As you approach the wall, Professor Fig will arrive at your side. Examine the wall and you'll find yourself in another room.

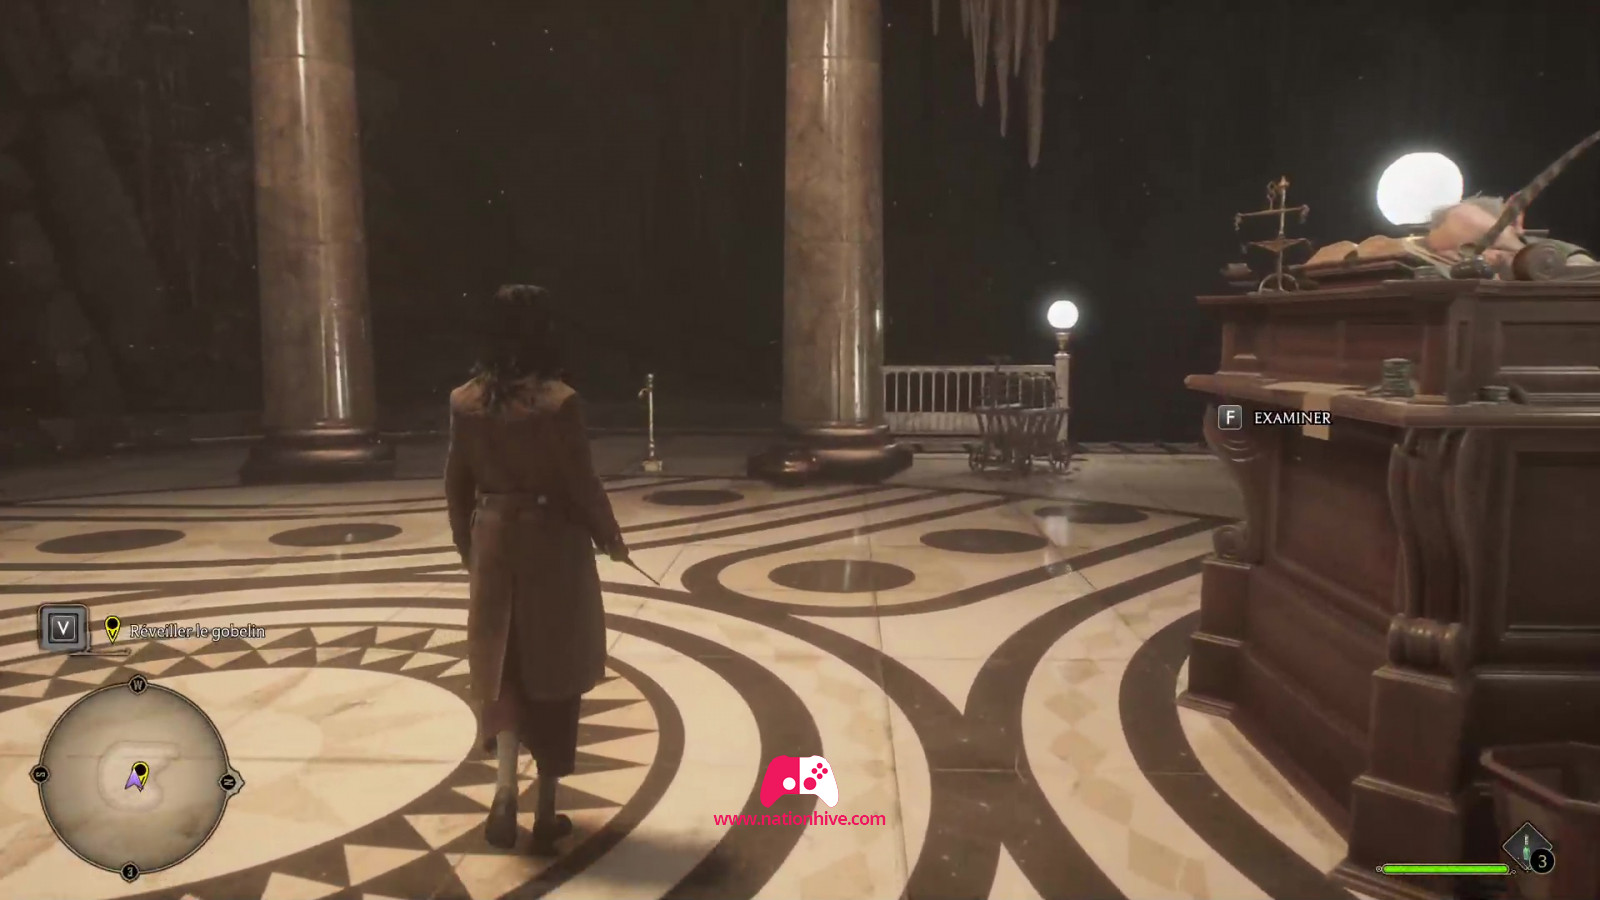
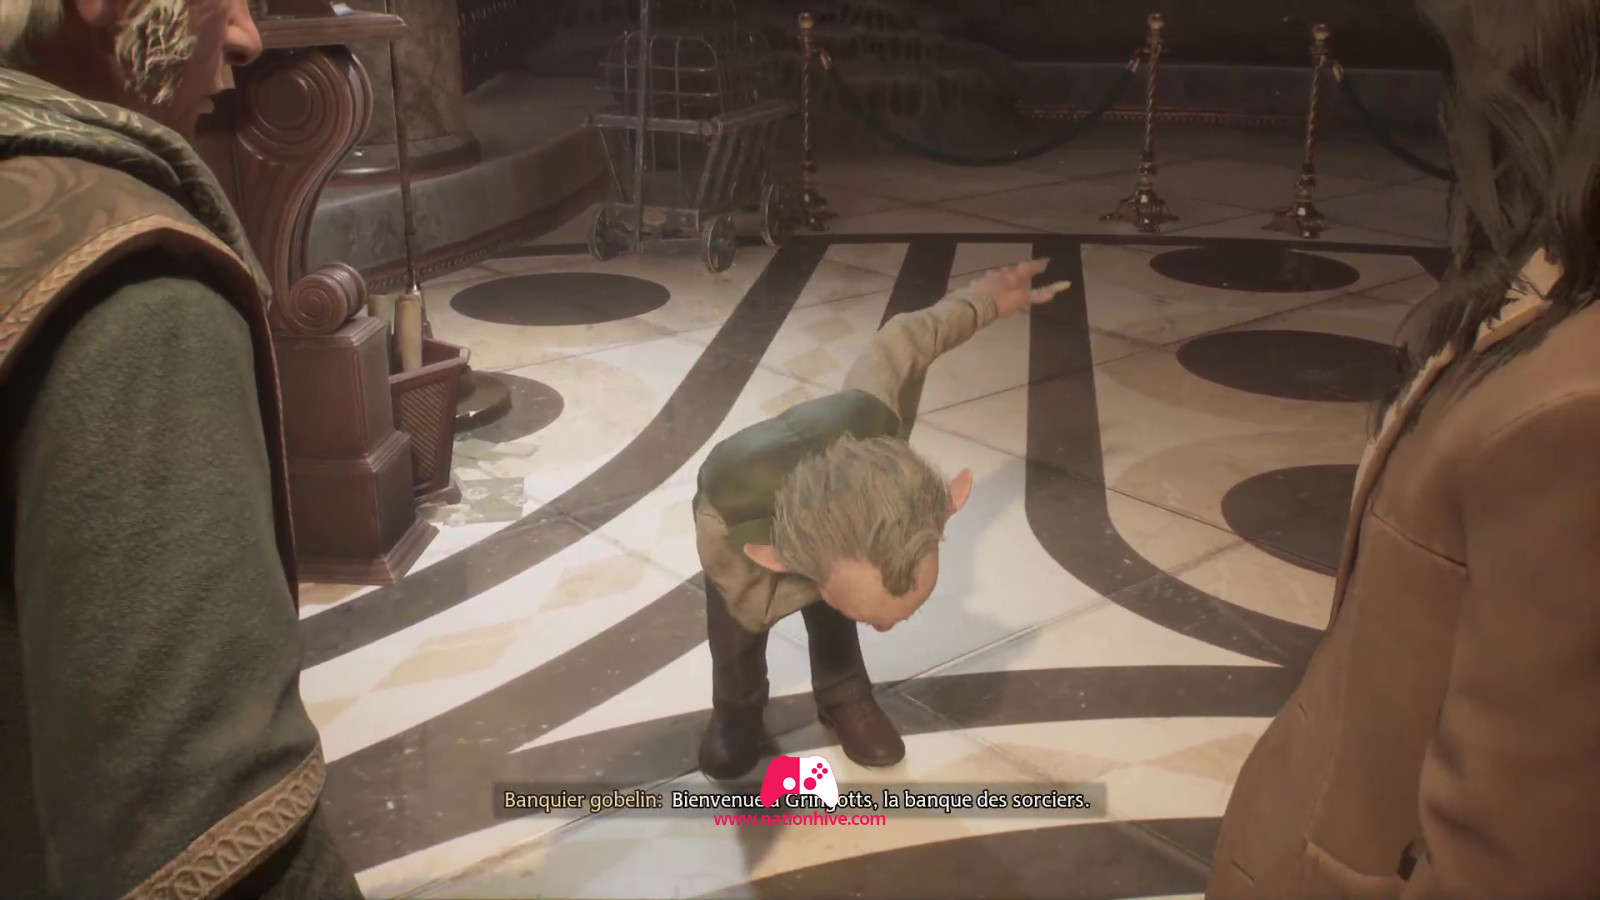
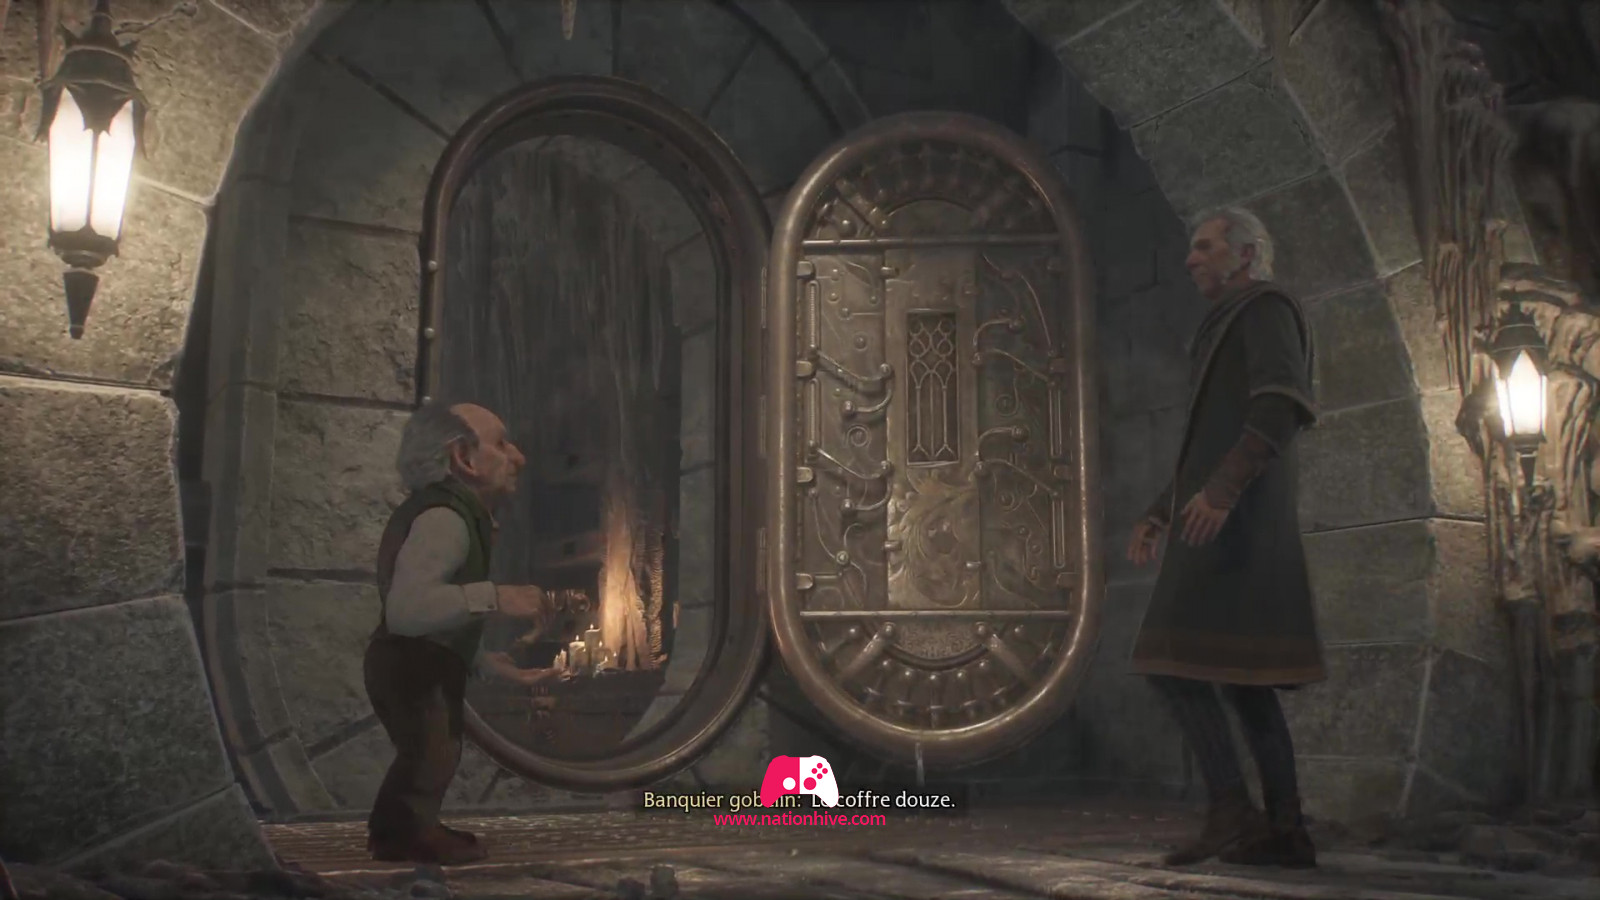
You've teleported to Gringotts, the wizards' bank. Wake up the goblin banker sleeping on his desk. The banker seems to take it for granted that you've come for safe-deposit box 12, and he'll ask you for a key - Miriam's Portkey - entrusted to you by George.
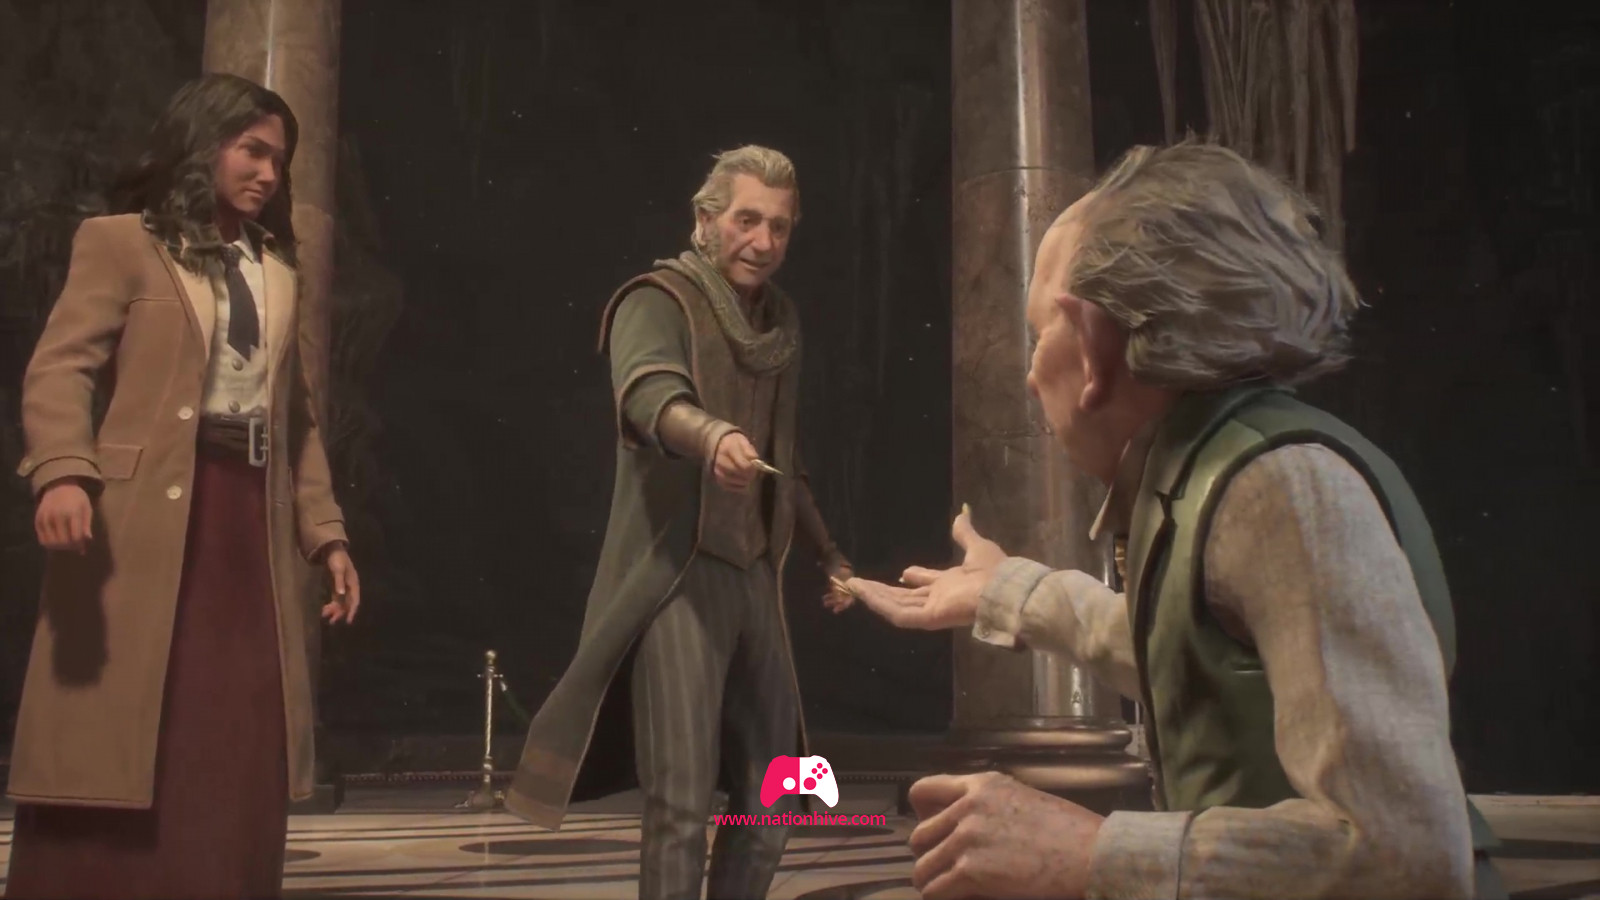
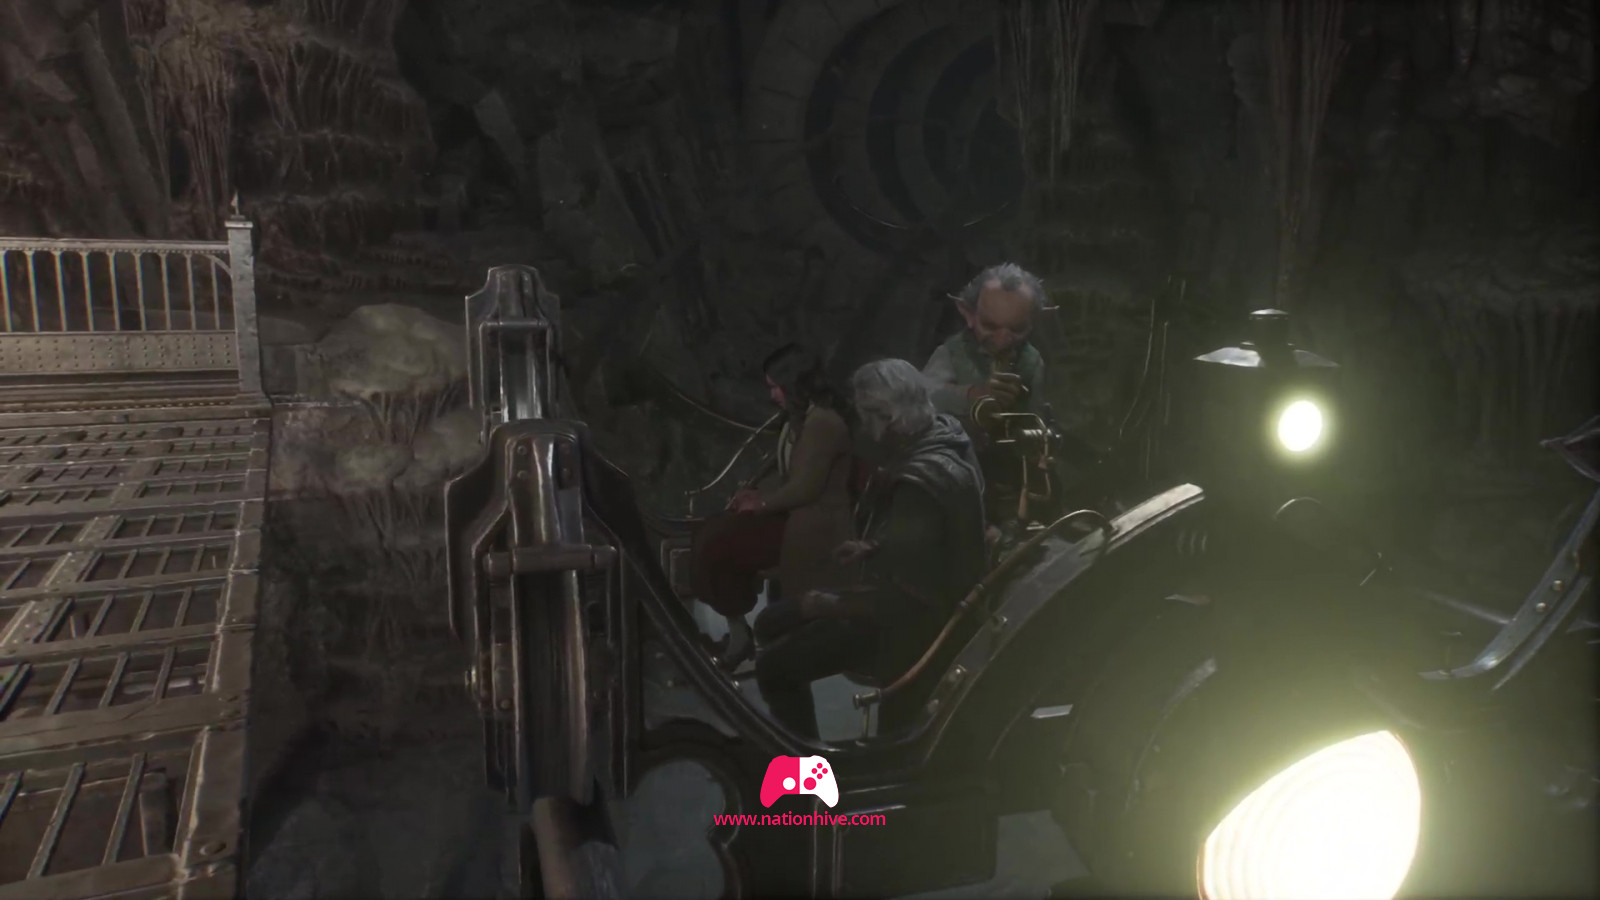
The goblin banker will then lead you to the far end of the bank, where safe 12 is located. Once in front of the room, you'll find yourself locked in, as the instructions for safe 12 state that the goblin banker must open the door for the key-holder alone, and close it behind him.
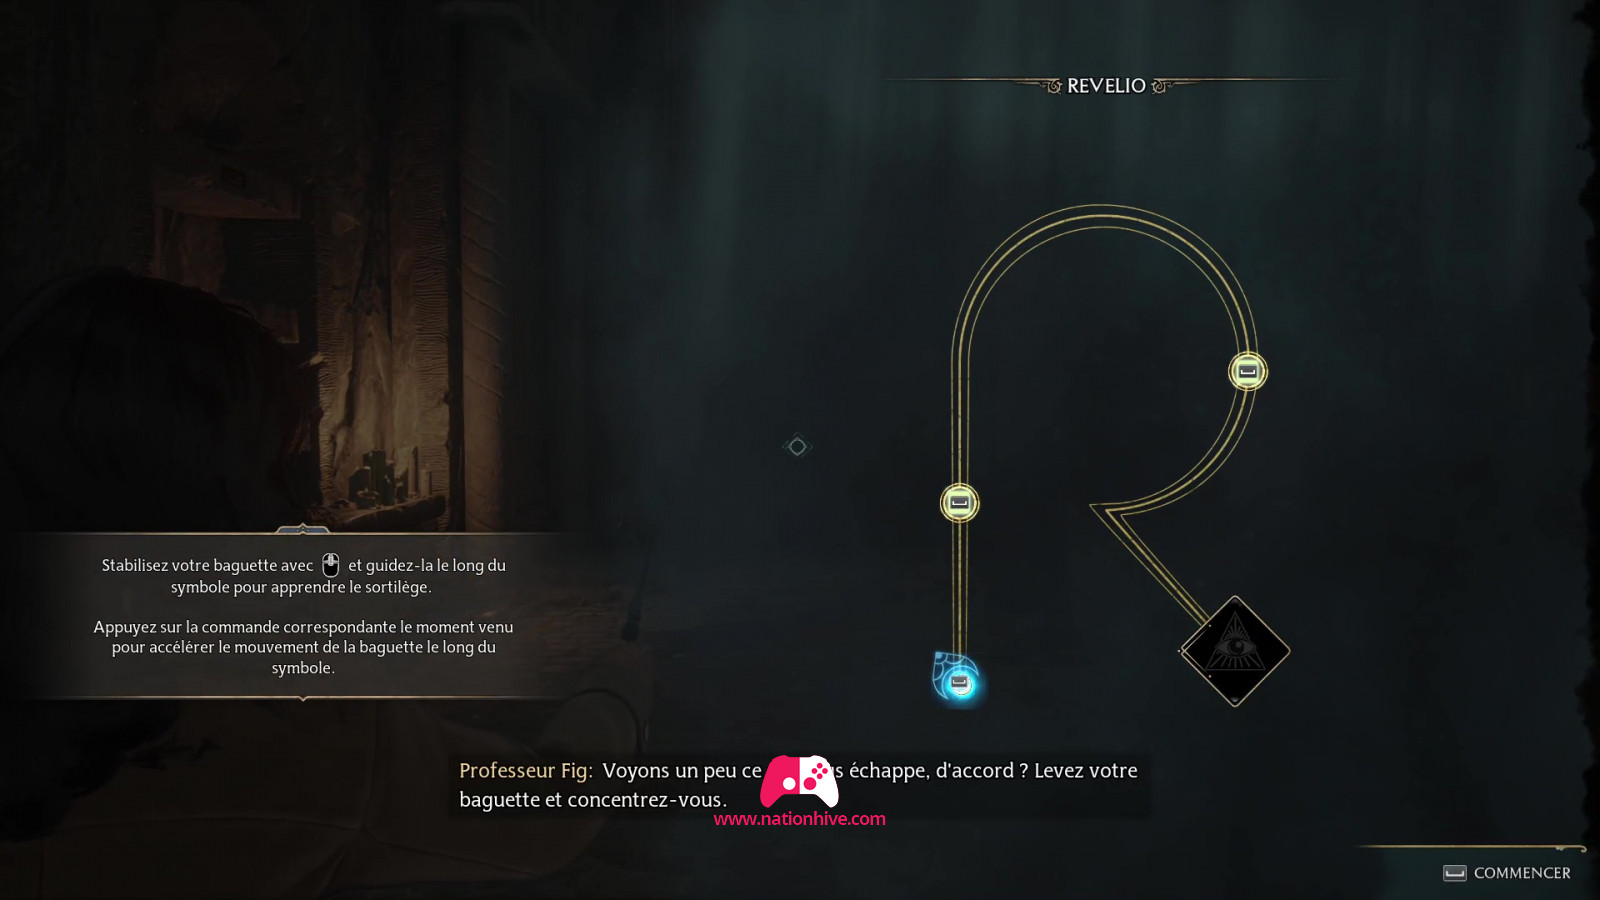
In order to find a way out, Professor Fig will teach you the Revelio spell. This spell enables you to perceive things that are normally invisible to the naked eye. Learning the spells takes the form of mini-games: simply press the corresponding command at the right moment and guide the mouse to follow the shape of the symbol. It's important to be quick as you want to avoid the red steam coming from behind, otherwise your spell won't work.
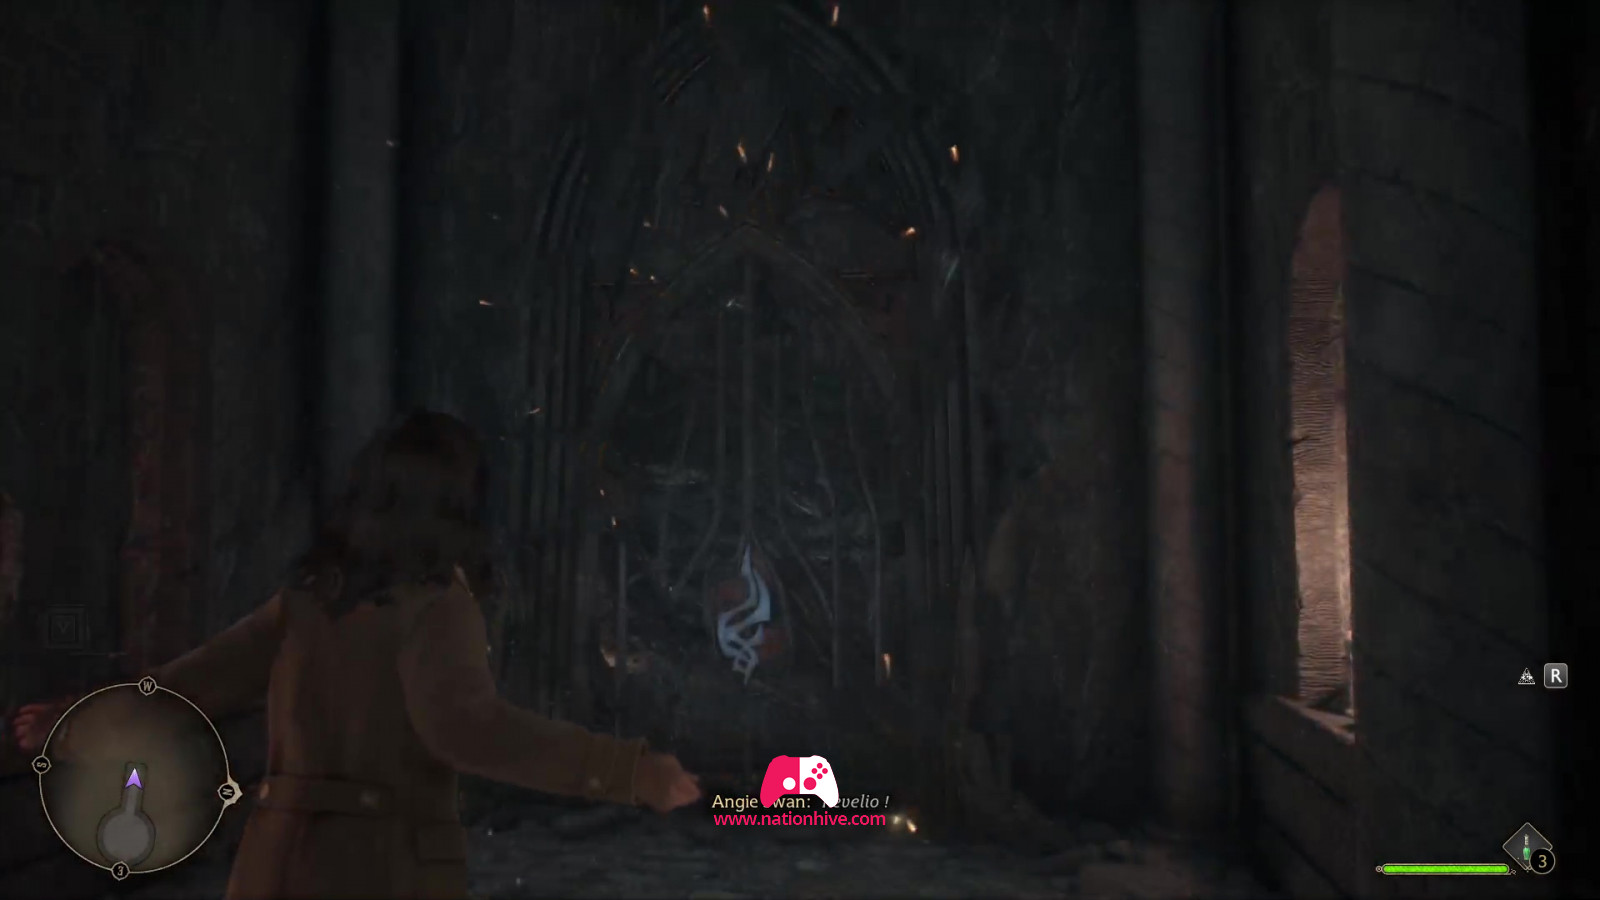
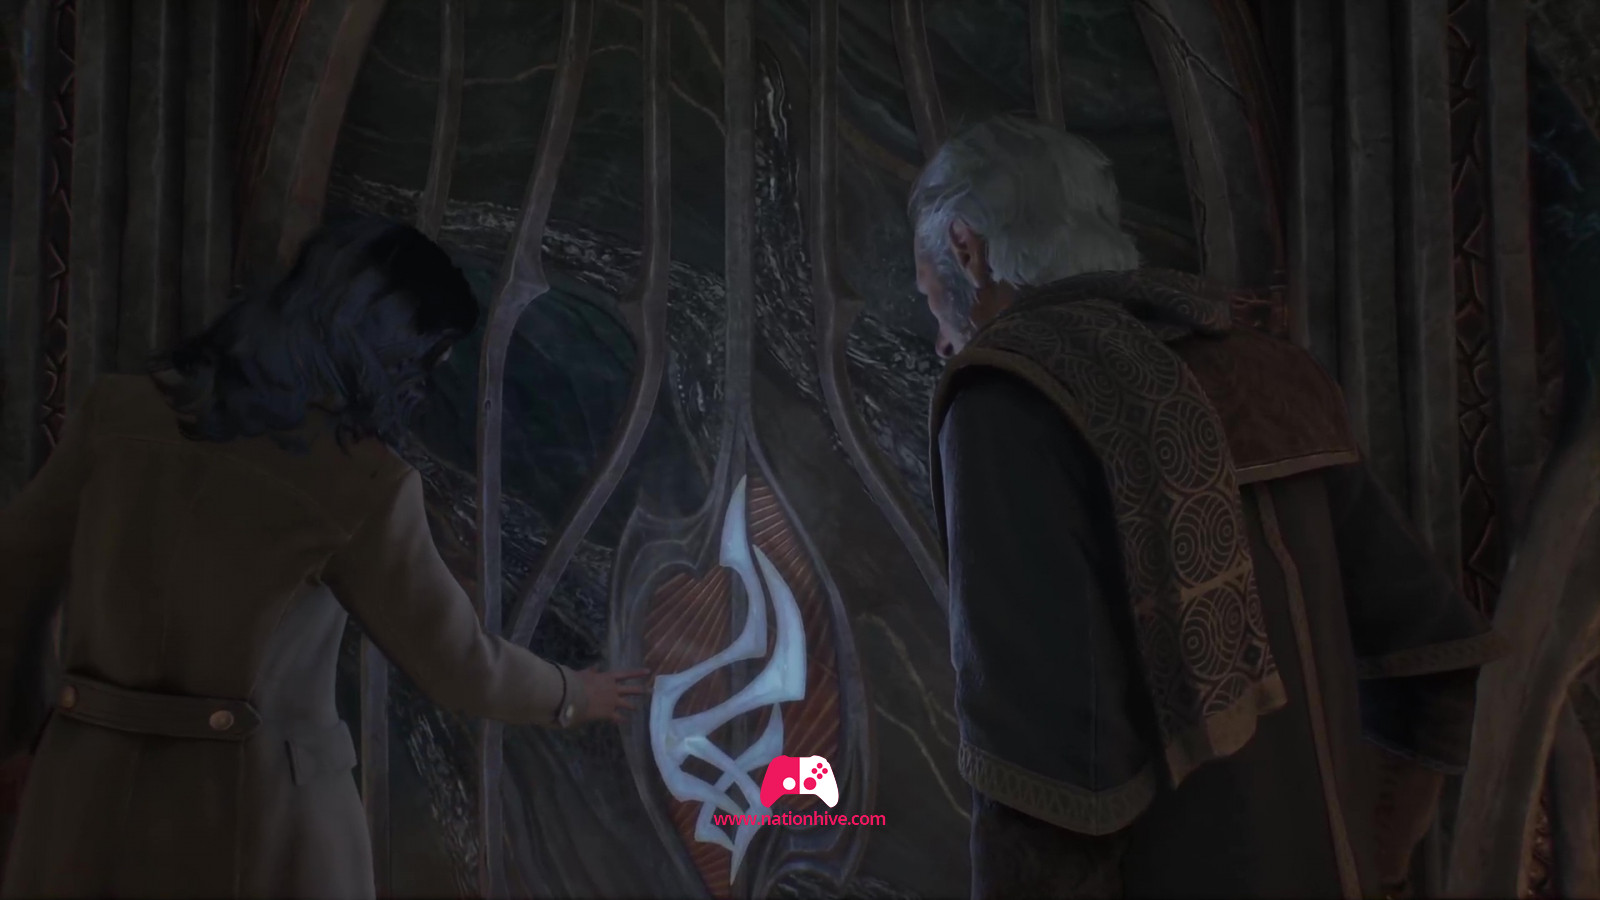
Once you've learned the Revelio spell, cast Revelio with the corresponding command in front of the wall opposite you. A door will appear. Approach the door to progress to the next stage.
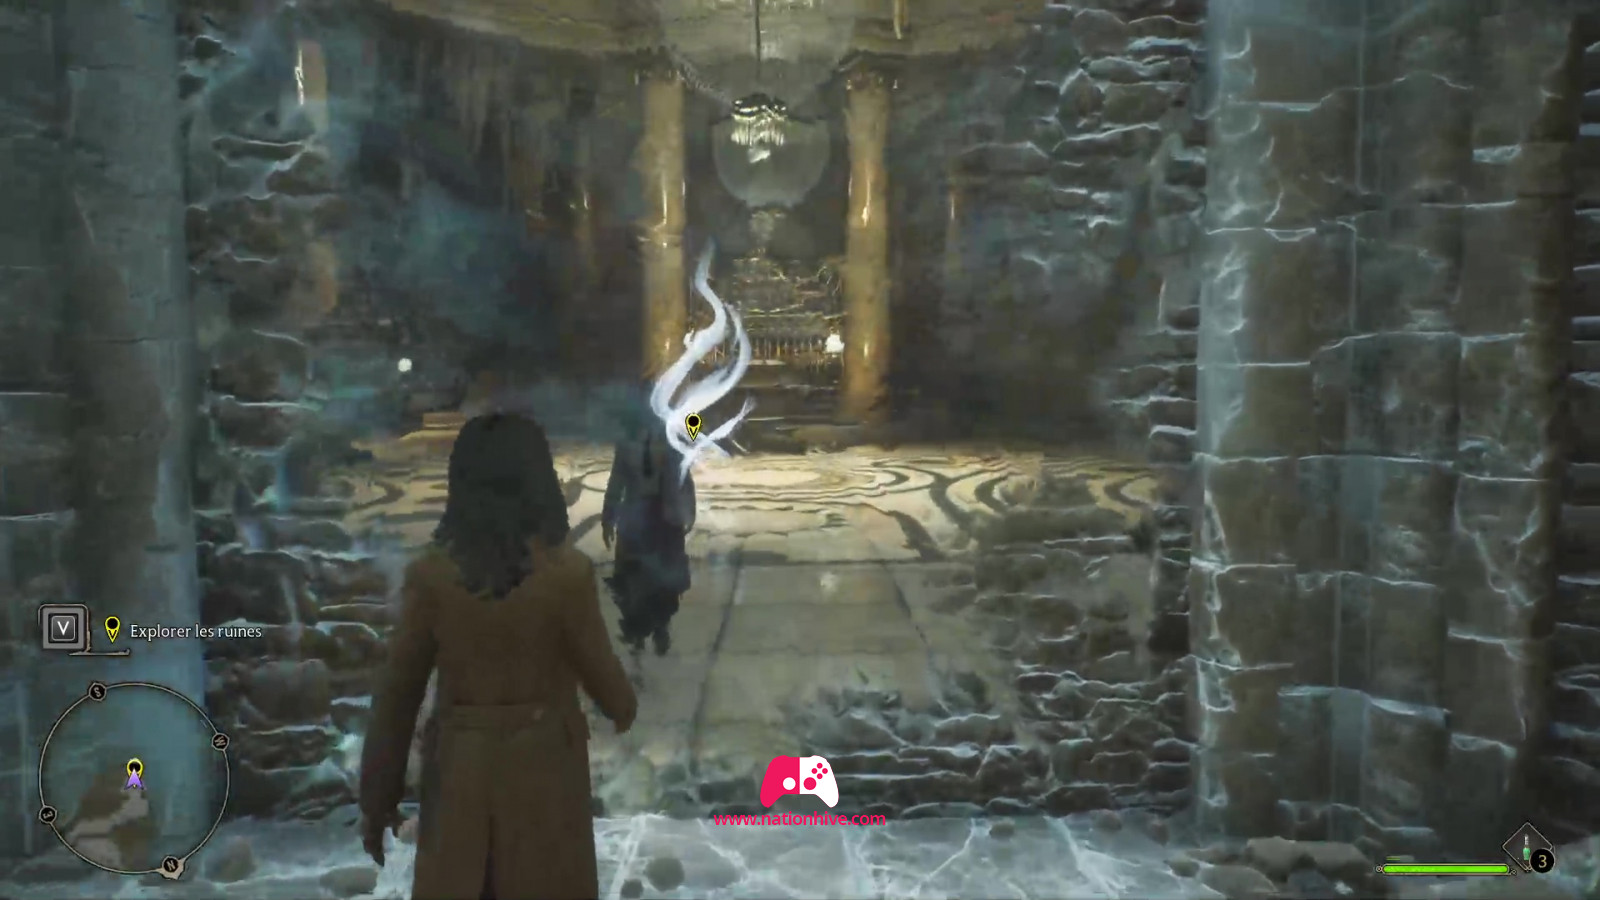
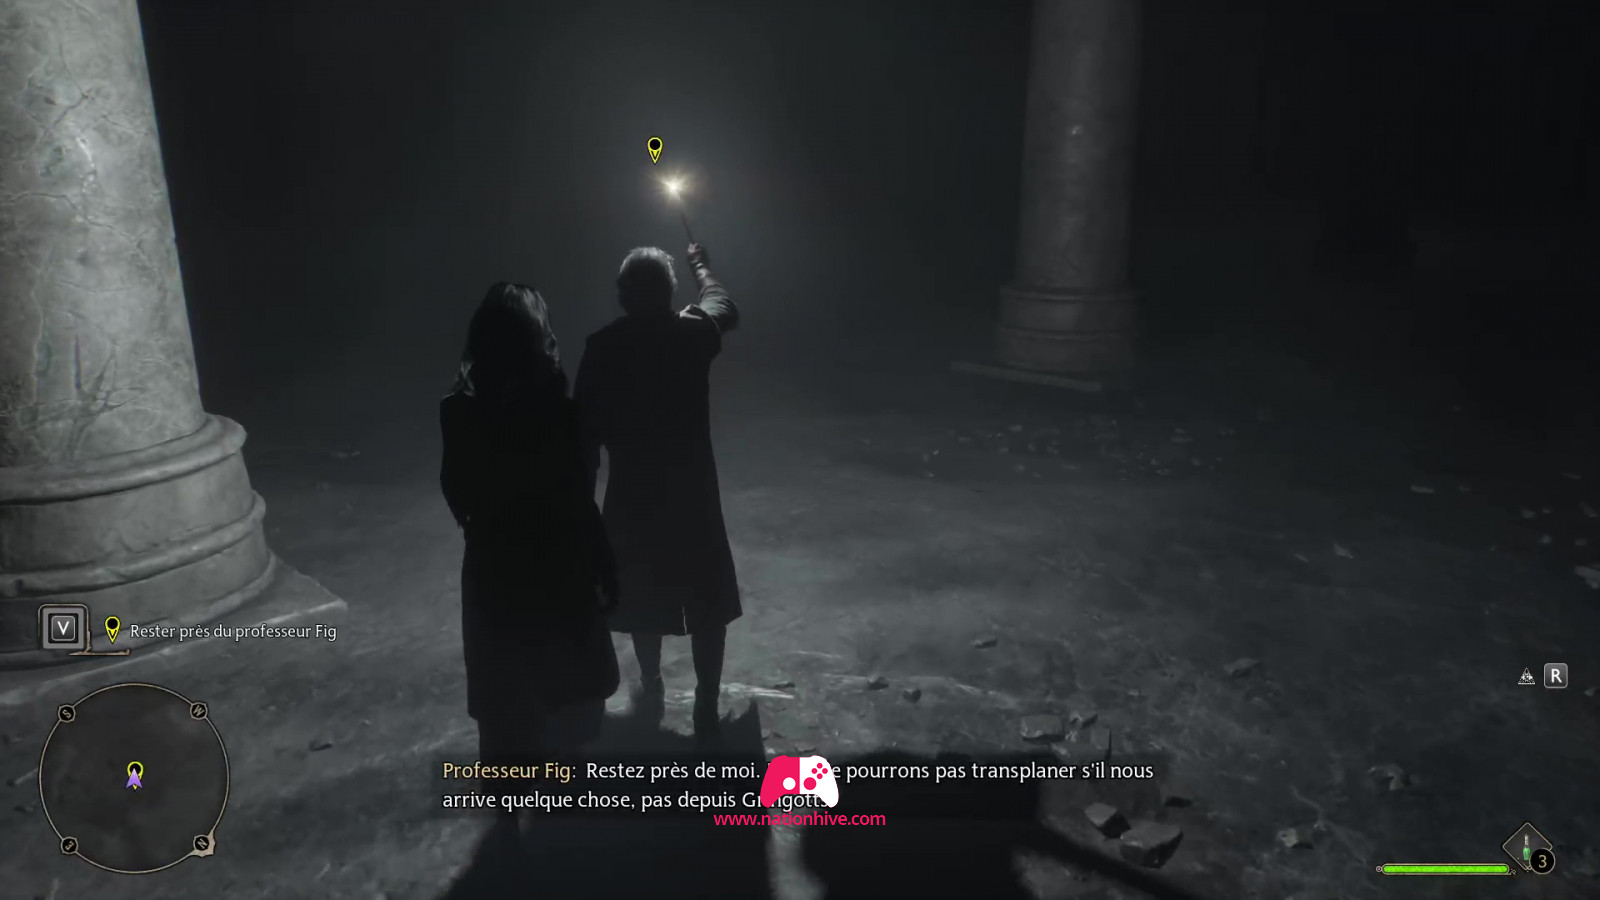
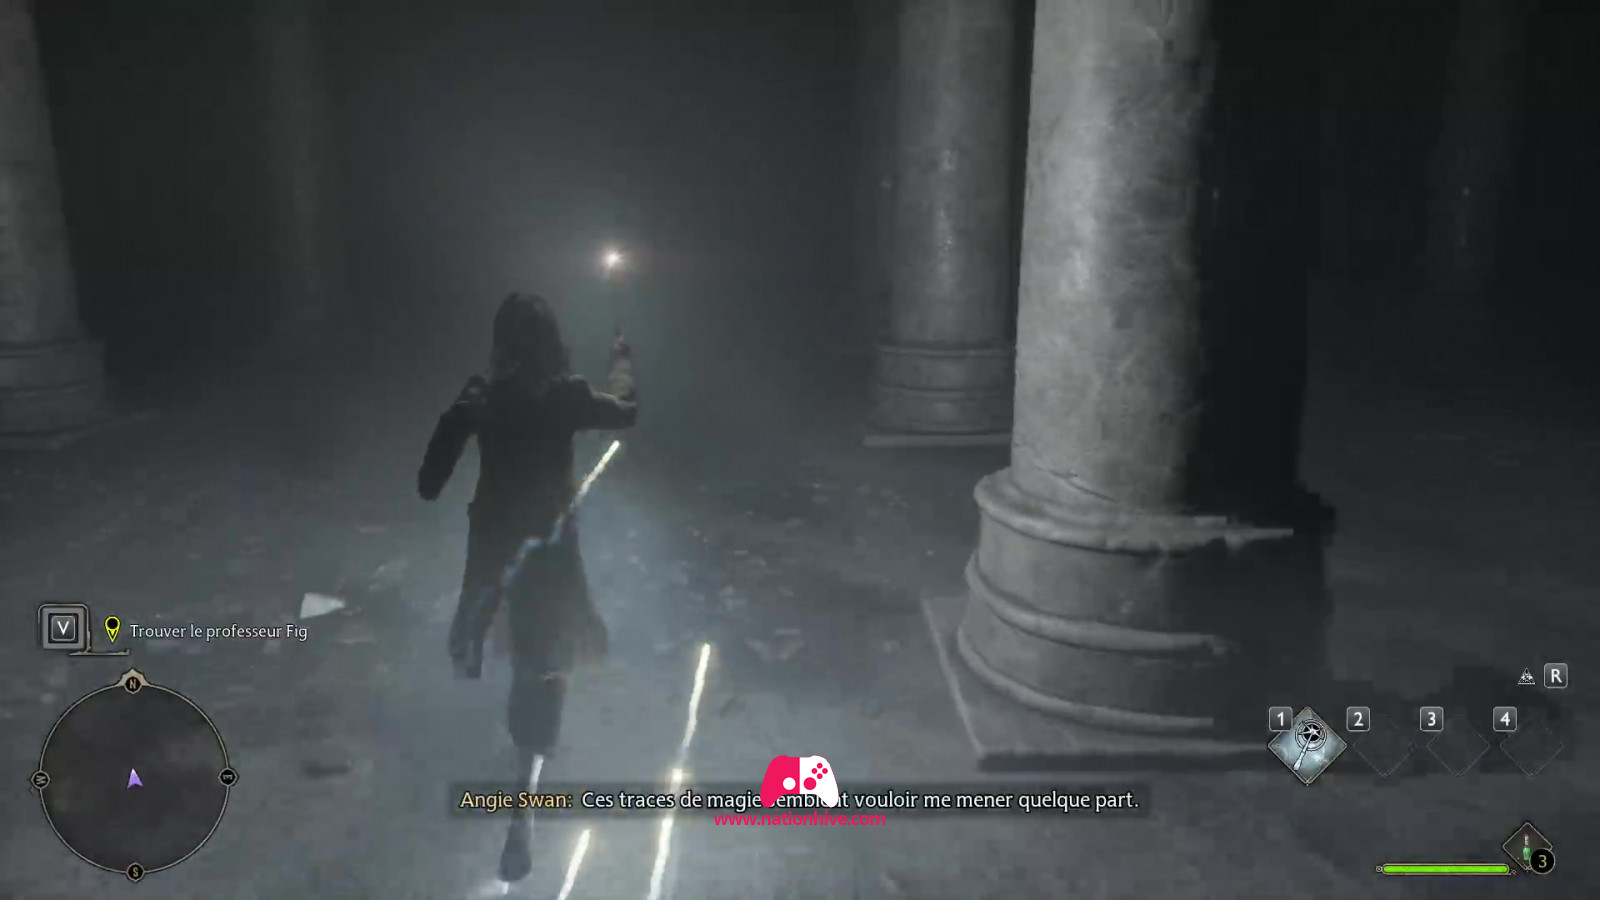
This time, you've teleported to a dark place. Follow Professor Fig until you see a glow on the floor. Move towards it and examine. You'll see a reflection on the floor. Use the Revelio spell to conjure up a stone statue.

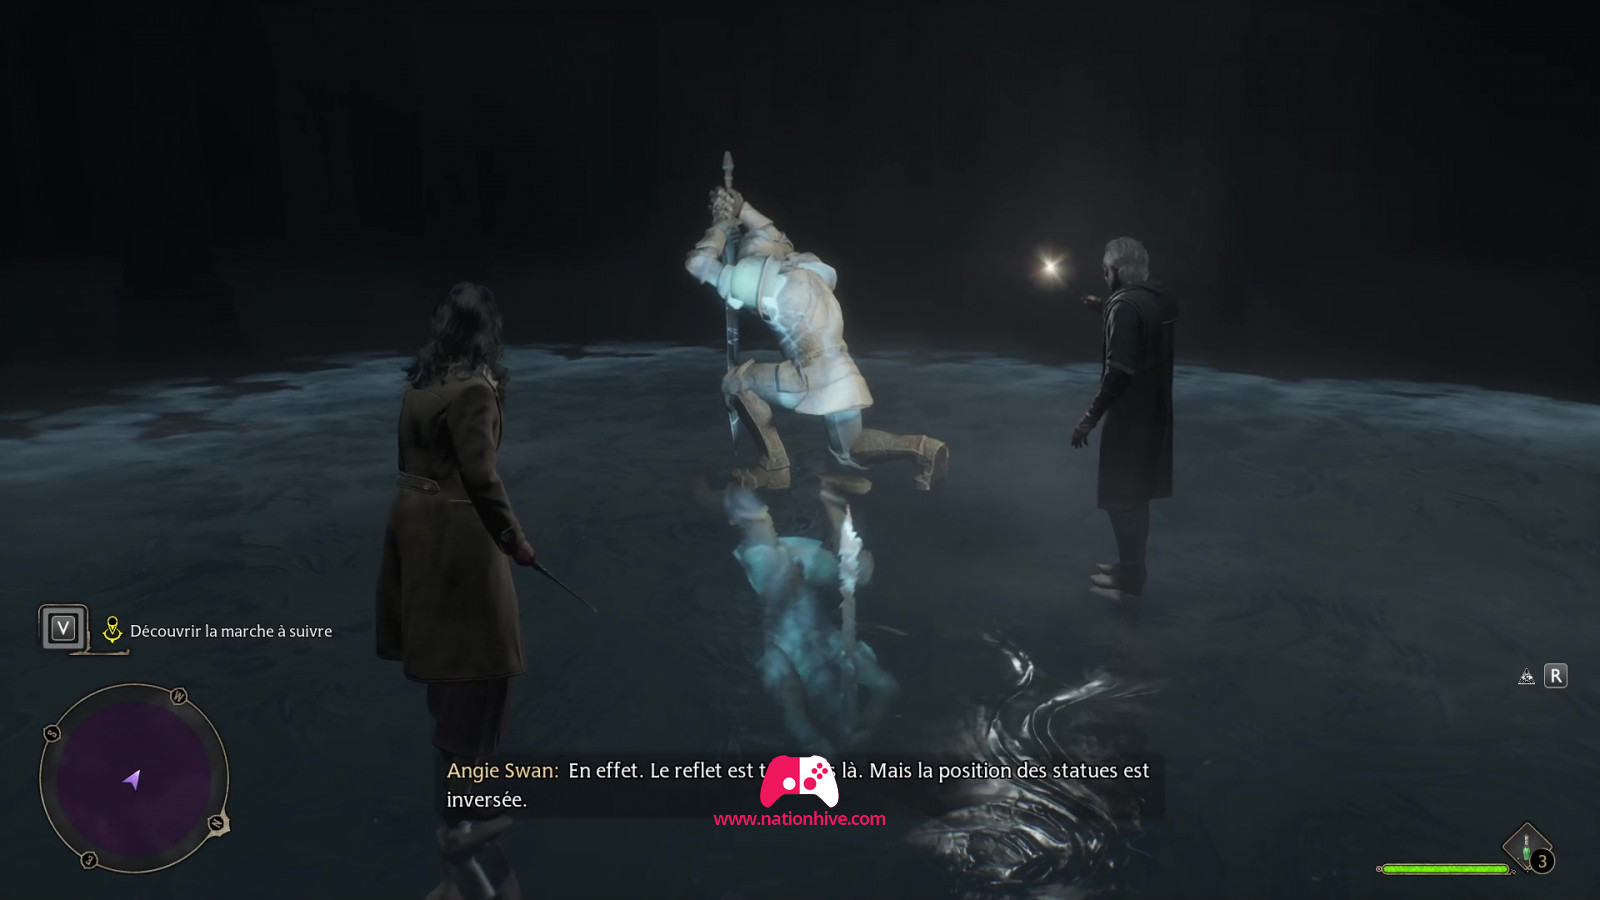
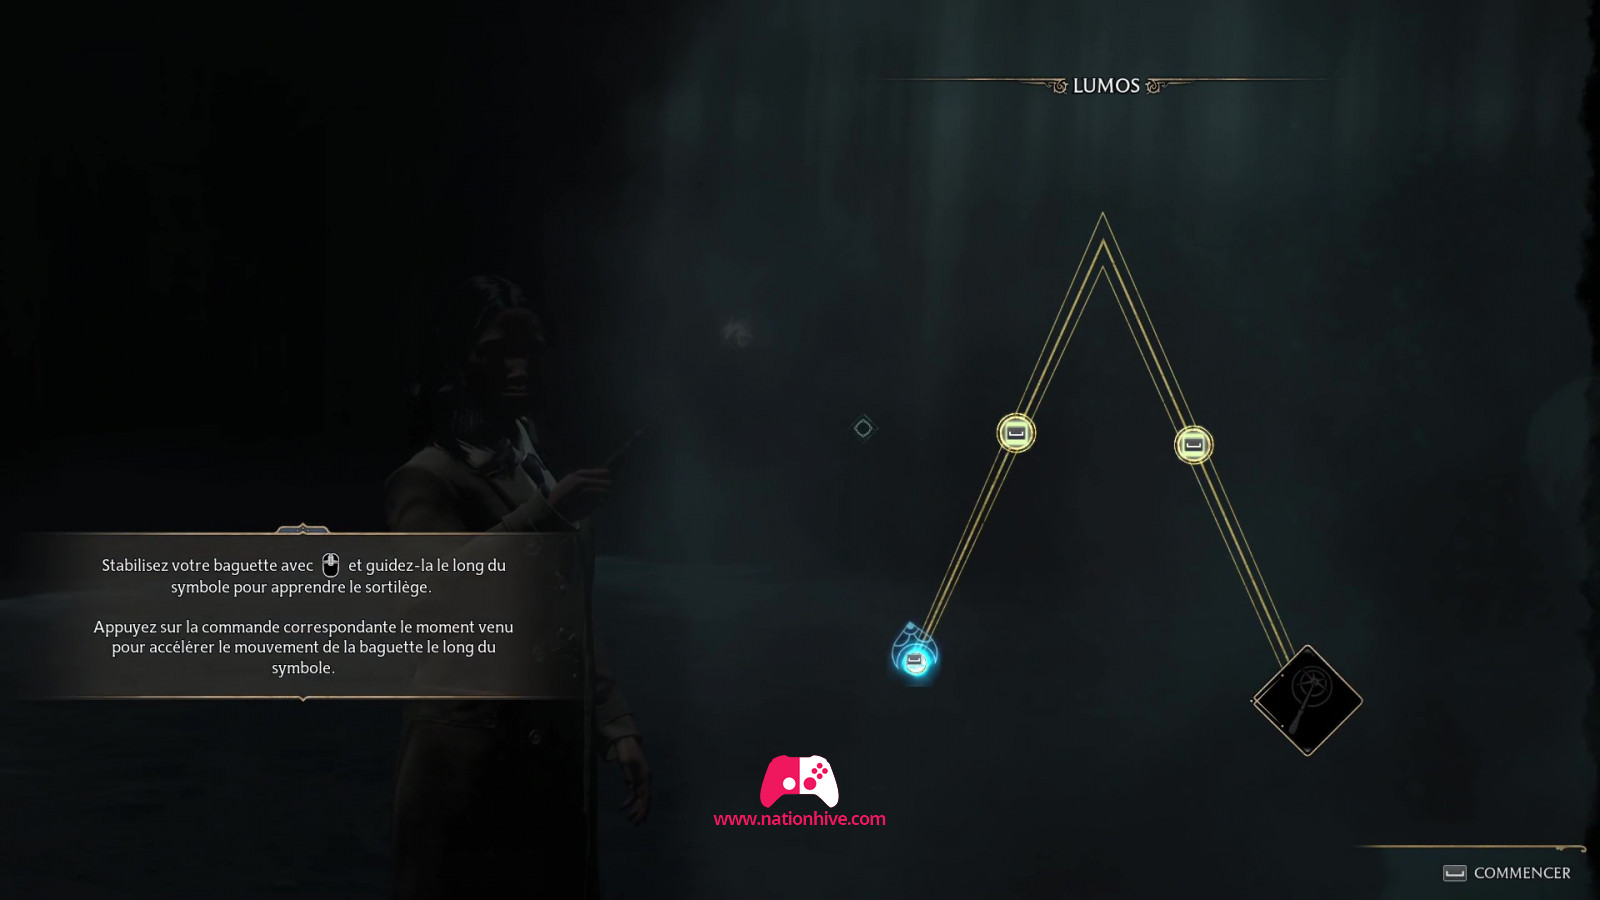
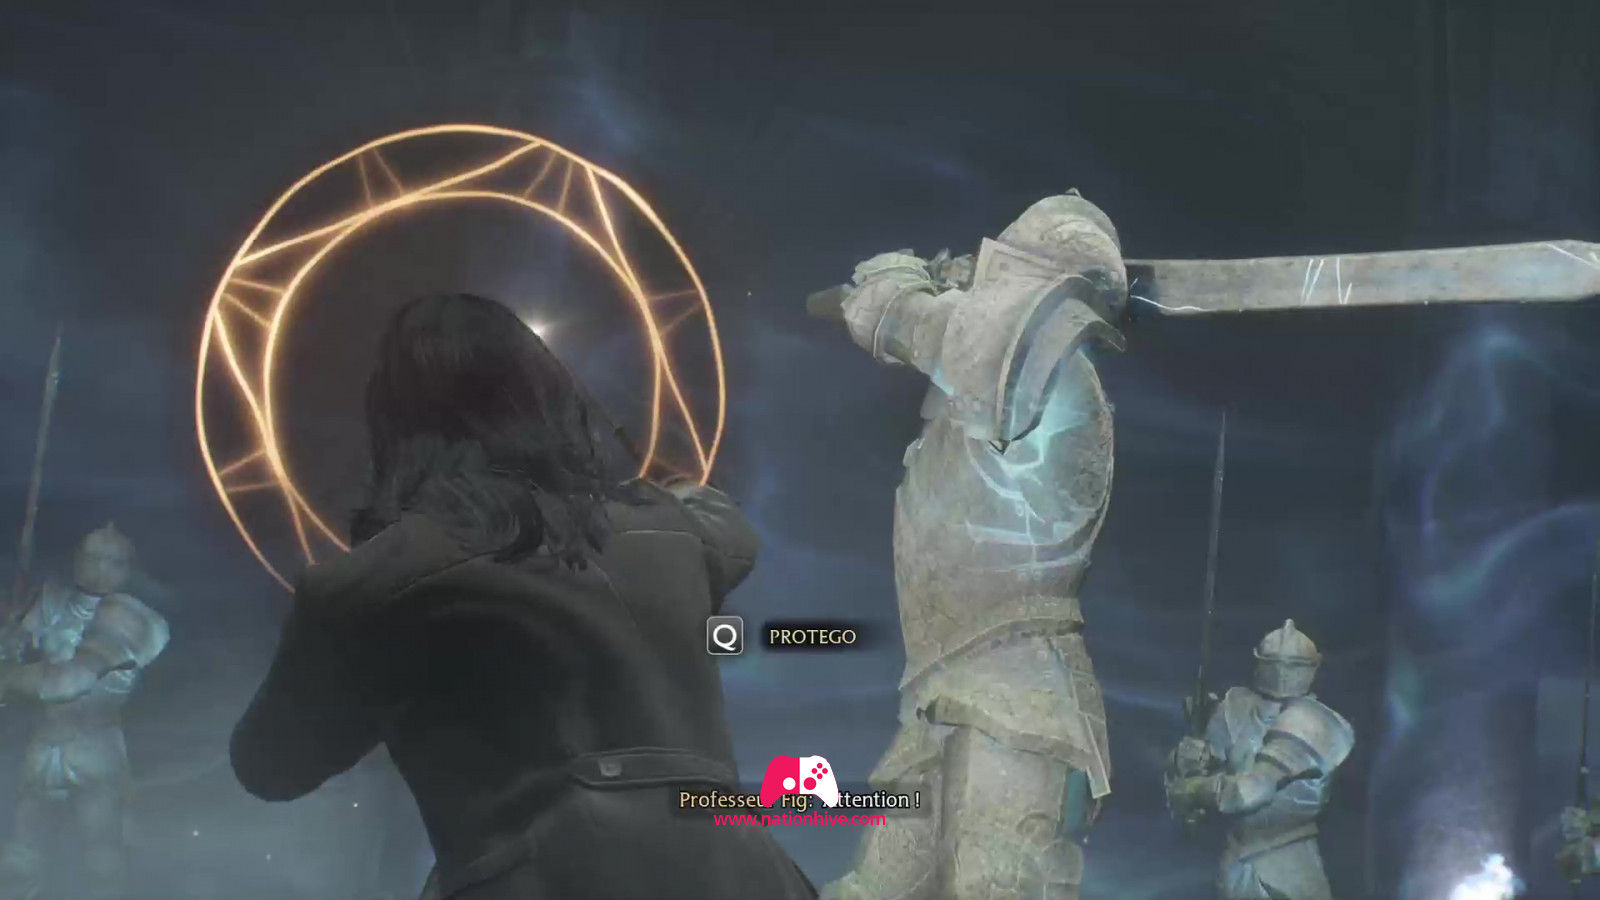
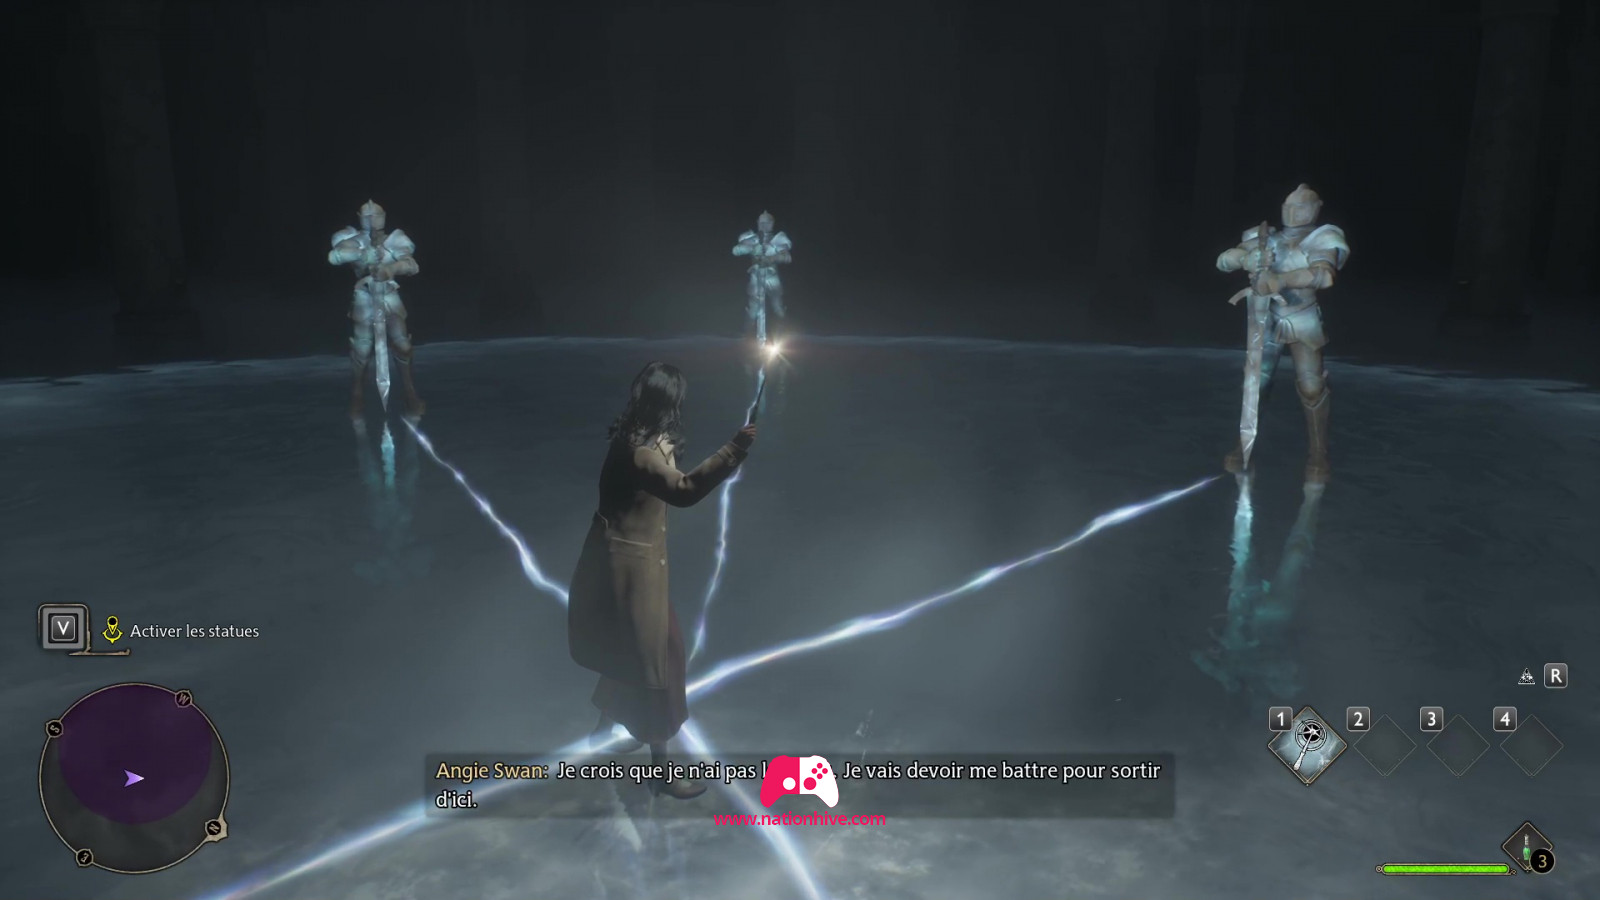
To proceed to the next step, Professor Fig will teach you Lumos, a spell that creates a light source. Once you've learned Lumos, you'll notice that the statue's reflection seems to move and follow the light onto you. Move around until the reflection of the statue's sword matches the sword on the surface. This will cause new statues to appear, seemingly coming to life and trying to attack you. Immediately use the Protego spell with the corresponding command to protect yourself from their attack, and make your basic throws several times to inflict damage on the enemies.
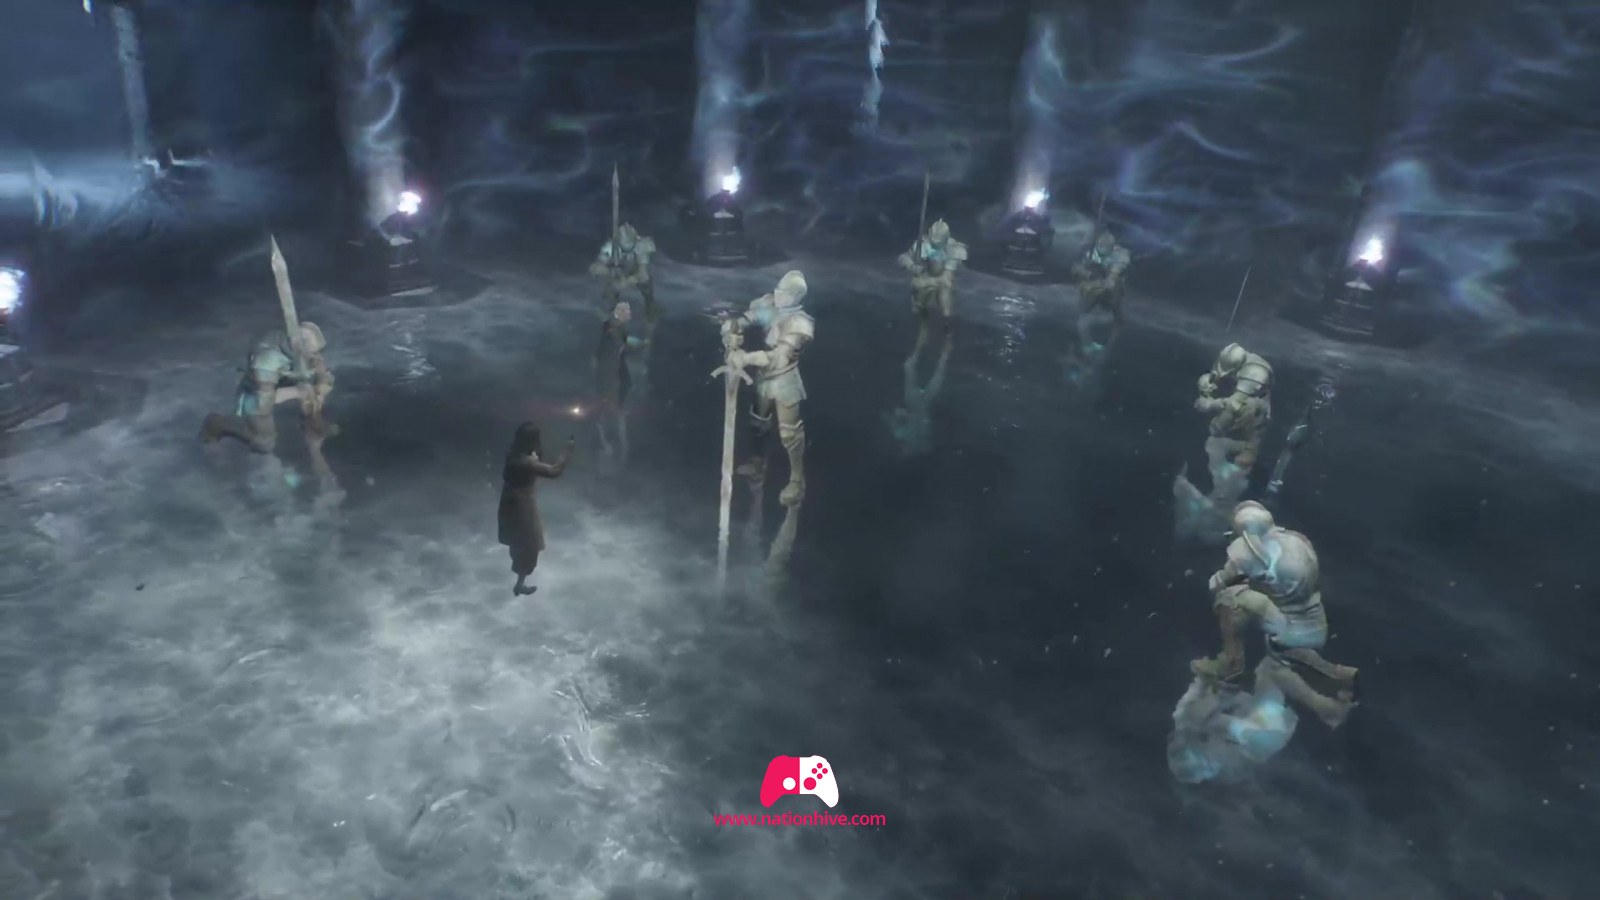
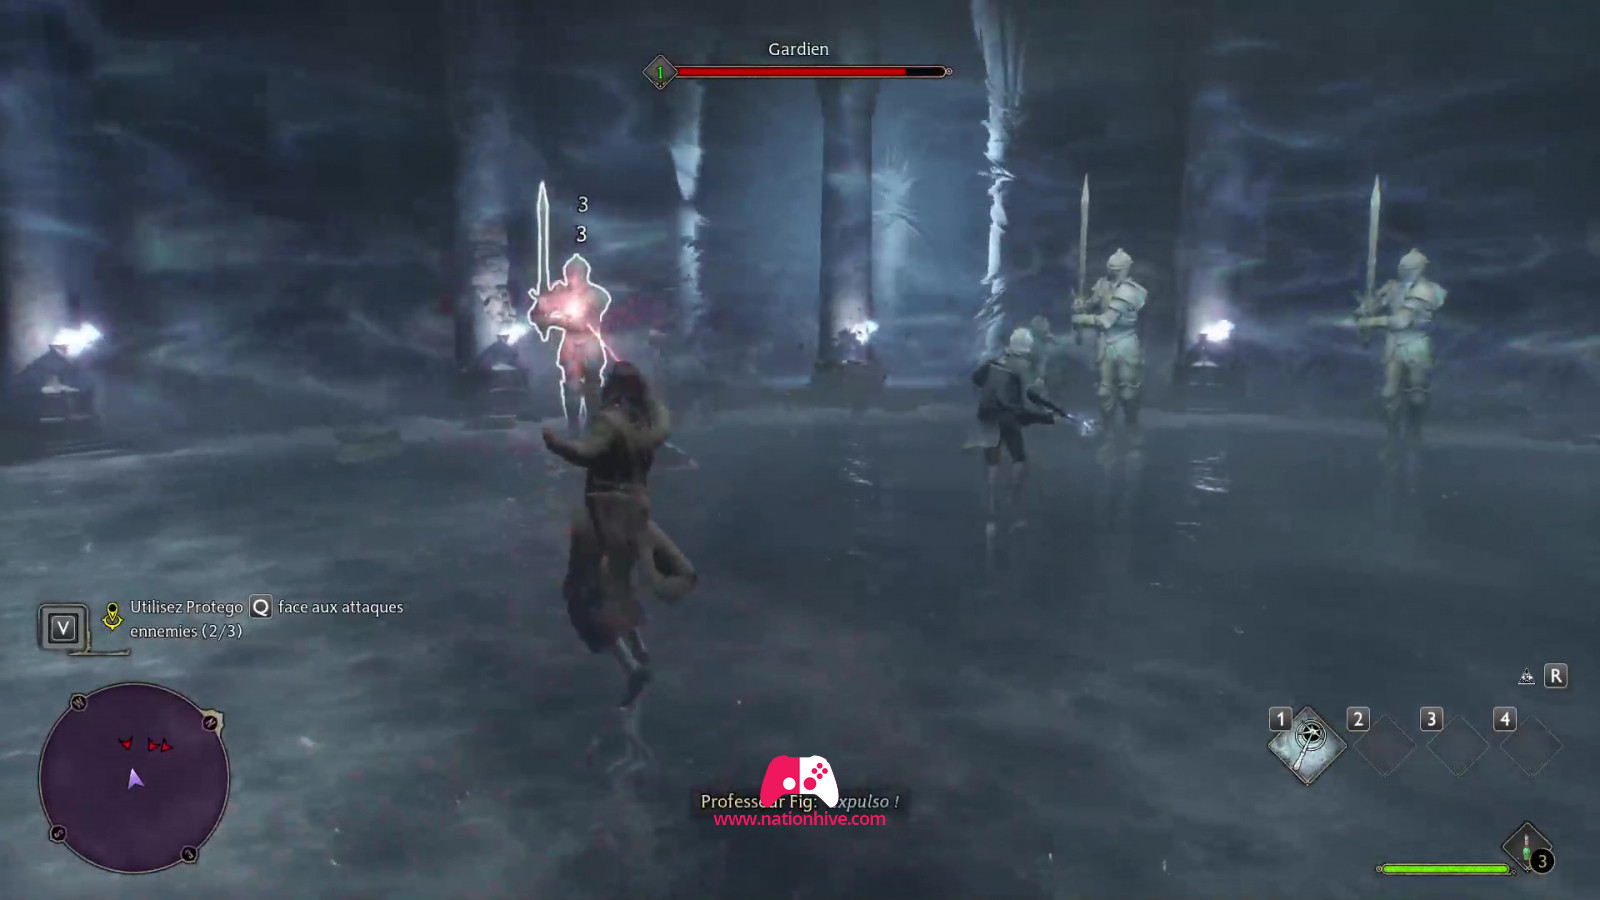
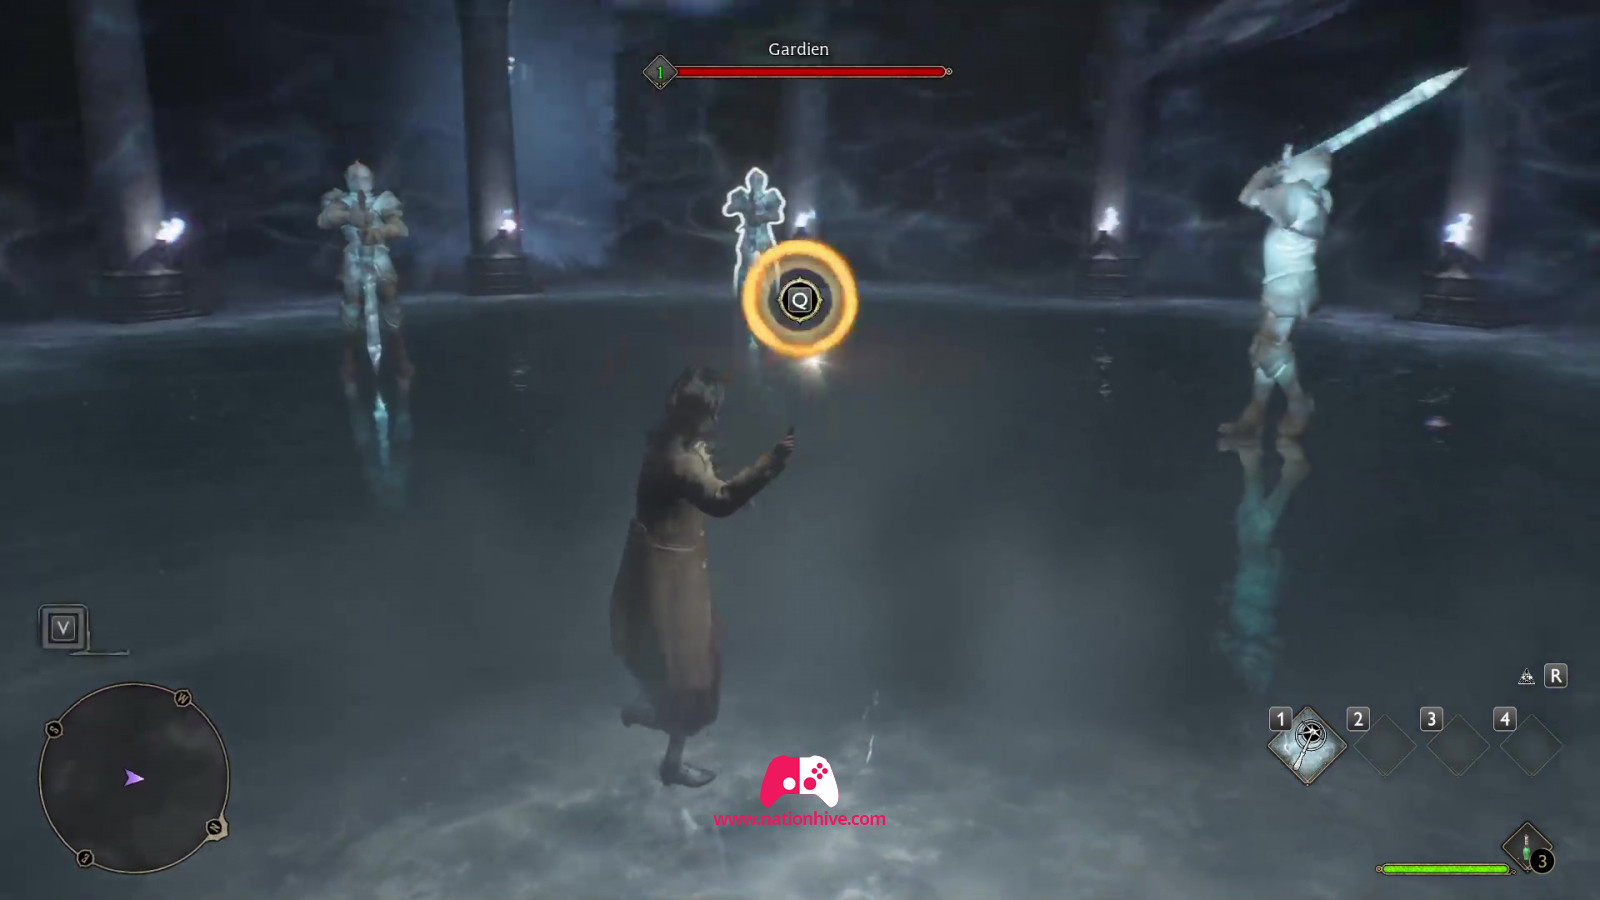
Suddenly you find yourself alone in the dark. Activate Lumos and follow the light, which will guide you to another glow on the ground. Repeat the same steps, but this time you'll have to line up 3 statues together. All you need to do is activate Stupefy 3 times and eliminate all the statues.
- You can also hold down the corresponding command as you perform Protego to counter-attack and stun enemies with Stupefix. Stunned enemies suffer additional damage, indicated by gold-colored numbers.
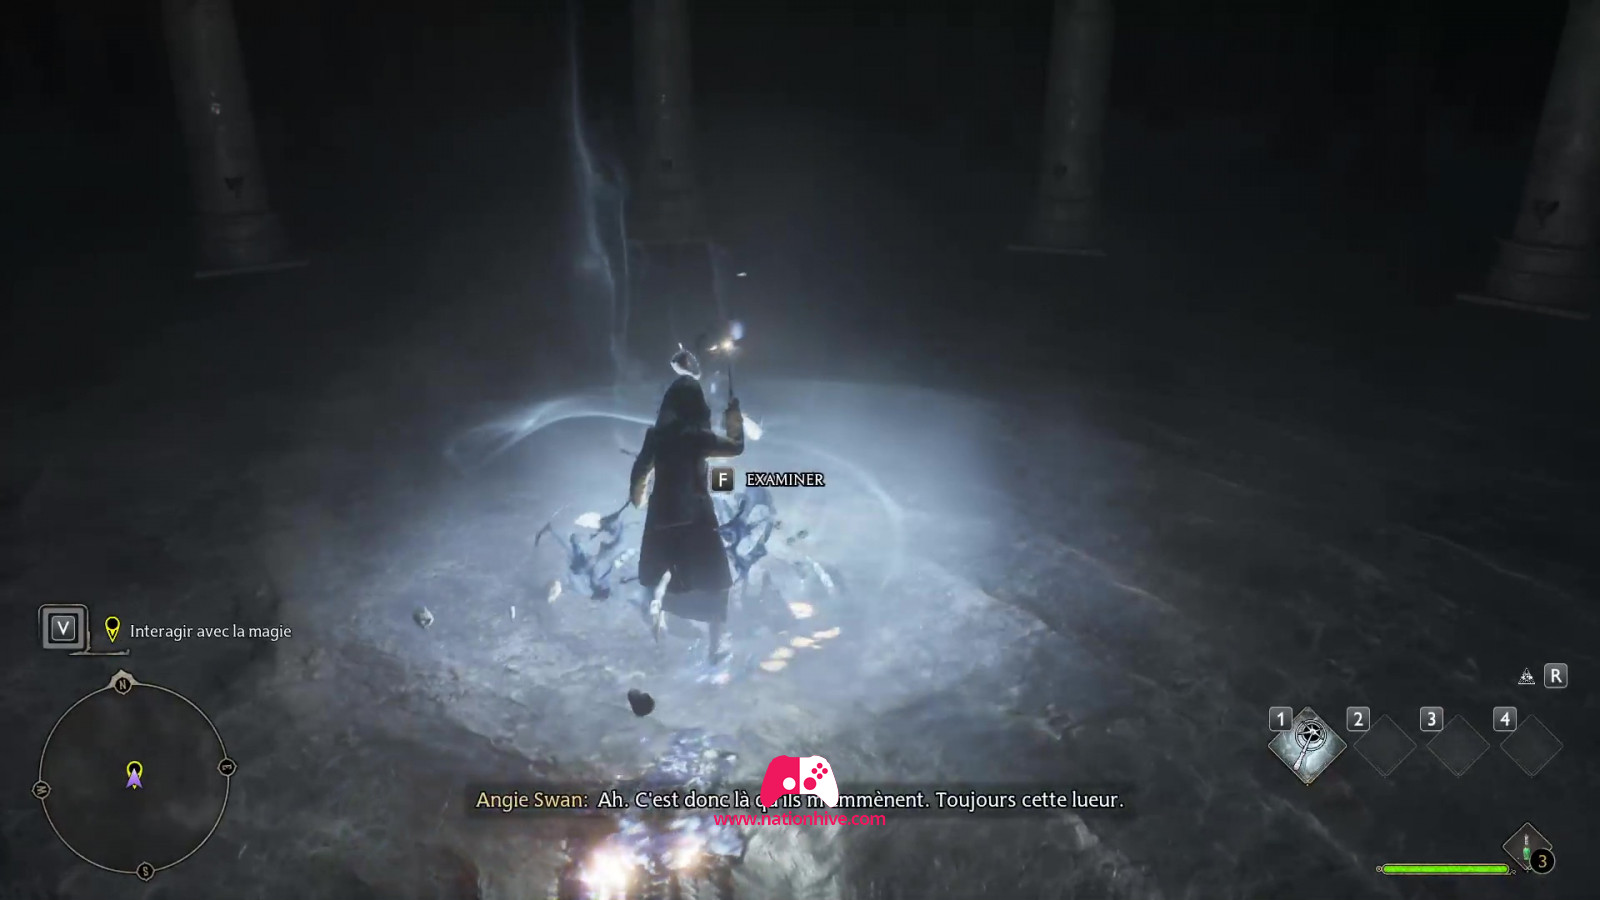
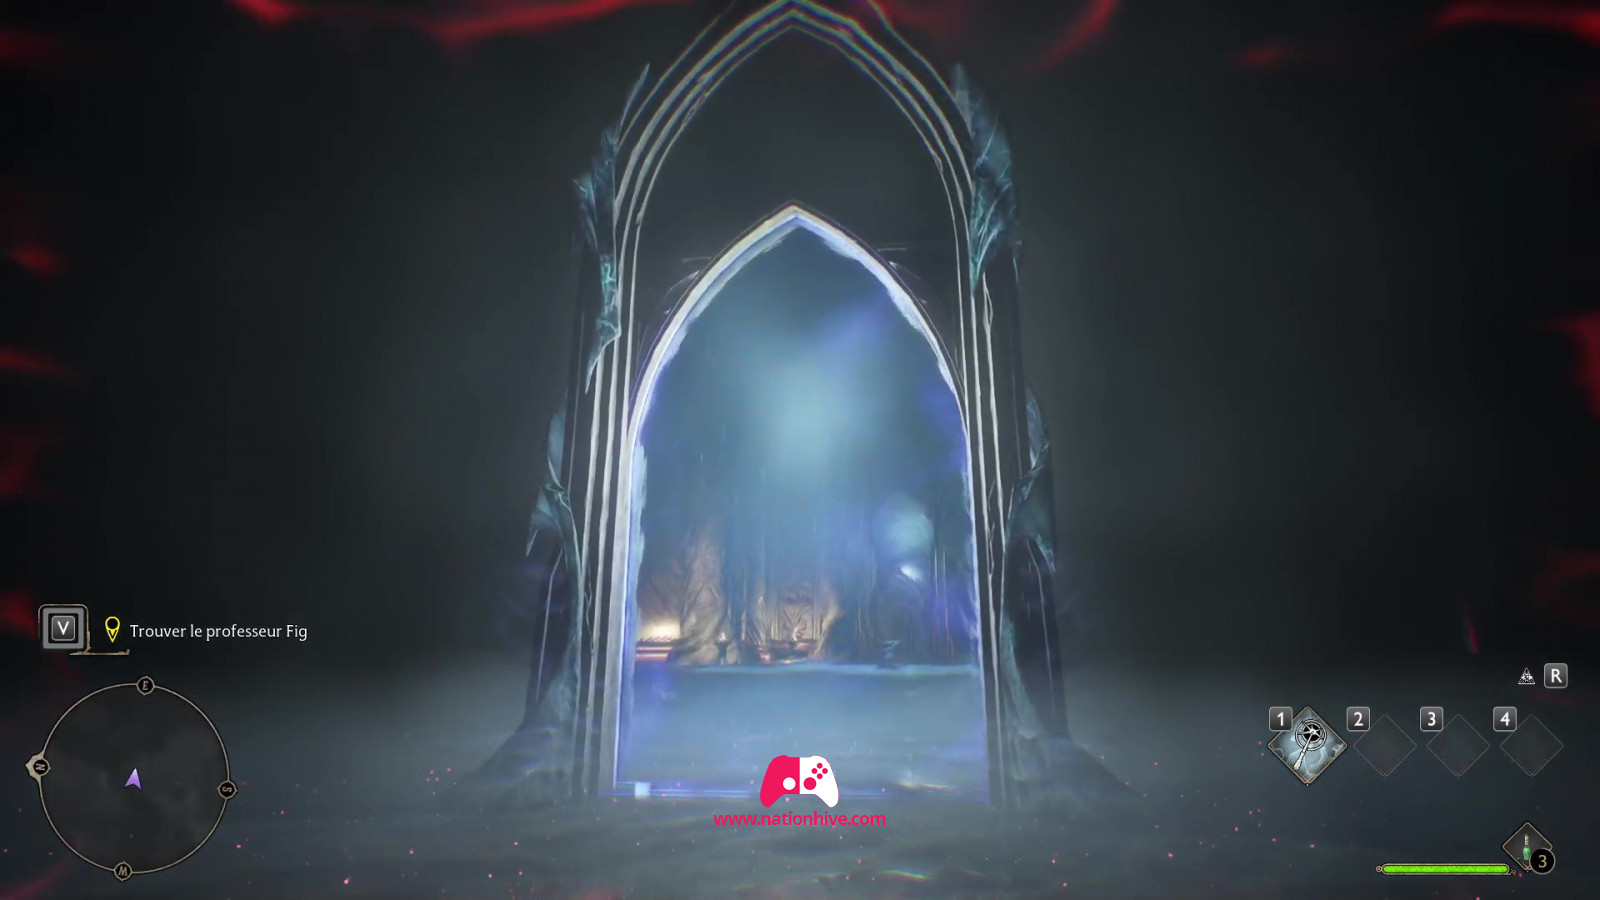
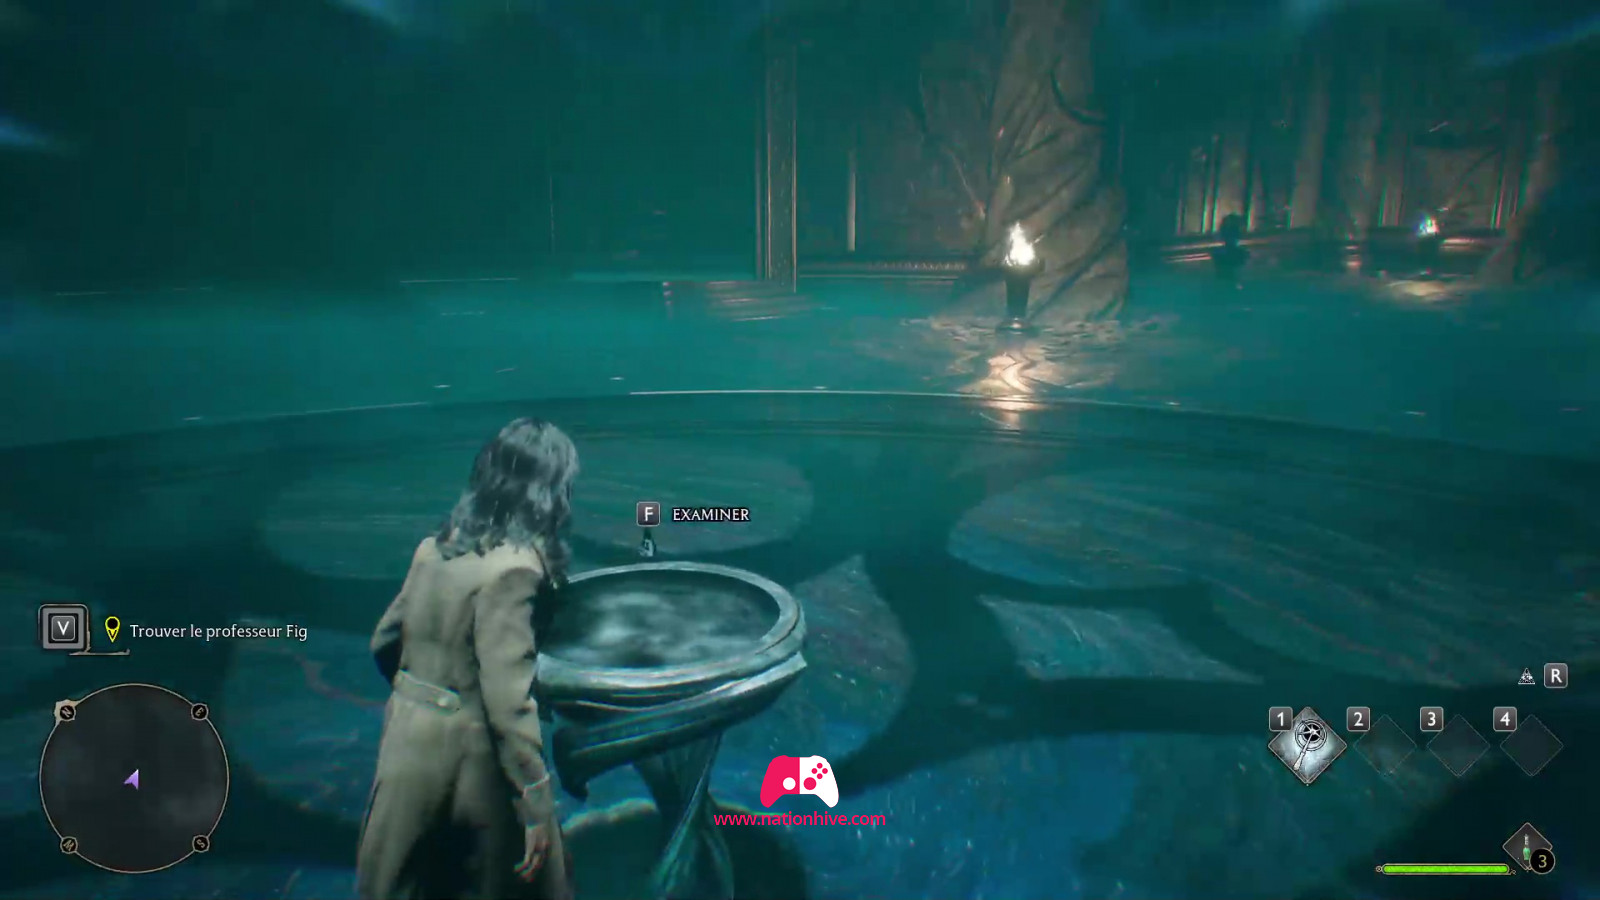
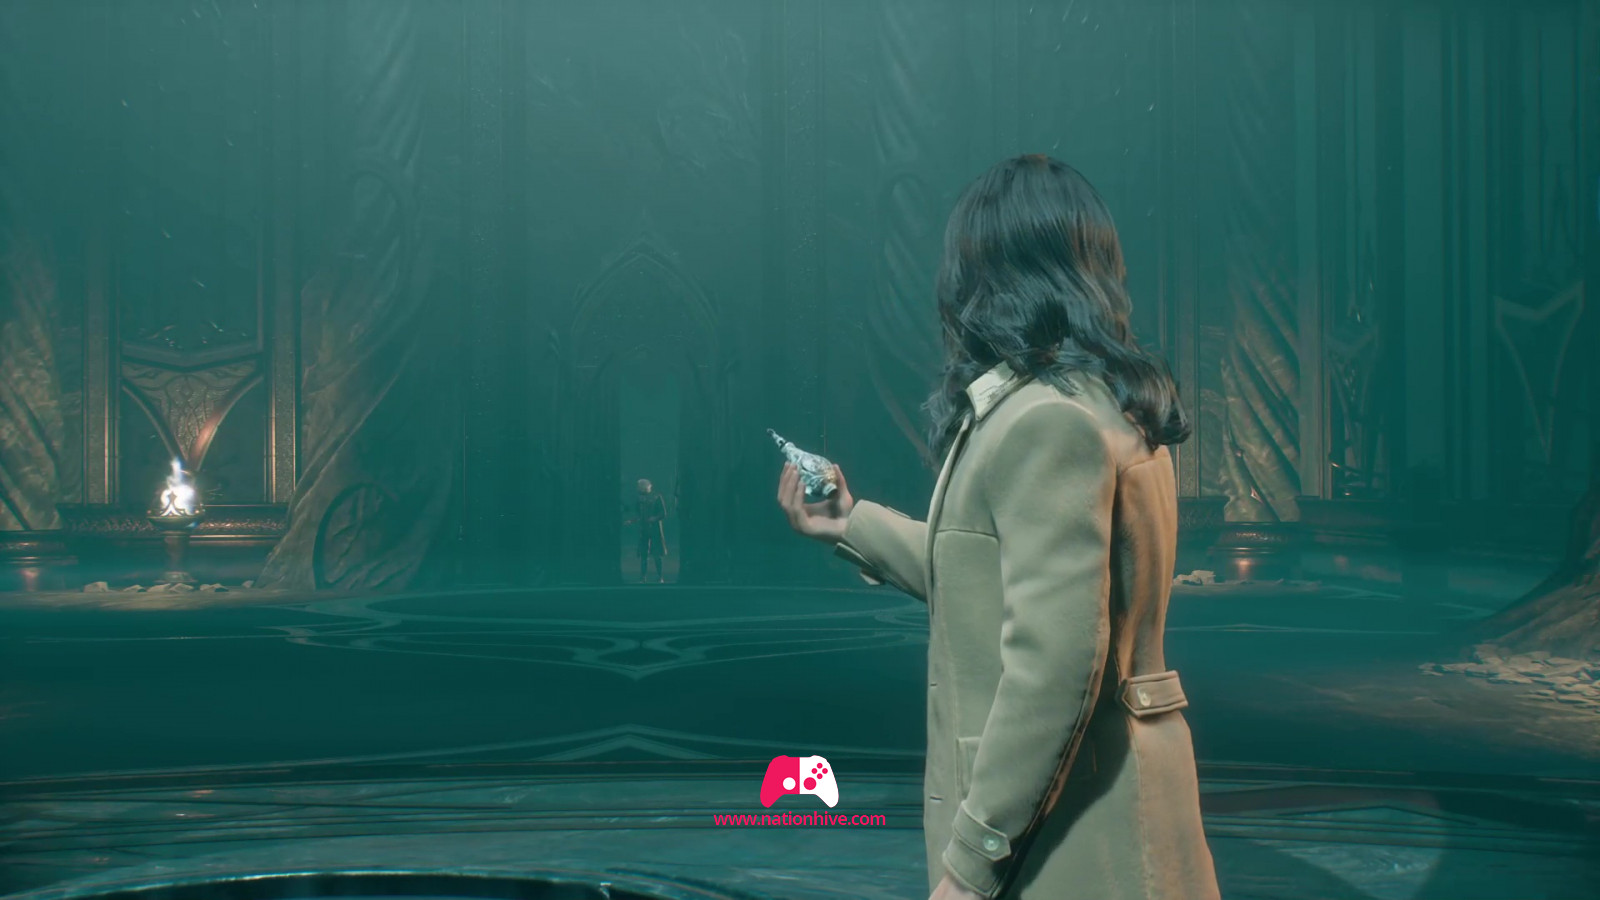
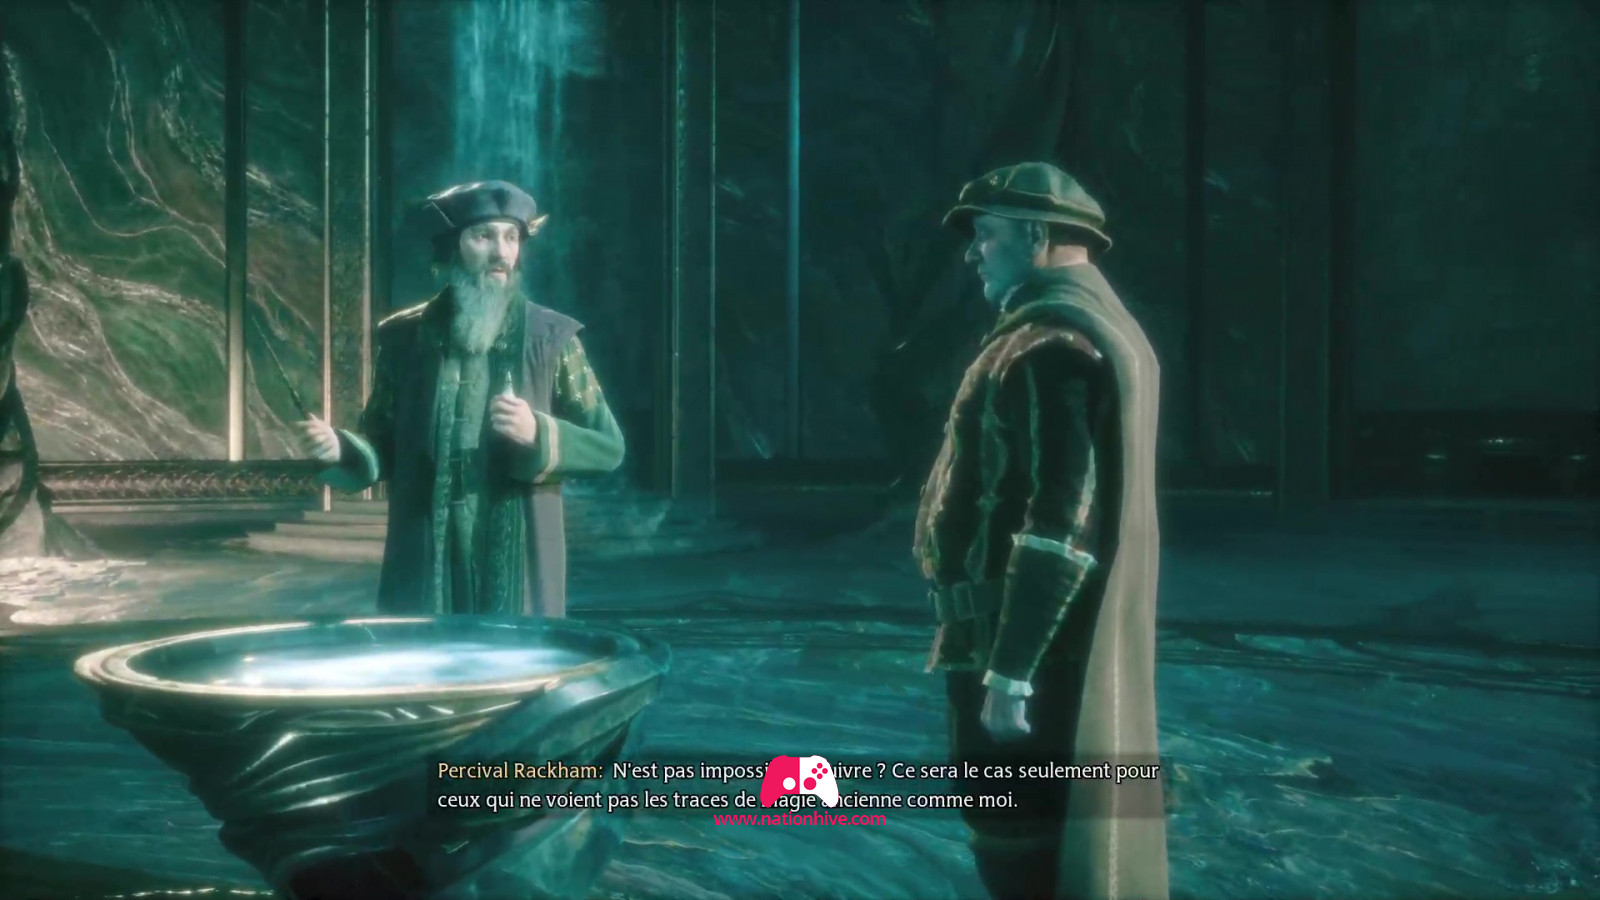
Continue to follow the light, which will guide you to another glow on the floor. Examine the glow on the floor to reveal a doorway into which a room has been opened. Enter and head for the Pensieve in the center of the room. Examine to retrieve the floating container and find Professor Fig. You both visualize a memory in the Pensine where Percival Reckham and Charles Rookwood are discussing an ancient power that a witch or wizard will eventually acquire and master.
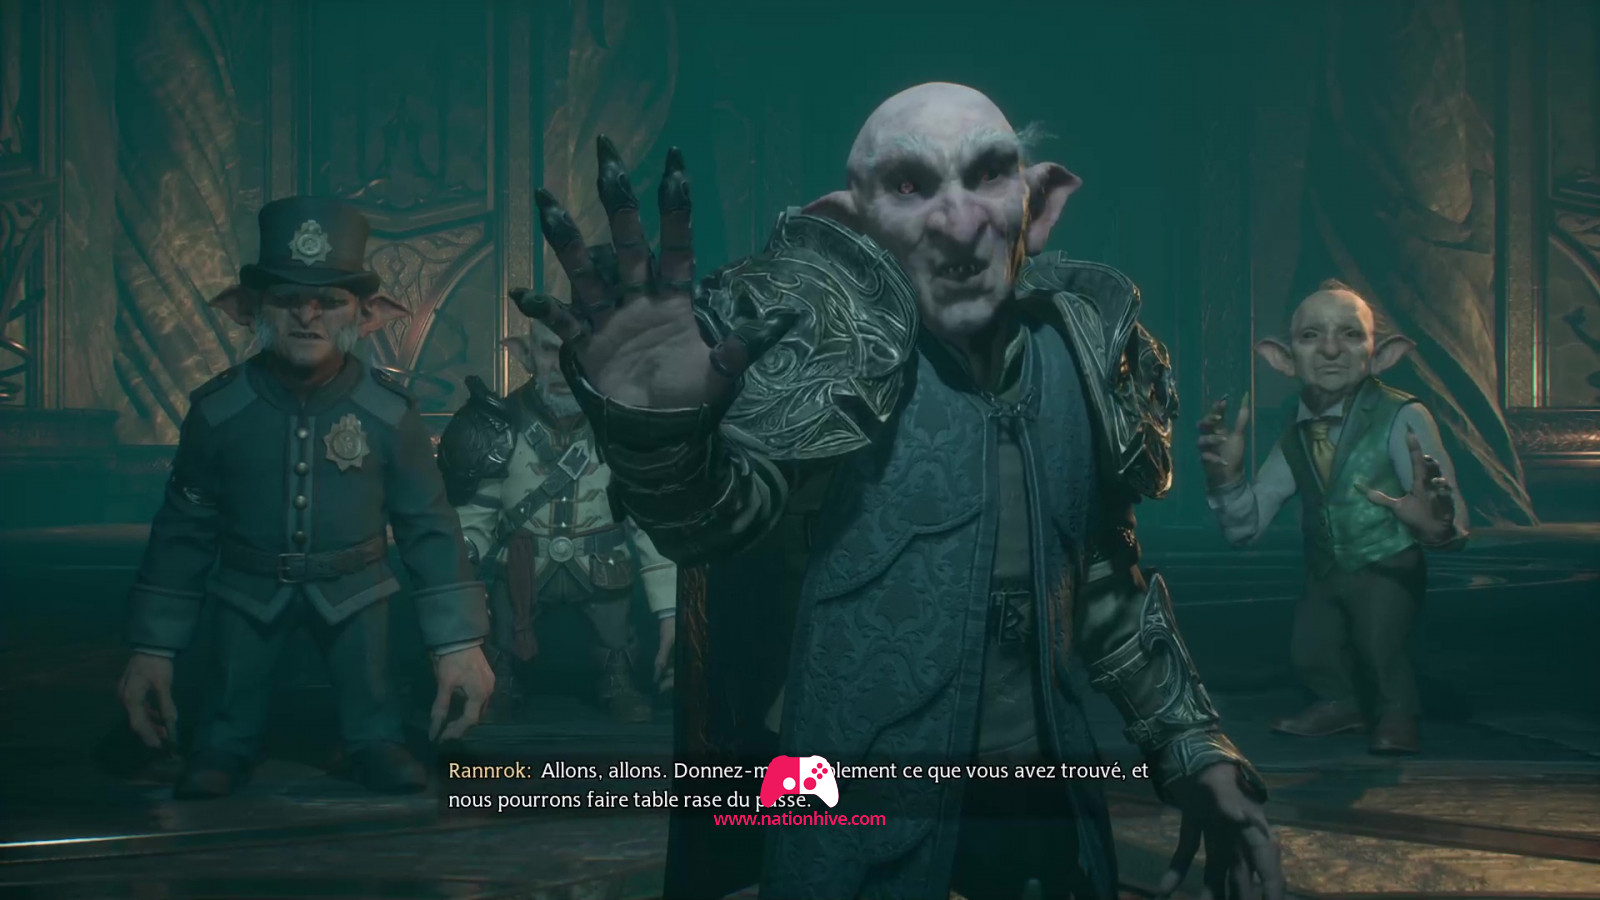
Suddenly, you hear footsteps and approaching voices. It's Ranrok, who wants to know the secrets you've learned and threatens you if you don't accept. A battle begins between Professor Fig and Ranrok, but the safe's defenses are suddenly activated. A gigantic statue arrives to attack everyone in the room.


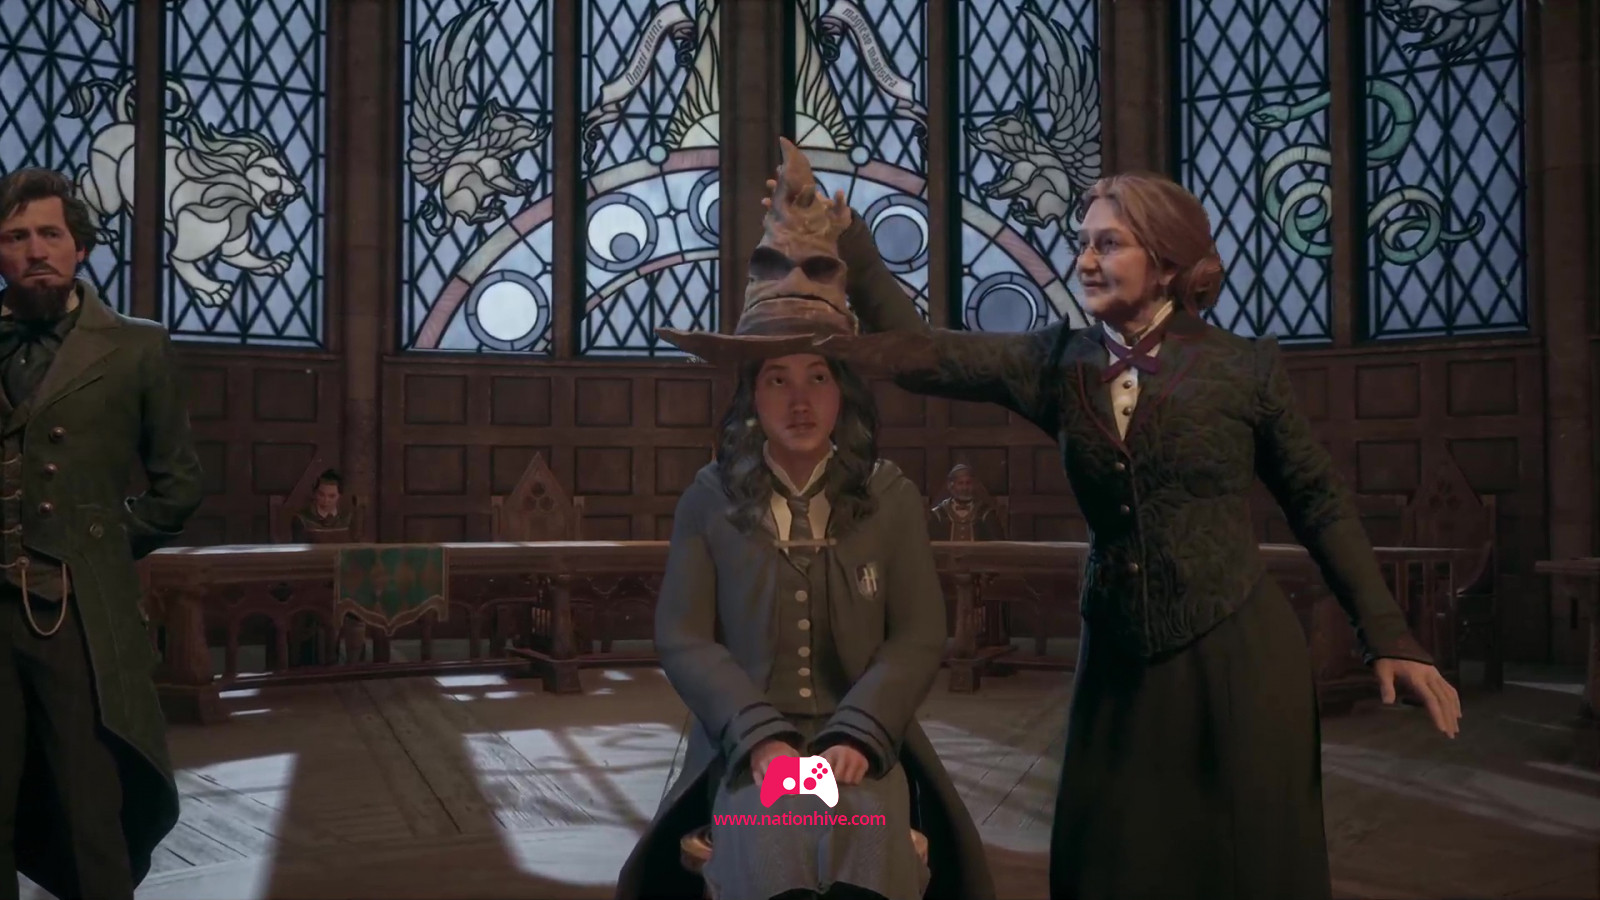
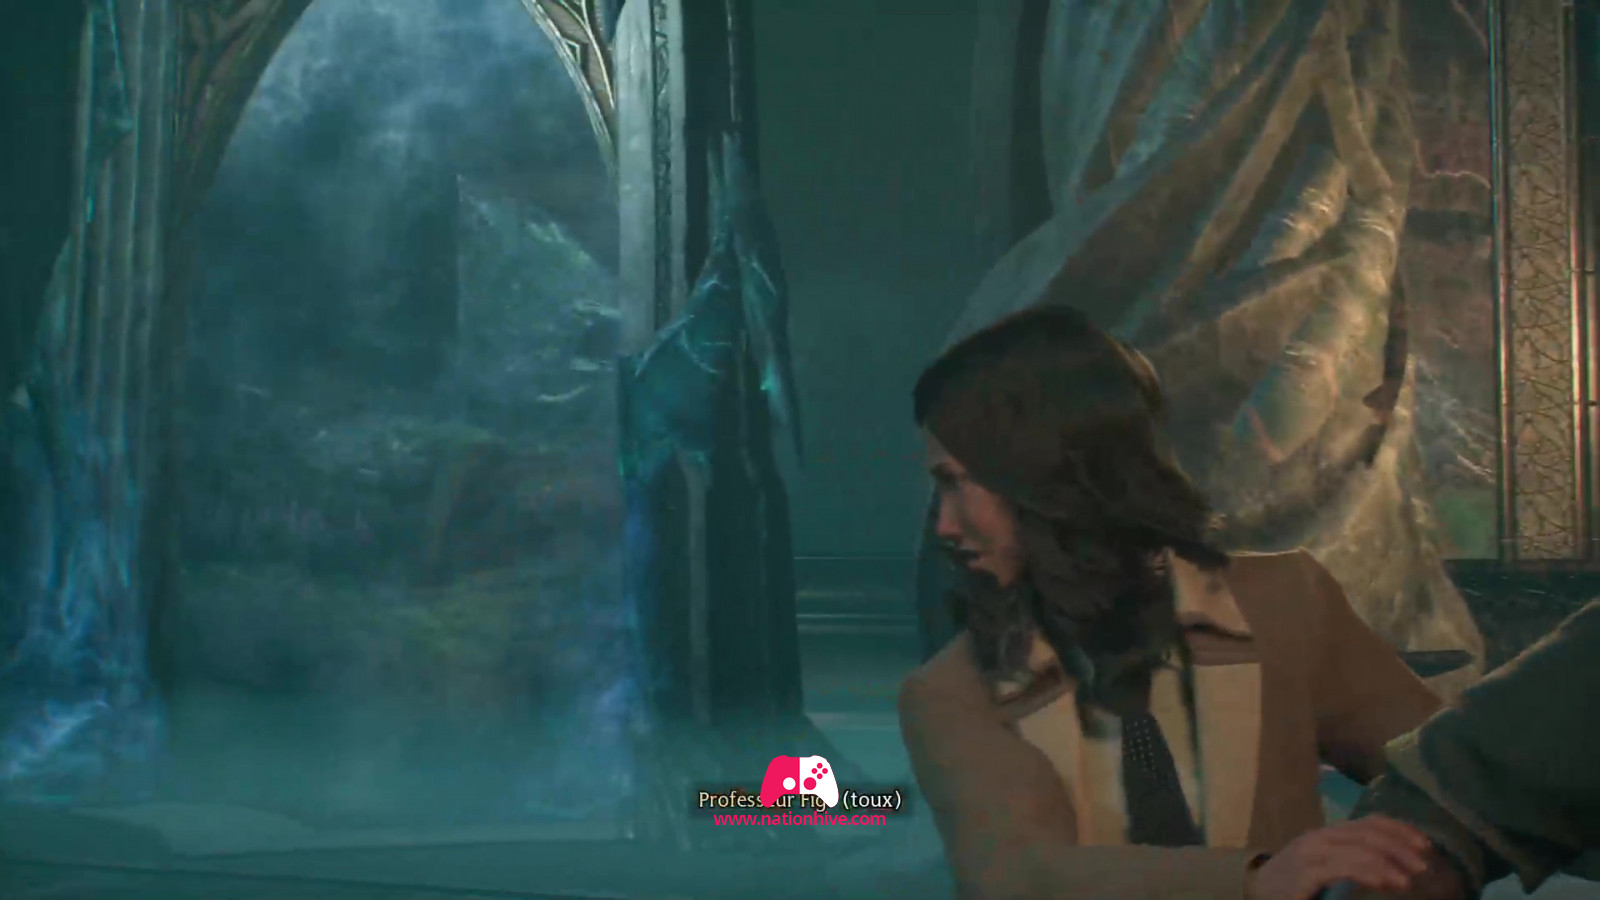
Fortunately, you found a way out, which appears to be a portal leading to a forest not far from Hogwarts. Despite the unforeseen circumstances, you still made it to your destination to perform your Sorting Ceremony.

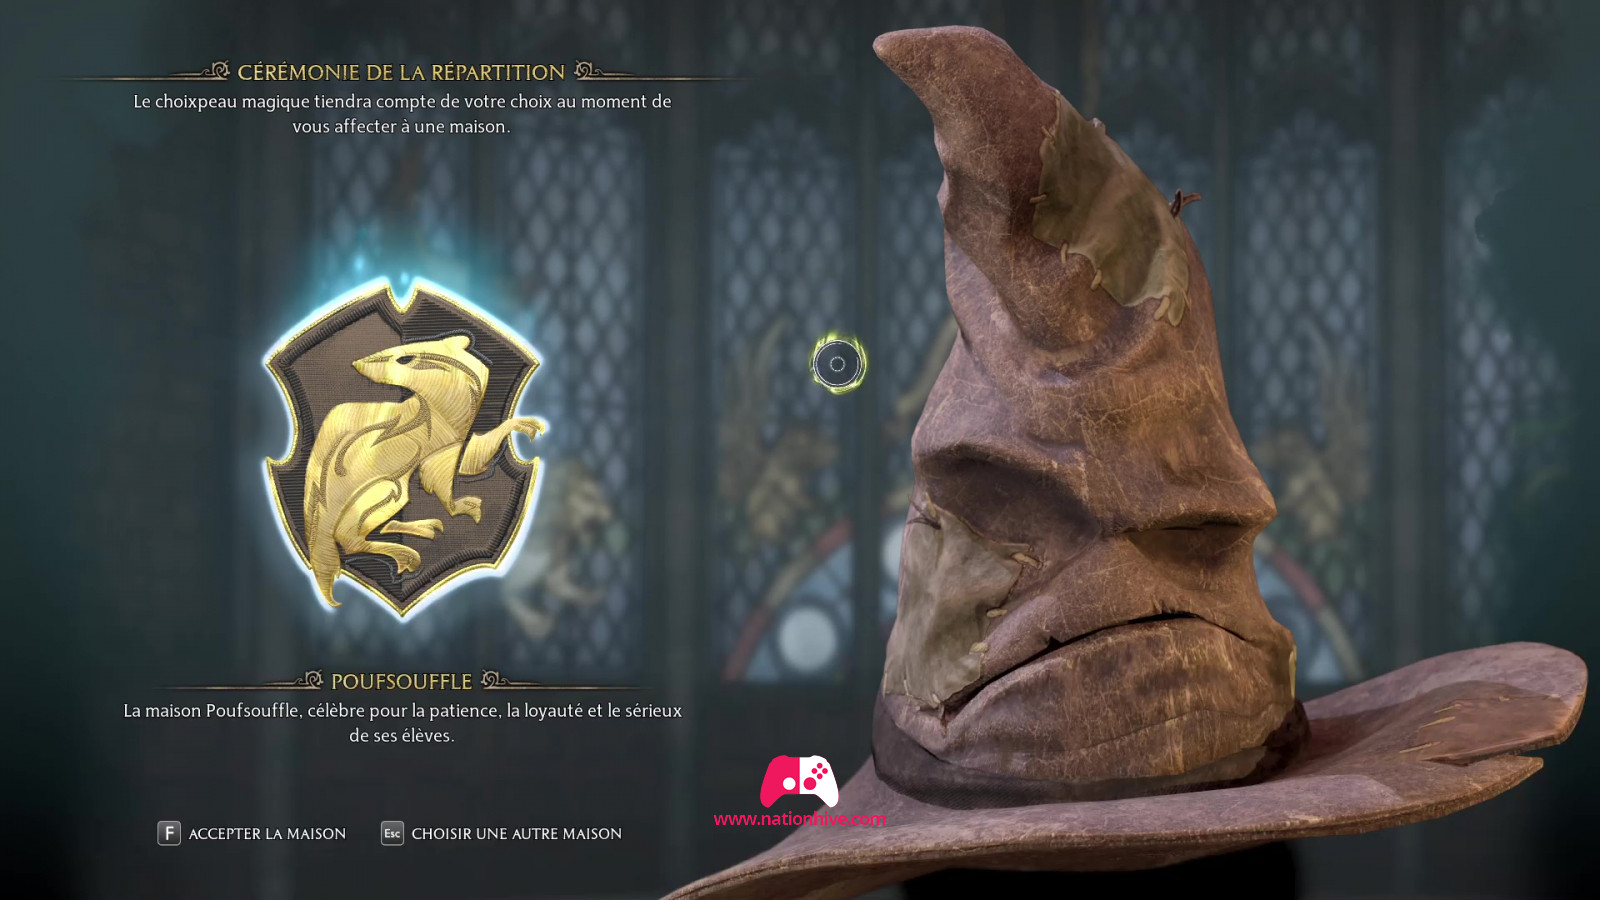
The Sorting Hat and the answers you give to the questions determine which house you'll be assigned to. You'll then be awarded the "Shattering Assignment" trophy/success. Once you've chosen your house, Professor Weasley will show you the different rooms. And so the quest: The Path to Hogwarts comes to an end, giving way to your next main quest in Hogwarts Legacy: Welcome to Hogwarts.